Community Brag Posts

Rustic Table

Submitted by SusieK on Sun, 04/06/2014 - 10:16

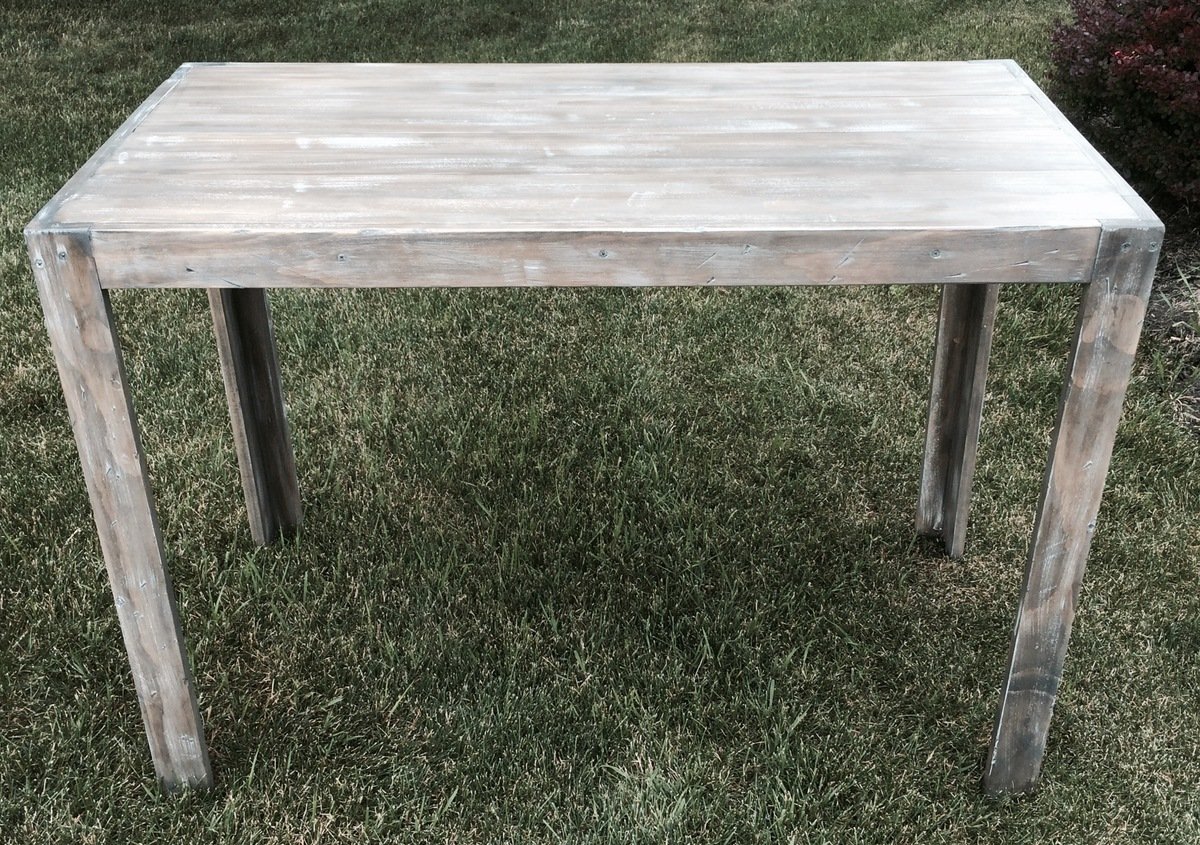
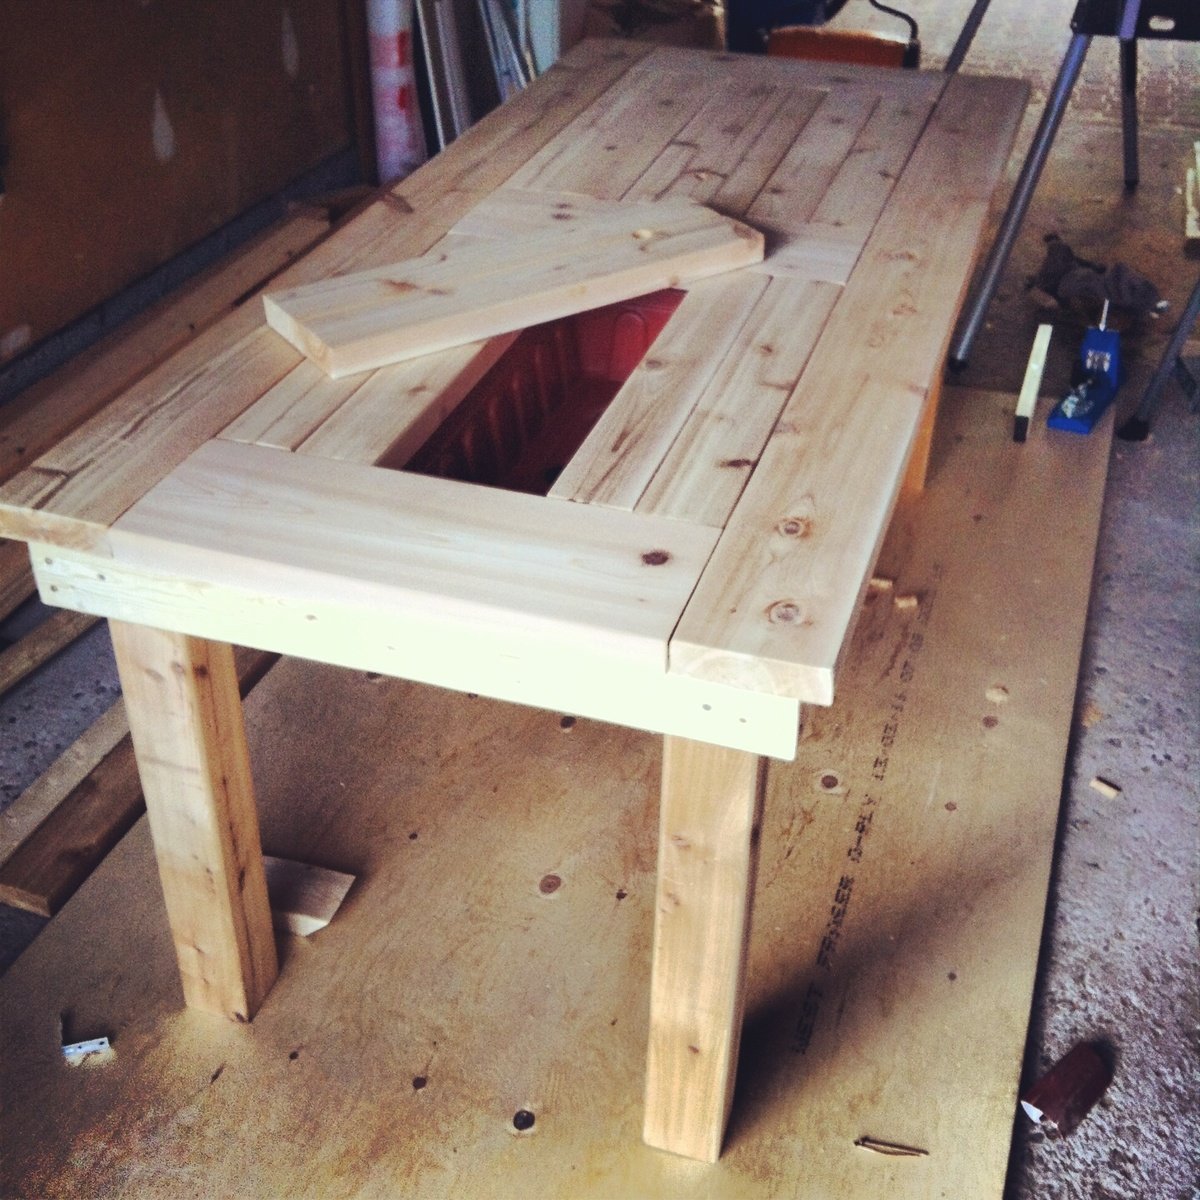
This Rustic Table was built by my just-turned-15-year-old, Joey. He is amazing!

Joey is a Kreg Jig pro (and an engineering marvel) and this table is rock solid. The only change he made was the direction of the table legs (per my request) and he tapered the legs as well.

I finished the table using Ana's directions: http://ana-white.com/2013/05/staining-and-finishing-tabletops As a stain and poly novice, these directions were a life saver!!

Learning lesson: When I applied the stain (in several coats to match my cabinetry), I was nervous and patient. Then, I built up my confidence and decided to apply a very thick coat of stain. Don't do that; it was a sticky mess! I searched online and lots of people said that I would have to start over. Don't do that, either. One person (thanks to him!) said to be patient and wait it out. Fwew! So, I moved it onto the screened porch (and turned on the overhead fans) each day so that the warm Florida air could help dry it out (alternatively I imagine you could leave it in the house with some fans blowing across it). It took about a week of waiting (ugh), but it dried (yay!) so that I could apply the Spar Urethane.

Must do: Ana suggests using Minwax® Water Based Helmsman® Spar Urethane for a top that will tolerate water condensation, milk spills, etc. I did this and have no worries that my son's project will be ruined. This table is going to last!

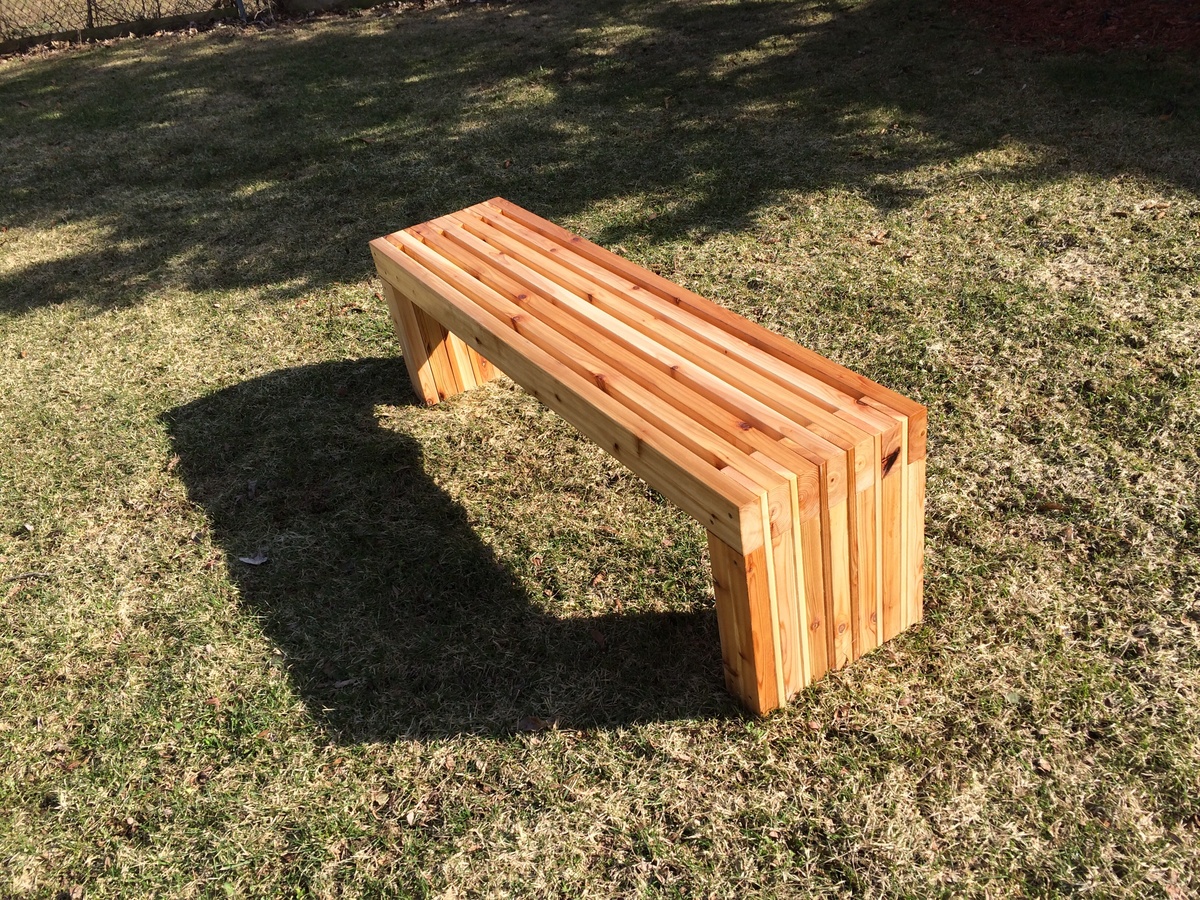
The bench was also an Ana design. It was a really quick project.

Thanks so much to Ana for having these accessible, free plans. I could never have afforded a table of this substance and we are SO proud to tell visitors about Joey's Table when they ask.
Estimated Time Investment
Weekend Project (10-20 Hours)
Finish Used
Minwax Water-Based Wood Conditioner, Minwax Wood Finish Cherry 235, Helmsman Spar Urethan Clear Semi-Gloss
Recommended Skill Level
Beginner

Comments

Sectional from Crib Mattresses!

Submitted by Anonymous (not verified) on Tue, 04/28/2020 - 07:17

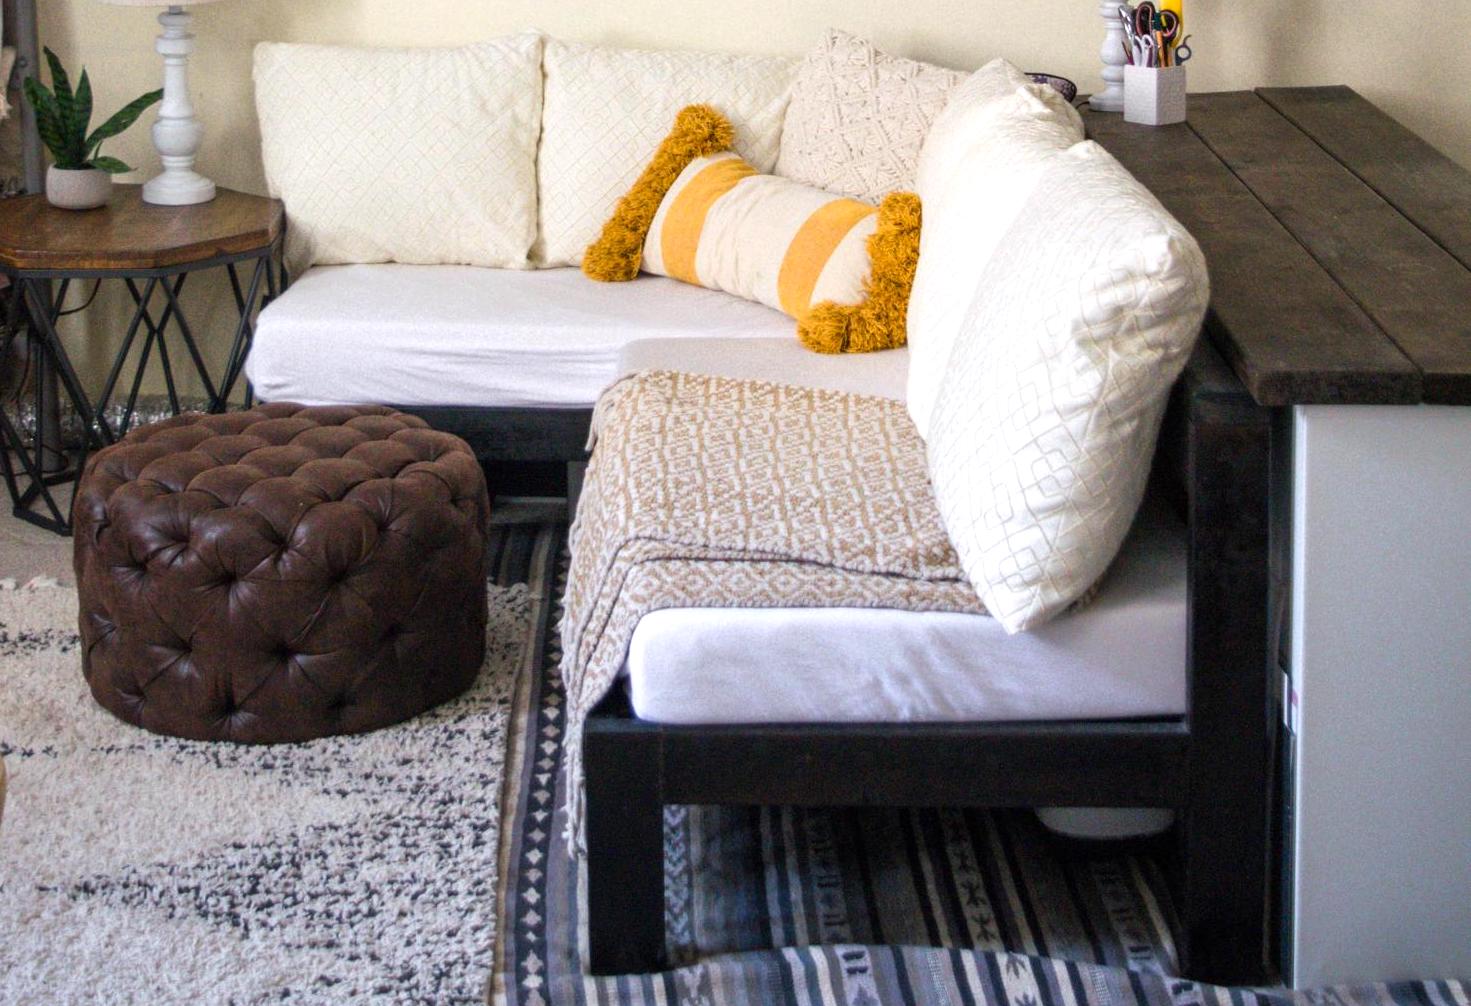
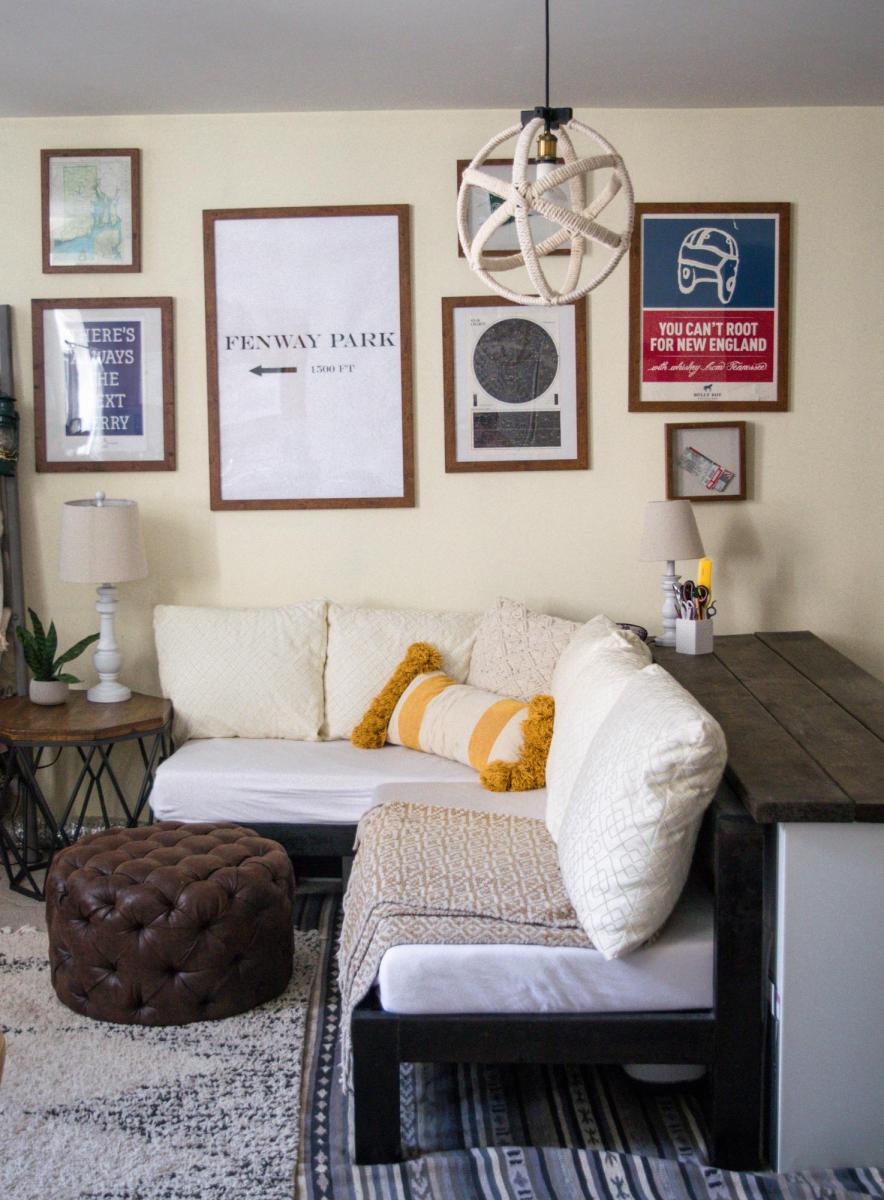
I modified the kids couch plans to make a sectional sofa for my apartment! We removed all but one of the arm rests. So when pillows are removed it doubles as a twin bed for our friends!

Estimated Cost
$200
Finish Used
Espresso minwax
Recommended Skill Level
Intermediate

Beginner Wood Table

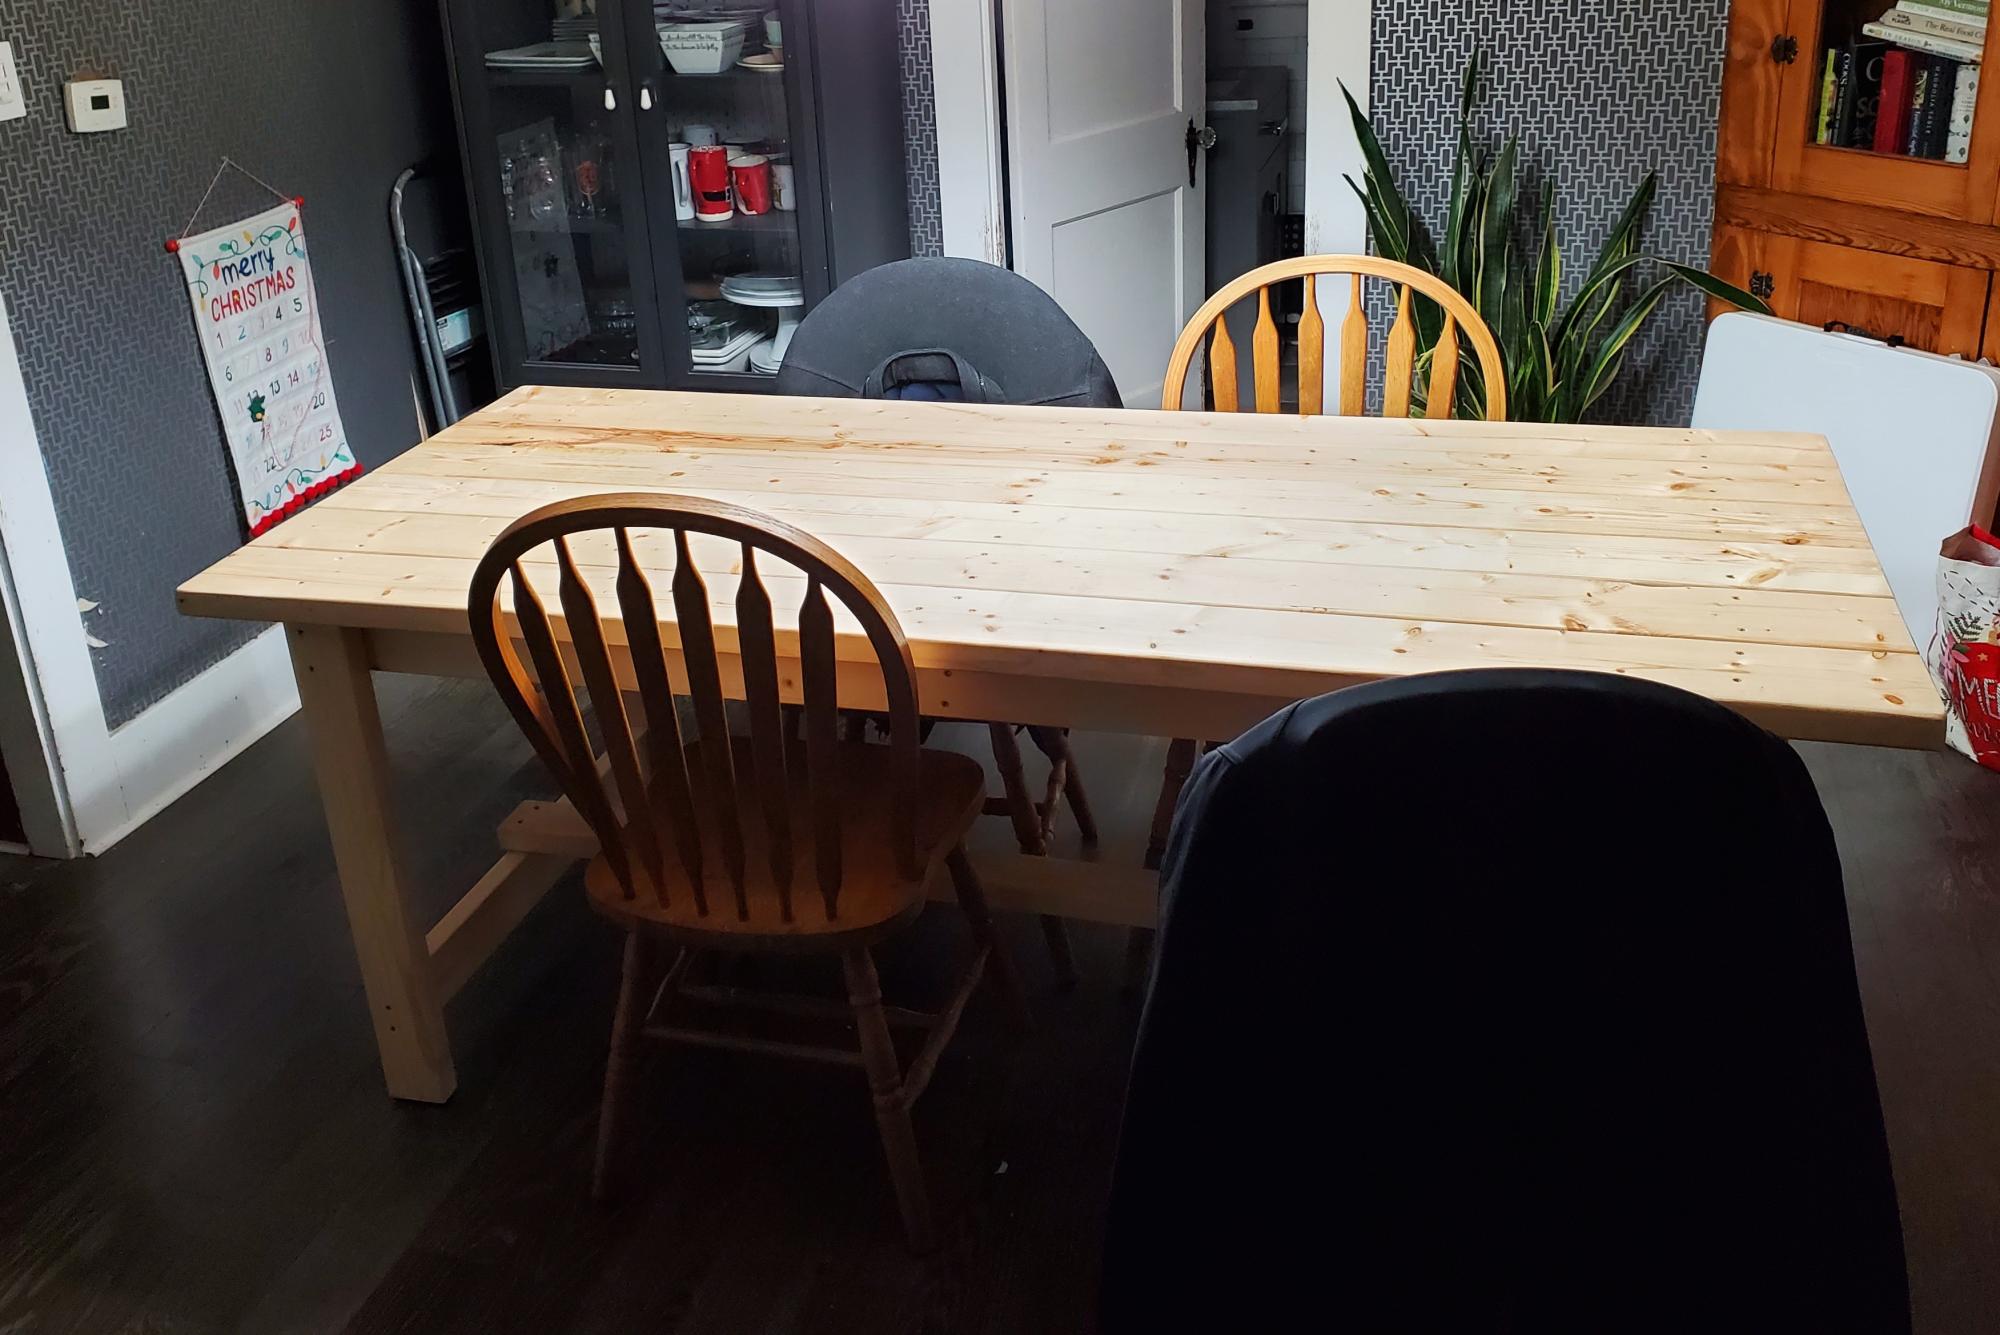
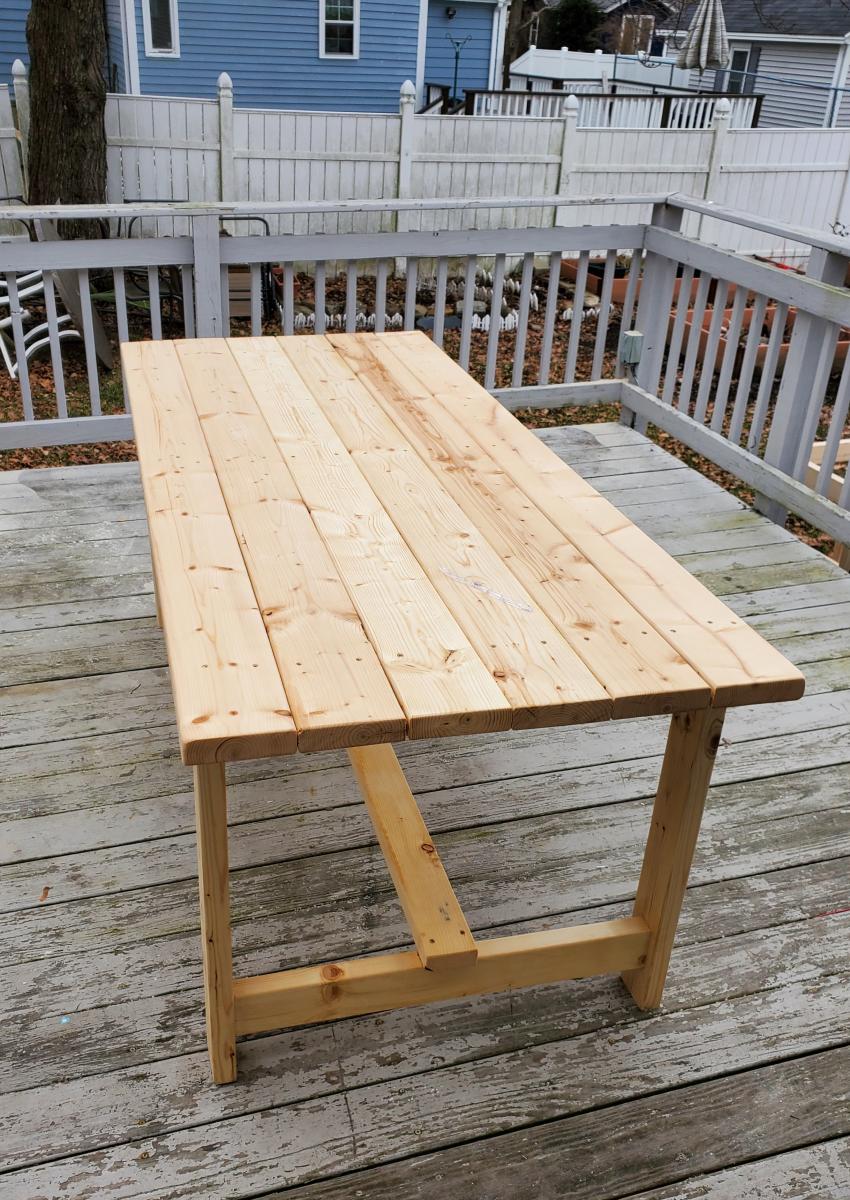
My wife and I had been talking about buying a new dining room table for some time and we are just so sick and tired of paying good money for cheap, particle board furniture from Wayfair or box stores. And solid wood furniture is expensive AF! So, I decided to build a table myself, even though I'd never built a single piece of furniture in my life. When I found the plans for this table I realized that I could do it myself. The plans were straight forward and easy to follow. I had to size the length down to fit in my smallish dining room (and it is still a little bit too big), but I am so proud of what I was able to build by myself in a weekend. Thank you Ana!

Shawn in New Hampshire

Twin Farmhouse Bed - Green w/ Envy

Submitted by tameanaka on Thu, 06/14/2012 - 05:25

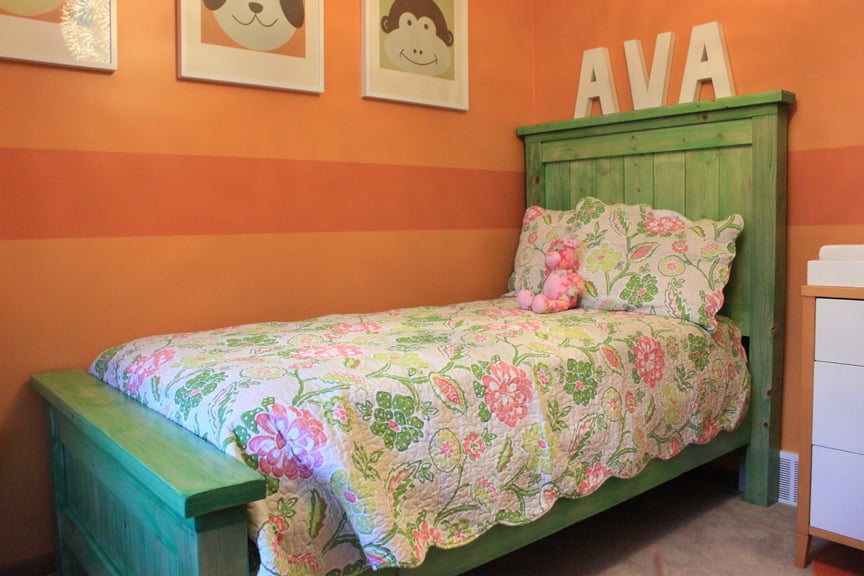
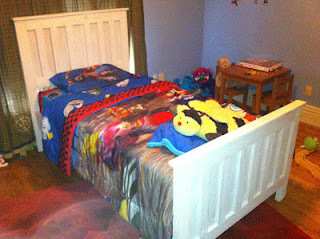
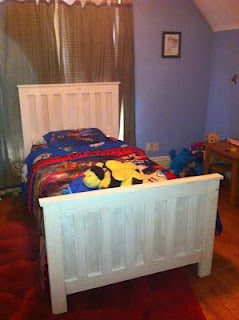
Modified the Twin Farmhouse Bed slightly to meet the needs I felt were necessary for my 2 year old daughter.

I put the side rail cleats as low as possible to minimize height. I totally left out the Rail Supports for Footboard/Headboard (Part M), as they are unnecessary. I also added three center supports using 2x4 joist hangers. On the headboard posts I added two blocks to make assembly easy and uniform. The bed comes apart in 4 pieces and is easily put together by one person using screws. I will take more pictures if anyone has questions about anything.

Building the different pieces took roughly 6 hrs as I'm a little OCD. Finishing took a ton of time. I only have a palm finishing sander so I first sanded with 60 grit, then 120, then a final 220 (220 was recommended by Minwax). Finishing was time consuming as I had to finish one side of each piece at a time due to space limitations.

Minwax water-based stuff is a little tricky with pine as it causes "grain reversal" which is fine for me because I like the look. I think it was really designed for oak or other denser woods.
Tip: Use a low-profile box spring.

Built from Plan(s)
Estimated Cost
$75
Estimated Time Investment
Week Long Project (20 Hours or More)
Finish Used
Minwax Water Based Finishes:
Started with Pre-stain
Stain was Green Tea
Two coats Polycrylic
Recommended Skill Level
Beginner

Comments

RachelLButler

Wed, 08/29/2012 - 12:34

I would love to see more pictures, especially of how you built it to allow for disassembly. Soon I plan to build this for my almost 2-year old son. When you get a chance.

Thanks!

Garden Boxes

Submitted by brittanyeg on Tue, 04/08/2014 - 14:00

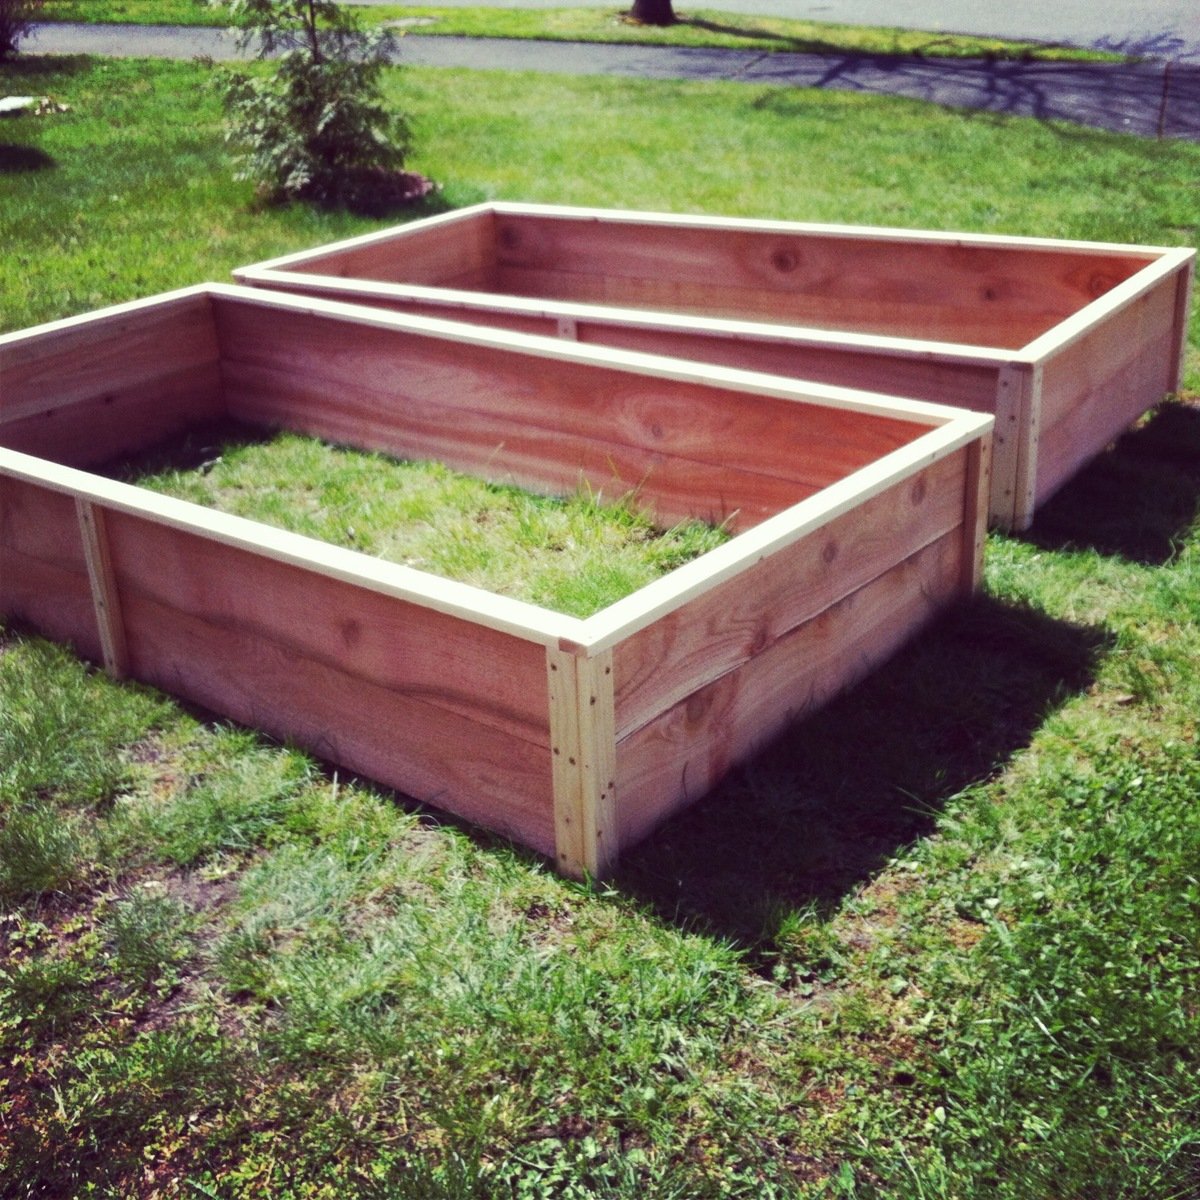
Made 4 of these garden boxes for the side of the house. I love how they turned out and it was easy to change the size of boxes just by changing the side lengths. I love the trim on the top. It makes them look so much more finished. Can't wait to fill them.

Estimated Time Investment
Day Project (6-9 Hours)
Finish Used
I didn't bother with the wood glue step but am sure they'll be fine. Also I couldn't find any 1" screws. But the 1.75" screws worked fine.
Recommended Skill Level
Beginner
Seasonal And Holiday

Toddler Captains Bed

Submitted by Anonymous (not verified) on Tue, 07/05/2016 - 19:36

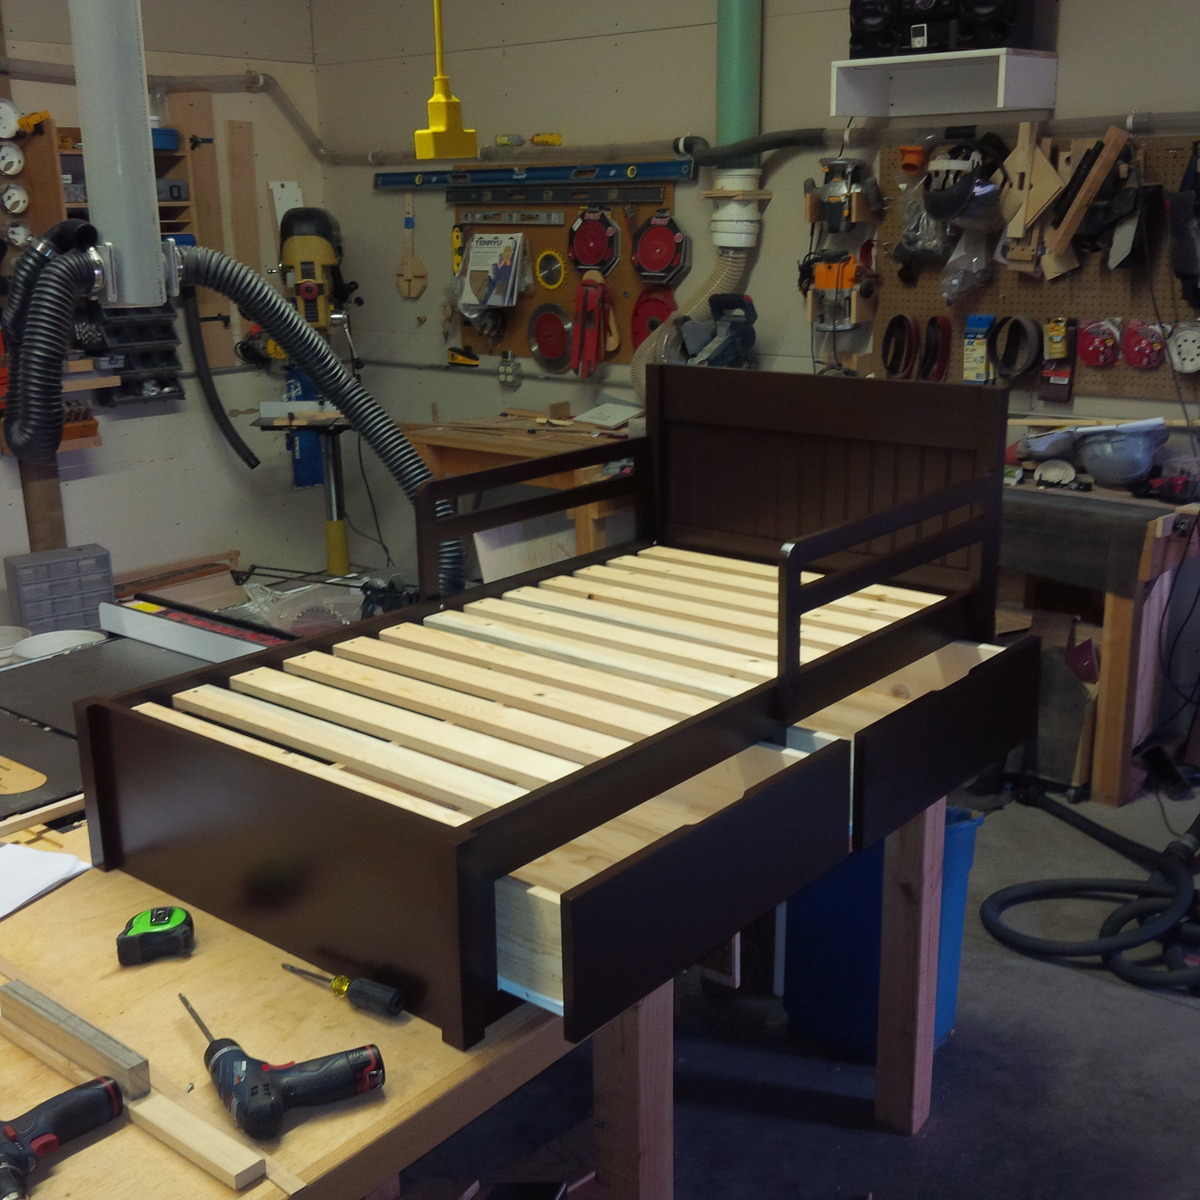
My wife wanted a dresser and a bed for our two year old foster daughter on her second birthday.  Since half the dresser drawers are not useful for a toddler I considered a Captain's Bed or Mate's bed but couldn't find one.  I modified the Traditional Wood Toddler Bed plan adding drawers underneath and painted it white.   My little girl loves it.   It turned out nice enough that my oldest daughter asked me to make another for my grandson since his convertible bed will be converted back to a crib with a new granddaughter on the way.  Her only request was to color it Espresso Brown.  I have included the picture.  Thank You for the ideas.   God Bless You and your faimily

Built from Plan(s)
Estimated Time Investment
Week Long Project (20 Hours or More)
Finish Used
Black Primer and Espresso Brown Paint
Recommended Skill Level
Beginner

Fairy doll house

Submitted by Anonymous (not verified) on Thu, 04/30/2020 - 13:44

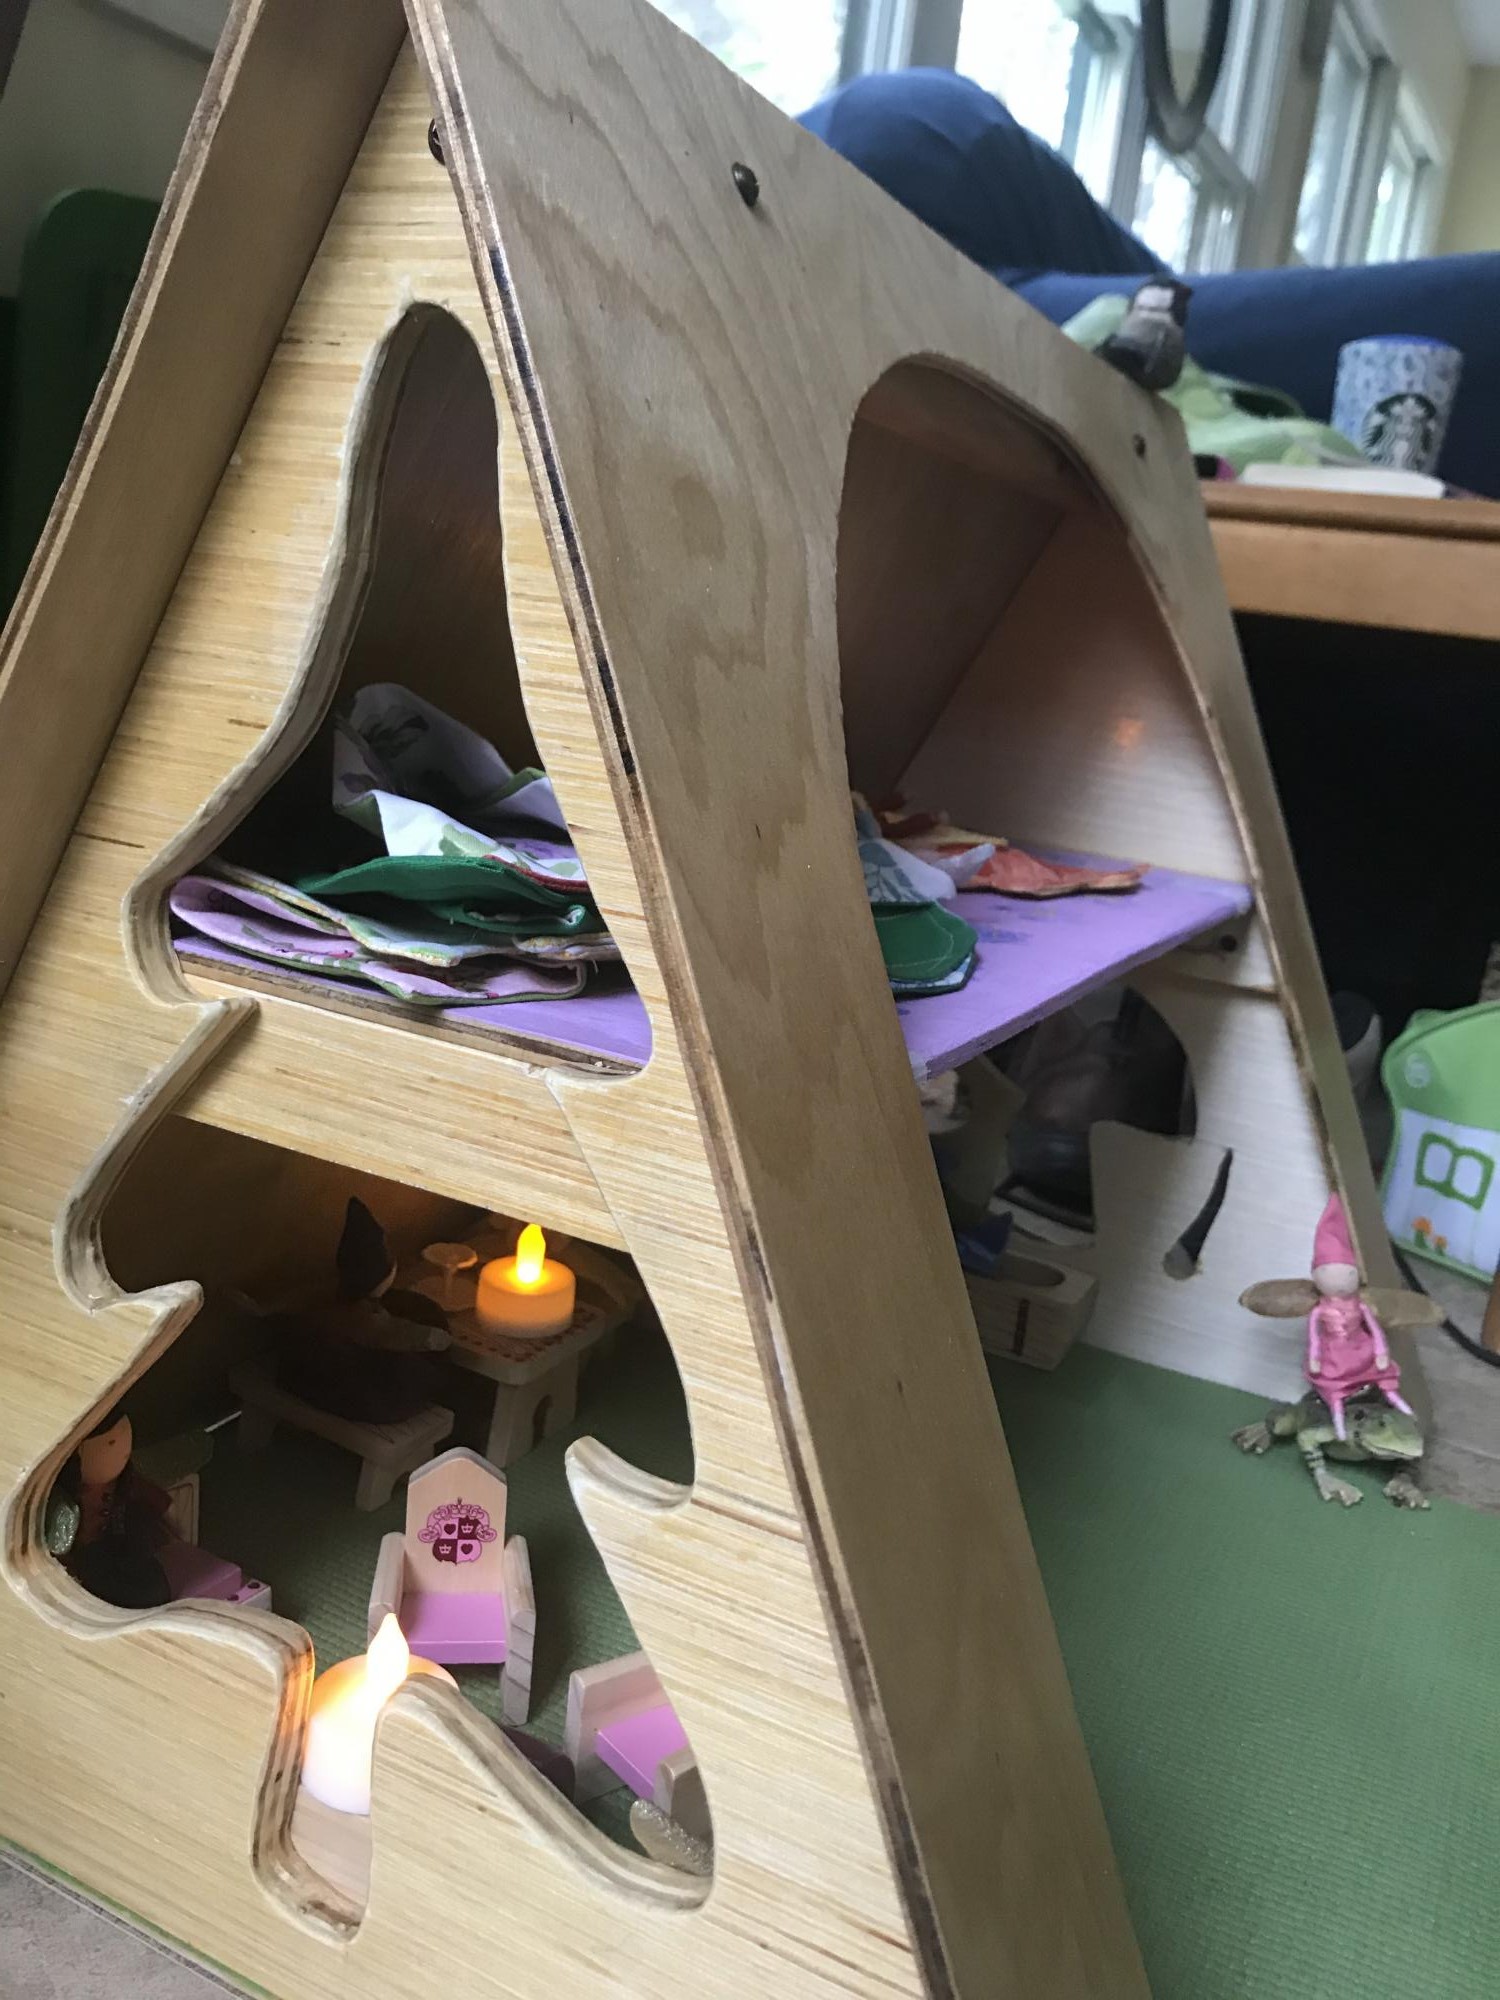
Used quarter and half inch ply. Used closet rod for main beam. Cutout for carry handle. Used Velcro to hold closed. First time. Only used jigsaw and drill

Built from Plan(s)
Estimated Cost
Found matls
Estimated Time Investment
Week Long Project (20 Hours or More)
Finish Used
Poly ur

The Kentwood Bed, Mario Style

Submitted by Sieryn on Mon, 06/18/2012 - 06:18

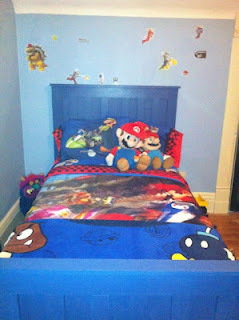
This one started out in a lovely whitewash...then Kids happened.

Very easy plan to put together, my little client loves it!

Built from Plan(s)
Estimated Cost
80
Estimated Time Investment
Weekend Project (10-20 Hours)
Finish Used
Whitewash...then paint.
Recommended Skill Level
Beginner

Comments

First project Nicest thing in my house

Submitted by chomuth on Fri, 04/11/2014 - 17:33

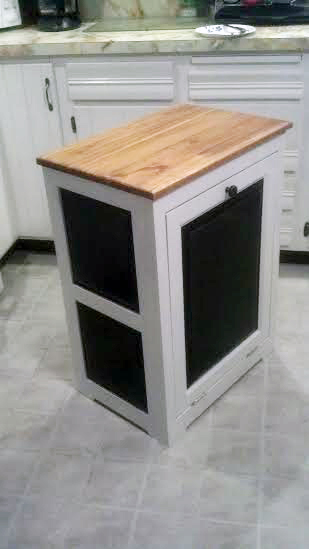
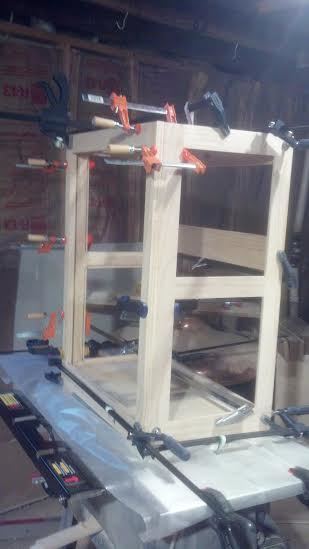
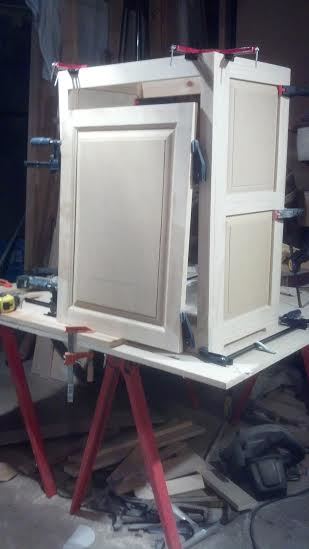
Well this is my first project and it took me a long time. I have to think way to long before I actually do something. I redrew the drawings to fit my garbage can but it still didn't fit.
Oh well, it was a good idea at the time.
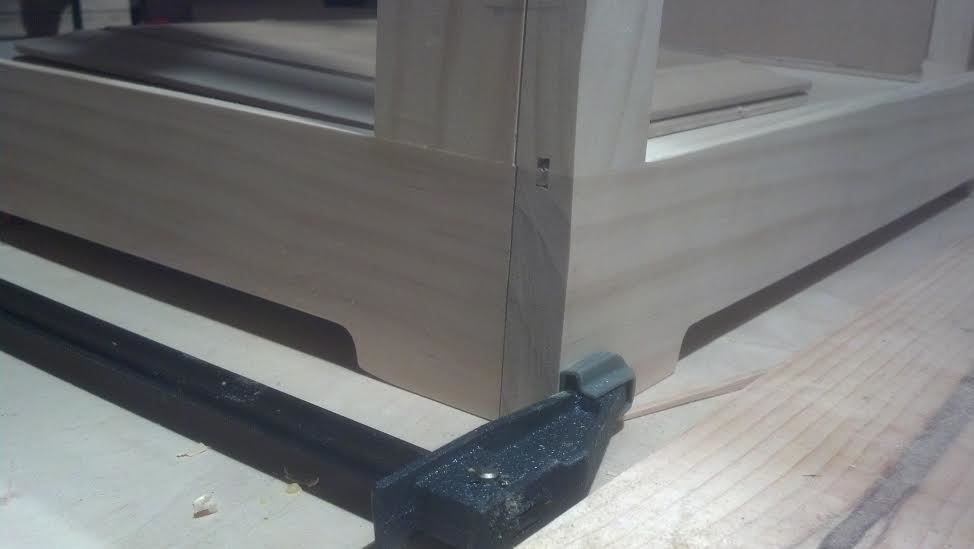
I used a biscuit joiner and glue to put everything together. For the door I used rail and stile bits. The panels are made of MDF, I used a bit made just for raised panel doors on the router table to make them, Oh by the way MDF makes a very big dusty mess, Please wear a mask it has to be really bad to breath.
I also added a slow close piece that is mainly used on kitchen cabinets, I just had to do that and it works very well.
Thanks Ana for such a helpful website

Chuck

Estimated Cost
$100 or so
Estimated Time Investment
Week Long Project (20 Hours or More)
Finish Used
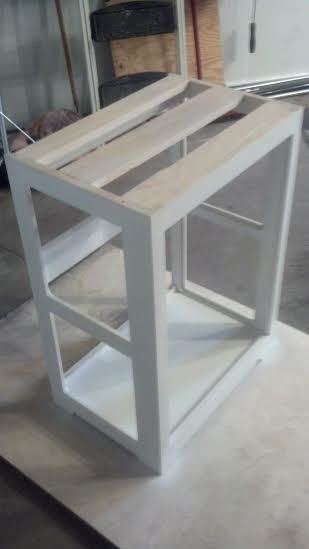
Primed and spray painted all the pieces. I also sanded between the coats of paint
Some pieces needed to be painted before assembly. The top is pine that was stained and varnished.
Spray painting in a basement really make the house smell bad, Ok Ok I am not always the smartest person.
Recommended Skill Level
Starter Project

Comments

JoanneS

Sat, 04/12/2014 - 07:01

You did a beautiful job on this! The finishing is lovely, and those raised panels are impressive!

chomuth

Thu, 04/17/2014 - 15:51

Thank You JoanneS
I am on my next project now. I need a place to hang my coats and not see all of the shoes, lost almost everything in a divorce including almost all my tools.
LOL
A small price to pay for serenity.

Smaller modern farm table

Submitted by Anonymous (not verified) on Fri, 07/08/2016 - 19:36

smaller version of modern farm table at counter height

Built from Plan(s)
Estimated Time Investment
Afternoon Project (3-6 Hours)
Finish Used
Minwax classic gray
Minwax Jacobean
White latex paint dry brush
Recommended Skill Level
Beginner

Barn door bookcase

Submitted by Kristi88 on Mon, 05/04/2020 - 15:20

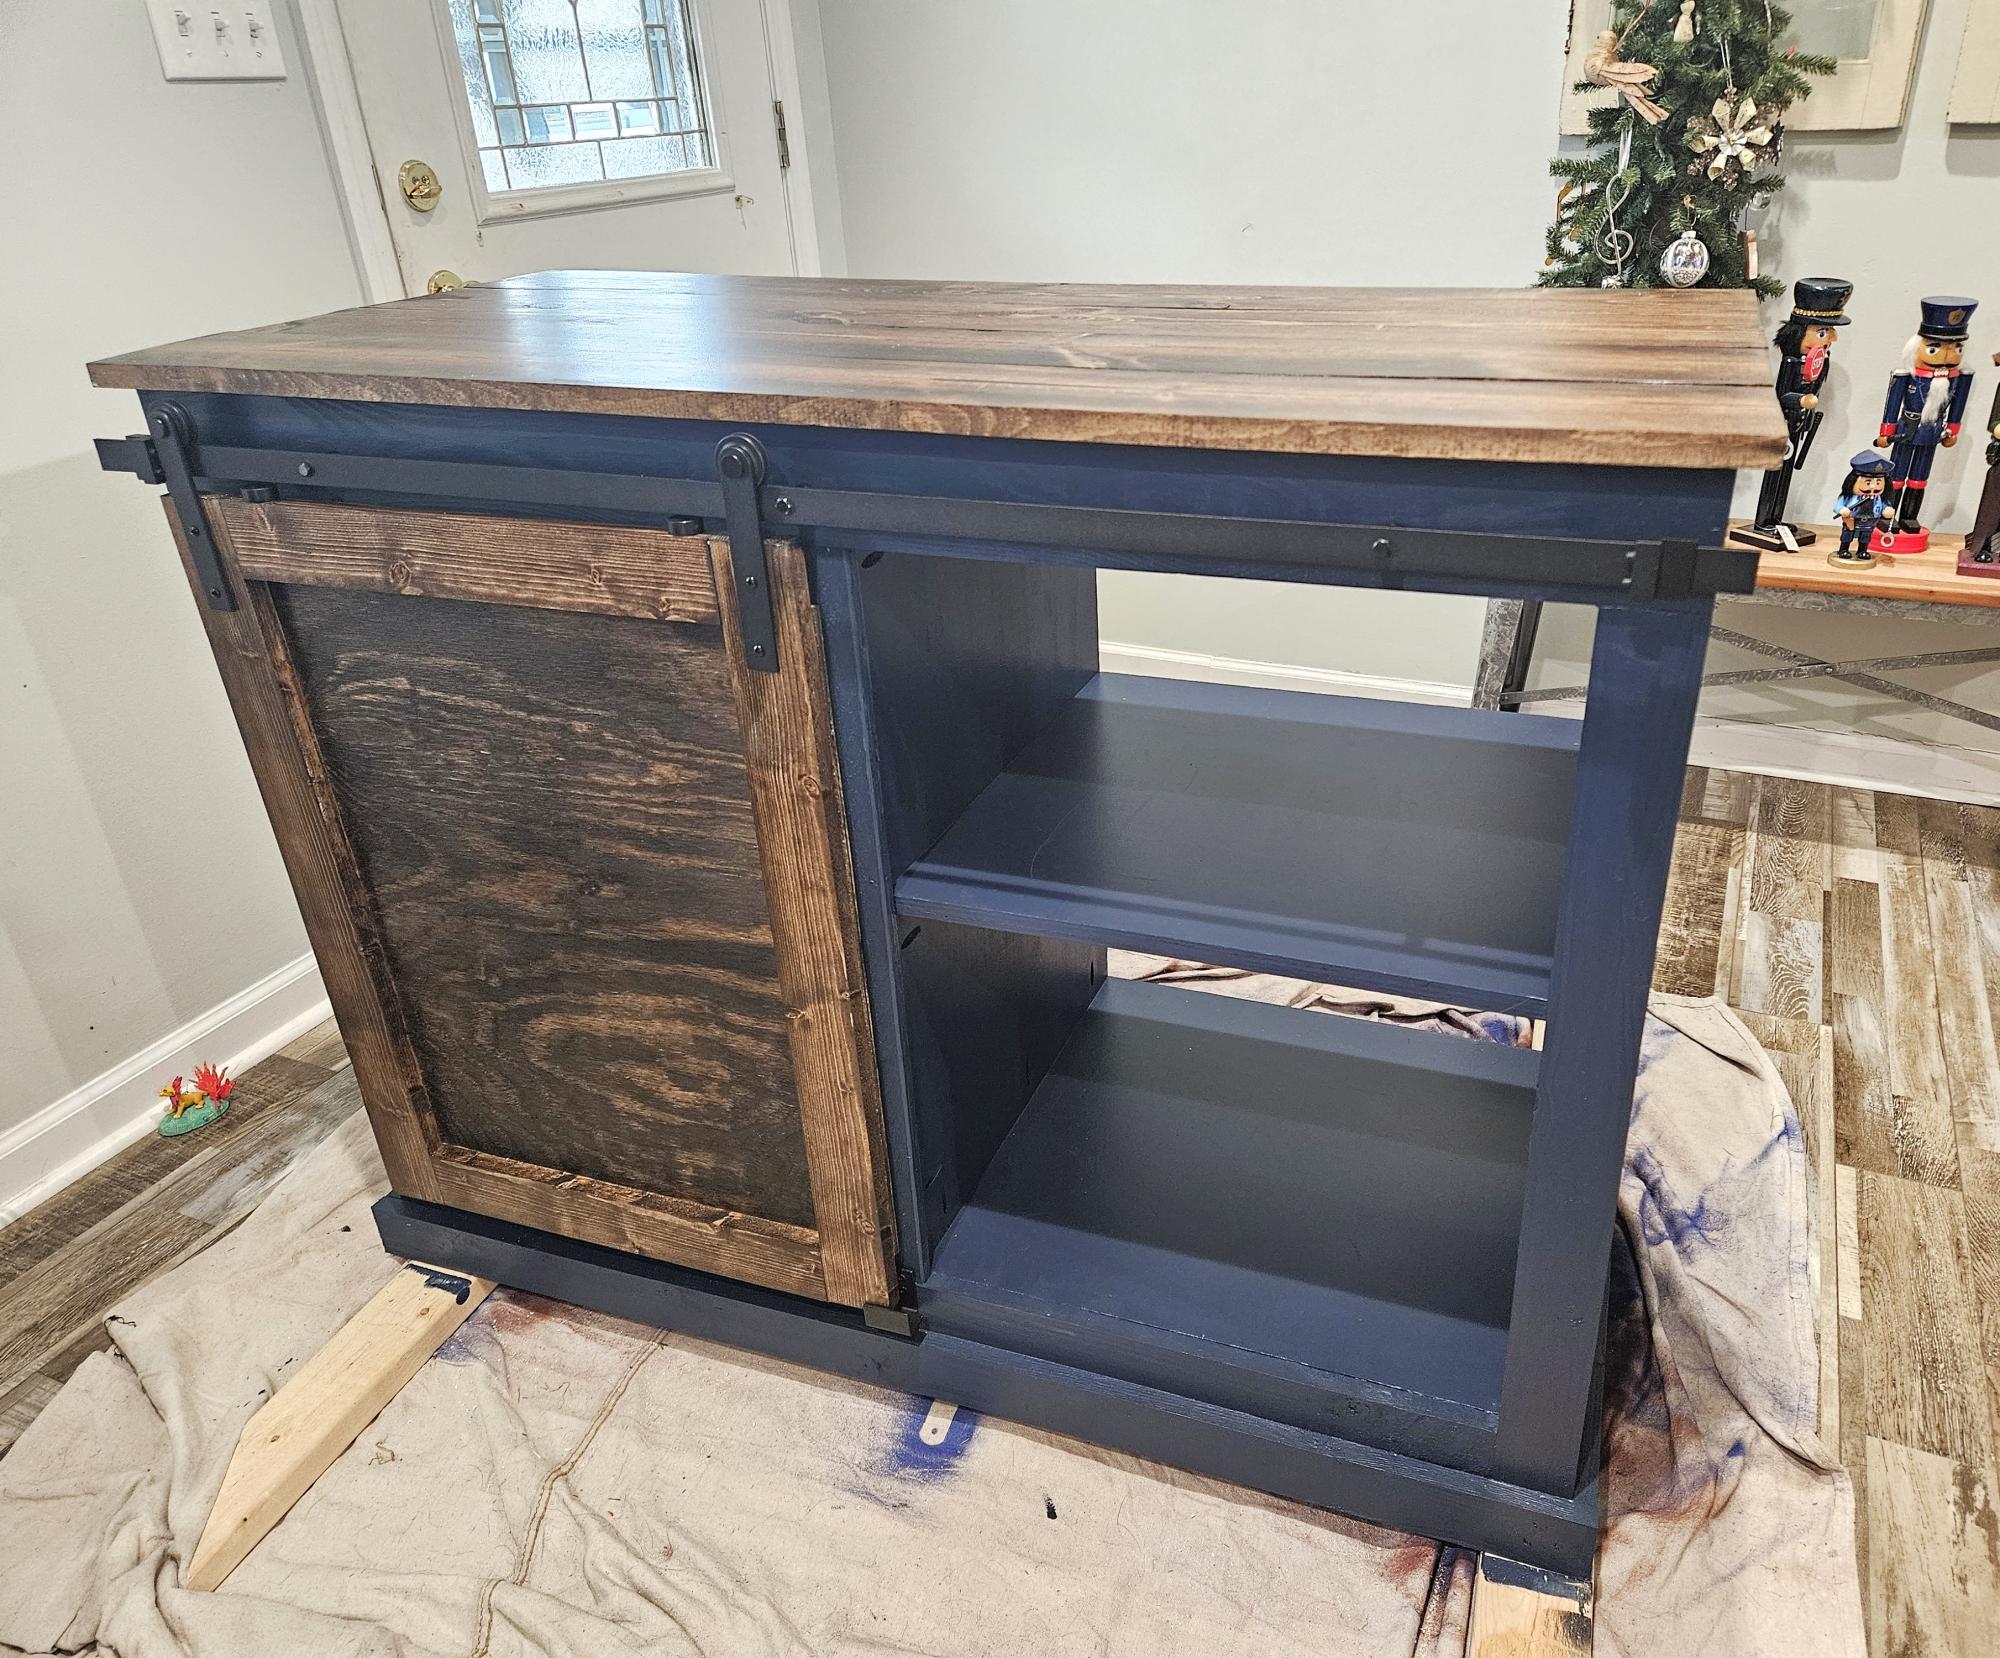
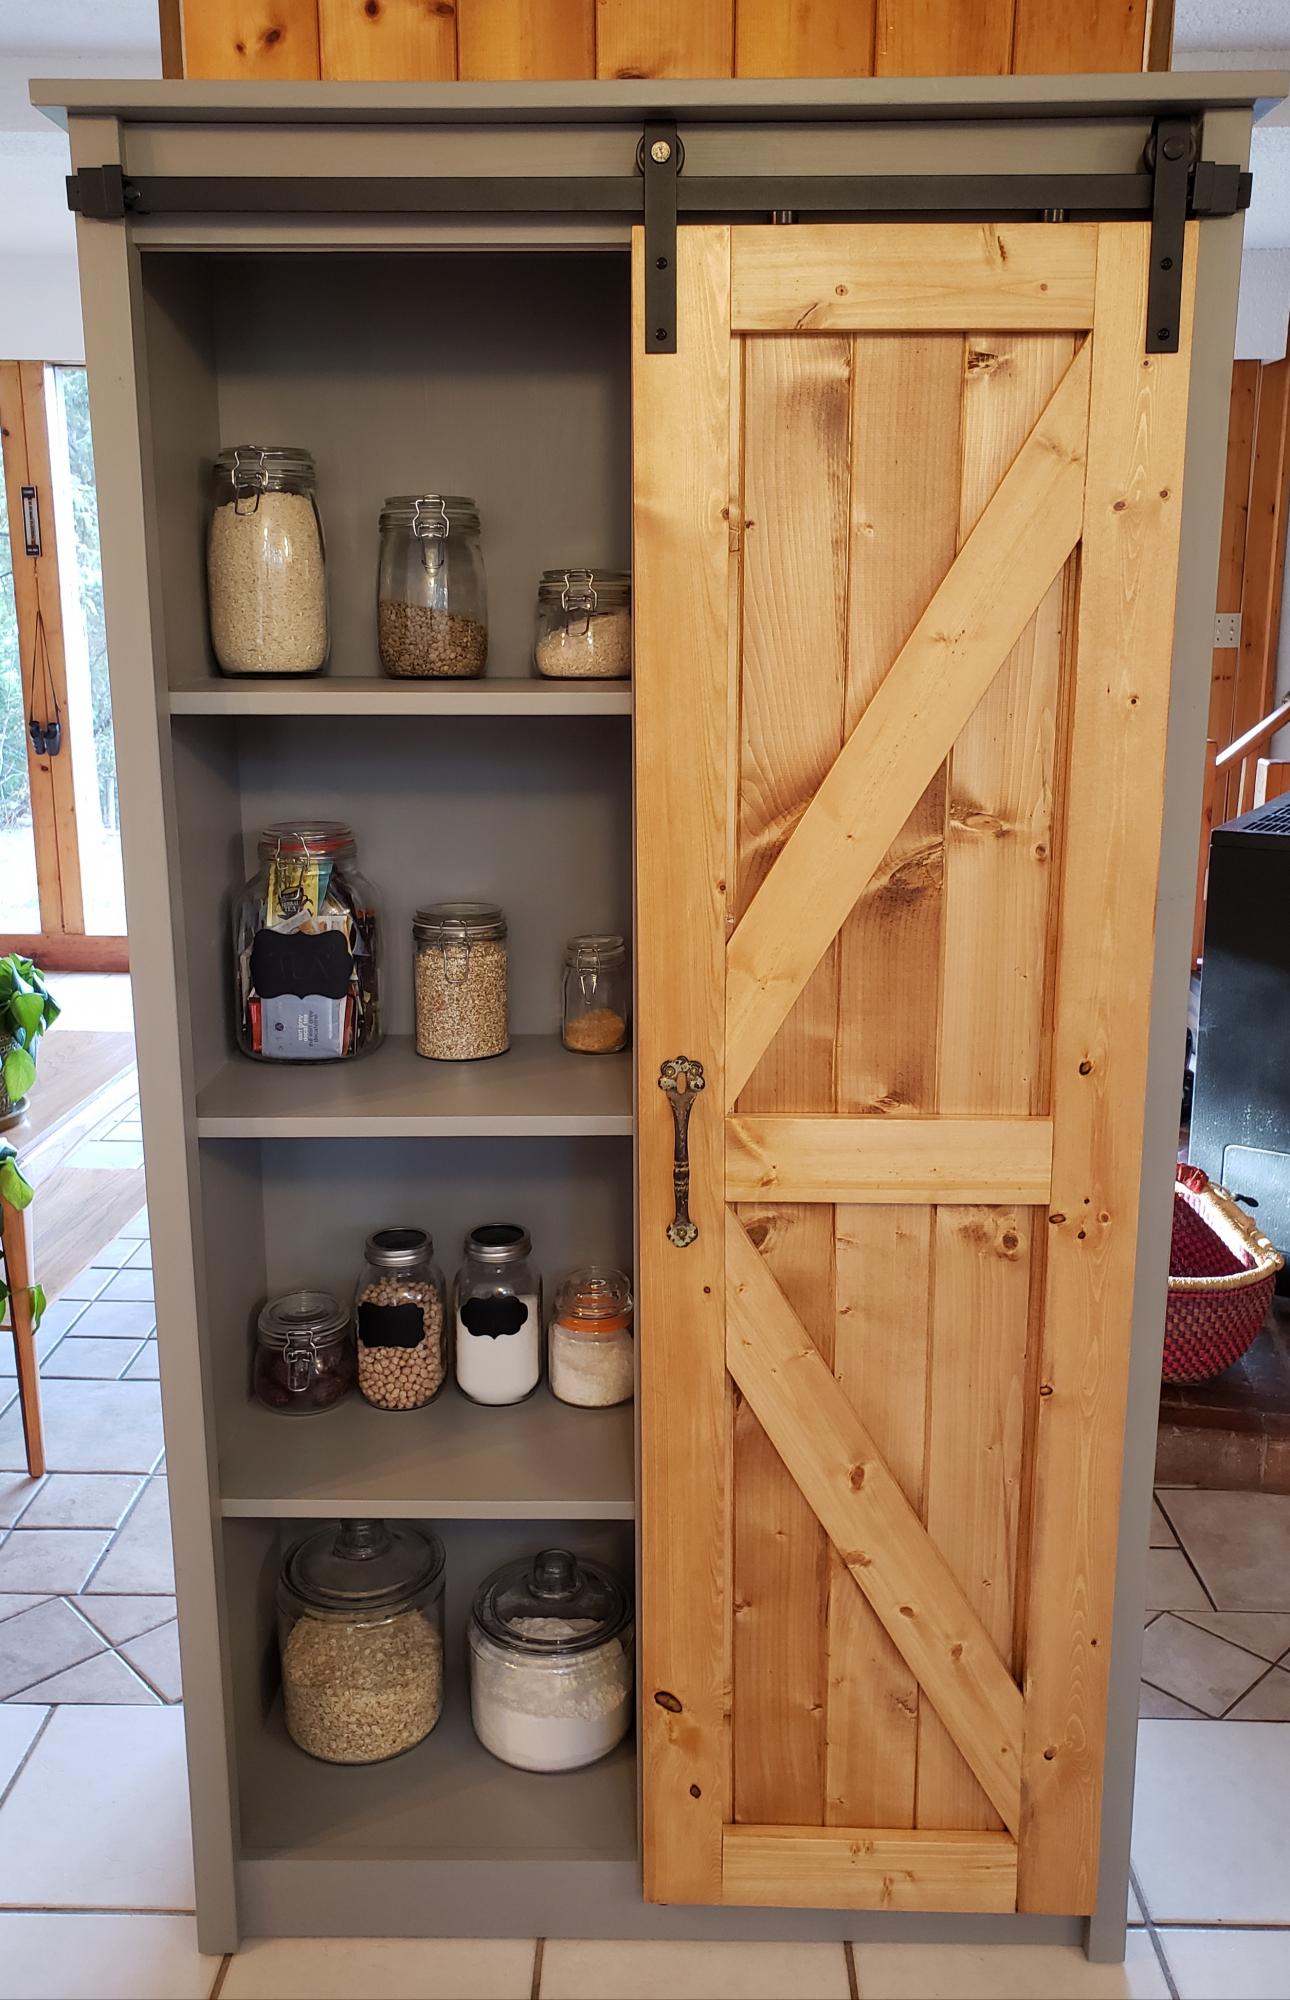
This is my second project and I am really happy with how it turned out! I needed more storage in my kitchen but I only had a 3 foot wide wall to put this up against, so I altered the plans to 5 feet 7 inches tall by 3 feet wide. The handle is an antique from my great great grandmother and dates back to the 1800s. I think it adds some character to the piece.
Thank you for the plans Ana! I can't wait to start my next project!

Built from Plan(s)
Estimated Cost
450 CAD
Estimated Time Investment
Week Long Project (20 Hours or More)
Finish Used
Rustoleum chalk paint in aged grey for the unit and Ipswich by varathane for the door.
Recommended Skill Level
Intermediate

Comments

acantiello

Fri, 05/15/2020 - 08:31

This looks so beautiful! Similar to you, I have a 3 foot wide wall to place this against. As a beginner here, and my head hurting when I do try to adjust the measurements... Would you happen to still have the measurements that you utilized?

Simple Outdoor Lounge Chair - Beefed Up

Submitted by Radcrafter on Sun, 06/24/2012 - 10:55

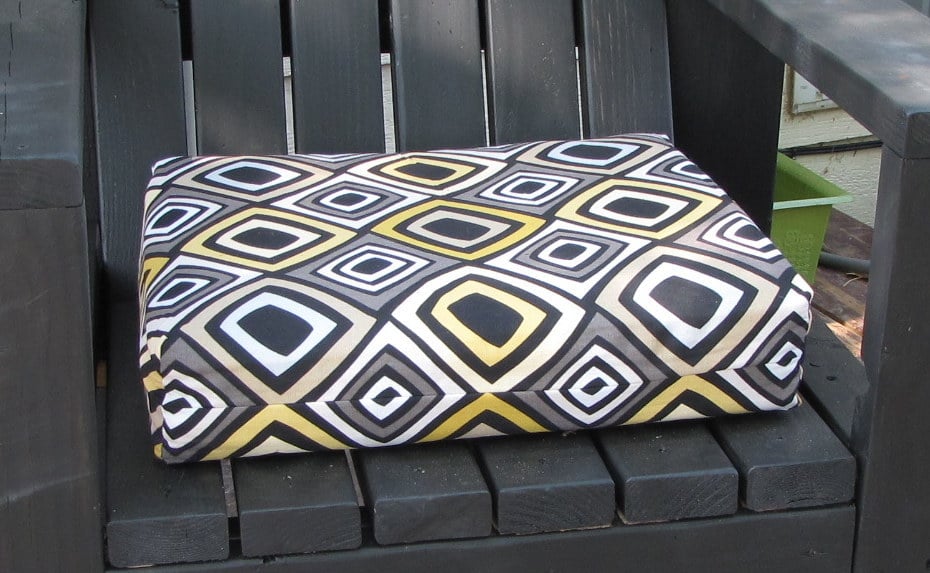
Loved building this chair. Super simple to put together and very sturdy once everything came together.

I modified it to create a larger and taller chair, using 2x6 and 2x4 lumber. Because of this change I felt like my math challenged brain was completing some sort of quiz, but to keep things simple I cut the pieces step by step recalculating lengths as I went.

I marked up the plan as I went, so if anyone is interested just let me know & I'll add the changes.

http://radcrafter.com/2012/06/simple-outdoor-chair-beefed-up/

Built from Plan(s)
Estimated Cost
$20-30
Estimated Time Investment
Afternoon Project (3-6 Hours)
Finish Used
outdoor stain in solid slate
Recommended Skill Level
Beginner

Comments

spiceylg

Sun, 06/24/2012 - 18:18

I thought it looked beefier and I prefer that look. I'm curious, what size cushion is that?

J (not verified)

Sun, 08/19/2012 - 08:29

I would love to see your changes and build the beefier version! Please share!

Tammyctr

Thu, 07/26/2018 - 07:05

I have a large (400+) family member who I need to make chairs for.  This plan looks perfect (even though I will have to probably adjust width and add additional support)  Can you please send me your plans?

Slat Bench

Cost: $45
Made this bench smaller than the plan so it measures 48" X 18". Using it in a spare bedroom so it will eventually get stained to match the wood furniture.

Estimated Cost
45
Estimated Time Investment
Afternoon Project (3-6 Hours)
Finish Used
Haven't stained the wood, can't decide on a color.
Recommended Skill Level
Starter Project

Comments

Rapturee

Mon, 12/04/2017 - 09:17

That was my idea as well, to shorten it. My wife just asked me if we could part with a few chairs on the back side of our dining room table and if i would make a bench or two across the back wall. Well "of course" i said hahah!!  Nice job on yours!!   :{)

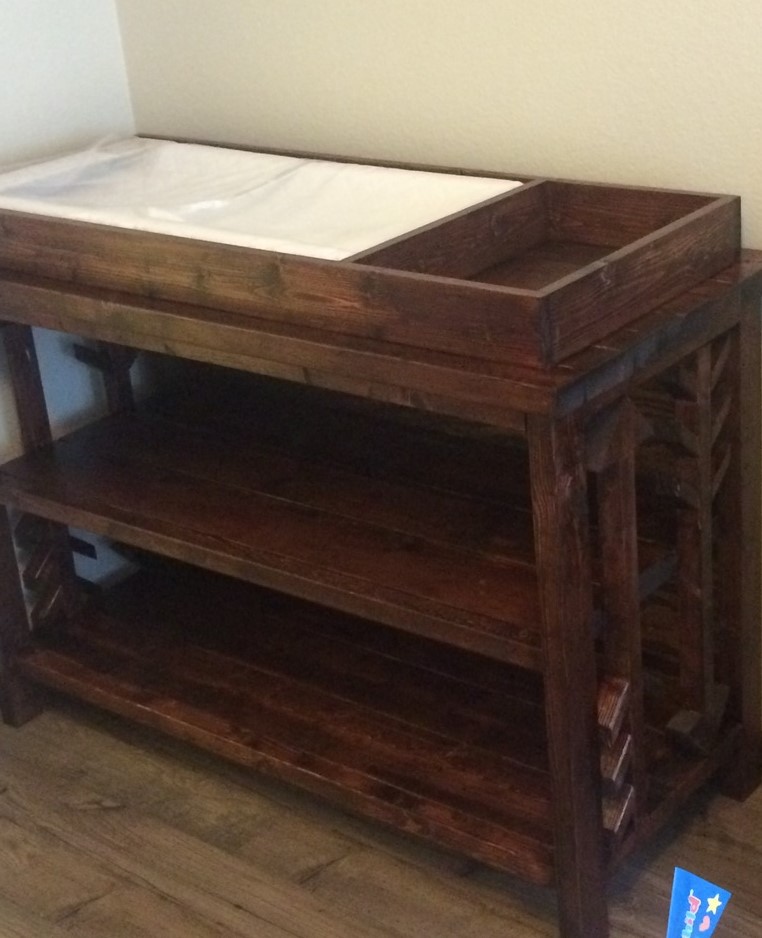
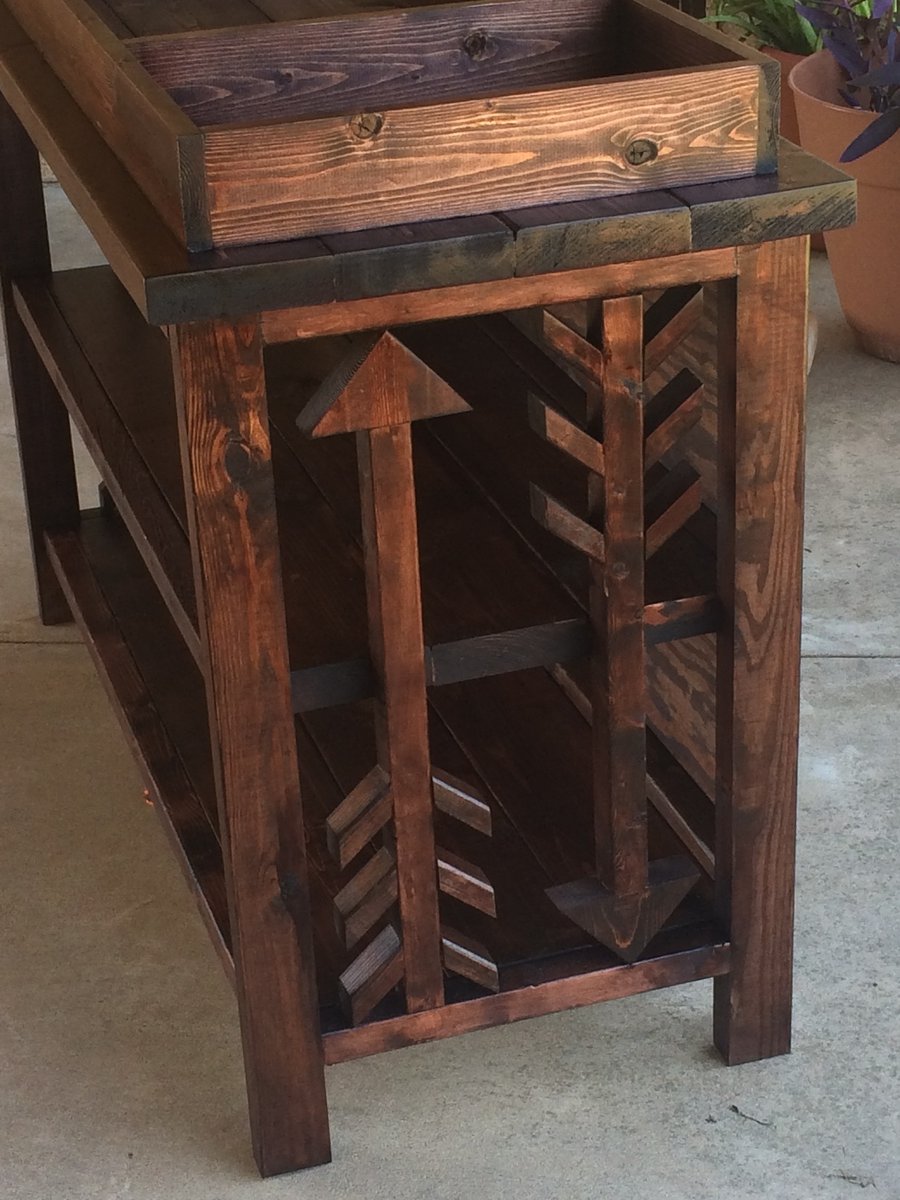
Changing table

Submitted by Anonymous (not verified) on Mon, 07/11/2016 - 20:25

Modified with arrows to go along with theme for baby room

Estimated Cost
50.00
Estimated Time Investment
Weekend Project (10-20 Hours)
Finish Used
Red mahogany with polyurethane semi gloss finish
Recommended Skill Level
Beginner

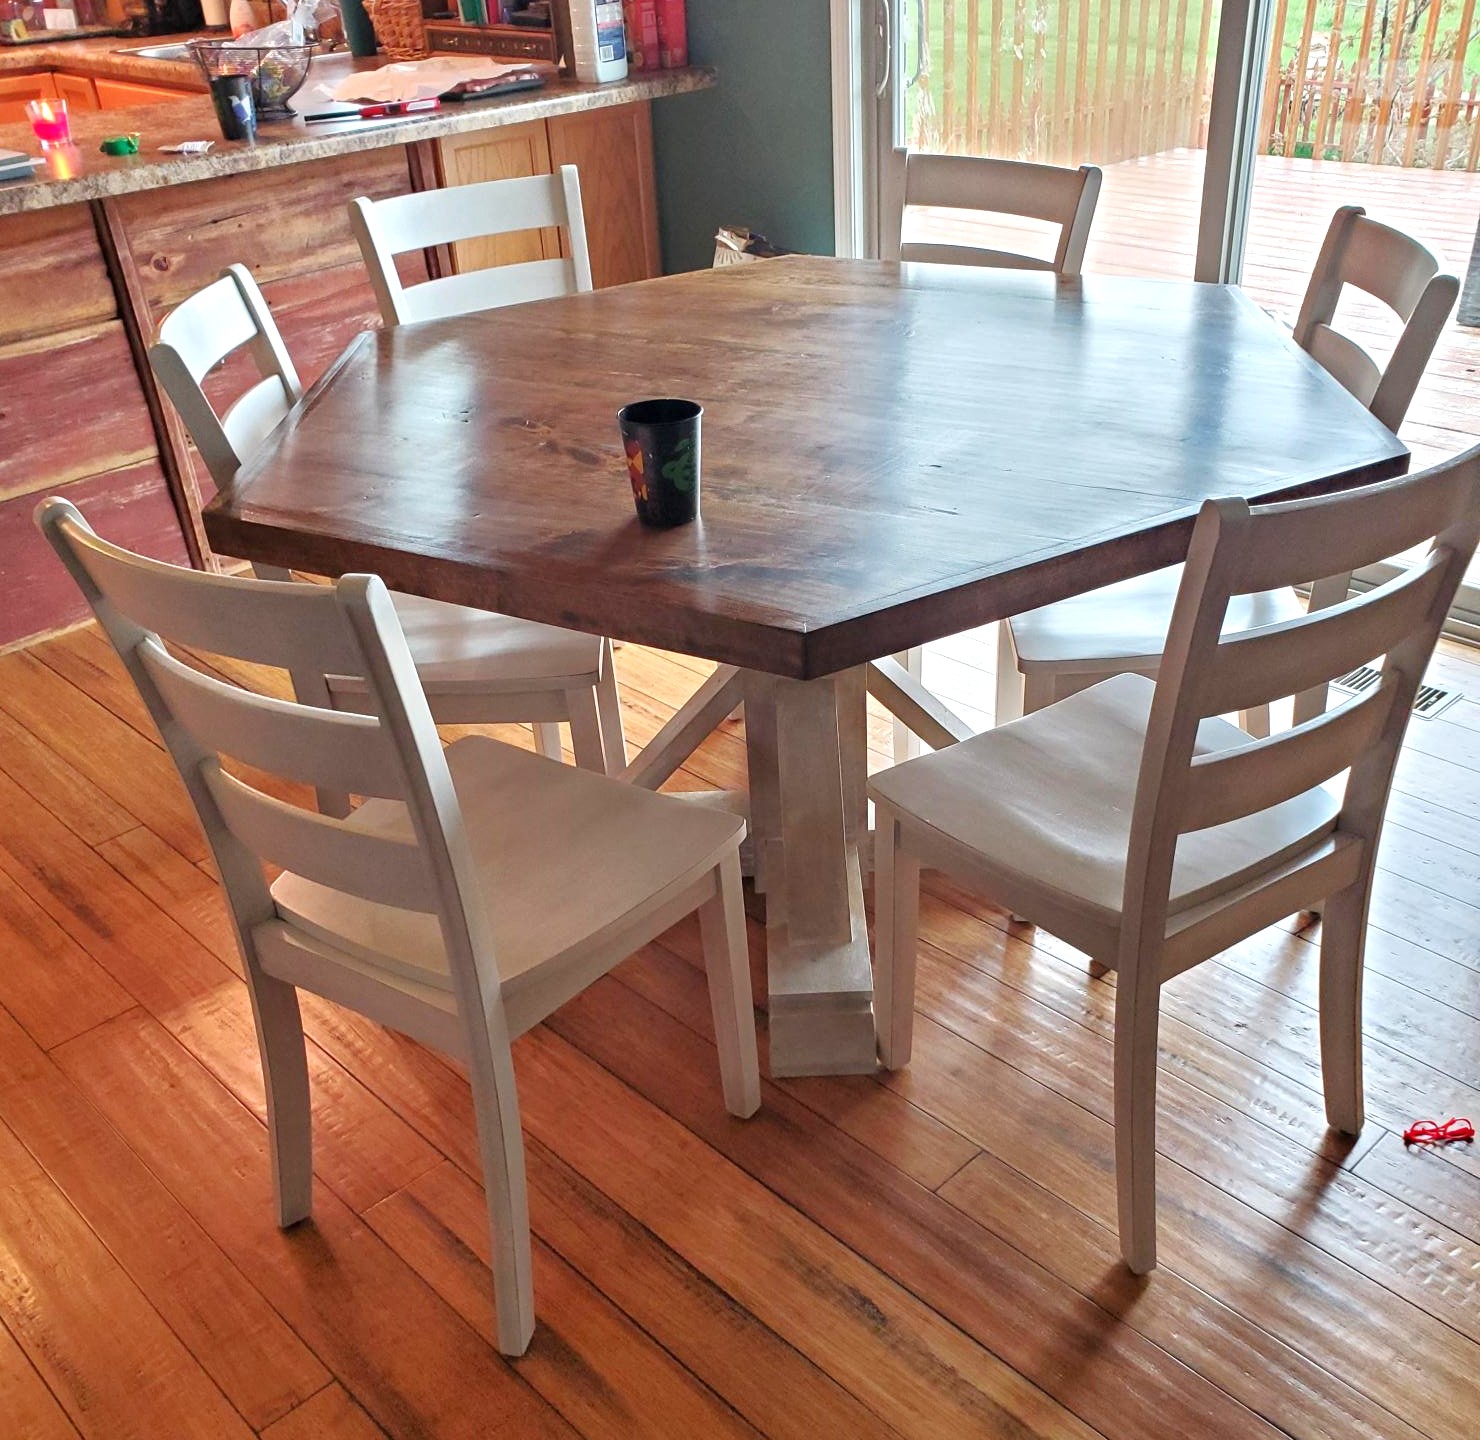
Cherry top dining table

Dad and I milled out a cherry tree 3 years ago. After drying out it was time to build. Google dining room tables for a design and found Ana's site. Found an octagon shaped table and changed to a hexagon. Great plans and had so much fun building.

Estimated Cost
$100
Estimated Time Investment
Week Long Project (20 Hours or More)
Finish Used
minwax (honey) varathane (poly) rust-oleum chalk paint for base
Recommended Skill Level
Beginner

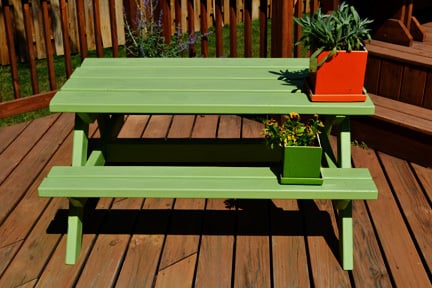
Big Kids' Picnic Table

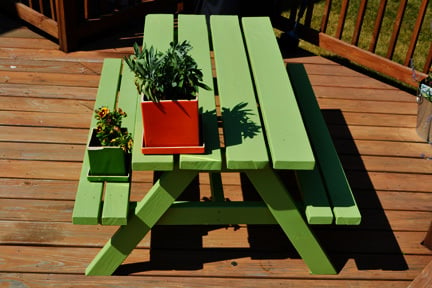
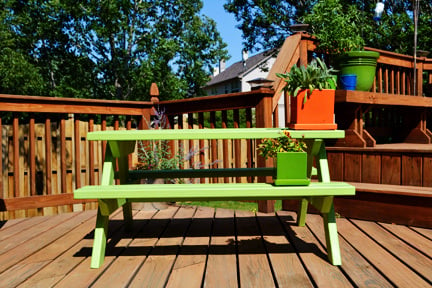
This ended up being a very easy project to complete; Ana's instructions were very straightforward. I probably spent four hours altogether on the project, although that was spread over the course of several days. We had several 2x4s left over from other projects, and I was able to use a quart of exterior Behr Premium Plus Ultra (with primer included) that didn't get used for its intended project. So altogether, we spent about $20. You can't even buy a plastic kids' picnic table for that price! As for advice, I found that the best way to avoid wobbling was to firmly attach three of the legs while leaving the fourth leg somewhat lose. Upon flipping the table, you should be able to move that fourth leg into a place that prevents wobbles before firmly screwing it in as well. I painted all the boards before assembling the table, and I feel like that is the best approach, as the space in between boards is slim.

Built from Plan(s)
Estimated Cost
$20
Estimated Time Investment
Afternoon Project (3-6 Hours)
Finish Used
Behr Premium Plus Ultra, exterior, custom color
Recommended Skill Level
Intermediate

DIY Patio Table & Bench

Submitted by madore07 on Wed, 04/16/2014 - 18:47

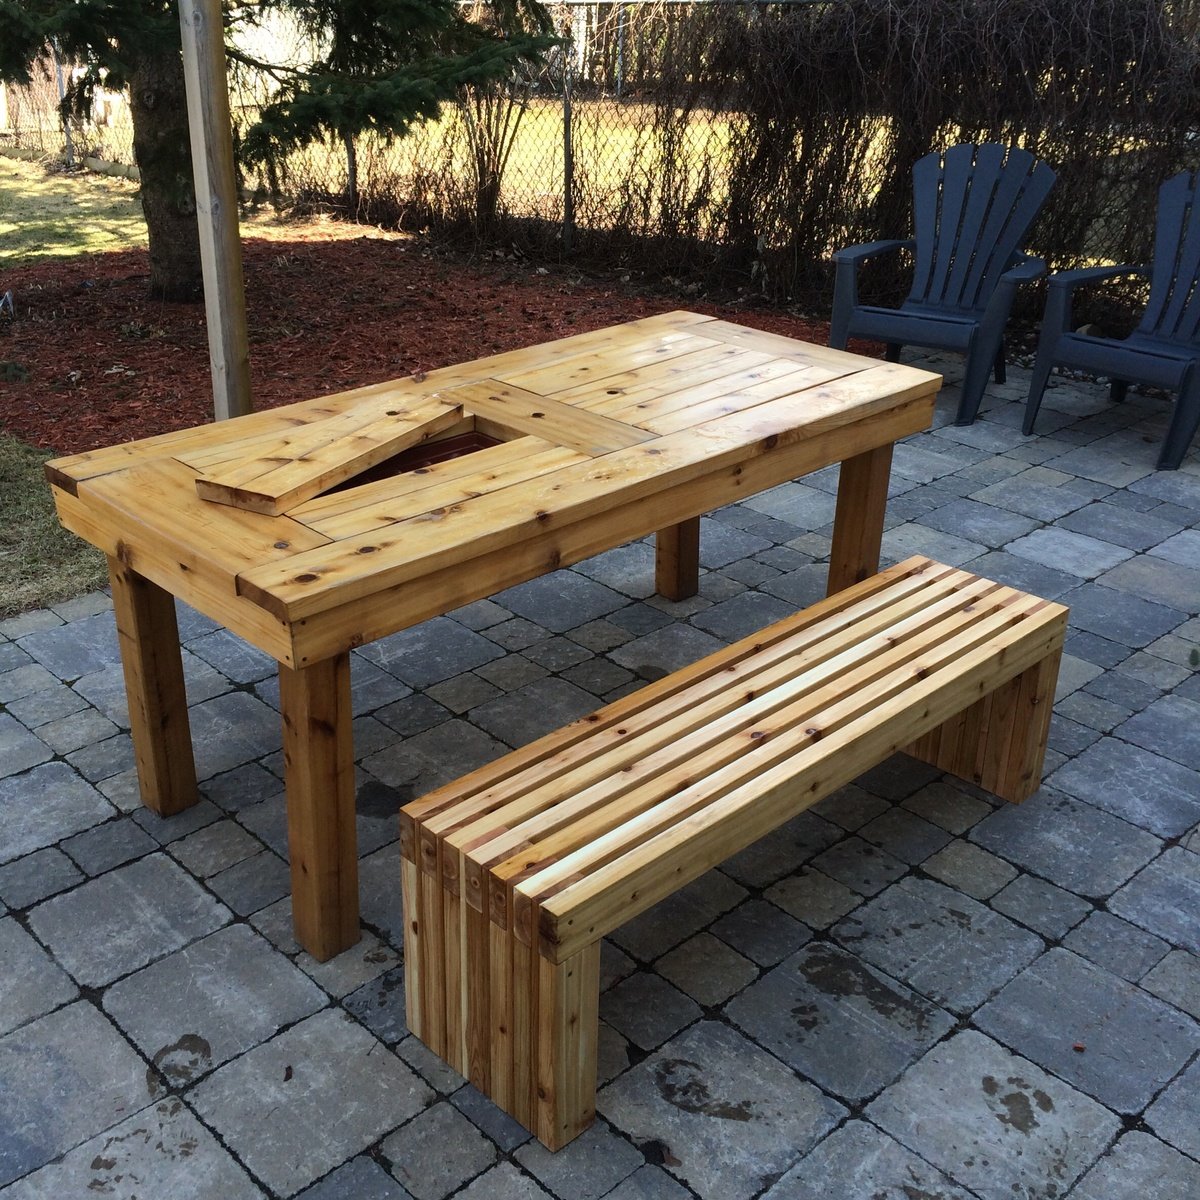
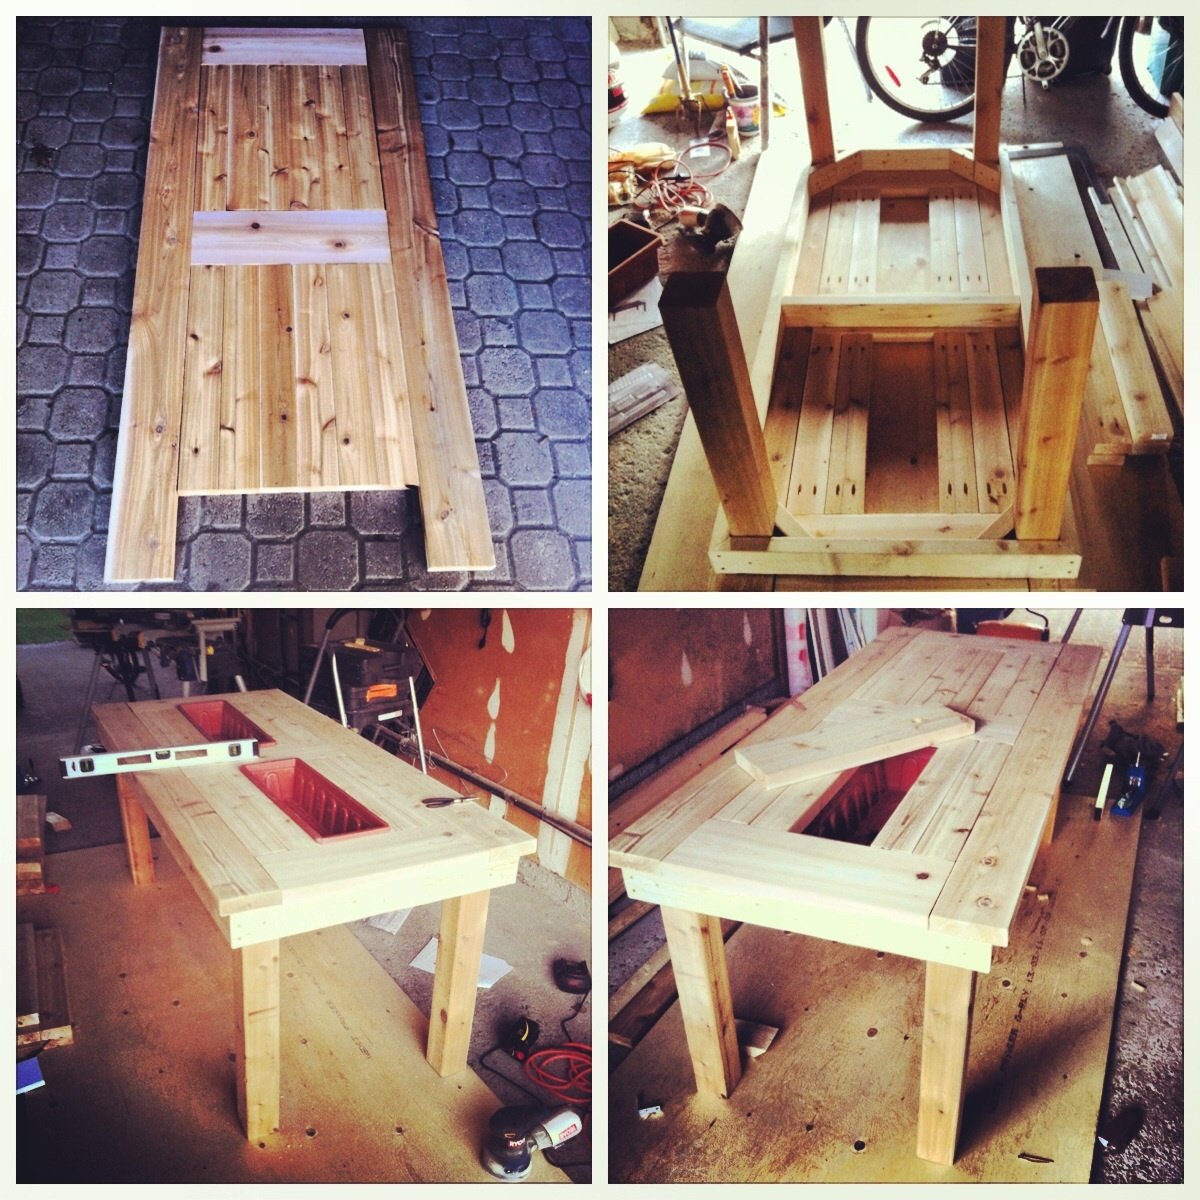
Great projects for any beginner. Make sure you're working on a level surface for the table. I purchased simple planter boxes from a local hardware store, and worked around those. For the bench, my only suggestion is to verify you are square at each step- other than that it's pretty straightforward.

Estimated Cost
350
Estimated Time Investment
Weekend Project (10-20 Hours)
Finish Used
Teak Oil
Recommended Skill Level
Beginner

Built the Console Table - Wife Loved it!

Submitted by Anonymous (not verified) on Fri, 07/15/2016 - 00:13

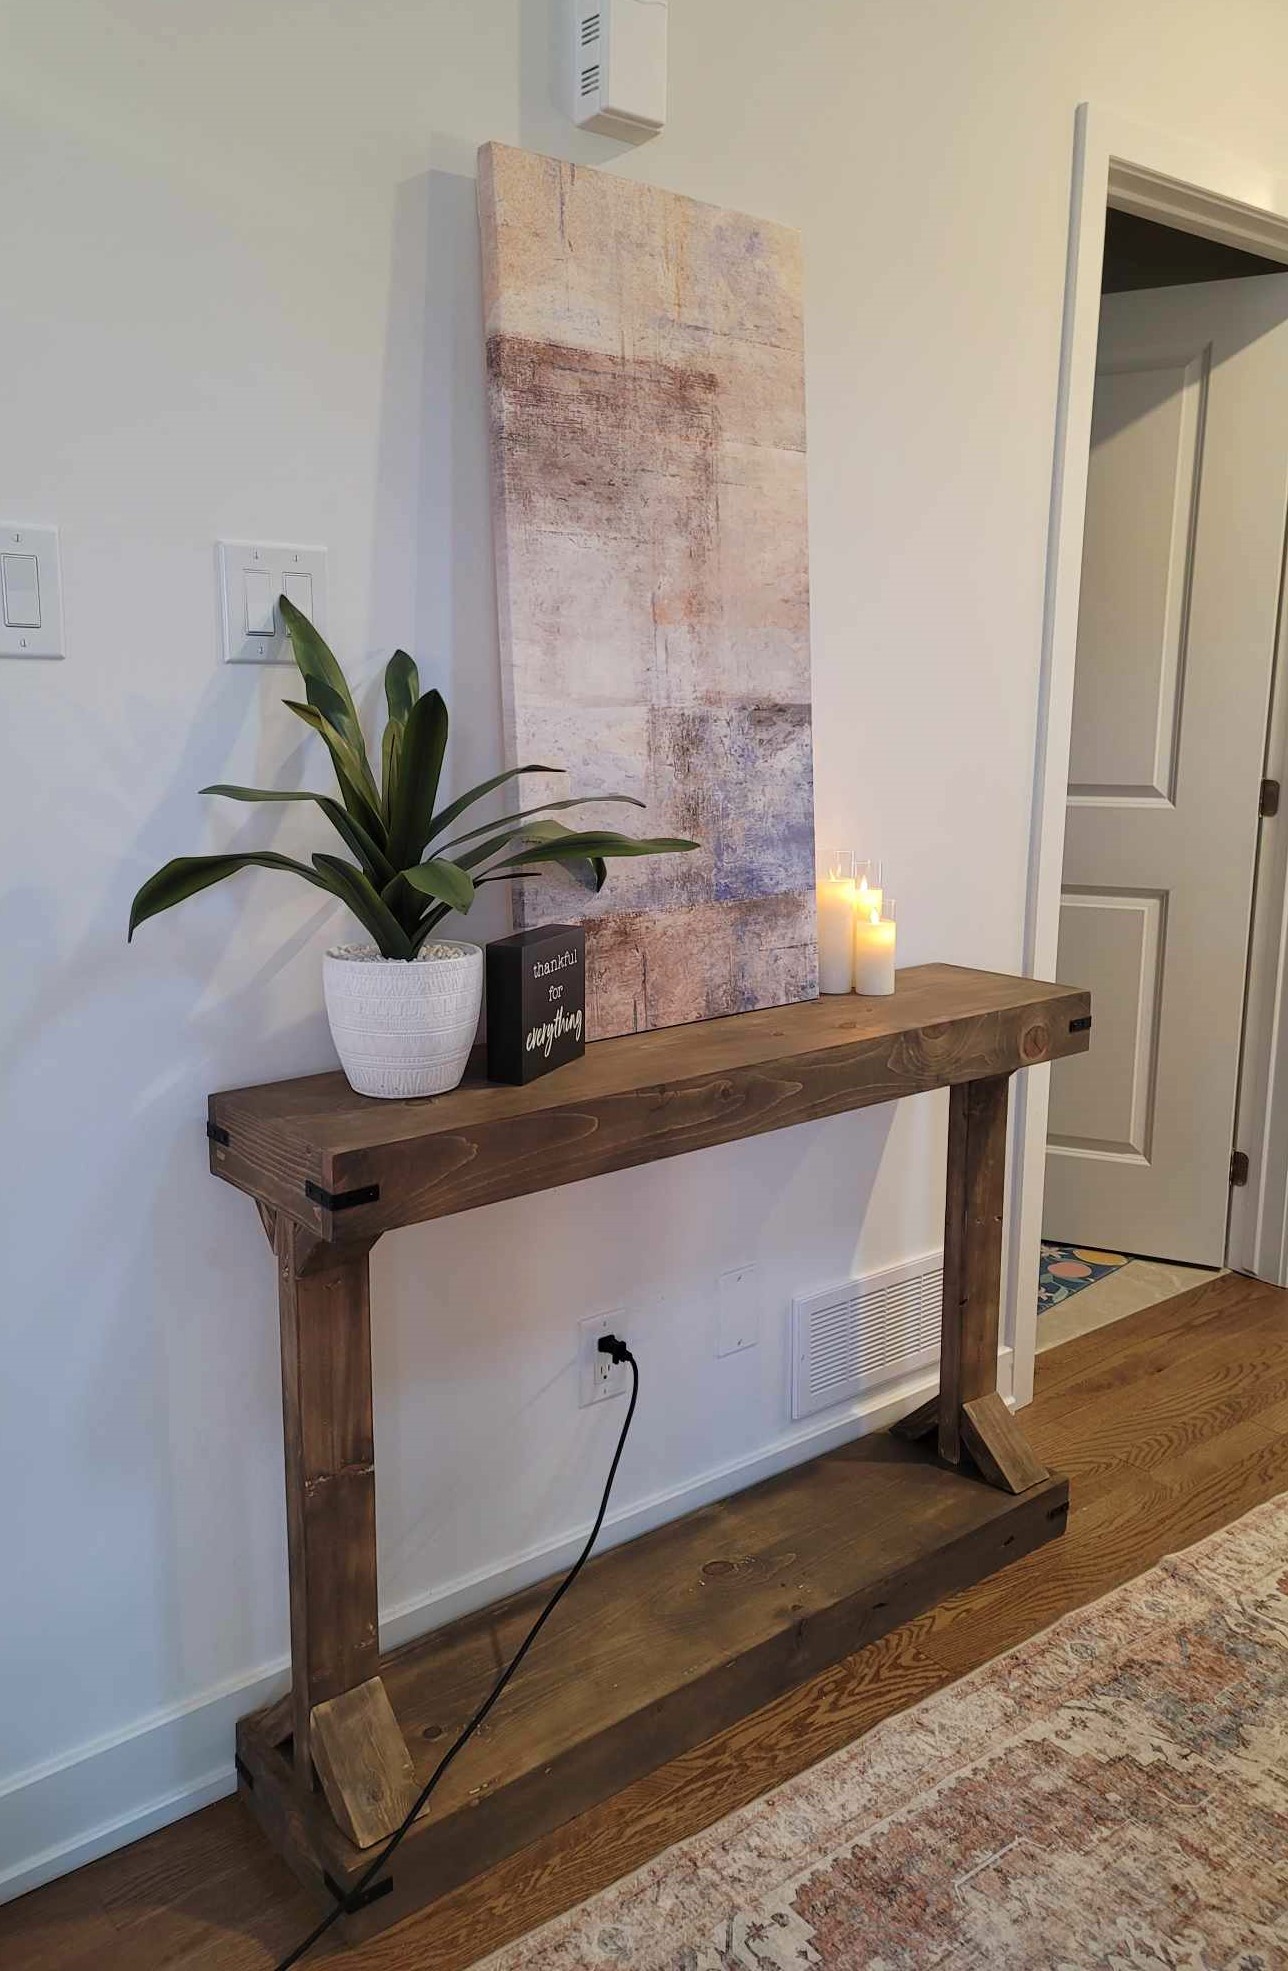
Had to try to build the Patrick Rustic Sofa Table and though it was my first time trying something like this, it looked very do-able.  Modified to 60" instead of the original length.

Estimated Cost
$70.00
Estimated Time Investment
Weekend Project (10-20 Hours)
Finish Used
3 coats of Paint and Wax to seal
Recommended Skill Level
Beginner

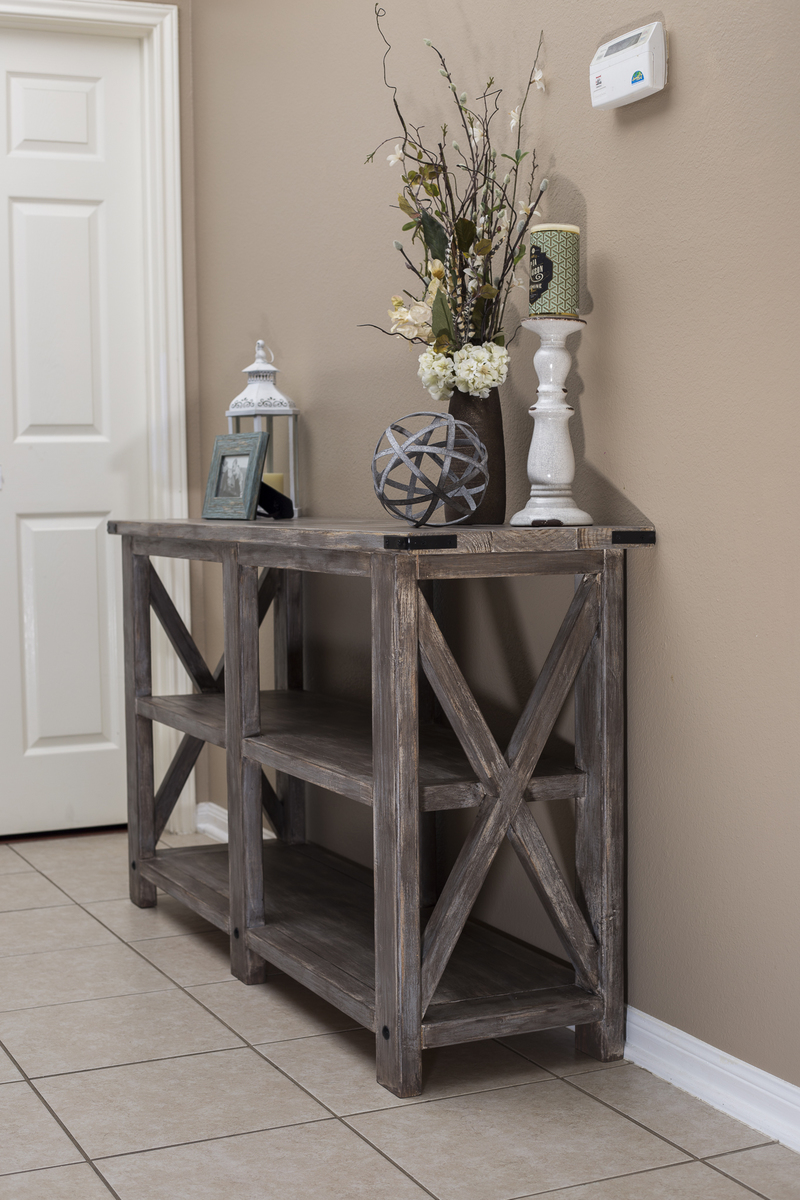
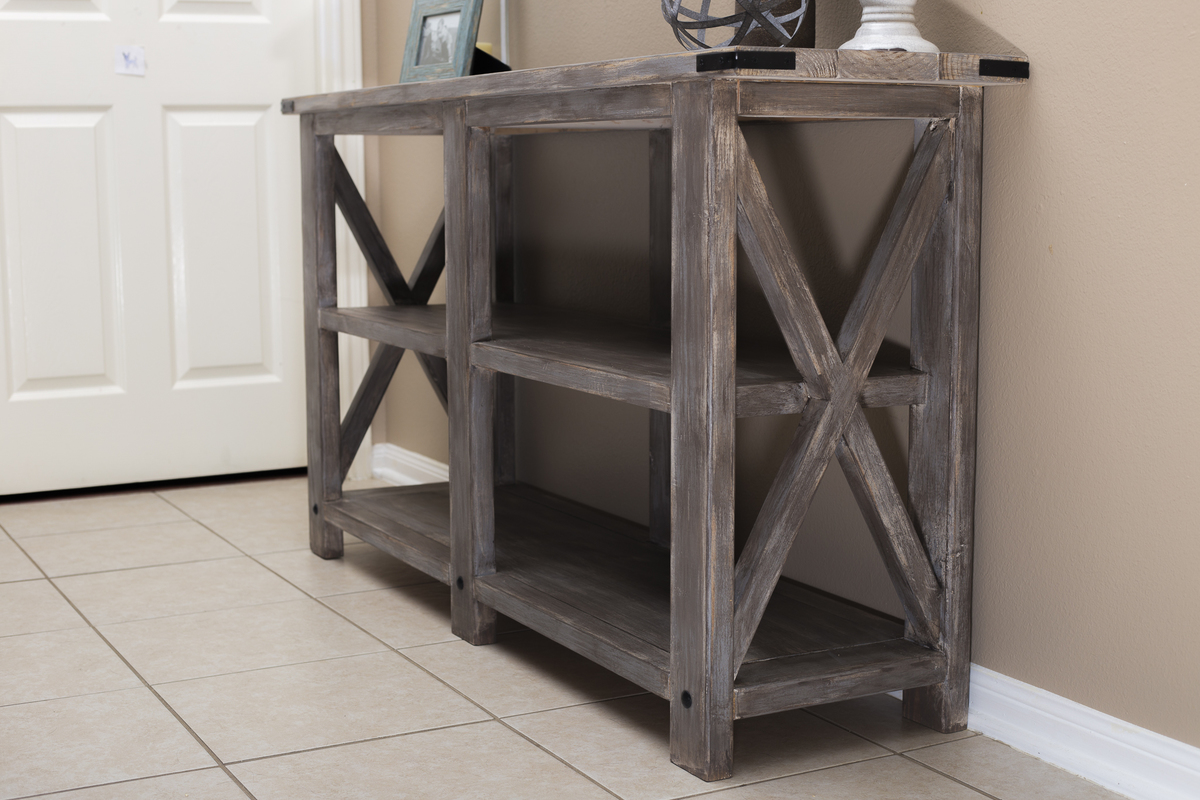
Rustic X Farmhouse Console

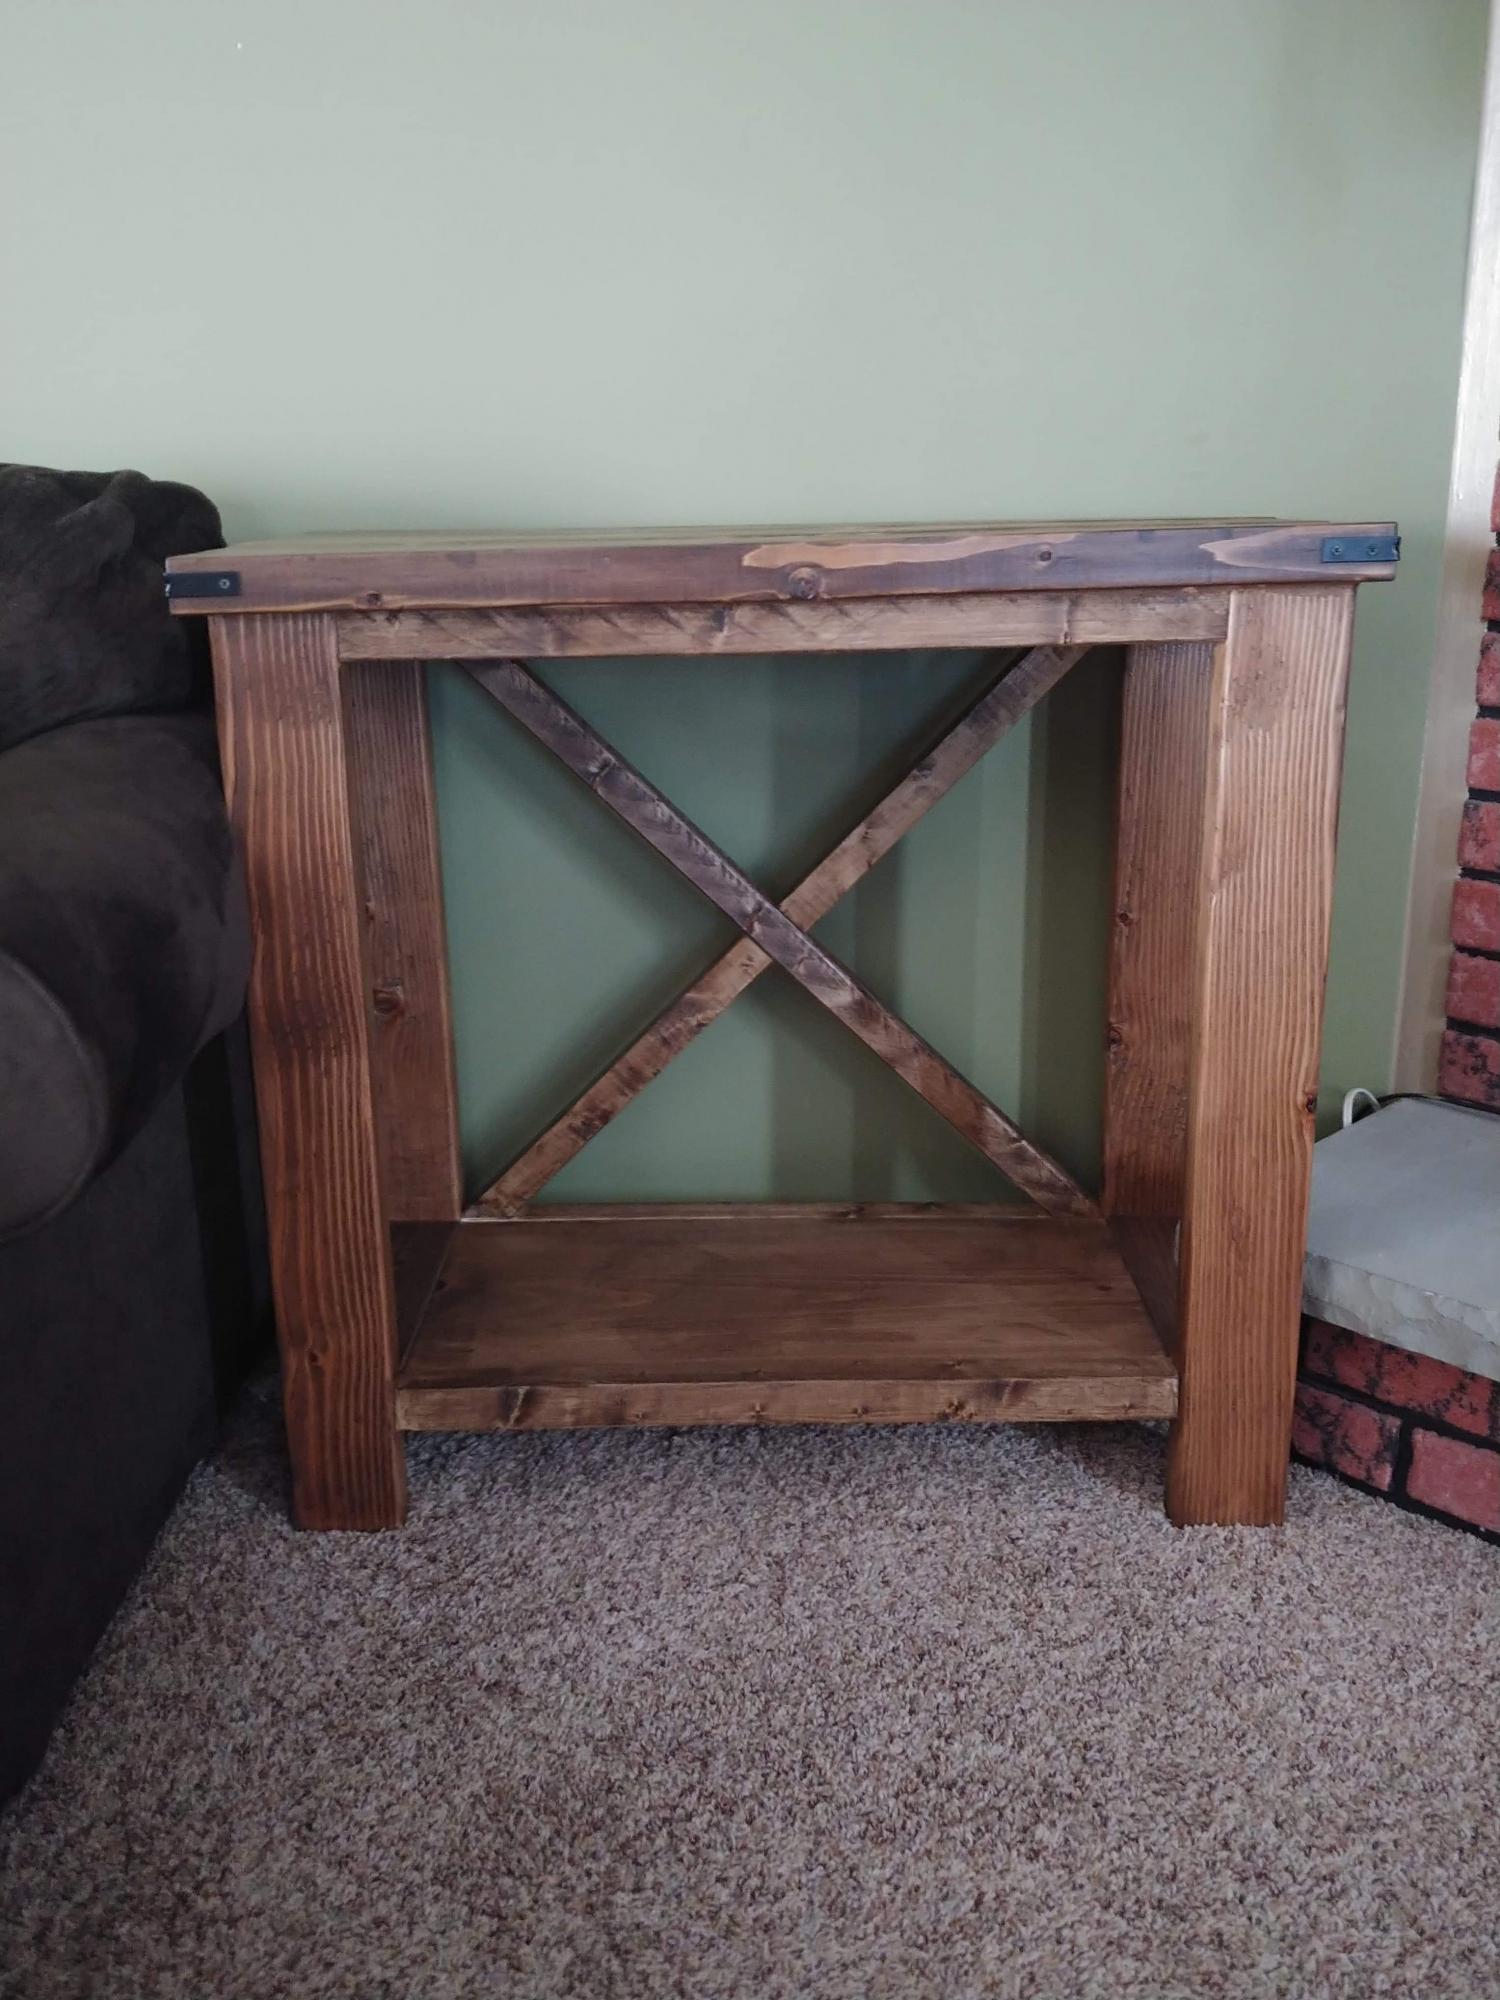
I love how this table turned out.

Estimated Cost
60
Estimated Time Investment
Day Project (6-9 Hours)
Finish Used
Minwax Special Walnut stain
Minwax Polyurethane
Recommended Skill Level
Beginner
Back