Community Brag Posts

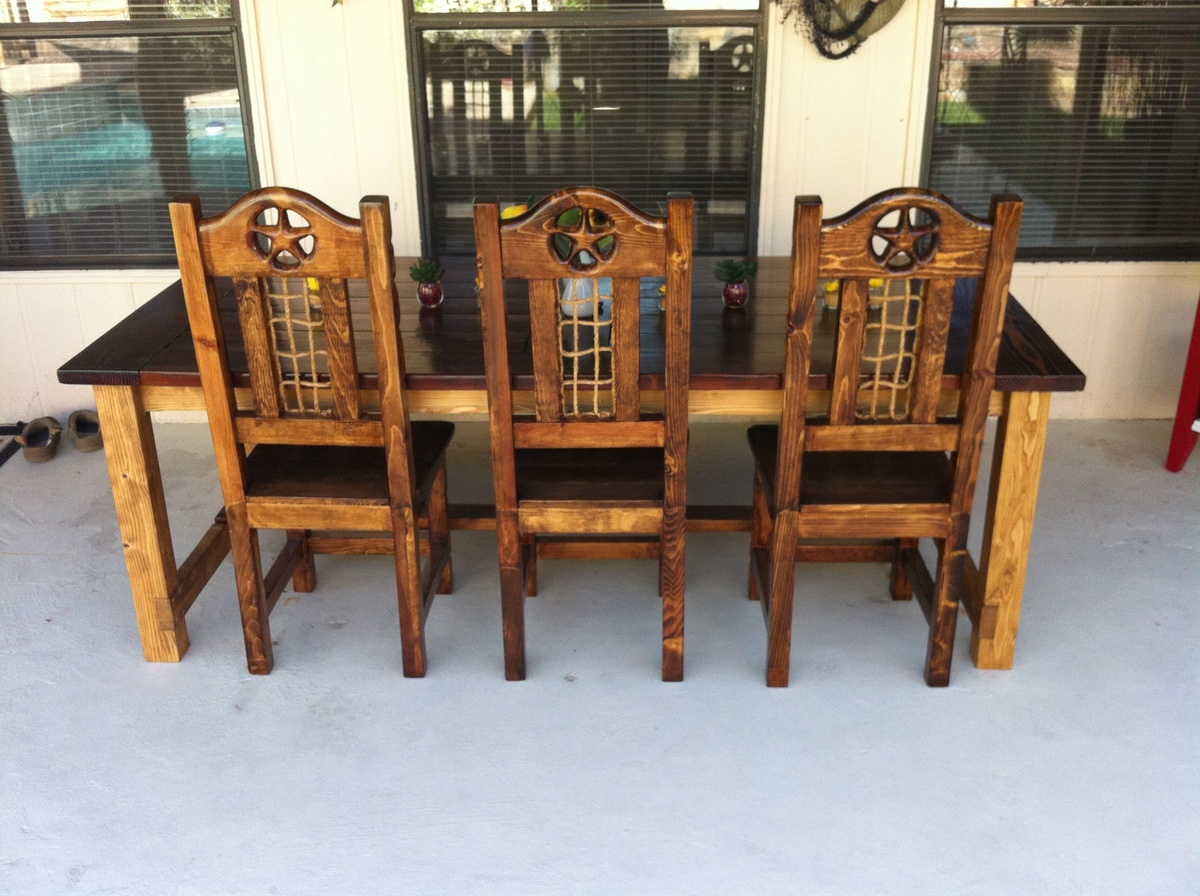
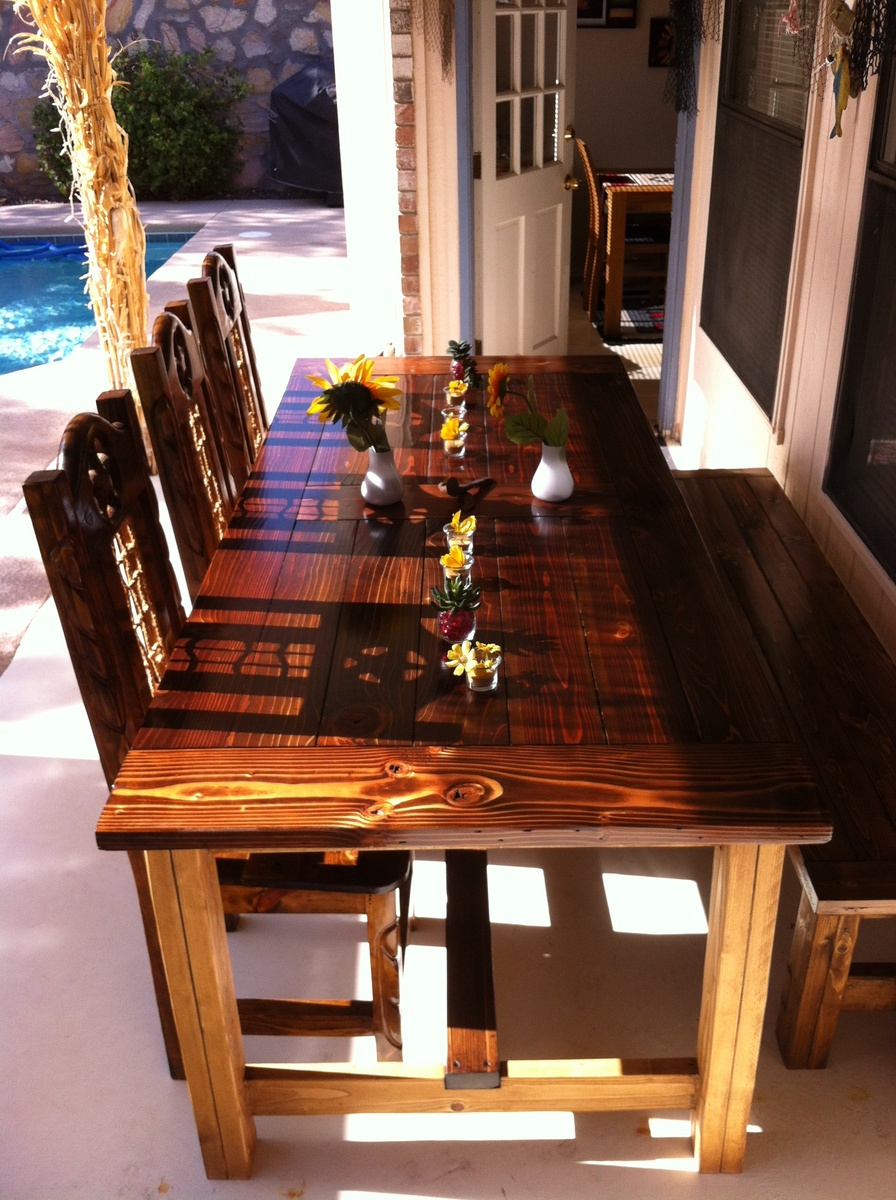
Farmhouse Table

Submitted by Jann Antos on Thu, 06/20/2013 - 12:45

This was my first Wood Project - EVER.

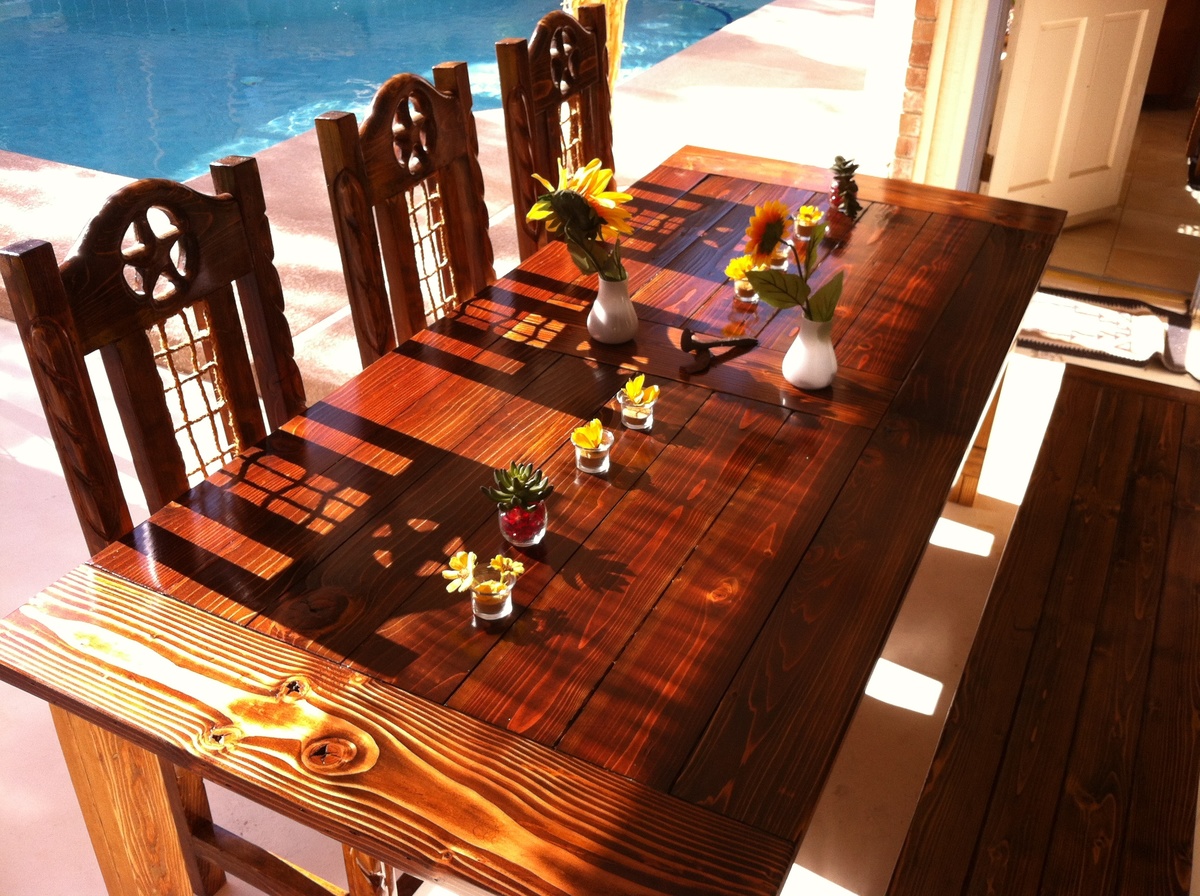
Working with this plan was quite easy. I just changed the design of the table top to my wife´s wish. I used "Golden Oak Stain" for the Legs and "Provincial Stain" for the Table top and Bench. The Legs are covered with Water seal and the Tops with 3 layers of Polyurethane. Chairs are Stained in Provincial also. Was a lot of fun for all of us. Learned a lot during this build.

Thanks

Estimated Cost
300 $ for all together
Estimated Time Investment
Week Long Project (20 Hours or More)
Finish Used
Minwax Stains
Polyurethane
Recommended Skill Level
Starter Project

Comments

WorkShopWendy

Fri, 06/28/2013 - 20:23

This was your first build? You did an outstanding job. Did you make the chairs too or were they purchased seperately?

Jann Antos

Mon, 07/01/2013 - 21:10

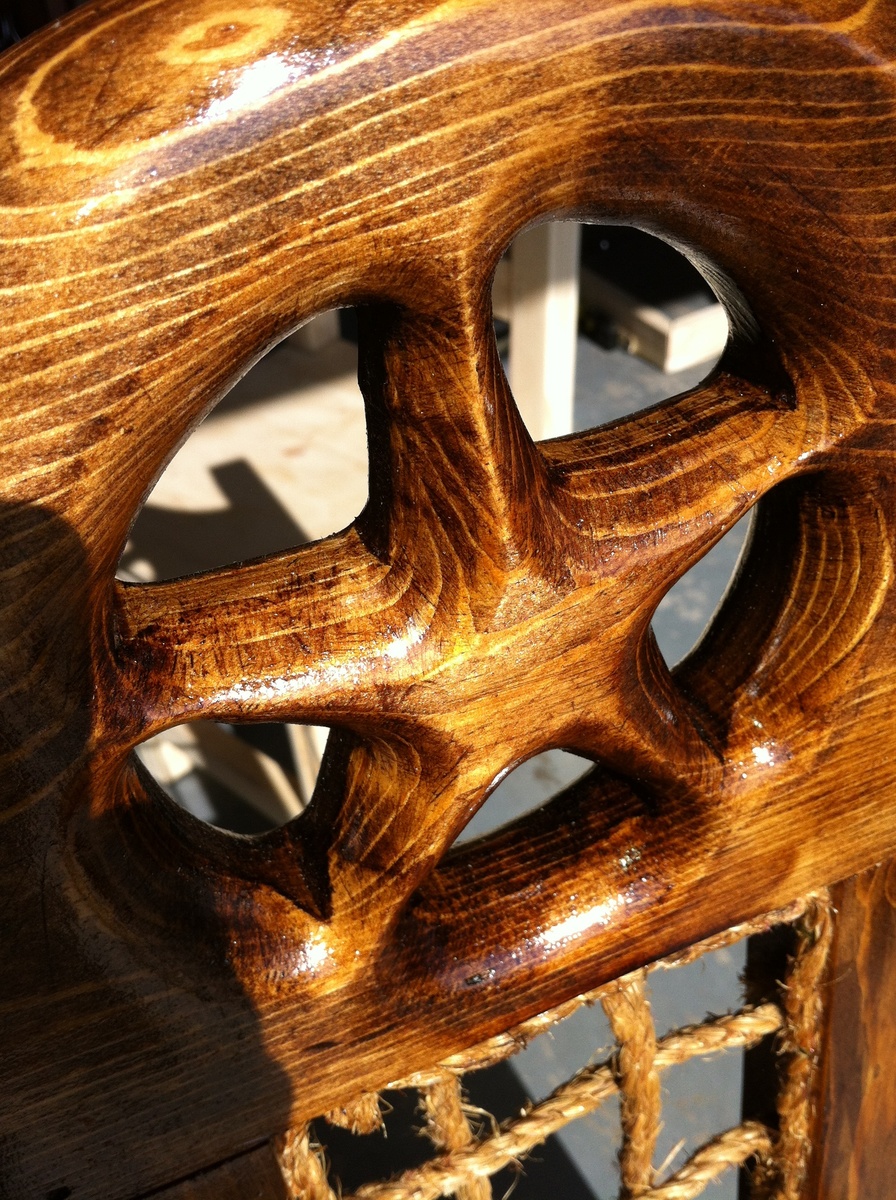
Thanks for the nice comments. I bought the Chairs at a local Mexican Furniture Shop, sanded them, Stained them to fit the Table Top and put 3 layers Polyurethane on it... Came Out nice.

Thanks Alain.

Jann

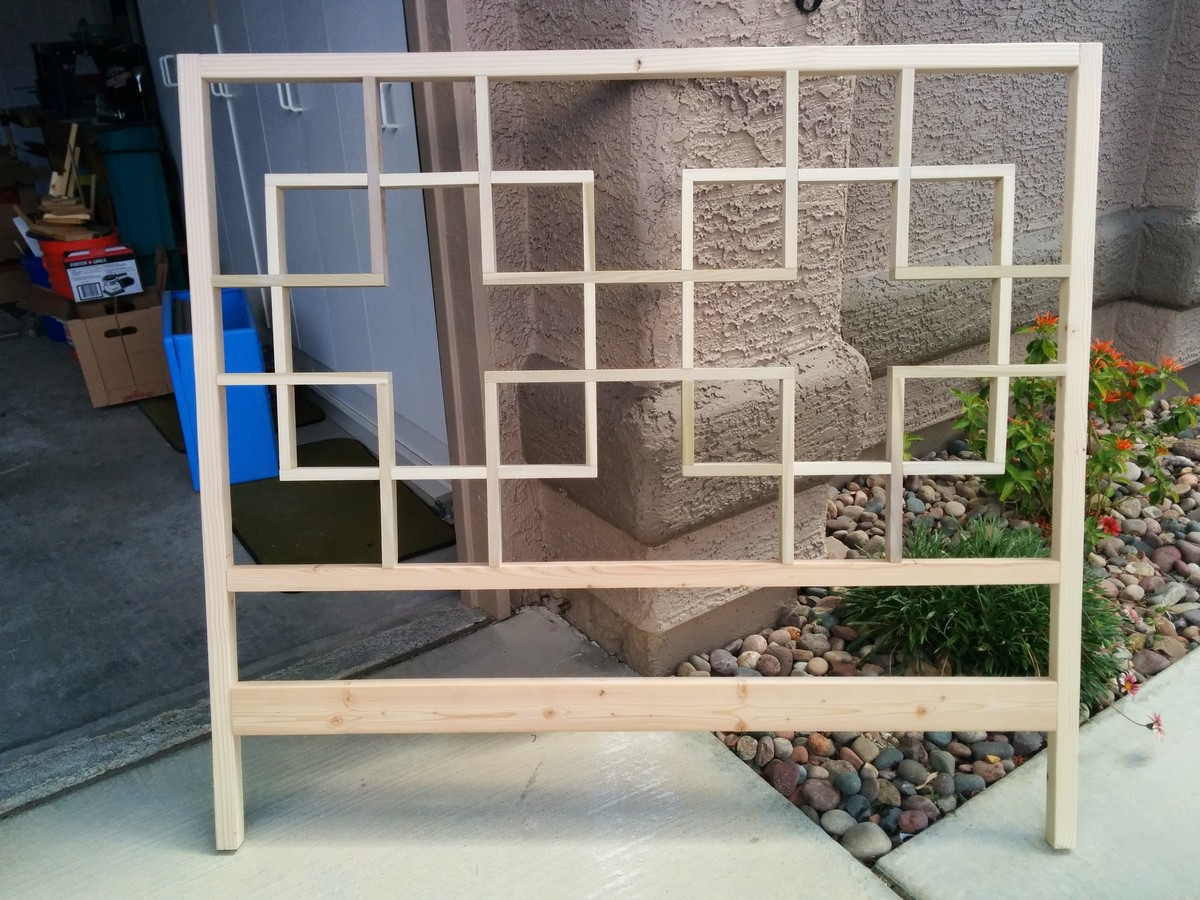
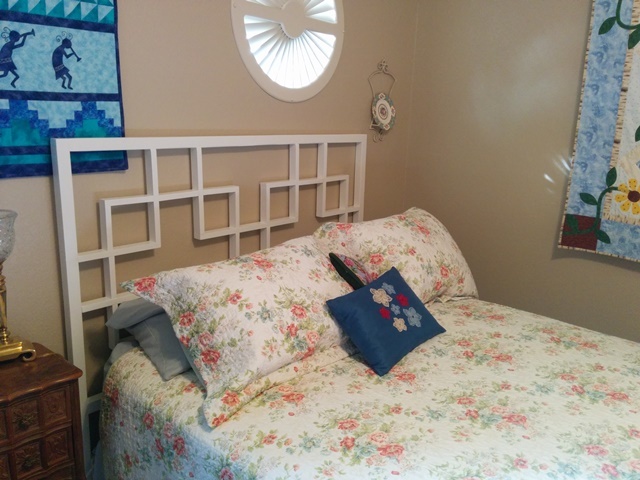
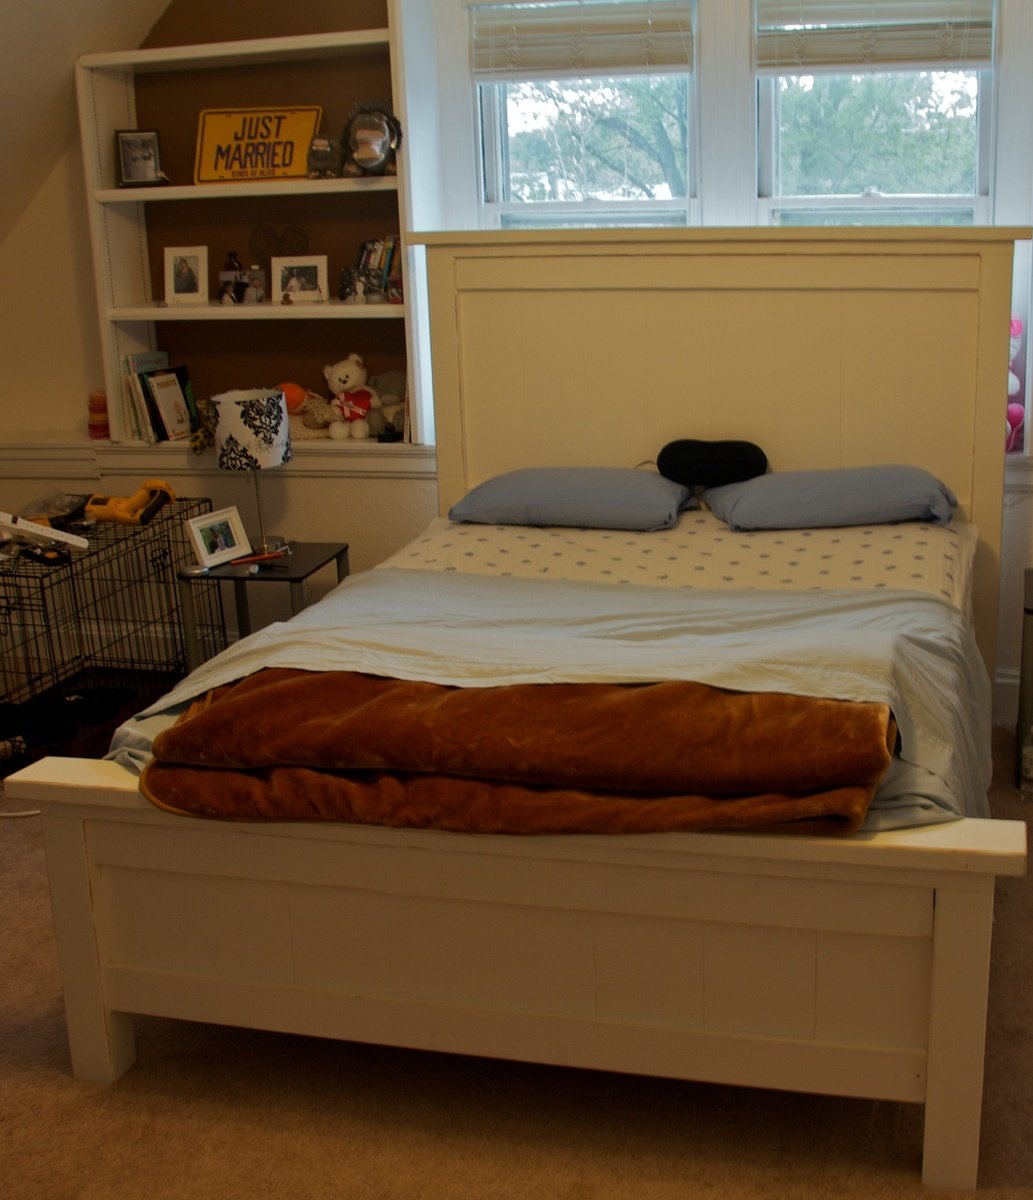
Squared2 Full-size Headboard

Submitted by CSaintD on Sat, 05/30/2015 - 18:20

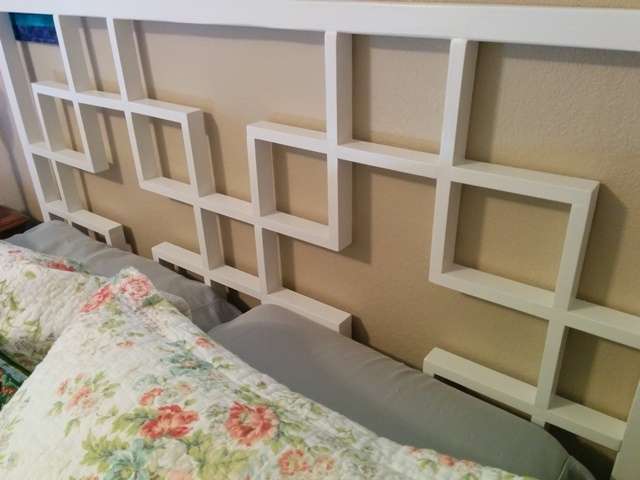
This is from Ana's Squared2 headboard plans. I made it for my Mom and she loves it. I adjusted the width to fit a full size bed by taking a few inches off each side. I found some right angle clamps at an estate sale that were invaluable in putting all this together. It would be very tricky getting everything just square and lined up with just regular clamps. I was worried about it being a little flimsy with all the small pieces, but it seems pretty sturdy.

Estimated Cost
about $50 as I used poplar for the squares.
Estimated Time Investment
Week Long Project (20 Hours or More)
Finish Used
primed, then painted with gloss white enamel (cabinet paint). This was the worst part of the whole thing. I sanded all the pieces before I put them together, but it still needed some finish sanding before I could prime, then had to sand again after that. I had to do all that sanding by hand as the joins are pretty delicate.
Recommended Skill Level
Intermediate

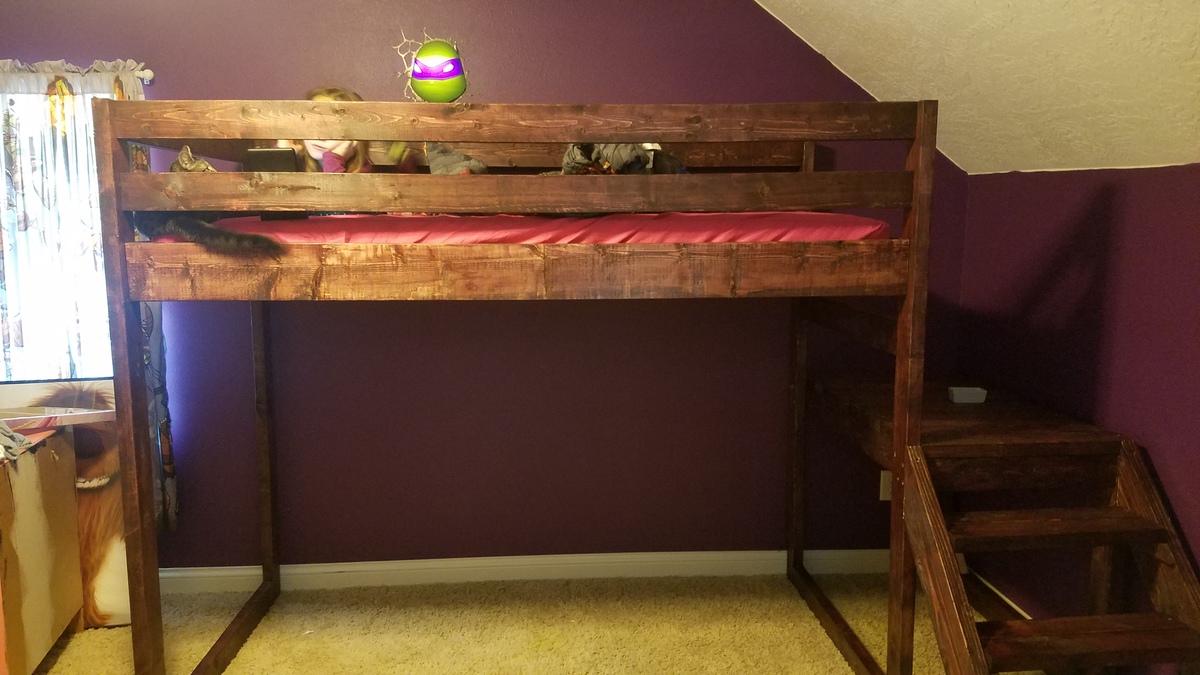
Loft bed

Submitted by Dpangelina on Mon, 12/25/2017 - 09:55

Built this for our daughter for Christmas!  She loves it! Very easy build

Estimated Cost
$100
Estimated Time Investment
Afternoon Project (3-6 Hours)
Finish Used
Black Cherry Stain
Recommended Skill Level
Beginner

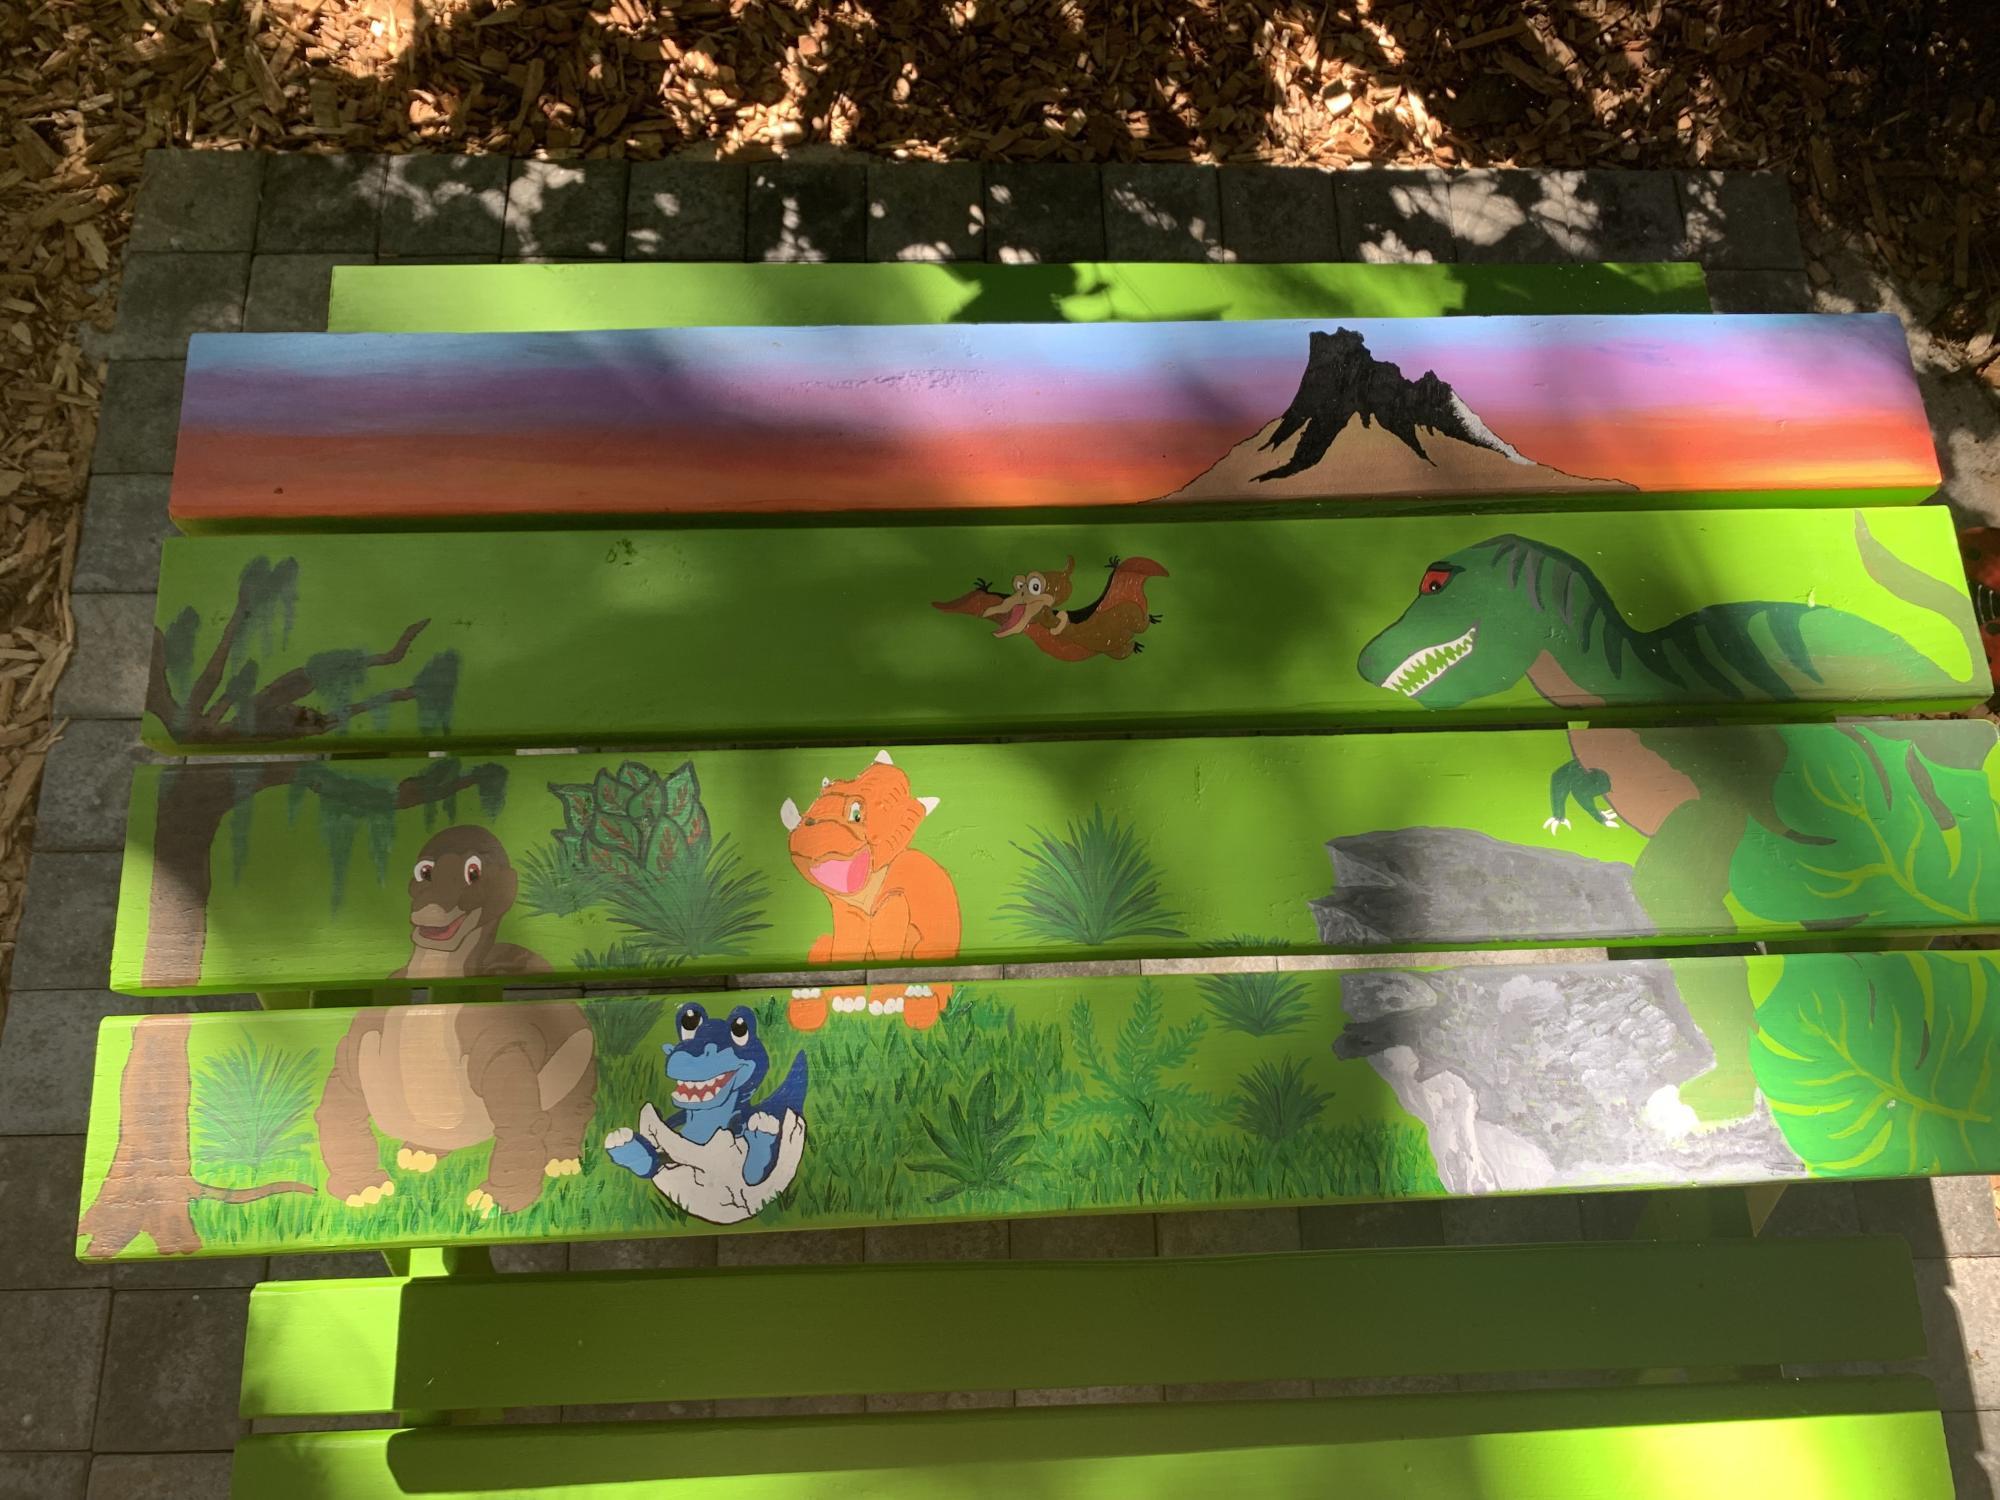
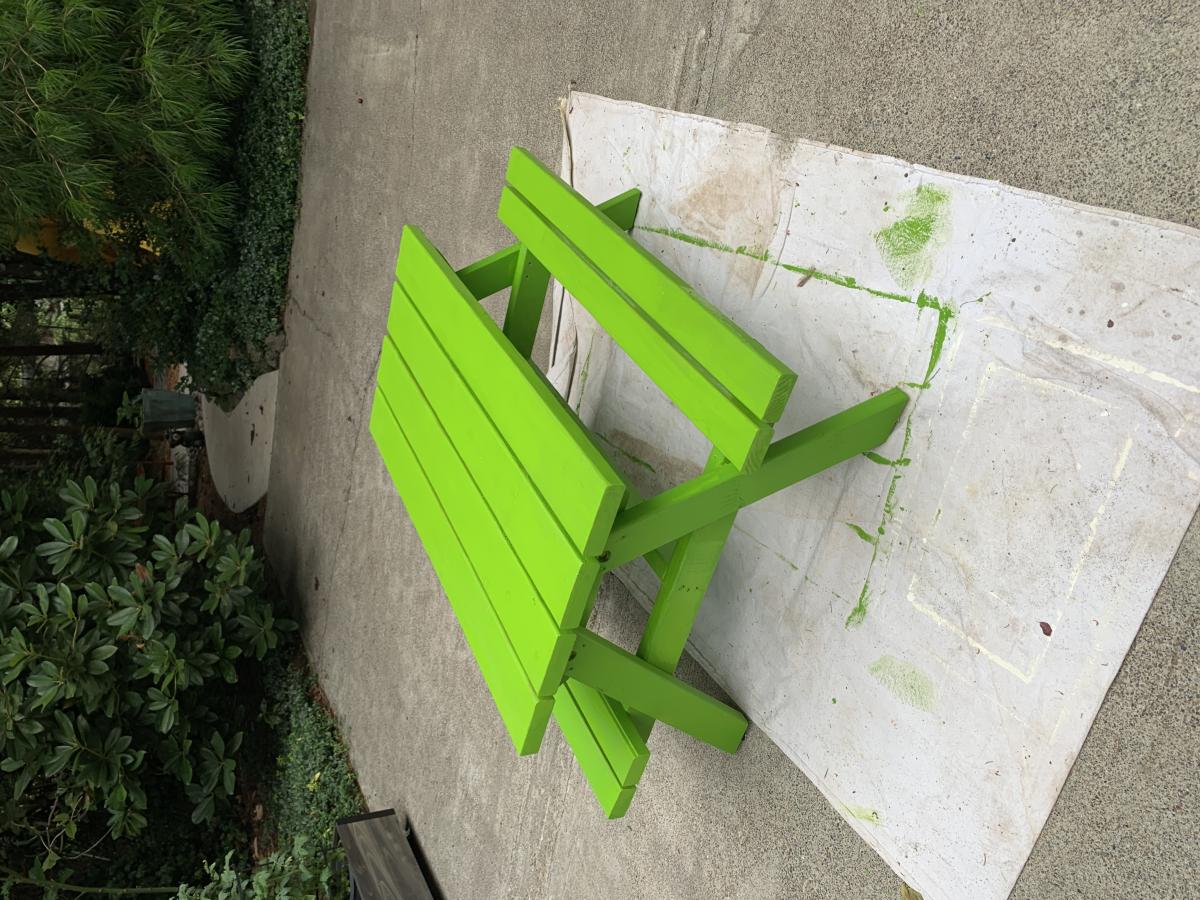
Kid sized picnic table

Submitted by Anonymous (not verified) on Sun, 12/26/2021 - 12:22

My daughter and I did this project together. It was our first wood working and painting project. Learned a lot in a short time. Plan was as said “Easy” although maybe a bit hard for us given we had no experience. All drawings and paintings were free hand.

Built from Plan(s)

Comments

Farmhouse Bed-My first build

Submitted by MattB on Tue, 04/19/2011 - 17:40

This was my first project. My wife saw it and told me to make it :)

Now I'm hooked
I already bought wood for my next two projects.
You rock Ana !!!!!
Built from Plan(s)
Estimated Cost
100-200
Estimated Time Investment
Weekend Project (10-20 Hours)
Finish Used
Dove white
Recommended Skill Level
Intermediate

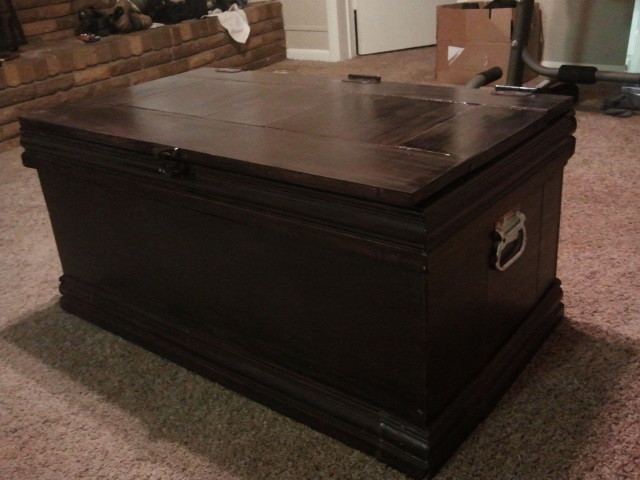
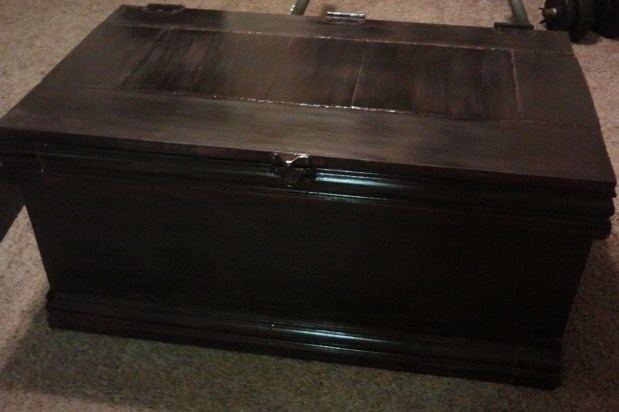
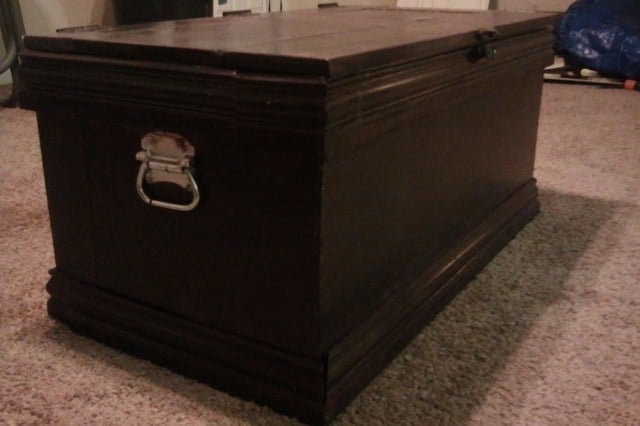
Becca Trunk

Submitted by maluma on Sun, 06/23/2013 - 05:57

This was my first bigger woodworking project, and I loved the project and the plan! I'm just starting out buying tools, so the only power tool I used for this was a drill. I also have yet to get a work bench, so for now I was just working on the floor inside my apartment.
In order to use up some leftover wood, I made the sides out of several boards instead of one solid piece. I didn't use pocket holes for lack of a jig; instead I simply glued the boards on the sides and connected them with a few thin screwed-on boards inside. I will still line the inside with some sort of cloth, so I wasn't too concerned about what it looks like inside.
Considering my circumstances, I'm extremely pleased with the results, and ready to soon move on to another project.
From start to finish it took me about 3 weeks of working on it about 2 hours in the evening maybe 4 days a week (mind you, I'm a beginner and was using hand tools).

Finish Used
I used 3 layers of Varathane black cherry Stain + Poly, followed by some light sanding. It got kinda dark, so 2 layers would probably have sufficed.
Recommended Skill Level
Beginner

Comments

SoCaliforniaMel

Sun, 07/07/2013 - 21:31

You did a very good job considering you did it all by hand. When I was afraid to use power tools I made my sons first bed by hand so I know how difficult it can be. Since you already have a drill I'd suggest getting a miter saw next. It will save so much time with your cuts. You'll also get perfect angles. :)
I dont have a pocket hole jig either but if you still want pocket holes you can buy a countersink drill bit at just about any hardware store (or use a regular drill bit but the countersink ones work better, I feel) and angle it at 15 degrees or so. Then just sink your screw right into the hole. Viola, hand made pocket holes. :)
I love the dark color too, job well done
~Melody

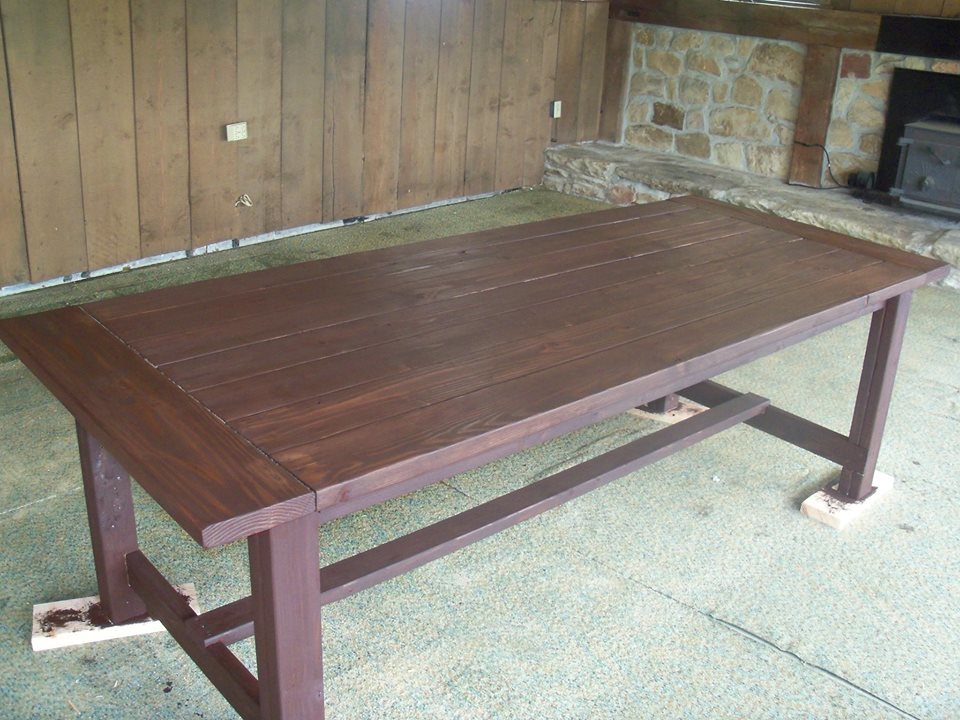
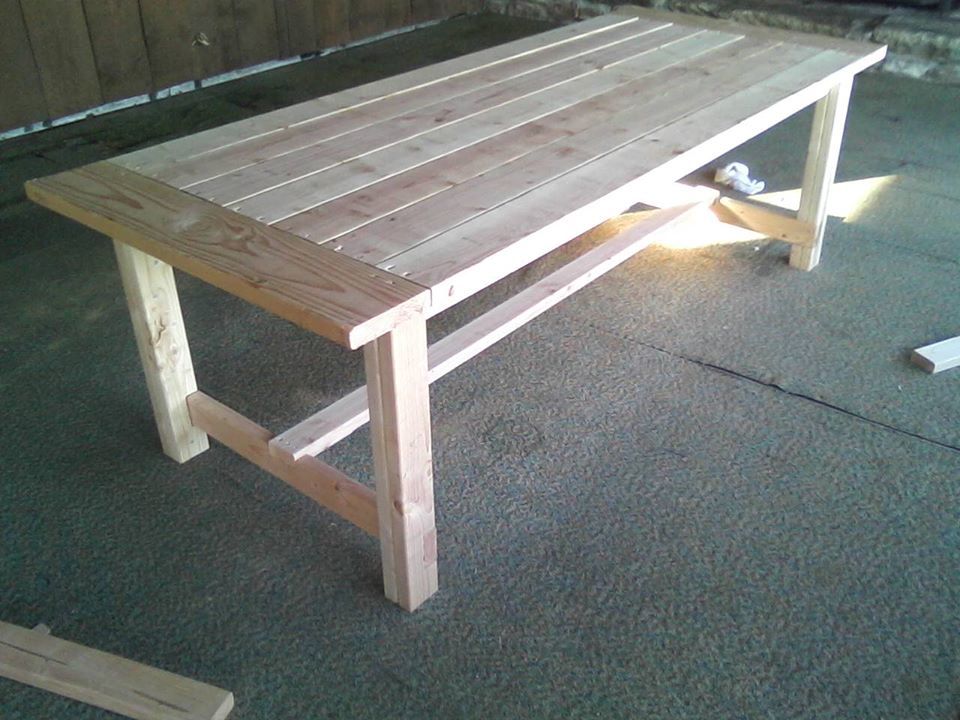
Simple Outdoor Dining Table

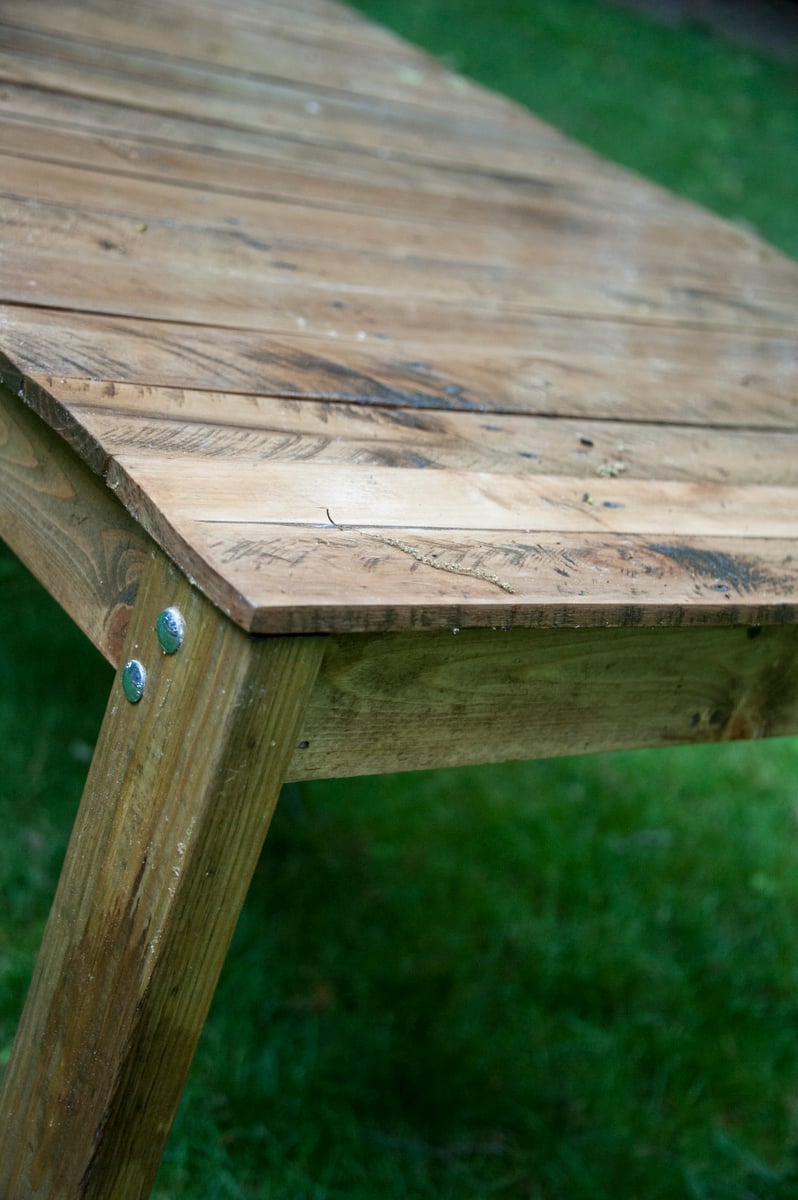
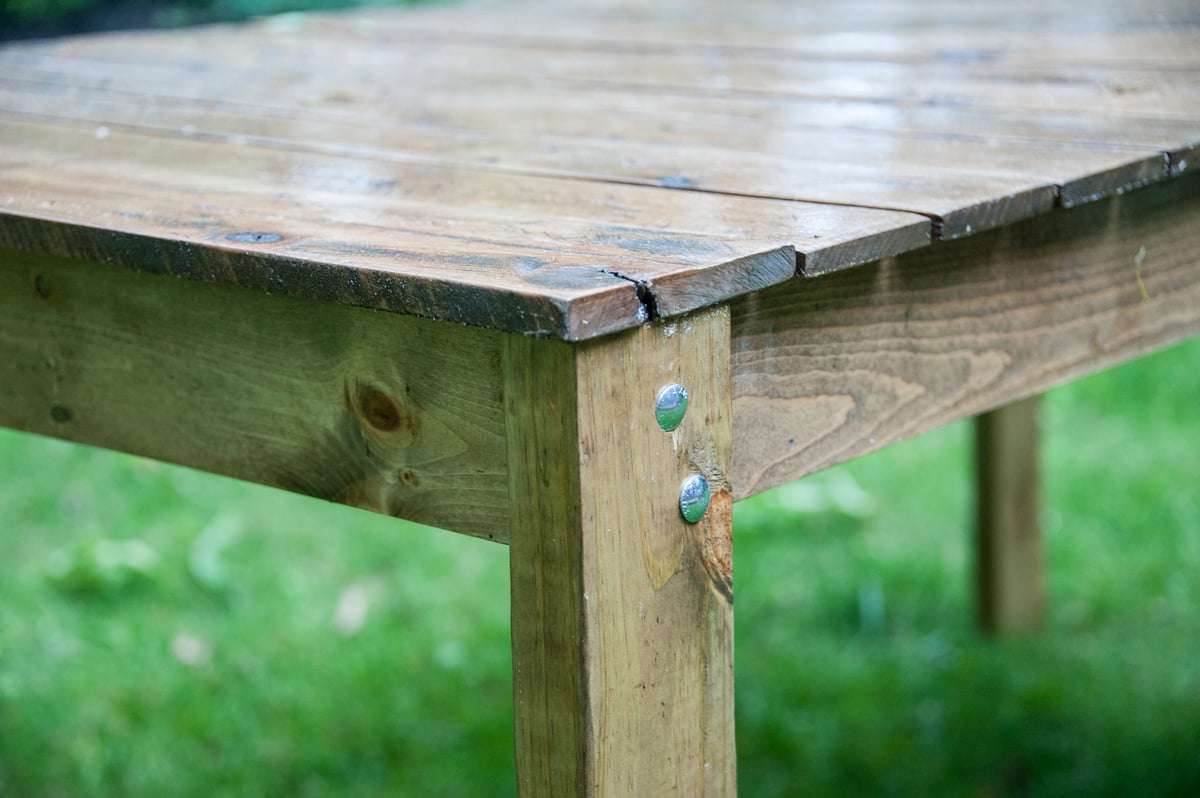
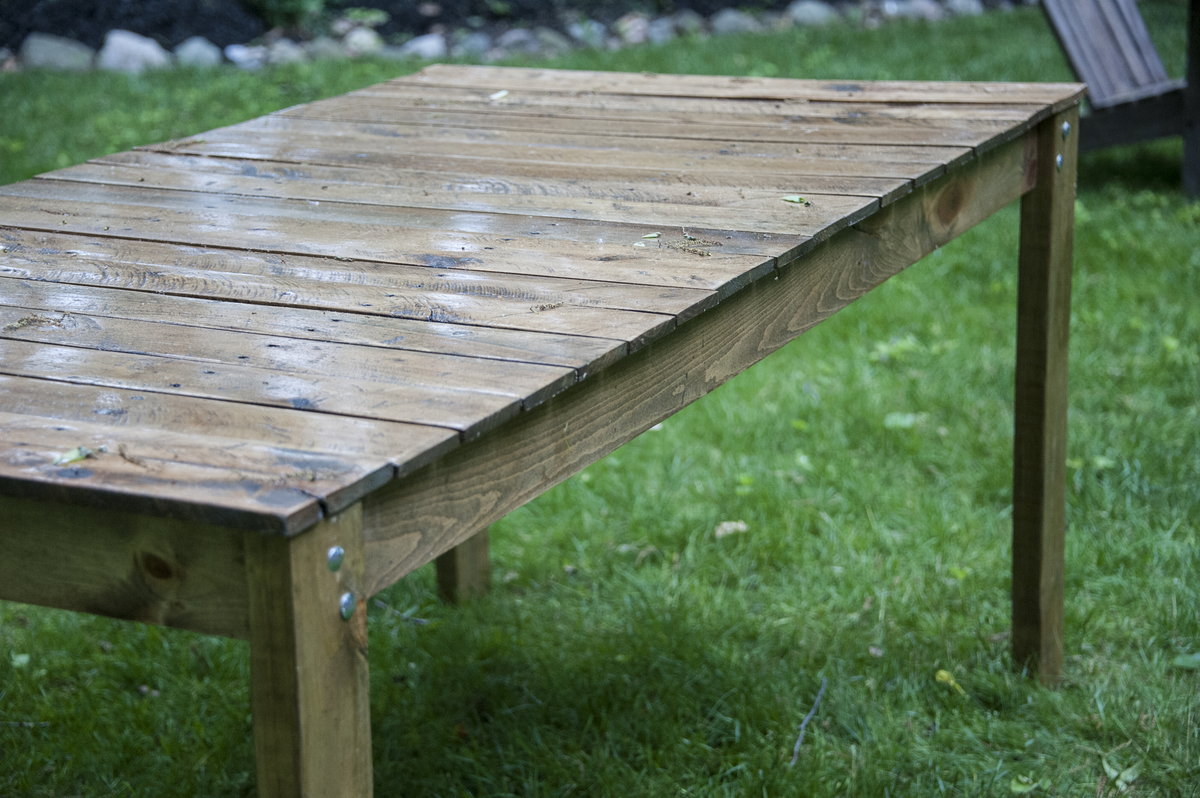
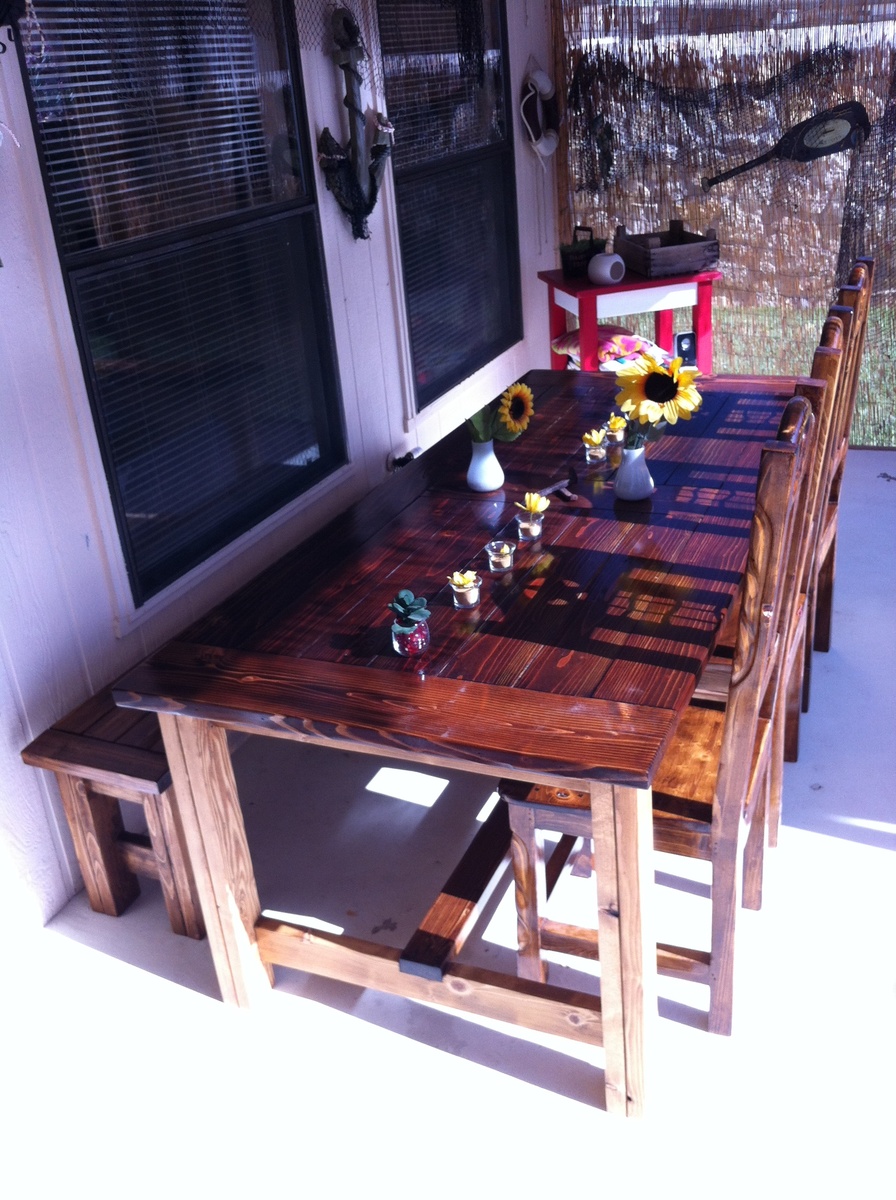
This was my very first project wood building project. I was very pleased with how it turned out. It's not perfect, but I have learned some tricks for my next project.

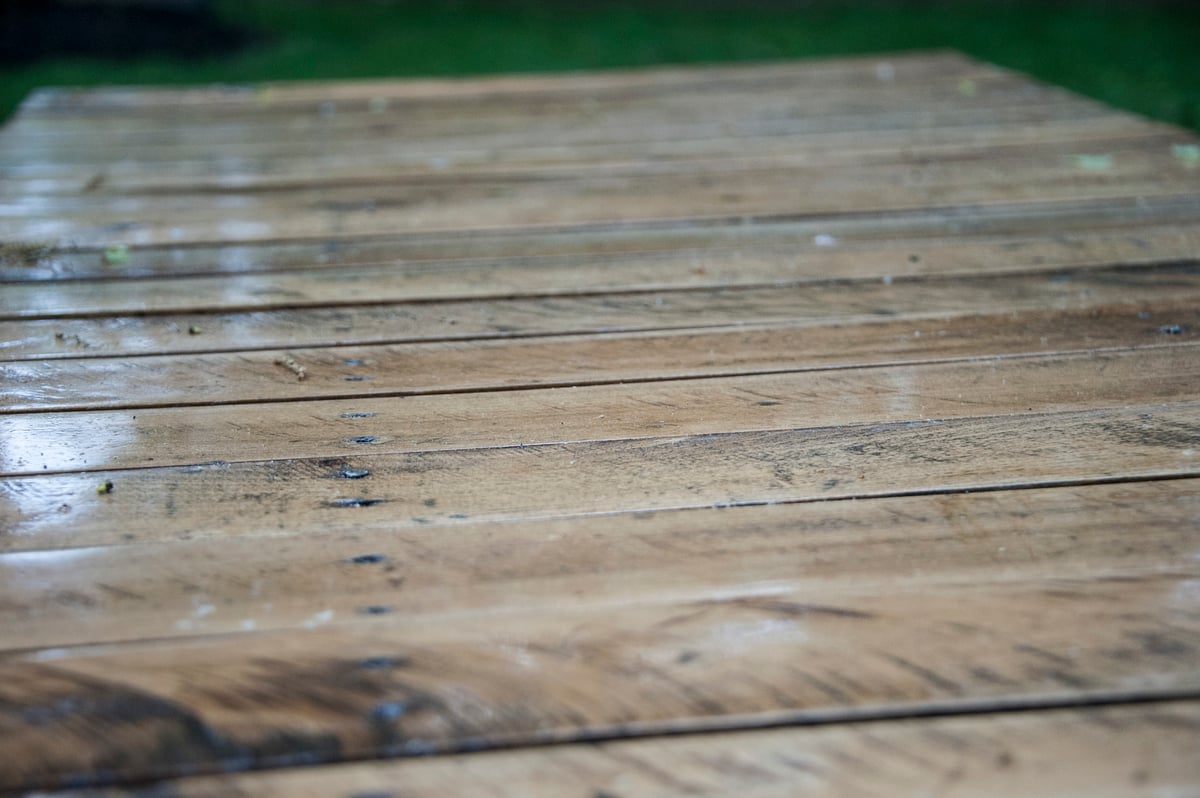
I wanted the older look, so the top planks are all boards cut from pallets (not very easy to take the pallets apart). The rest of the wood was purchased, with the legs cut from treated wood.

All parts were coated in 2-3 coats of spar varnish.

Skill level, I would say is intermediate, with the lining up all of the separate boards and the pocket holes making it a little harder than beginner project, in my mind. BUT, remember that is coming from someone who has never built anything.

Time was a little longer because of using the wood from the pallets. Removal from the pallets was difficult and time consuming. The boards then required extensive sanding, and then several coats of spar varnish before building to be sure that ALL surfaces were covered, since the wood was not treated.

Very glad that I did it. I like the imperfect top (most of it), with the nail heads down the middle (not functional, just kept them from the skids), and the worn top.

I completed the project myself, with a little help from my dad at the end, putting the legs on. Just using screws didn't sound strong enough, and the bolt locations were a little tricky with the locations of the pocket holes on the inside.

Plan to make a bench, next, but maybe not the matching one. I think a project with fewer cuts and attachments is next in my future.
Built from Plan(s)
Estimated Time Investment
Week Long Project (20 Hours or More)
Recommended Skill Level
Intermediate

Comments

JoanneS

Fri, 06/05/2015 - 14:17

This looks super! Love the pallet boards on the top, and how you preserved the old wood look. Congrats on your first project!

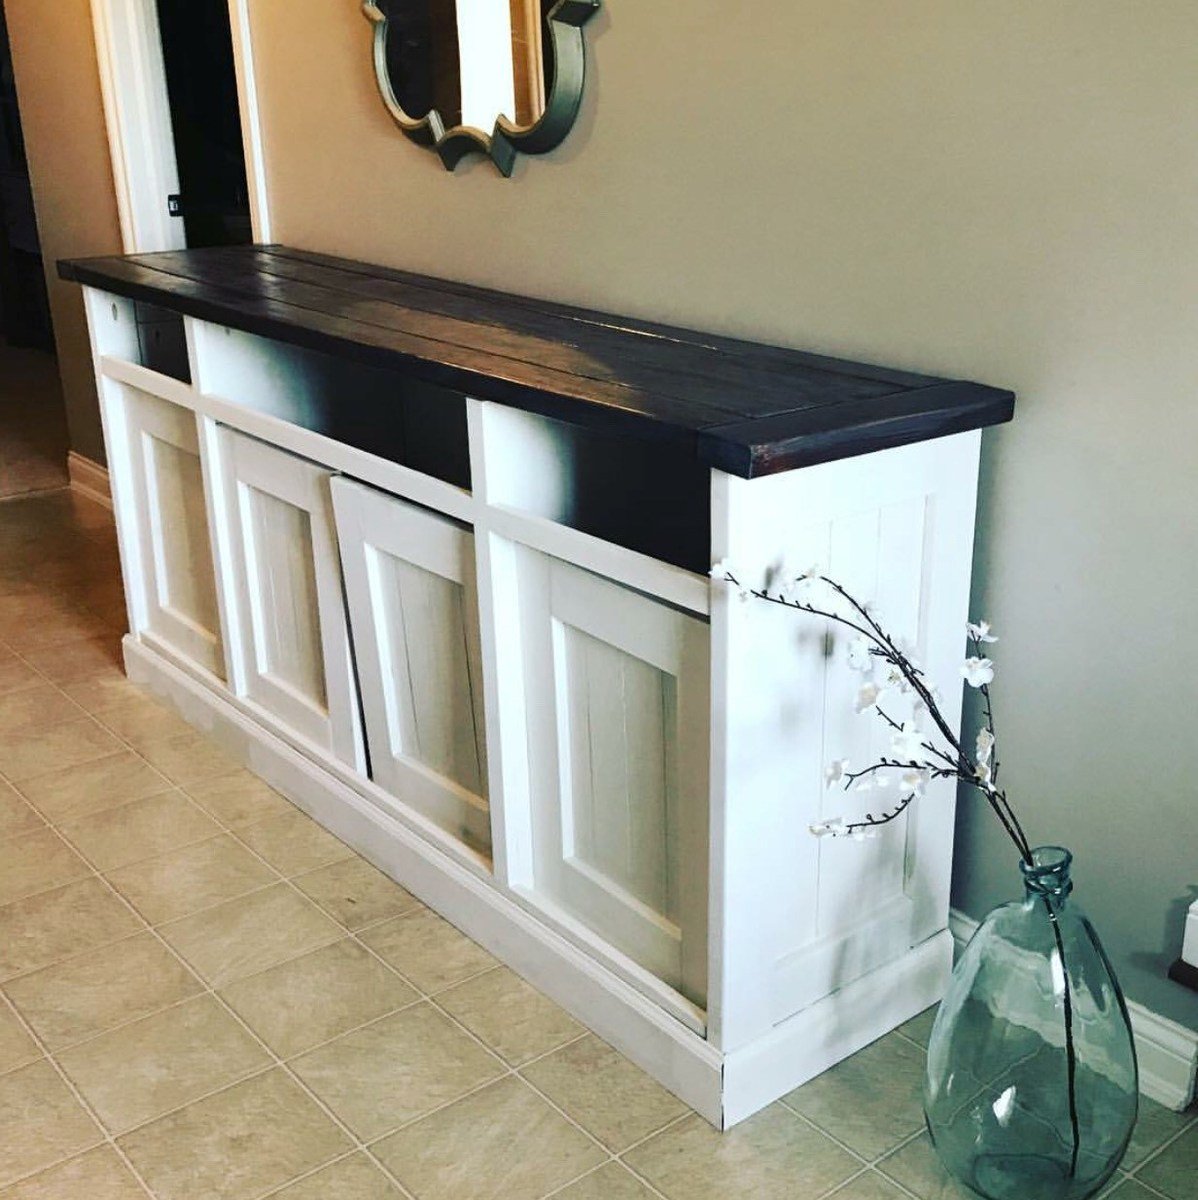
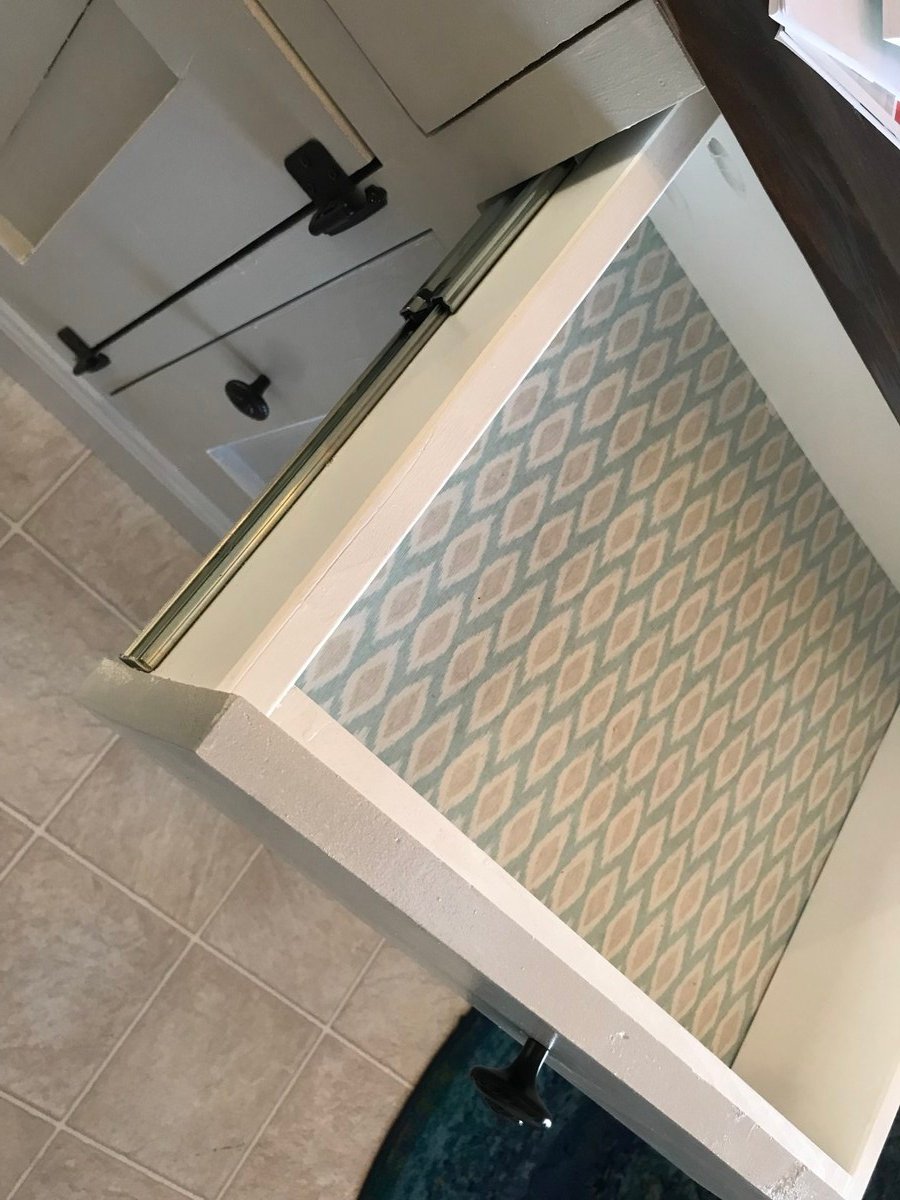
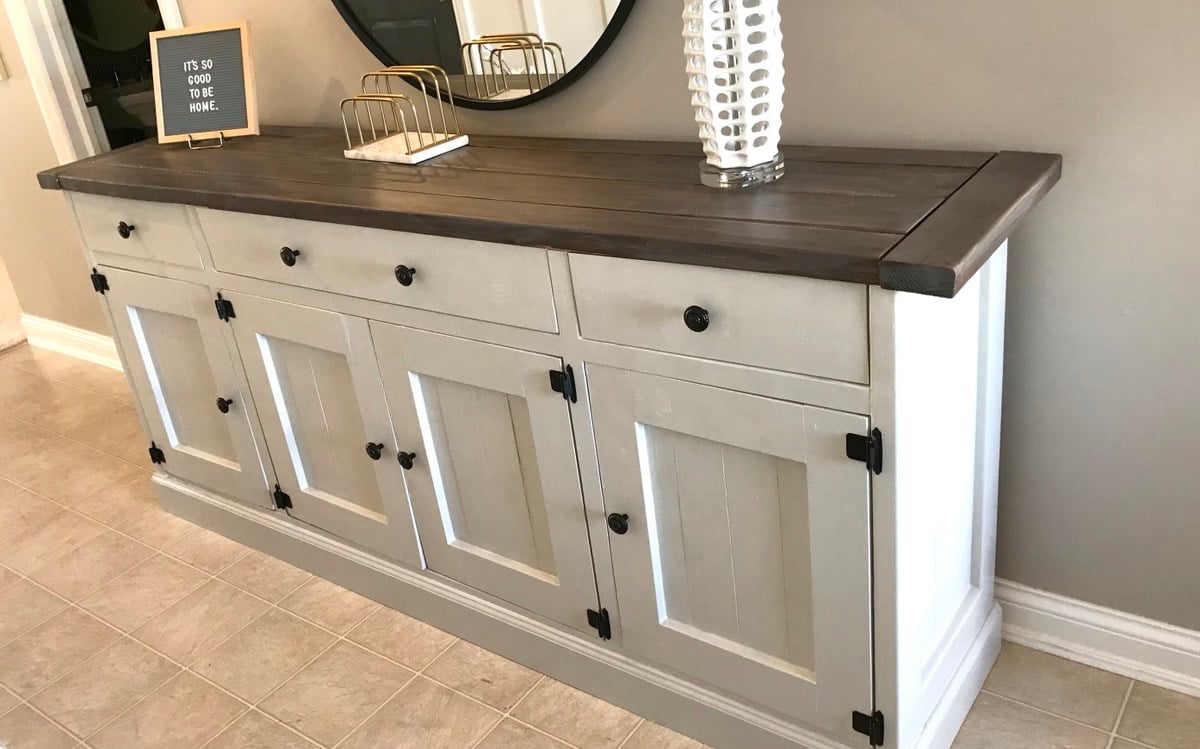
DIY Rustic Sideboard

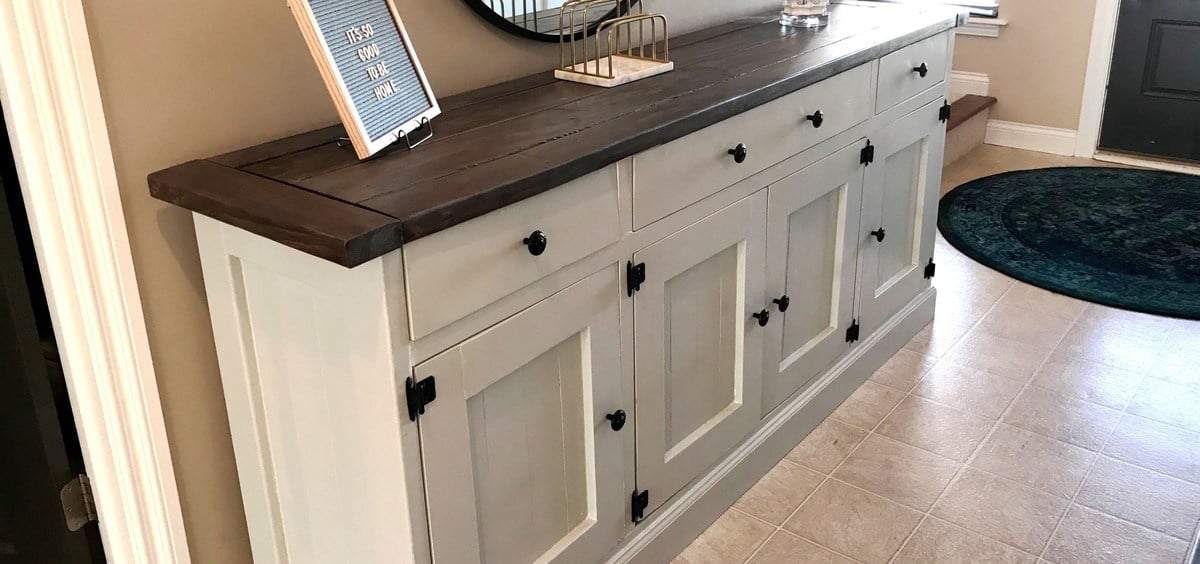
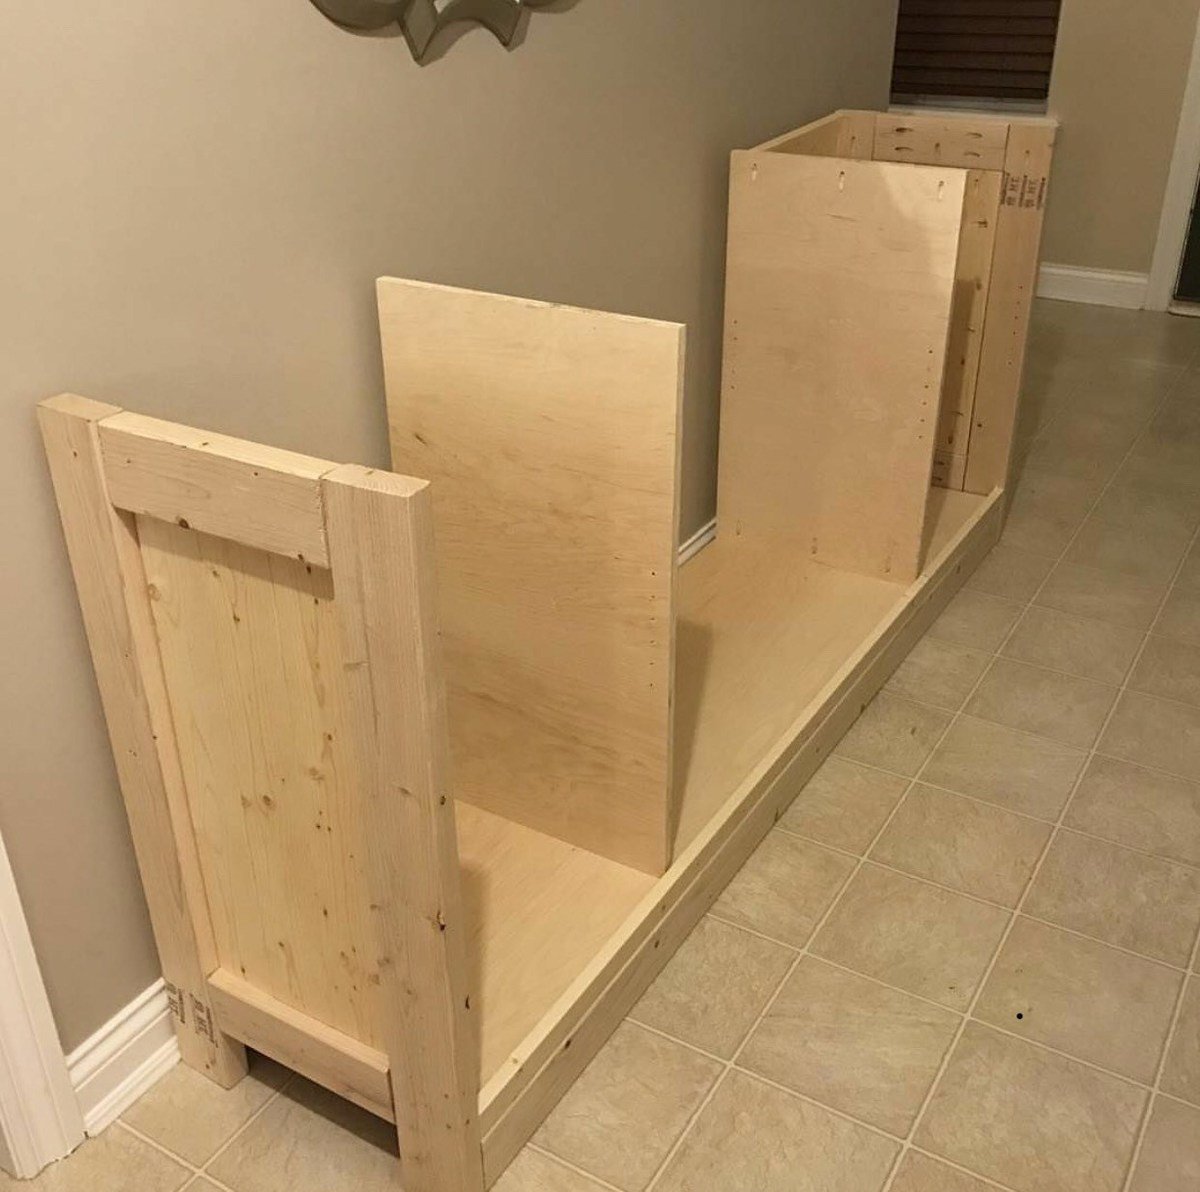
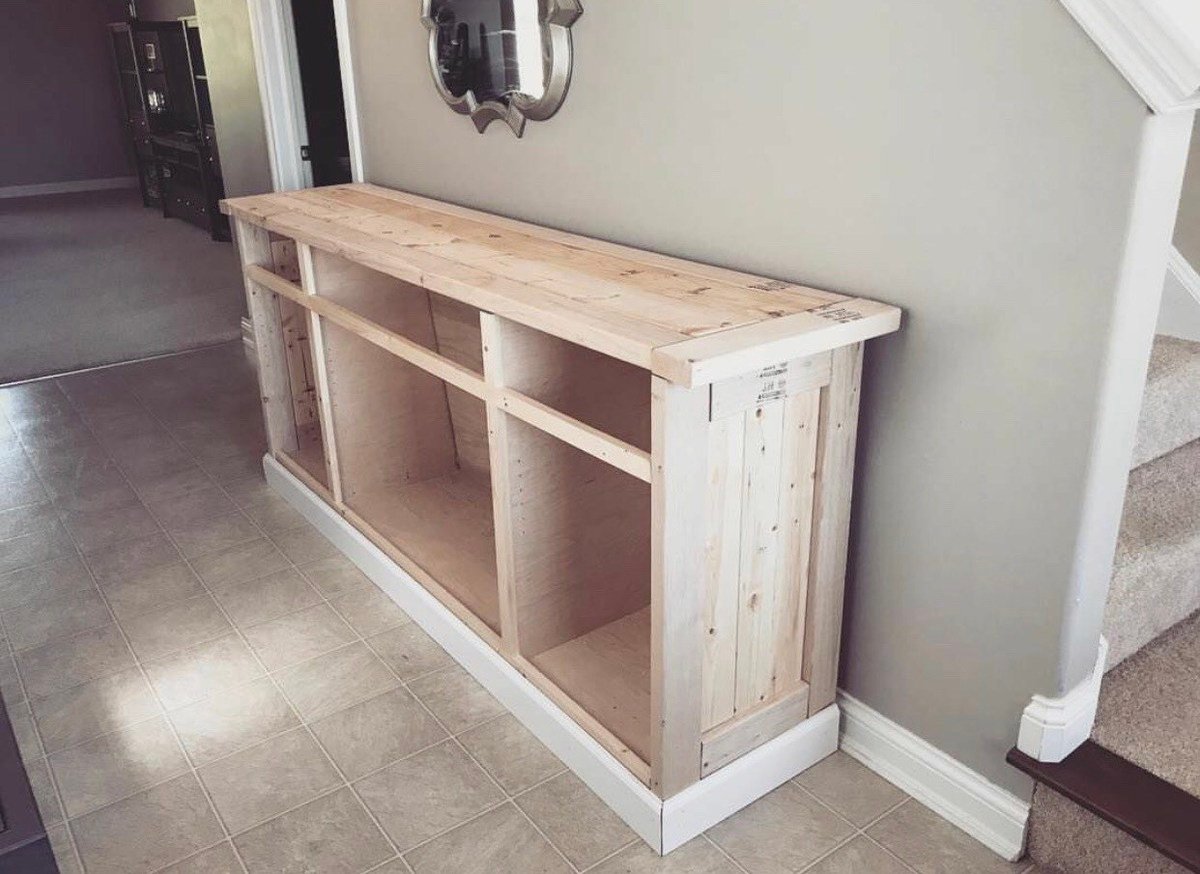
I worked on this project over the course of a few months, and I absolutely love the result! I posted all the info at my blog: http://www.designatedspacedesign.com/2017/10/01/a-rustic-sideboard/


Built from Plan(s)
Estimated Cost
Around $400
Estimated Time Investment
Week Long Project (20 Hours or More)
Finish Used
I painted it repose gray by sherwin williams. The top is a mixture of dark walnut and weathered gray stains.
Recommended Skill Level
Intermediate

Reclaimed Wood Headboard

I built Ana's Reclaimed Wood Headboard.  This was the easiest piece I have built so far!  Very quick!  You can see the steps I took to finish it at our blog http://www.shanty-2-chic.com/2011/04/diy-headboard.html

Estimated Cost
$50
Estimated Time Investment
An Hour or Two (0-2 Hours)
Finish Used
Minwax Dark Walnut Stain and Minwax Polycrylic Gloss
Recommended Skill Level
Starter Project

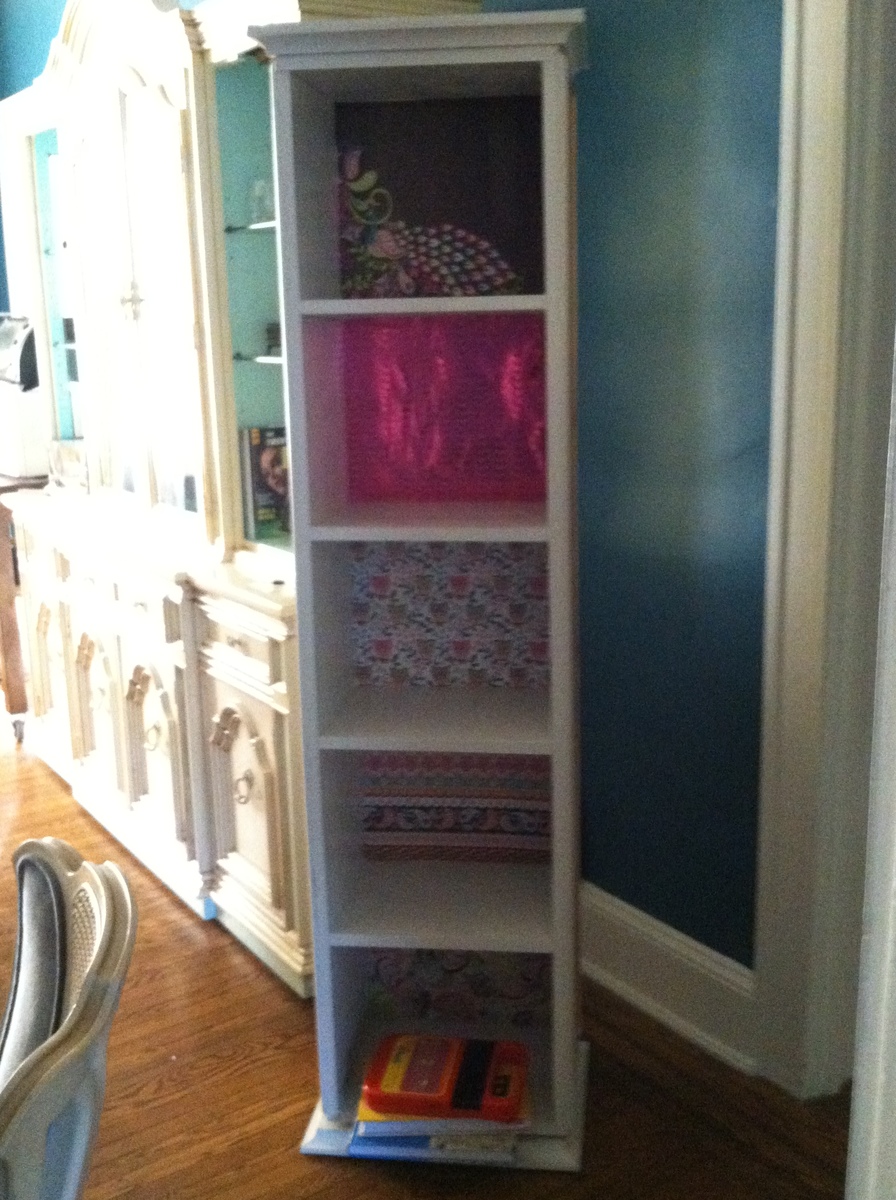
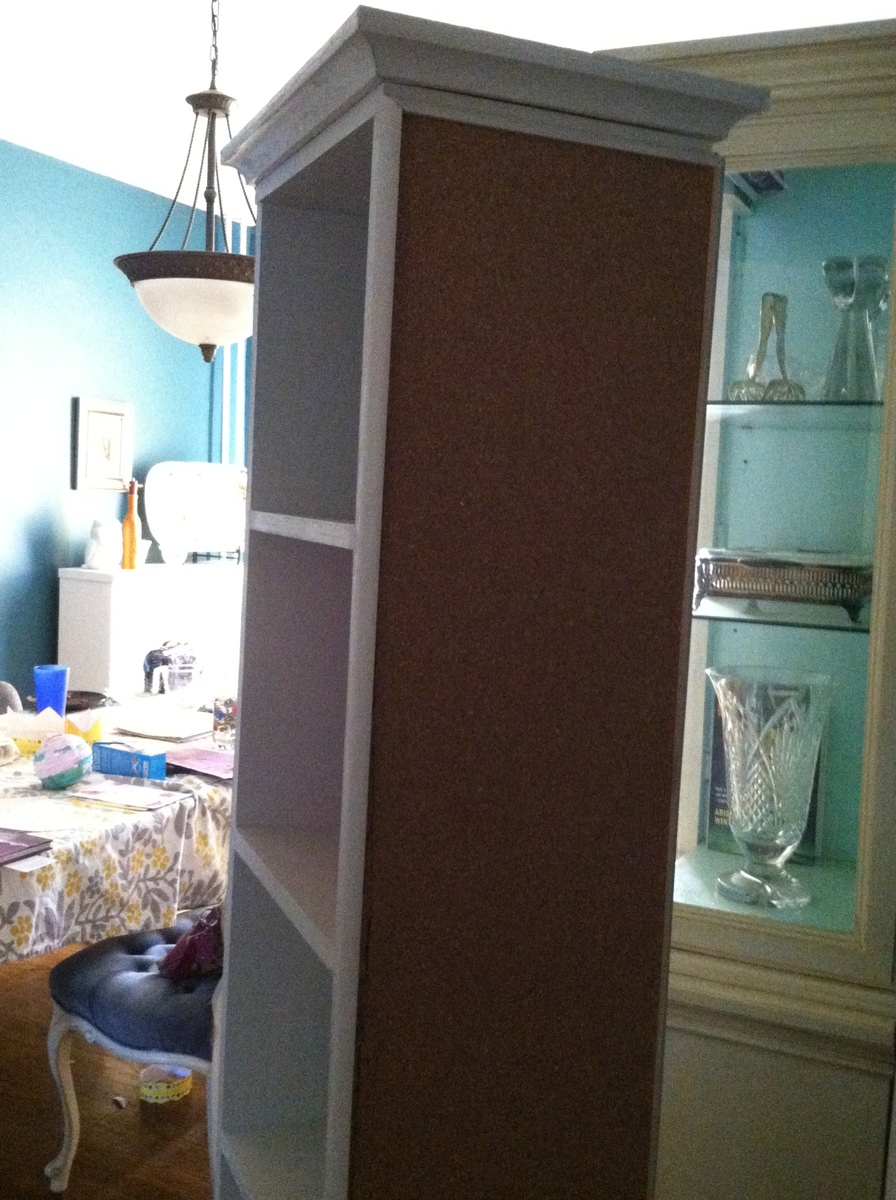
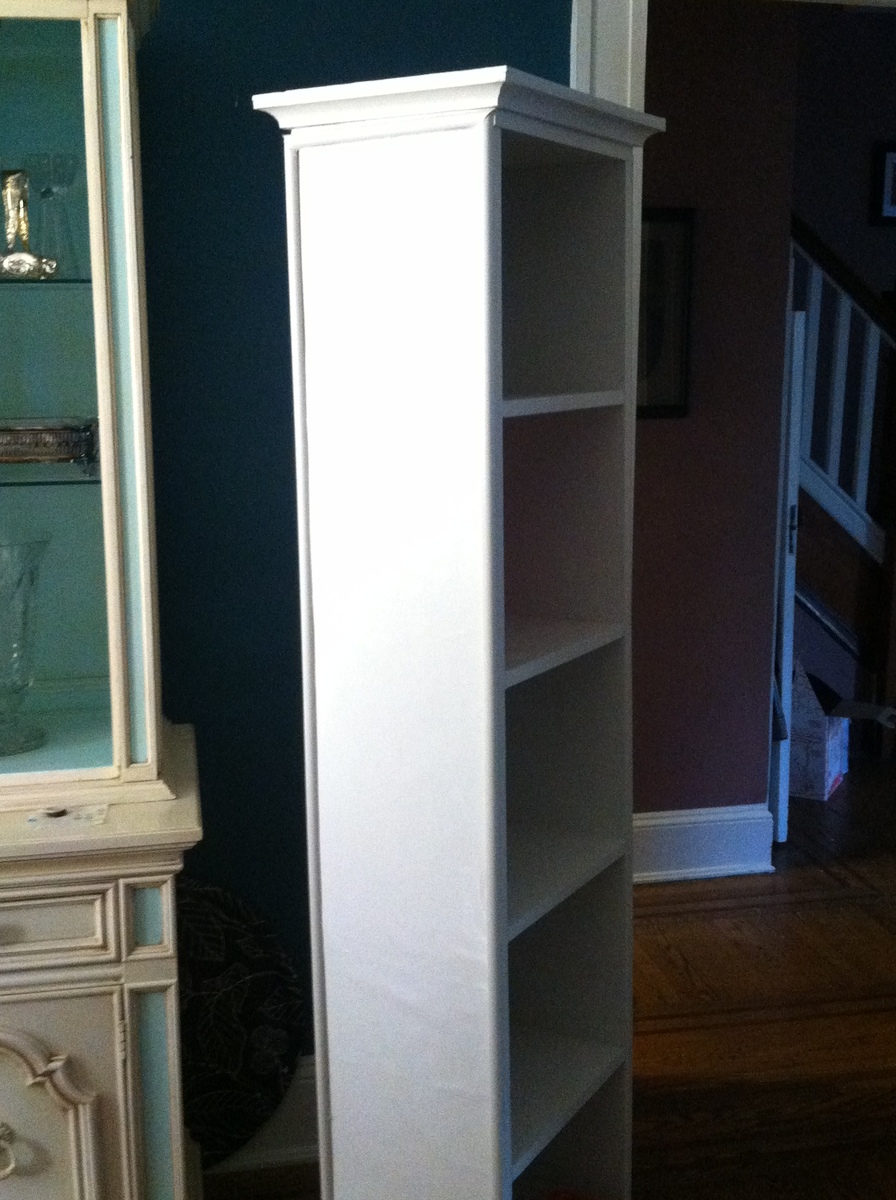
Bookcase or homeschool station?

Submitted by ewinter on Mon, 06/24/2013 - 18:35

We've made the decision to homeschool our almost 5 year old daughter starting in September. The dining room will be the school room, but I don't want to lose my table in the process. So I began looking for good storage options. I saw the Display-It-Storage Mirror on the PB Teen website and loved it! Right up until I choked on the price tag. I went inspiration hunting and found Ana's Willy bookcase plans. I modified the Highrise Condo Willy bookcase, added a base with lazy susan hardware and a top outfitted with crown molding. Then I bought some cork on Amazon to create a cork board on one side, a role of dry erase paper to create a dry erase board on the other side and framed them. On the back, I hung a bathroom organizer with lots of pockets for dry erase pens, push pins, pencils, tape, scissors, etc. Finishing touch was my daughter's choice of scrapbook paper for the inside backing.

Built from Plan(s)
Estimated Cost
192.00
Estimated Time Investment
Weekend Project (10-20 Hours)
Finish Used
High Gloss Behr paint in Cappuccino White.
Recommended Skill Level
Beginner

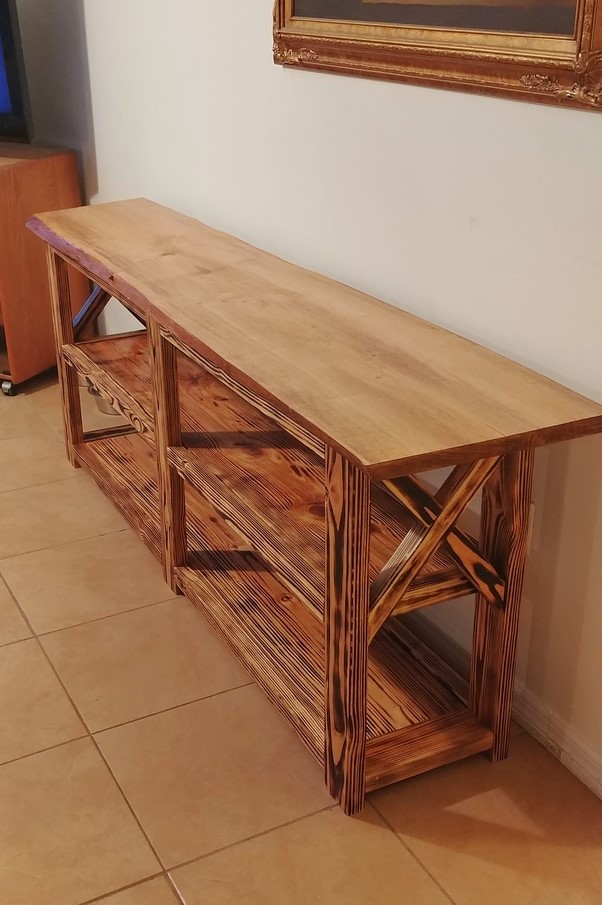
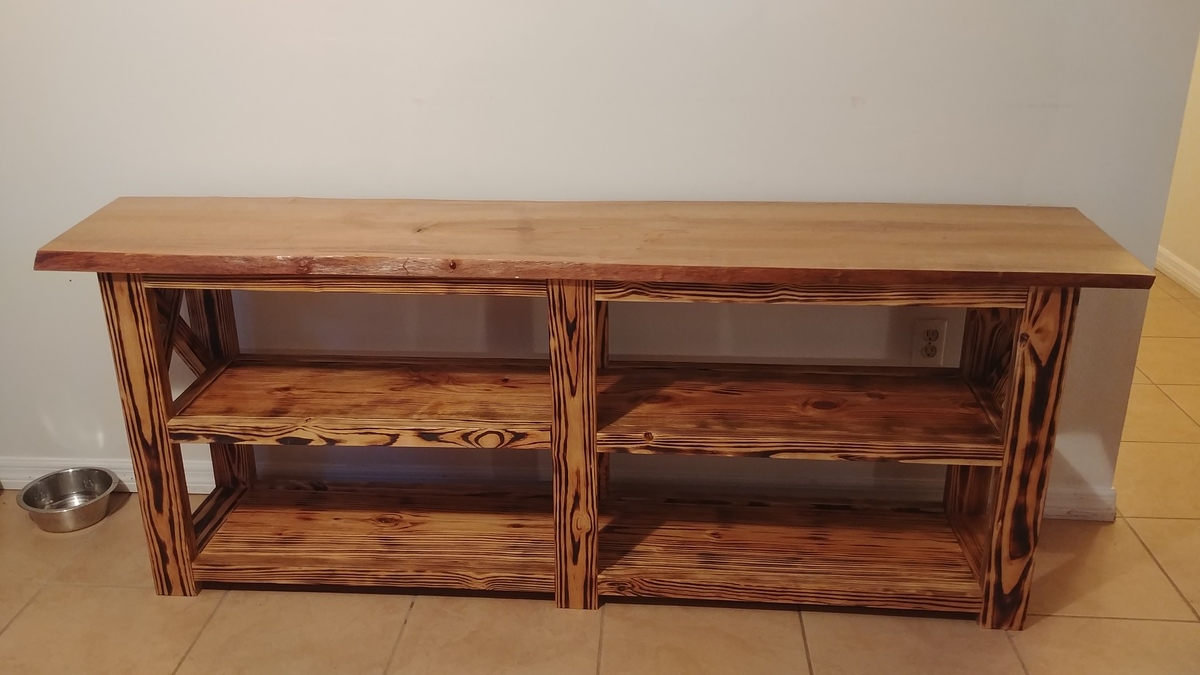
Sofa table by Dennis Whitlock

Submitted by dwhit89112 on Sun, 12/31/2017 - 13:23

Sofa table I built using your plans but with a natural live edge slab

Estimated Time Investment
Day Project (6-9 Hours)
Finish Used
Burnt
Recommended Skill Level
Intermediate

Dresser with Open Bottom Shelf for Changing Table

Submitted by karahart on Wed, 04/27/2011 - 13:46

My husband and I built this dresser to use as a changing table in our daughters nursery. I explain the build process (with photos) in this blog post : http://mekhart.blogspot.com/2011/03/nursery-room-biggest-build-yet.html and the finishing process in this blog post : http://mekhart.blogspot.com/2011/04/nursery-room-finished-dresser.html . I'm so thankful to Ana...I love that almost every element of her nursery is home made!

Estimated Cost
150
Estimated Time Investment
Week Long Project (20 Hours or More)
Finish Used
Paint with a whitewash over top and glazing on the edges. To see more details on how to replicate this finish, check out my blog post here : http://mekhart.blogspot.com/2011/04/nursery-room-finished-dresser.html .
Recommended Skill Level
Advanced

AllGardenBenches.com Farmhouse Table

Made this for my wife for our anniversary!
Check out a video of the project here: http://www.youtube.com/watch?v=3eyroIH517A
Check out more great furniture through All Garden Benches: http://www.AllGardenBenches.com

Thanks for the plans!!!

Estimated Cost
200
Estimated Time Investment
Weekend Project (10-20 Hours)
Finish Used
I used a basic oil based wood stain - dark - it was called Moorish Teak. One coat was sufficient. Lastly, I added a clear gloss finish - two coats.
Recommended Skill Level
Intermediate

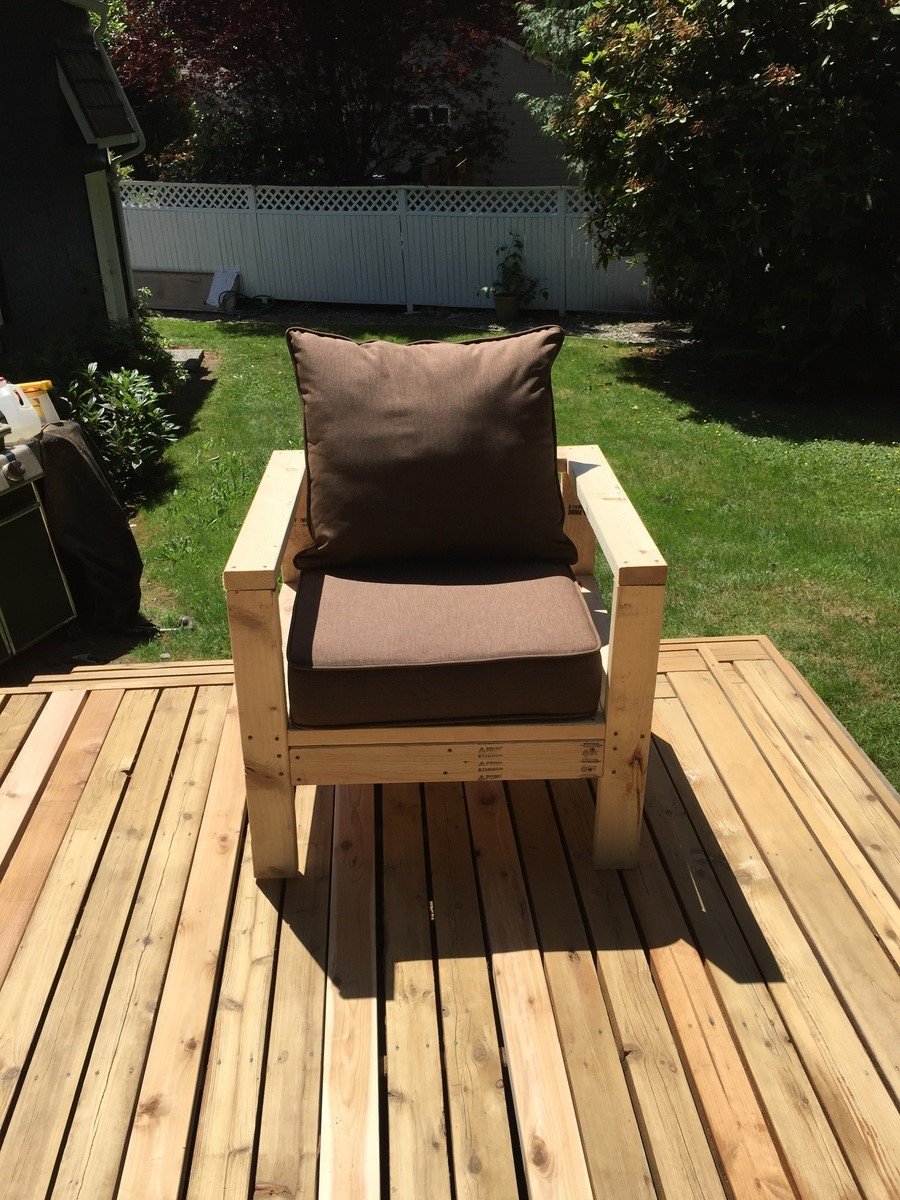
Modified version of the 2x4 outdoor sofa

Clearly, not done with my project yet (sanding, priming/painting) but I was so excited I wanted to share right away. I've been checking Ana's site for about a year now and never had the courage to build anything... until today - I am thrilled I did. I had some cheap 2x4's studs at home so if I failed, no big waste of money. To my surprise... this was incredibly easy to build and that seat is sturdy. I modified the plan and intend to build 1 more chair and 1 sofa that accommodates 2 people. Thank you Ana! Amazing site and now I am so much more confident on my ability to build beautiful projects myself :)!

Estimated Time Investment
Afternoon Project (3-6 Hours)
Finish Used
Not finished yet - but will use deck solid stain (Behr) all in one from the Home Depot.
Recommended Skill Level
Beginner

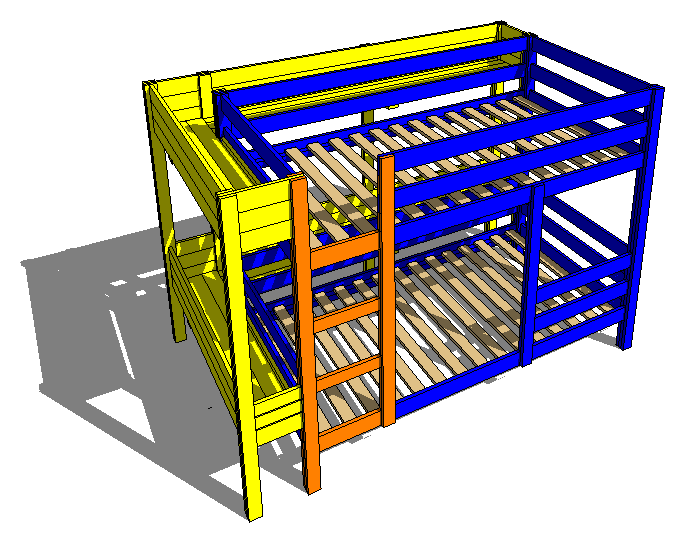
Colorful Bunk Beds with Wraparound Shelves

Submitted by timgrimm on Tue, 01/02/2018 - 20:29

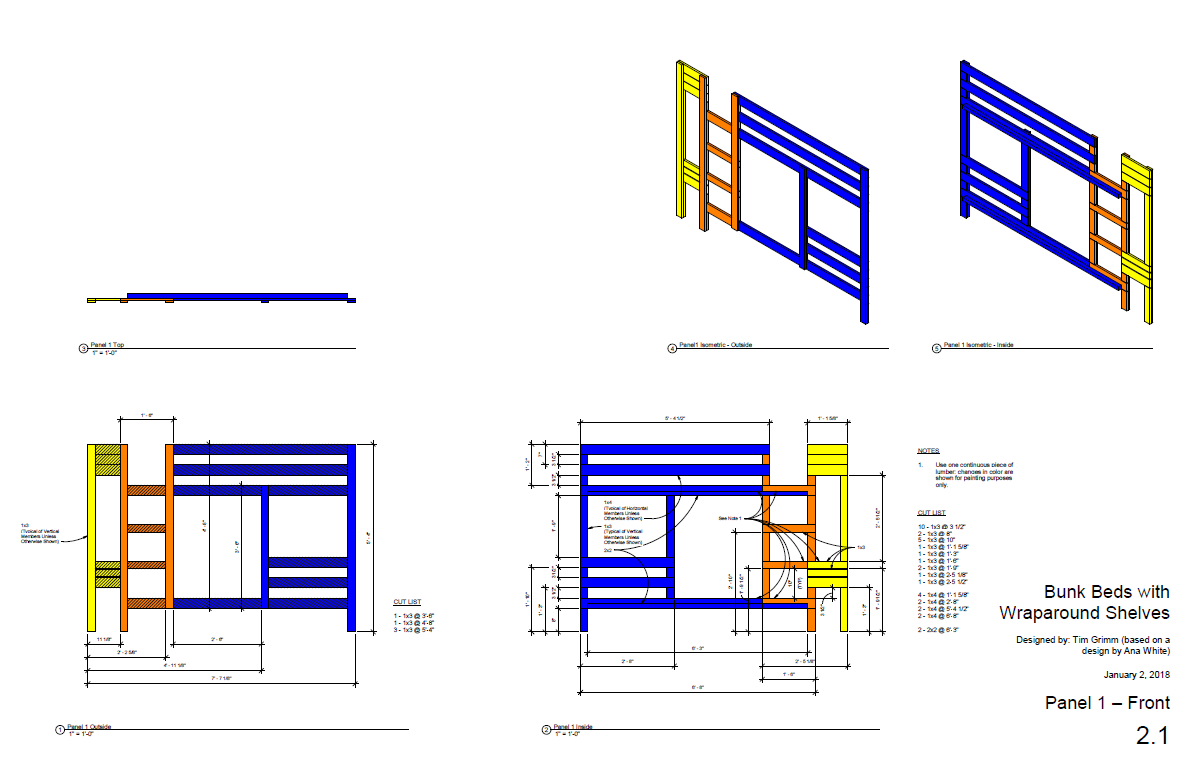
My sons have been ready for bunk beds for awhile and, being an apartment dweller, I wanted some that could be disassembled and reassembled. I really liked Ana's design for classic bunk beds. Because storage space is also at a premium for us, I thought to add wraparound shelves to the bed. I ended up with seven panels instead of four, plus shelving. Also, I wanted to add truncated safety railing to the bottom bunk. Lastly, I wanted to use a bright color scheme that incorporated some of my sons' favorite colors that would also serve to visually separate the shelves from the beds.

The construction plans are available in 11x17 PDF format from my blog, as are the source design files in Revit 2018 format.

Built from Plan(s)
Estimated Cost
$750 all inclusive, including mattresses and bedding.
Estimated Time Investment
Week Long Project (20 Hours or More)
Finish Used
Sherwin Williams paints.
Recommended Skill Level
Intermediate

Shou Sugi Ban (Yakisugi)

Submitted by JLFarquhar on Sun, 12/26/2021 - 17:23

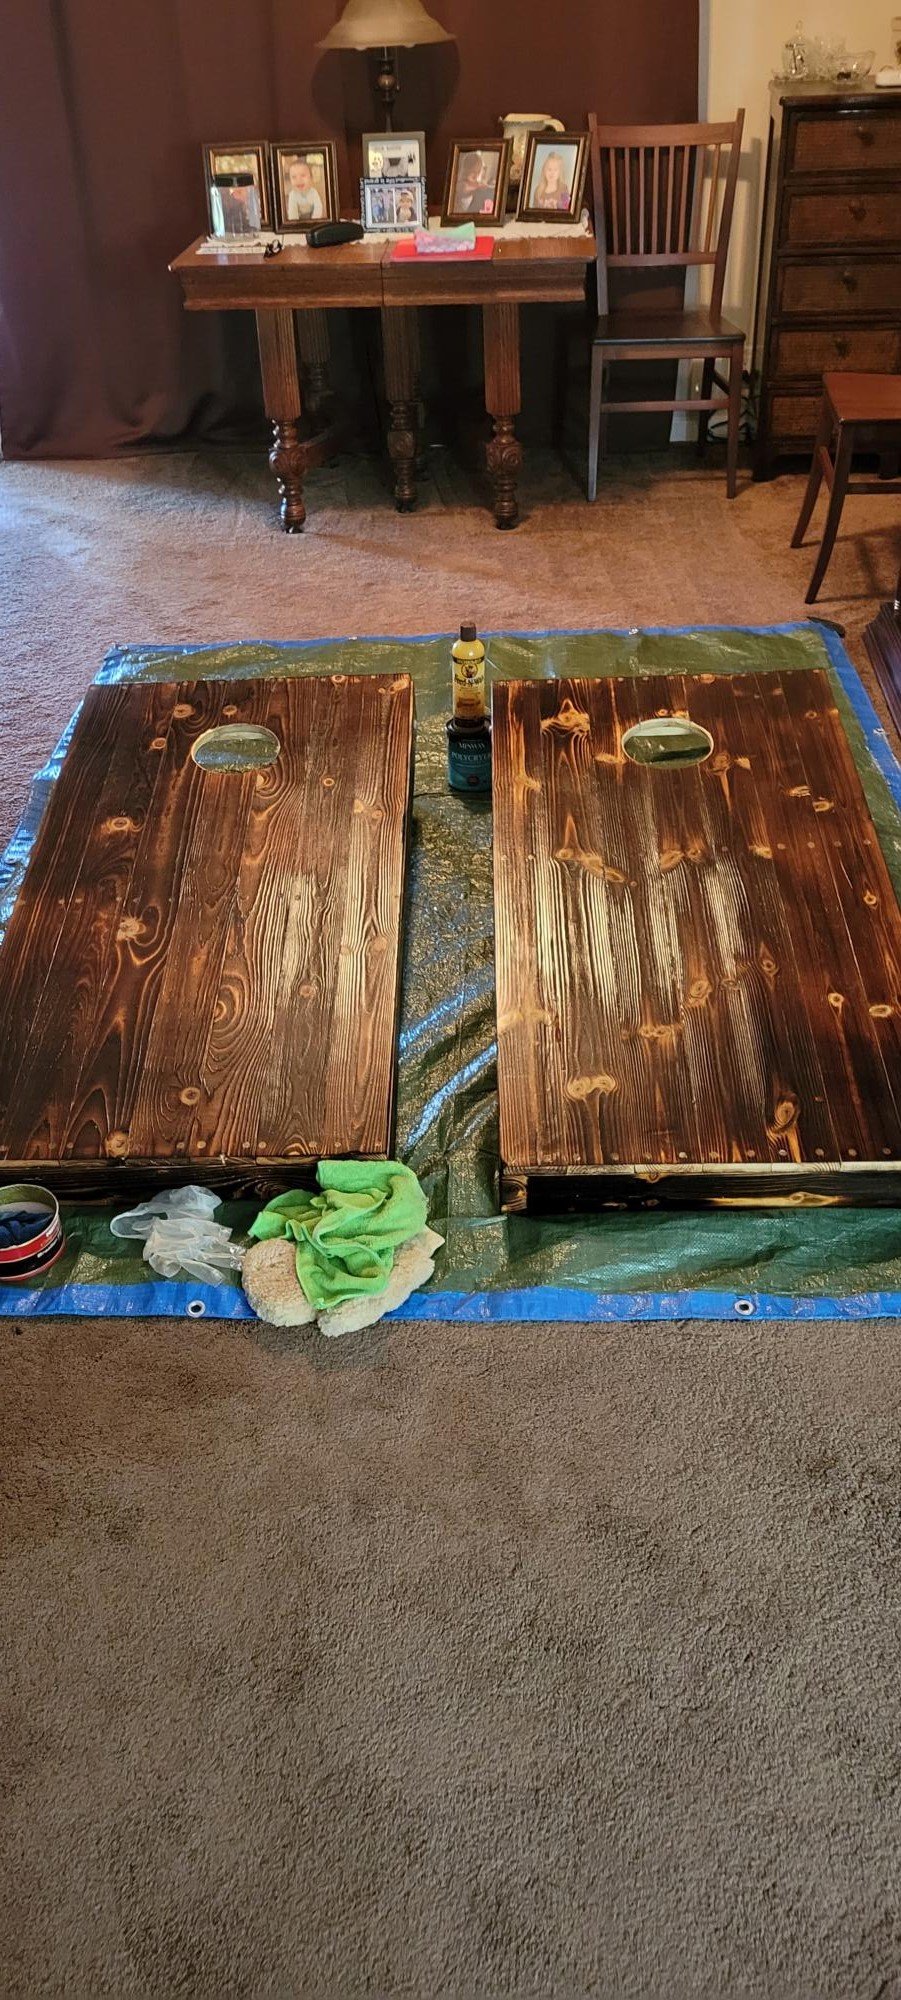
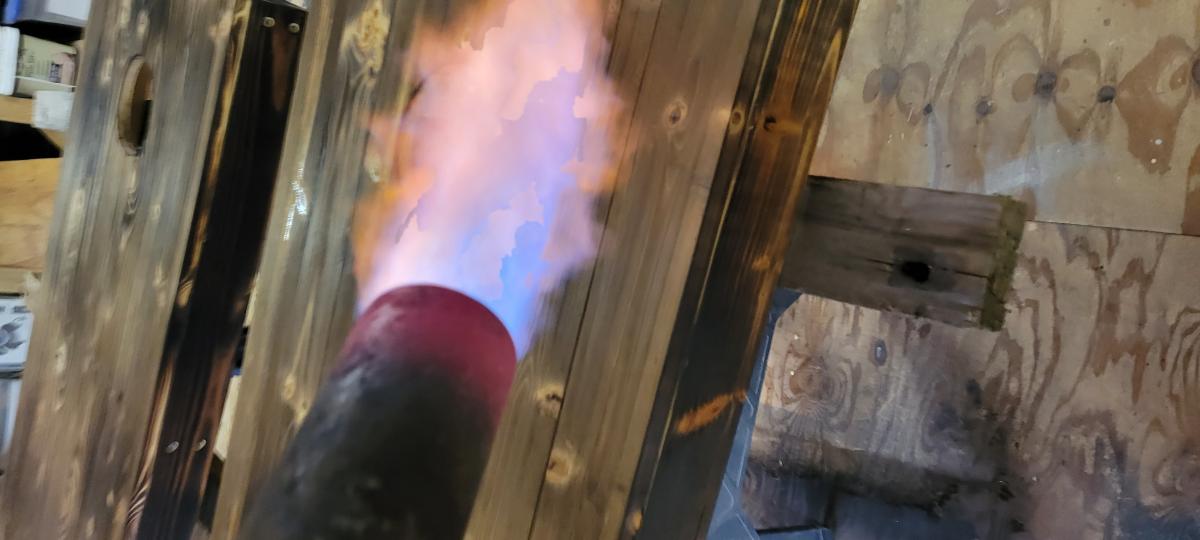
I'm James Farquhar, designer, and fabricator. This is the second set of cornhole boards I built this year. This set is the regulation size of 48" x 24" according to the American Cornhole Association. It is made from fir 2 x 4 s and pine 1 x 4 s (6 per board). Each board is glued with Titebond II and countersunk Torx top screws (#8 1-1/2 inches). It is coated with Minwax polyacrylic (8 layers sprayed on) and Howard's bee's wax (3 layers). The boards are secured with 3-inch toggle latches in pairs. Kayak carrying handles with four screw ports; I used the same Torx Screws I used to put the boards together, extra for strength. The total weight of the boards is 60 pounds. I used a Texas Flame Thrower to Shou Sugi Ban (Yakisugi), as a finish.

Narrow Farmhouse Table

Submitted by kylihoot on Sun, 05/01/2011 - 14:32

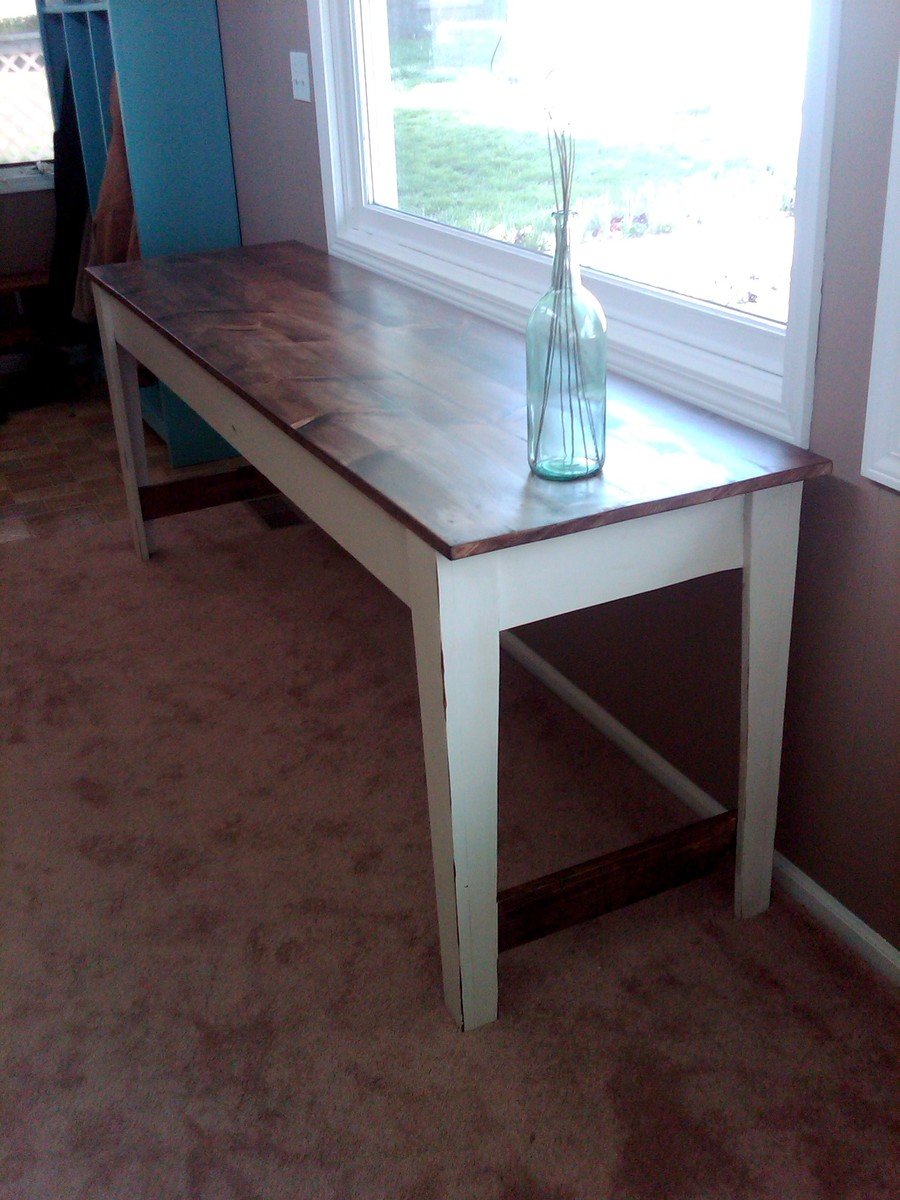
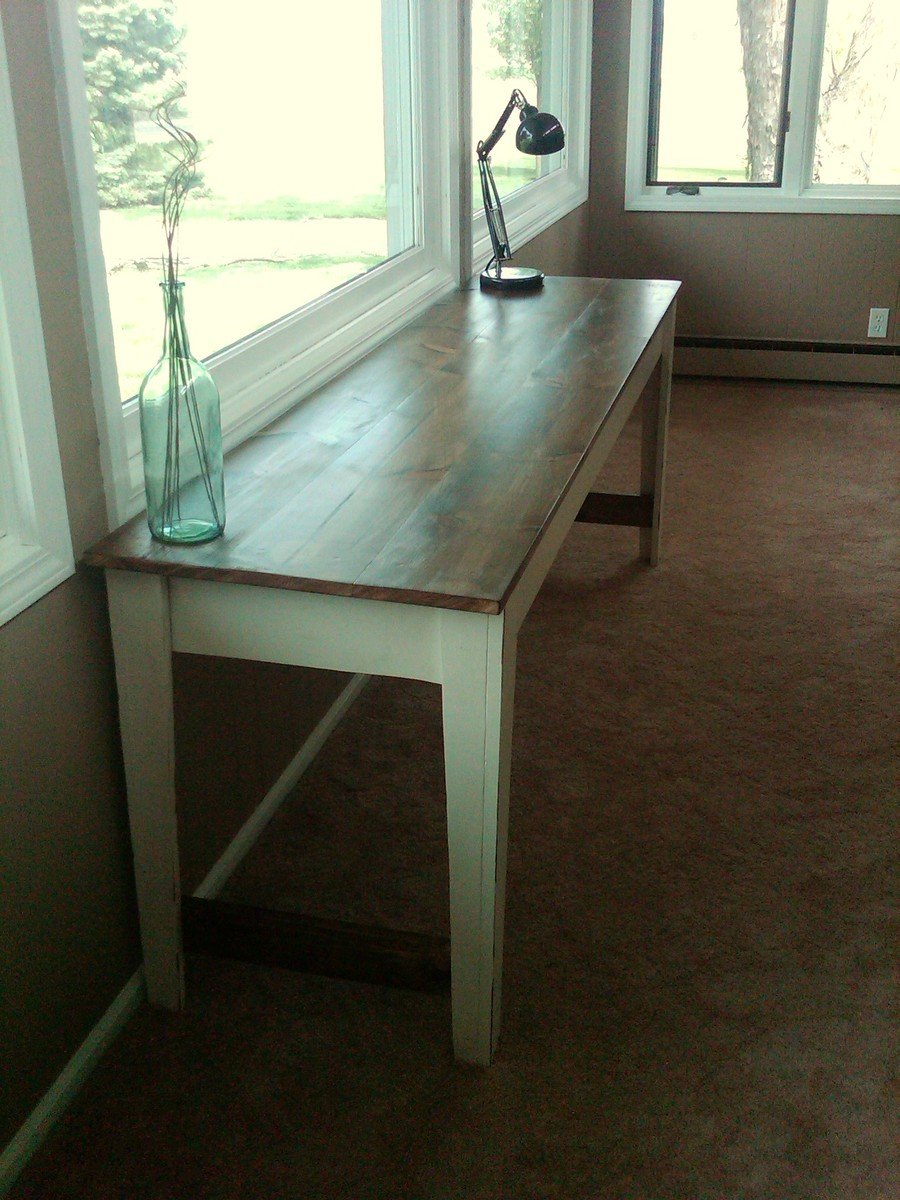
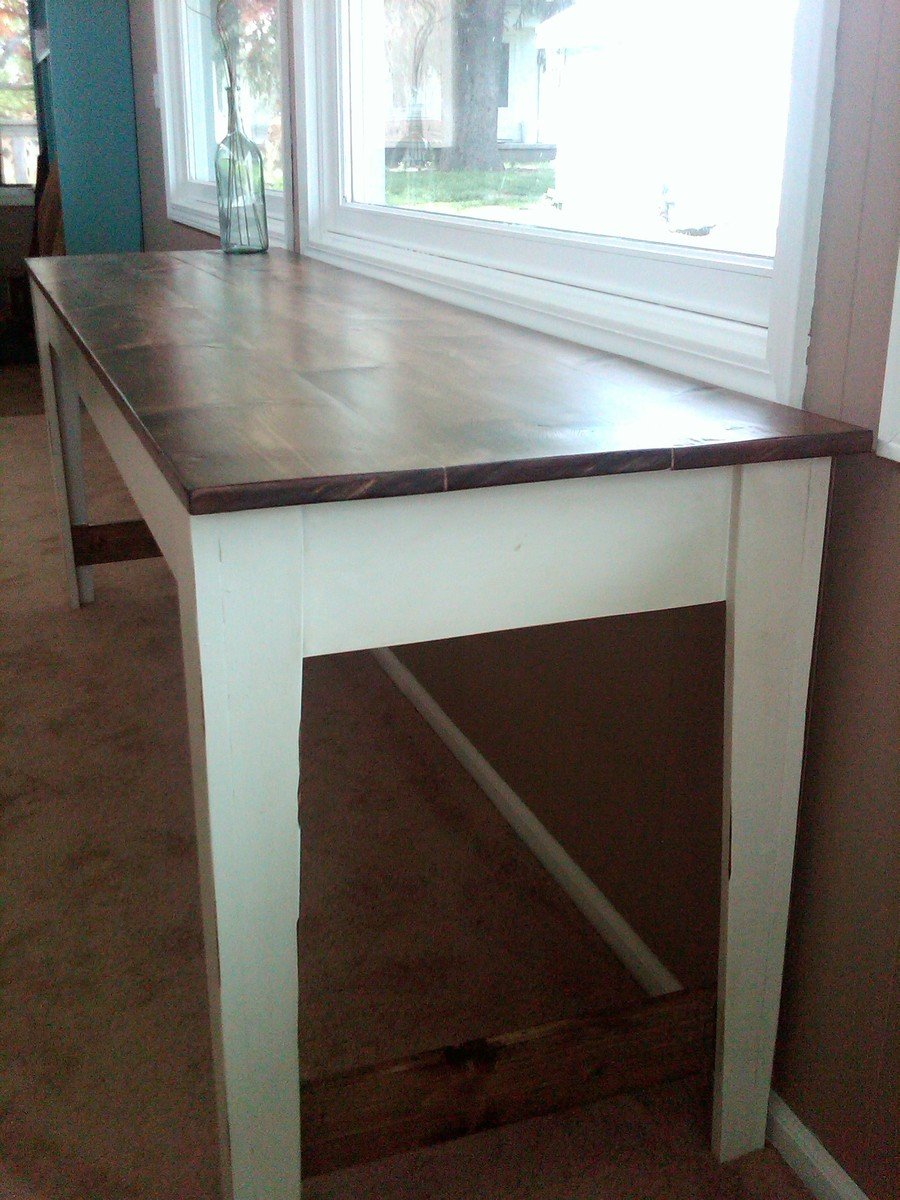
This is my favorite build so far! When I saw the plan I pretty muh obssesed over it for weeks until I finally gave in and here it is!
I must confess...I have no where to put it haha. I don't care, I saw it and had to have it.

Built from Plan(s)
Estimated Cost
$40 maybe a bit more for others...employee discount ;)
Estimated Time Investment
Weekend Project (10-20 Hours)
Finish Used
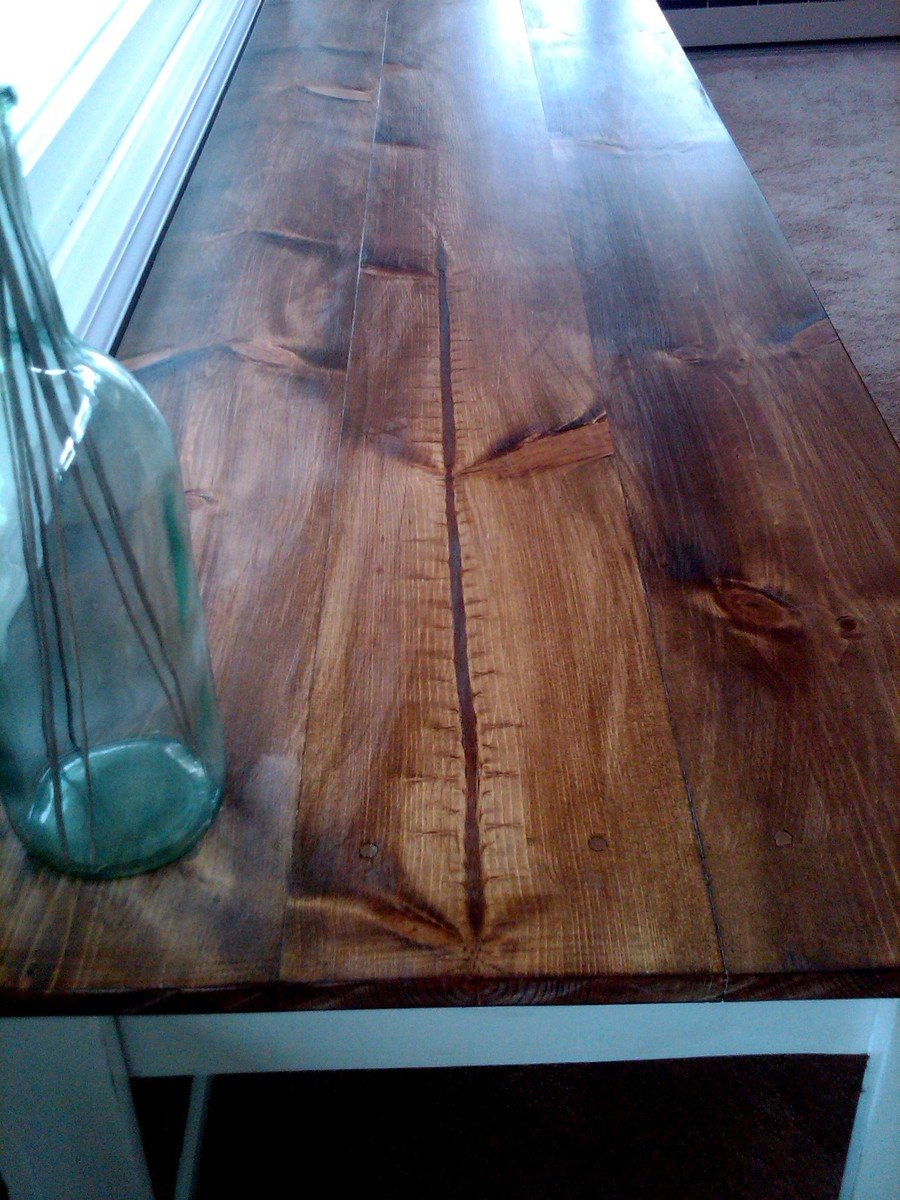
I used wood conditioner on the table top and end support aprons, and followed with a stain called Provincial.
I then primed and painted the legs satin high hiding white. I took my sander and distressed the edges, and finally rubbed on stain over the paint and quickly wiped of the excess. IT looks worn, but not too worn as the husband is not to excited about old looking stuff.
Recommended Skill Level
Beginner

Farmhouse Inspired Table

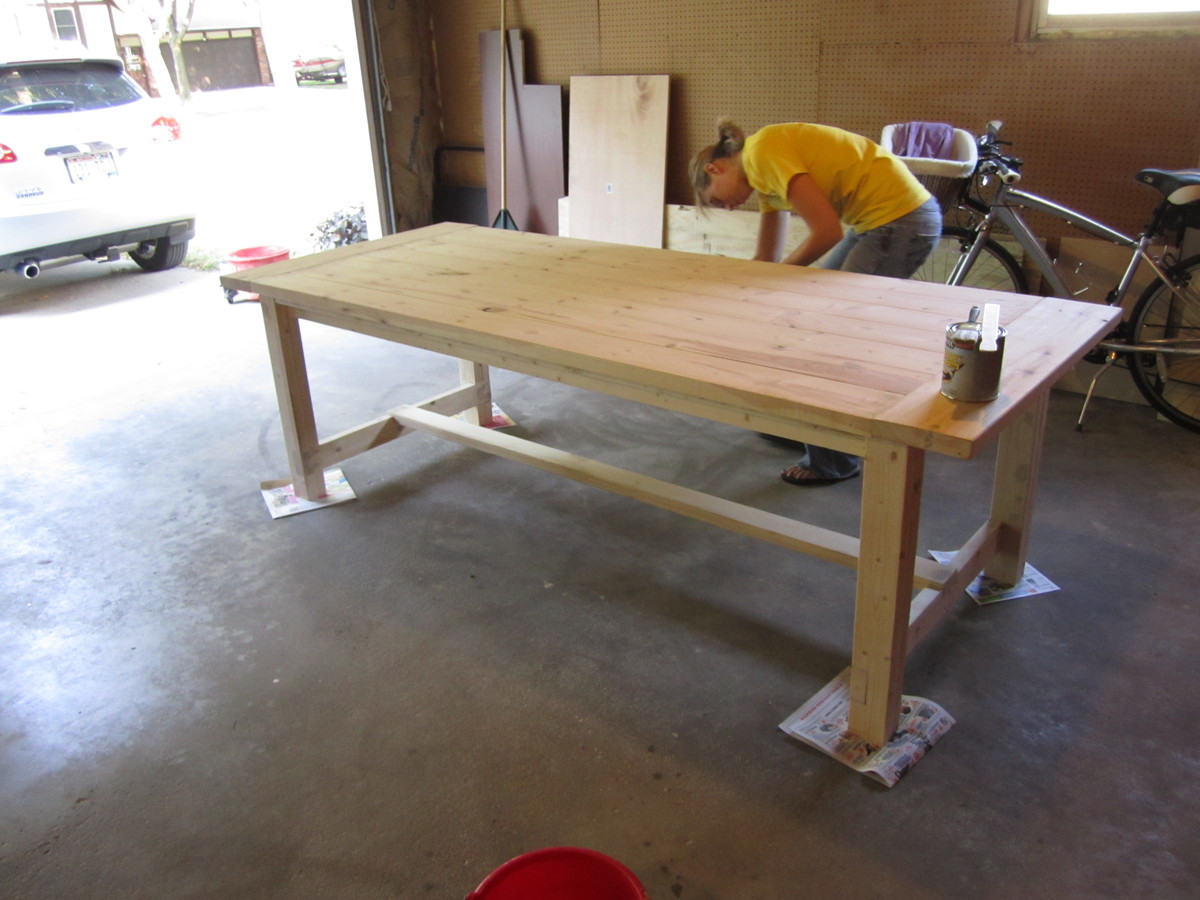
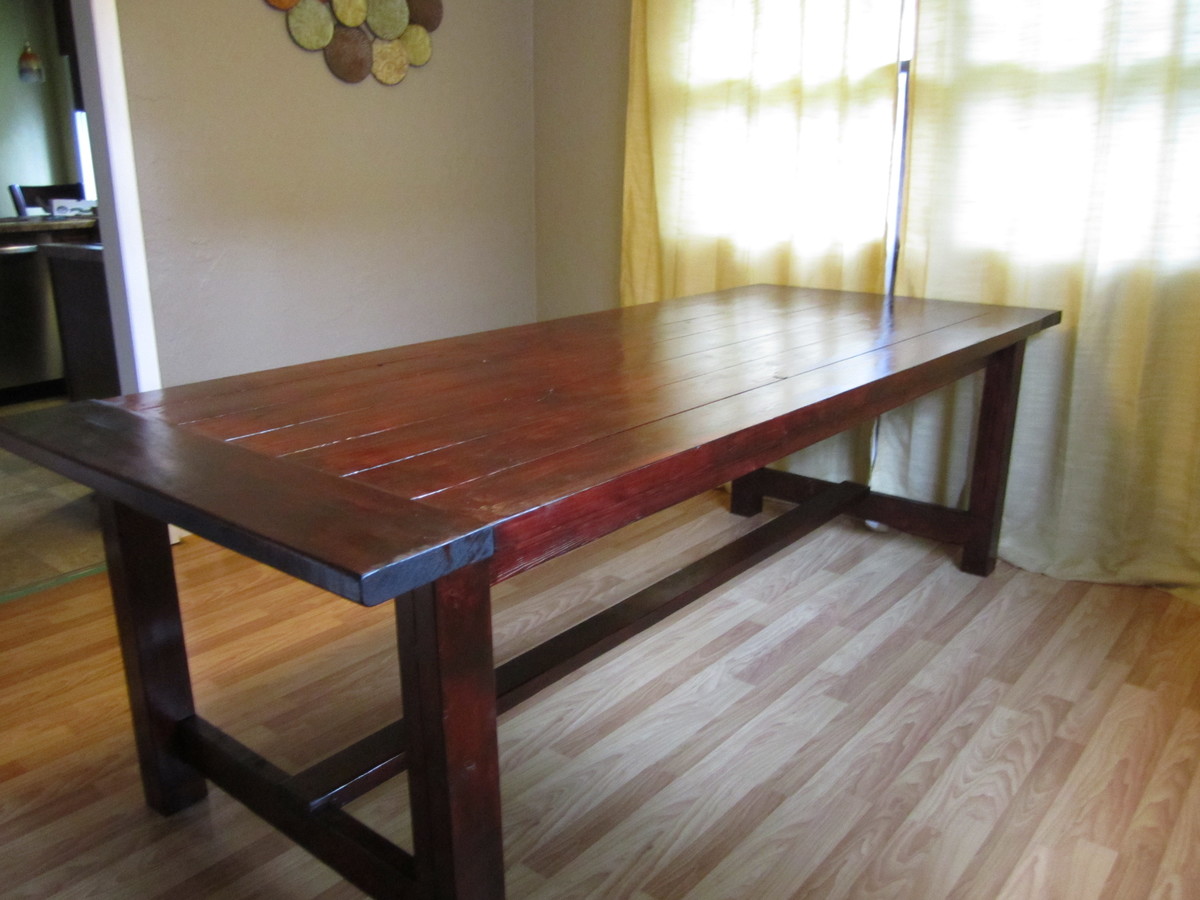
My husband and I used Ana's plans to create this BEAUTIFUL farmhouse inspired table for our dining room. The project was straightforward and we are EXTREMELY happy with the results. We added a touch of modern to the table by purchasing metal chairs from overstock.com. The table is perfect for family get togethers and even more important...family game nights!!

Estimated Cost
$100
Estimated Time Investment
Weekend Project (10-20 Hours)
Finish Used
Minwax Polyshades in Dark Walniut-we also applied a few coats of wipe on poly to the finished project. We wanted our table to look rustic so we did "bang it up" a bit before staining and finishing.
Recommended Skill Level
Beginner

Comments

wjc129

Fri, 06/28/2013 - 08:26

Looks great! Did you just use the cheap pine at Lowes/HD? Any tricks to getting the table top flat and level?

In reply to by wjc129

amandaherlache

Mon, 07/01/2013 - 06:15

We used the "select" pine boards from Home Depot..which are a bit nicer than just the ordinary ones. To make the table top level we used a level to be sure that there weren't any major bumps...then once we had the top secured we sanded it to make the boards flush to each other. Hope that helps! Thanks for you comments!

Tiki Bar from Potting bench!

I wanted a Tiki Bar for my deck big enough to store bottles and trinkets, and put a spread on to eat outside. The simple potting bench was my base plans and i just expanded from there. I increased the depth by 4 inches and the width to 46 inches. I increase the height to 7 1/2 feet at its highest point. I used treated 4x4s for my legs and to provide the upright height. I used 2 (8 inch) Lag bolts where the roping is to keep it sturdy on top. All additional parts were bought at Lowes.
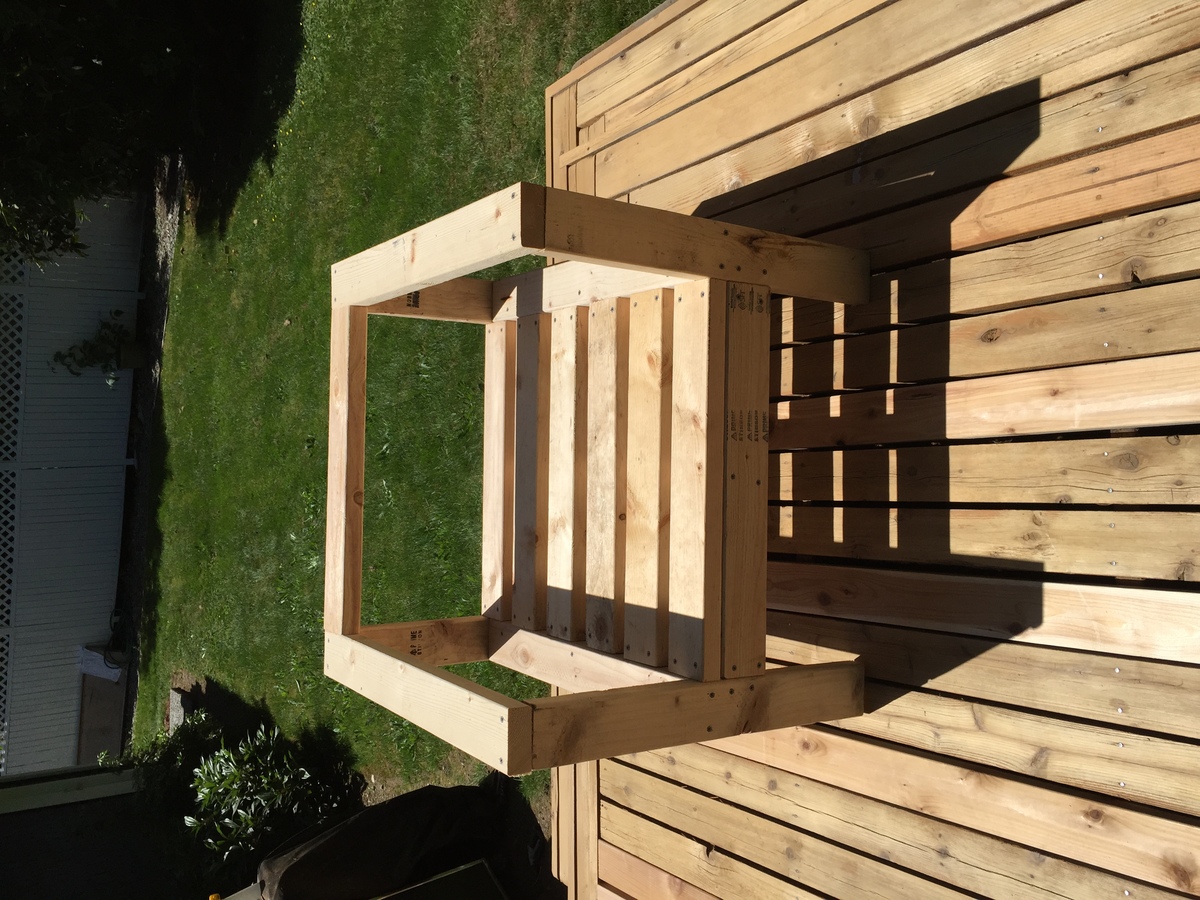
This ended up being about $200.00 but will last for a long time.

Estimated Cost
$200
Estimated Time Investment
Day Project (6-9 Hours)
Finish Used
Nothing yet.
Recommended Skill Level
Intermediate