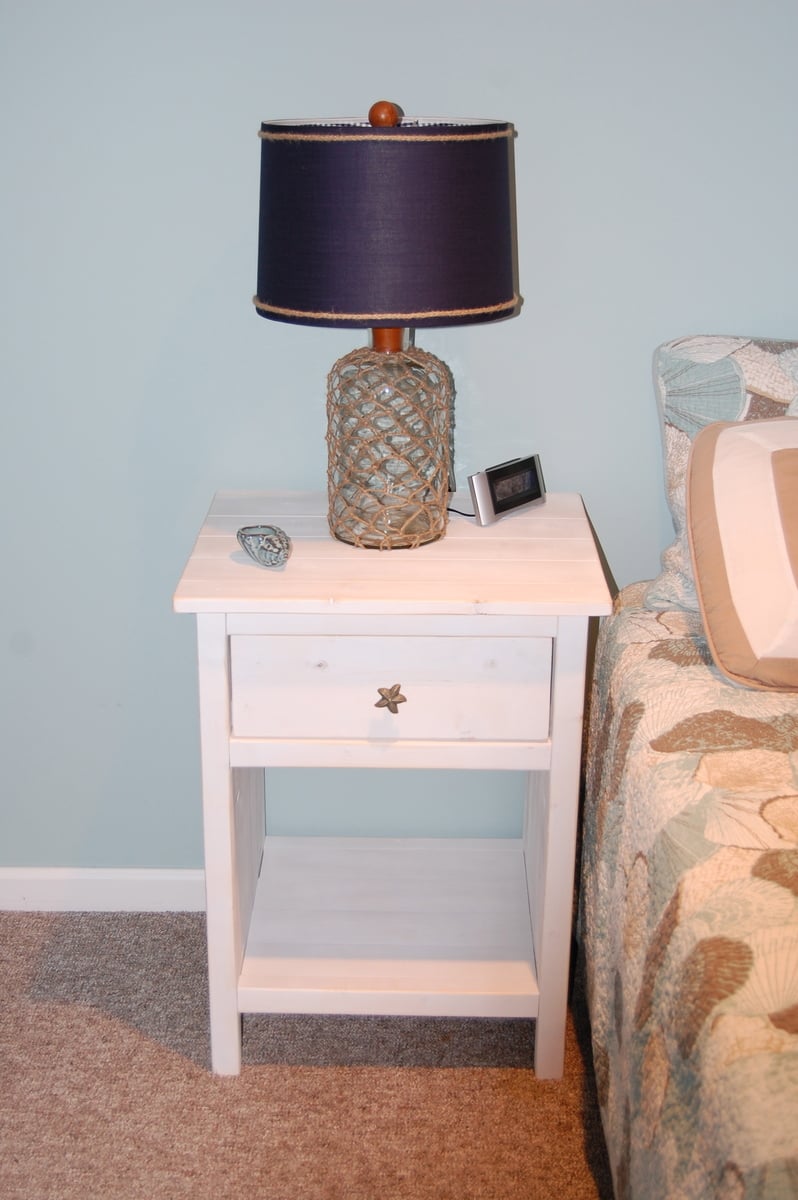
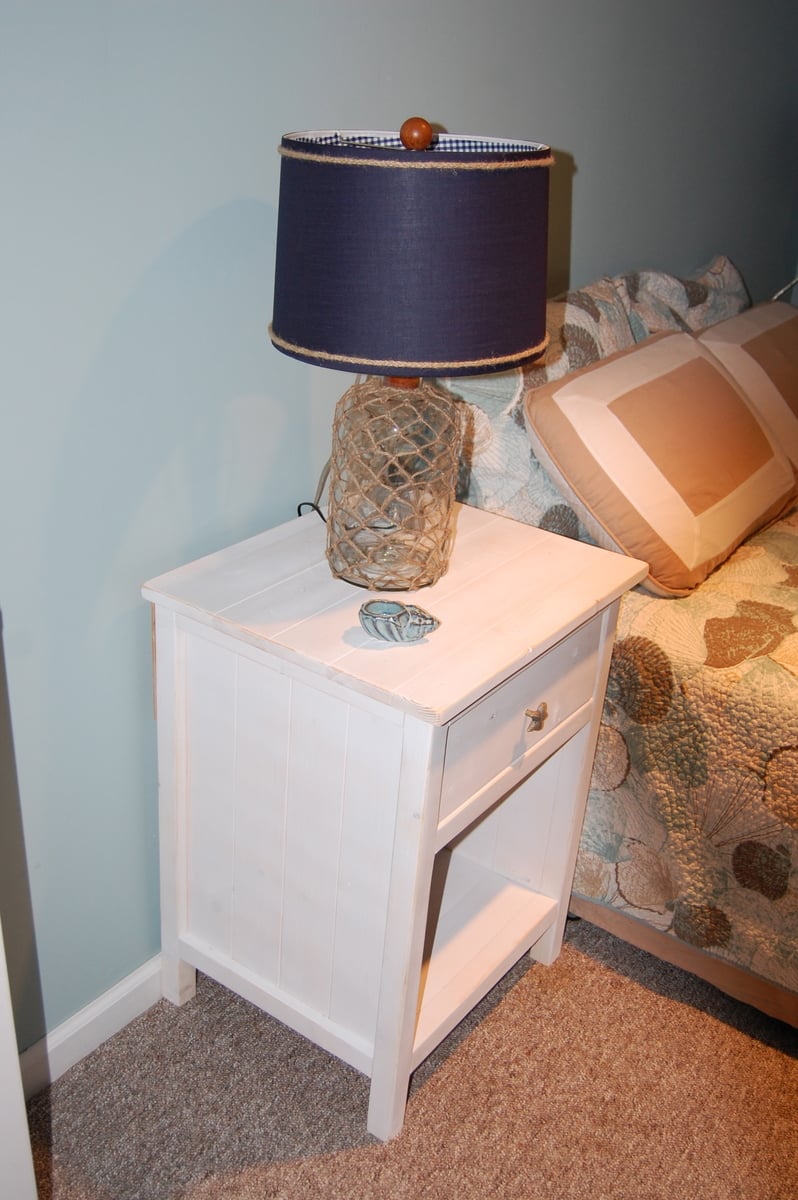
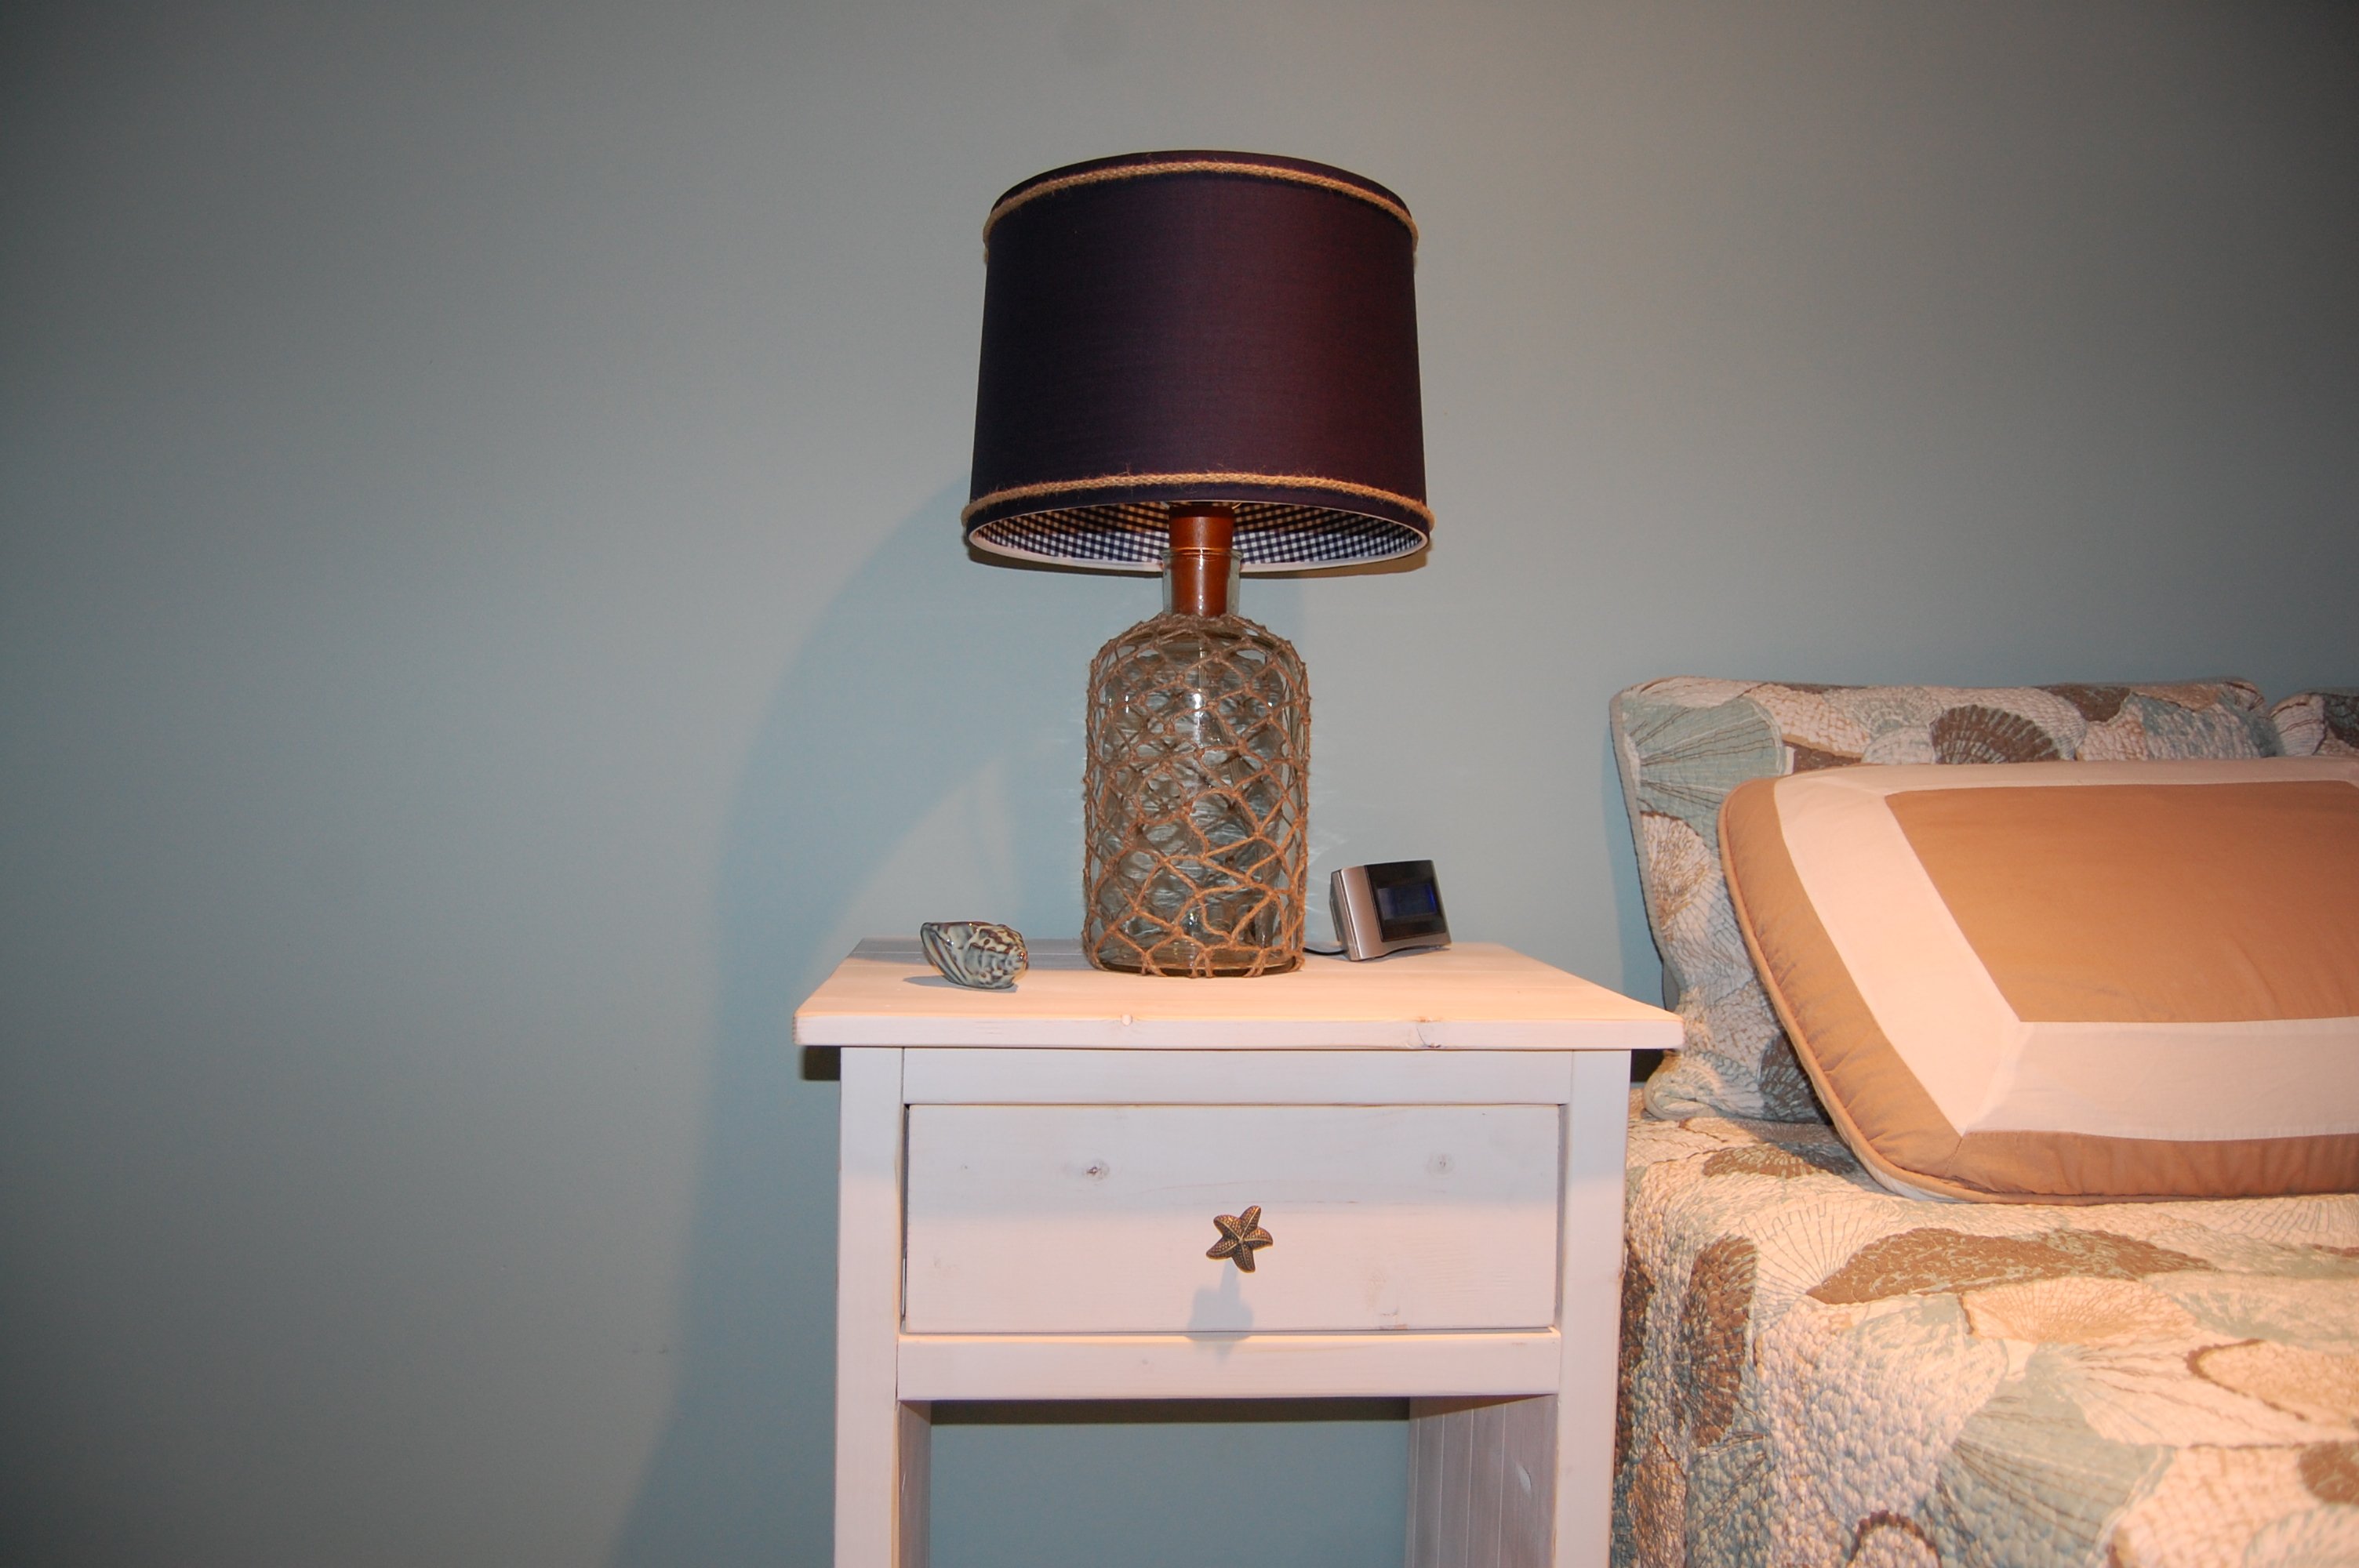
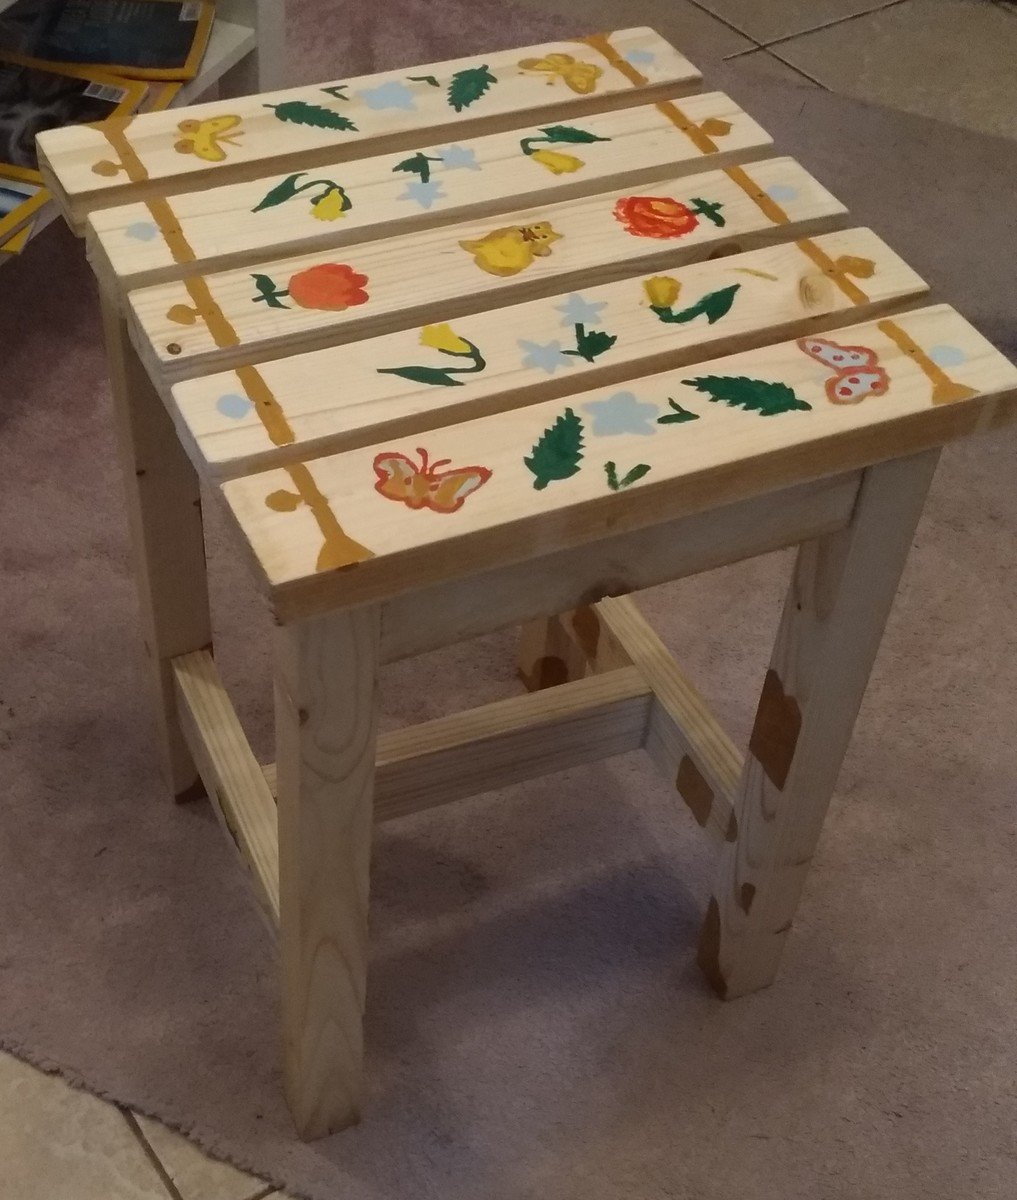
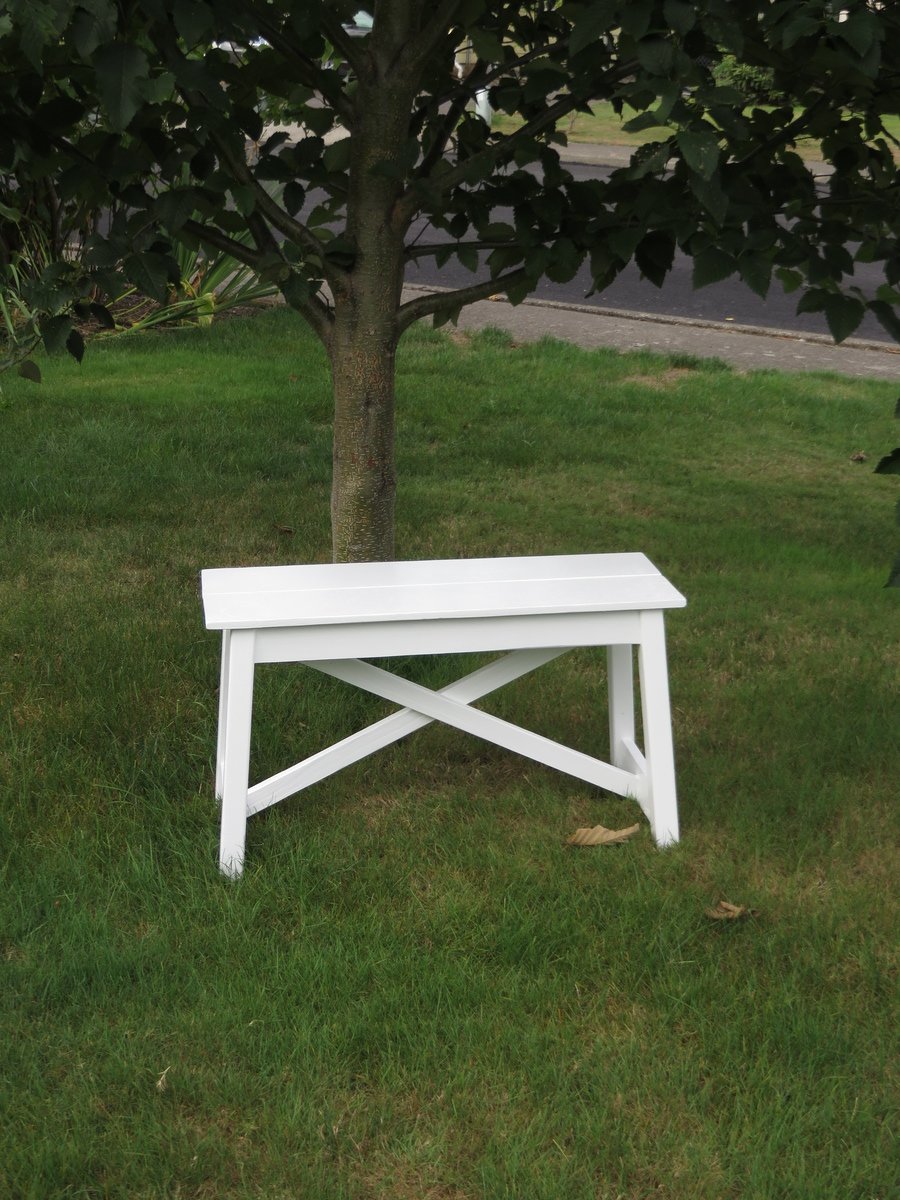
Rustic Bench
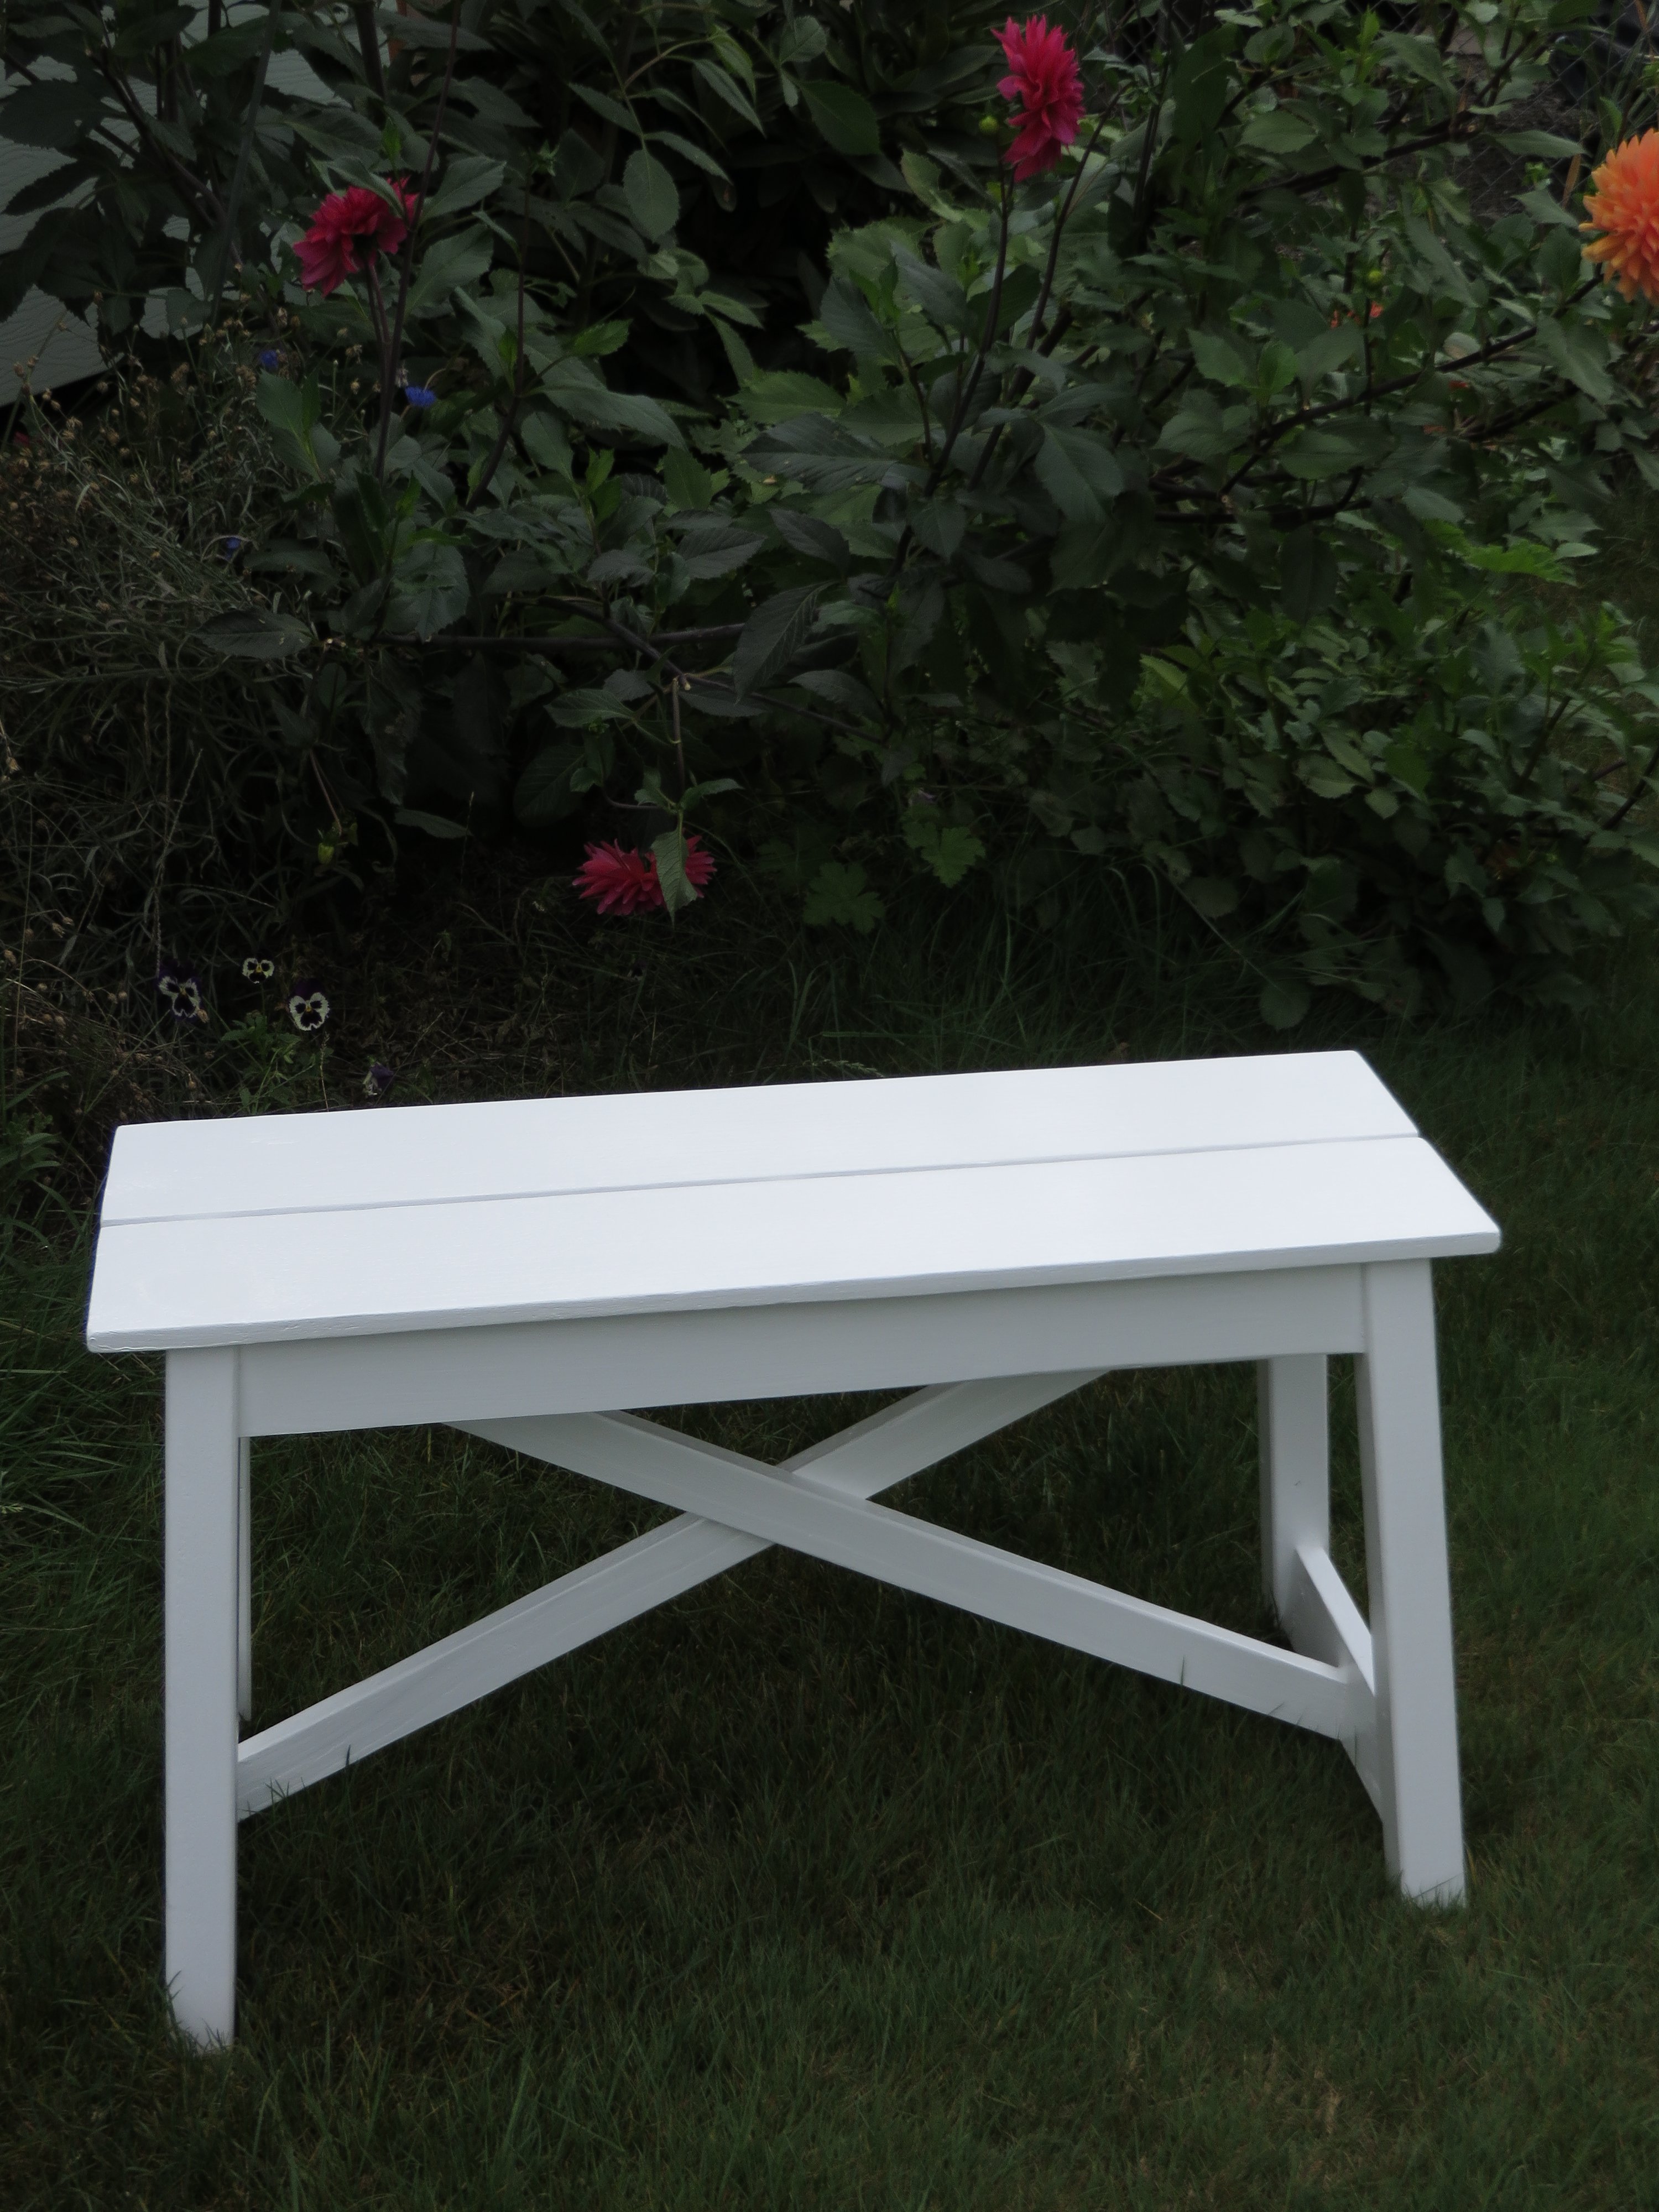
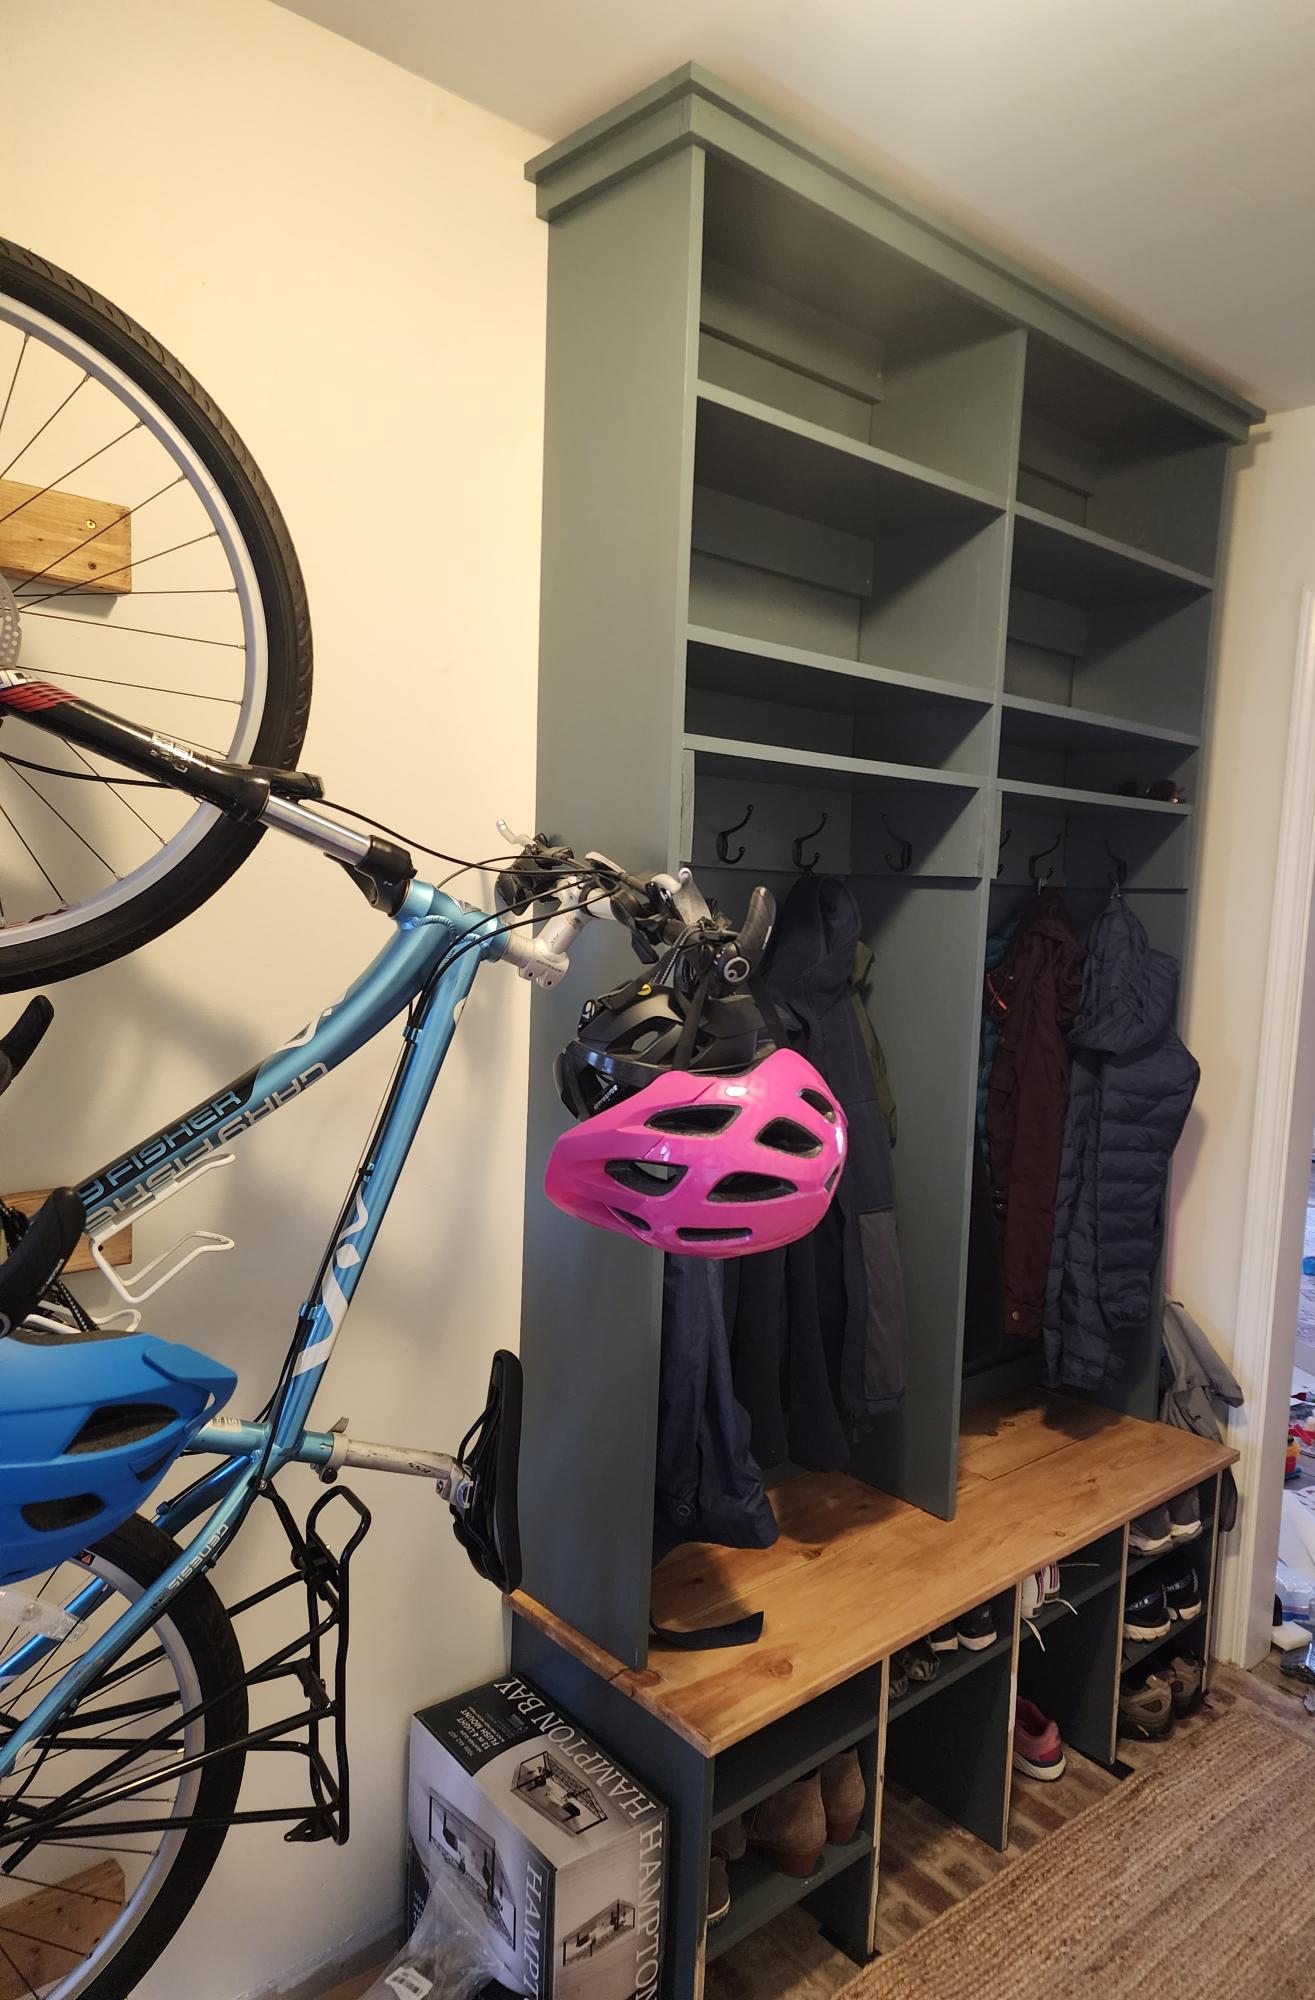
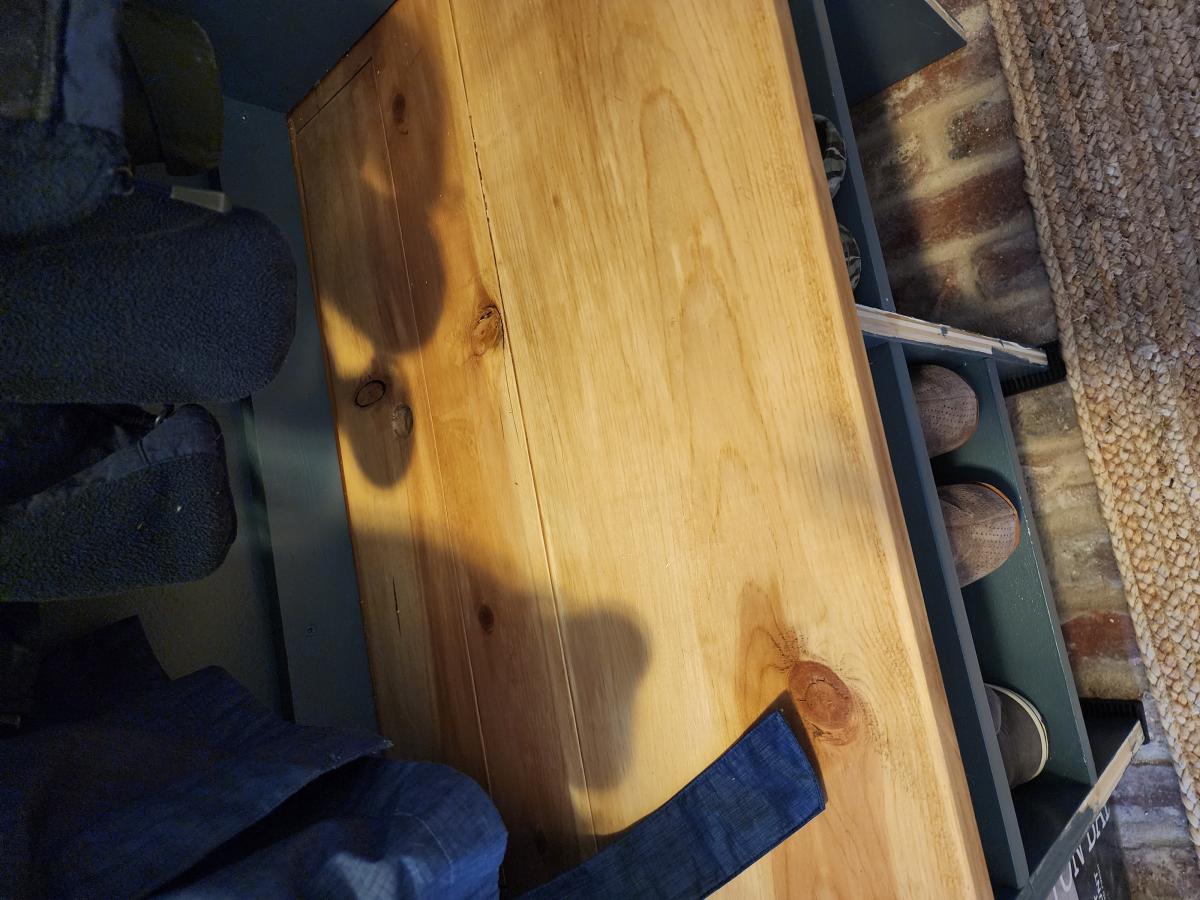
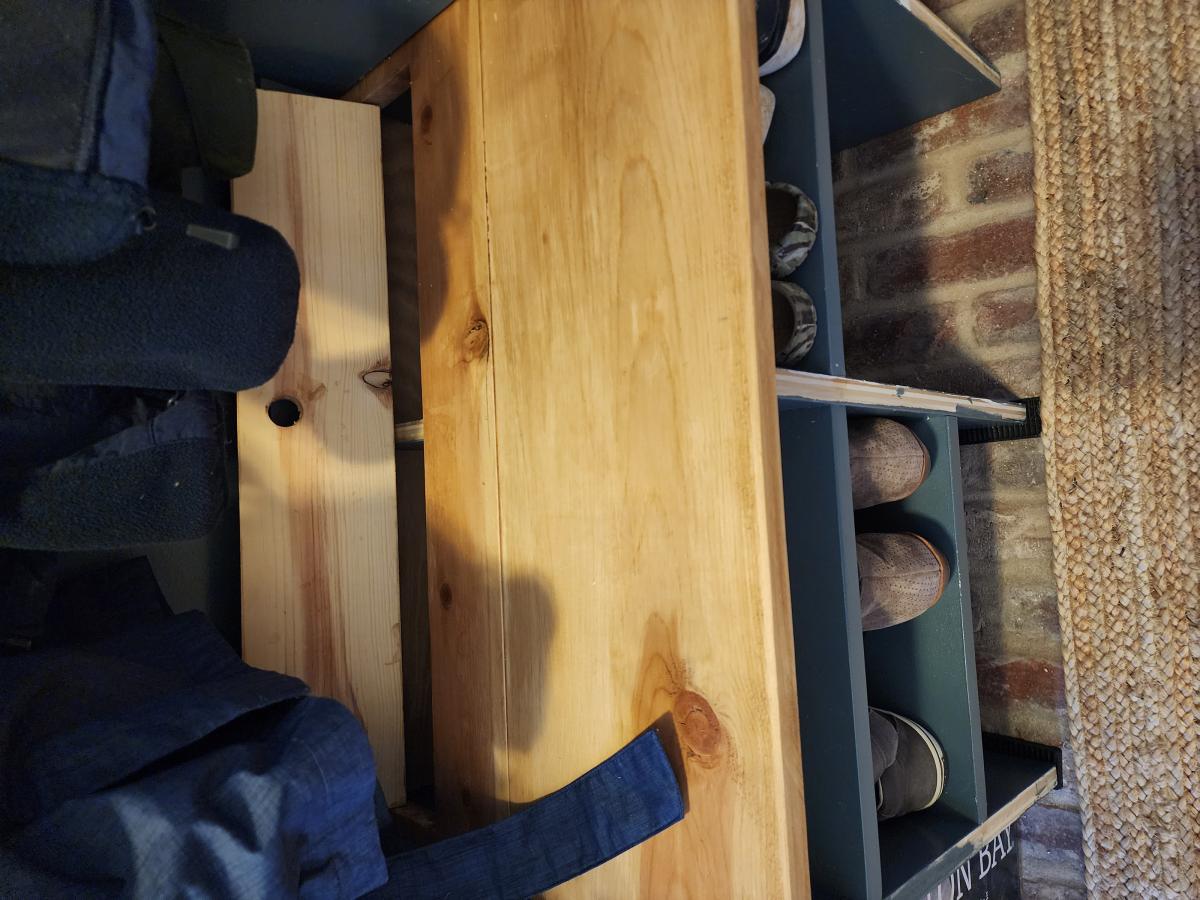
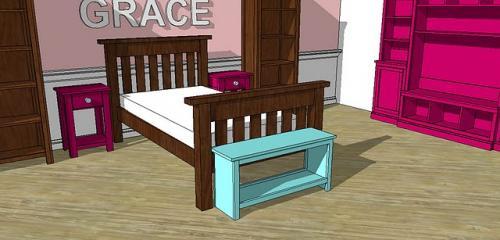
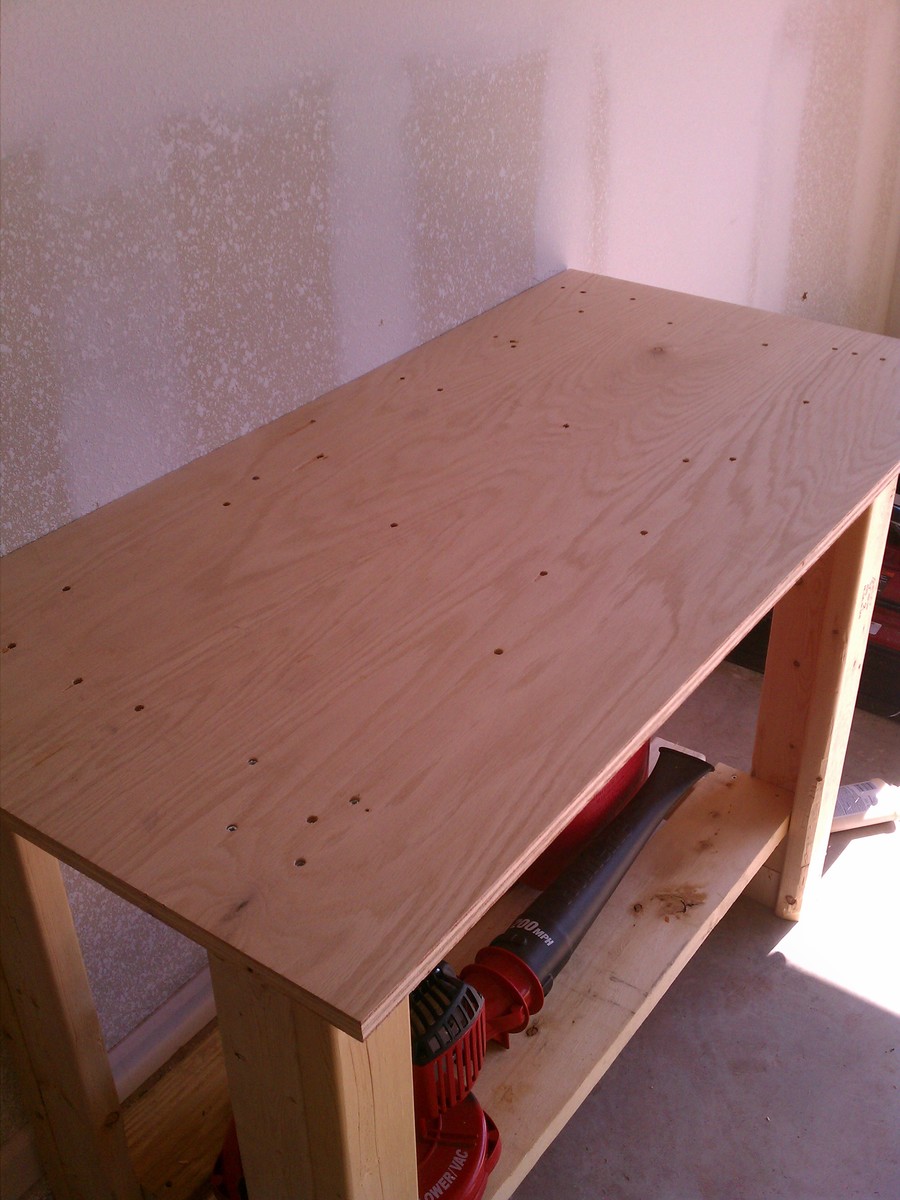
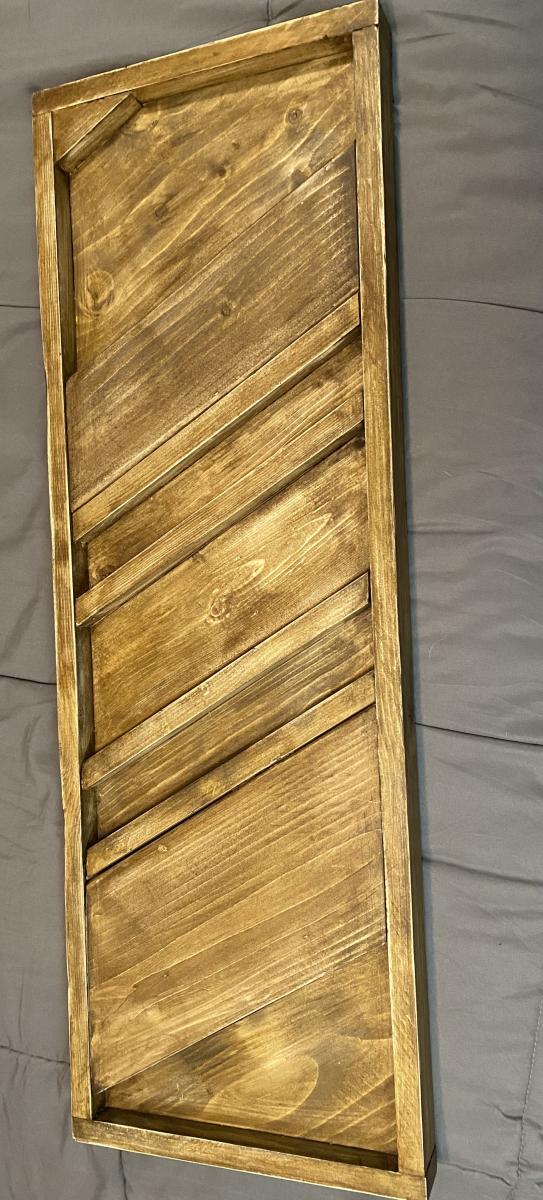
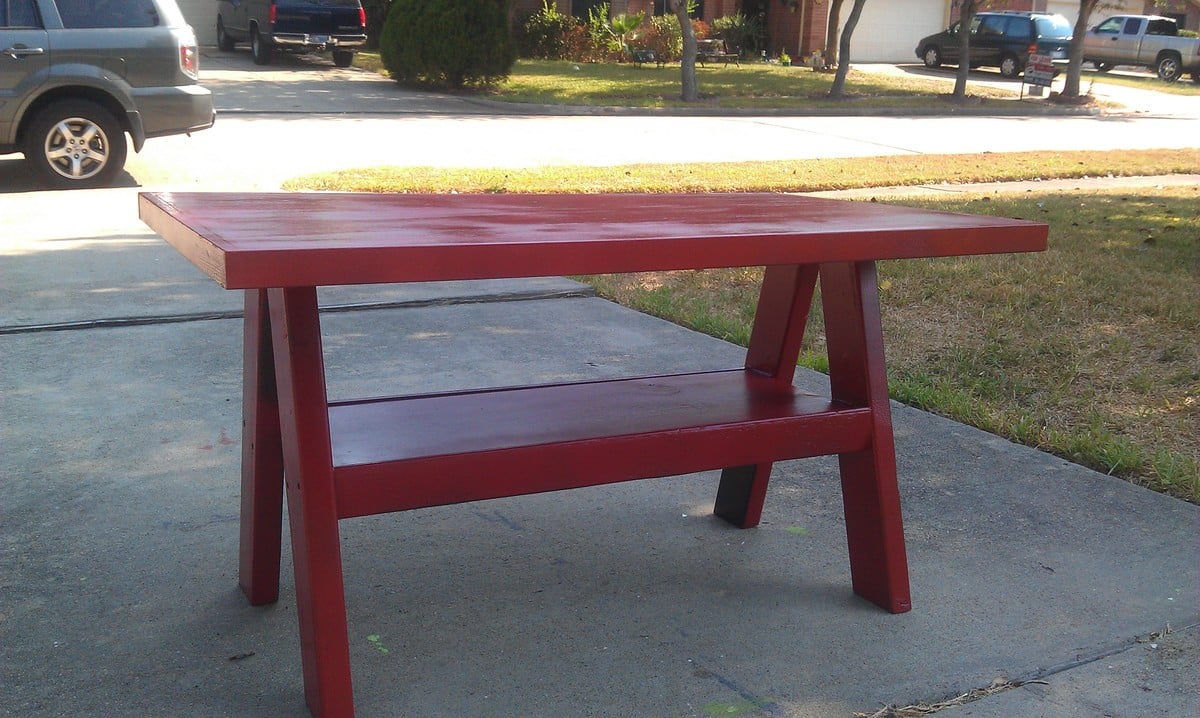
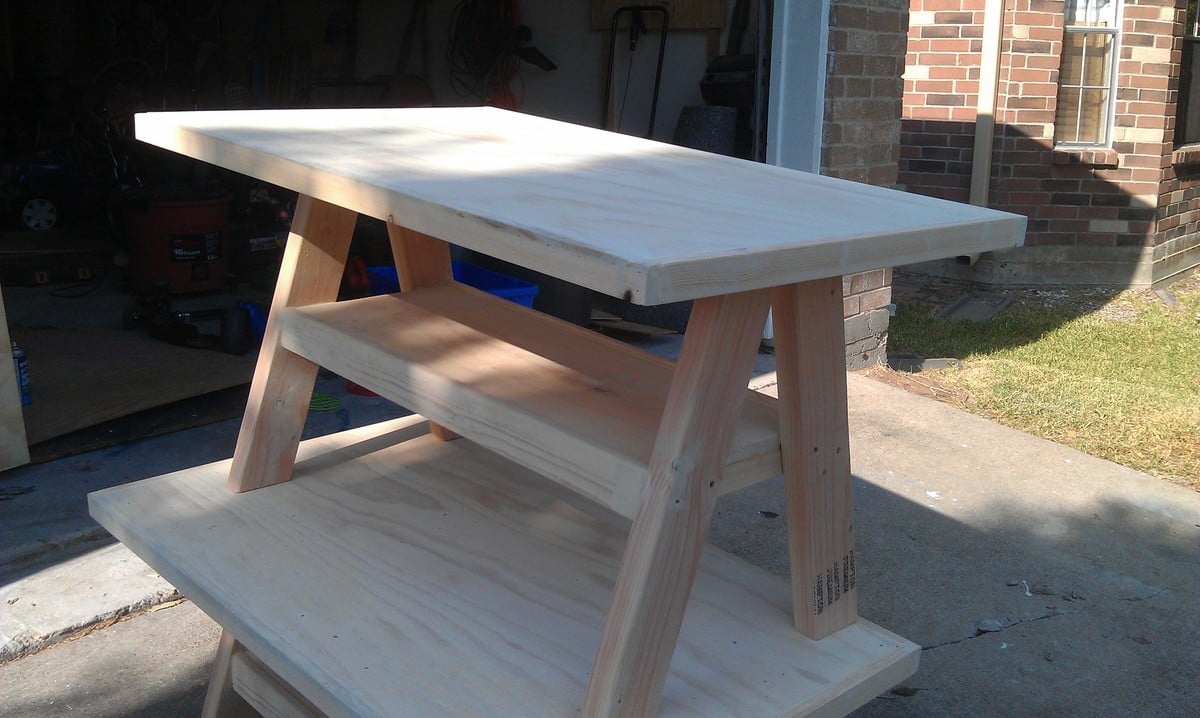
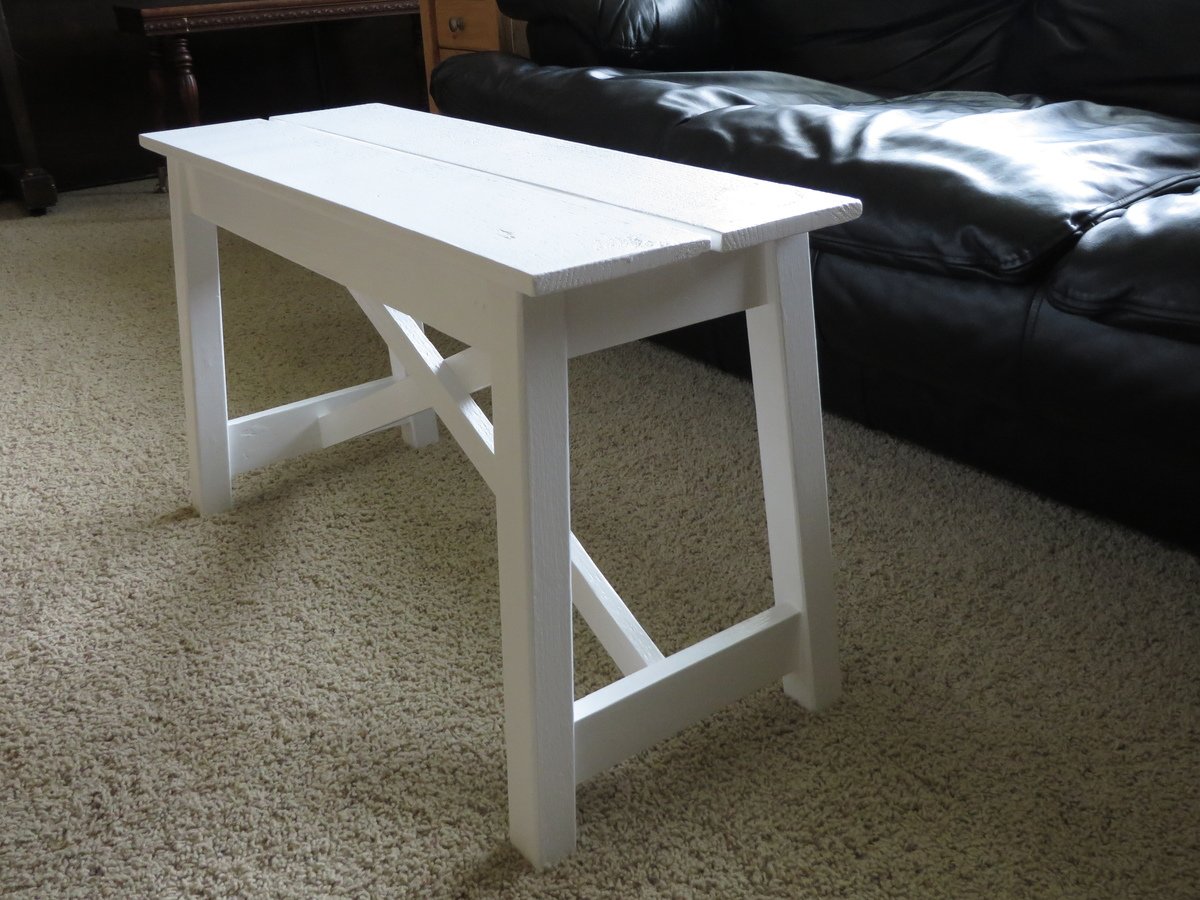
I wanted a simple bench for my yard during the summer. This was a fun, simple build with a little bit of extra style. I used a fence picket for the seat and added a center support underneath, since it was a bit bendy. Sanded the top really well before finishing. Built with Kreg jig.
Built from Plan(s)
Estimated Cost
$20
Estimated Time Investment
Afternoon Project (3-6 Hours)
Finish Used
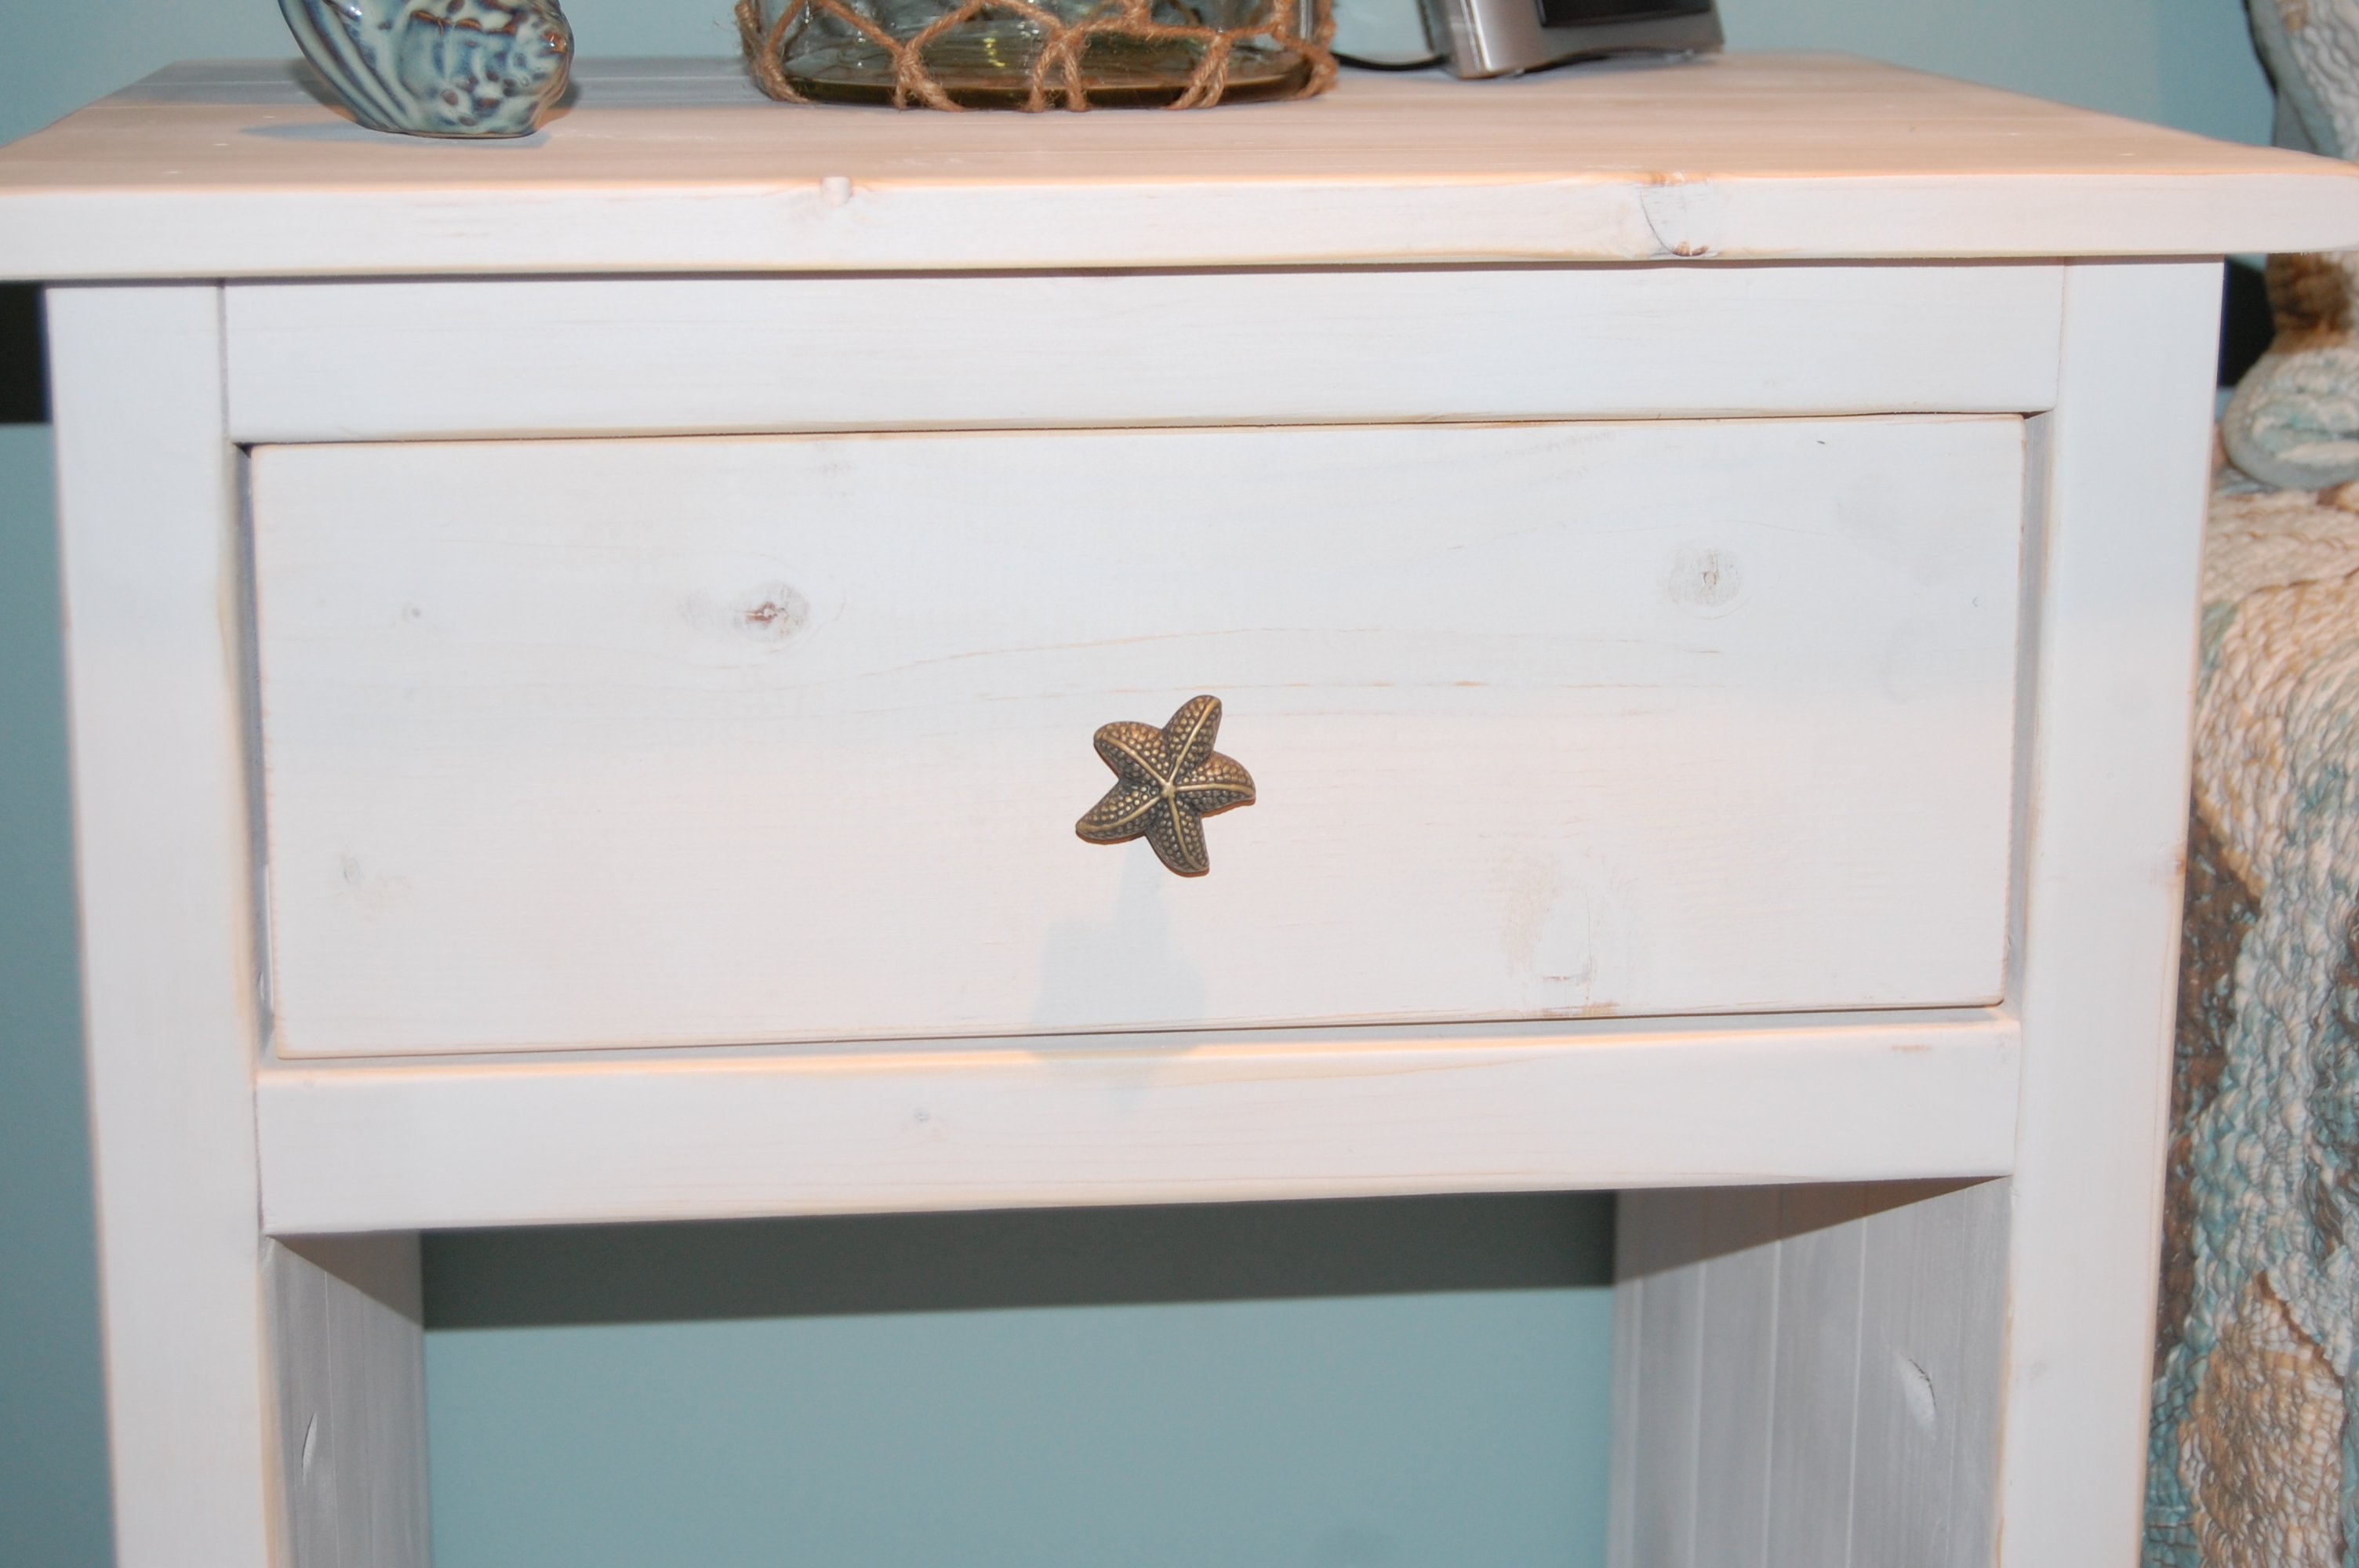
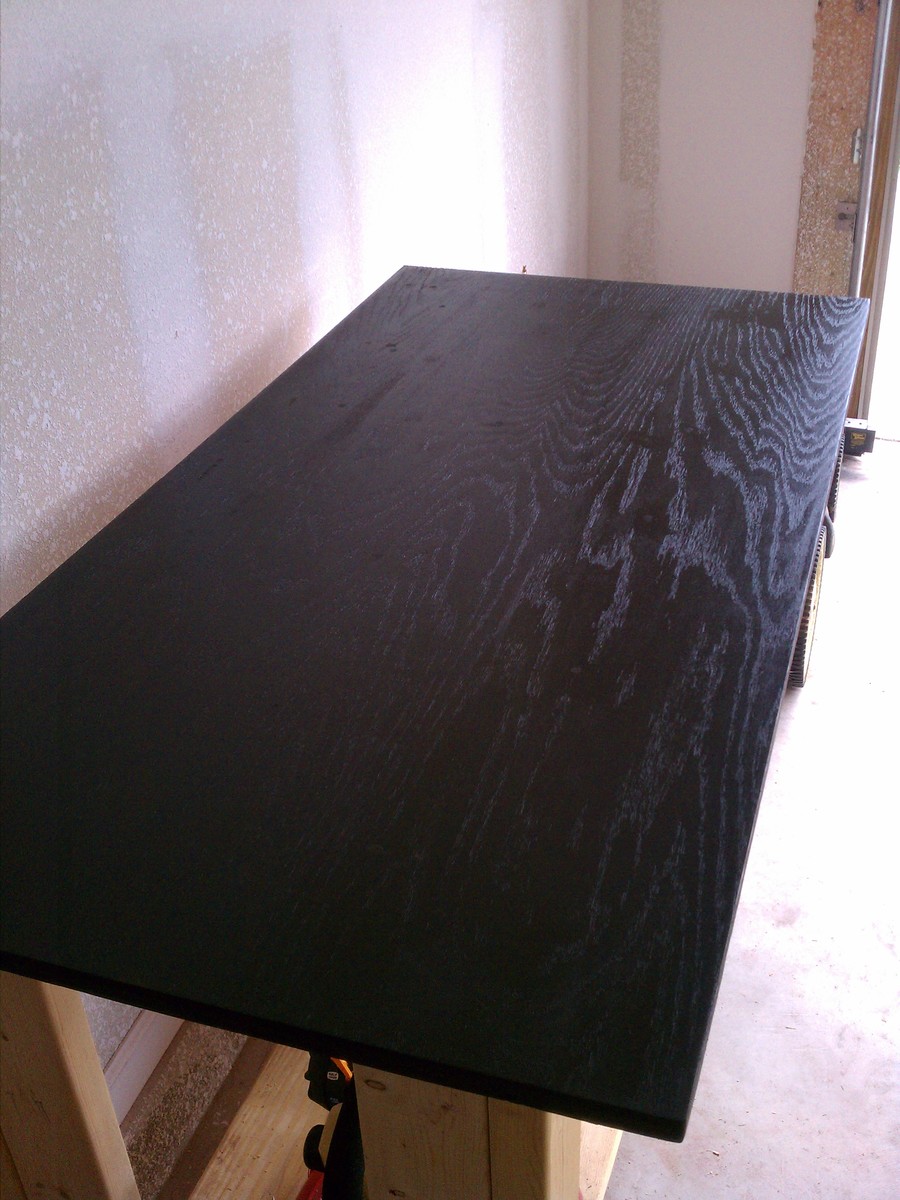
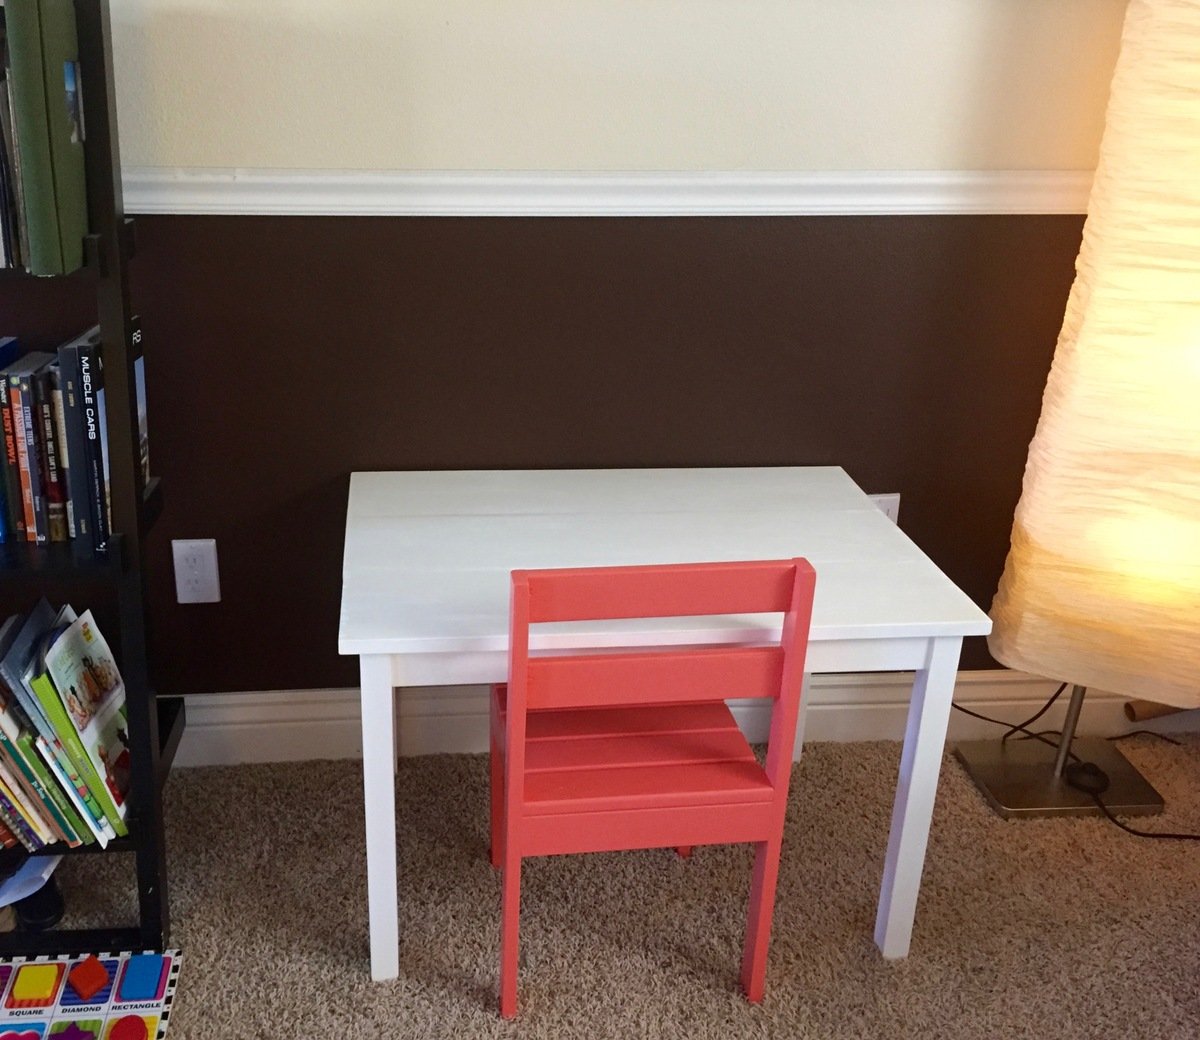
The finish takes way more time than the building. Sanded first with 60, then 150 grit paper. One coat water-based primer, two coats white Behr enamel, two coats clear spray-on lacquer.
Recommended Skill Level
Beginner