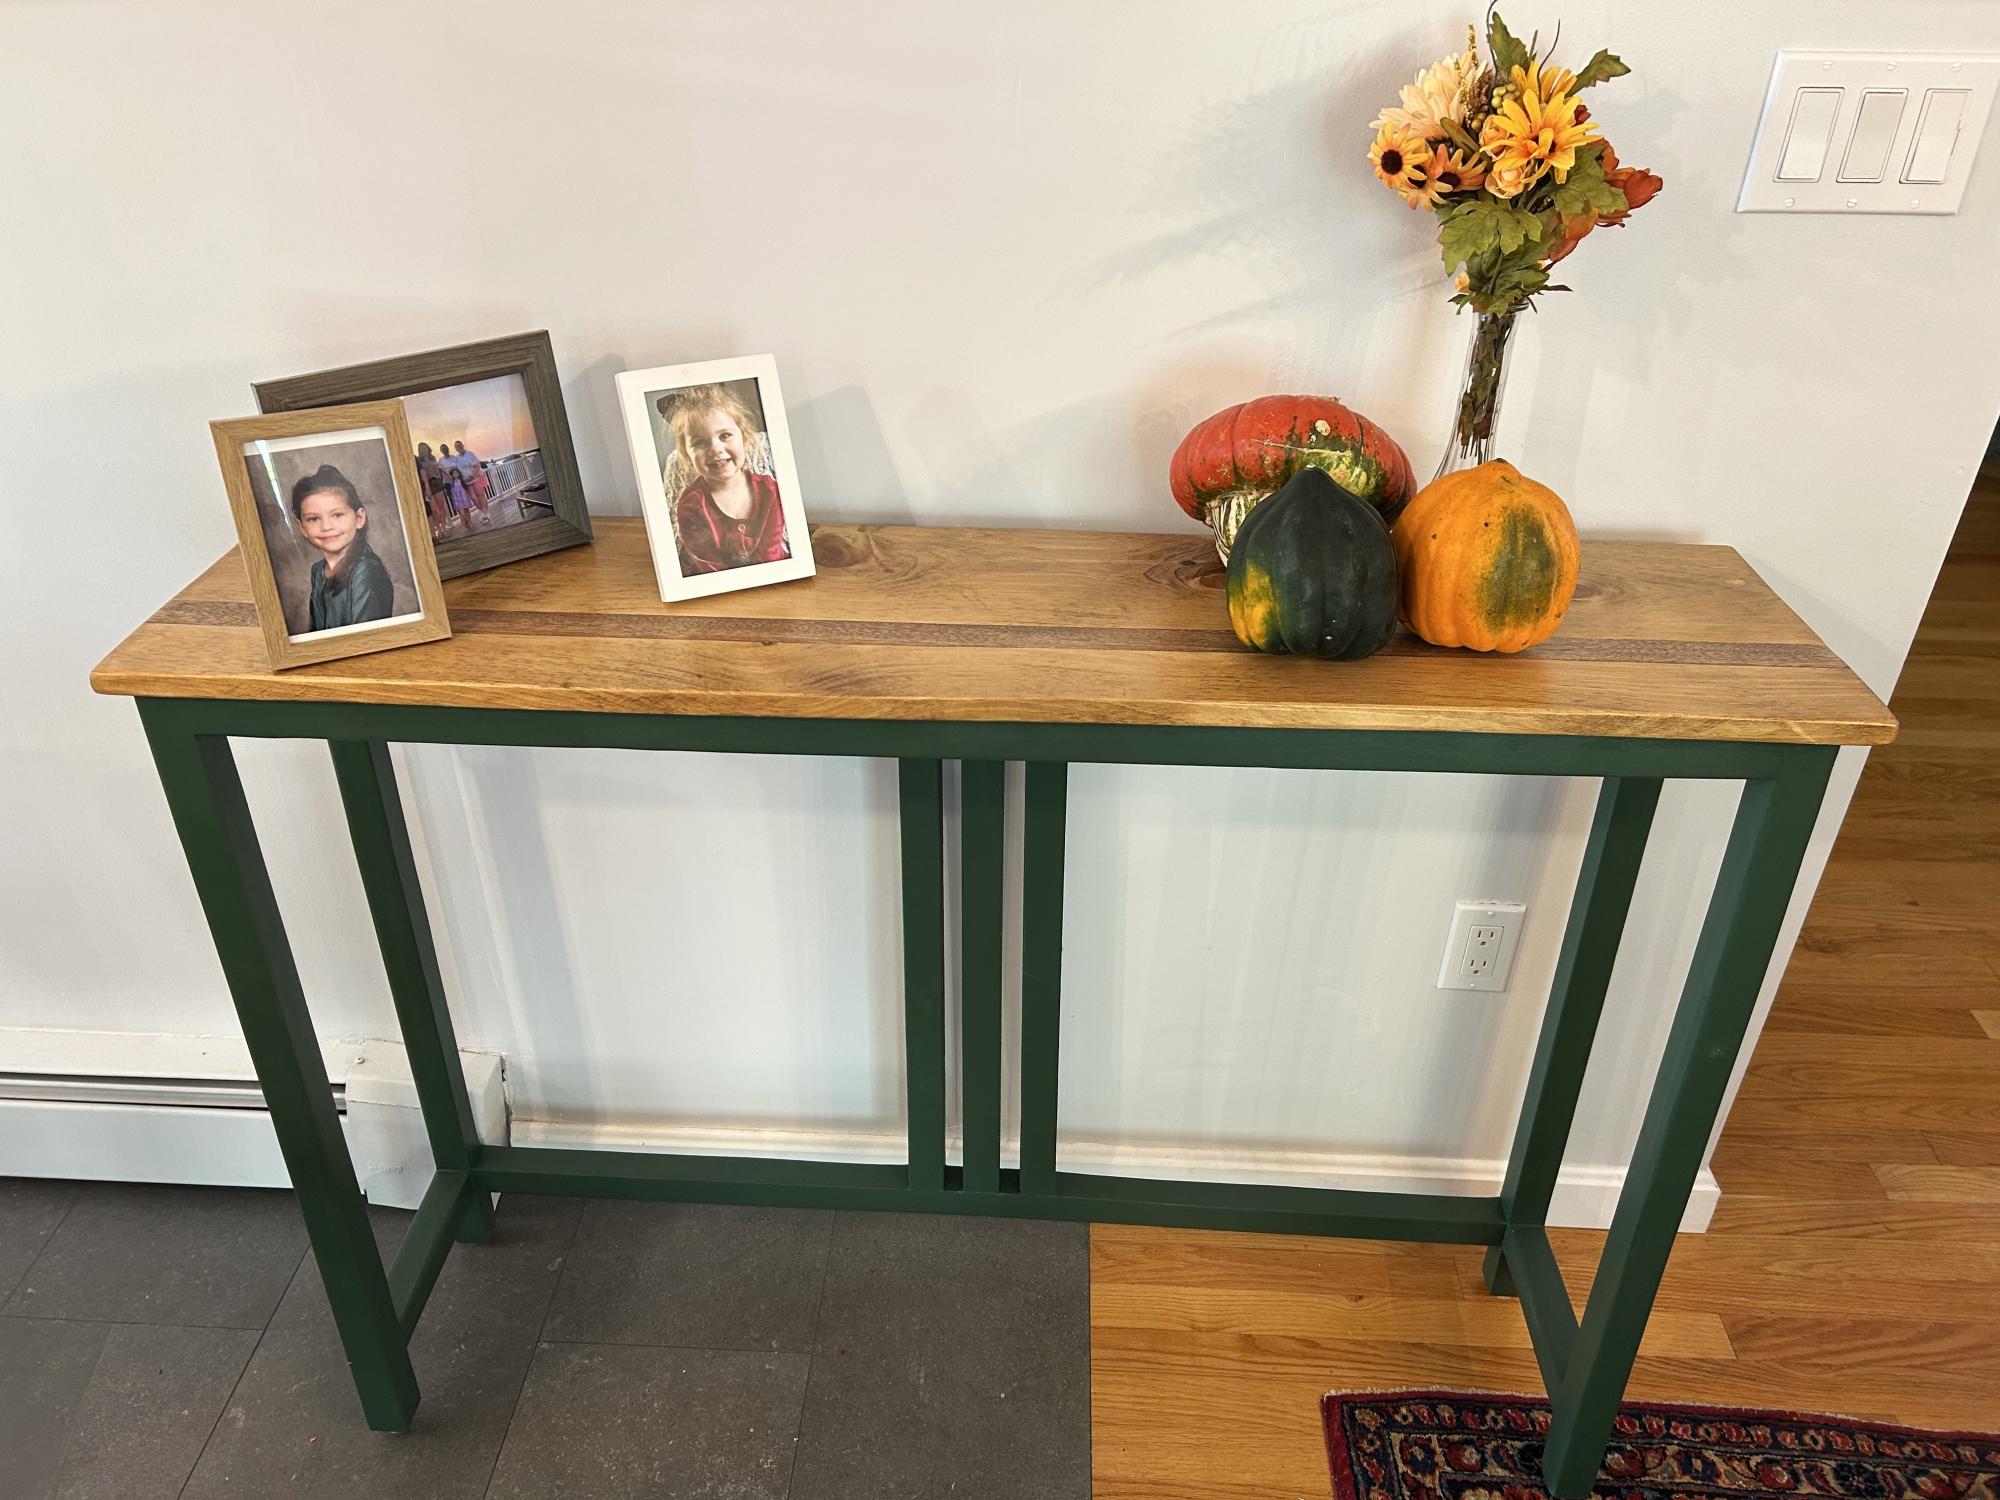
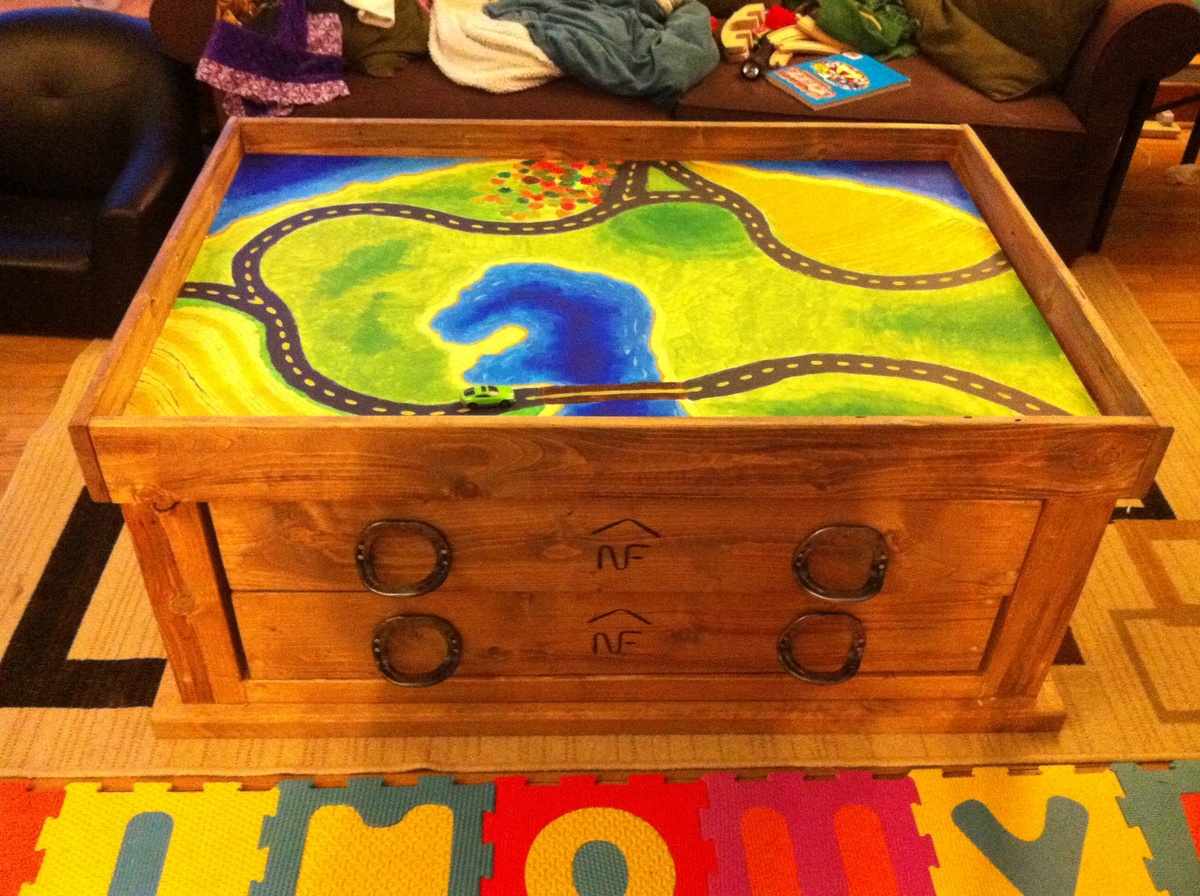
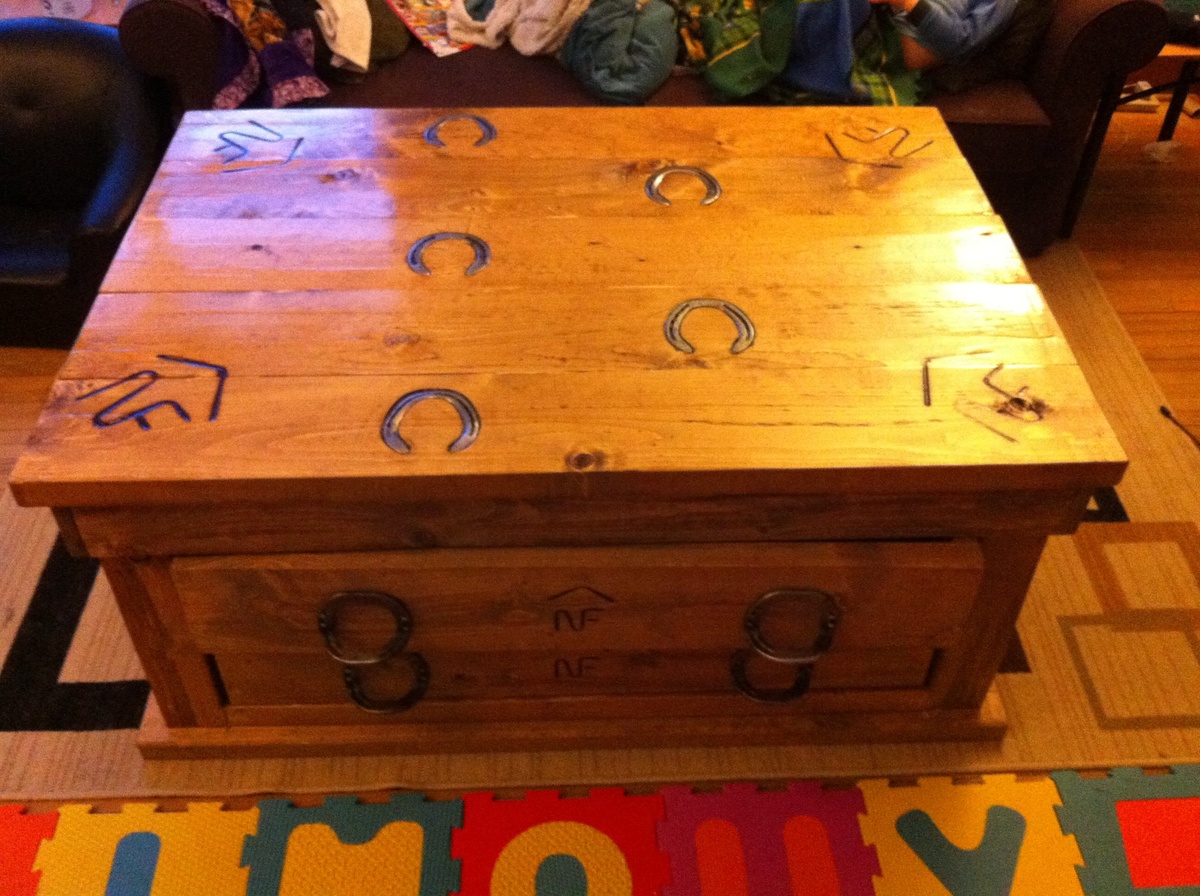
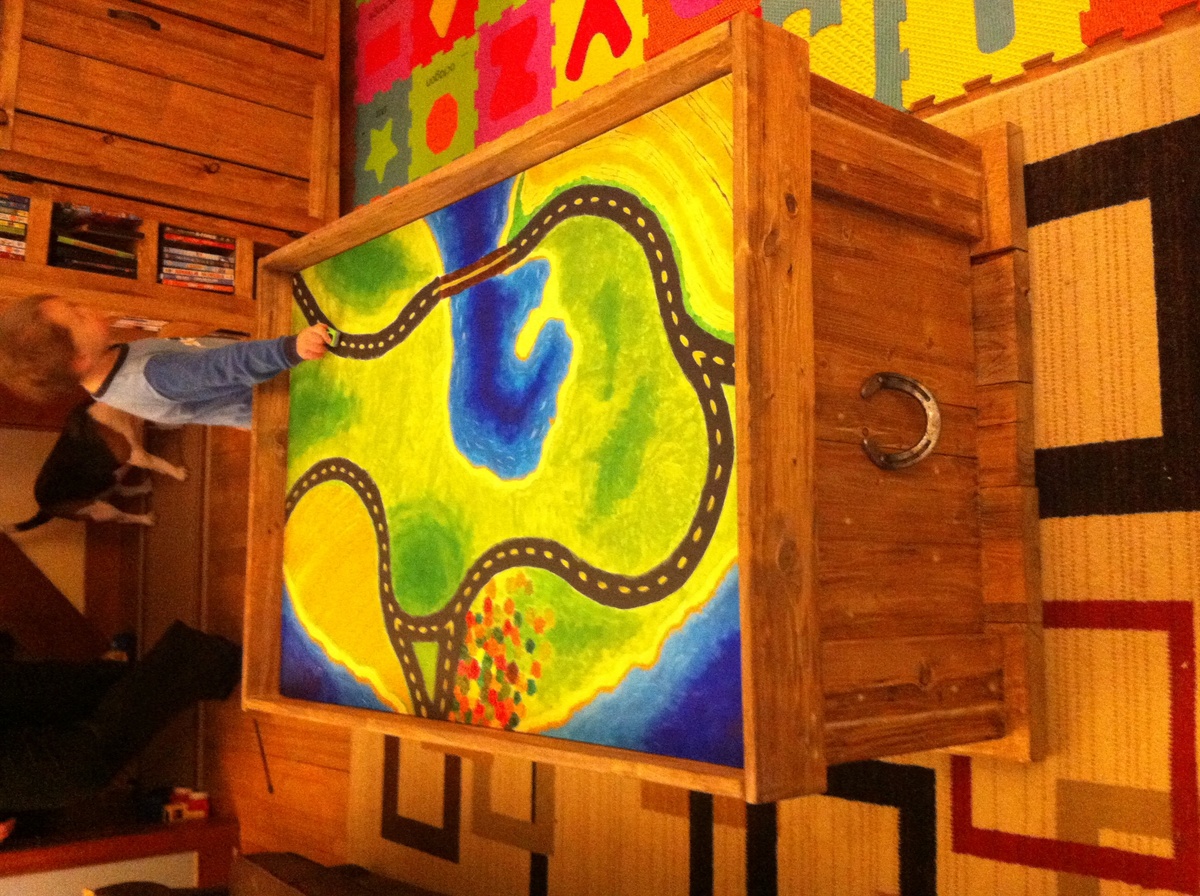
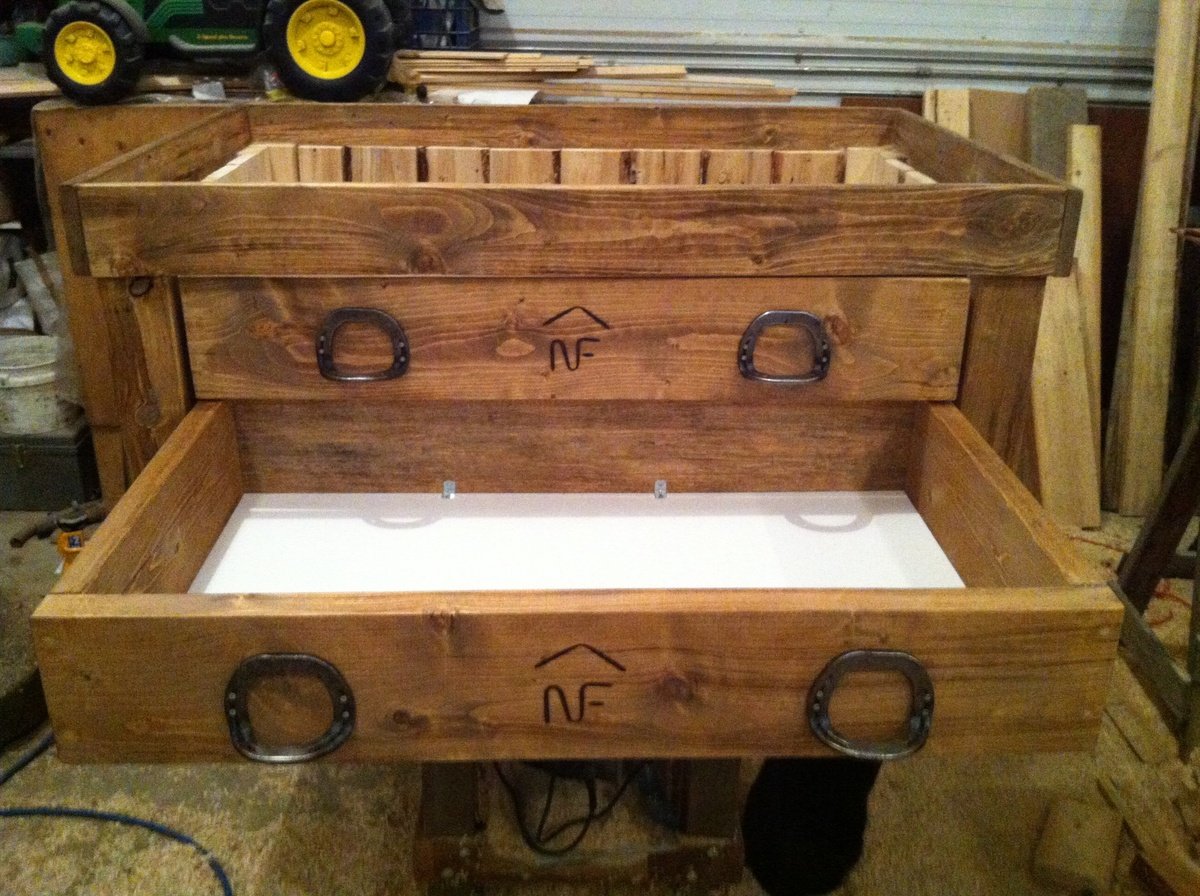
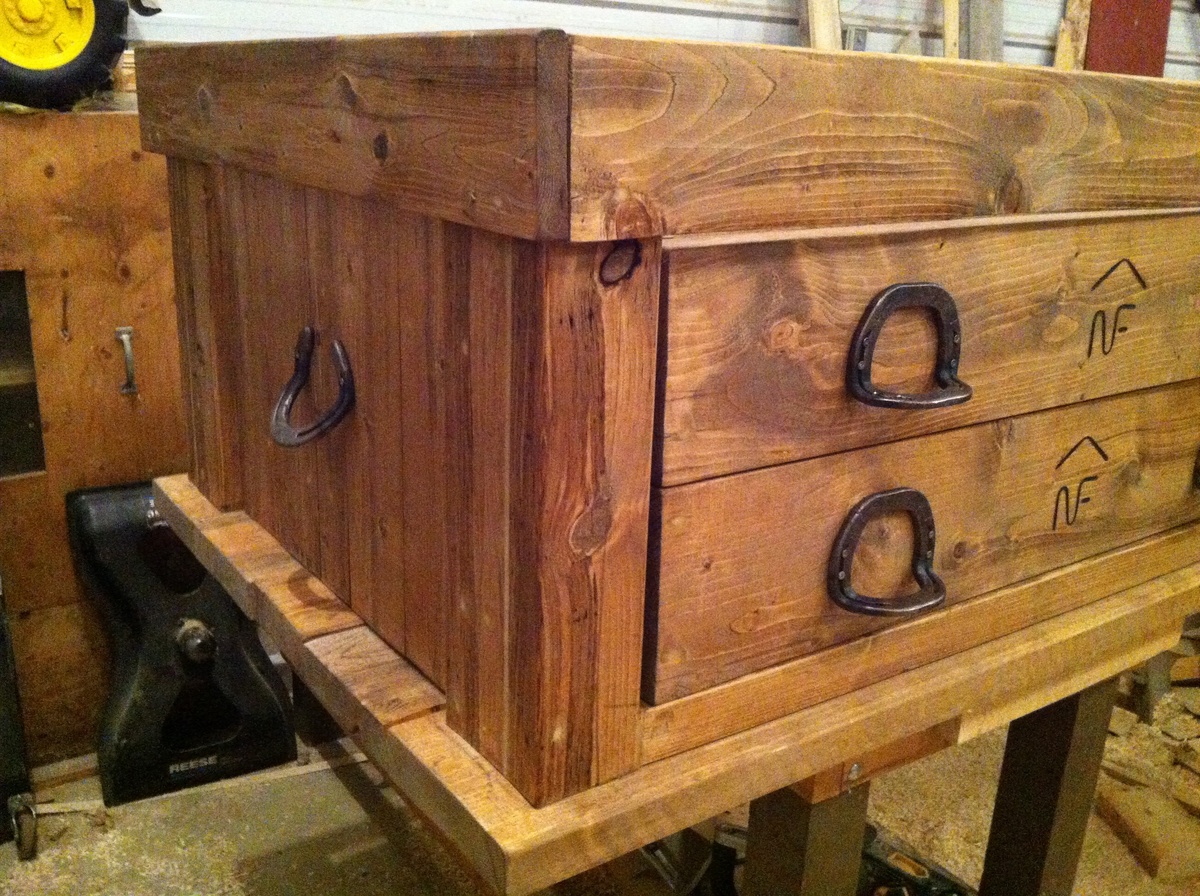
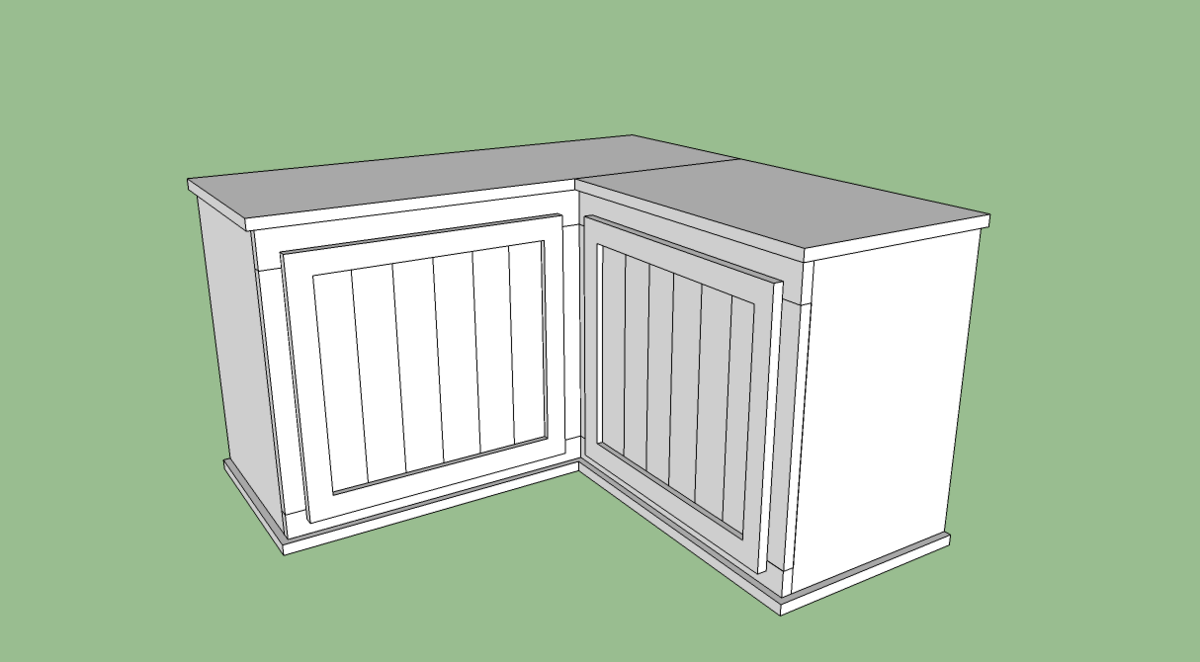
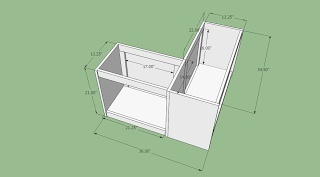
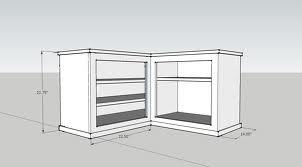
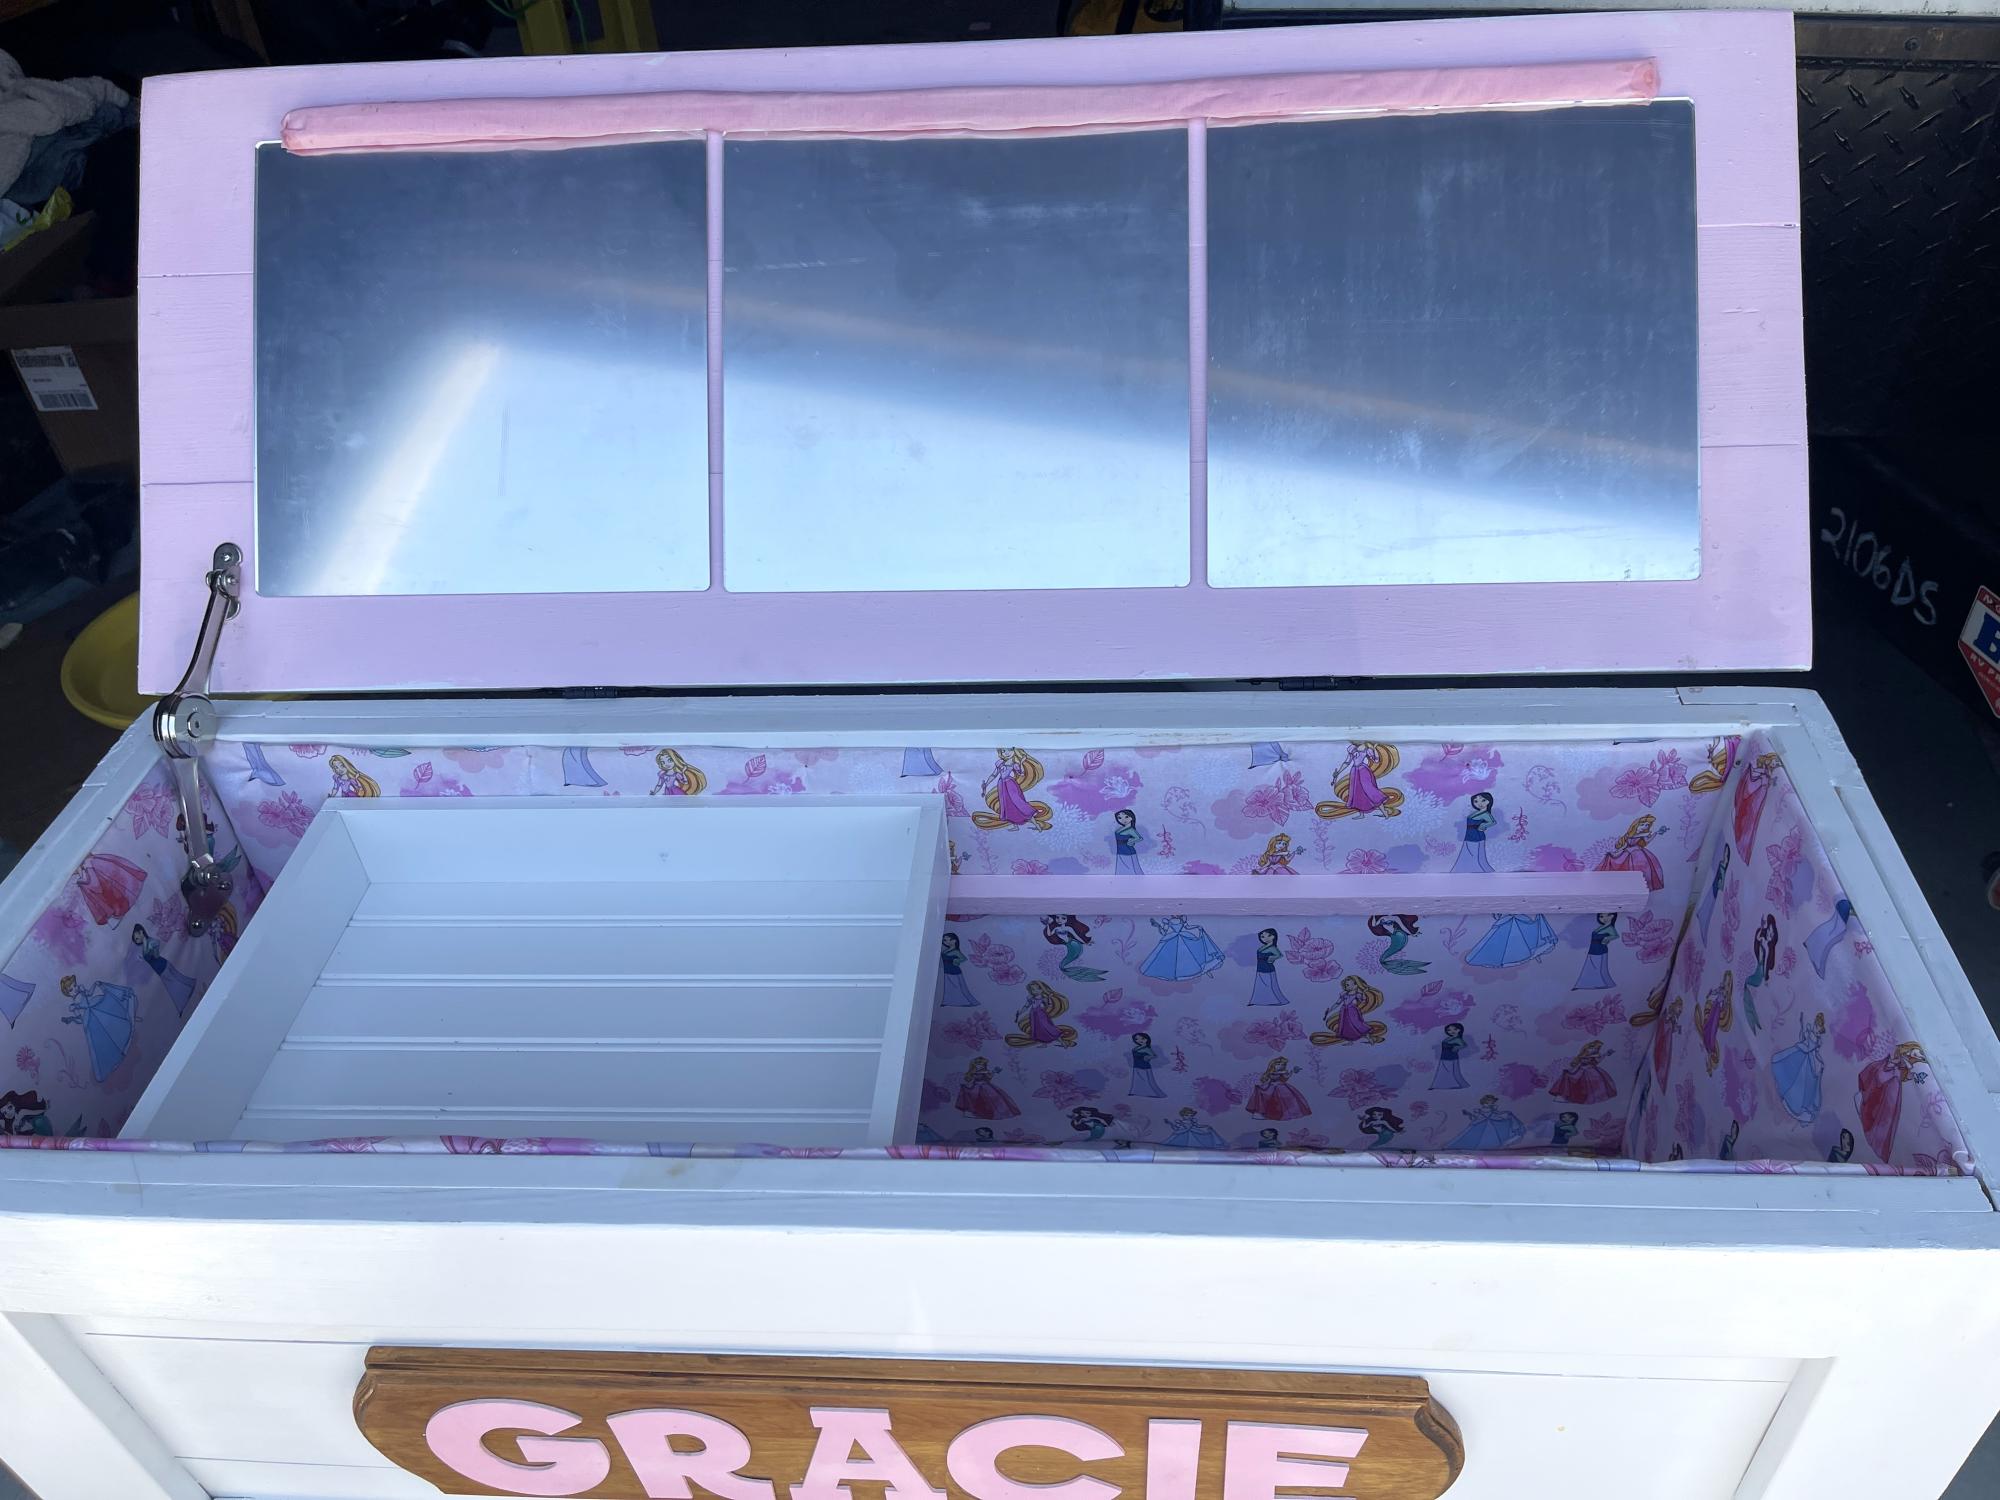
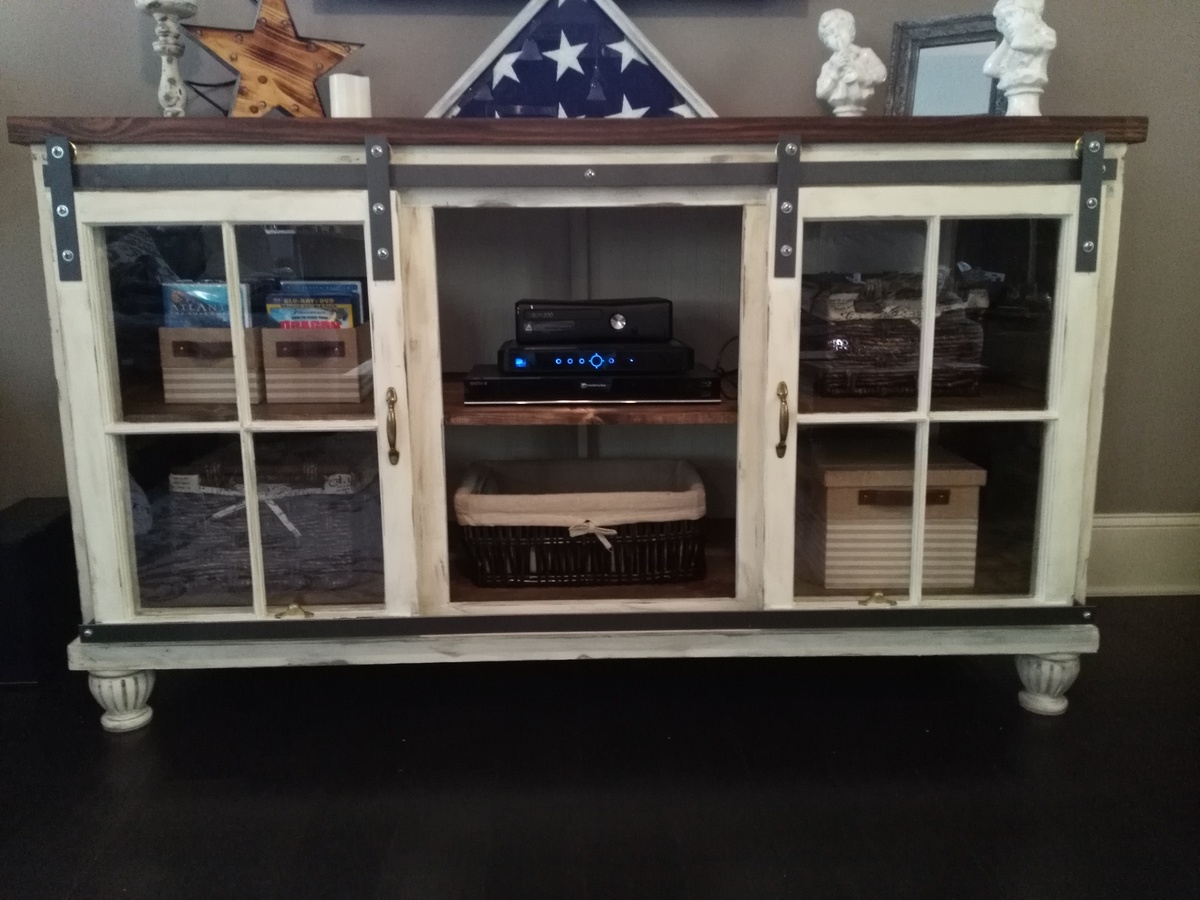
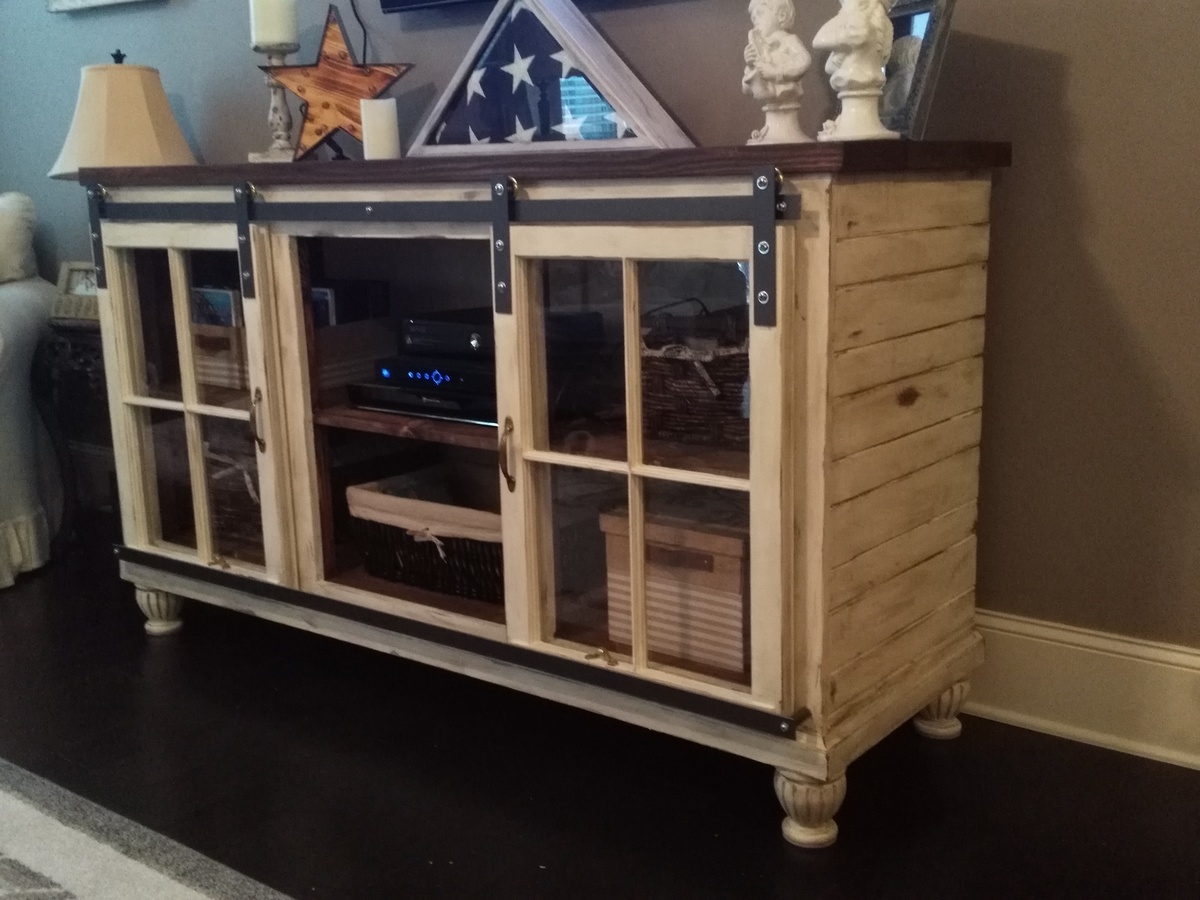
Workbench Console
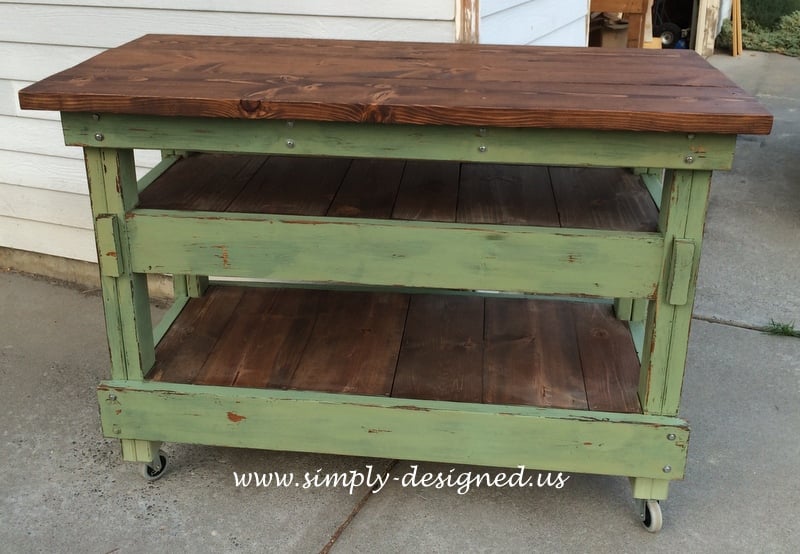
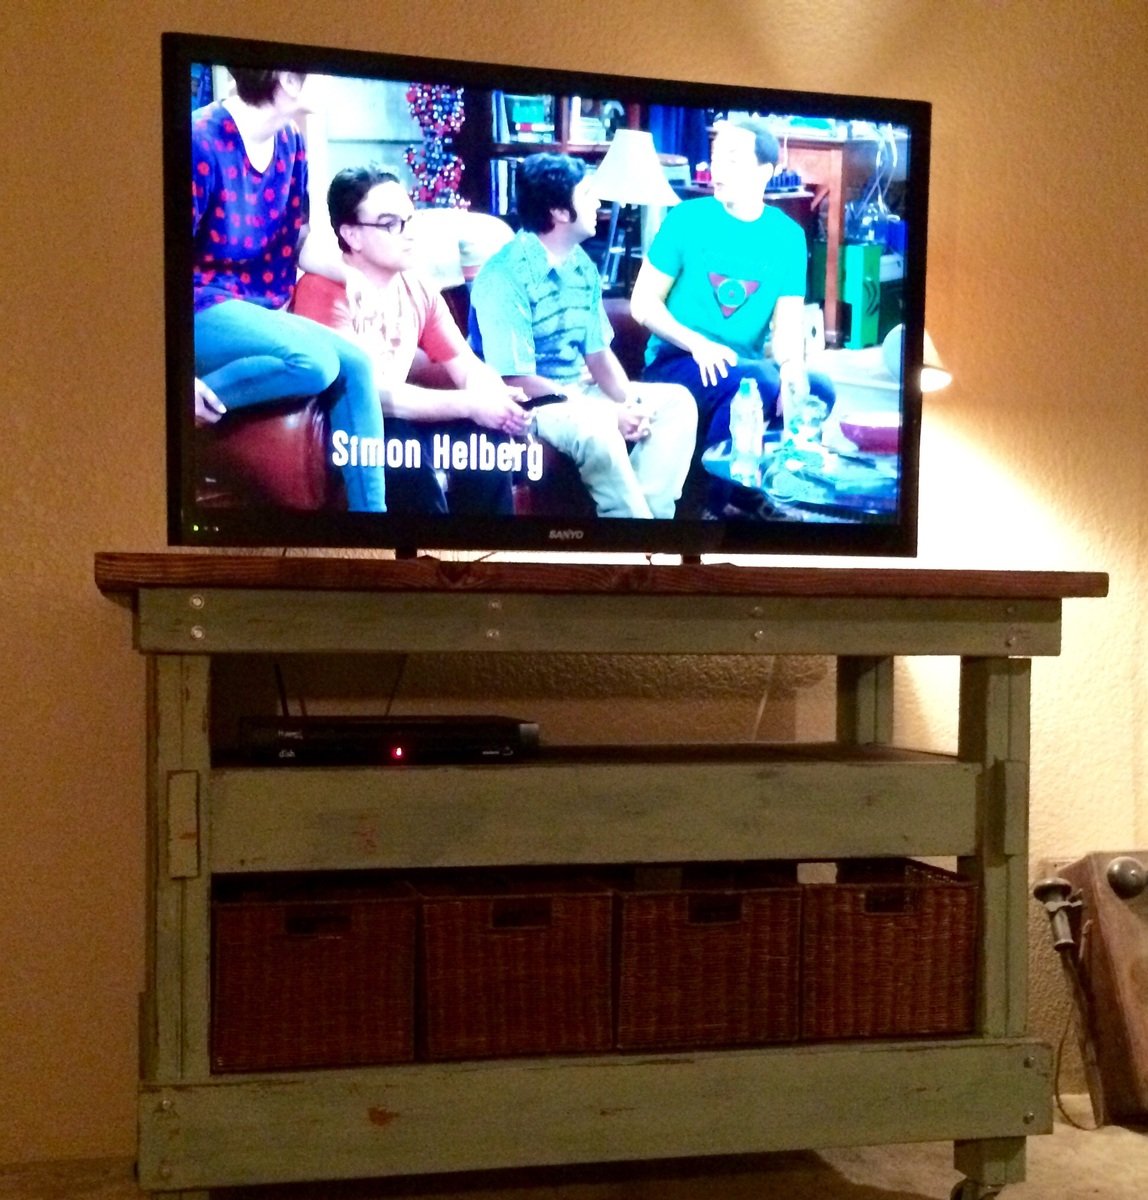
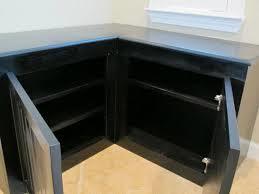
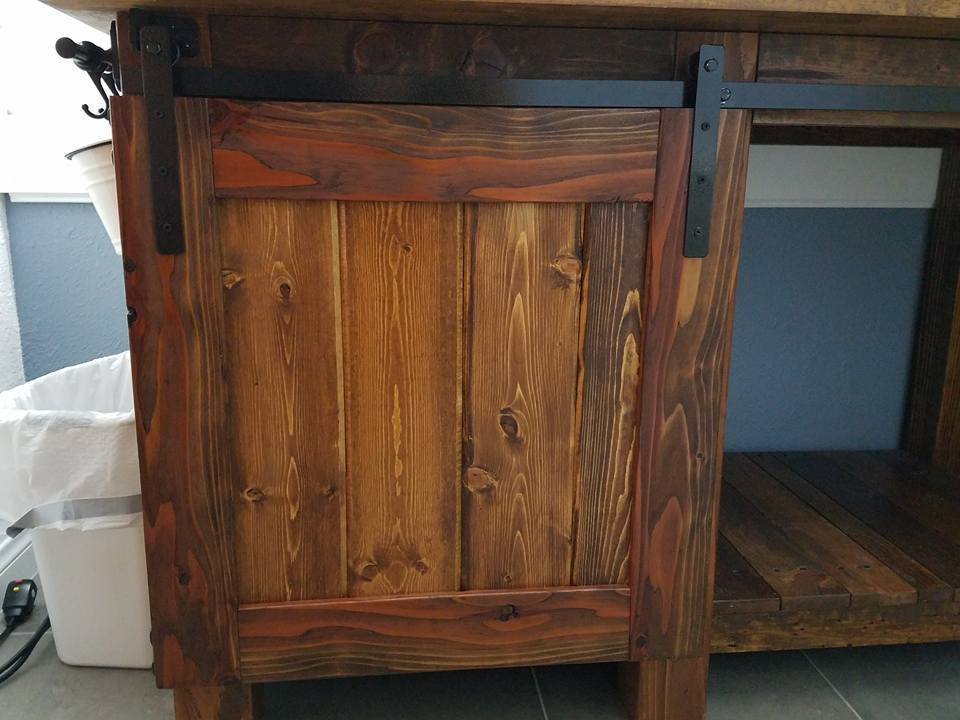
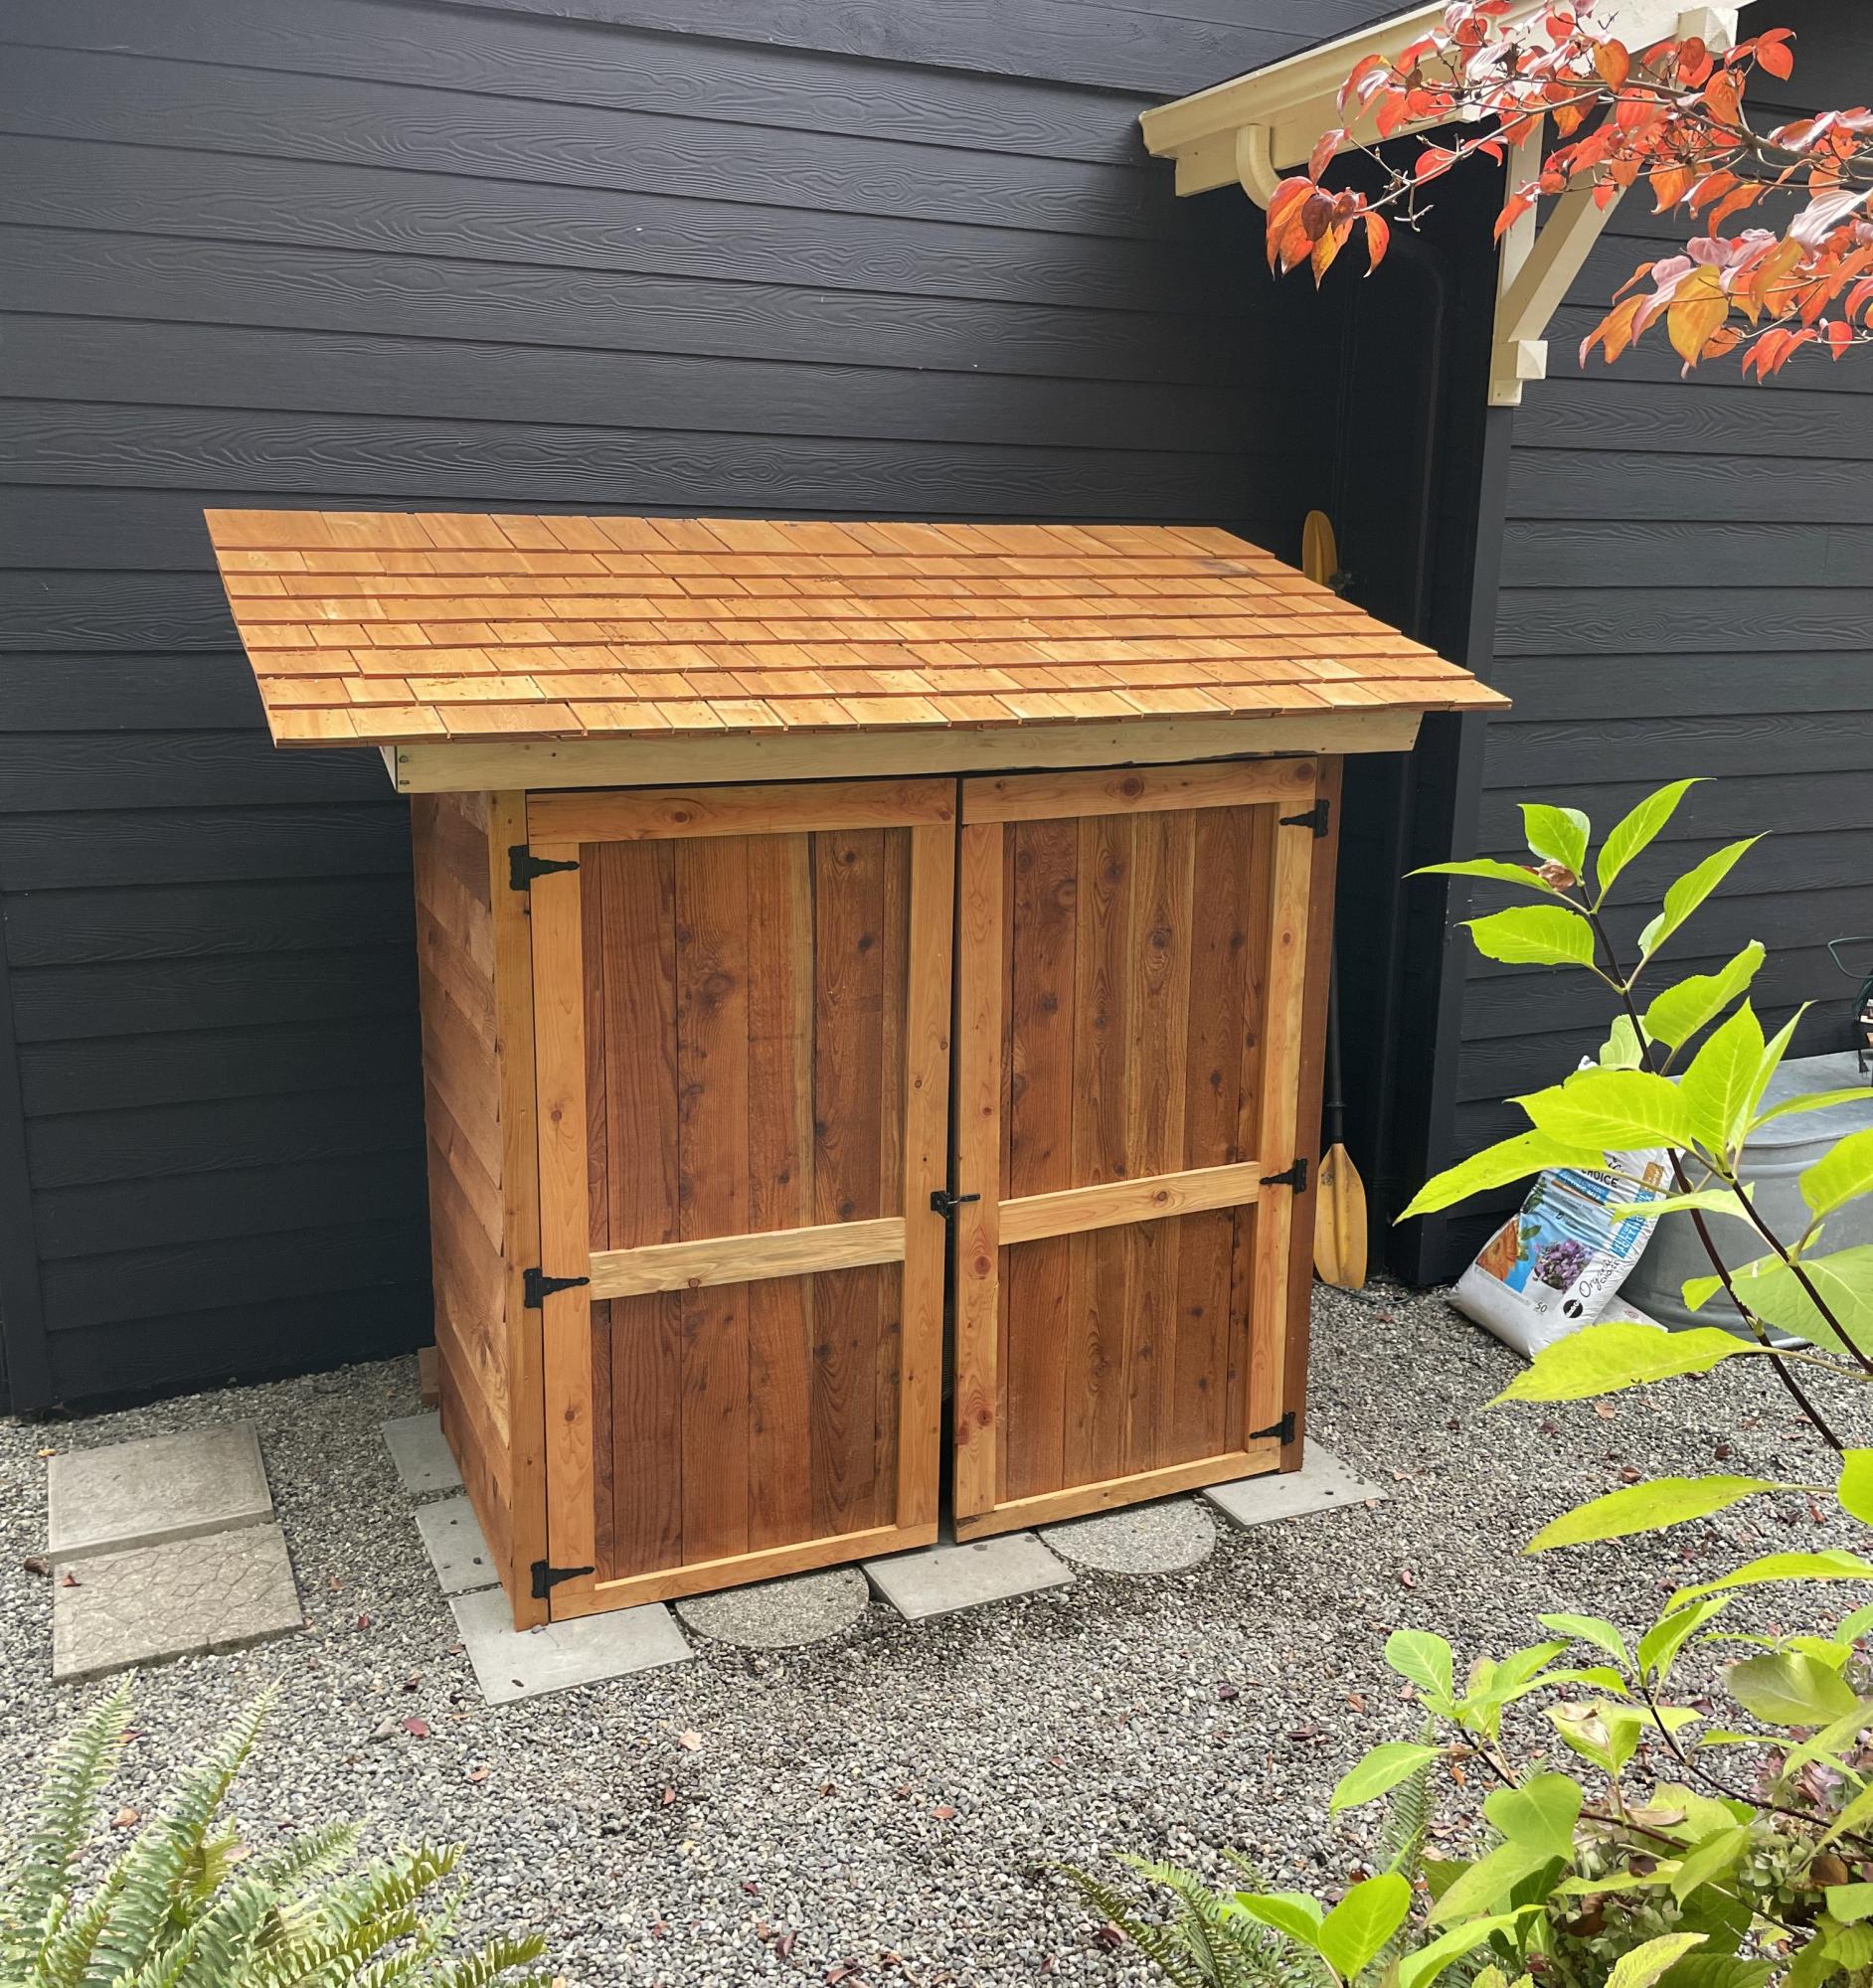
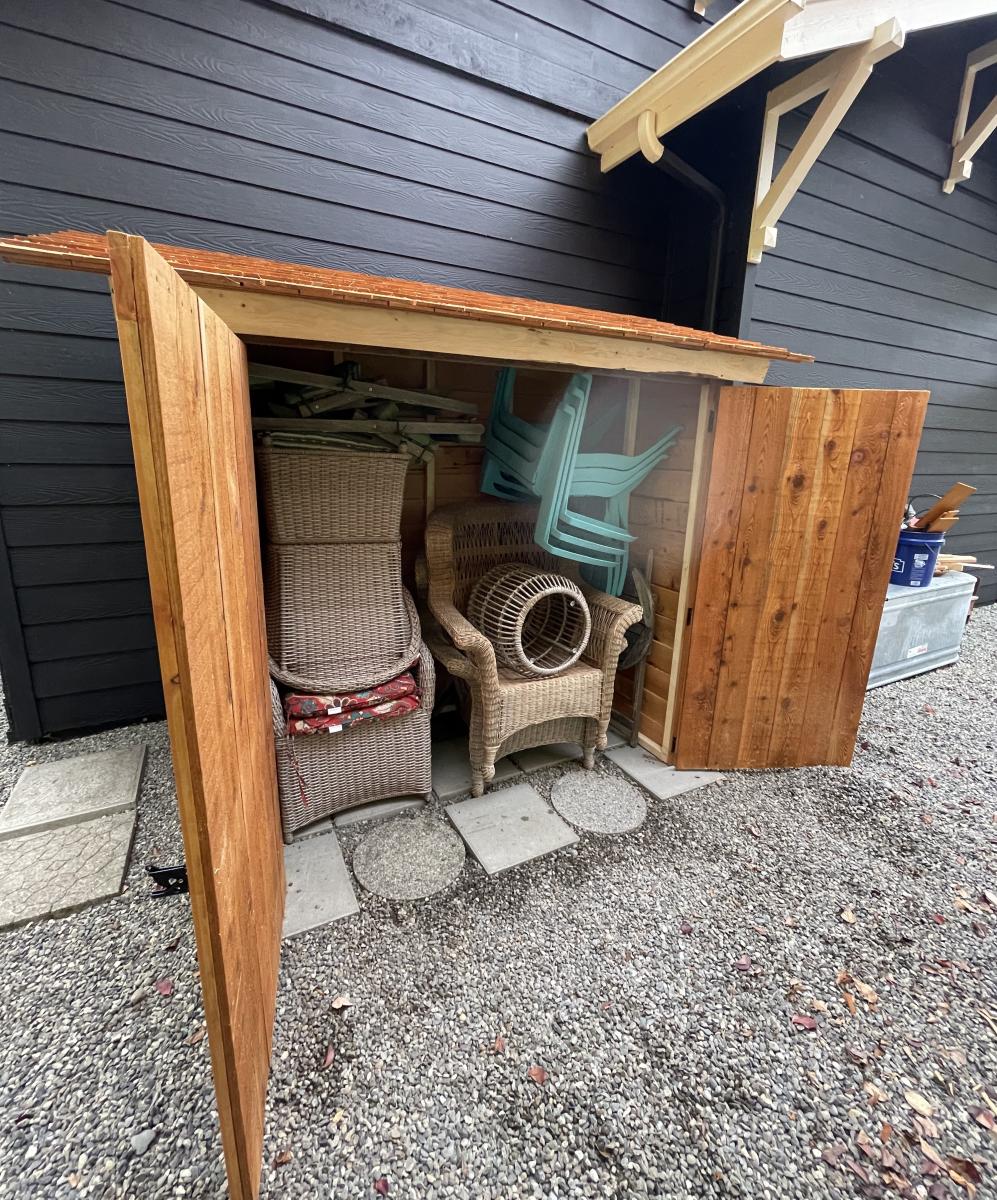
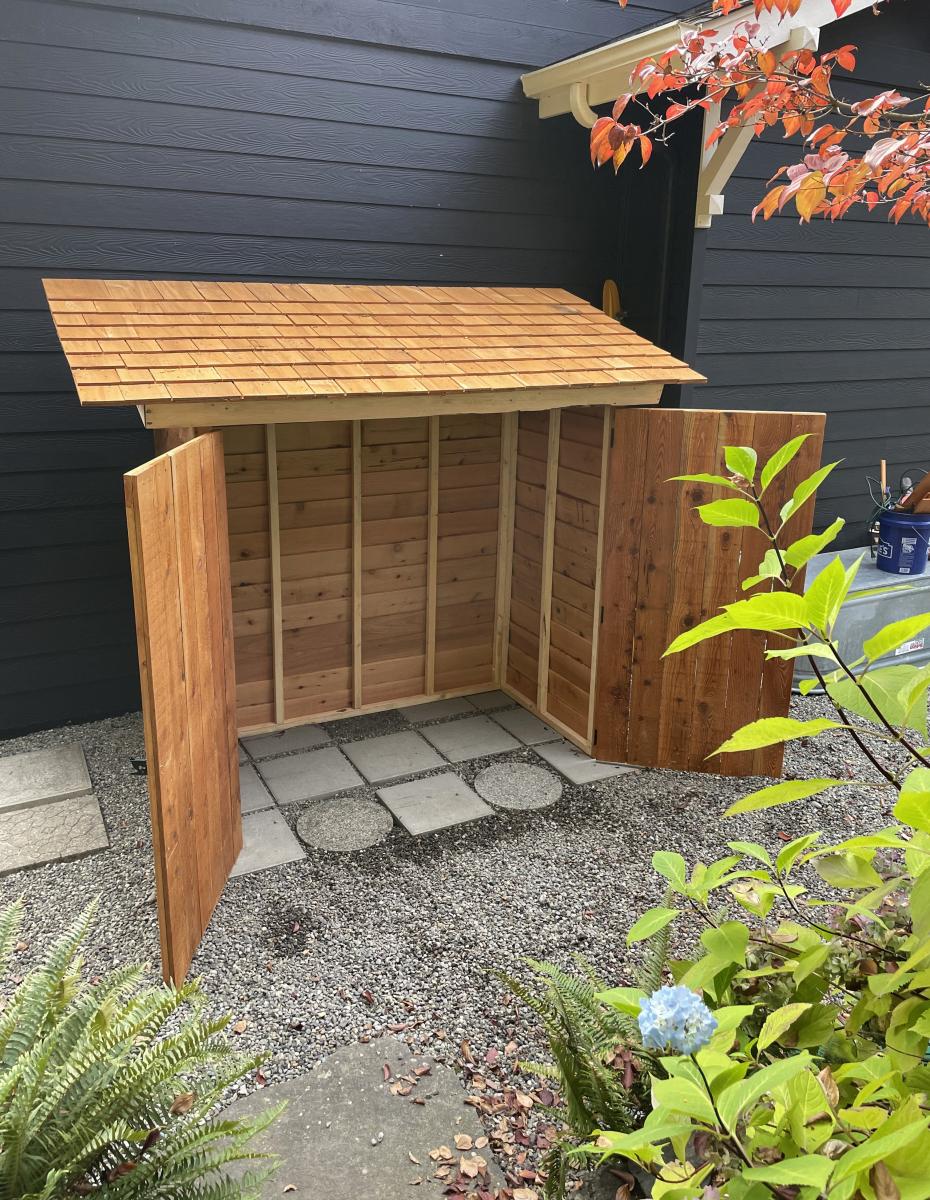
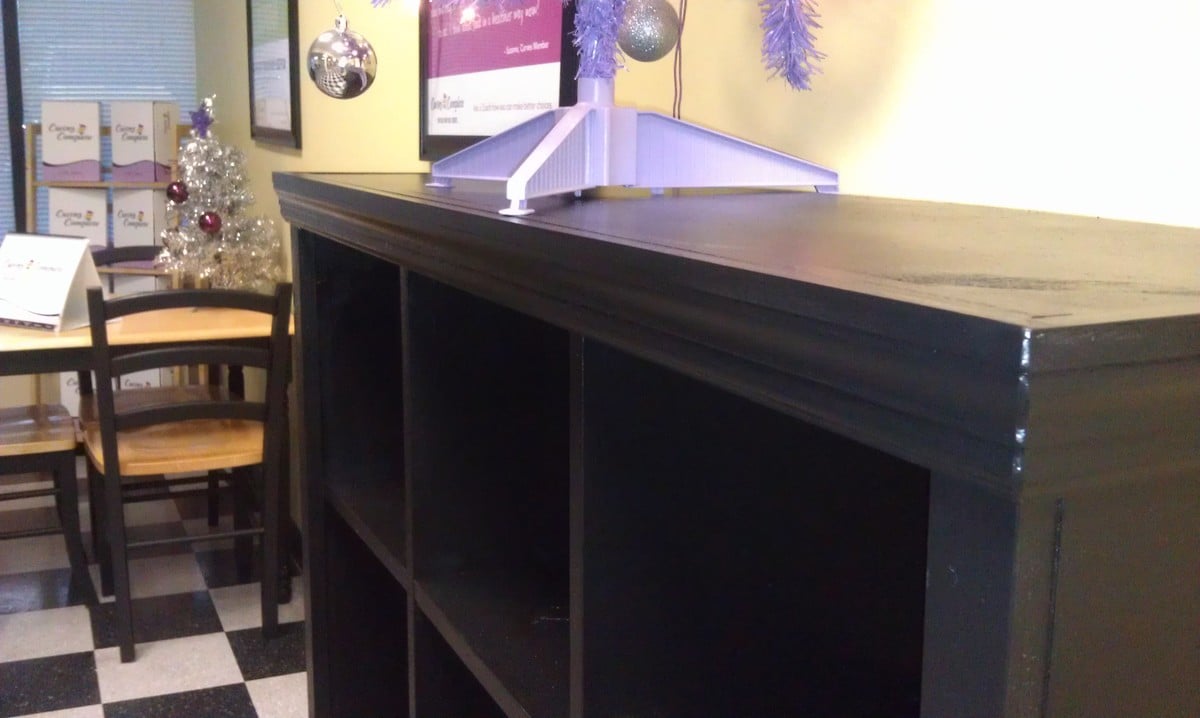
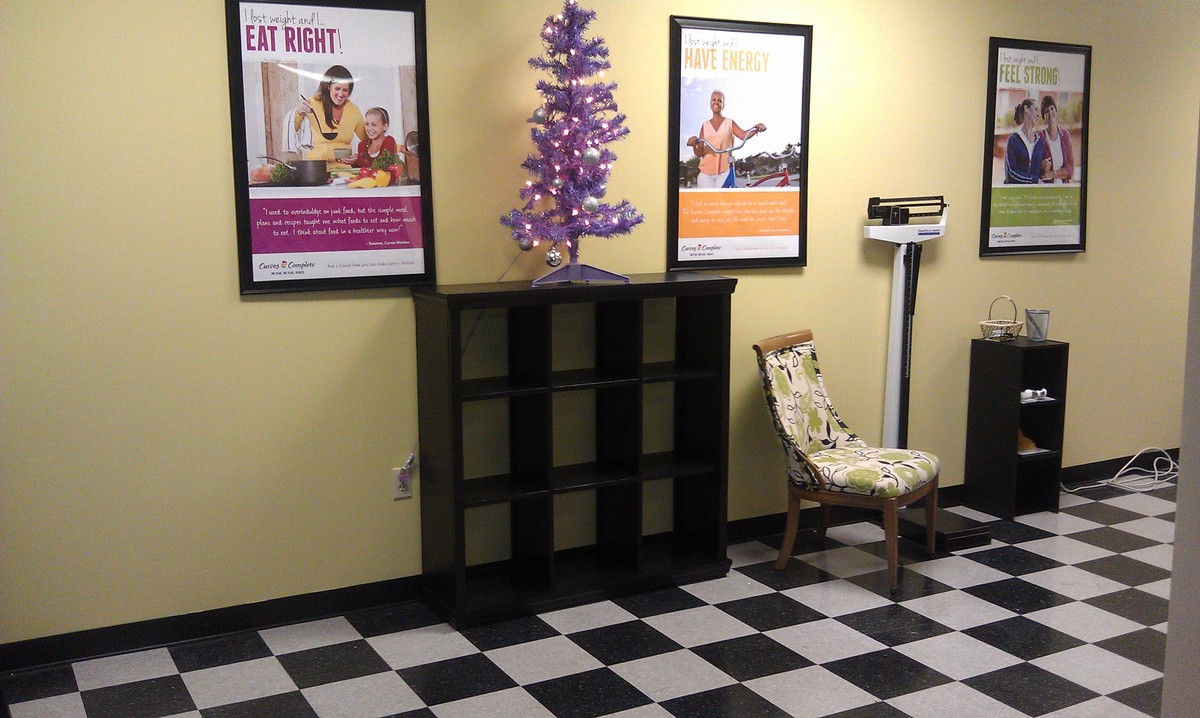
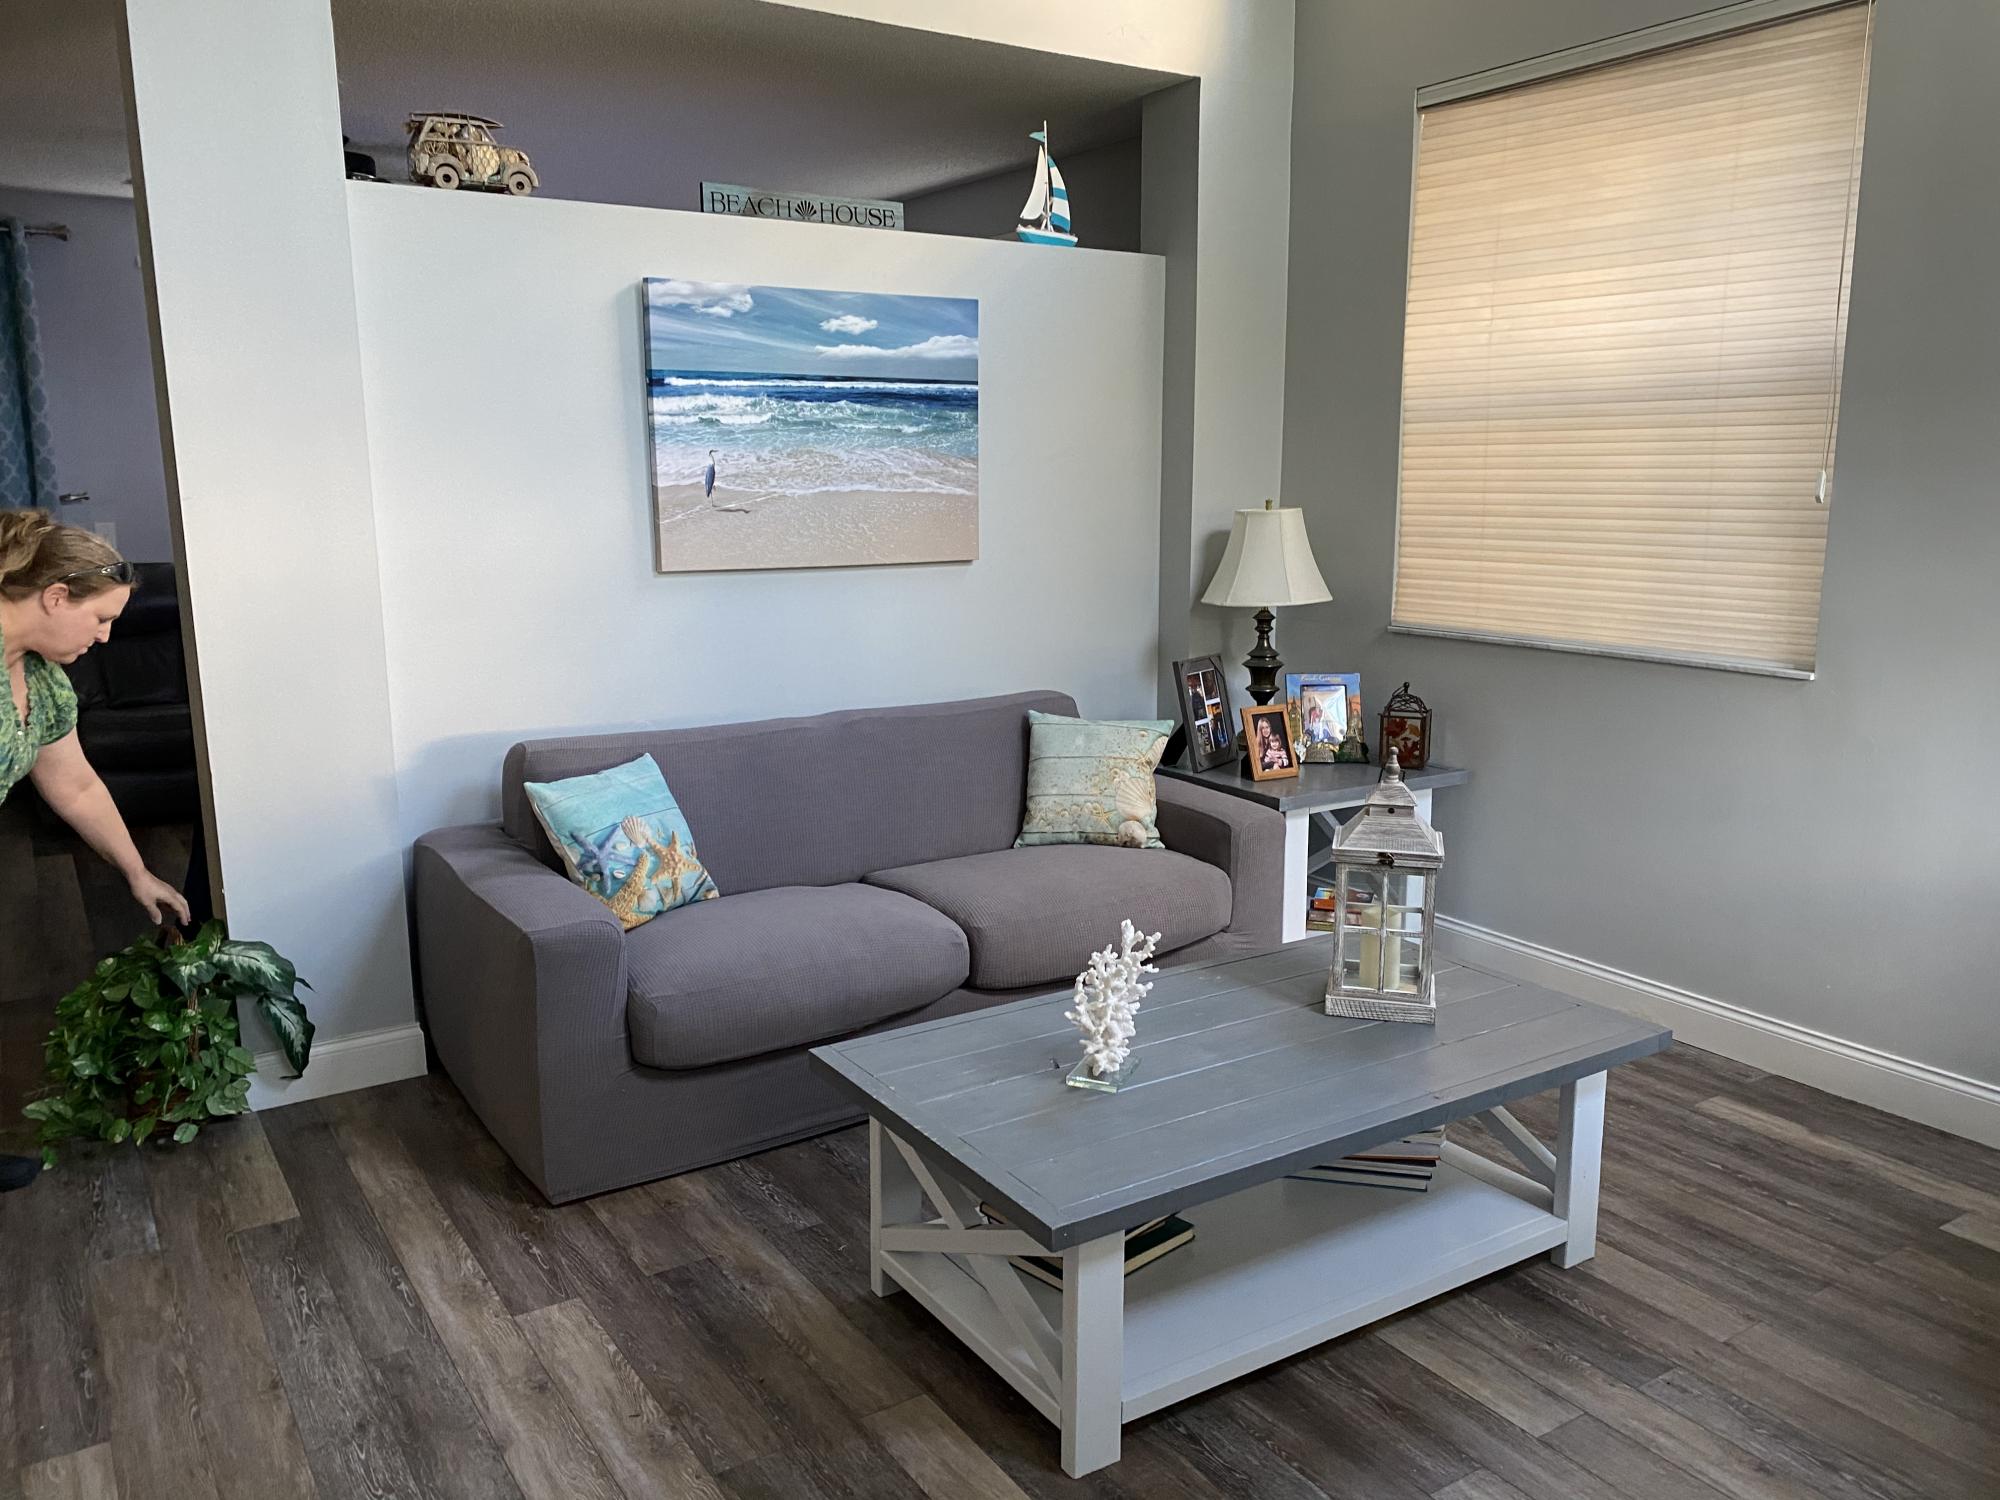
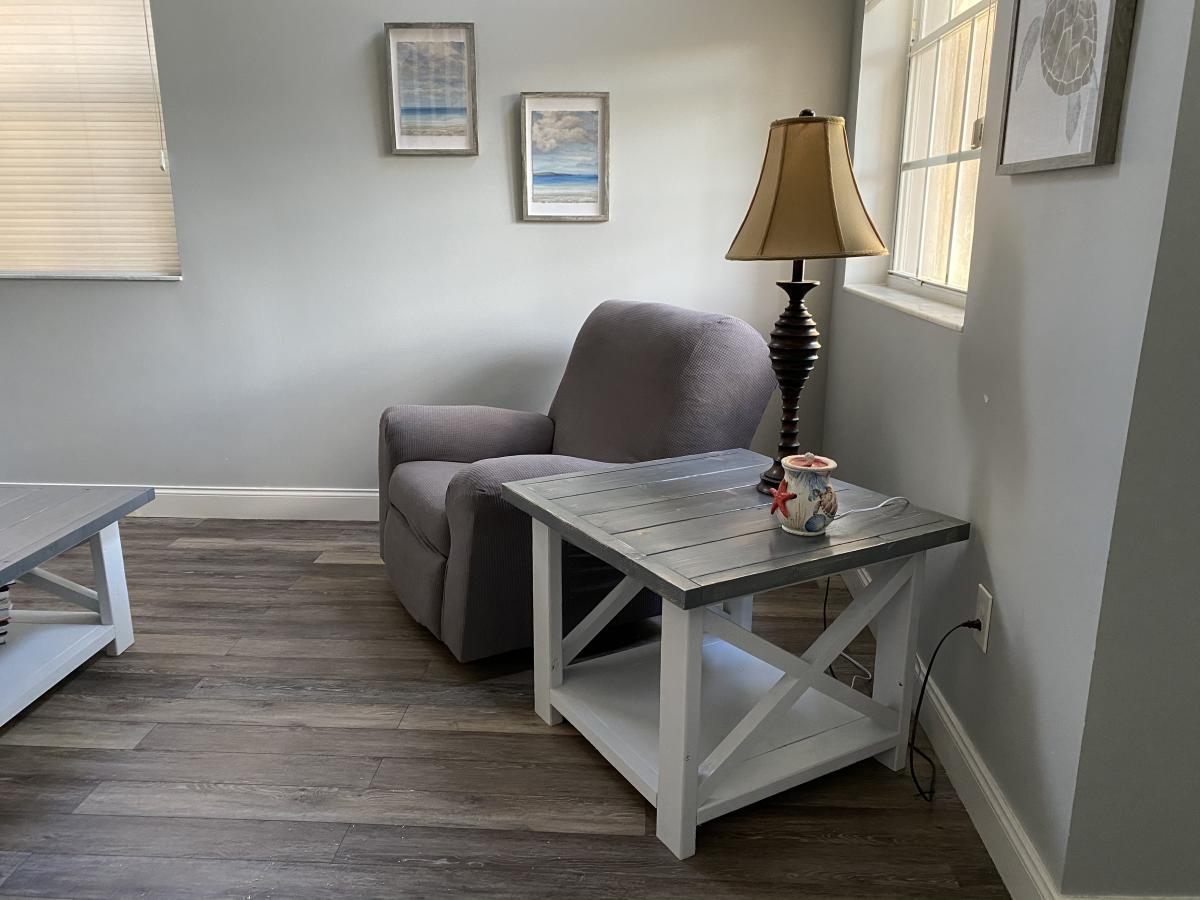
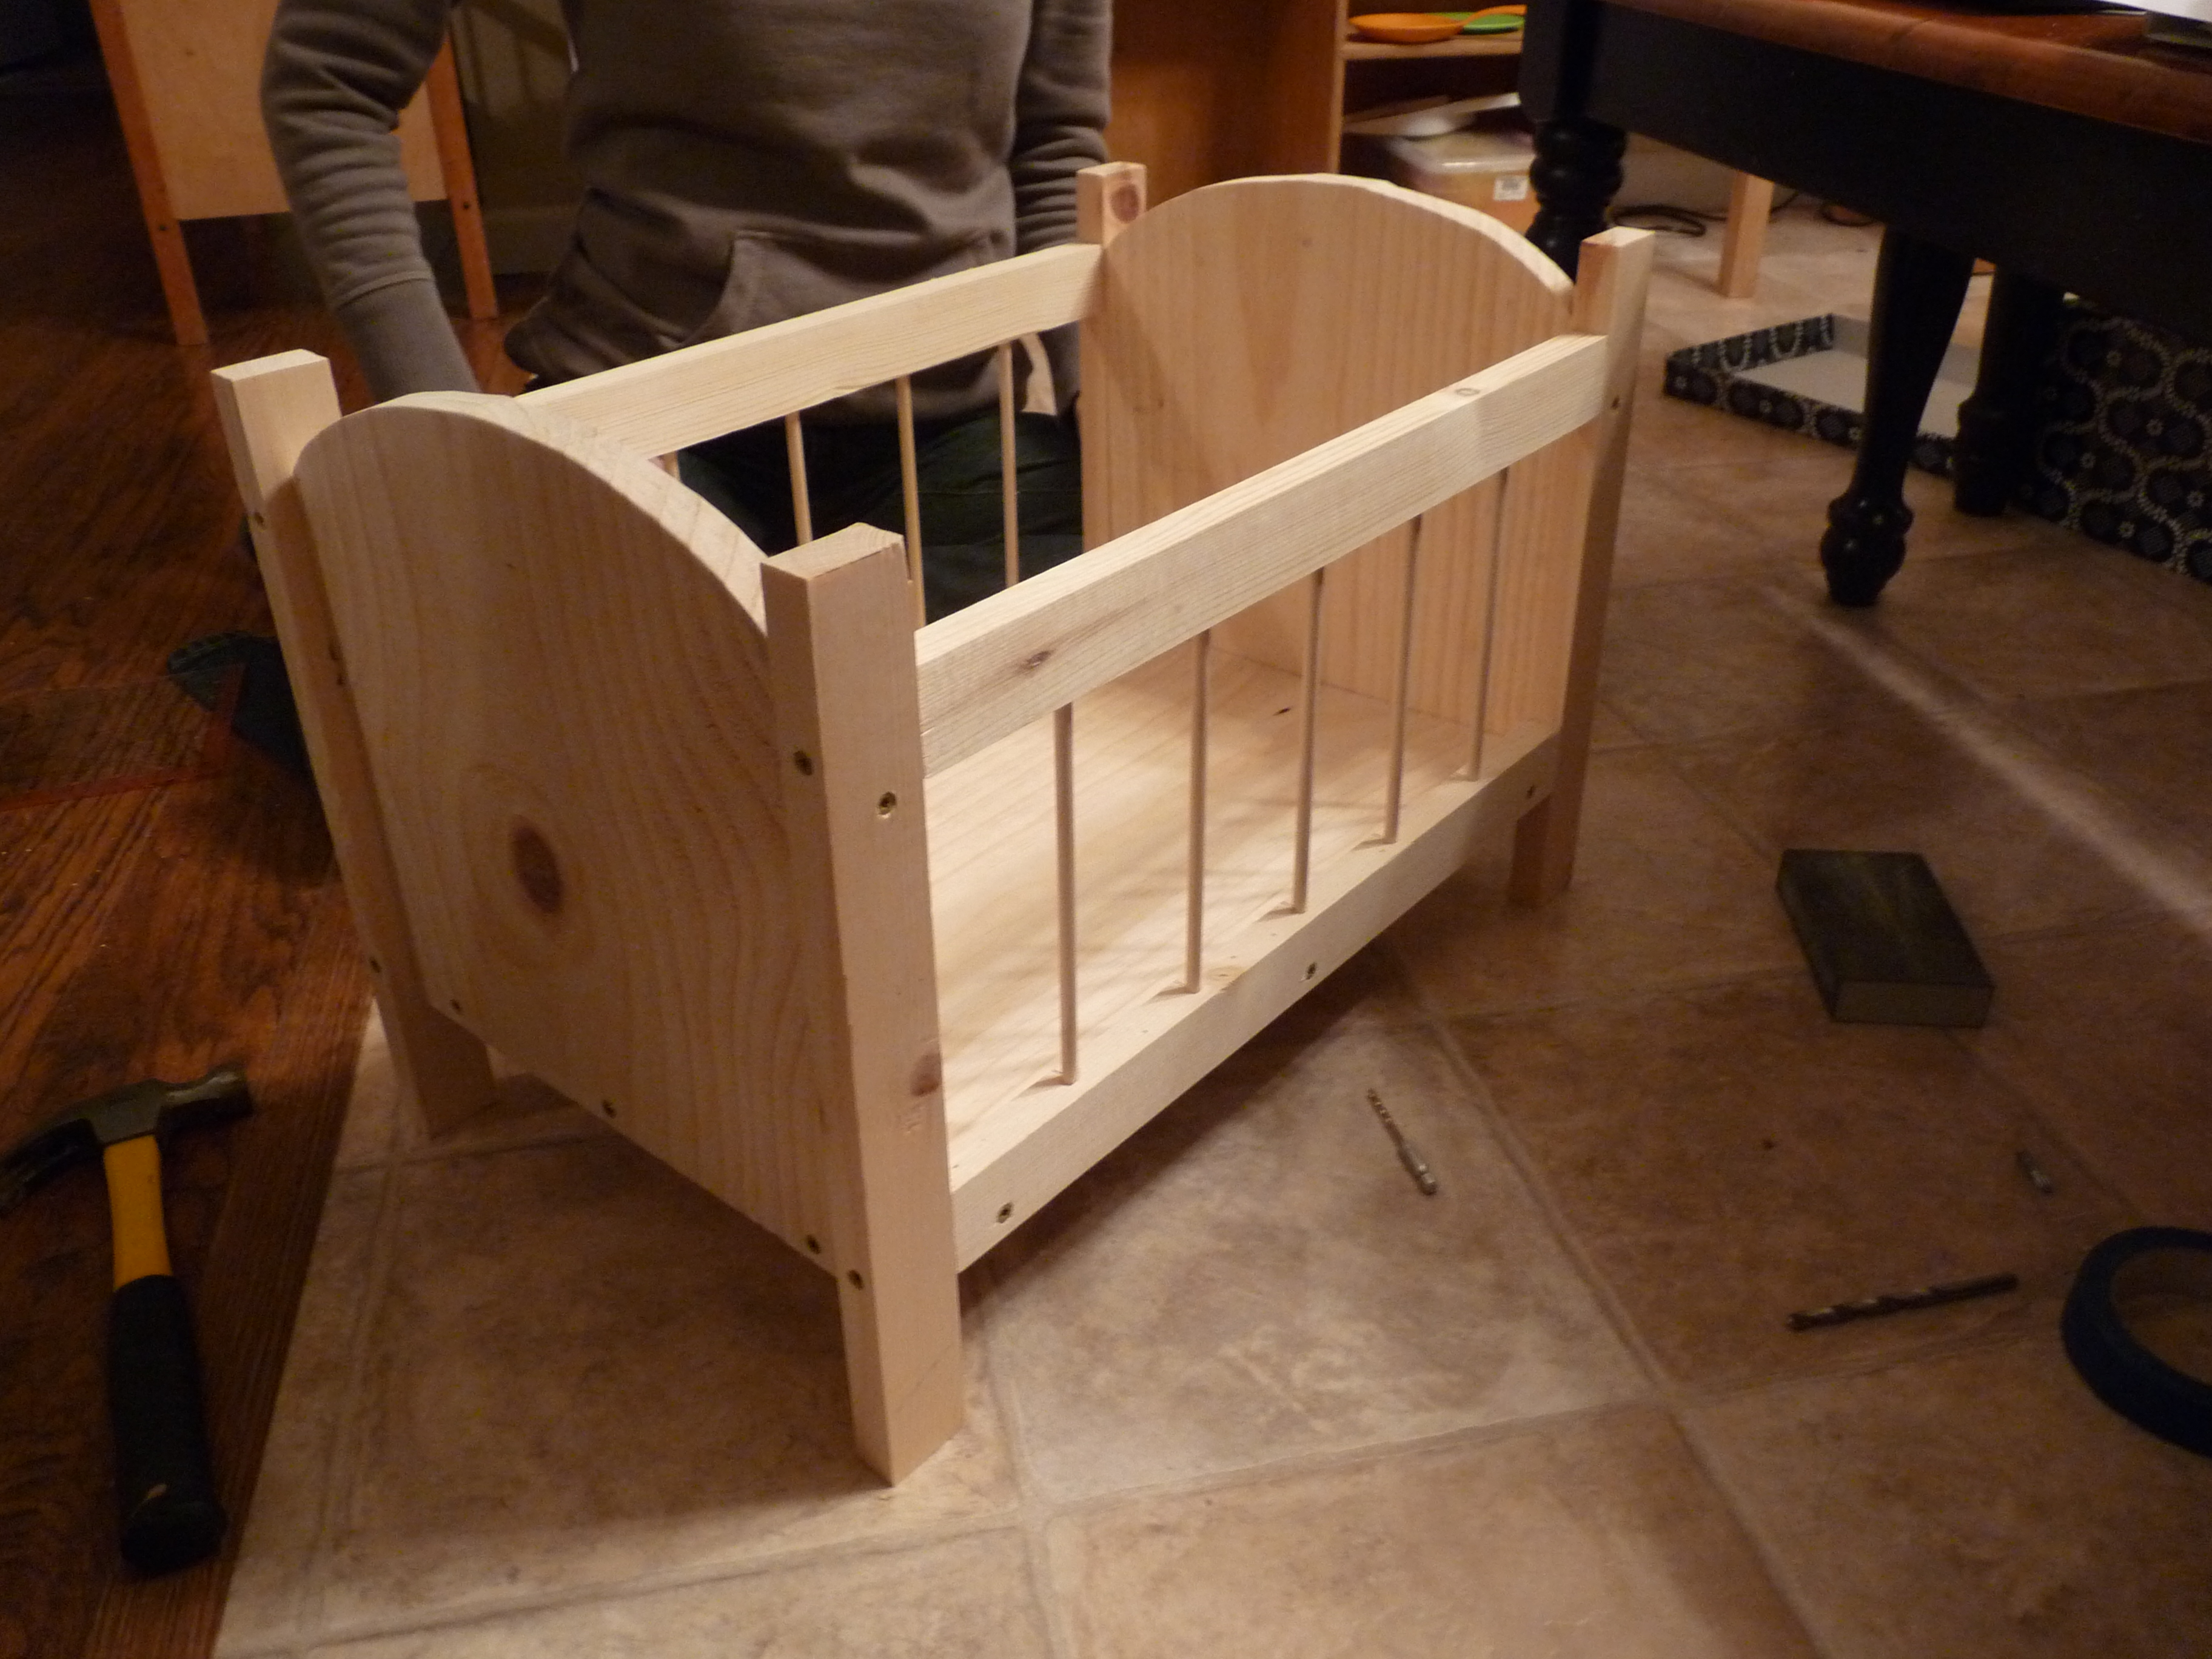
Building this was pretty fun. I've never done the type of carpentry where you would notch out a piece of wood before. I've seen it done, but never done it myself. I altered the size of this build and omitted the center divider piece as I just felt that with a 5' length, it was un-necessary and obstructed the view. Plus I wanted to use baskets underneath to have hidden storage. I also added a shelf for the TV components.
Built from Plan(s)
Estimated Cost
I used a lot of scrap material especially for the shelving as with it, it was more expensive than I wanted to spend. So, I'm estimating that it was about $60 for what I spent.
Estimated Time Investment
Weekend Project (10-20 Hours)
Finish Used
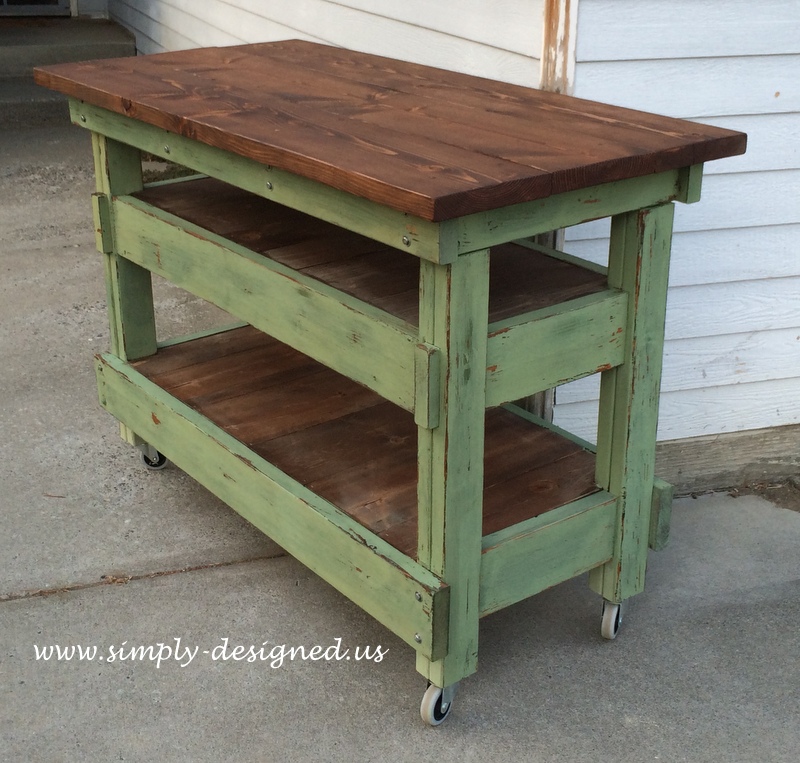
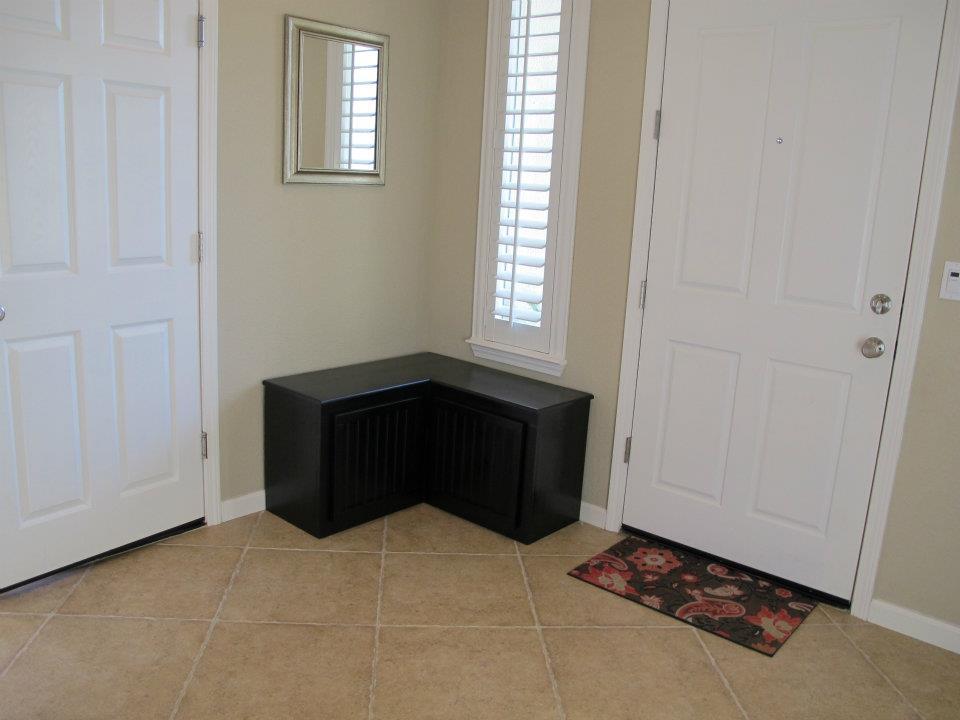
I used a Minwax mixture of stains. I used the weathered grey with chestnut. Then I covered it with a mixture of Lucketts green, Milk Paint. Used a little boxwood to have the appearance of many coats of paint and then another coat of Luckett's green. Finished off with a coat of hemp oil.
Recommended Skill Level
Intermediate


Comments
Ana White
Sun, 09/28/2014 - 12:04
Beautiful Project
Tracy! This is beautiful!!!! Thanks so much for posting and also on the tip about the plan issue. Much appreciated! Ana
In reply to Beautiful Project by Ana White
tracysmith
Mon, 09/29/2014 - 12:52
Thank you Ana! I always geek
Thank you Ana! I always geek out a little when you respond to my work. :-)
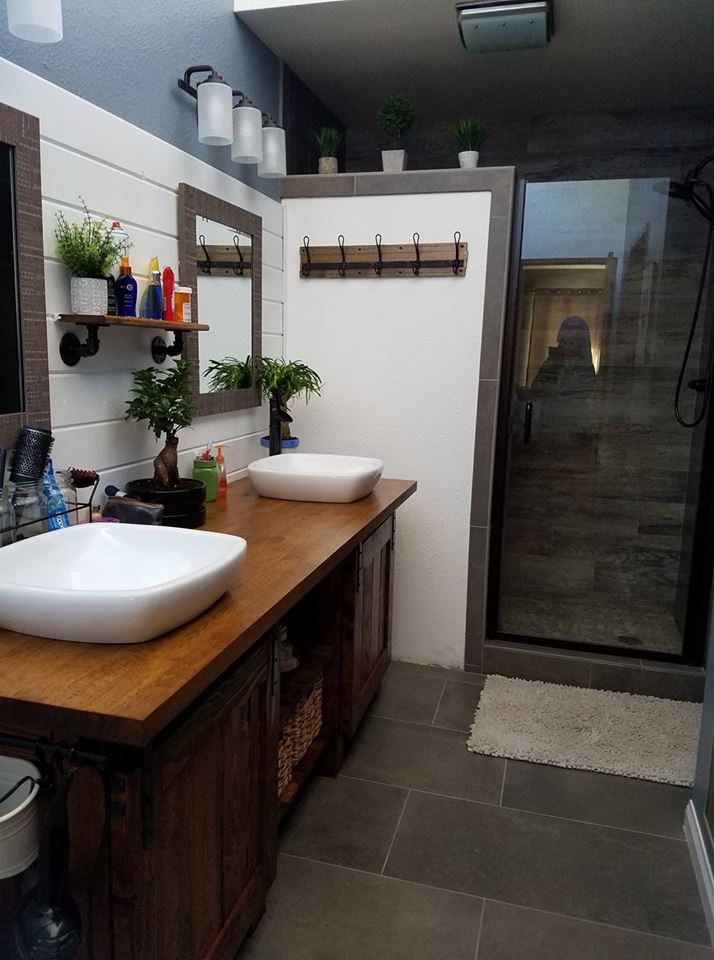
And thank you for posting the plans! I knew this was going to be perfect for my living room cause it just fits who I am. Funny thing is now my mom wants this as a vanity in her master bath! Thanks again for all you do!