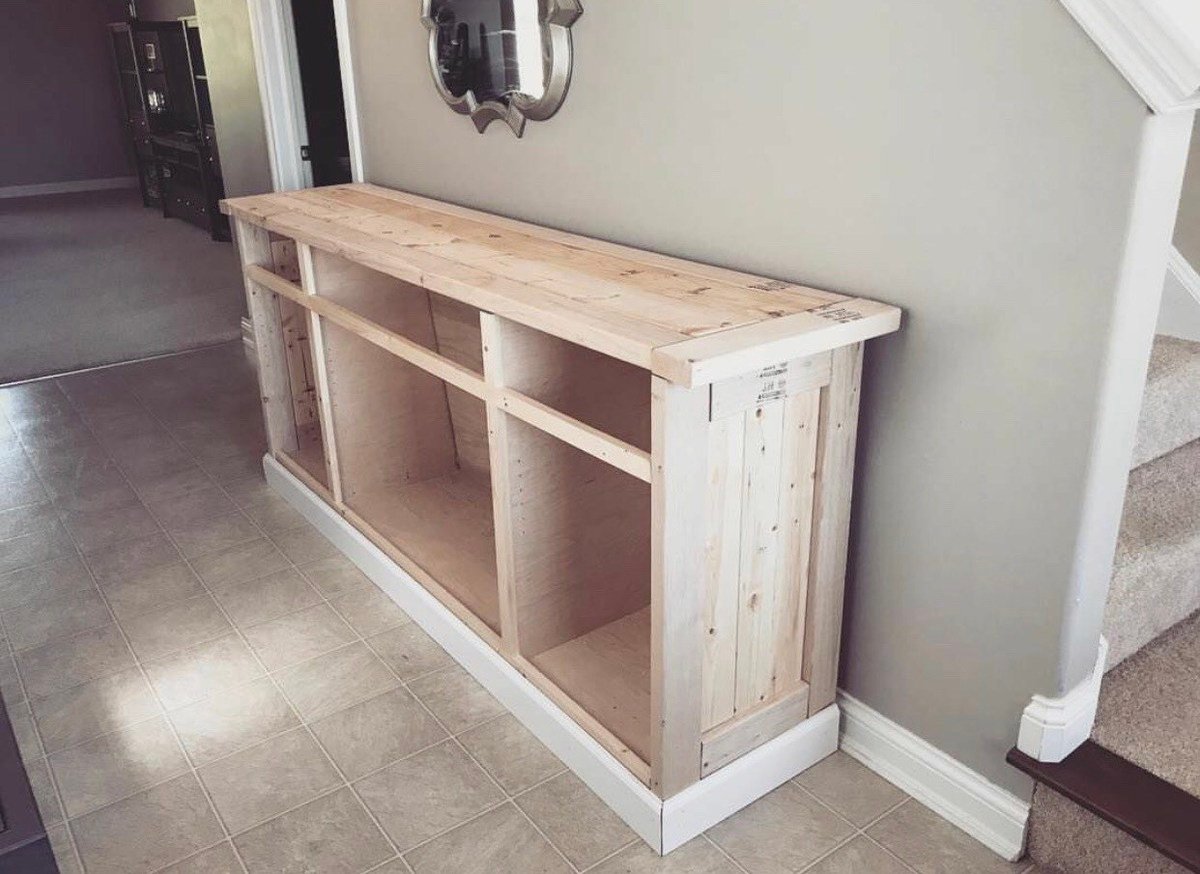
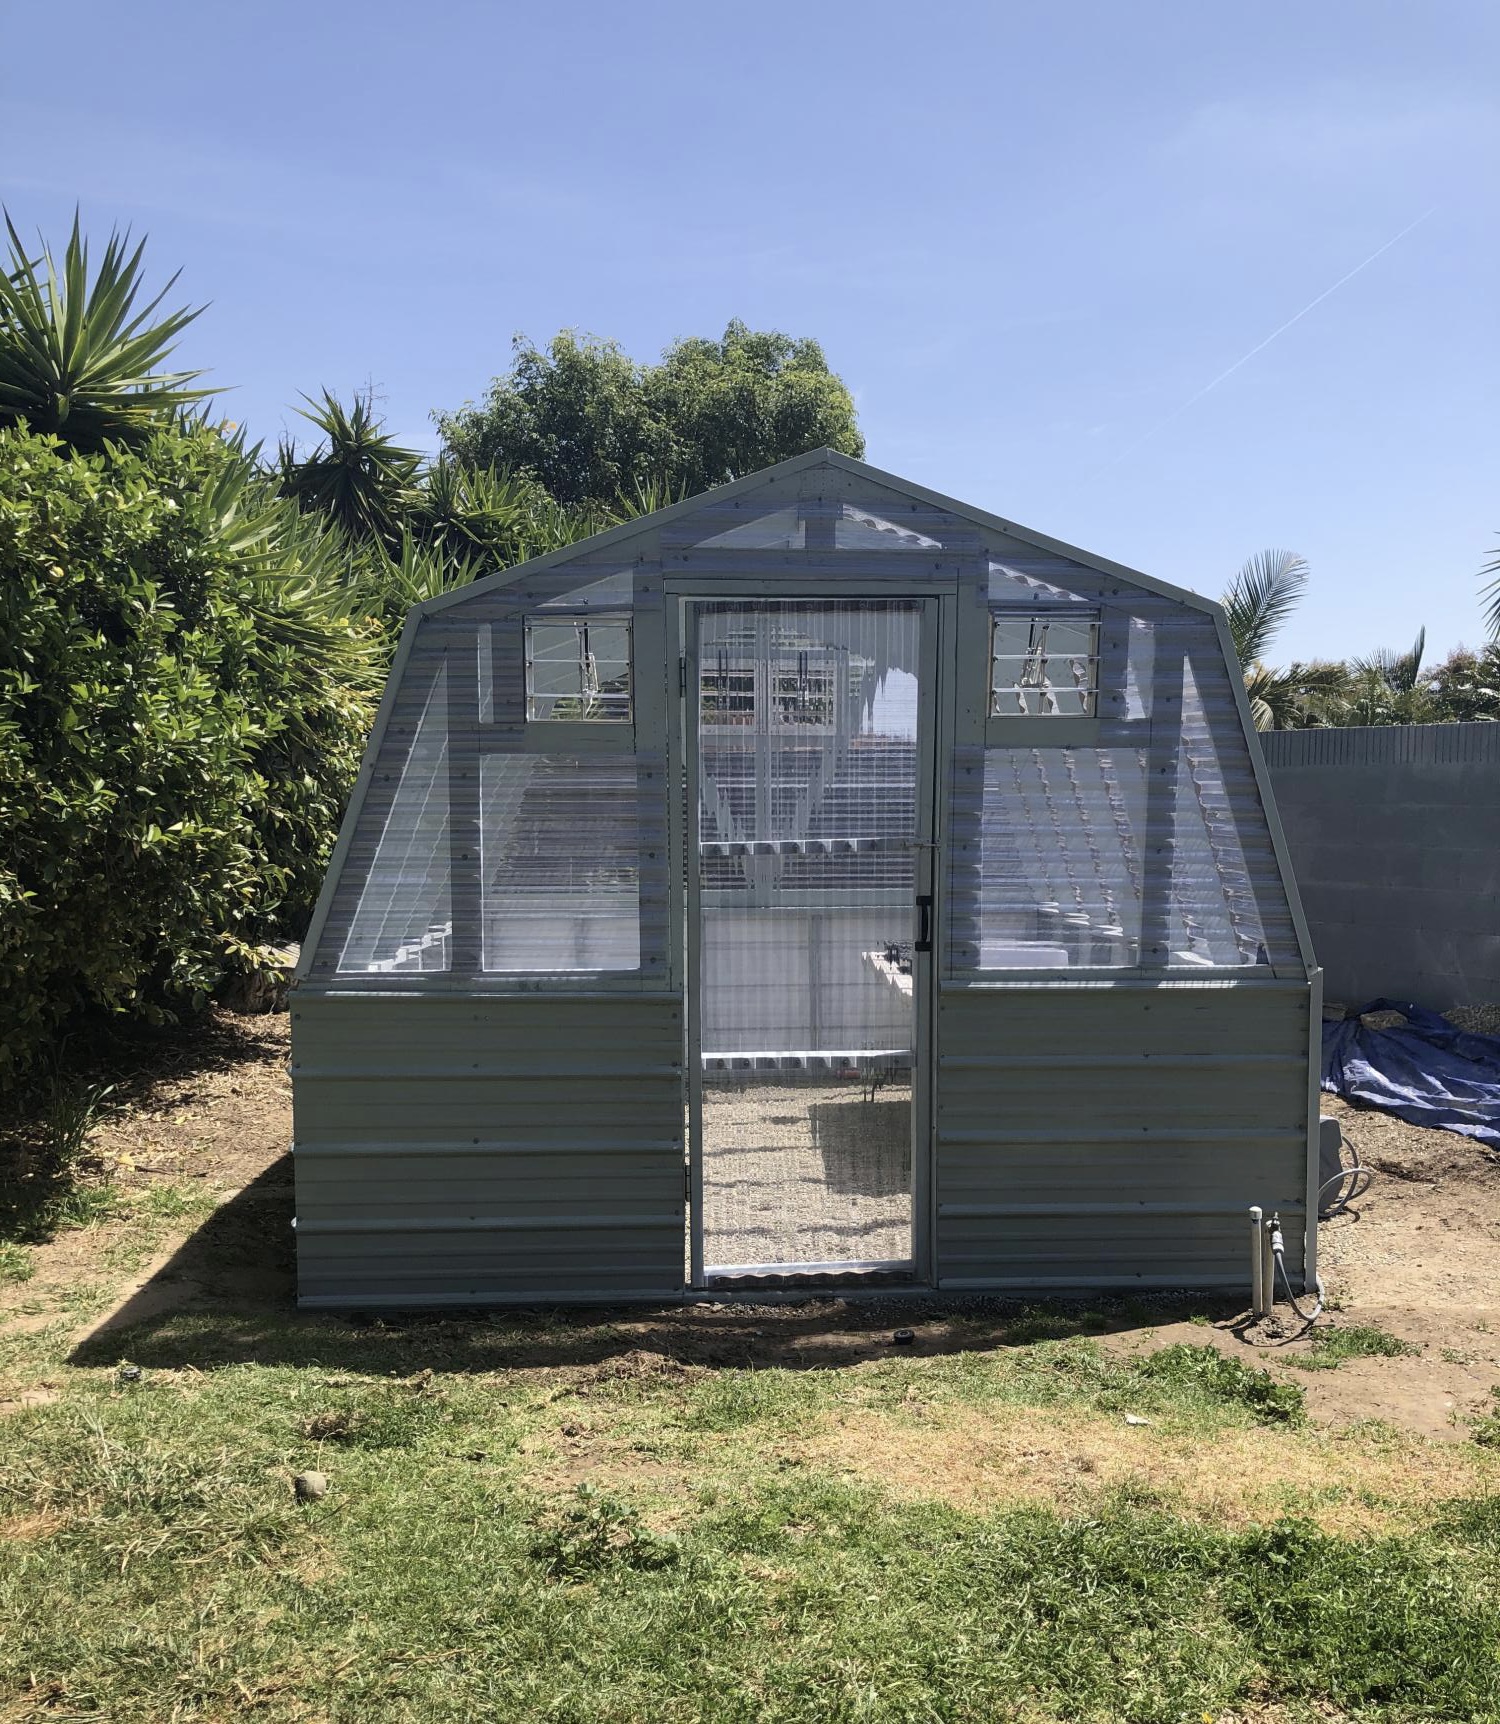
Small / Short Shed with doghouse...
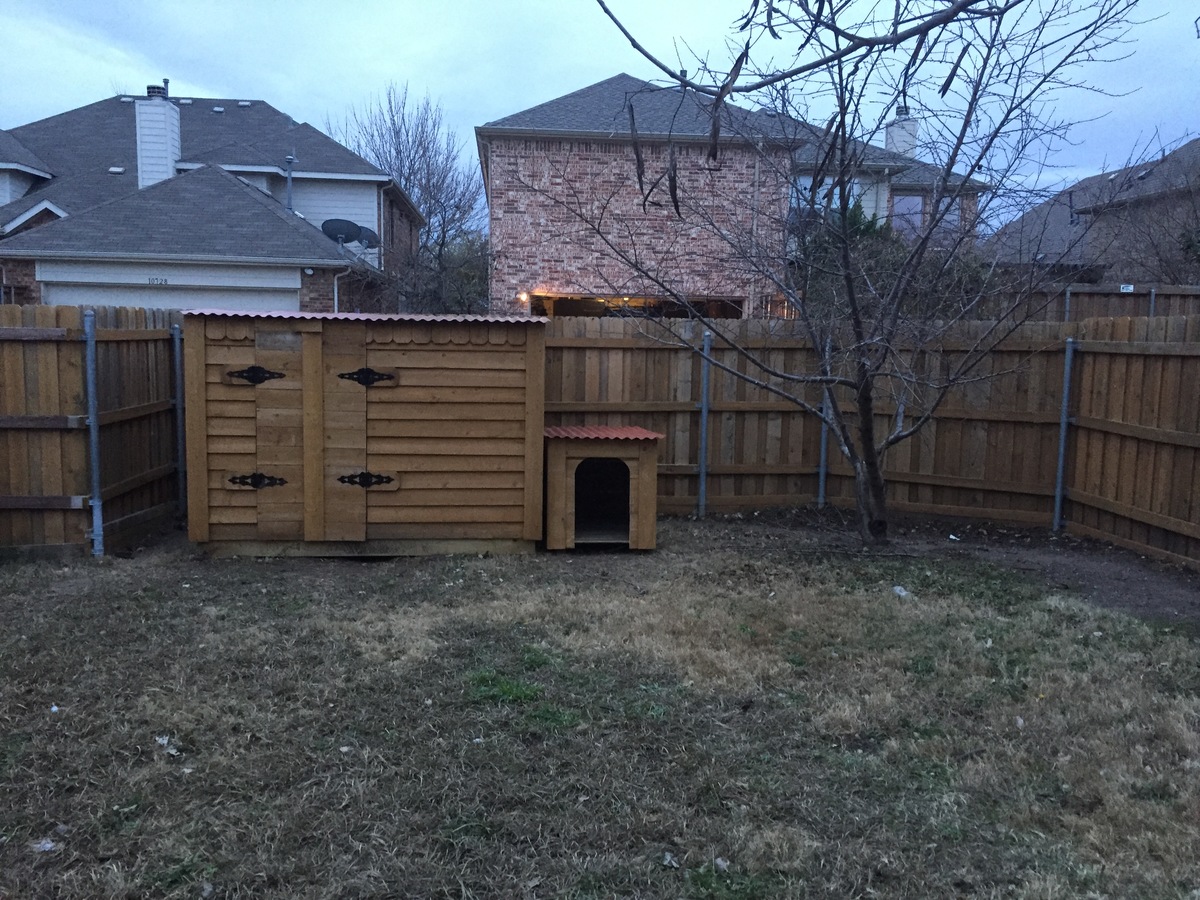
I needed a shed to get my outdoor and seldomly used equipment out of my gargage. But I needed the shed to be small so it doesn't take up too much space in the back yard and my HOA will not allow it to be taller than my fence. So I needed a small/short shed. I didn't use any plans, but it would probably have been quicker if I had. I did it with free time during a week, but could probably be all completed during a weekend. It was probably a few hundred total. I tried to reuse existing hardware/wood where possible. I'm a cheapskape. Here's my blogpost I did with additional pictures...
https://drowland.wordpress.com/2017/12/22/small-short-storage-shed/
You can see I also added a matching doghouse.
Estimated Cost
$250
Estimated Time Investment
Weekend Project (10-20 Hours)
Finish Used
none. I want to stain it when I stain the fence. The siding is the same as the fence so It should match perfectly once stained.
Recommended Skill Level
Beginner