St. Patty's Day Cornhole Boards
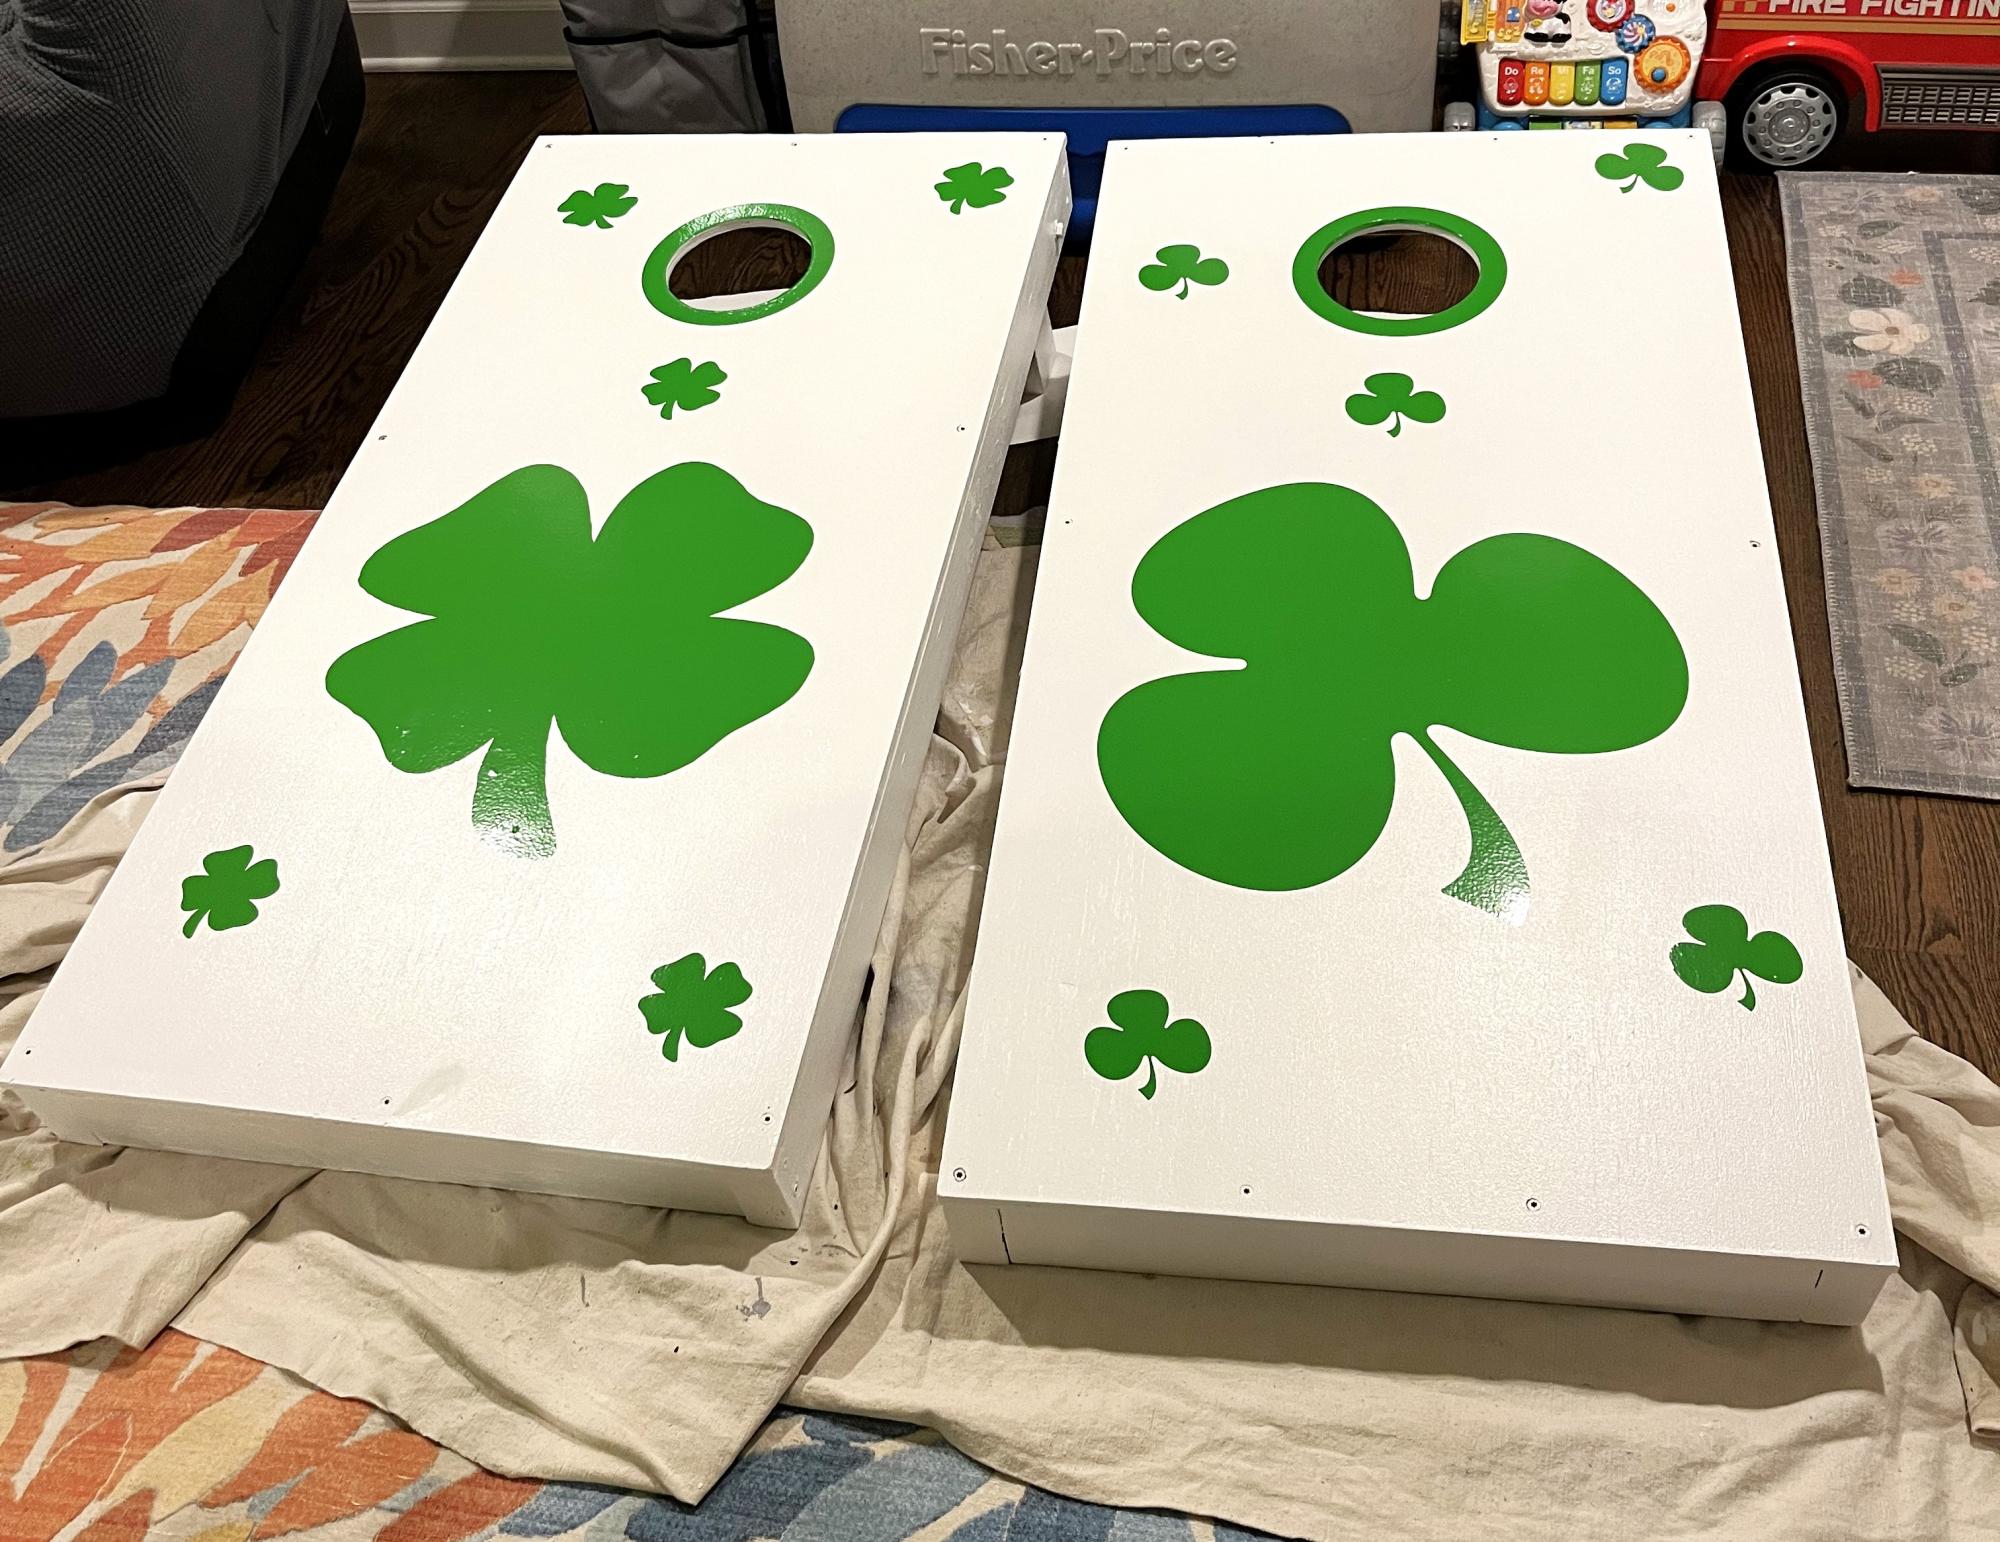
This was my second project and the step by step guide labs make everything doable. Ordered stickers and used them at a St Patrick’s Day party. Love
Built from Plan(s)
This was my second project and the step by step guide labs make everything doable. Ordered stickers and used them at a St Patrick’s Day party. Love
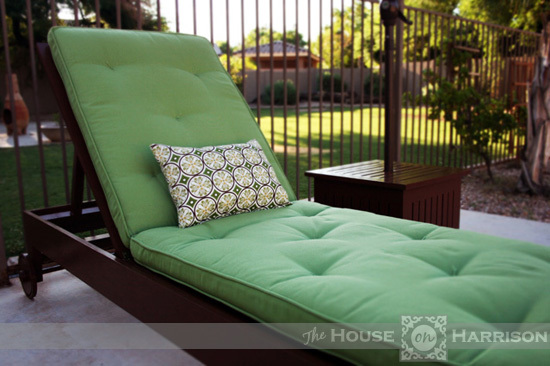
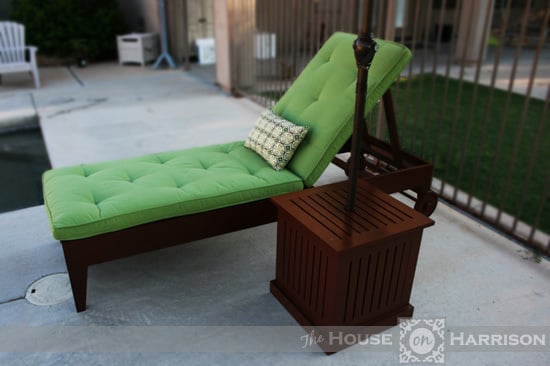
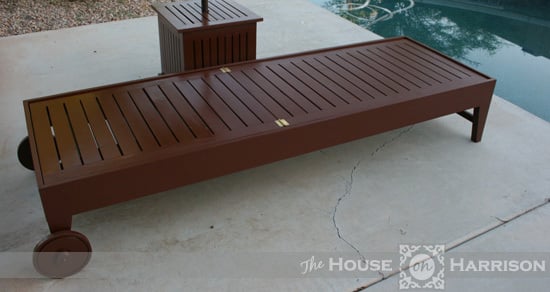
My husband and I made this outdoor chaise lounge using a combination of Ana's plan and another we found on the Internet. We wanted to be able to move this easily, so we added wooden wheels that we turned on our table saw. All in all, this project took us about two weekends. We are hoping the next one goes a little faster.
You can see more pictures of the build process on my blog.
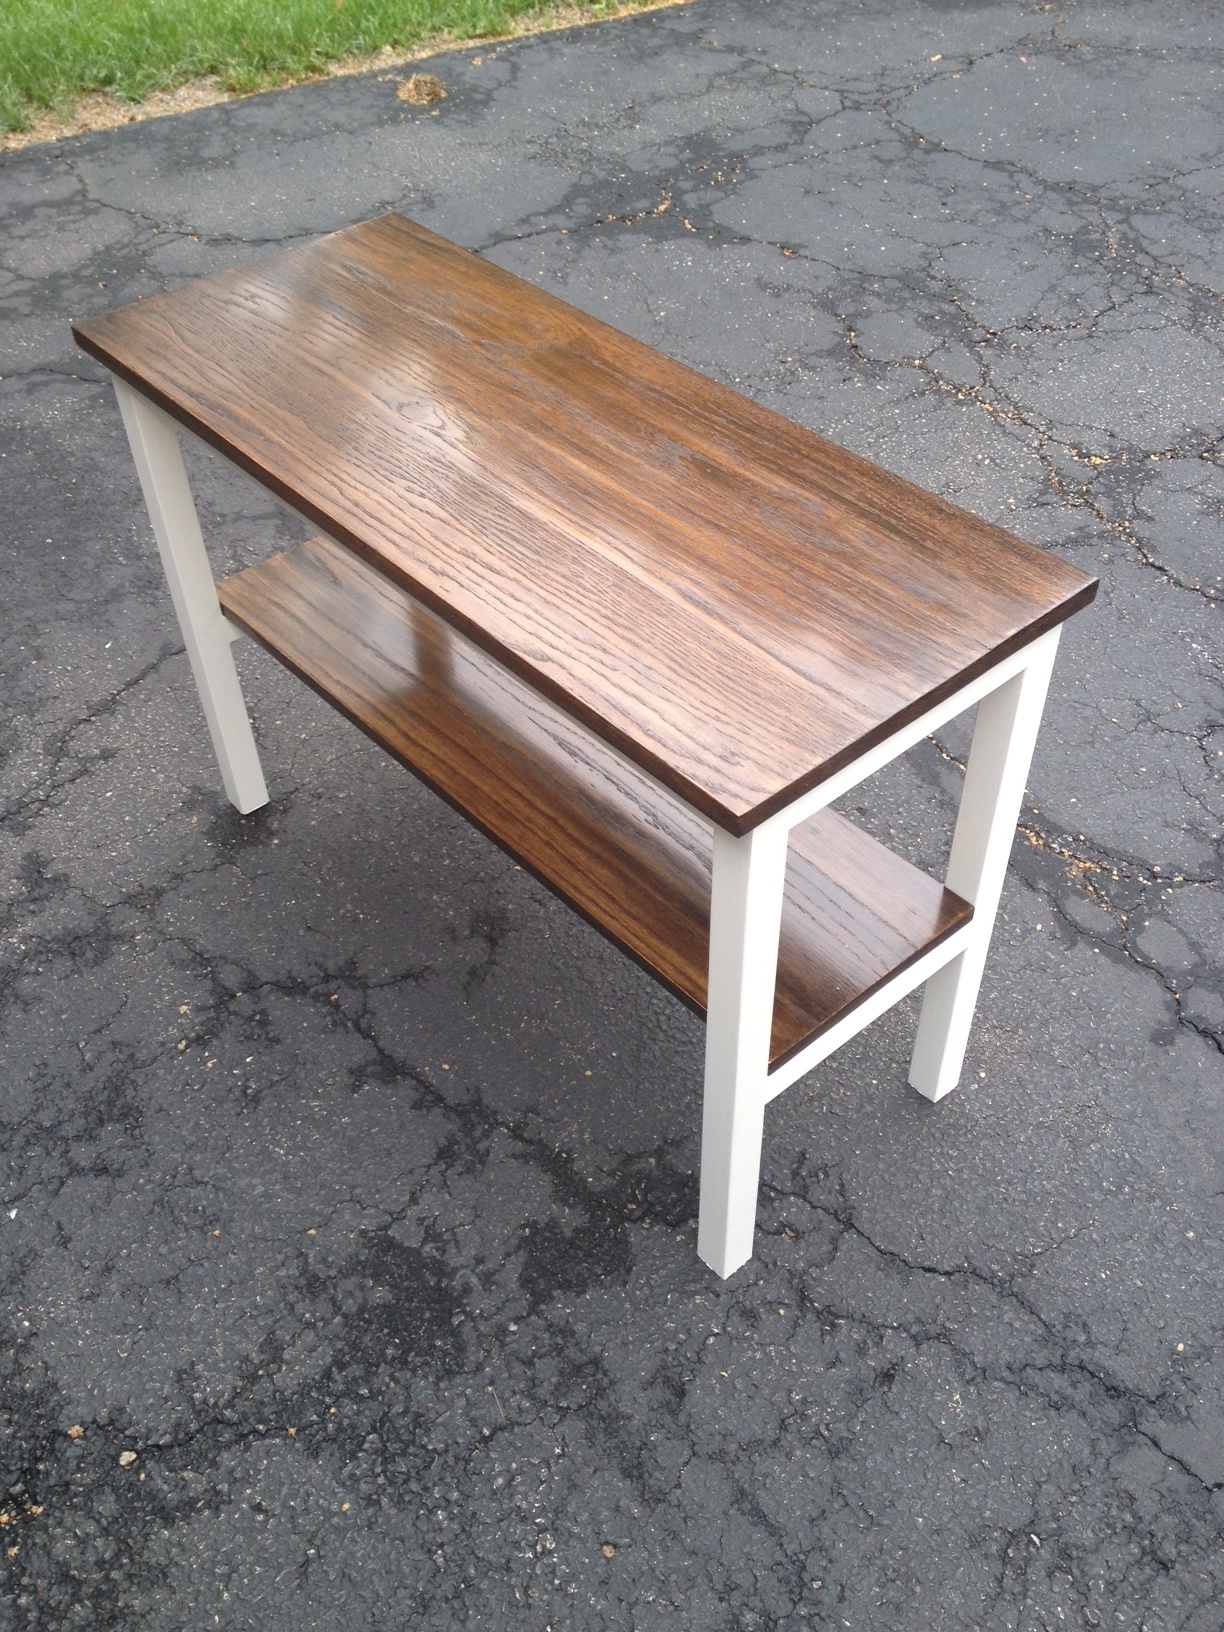
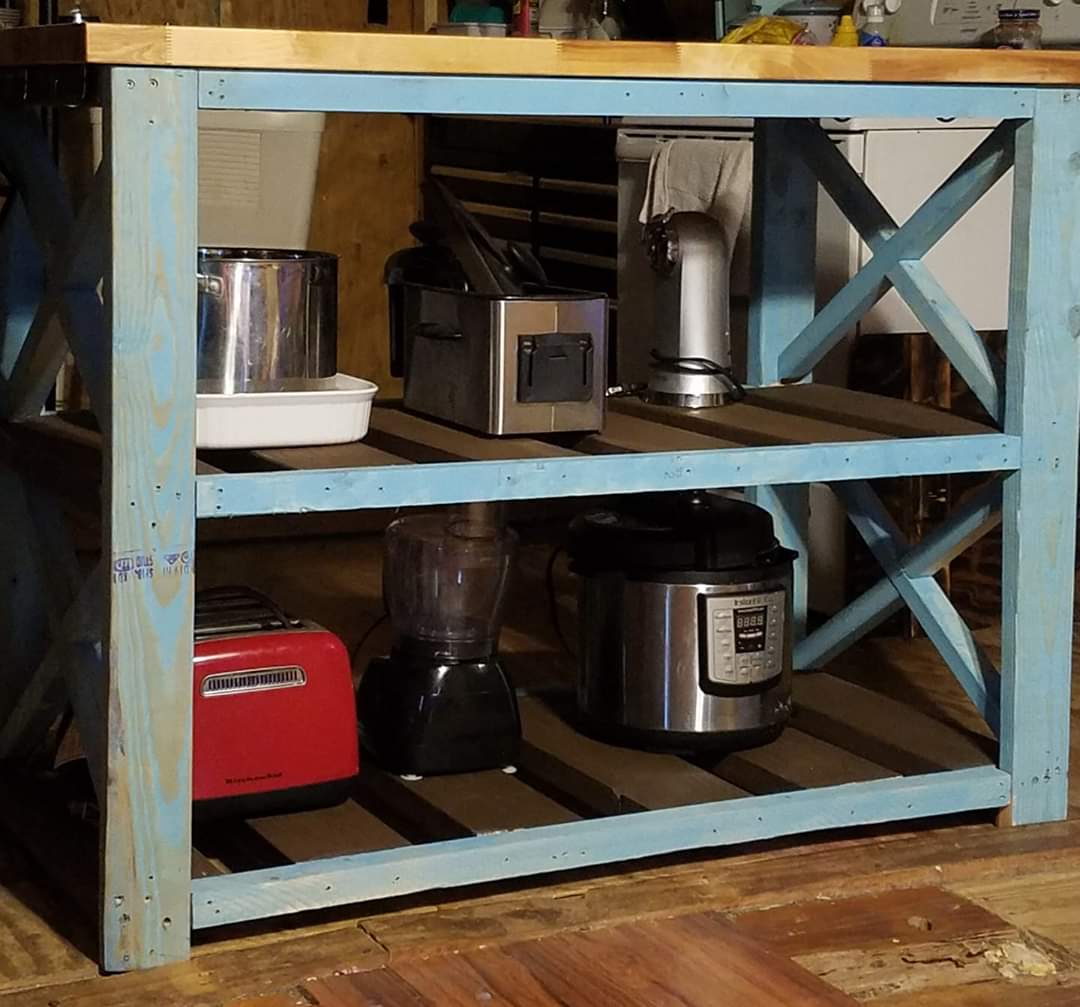
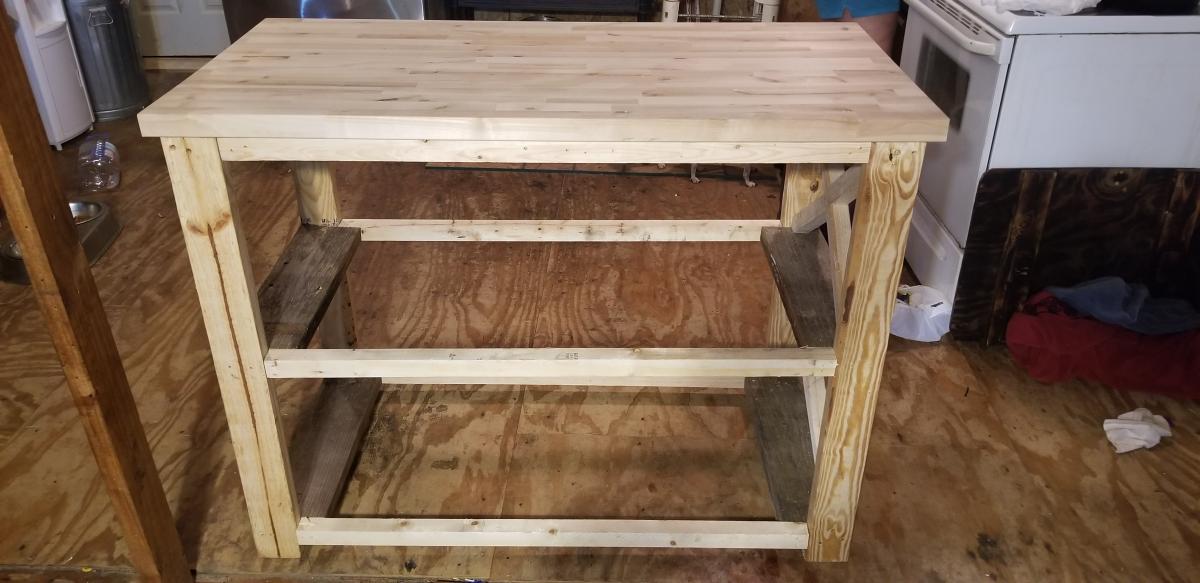
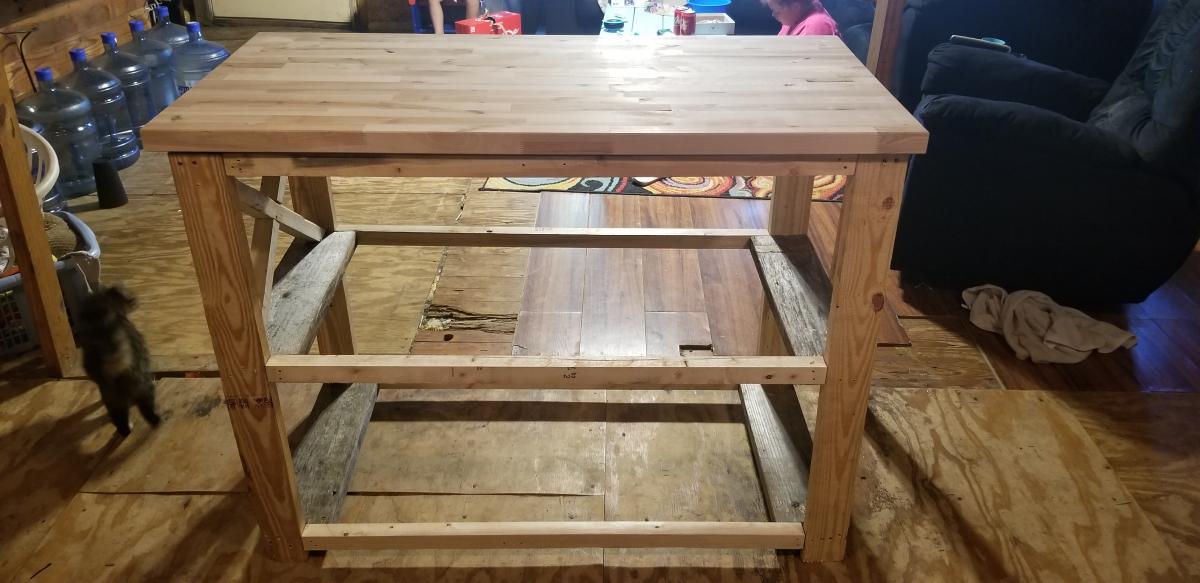
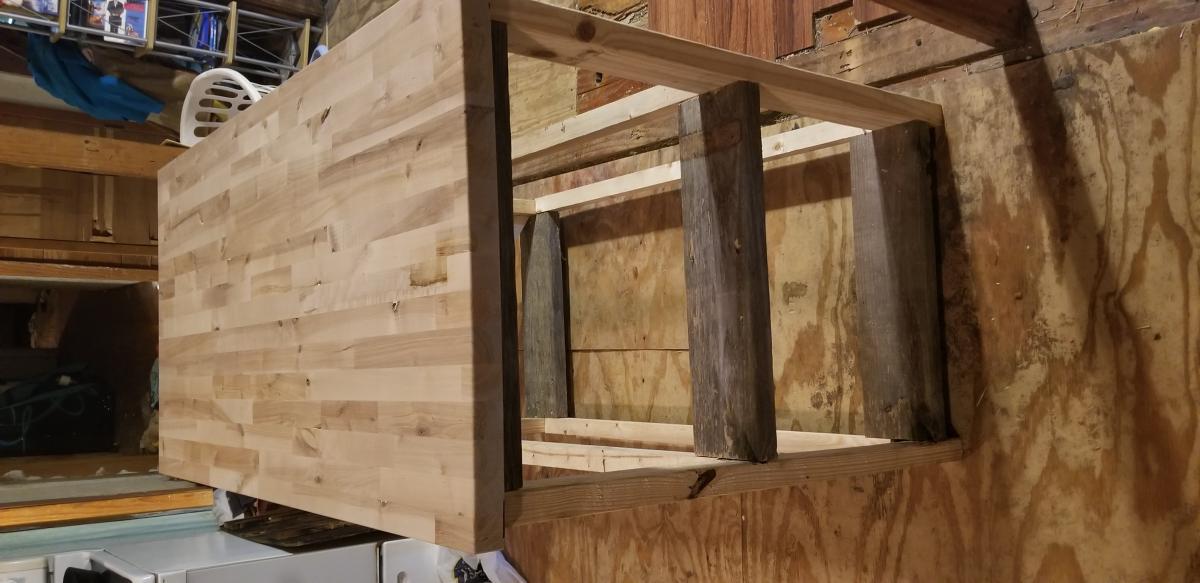
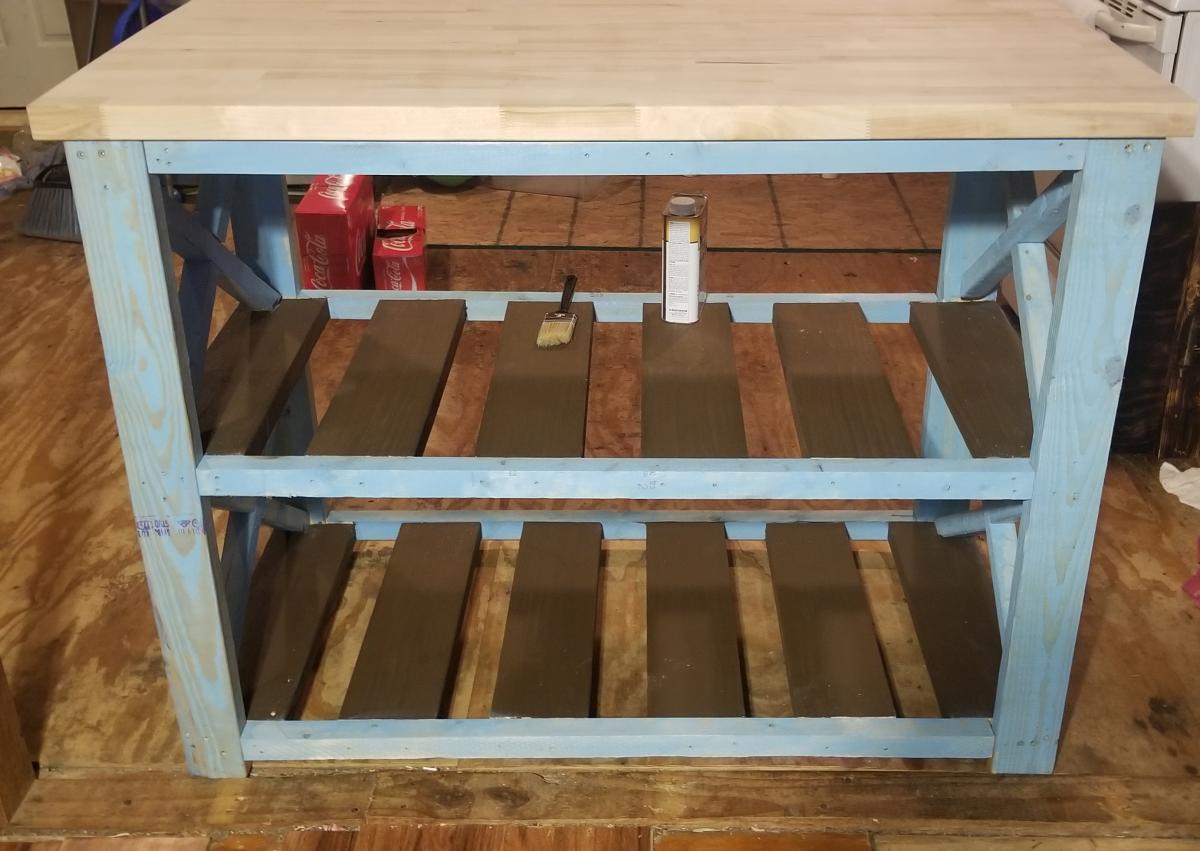
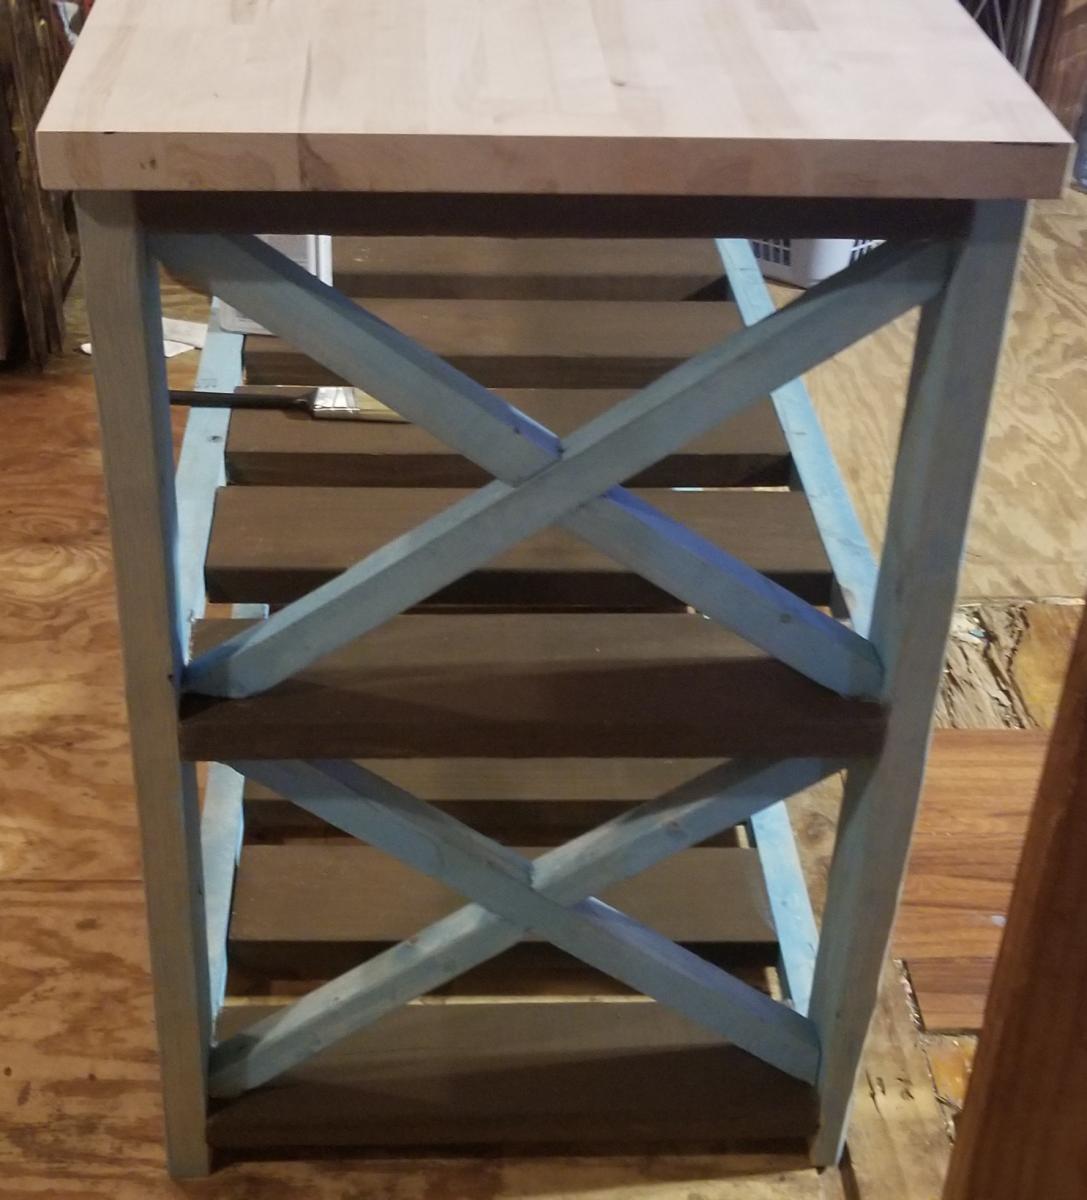
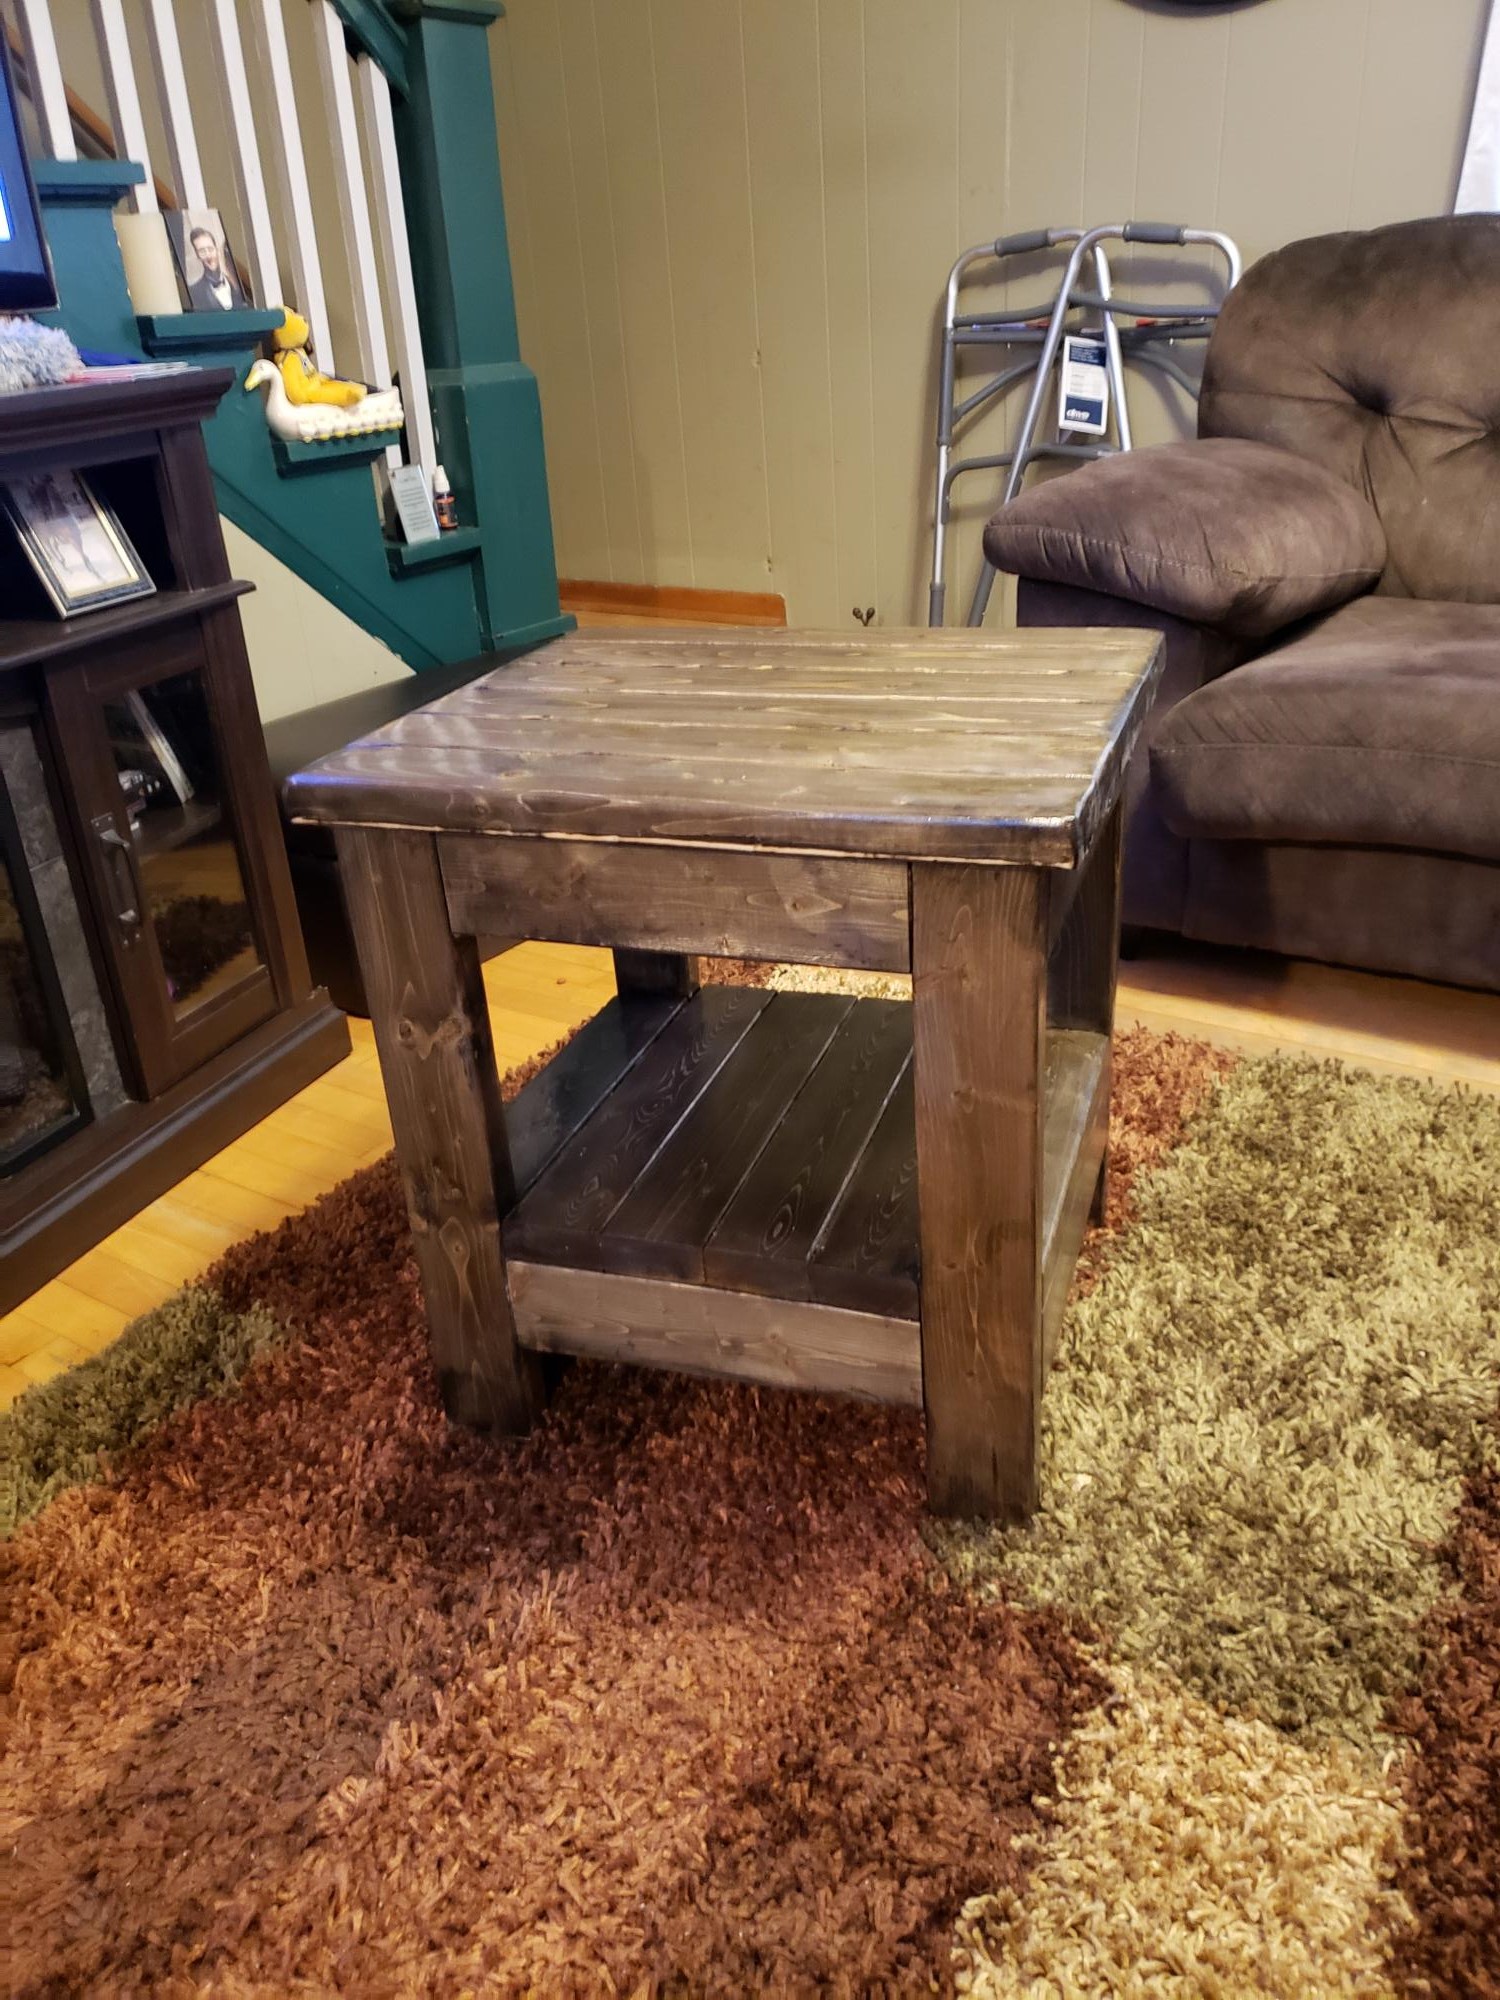
I saw the post and loved the table. I changed the dimensions to fit our couch and living room. The wood for the shelves was reclaimed from two old house that were eventually torn down. The houses were 90+ years old. Great old oak wood!
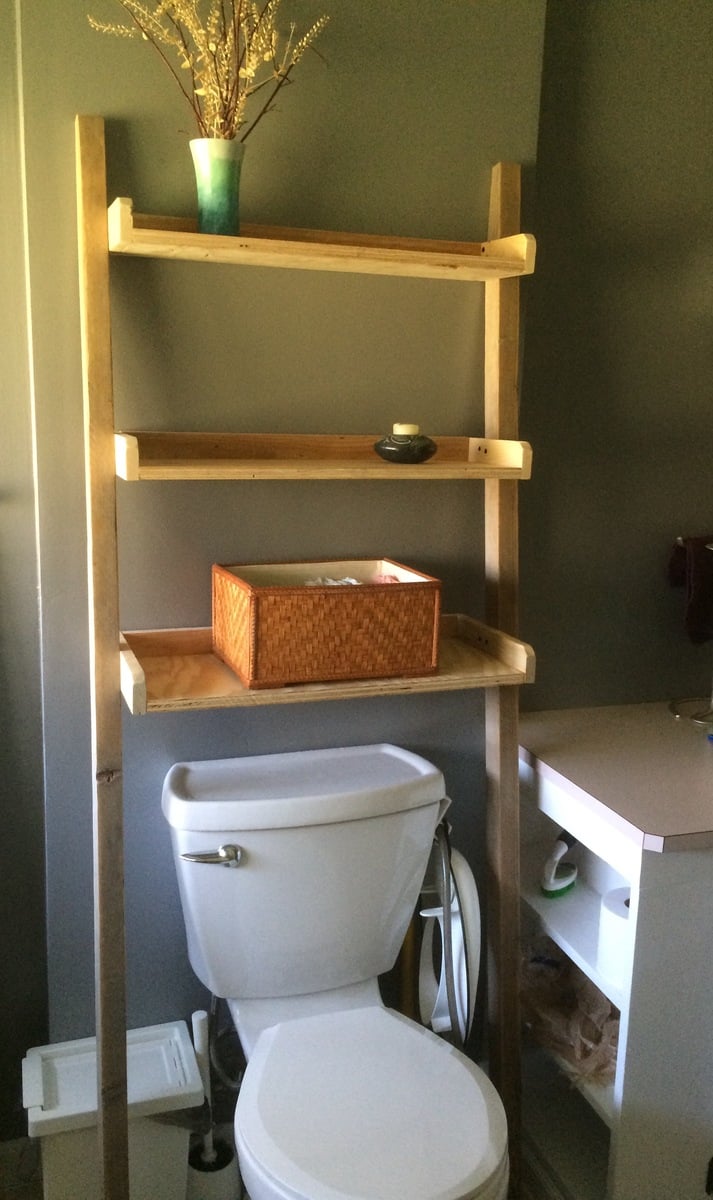
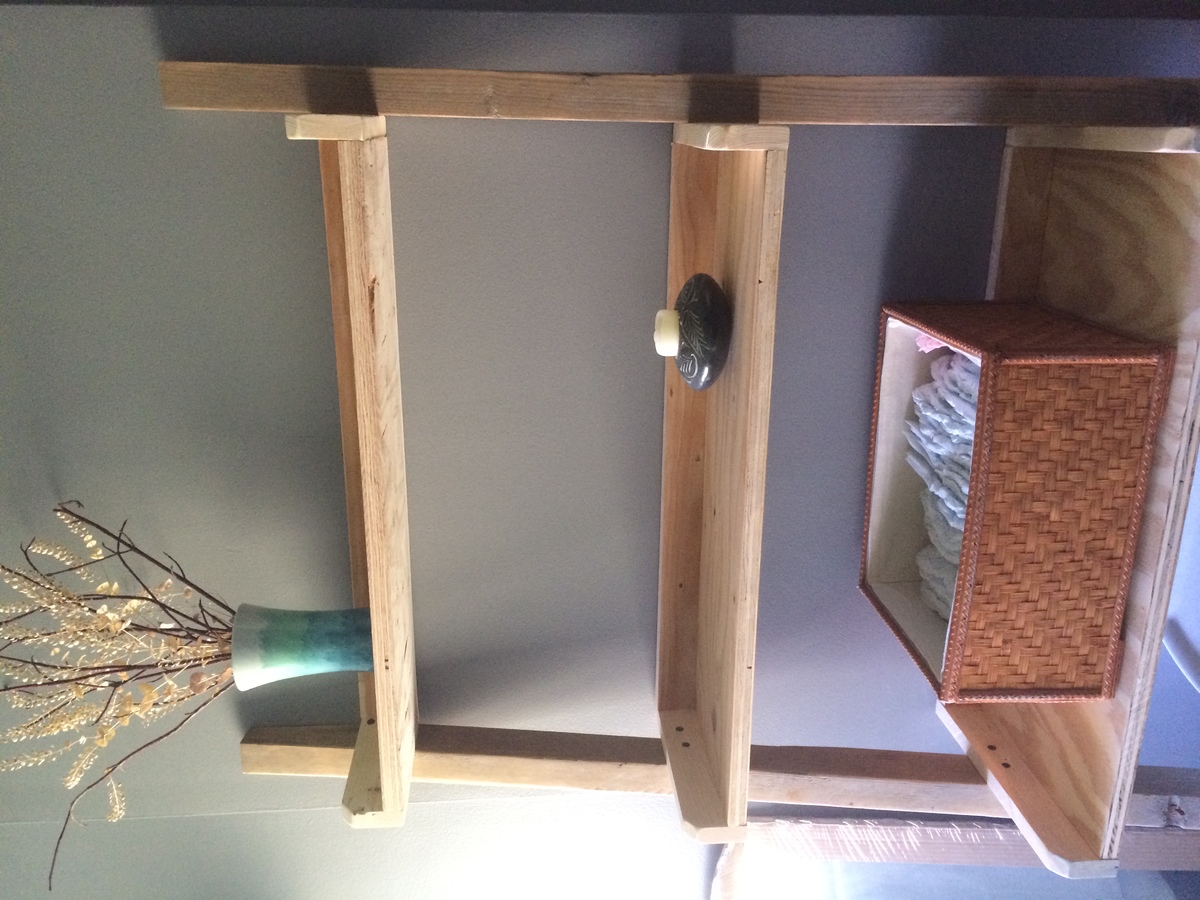
This leaning bathroom ladder was the perfect final touch to our budget bathroom re-do.
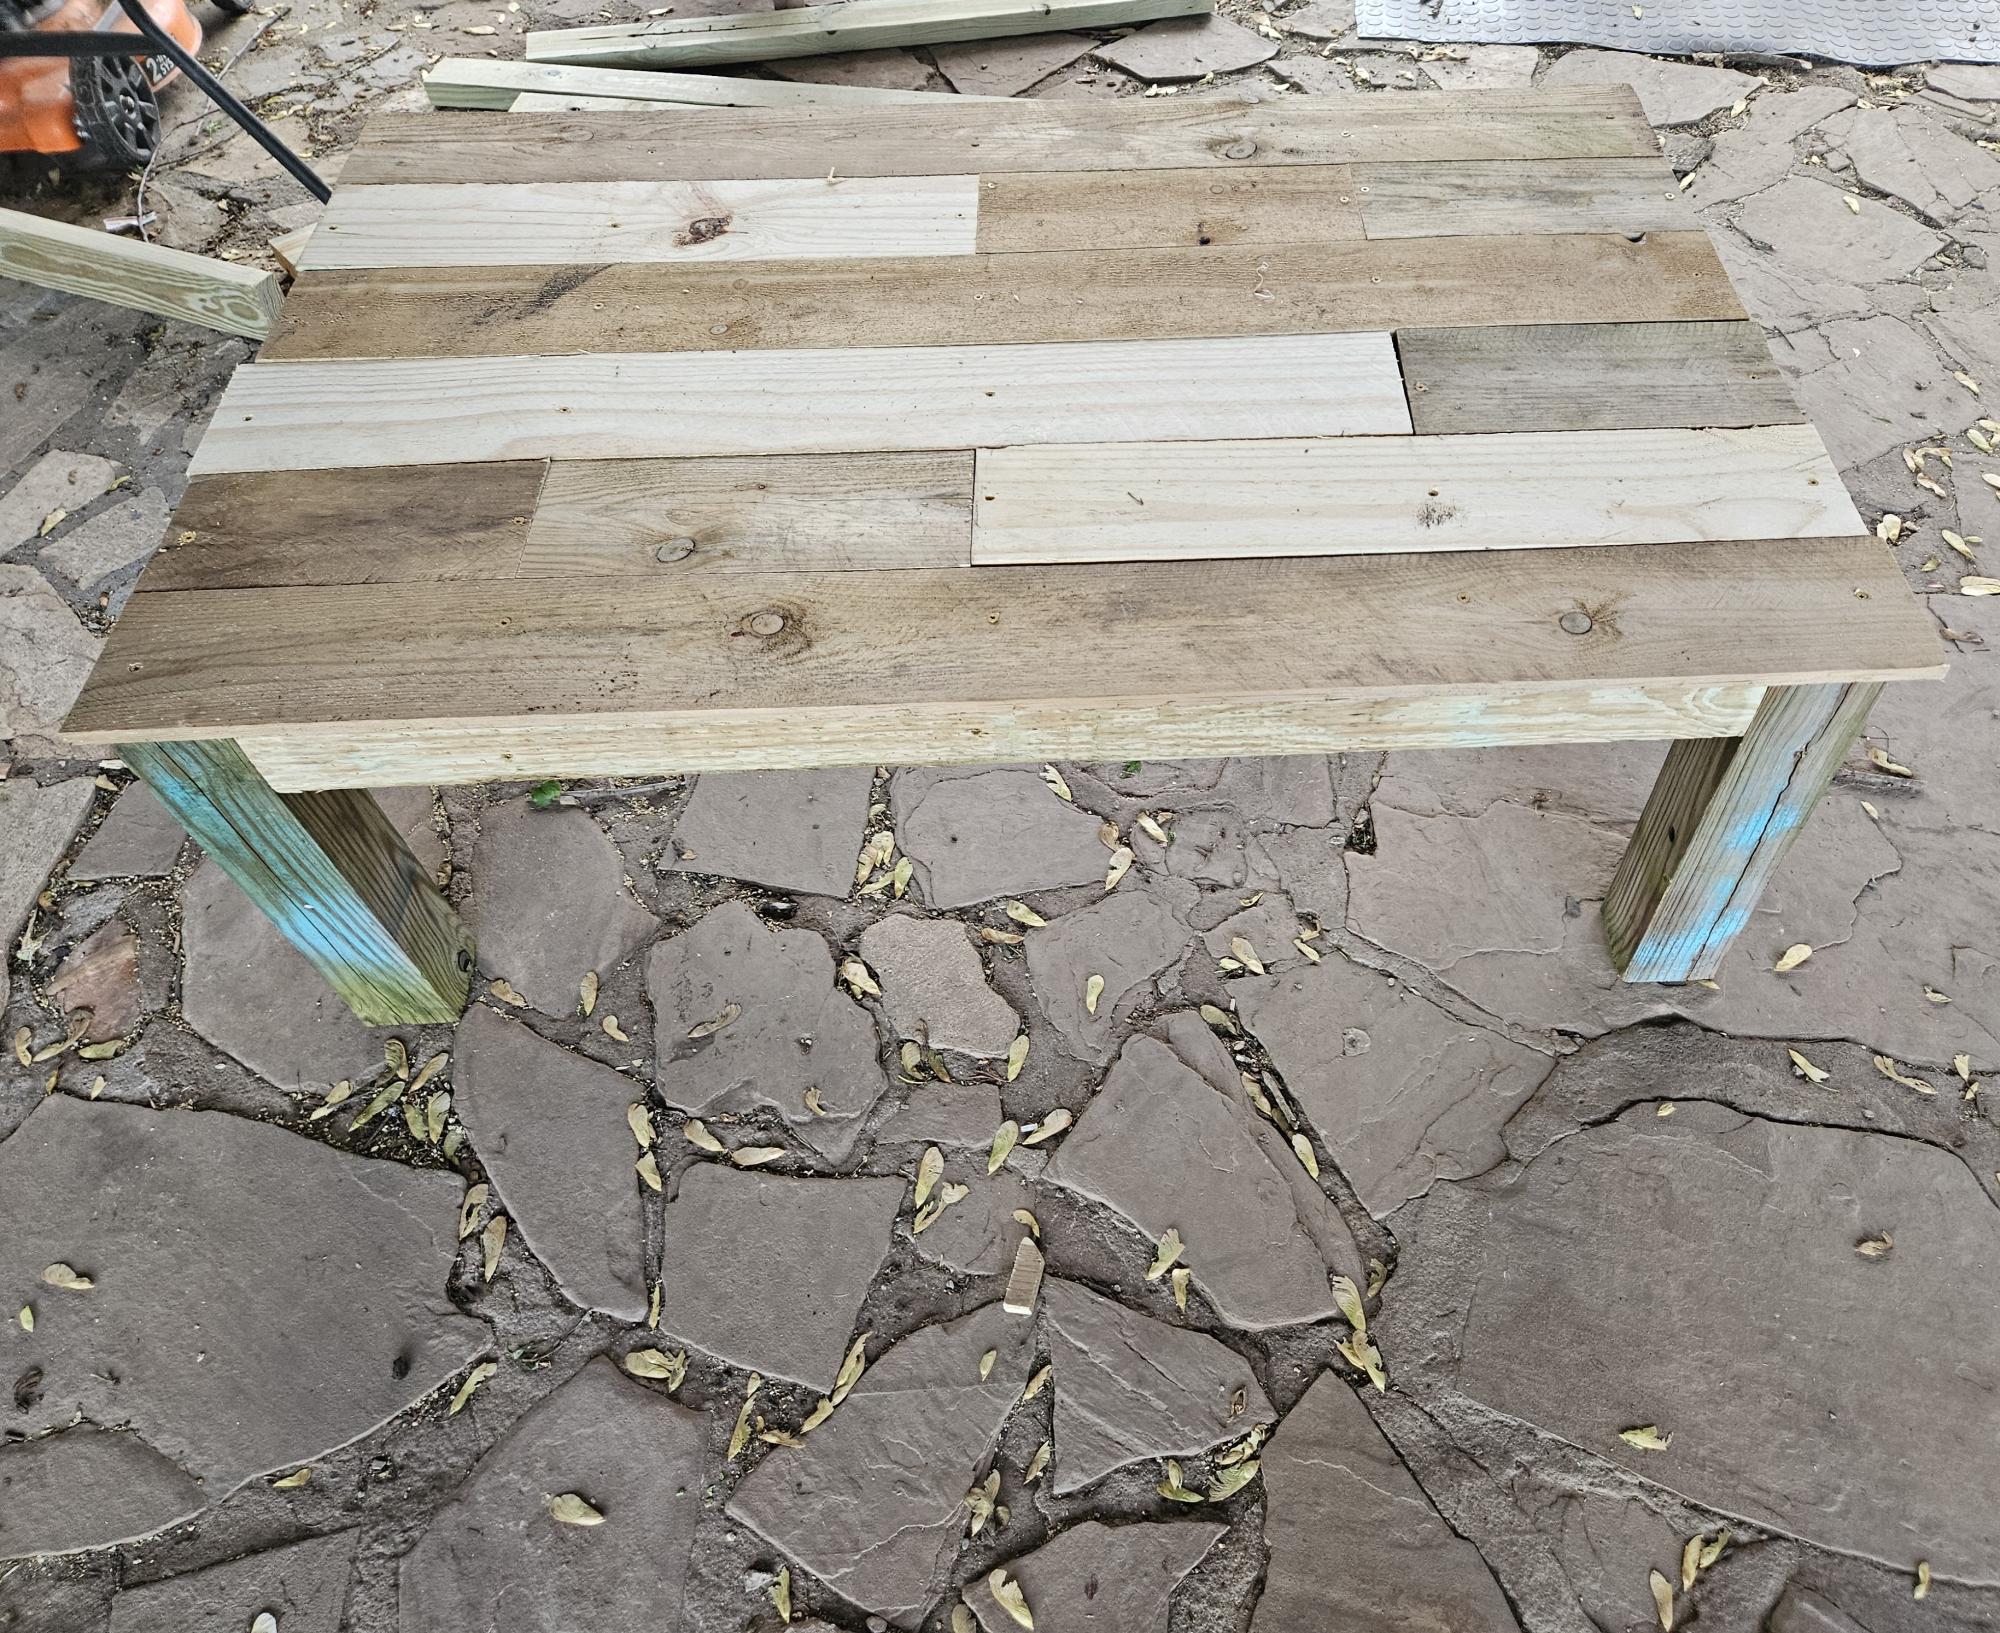
I used all reclaimed wood - old barn wood, pallet, and scraps - and had the nails/screws on hand. The only cost will be for stain, which the jury is still out on. Likely I will use the Danish oil in medium walnut. Loved doing this project and the result!

Fri, 09/09/2016 - 11:01
I posted this brag post before registering with a user ID. I'm not sure how to "claim" my (first ever!) brag post. Anyone know if this can be done?

Fri, 09/09/2016 - 16:44
Thanks for adding! We fixed it. Great job, love that most of the project is reclaimed!
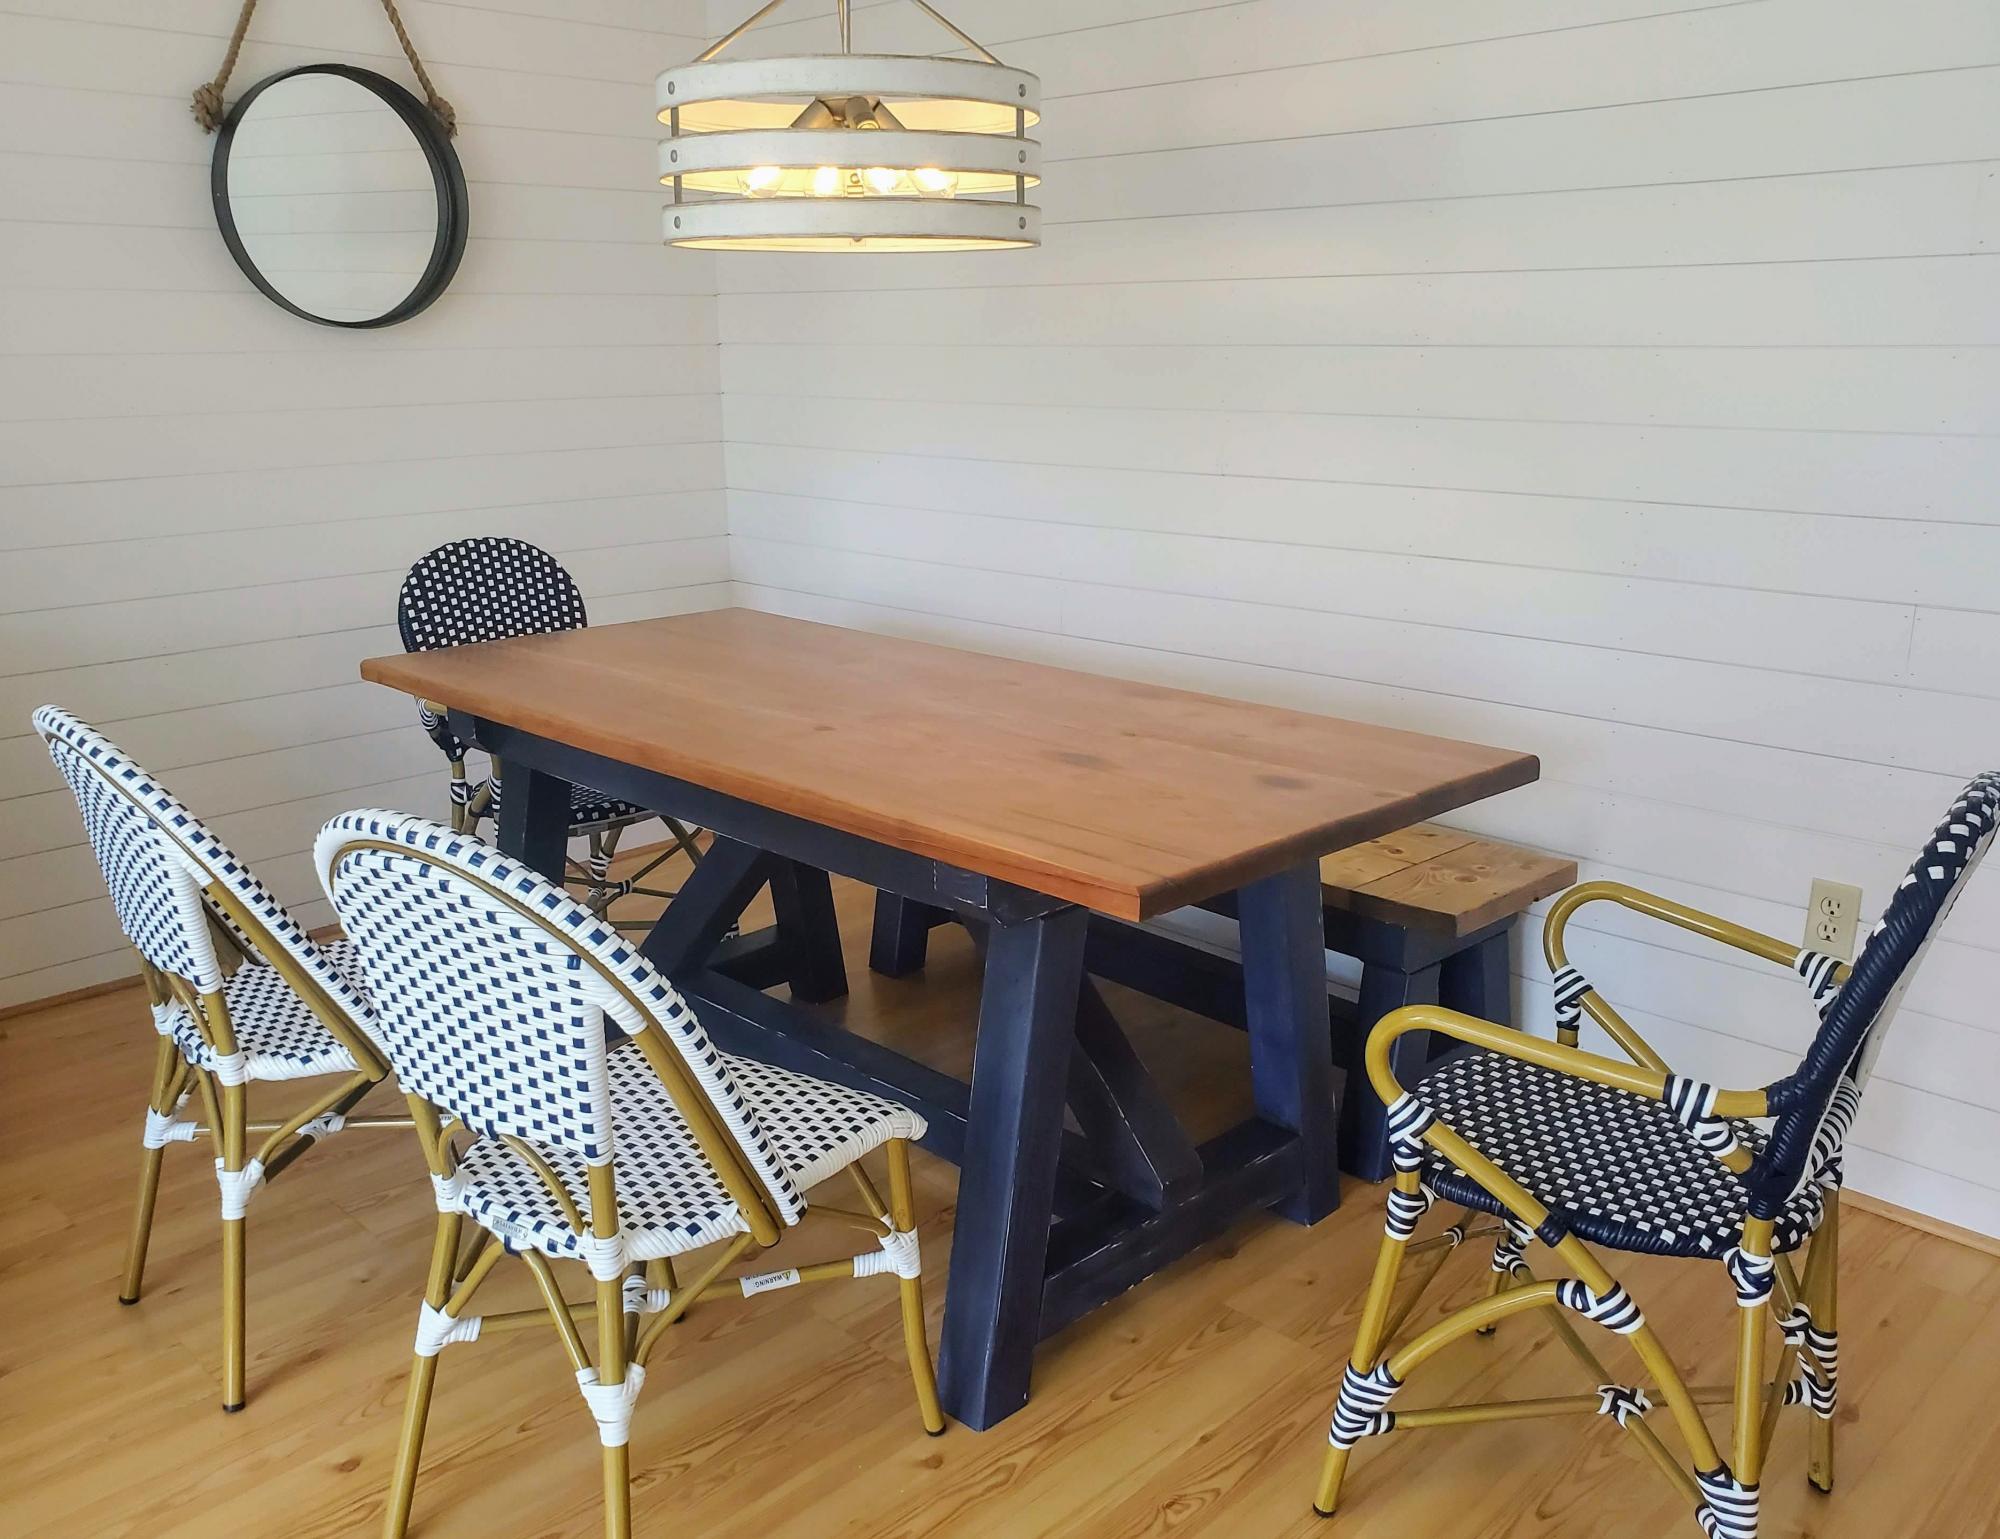
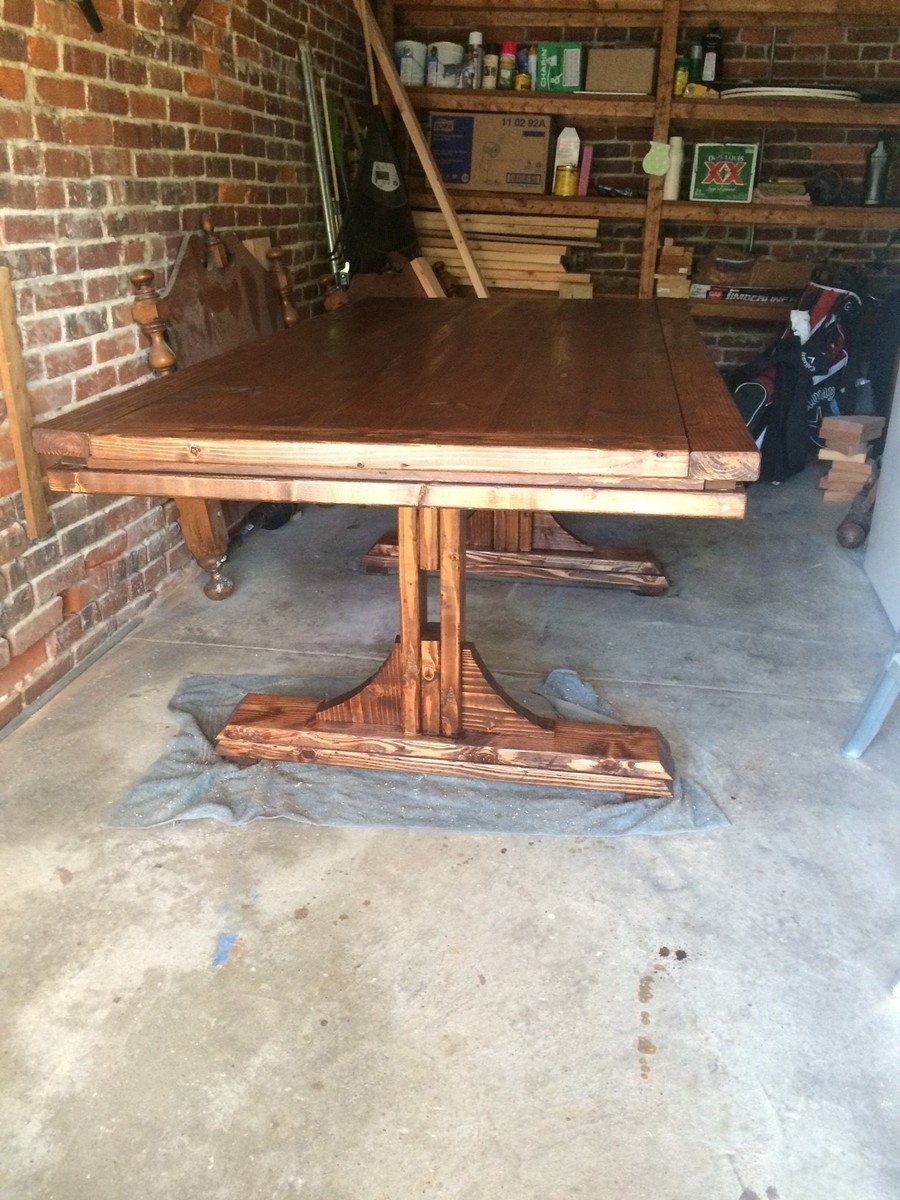
I followed this plan to create our new dining table and bench. I went with a distressed chalk paint for the base, and the top is made from 100 year old douglas fir barn rafters. They look great with our blue/white cafe chairs. Thanks for the great plan!
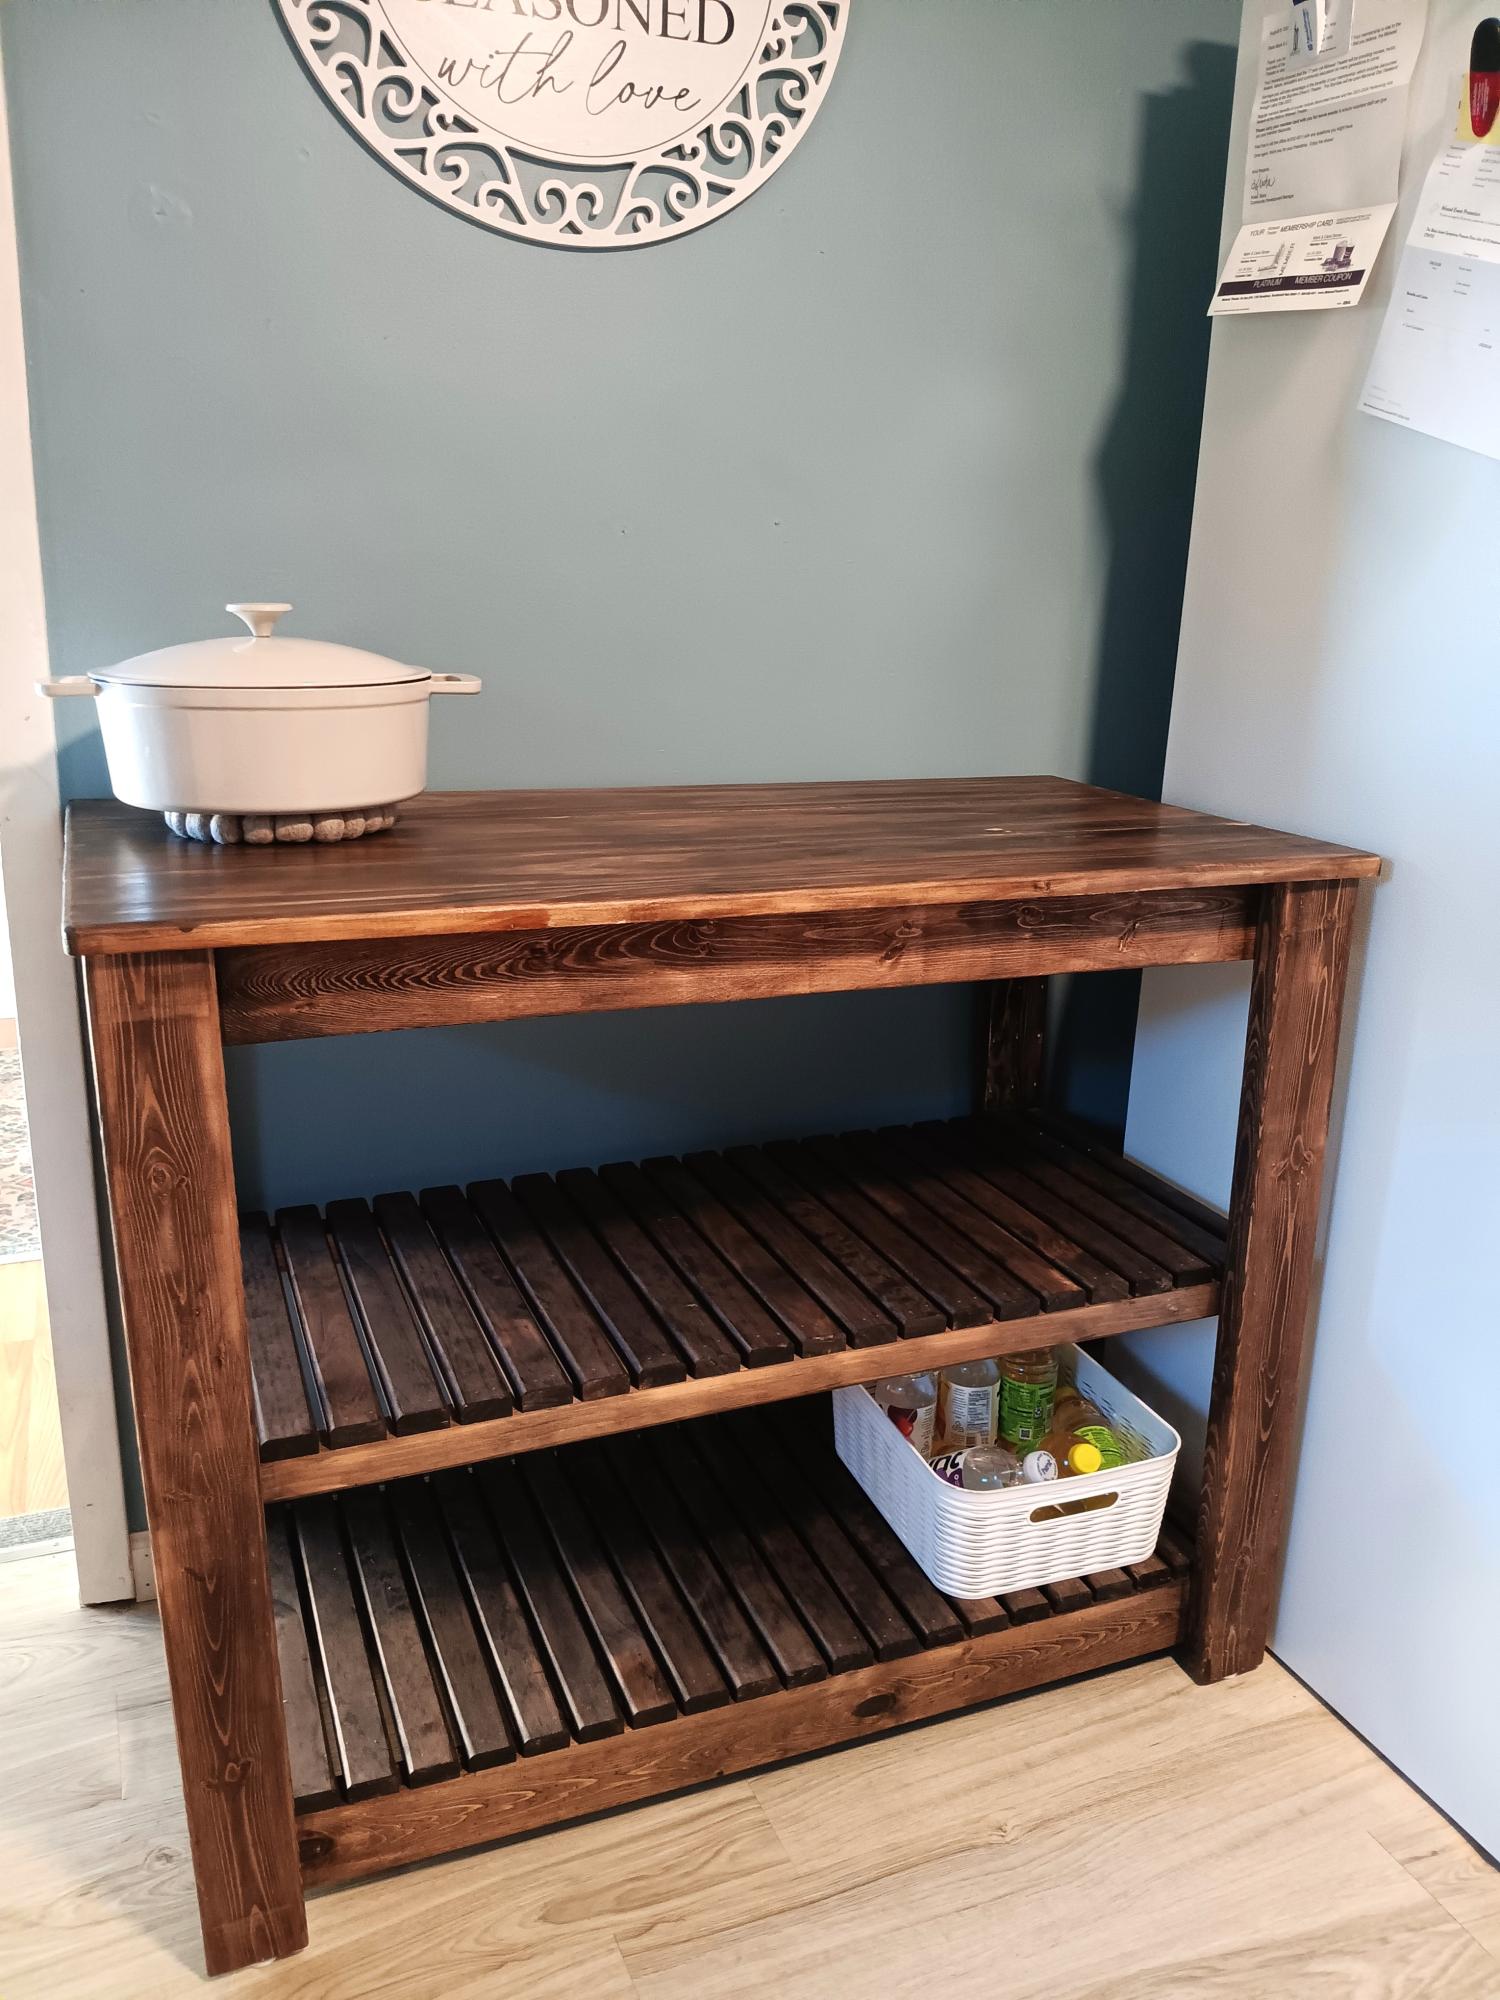
This was a fun project. Not difficult to build, just a lot of pieces. Added counter space near to the stove.
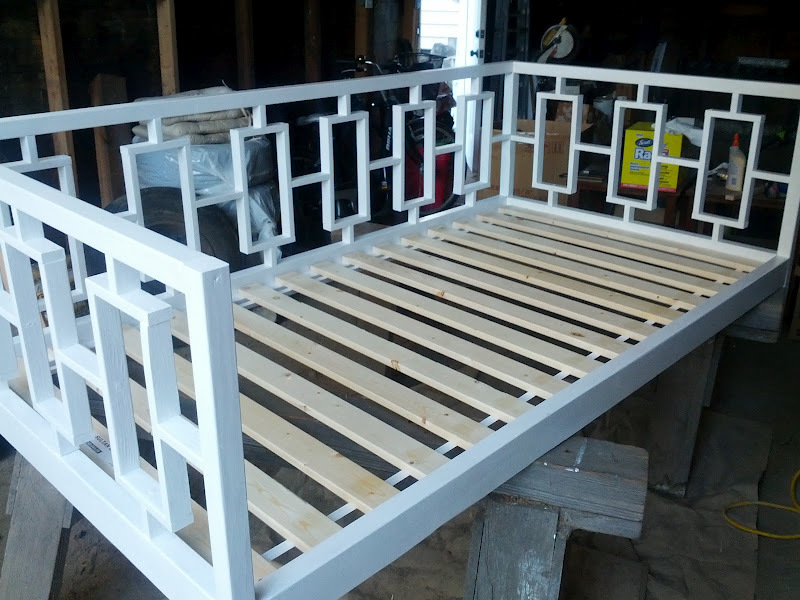
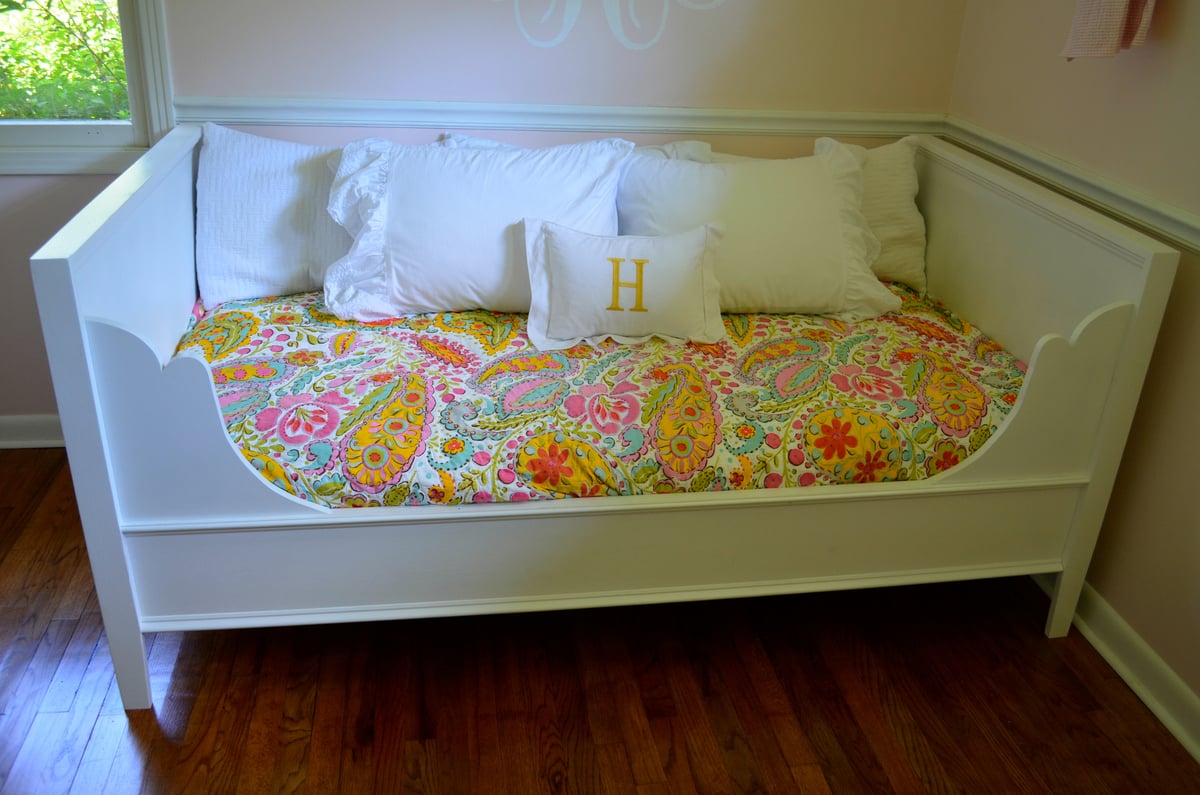
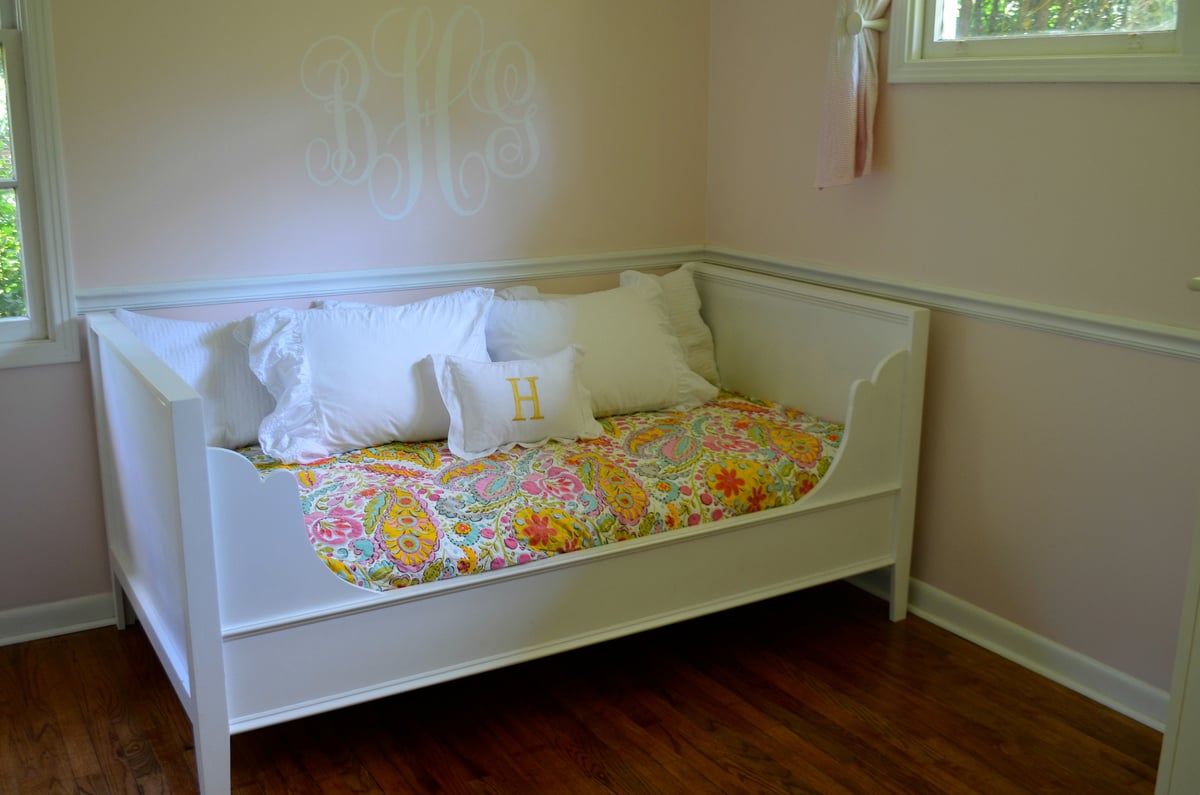
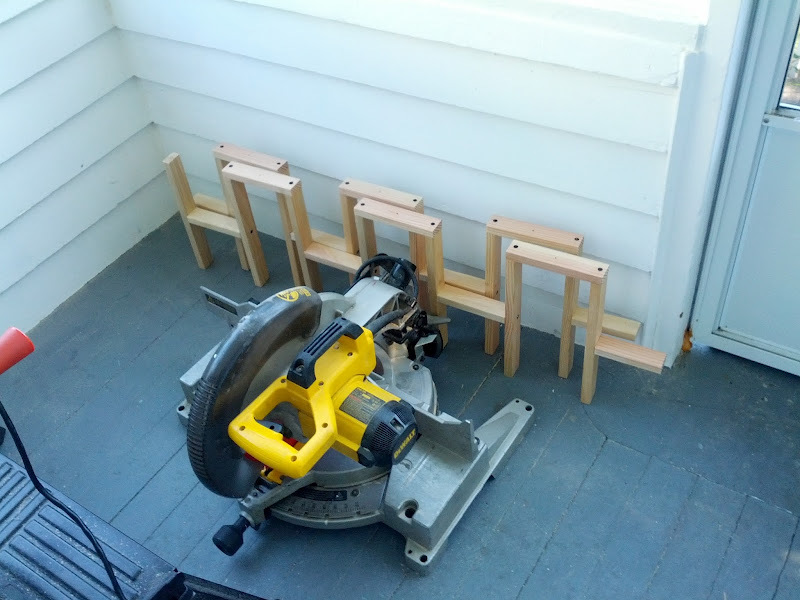
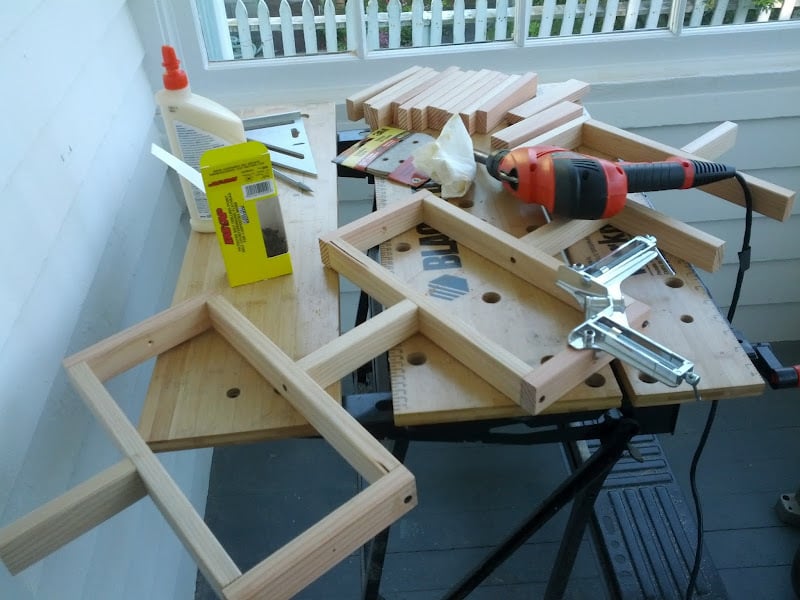
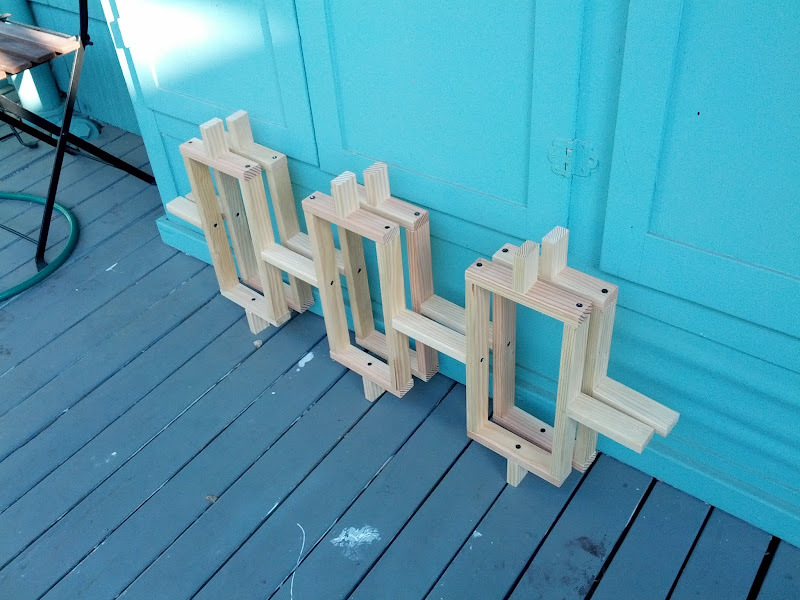
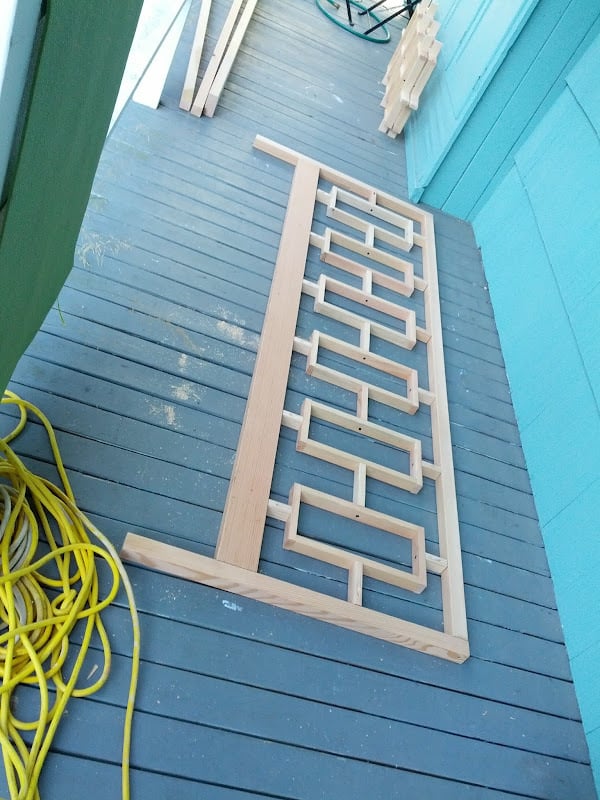
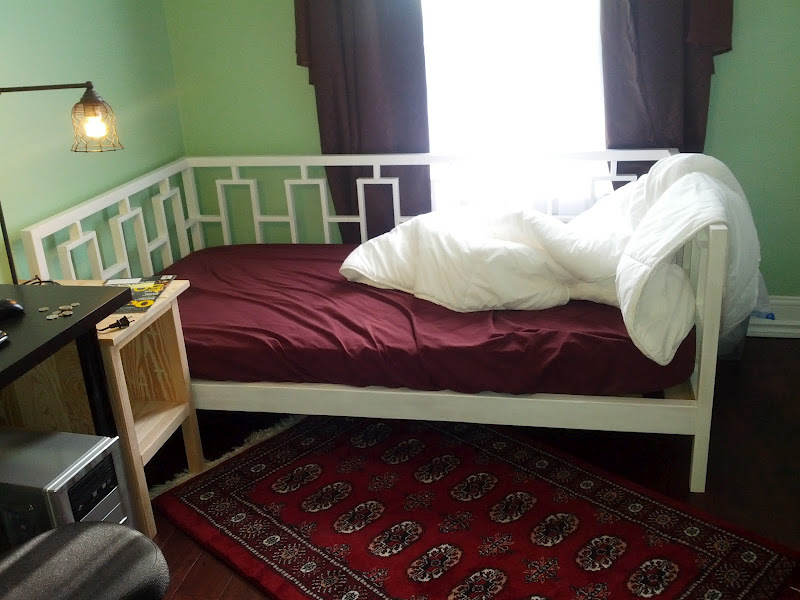
For my first woodworking project ever, I decided to make the Rectangles Daybed. I have not handled a power tool before, except the drill. So, over all, I'm quite happy with the result.
I got odd lot fir, which was more expensive, but prettier and easier to work with. I would probably not do that if I had known I was painting it. I also decided to put in IKEA slats instead of making my own.
I put more details in my blog posts.
Sun, 09/16/2012 - 17:12
Is there any chance you are making this to sell? if so, how much? Email me at [email protected]
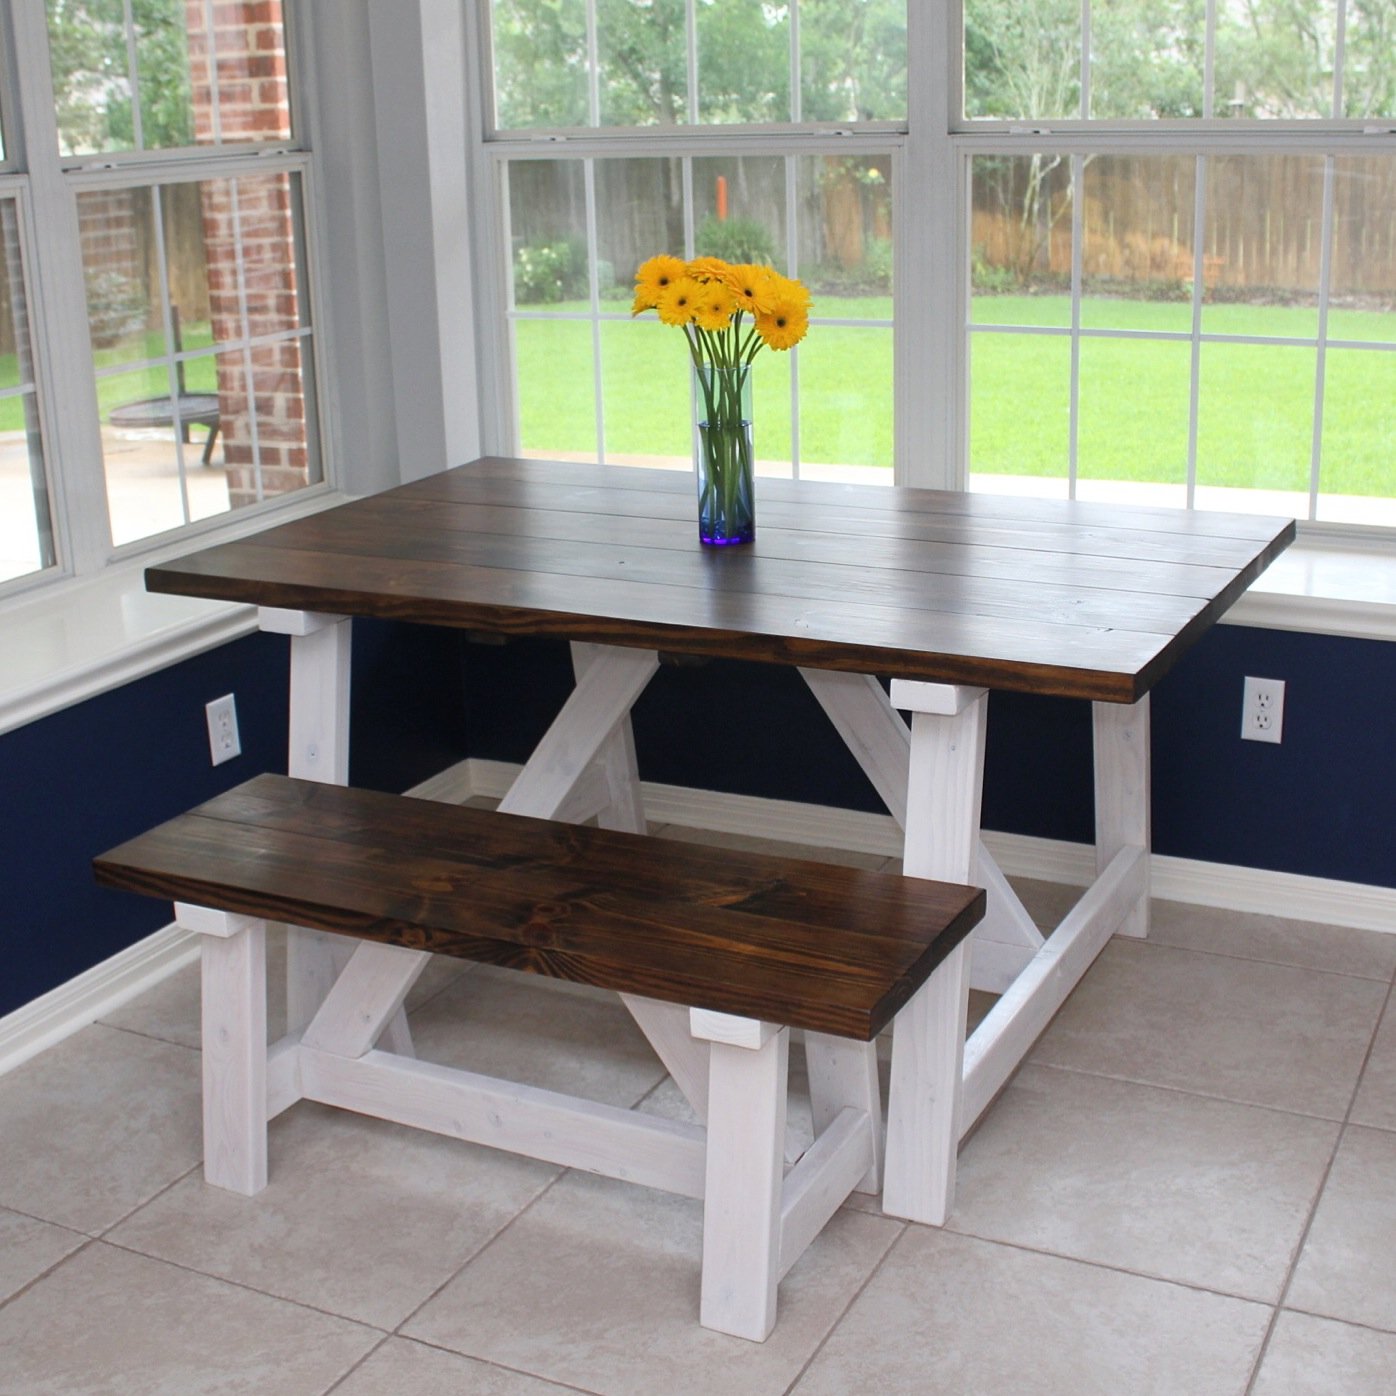
We shortened the original table plans by 2 feet to fit it inside our breakfast nook and it turned out perfectly!
Wed, 06/11/2014 - 08:41
Love the bright beautiful space! Great build and mod, thanks for sharing!
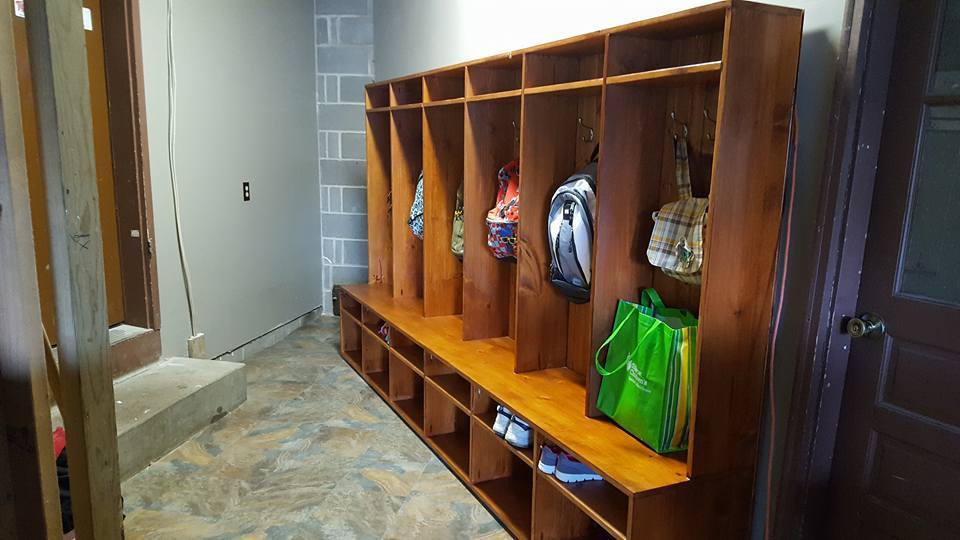
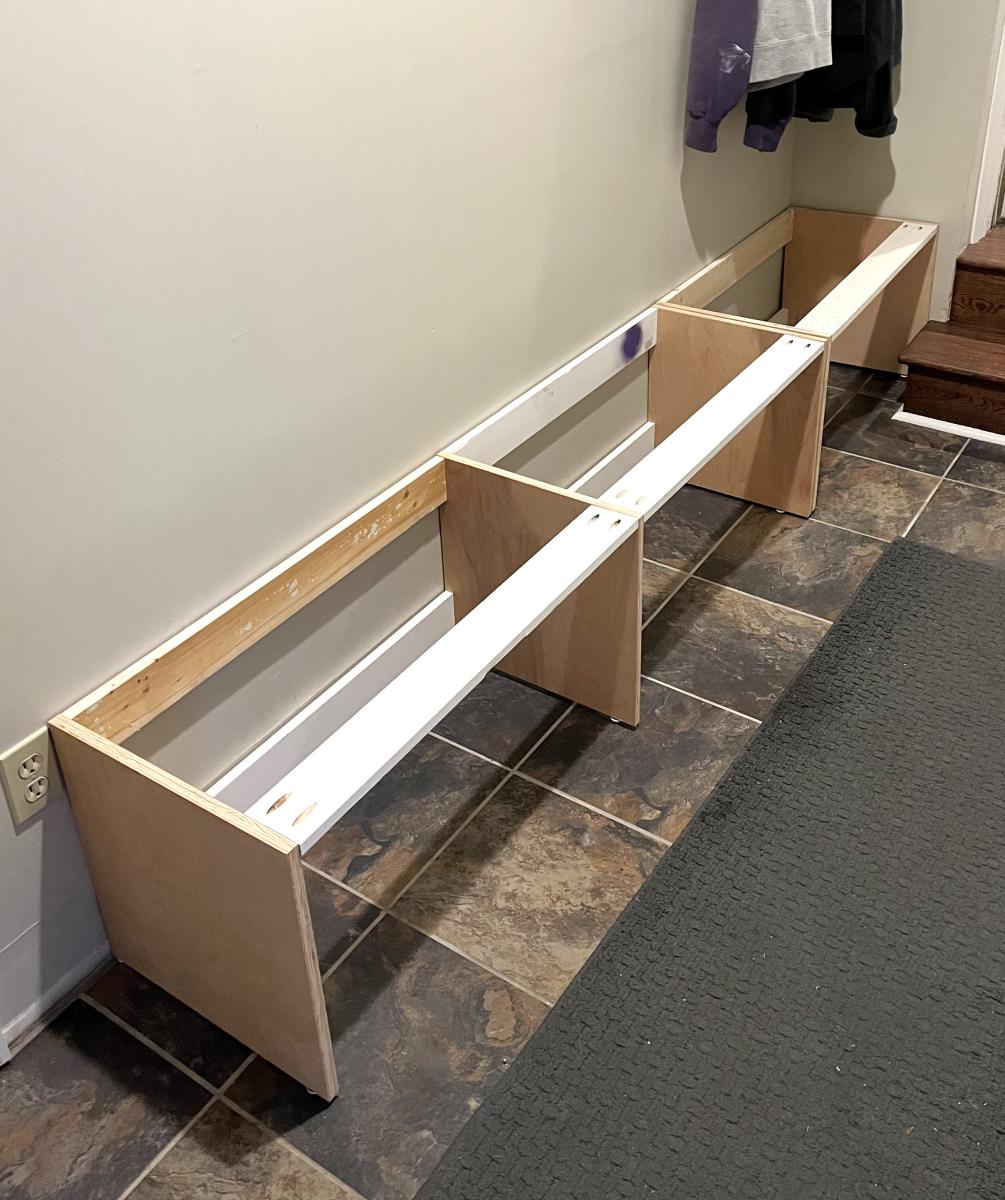
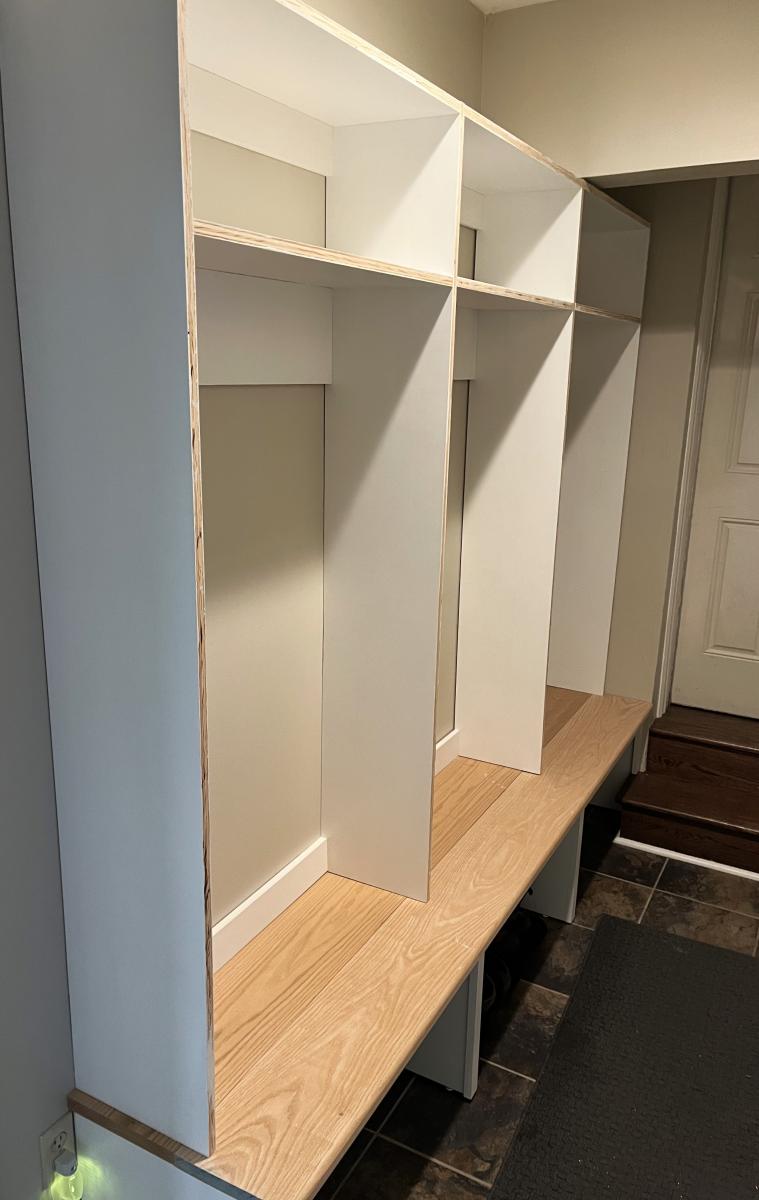
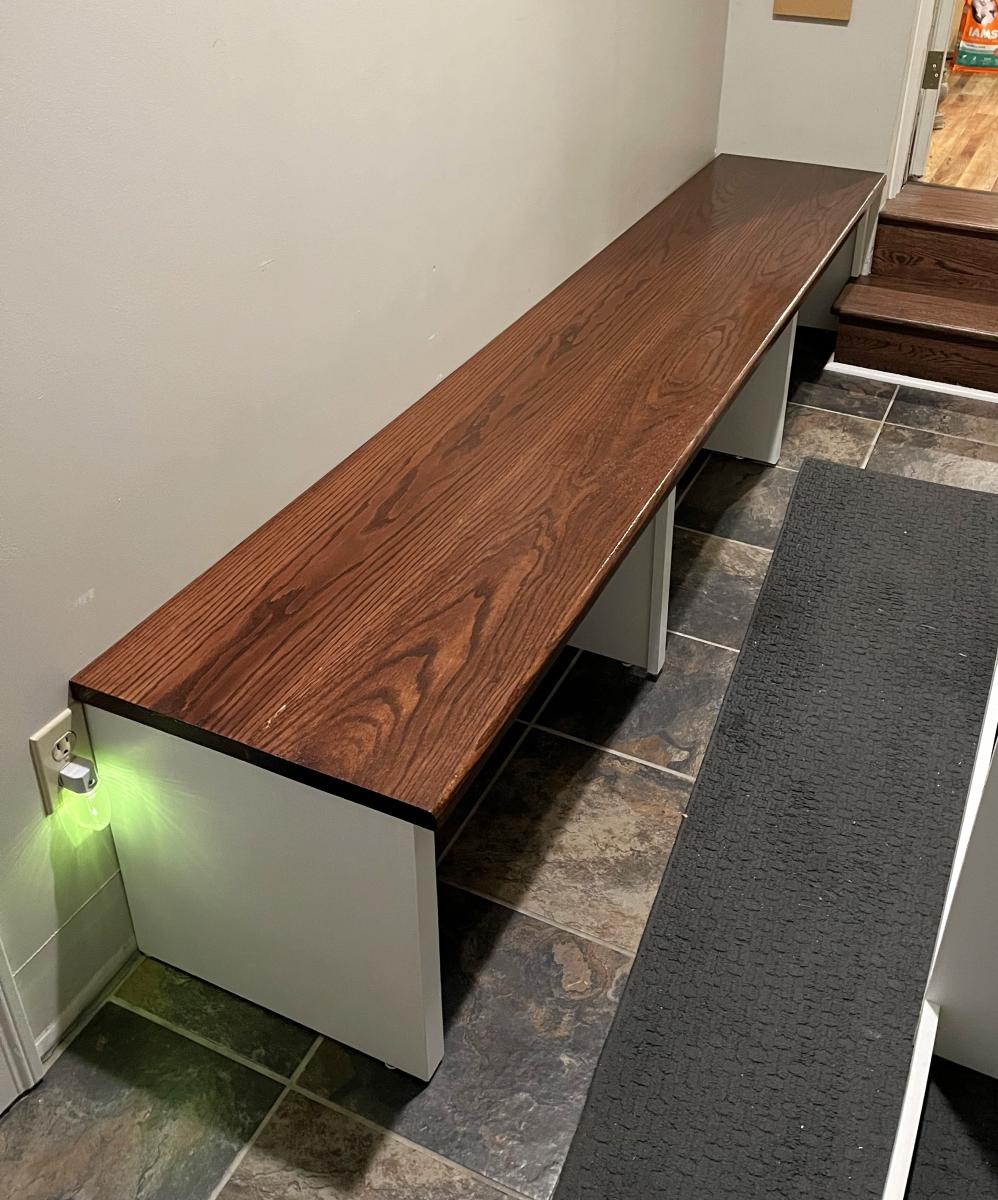
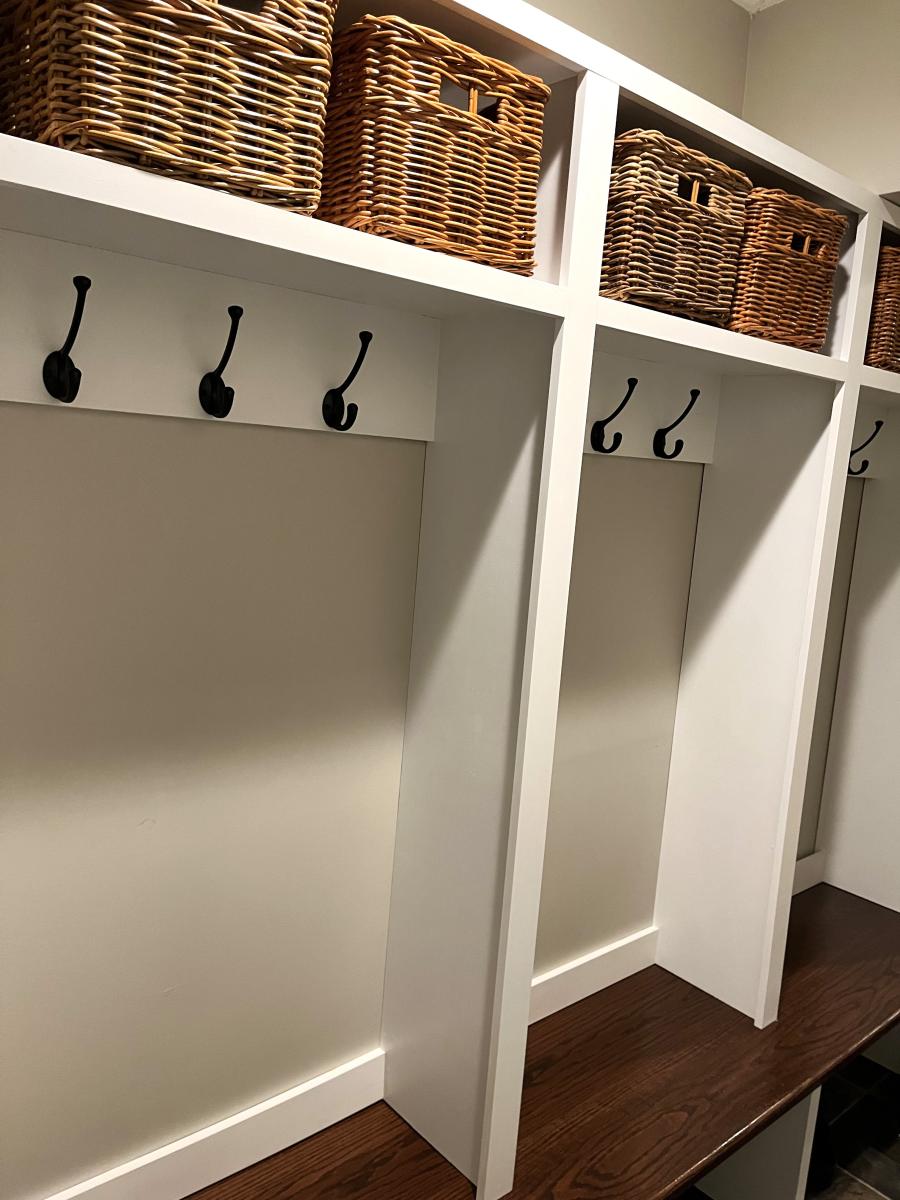
This is 10 feet long and 5 1/2 feet tall. Made using a Kreg Jig.
Thank you Ana for a great design. I was looking for a gift idea for my Dad on Father's Day and your design was perfect for what I wanted to make. My Dad really loved it! My name is Nathan and kinda new at builders with wood. You see, I am a brain tumor survivor of 20 years and I lost most of my vision from it. For the longest time I was told that I couldn't do this or that. Note, I am very careful and take safety seriously. Your ideas and designs have helped me a great deal with developing confidence with my newly learned skills and I wanted to thank you for that. Also, your designs are reaching people out there and they're bringing joy to a lot of people. Keep up the great work and I look forward to your next inspiration.
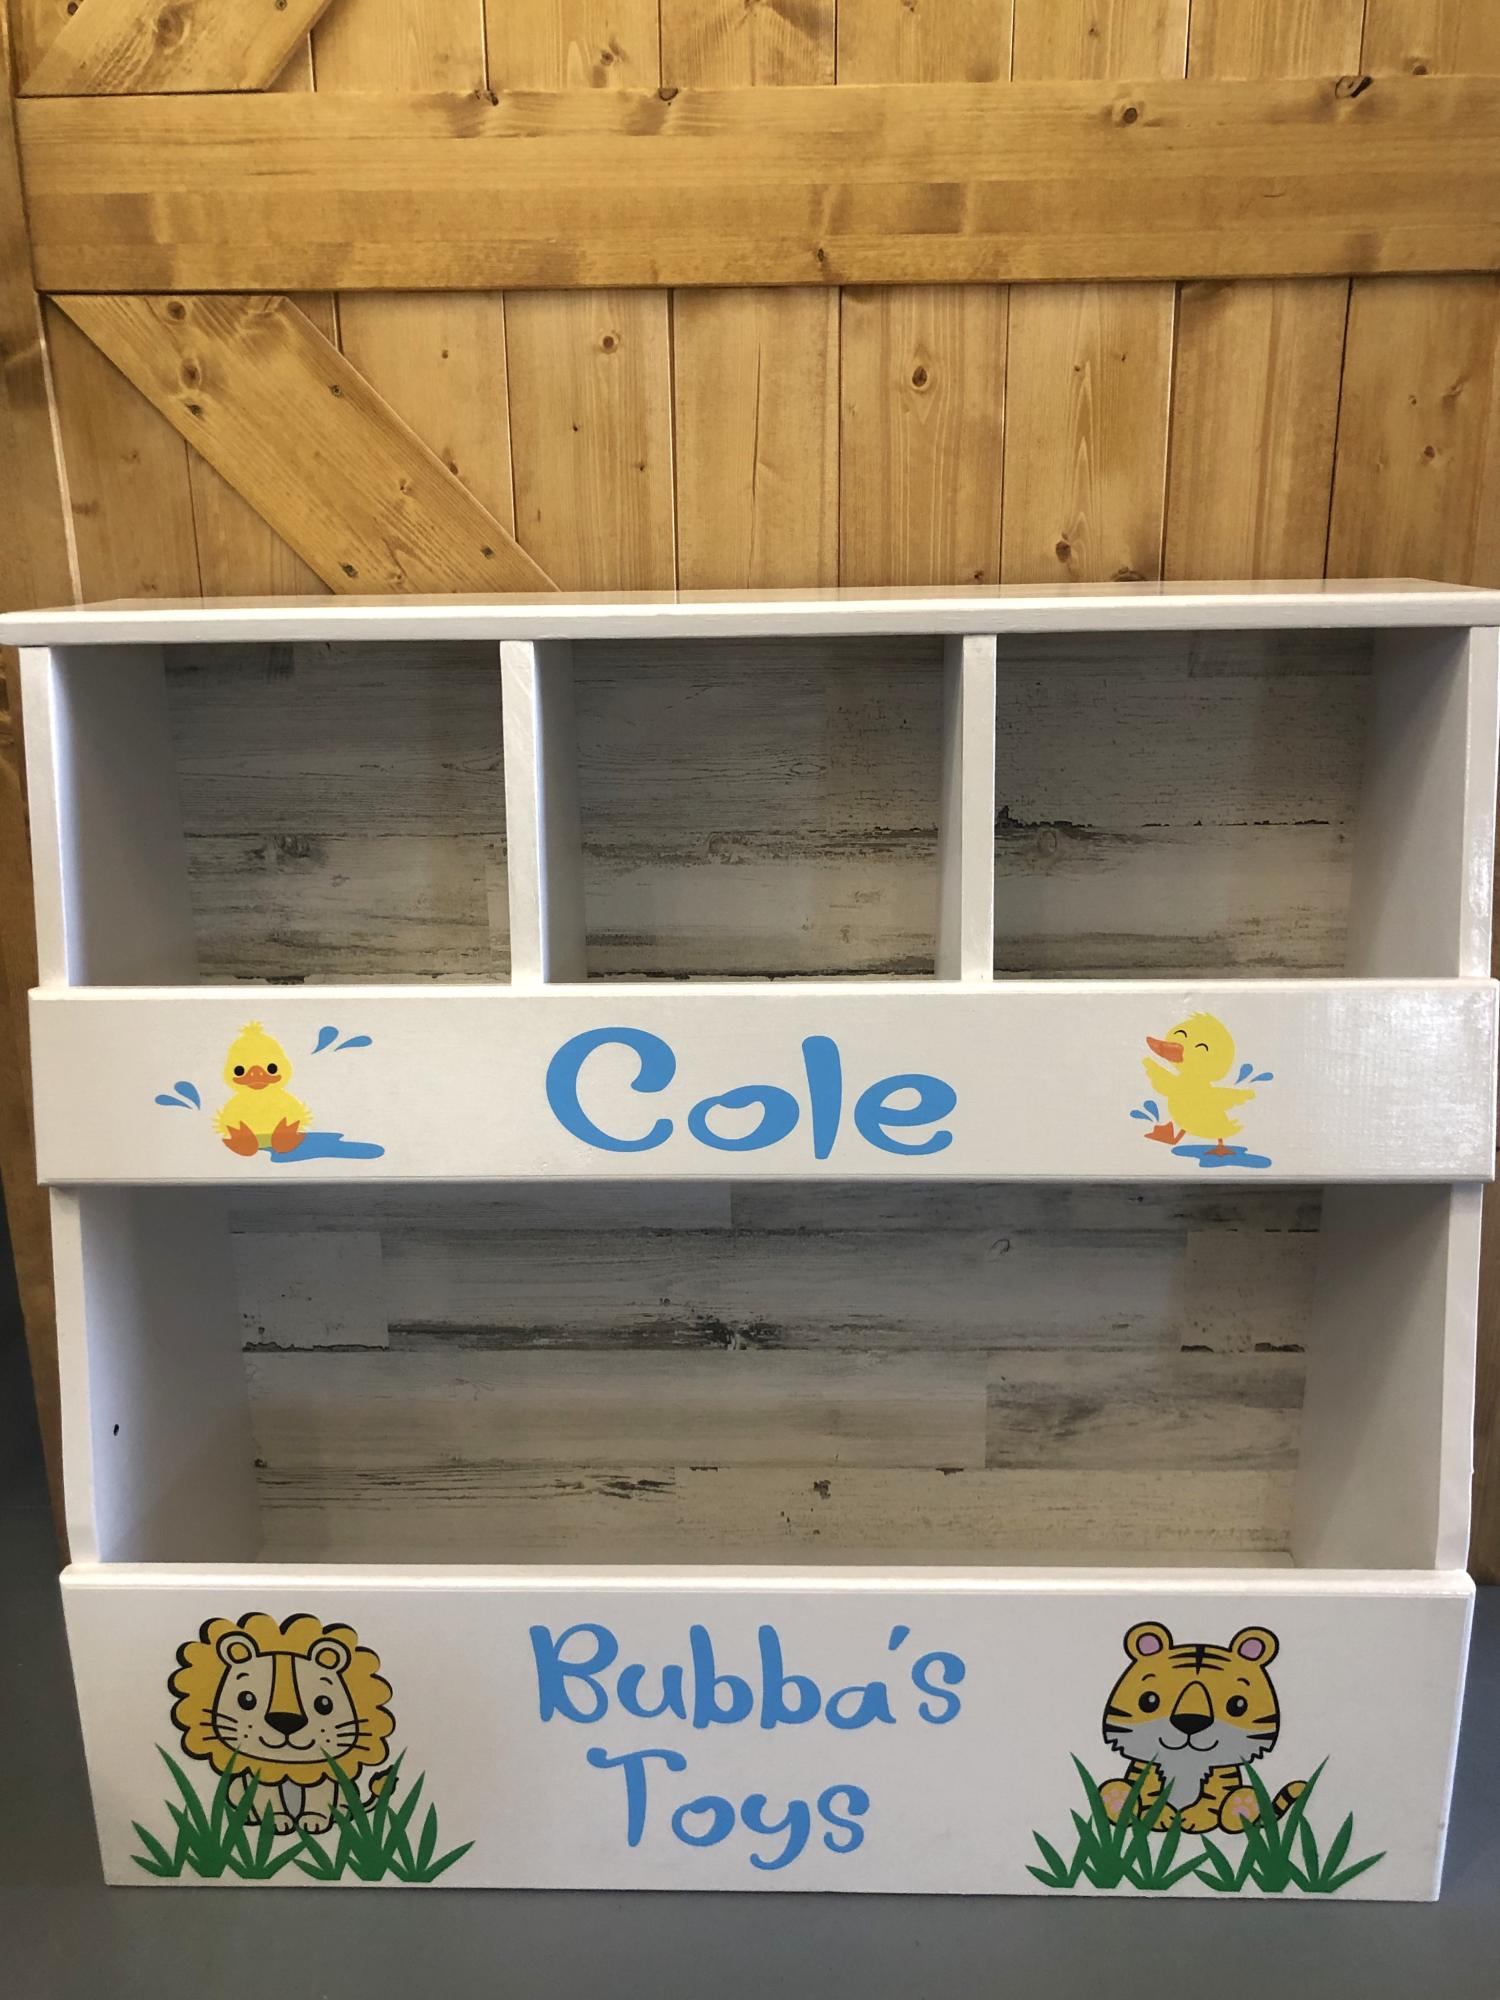
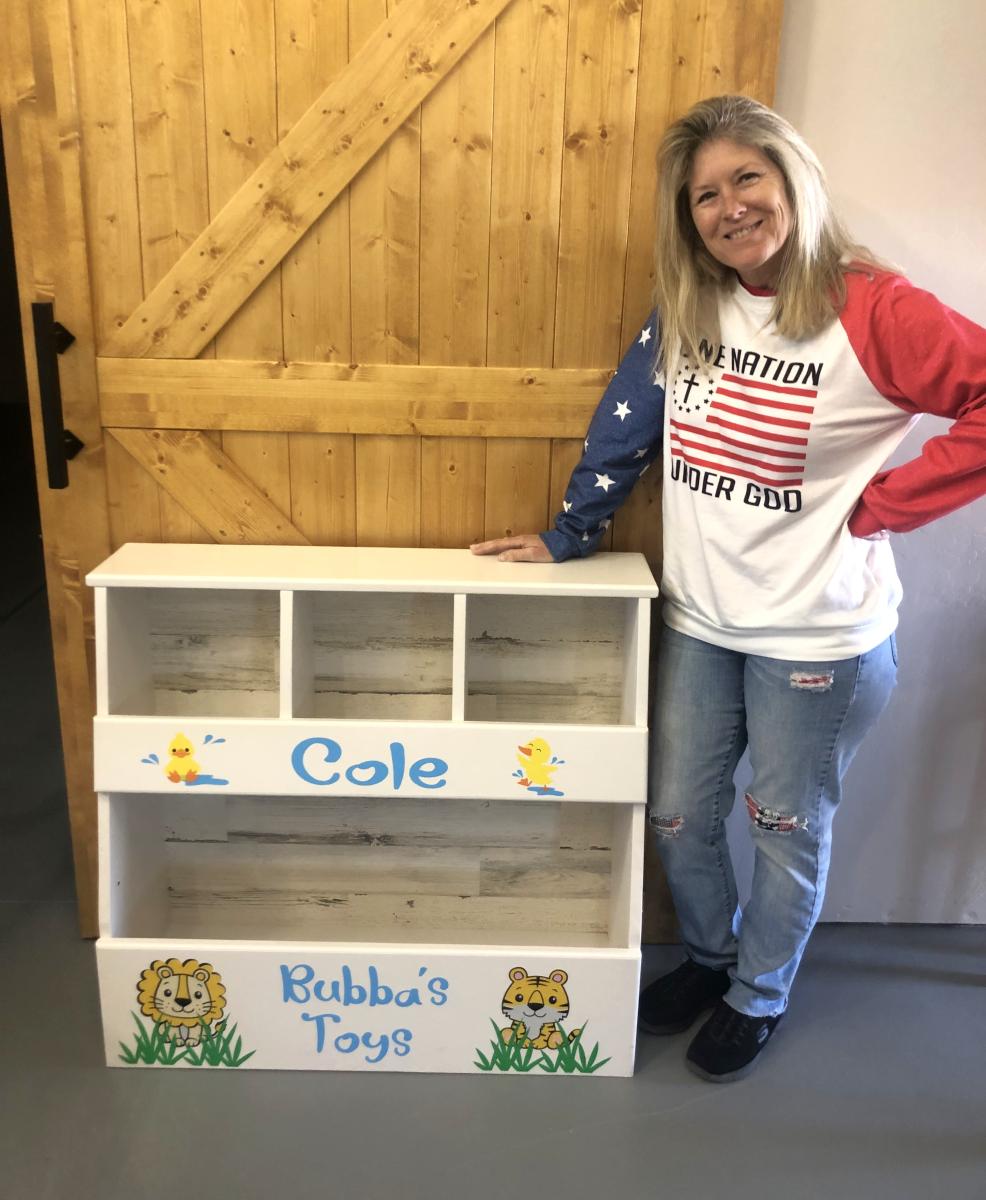
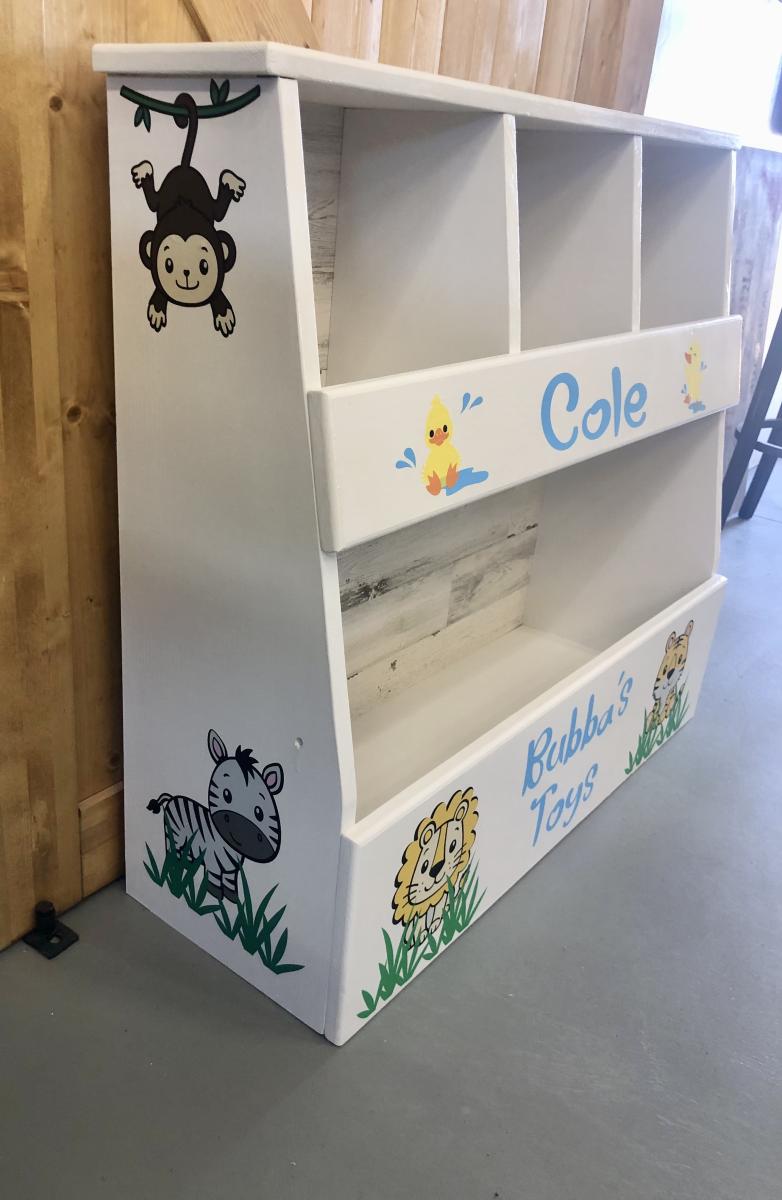
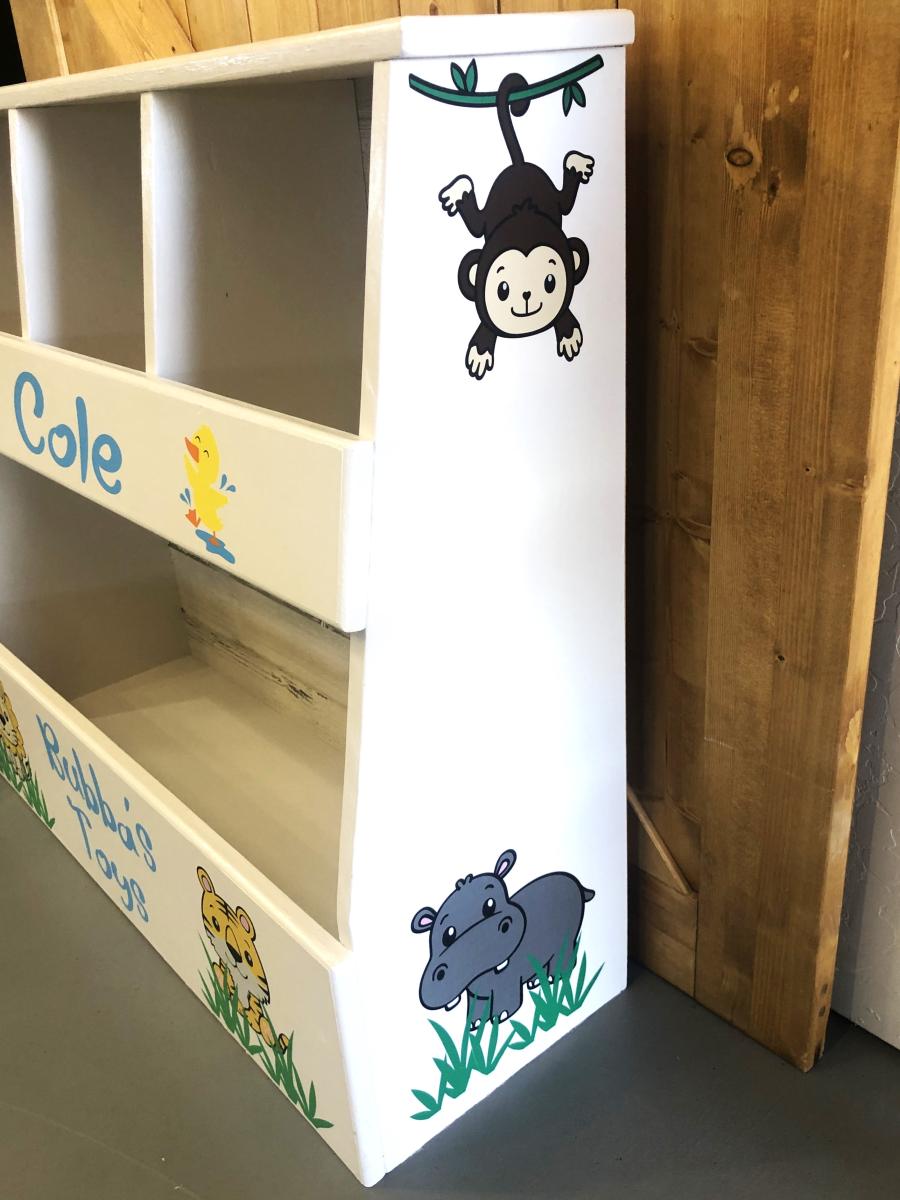
We loved making this easy and simple vertical toy box! Thanks Ana
Angie & Scott Proffer

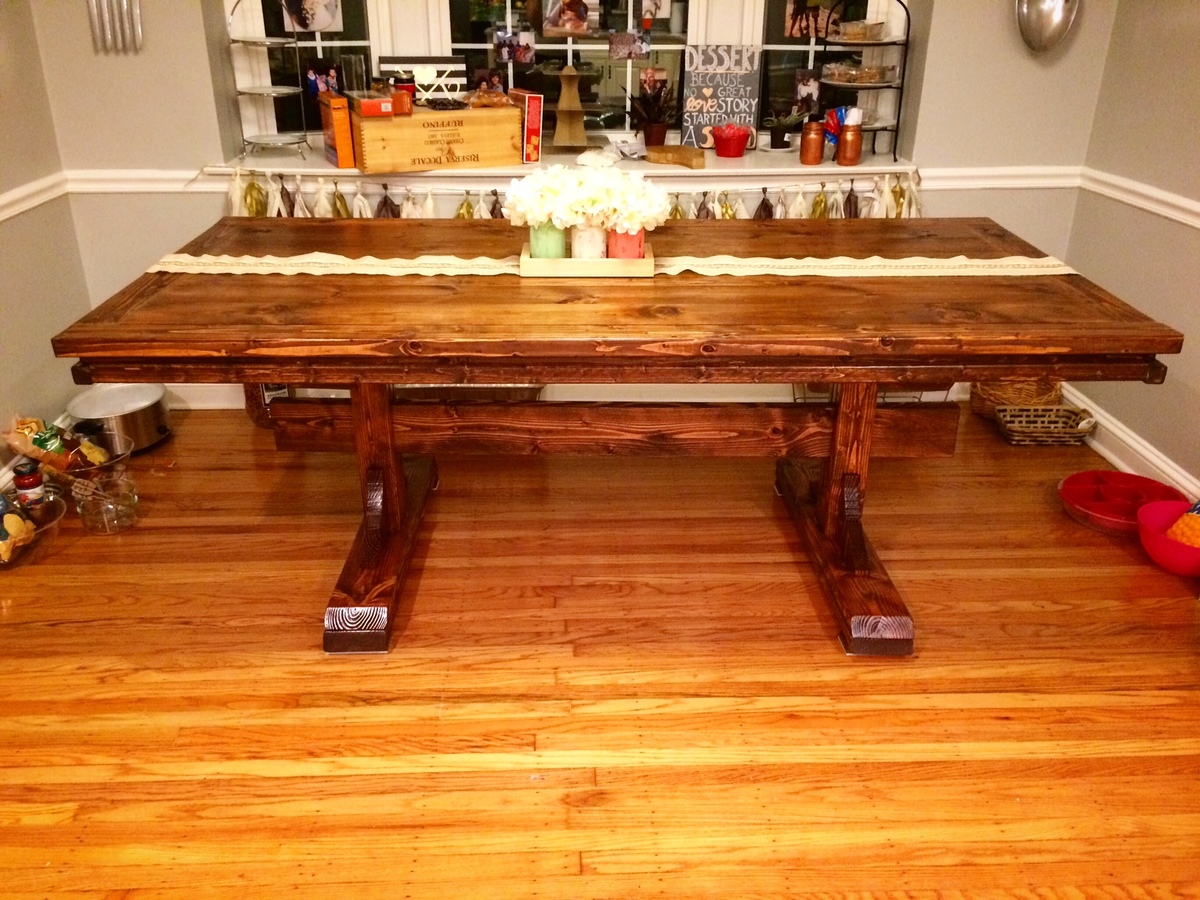
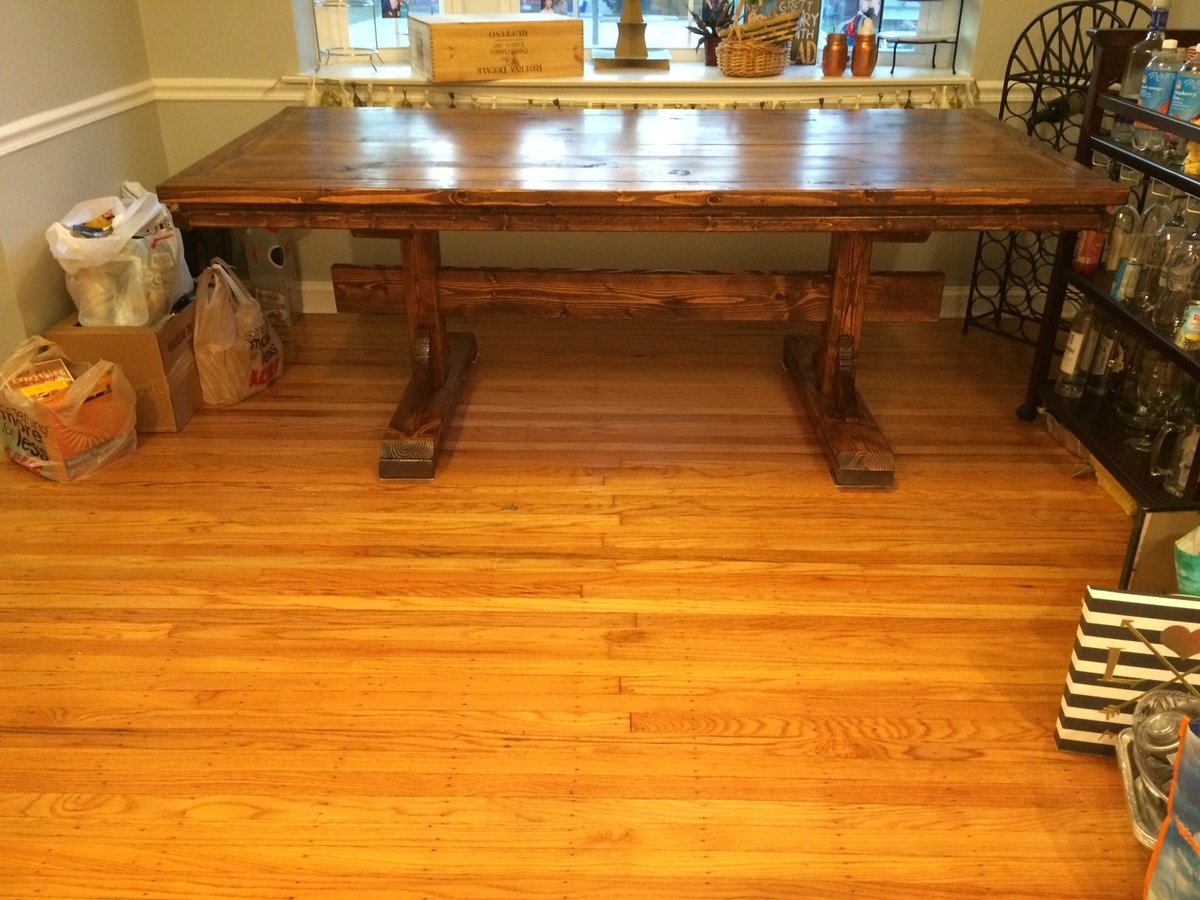
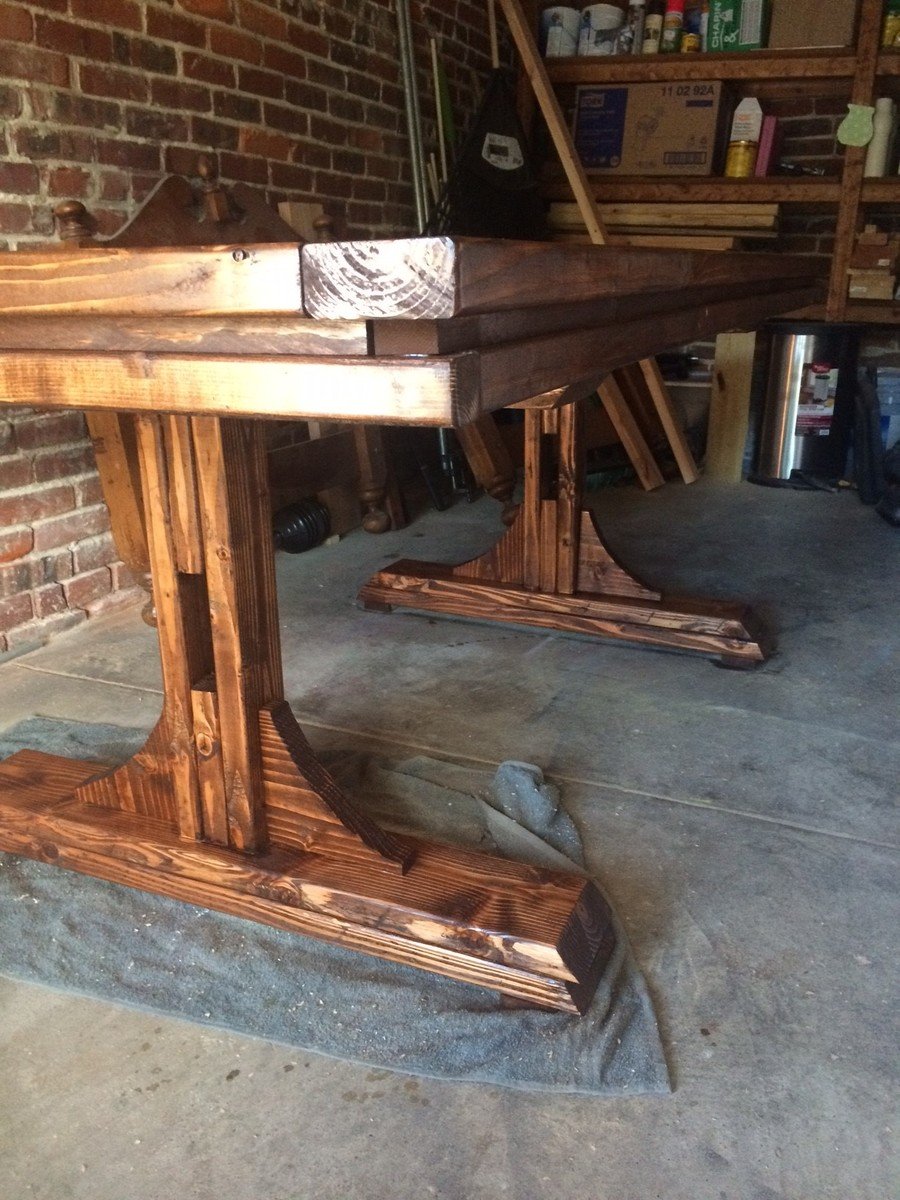
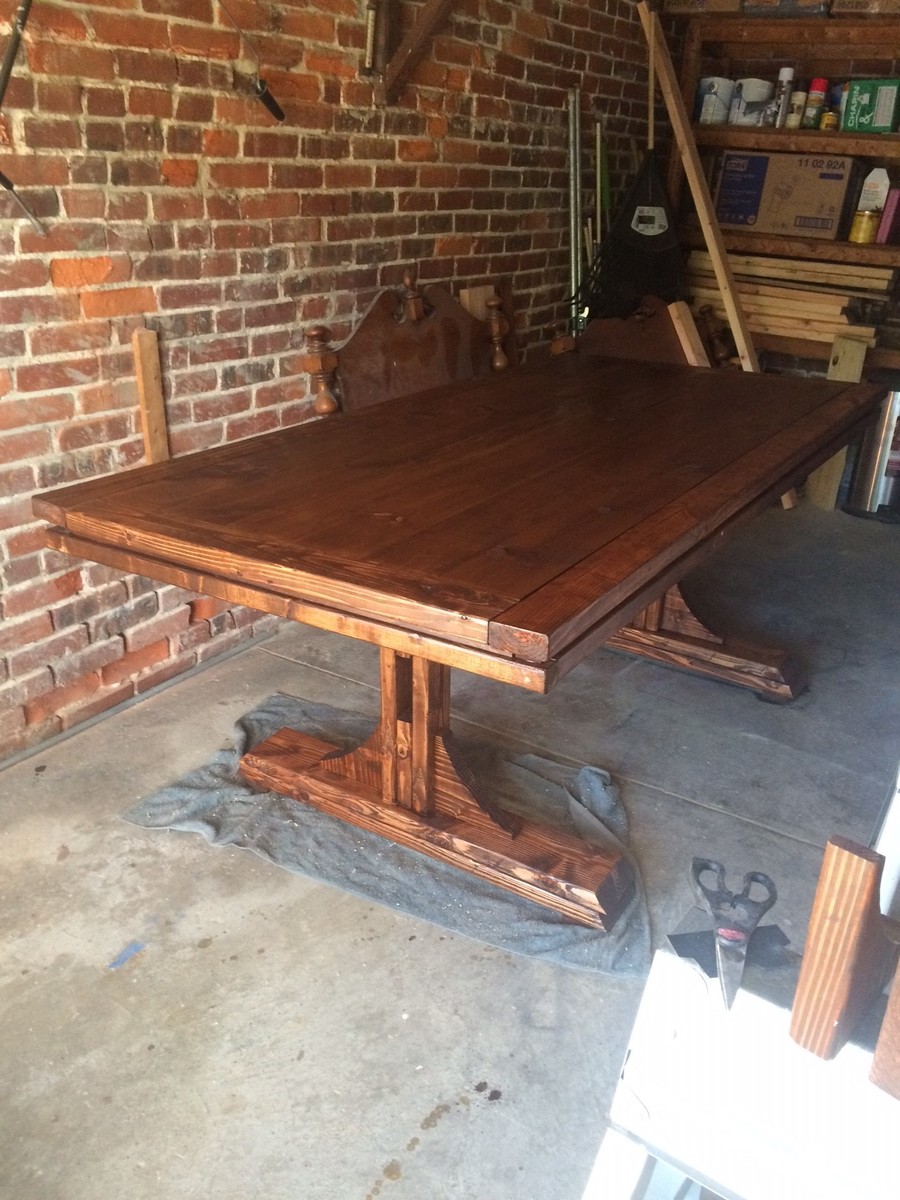
We decided to build the Farmhouse Table after our 30 year old dining table began to crack and just wasn't working so well for our family of 5. This was our first project, so we made a lot of mistakes but also learned a lot. One of the hardest things was finding decent lumber that wasn't warped or split. We also made two Farmhouse Benches but they aren't included in this photo.

Thank you soo much for the apron plans. I've used a sewing machine about 5 times in my life, and I didn't know what "stitch in the ditch" or bias tape or trim was, but with the plans and some web searching, I was actually able to sew this apron. It took me considerably longer than others, especially because I don't have an iron, pins, or a seam ripper (ripping a seam took me over an hour). Again, thank you sooo much! I hope to never lose my pen and tape measure at the lumber yard again with this handy creation :)

Sun, 06/15/2014 - 05:27
Great job on the work apron, Yvonne! Congrats on conquering the sewing machine!

In reply to Looks great! by JoanneS
Tue, 06/17/2014 - 00:27
Thank you, Joanne. :) There is so much I want to learn, and for some reason, I feel like I need to learn it all now, when my life is busier than ever. Hah!
In reply to Amazing job by spiceylg
Fri, 06/27/2014 - 10:55
Thank you so much. It reminded me of using a jigsaw, and vice versa. :)
We altered our plans as my dining room could only accomodate a 7 ft table! This was out first DIY that was this large of an undertaking and we love the way it came out. If we can do this as woodworking novices you can definately do it!
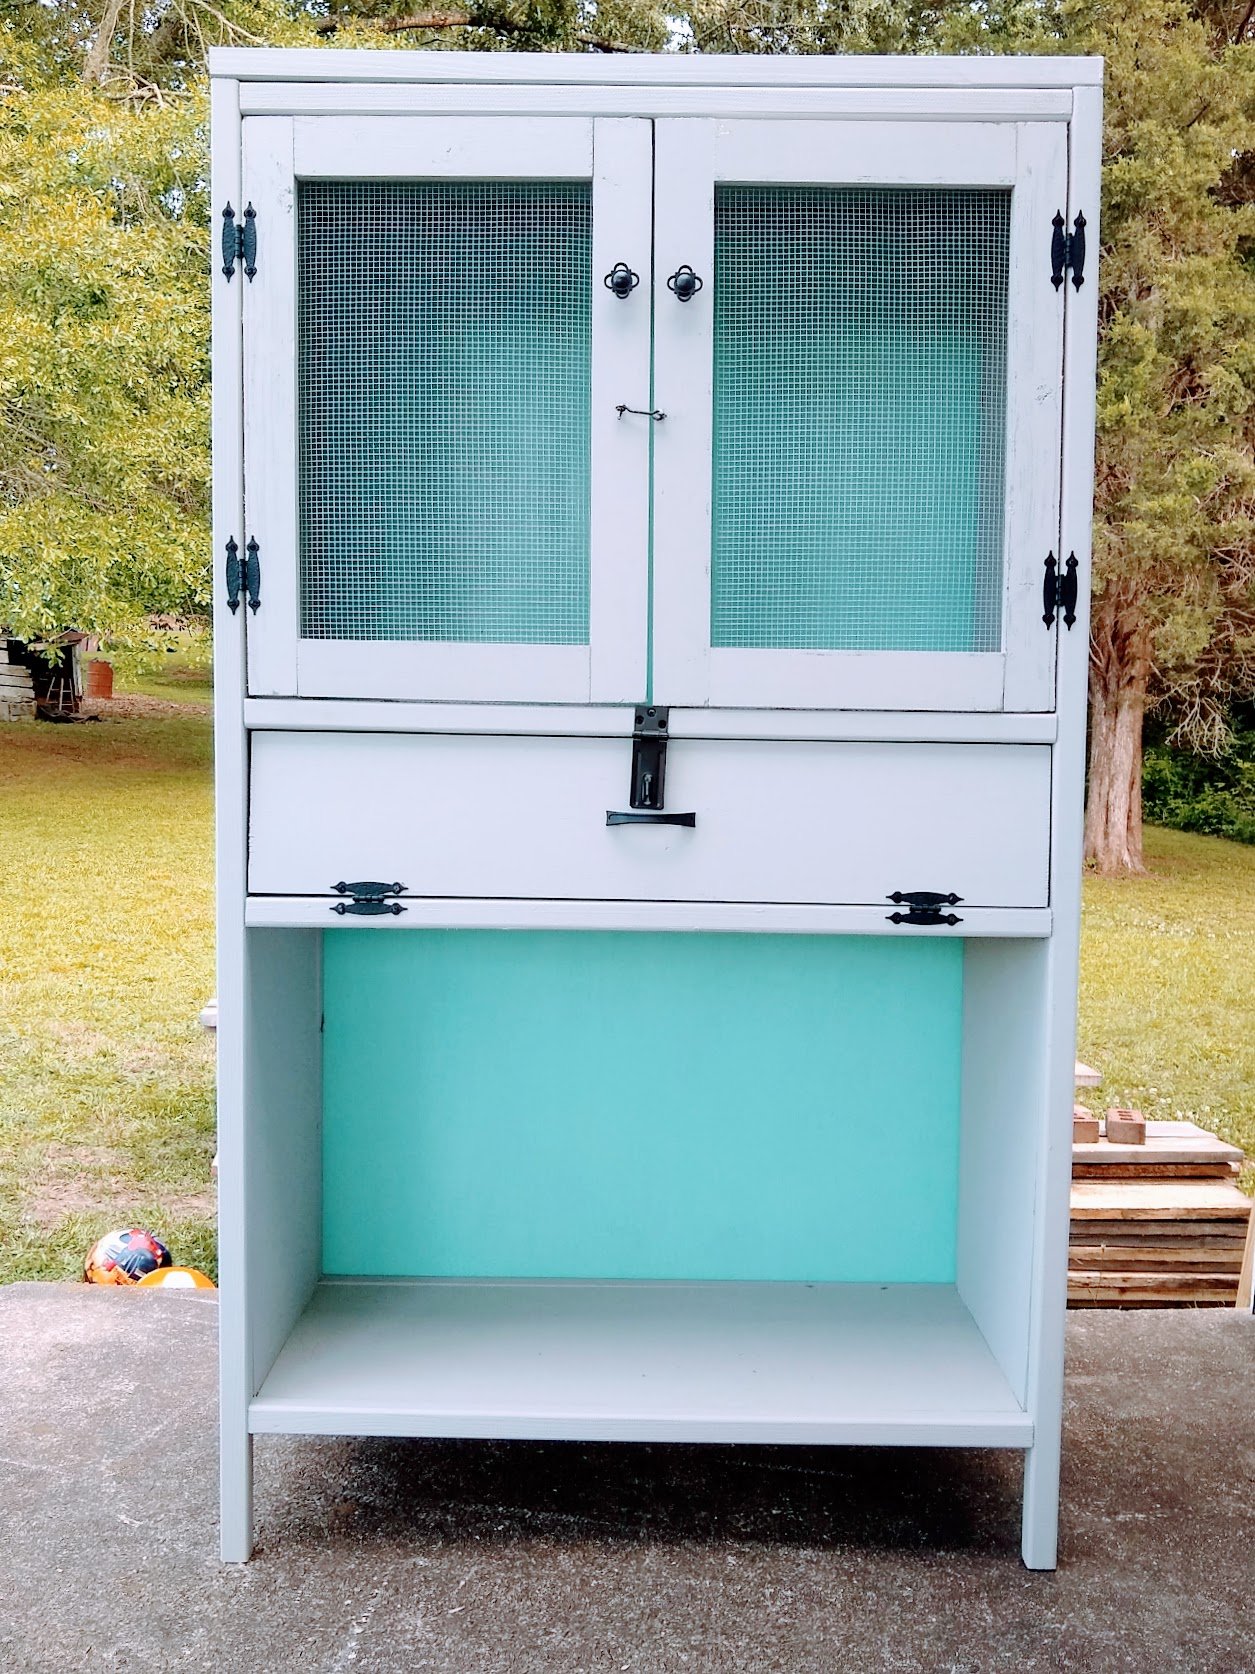
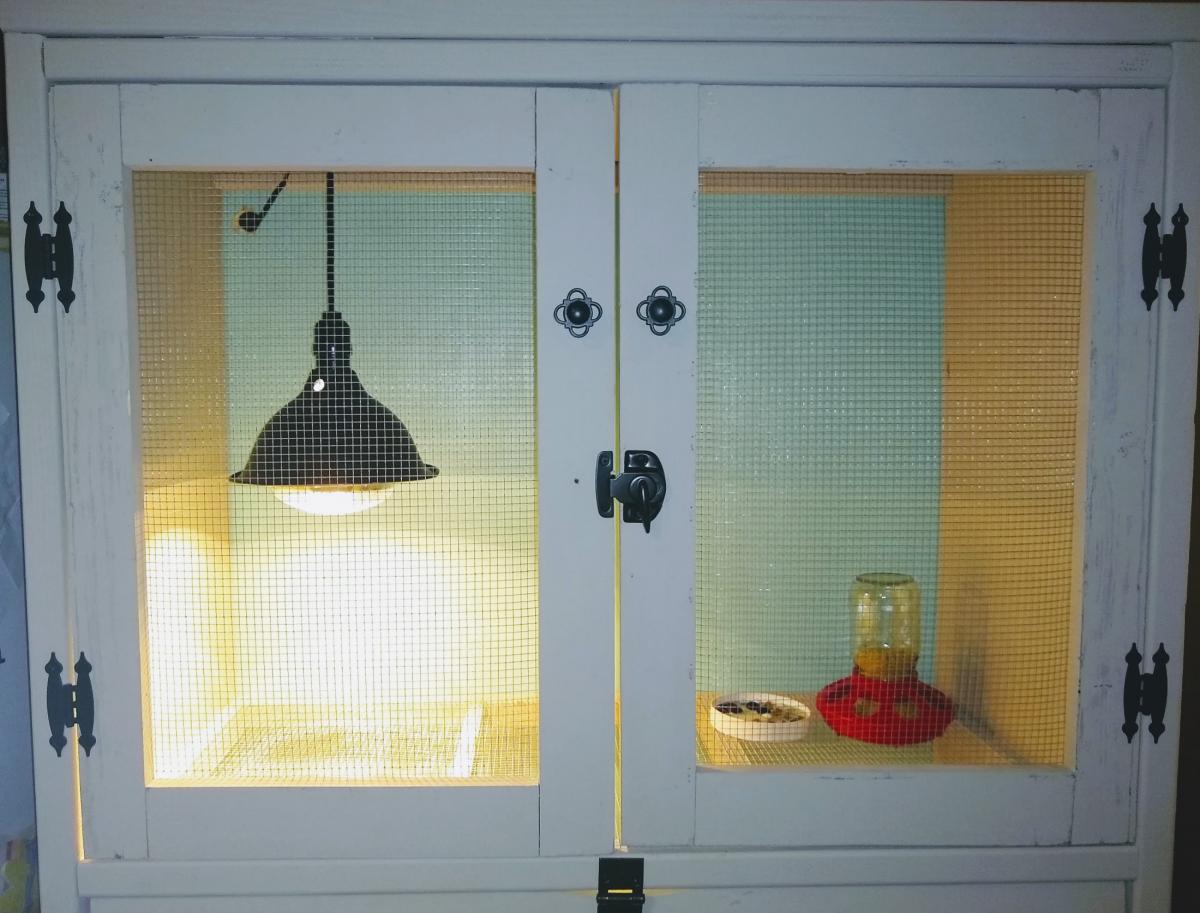
My family has started raising quail recently and I built their first home while they were still in the incubator. I have never done any wood work before, so this turned out much nicer than I expected! I followed the suggestion of having the brooder part on the top instead of the bottom and omitted the extra shelf. Two 5-gallon buckets fit nicely below the chicks. Since the quail are so small when they hatch, I used 1/4 inch hardware cloth for the "floor" but it wasn't long before that was too small so we had to change it to 1/2 inch. I am going to make a tray with each size of hardware cloth on it to make it easier to change out for next time, because they really do need both sizes.
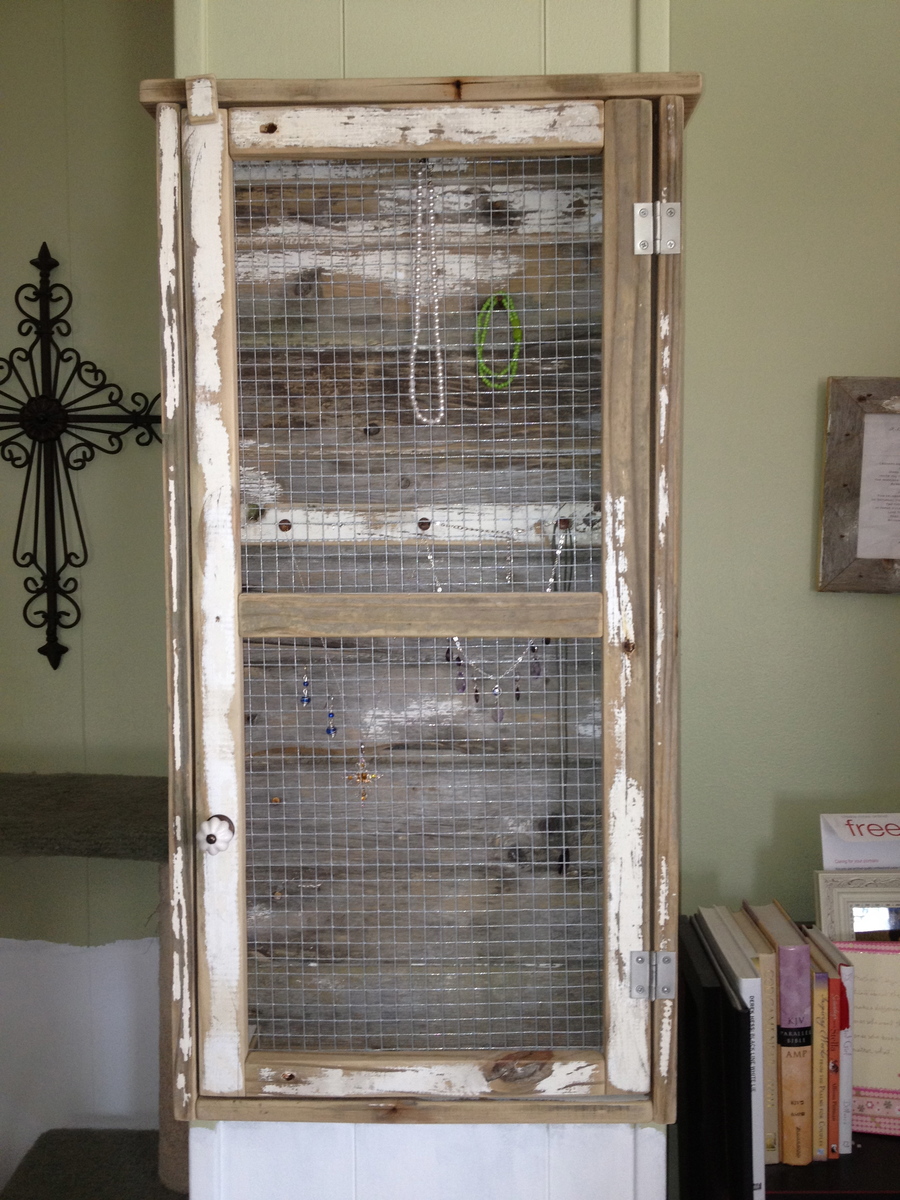
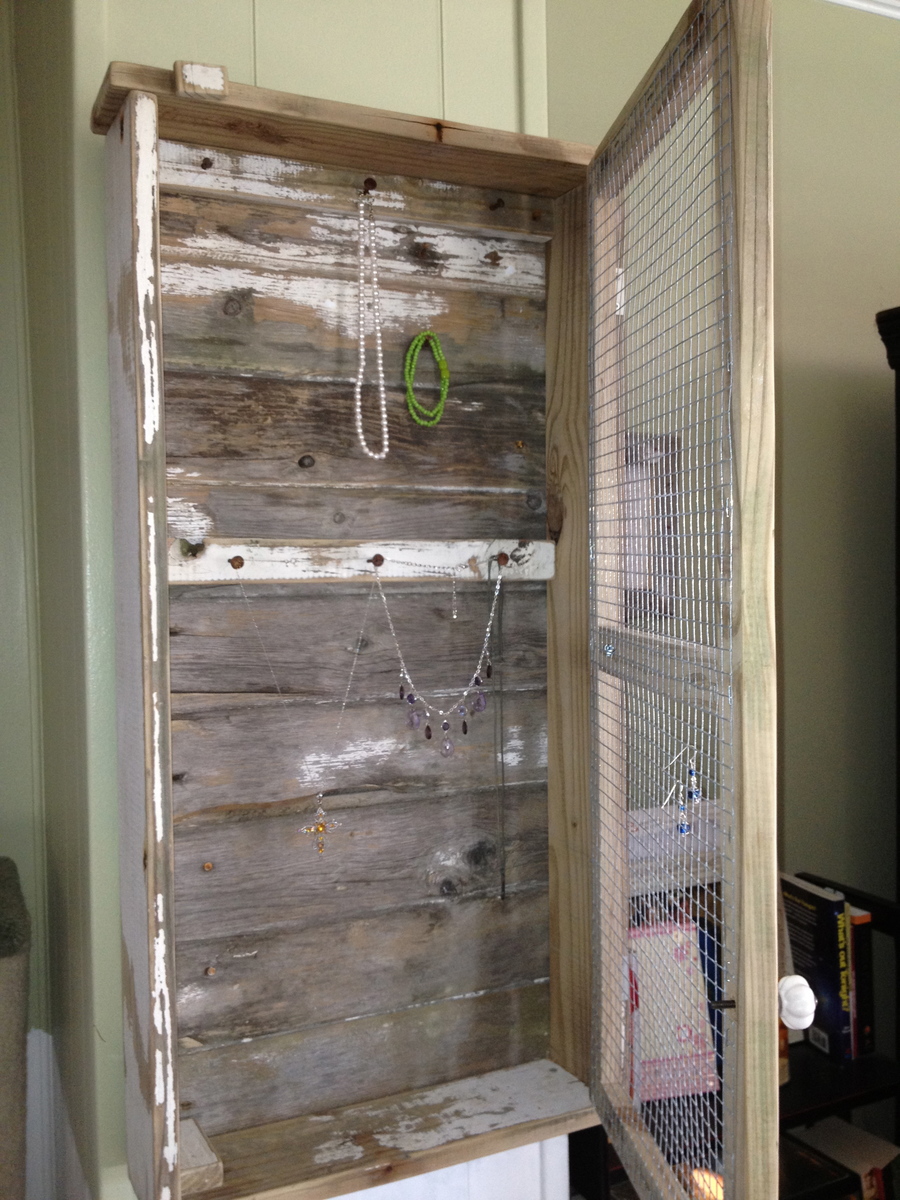
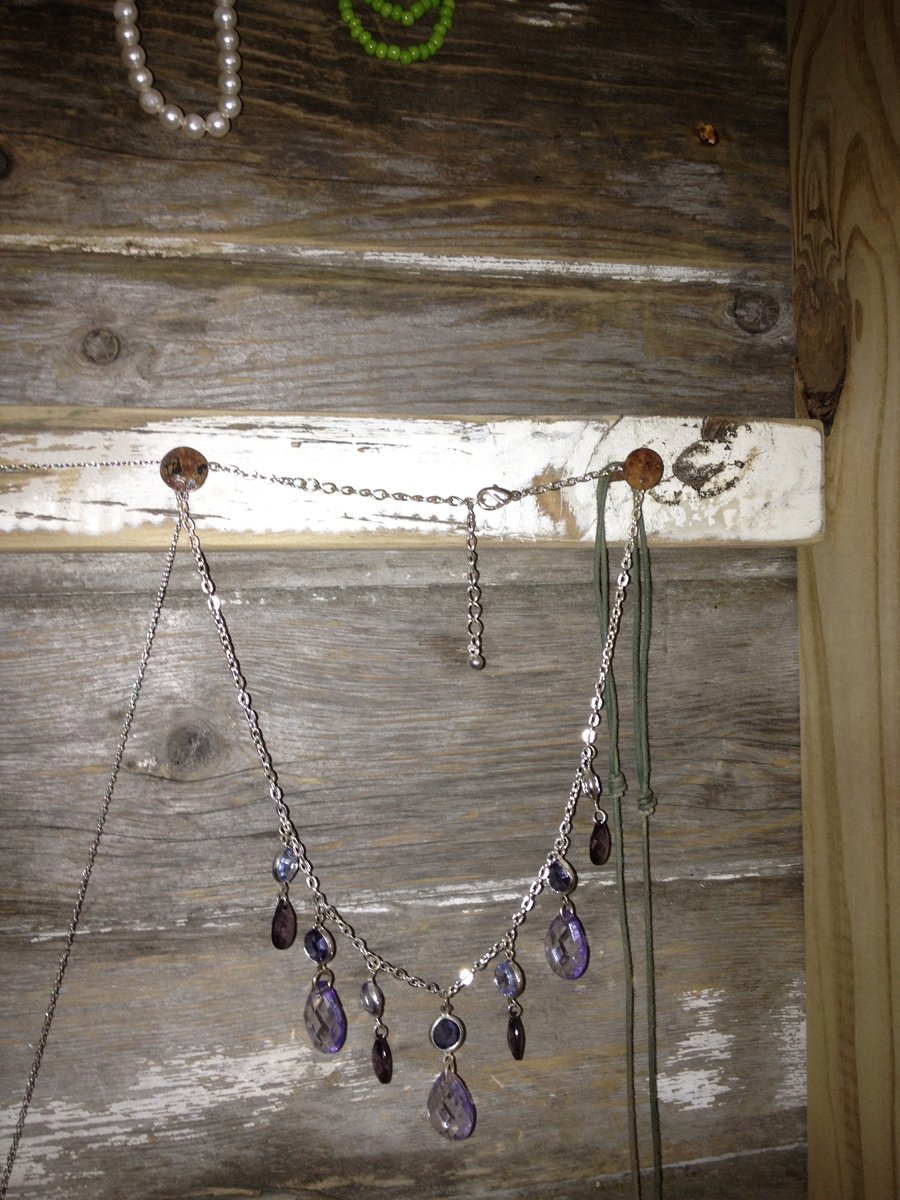
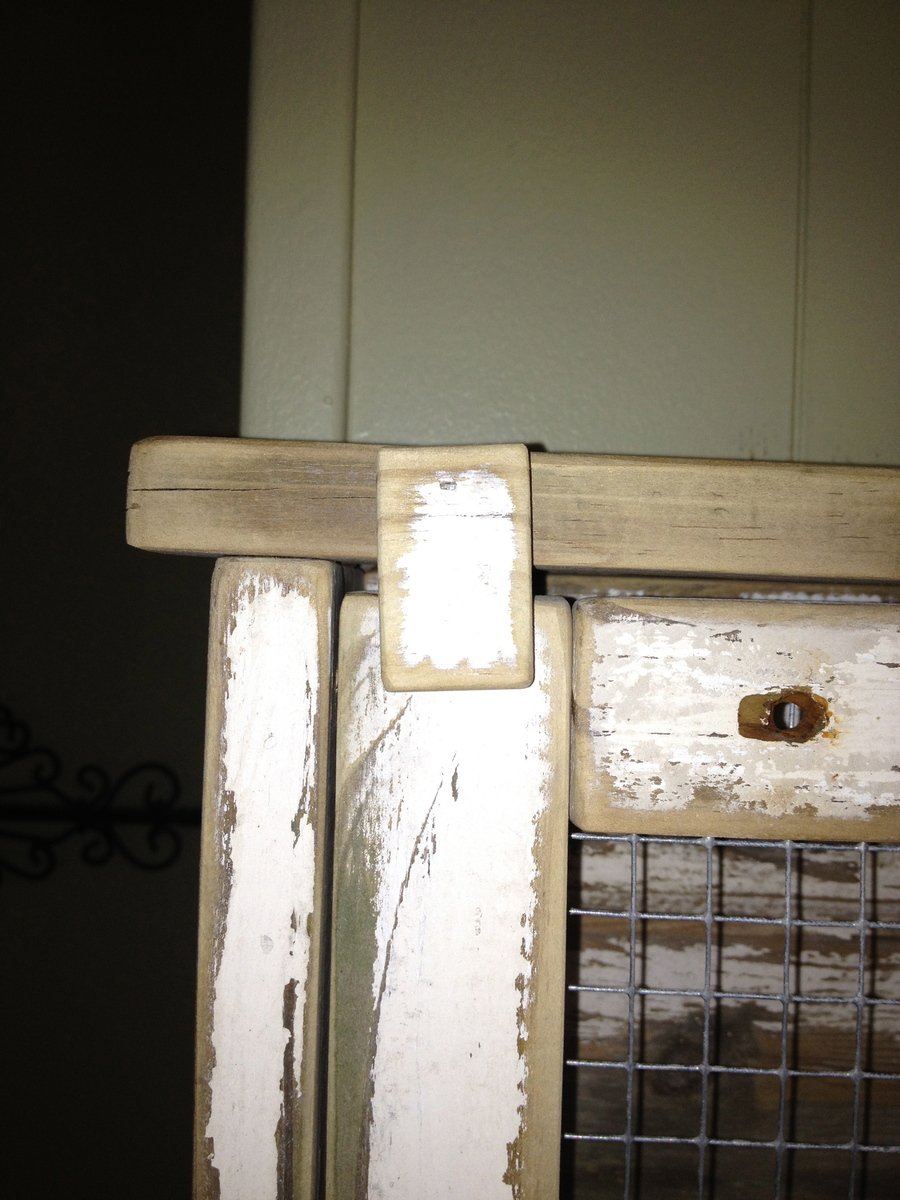
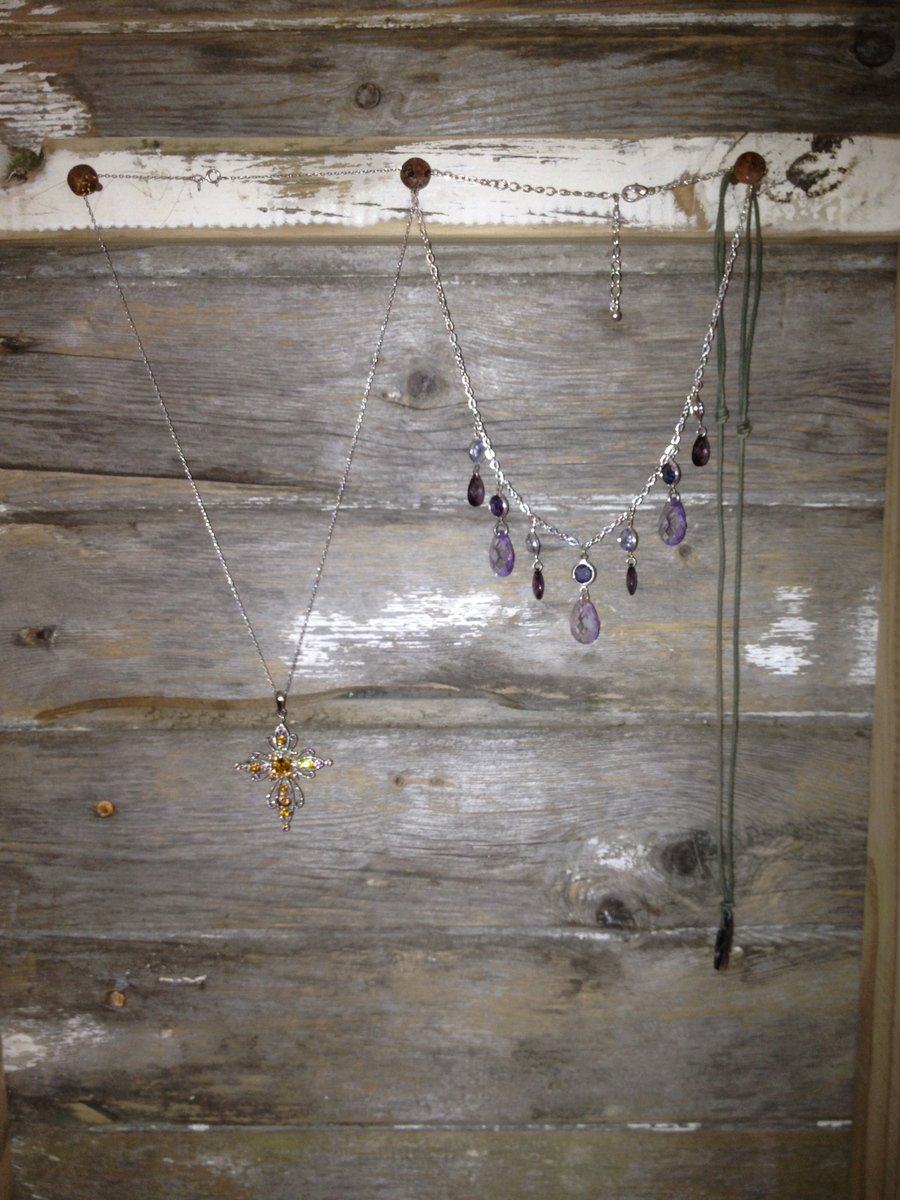
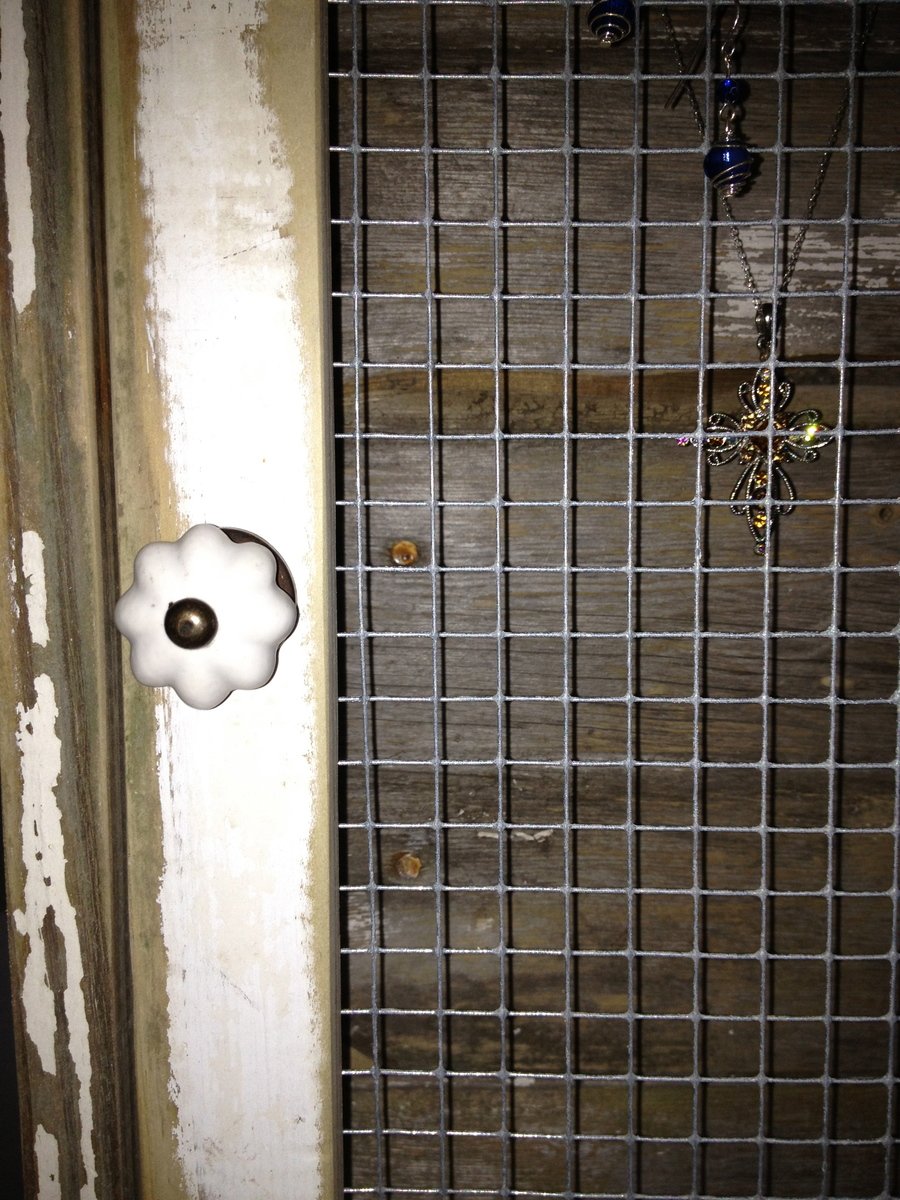
I used the wall jewelry cabinet plan and modified it a bit to fit the materials that I already had in the garage. The whole project was built using salvaged barn wood and siding that was built in the 1800's. It took a little longer to square up the boards and sand them to a friendly feel but I had little to no finishing time in the end. The plans were so spot on that used them almost exactly.! I just added another cross support to the door and used old barn wood tongue and groove for the back. I also fastened a little piece of wood at the top of the door with one brad nail. I did this to keep the door shut in a more attractive way then a clasp or hasp. The little piece swings out of the way with ease. I bought the knob at hobby lobby for 2 dollars and the hinges were less than 2 dollars. The hardware cloth came in a roll that was 24 inches by 25 feet long for 10 dollars. Basic wood working knowledge and tools are super helpful with this project and as is stated in the original plans... a kreg jig makes it so much faster and easier.! Thanks so much for sharing!!
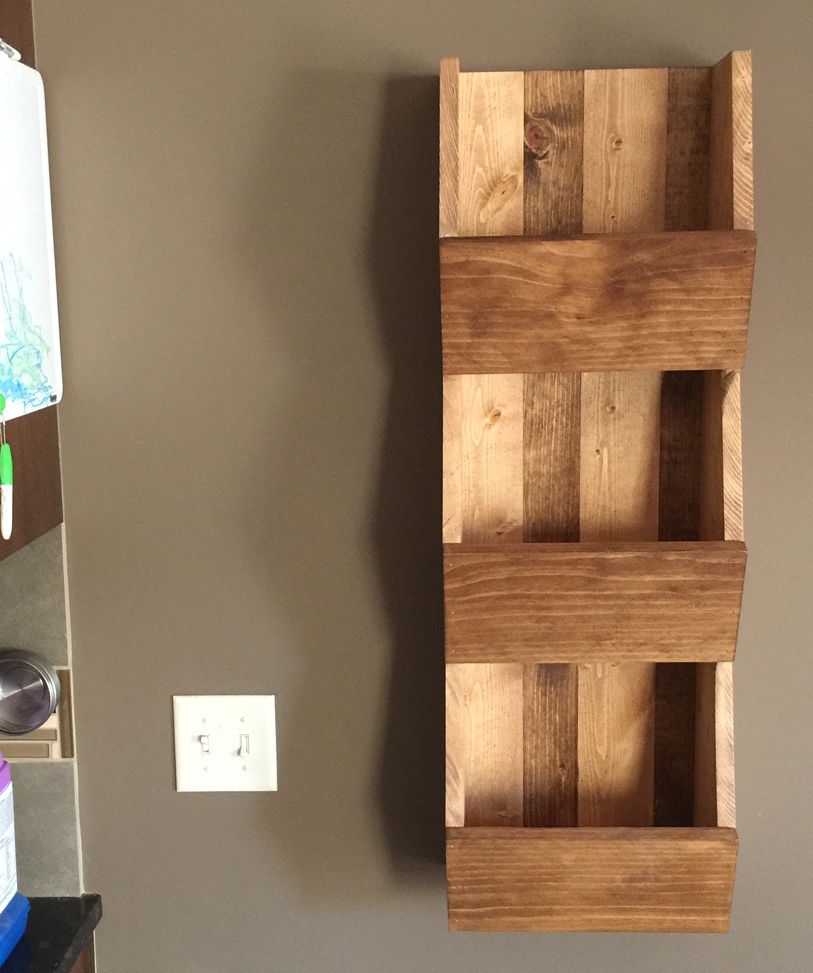
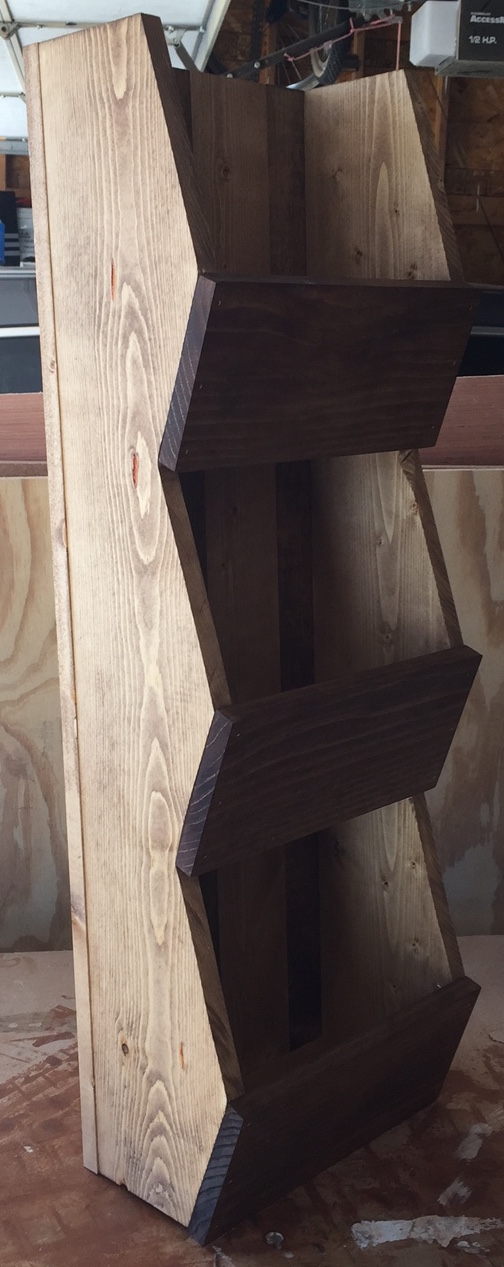
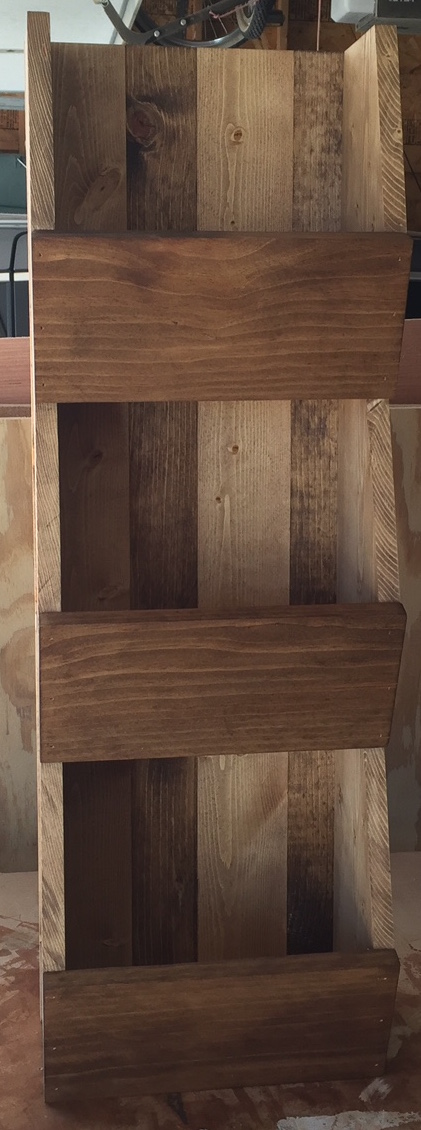
My wife found this post on Pinterest and asked if i could build it. The hardest part was cuting the angles wit the jig saw because i can never get it to cut square and i have a little OCD about that sometimes. I ended up using my table saw a little. I would not recommened that though. If i had acess to a band saw stand that would have ben perfect.
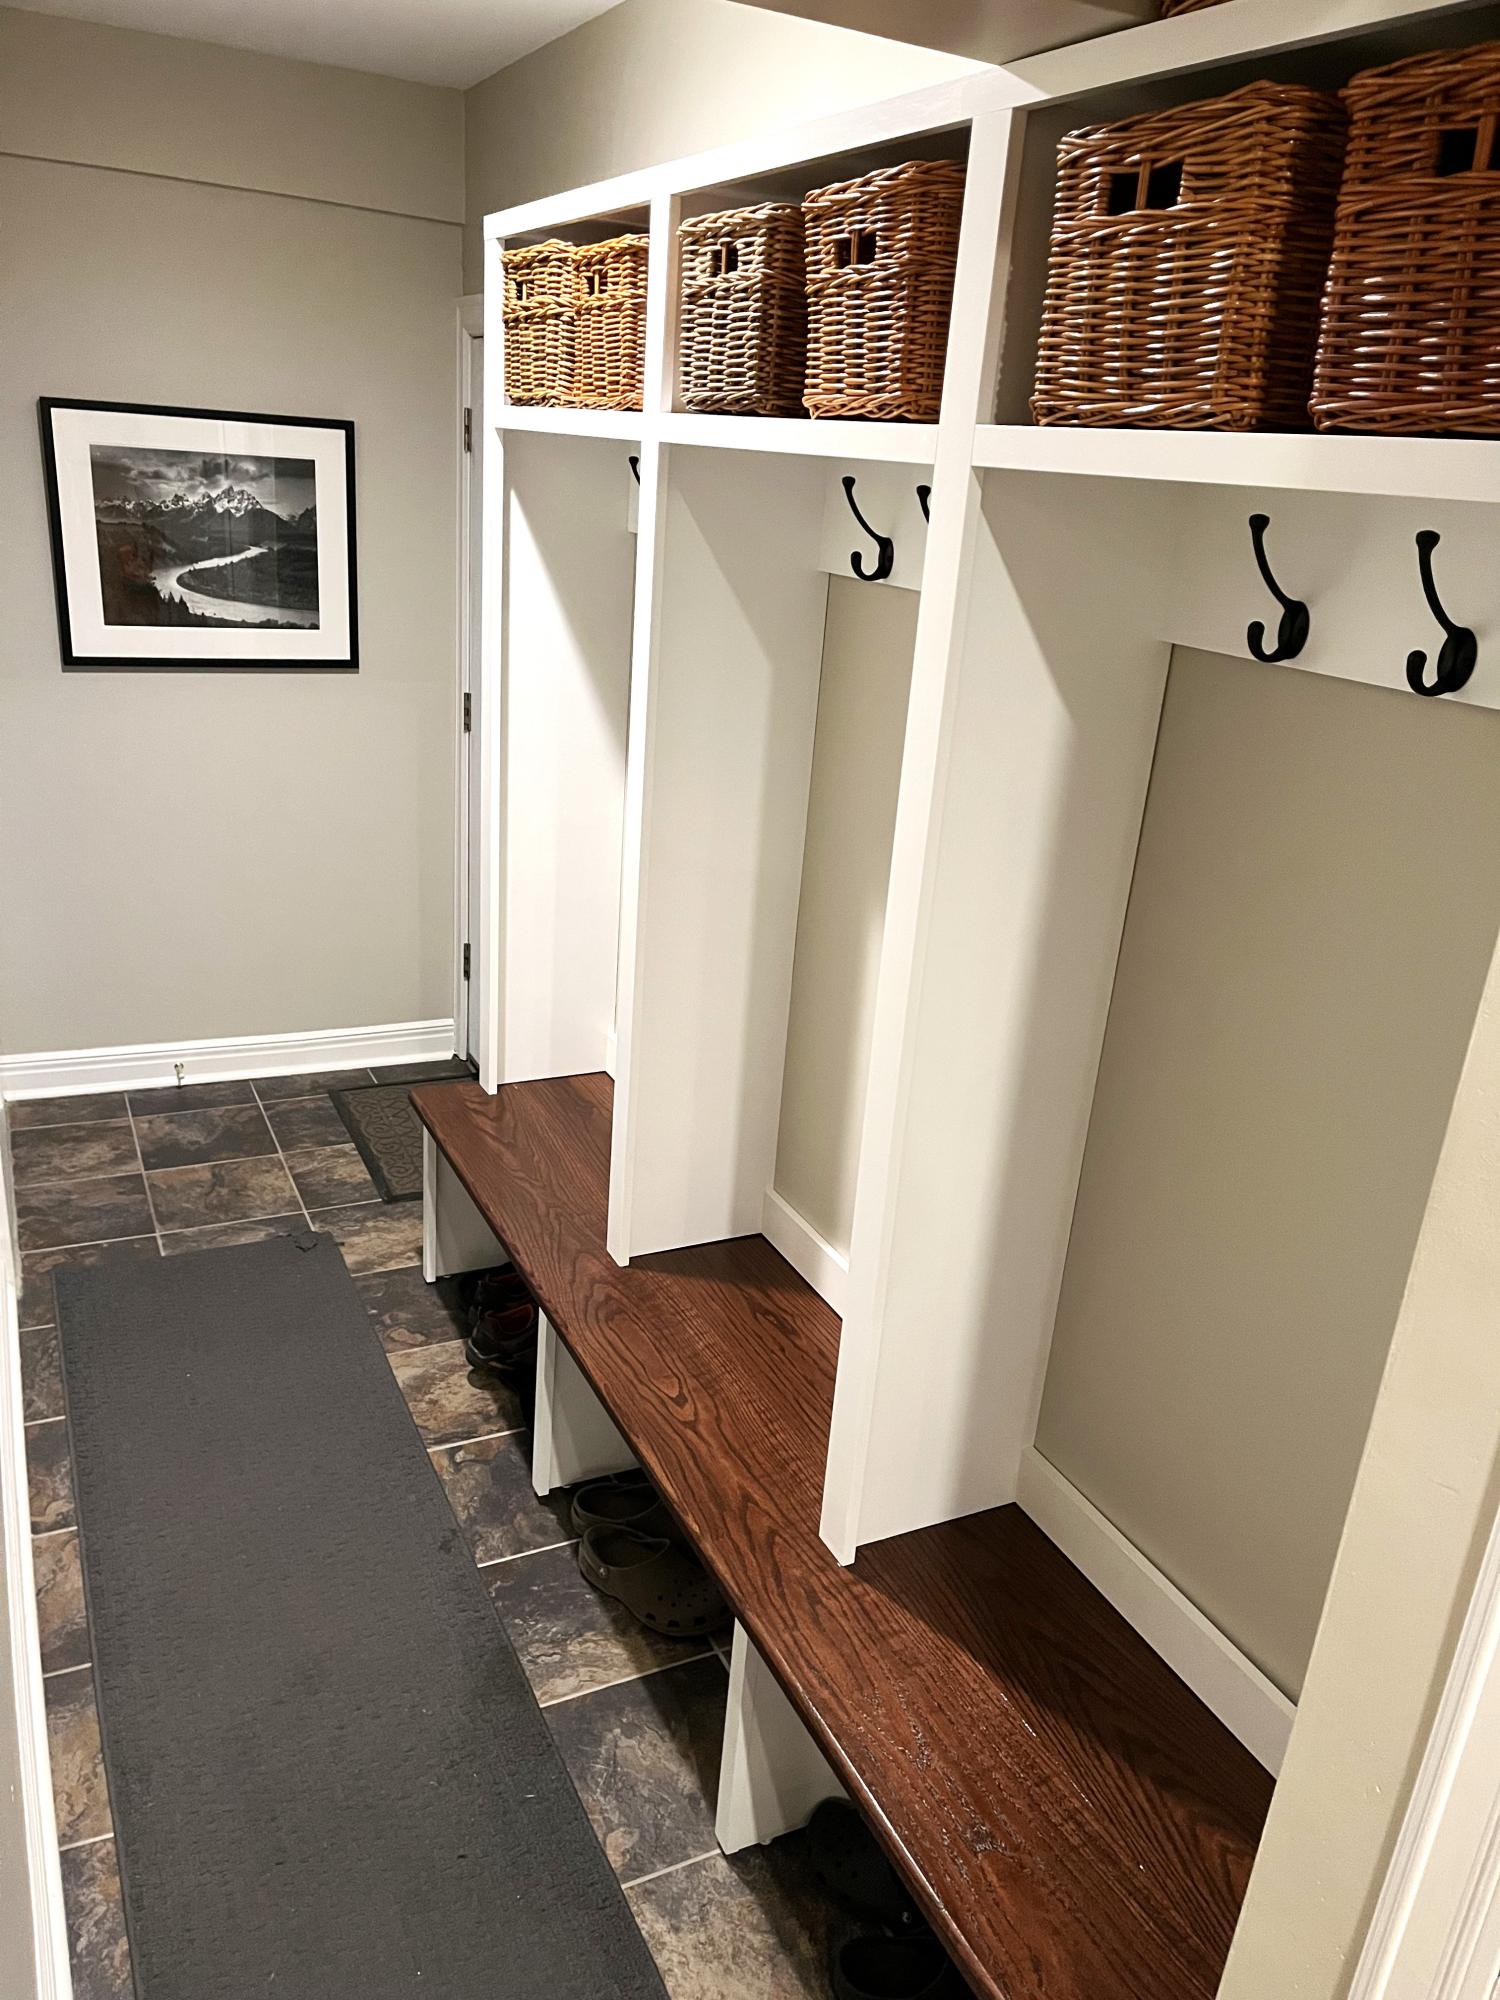
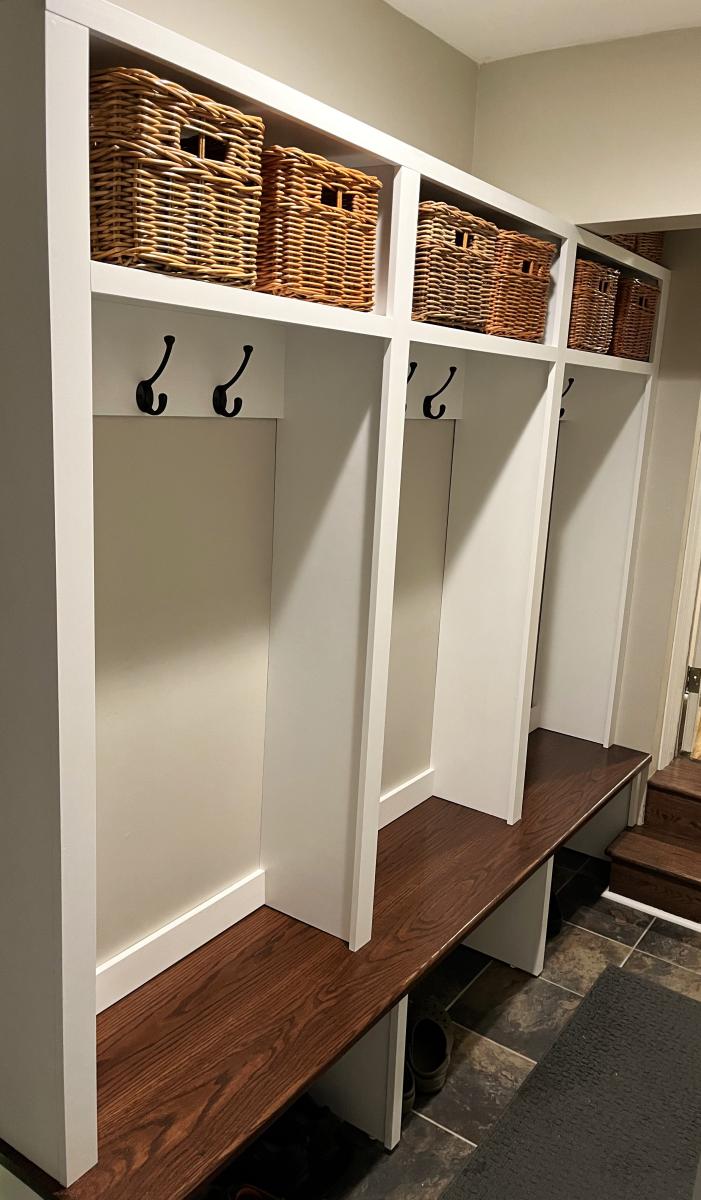
I really appreciated your garage/mudroom project guidance. I stumbled on it as I was trying to figure out how to design my project. I basically copied yours!! 😁
You also turned me on to pocket hole joinery. Previously I have used a biscuit joiner and find it very challenging. Thank you, I am a convert!
Don Arrowood