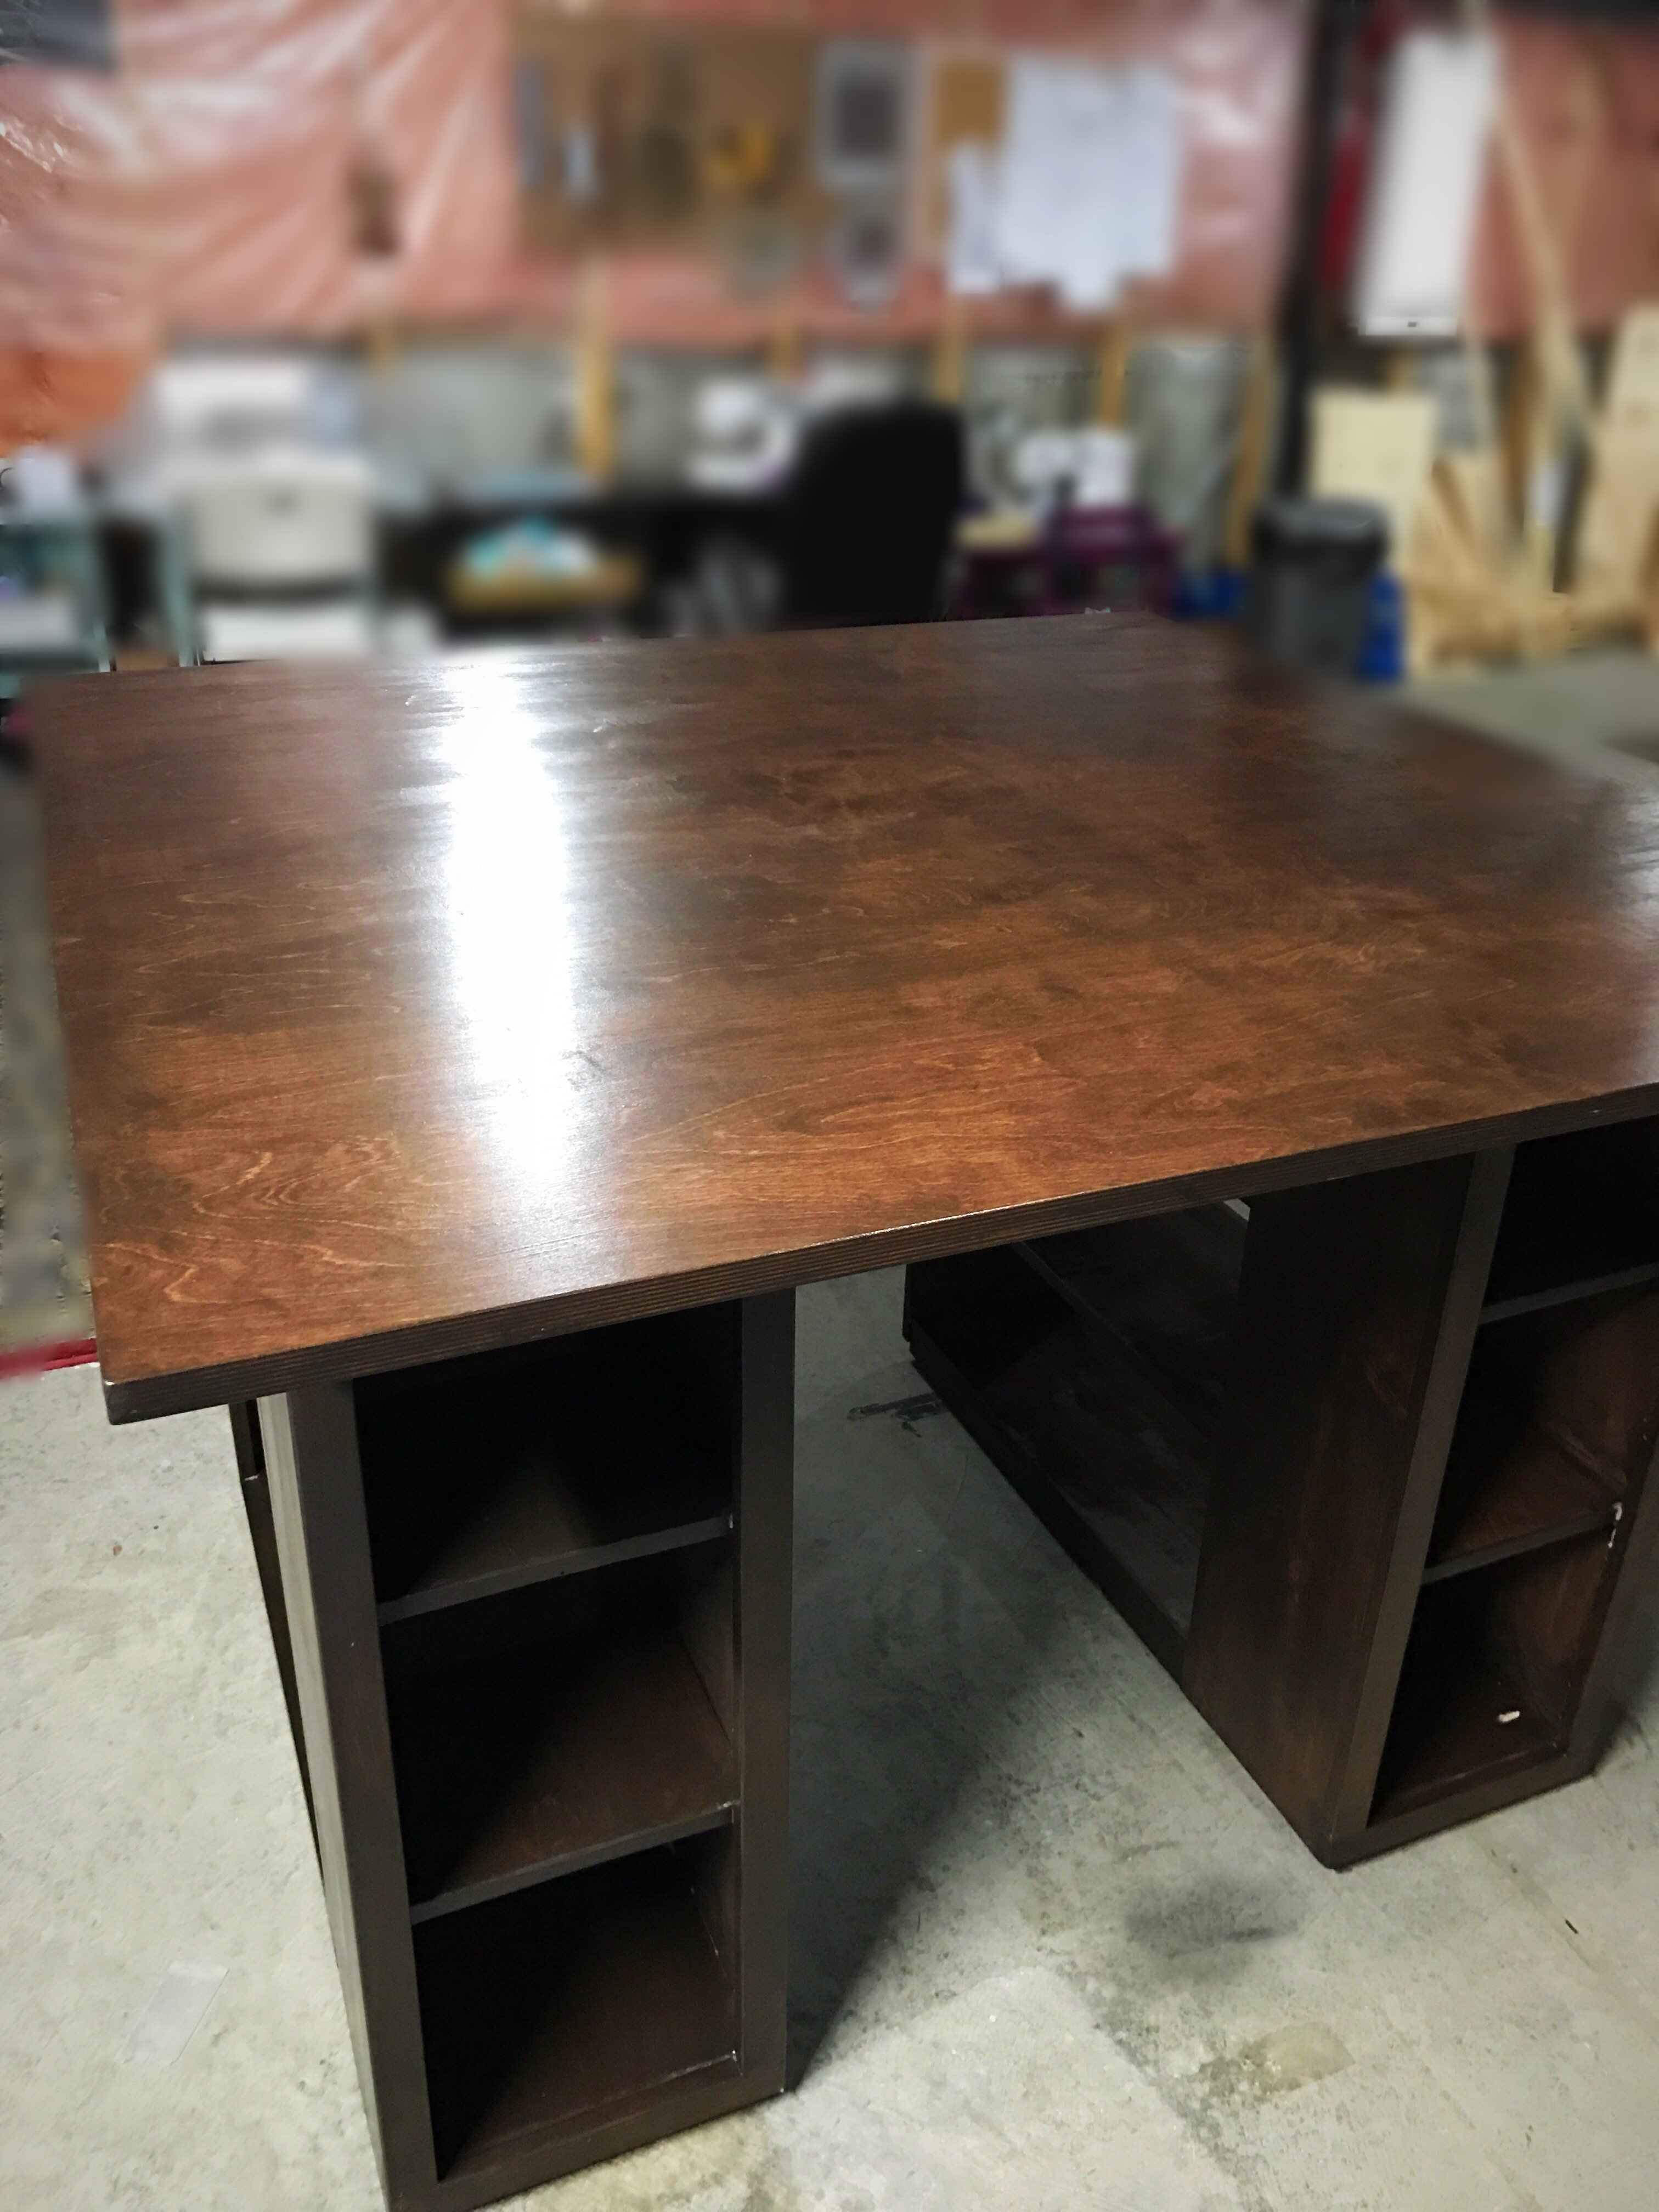
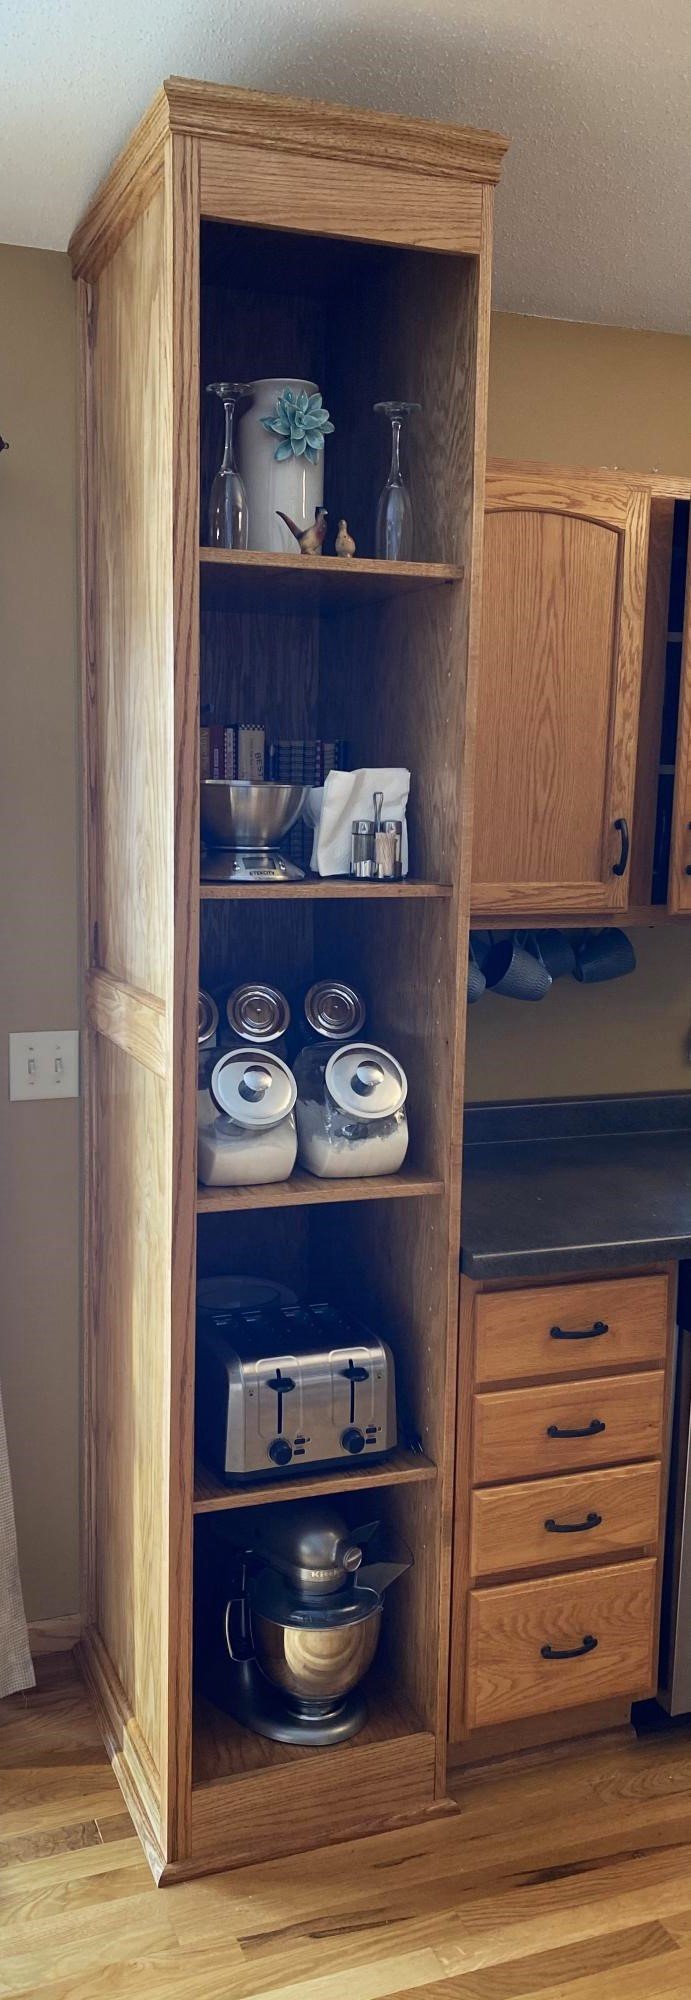
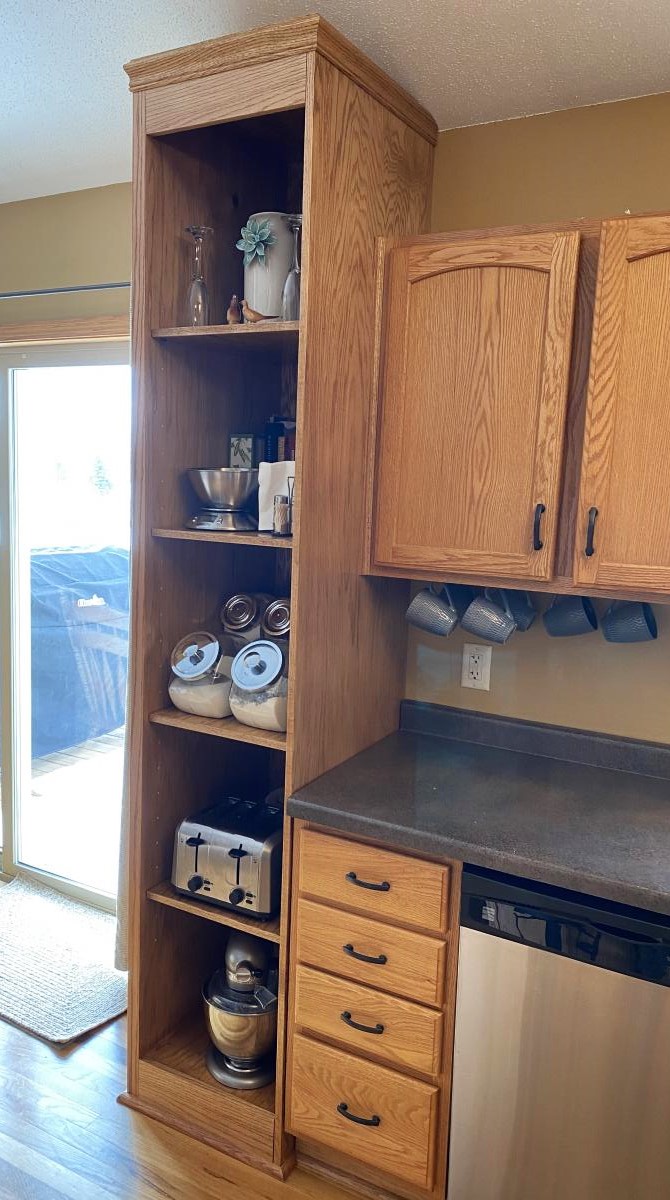
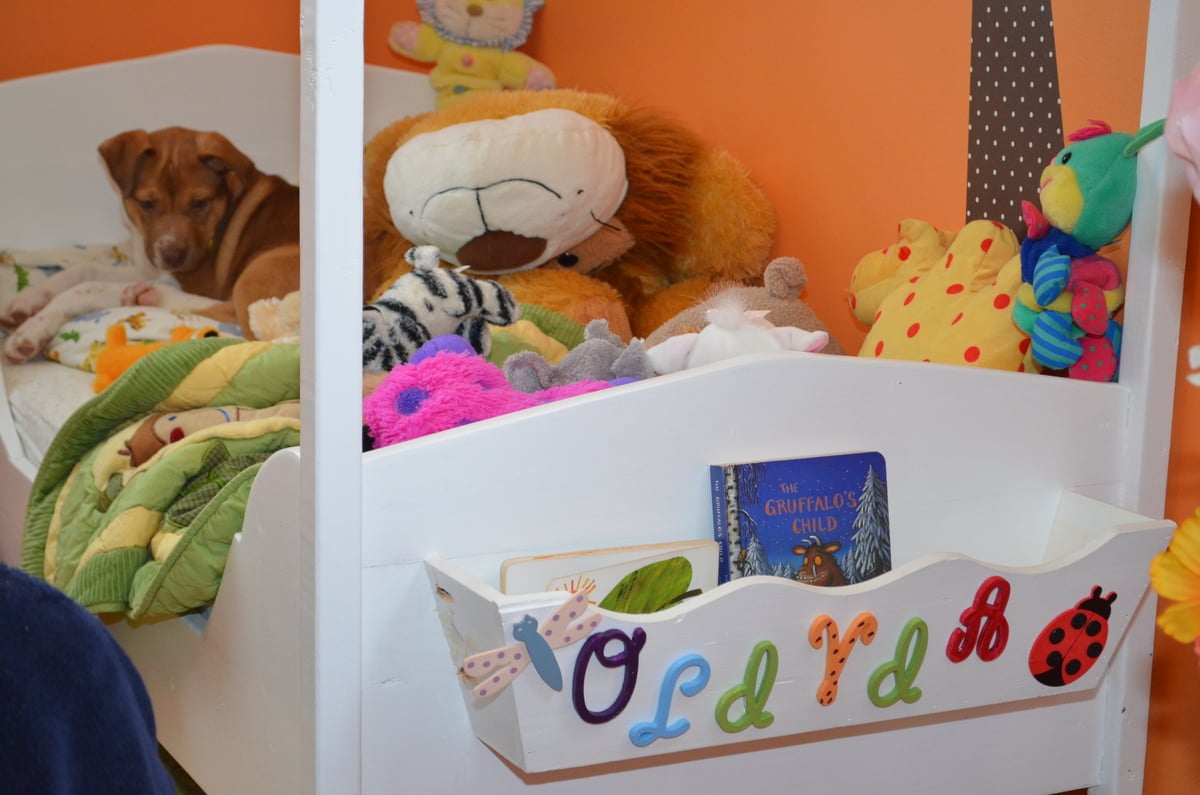
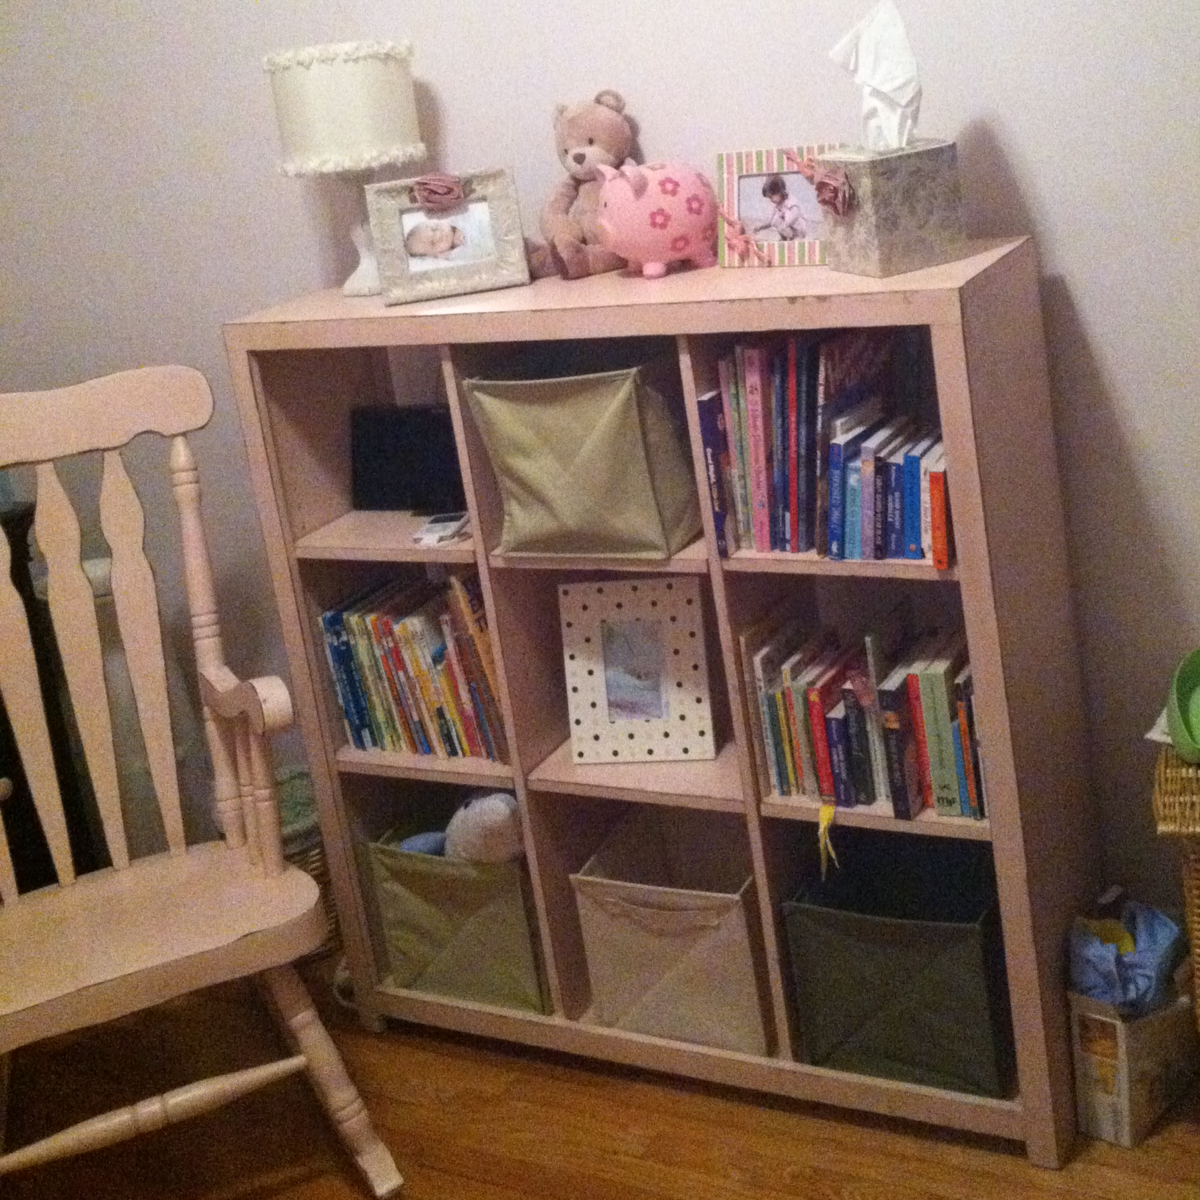
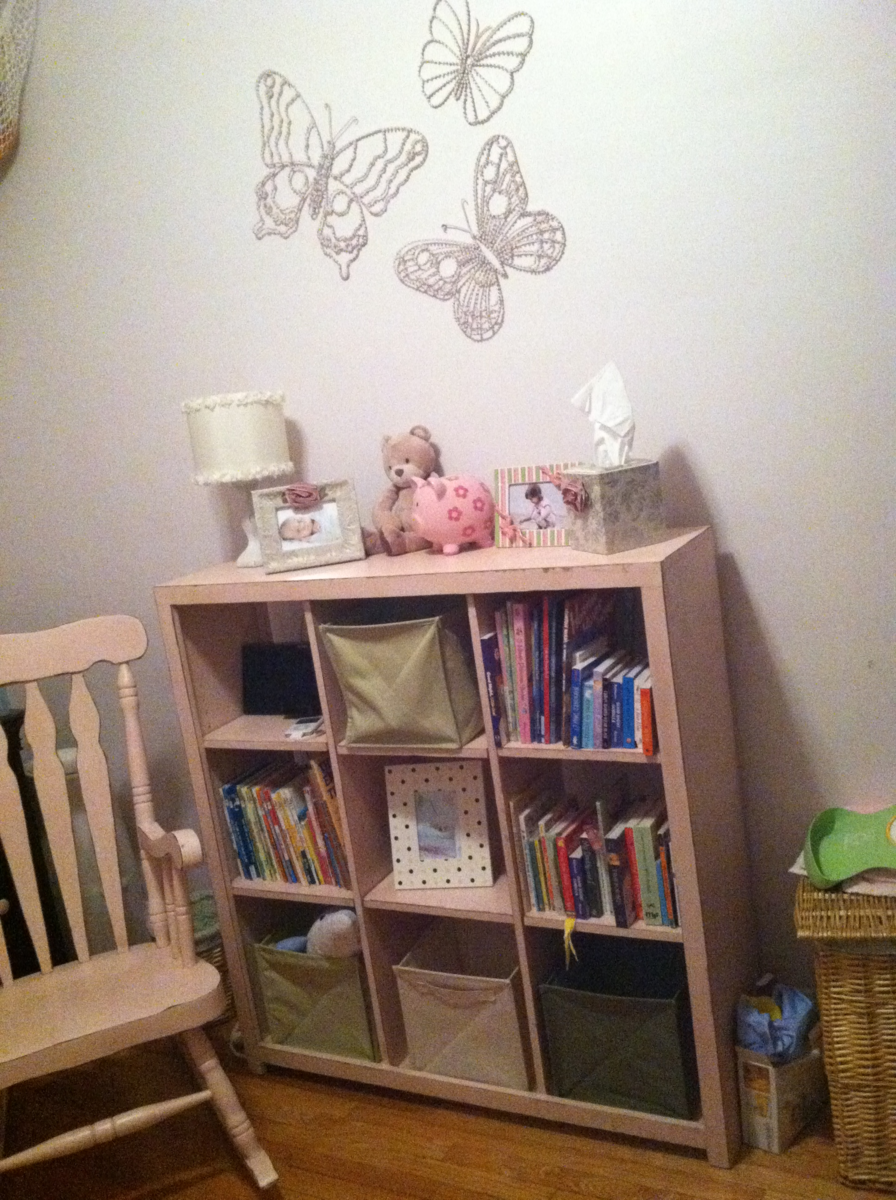
Cubby Bookshelf -- Large
First Project...
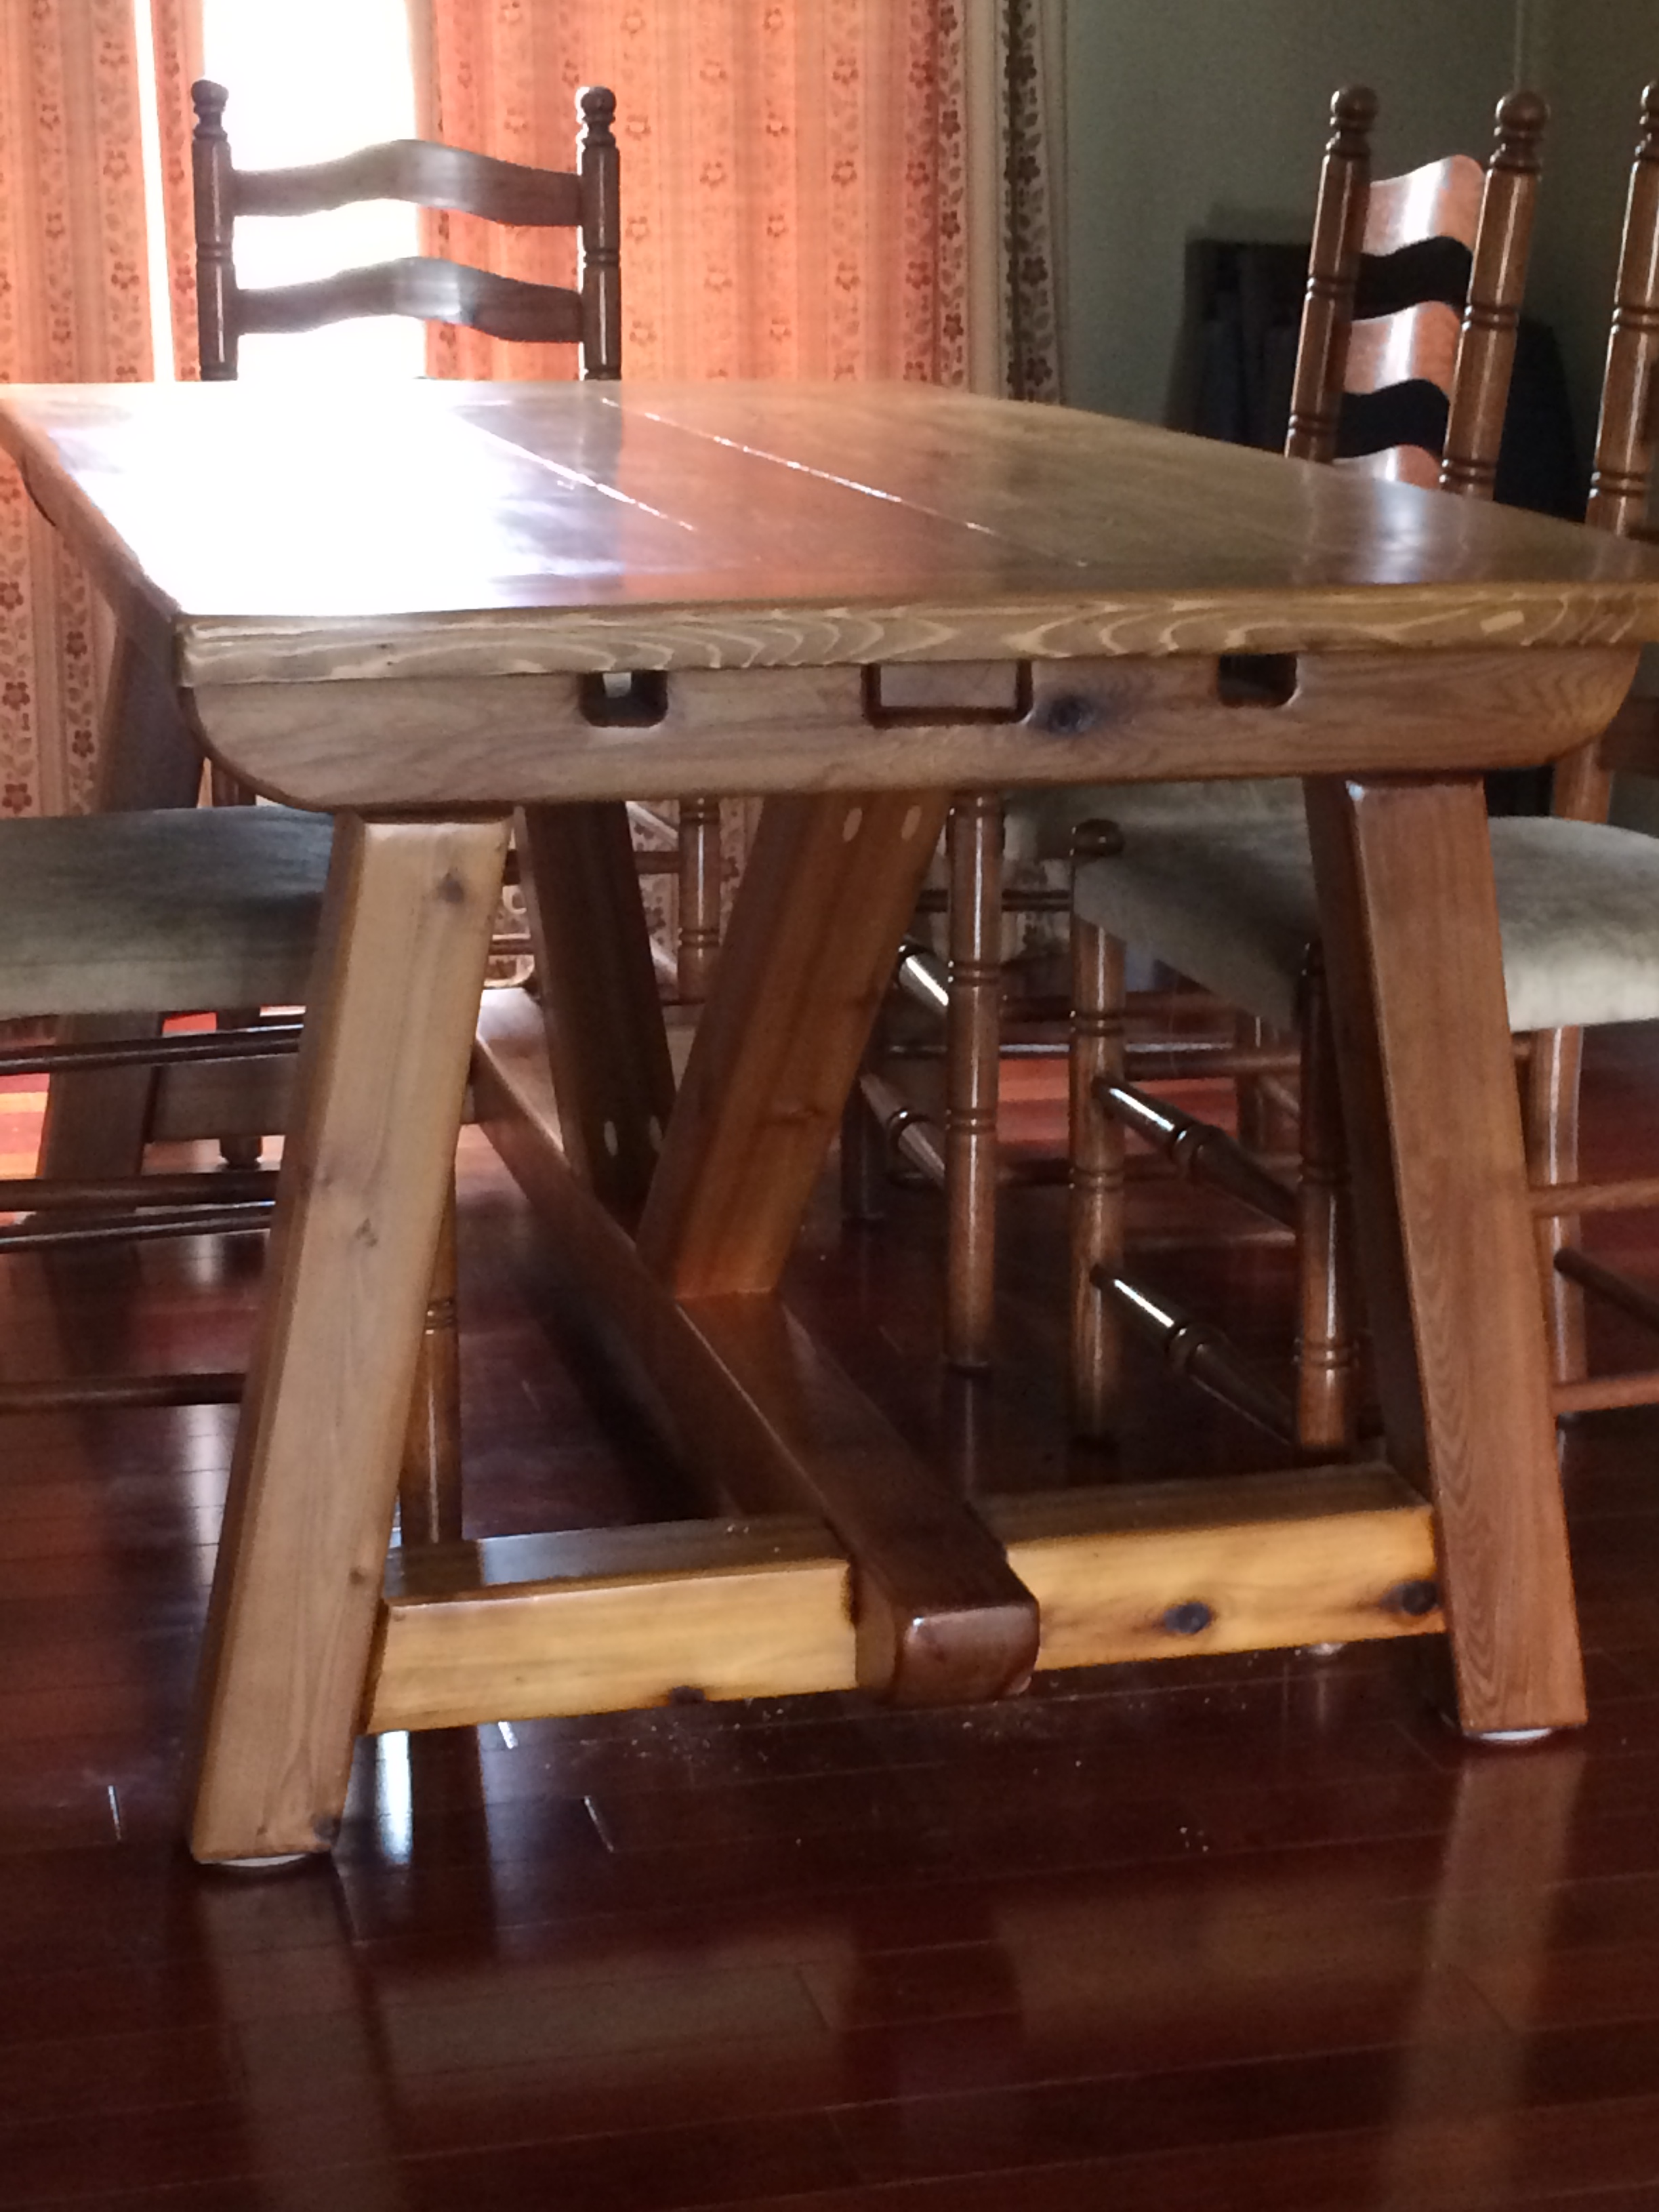
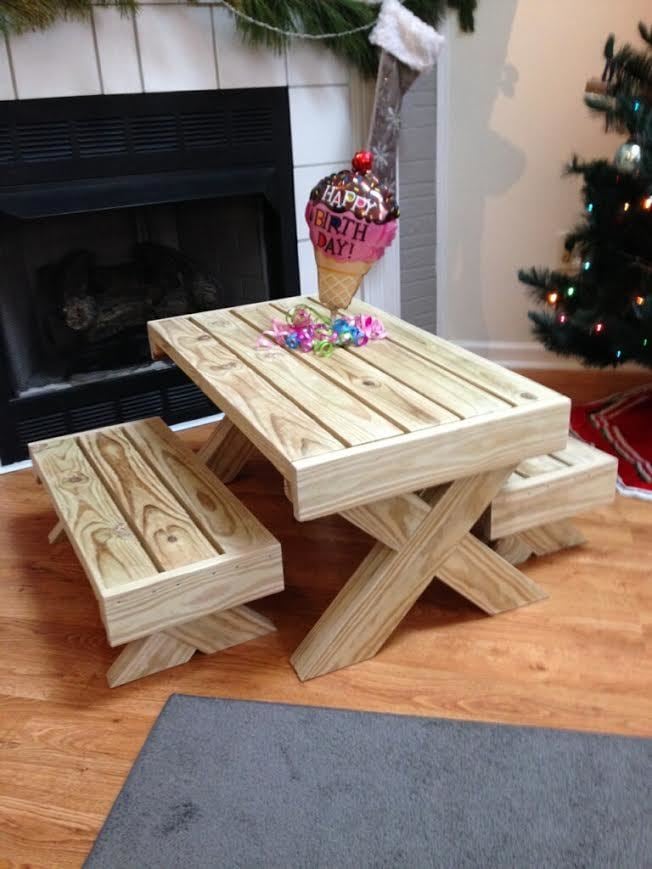
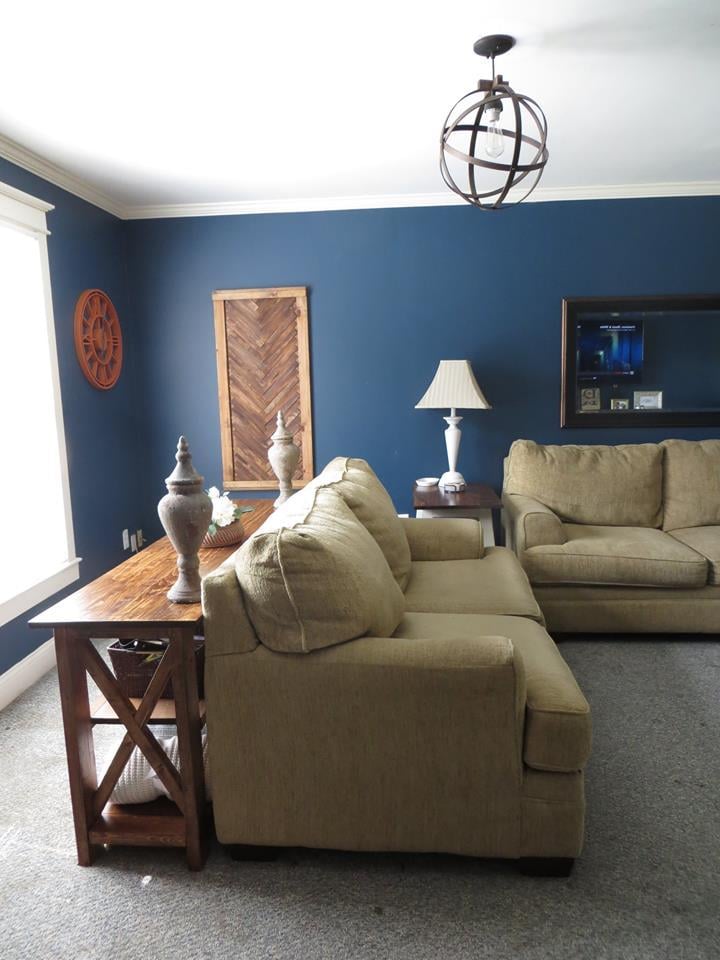
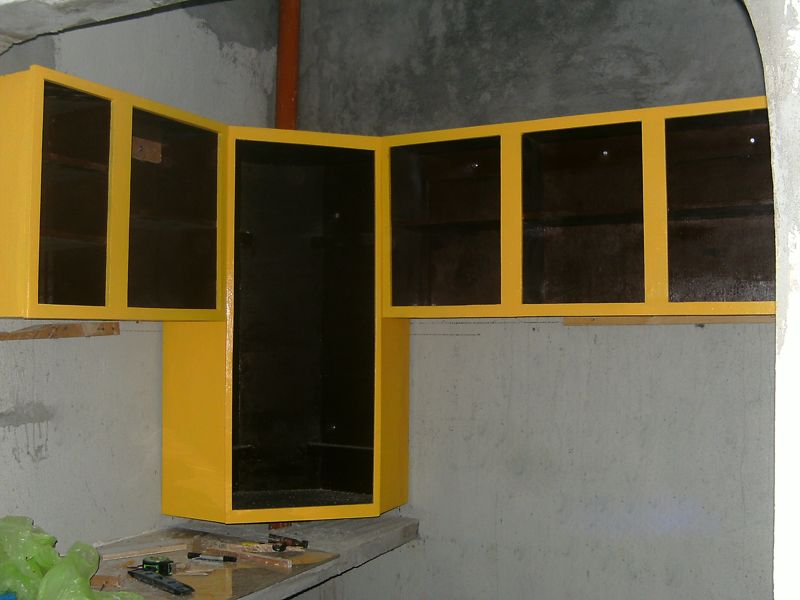
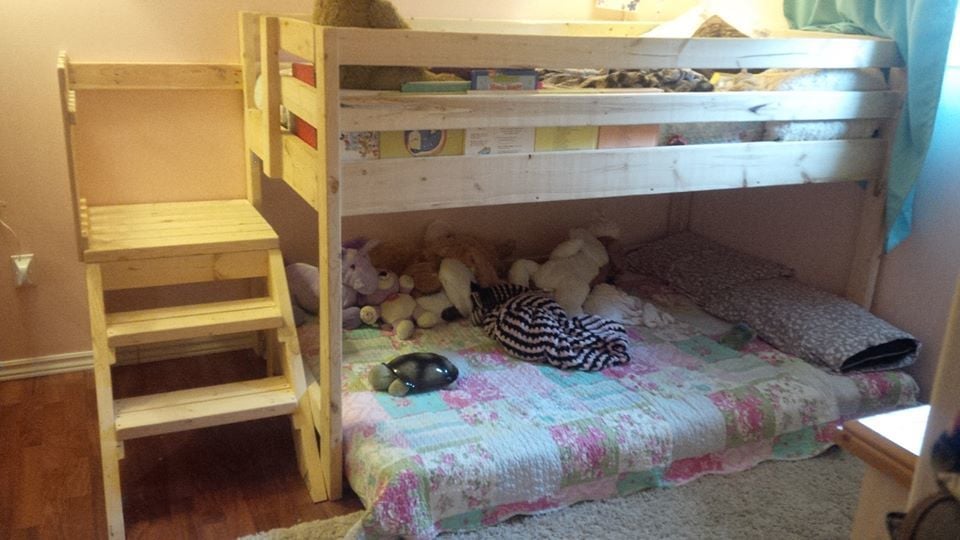
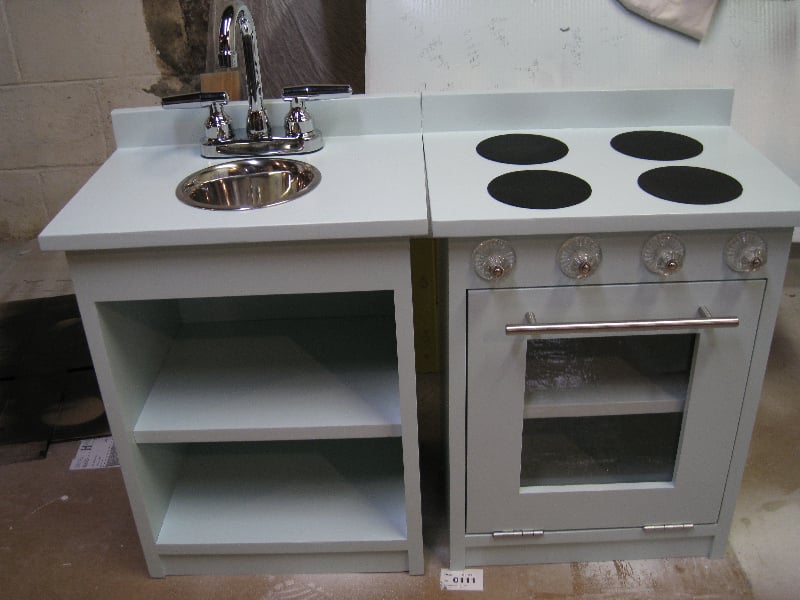
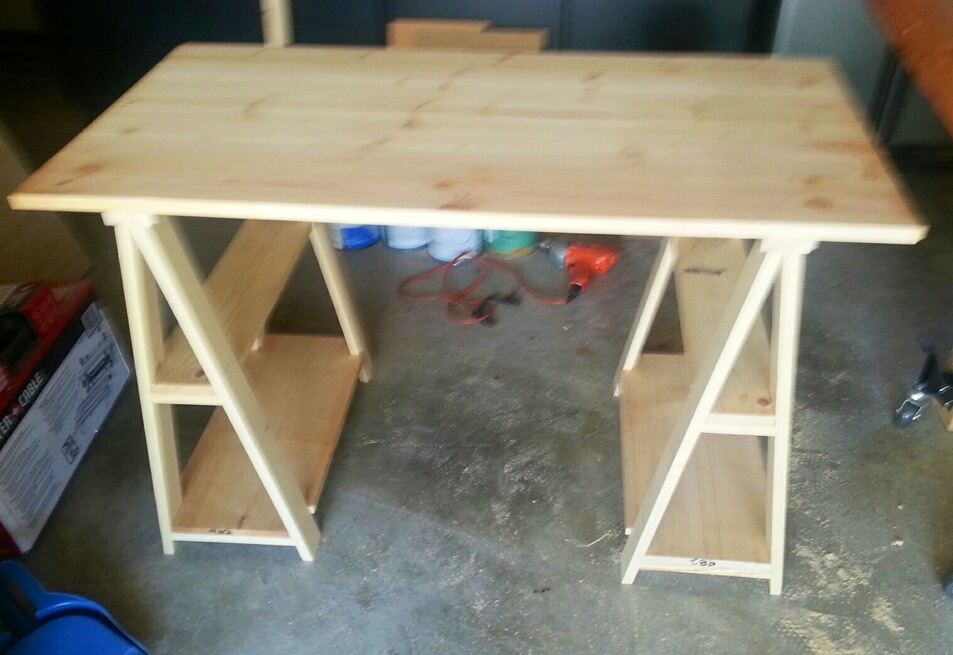
Different aspects of the project took a lot longer than they should since I was trying to figure out how to use all of my new toys, e.g. circular saw, kreg jig, adjustable shelf jig, sander, etc., but I think it ended up turning out pretty good.
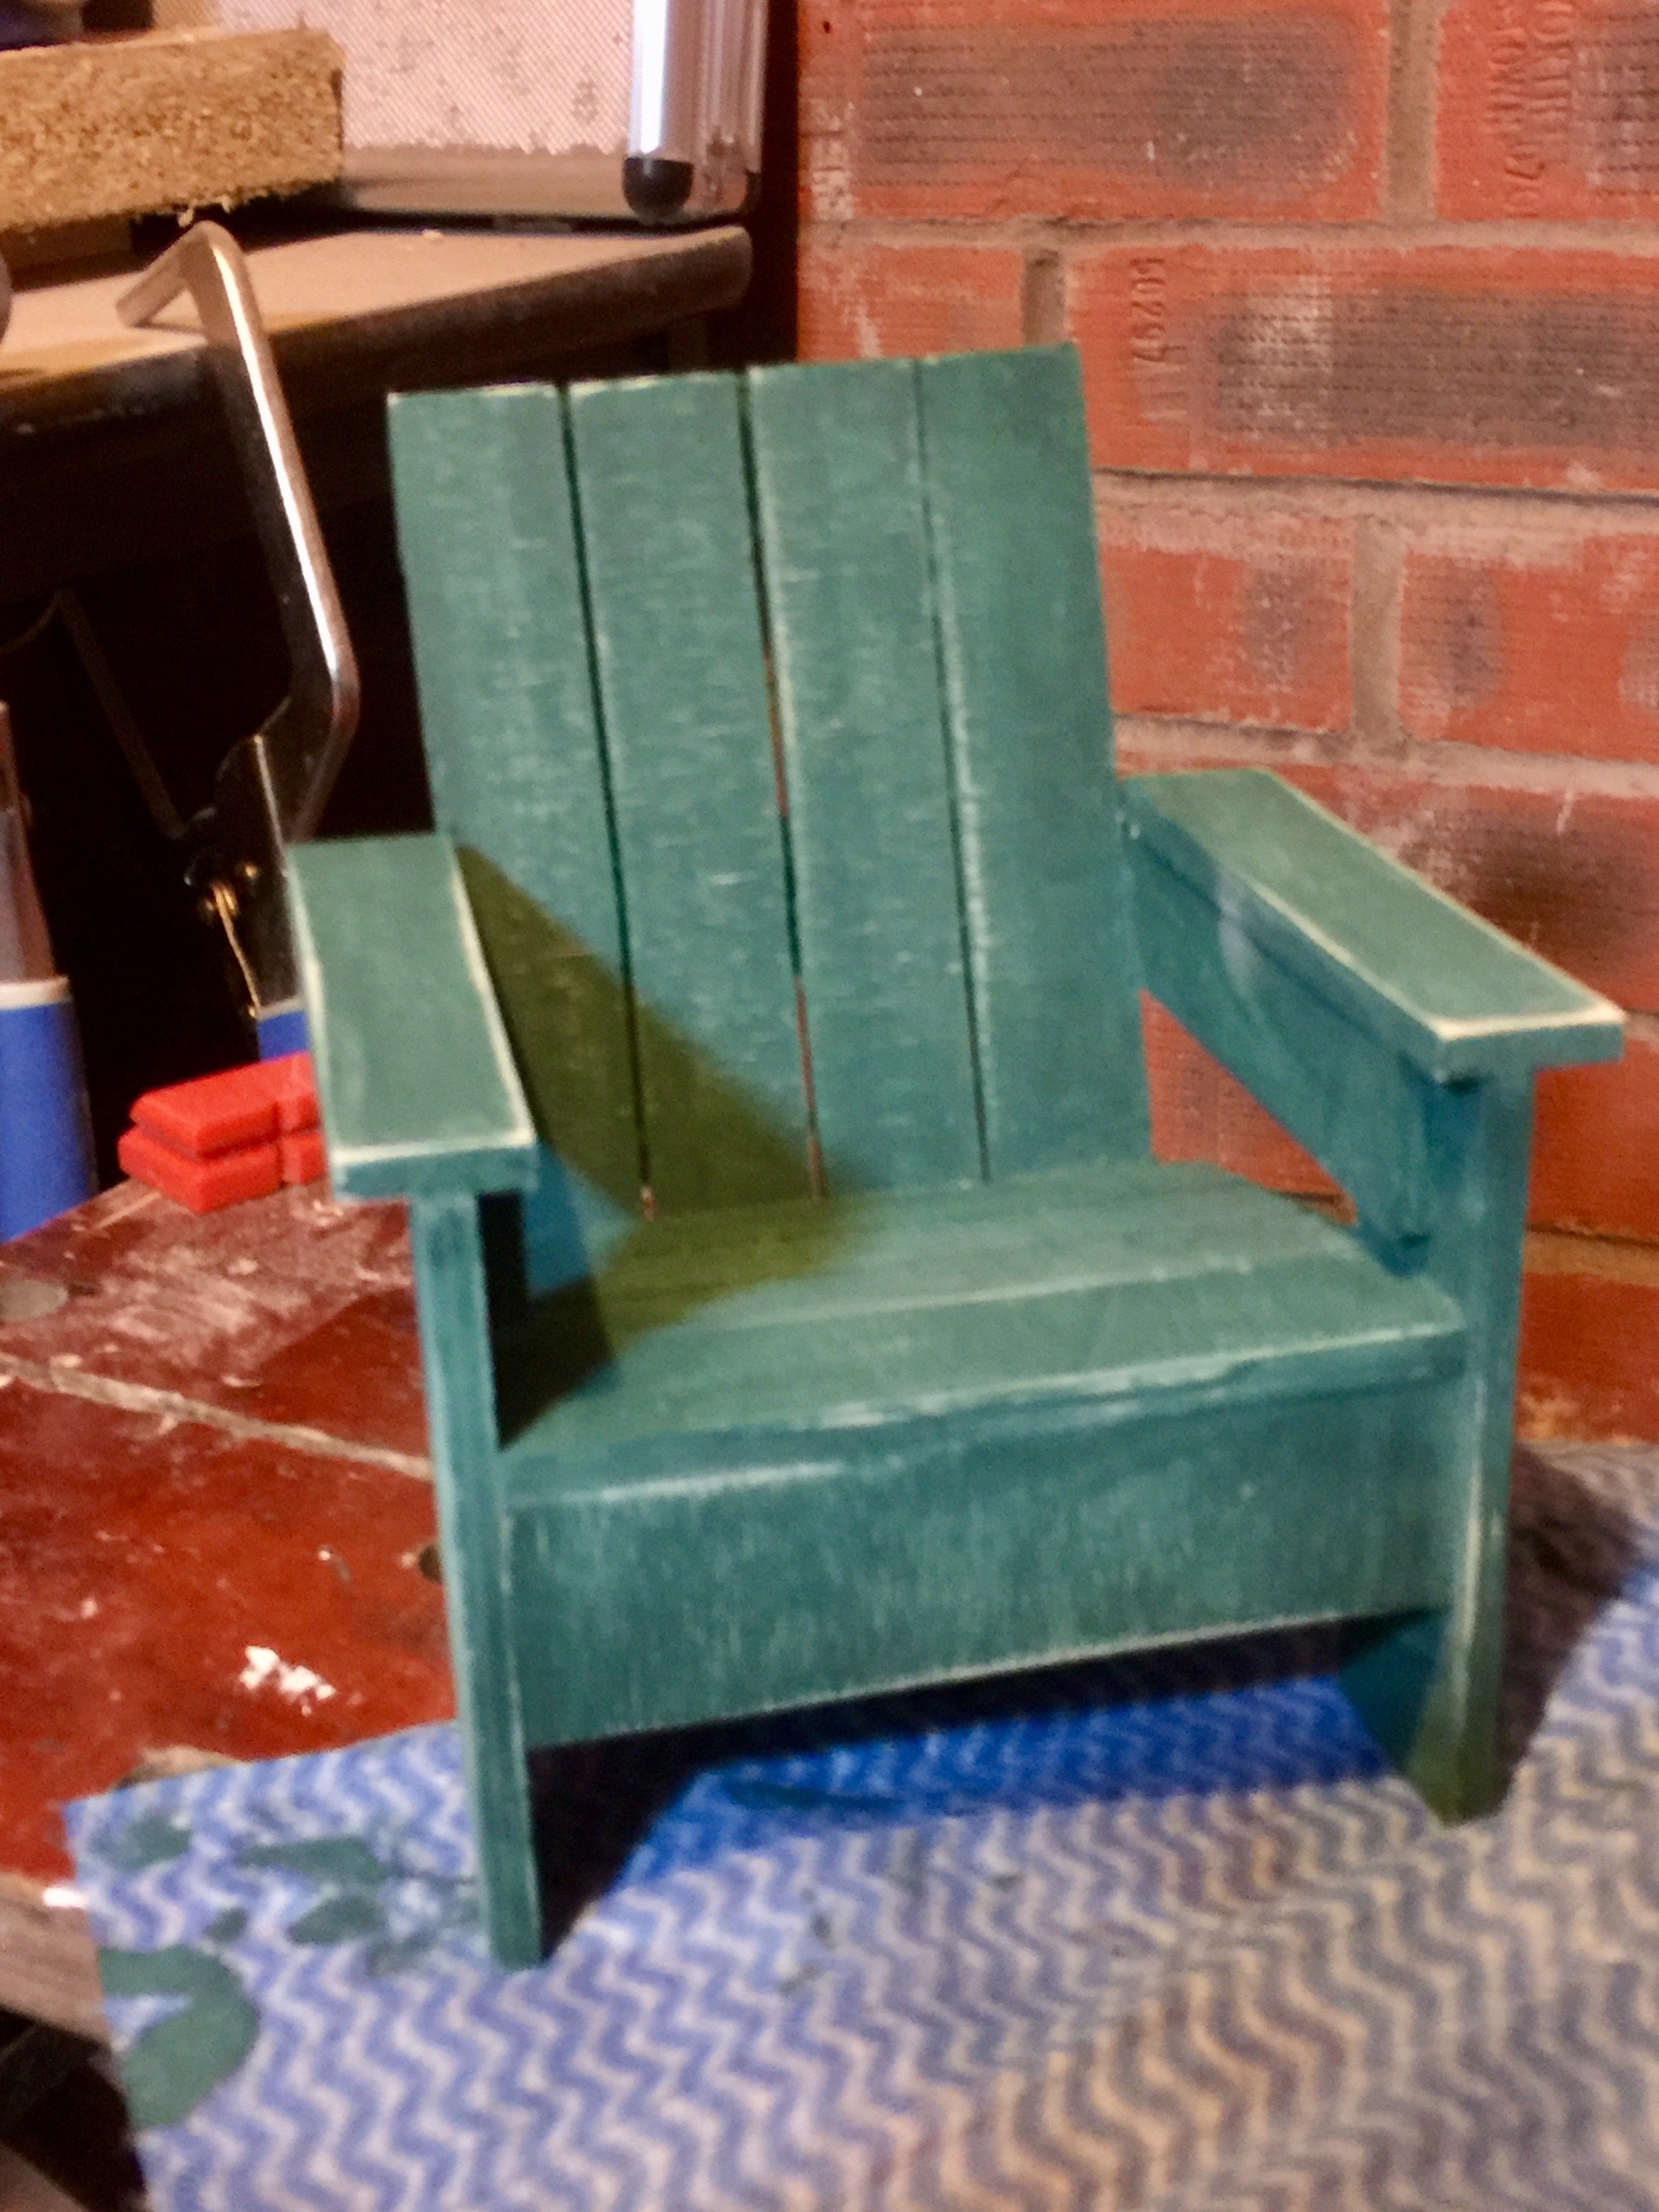
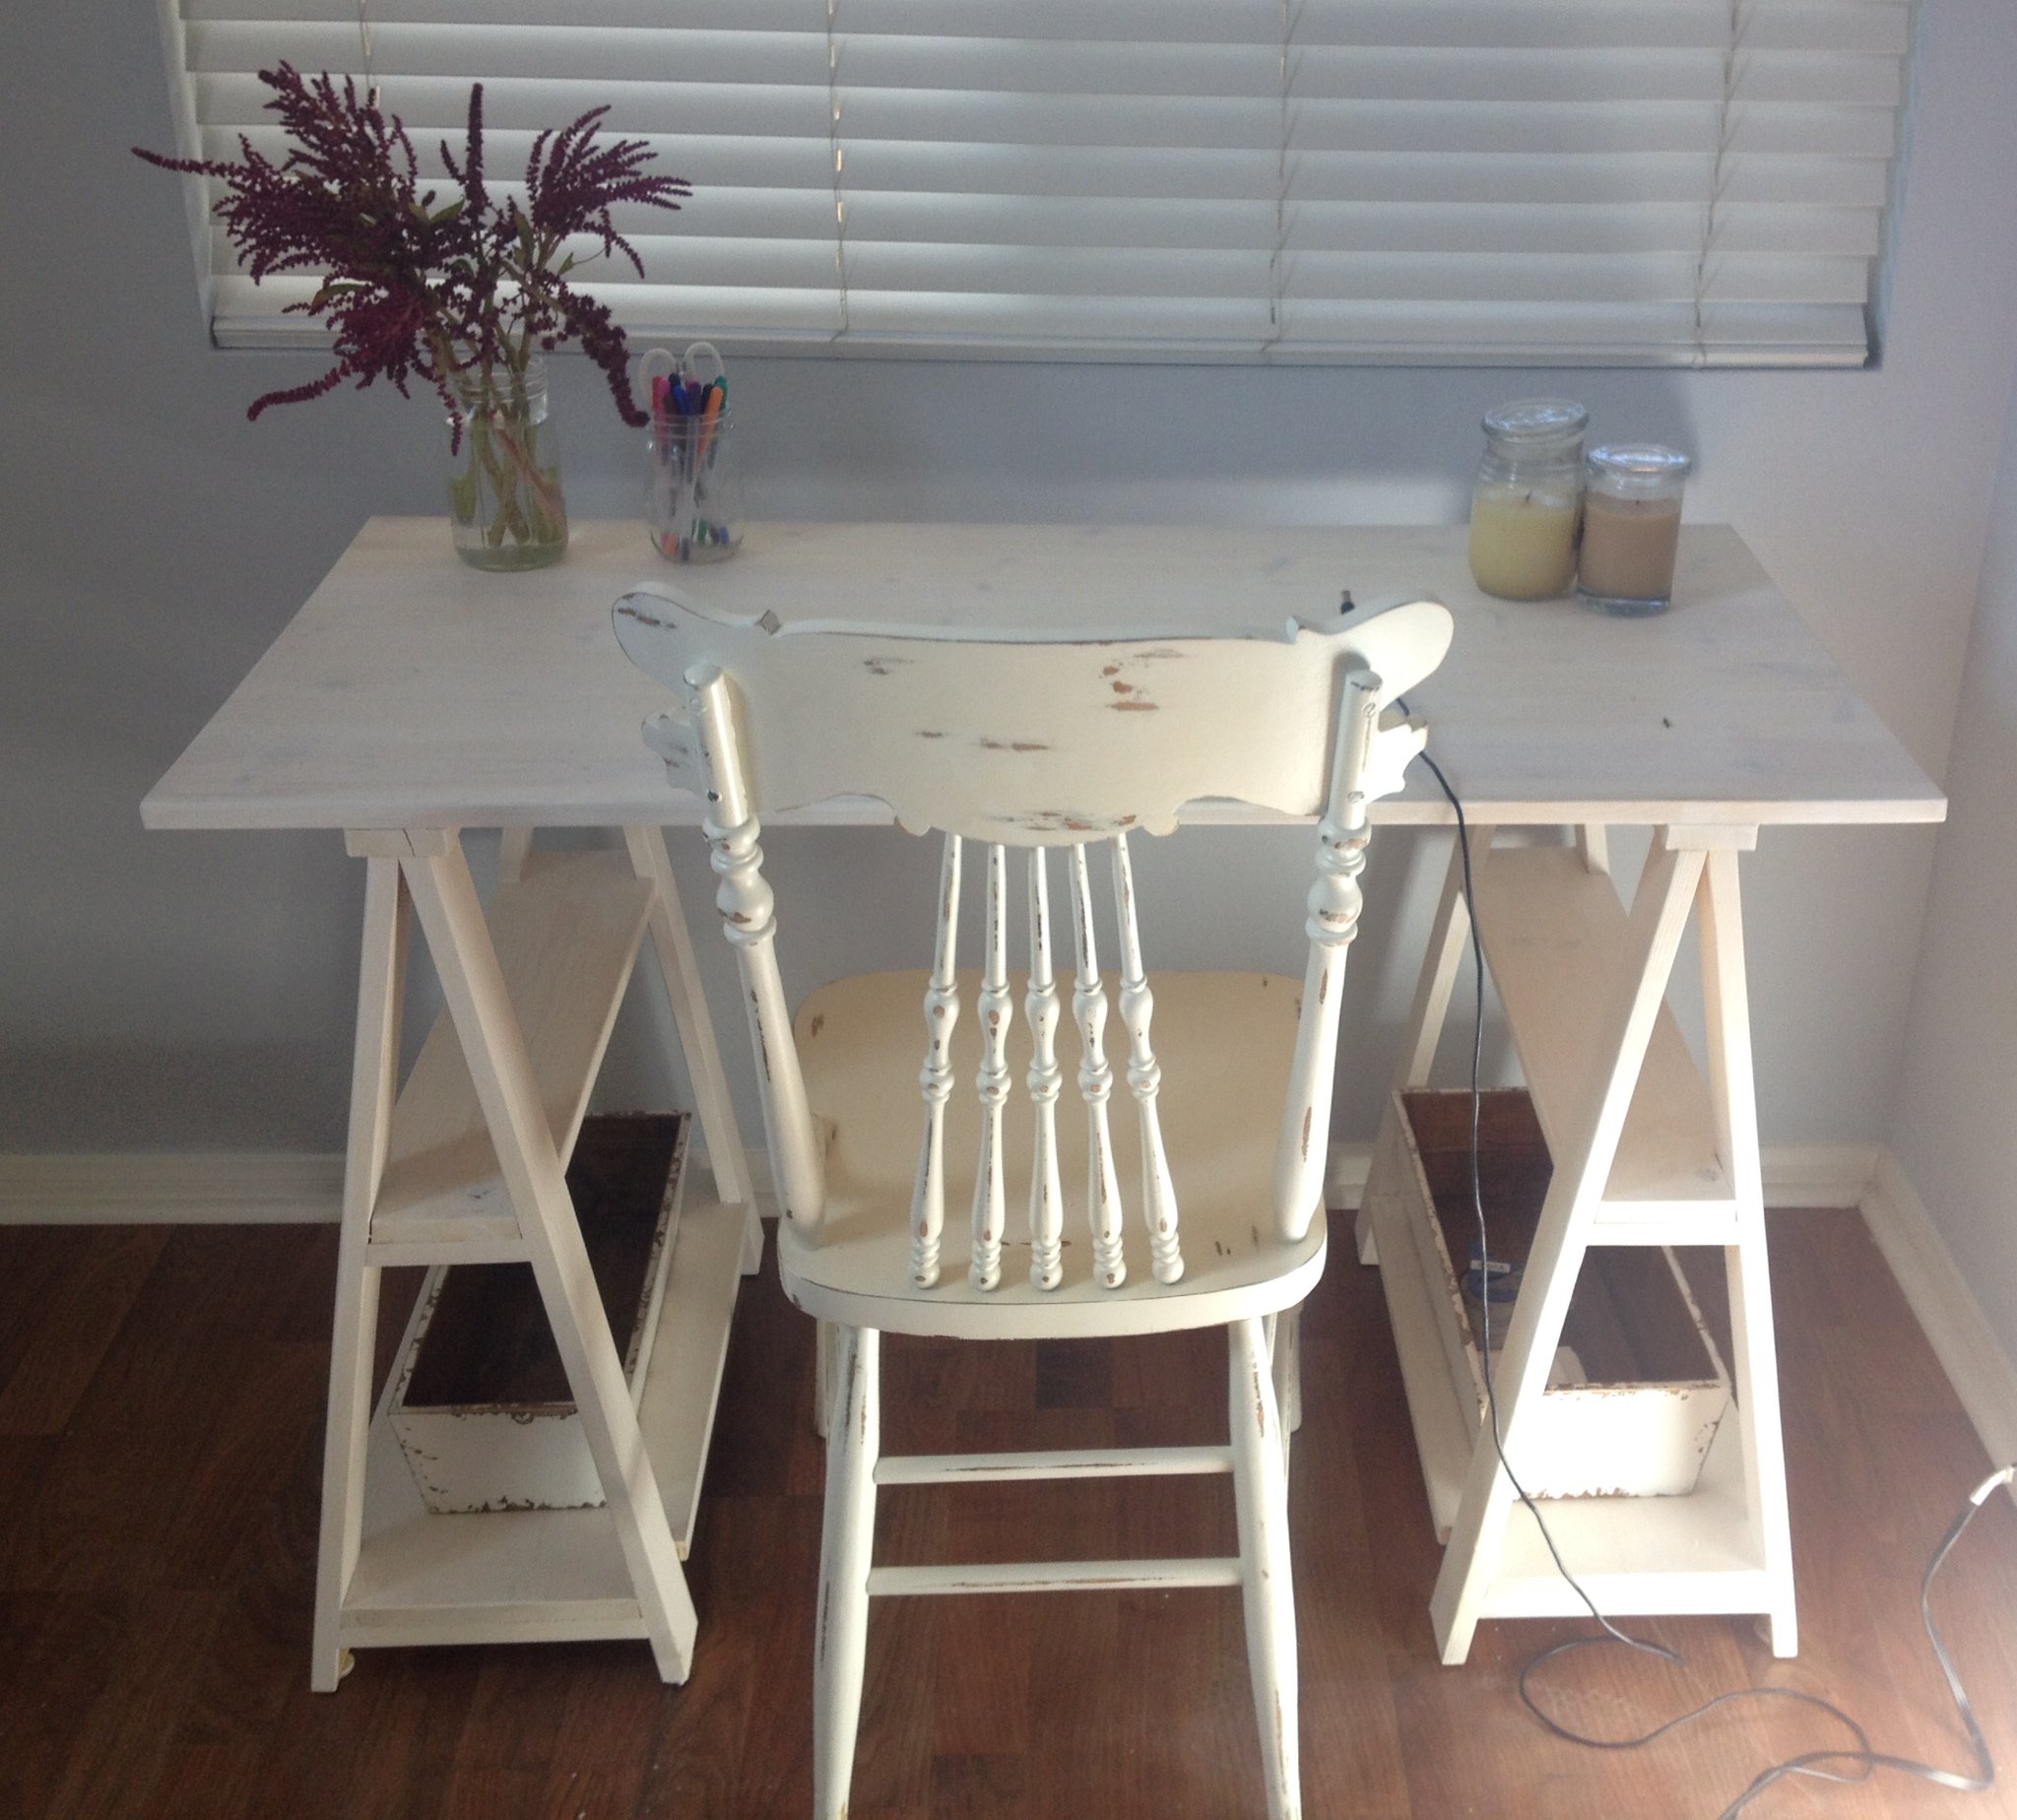
I ended up buying an unfinished rocking chair on Craigslist for $20, which I finished the same way.
Built from Plan(s)
Estimated Cost
$100
Estimated Time Investment
Weekend Project (10-20 Hours)
Finish Used
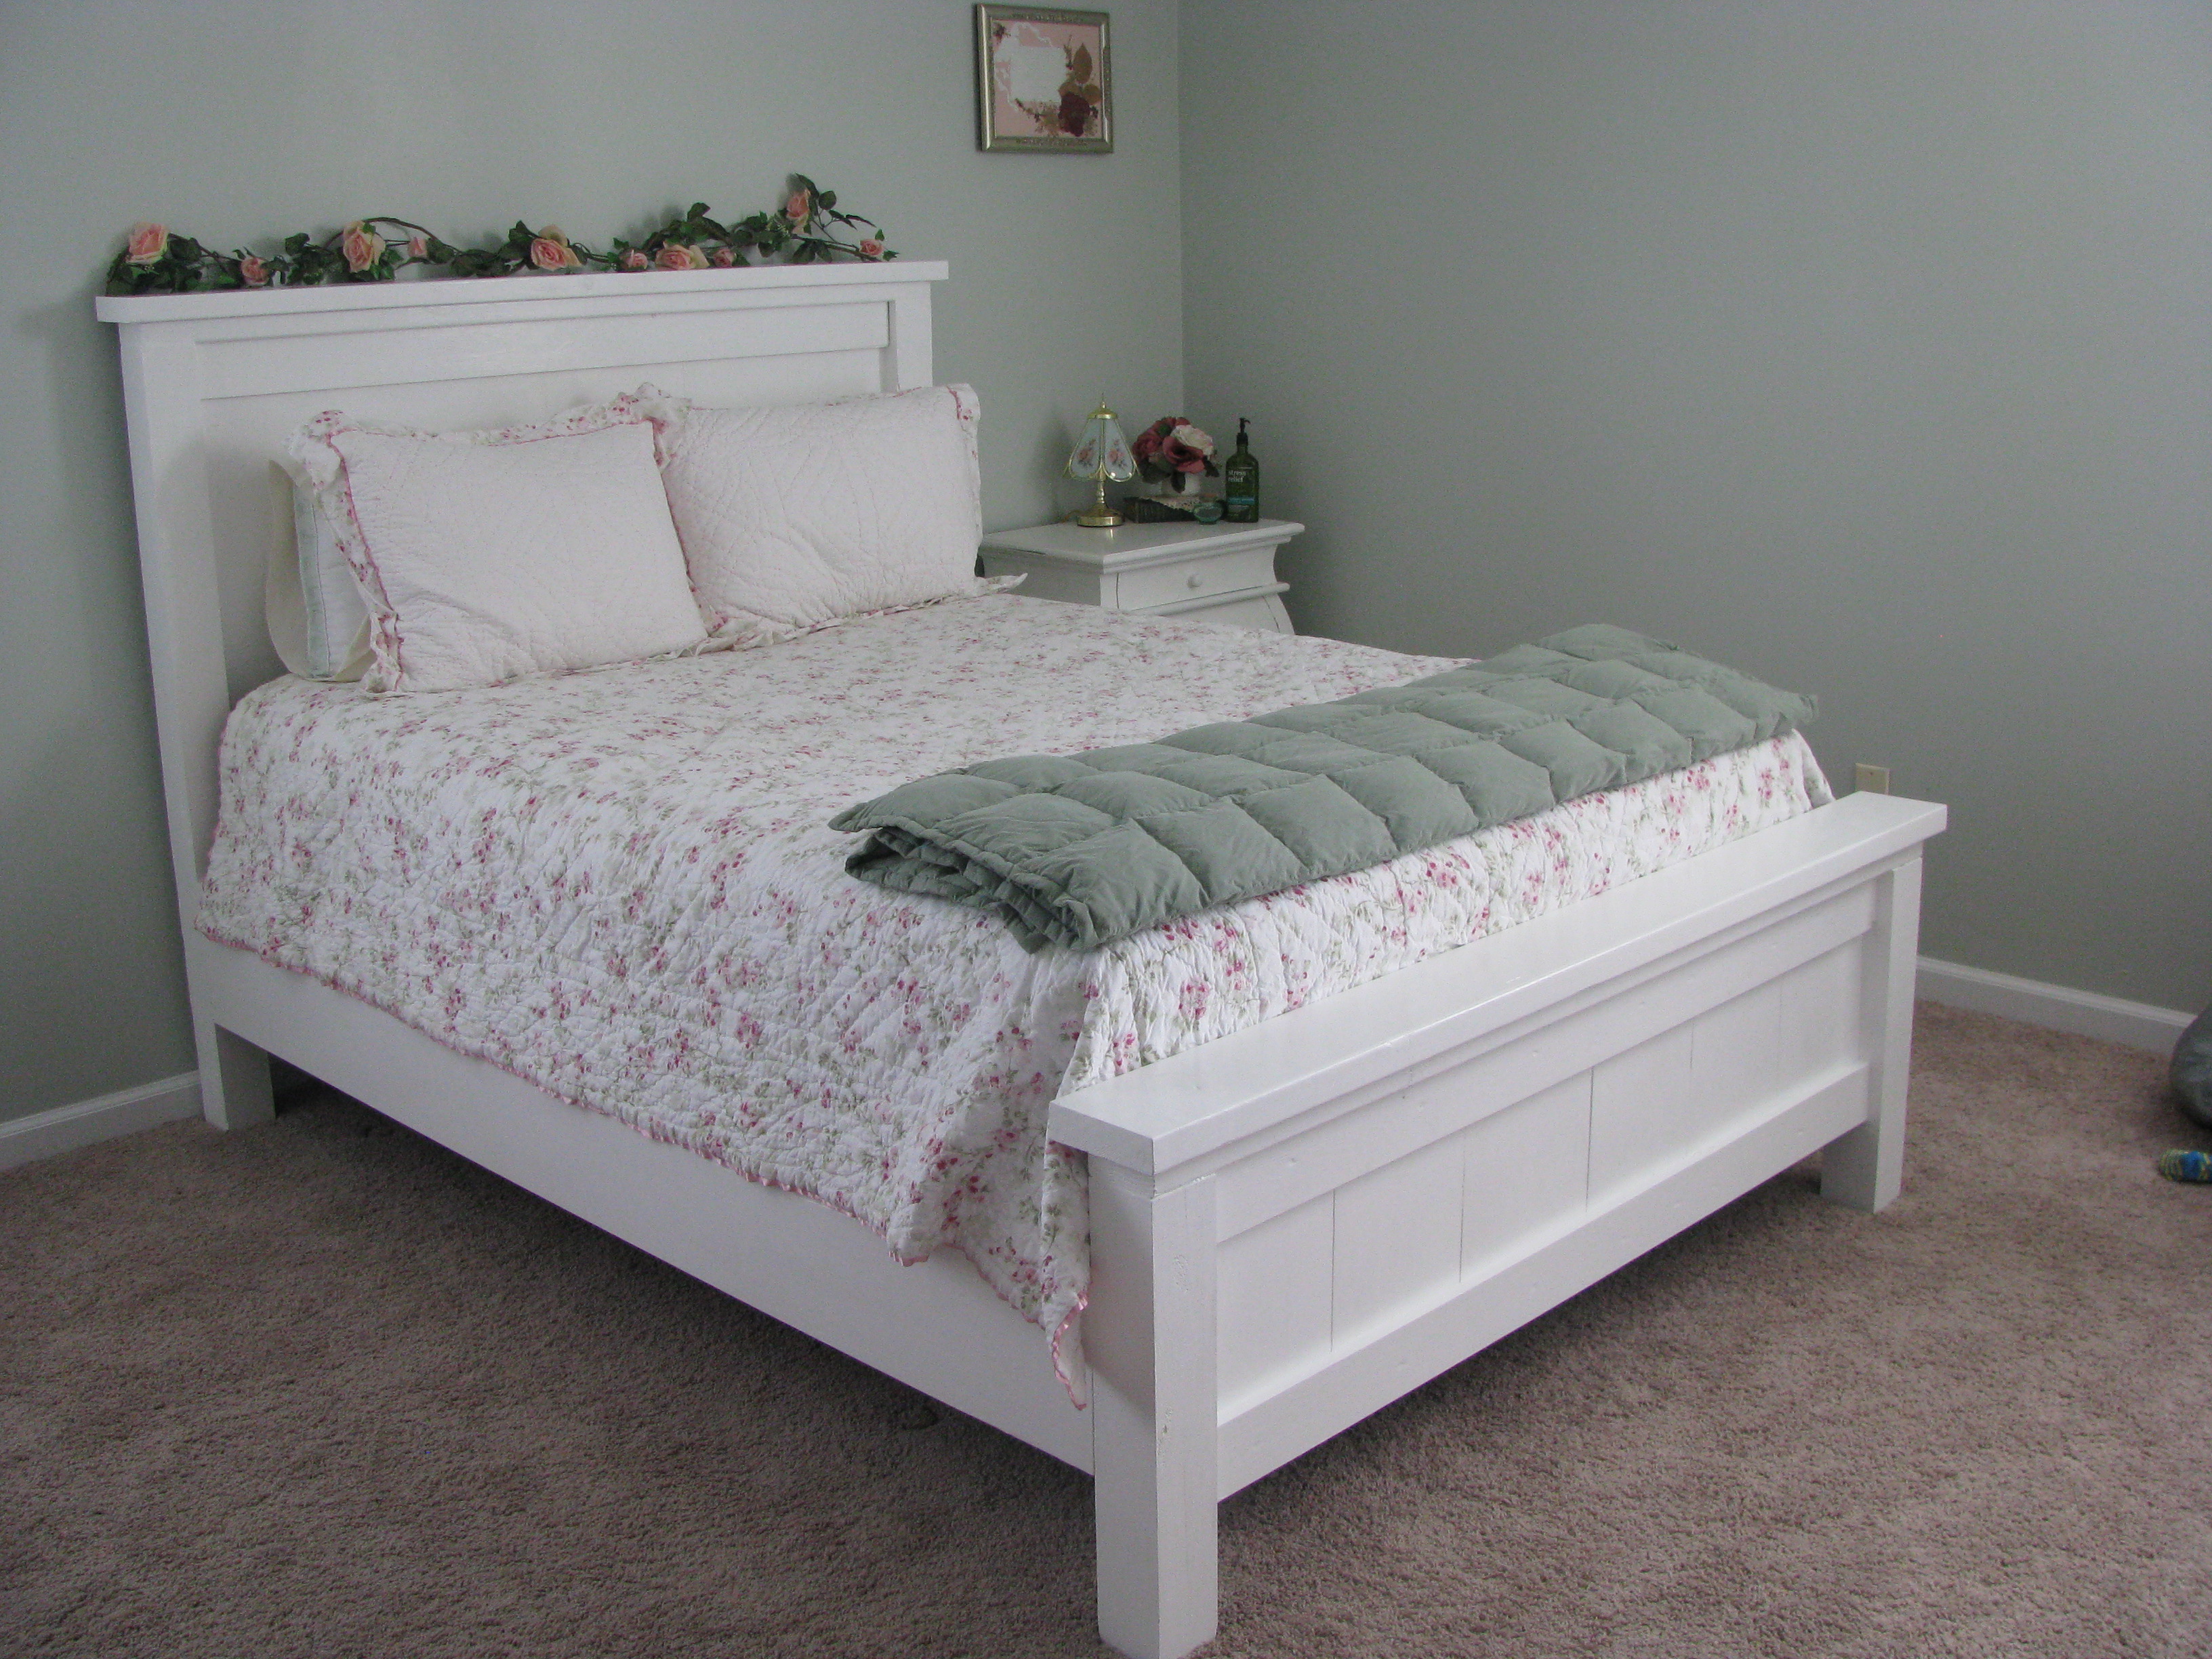
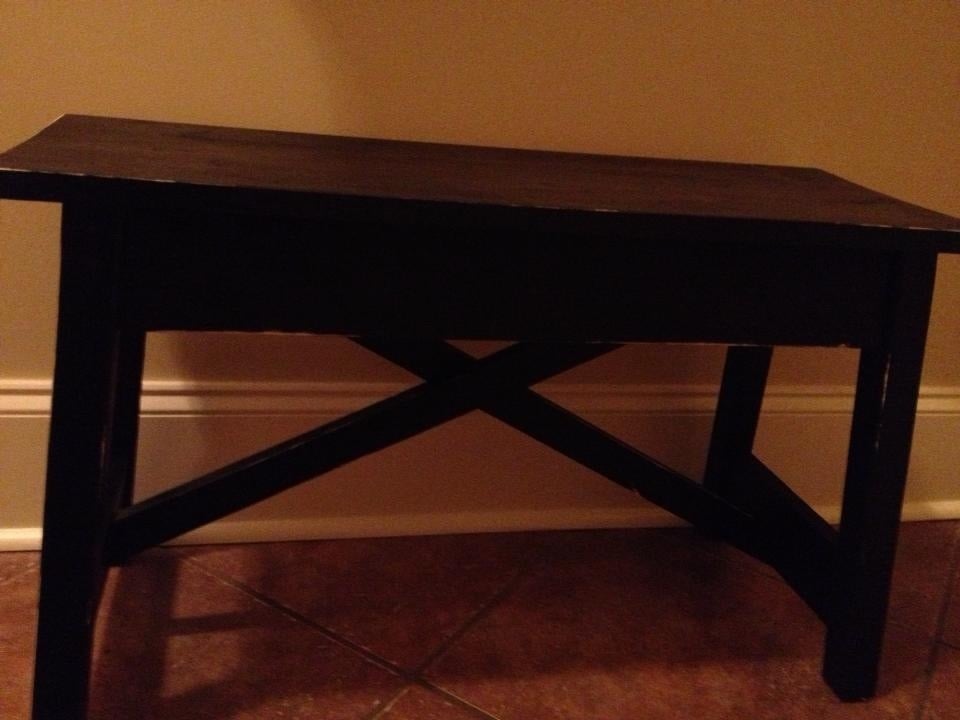
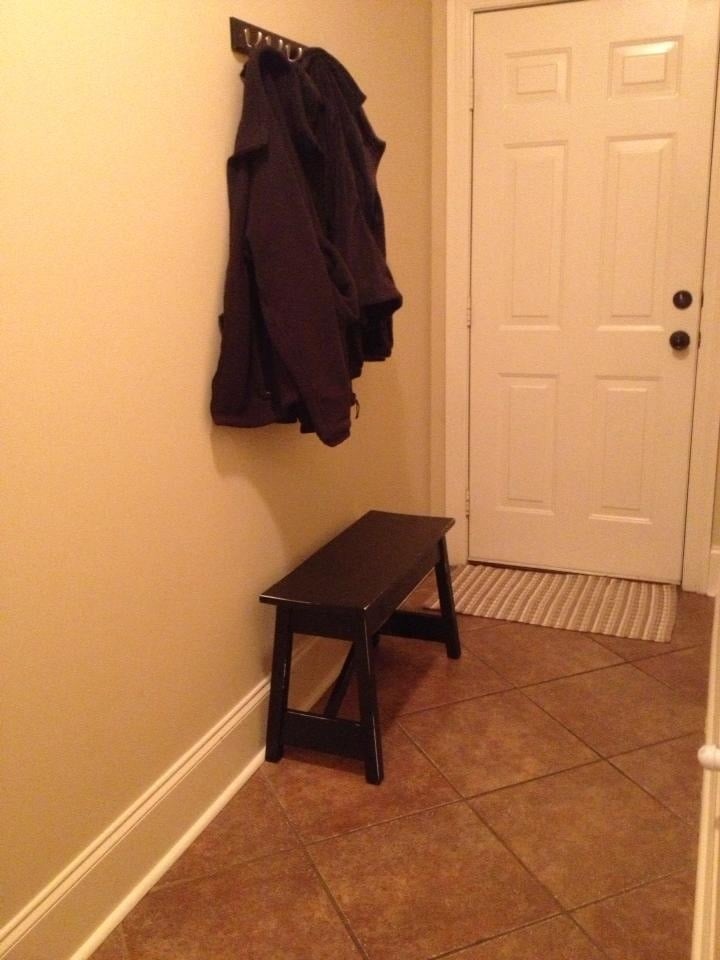
Behr Kashmir Pink with Minwax Early American Finish on the Distressed Edges...followed the Vintage Distressed Pink using Minwax Stain Tutorial
Recommended Skill Level
Beginner