Community Brag Posts
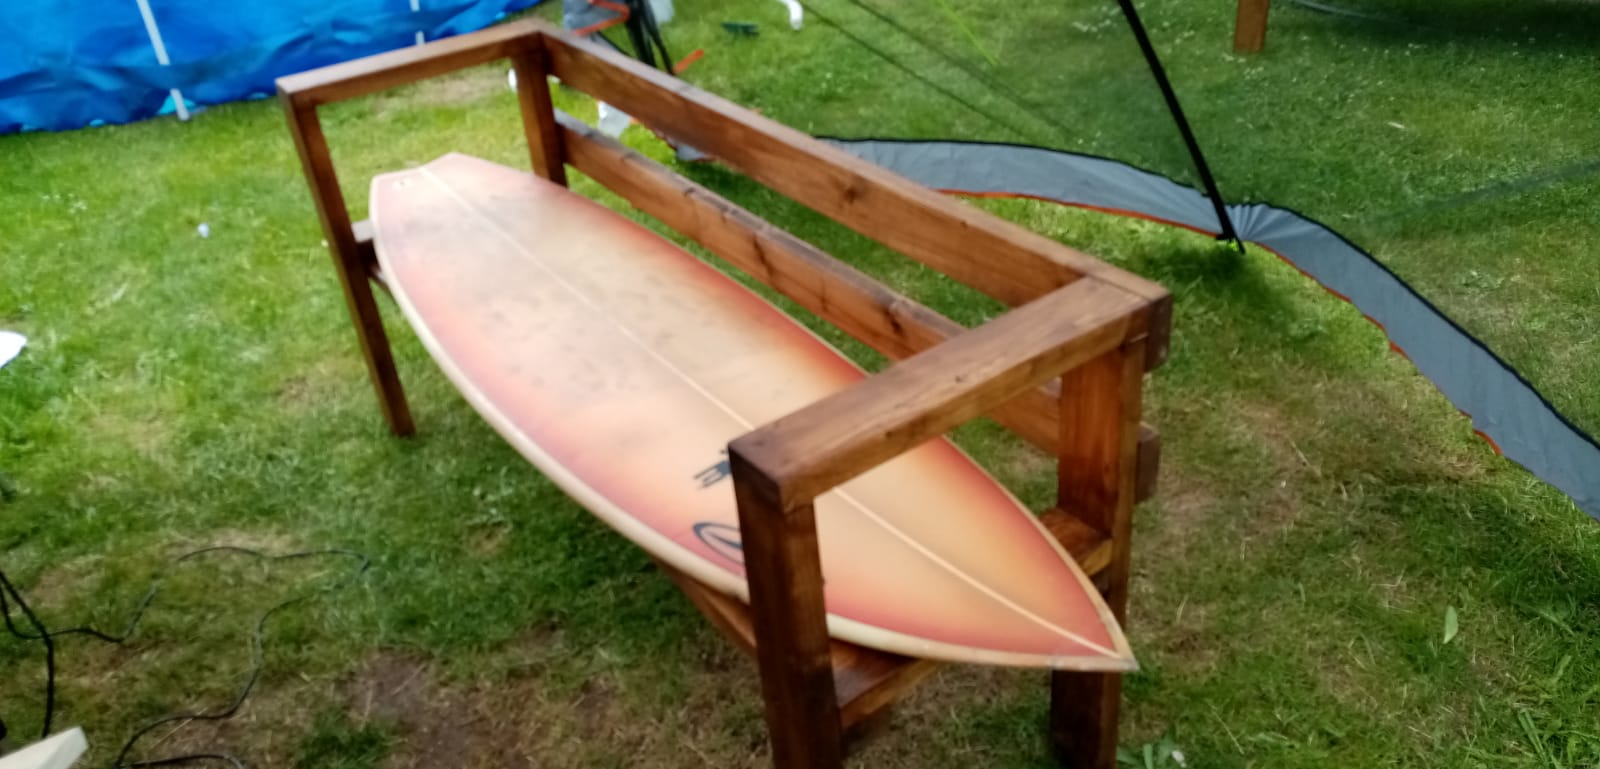
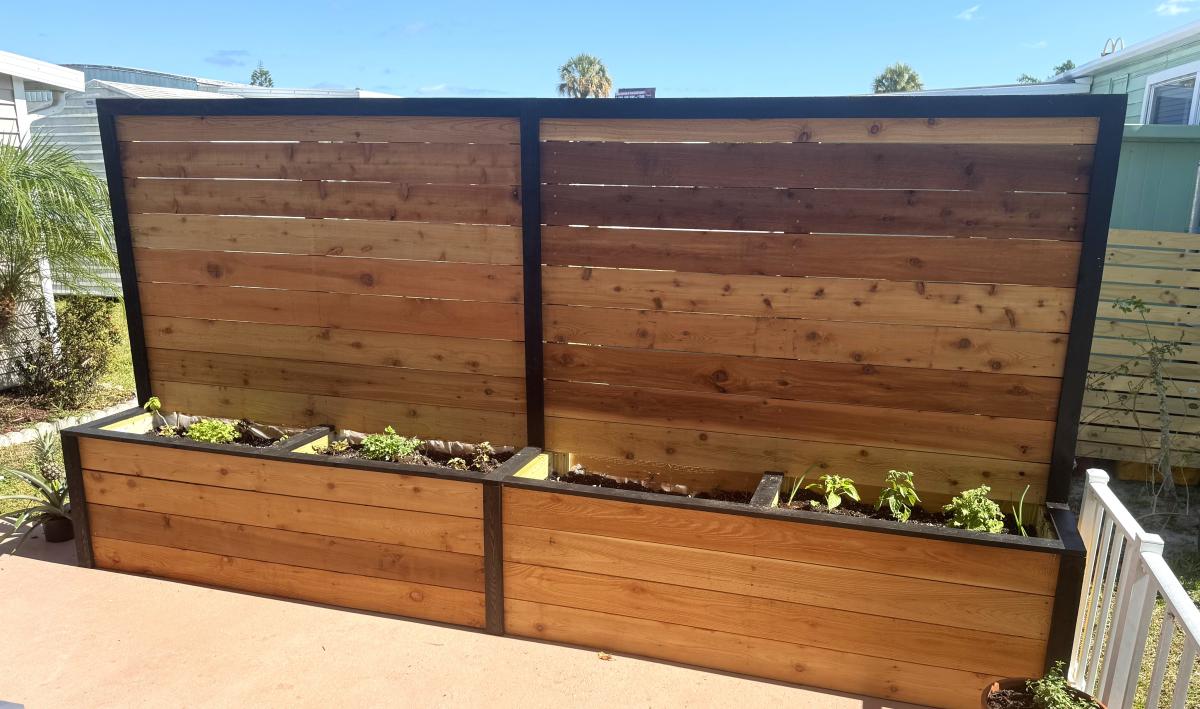
Double Pirvacy Planter
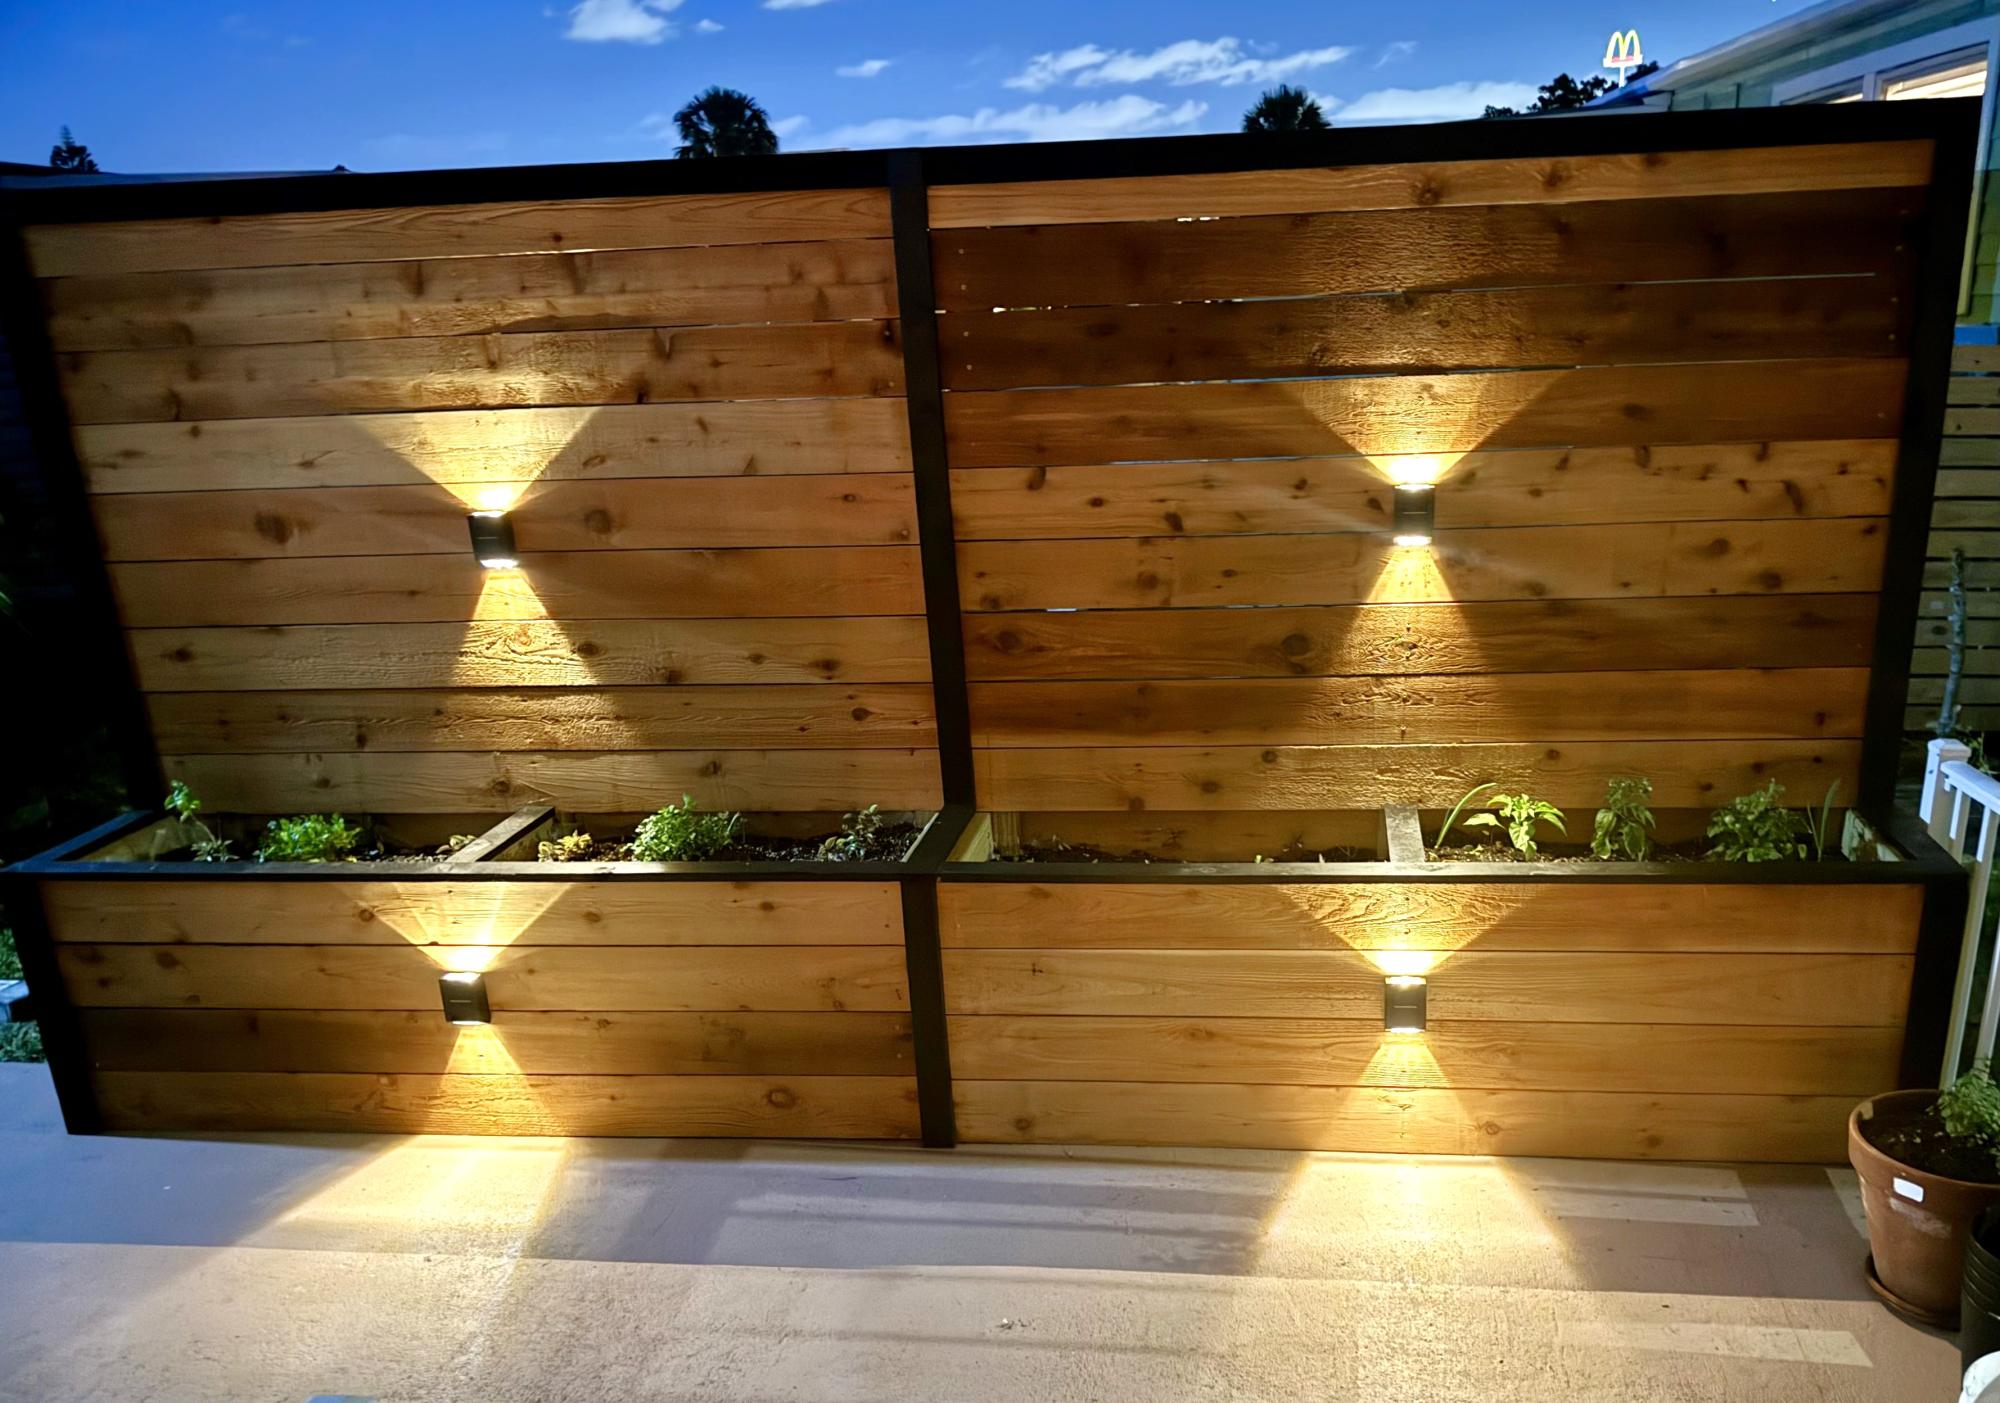
Used your plan as a start and improvised from there. Thanks
Built from Plan(s)
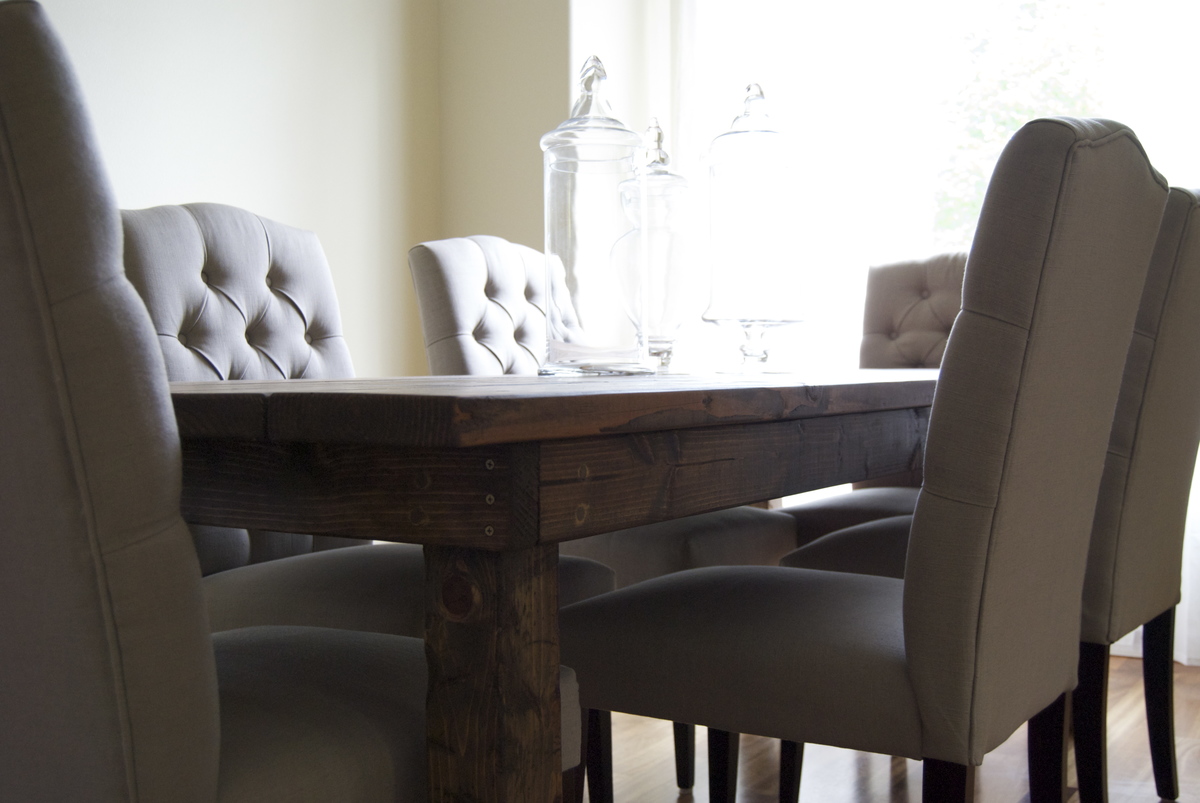
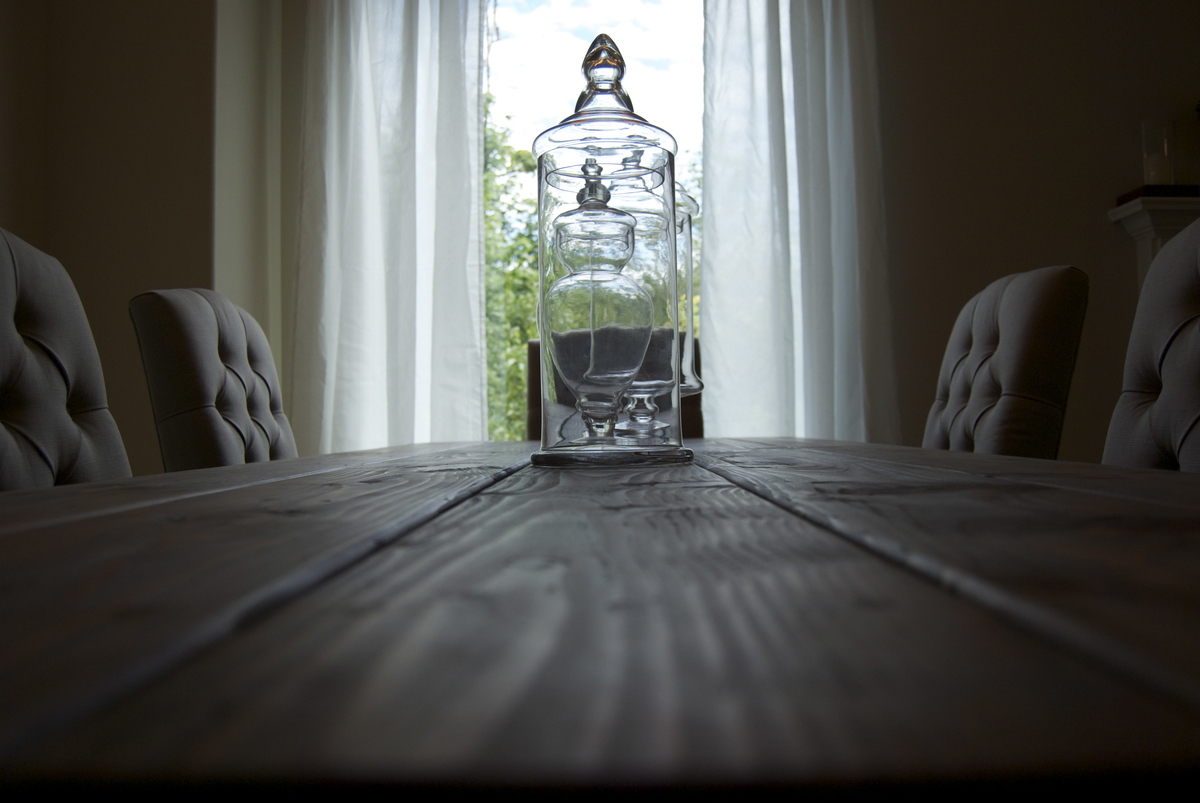
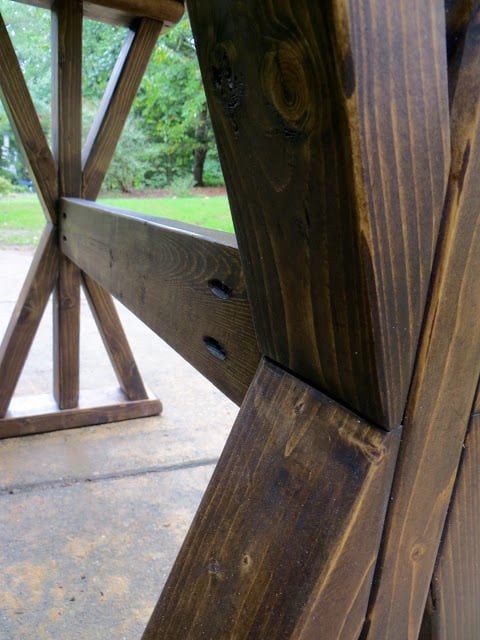
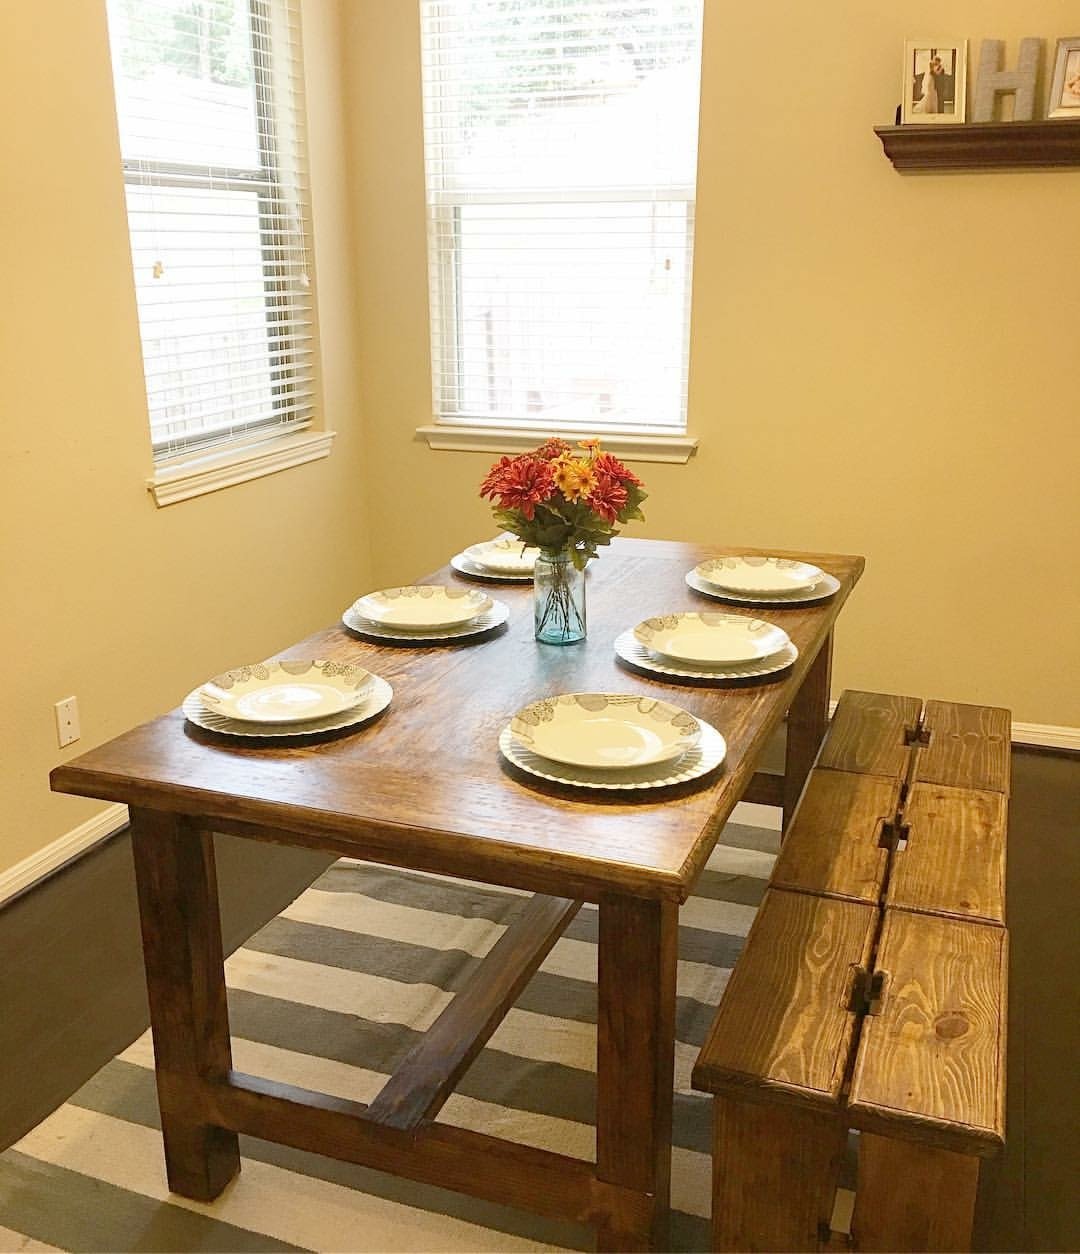
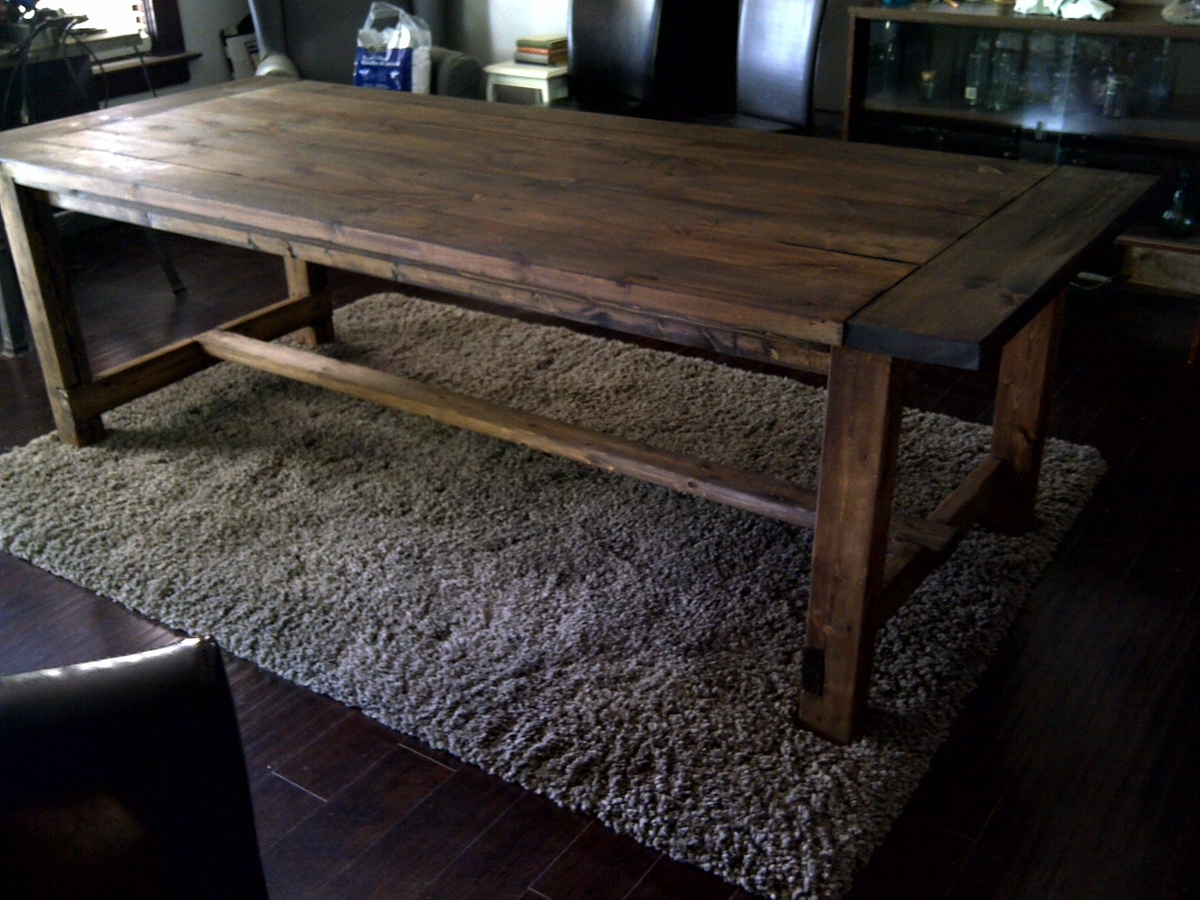
Farmhouse Table (Rustic Table)
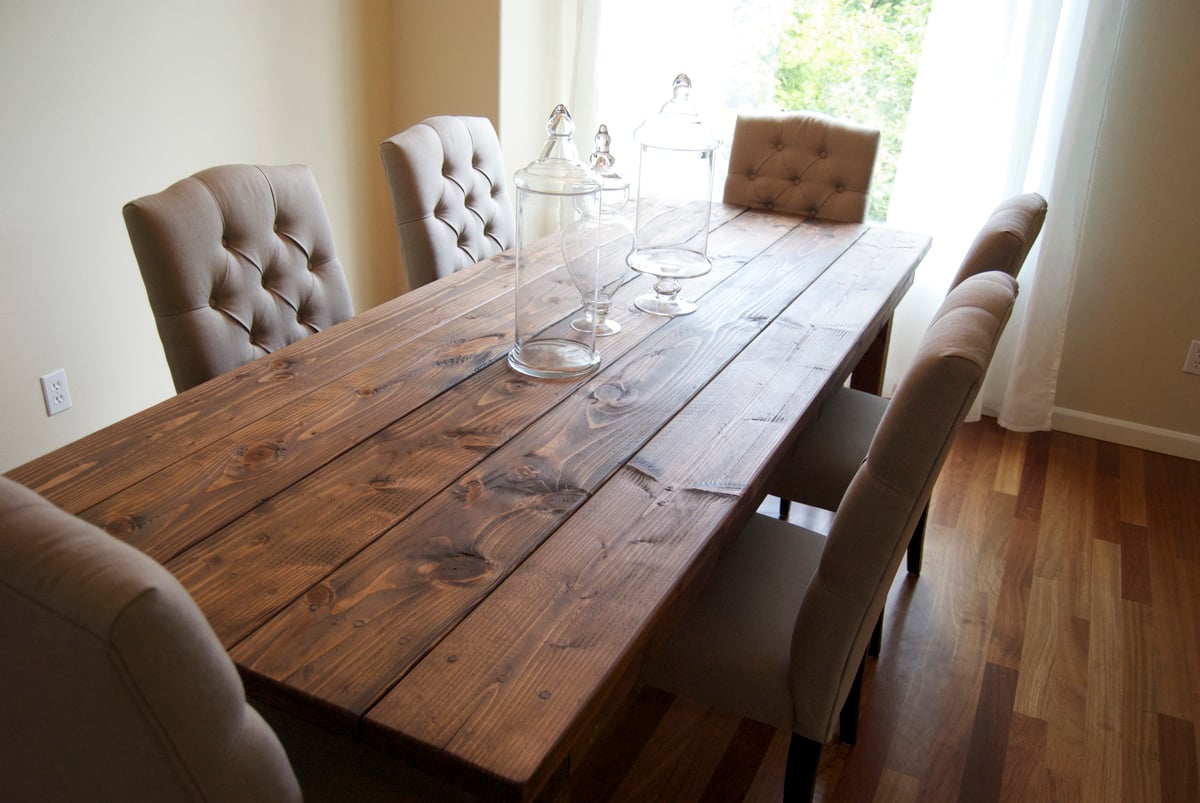
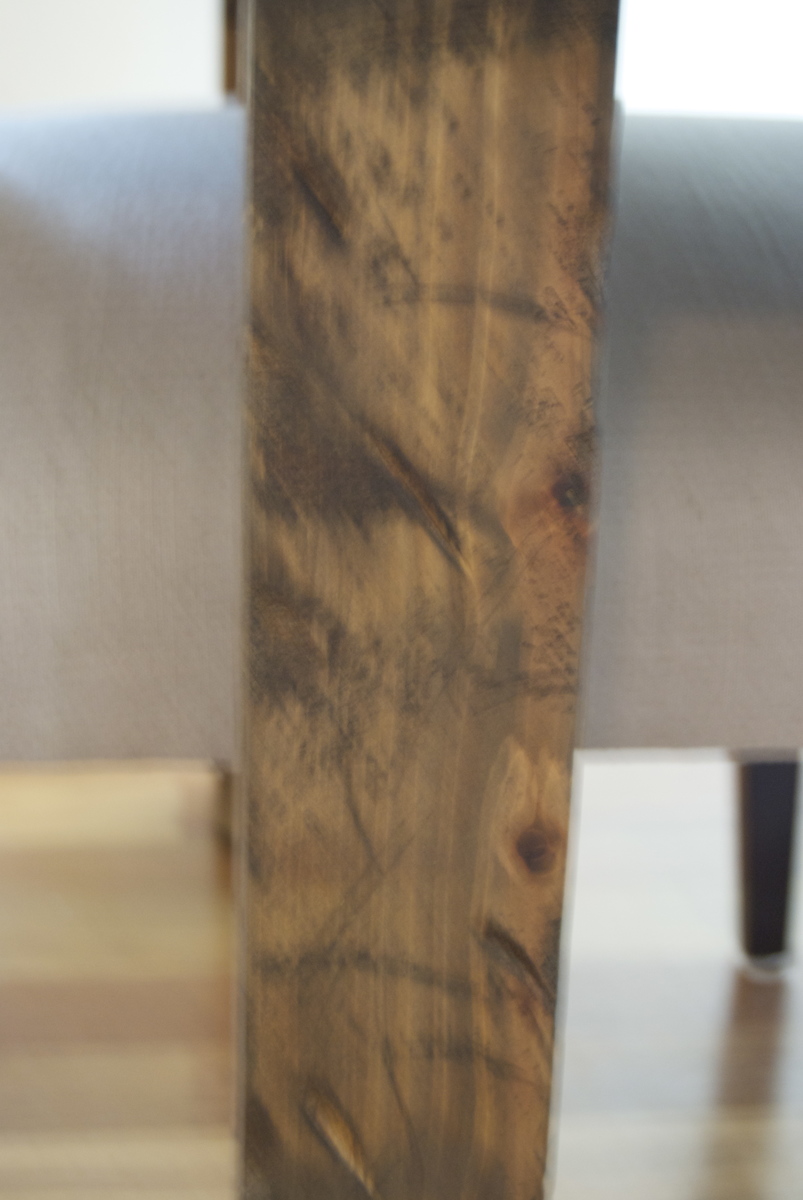
My mom has been addicted to Pinterest for a while now, so eventually she was led to this site. To make a long story short, she asked me to build her a dining room table similar to the Rustic Table design, but just a bit beefier, and with custom dimensions to fit the family's needs. I used 2x8's (8 feet long) for the table top, 2x4's for the apron/skirt, and 4x4's for the legs. This thing is a monster. I'm assuming it weighs close to 200 lbs. I beat the legs up with an old golf club, and scratched them up pretty good with screws.
This was my first time attempting something of this caliber, and I am really pleased with the results. The best part is that my mother LOVES it, and I now look like the greatest son in the world to all of her friends on Facebook!
Estimated Cost
$160
Estimated Time Investment
Week Long Project (20 Hours or More)
Finish Used
Sanded: 120 grit then 220 grit
Stain: Minwax Special Walnut (Brushed)
Finisher: Minwax Paste Finishing Wax (Rubbed in with a rag, then buffed off 20 minutes later).
Stain: Minwax Special Walnut (Brushed)
Finisher: Minwax Paste Finishing Wax (Rubbed in with a rag, then buffed off 20 minutes later).
Recommended Skill Level
Beginner
Comments
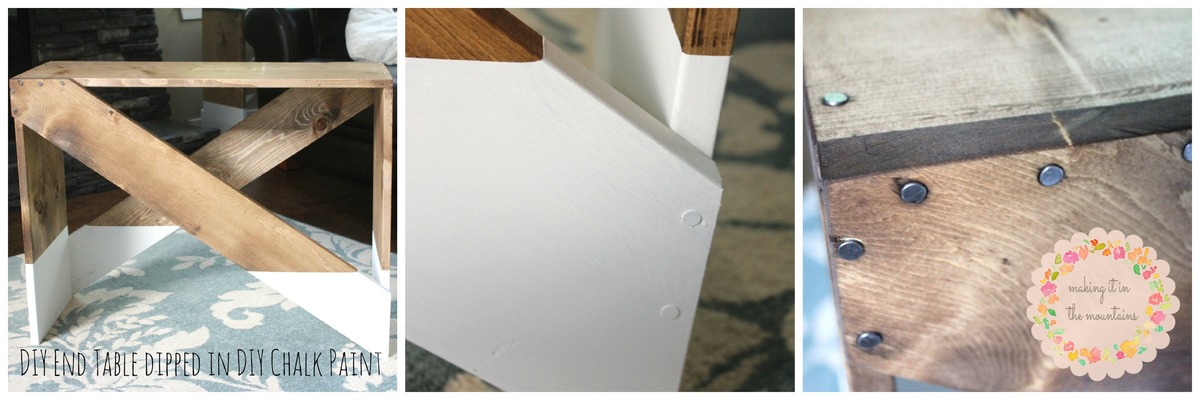
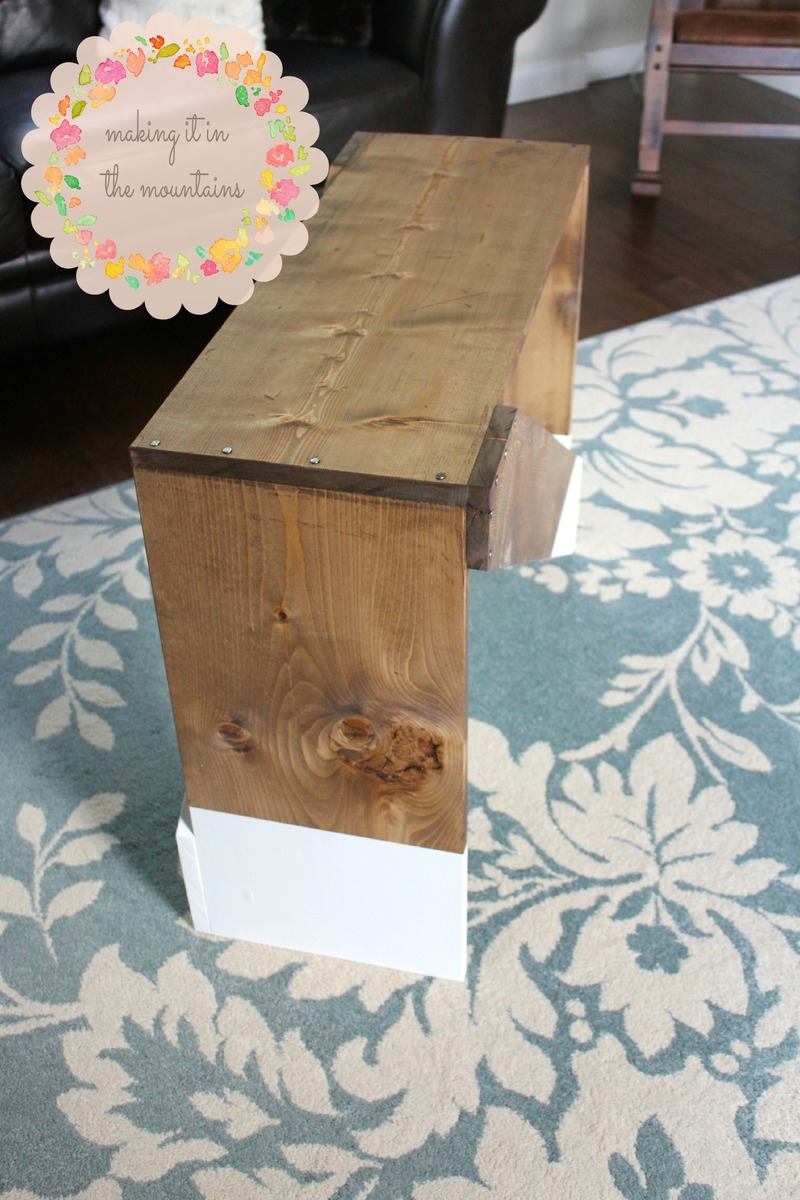
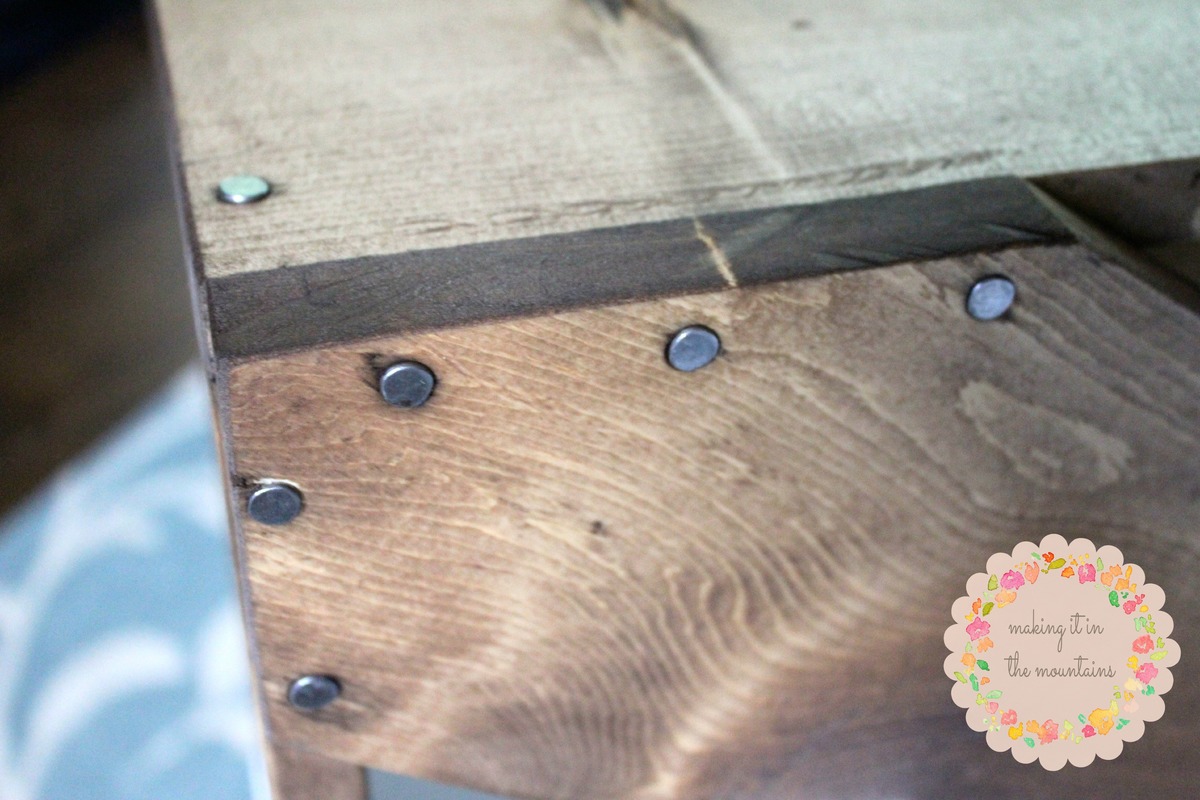
DIY Paint Dipped End Tables
Some super quick and rustic DIY End Tables dipped in homemade Chalk Paint!
Built from Plan(s)
Estimated Cost
$25
Estimated Time Investment
Afternoon Project (3-6 Hours)
Finish Used
Stained with Minwax's Special Walnut and painted with homemade chalk paint.
Recommended Skill Level
Starter Project
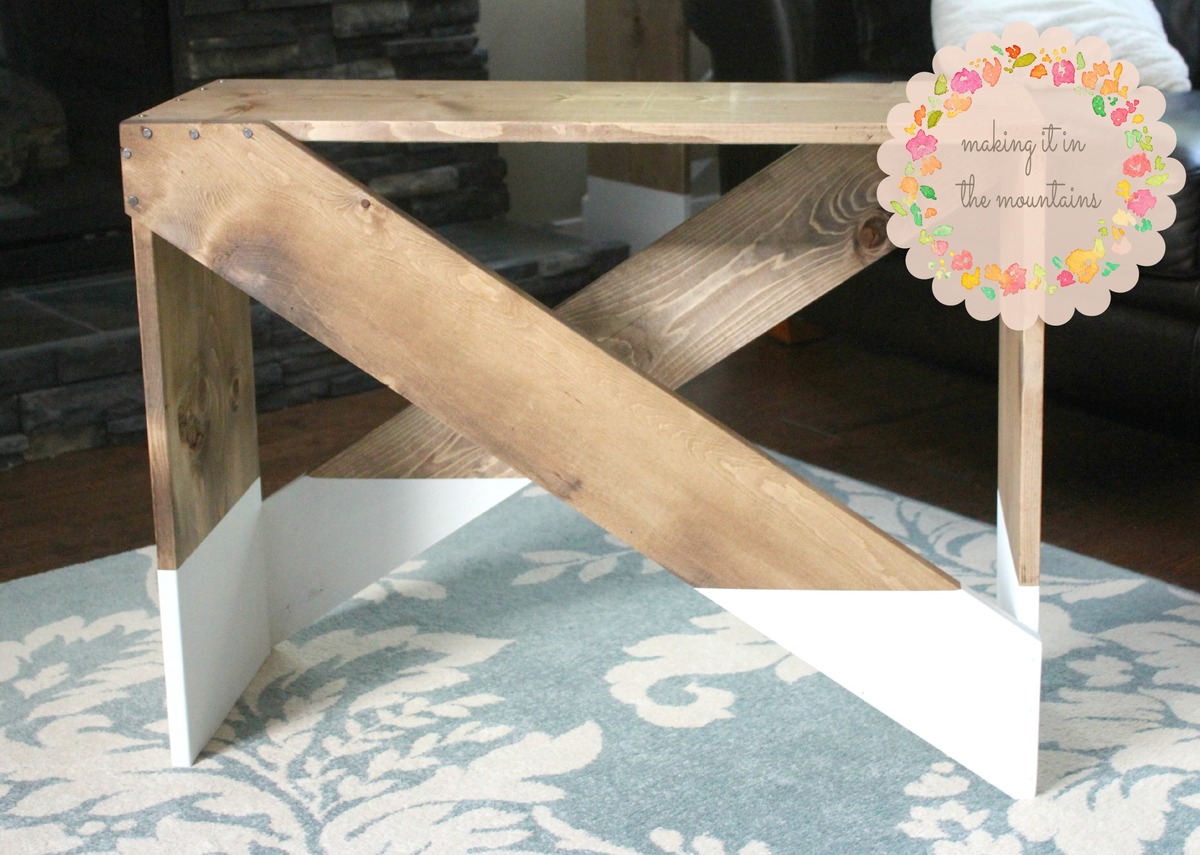
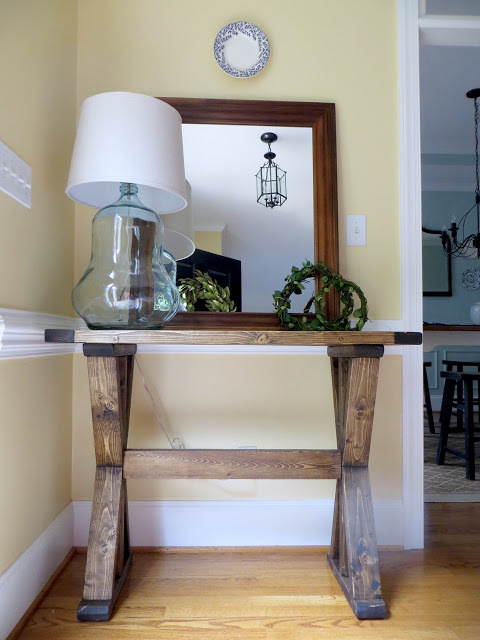
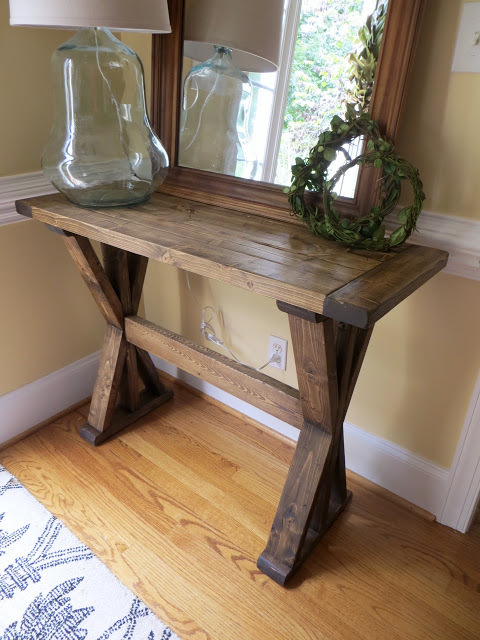
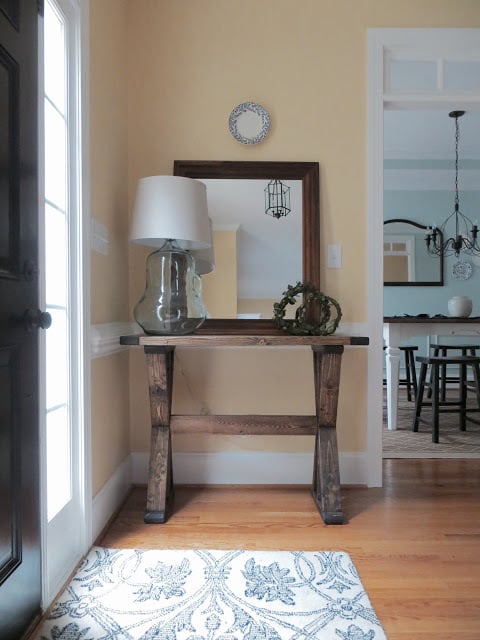
'X' Entryway Table
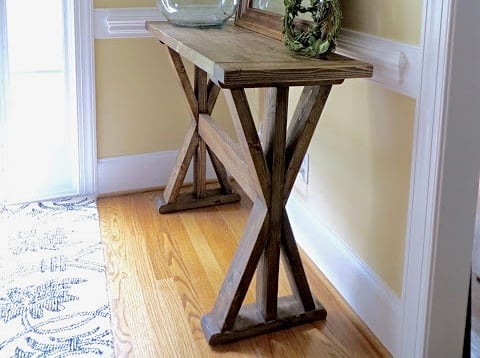
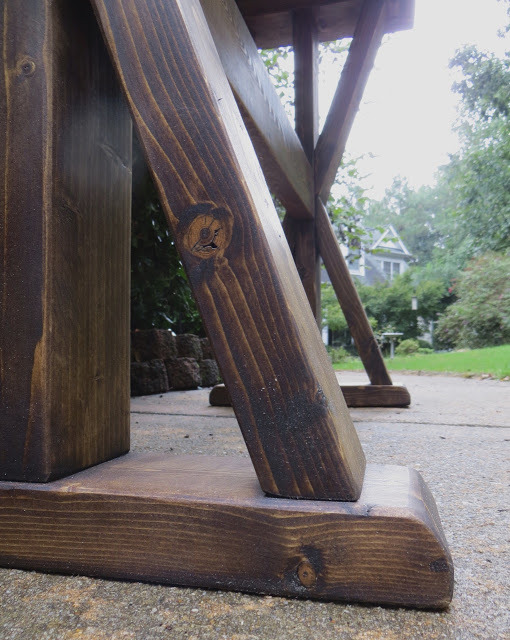
This table is built out of only 2x4's - that's 5 boards for about $15! It was pretty easy and took half a day. If the fancy angles are too hard to cut safely I recommend doing 45-degree angles! I'm happy to have a nice entryway - first time my whole life! :)
I've created a post on my project blog wth instructions & pictures for anyone to make their own.

Estimated Cost
$15 for Lumber
Additional for Screws and Wood Finish
Additional for Screws and Wood Finish
Estimated Time Investment
Afternoon Project (3-6 Hours)
Finish Used
Minwax Wood Conditioner, Minwax Dark Walnut Stain then lasly, Paste Wax (Dark Brown).
Recommended Skill Level
Beginner
Comments

Sun, 09/25/2016 - 09:42
Your entryway is beautiful!
Your entryway is beautiful! Love this console, it is gorgeous!

In reply to Your entryway is beautiful! by Ana White
Tue, 09/27/2016 - 12:16
Thank you!
Thank you Ana! You made my day! It was such a treat to see it posted on your Facebook page! I told my husband that NOW that "I am famous" (haha) that I should be able to get the jointer & planer I've been begging him to let me buy! I'm thinking maybe a direct message from you would be just the trick! :)
Wed, 01/29/2020 - 13:54
Cut angle?
What angle were the leg cuts? More than 50* because my saw wont go that far. Please let me know.
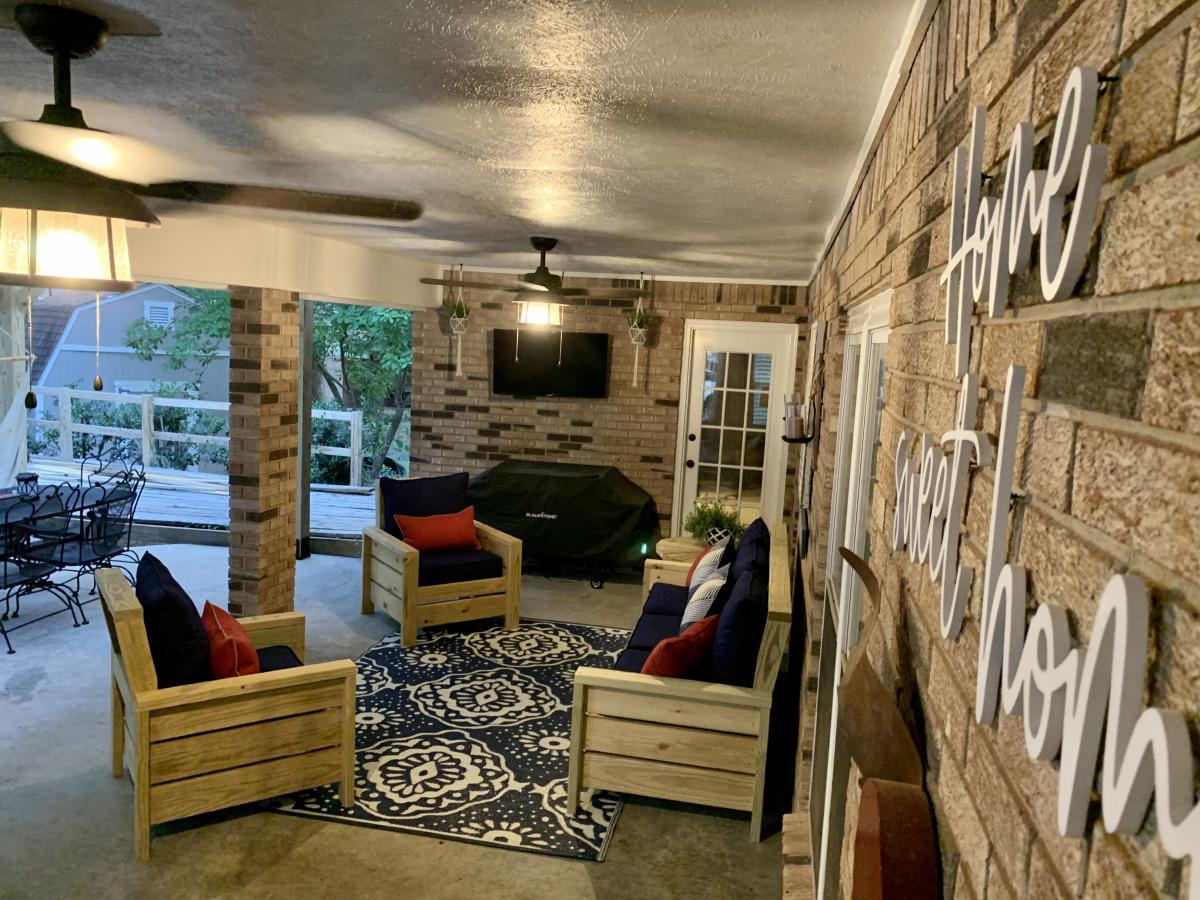
Modern outdoor sofa and chairs w/ mod for back
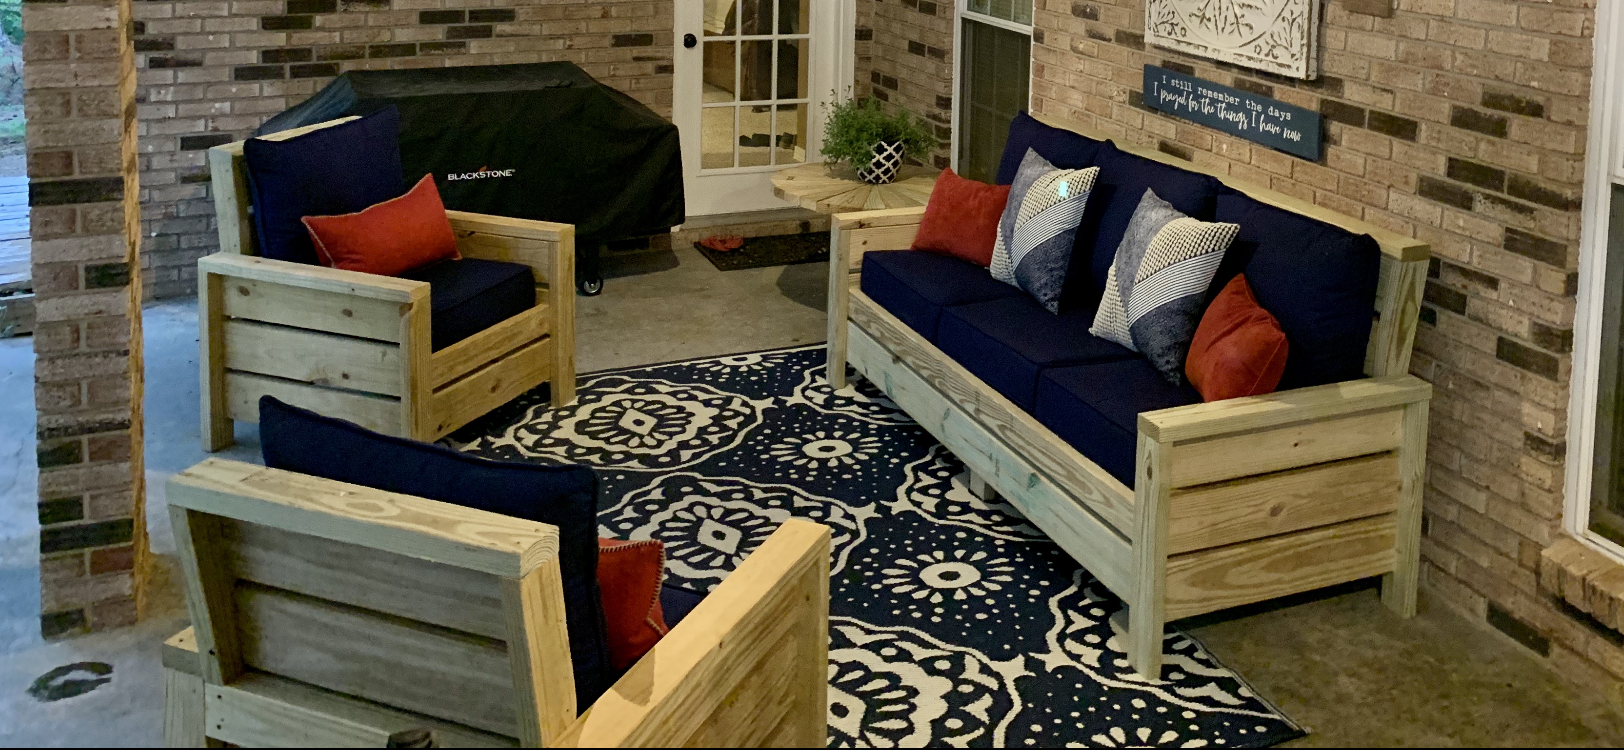
Cushions are the most expensive part. These are very nice and VERY heavy. Easy build.
Built from Plan(s)
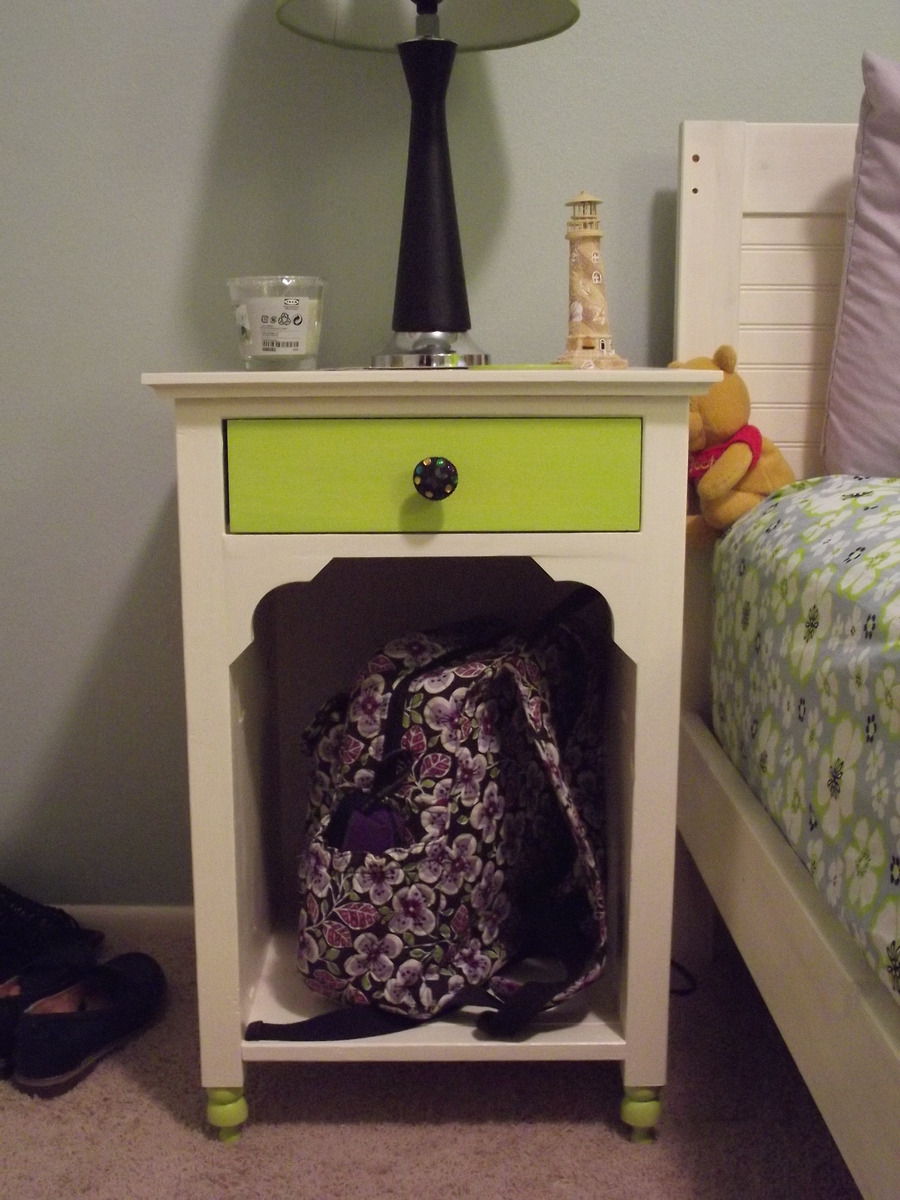
My Julia Nightstand
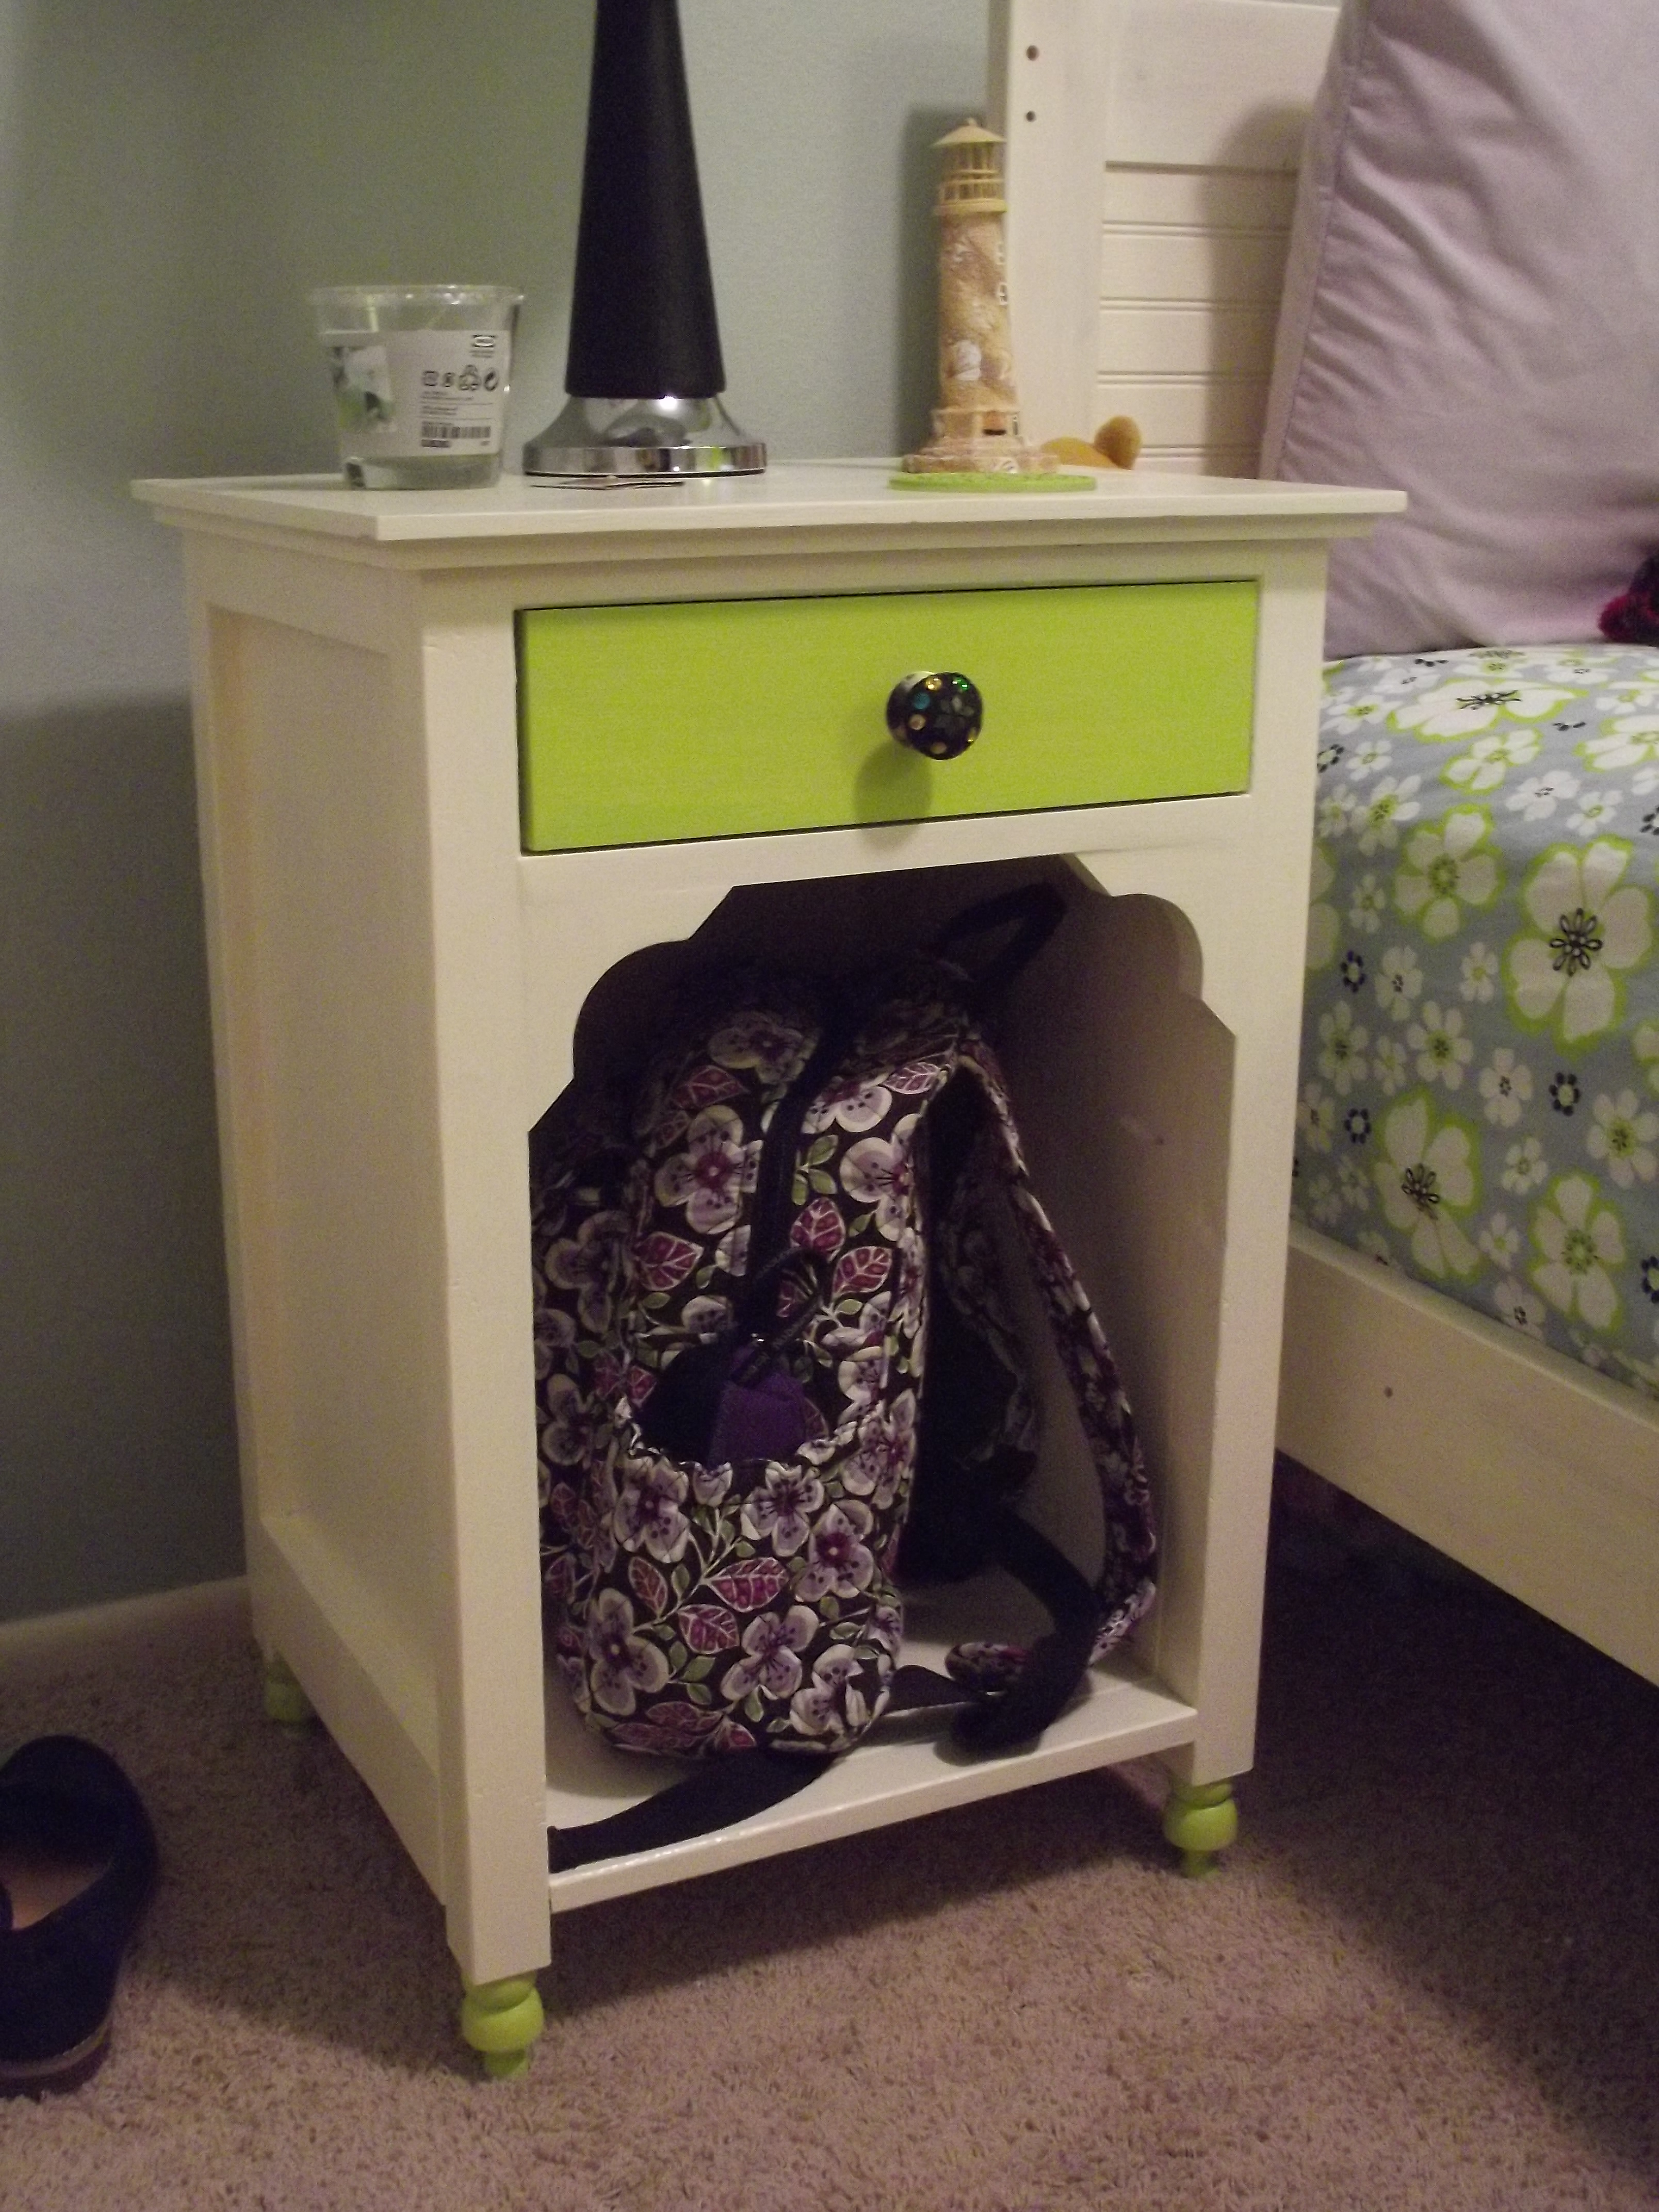
This summer my wife and I remodeled our oldest's bedroom. I found this nightstand on Ana's website, and my wife fell in love with it. I had to make it! I noticed there were no brag posts for the Julia, so I felt that I had to contribute as a thank you for finding these plans. Thanks Ana!
Built from Plan(s)
Finish Used
Cream colored Paint, and Lime colored paint
Recommended Skill Level
Beginner
Comments

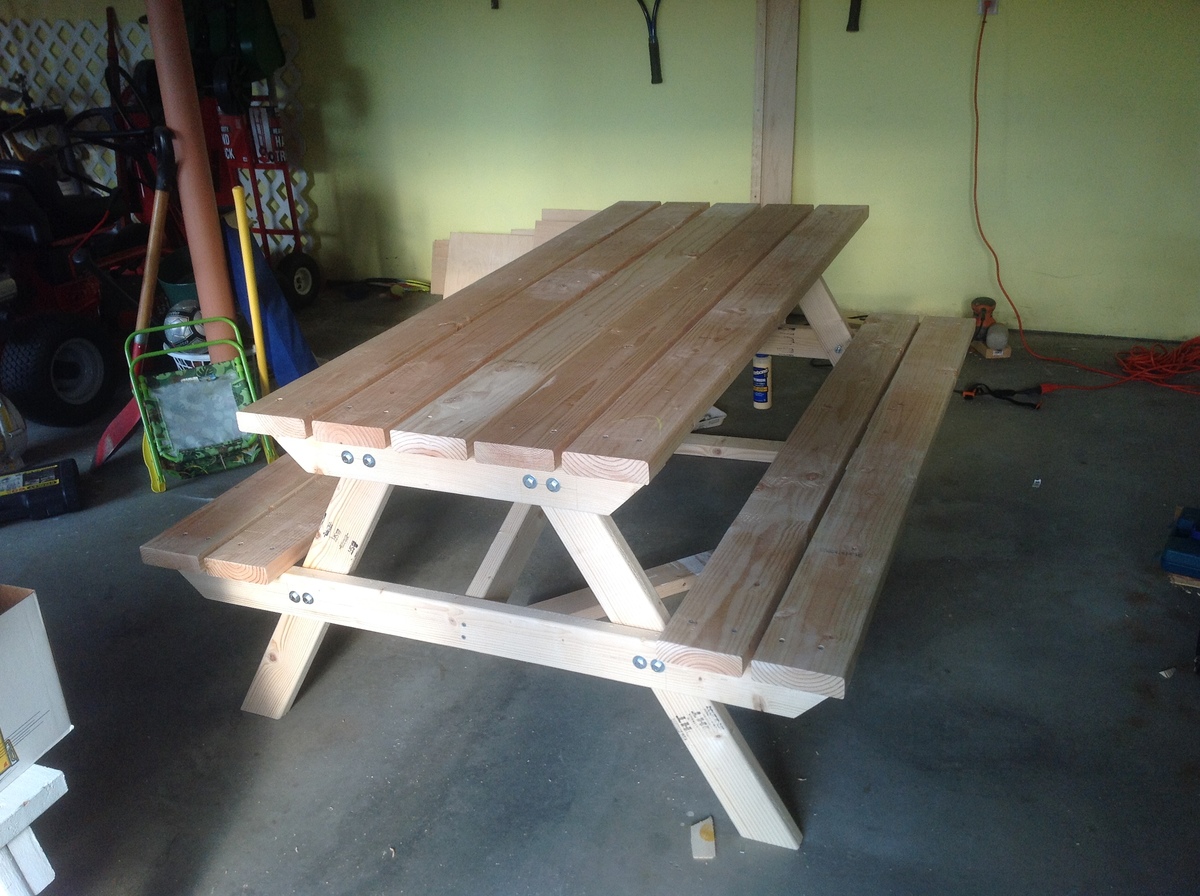
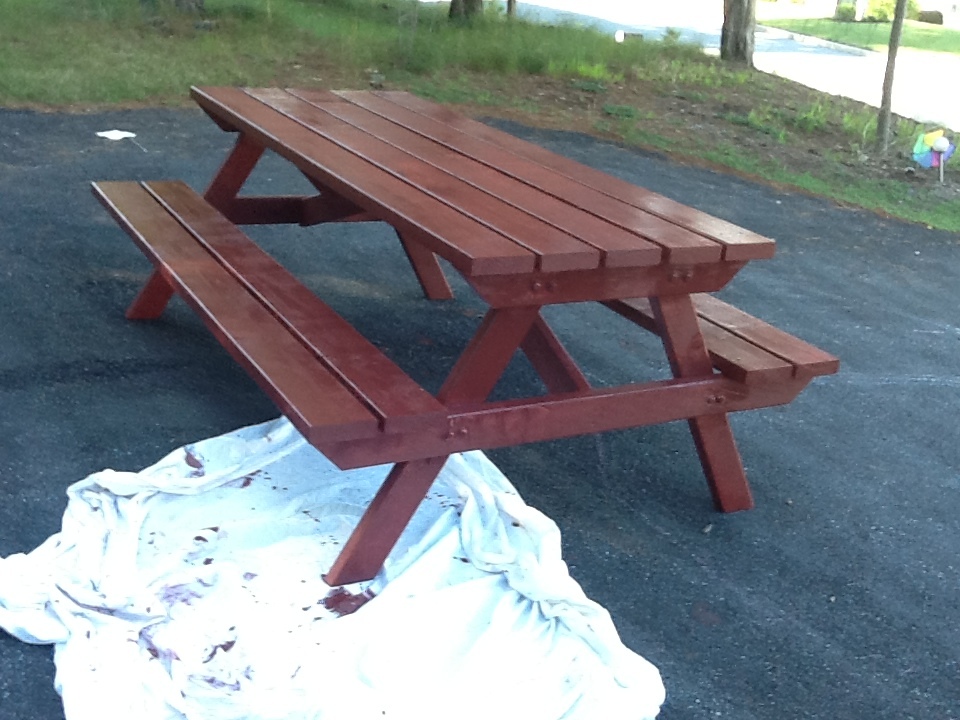
Picnic Table
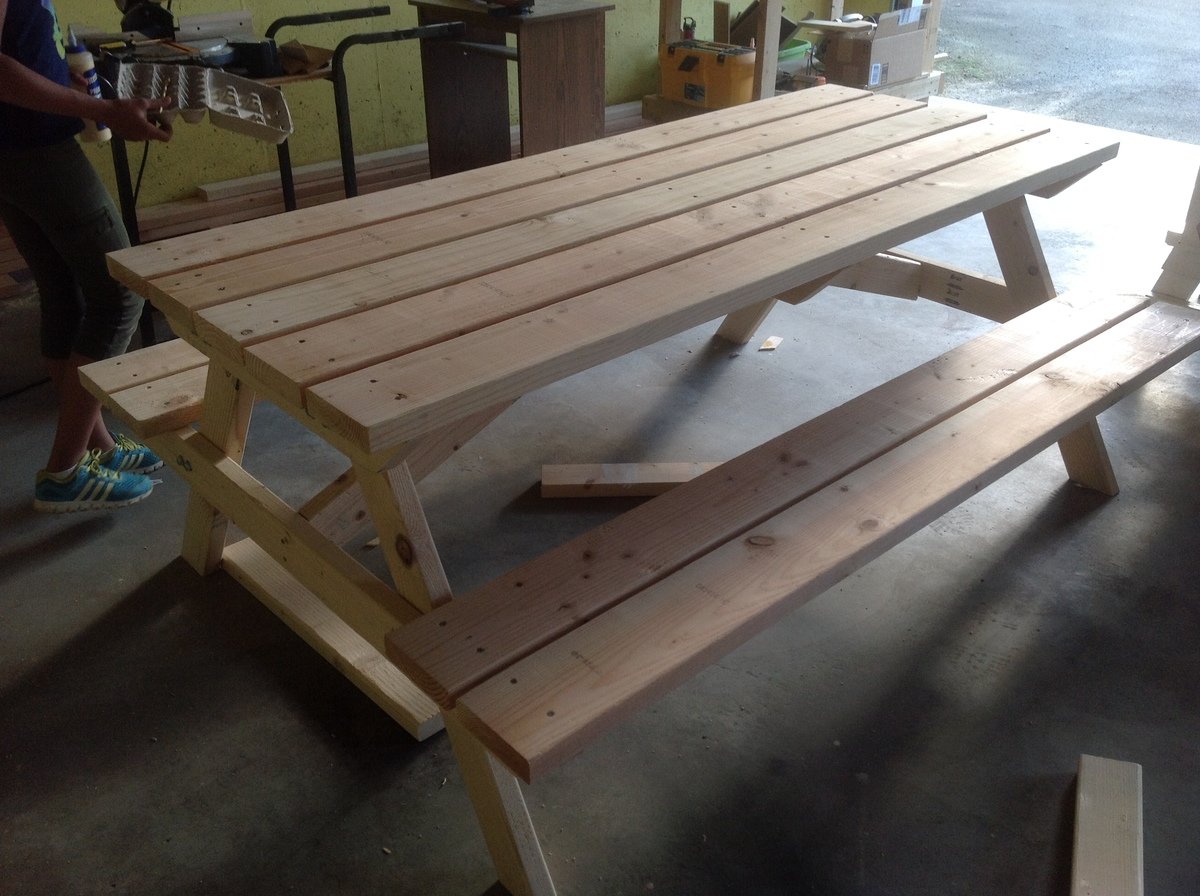
Wanted to kick start my summer projects with something that would not take too long. So I built this picnic bench for a friend over the last weekend. Thank you Ana for the plans.
Built from Plan(s)
Estimated Cost
$150
Estimated Time Investment
Day Project (6-9 Hours)
Finish Used
Benjamin Moore Red Barn Stain
Recommended Skill Level
Starter Project
Comments
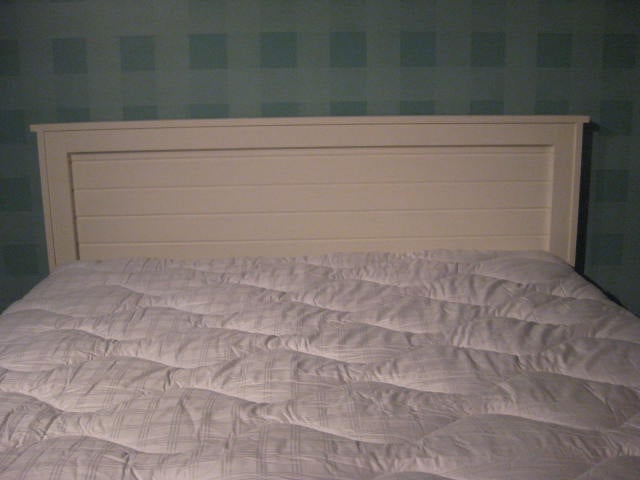
Scrap wood storage bed.
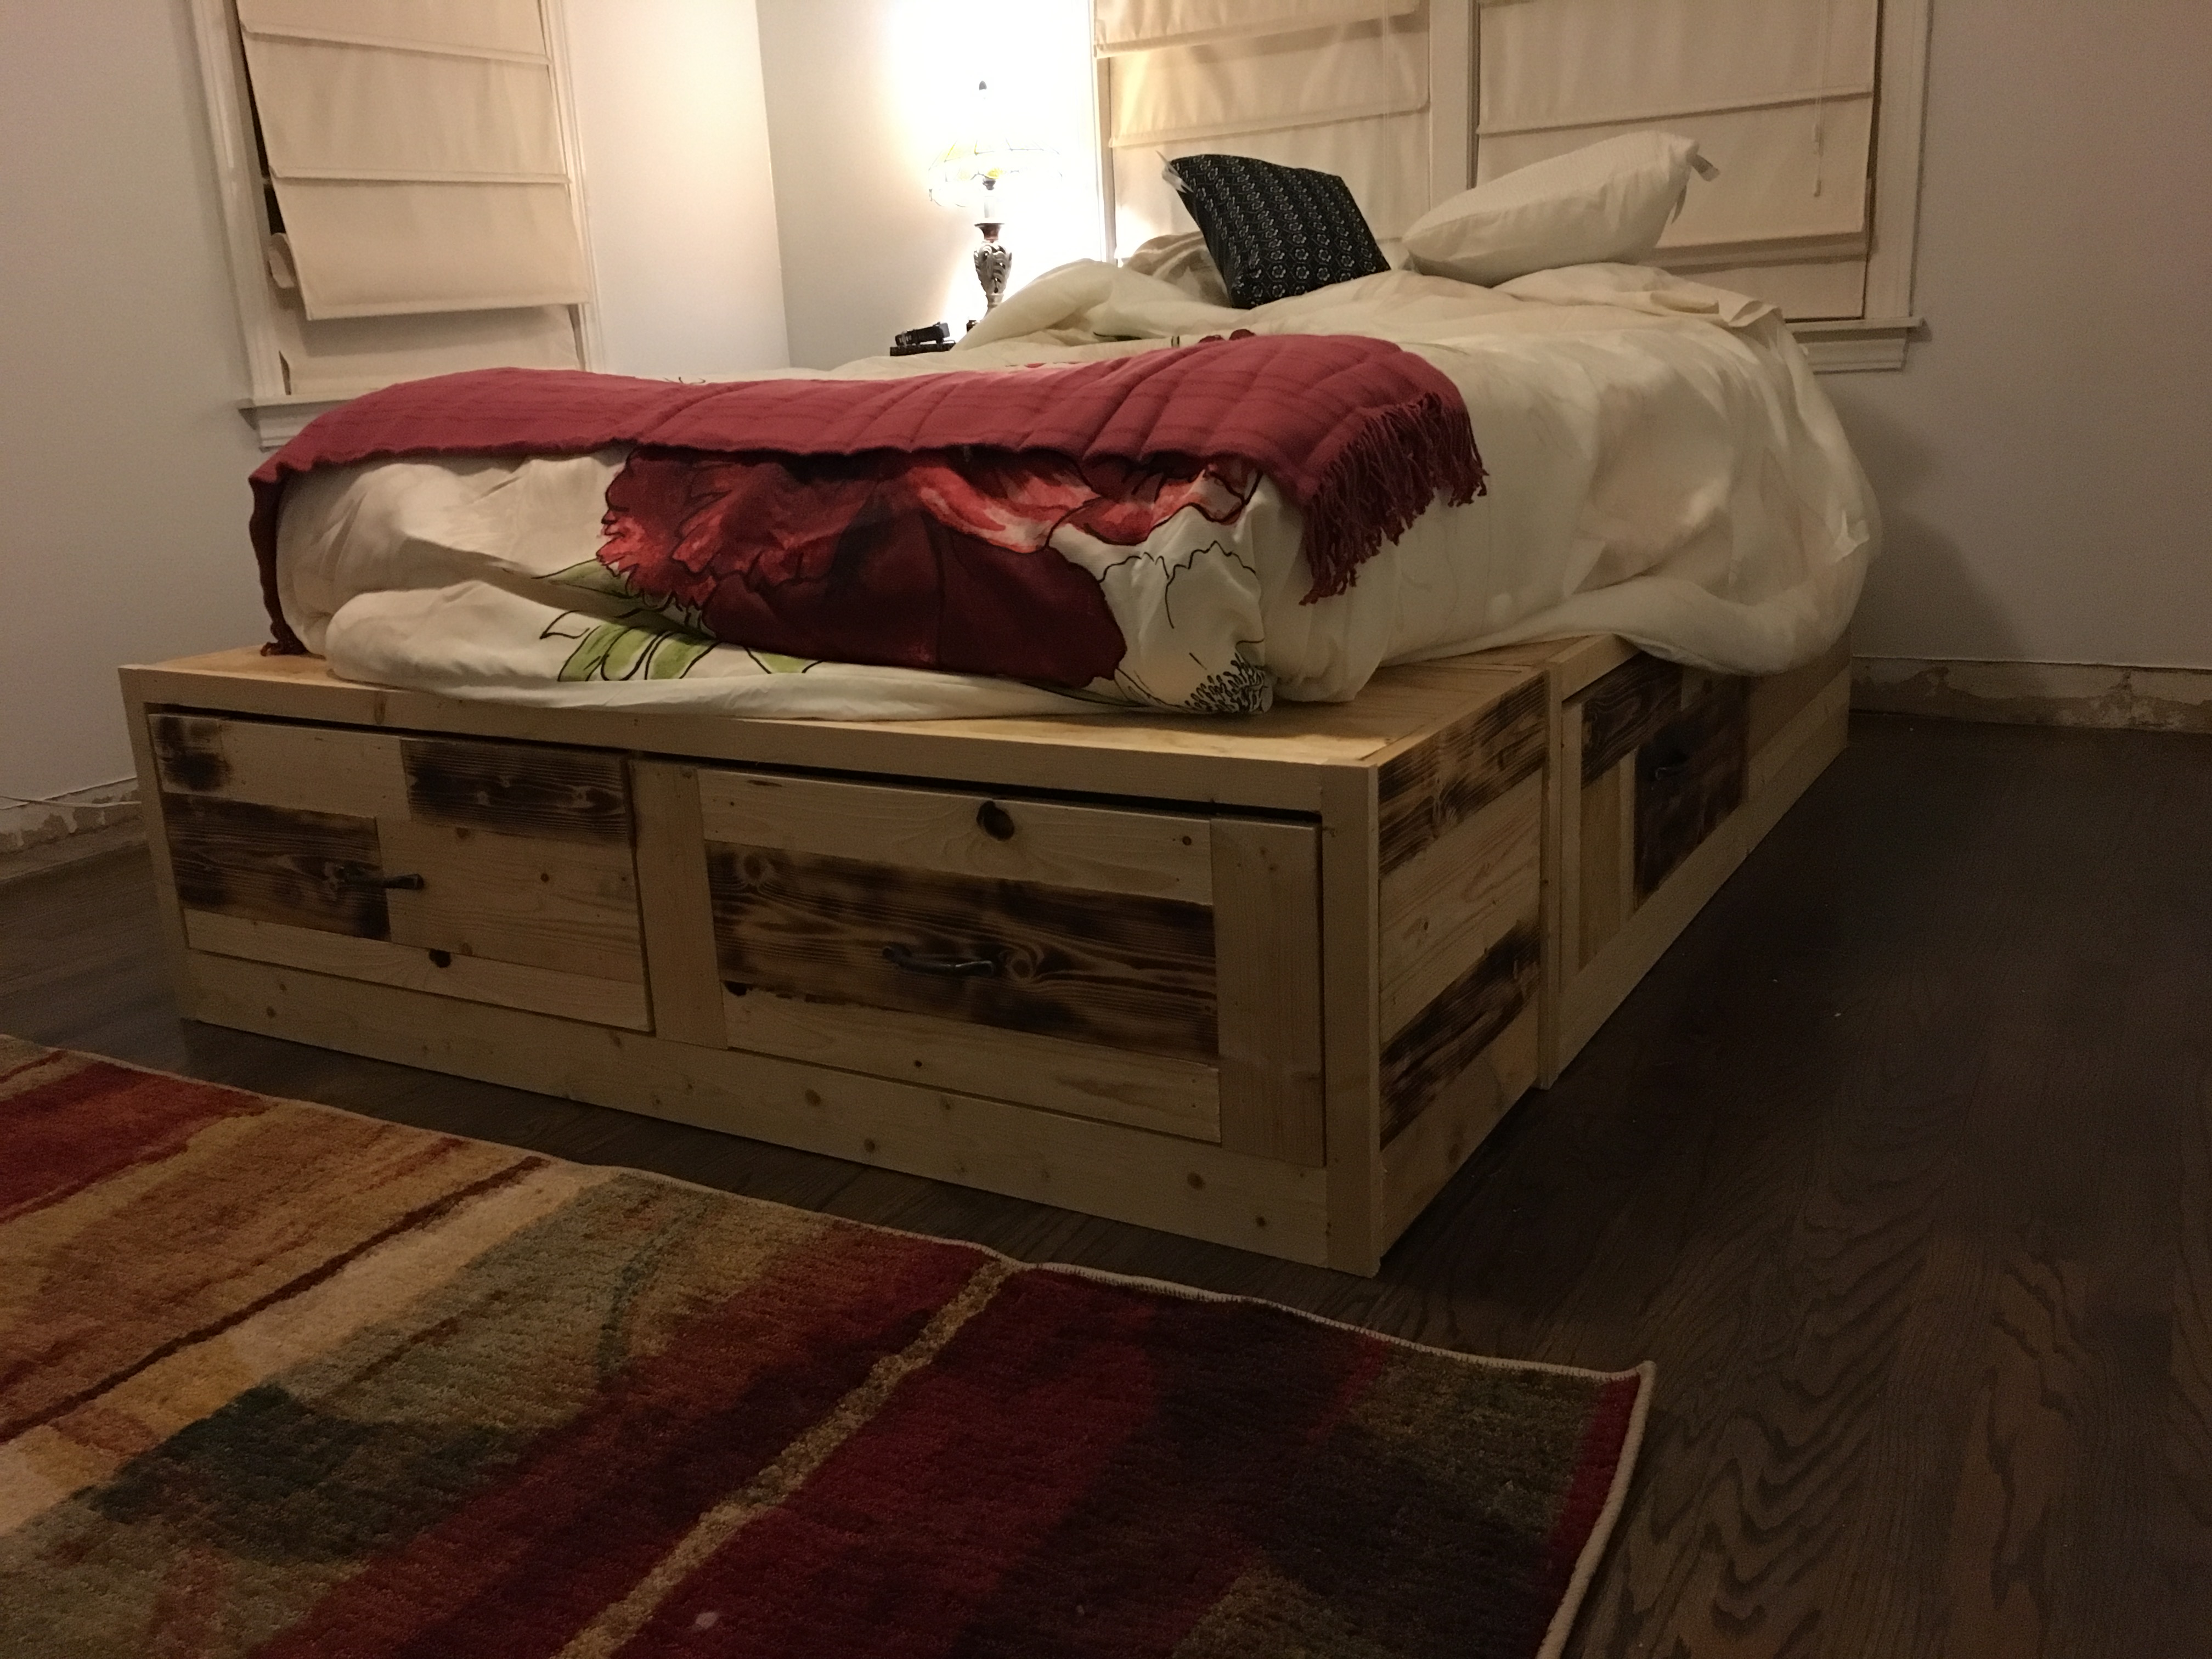
This bed is perfect for my small house. I used plywood for the drawers and made the 10" deep. I also burnt the wood paneling instead of using a dark stain. I'm so happy with how it turned out!
Built from Plan(s)
Estimated Cost
$250
Estimated Time Investment
Day Project (6-9 Hours)
Finish Used
Polyurethane
Recommended Skill Level
Intermediate
Lemonade Stand
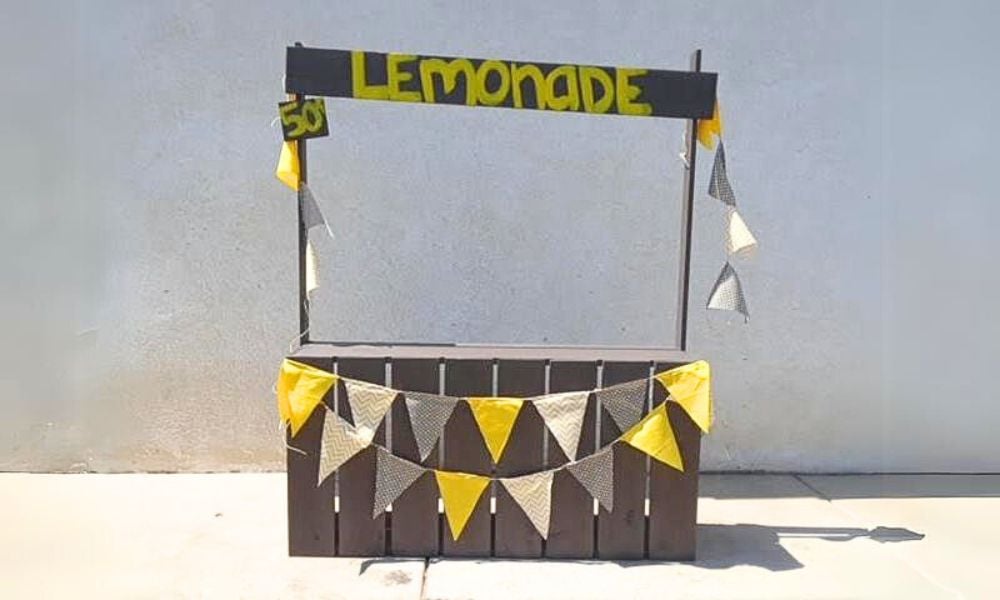
Lemonade stand built from plans here
Built from Plan(s)
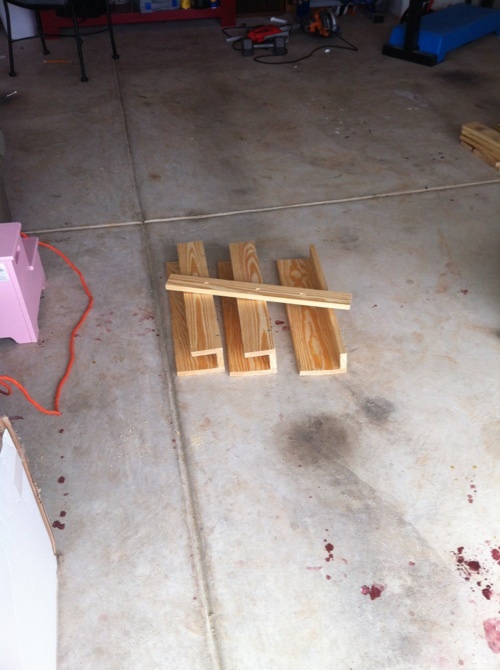
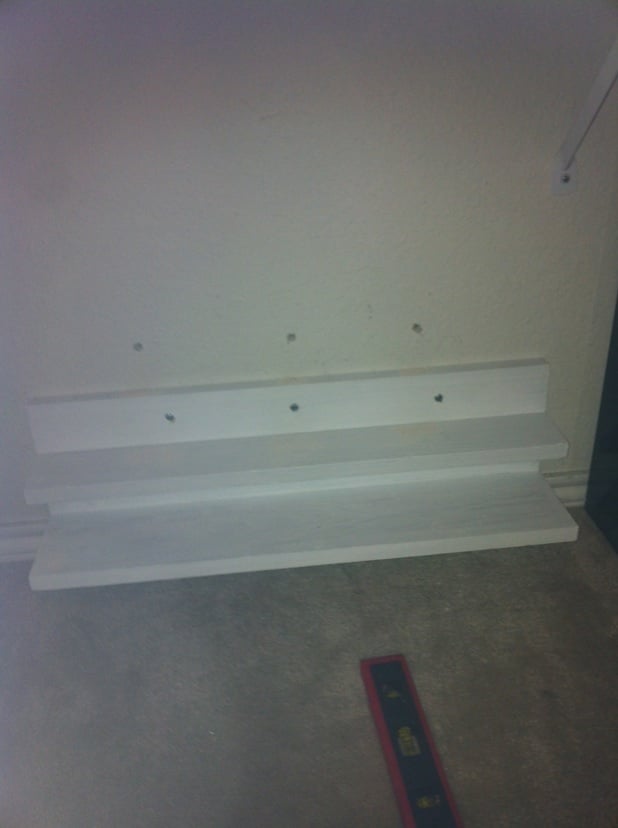
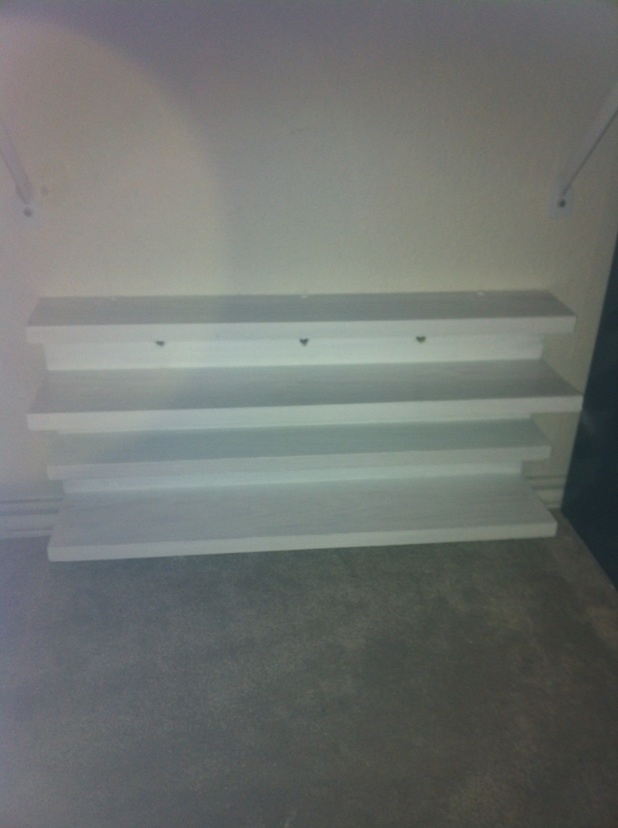
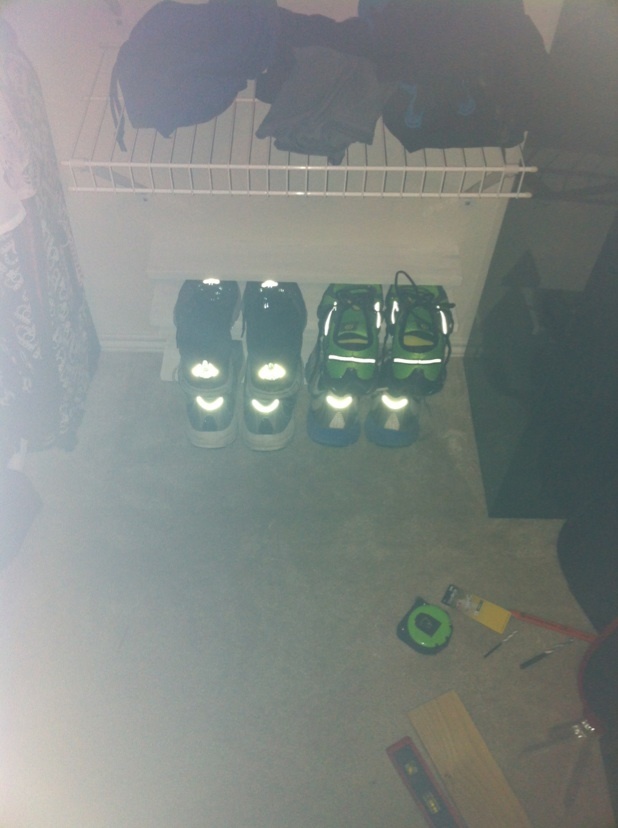
Shoe Rack
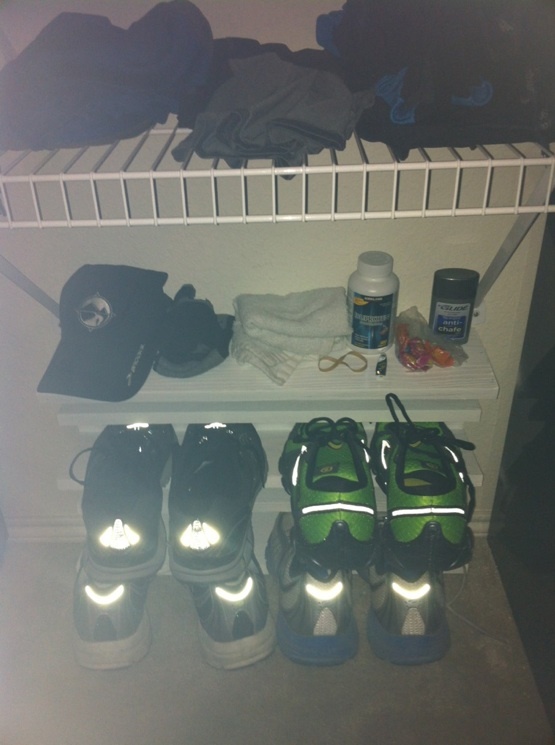
I needed a compact way to organize and store my running shoes. As you can see in the pictures above, the answer was relatively simple. My google search led me http://www.notmartha.org/tomake/shoerack/ . I simplified the idea using 1x2, 1x3, and 1x4 boards. You can see the simple shape these make holds the shoes by the toe. I used a 1x2 board for a spacer between the two levels. On a whim , I added another spacer board and topped it all off with another 1x4 which fit perfectly as a shelf.
Before I assembled the pieces, I predrilld holes across the 1x2 boards. When I installed them piece by piece, it was only a matter of leveling and installing drywall anchors.

Estimated Cost
$30
Estimated Time Investment
Afternoon Project (3-6 Hours)
Recommended Skill Level
Beginner
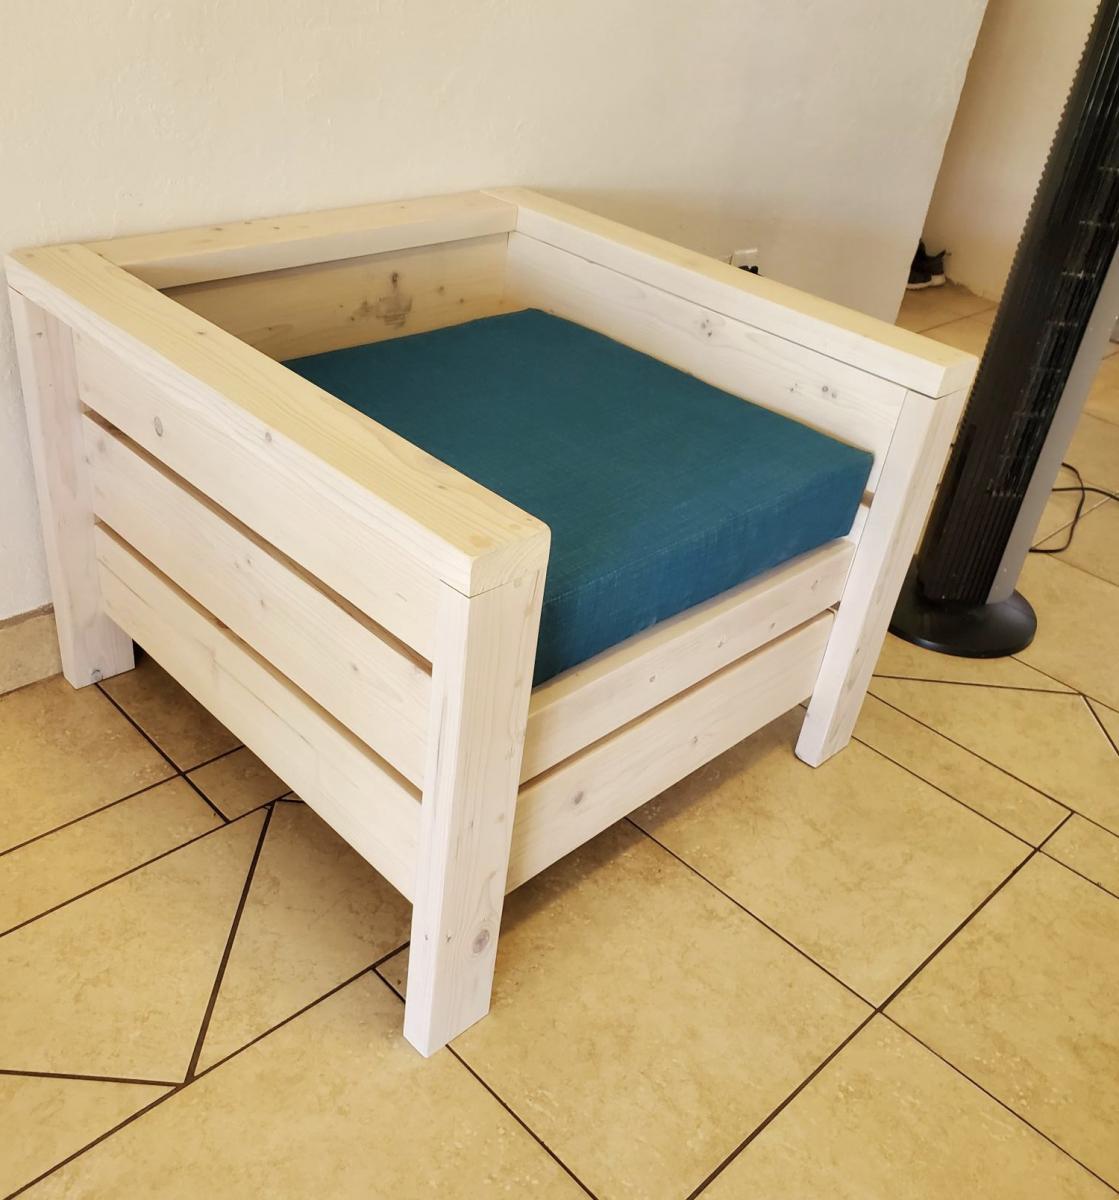
Modern Outdoor Patio Chair
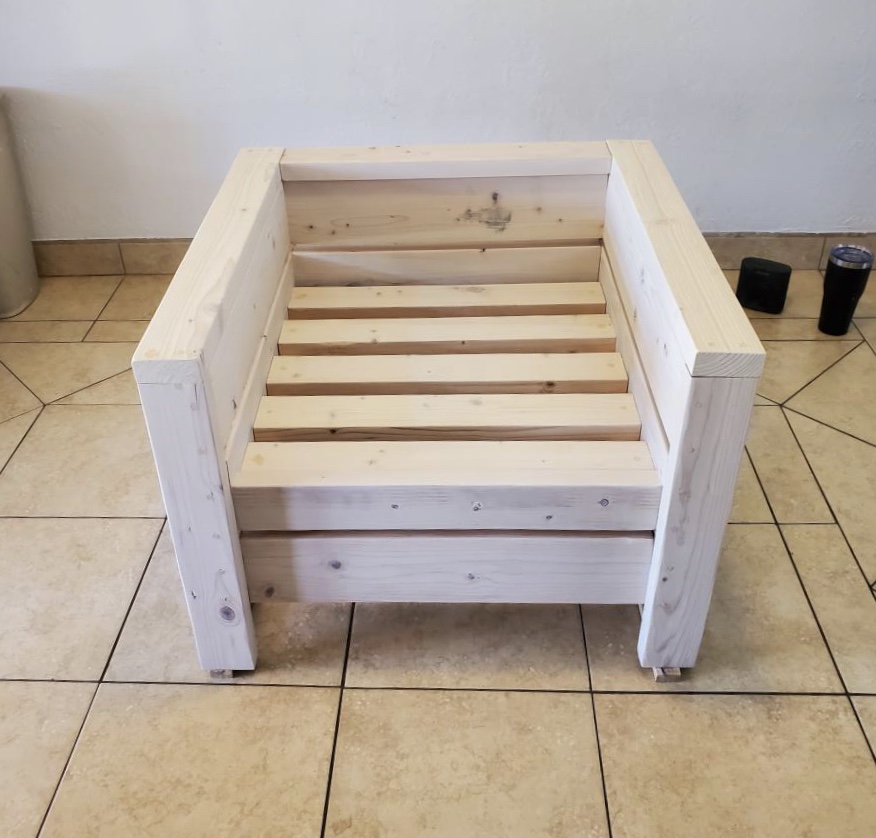
I just built this chair but I think I will be adding a back support for a larger cushion. The stain is a semi translucent white with a touch of grey.
Built from Plan(s)
Estimated Cost
$50
Estimated Time Investment
Afternoon Project (3-6 Hours)
Finish Used
Valspar semi-translucent
Recommended Skill Level
Beginner
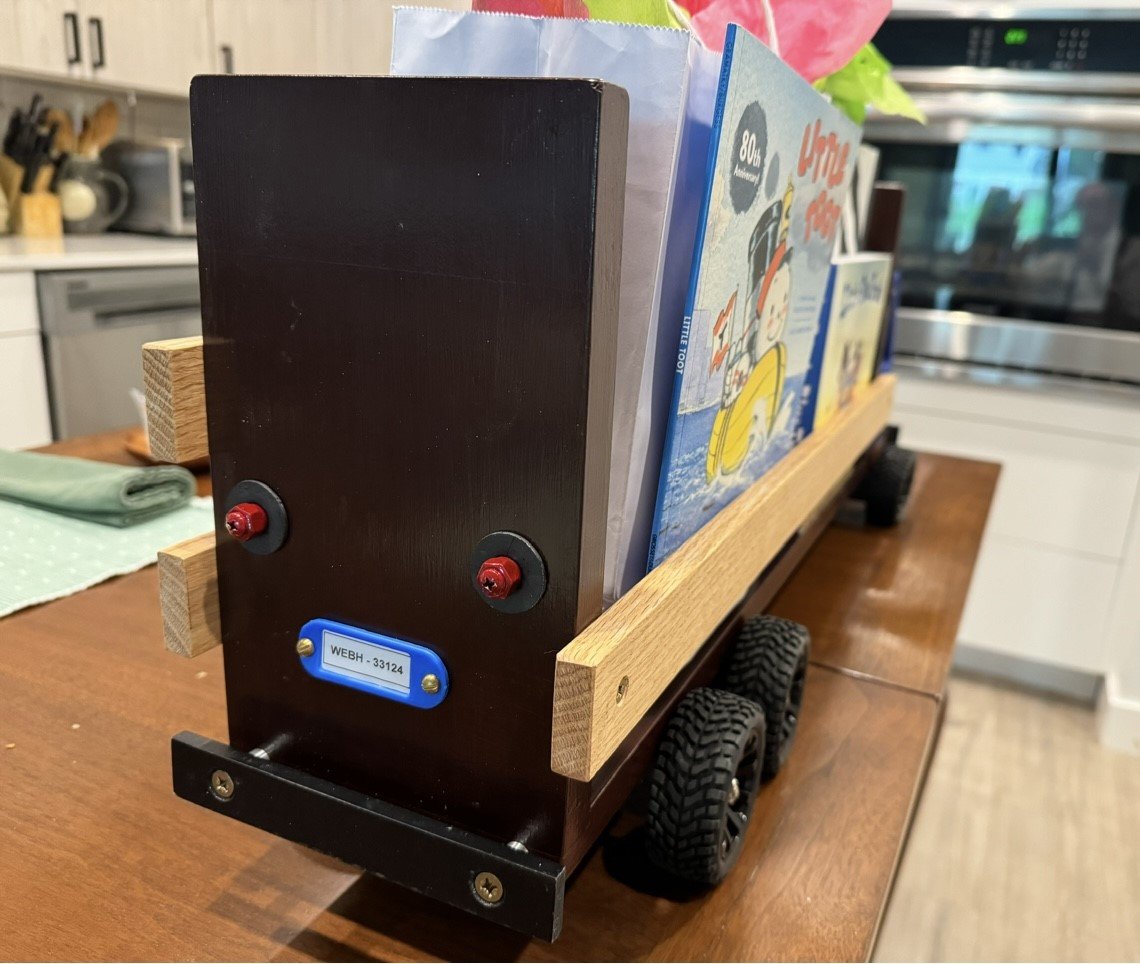
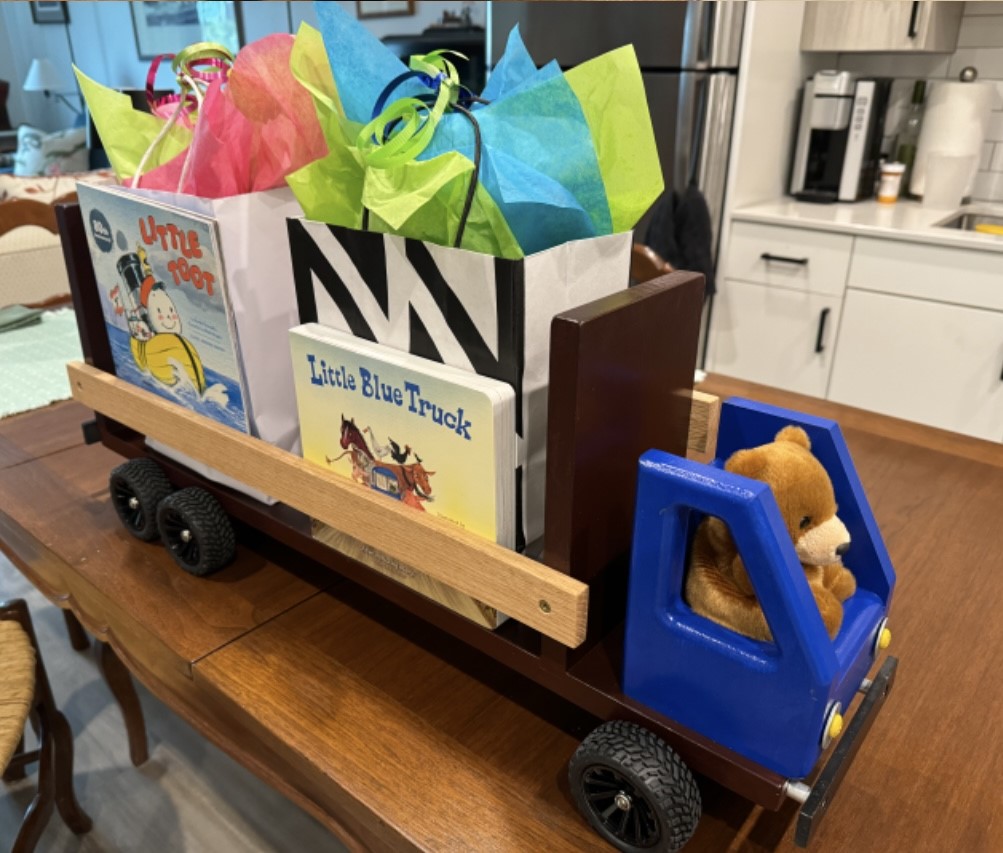
Kids Truck Bookshelf
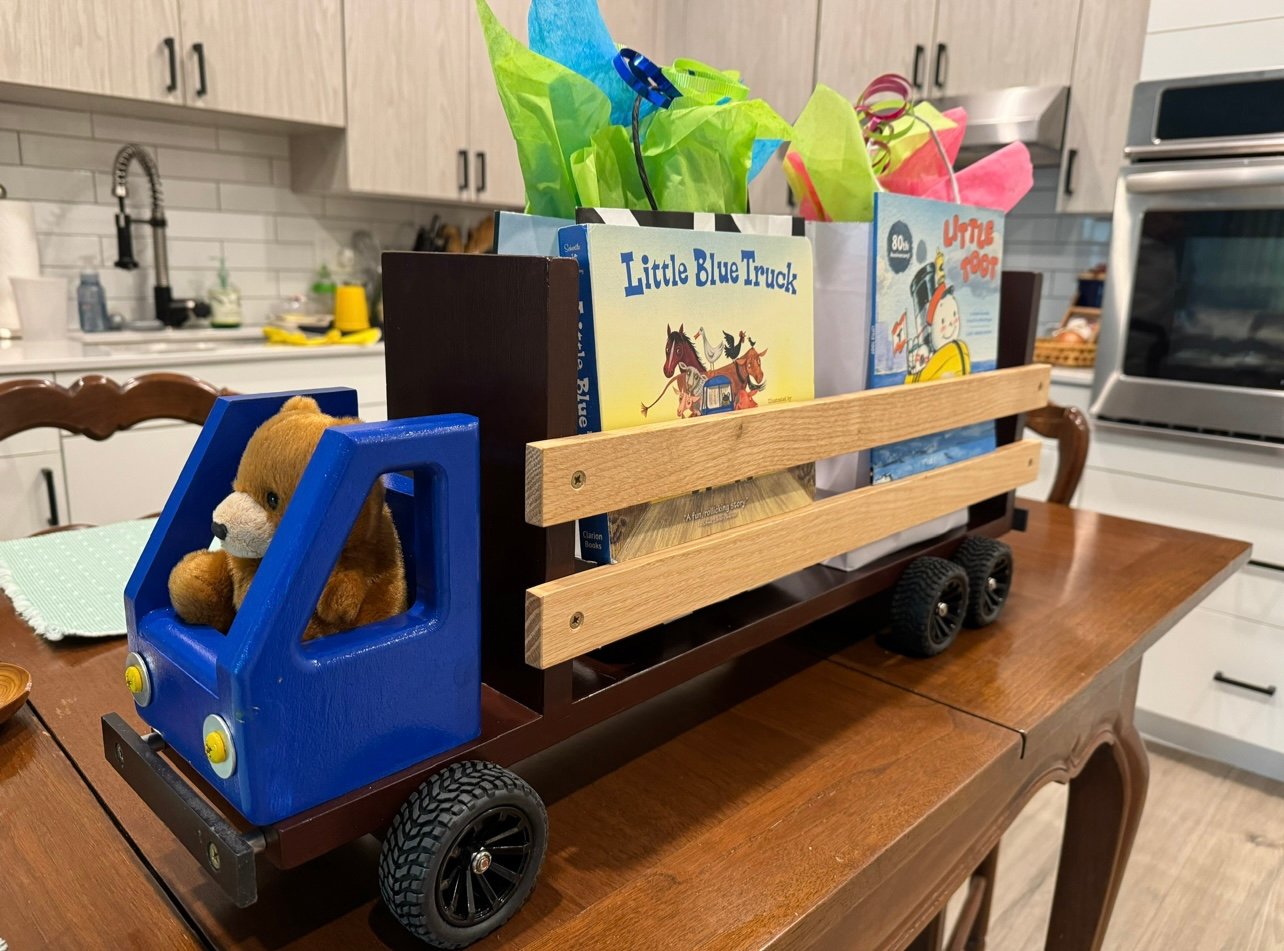
"0th" B-Day present for my "brand new" Great Nephew" born March 31, 2024 - Easter Sunday!
Note: His "vanity" license plate "WEBH-33124"
Grandpa_Dupee
Built from Plan(s)
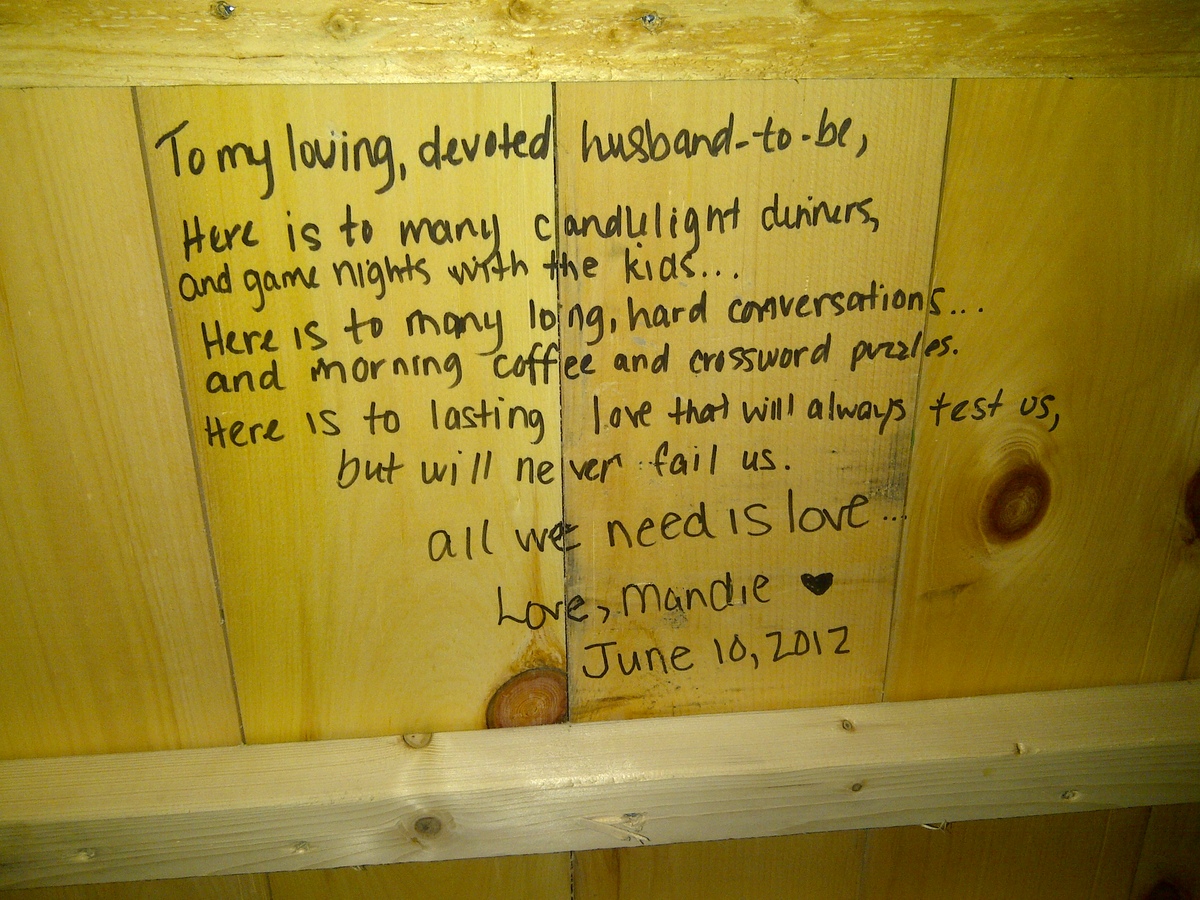
Farmhouse Table - Newbie edition
My first project!
Built from Plan(s)
Estimated Cost
$175
Recommended Skill Level
Starter Project
Comments

Tue, 09/04/2012 - 18:25
Wonderful!
Congrats on a wonderful first project! Looks beautiful and very professional. And I love the inscription you did underneath. That is so sweet! :)

Tue, 09/04/2012 - 19:15
Awwwwwwww!
Welcome to the community. You did a beautiful job and I love the idea of the personalization underneath. Very sweet indeed.

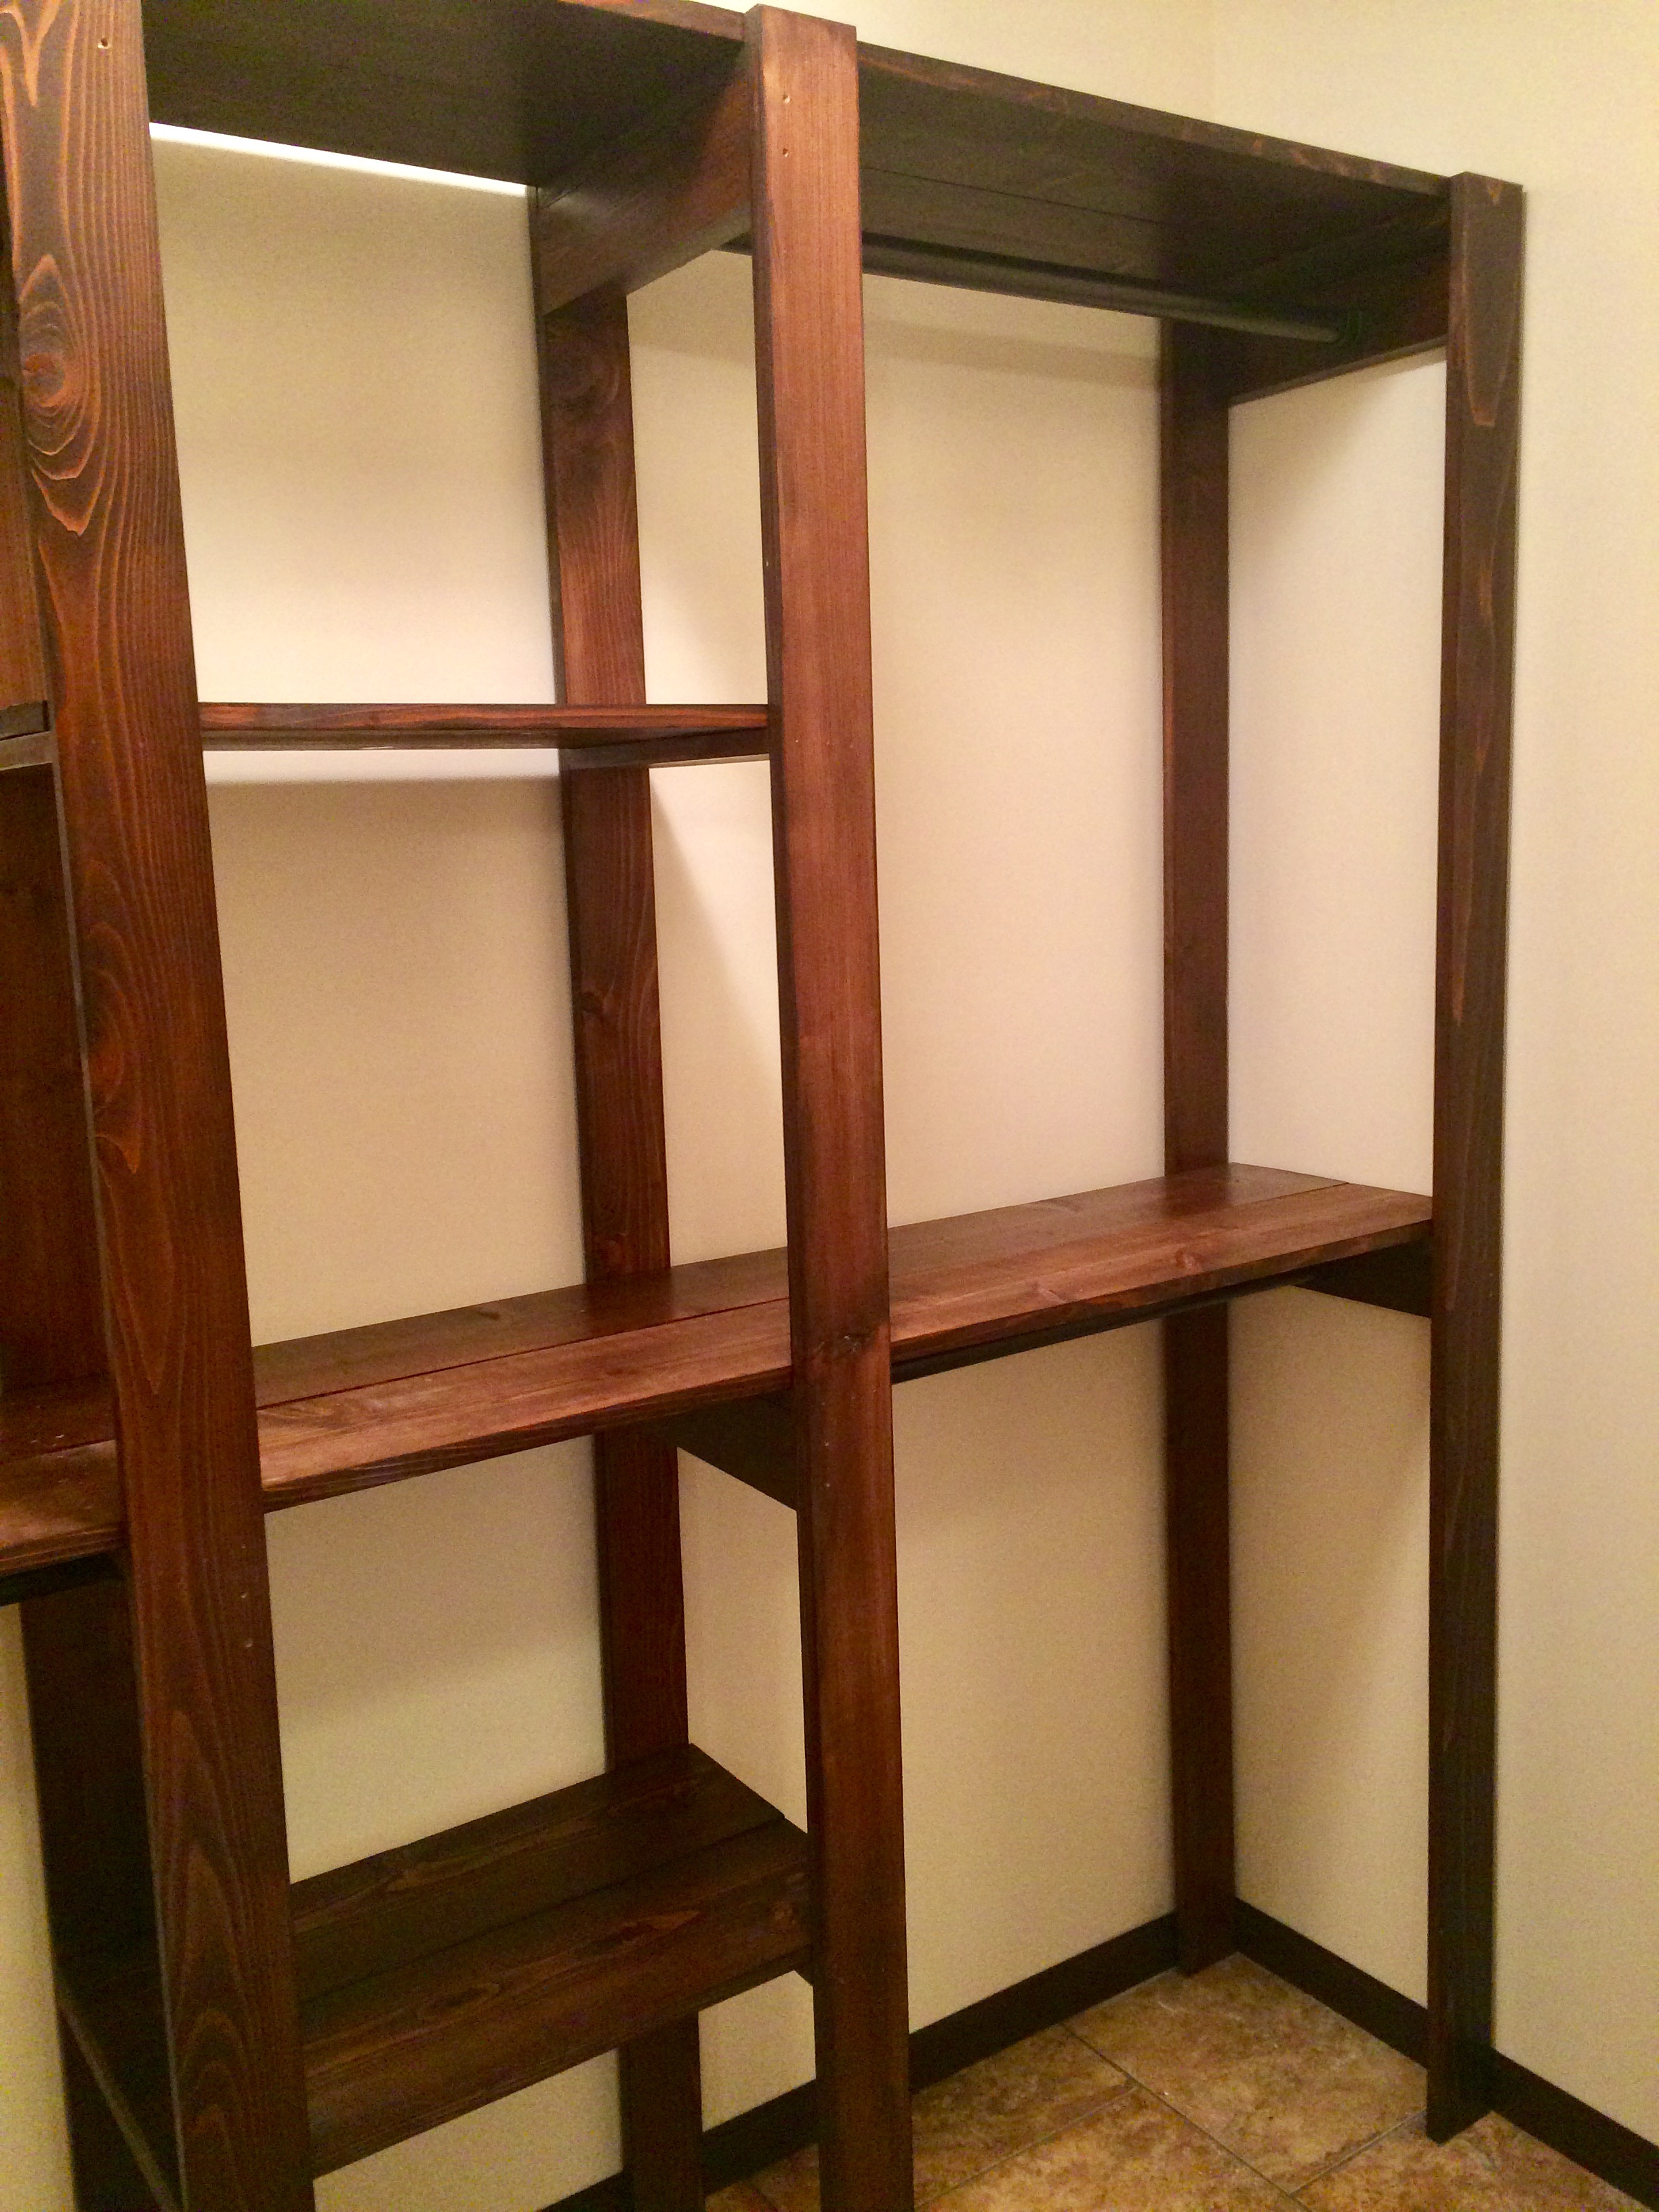
Industrial Master Closet
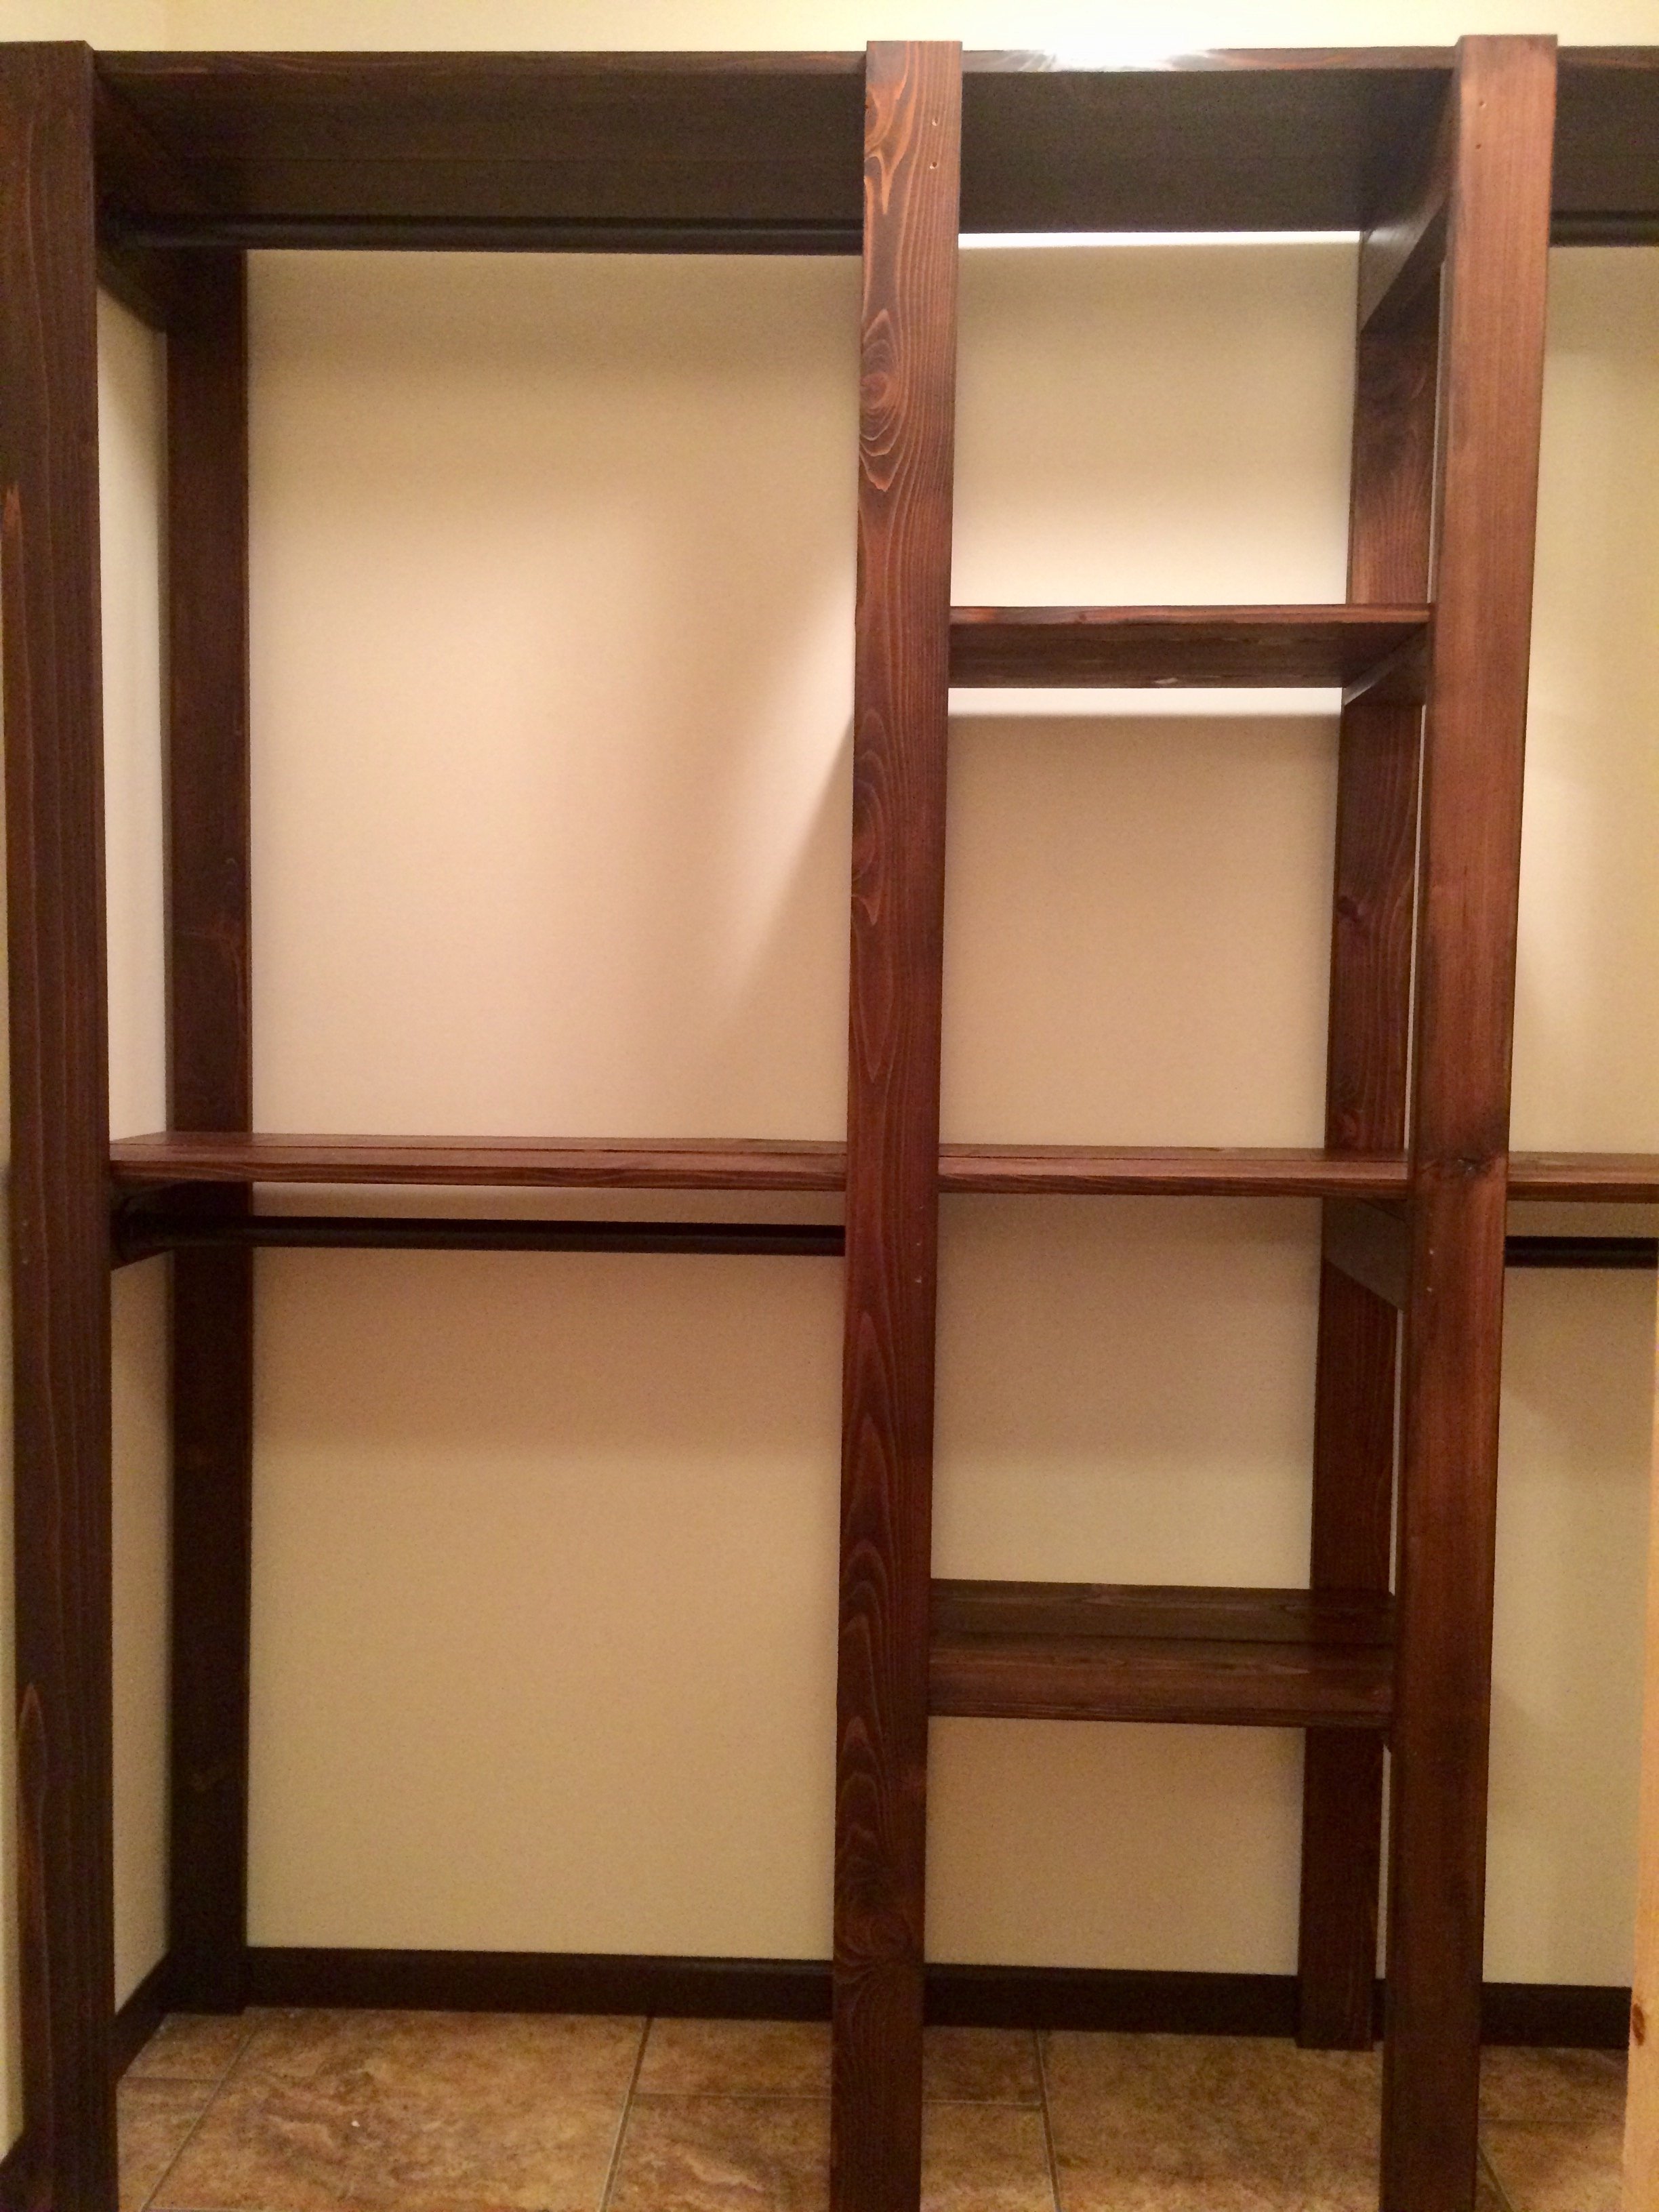
Our master closet had been empty for a long time due to "analysis paralysis", couldn't decide what to do... until I saw this plan. My husband was gone for a week and I was able to surprise him with an almost finished closet when he got home! I stuck with closet rods instead of galvanized pipes because I knew that would be his preference. I love it! Now to build something for all our shoes...
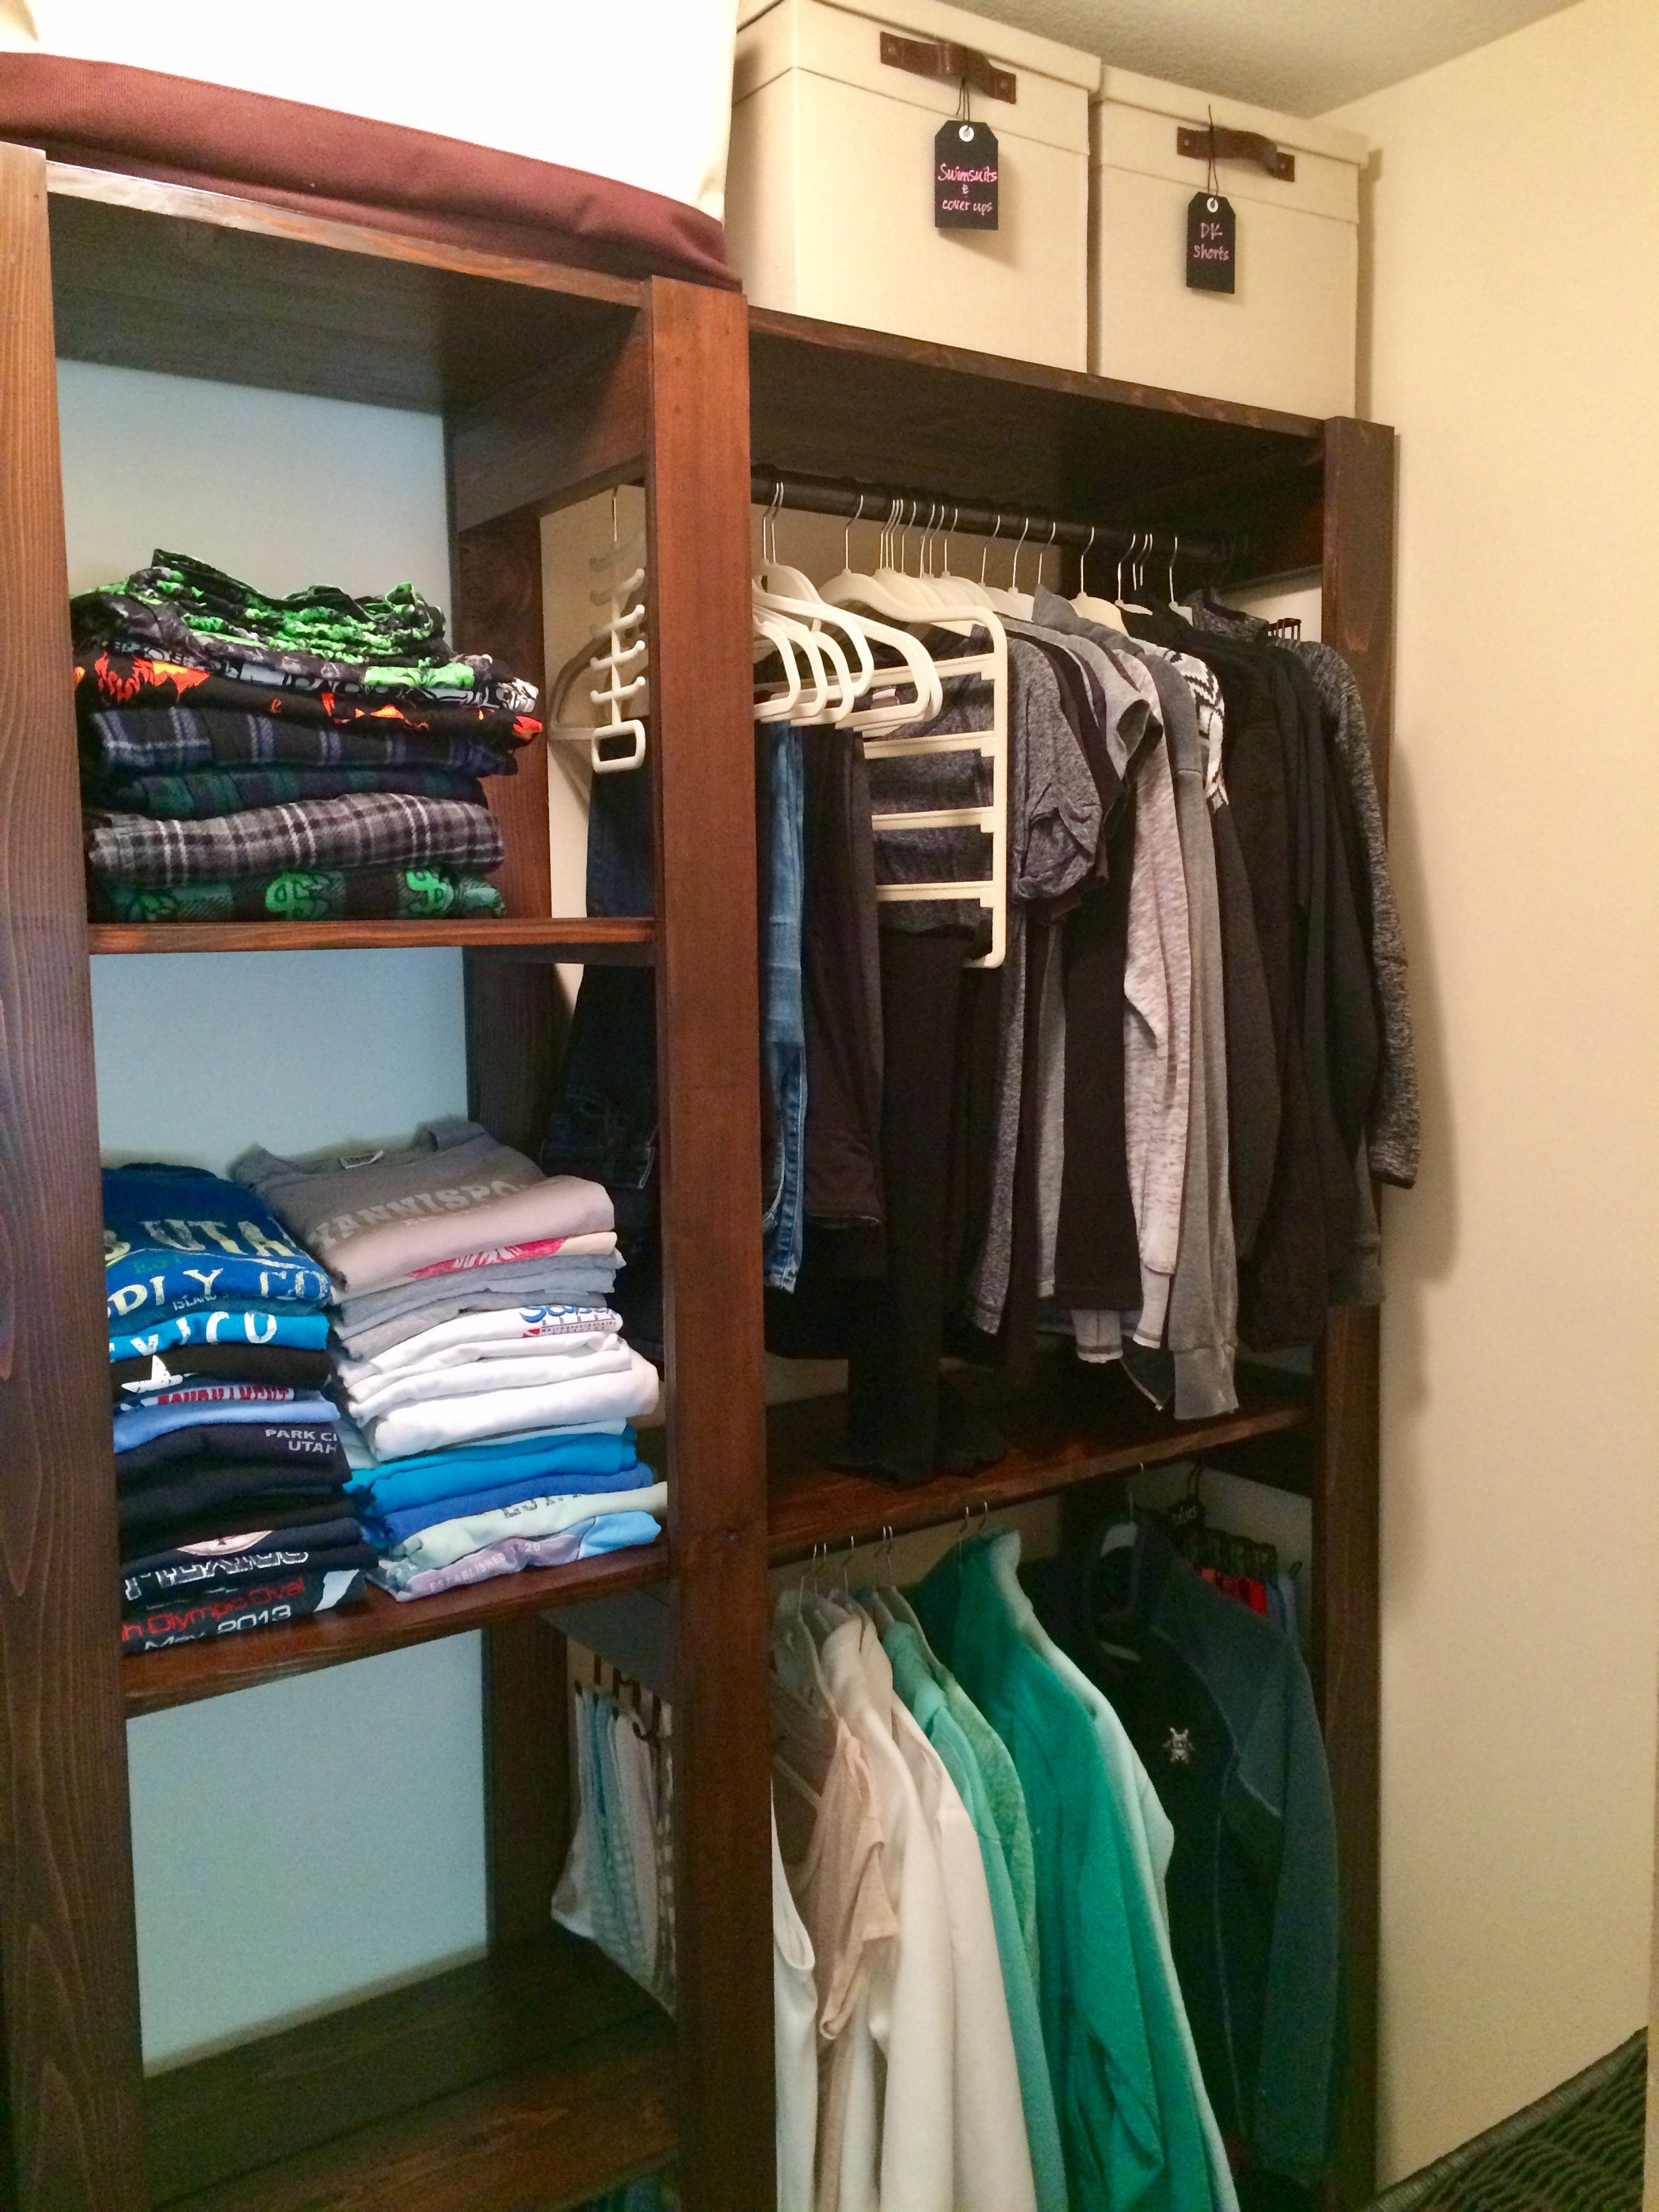
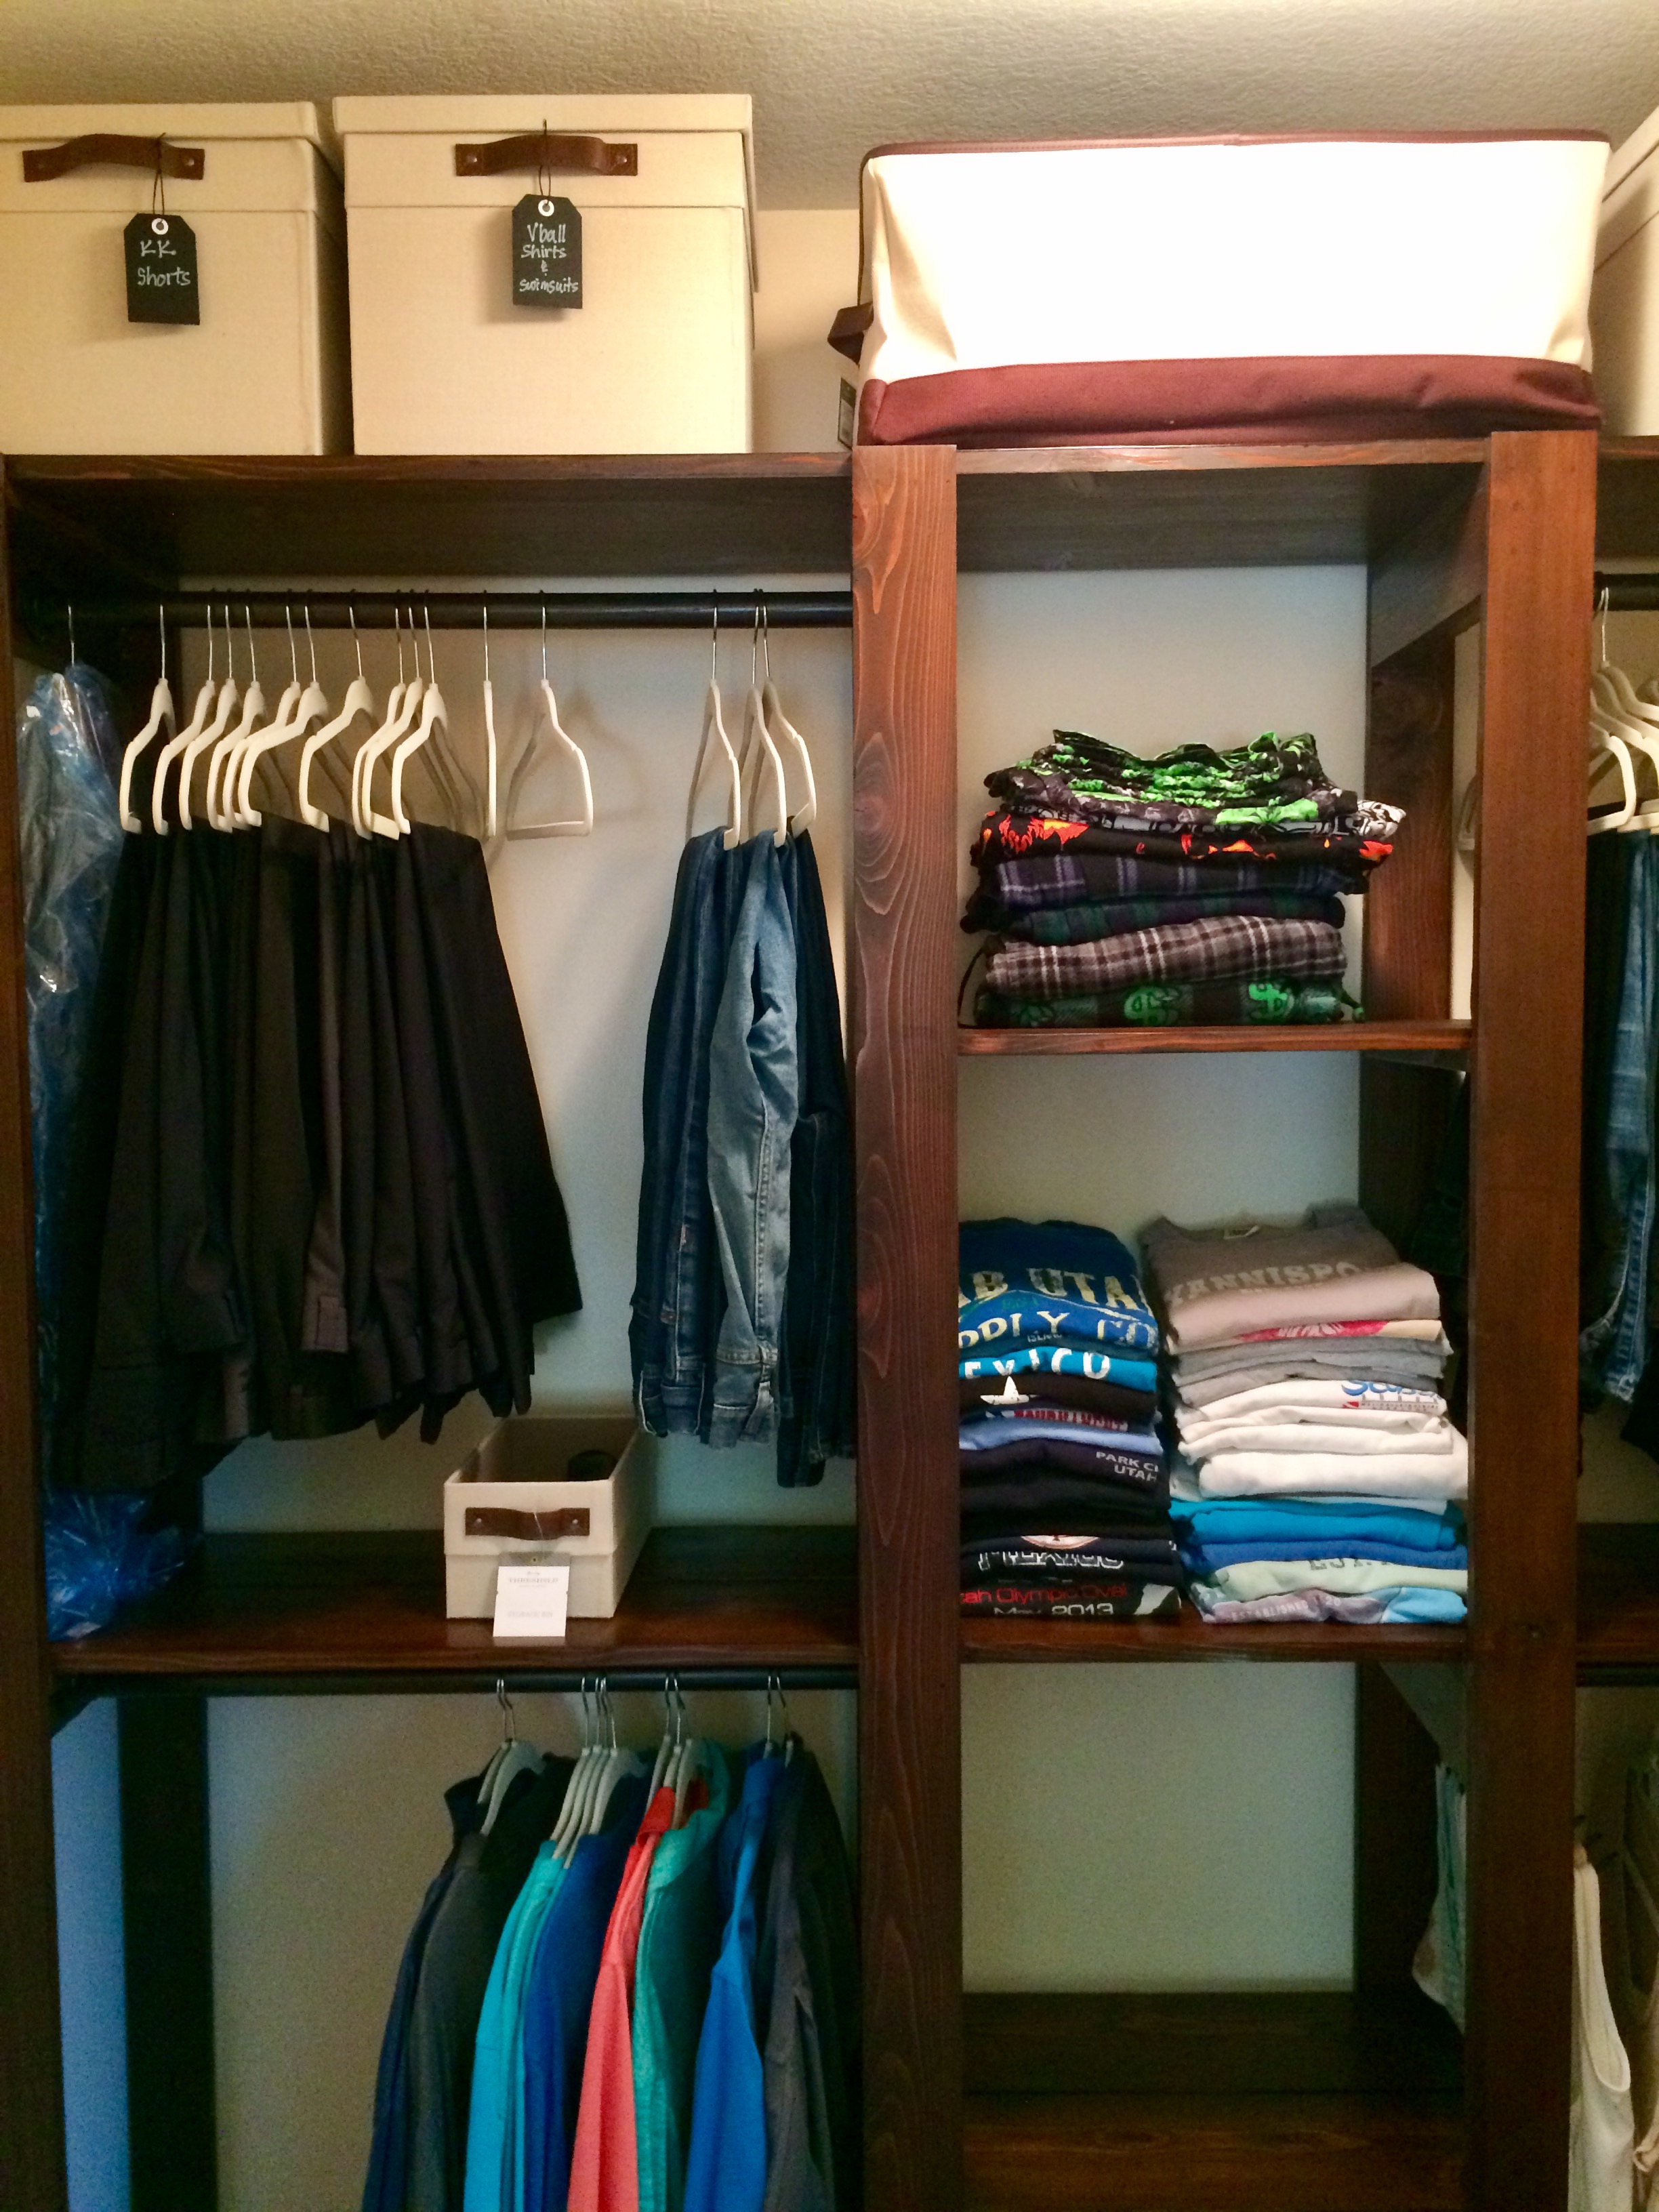
Built from Plan(s)
Estimated Cost
$200
Estimated Time Investment
Weekend Project (10-20 Hours)
Finish Used
Varathane dark walnut stain, varathane dark walnut stain + poly
Recommended Skill Level
Beginner
Comments
In reply to Awesome! by Ana White Admin
Thu, 10/06/2016 - 20:19
Master closet
Thank you and thanks for the plans!

Simple outdoor table
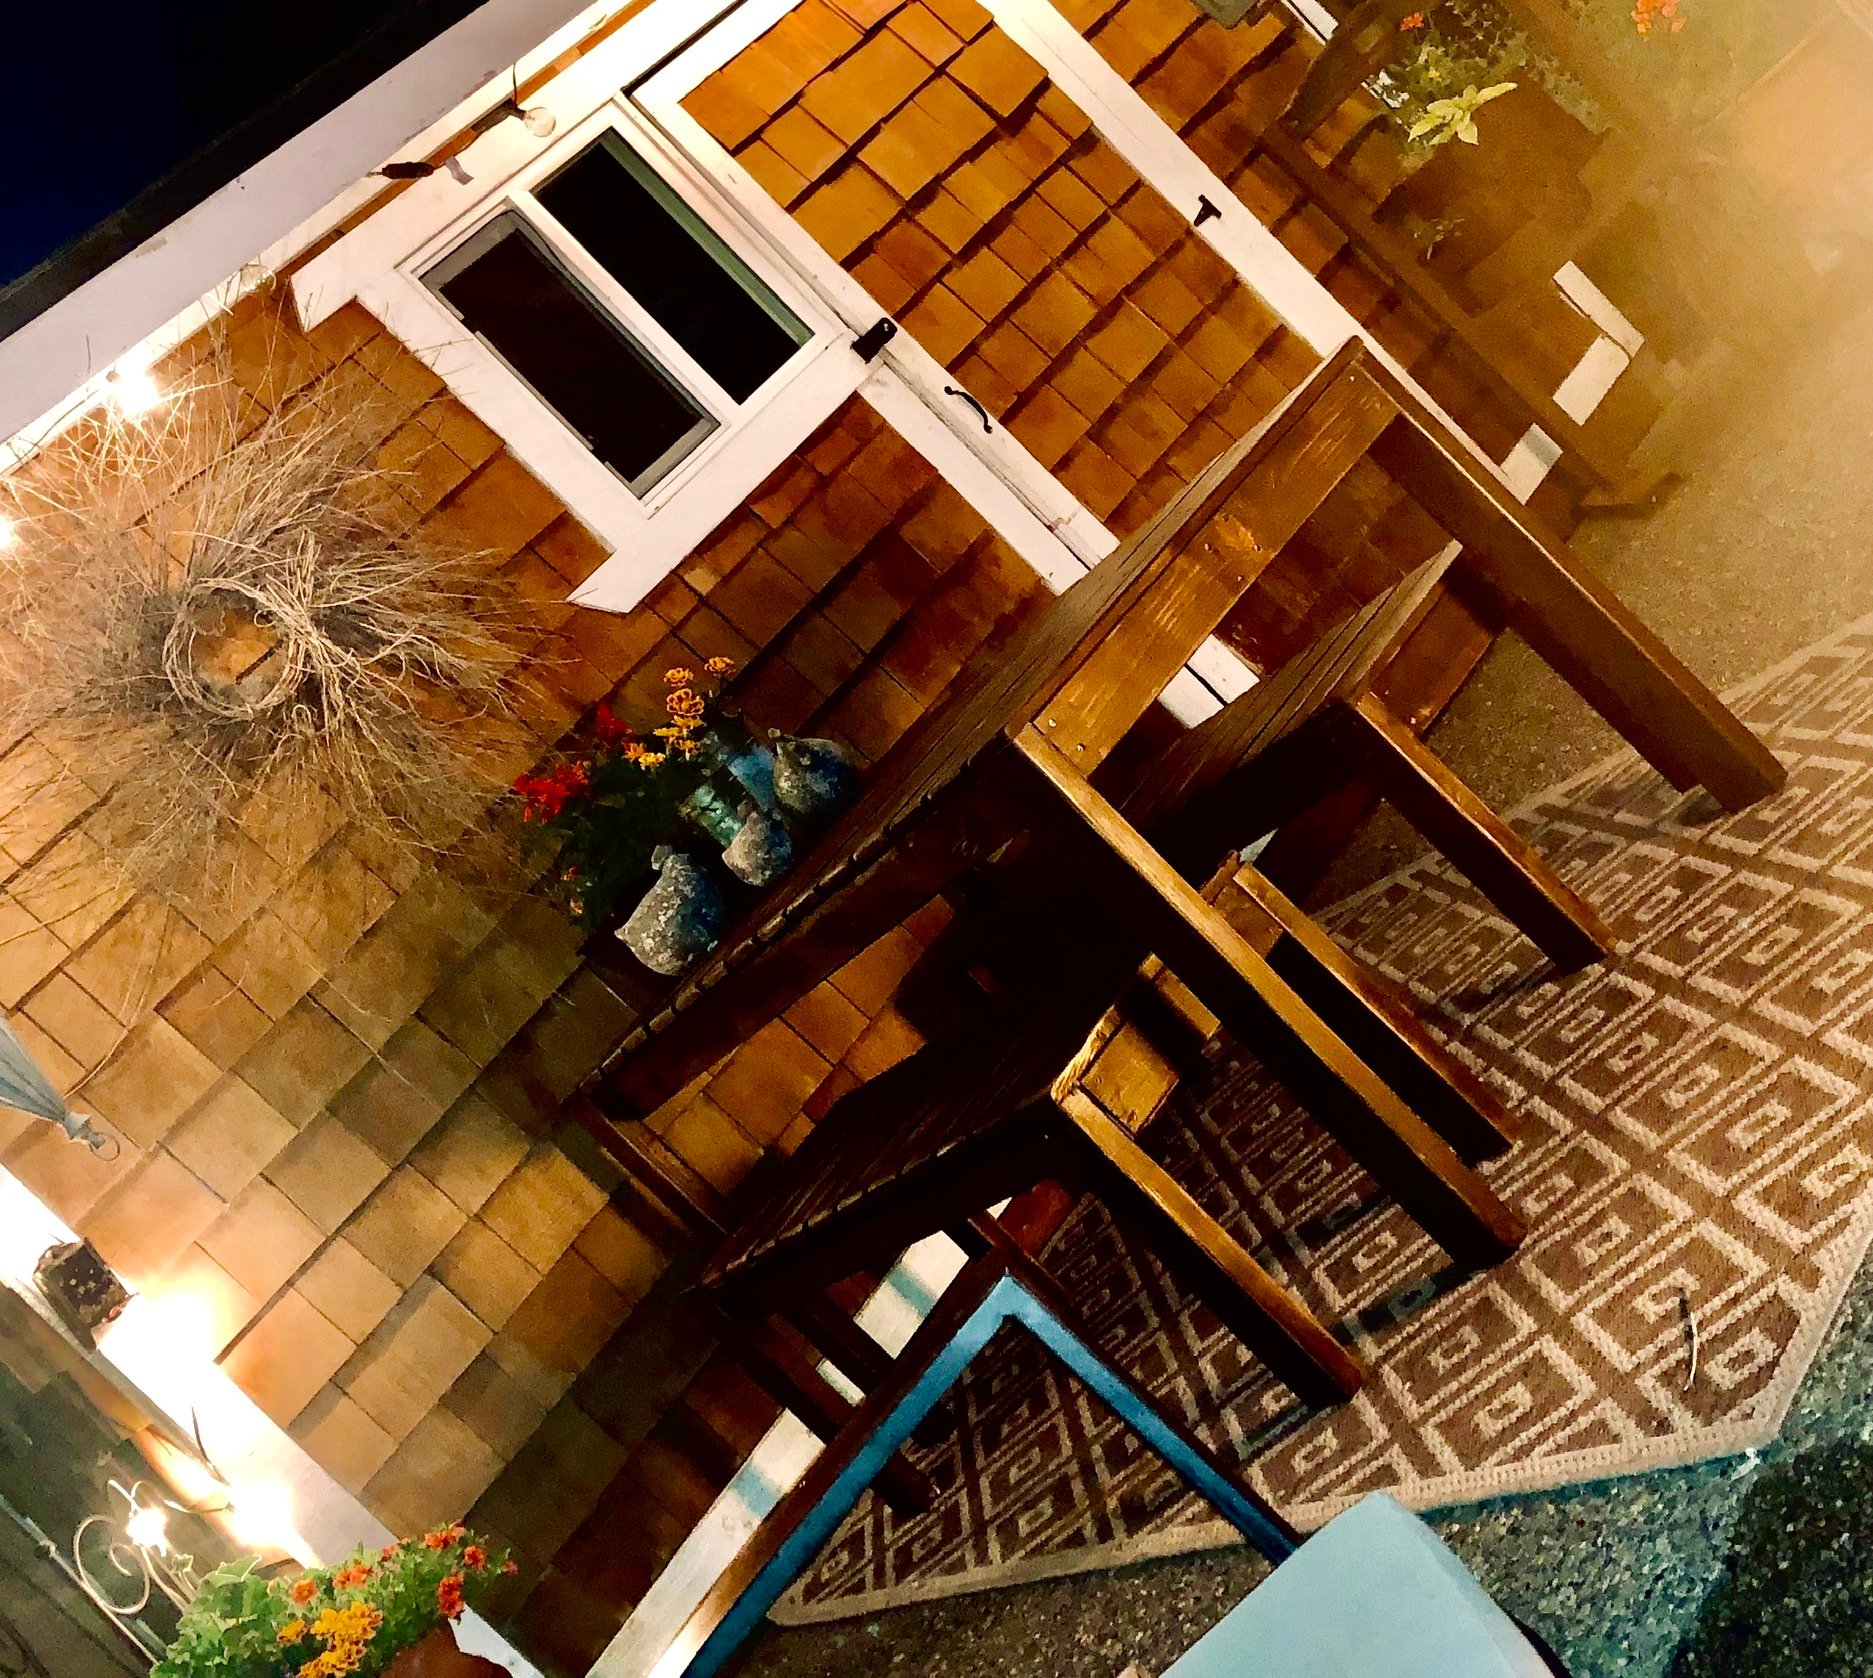
Another amazing Ana White design! This was a hit with family and friends!
Built from Plan(s)
Estimated Cost
$80
Estimated Time Investment
Day Project (6-9 Hours)
Finish Used
Outdoor stain from Home Depot
Recommended Skill Level
Beginner
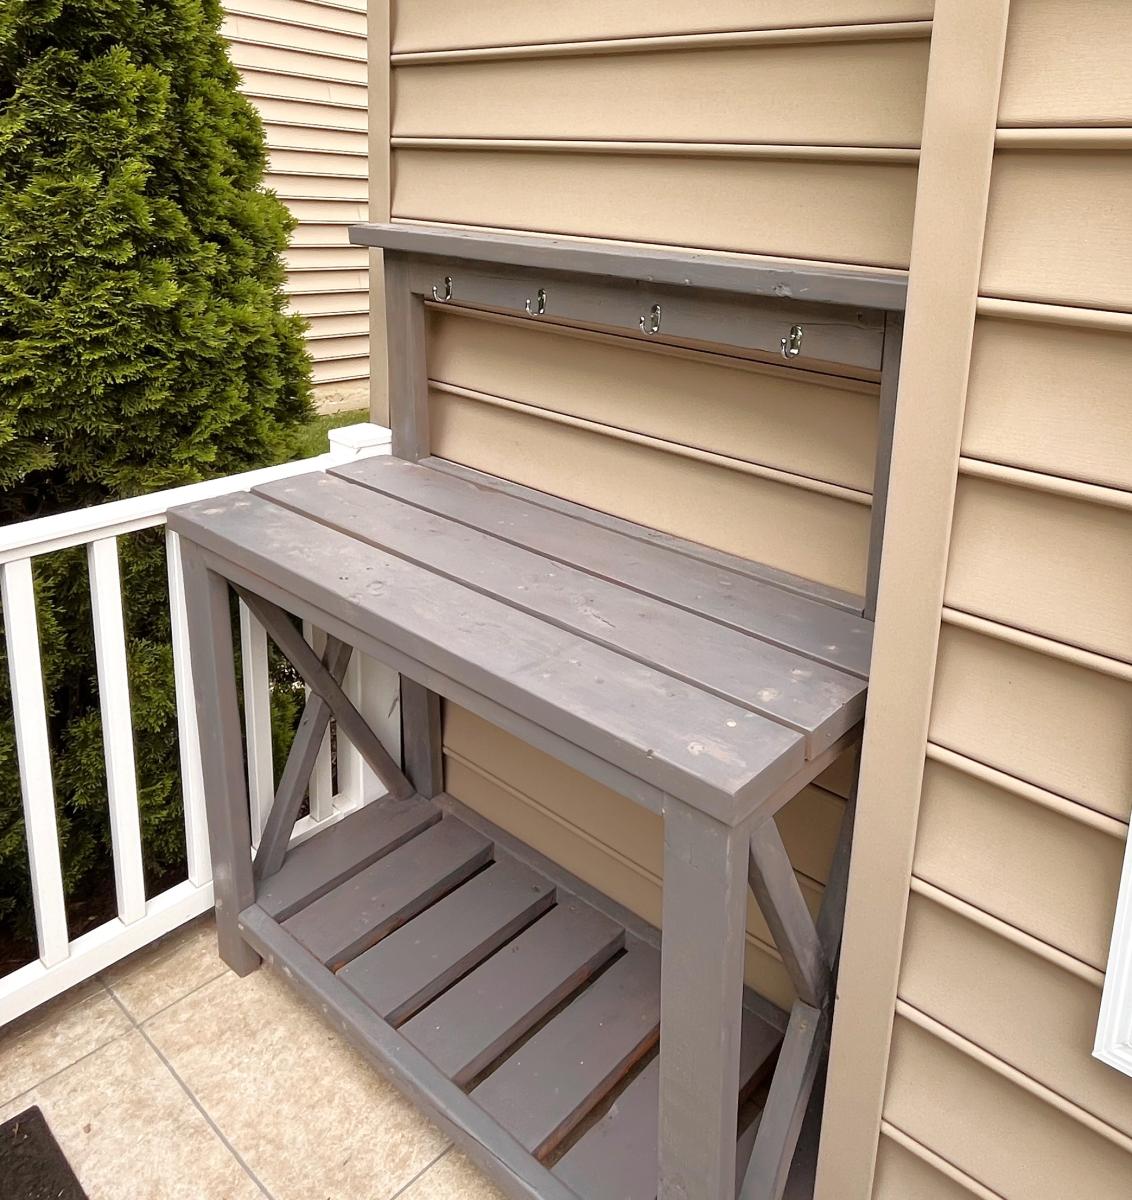
DIY Potting Bench for Deck
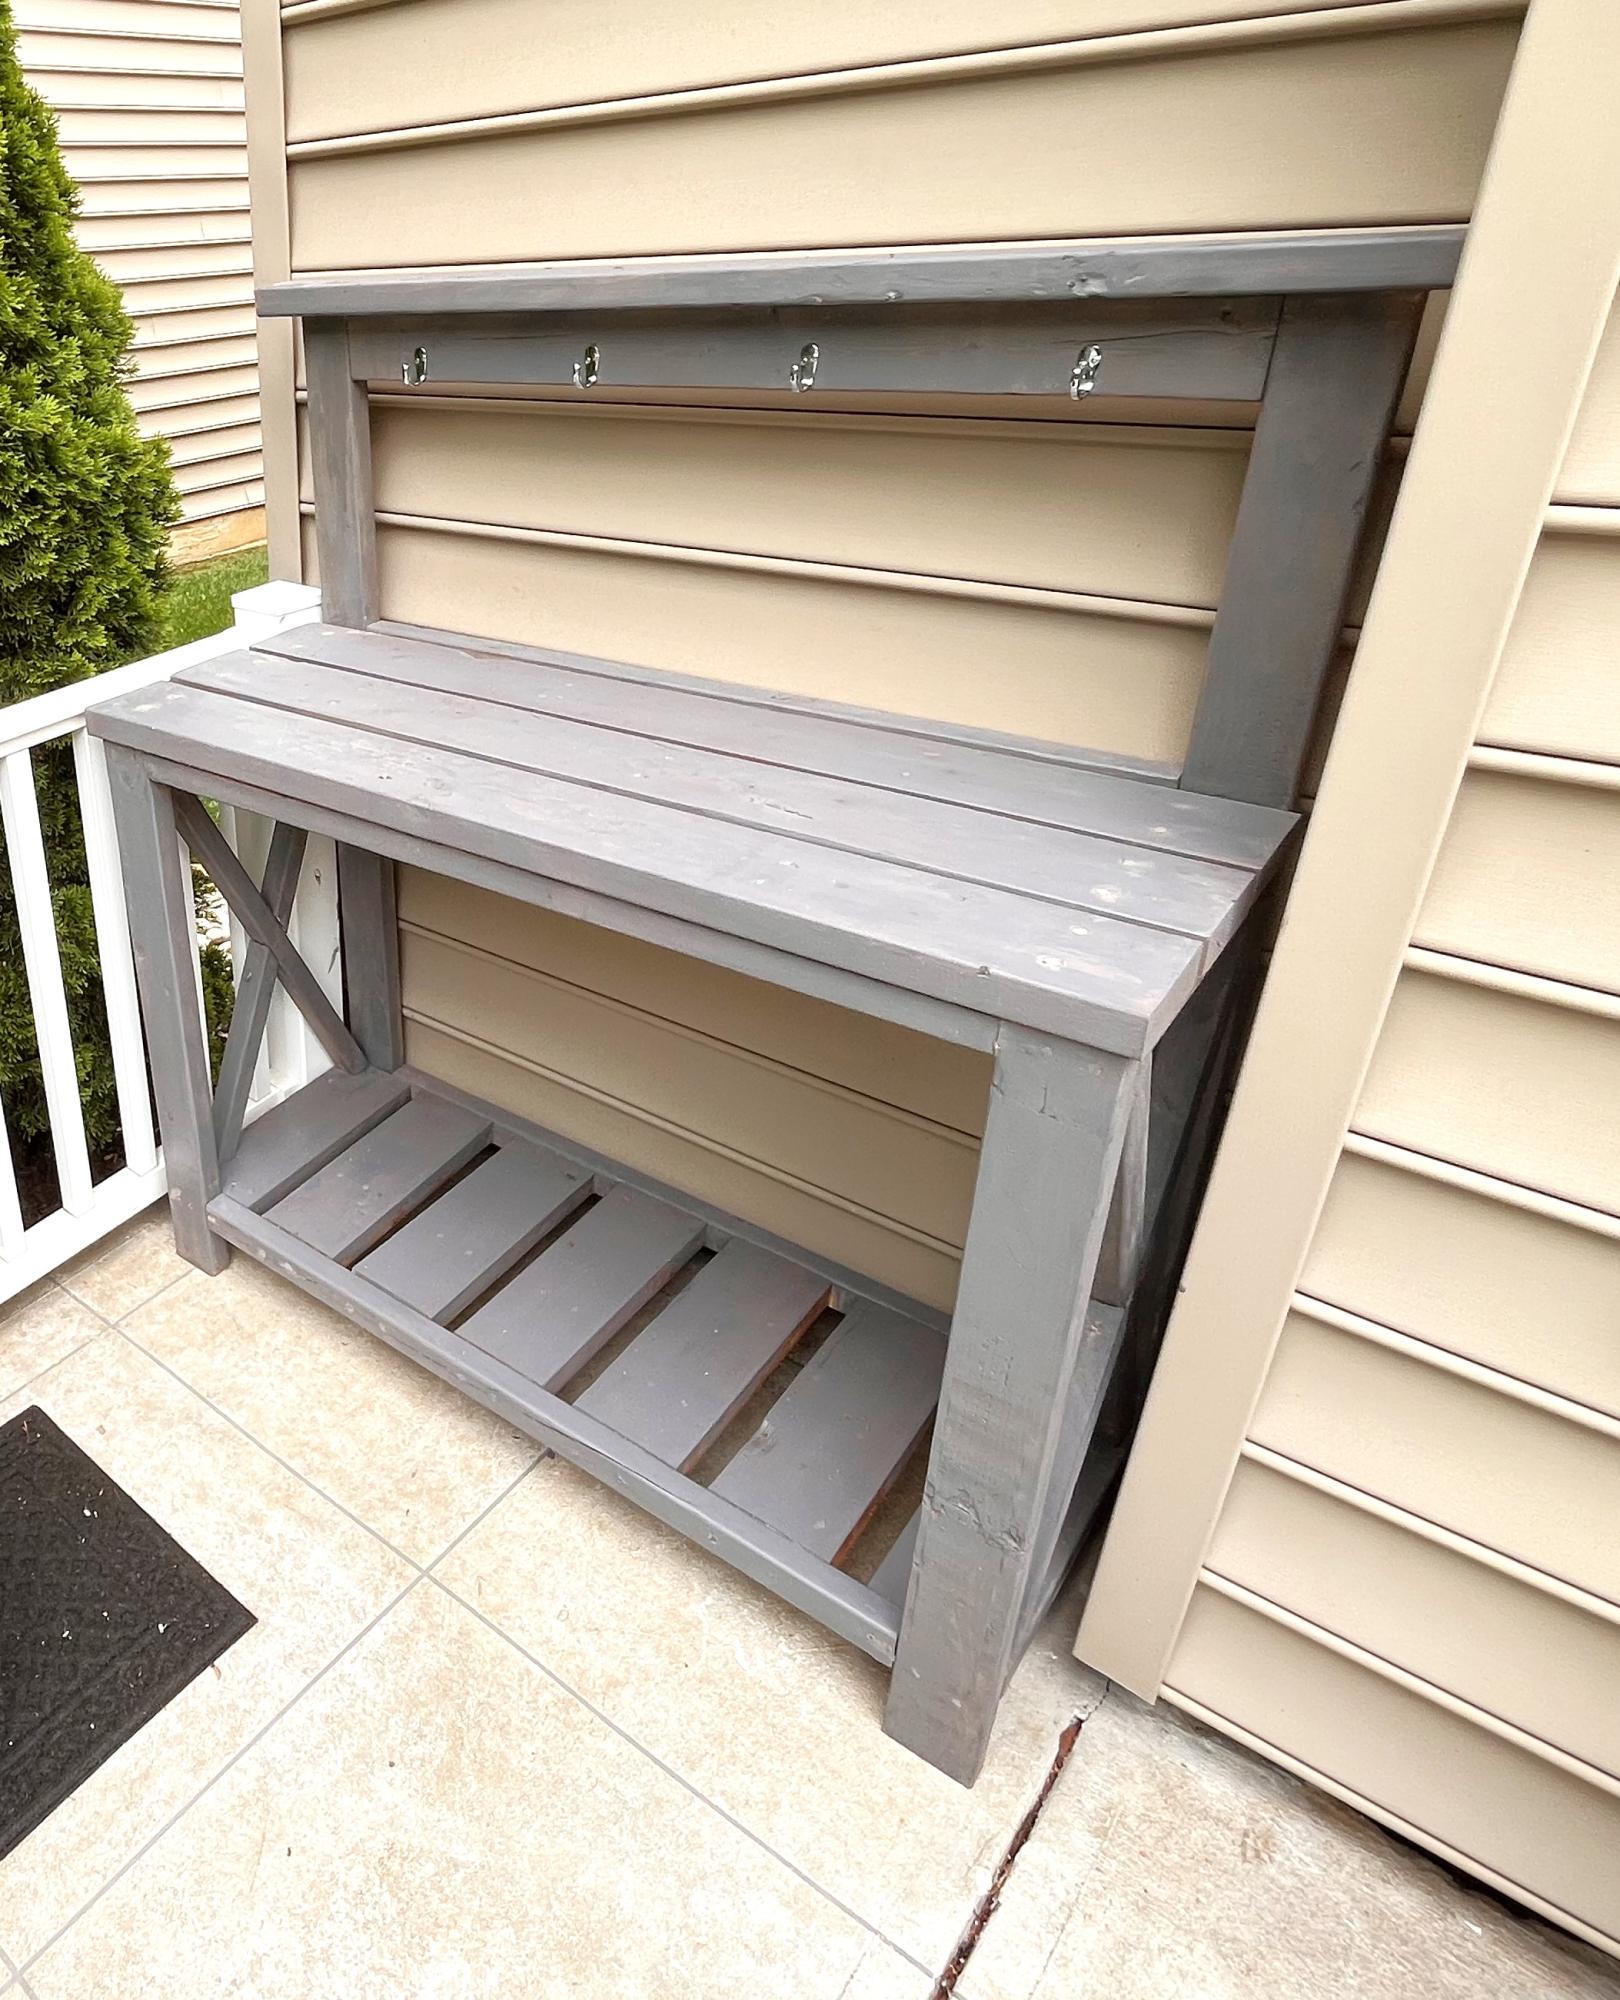
Enjoyed making the potting bench
Thanks for the plans.
Tom Schoeninger
Built from Plan(s)
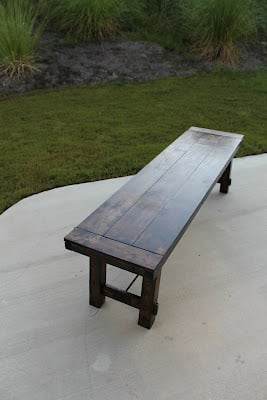
Benchright Farmhouse Bench
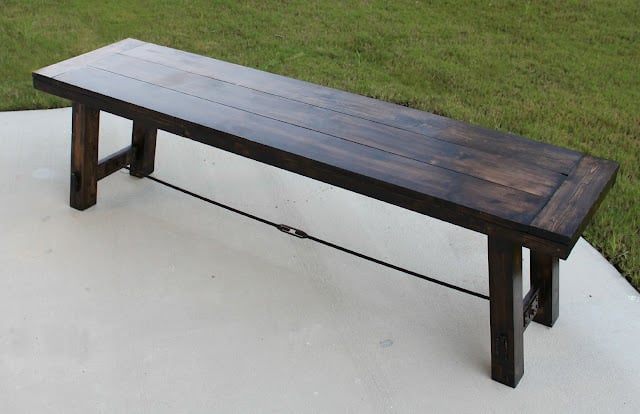
Our first Ana white project! My husband and I are both really excited with the results. We plan on making the table too. I followed the plan and added comments/details/changes we made on my blog http://thehuth.blogspot.com/2012/09/diy-pottery-barn-bench.html I added pictures to follow along the steps from the tutorial.
Built from Plan(s)
Estimated Time Investment
Weekend Project (10-20 Hours)
Finish Used
2 coats- Minwax Oil-Based Dark Walnut Wood Stain
2 coats- Minwax Polyurethane
2 coats- Minwax Polyurethane
Recommended Skill Level
Beginner