Built the Console Table - Wife Loved it!
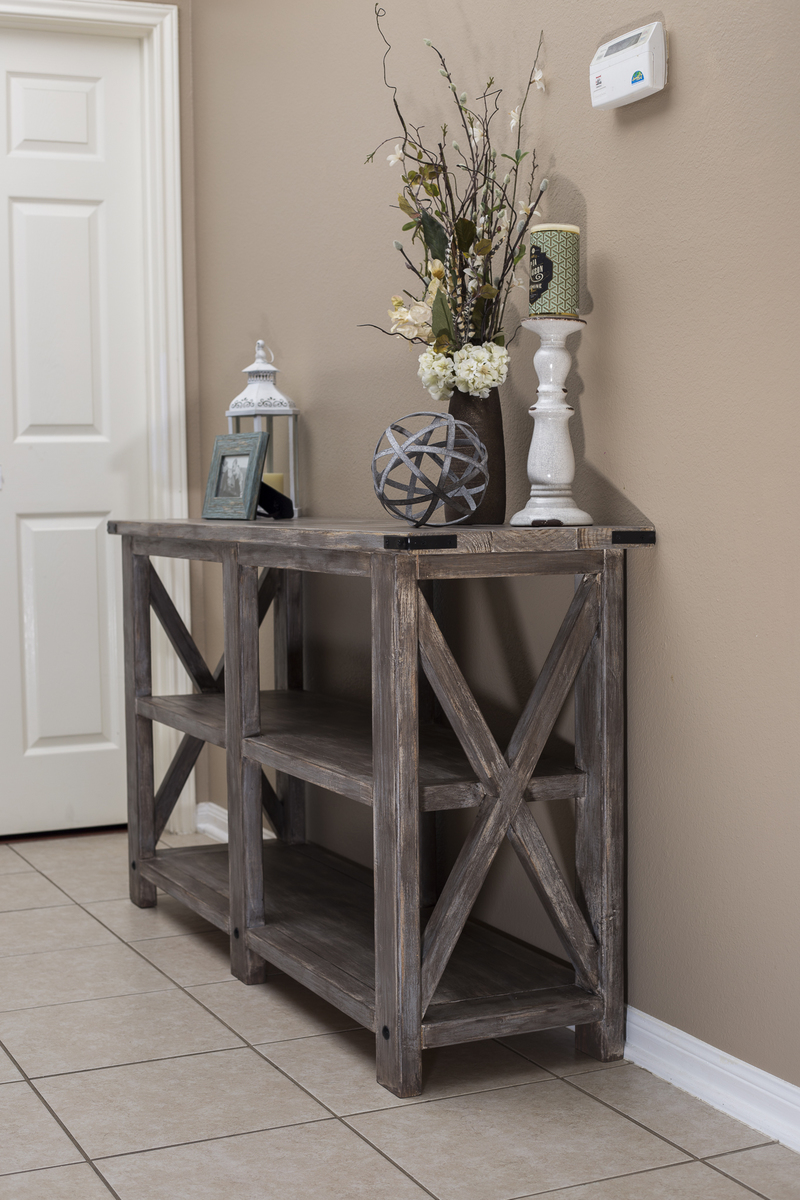
Had to try to build the Patrick Rustic Sofa Table and though it was my first time trying something like this, it looked very do-able. Modified to 60" instead of the original length.
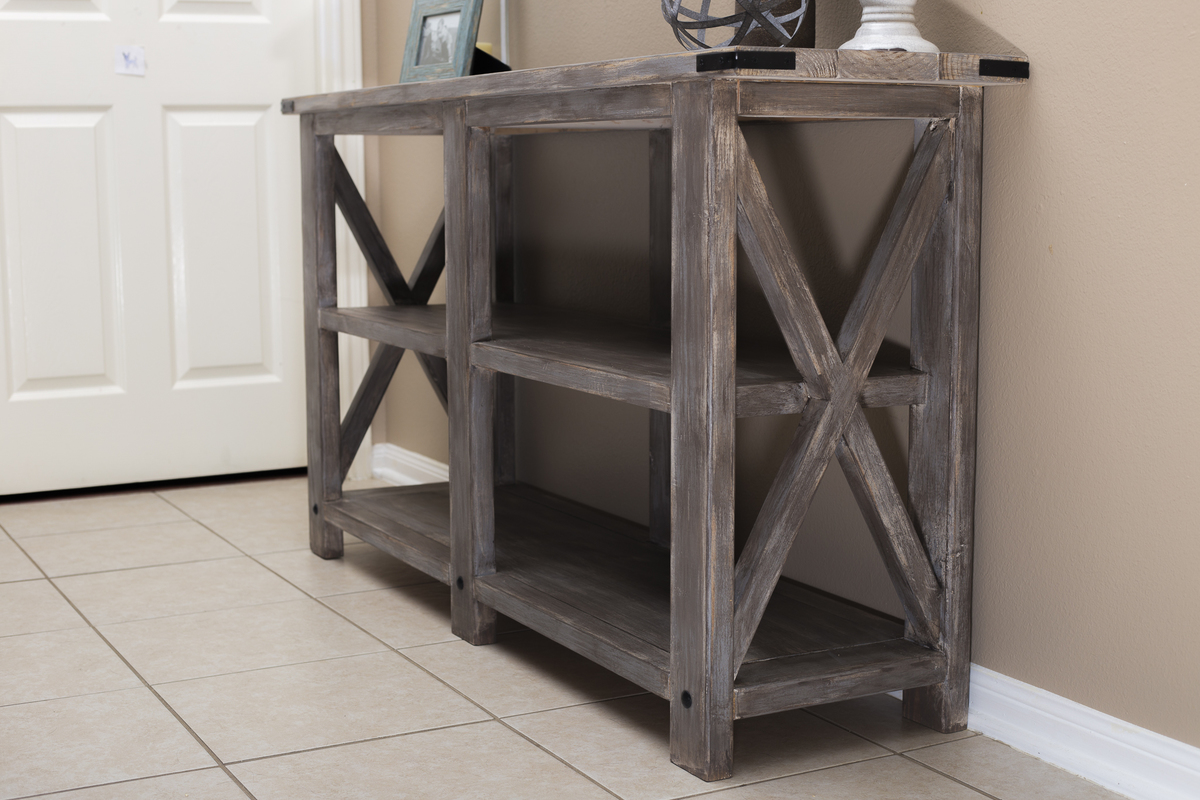

Had to try to build the Patrick Rustic Sofa Table and though it was my first time trying something like this, it looked very do-able. Modified to 60" instead of the original length.

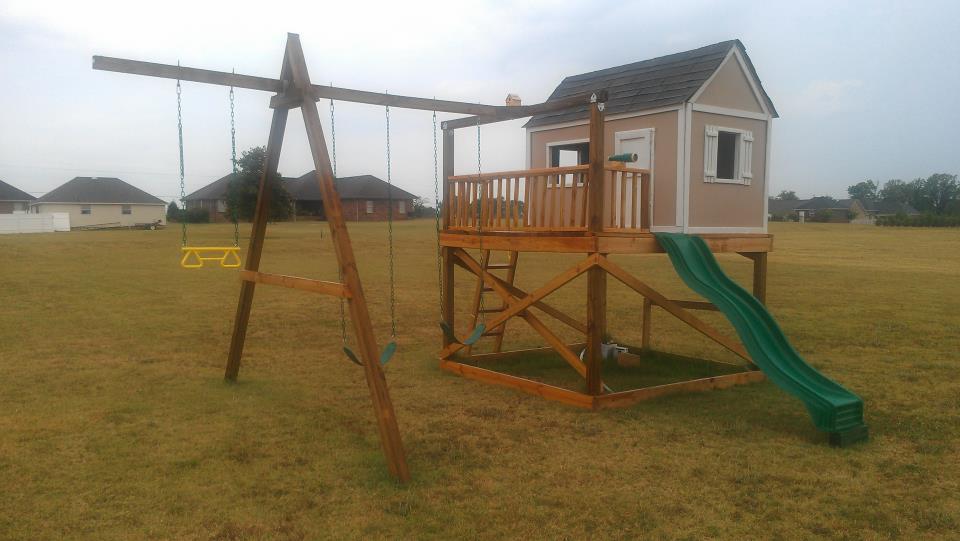
This project was started on spring break and I finished it at the beginning of summer. Total cost was about $900. I built it pretty much by myself and my wife painted the playhouse. Overall about 70 hours of labor went into it. Great plan and instructions. Thanks Ana! I love this site.
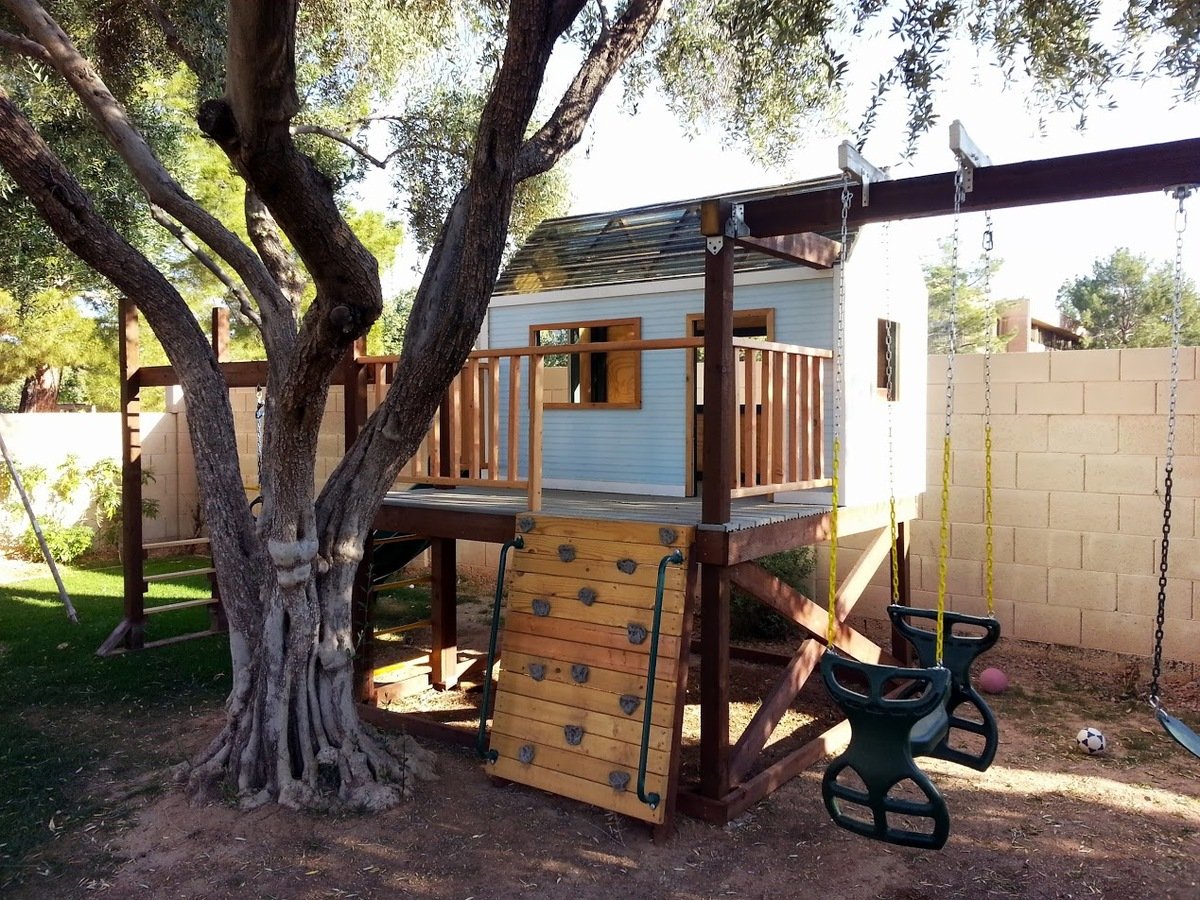
My second building project... this one took quite a while, building in the evenings after the kids went to bed.
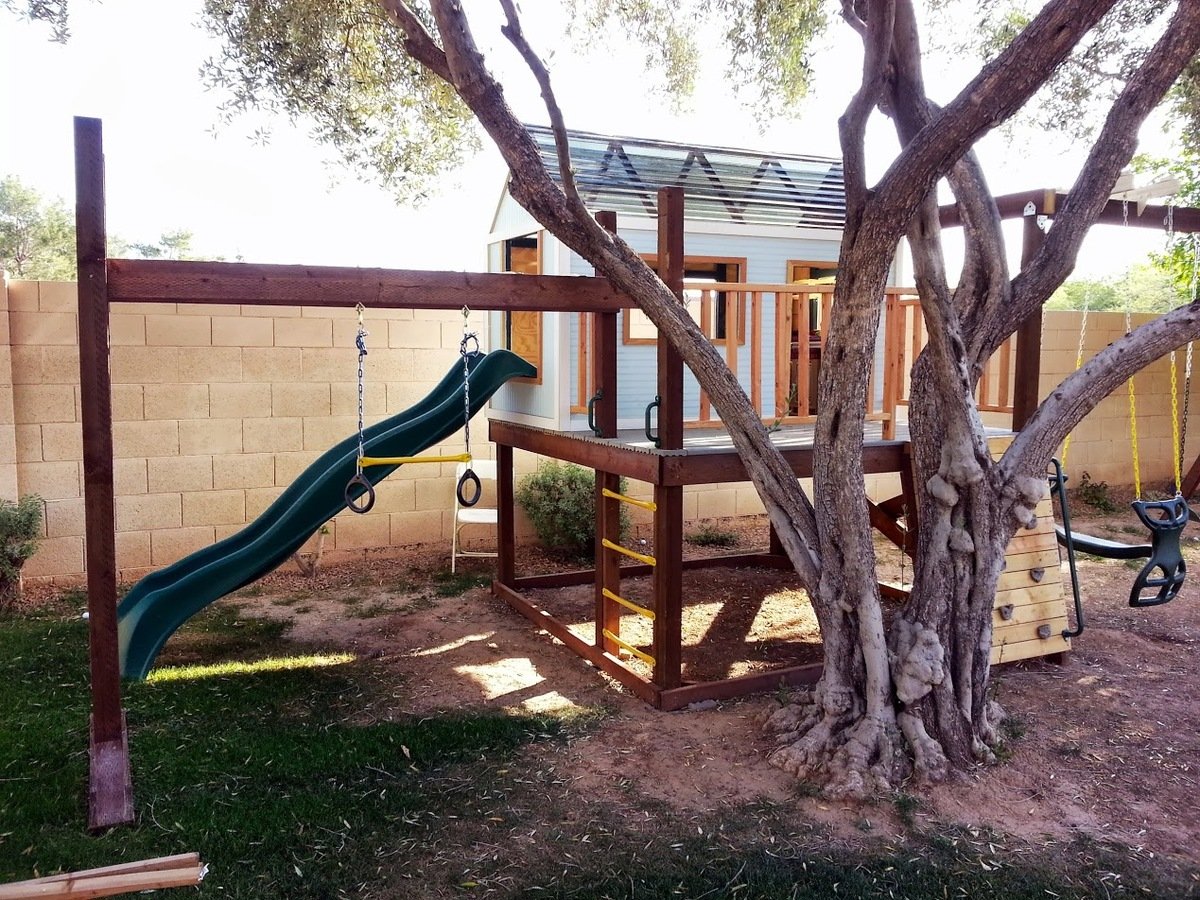
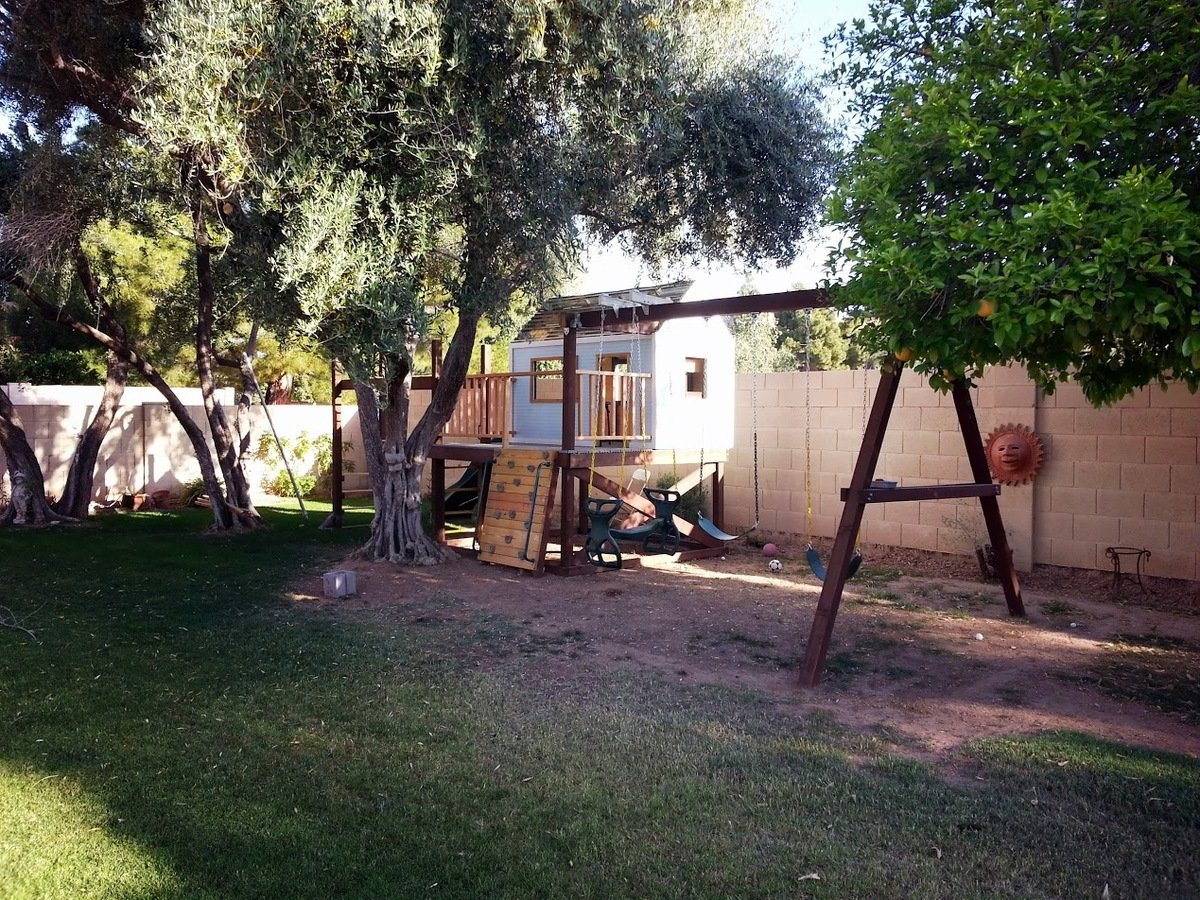
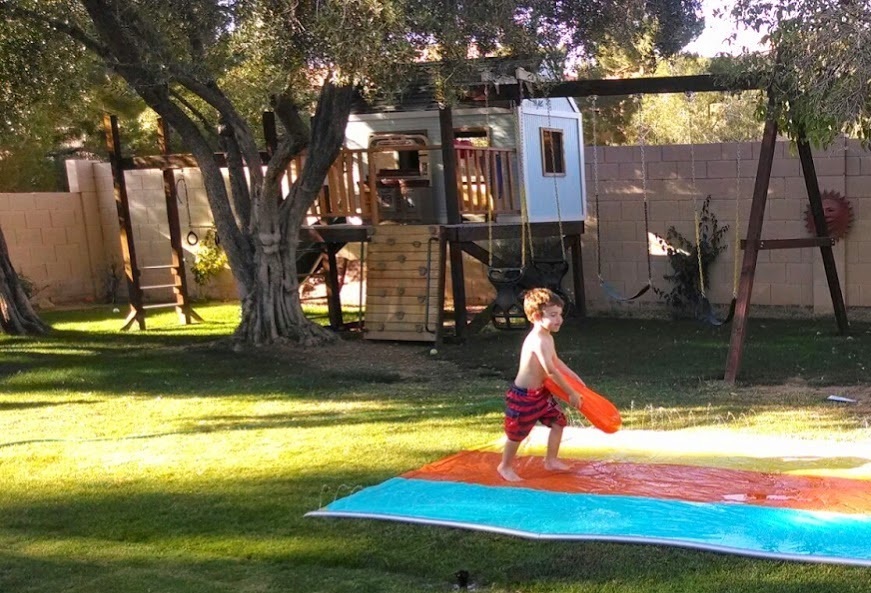
The playhouse is based off of Ana's Playhouse Building series, with some modifications to fit the space in my backyard and accommodate climbing wall, monkey bars, and slide.
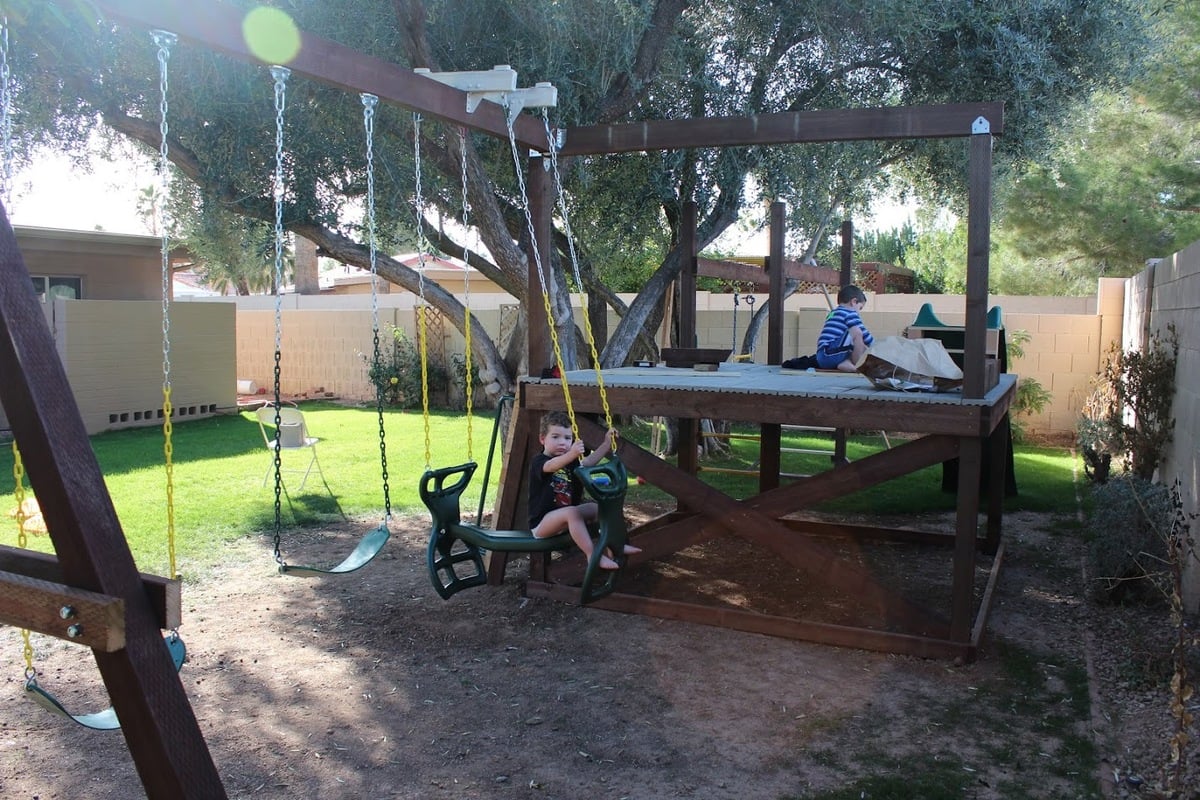
To put the main deck structure into the ground for sturdiness while protecting from moisture, I dug out 5 holes to fit single hole cinder blocks (4 corners plus an extra 4x4 for the monkey bars; you can see an leftover block on the ground in one of the pictures). I placed some brick in the holes, then the cinder blocks on top. I then partially filled the cinder blocks with sand, put the pre-built deck in the cinder block holes (with help - it's heavy!), and then filled the rest of the cinder block holes with sand. It's worked remarkably well - the deck has been up for about a year now. I also sprayed some clear waterproof sealant on the bottom part of each beam near the ground for extra protection (deck, monkey bars, climbing walls, and swingset A-frame). This has allowed me to still run sprinklers near/around the playset and even grow grass underneath the swings!
Materials used:
* Playhouse: pine, plywood, Suntuf solar grey polycarbonate corrugated roofing panels (I live in Arizona, so little rain to worry about but lots of heat - the sheeting lets light in but blocks most of the UV rays, corrugated shape also provides venting at top when placed sideways)
* Deck/Swingset/Monkey bars: treated lumber, composite decking, pine for railings, monkey bars purchased from Amazon
* Climbing wall: pine, treated lumber, handholds/railing bought off ebay/Amazon
* Swings/slide/bongos/wheel, telescope: purchased from Amazon
Modifications:
* Turned playhouse 90 degrees to be in back of the deck, with swingset coming off the side. This meant the support beam for the swingset had to pass through the playhouse - modified the frame for that wall slightly and created a notch for the beam to pass through.
* Slide comes out one end of playhouse - made the "window" on that end larger than the plans called for in order to give room for the slide.
* Monkey bars come off one side of the deck - used extra 4x4 here to create support for the bars, and used extra bars to make a ladder on this side
* Climbing wall instead of ladder for main entrance
* Put large window in back wall of the playhouse
* Added cross bracing to side of decking on swingset end to make it more solid/cut down on sway when swinging
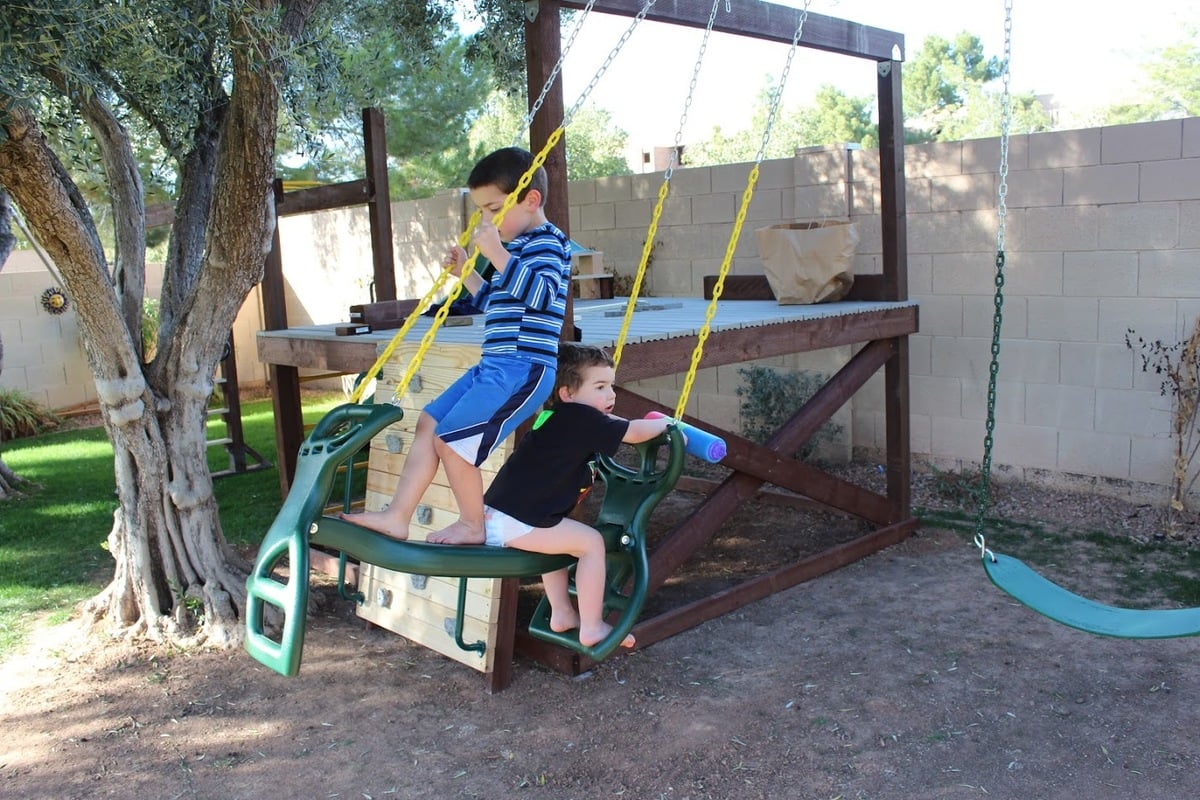
Tue, 04/29/2014 - 20:41
This is phenomenal - just the plan & design we've been looking for. Can you upload a few more pictures? Any sketches you can provide? Shopping list? Really great job - I hope your kids love it. It looks awesome.
Wed, 09/10/2014 - 14:03
Thanks! It's certainly nestled in right behind that tree - I originally was going to place it in between that tree and another one but then decided to just place it behind them in order to take better advantage of shade (critical in AZ) and fit in everything I wanted to put on it (monkey bars, swings, slide, climbing wall)
Mon, 07/08/2019 - 00:48
We've been looking at these type of players for our son, and good grief! Prices are astronomical for playsets that are NOTHING like this. This absolutely an amazing place for those boys to make memories. You're amazing! Do you mind if I ask what it cost once it was finished? I never imagined that it would cause a tic in my eye to look at the kids from Lowe's or anywhere else for that matter.
Tue, 08/20/2019 - 10:14
I don't remember how much it cost in the end... but probably around $900? That may include getting some tools that I needed but didn't have at the time. The slide was the most expensive single piece I bought - I think I got it from Amazon.
When it was all done, I remember thinking that what I got for my money was *way* beyond what I would have gotten by purchasing a kit or a pre-built play structure. Plus, by going my own way, I was able to build it to fit my space and the needs/abilities of my kids.
While the whole thing is big and looks like an intimidating build, it really isn't bad - the platform is a fairly blank base to design everything else off of, and is incredibly sturdy. Everything else is a discrete part that branches off of the platform and can be planned out as you need. Adding the monkey bars required putting in a 5th upright (the first 4 are the corners), but that was an easy modification since I knew I wanted it before building the platform. The playhouse just sat on top of the platform (screwed down, of course).
Sat, 08/01/2020 - 20:40
Hello. This is pretty cool, probably the best modification that I am looking for from Ana's default plans. Could you please add some more detail on the right side wall, and how you incorporated the support beam through the playhouse? (with maybe a picture from inside of that wall). And secondly, if you can add the dimensions for the monkey bar setup on the left side of the deck? Thanks, much appreciated
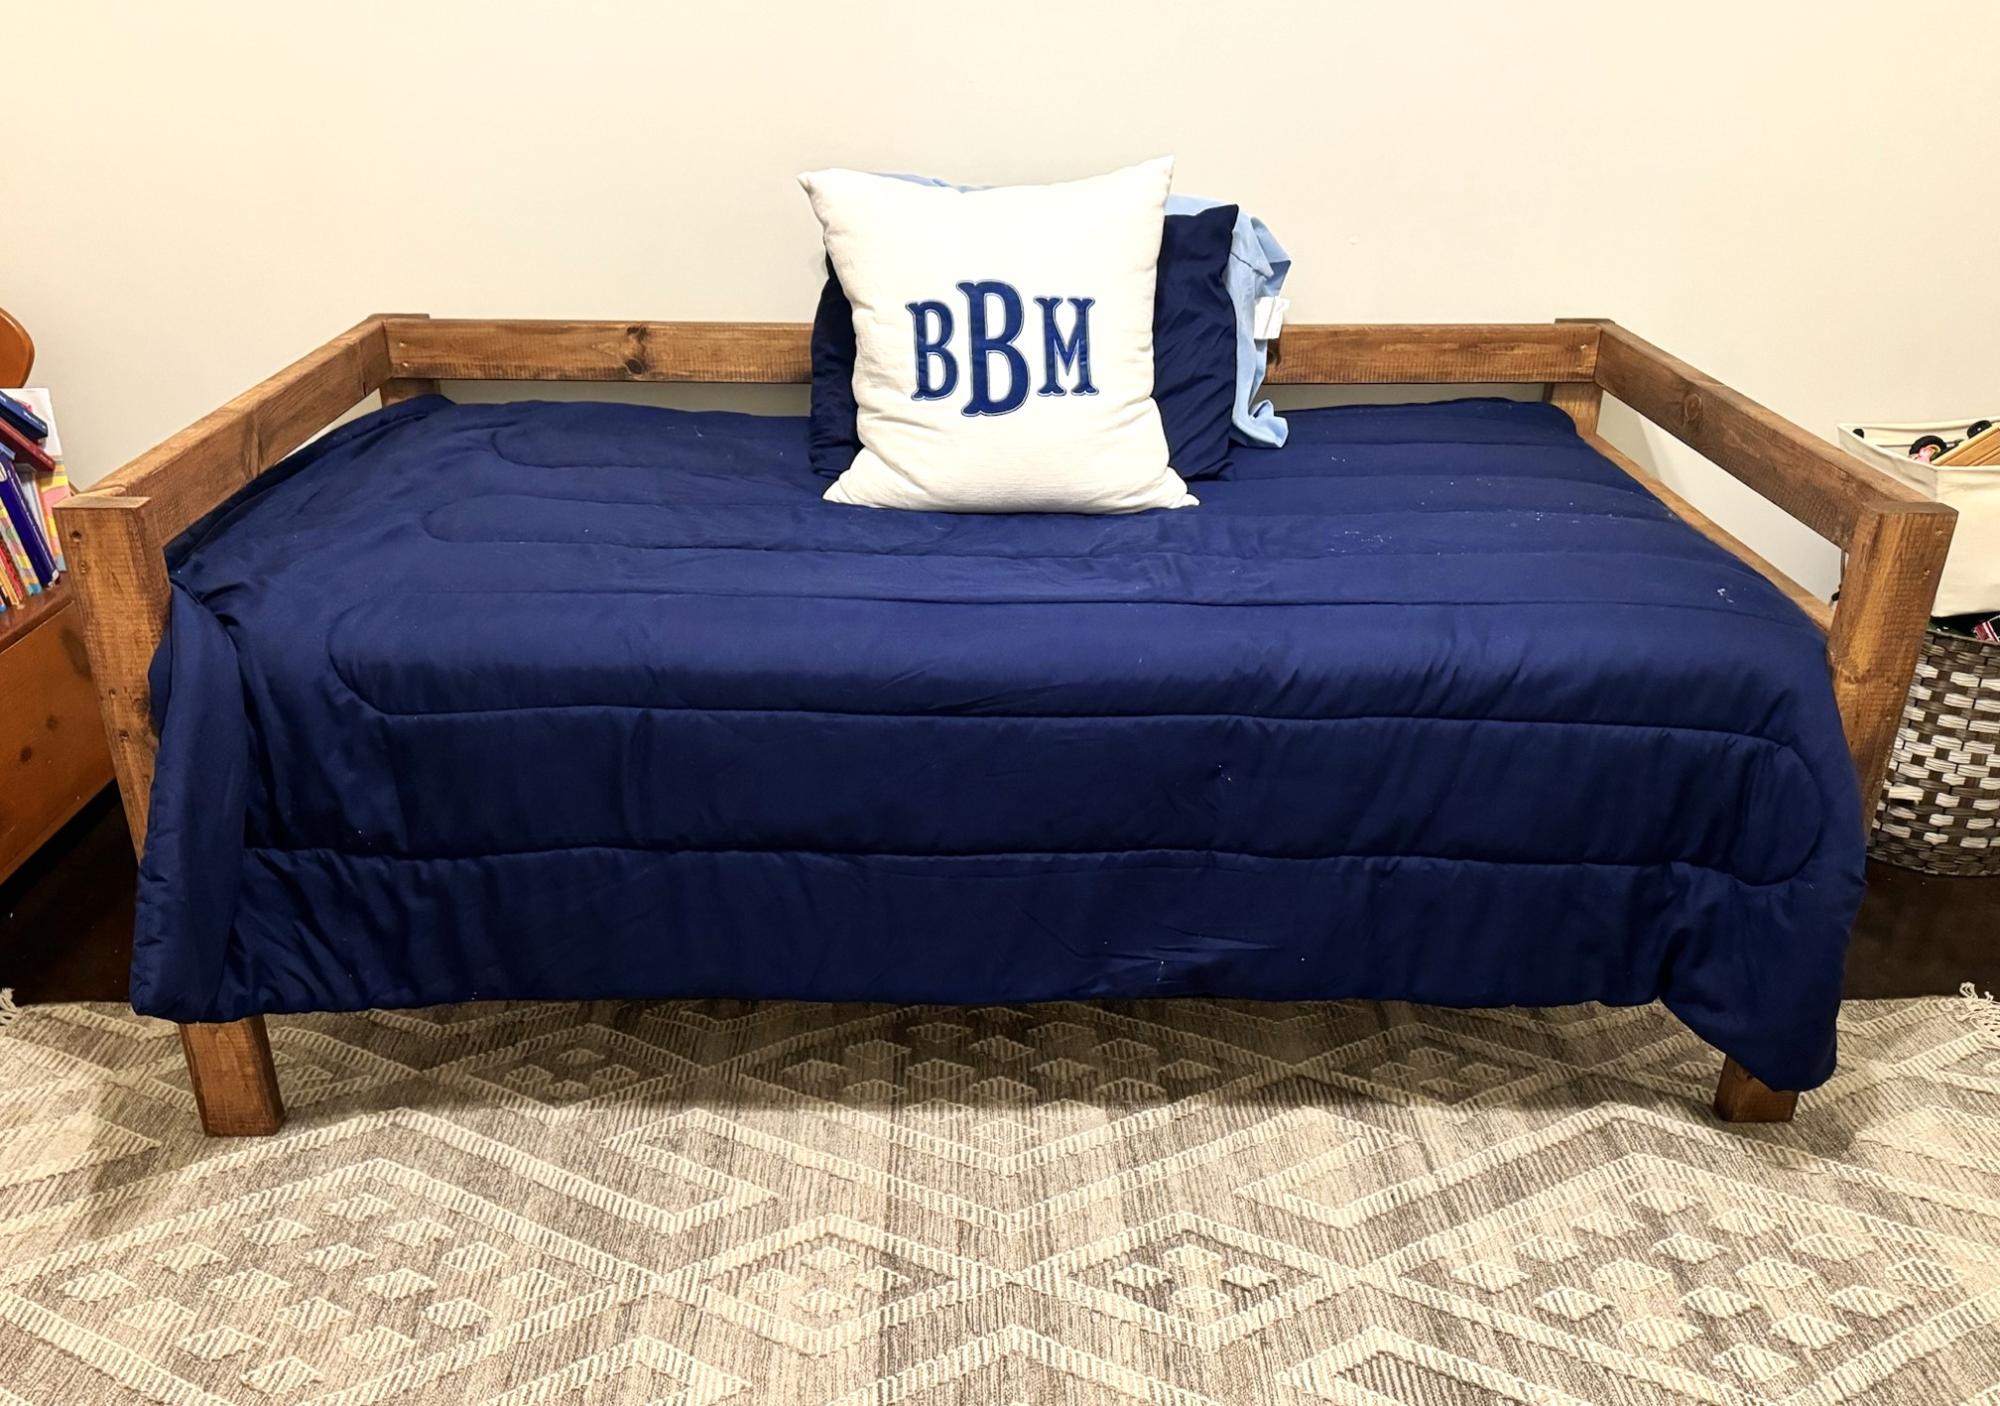
This is the daybed option. The plan and cut list worked great.
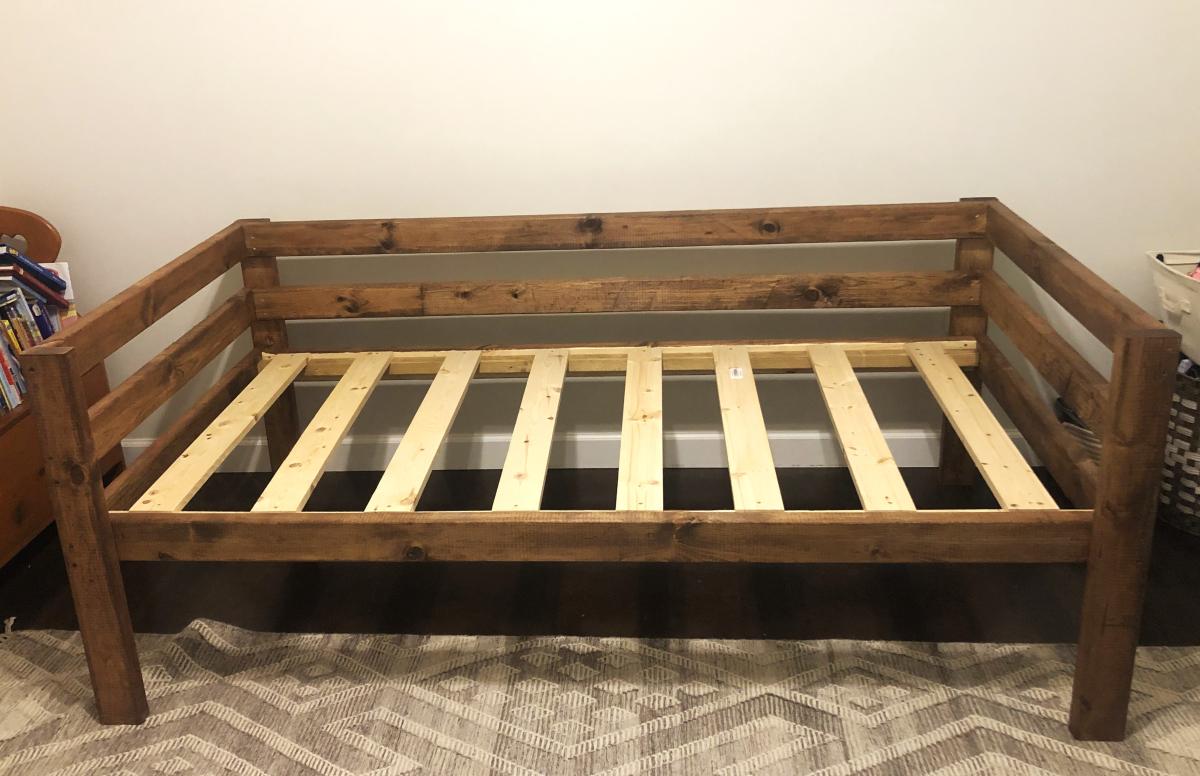
It was a fun project and it went well.
It took me longer to make than Ana, but I am still new at this!
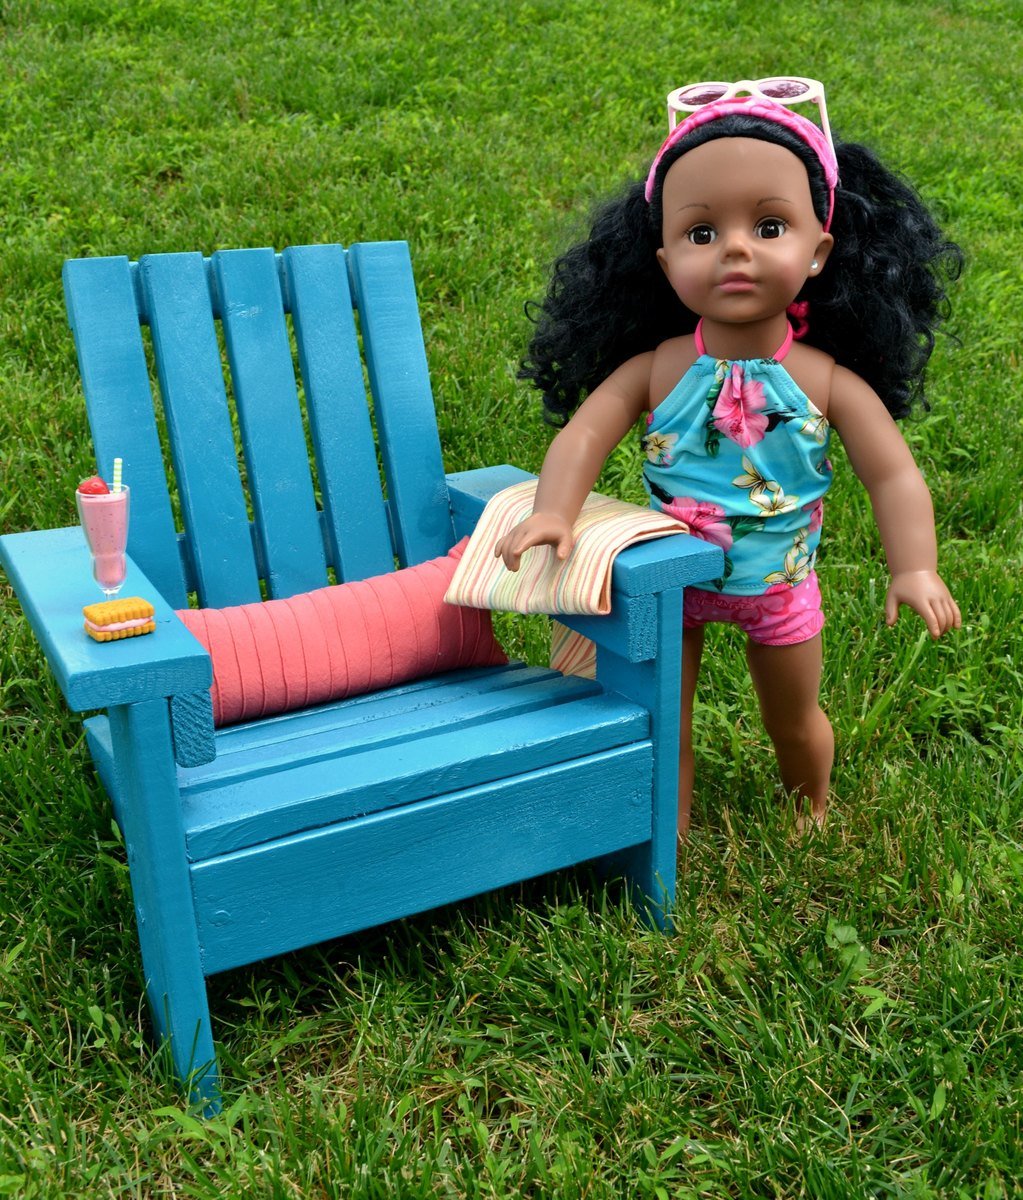
The girls love it and my daughter is very pleased.


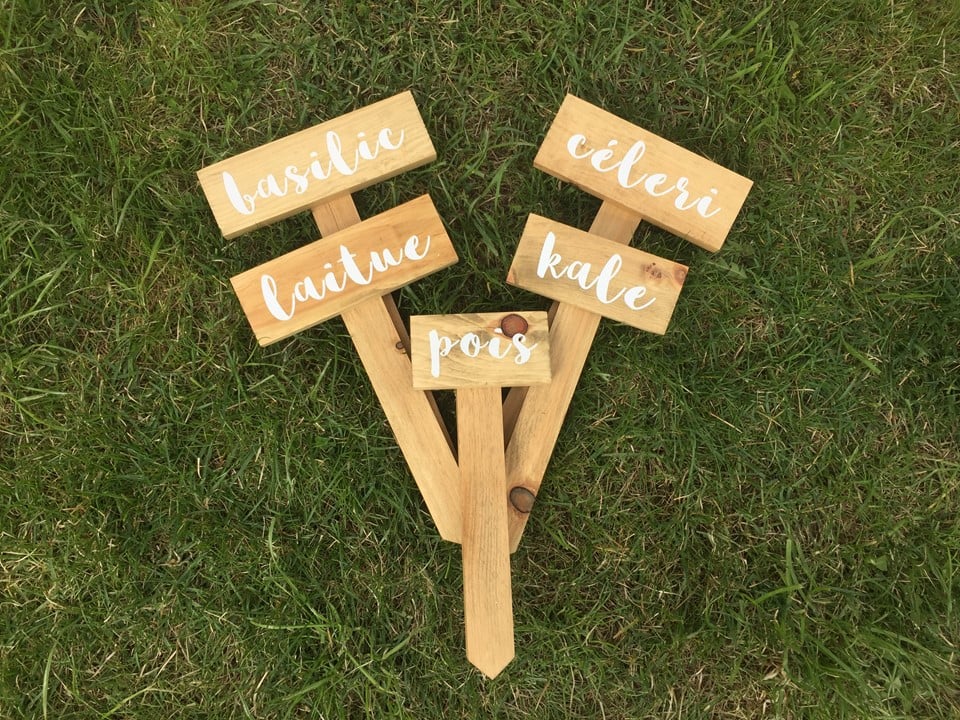
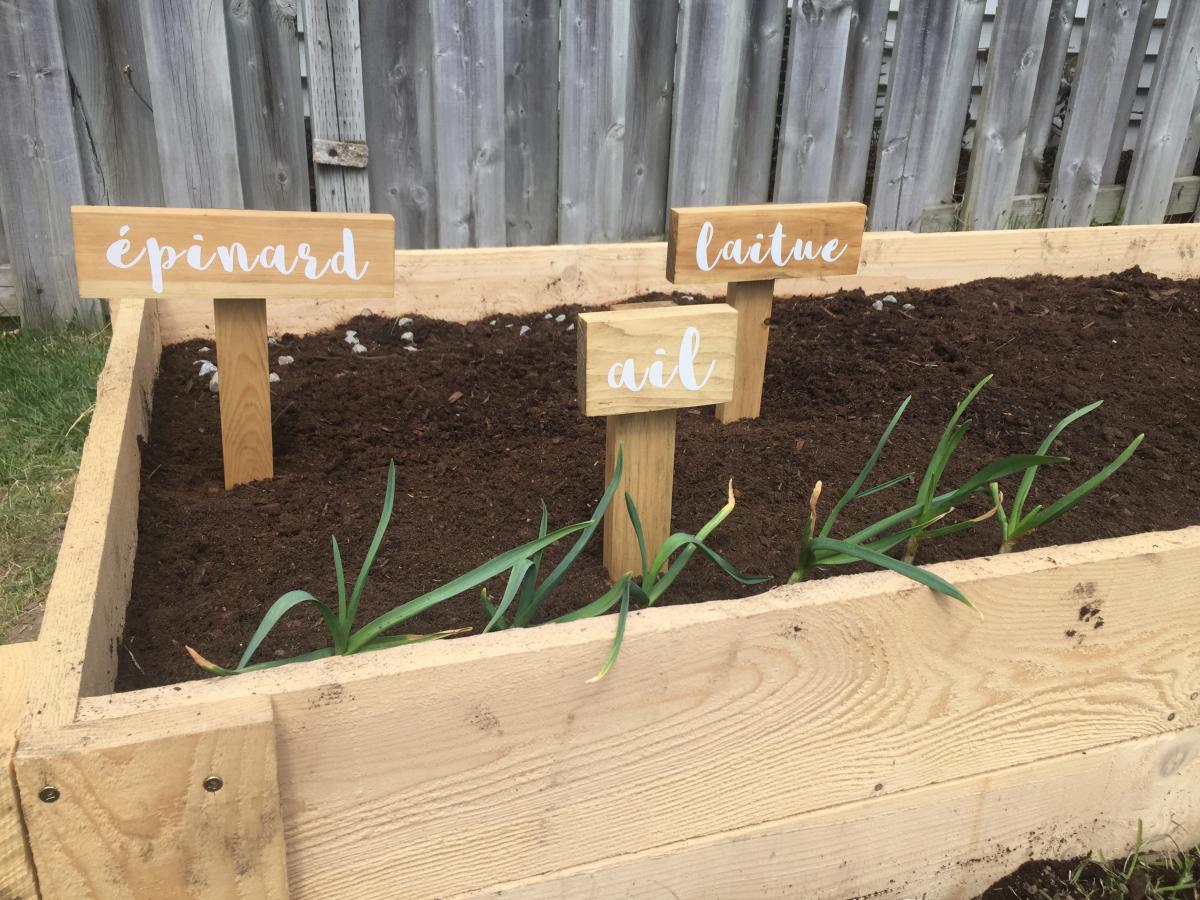
Who doesn't like a great scrapwood project? I made these beautiful garden markers with pine, but cedar would have been even better! I just didn't have any on hand. I used 1x3 to put the name of my vegetables and 1x2 for the pickets. I screwed them with 1 1/4 inch exterior screws.
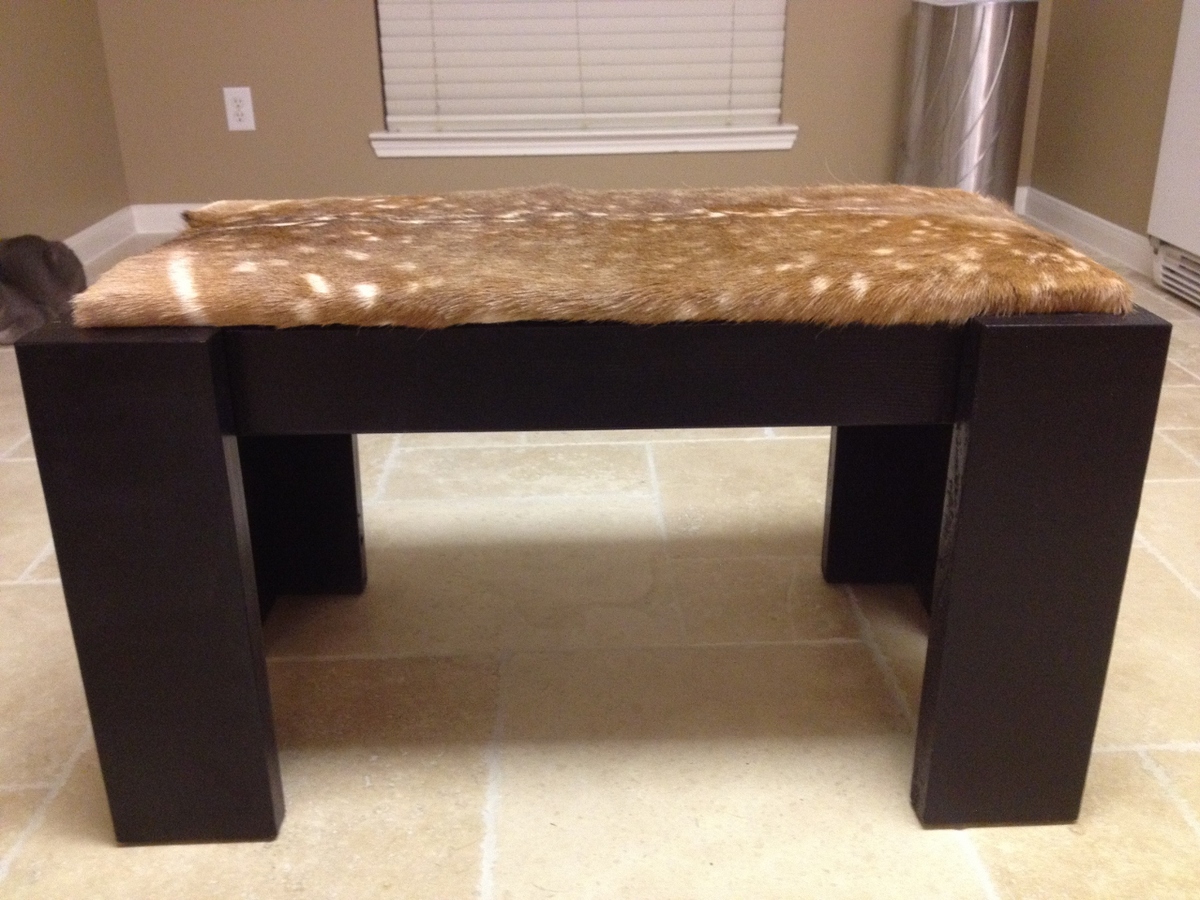
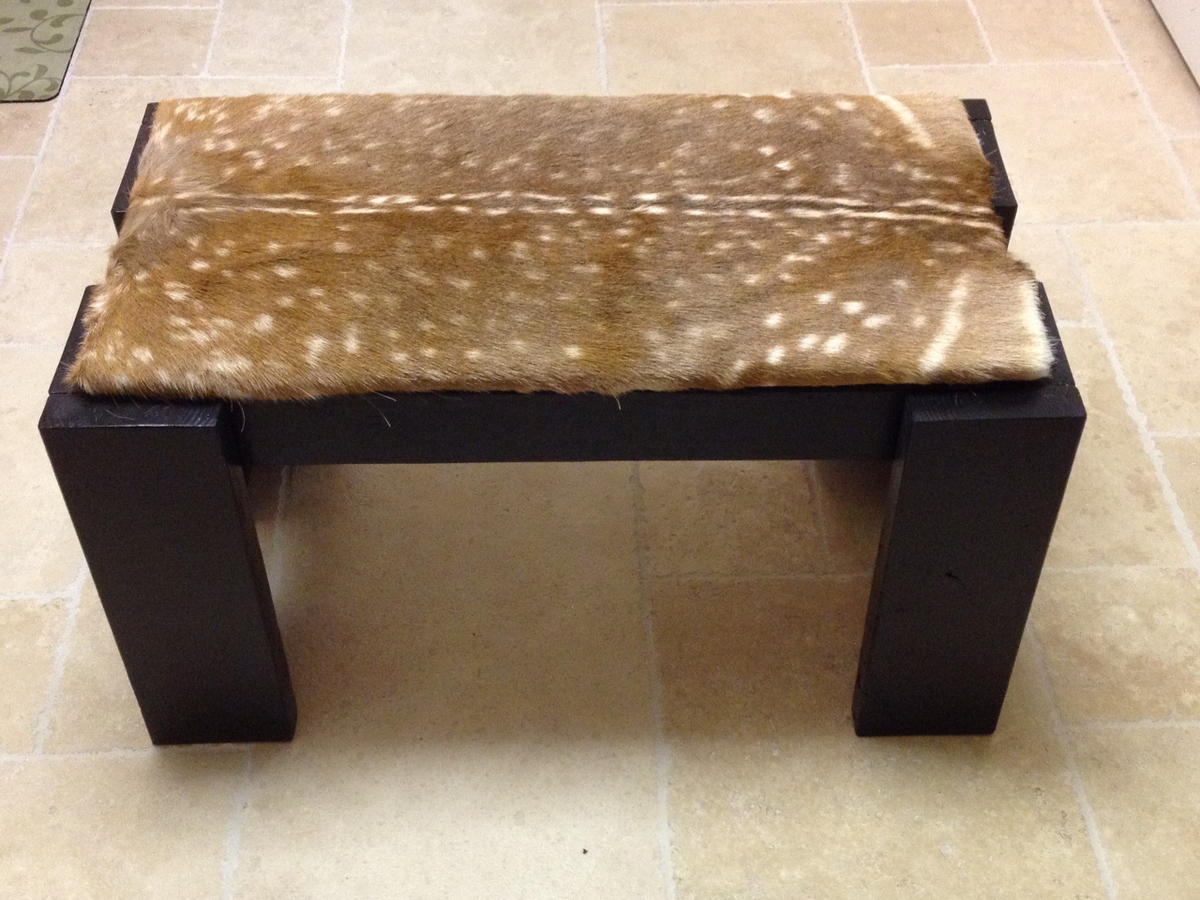
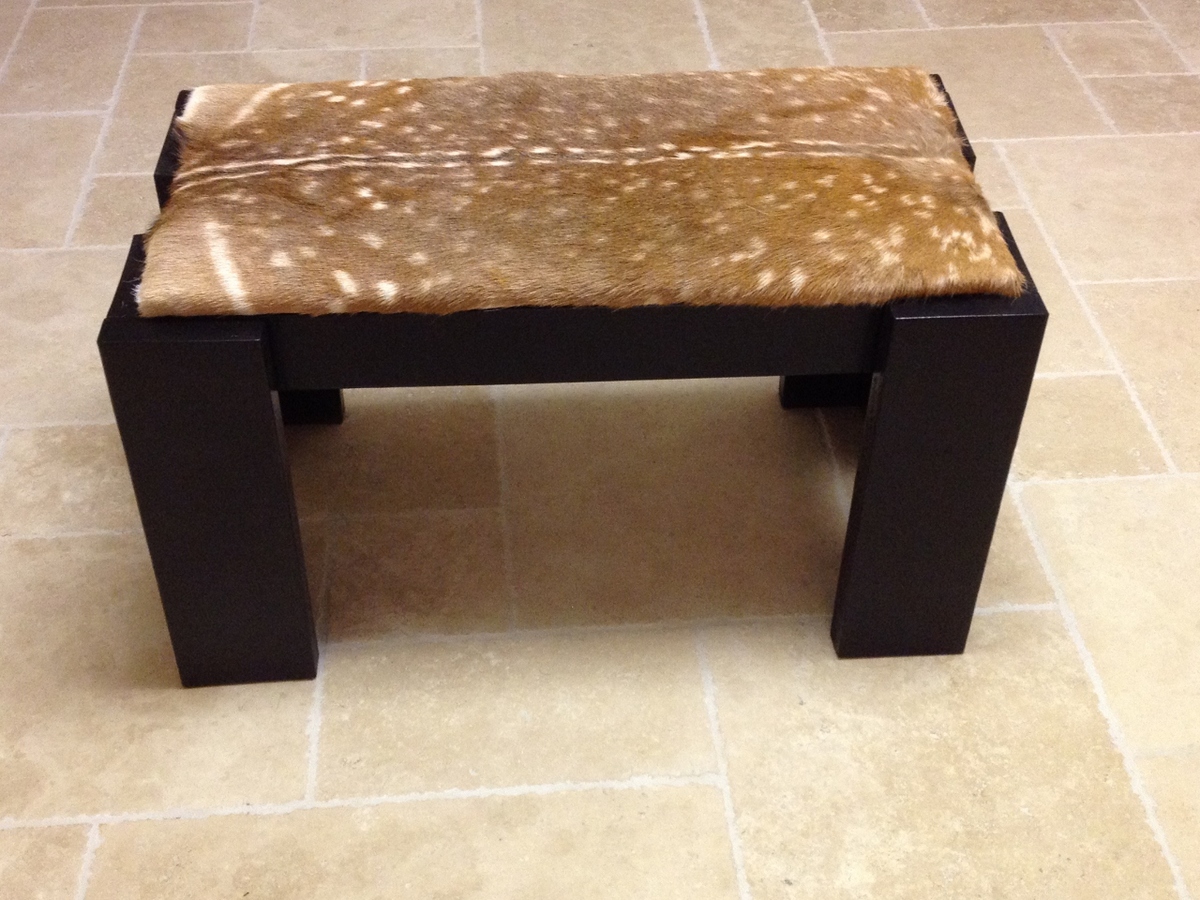
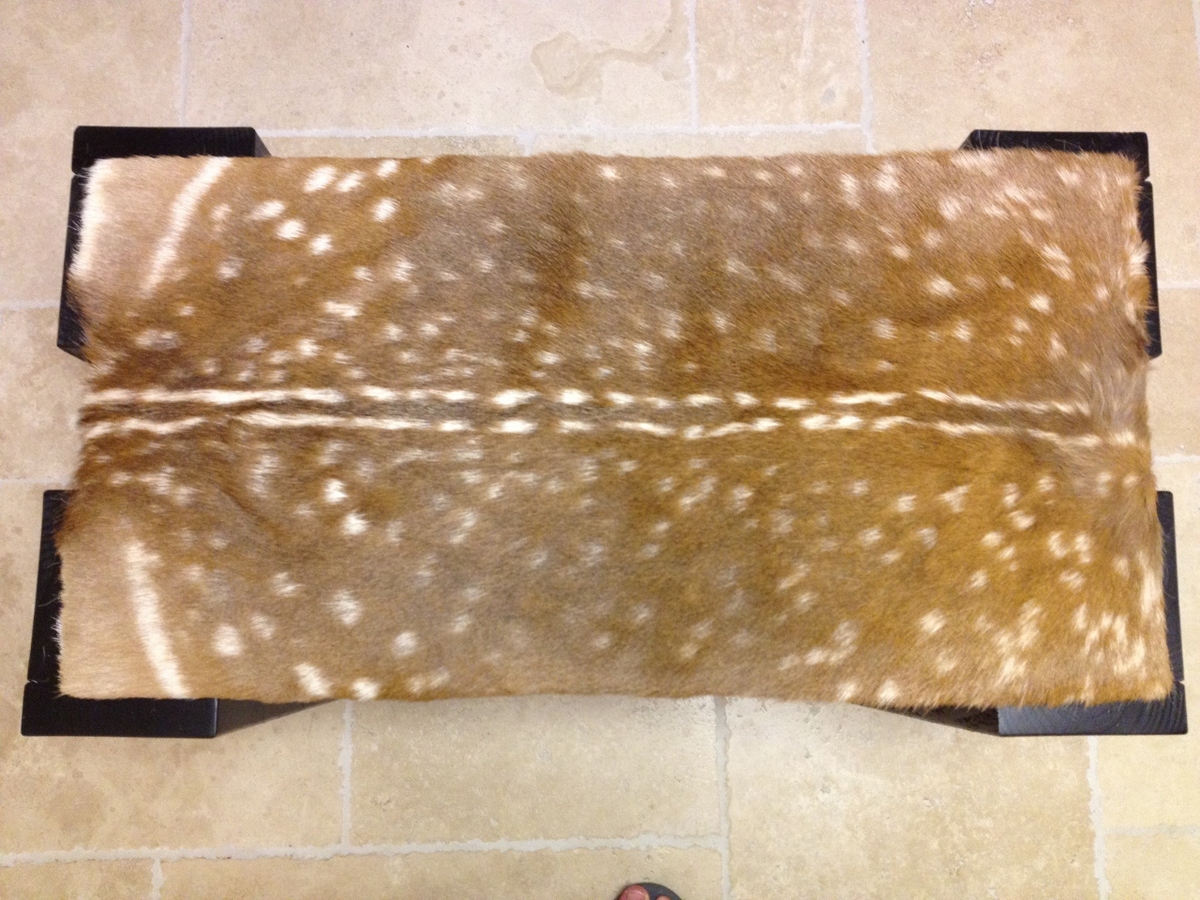
I am new to furniture making and my neighbor and Friend showed me this website. I wanted a piece a bit more modern looking with a rustic flair so I picked this bench for the ease. I did however change the dimension of the bench to accommodate a Fallow that I shot last year and had tanned. I look forward to building the next piece.
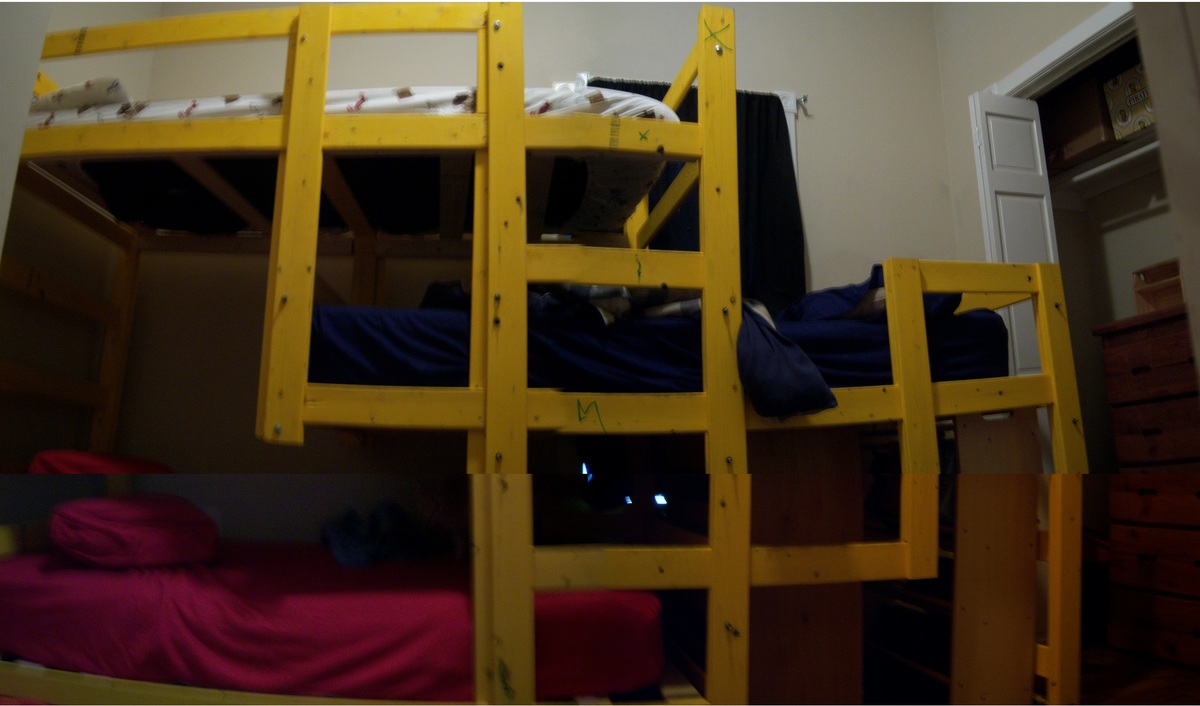
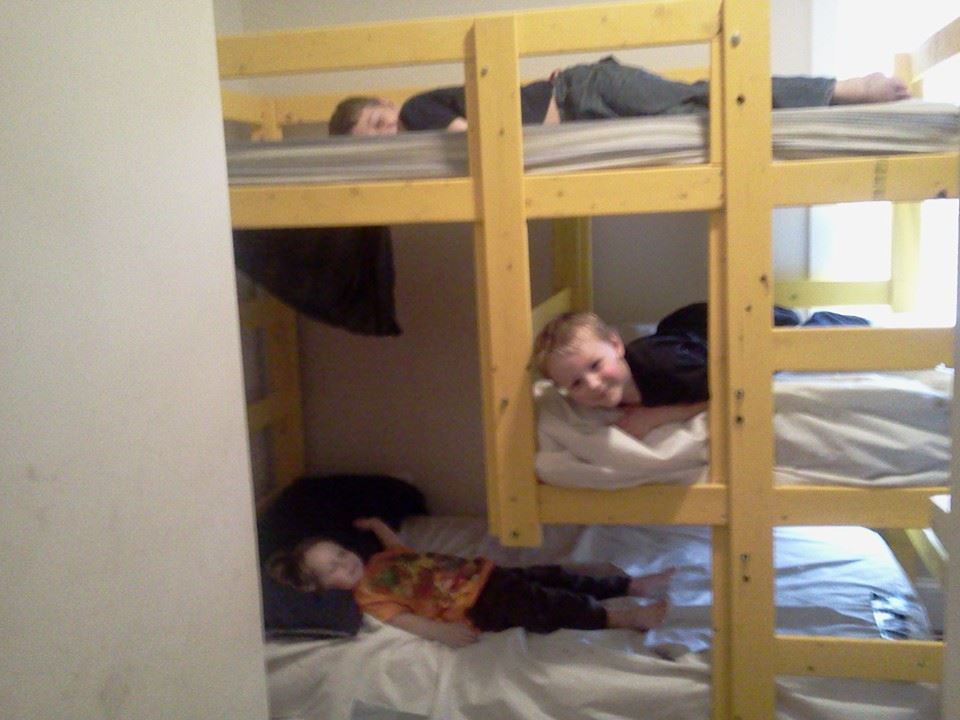
For starters, I apologize for the quality of the photo - the bed is so large and my sons' room so small that I had to splice together 4 different pictures to get a picture of the entire thing. Now, onto the project!
I found the details lacking in the instructions quite often. I definitely recommend having sketch-up installed on your computer so that you can turn the pieces around and see them from both sides - in many parts you're layering wood and attaching pieces on different sides. So being able to rotate the pieces in sketch-up was a huge must for us.
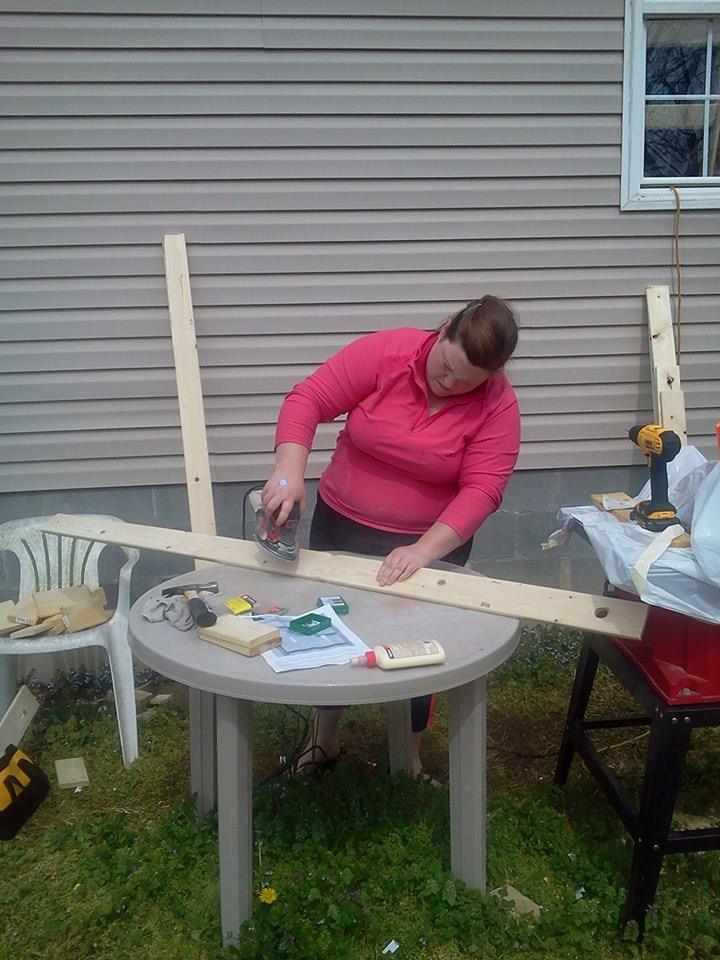
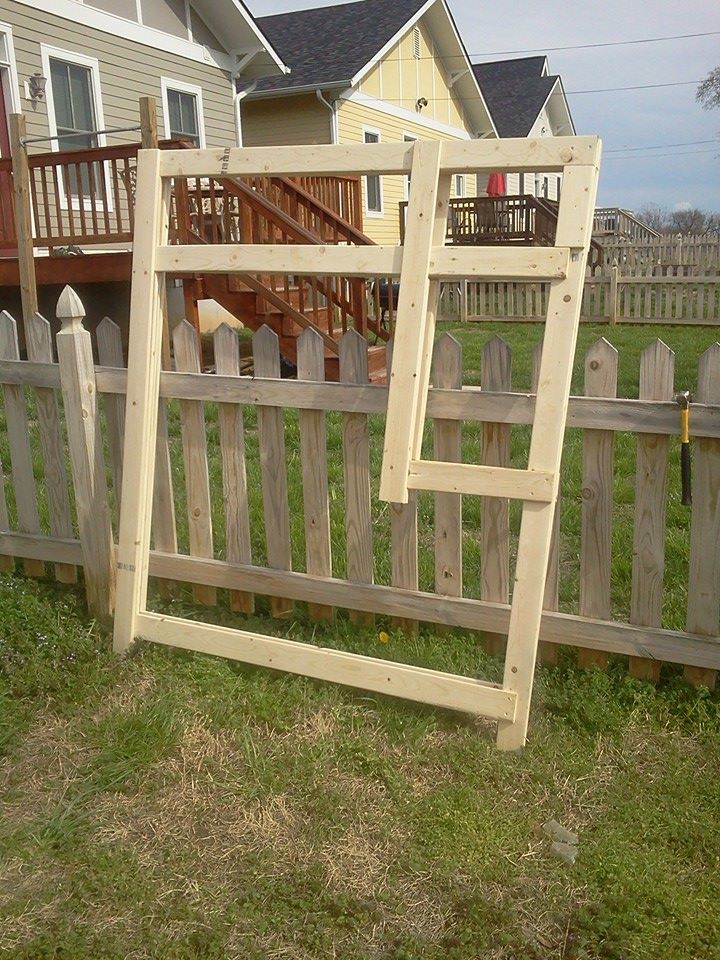
It took myself and my girlfriend about a week or so of working several hours a day to finish this up. Since most of the bed is made in sets of 2, the second set always went faster than the first, since we knew what we were doing.
I also found we needed different size materials than the instructions suggested. 1 1/2" screws were just long enough that they came out of the other side if they were countersunk at all, so we ended up switching to 1 1/4". The plans call for 32 3" bolts and 4 2 1/2", but we needed 32 2 1/2" and 4 2" - when we first put it together we had 1/2 of bolt hanging out of all of the holes - obviously not ideal for 3 little boys running around.
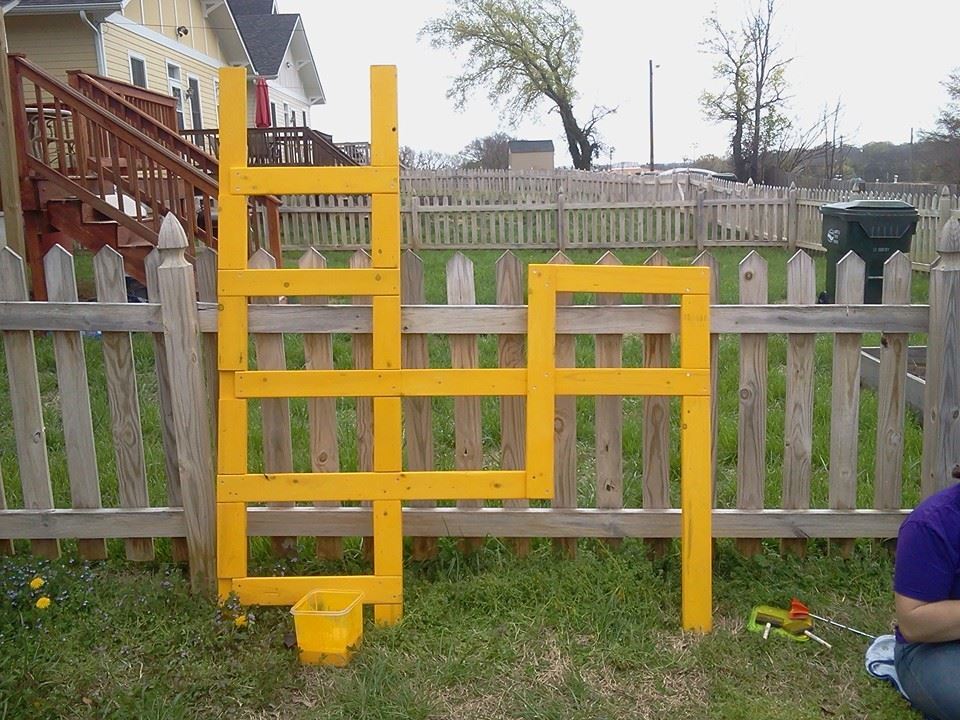
All told this project cost us somewhere between $250 and $300. I had to run out for new 2" screws at least twice, so make sure you buy a lot. We got lucky with the paint and found this super bright yellow/orange in the oops bin for $7, and decided to do a wash instead of painting so we could still see the wood grain. (And my 8 year old promptly took a marker and wrote each boys' initials on their beds - kids!).
All-in-all I'm incredibly happy with the bed - it fits the exact need we had, and unlike the only other plan I found online for a set of 3, it doesn't attach to the wall (which is important as we rent) and will be fairly easy to disassemble when we move.
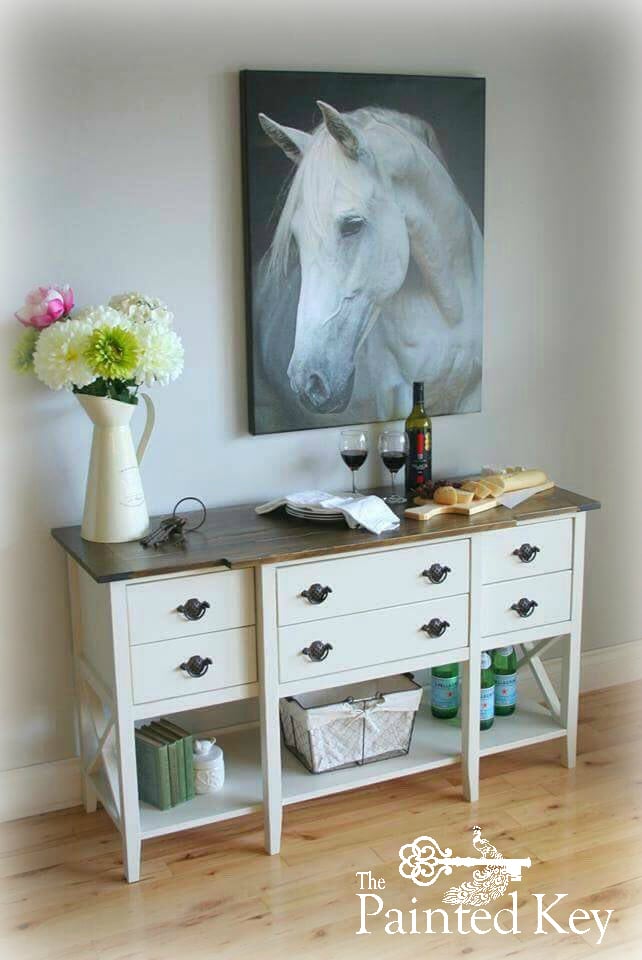
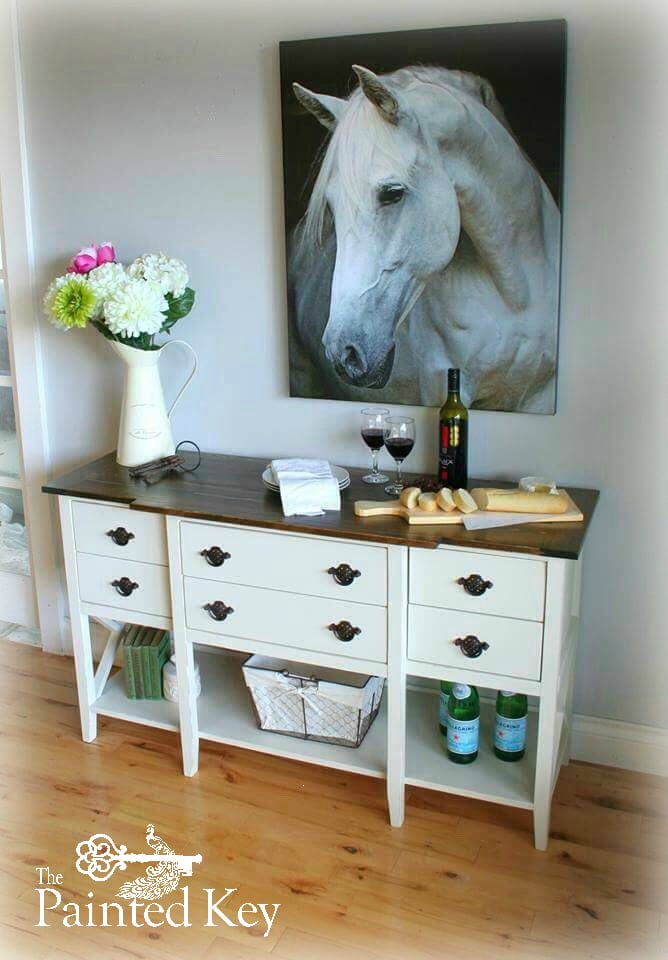
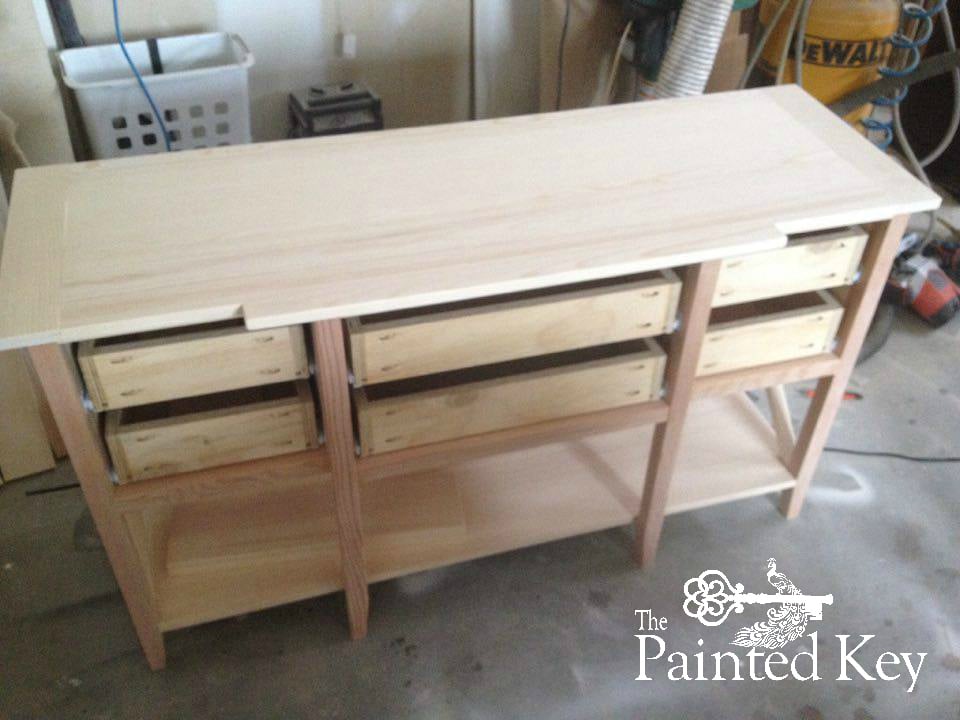
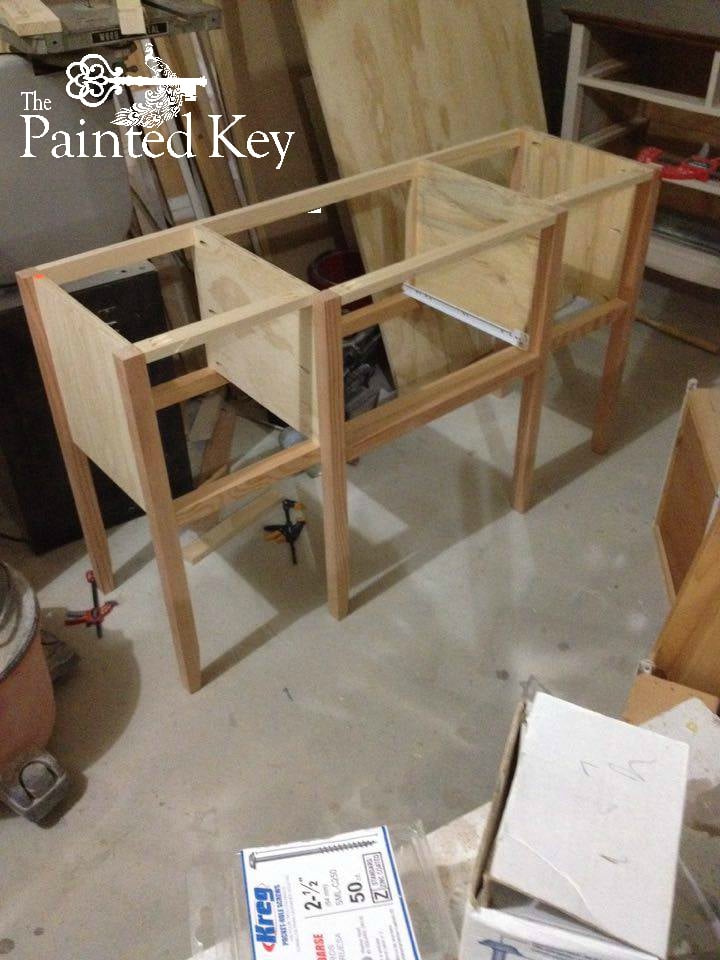
I was so excited to participate in the #IGBuildersChallenge! My modifications included reducing the width a few inches so I could cut two boards from a single 8' length for both the top as well as the bottom shelf. I added two additional legs to the front so I could divide the table into three drawer sections. I also decided to make it two thinner drawers as well. I added the x's on the sides to match the x coffee table I built for our home last month! I used tongue and groove to attach the breadboard ends which is something I'd never attempted before and is something I will try again. The top is stained in Minwax Jacobean and topped with a satin wipe-on poly. The base is painted Ashwood which is a Benjamin Moore colour I had colour matched at Home Depot in their Behr Premium Plus line and then topped in a satin polycrylic. I'm thrilled with how my table turned out and have already received a request from a friend to build her one for their home.

In reply to I love your version of the by handmadewithash
Sun, 07/24/2016 - 19:19
Thank you so much Ashley!!! :) It was such a fun challenge!
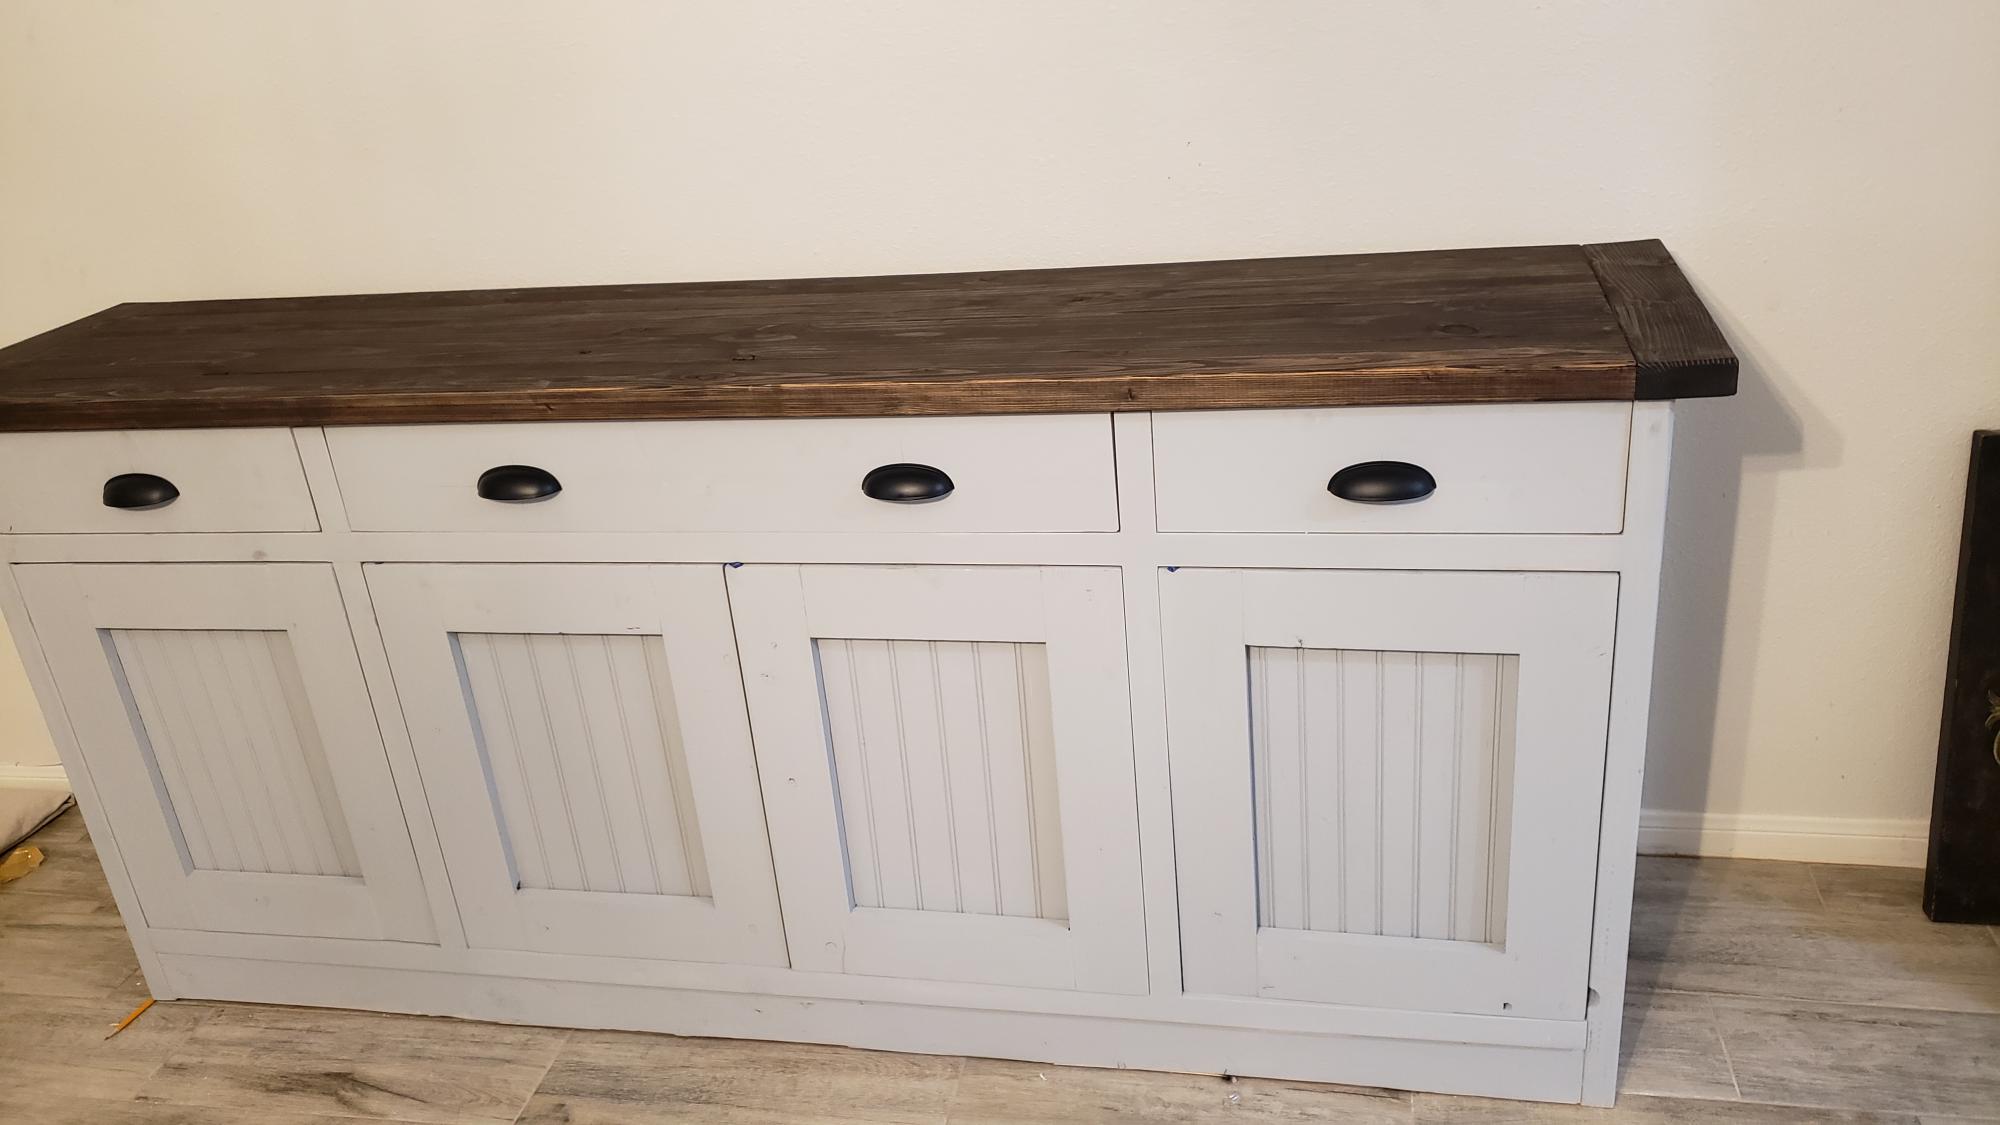
Build was very satisfying. It did present some challenges and a decent learning curve. Drawers almost drove me mad, my own doing, buffet wasn't level and top had not been attached and the drawers wouldn't line up. Failed to ensure i was level on the tile floor I was working on.
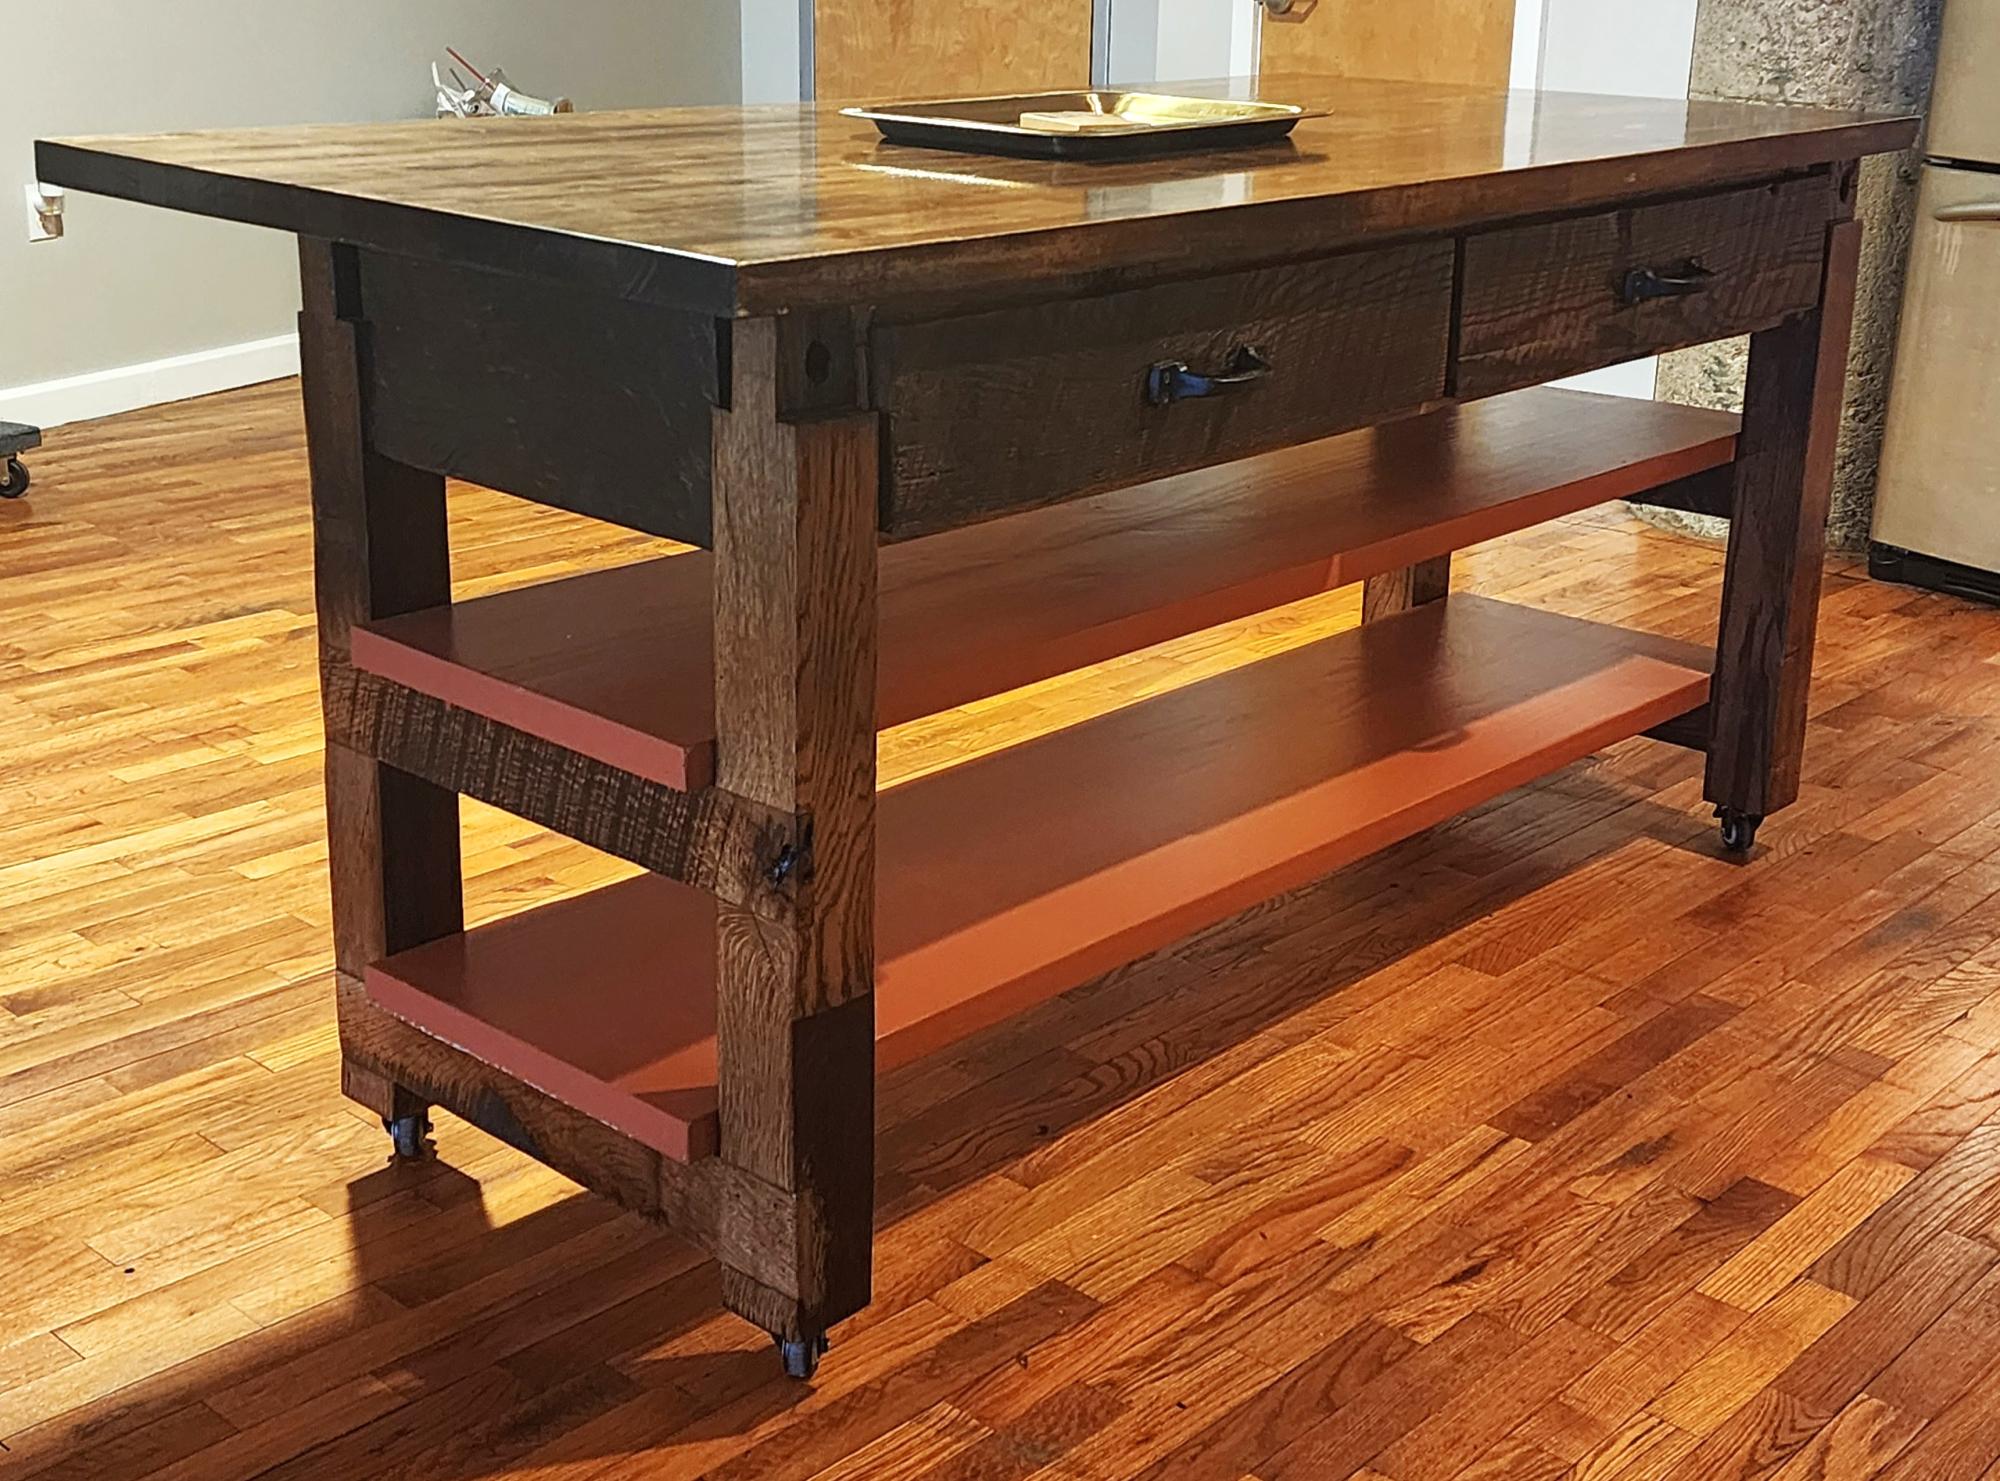
My daughter bought a condo this past summer in St. Louis, MO. It's in an old factory that was rehabbed into condos. It's very industrial looking. Her condo has a lot of open space in the kitchen. She asked me to build her an island. I've previously used several of your plans to build various pieces of very functional pieces of furniture for my daughter, my son, and my wife and me. But this one is one I am especially proud of. I based it off your plan, "Michaela's Kitchen Island" modifying it to meet my daughter's unique needs. The majority of it is oak barnwood reclaimed from my wife's grandparents barns that were torn down to make way for an interstate highway. It is very attractive and user friendly. My daugher couldn't be more pleased. Thanks for all your great building ideas and plans. You've made this dad and daughter very happy.
Greg Winemiller, Mount Carmel, IL
I needed a new island for my craft room, so we used the Michaela's Kitchen Island plan and modified it to be 30 1/2" deep. First time with drawers...they were a booger!!
Wed, 01/16/2013 - 22:10
Hello, I check your blogs regularly. Your
story-telling style is witty, keep up the good work!
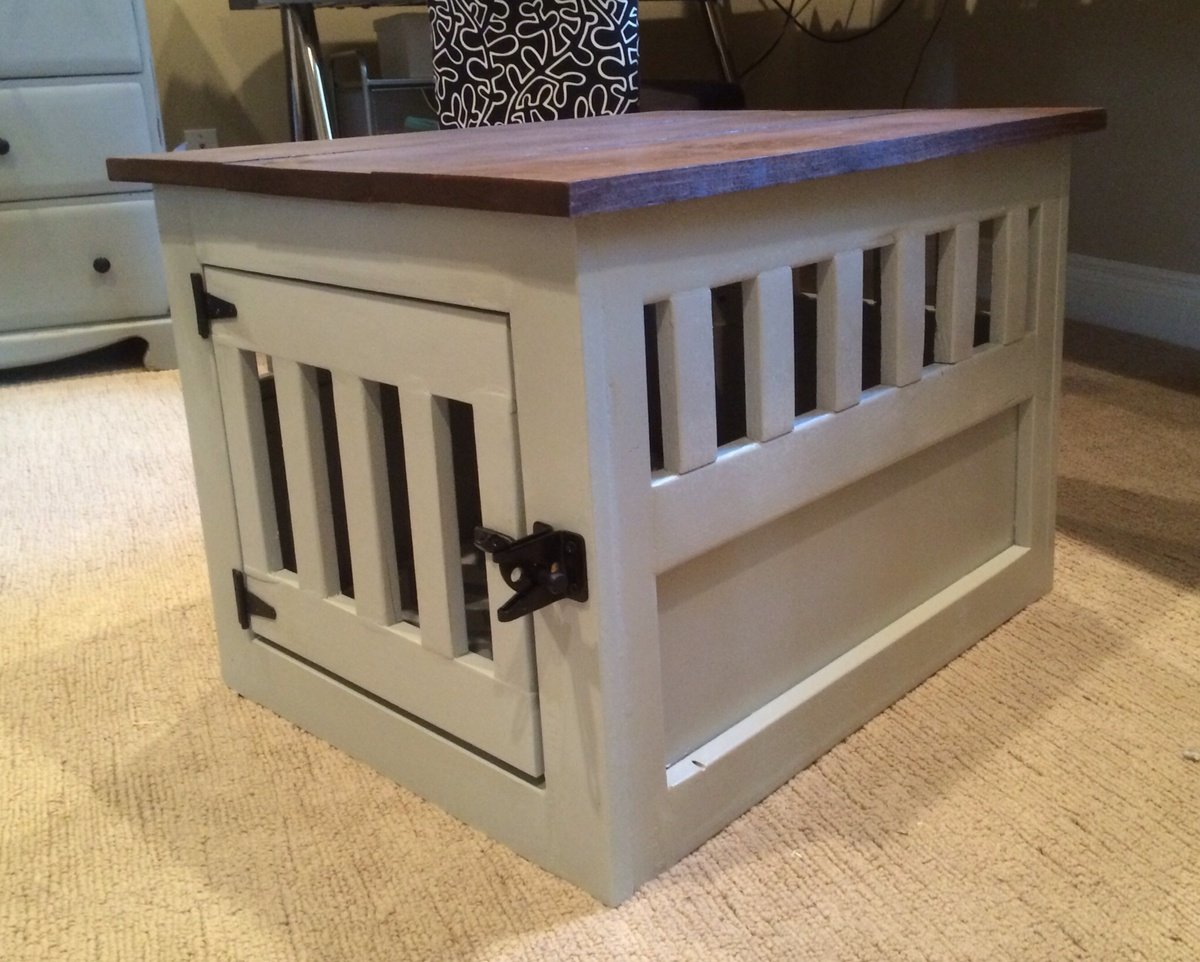
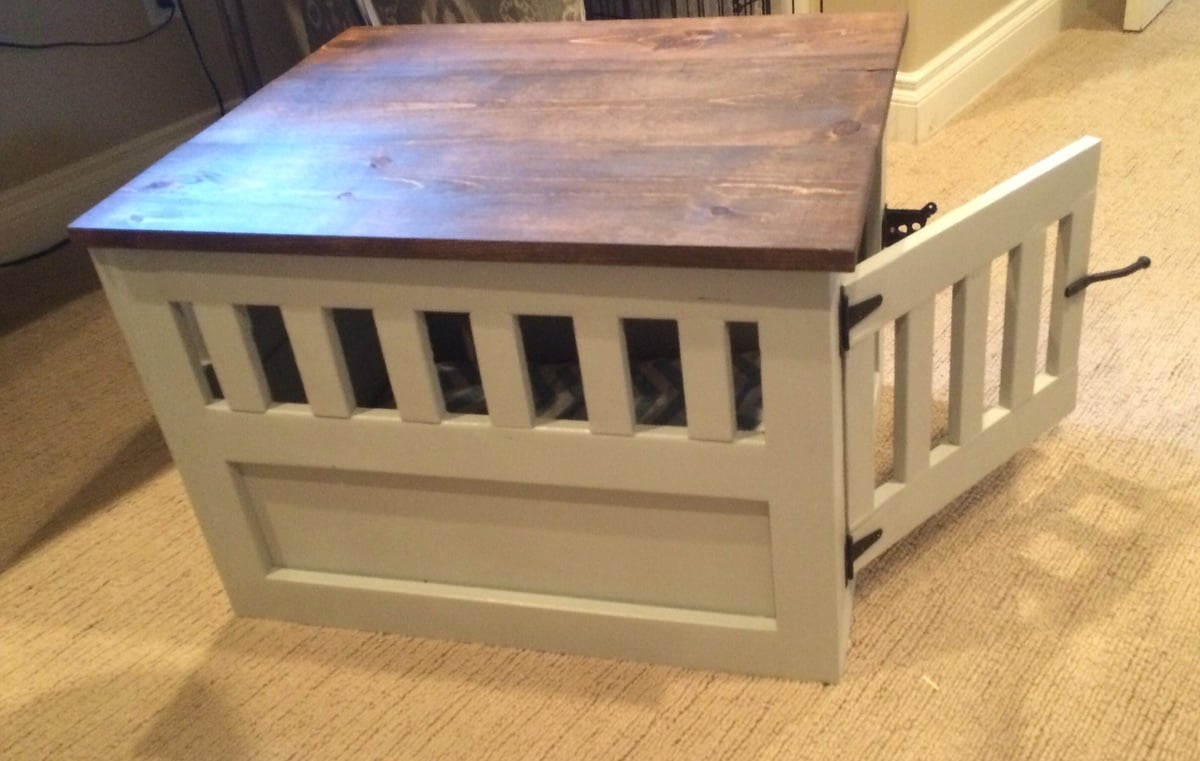
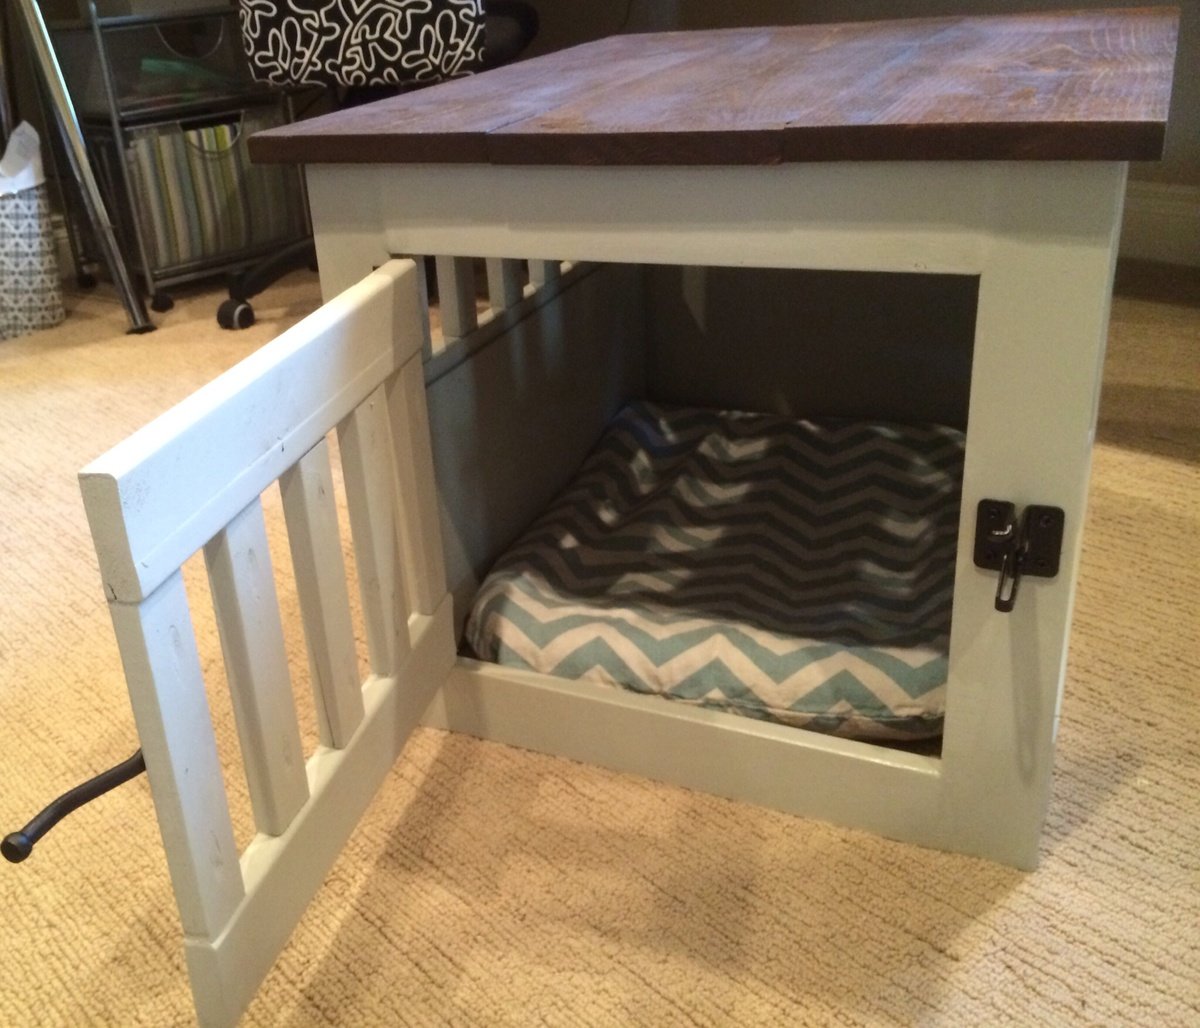
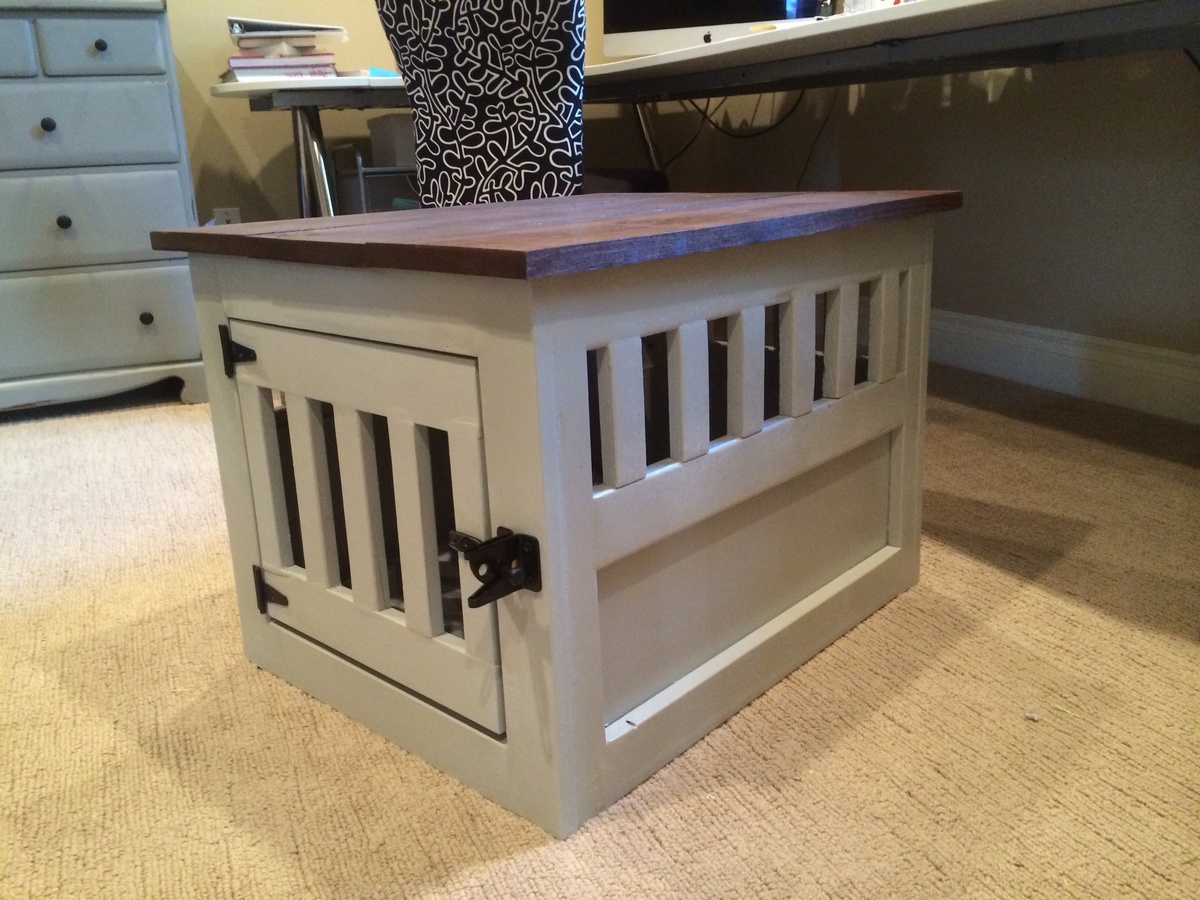
This plan was modified for a small dog. The measurements are 18w x 19h x 24L. I added pocket holes to all the boards around the top of the base so I could easily attach the wood top. It took me 2 days but only about 6-7 hours total.
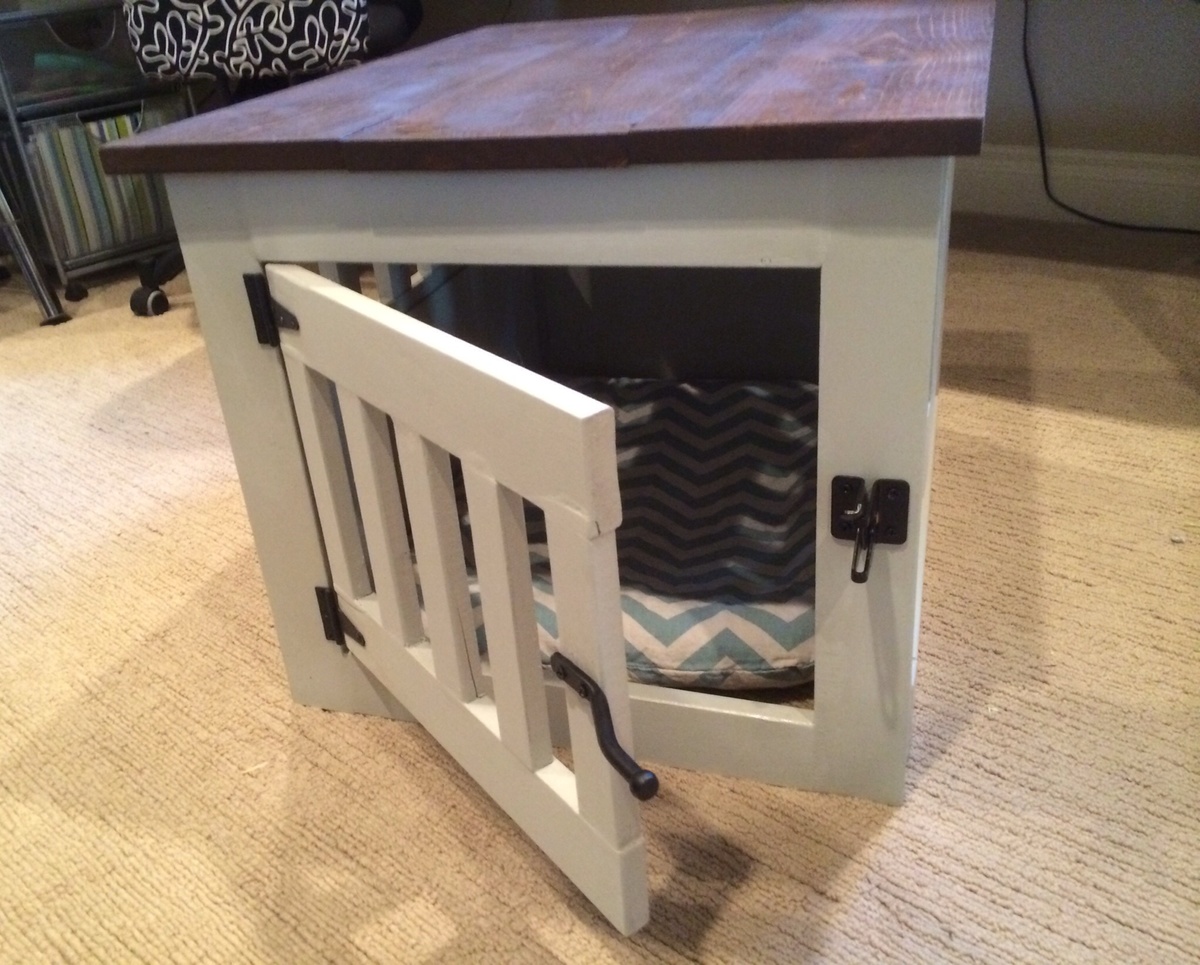
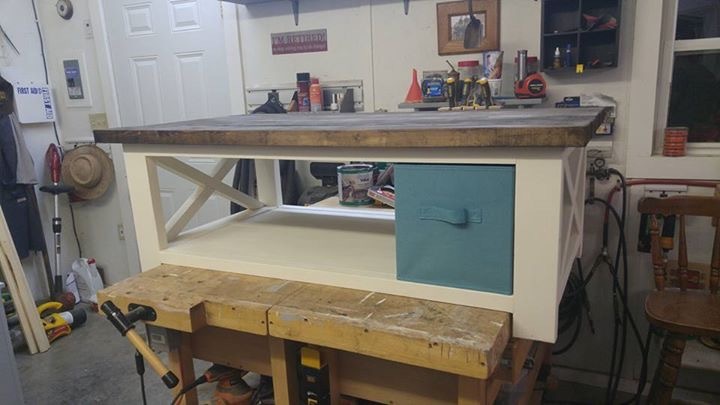
This table was very easy to build. A little bigger than I expected. You can fit storage cubes in it perfectly.