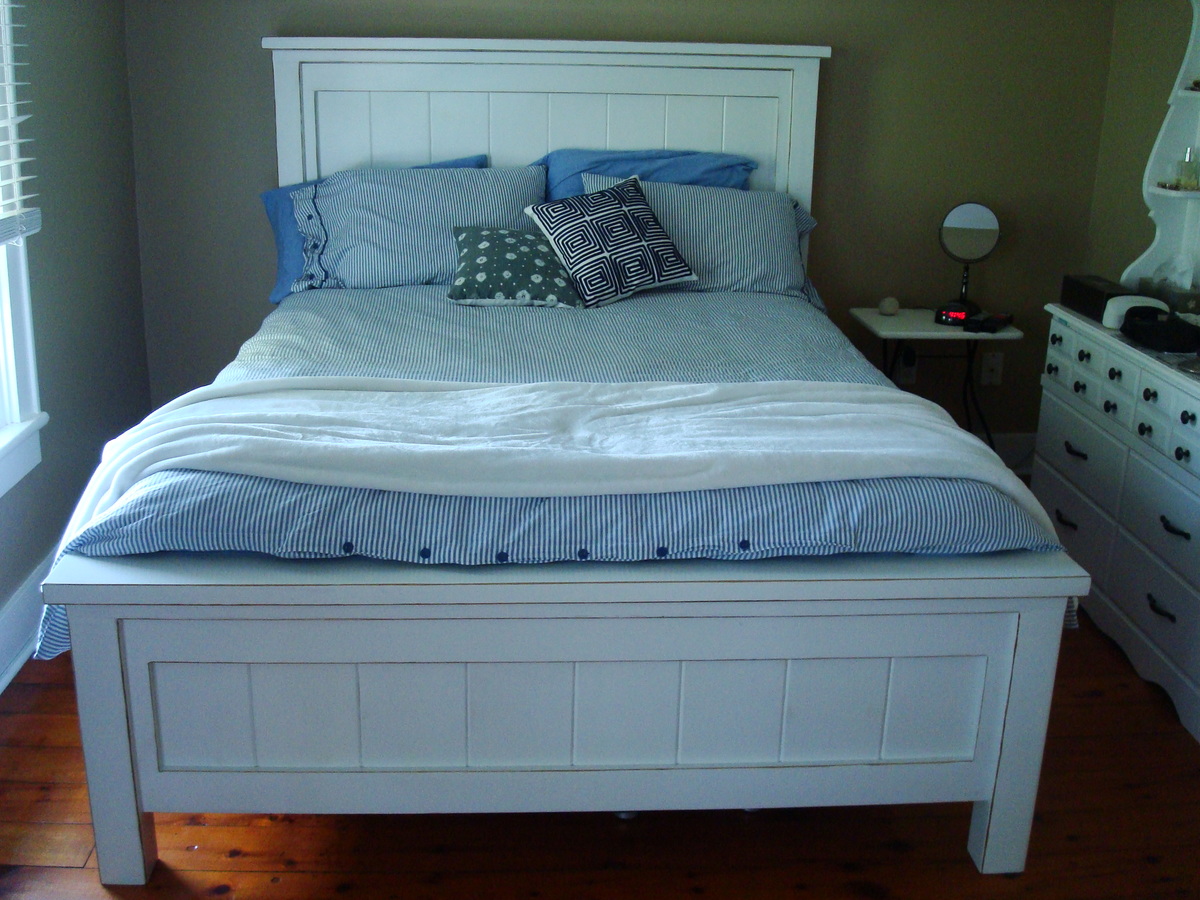
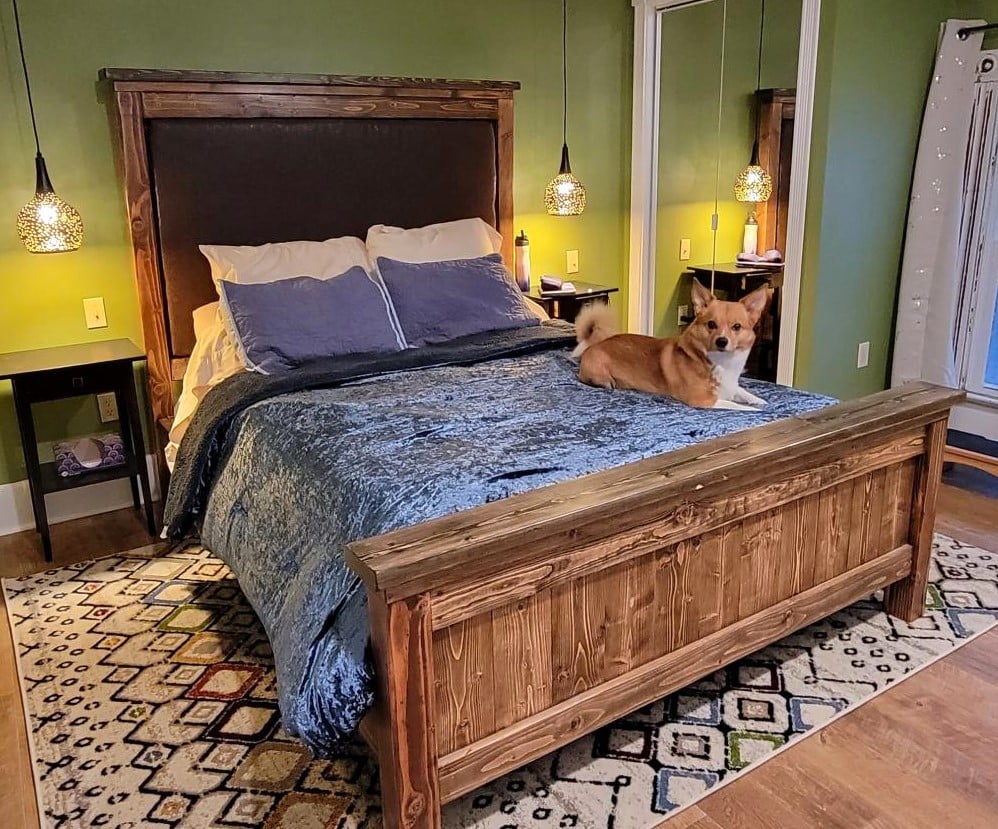
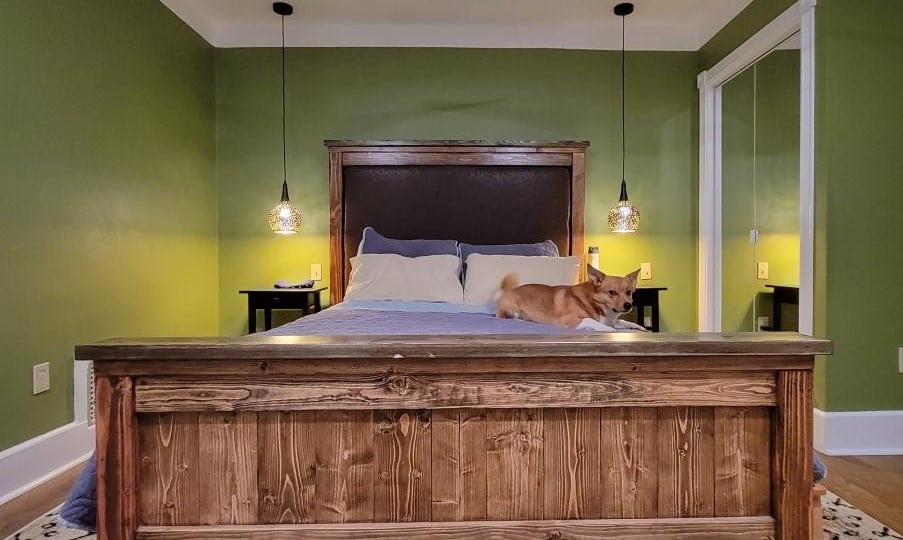
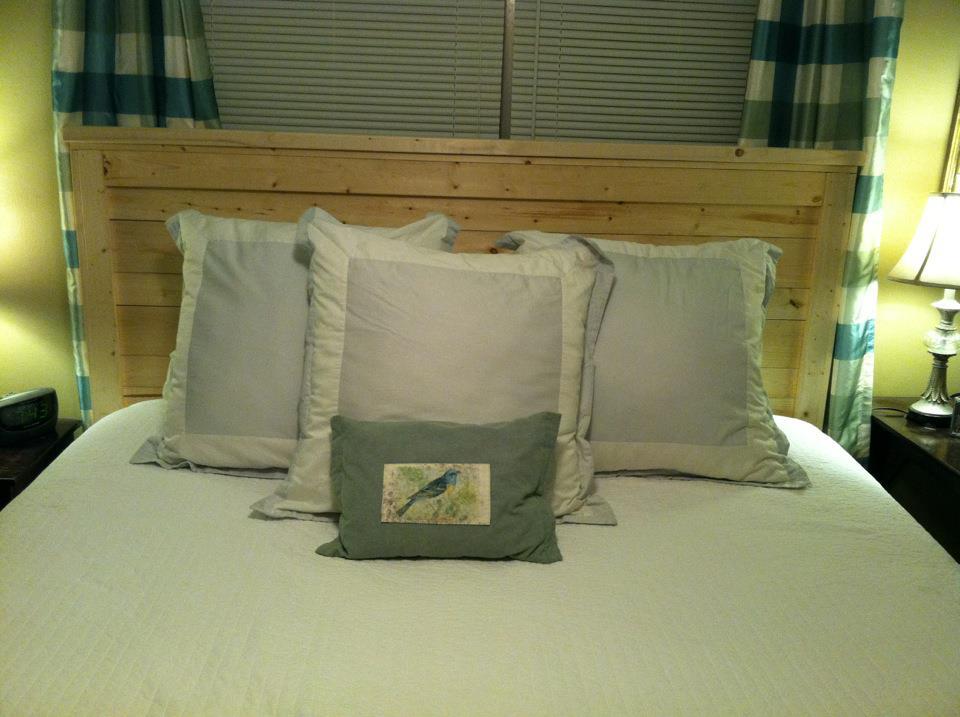
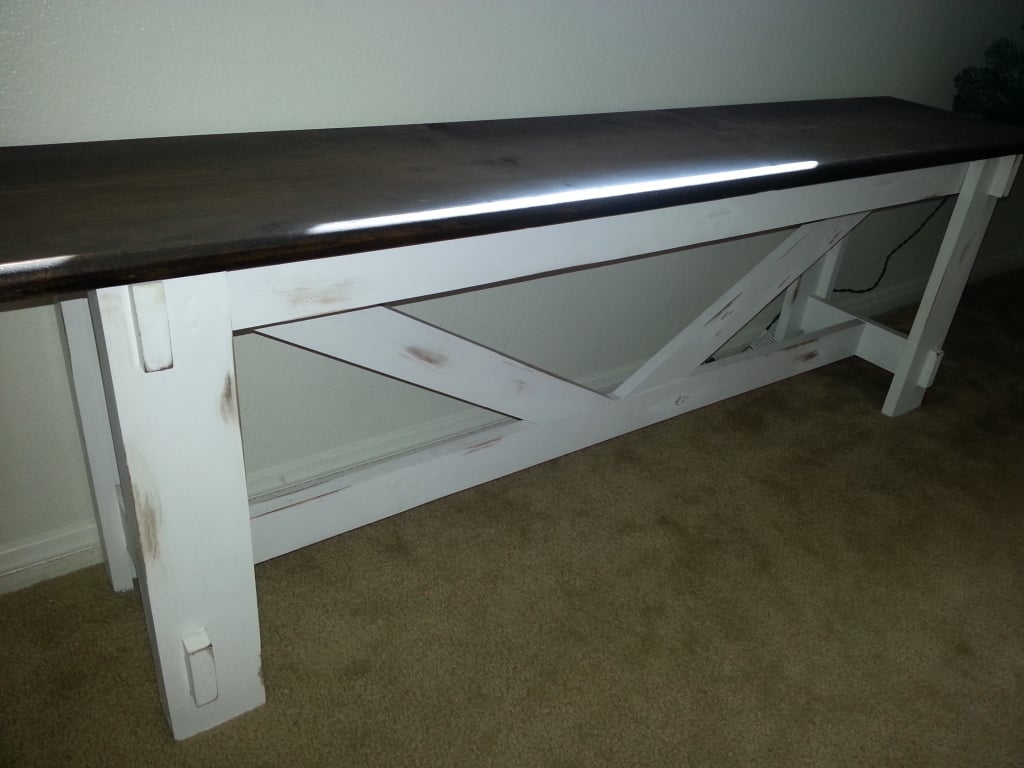
Farmhouse Queen Bed

First building project ever! I wanted a new bed for our new mattress and got inspired when I came across this website. A compound mitre saw, orbital sander, nailer, and many more tools later, I am building furniture whenever I get a chance!
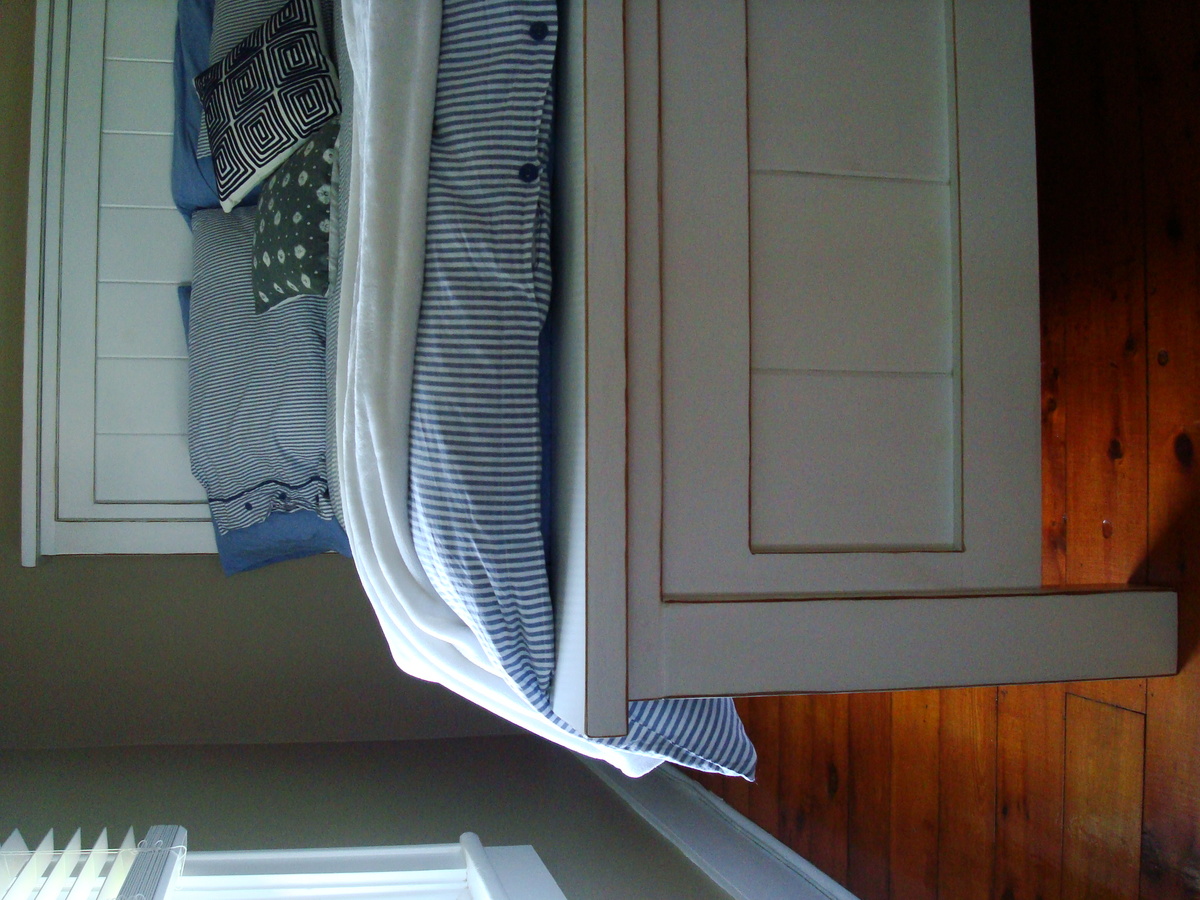
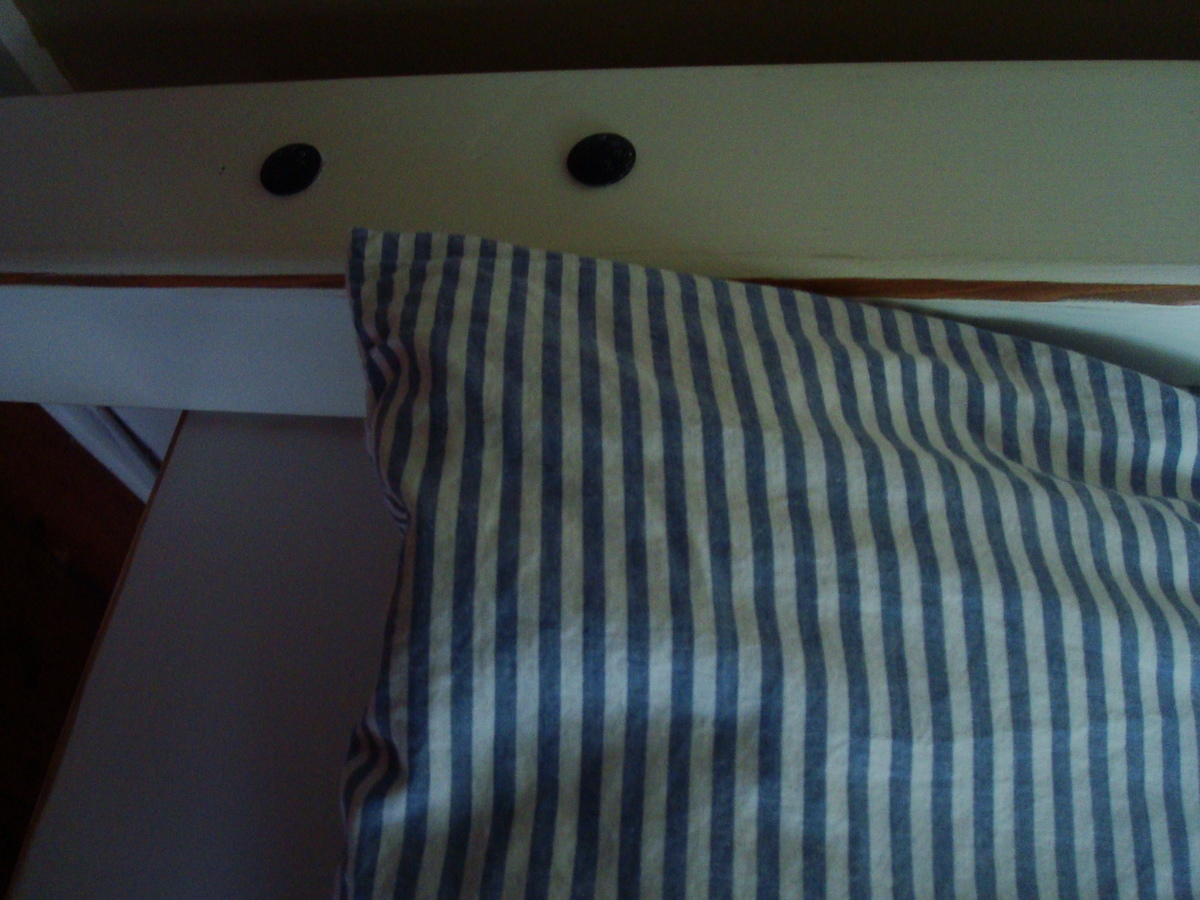
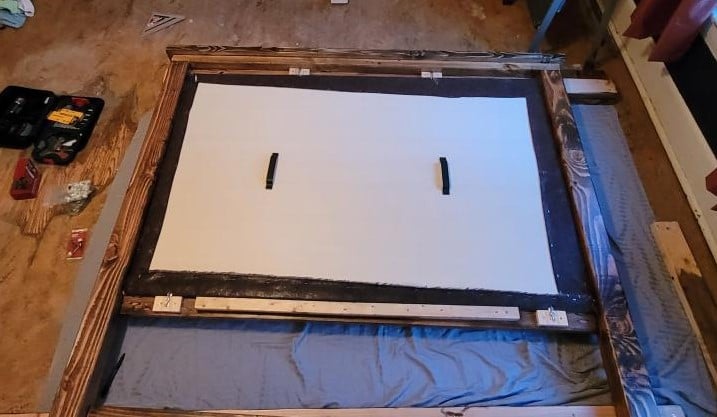
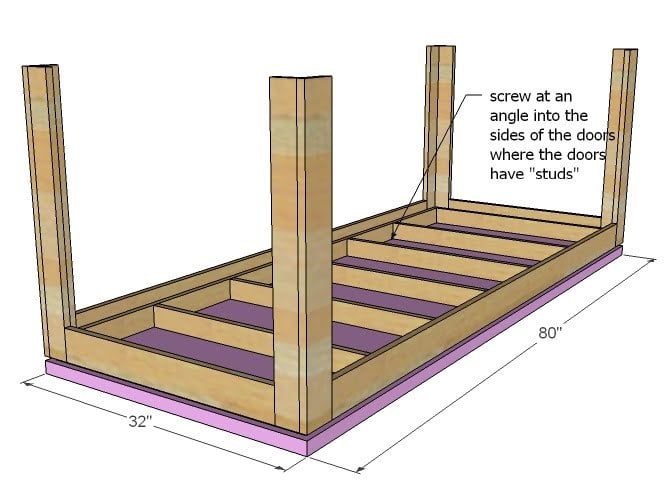
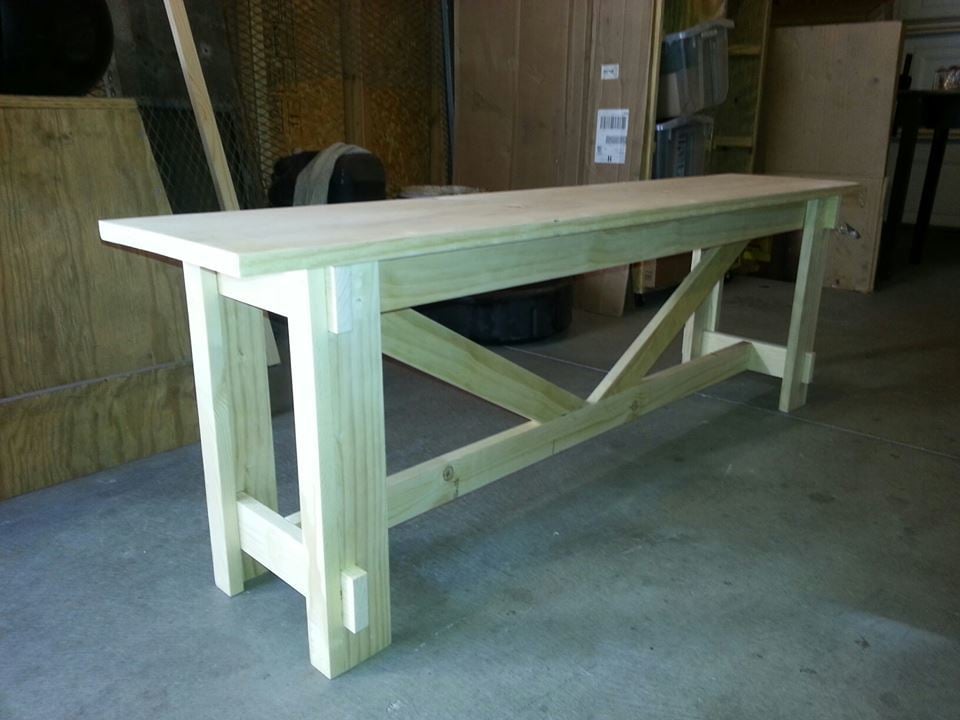
Modified the way I attached the frame to the head board and foot board a bit. I used joist hangers on the footboard, which the frame slid into perfectly, and secured it with a couple screws on each side. I attached the headboard with 2 large carriage bolts on each side through the posts and frame.
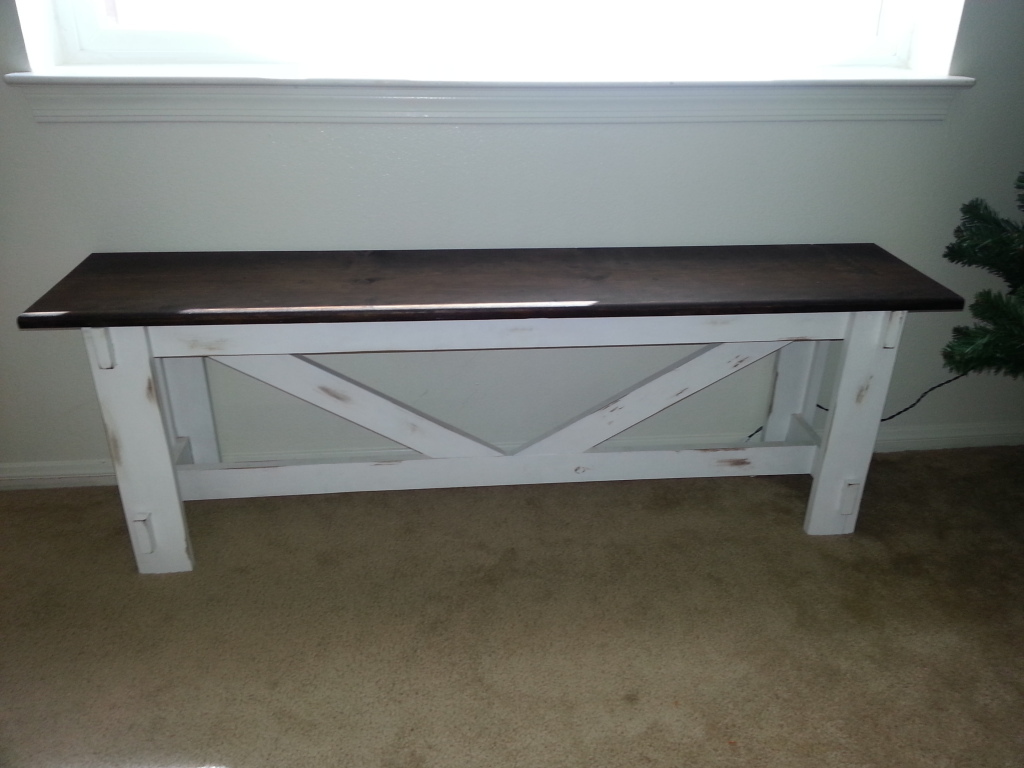
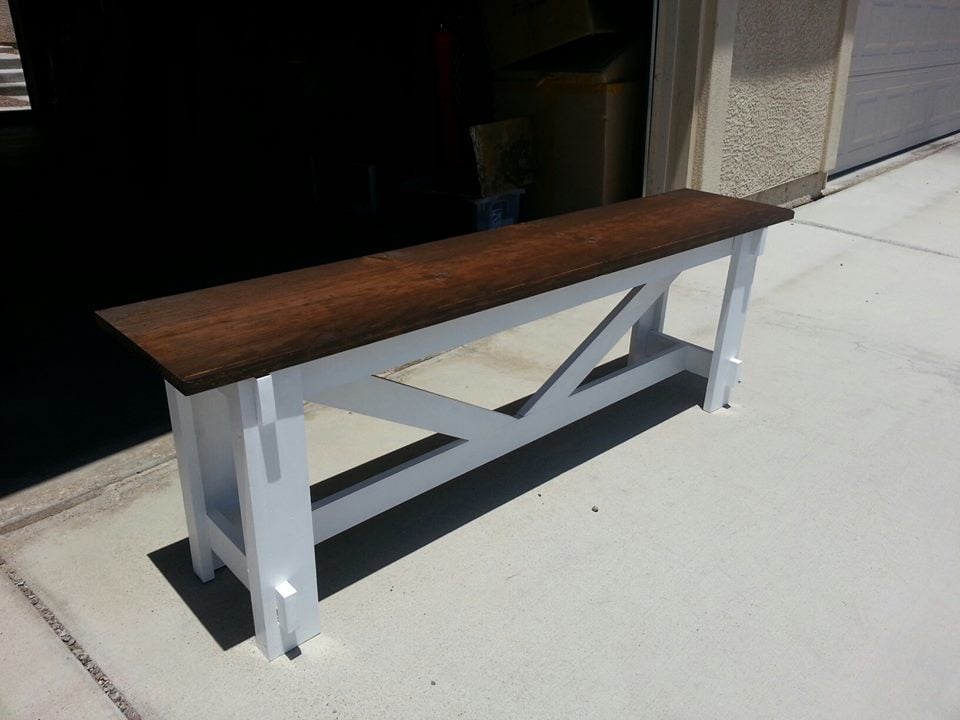
Overall, I loved the way it turned out. On to the next project!
Built from Plan(s)
Estimated Cost
$200
Estimated Time Investment
Weekend Project (10-20 Hours)
Finish Used
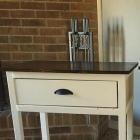
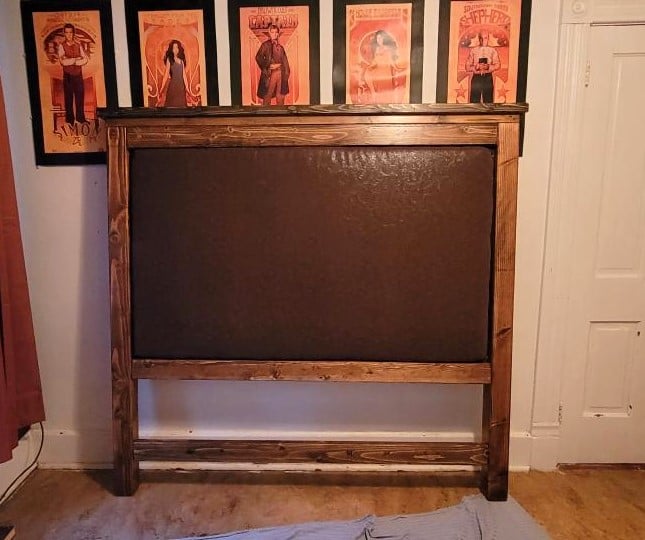
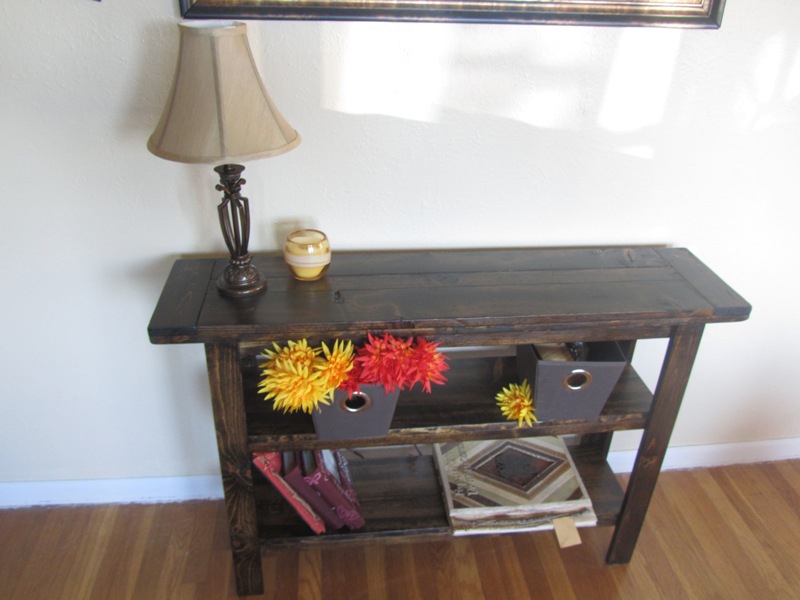
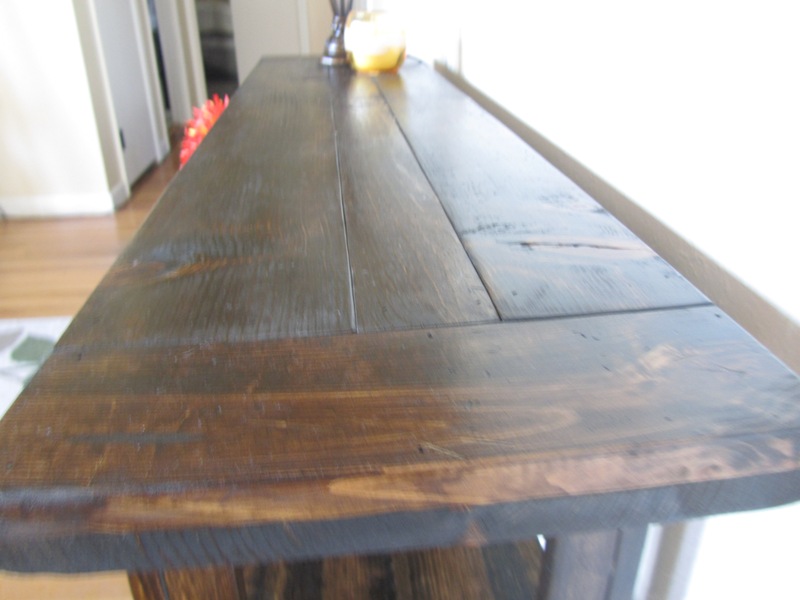
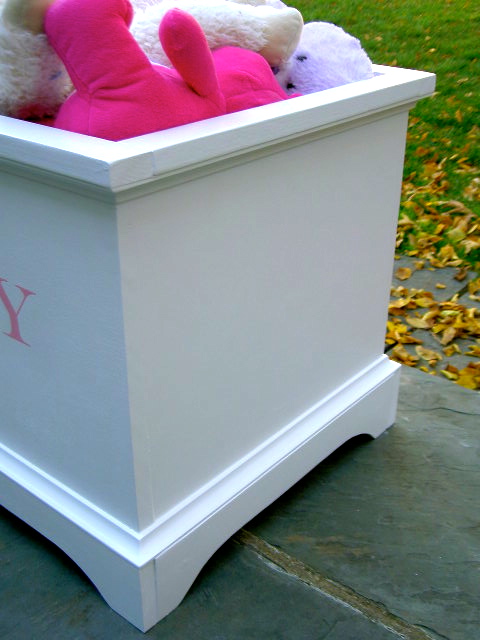
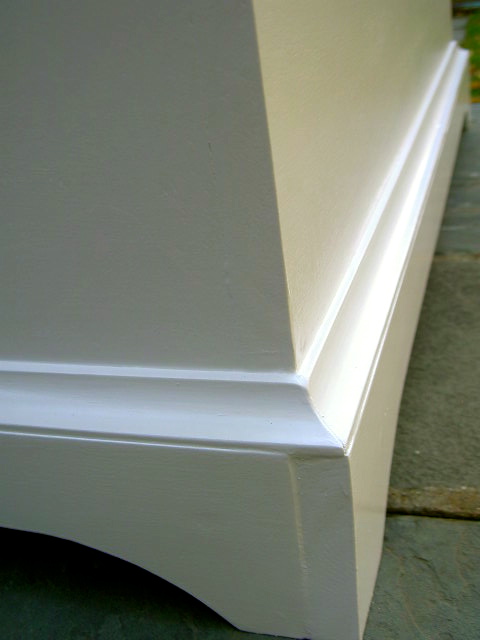
Distressed white. I used a shade of white paint, sanded the edges and corners (mostly with an orbital sander) and used a stain pen (in Provincial shade) on the sanded spots. Sanded the entire project by hand using 220 grit sponge and finished with 3-4 coats of Minwax Polycrylic
Recommended Skill Level
Beginner


Comments
Ana White
Sat, 10/19/2013 - 08:14
First Build?!?
Thanks for sharing this amazing build. It turned out beautifully, can't wait to see your next project!
In reply to First Build?!? by Ana White
Amanda G
Wed, 10/23/2013 - 19:38
Thank You
Your website really guided me through everything, from buying the wood to the finish. I credit you and tell people to visit this website whenever anyone asks me about my projects :)
smithtyw
Wed, 05/13/2020 - 17:27
Joist for footboard
Joist for footboard