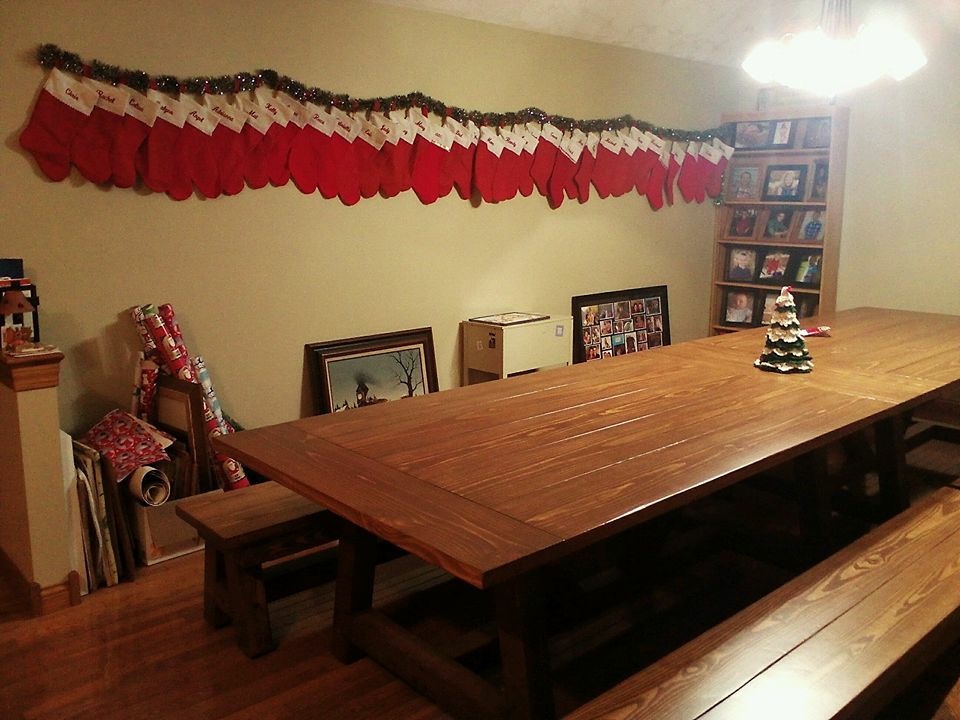
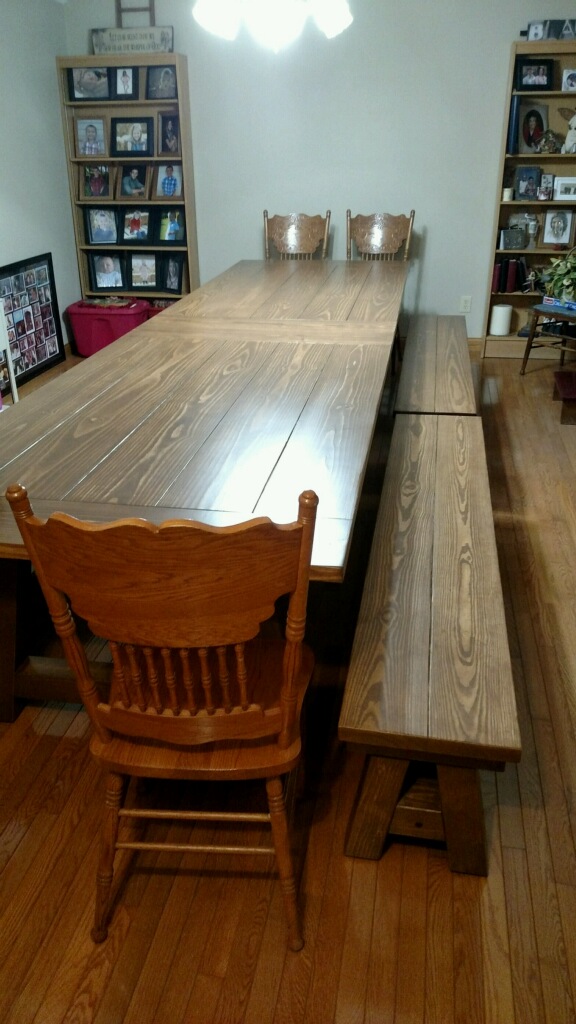
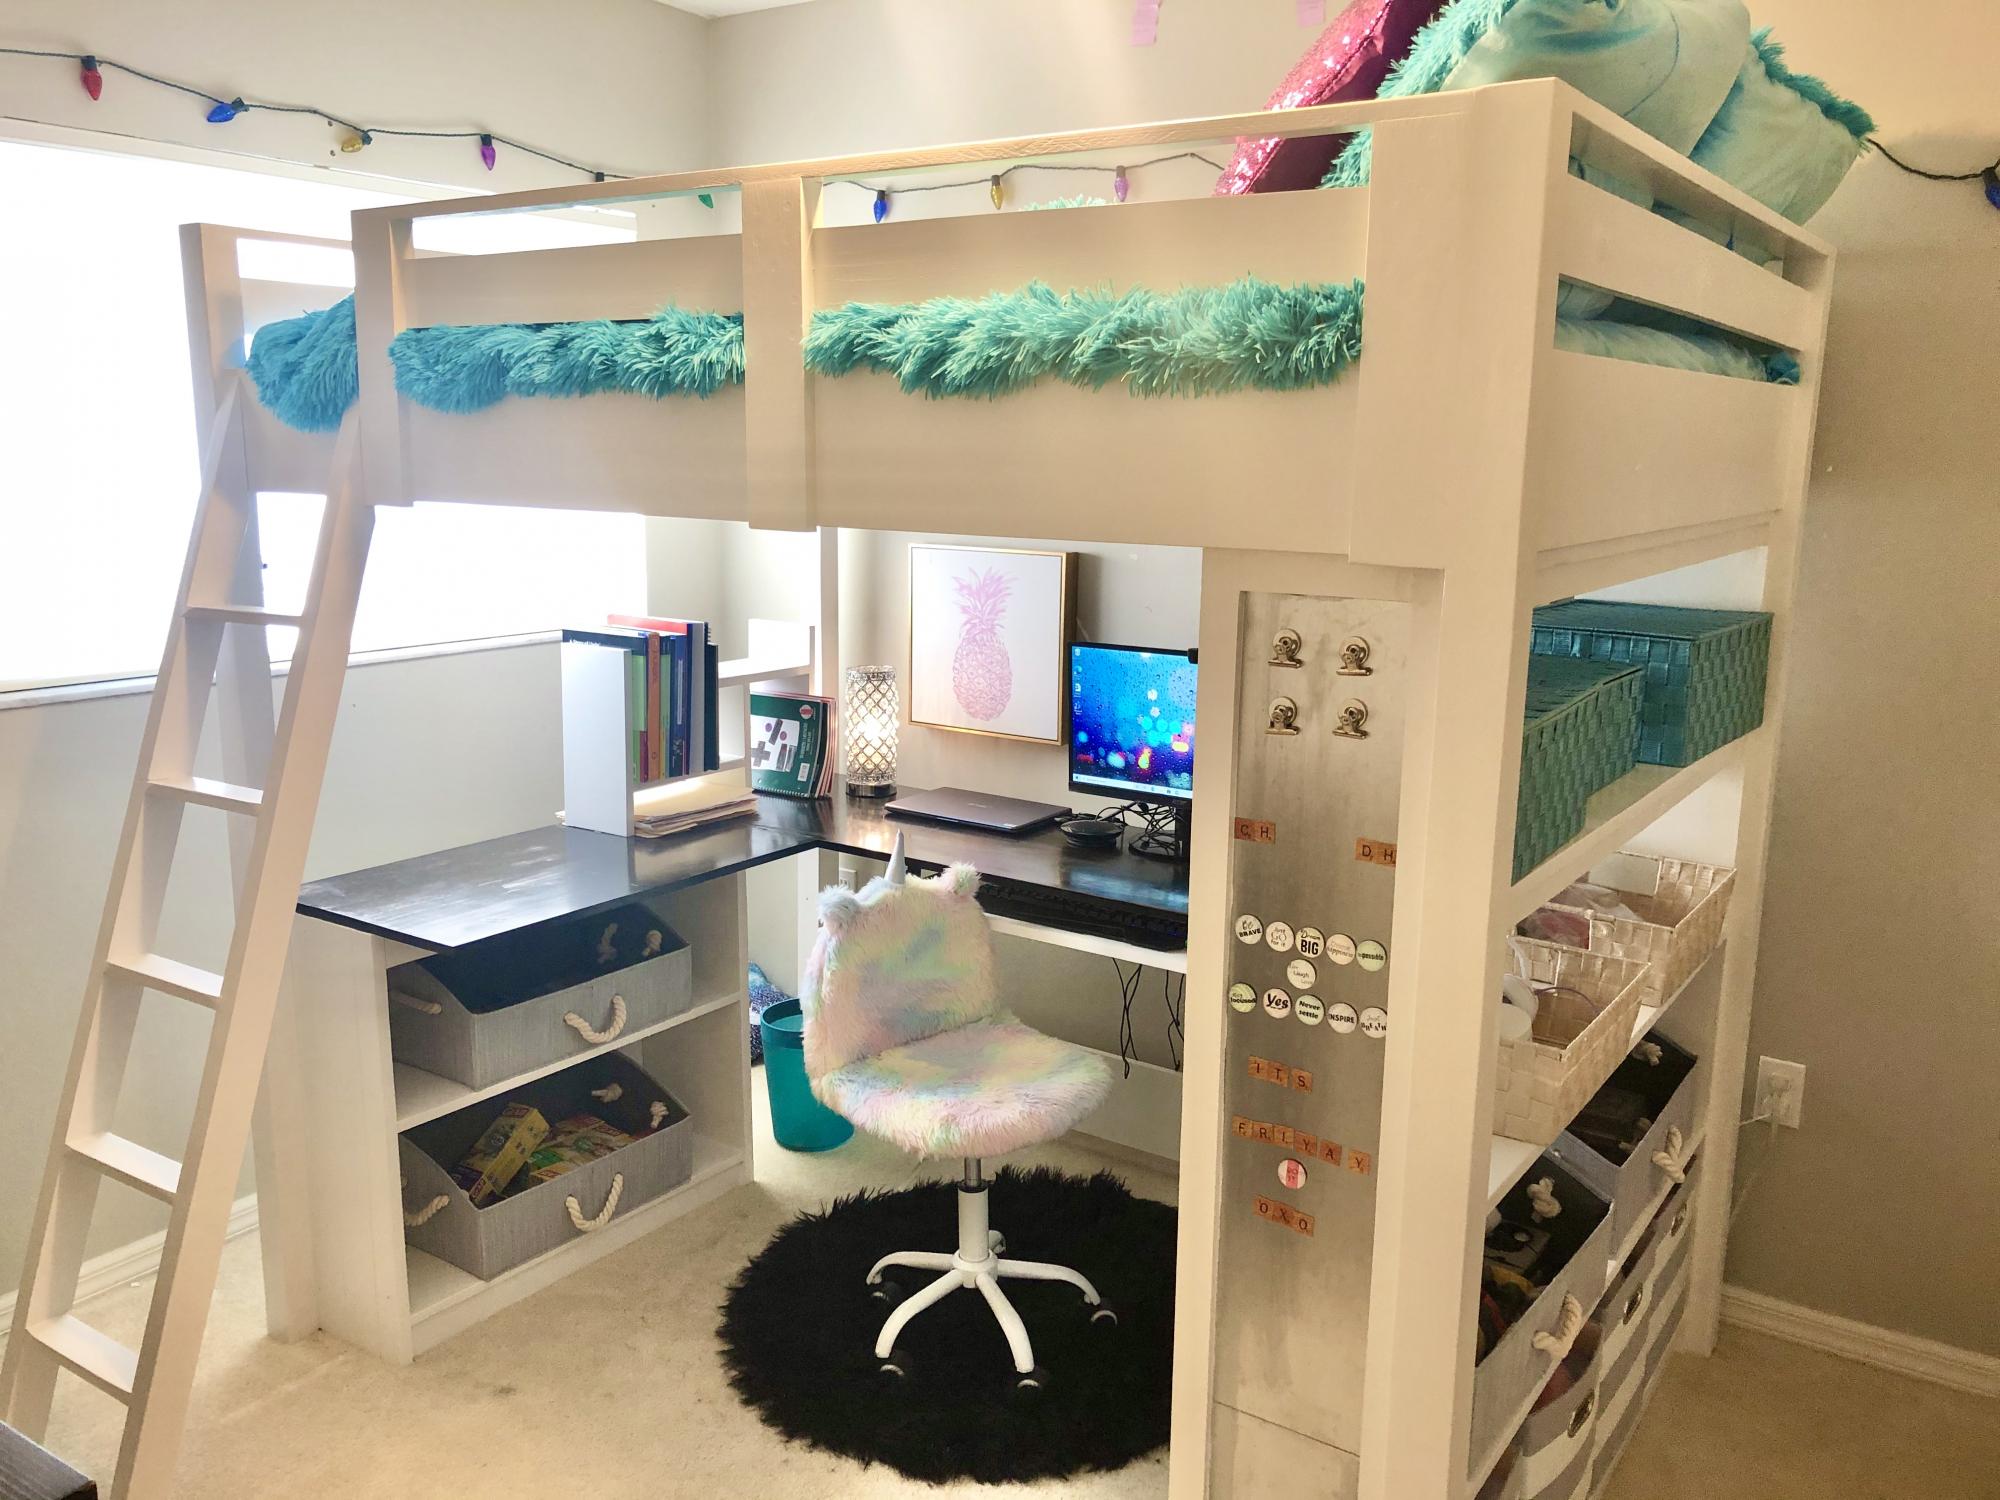
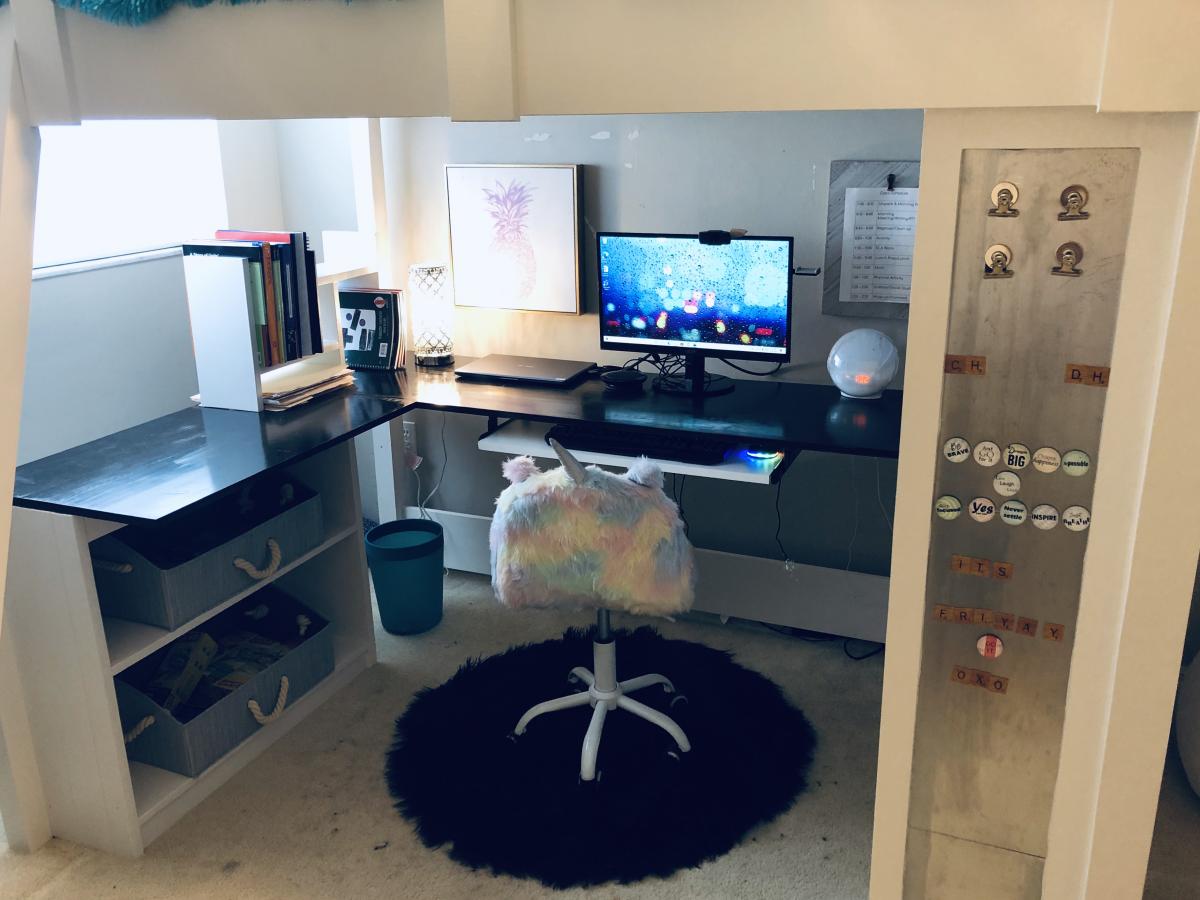
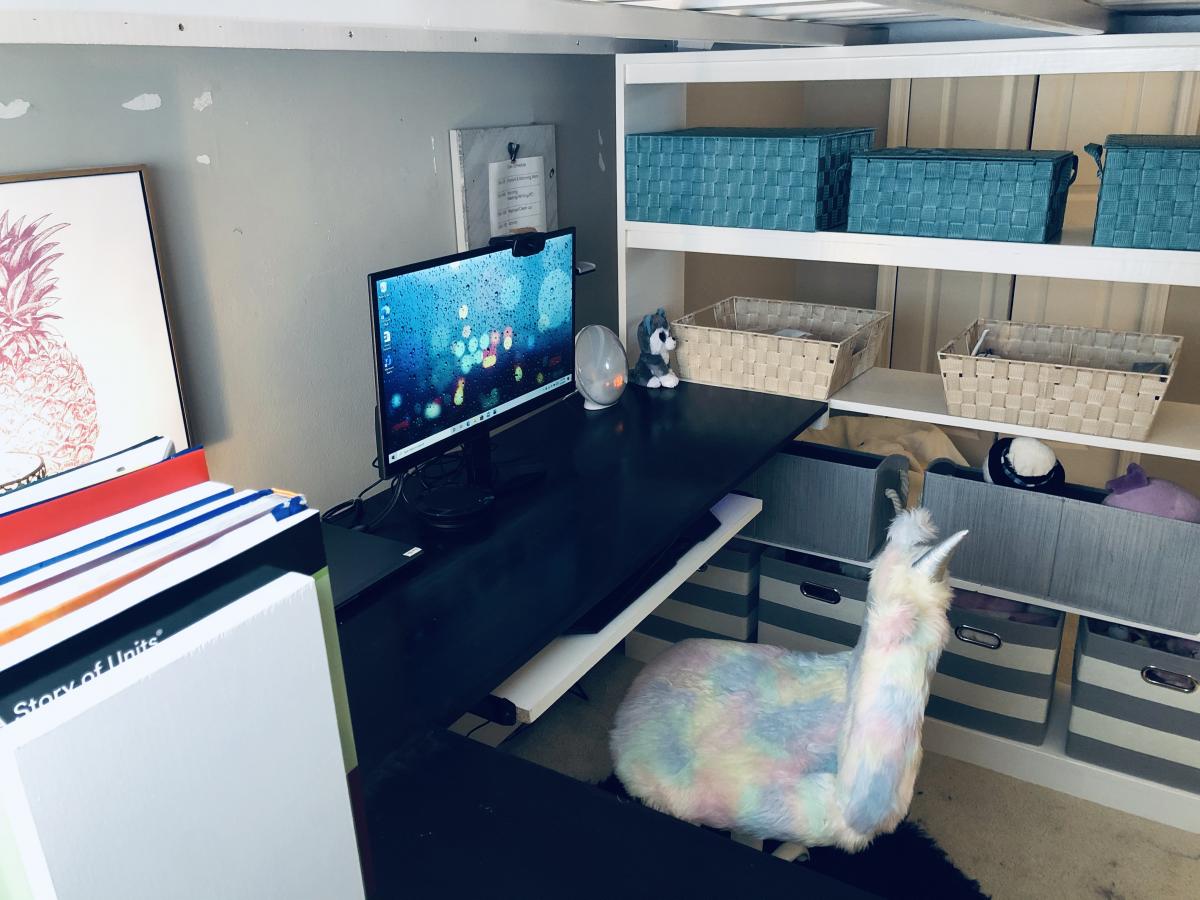
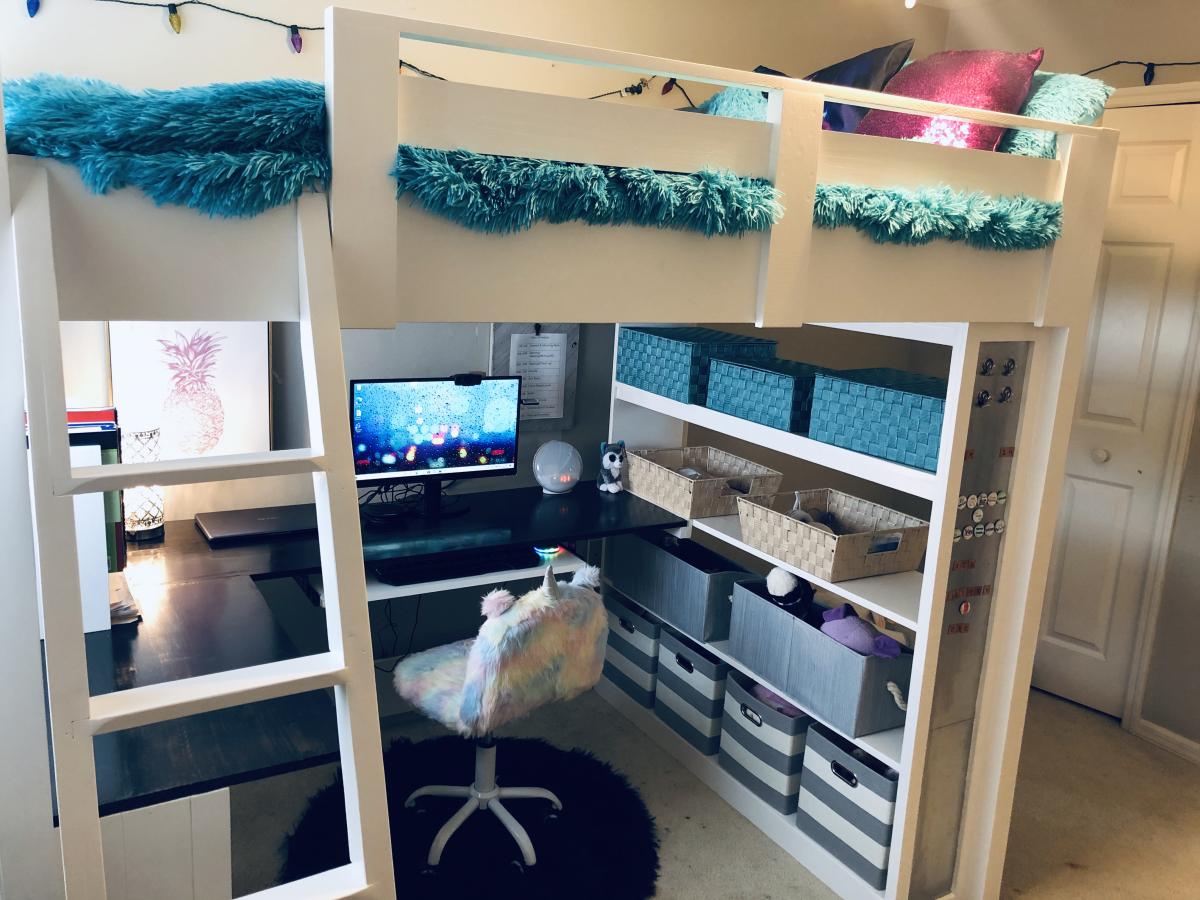
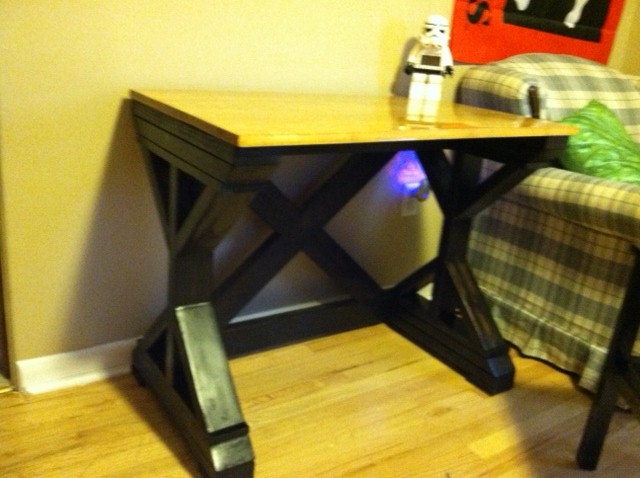
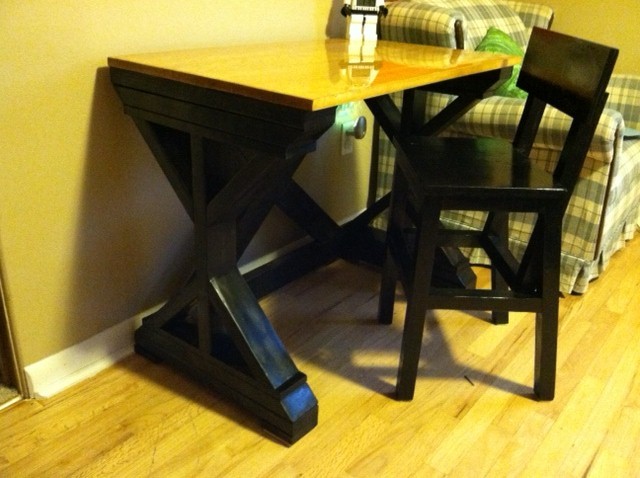
Sawhorse Desk and Toy Shelf

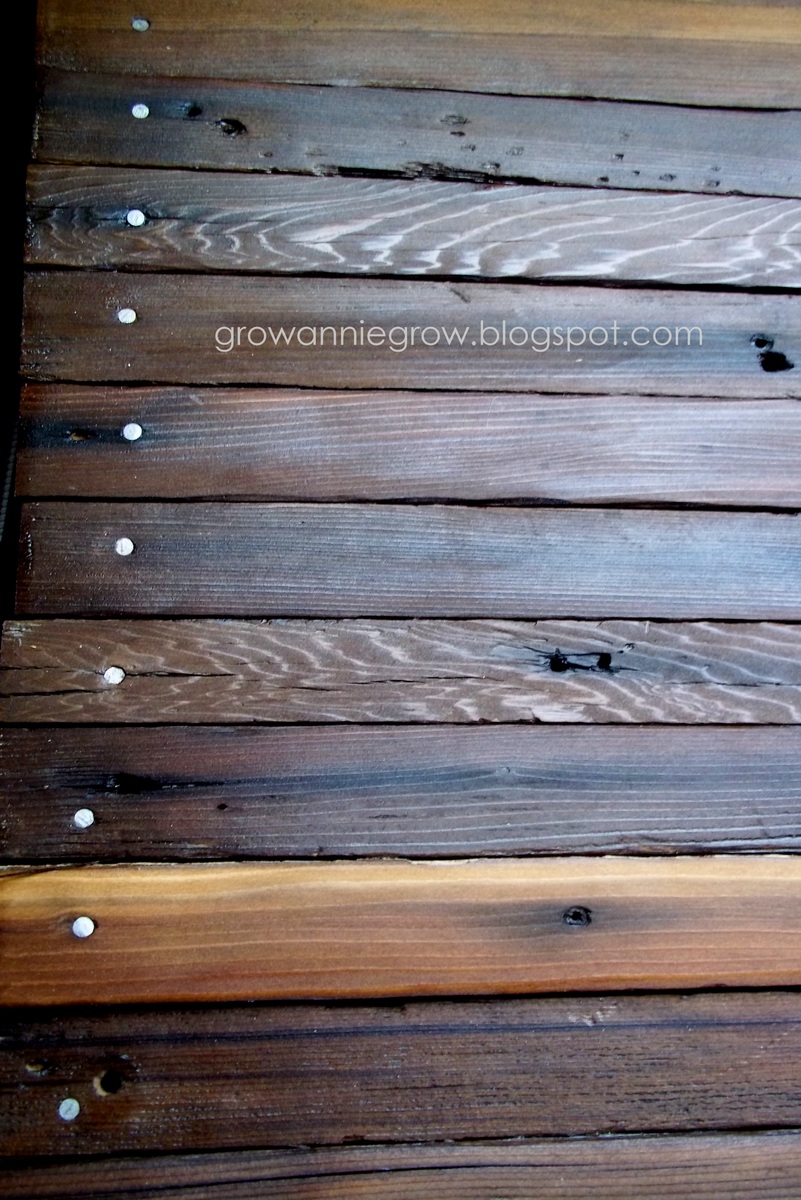
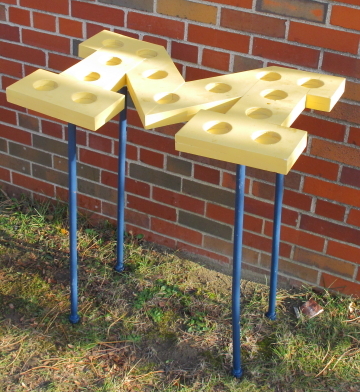
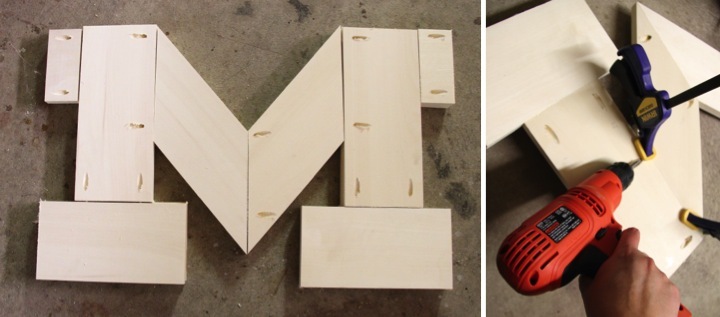
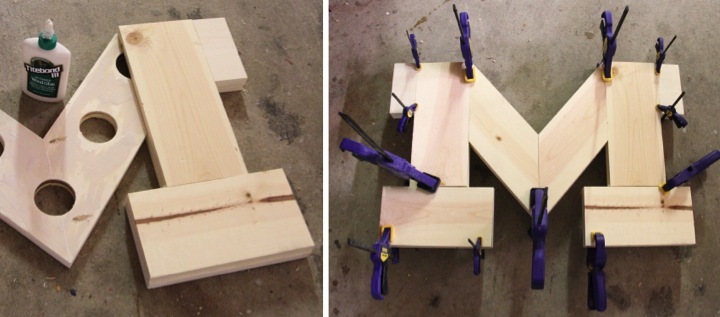
Love these two projects in getting my son's room organized, and he loves having a desk for his lego creations and his "projects". We used poplar for the sawhorses that we had cut from family land and planed down ourselves, then purchased a premade project panel for the top. Used a paint sprayer for the blue and finished the top with Rustoleum stain in Wheat with several coats of Rustoleum Satin poly. For the toy shelf we just purchased pine and finished with the same stain and poly.


Built from Plan(s)
Estimated Cost
around $100 for both
Estimated Time Investment
Weekend Project (10-20 Hours)
Finish Used
Paint for sawhorses, Rustoleum wheat stain and satin poly
Recommended Skill Level
Intermediate