I am in process of making these for my new twin nephews. By reducing the width of the toy box by 1/2", I was able to fit two of the open top toy boxes on one sheet of cabinet grade plywood ($30).
For Two Toy Boxes cut plywood to the following dimensions (see photo for layout):
2 - 32 x 15 1/2 pieces (bottoms)
4 - 33 1/2 x 15 1/2 (front and back)
4 - 15 1/2 x 15 1/2 (sides)
My local Home Depot does not charge for cutting the plywood and the person that was assisting me made absolutely perfect cuts and helped direct me to the cabinet grade plywood (which was located away from the plywood aisle), thus saving me an extra $15.
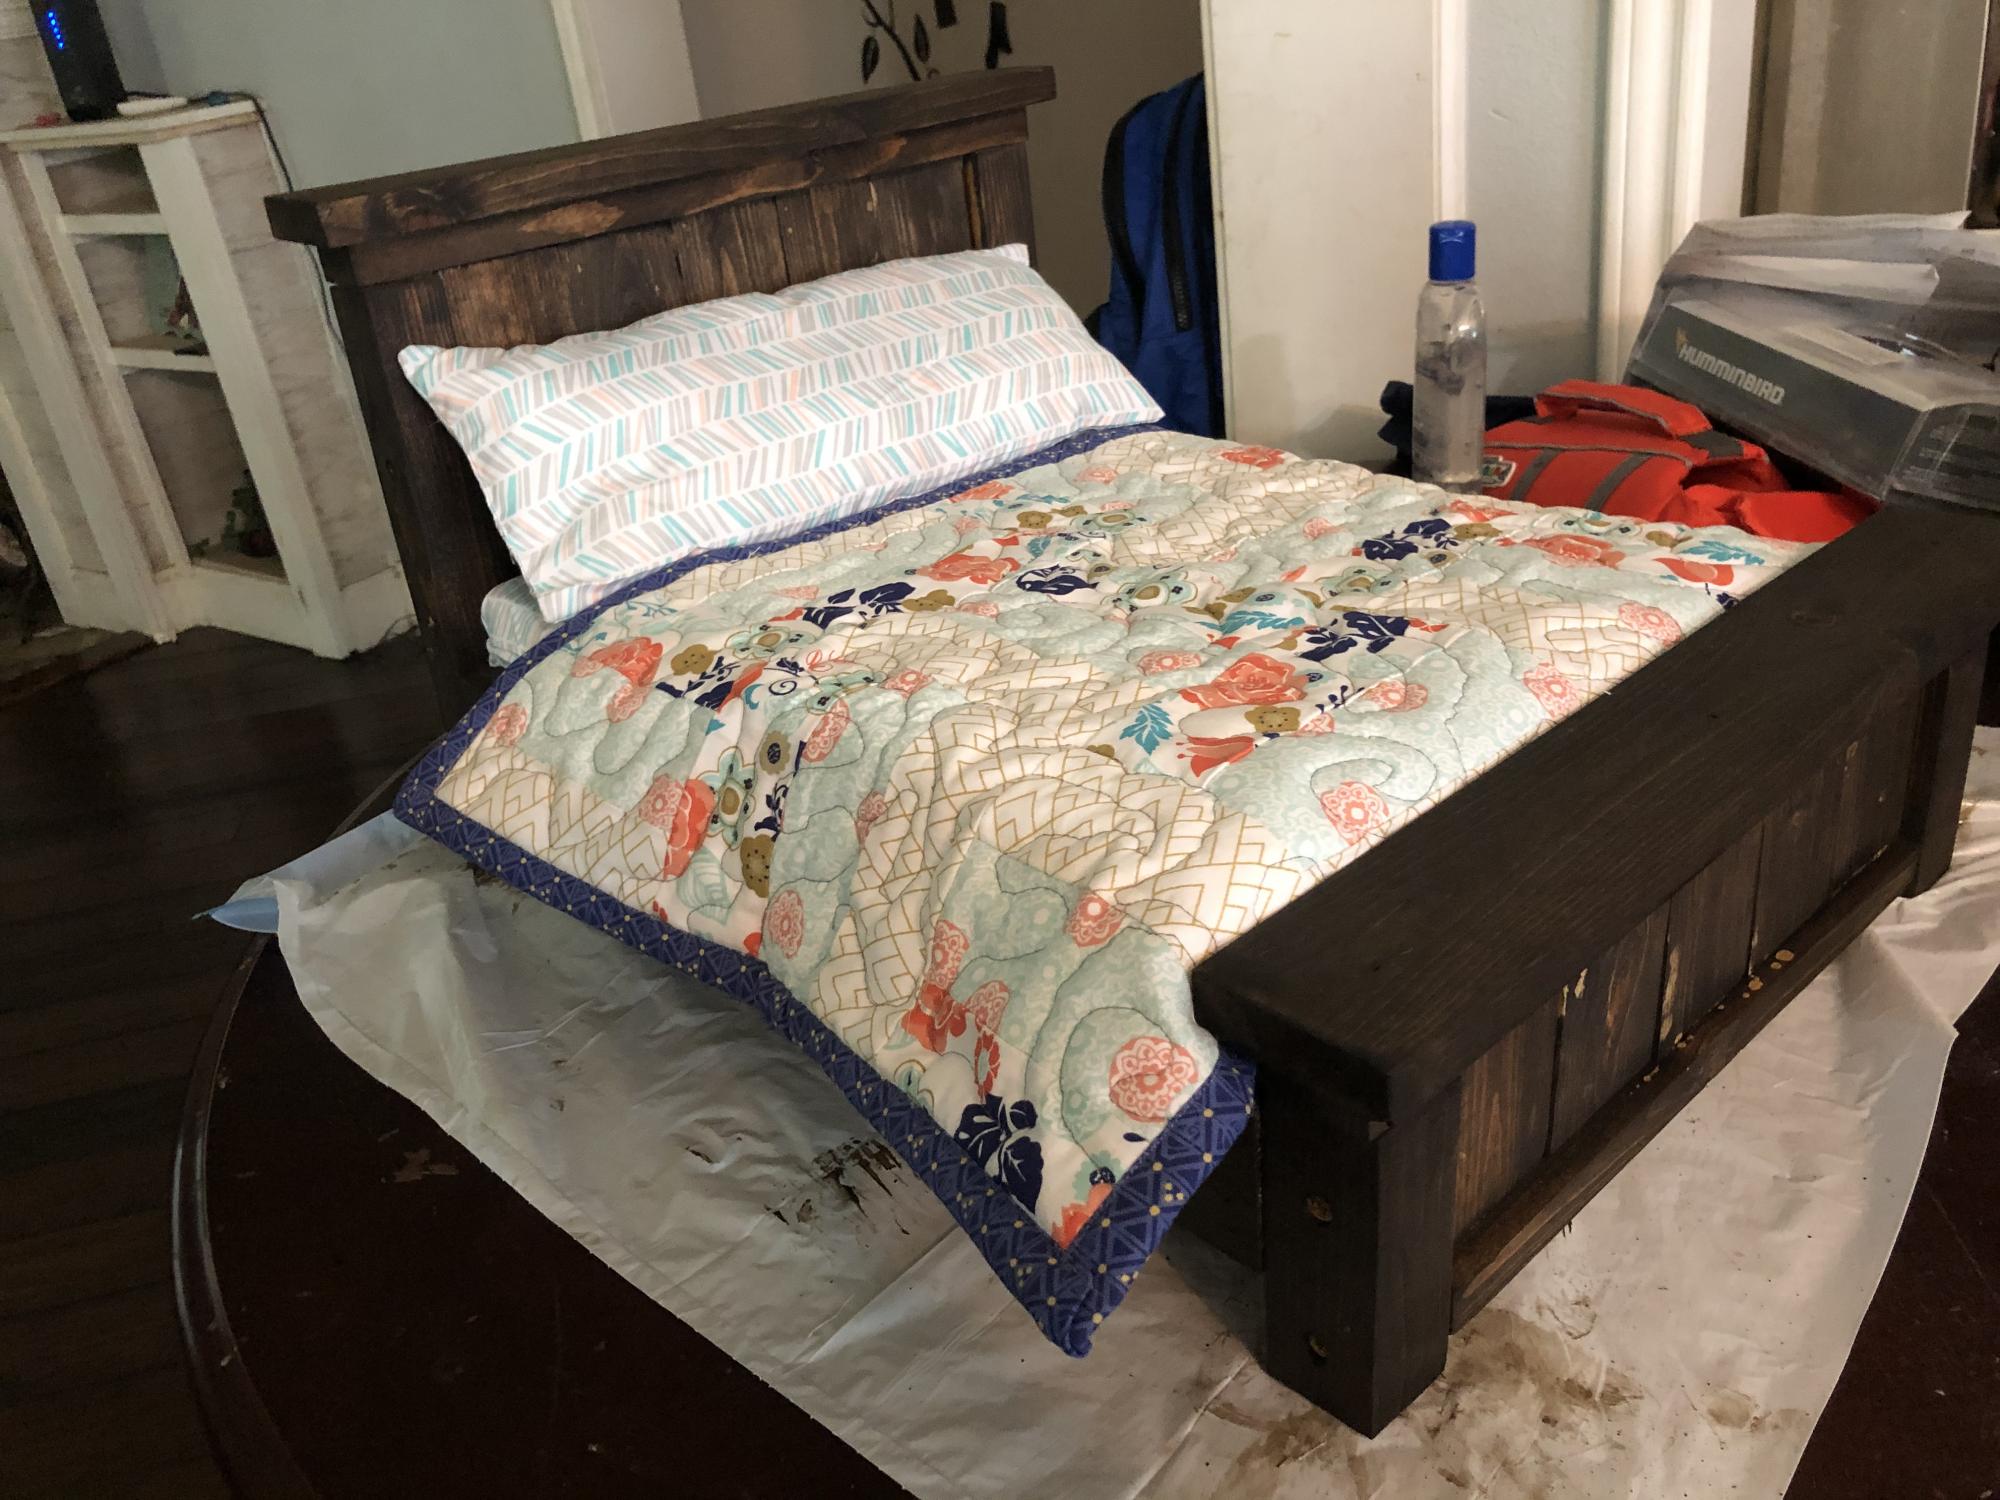
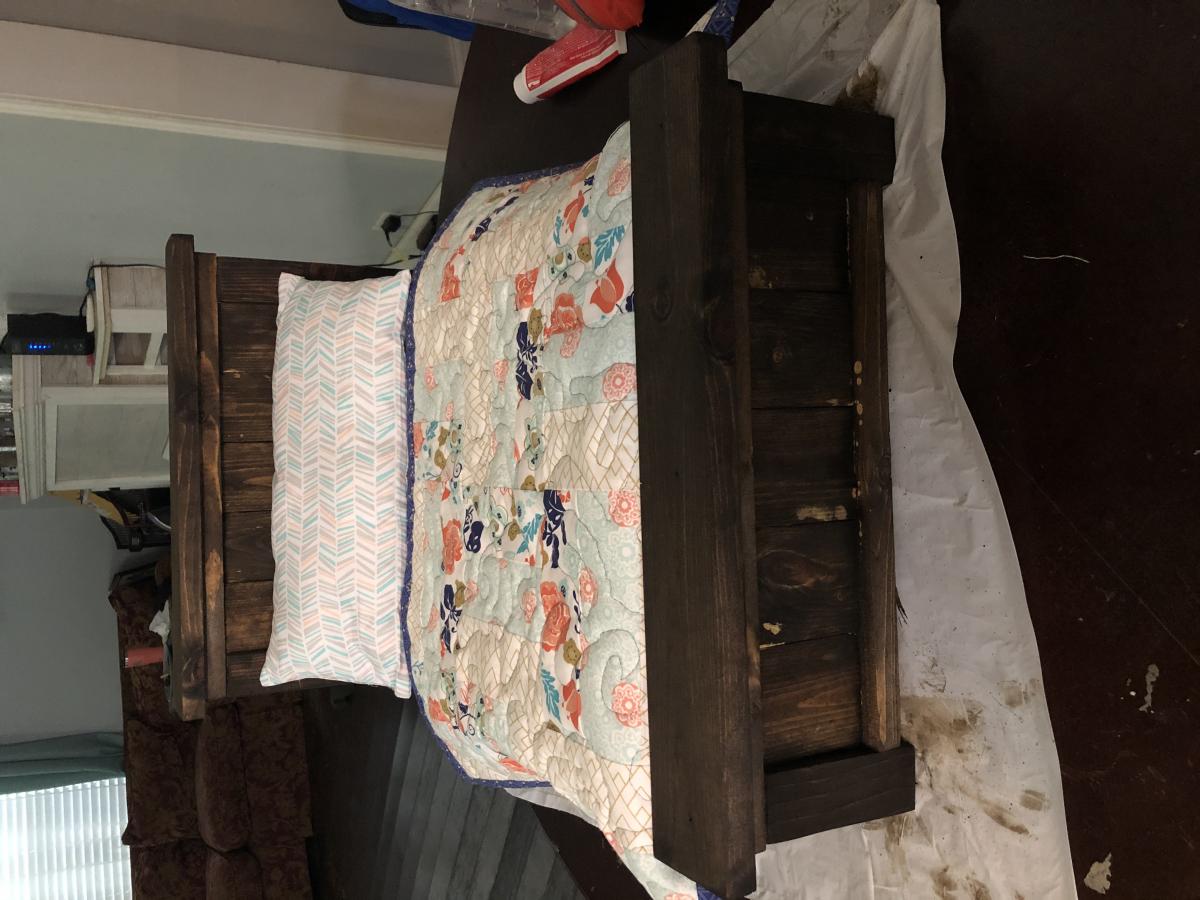
Boxes took approximately 2-3 hours each to build, another hour to sand and fill screw holes, and several hours to paint.
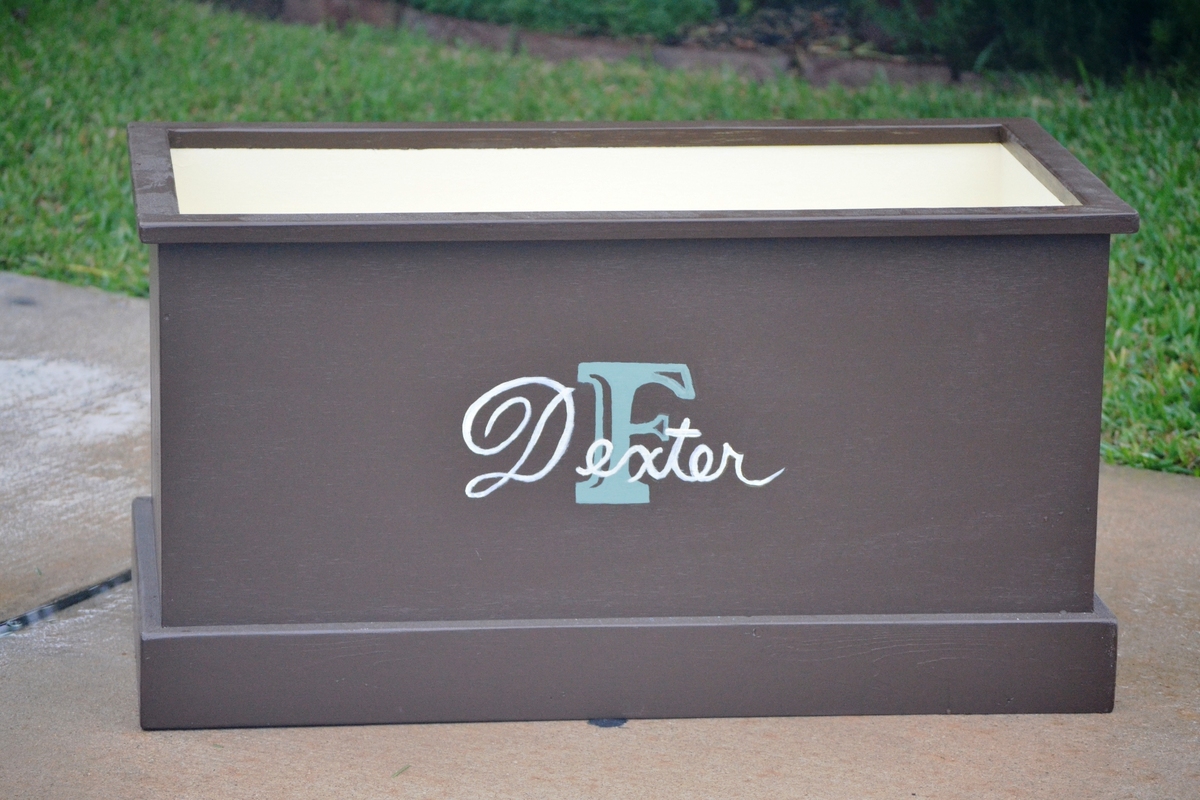
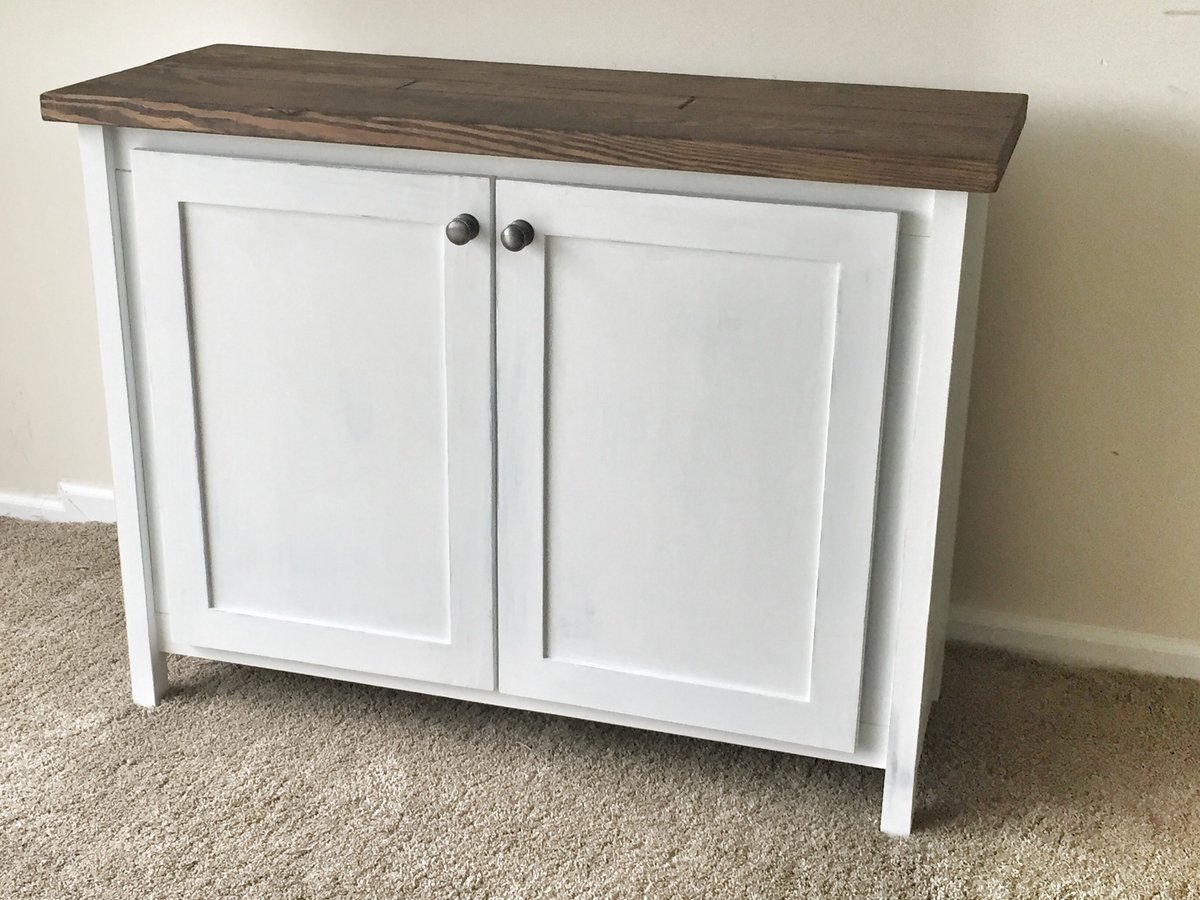
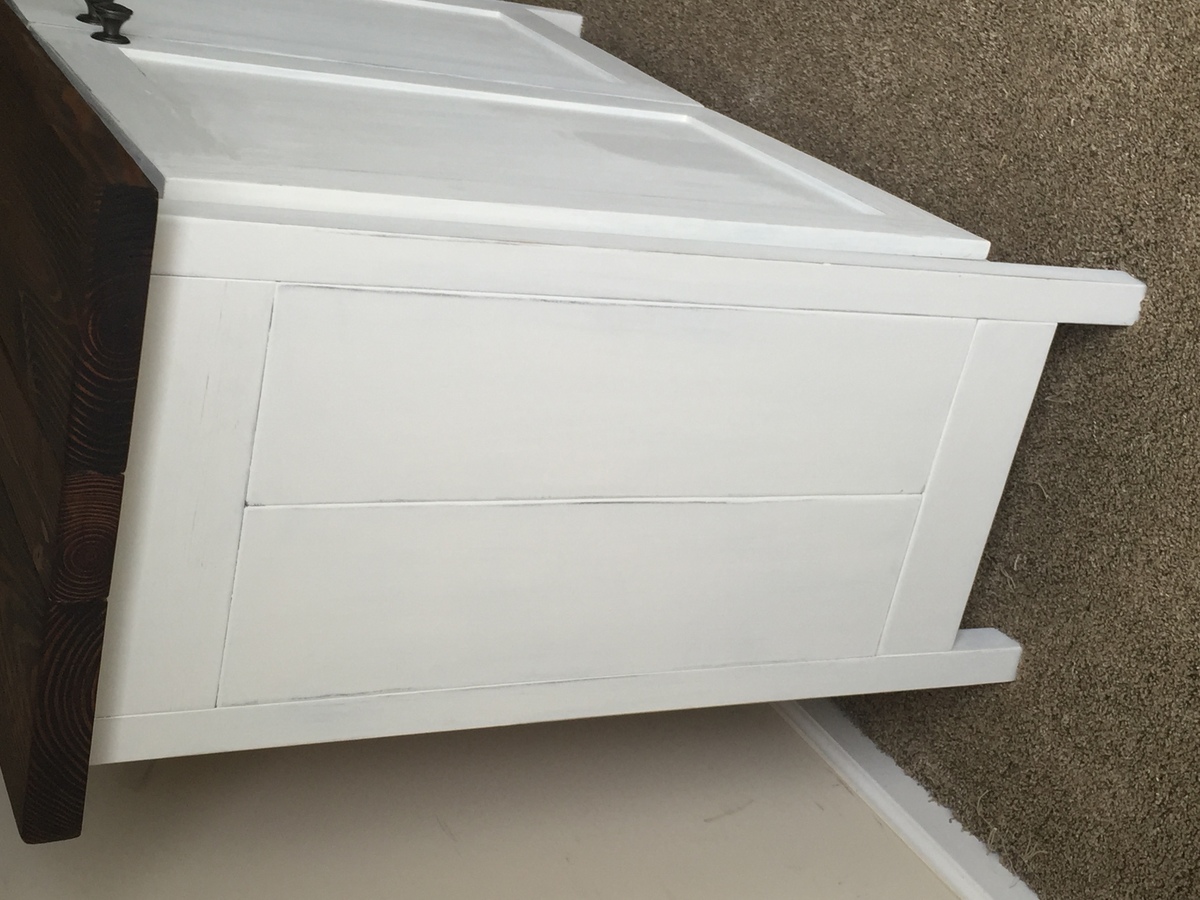
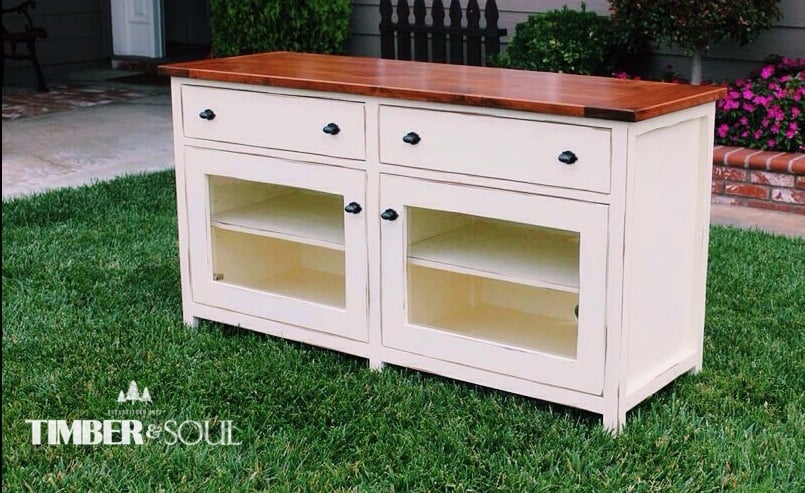
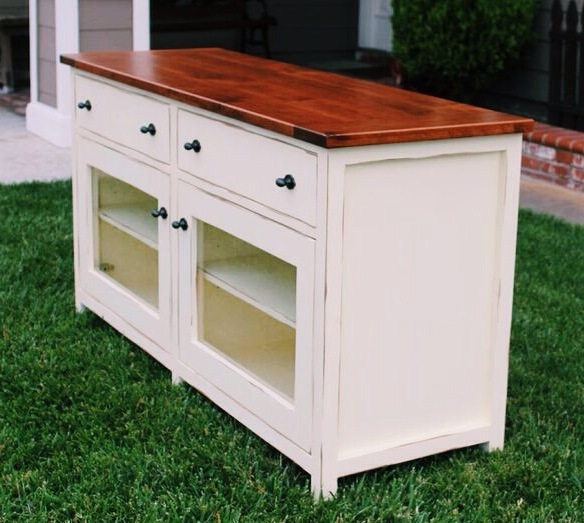
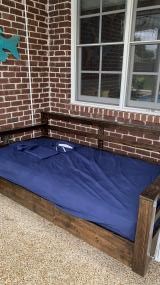
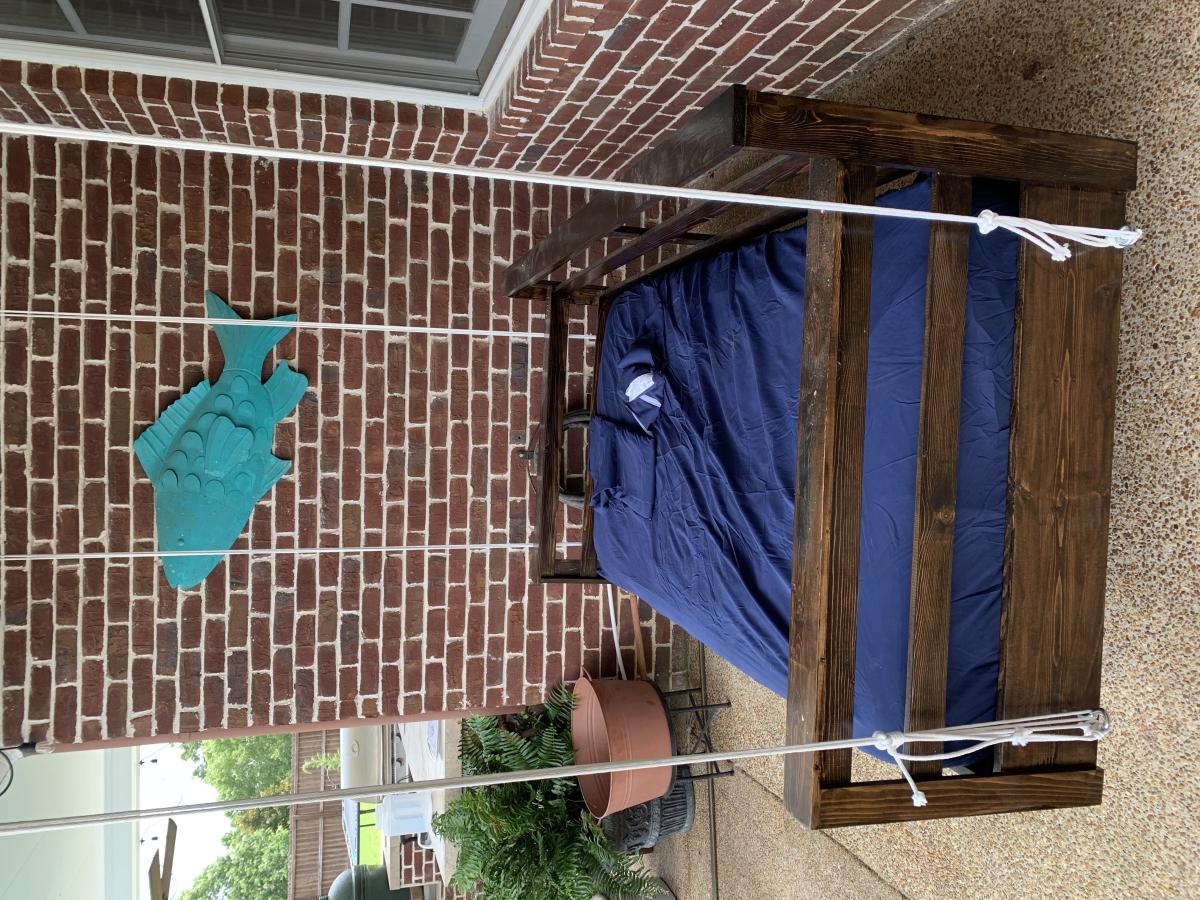
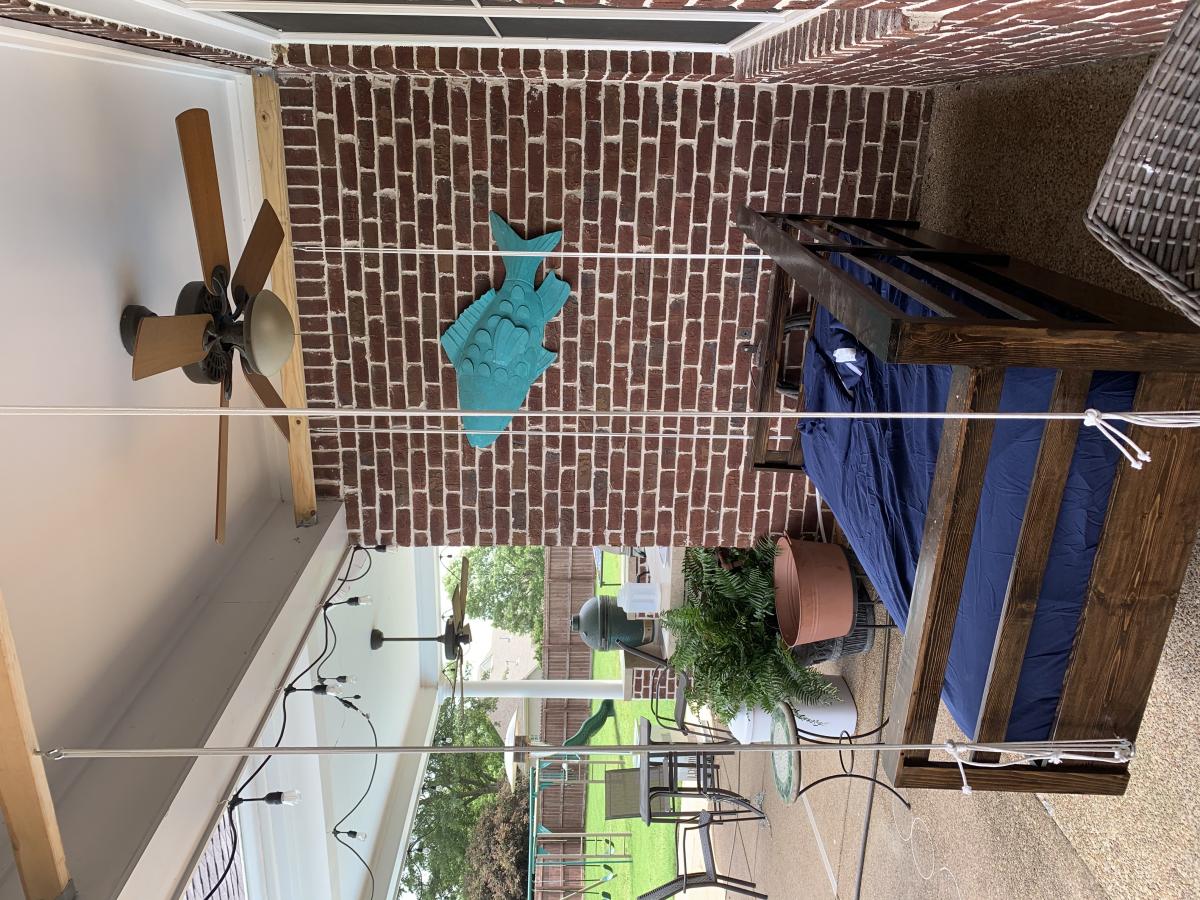
Photo is of Dexter's toy box. Dante's looks very similar. My 2 year old niece enjoyed taking a nap inside of the boxes as well.
Make sure to purchase non-toxic paint.... I believe one of my nephews may be part beaver!