Modern outdoor bench
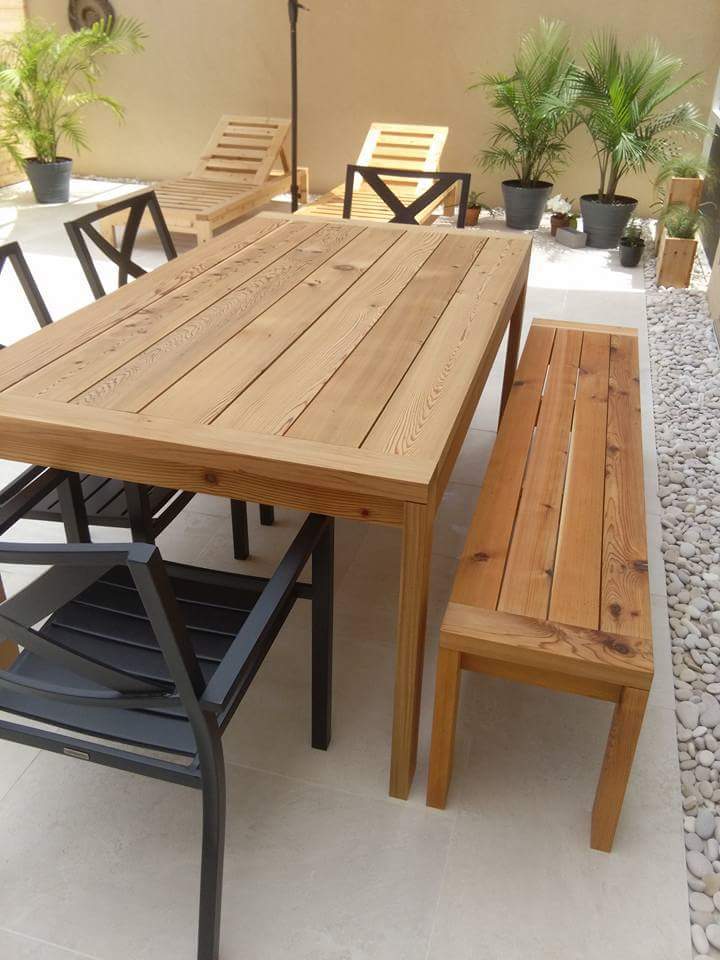
My last piece of my collection
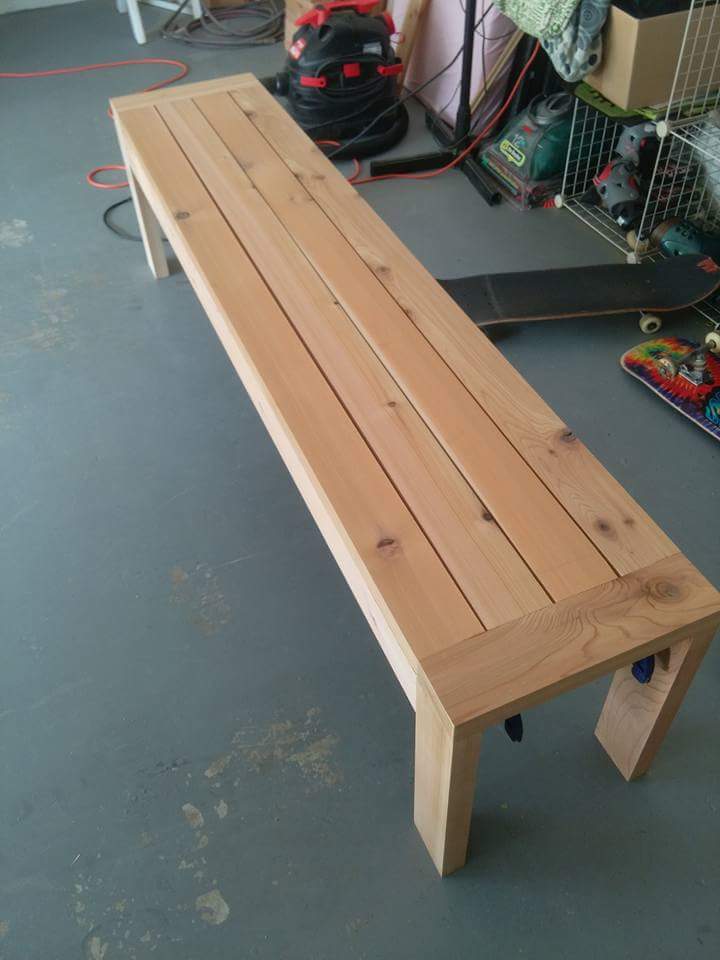

My last piece of my collection

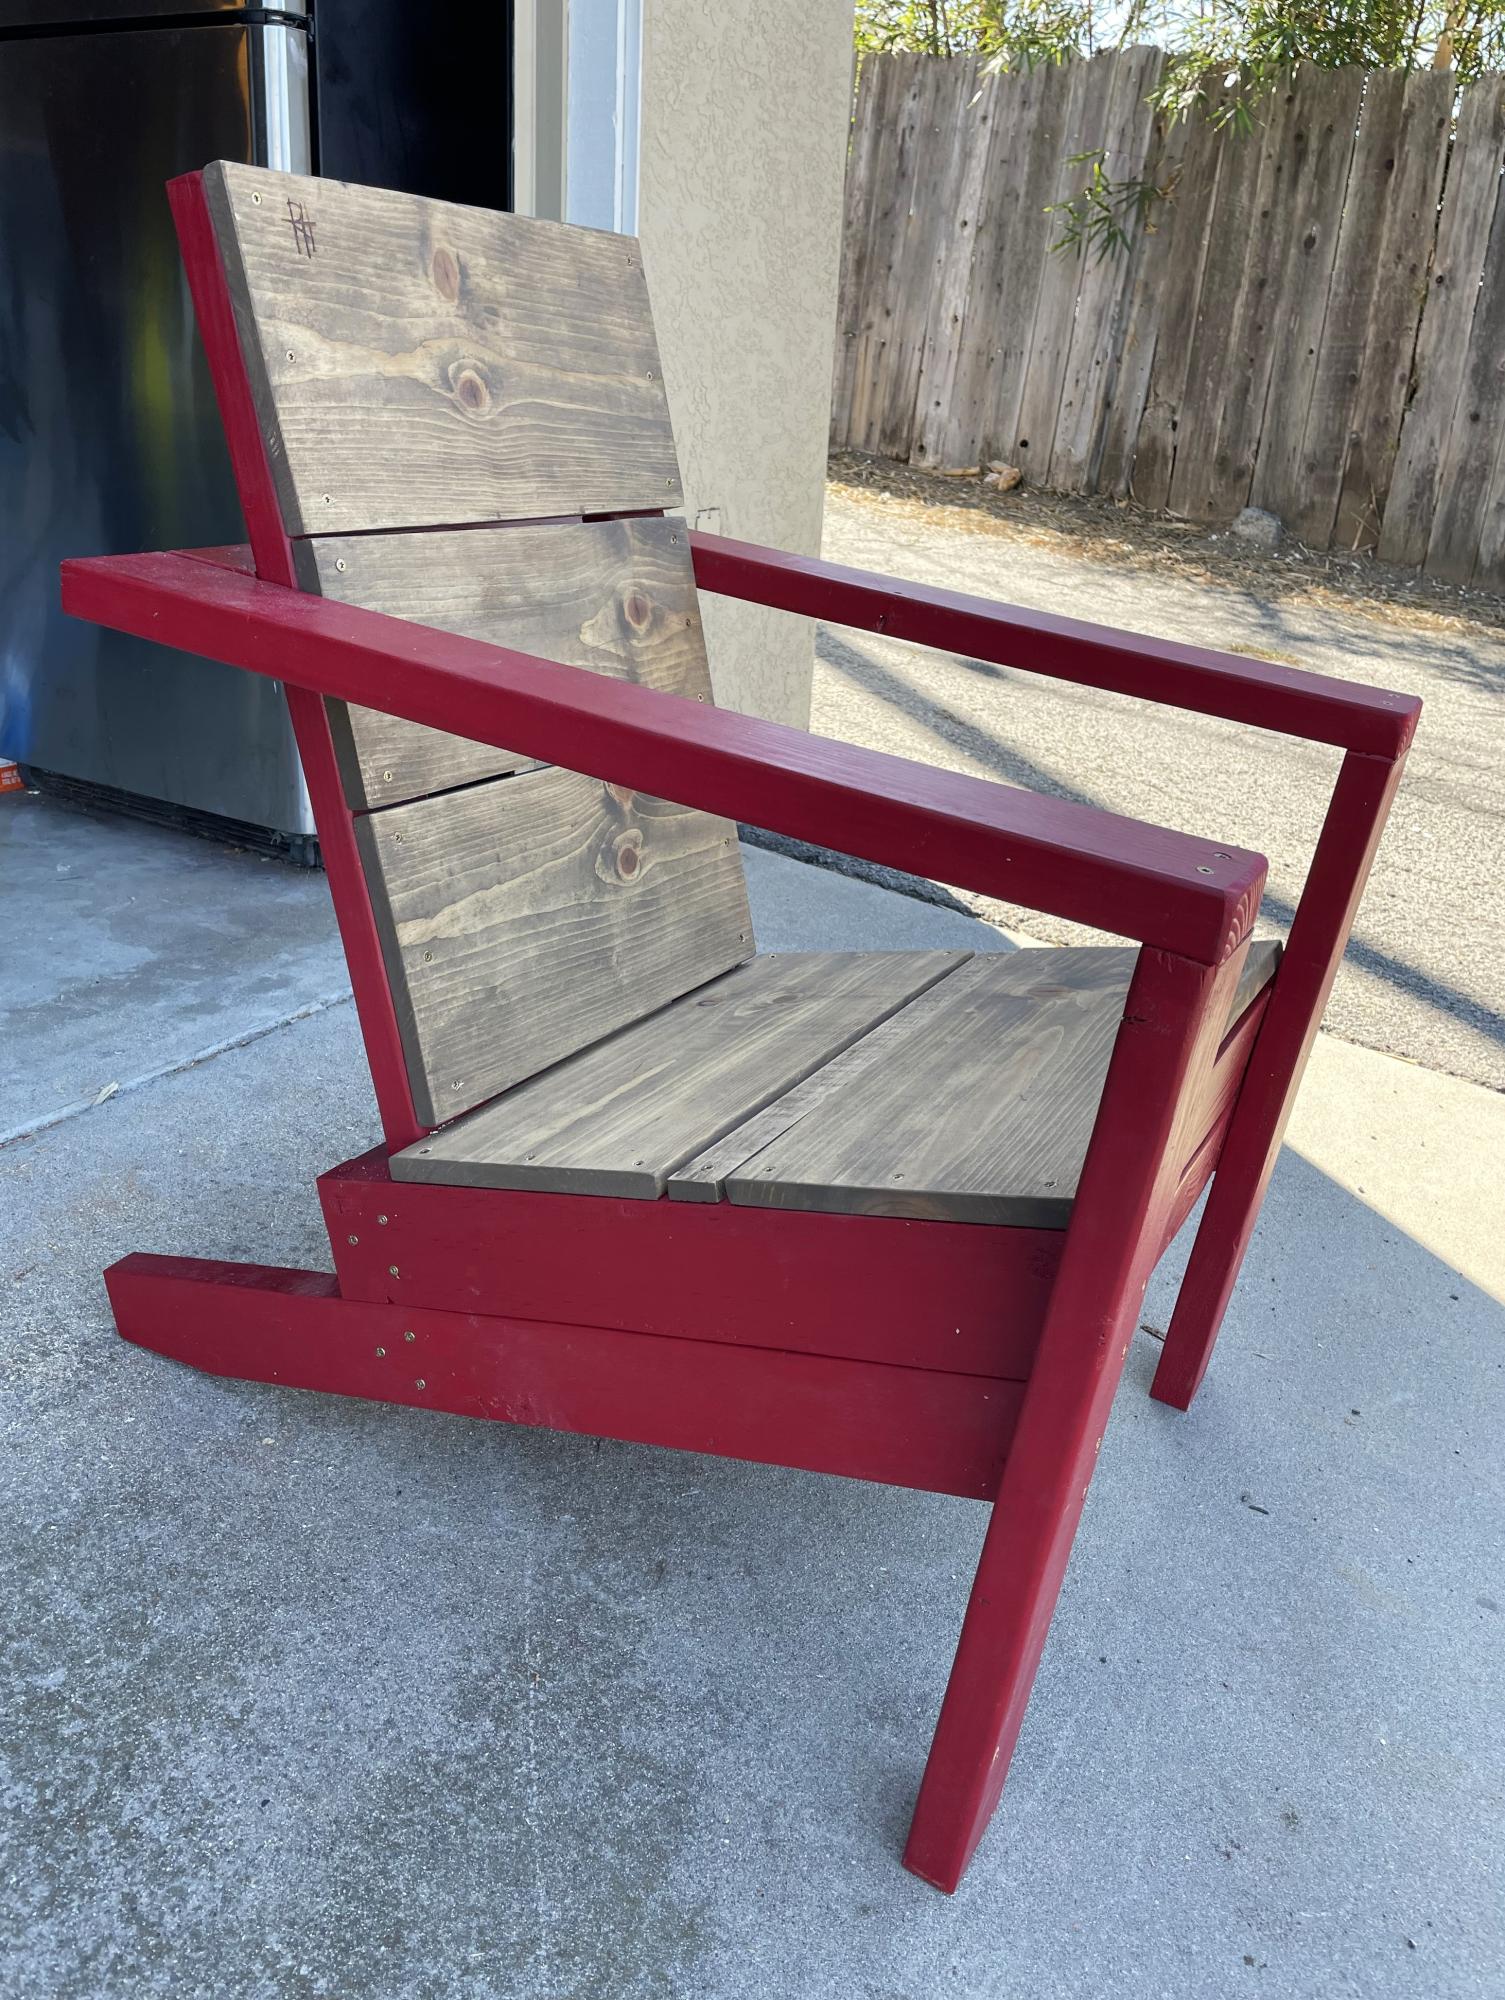
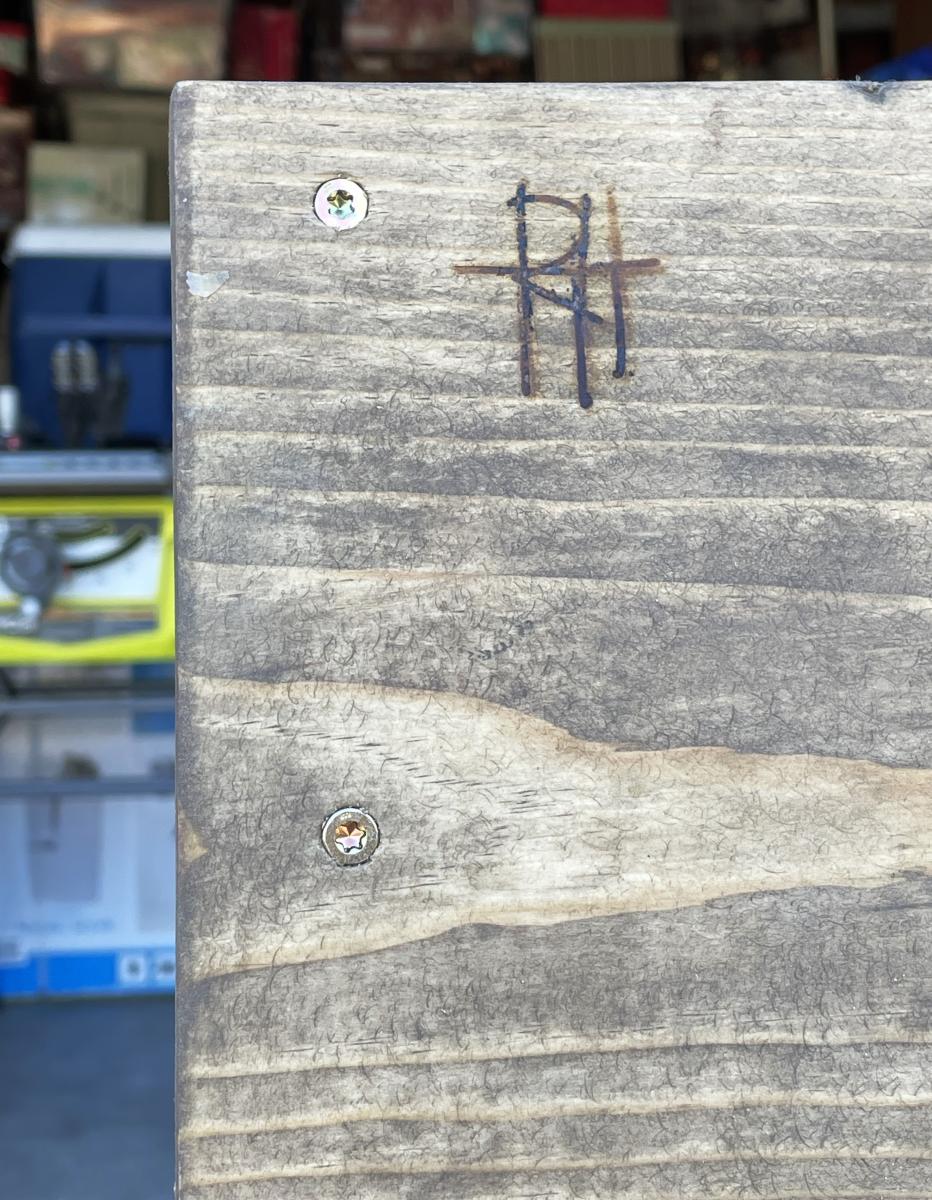
Modified Adirondack chair, six inches higher, making it easier for me to sit and stand, and my signature brand. A branding iron designed with my initials.
Bob Hartdegen
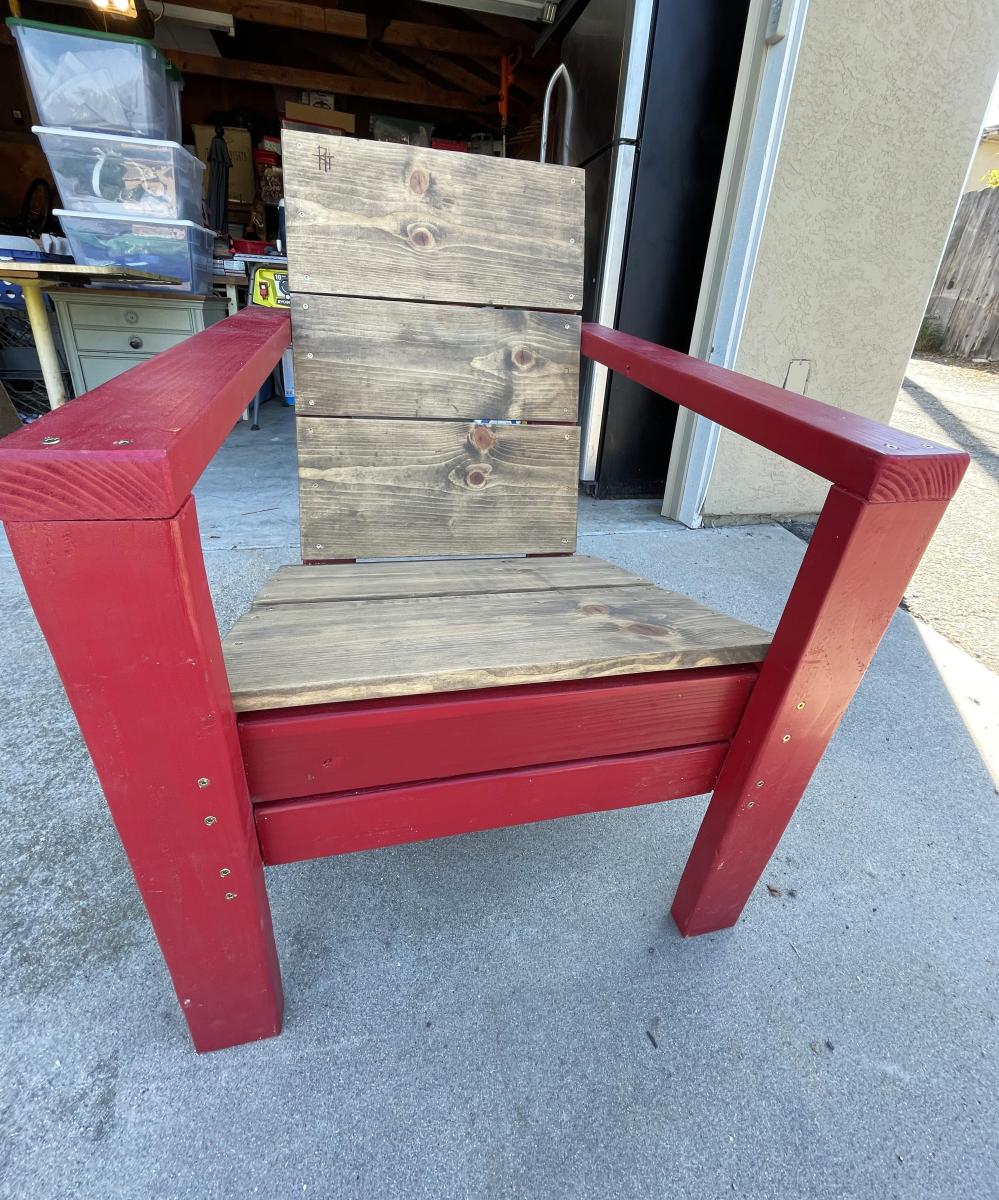
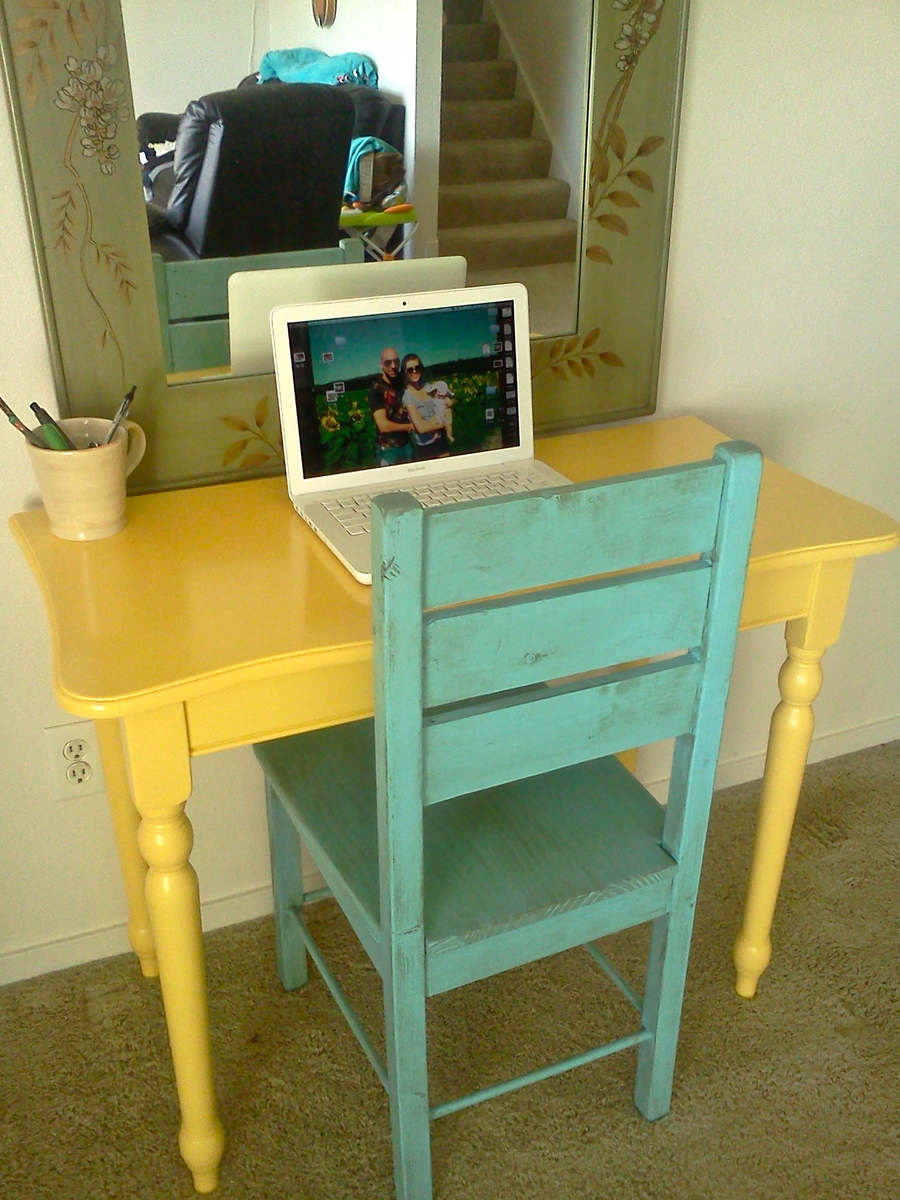
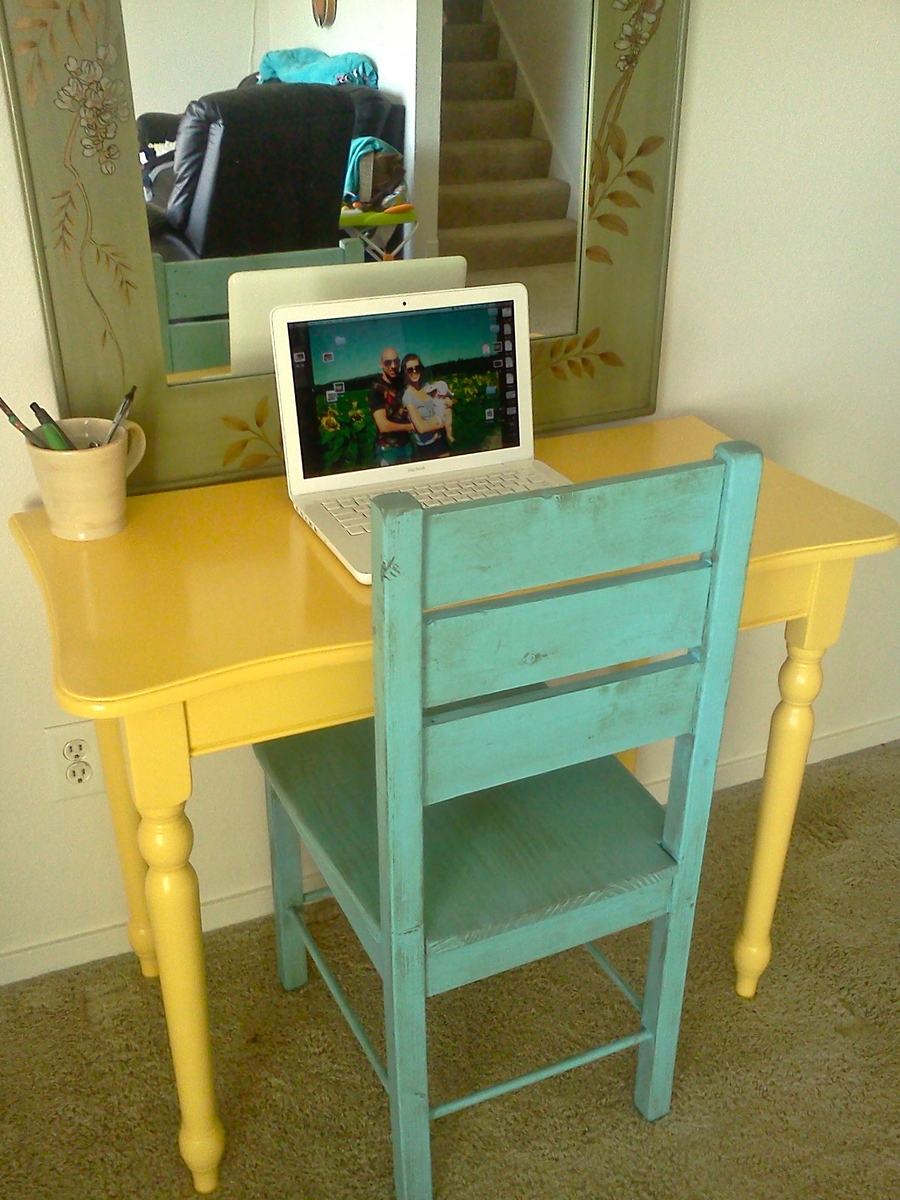
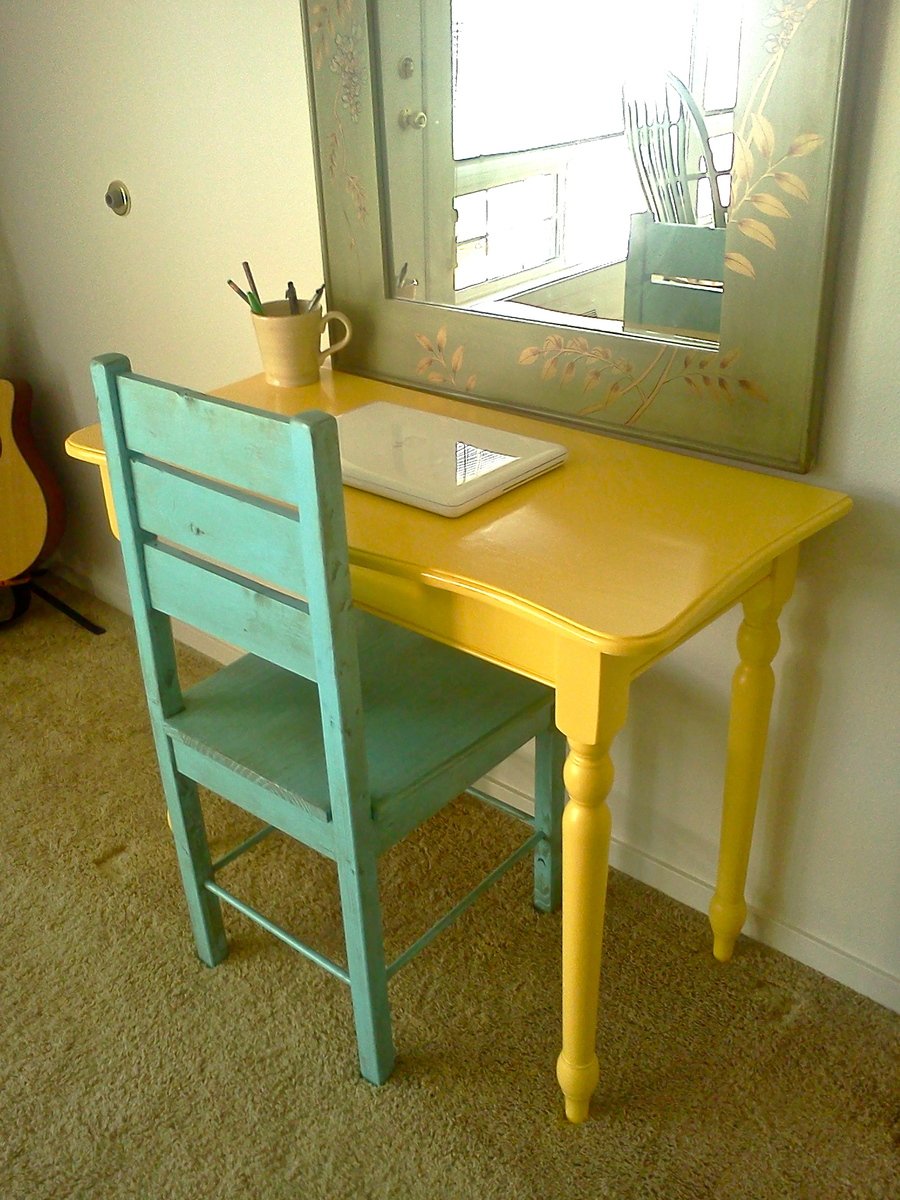
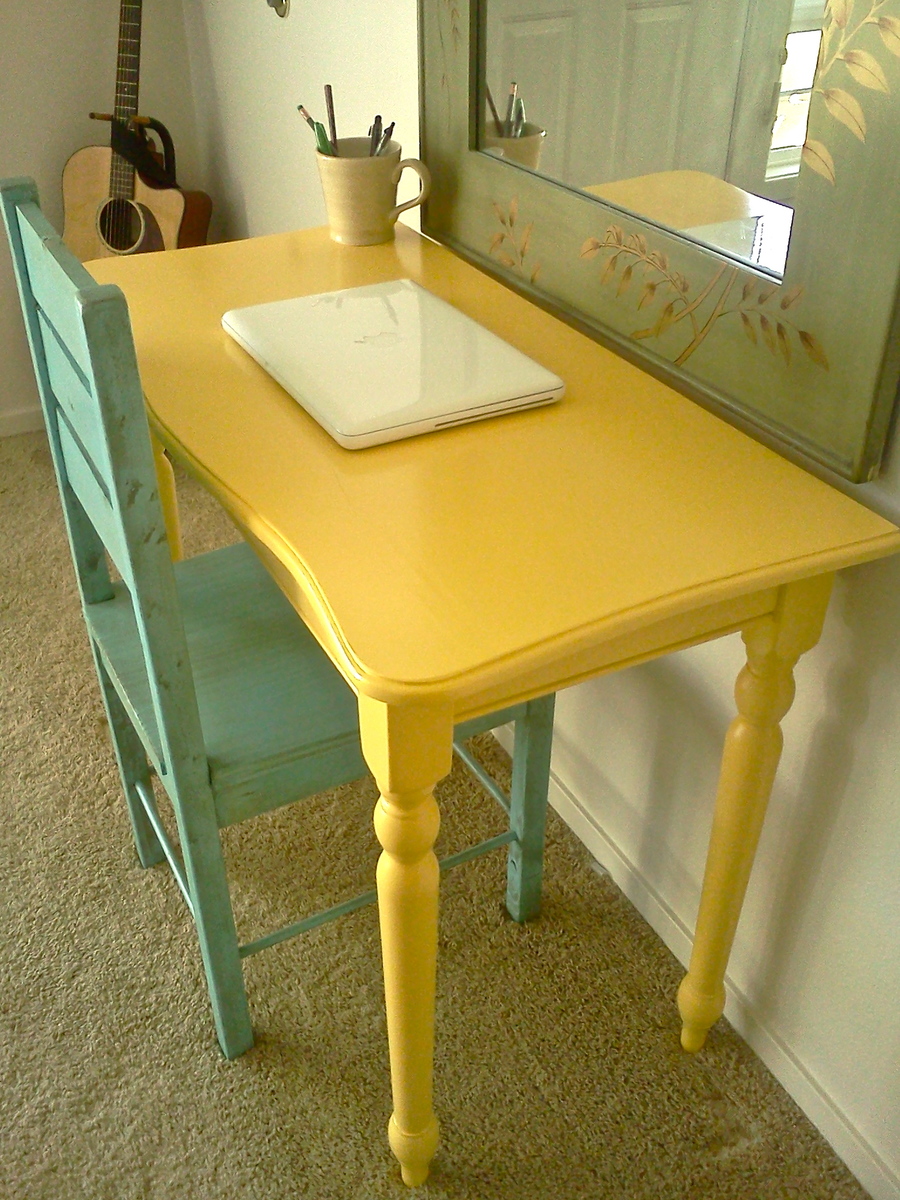
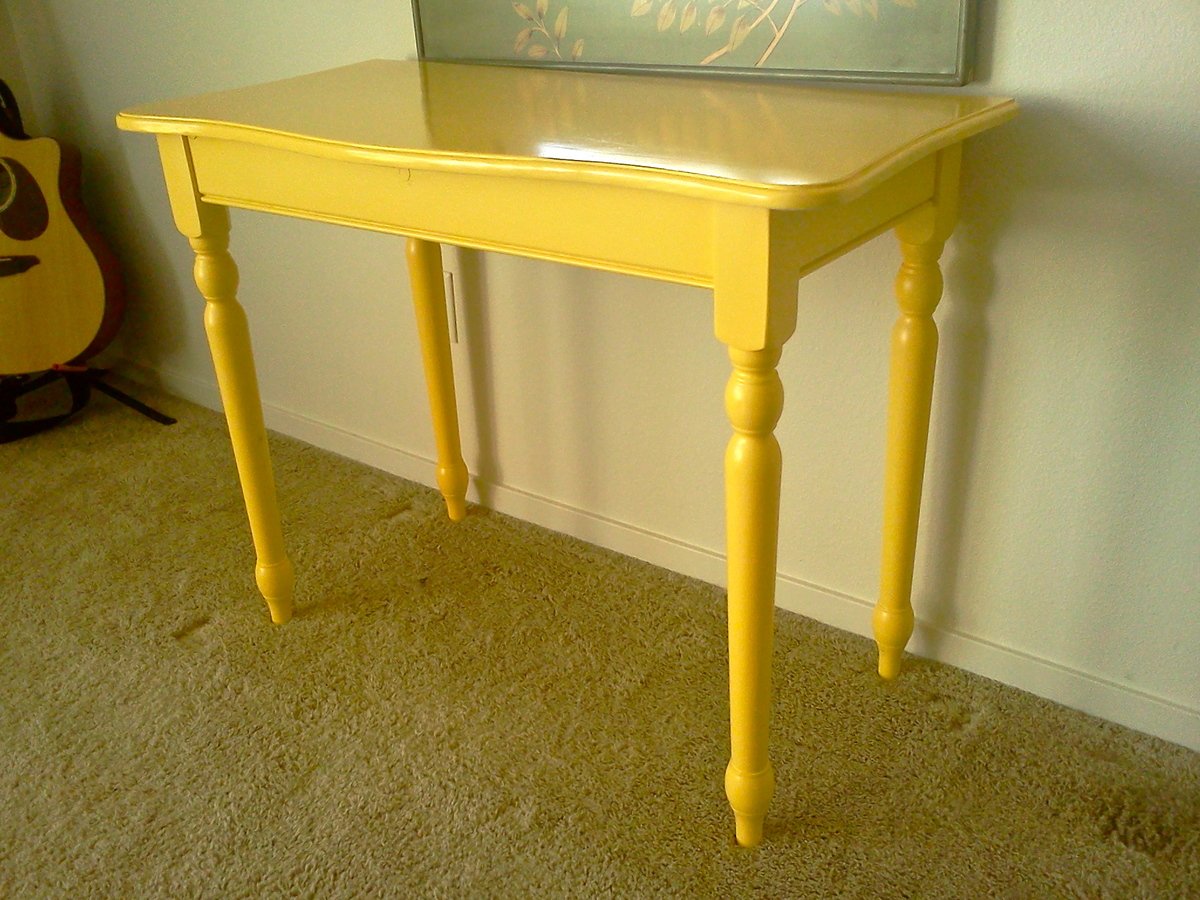
I bought a dining table set just for the chairs a while ago and the table legs have been sitting there ever since. The rest of the materials were scraps from the shop. I never worry about matching wood types if I'm planning on painting it. Everything matches when you paint over top of it.
The chair is something I made a while ago. I realized I didn't want to make 3 more after hours of just making one. That's why I bought that dining set in the first place.
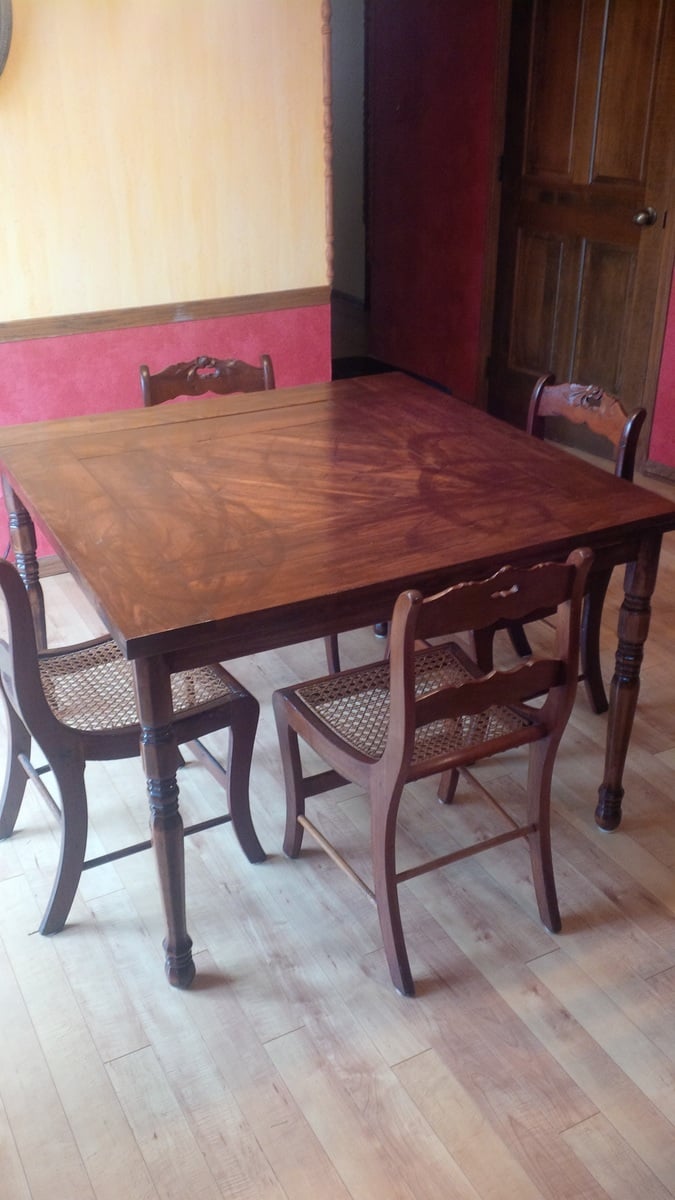
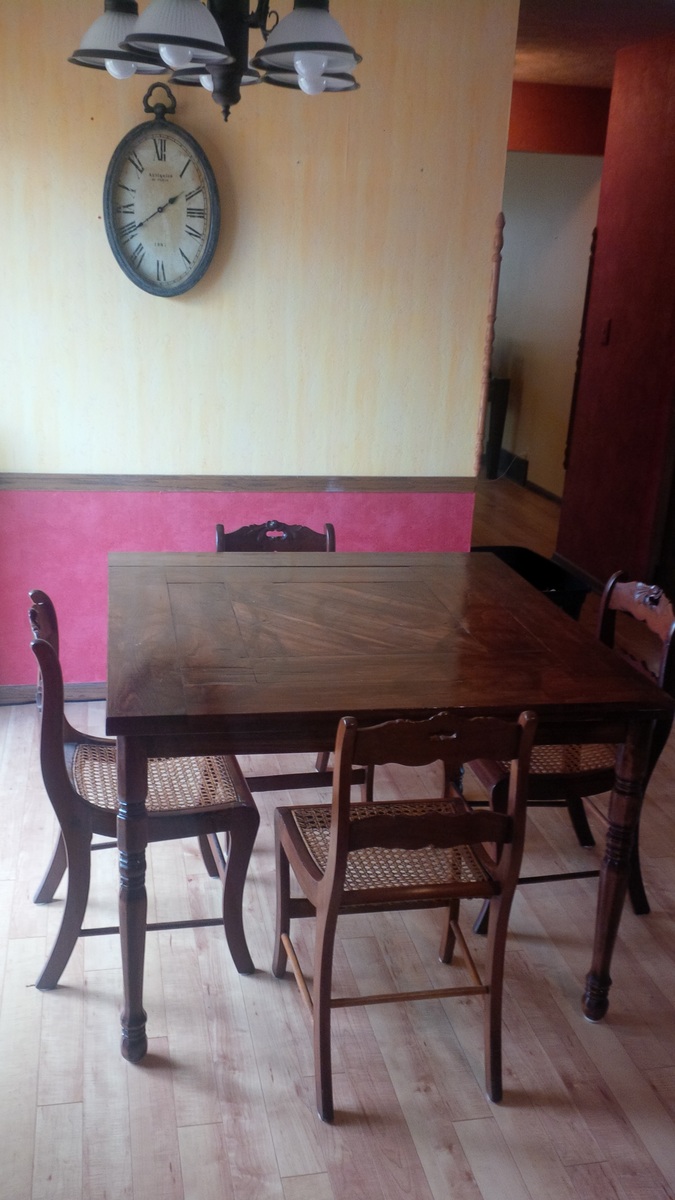
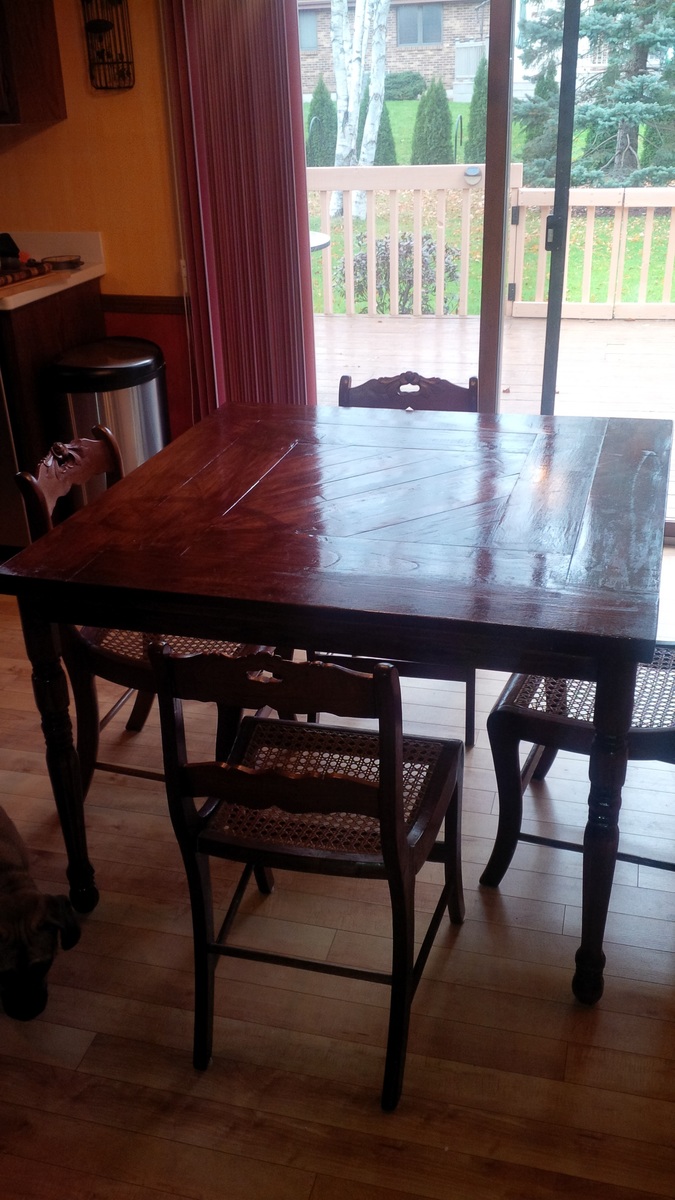
After I found these awesome walnut chairs on craigslist, I did by best to match the stain and build a kitchen table on the cheap for our new house. As you can see, I modified the design into a square to fit the space. I also attempted to create a unique design by making diagonal cuts with the miter saw and connecting everything in the underbelly with my Kreg Jig. My one regret is that after my palm sander broke, instead of buying a replacement, I got a little hyperactive with my belt sander. It ended up making a unique swirl design over the grain. A part of me thinks it looks cool and the other part thinks it looks ridiculous. The moral of the story is never use a belt sander on something you intend to stain.
Sat, 03/08/2014 - 16:33
I've accidentally done the same thing with the sander on pieces of my furniture too. I don't think yours looks ridiculous at all- it is a really beautiful table!!
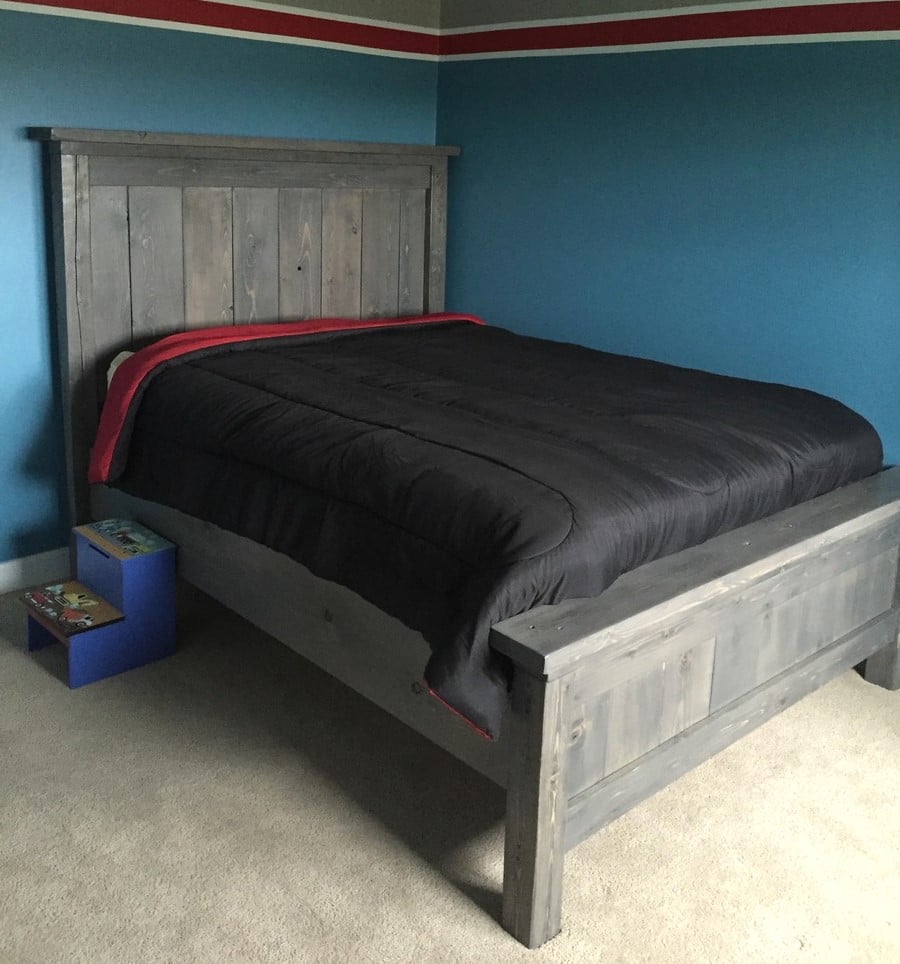
My husband built the full size farmhouse bed for our 2 year old son. It turned out beautiful but very high off the ground. In hindsight he would've cut off about 4" from the end posts so it would be lower to the ground. Overall we are very happy with it!
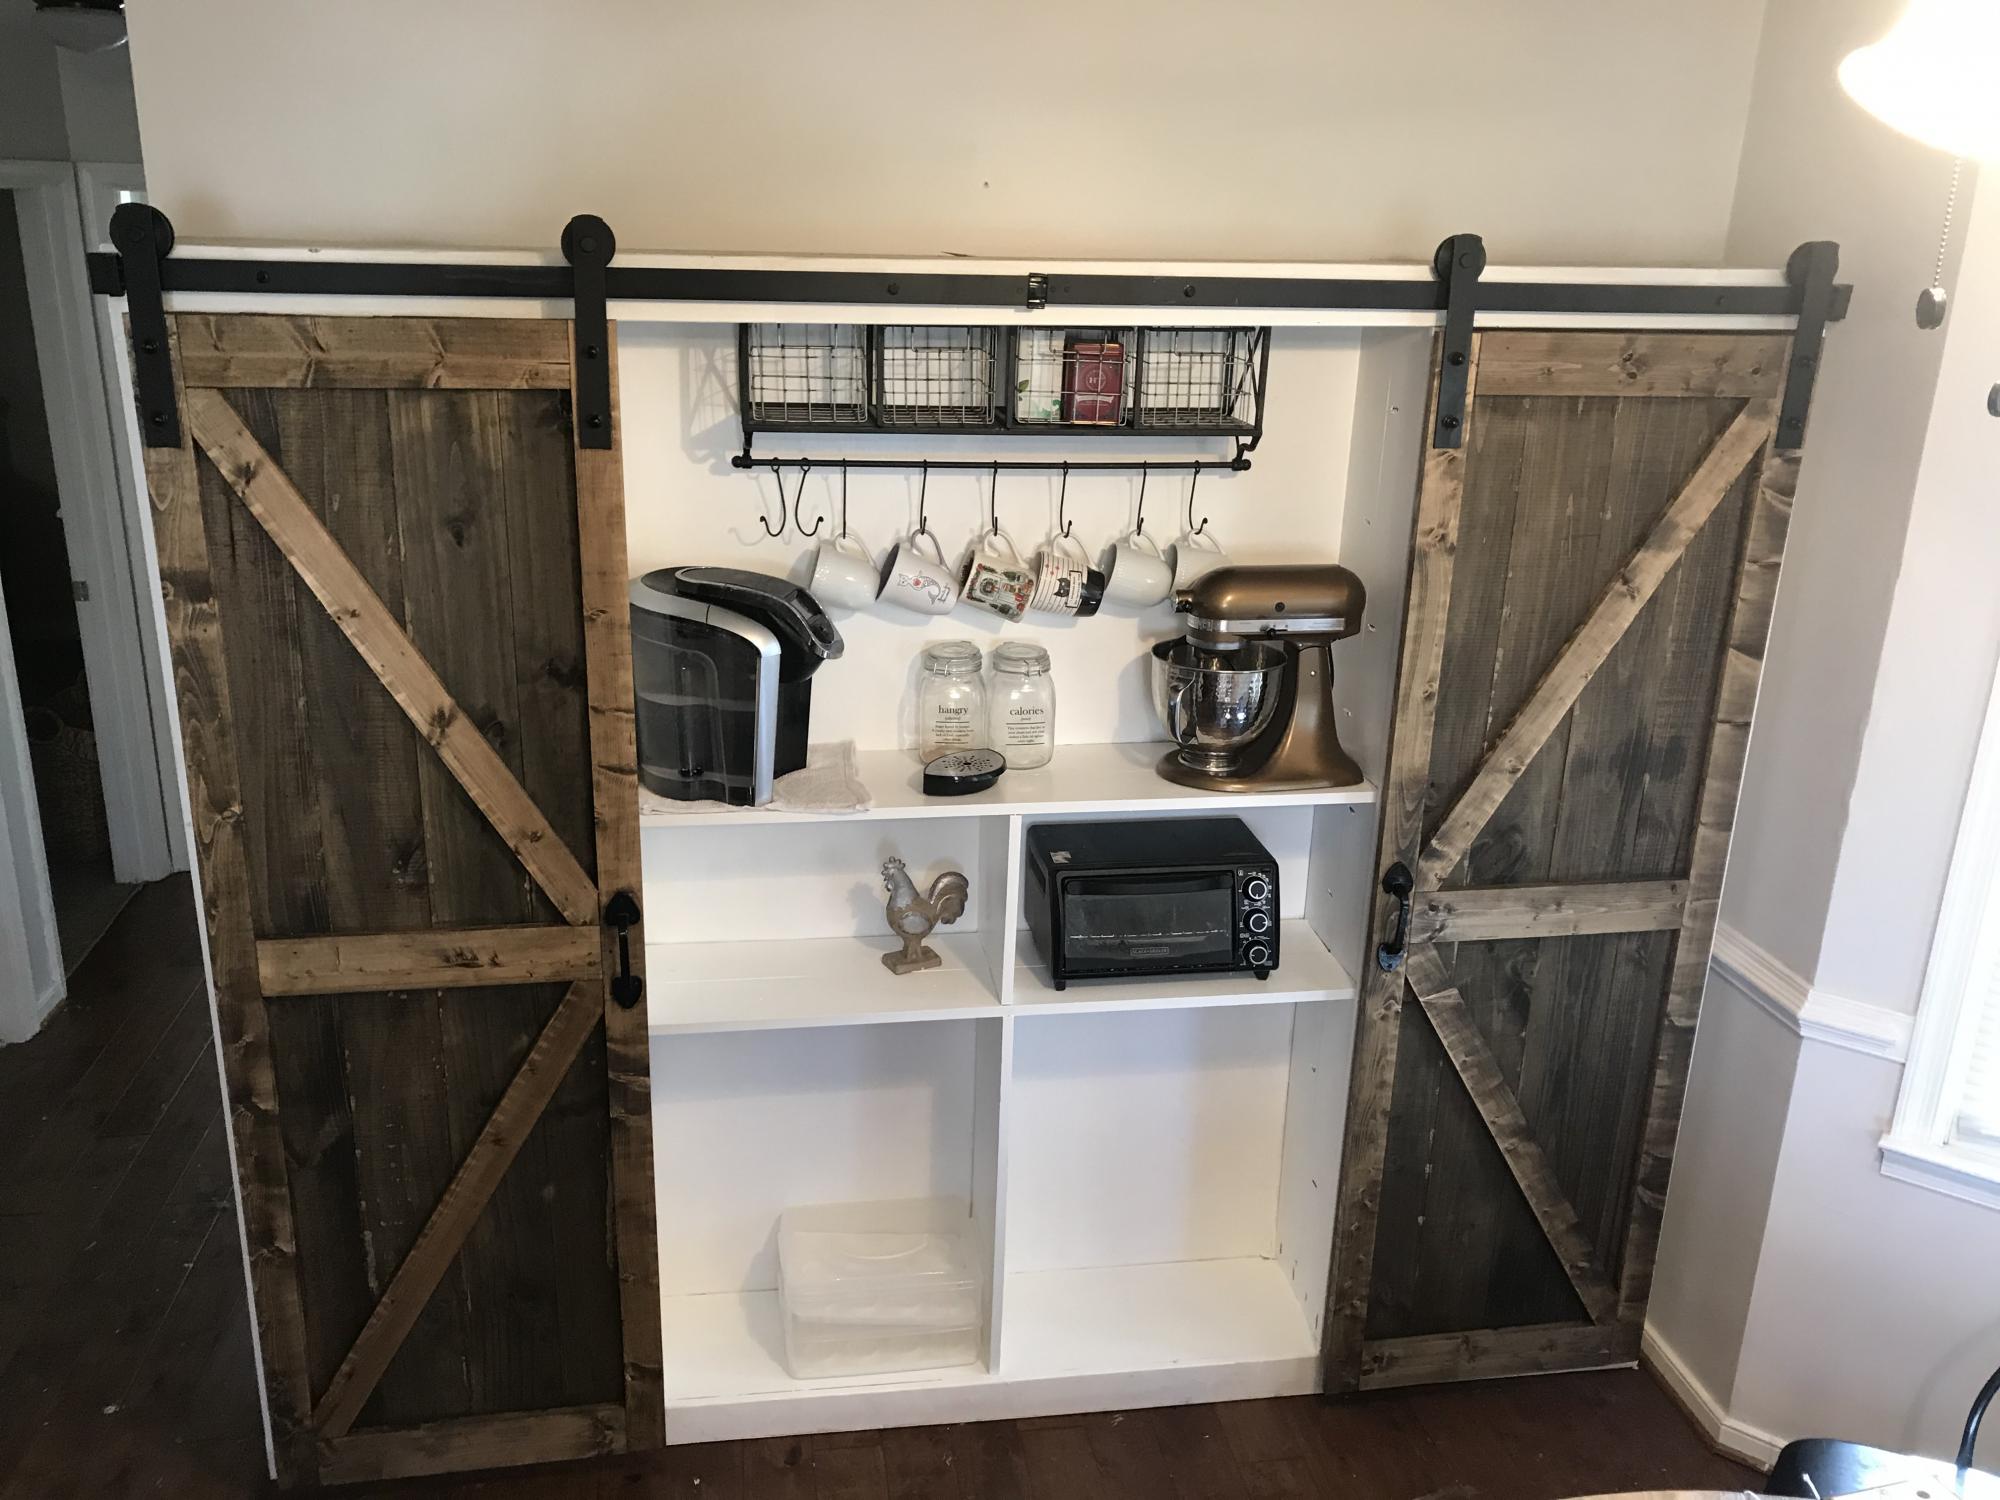
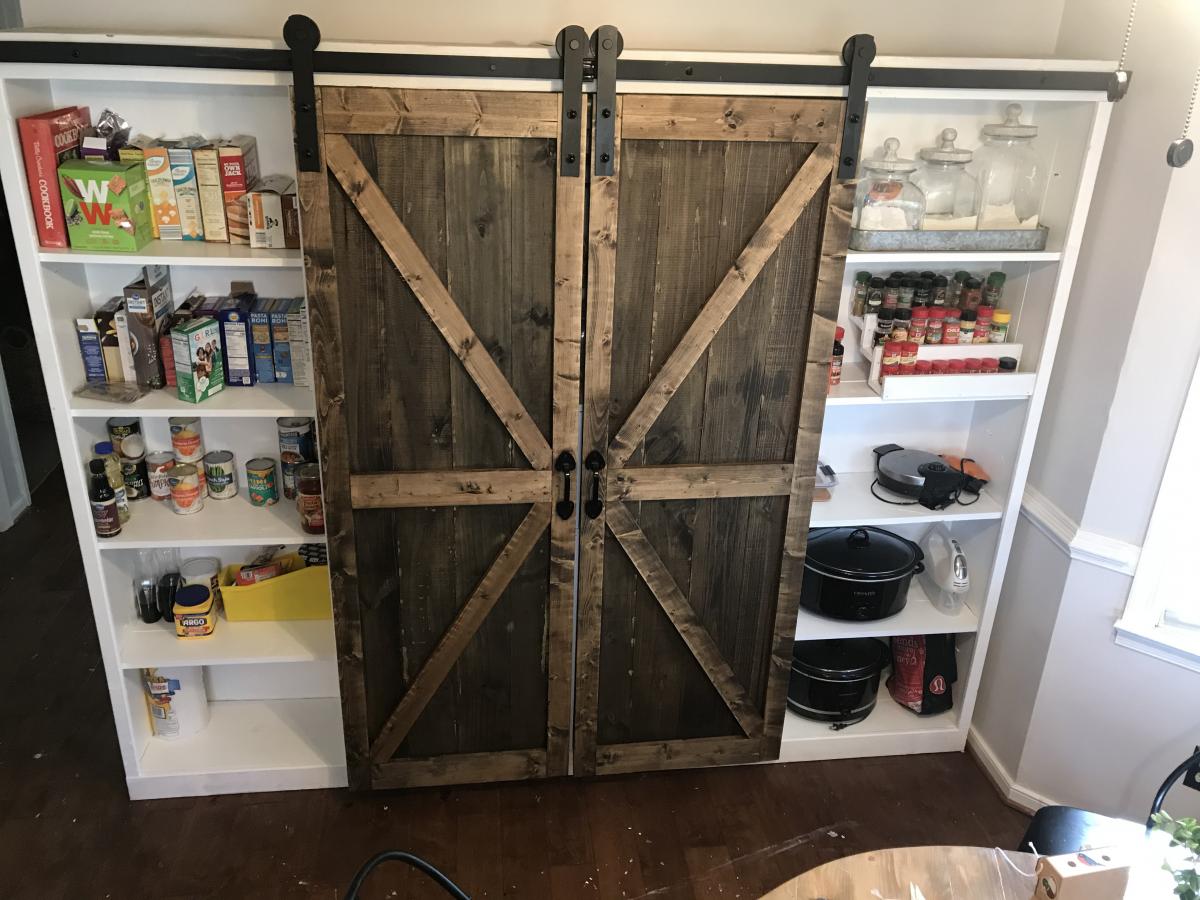
My wife has been asking me to build her a pantry since we bought our house last year and I finally got around to doing it. I used the Barn Door Entertainment center plans as inspiration but Instead of using the 1x12x8ft lumber suggested I used 1x6x8ft boards connected with pocket holes to save on costs. The Barn door hardware is the SMARTSTANDARD 8ft heavy duty (double door) which I purchased on Amazon for 73$.
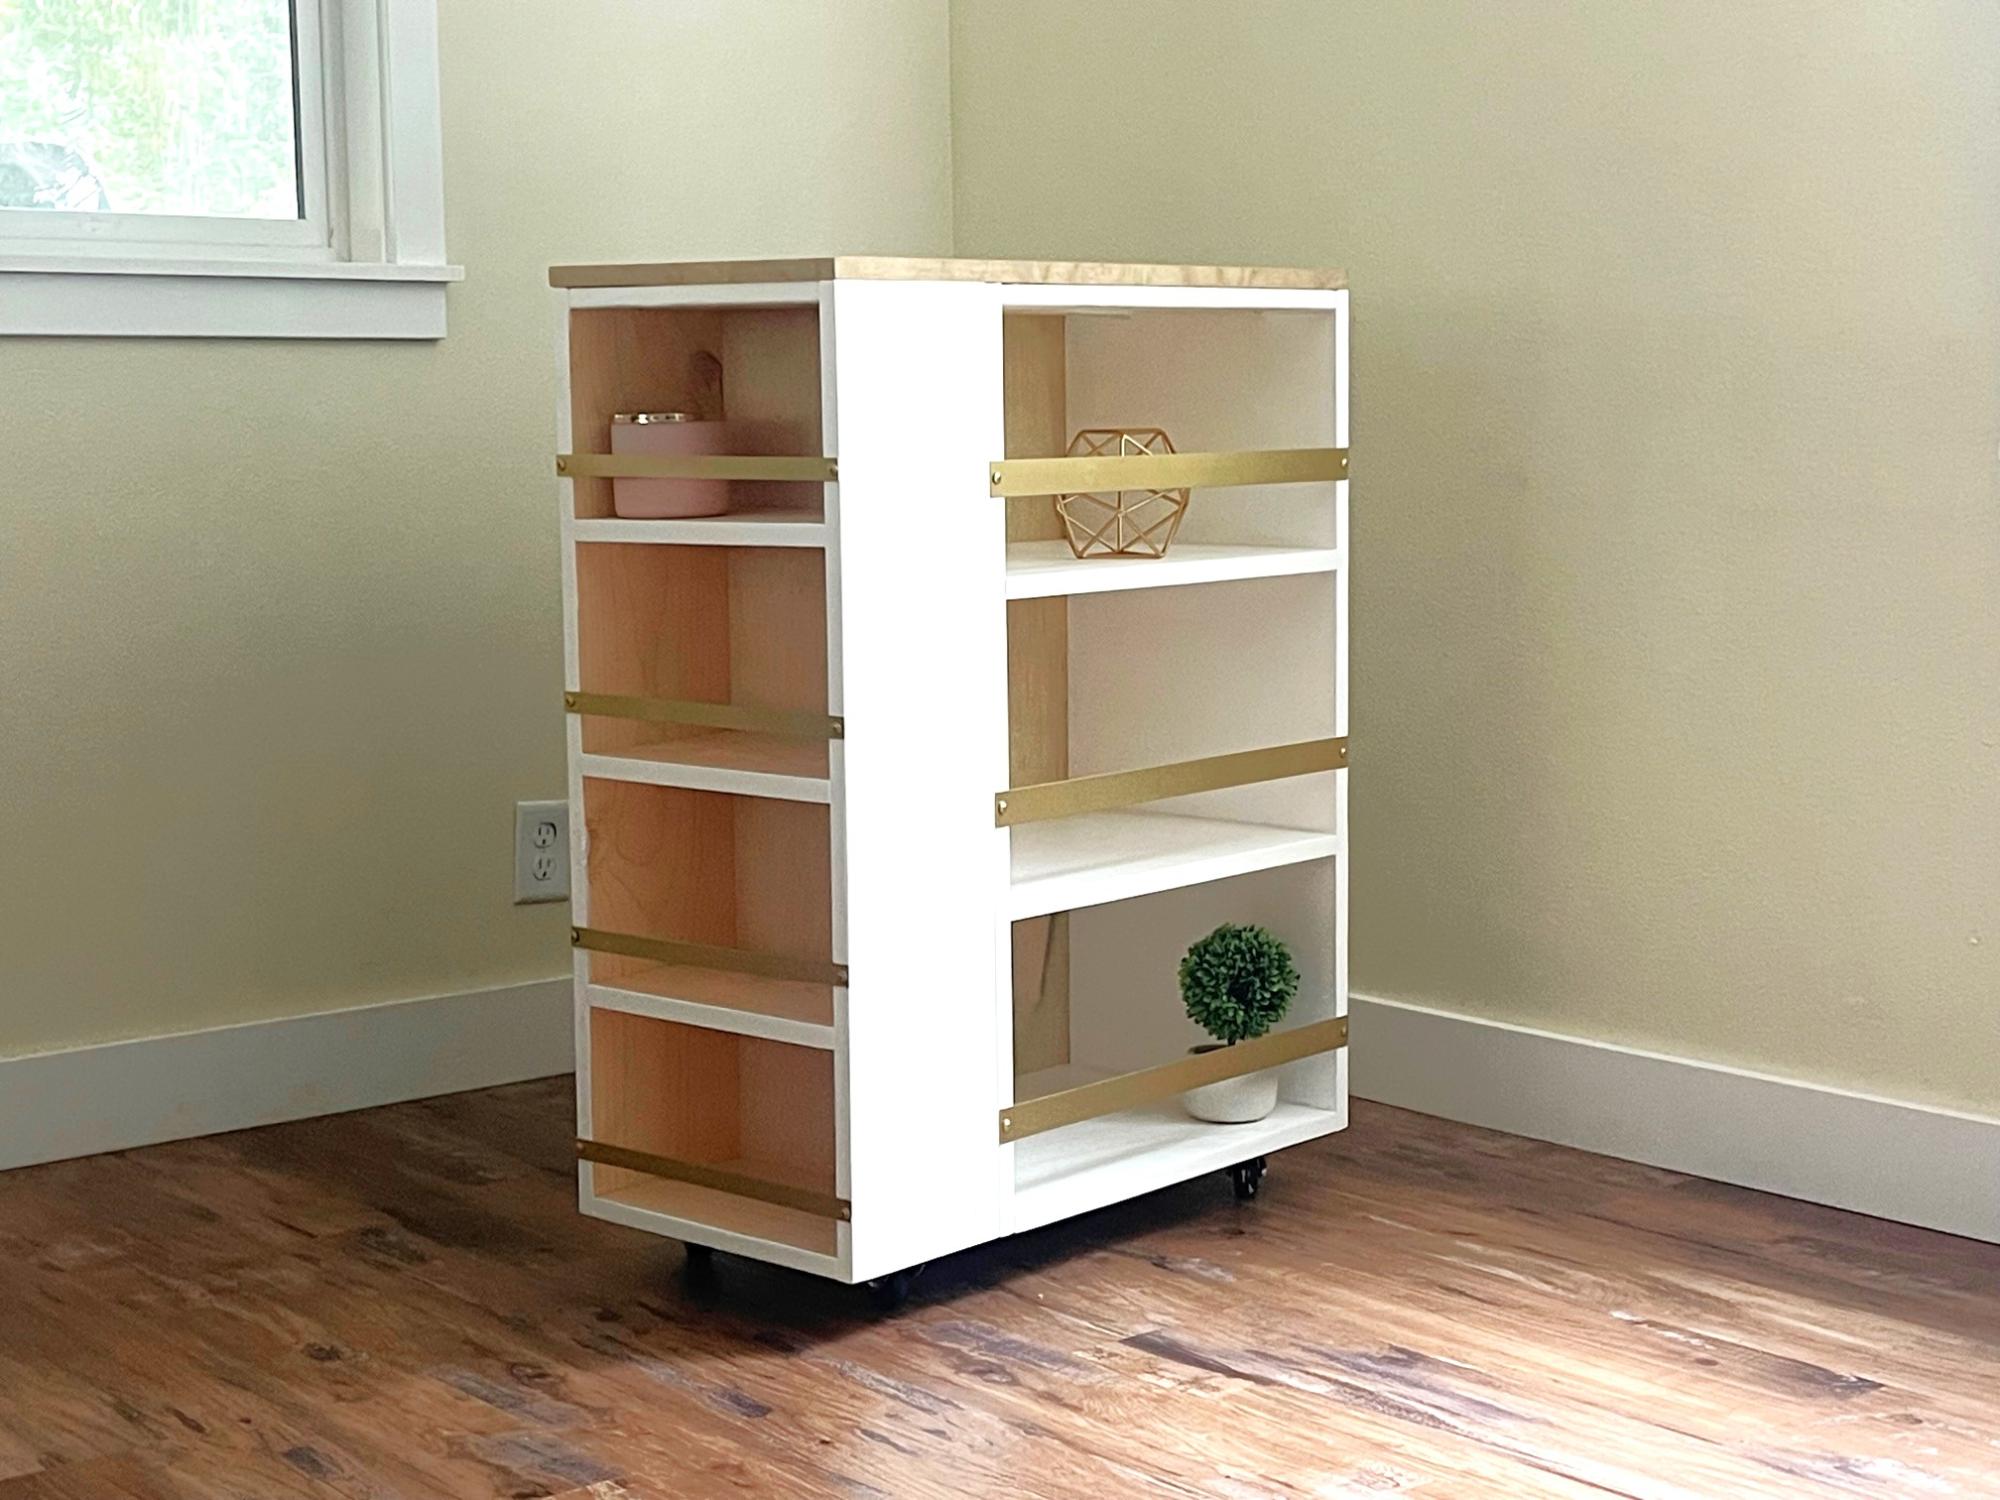
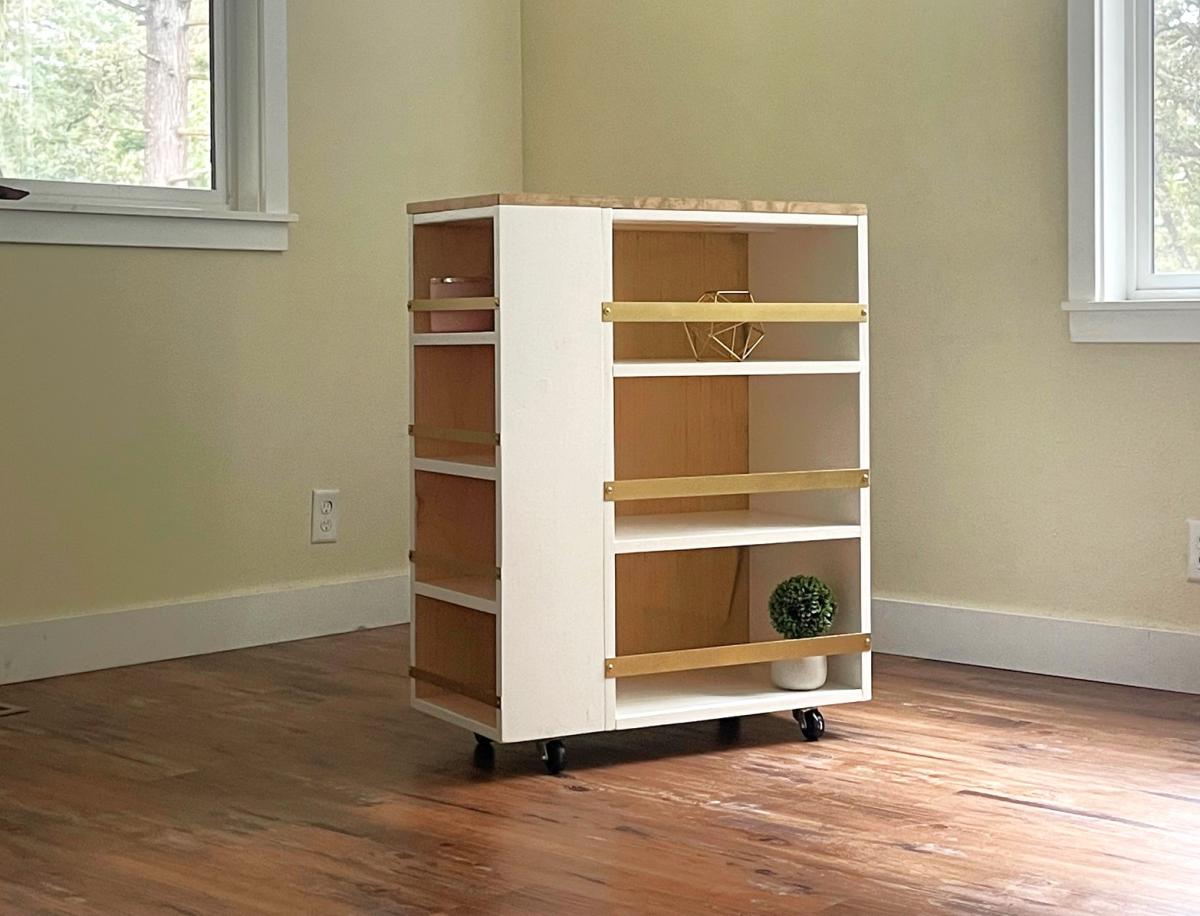
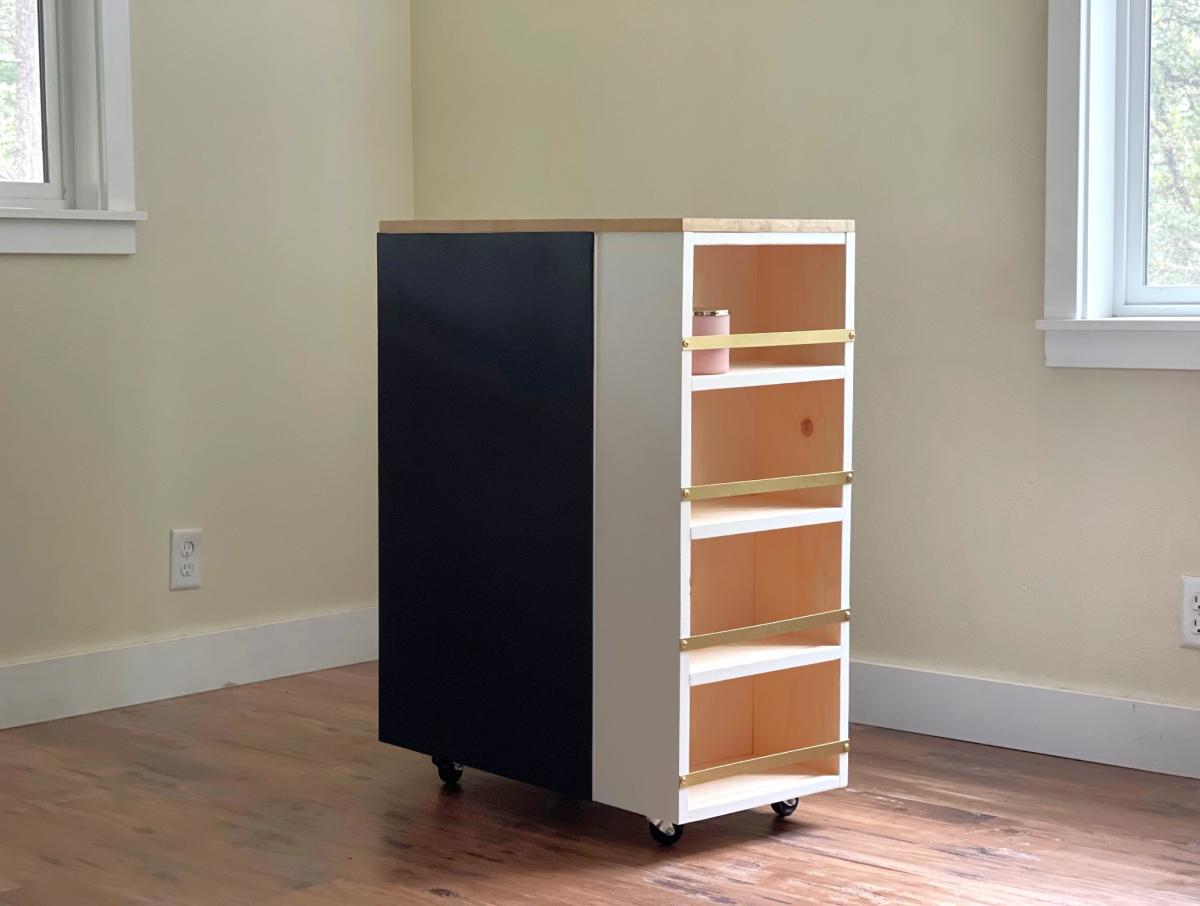
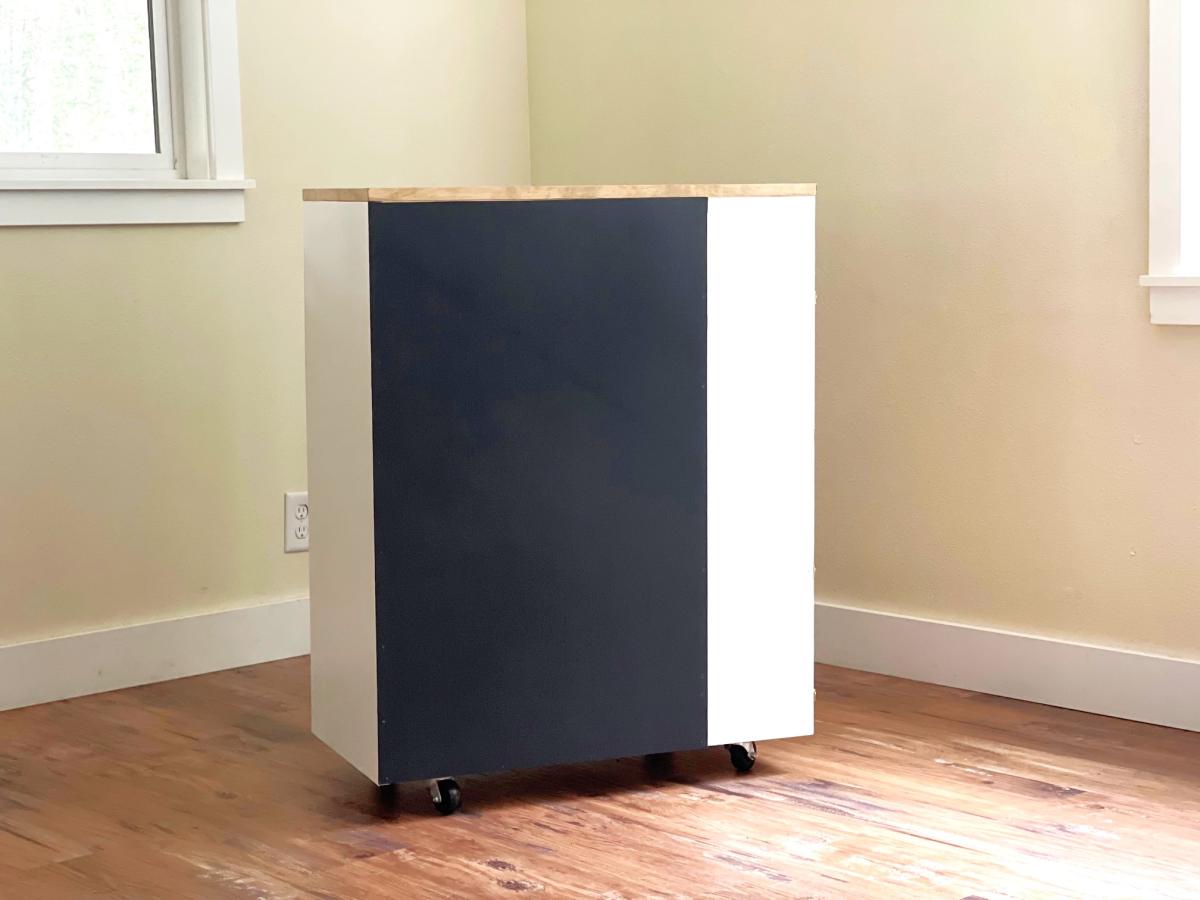
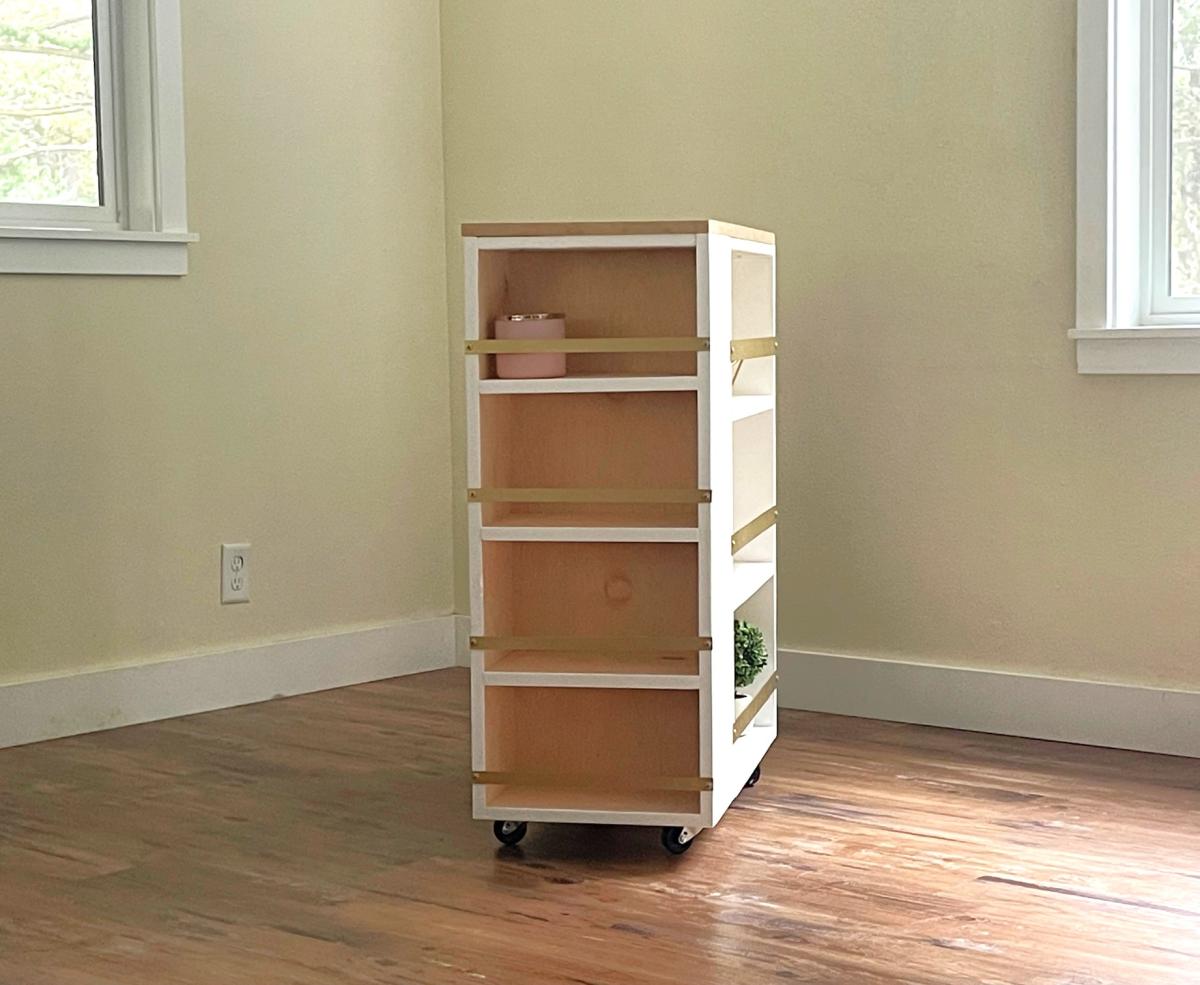
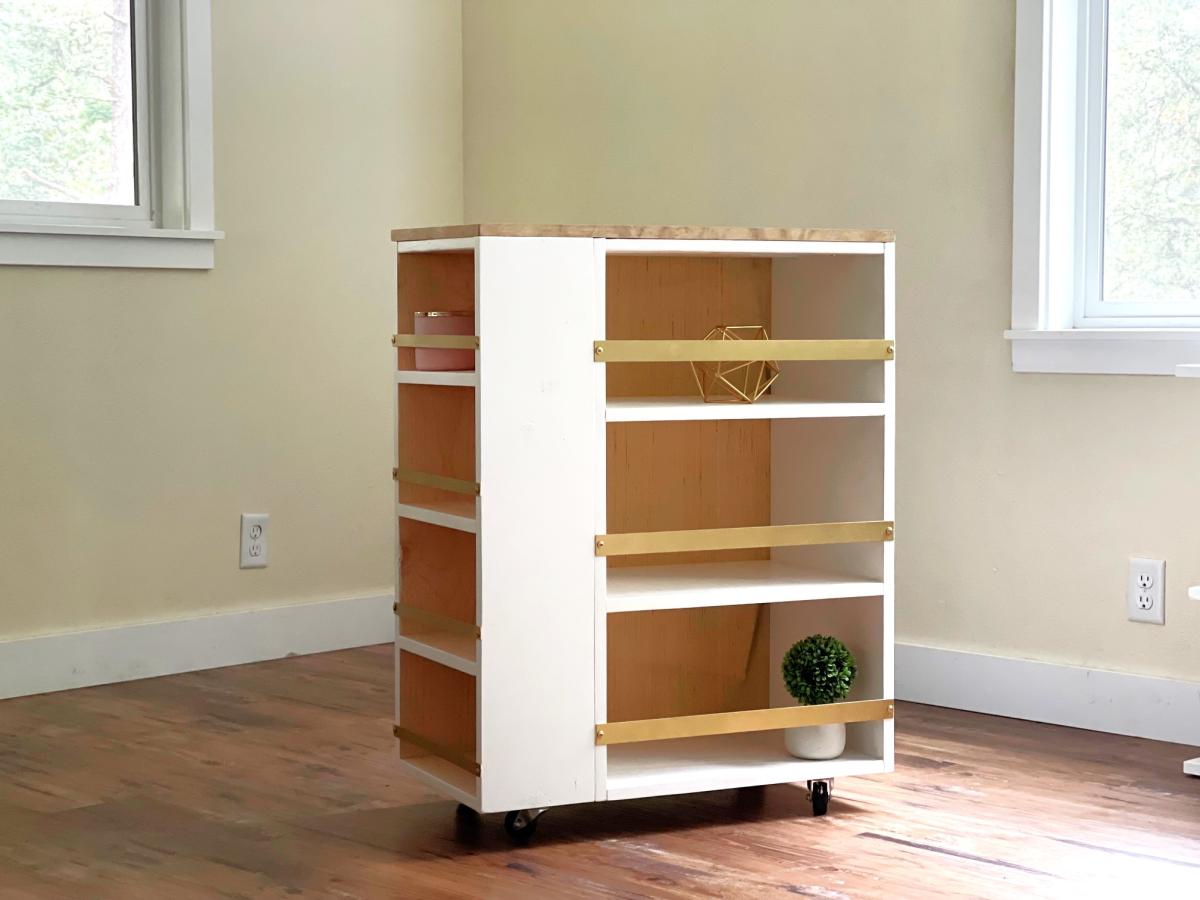
I was asked to build something for my daughters varsity basketball team room. There wasn't a lot of extra space, so this is what I came up with. I wanted to give parents a place to set treats or leave an inspirational message. I was inspired by Ana's modern craft table plans. The smaller bookshelf measures 14" wide by 33 1/4" high (using a 1x8), the larger bookshelf measures 21" wide by 33 1/4" tall (using 3/4" plywood), with a 3/4" plywood top and 2" casters, it's a nice 36" counterheight. I used edgebanding for the top and front exposed plywood edges. I used aluminum flat bar (spray painted gold) to the shelves adding a decorative element as well as to help keep items on the shelves. The back is 1/8" panel spray painted with chalk paint. I added some bay supports at the top of each bookshelf to attach the top from underneath. I'm happy with the results!
Okay in all fairness to a woodworking site, I did not actually MAKE this shelf. However, I saw the plan for how to decoupage my scraps and thought hey I did something like this a few months back. I think I will take a picture and share what you can do with decoupage and some scraps.... did that make sense? Anyway, this is to give you an idea of something you can do!
So - found this shelf on the damaged section at Hobby Lobby for less than $20 in fact I think it was about $16 or so. It was missing 2 of the glass sections, one of the backs to the picture, and one hook. It also had some small places where the paint was chipped off. So I bought it with a great place to put it but no definitive plan on how to fix it.
Here's my rehab - filled in scratched spots with a black sharpie, it looks pretty good. Instead of trying to find glass/backs, I found some copyright free letters and had prints made of them (there is a whole folder out there on flickr of copyright free letter photos for personal use). Of course, I had to agonize over which ones to use and which had the correct orientation - I ended up with a metal stamped C, a concrete O, a wood carved a, a stitiched T, and a painted s. Then I took thin scrap board, cut them to size, and decoupaged the letters on to each board. For my final decoupage coatings, I used a small brush one way and then the other to give the product a canvas like texture. When that was dry, I sprayed it with a matte clear coat (if you don't do this over mod podge it has a sticky feel to it and dust/dog hair etc will stick to it). I put these little plaques in the holes of my shelf with tape. No glass needed when the decoupage is sealed like this.
Unfortunately, I could not find hooks to match the missing ones so I just bought new ones and will save the other 4 for some other project.
Hung it up and hung coats on it!
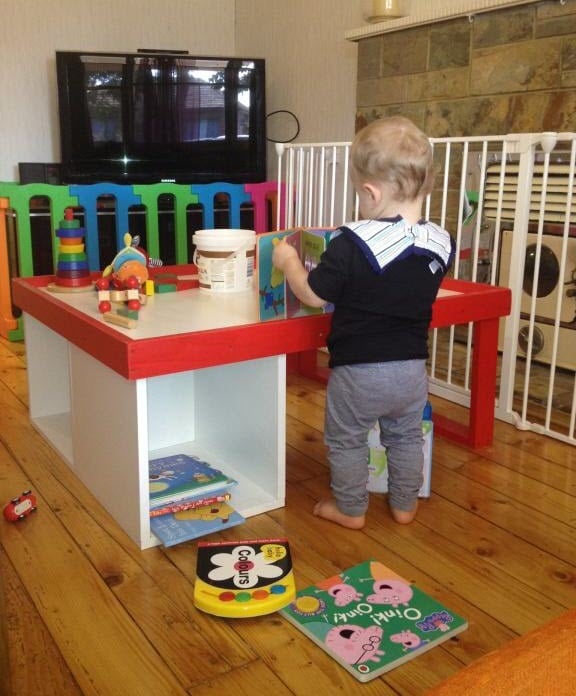
This was a really easy and inexpensive project. As I don't have a table saw and I'm scared to death of my circular saw, I had the laminated MDF cut to size and edged. Assembly and painting was really quick. This little man will road test it for me!
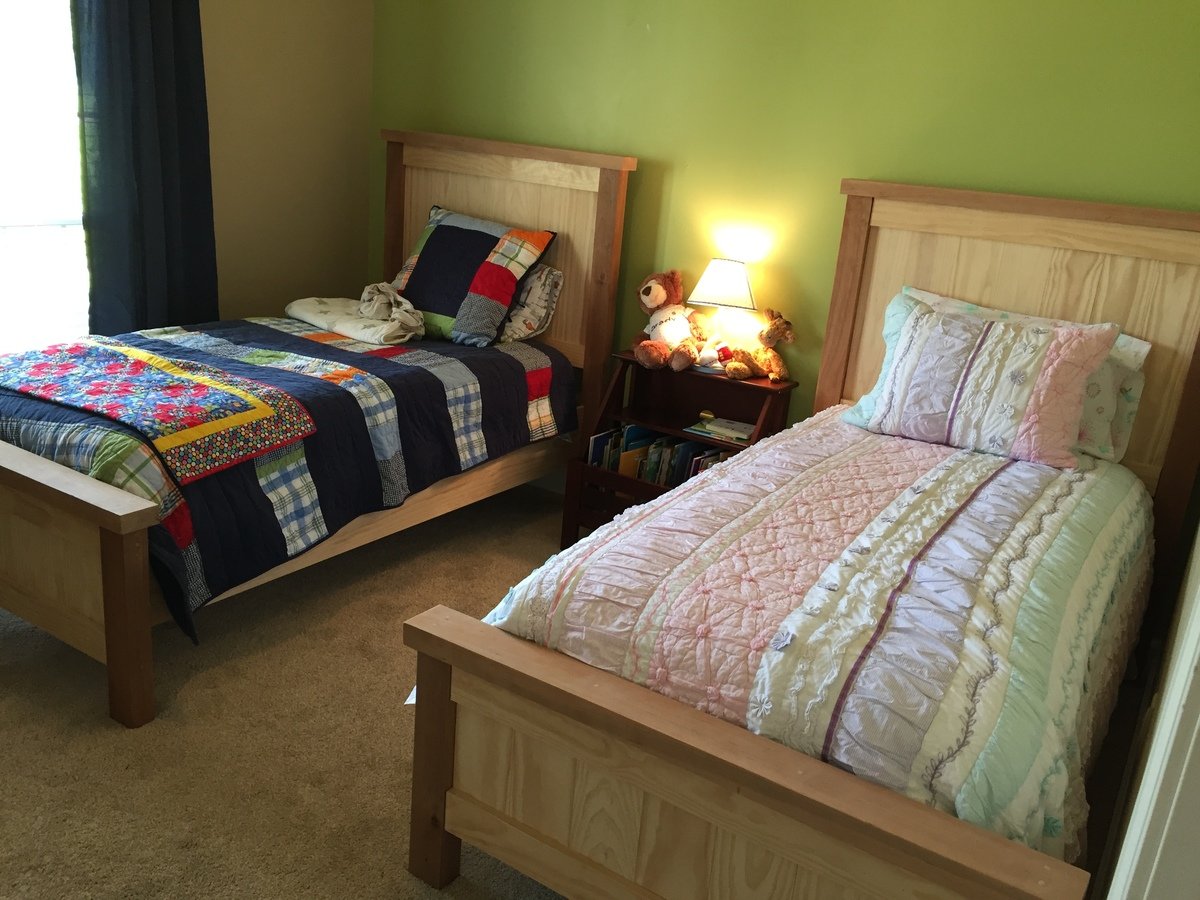
Two tone twin farmhouse bed made from cherry and pine.
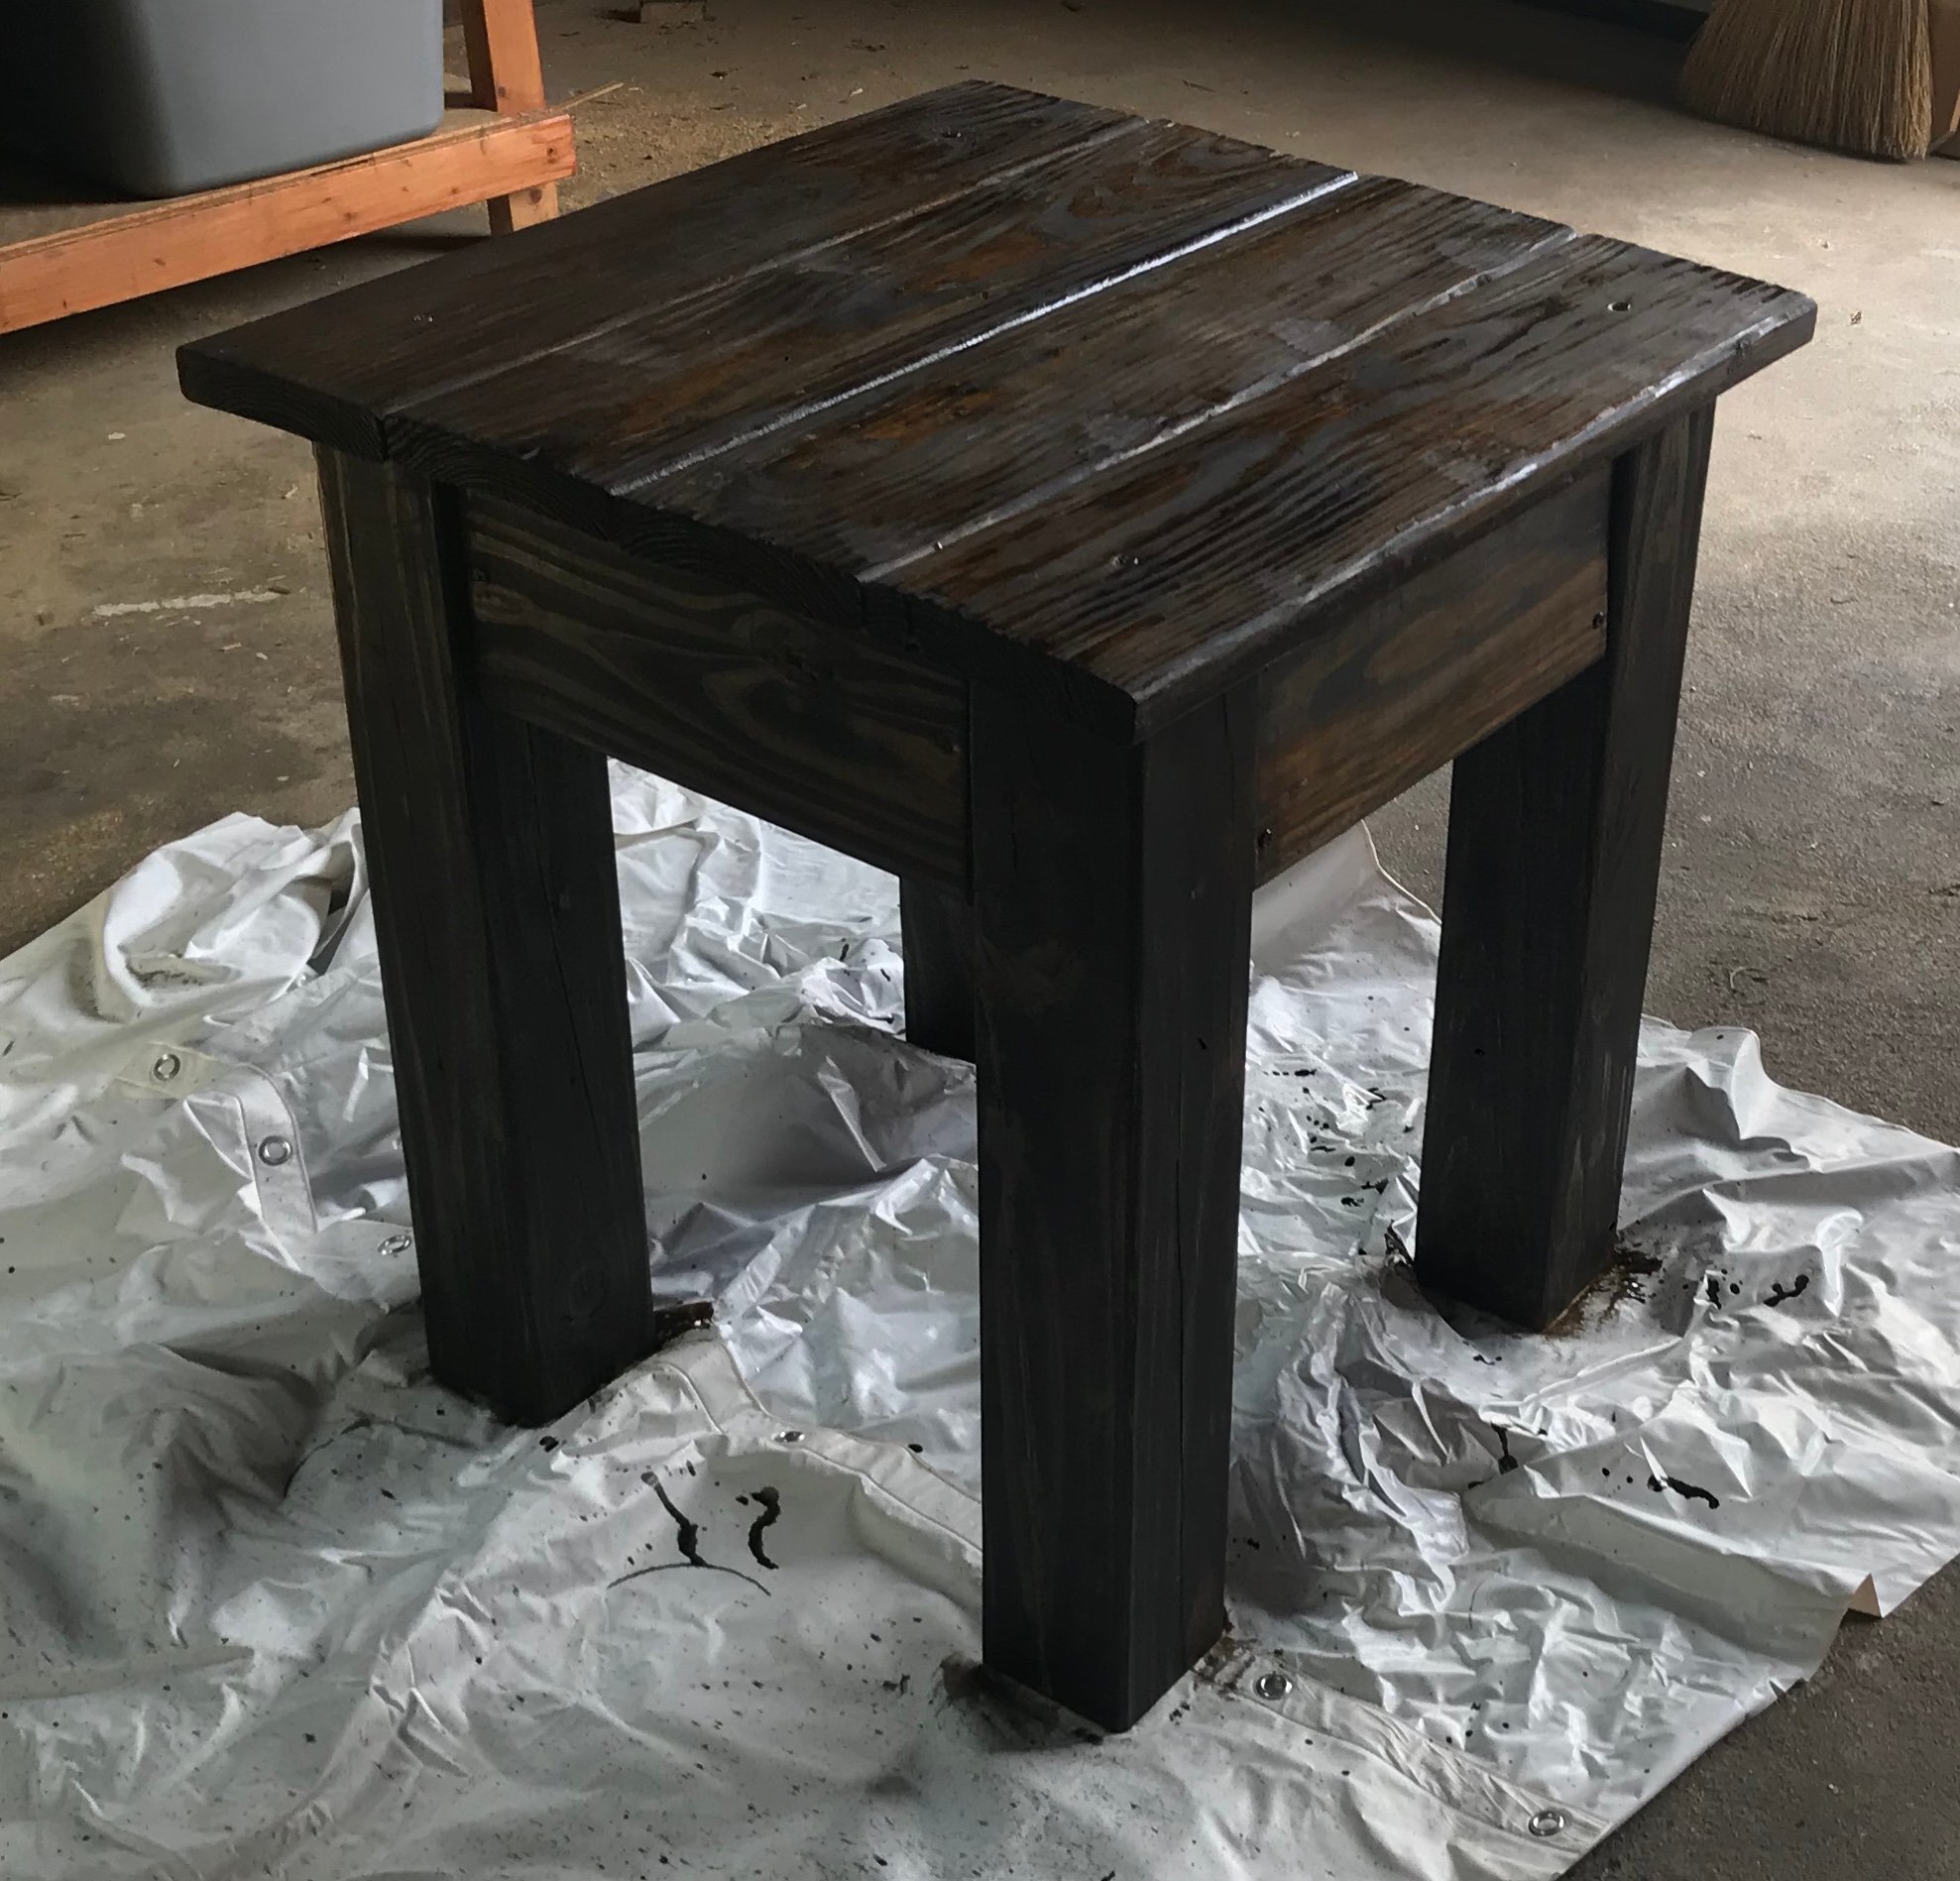
I only work with reclaimed/junk wood and this has literally been the most rewarding thing I've ever done. I absolutely love these projects! can't thank you enough for sharing plans- and for free! (I also made a chair but it won't let me upload a pic.)
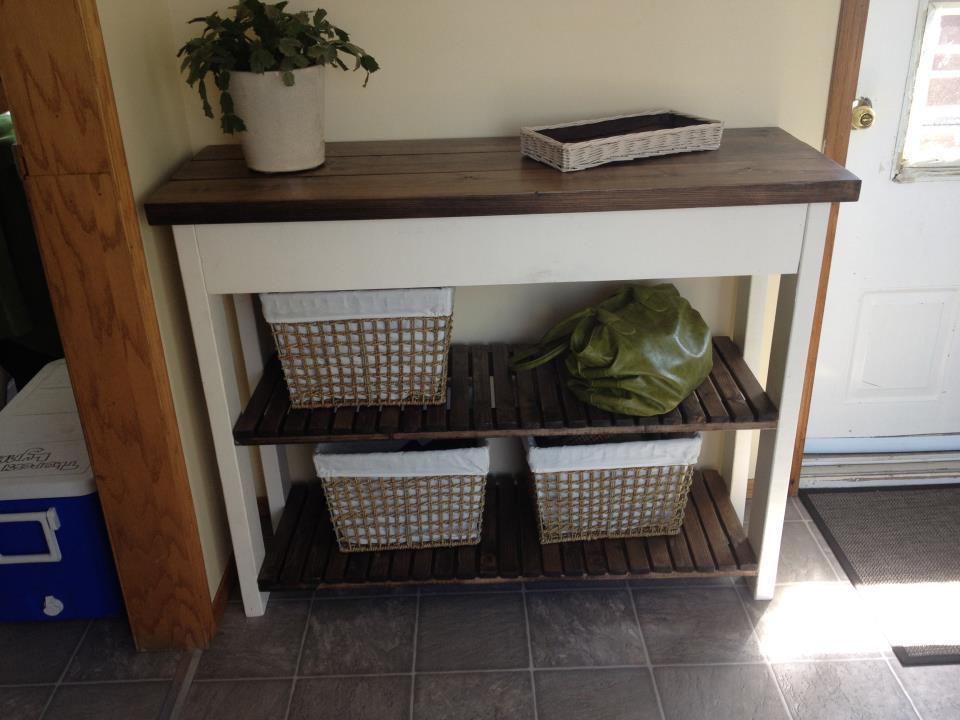
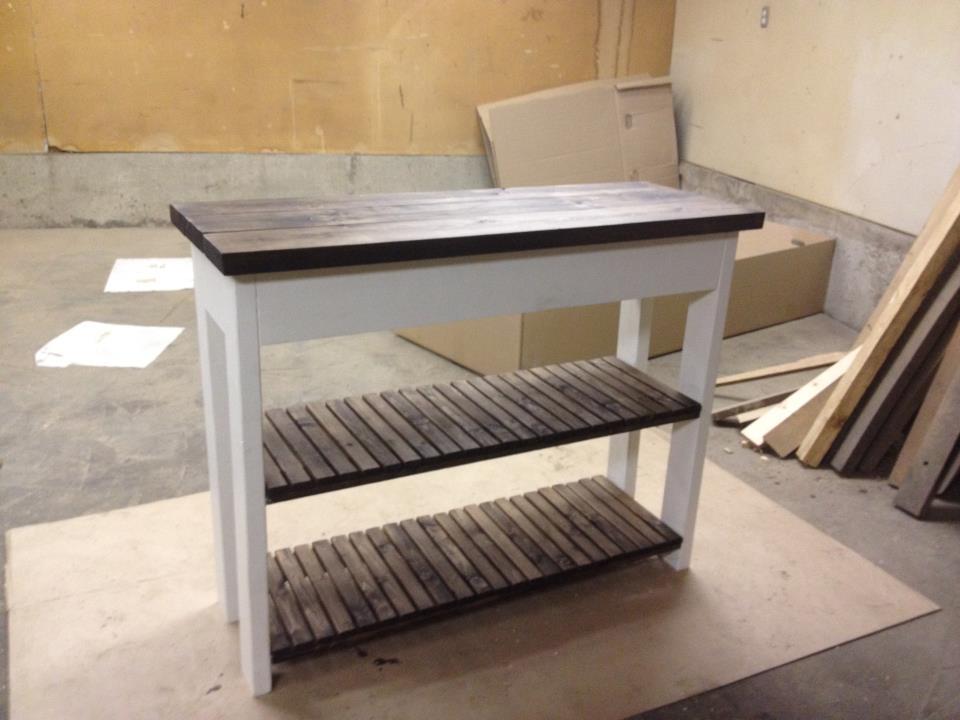
I built this from the Easy Kitchen Shelf Plan, but only used 3 2x6's as the top to make it 16.5" in width and shortened the length to 46" to fit the space.
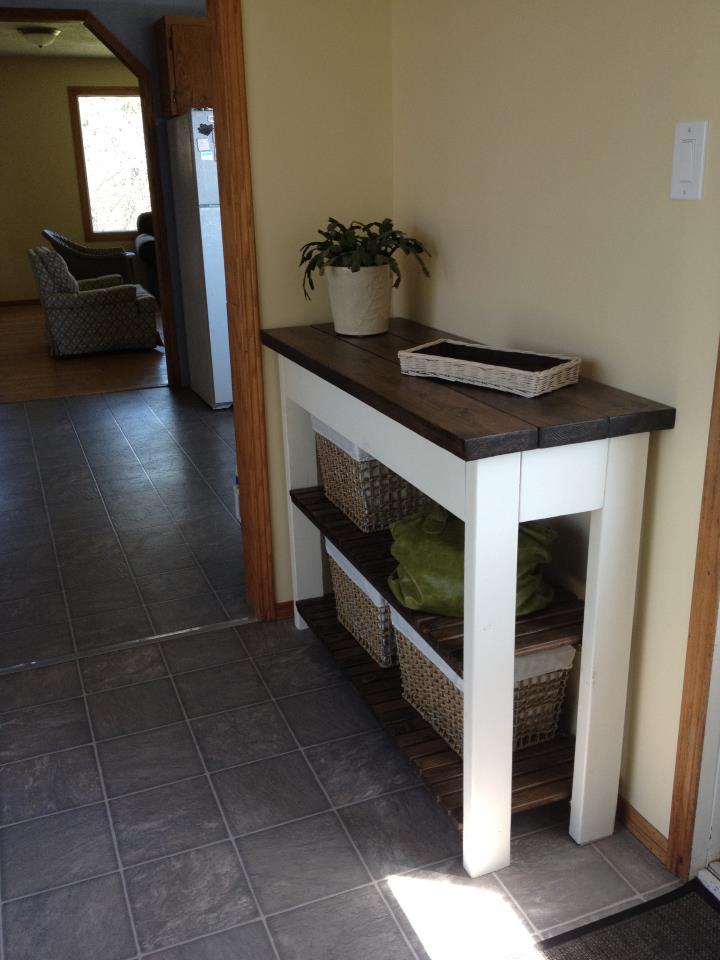
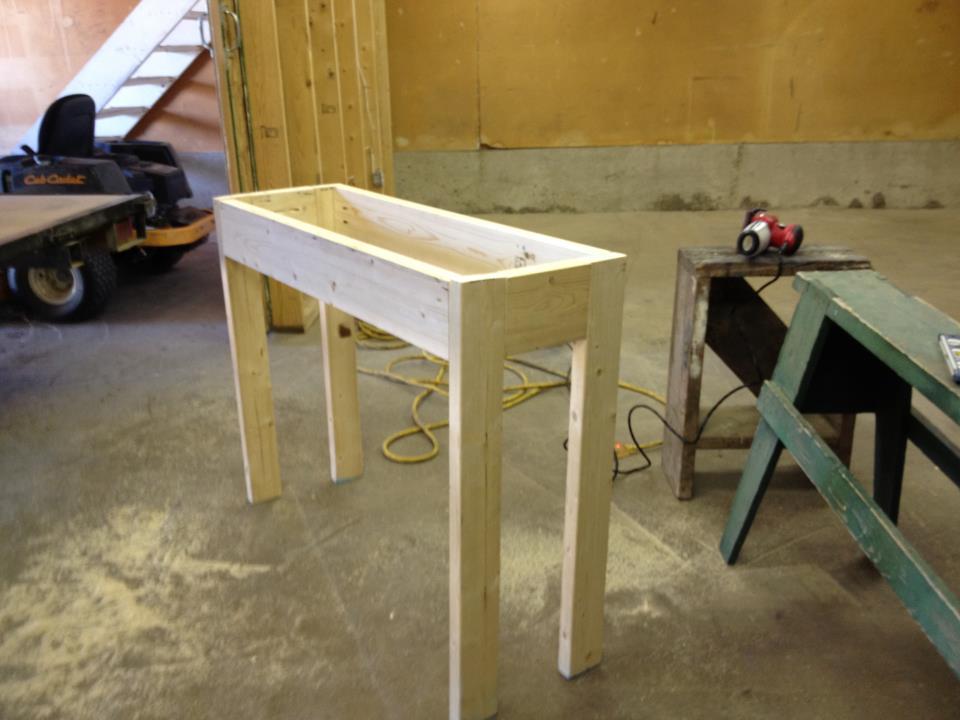
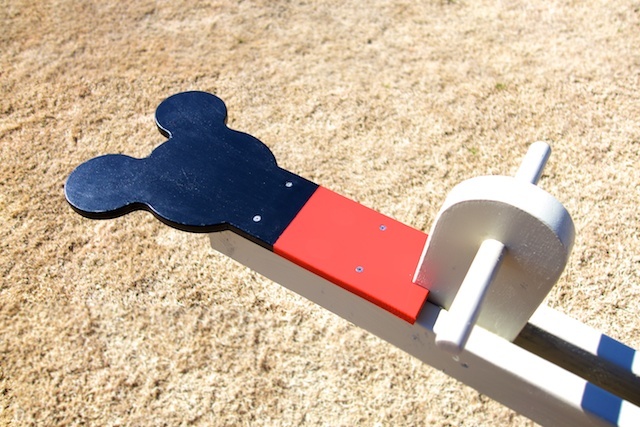
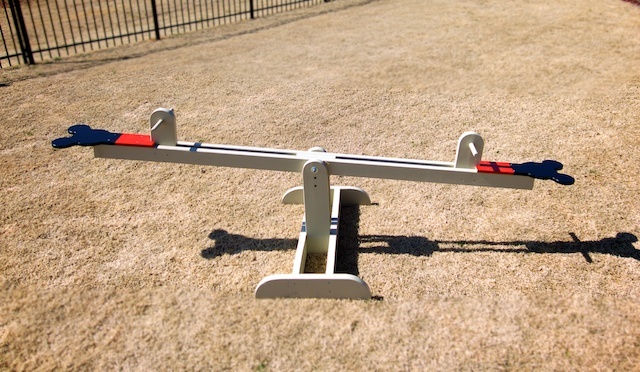
Our 2 year old granddaughter loves seesaws, so my husband built this one for her. We had just been to Disney World and decided to make the seat Mickey shaped for a little extra fun. He used his bandsaw to cut the seat.
The seesaw is plenty stable enough for us to go on it with her and has been a BIG hit with the neighborhood kids.
More pictures on our blog: http://yearoflivingdisney.wordpress.com/2014/03/03/disney-ride-at-home/
Thank you, Ana, for these plans!
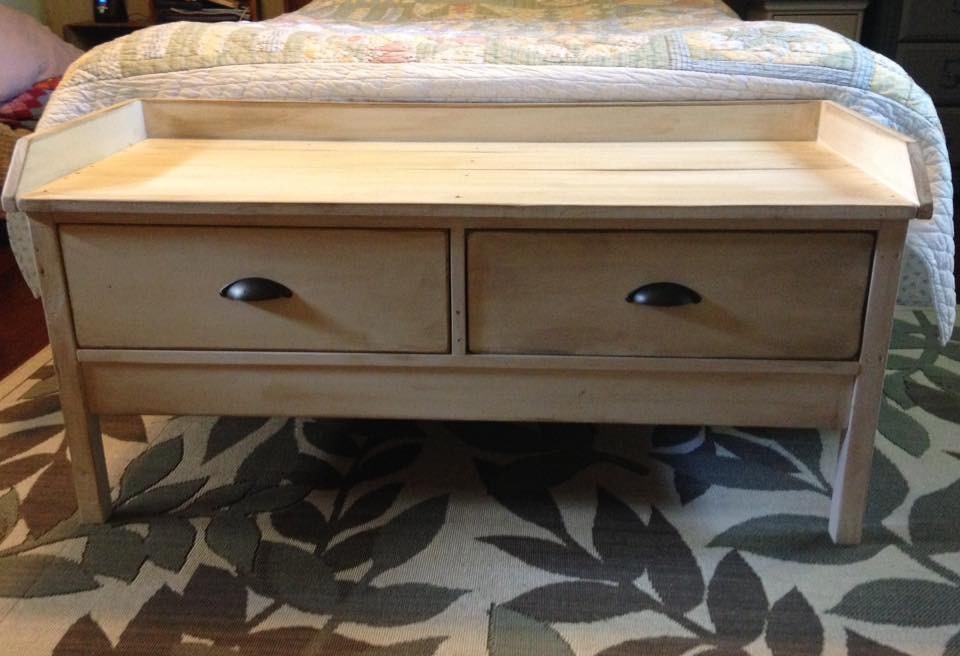
This was a very quick and easy build that was completely finished in an afternoon. My Kreg jig was loaned out, so I have exposed fasteners, but I prefer to let them show instead of filling the holes. I built this with 20" legs to make it a little taller and more comfortable for my height. I also prefer straight lines and angles, so I changed the trim pieces a bit to suit my style. The hardest part was getting the drawer slides lined up. The finish is Rustoleum Heirloom White with a coffee colored glaze. The picture makes one drawer look darker, but it's really just a shadow. I'm in love with this project!
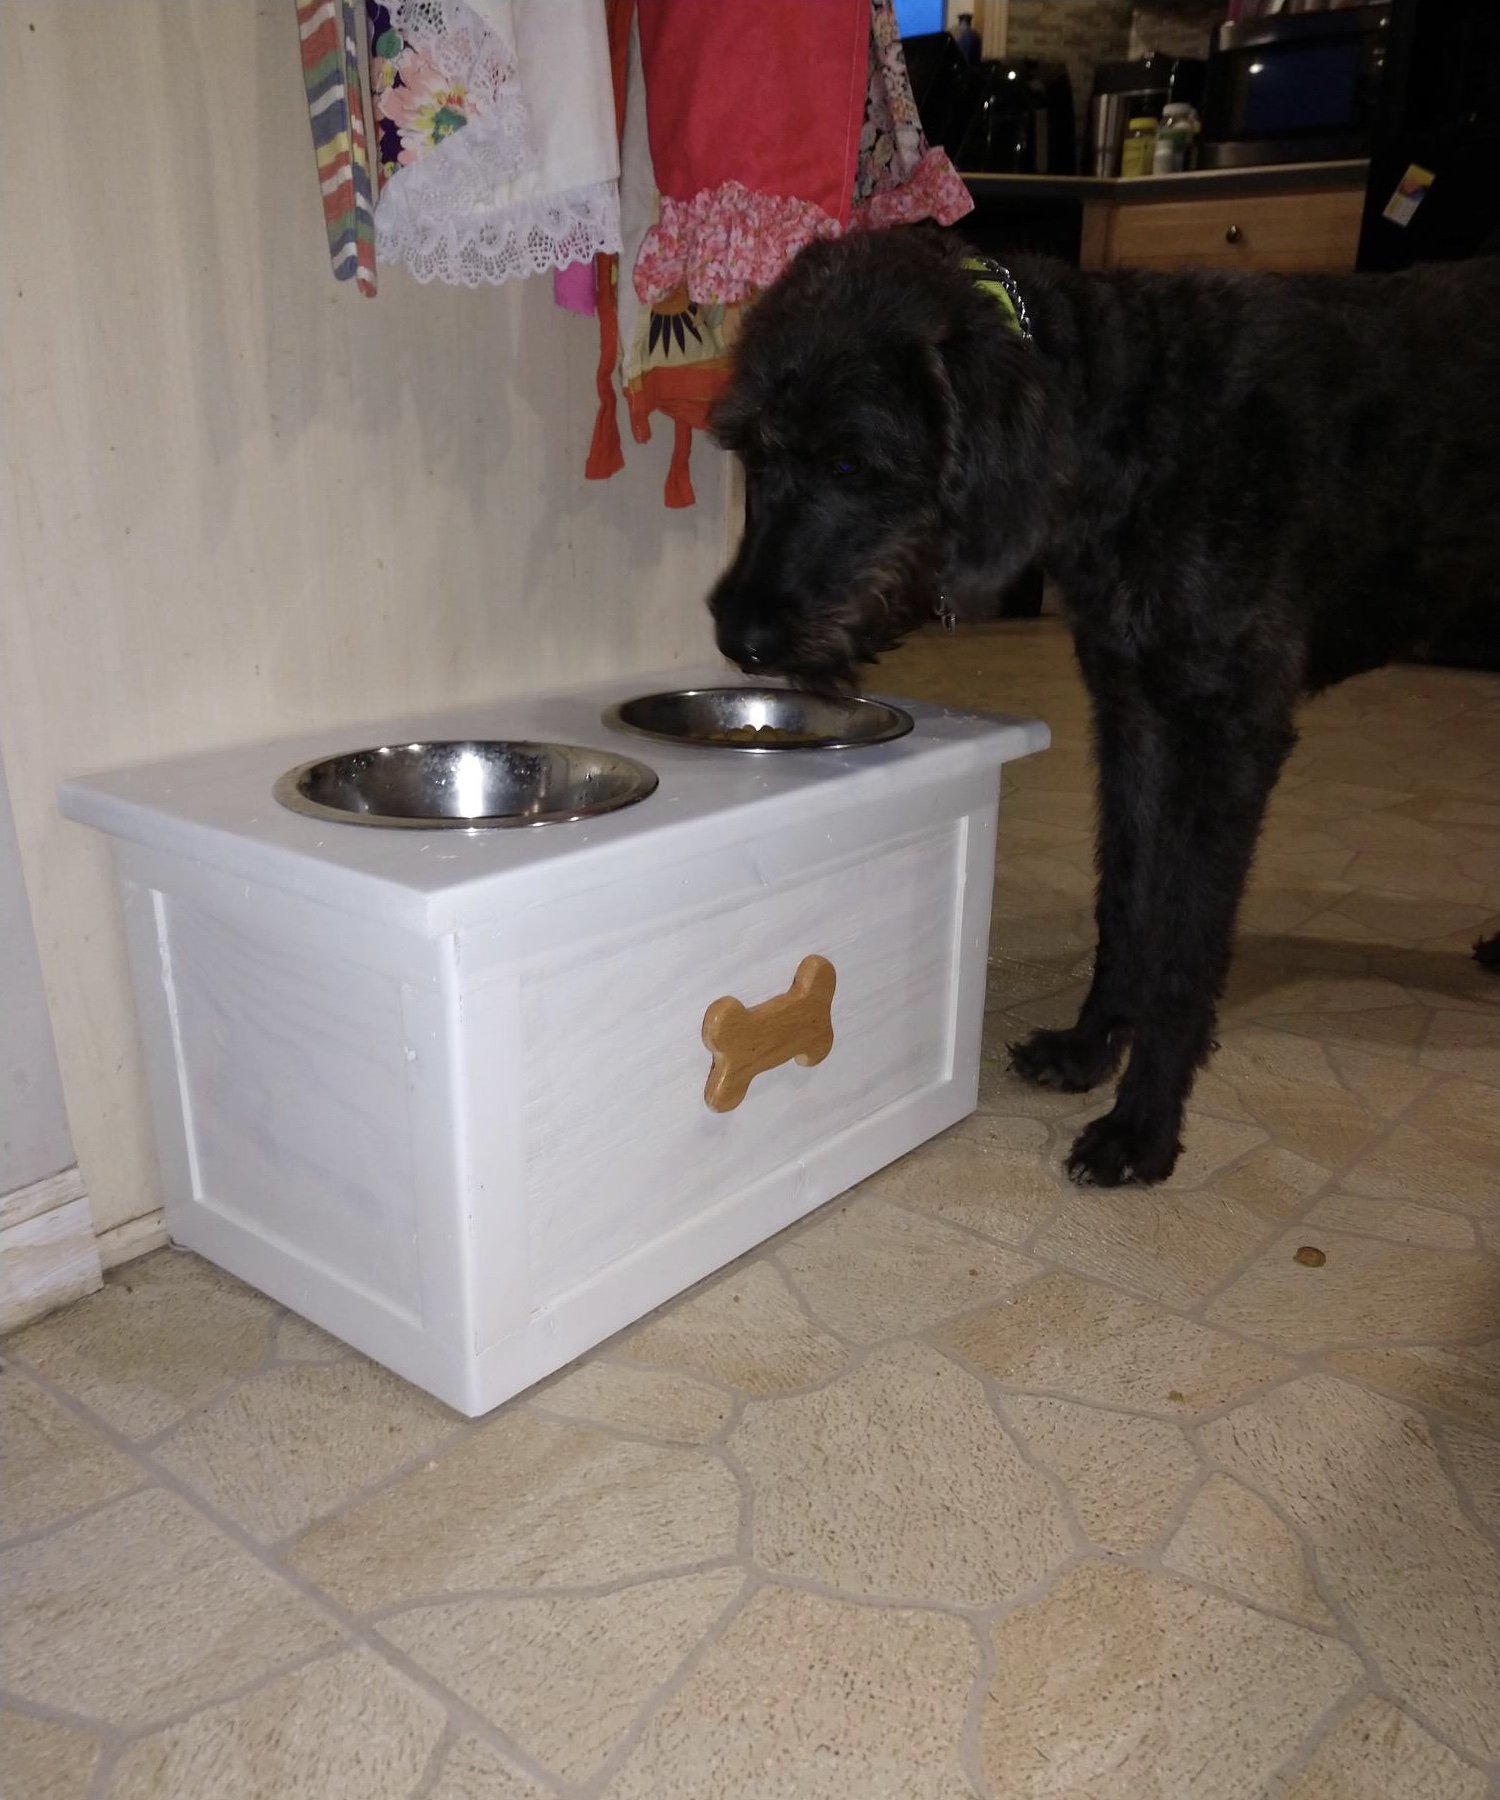
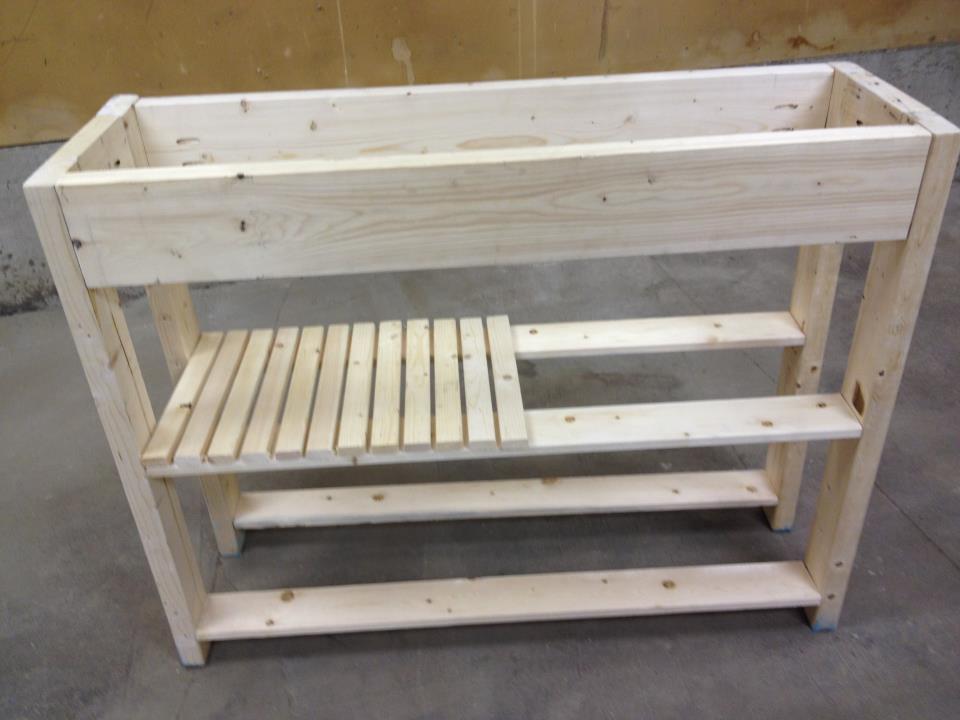
Dog feeding station with storage. Have a container of dog food underneath. Whipped up with some scraps while quarantined today.
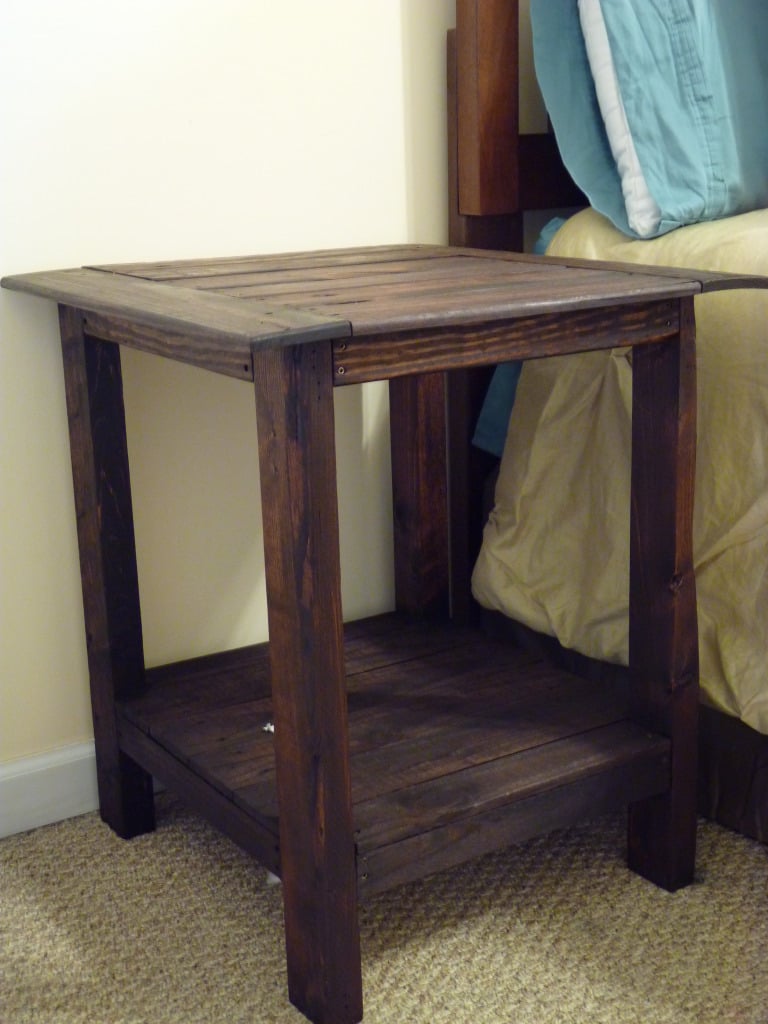
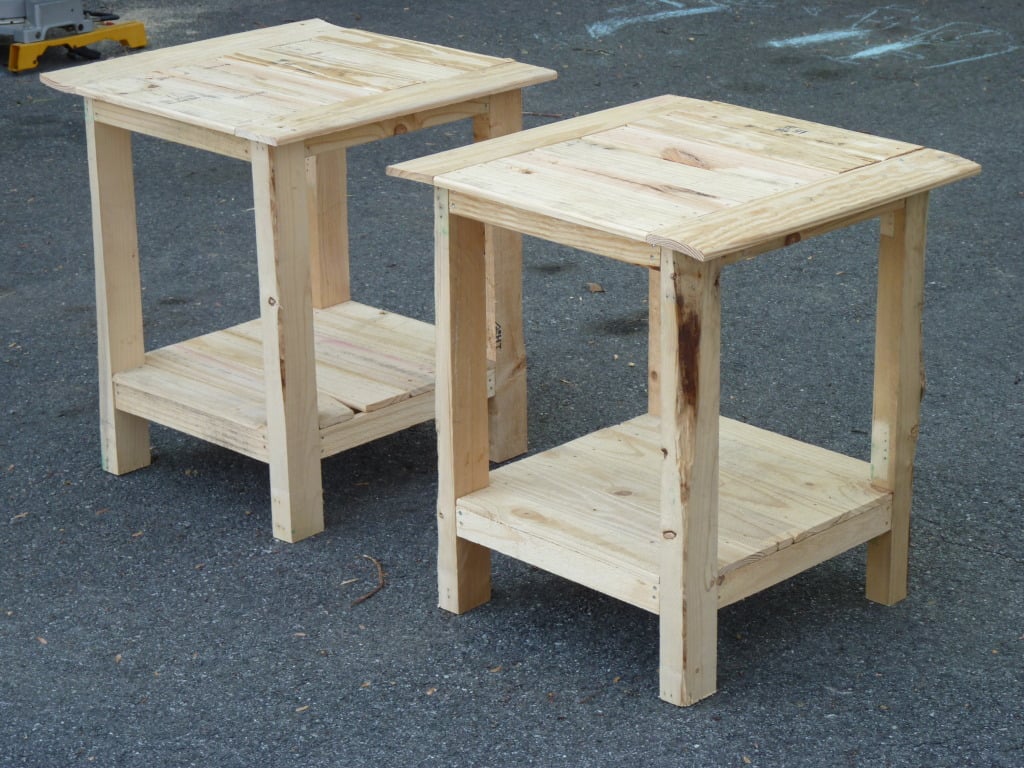
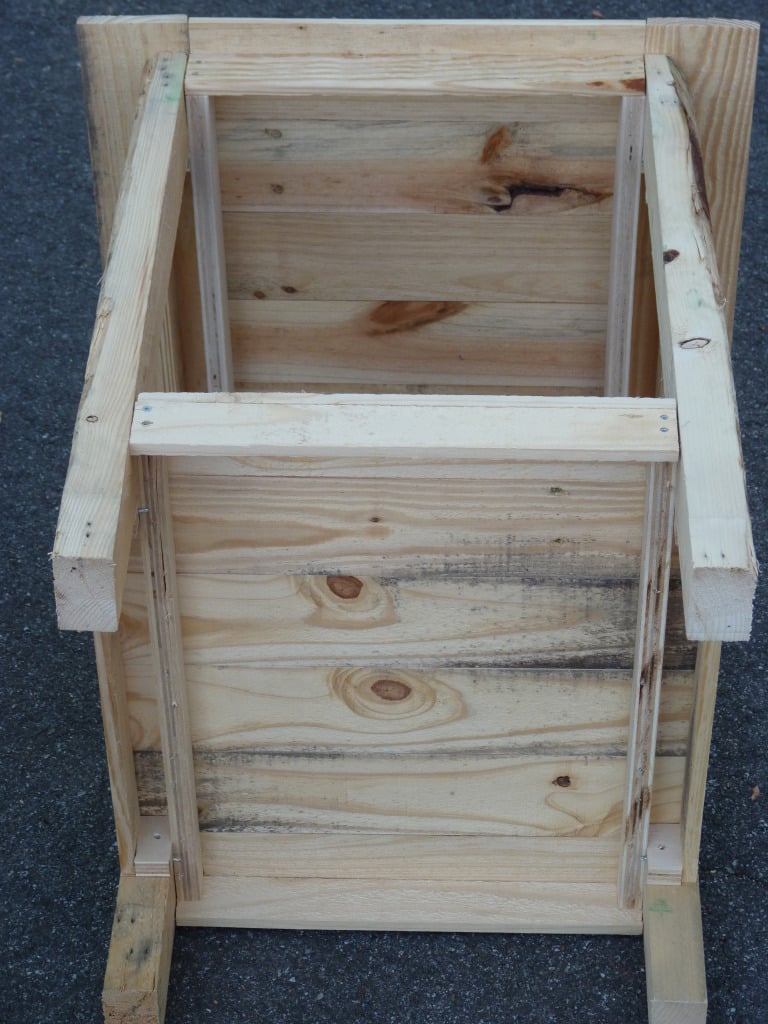
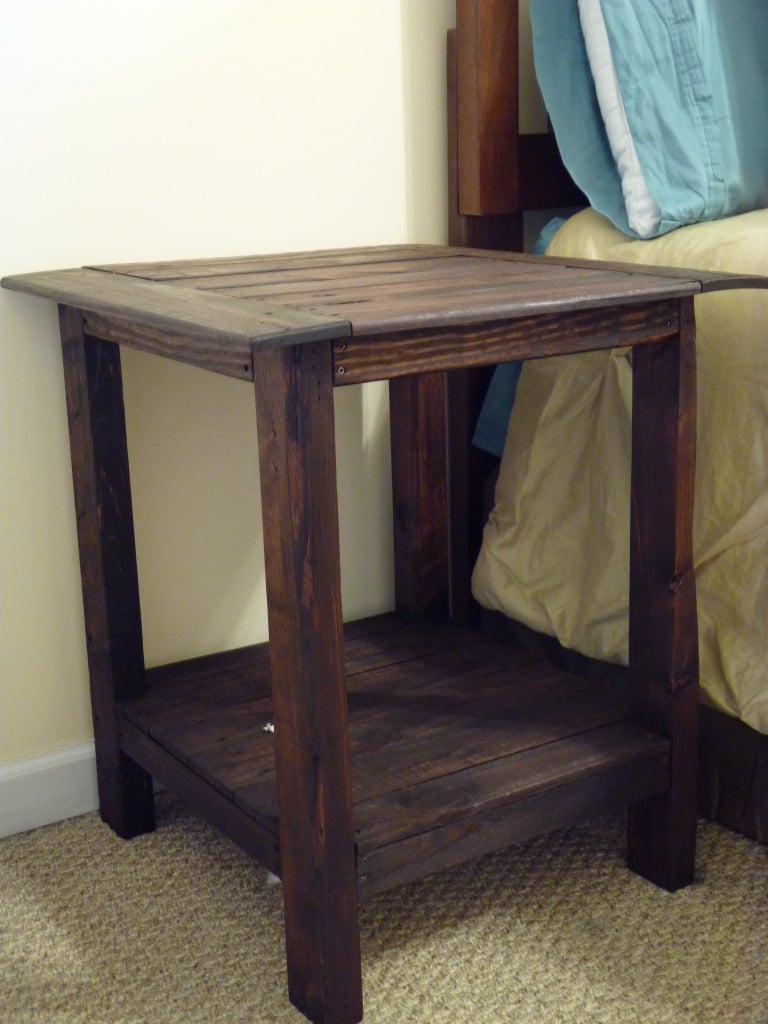
All the wood is from pallets, which you can find for free at local big box stores.
I added the shelf with the same support system used for the table top.
Made with as little cost as possible so materials are not too much.
Material:
A few pallets
Wood screws
Tools:
Table Saw
Miter Saw
Drill
Sander
Measuring Tape
Square
Pencil and Paper
Stain
Brush
Shop Cloth
This is my first Project :)

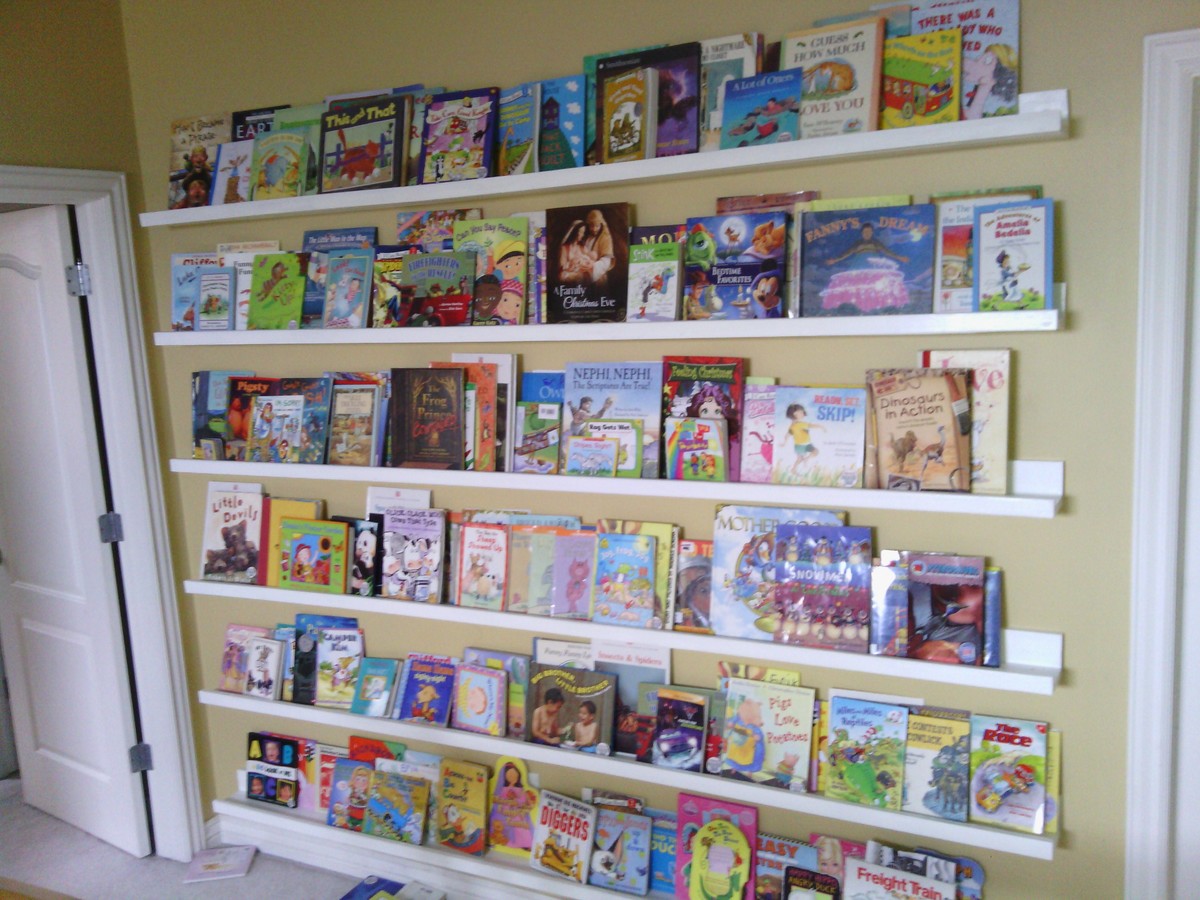
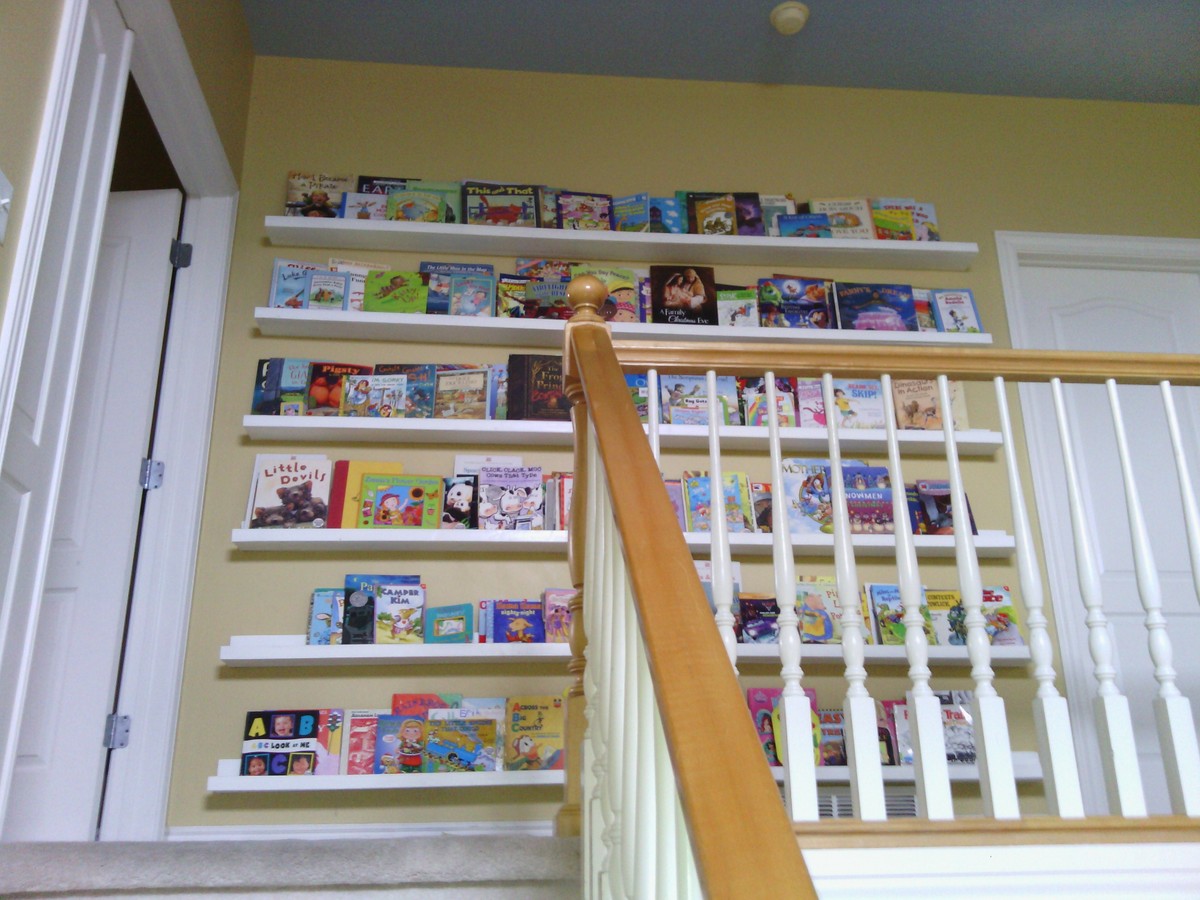
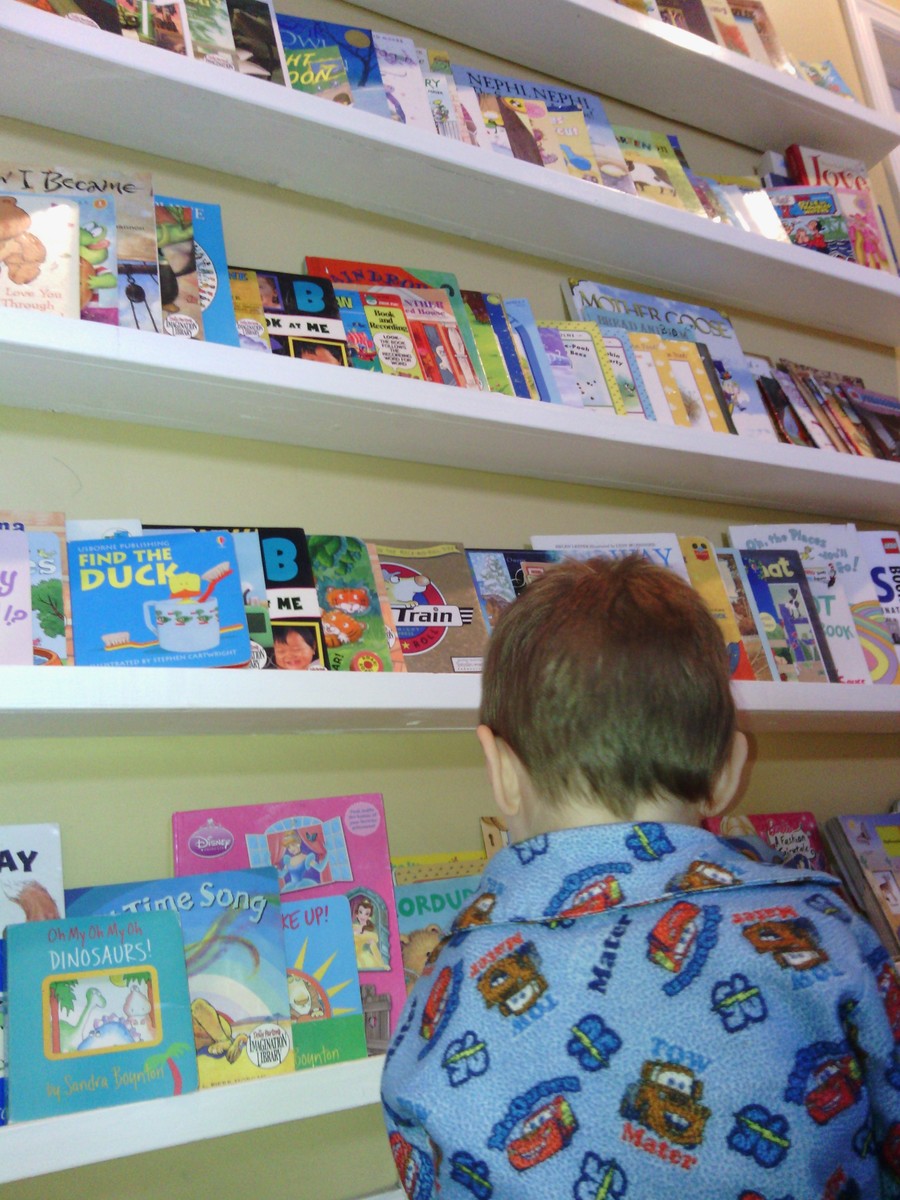
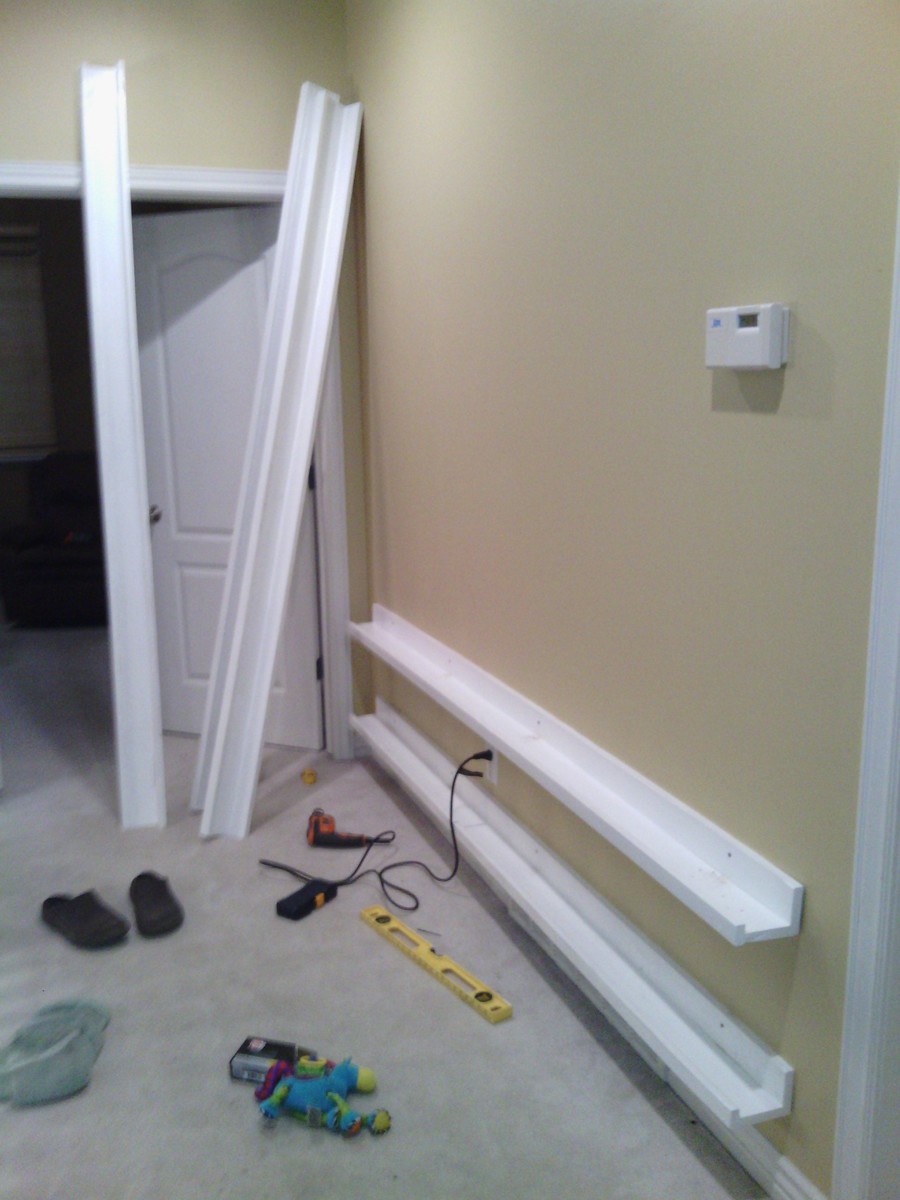
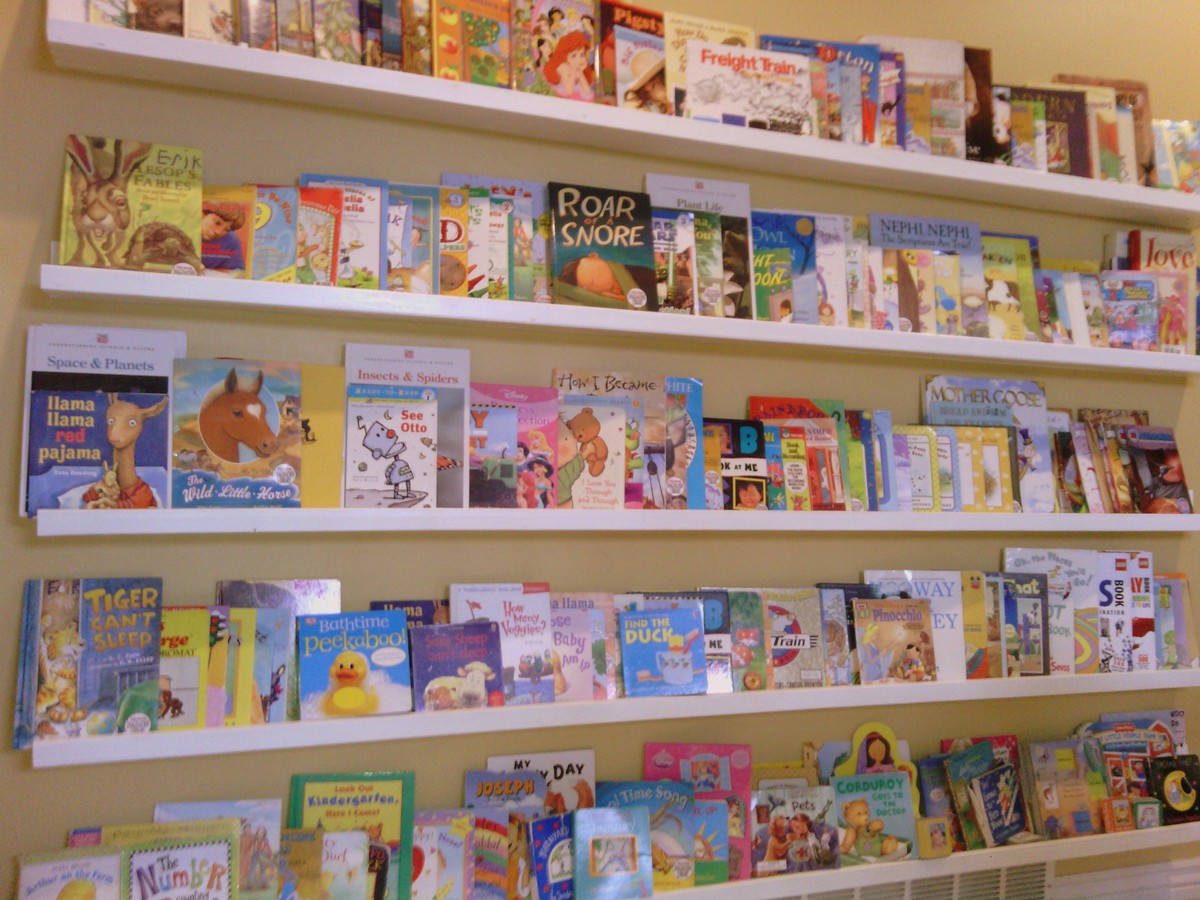
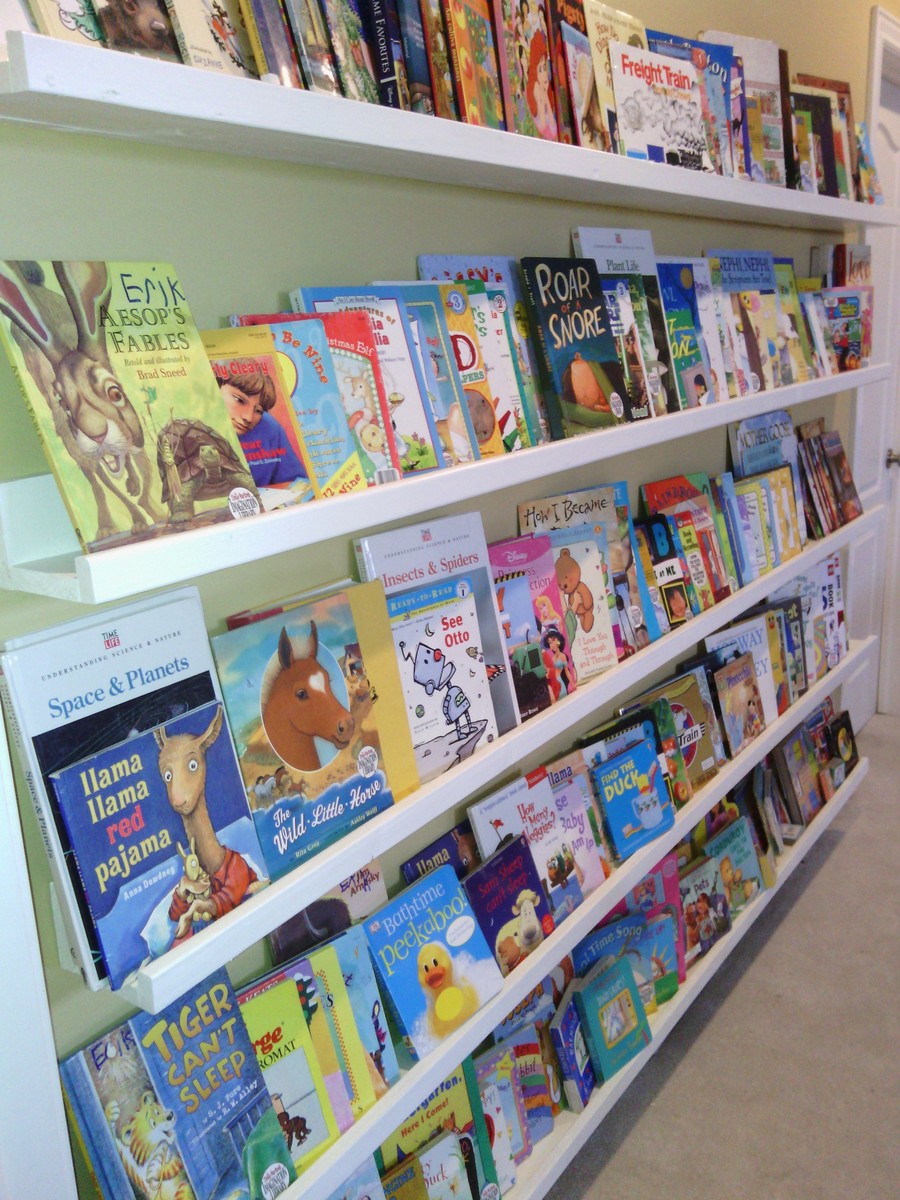
We recently created a Dr. Seuss themed reading nook on our upper level. We have one large book shelf near it, but have also wanted a way to display children's books. These ledge shelves make the books easy to access while also creating a beautiful piece artwork at the top of our stairs. Now, instead of have a long blank wall in the hallway between doors on the little landing we have a beautiful library. I have loved how they have turned out and wanted to share with others!
Wed, 03/05/2014 - 20:18
My children love these bookshelves and reach for the books easier and more often. Come see some of the other things we've made at http://myhomedonemyway.blogspot.com/
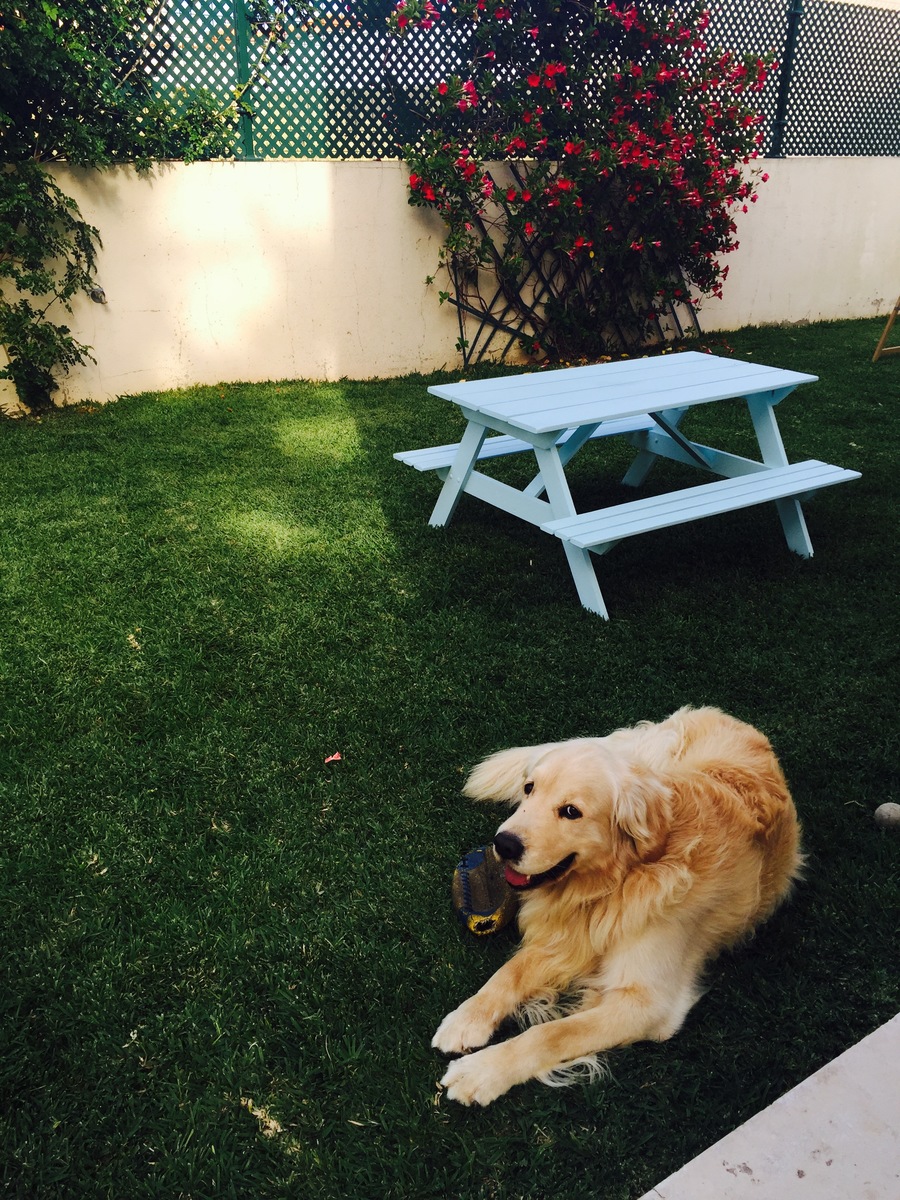
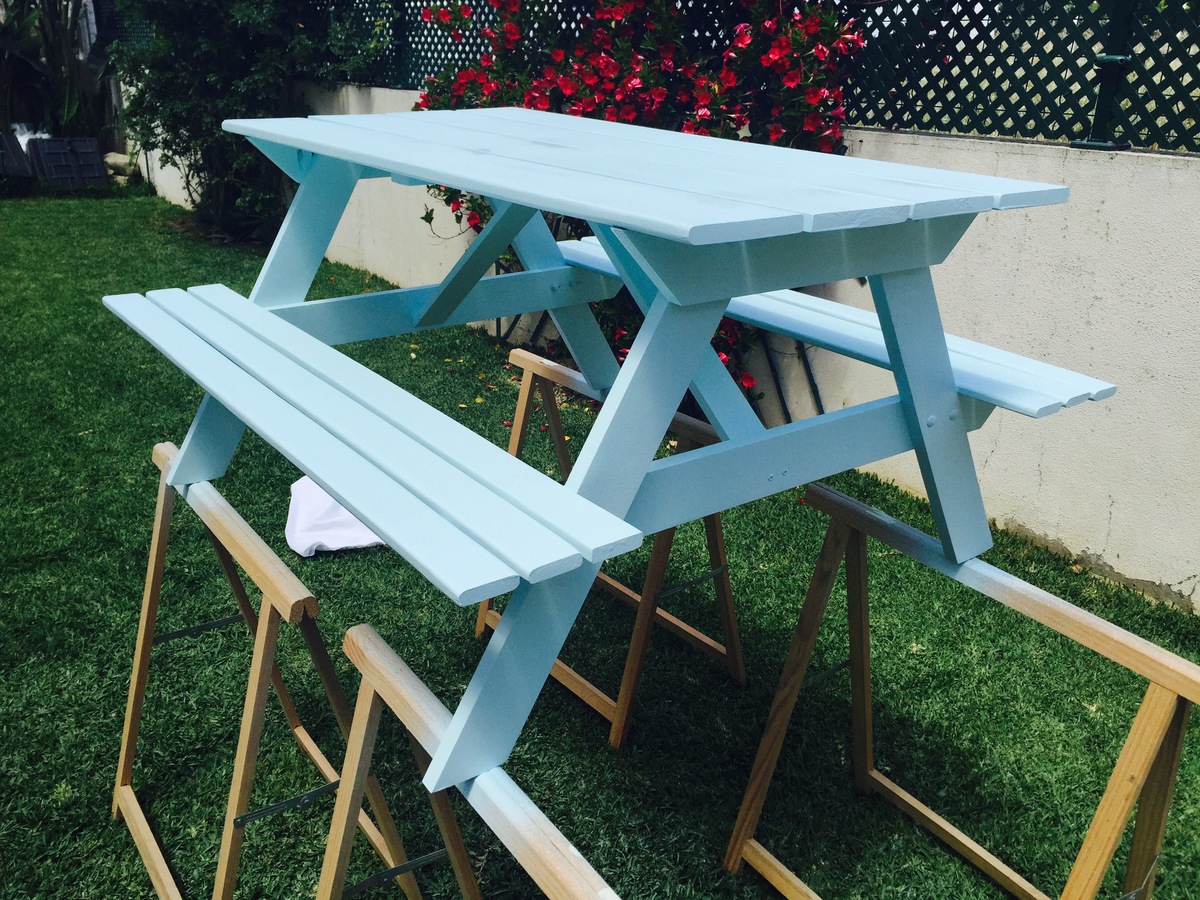
Followed the plans, with minor modifications to adapt the size to the available wood. Bigger modifications are the use of bolts and nuts instead of screws (to allow easier disassembling for storing), and the underneath reinforcements to avoid the table to bend over time.
Thanks for the plans, the kids loved it!
Gonzalo, from Portugal
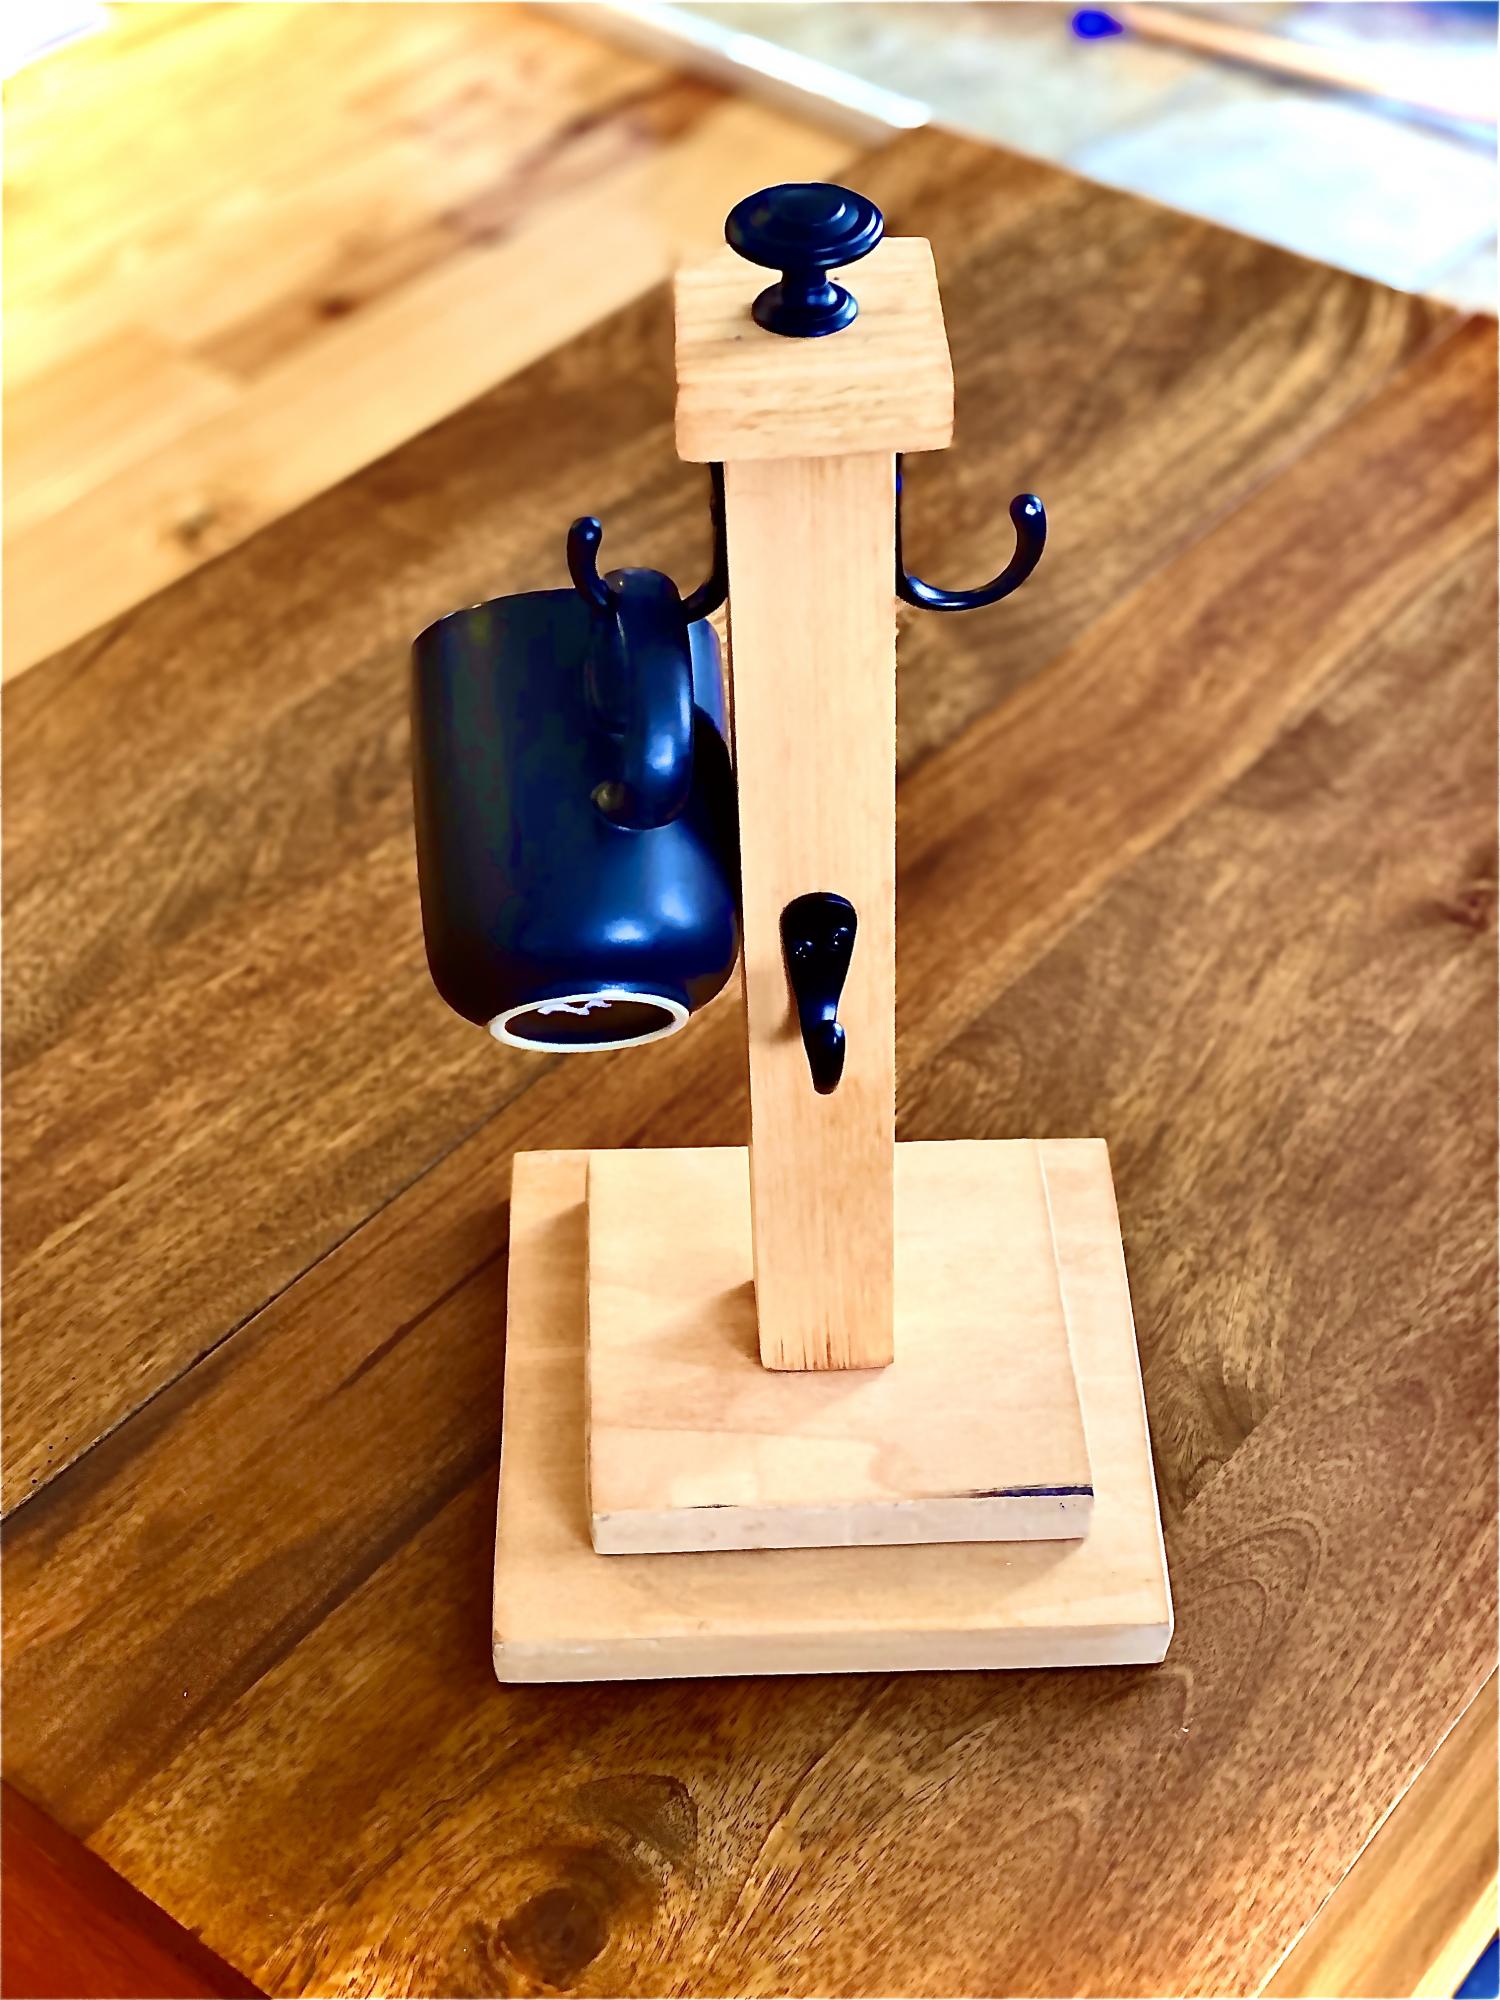
This cup tree was so easy to put together and made a wonderful birthday gift for my dad! For the bottom and top, we used scrap plywood that we had lying around. We used one light coat of stain to give it a warm hue. What an enjoyable project!
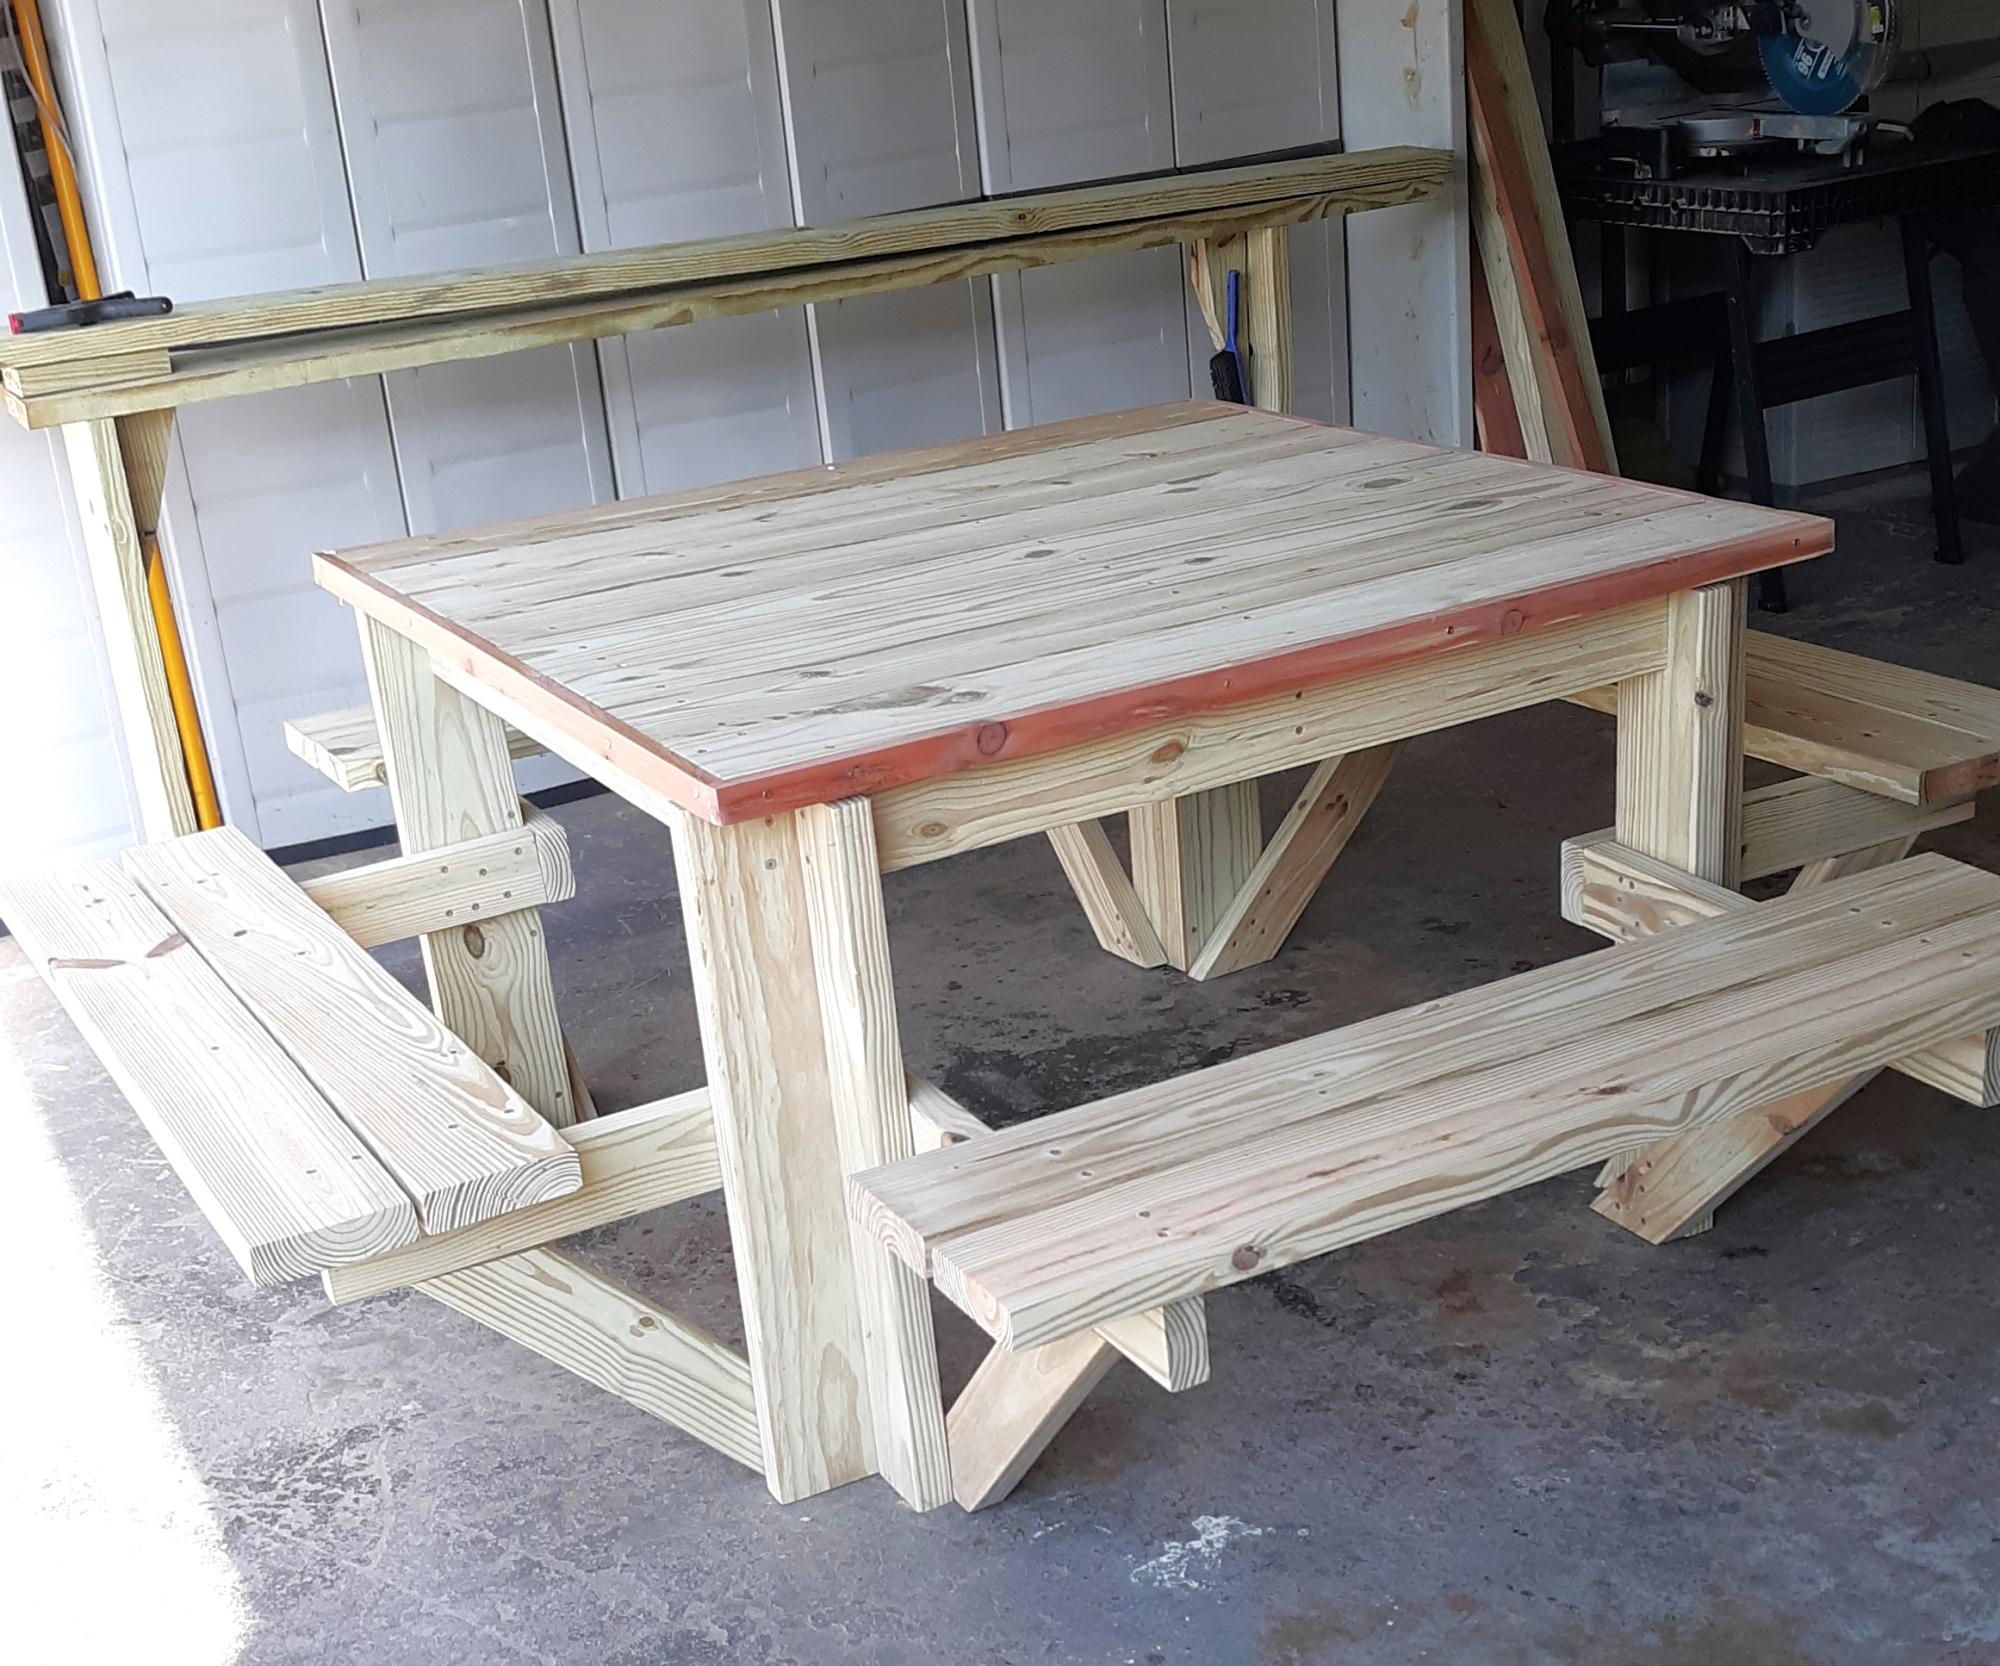
Great picnic table by Steve White
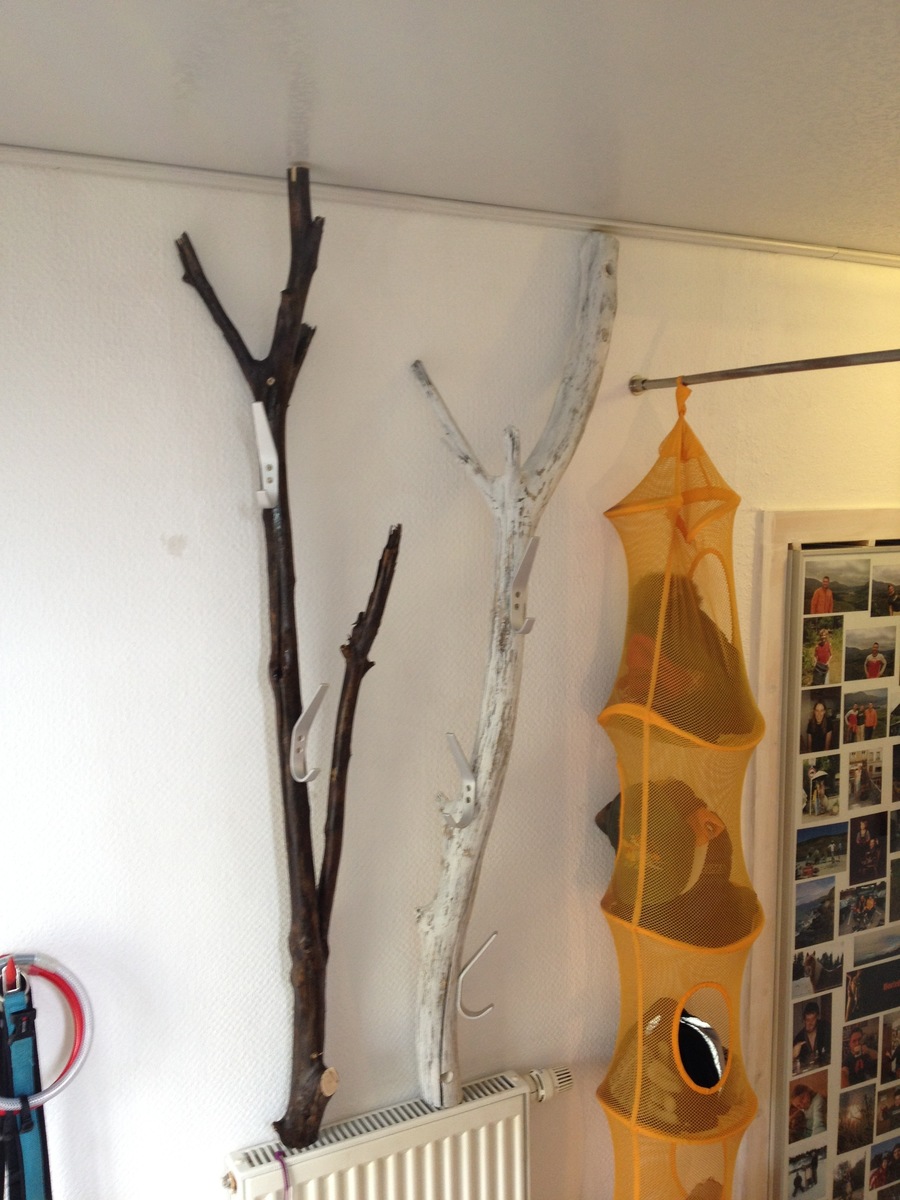
Since I had little space in my floor I took to logs from the field.
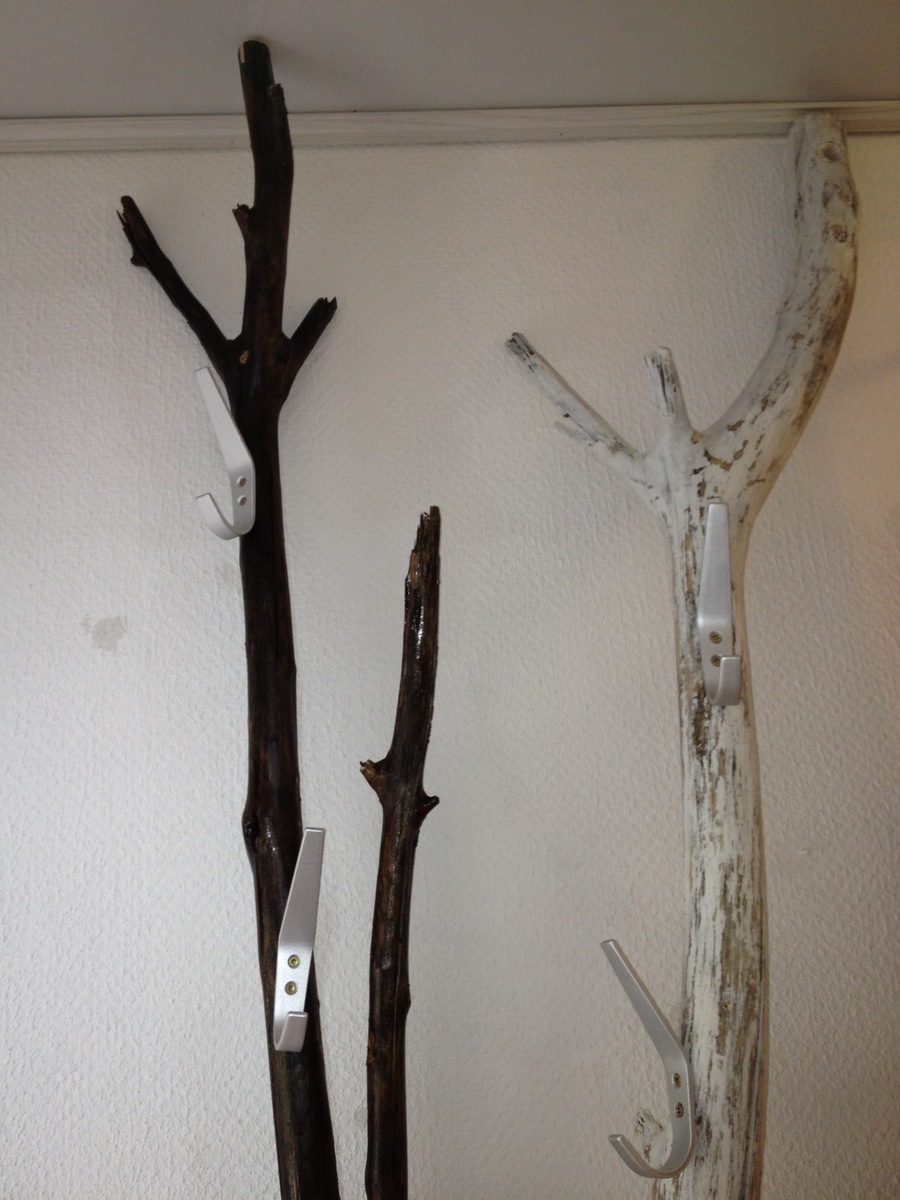
I first polished them with sandpaper and steelwool. 1st time dry, 2nd time wet. After drying I paintetd one with white stain. The other one with nutchest stain and clear coat.
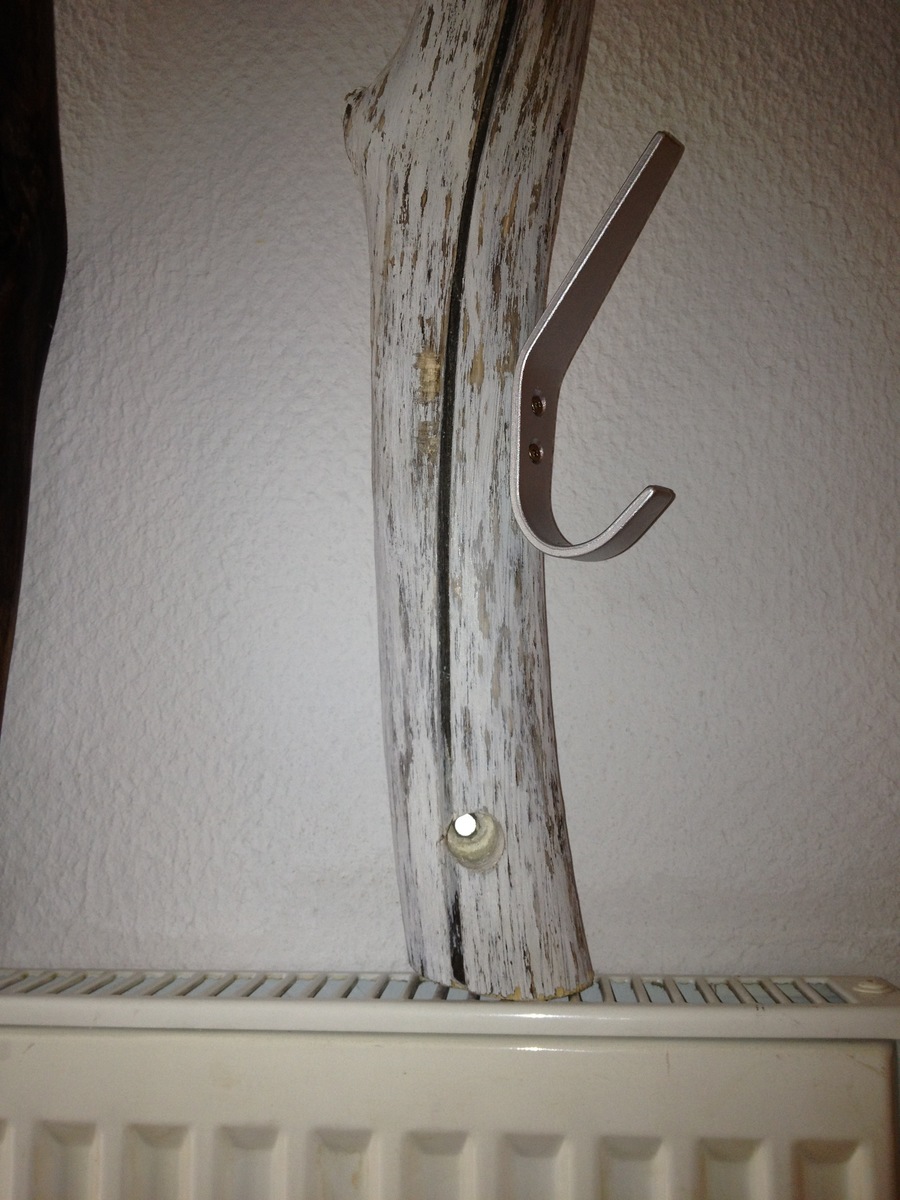
The white log was once more polished with steelwool after painting.
Therefore it has an used/bleached look.
I added warderobe hooks to each log and screwed them to the wall.
Price 30 €
About 10 € for 20 € for the hooks and screws.
Sorry, my english is not so good - I'm not a native speaker.
Comments
gtg673a
Tue, 03/09/2021 - 12:17
Wrong plans linked?
Hi Lila - I love this table and bench and have been searching everywhere for the plans. The link you connected to: "2x4 truss benches for Alaska lake cabin" doesn't look like your set at all :(
Maybe it's the wrong link?
Do you have the link for the plans you followed for this table and bench?
Thanks in advance!