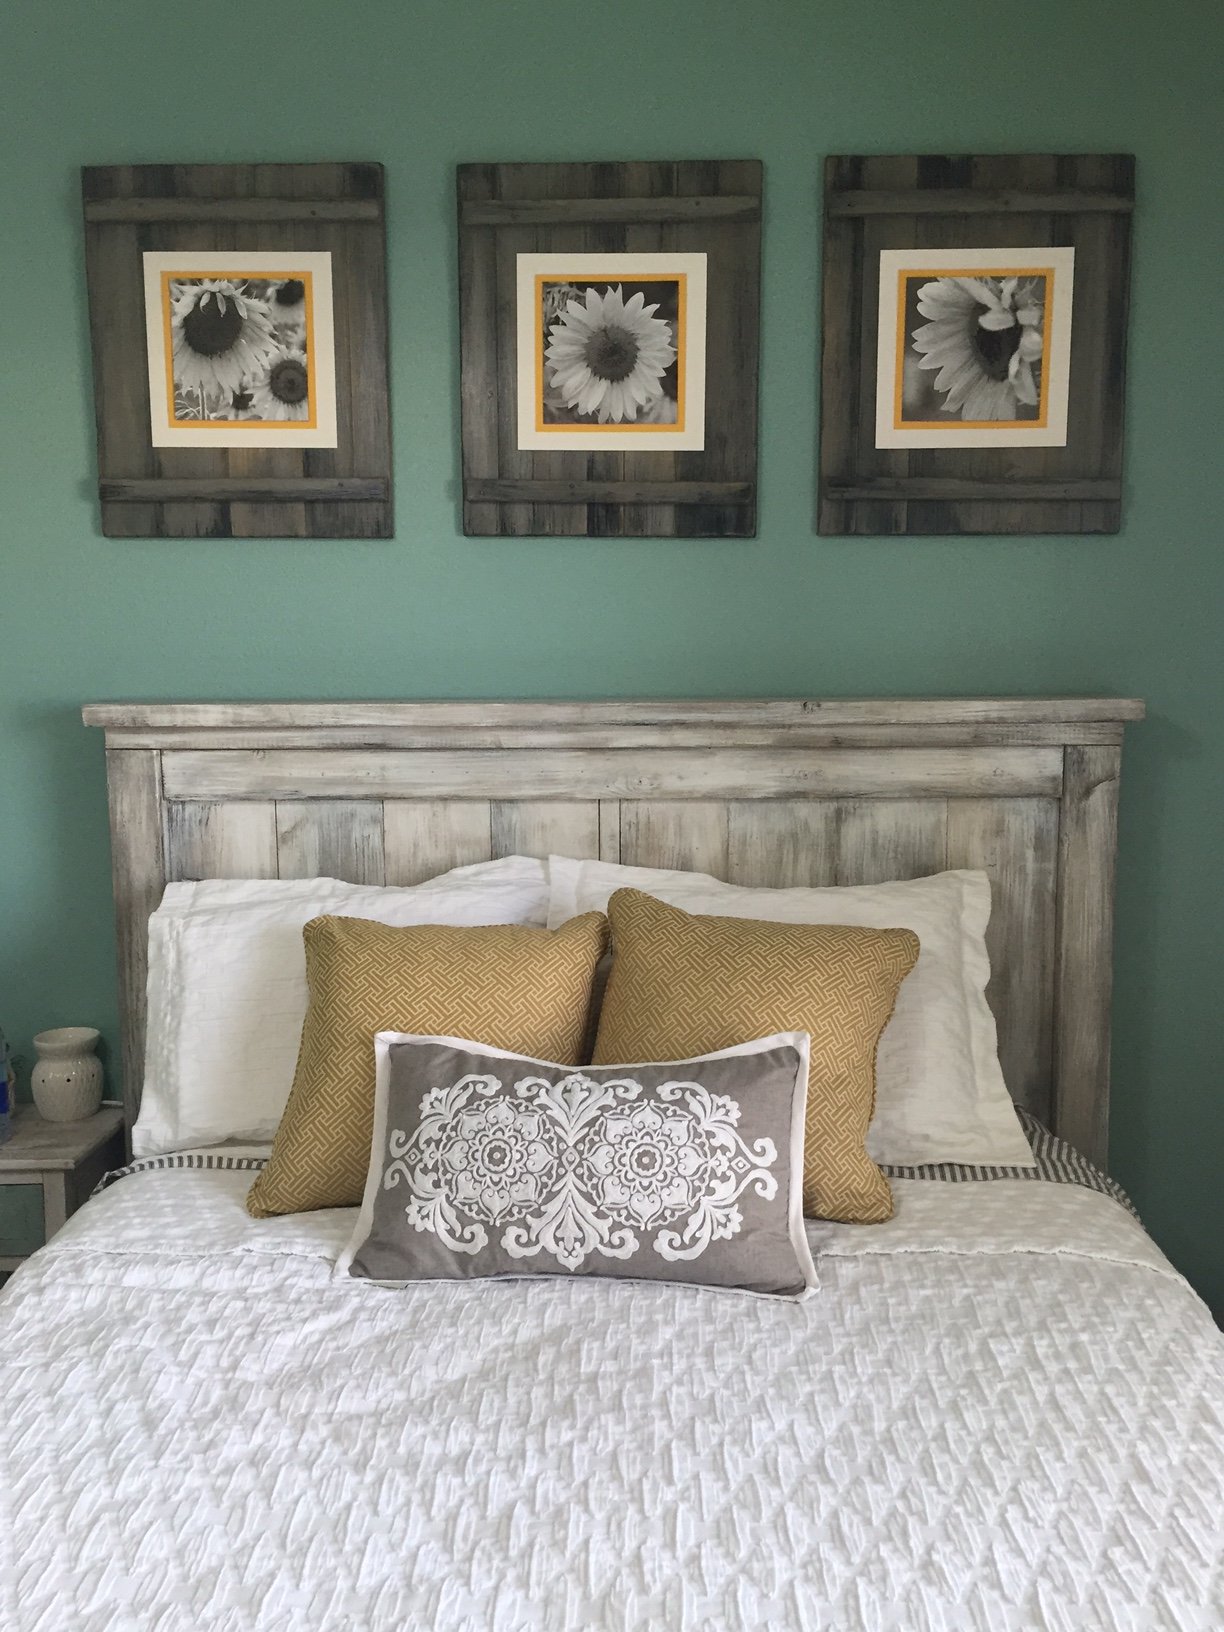
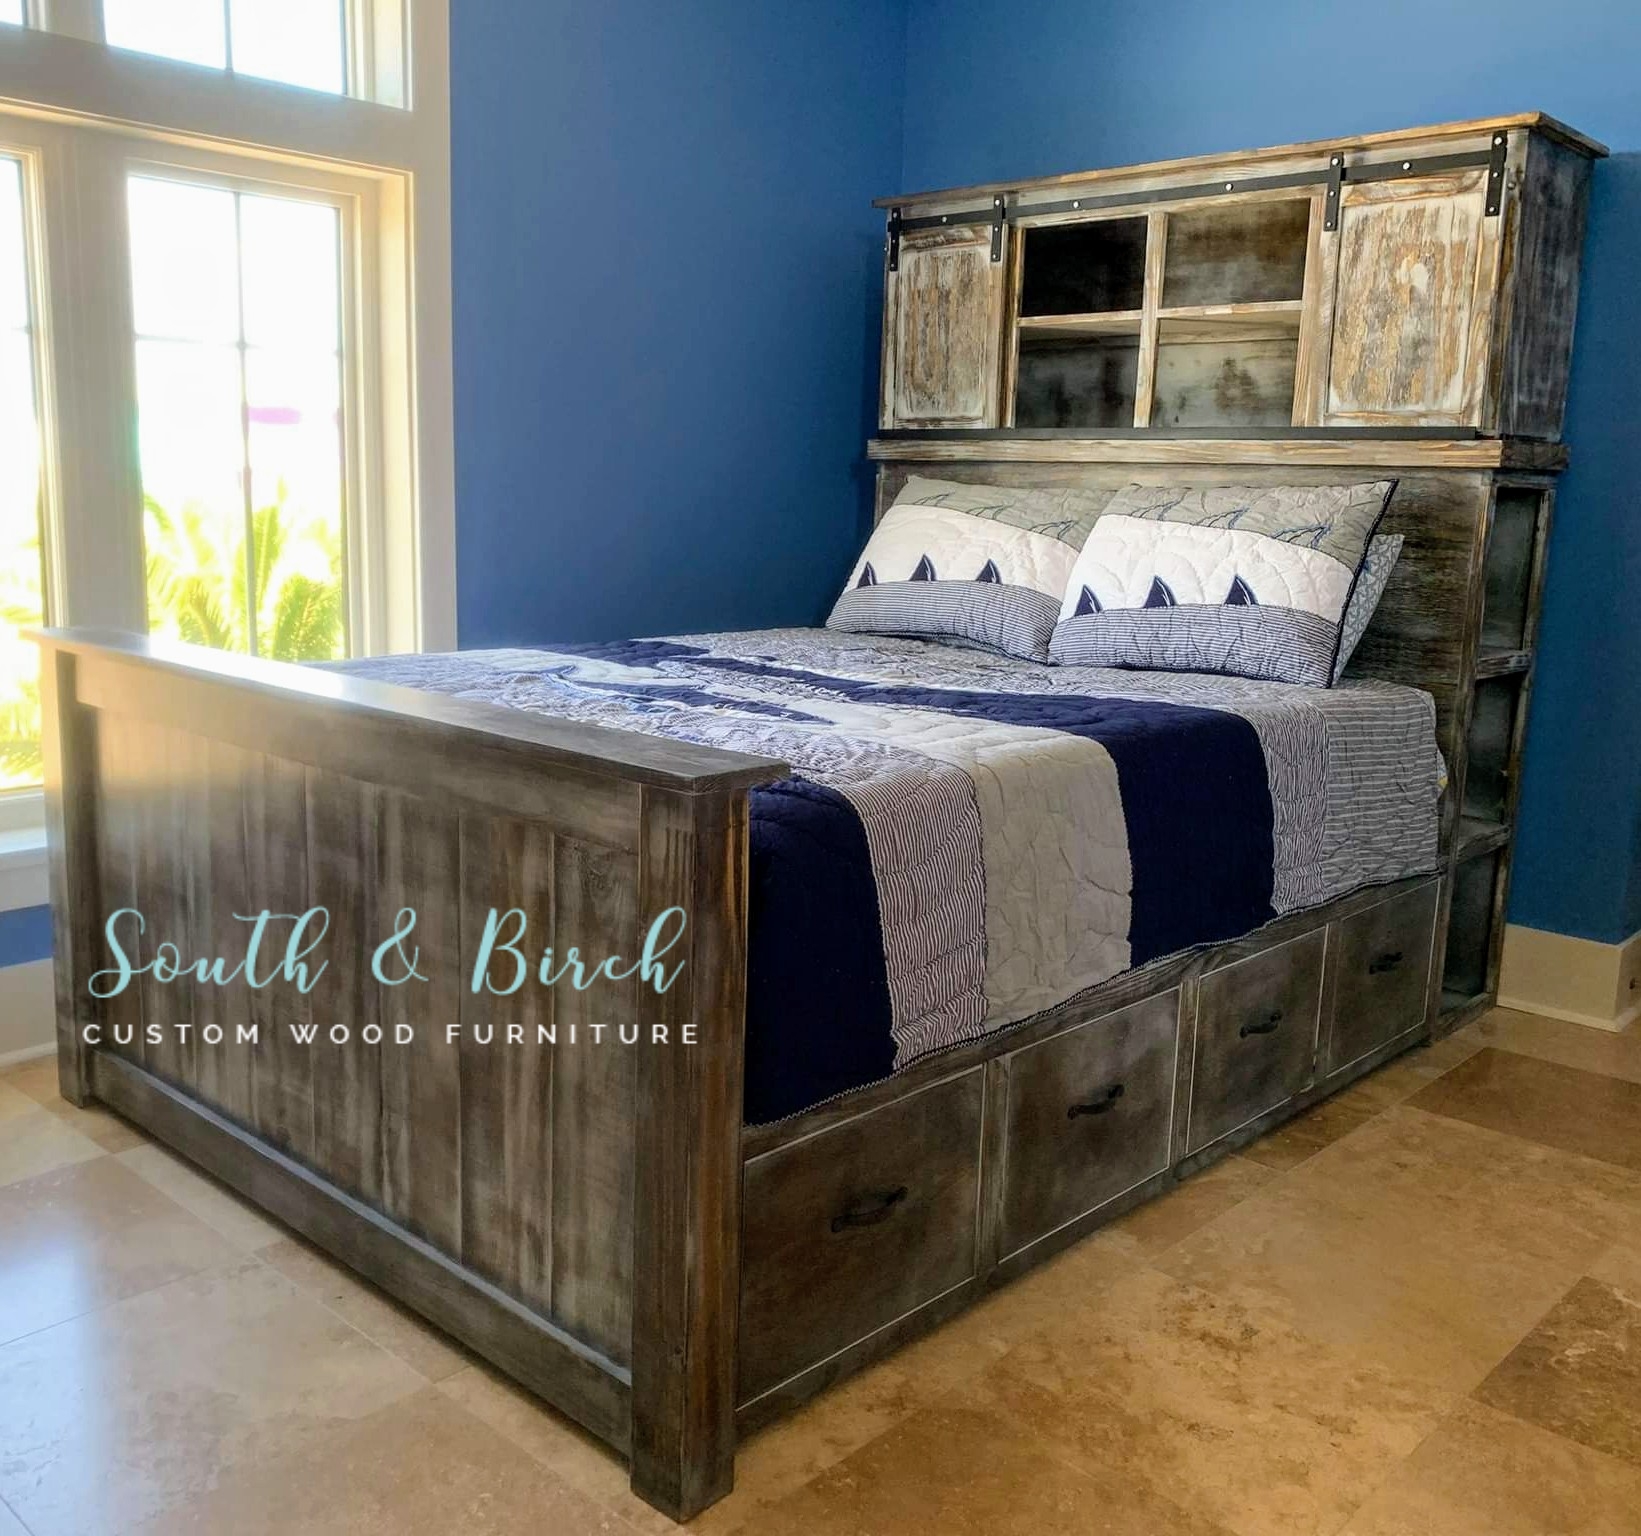
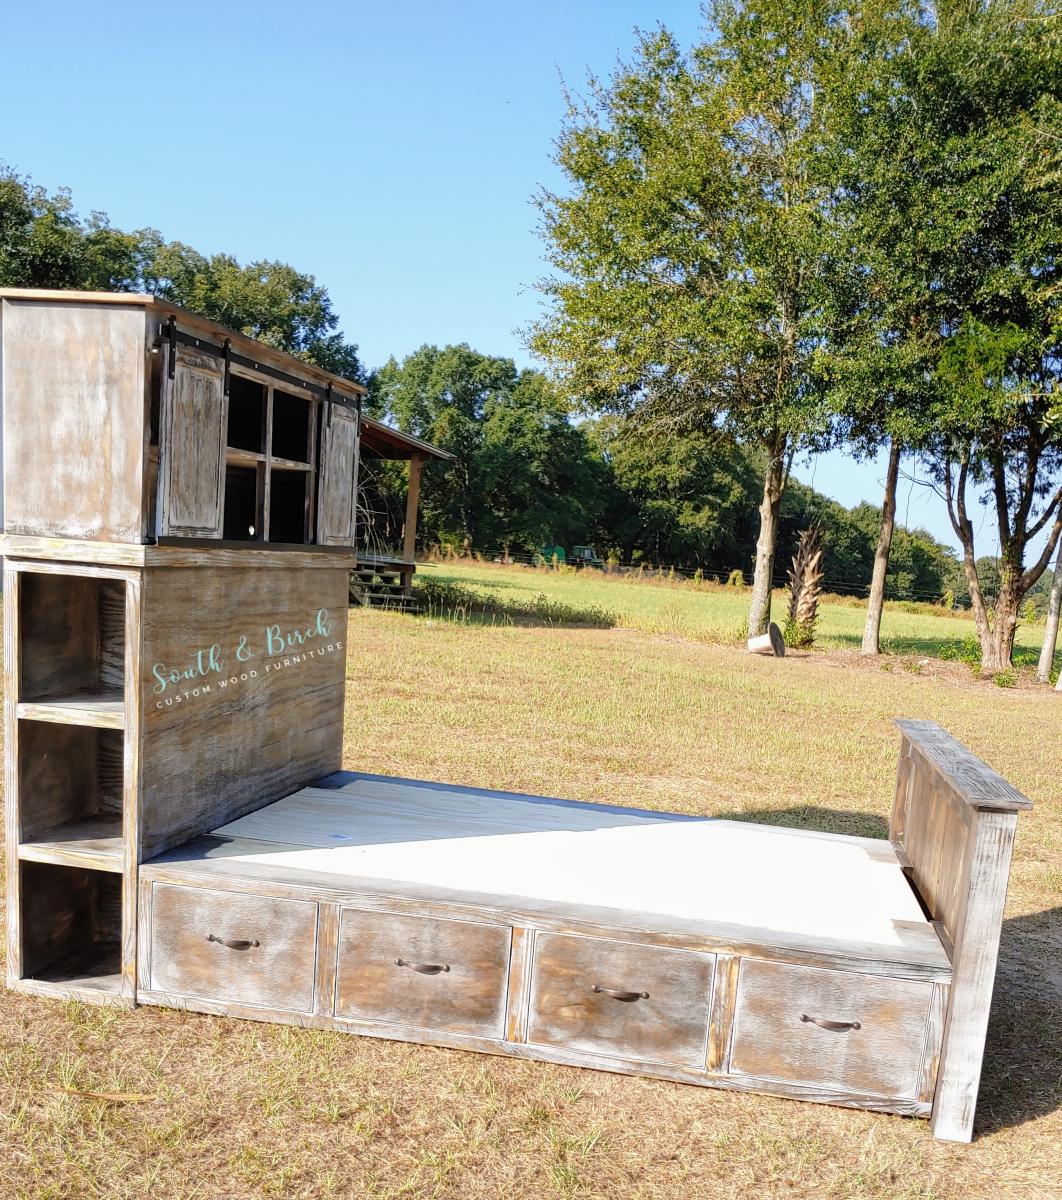
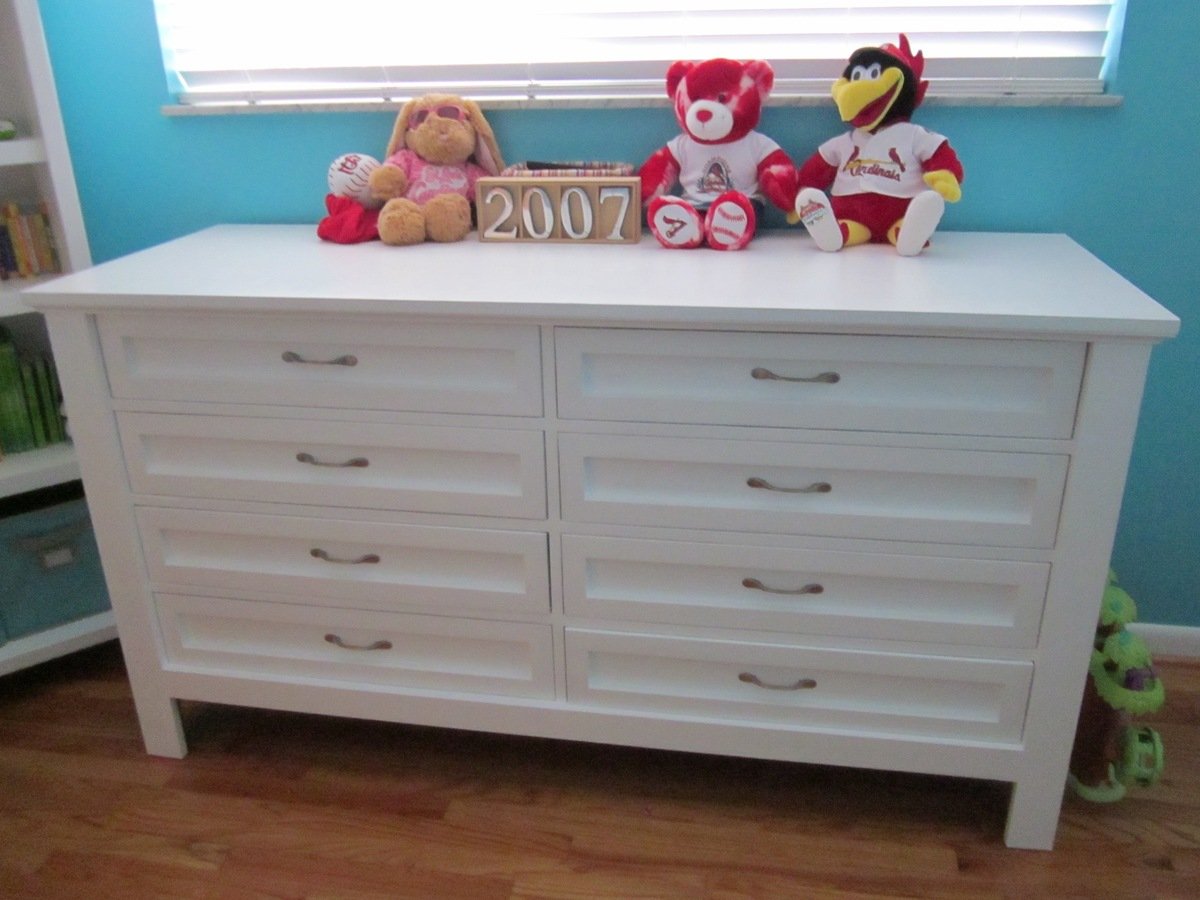
Our Farmhouse Sunflower Bedroom

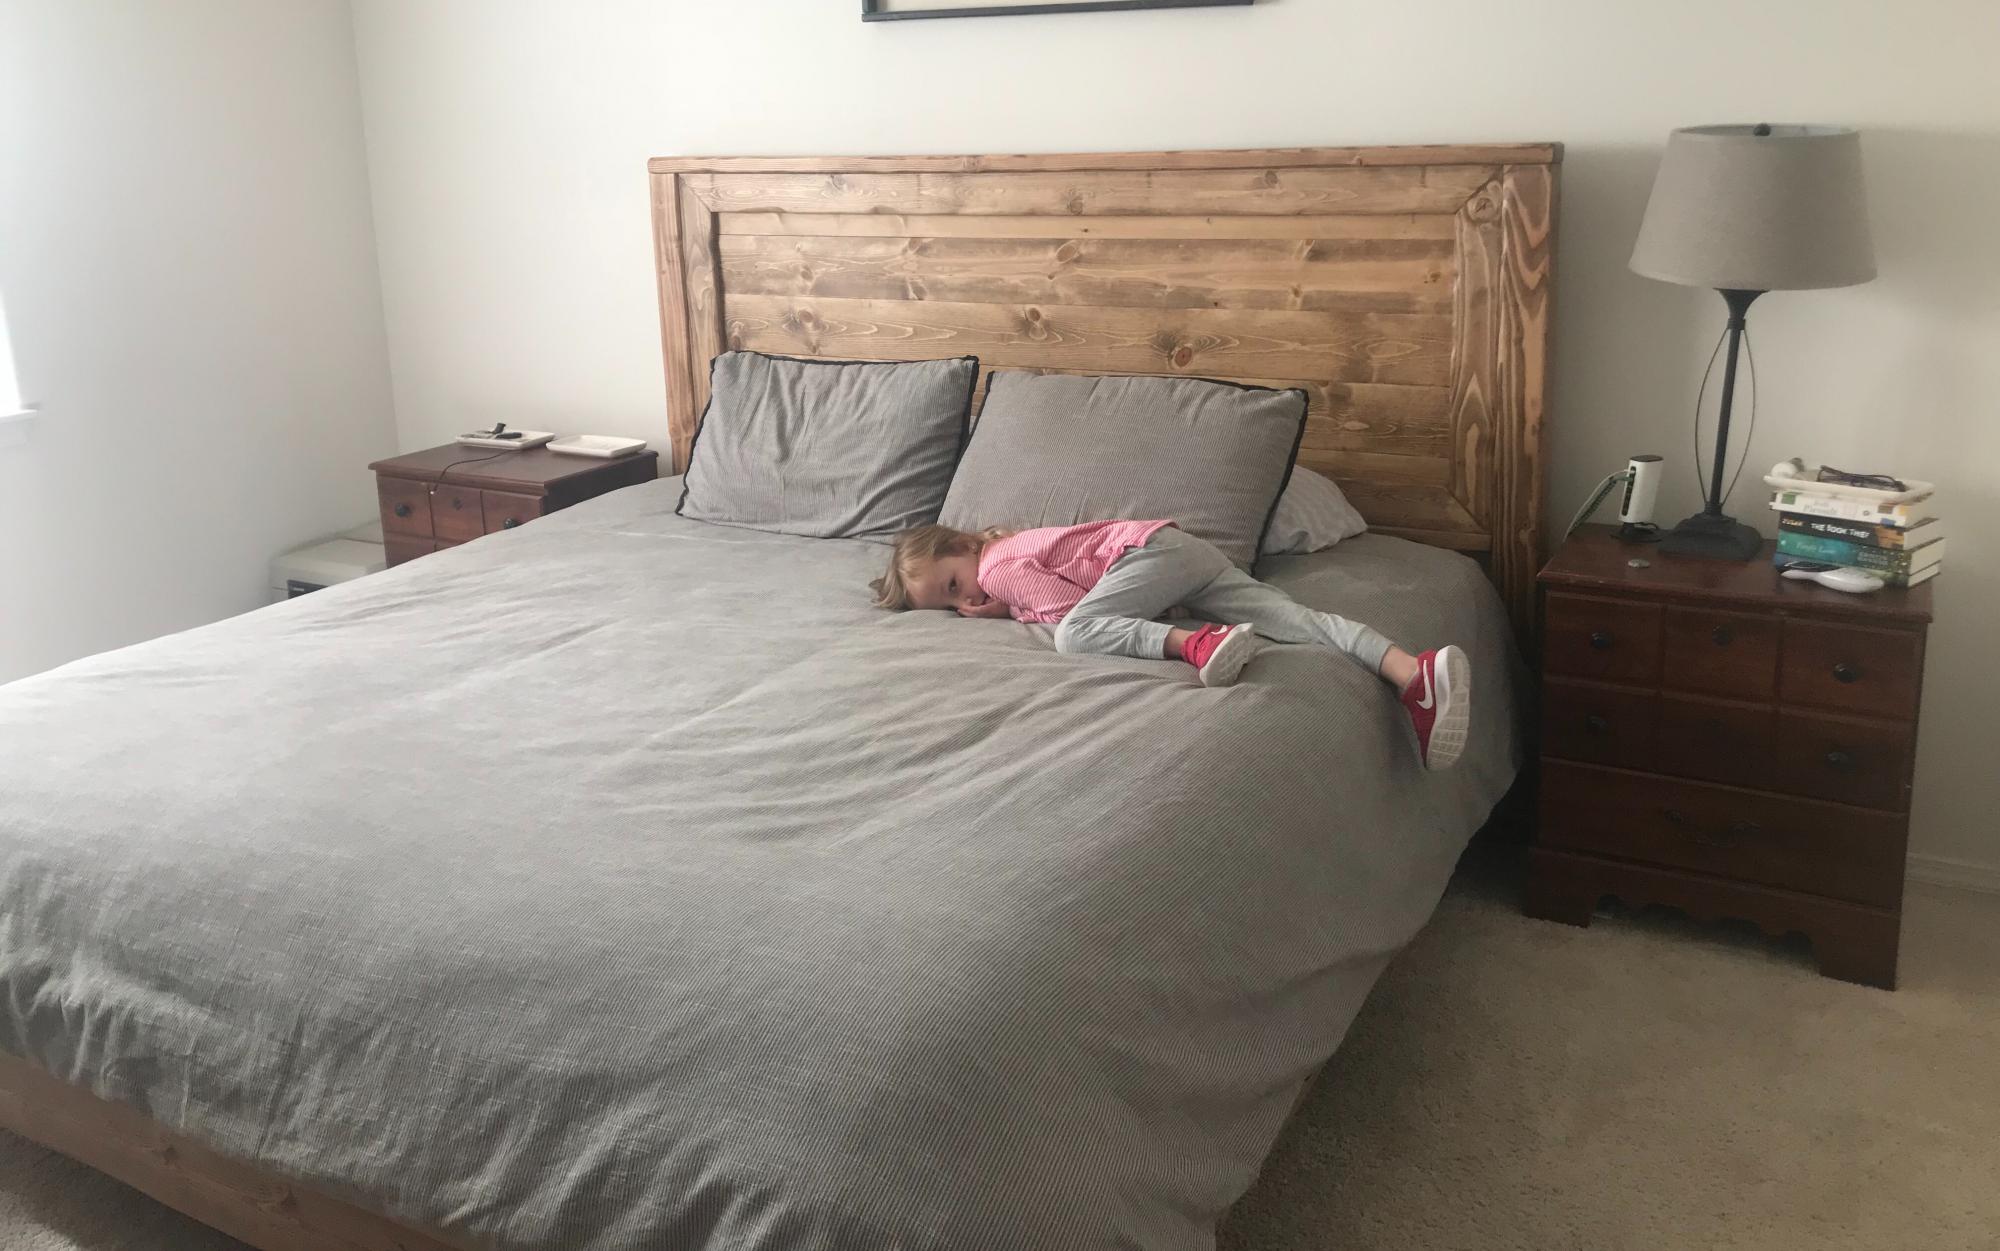
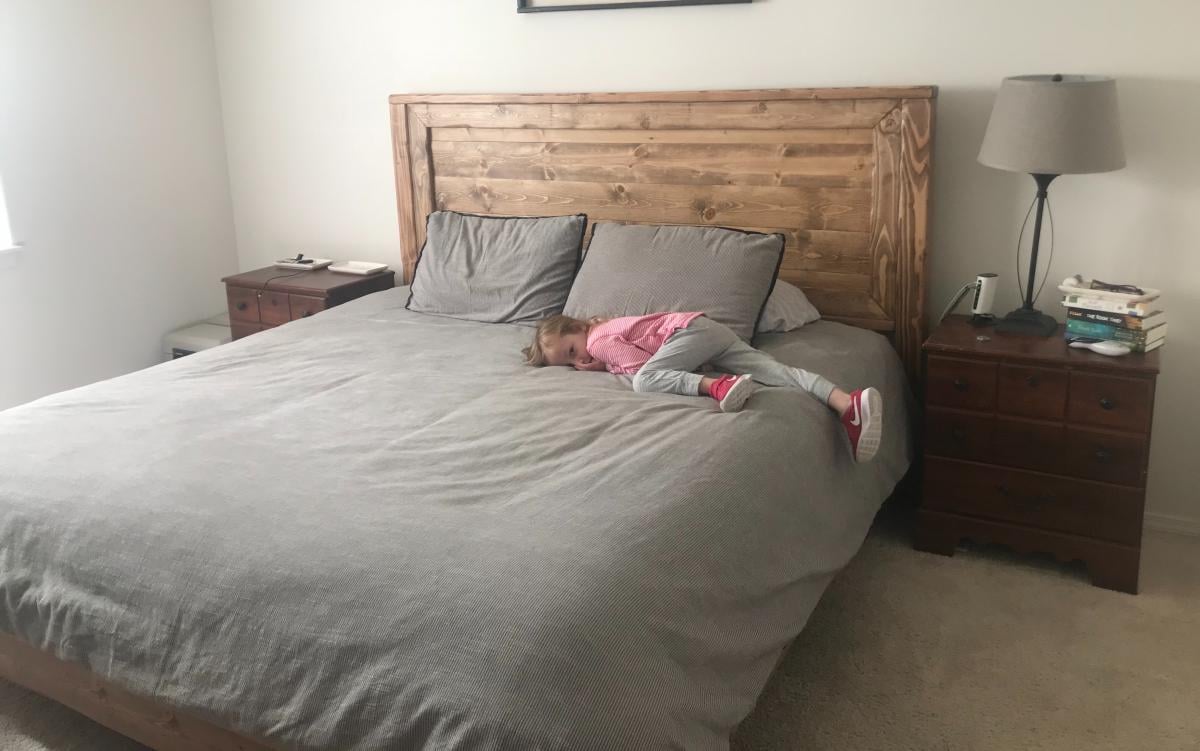
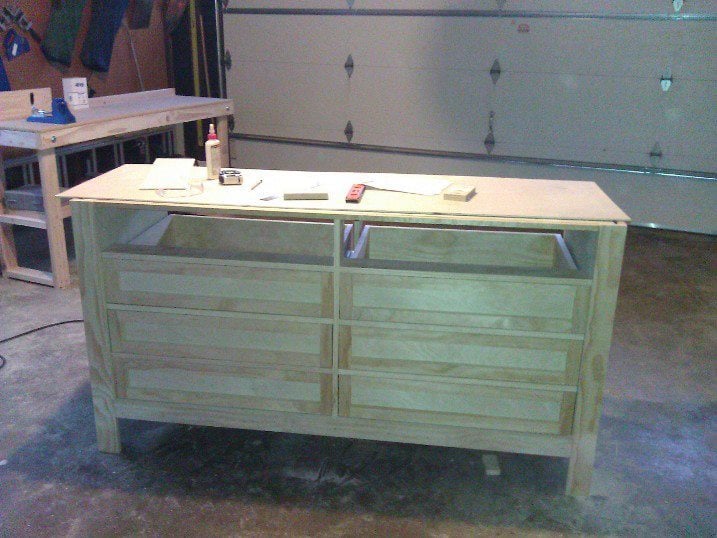
We combined two plans to accommodate for a boxspring with a mattress. We also liked the plan with the 4x4 posts so we tweaked the two plans and made it work.
Built from Plan(s)
Estimated Time Investment
Weekend Project (10-20 Hours)
Finish Used
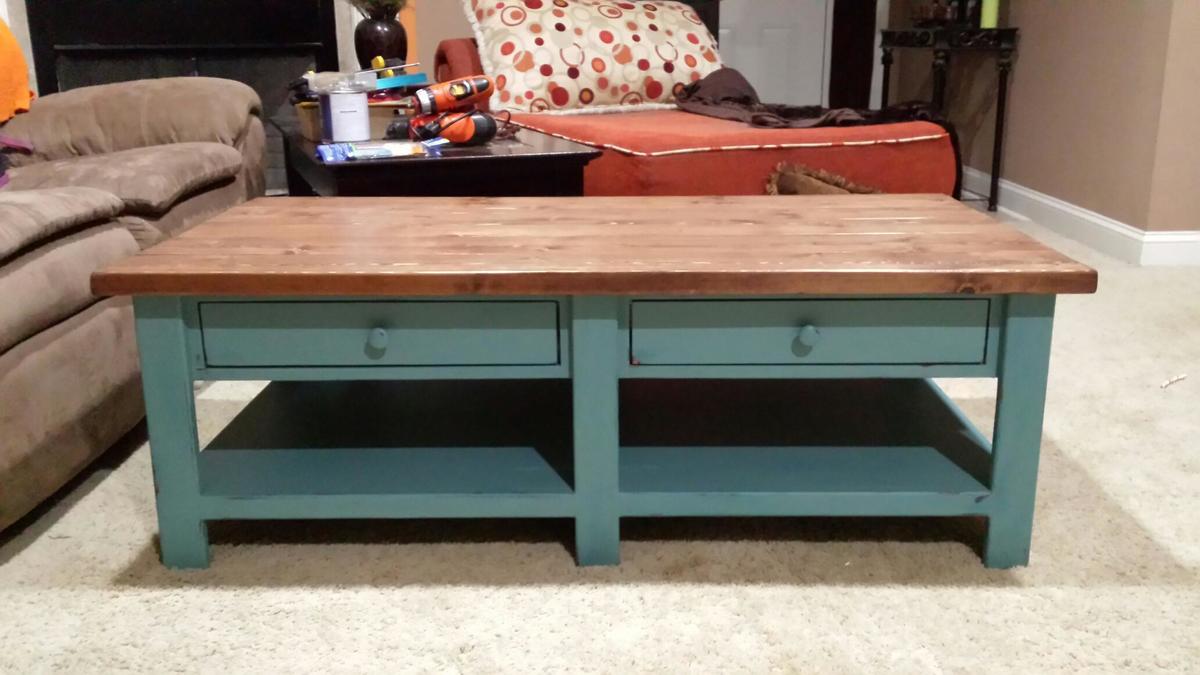
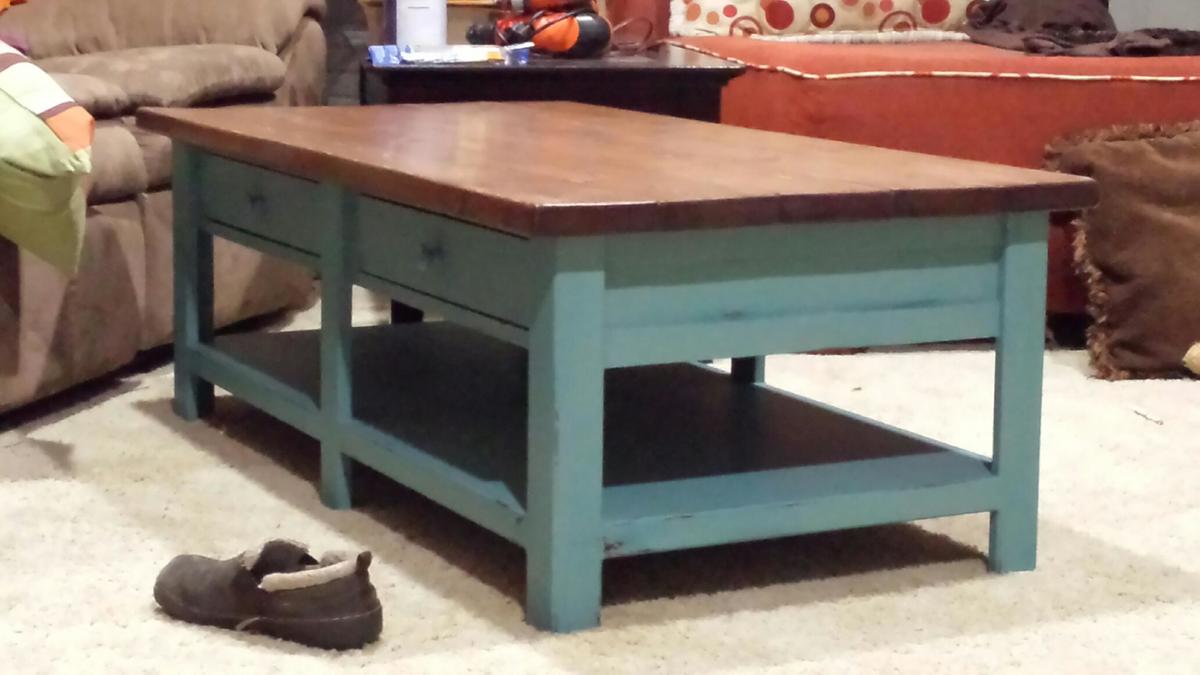
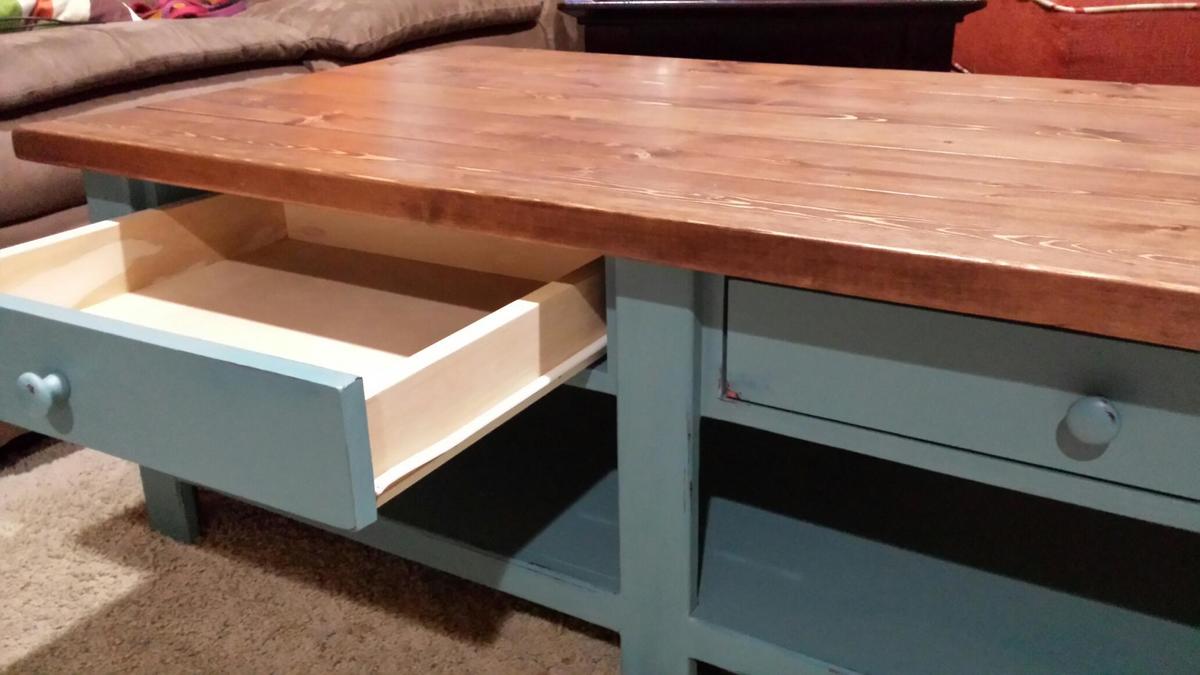
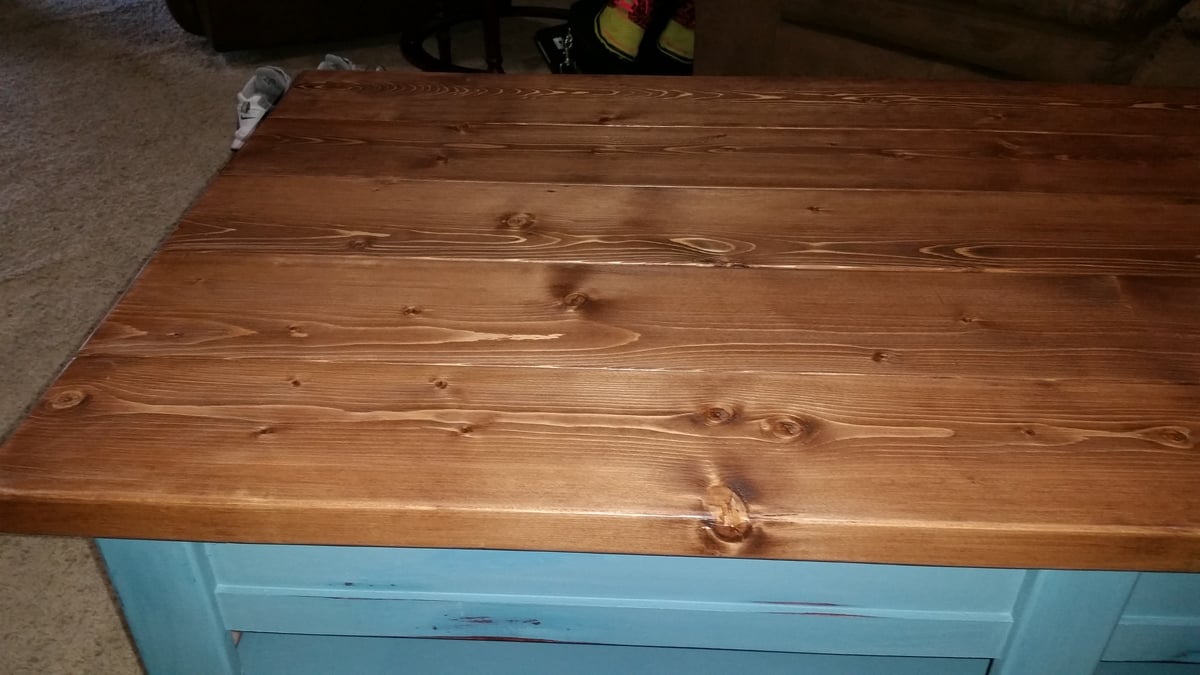
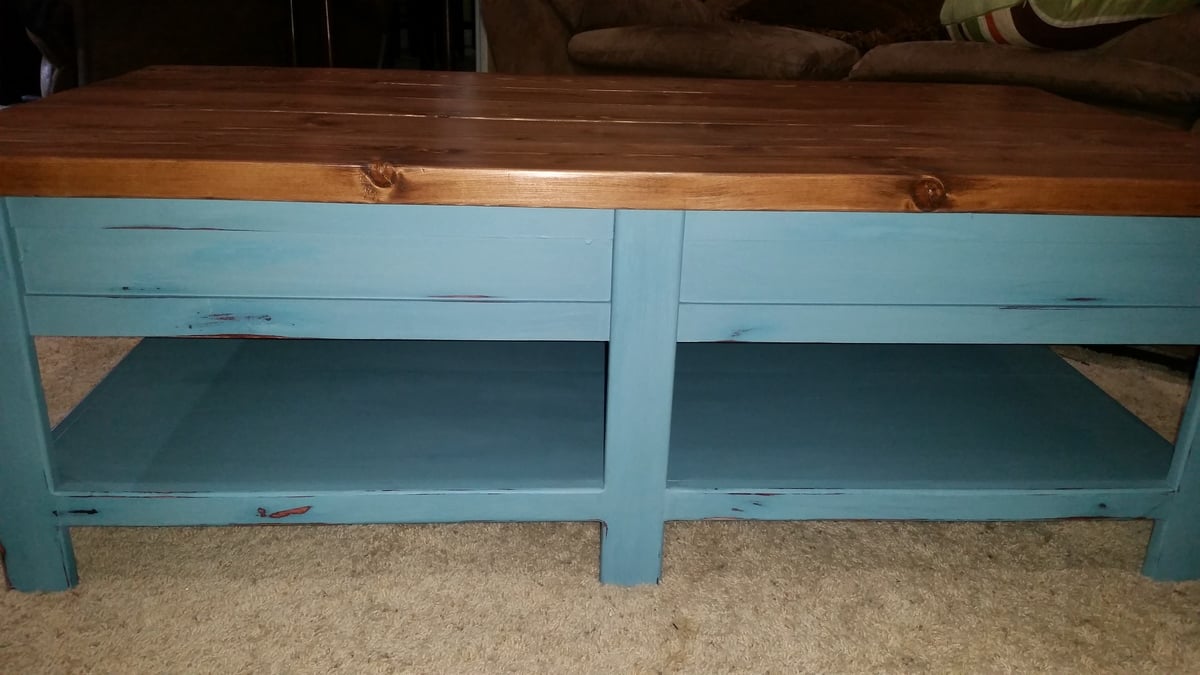
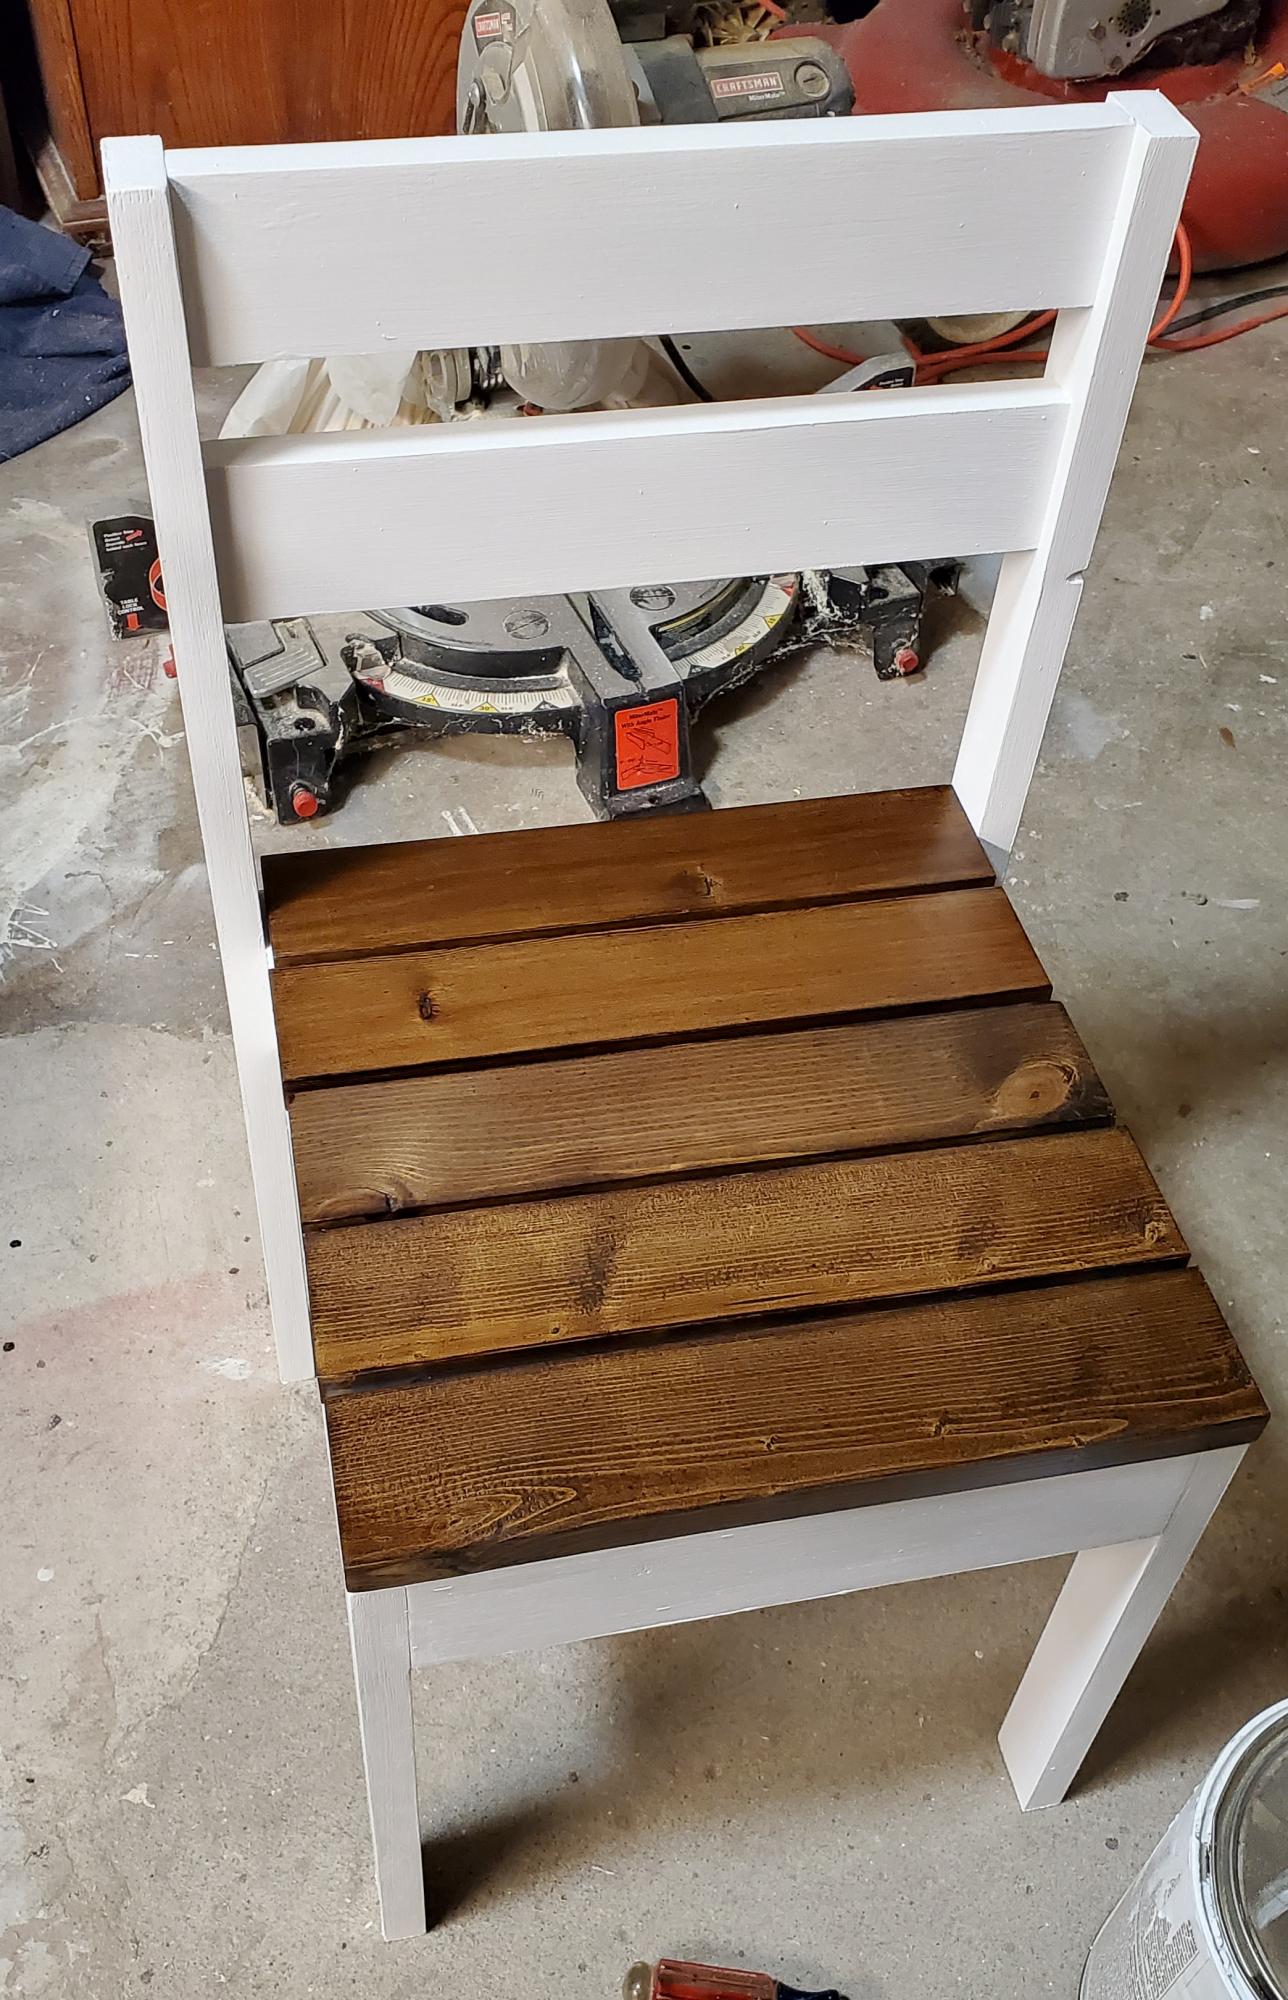
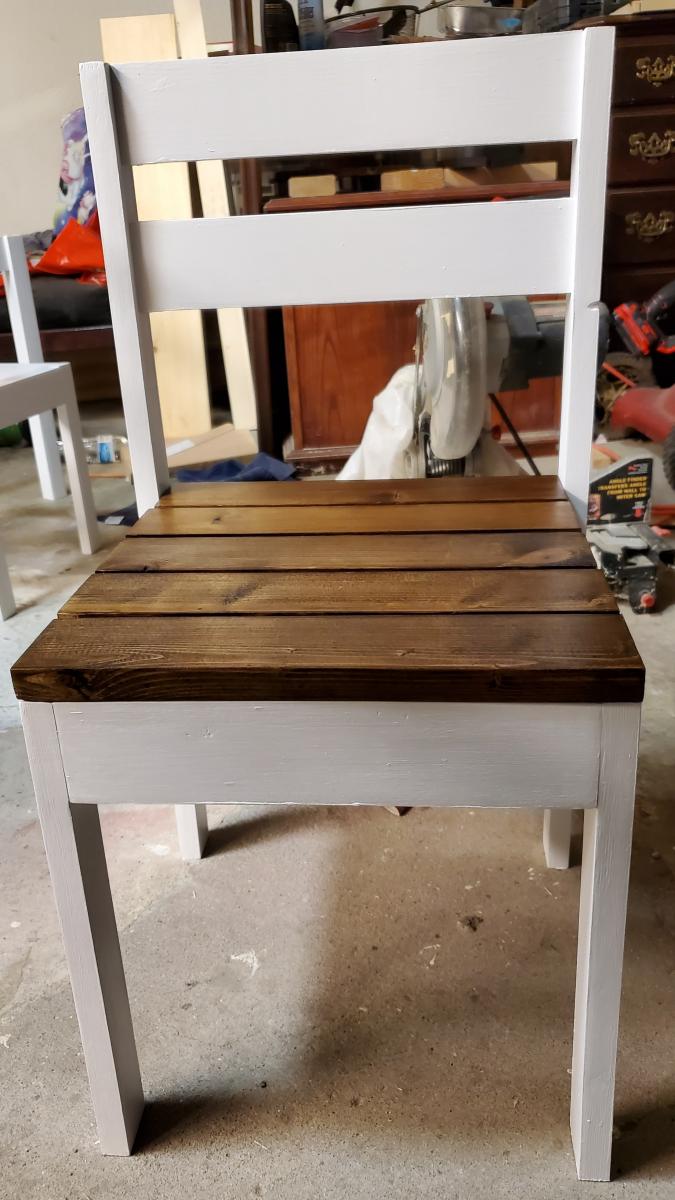
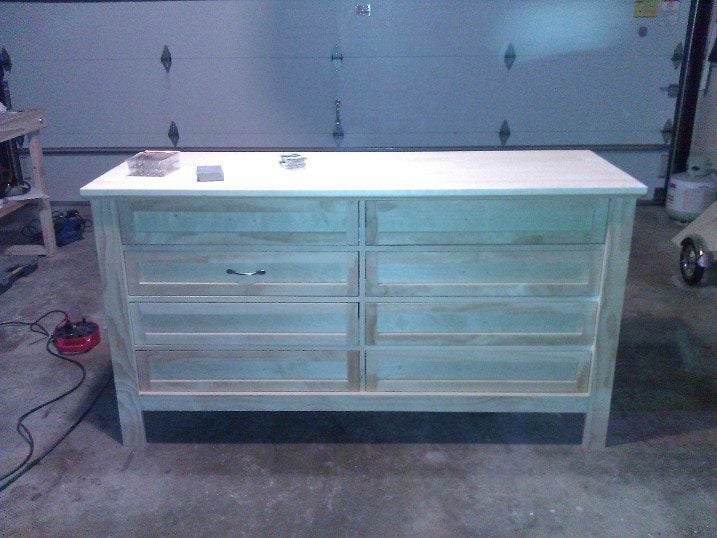
To achieve a rustic look I "sloppy painted" with 2 shades of grey, white and some black. Once the paint was thoroughly dry, I used a course grit sandpaper to lightly take off paint in some areas, leaving it thicker in spots. I then applied barn wood grey stain and immediately wiped it. I finished with a satin poly.
Recommended Skill Level
Intermediate


Comments
Dvega
Fri, 03/25/2016 - 09:44
Color
Hi! What grey do you use , latex or it was stain?
cjschulz
Tue, 09/17/2019 - 23:07
I used two shades of grey,…
I used two shades of grey, white and black enamel paint to "sloppy paint" in various areas. Then I sanded off the paint, leaving some areas thicker than others. When I liked the look recreating "rustic barn wood" I then stained over the entire surface with barn wood grey stain.