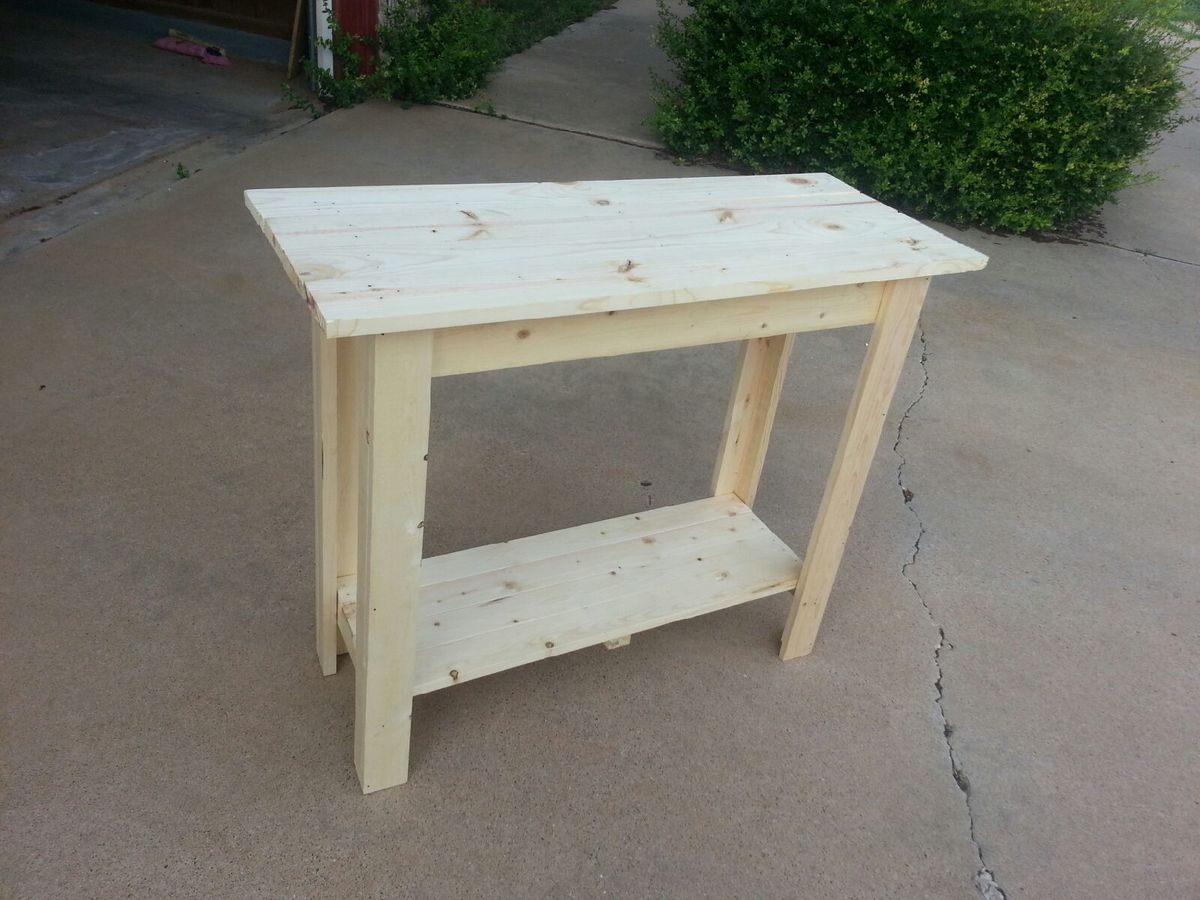
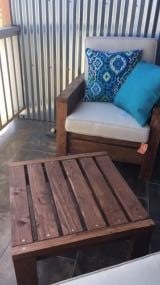
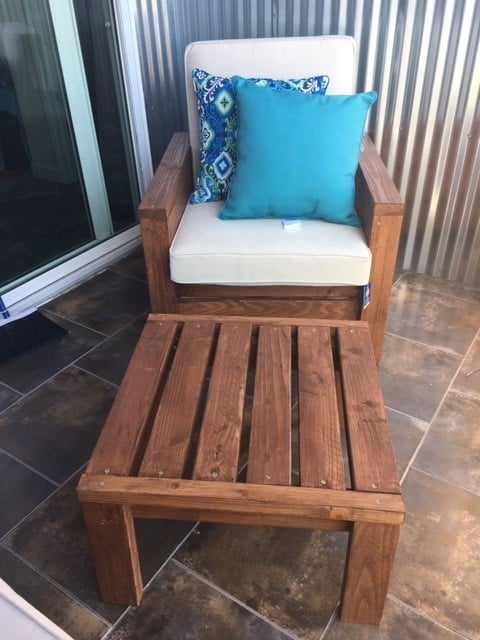
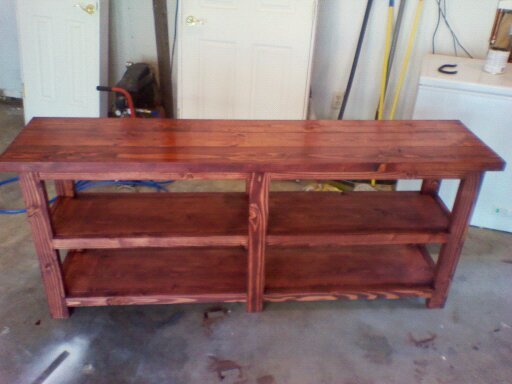
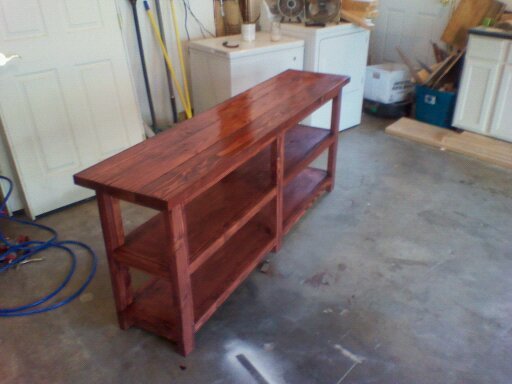
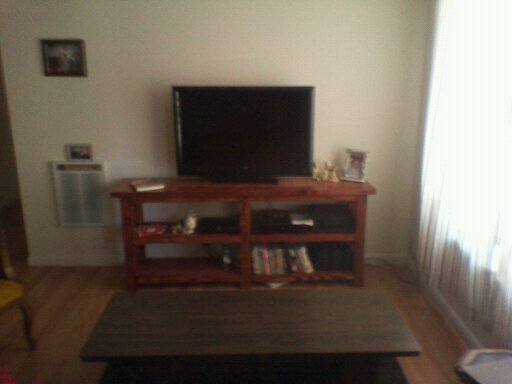
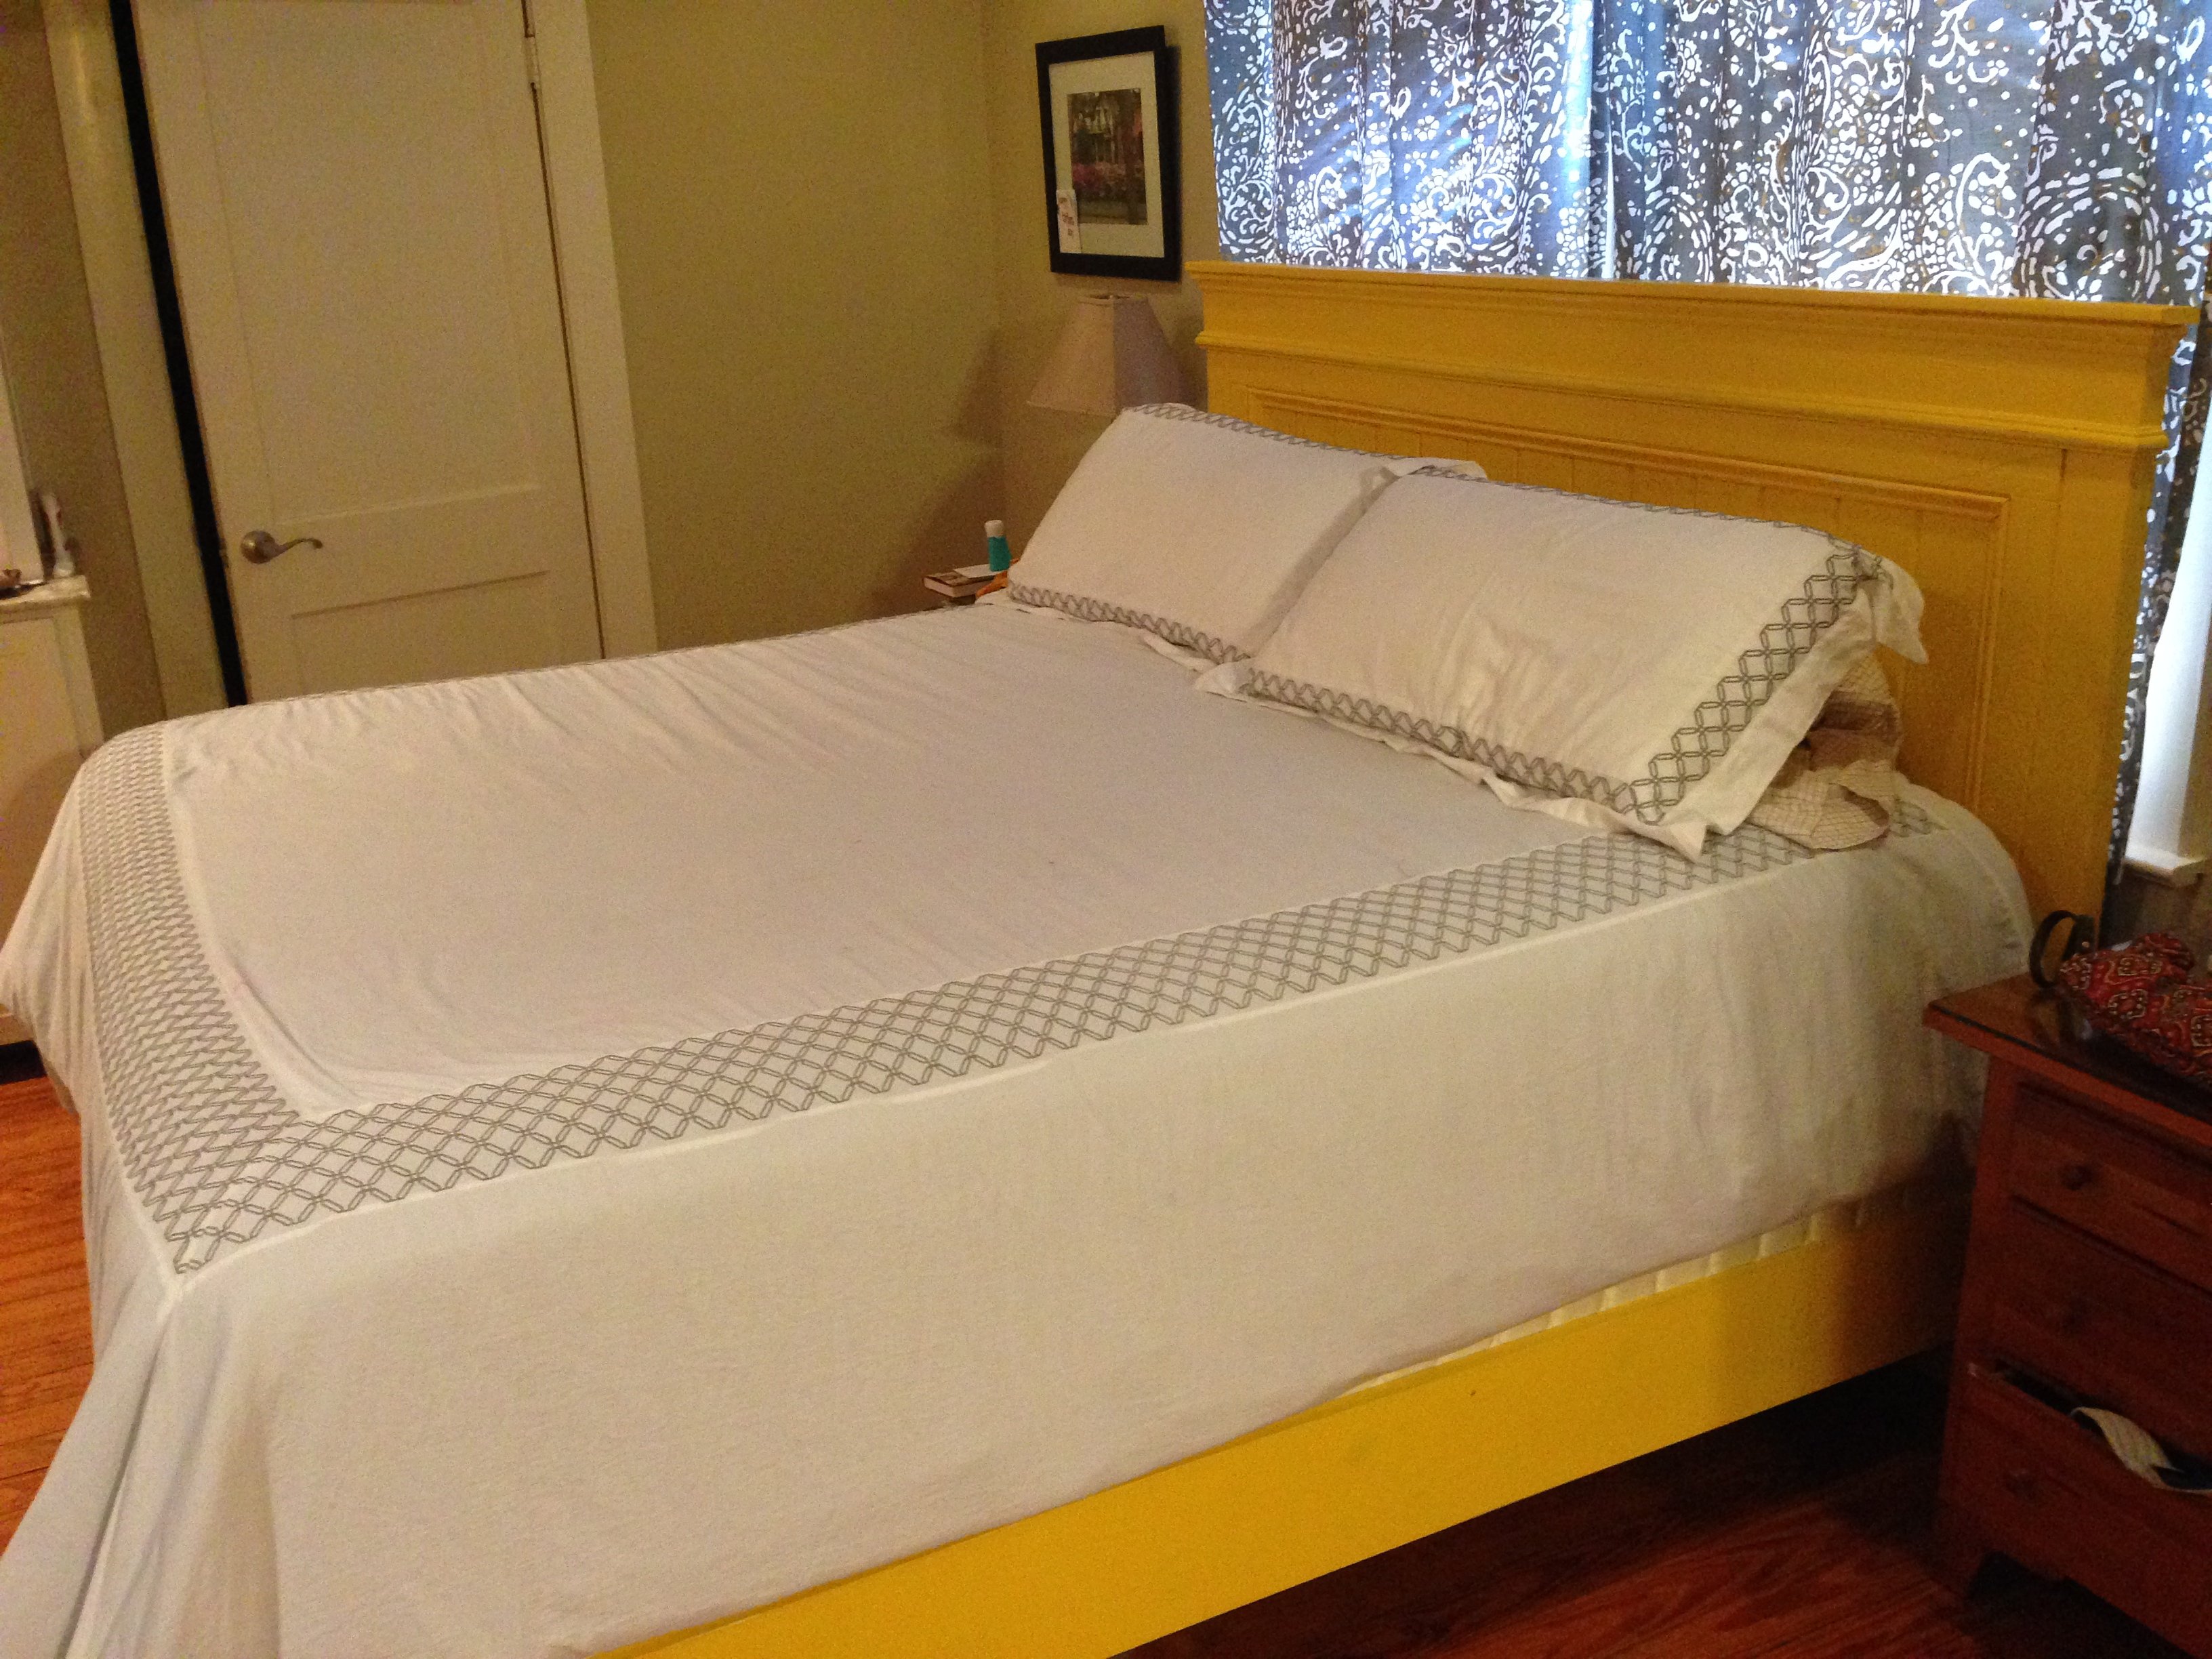
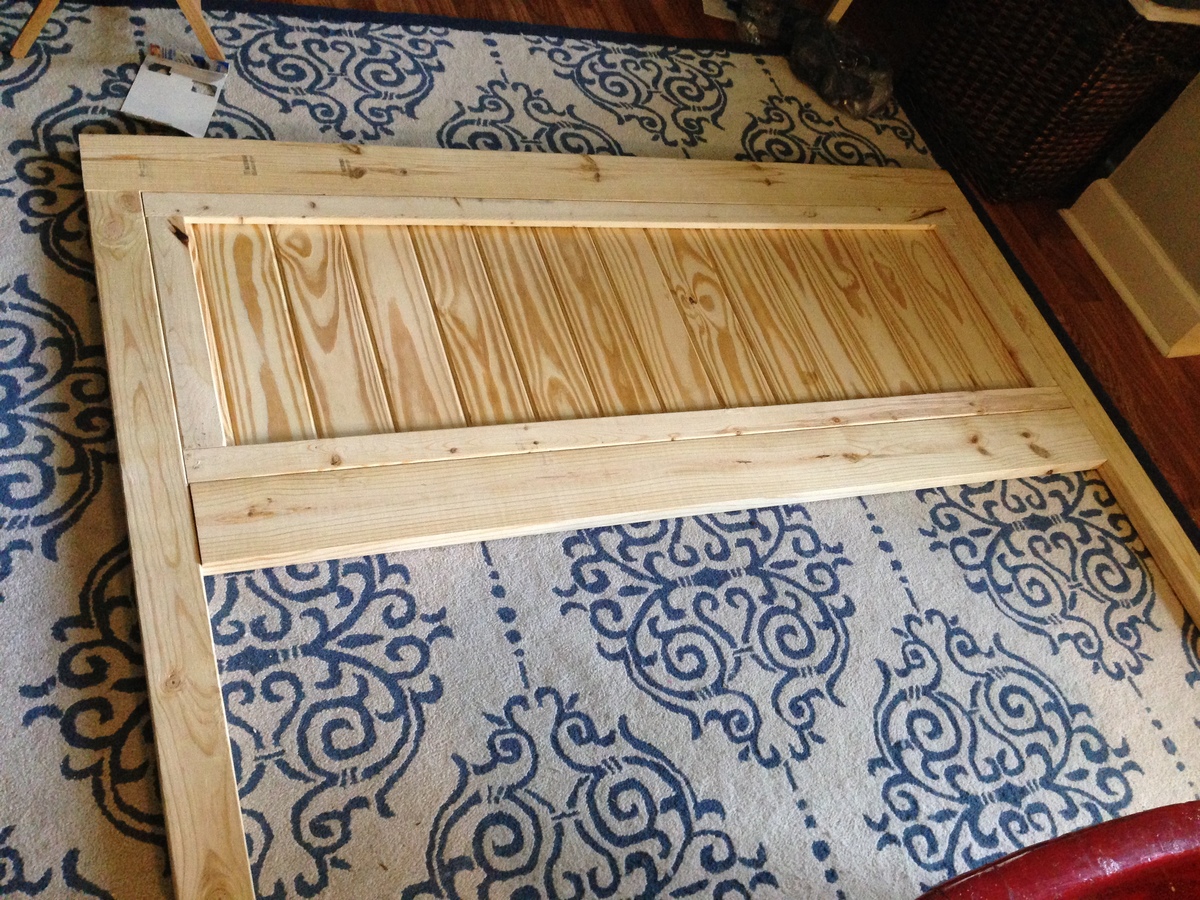
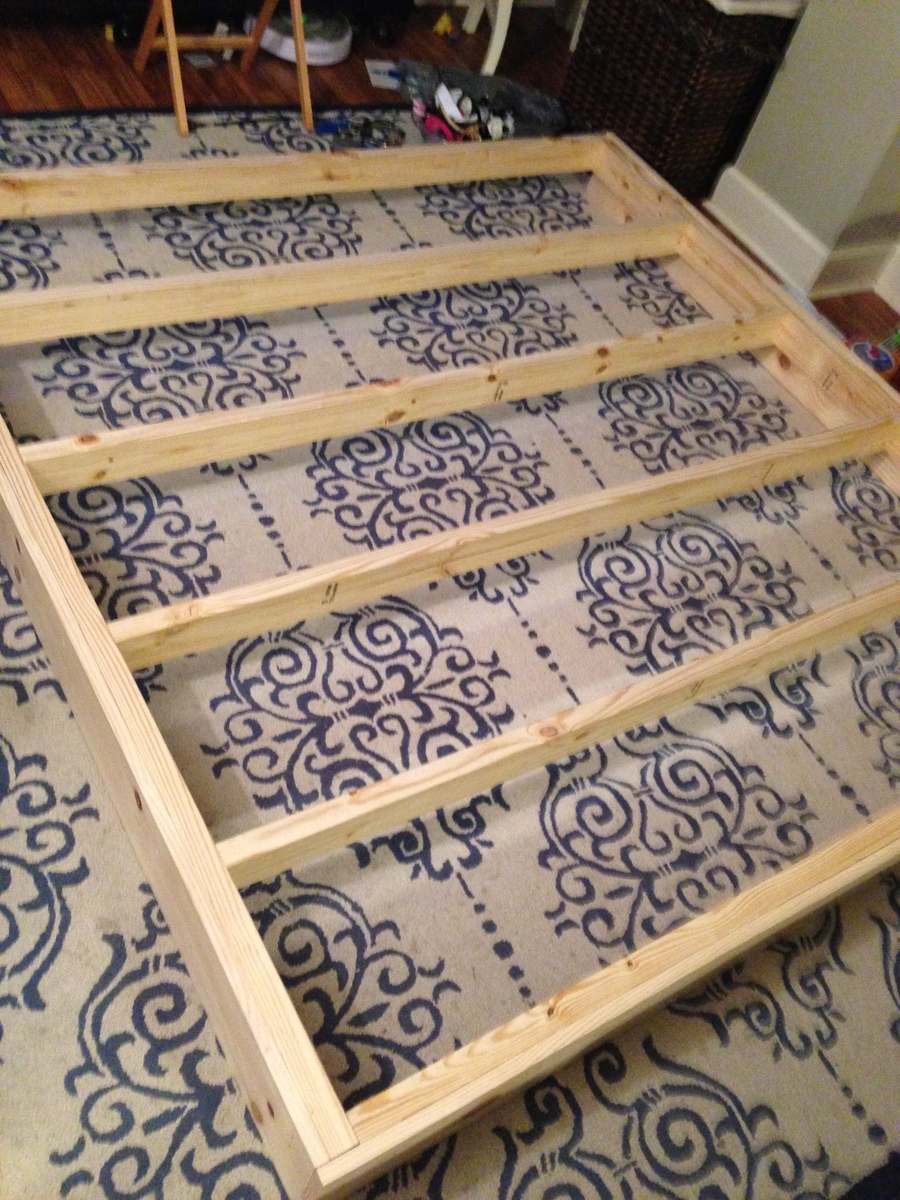
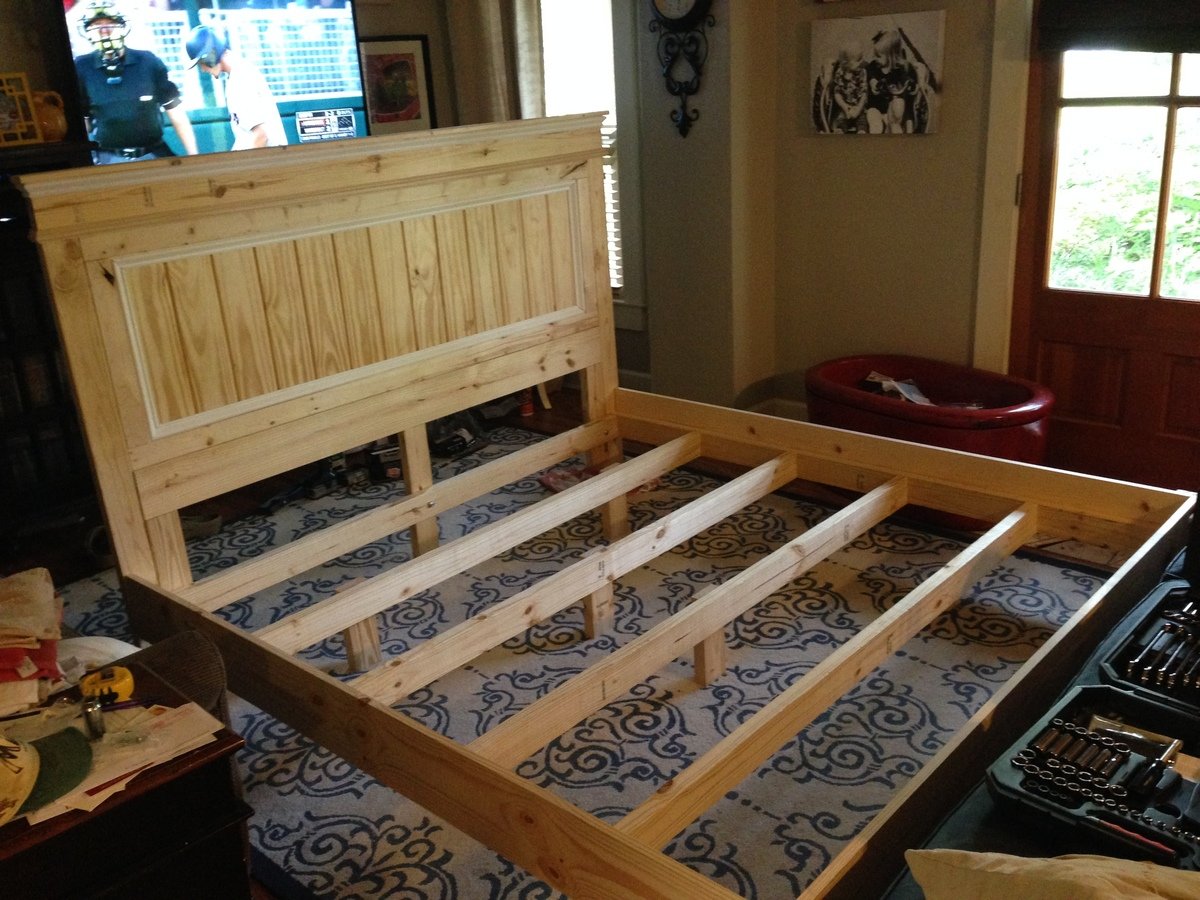
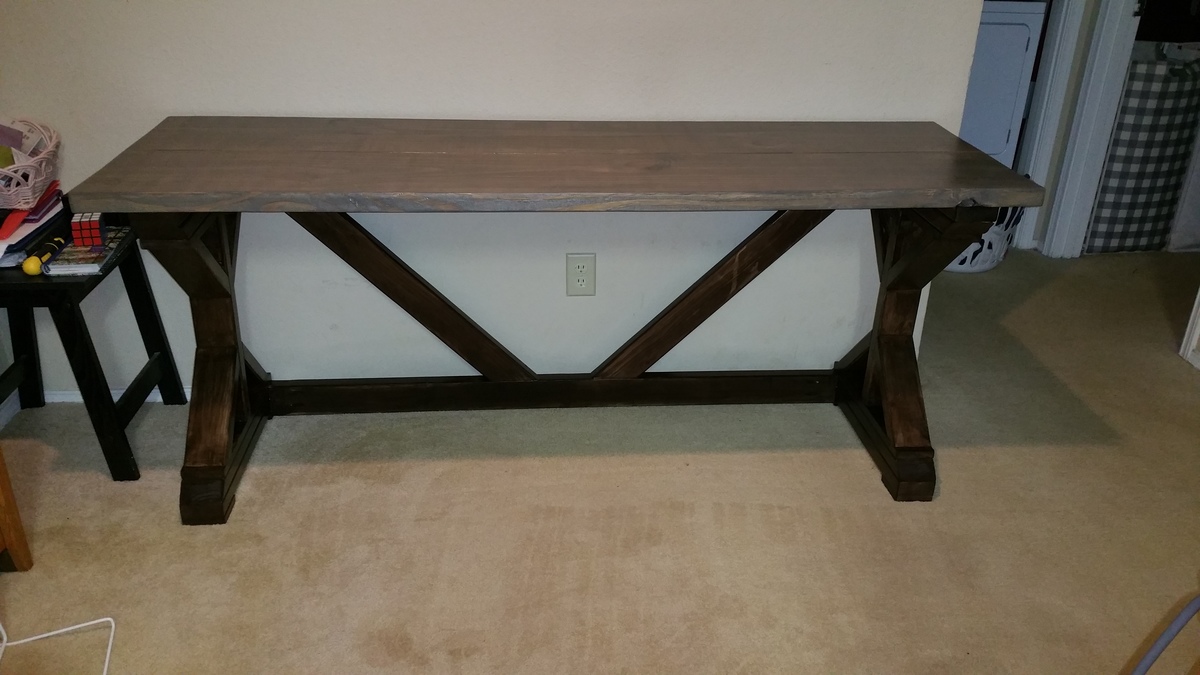
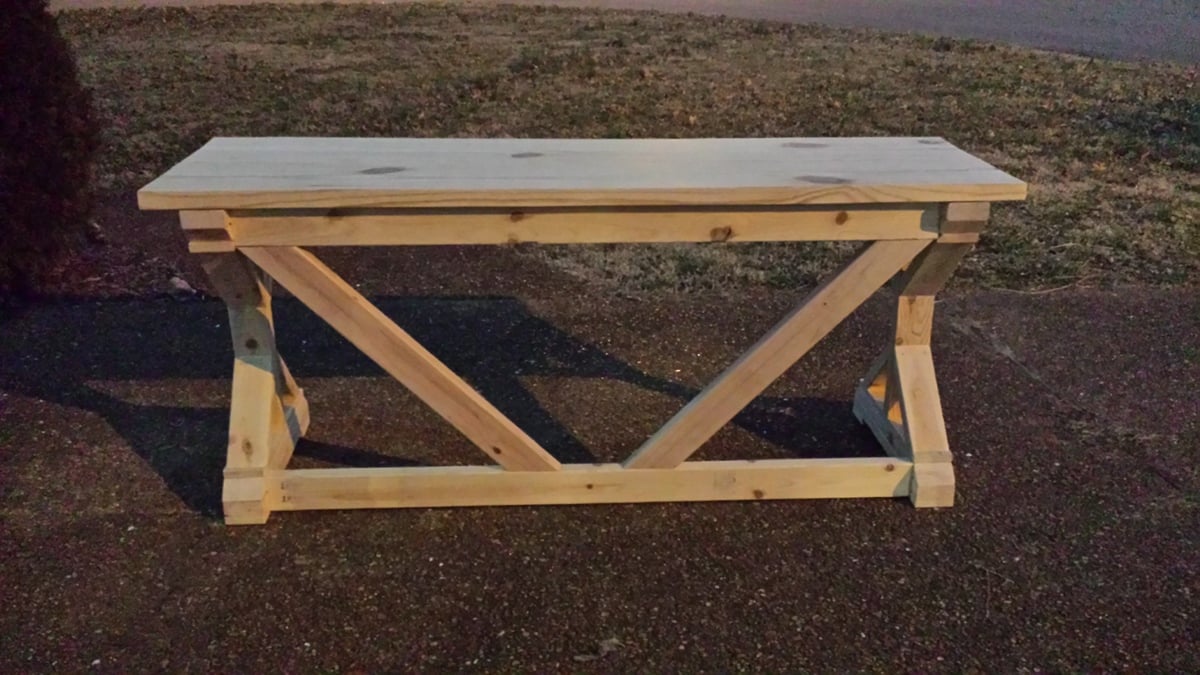
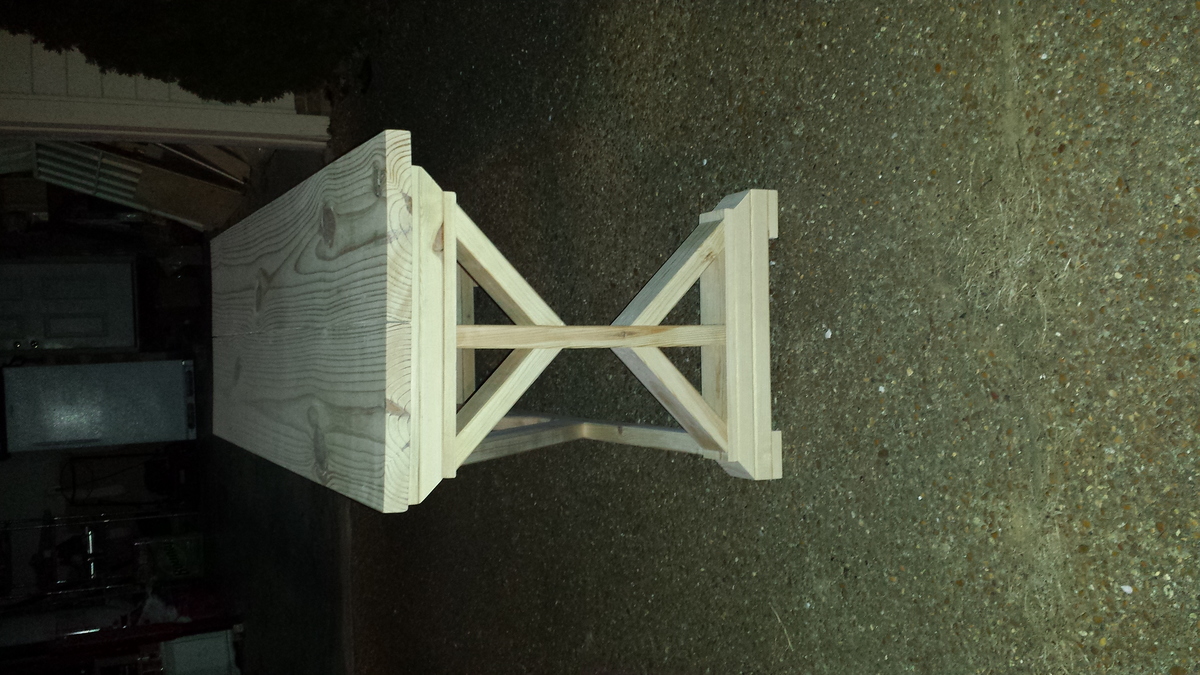
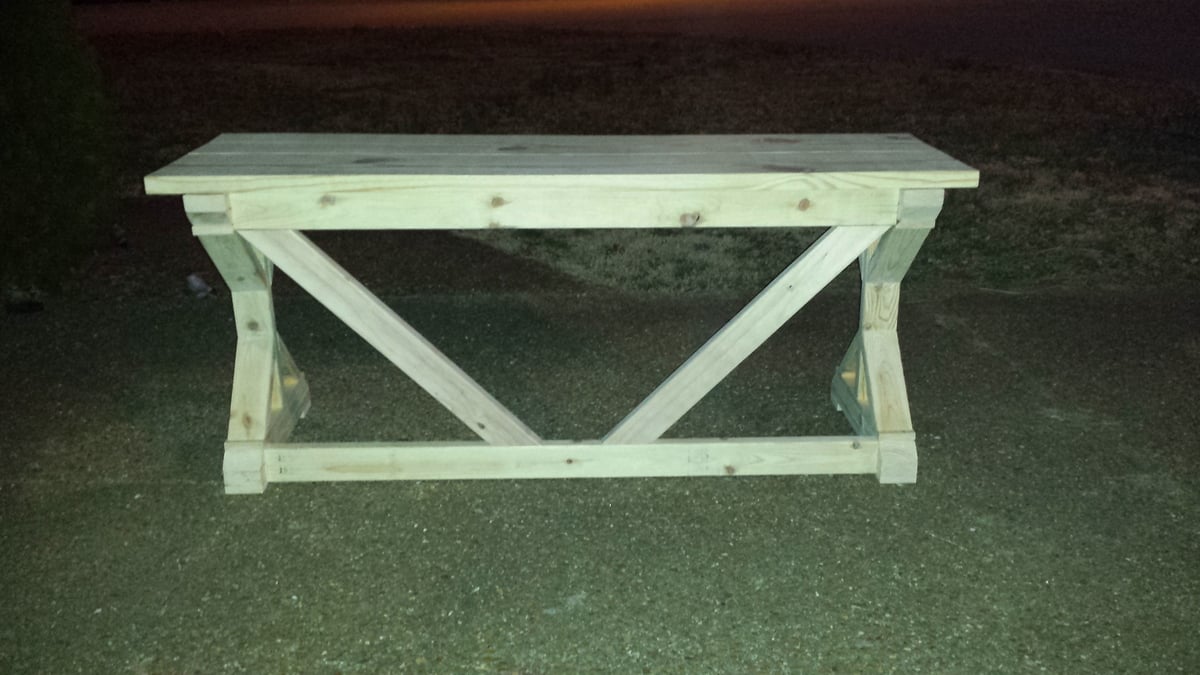
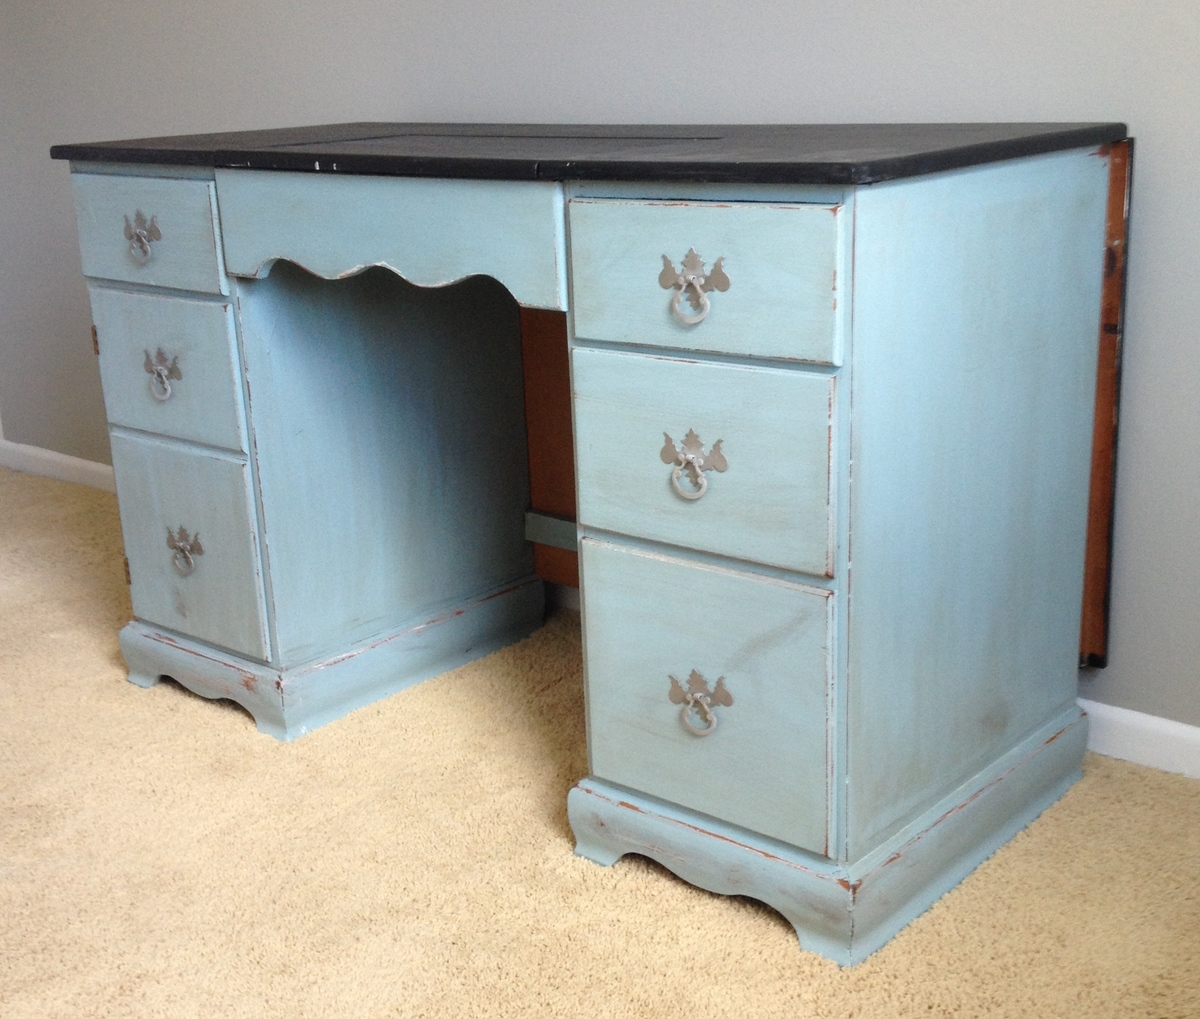
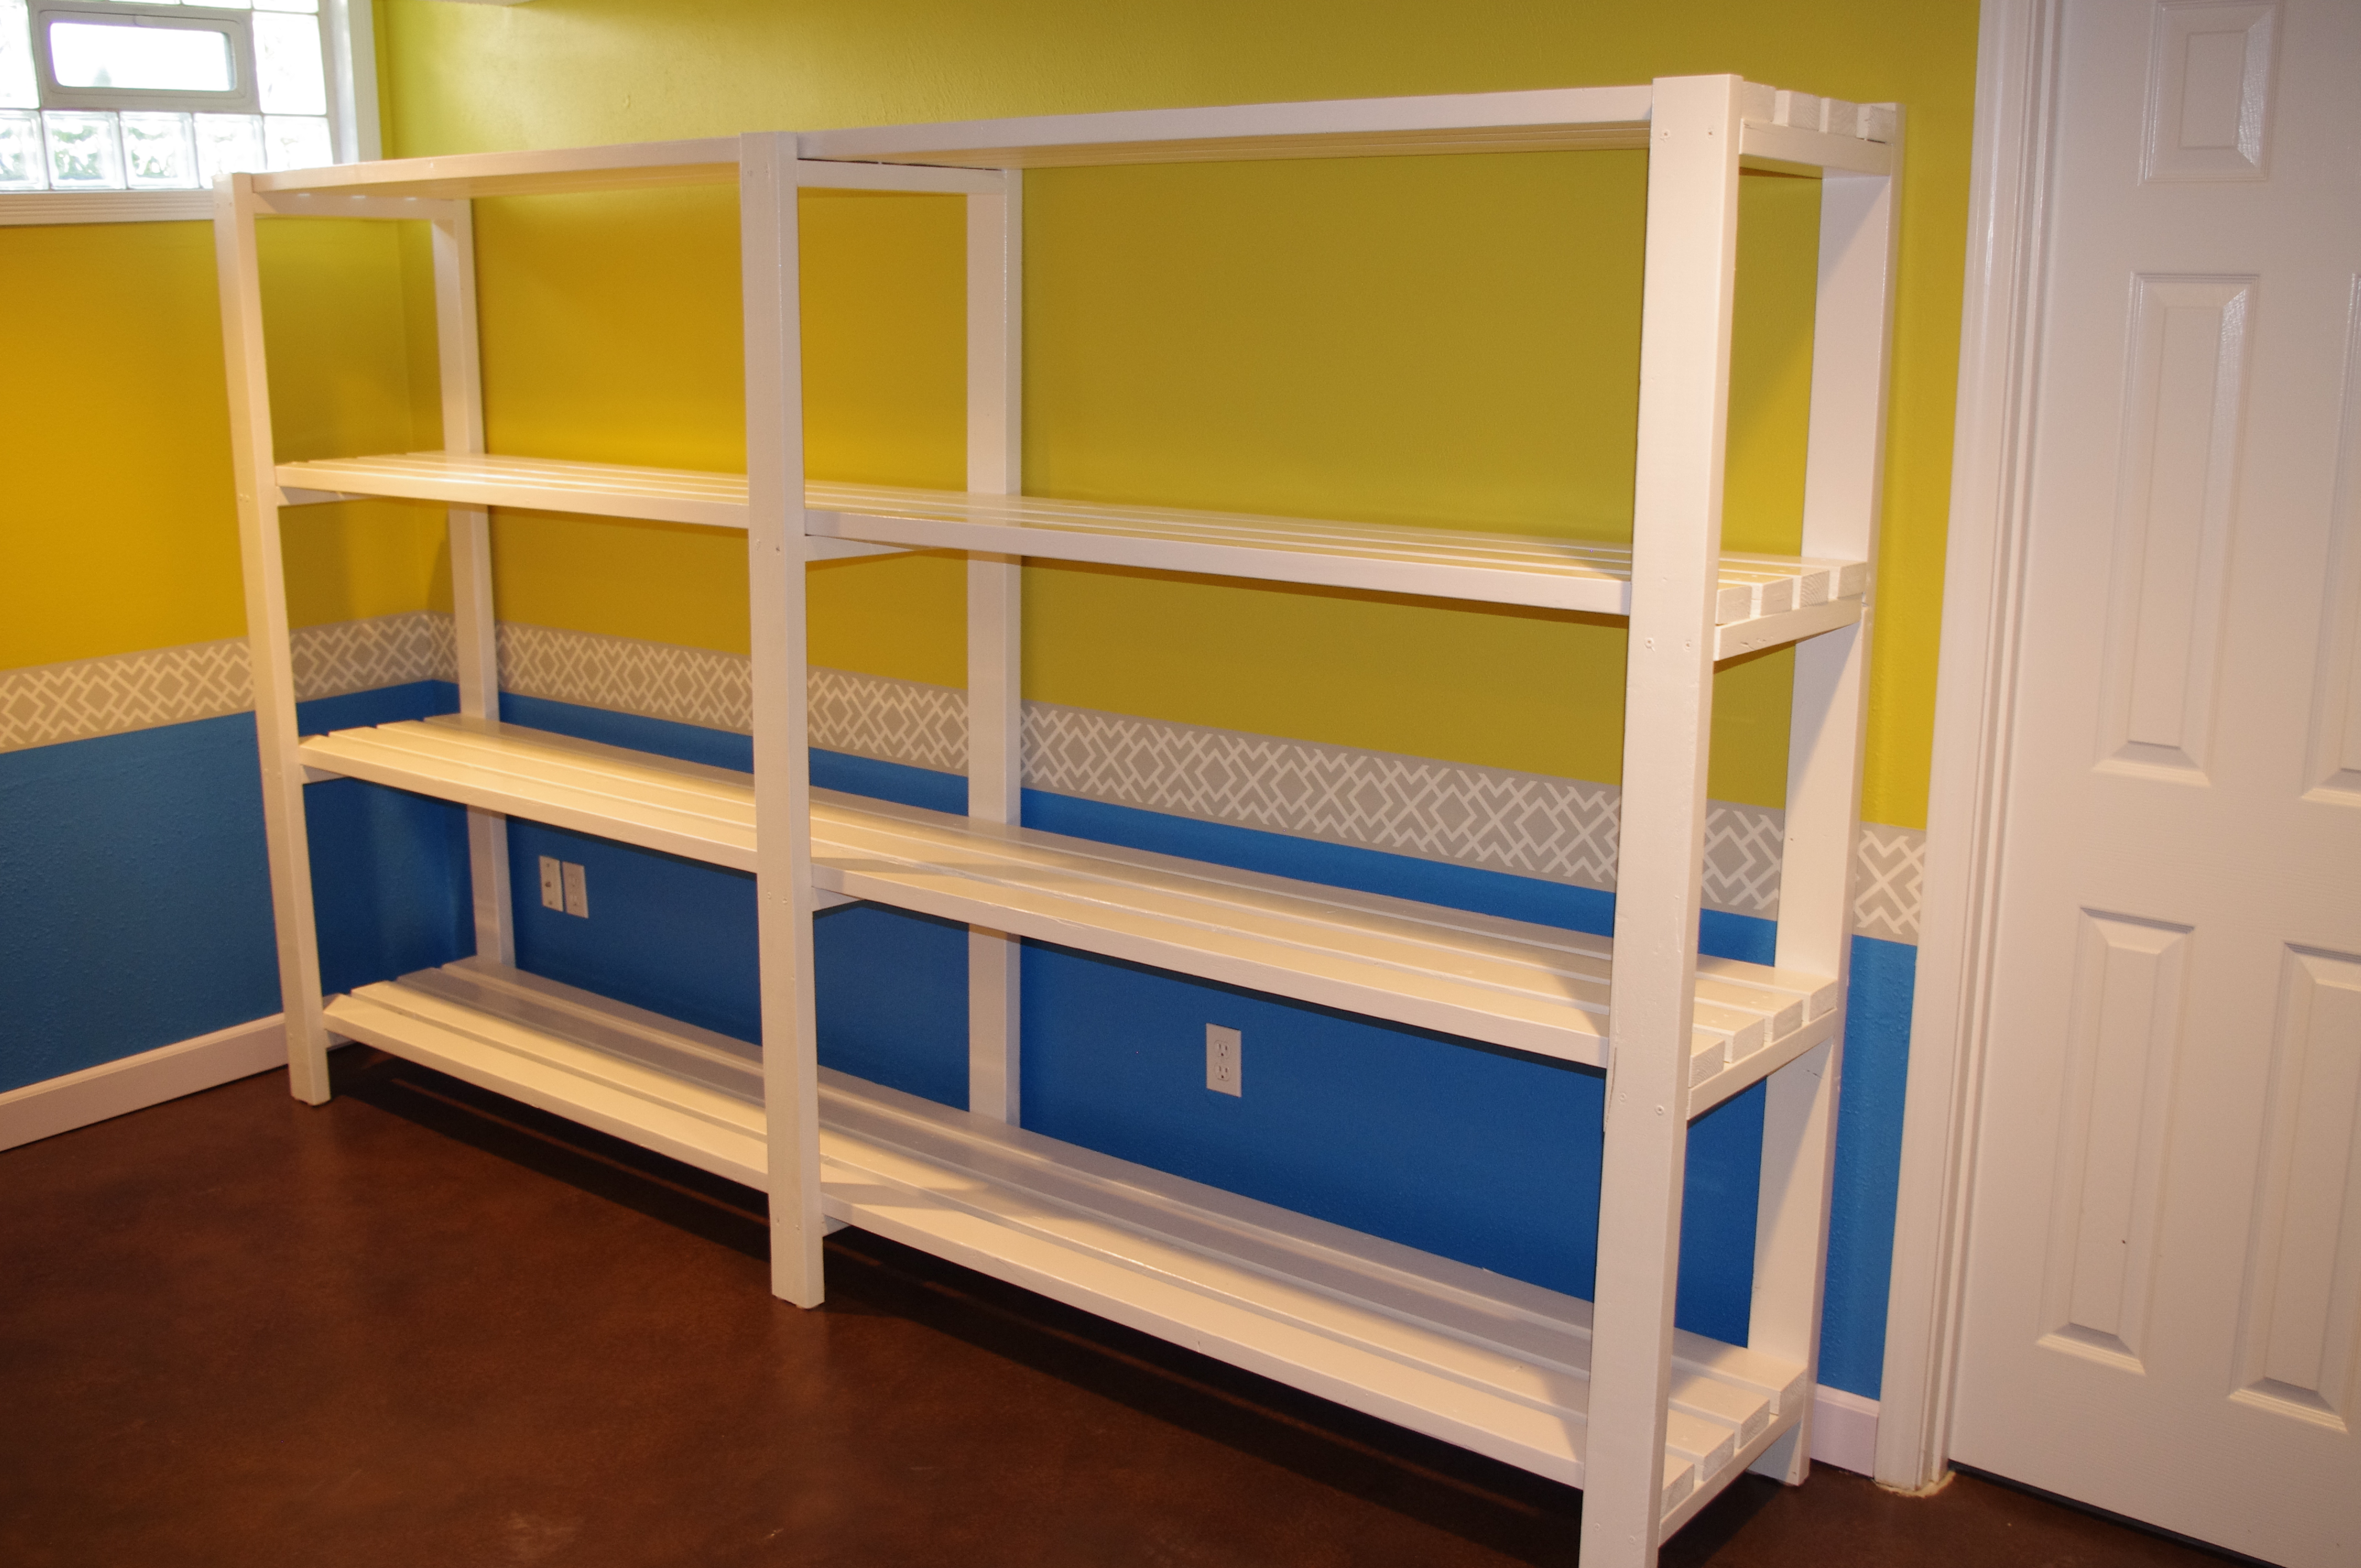
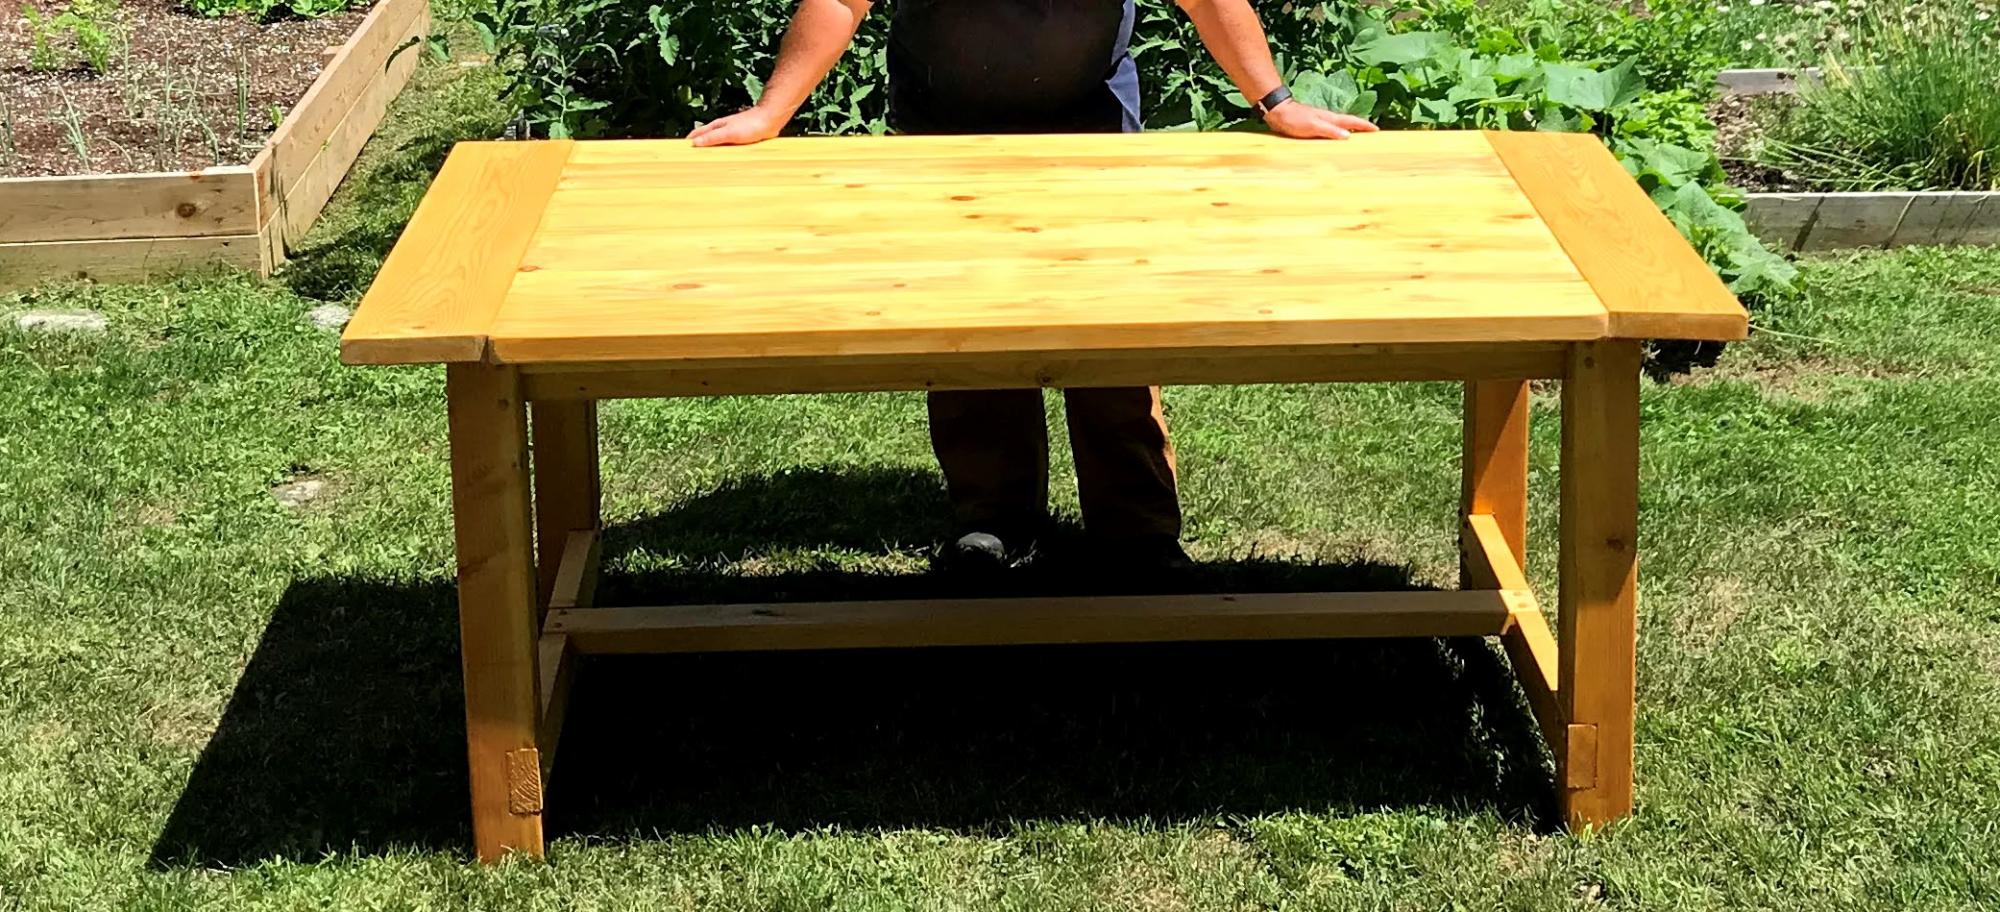
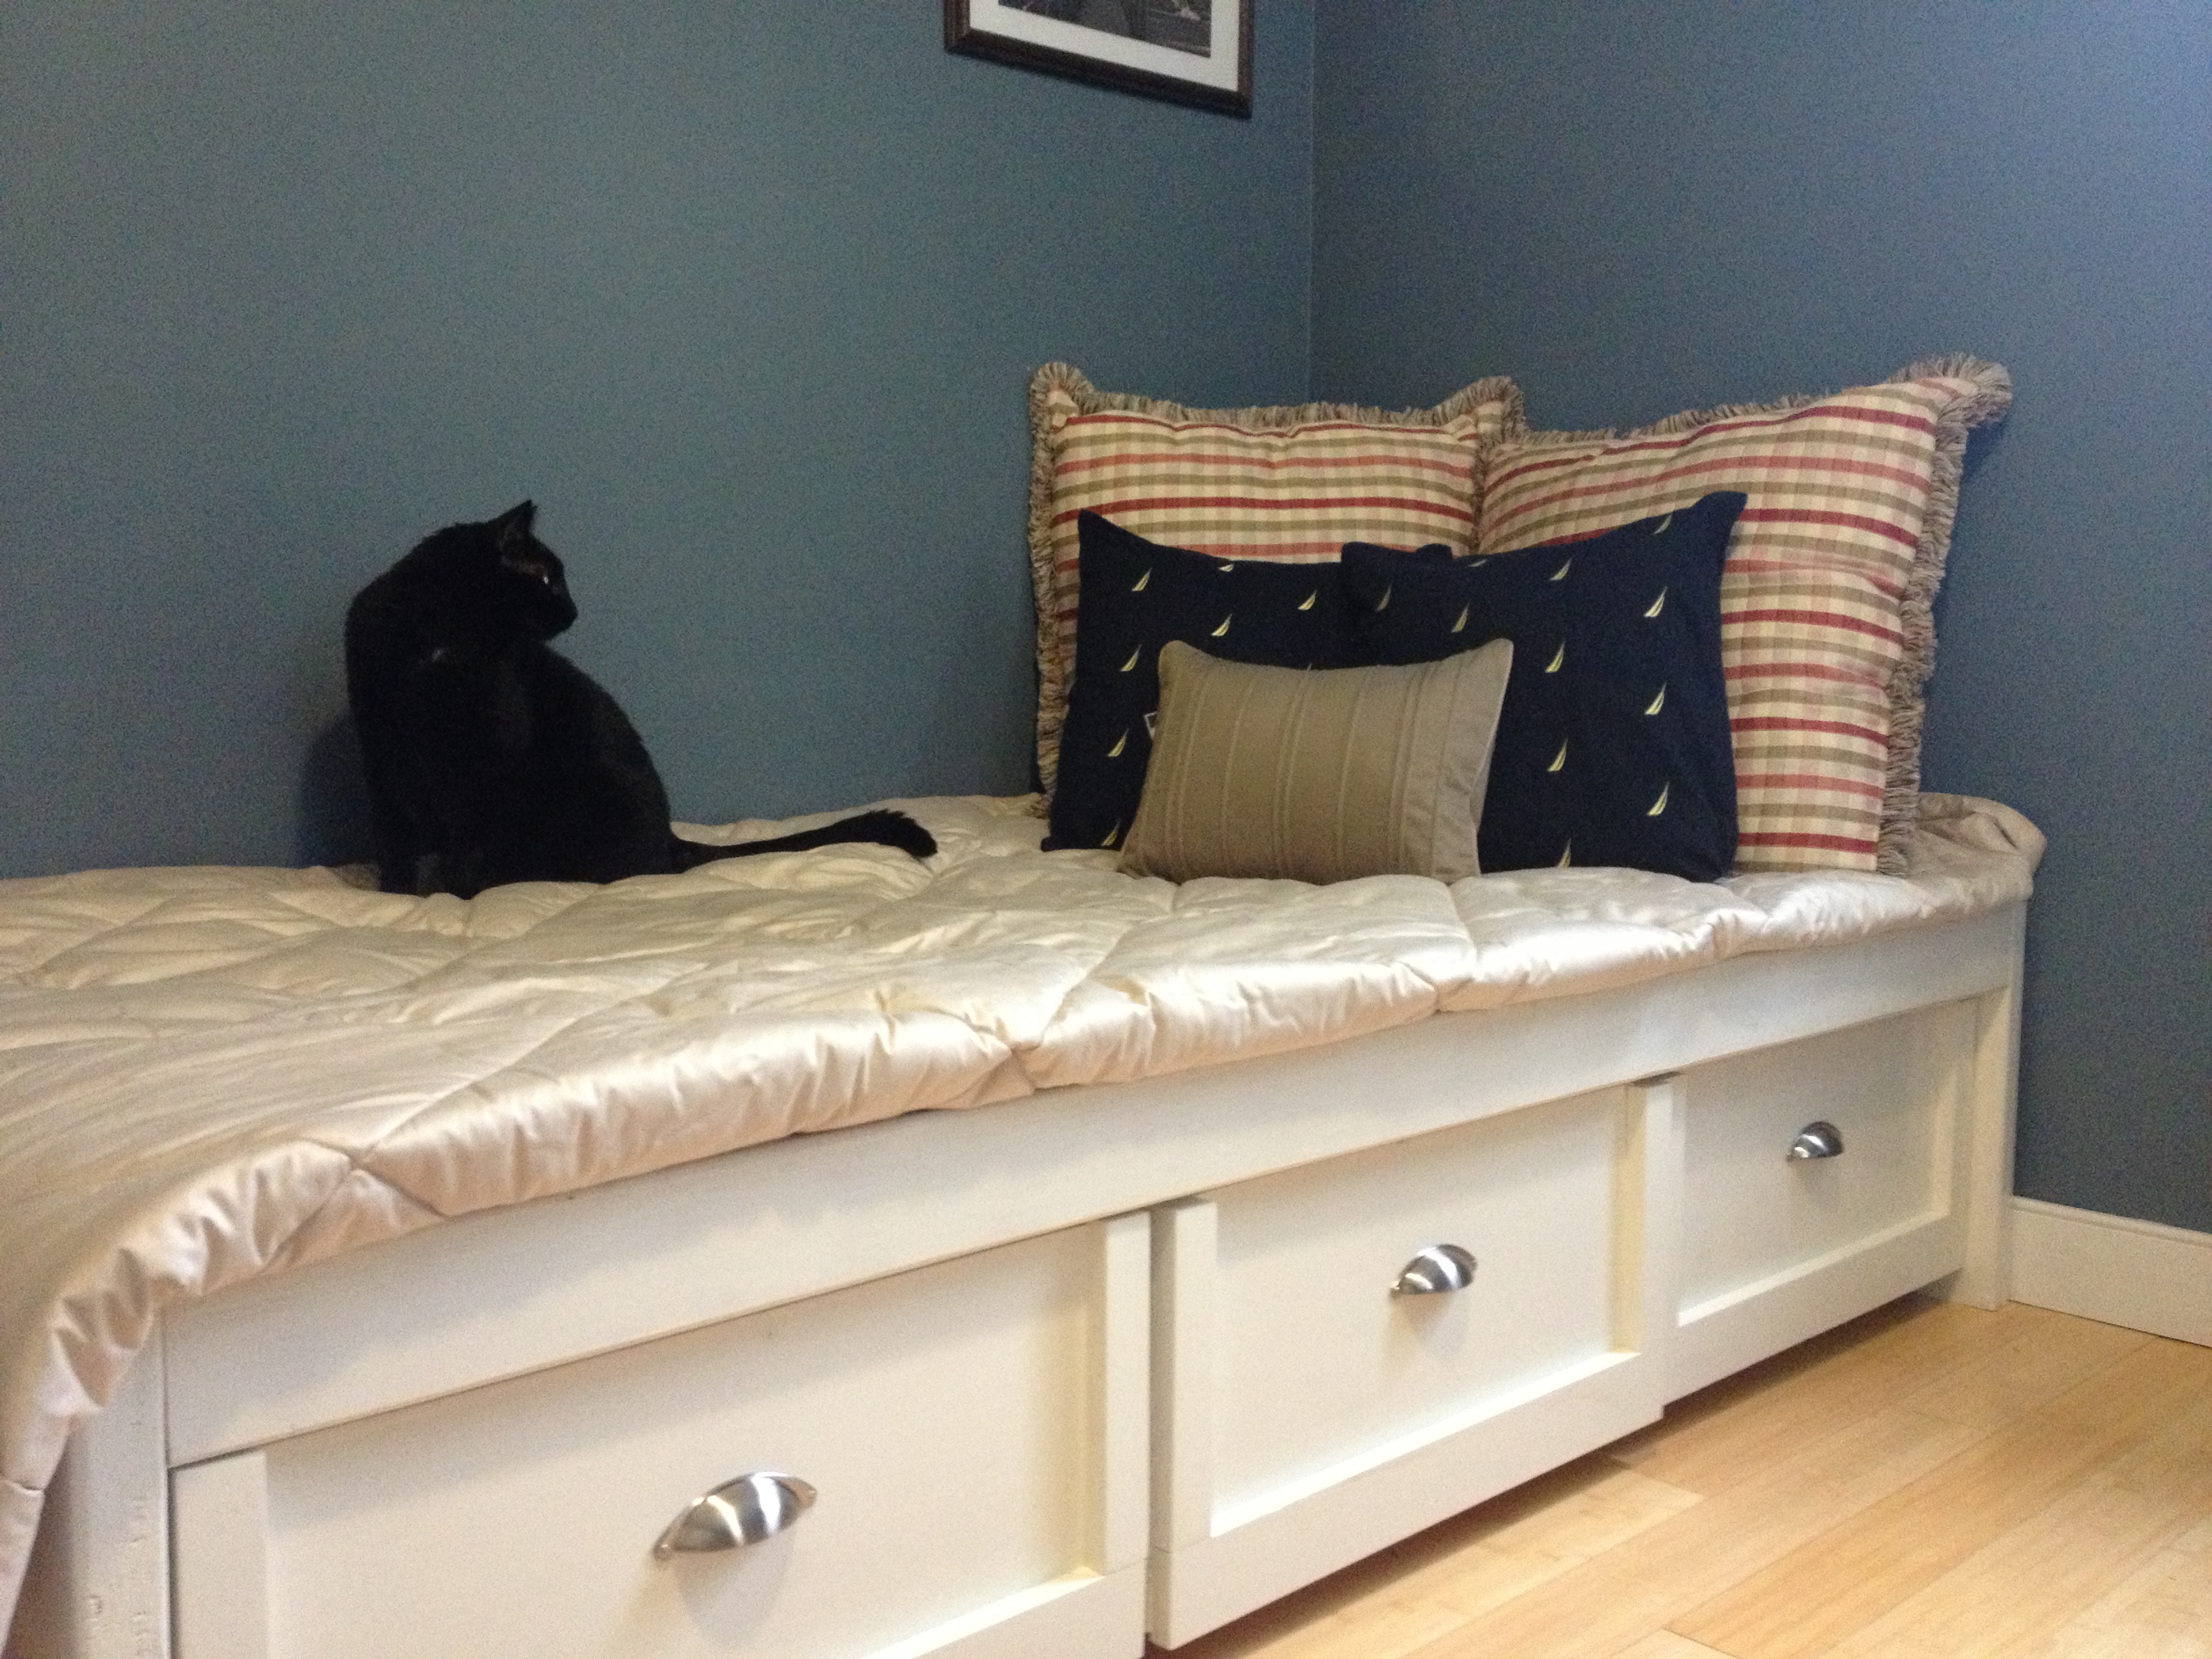
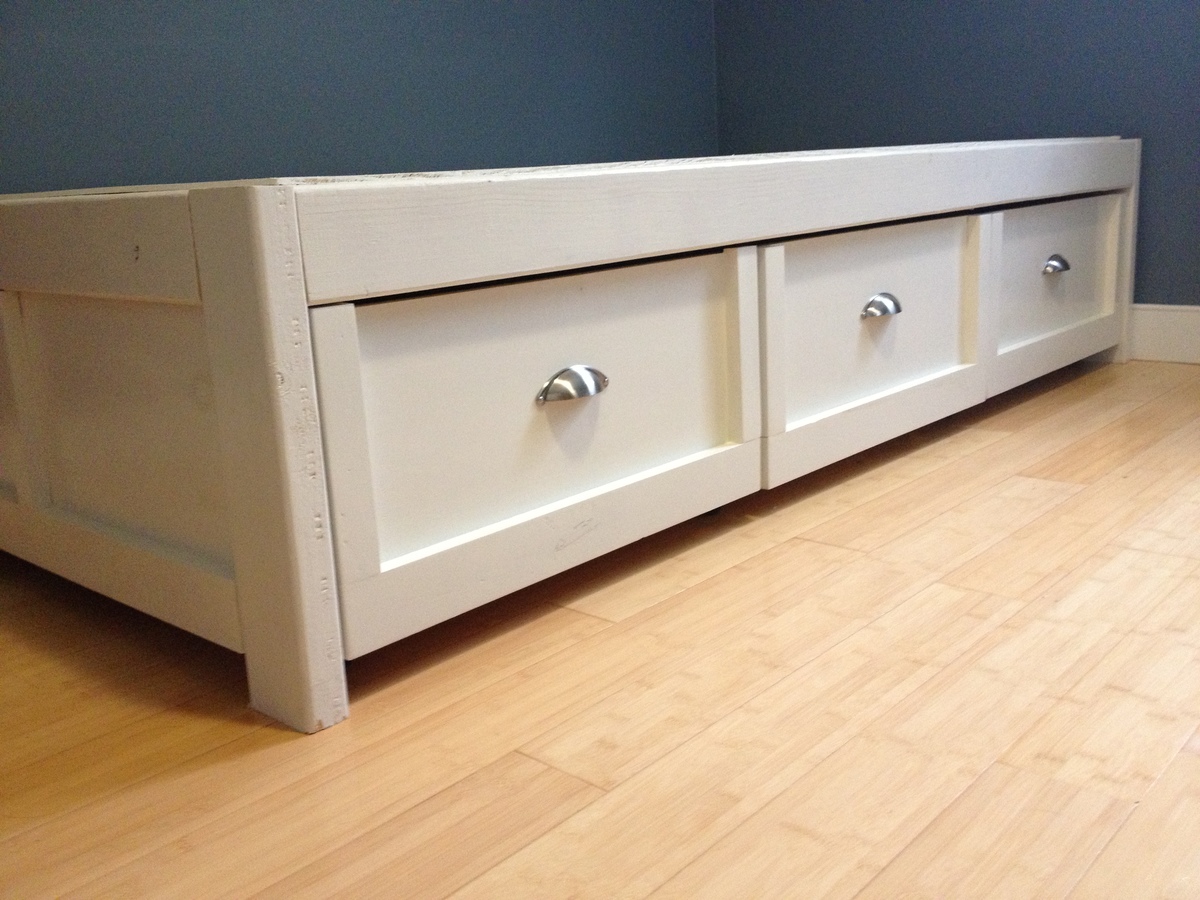
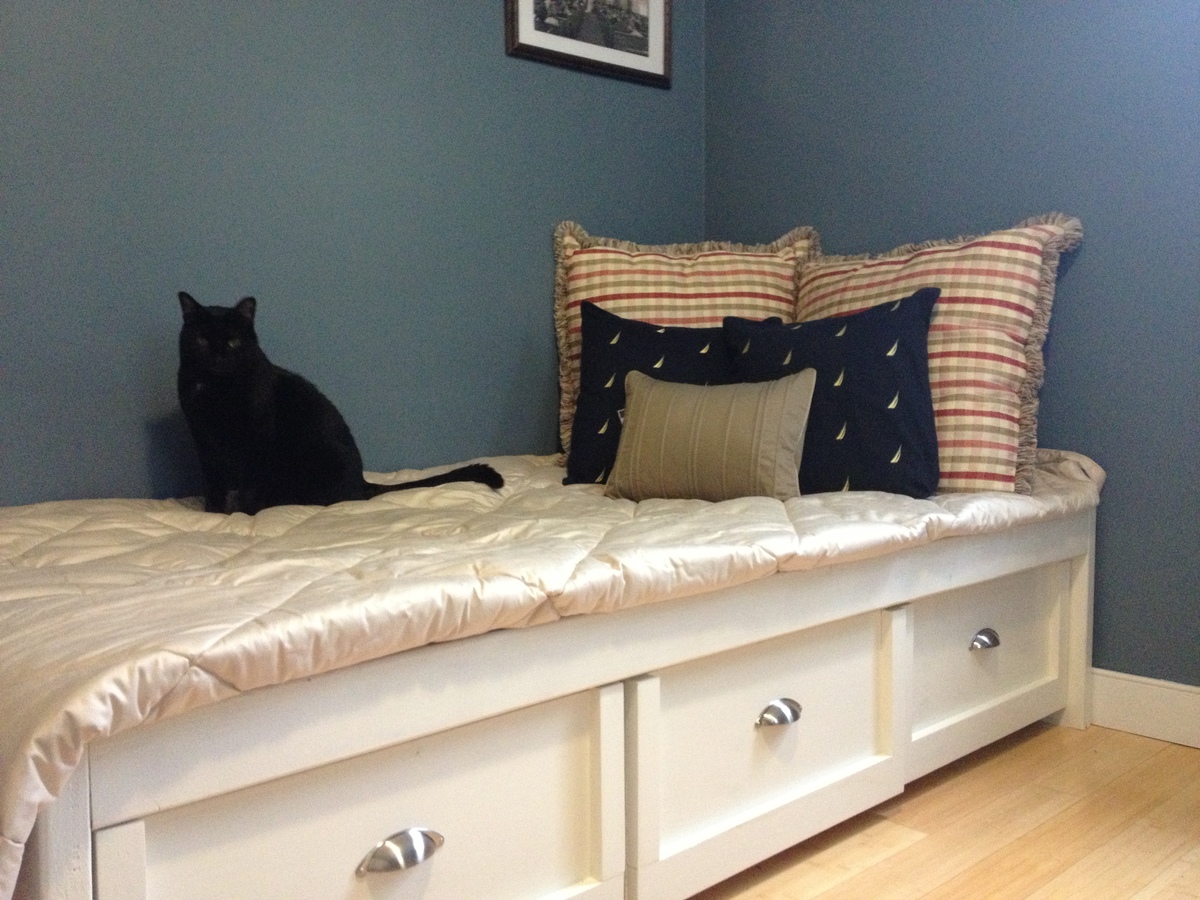
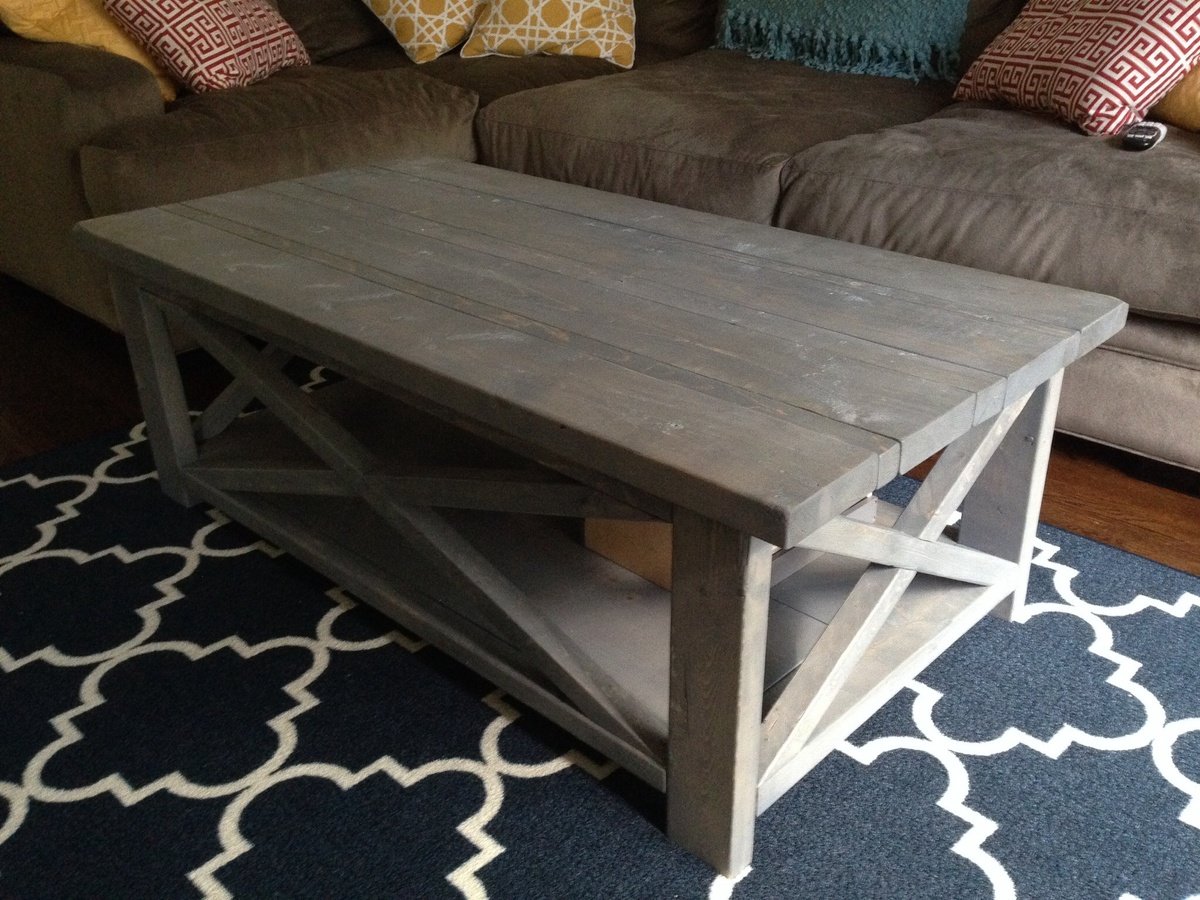
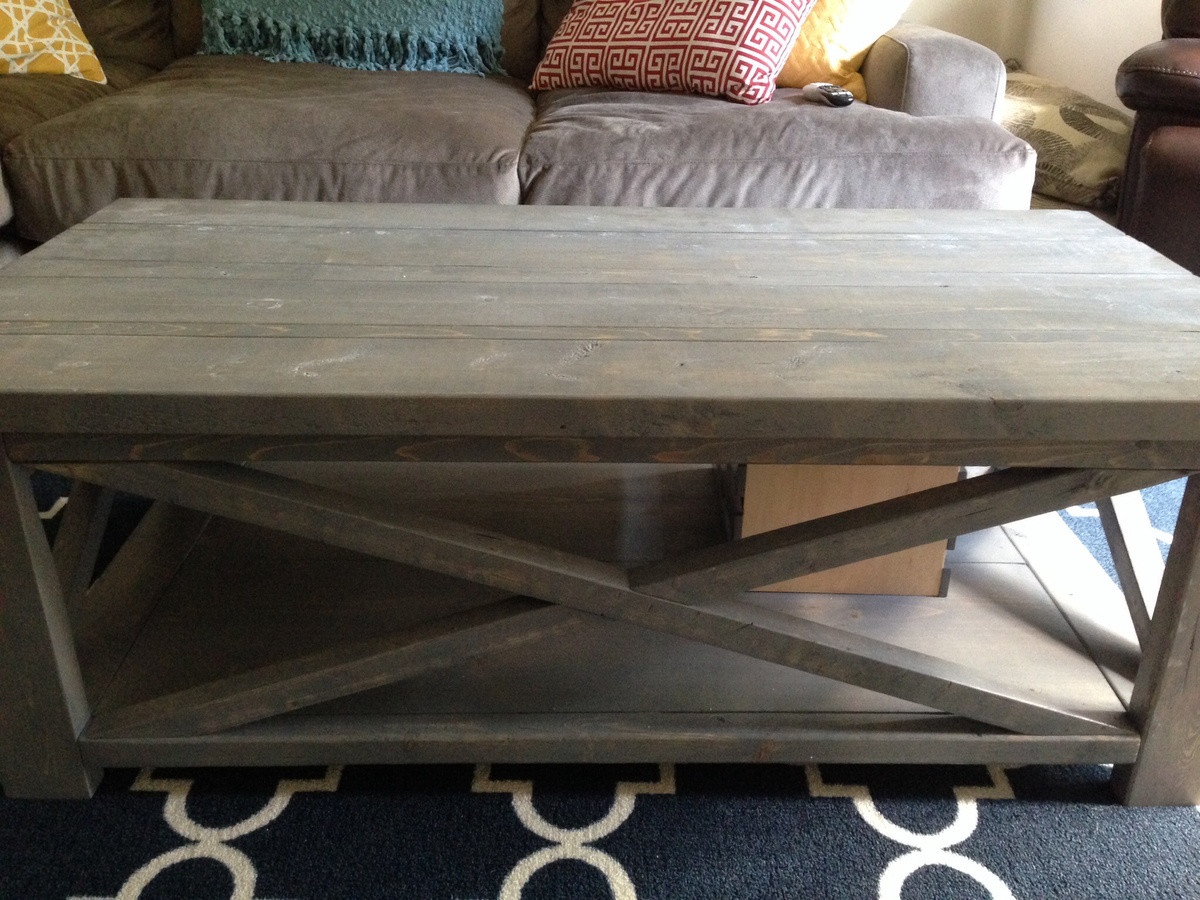
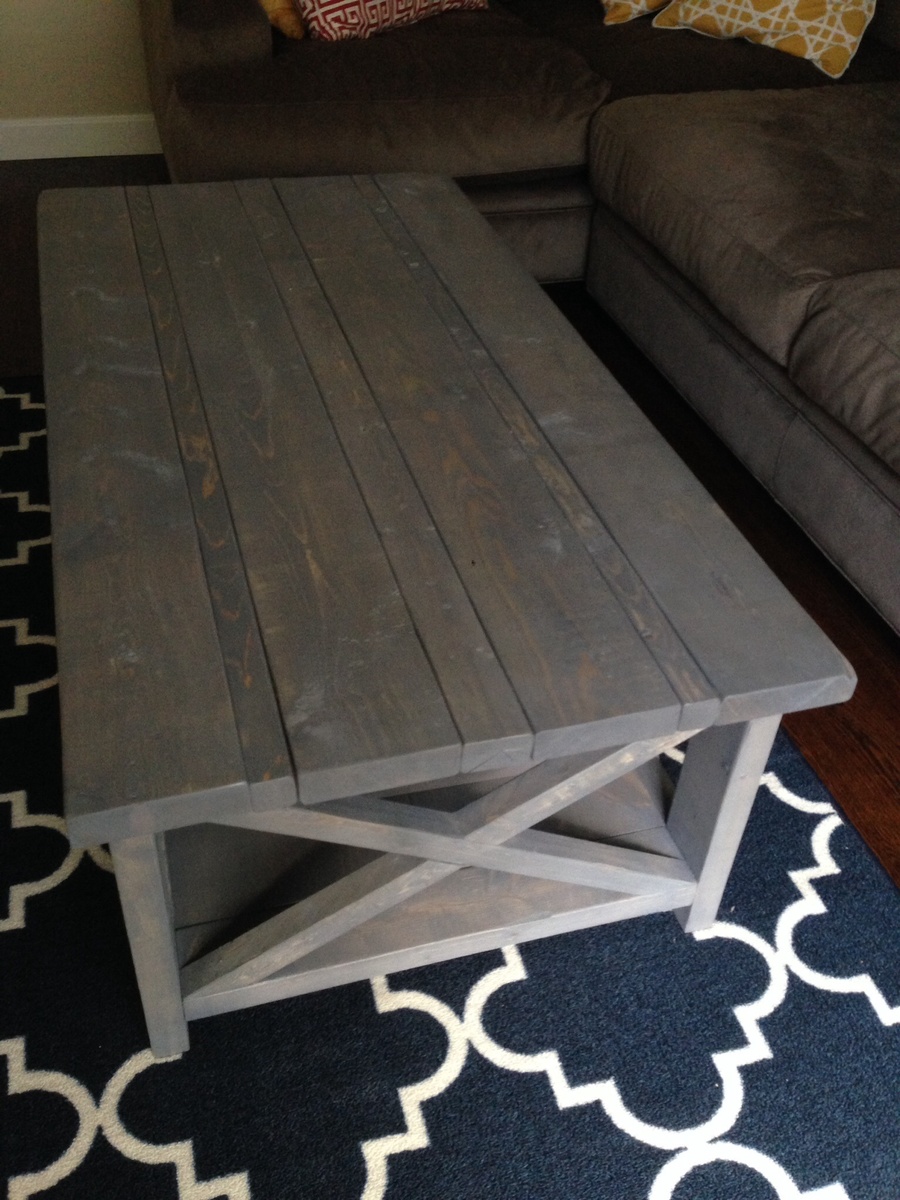
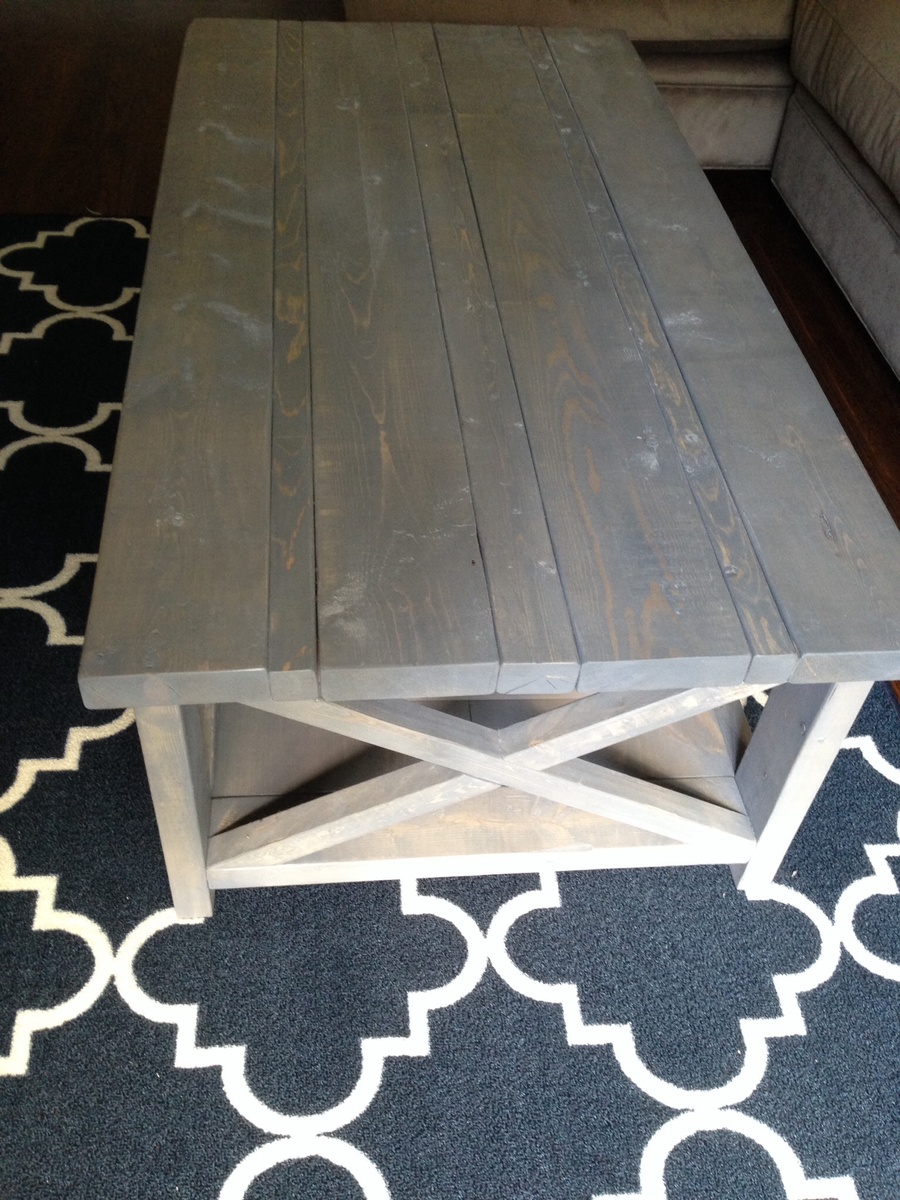
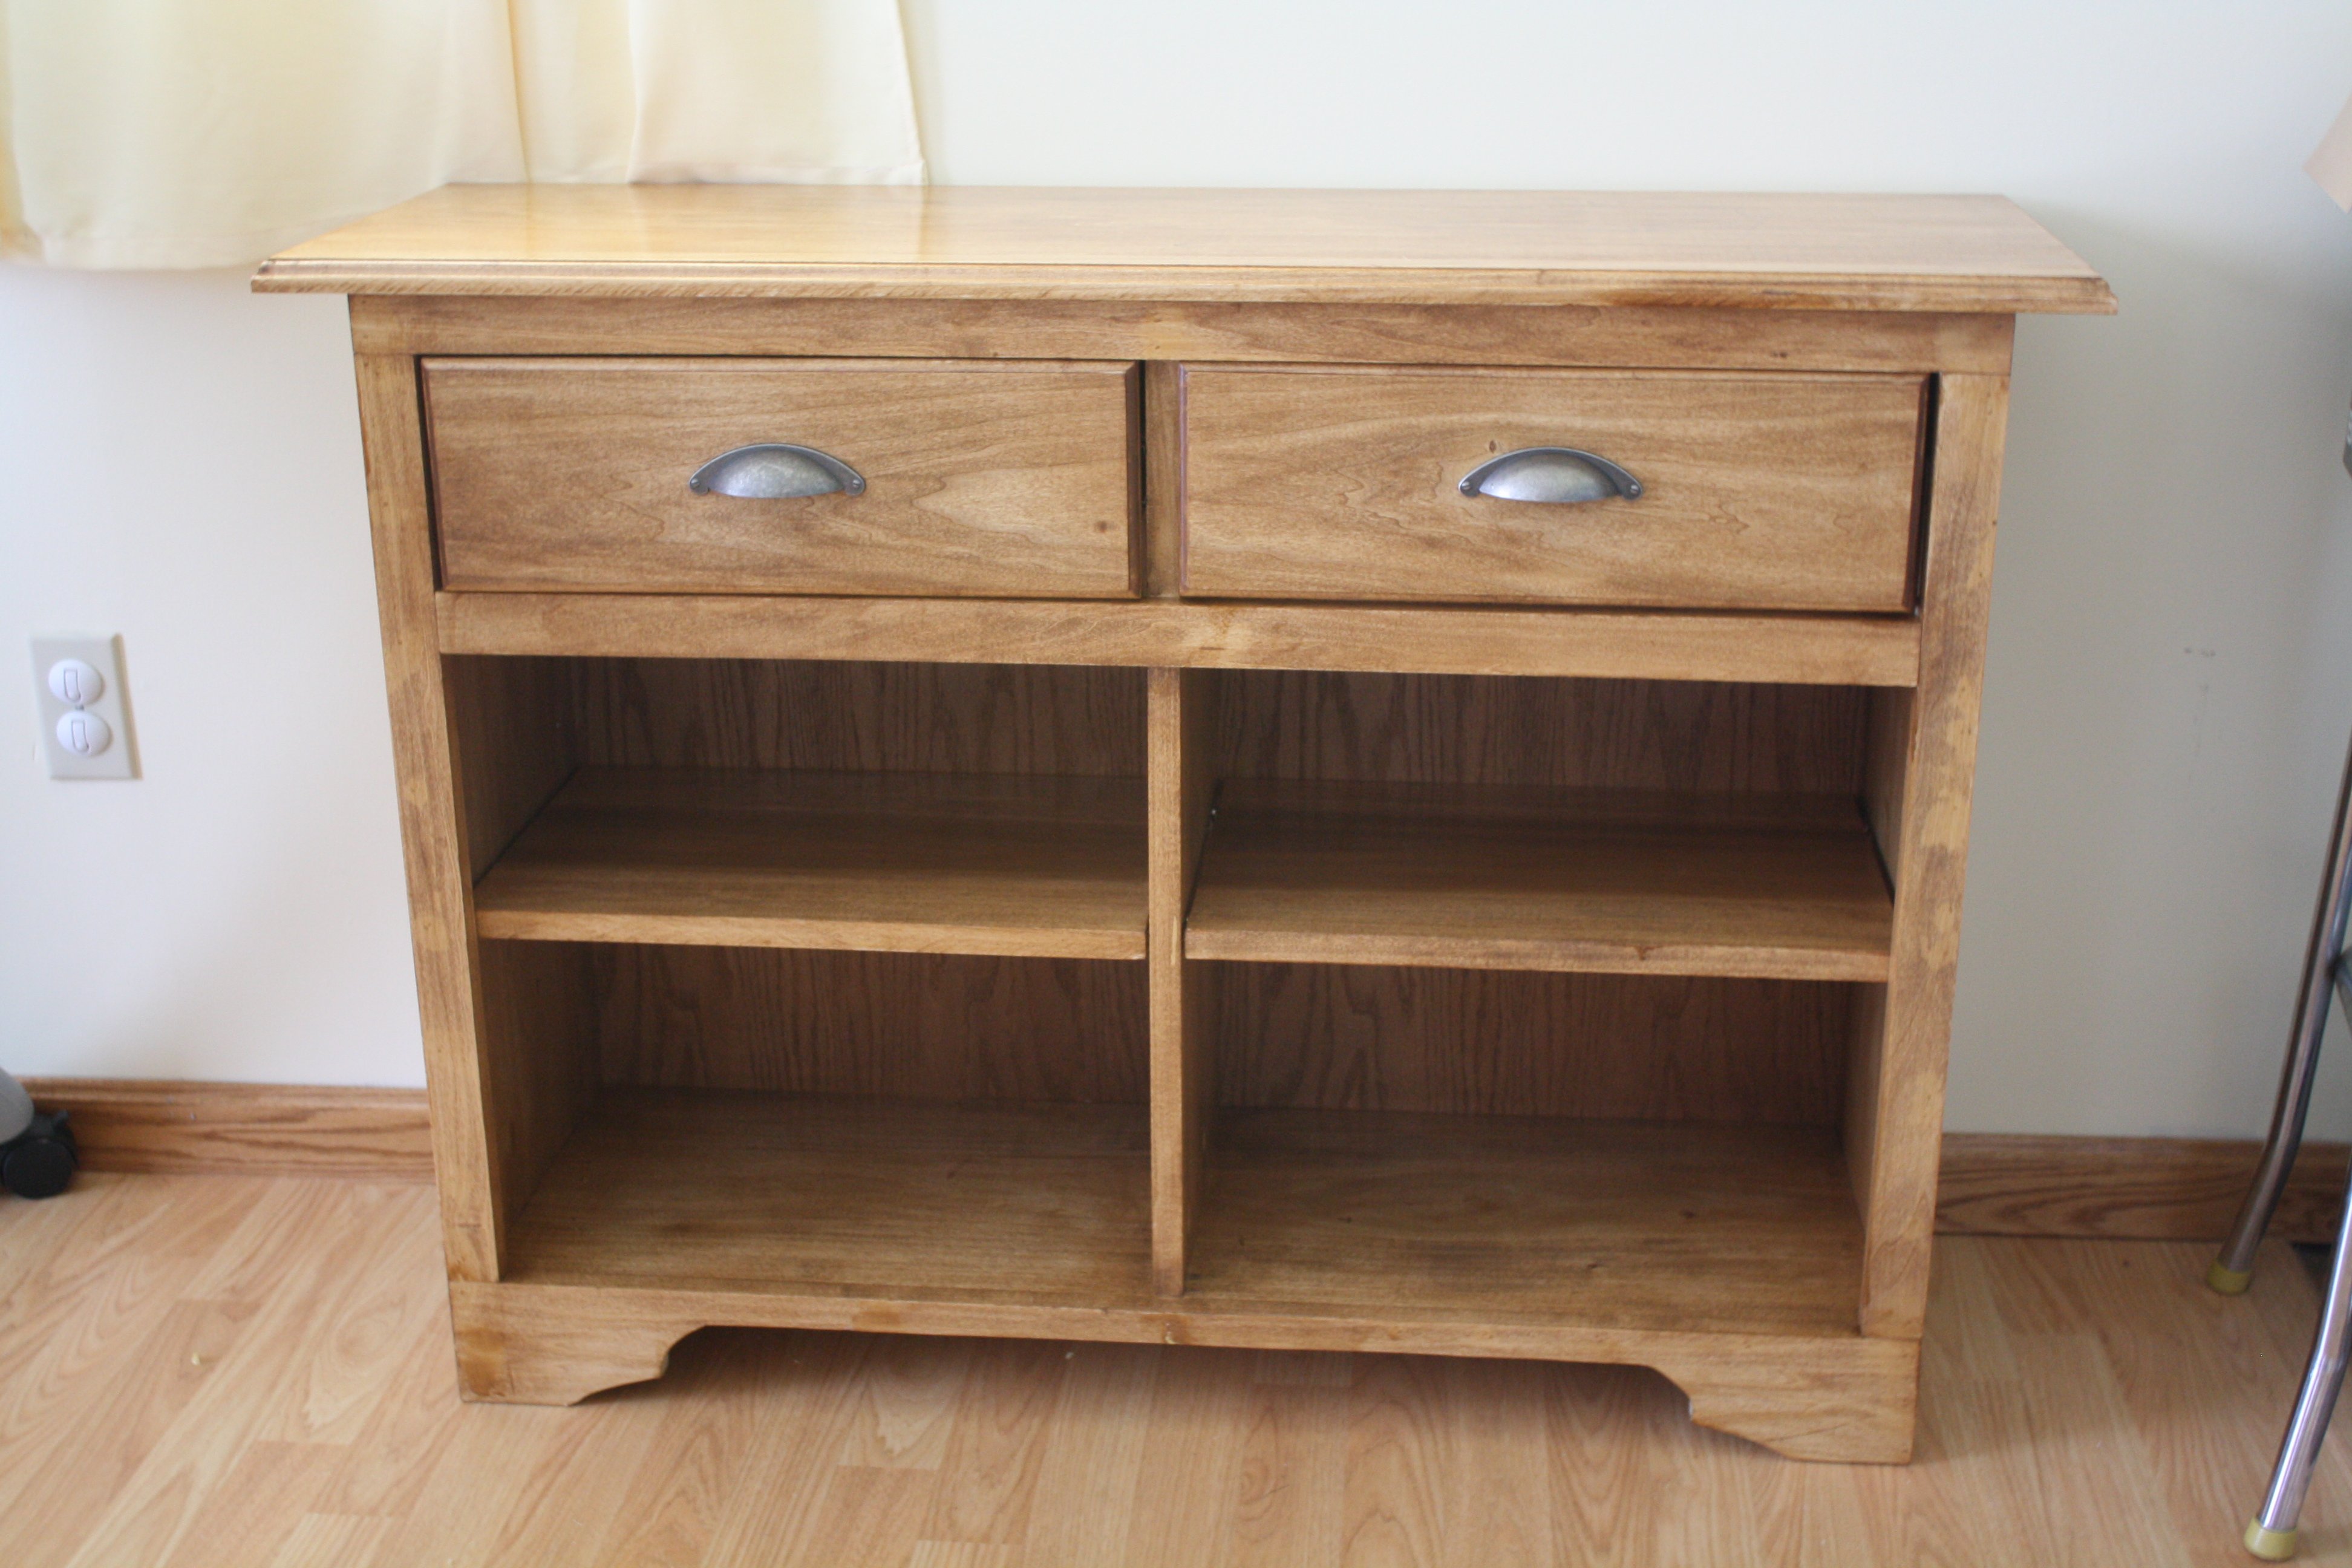
First project--Updated Simplest Console
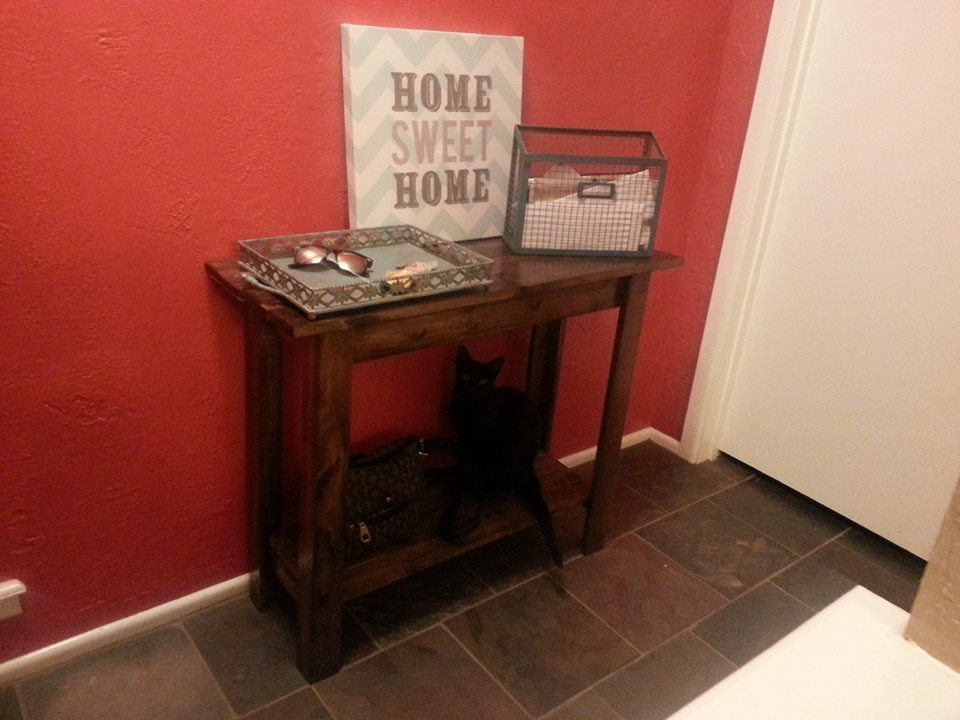
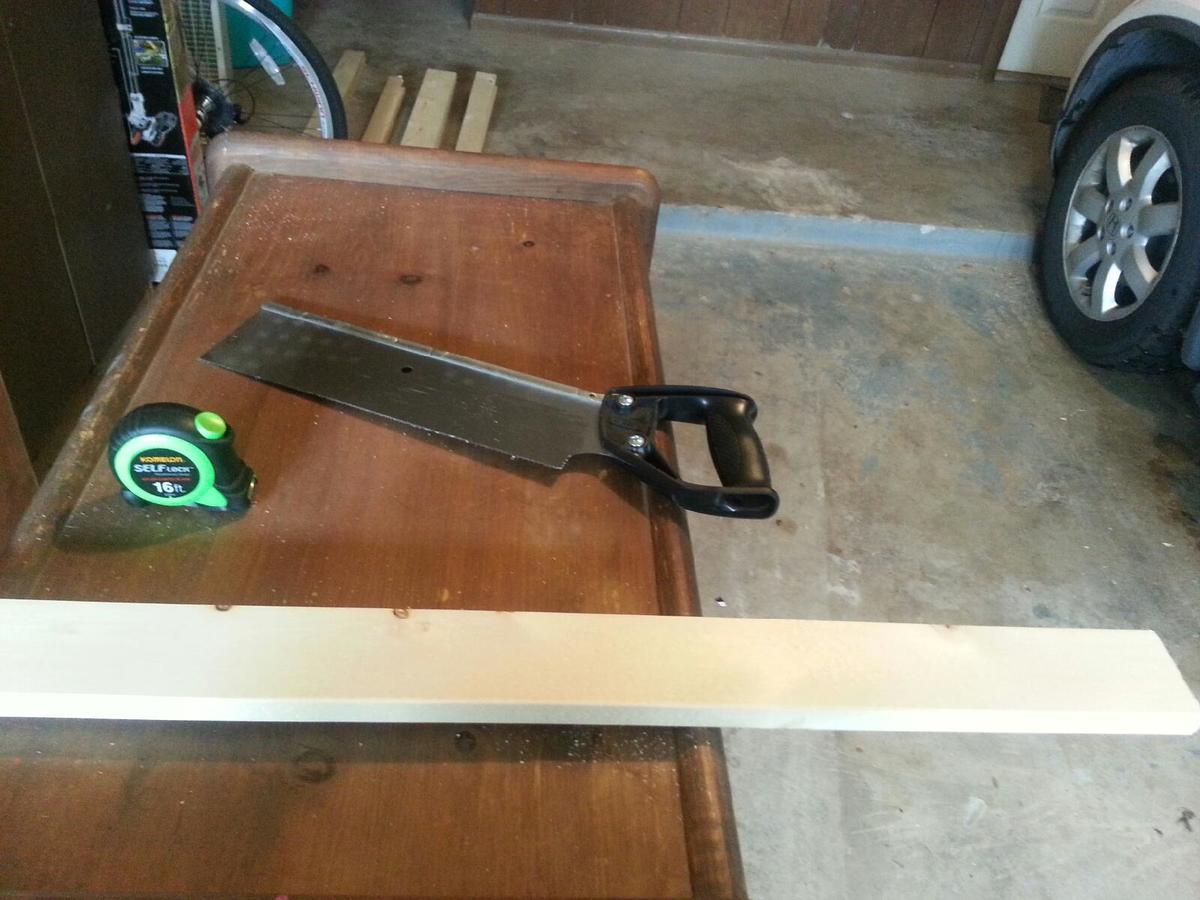
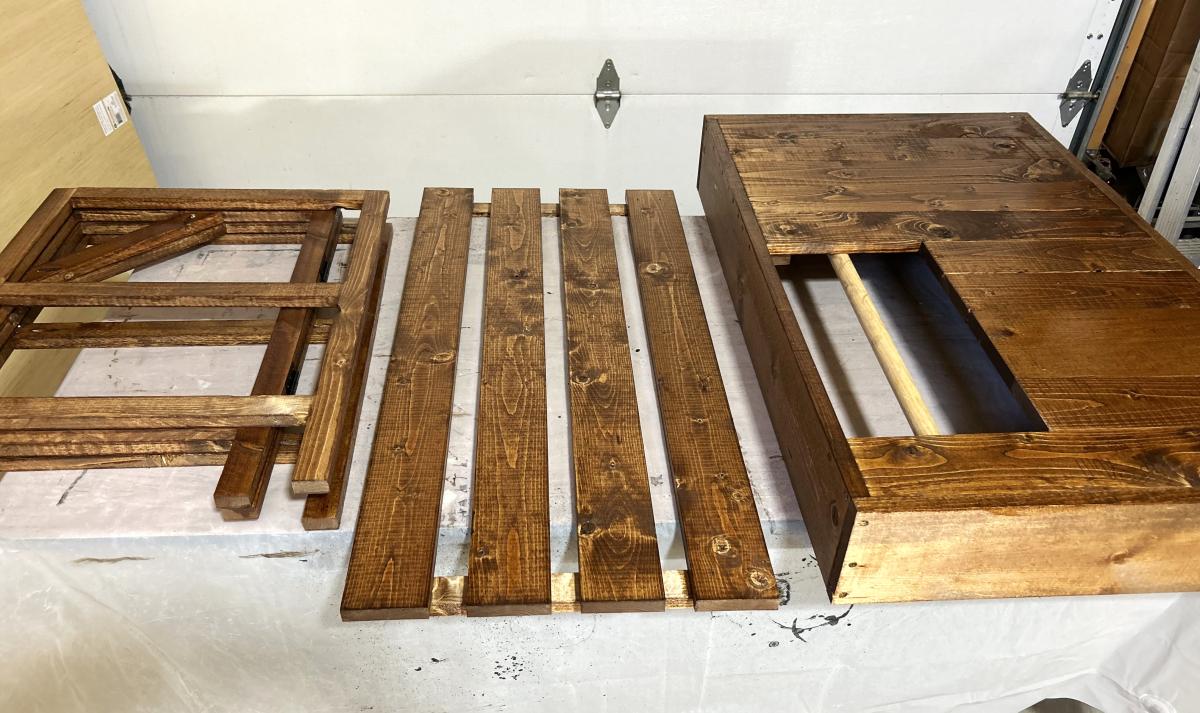
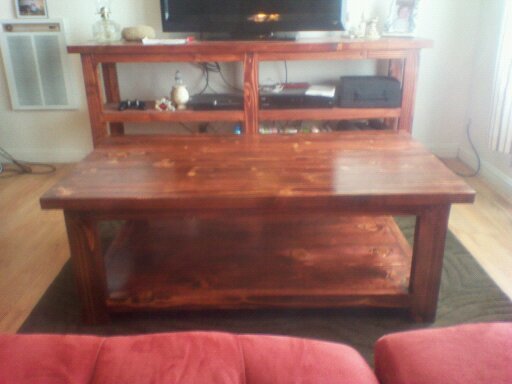
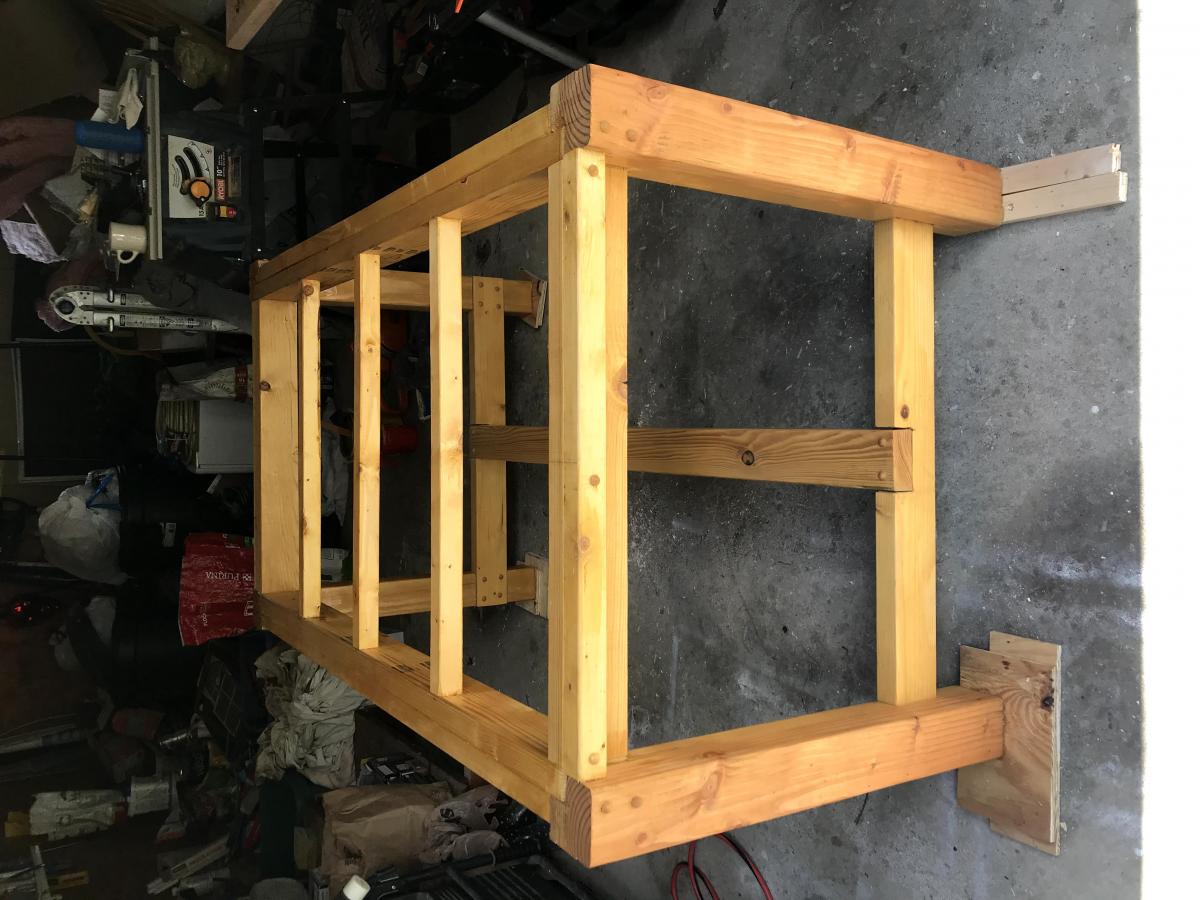
I'm pretty proud of my first project even though it does have some flaws. I learned a lot. I made every cut with a handsaw! Don't do this unless you want to have some seriously sore arms. I'm ready to graduate to a circular saw. I also used a hammer and nails instead of a nailer, so this project took me a little longer than it should have. Thanks so much, Ana, for the opportunities!
Built from Plan(s)
Estimated Time Investment
Day Project (6-9 Hours)
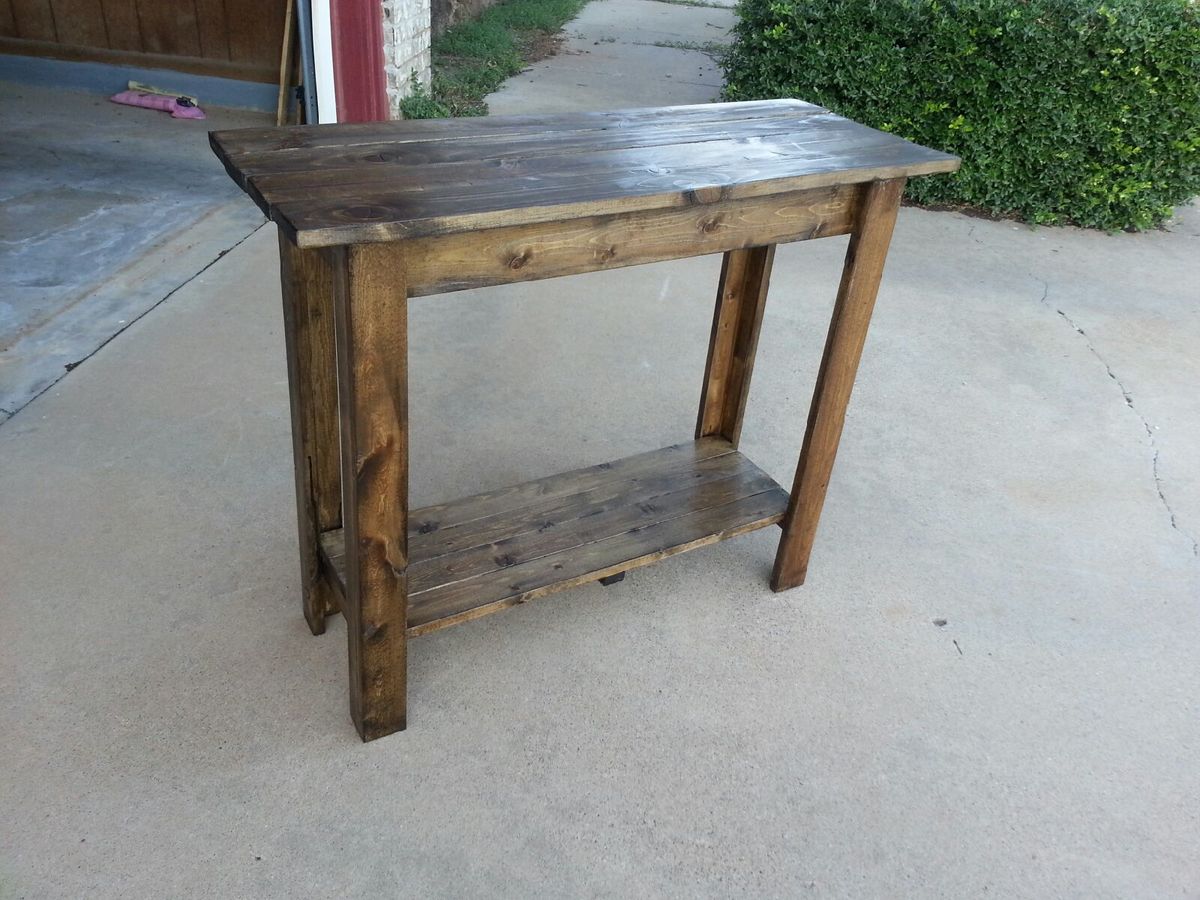
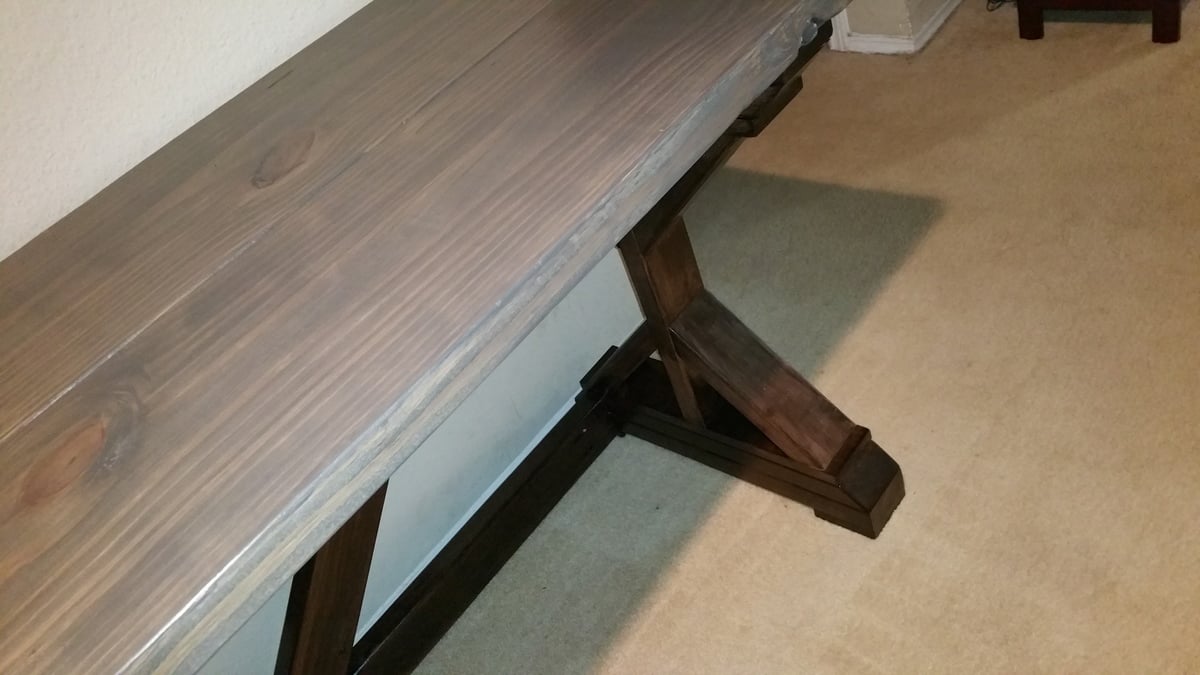
Finish Used
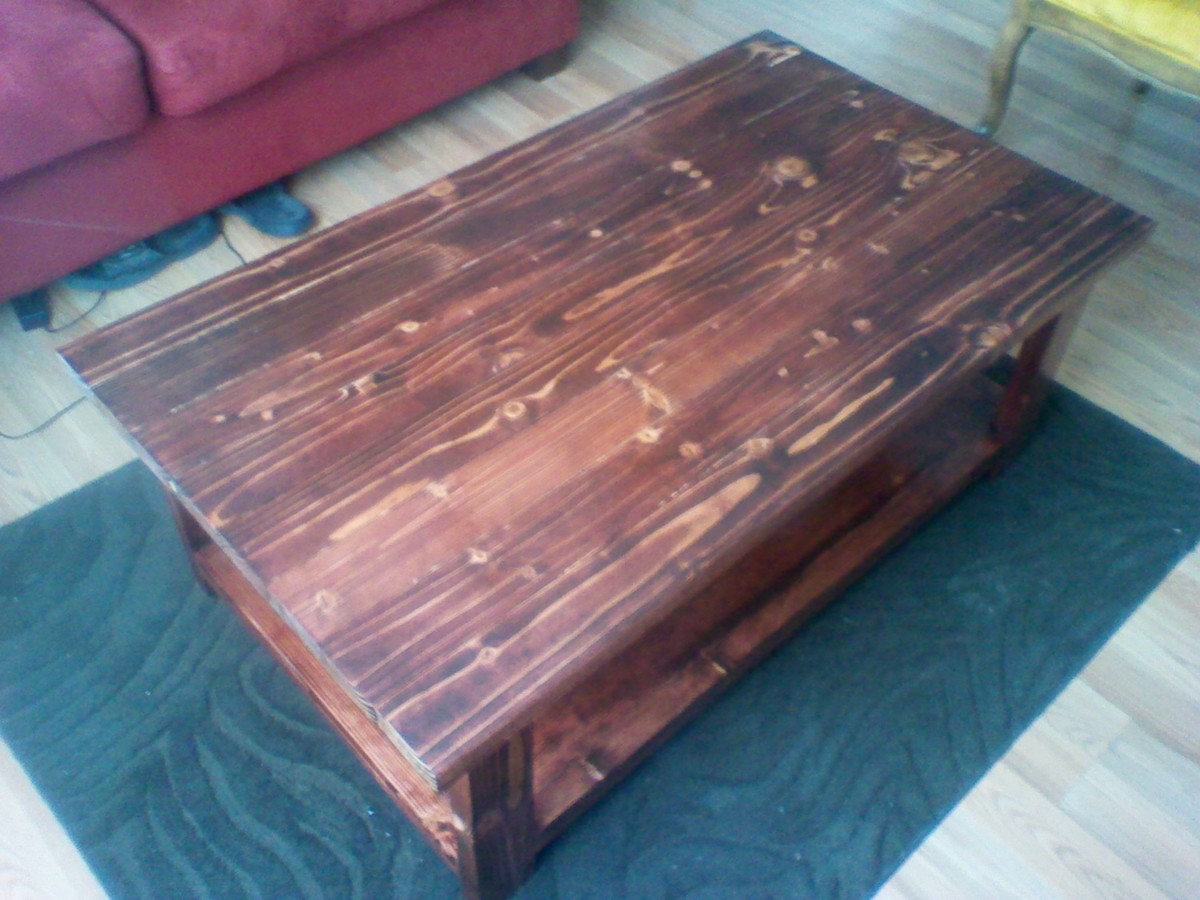
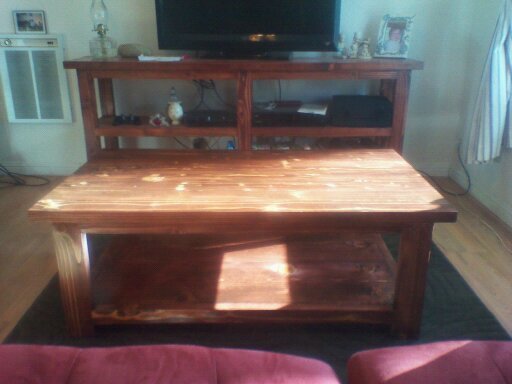
Minwax pre-stain conditioner, Minwax dark walnut oil stain, Minwax polycrylic clear satin
Recommended Skill Level
Starter Project


Comments
LannyBananny
Wed, 07/09/2014 - 21:15
Great Job
From one newbie to another-- your table looks great. Talk about handmade, you went the extra mile by hand cutting and using the "arm and hammer" technique!
Jake
Tue, 08/12/2014 - 14:43
First Timer - No Way
Using only hand tools? You did a great job. Ana offers great suggestions on what you need to start but here are my comments on some tools for Christmas or sooner:
Choose the miter saw over the circular saw. So much more useful and safer. For those times you need to cut sheet plywood invest in an inexpensive small circular saw. Lighter and easier to handle.
Orbital sander
Basic Kreg jig kit with drills , clamp etc.
Several lengths of pocket hole screws. You will use hundreds of them.
Square
Power drill
Clamps (Harbor Freight clamps are great and inexpensive) Get a lot of them and none less than 12" capacity. Miminum of six to start.
Eye and hearing protection
Titebond II or III glue
booksnotbombs
Tue, 08/12/2014 - 15:01
Thank you!
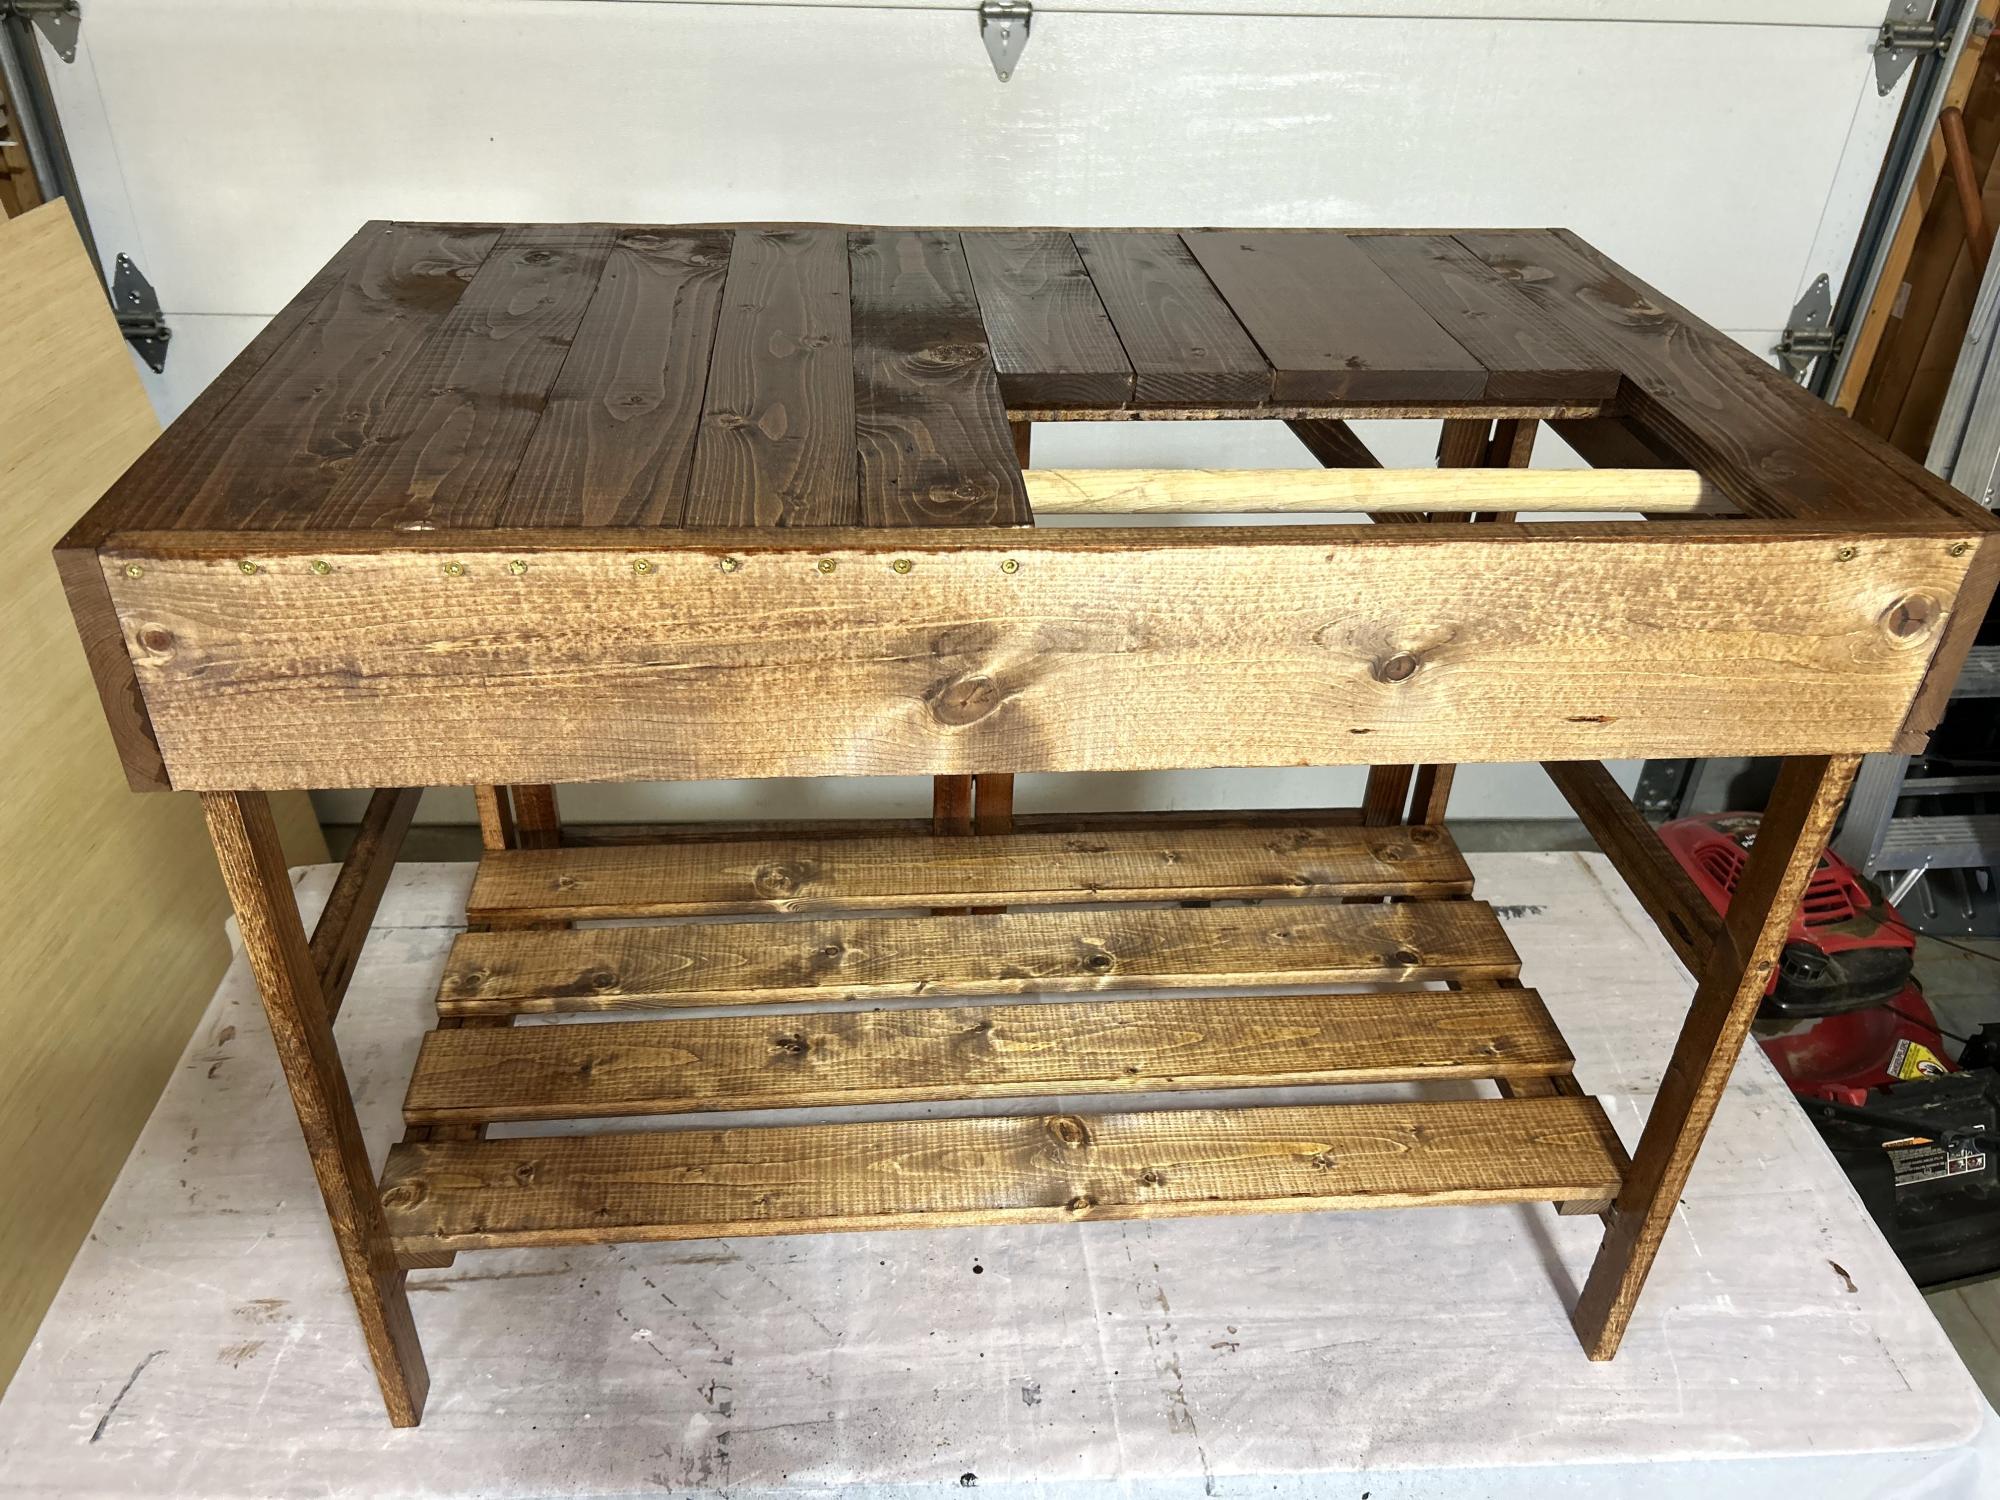
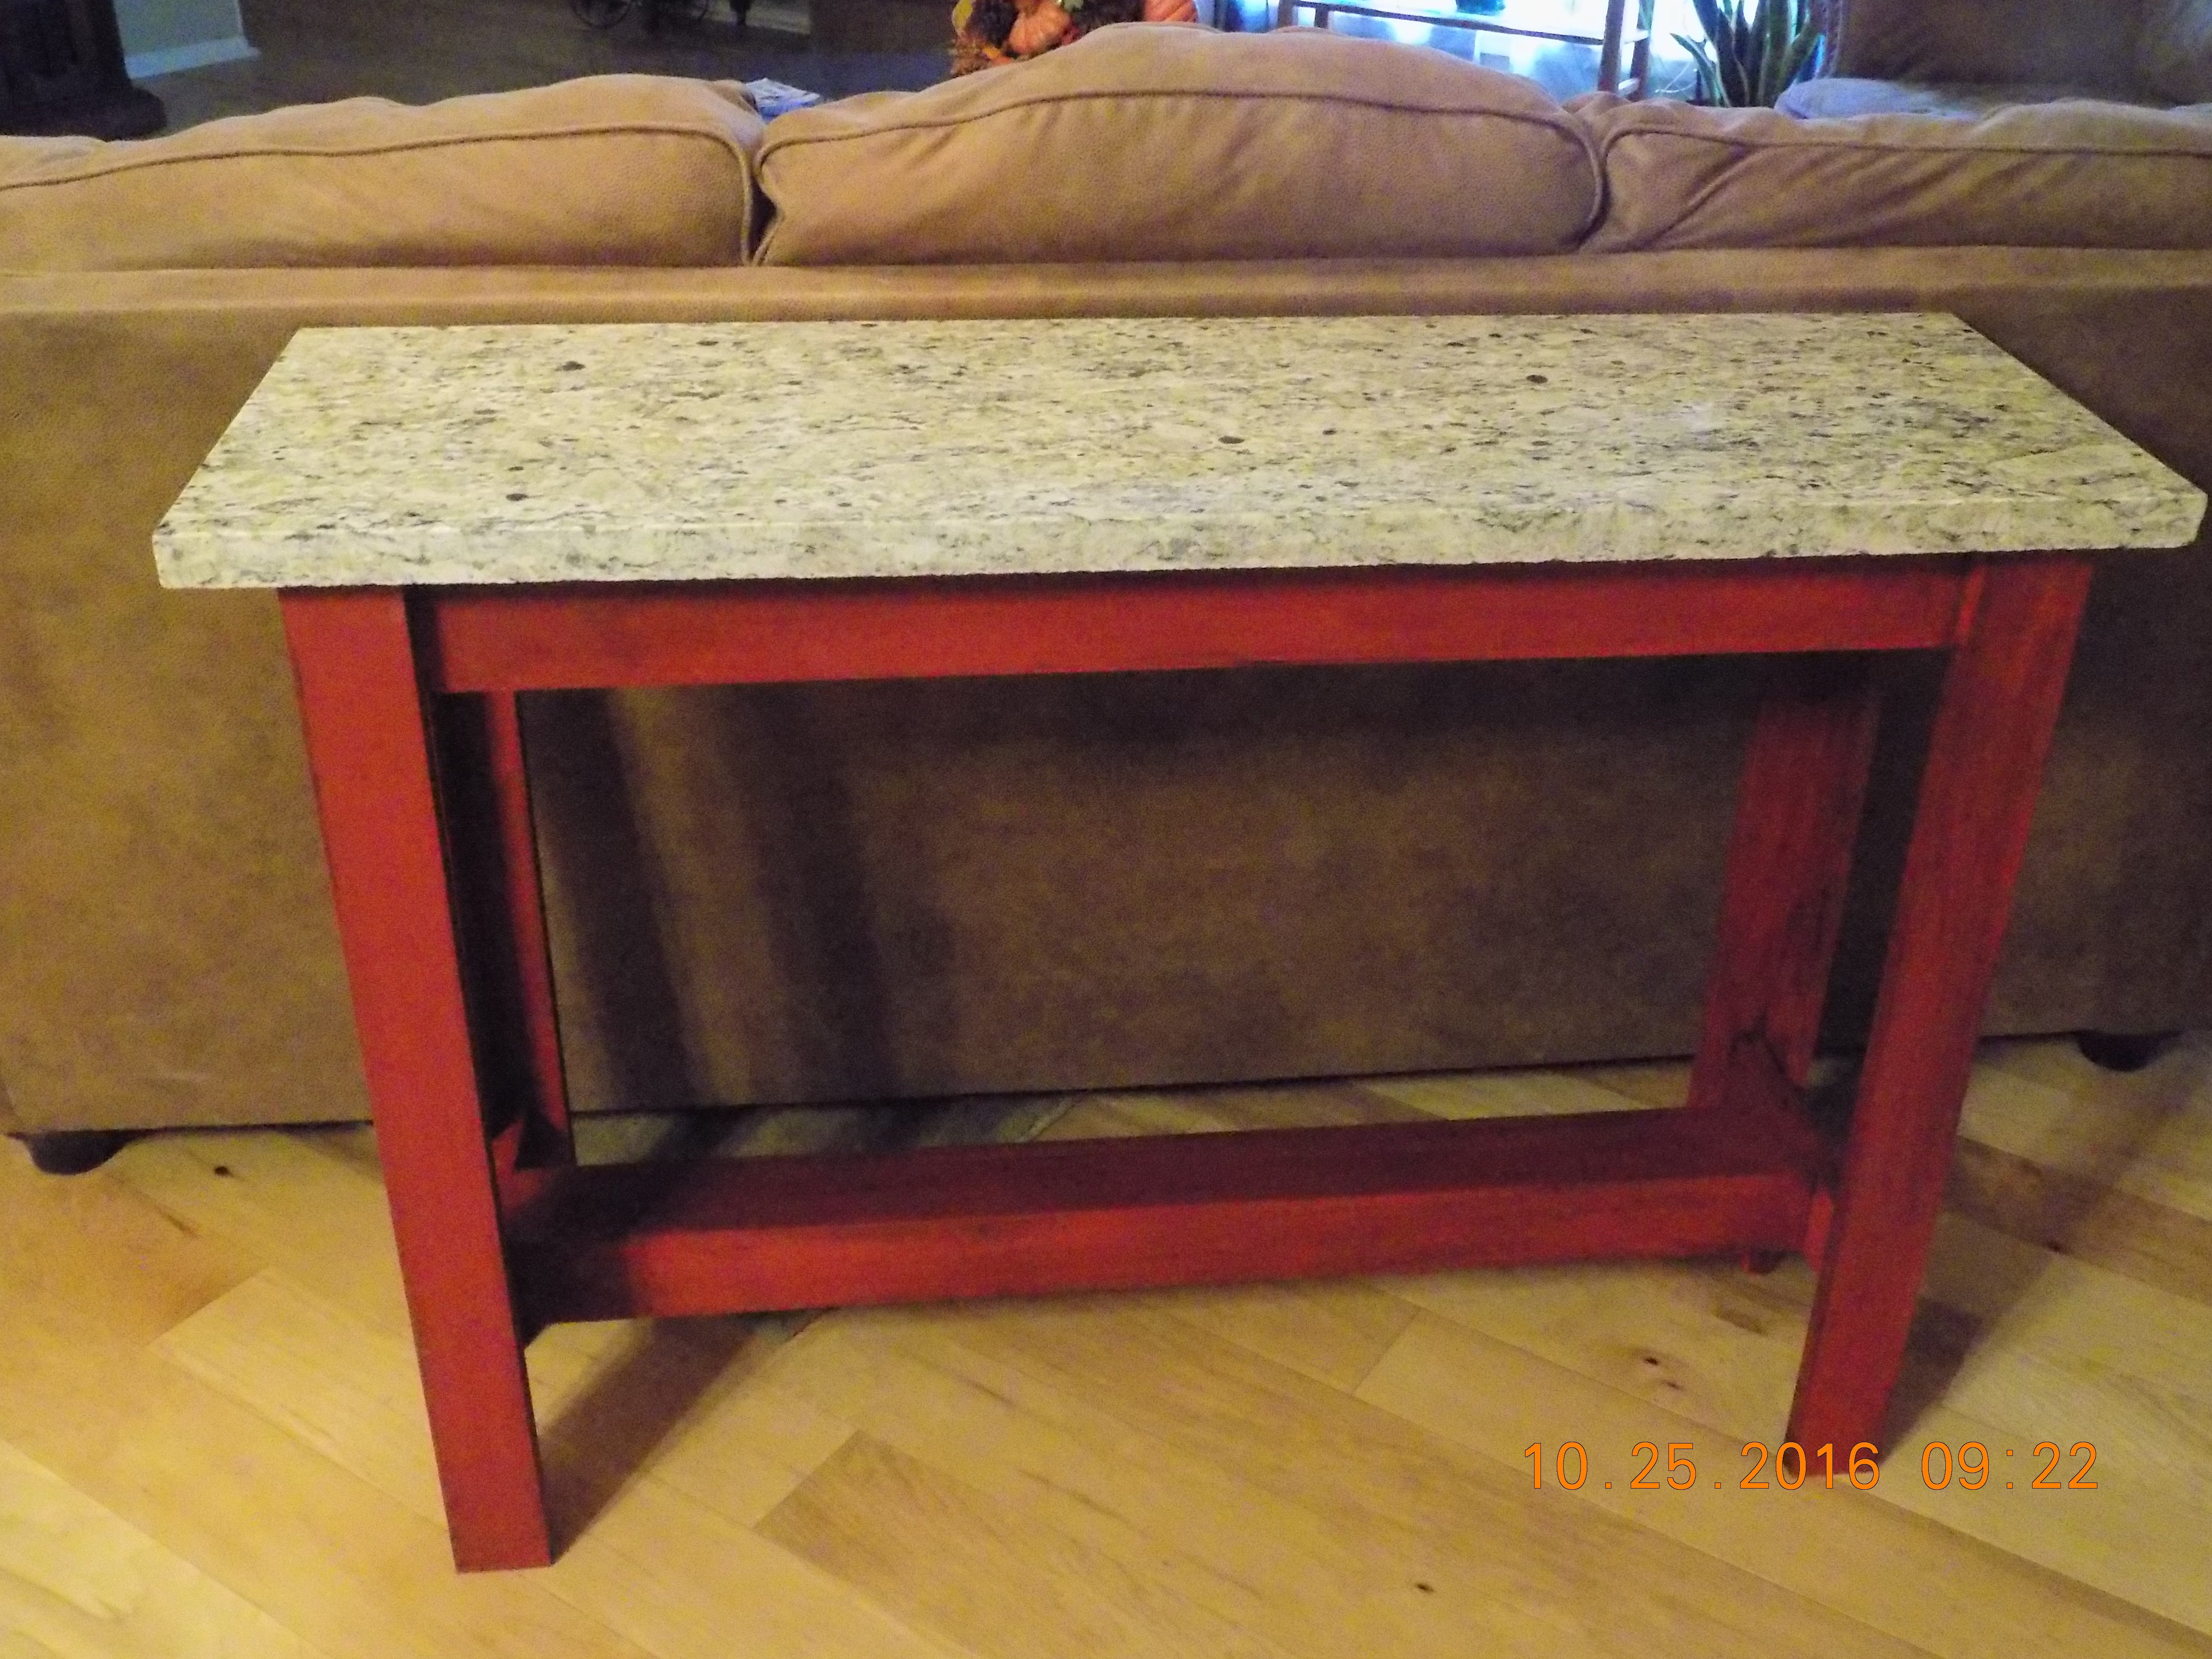
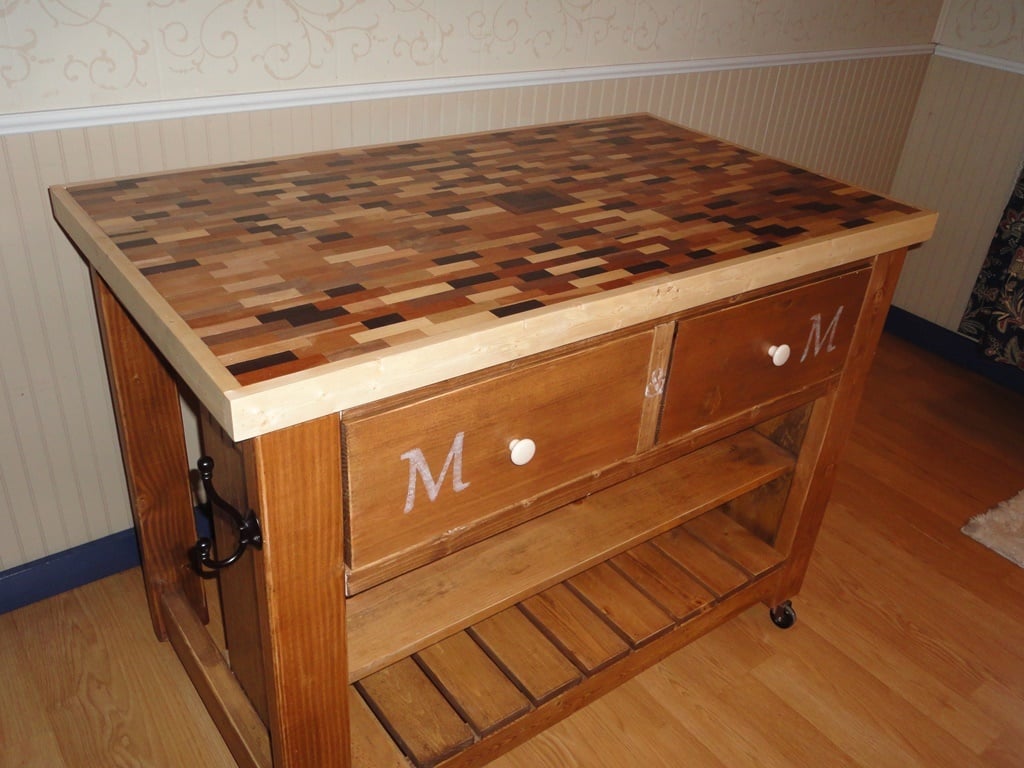
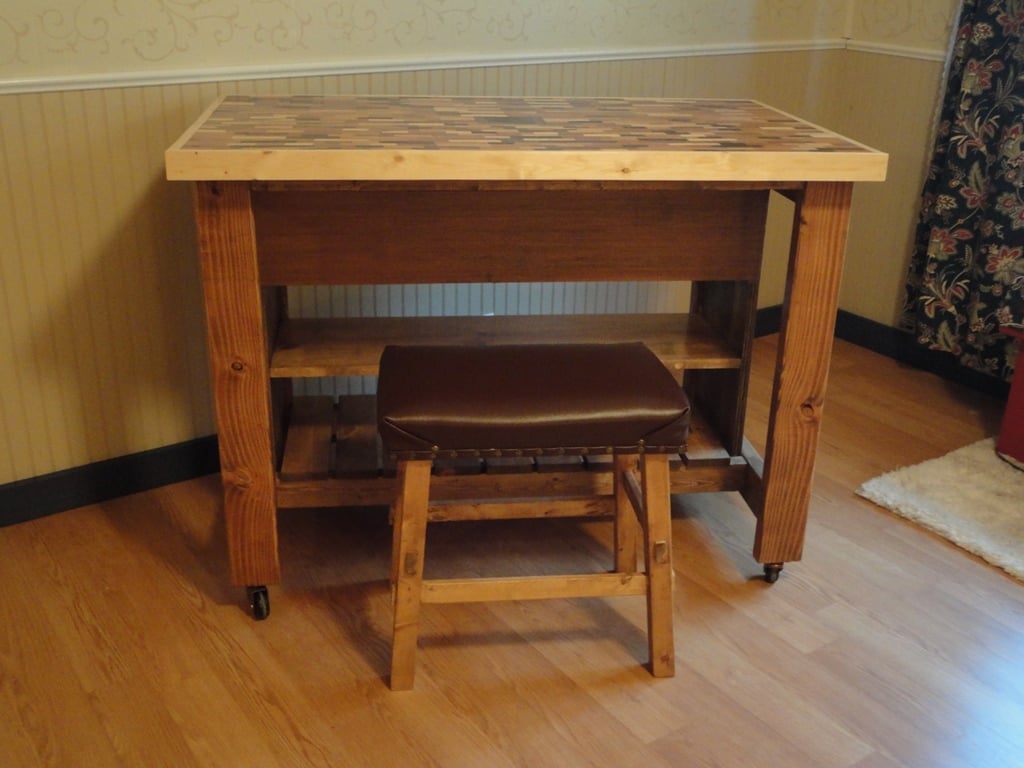
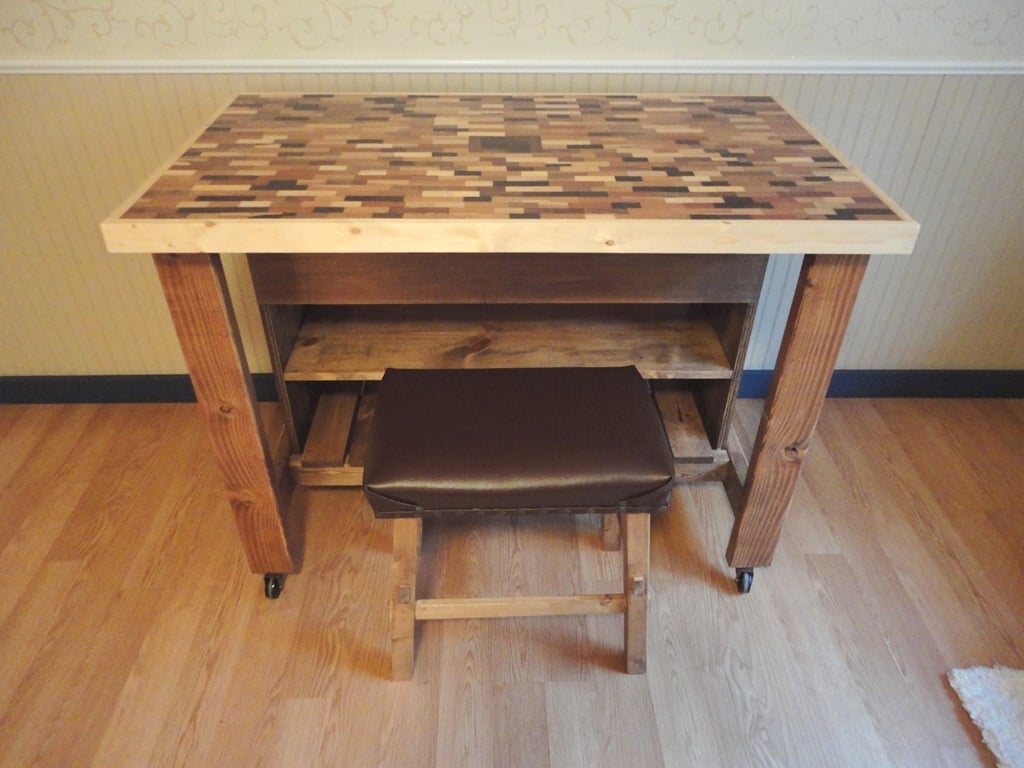
Thanks, Grandpa Jake. :) (I'm just going to call you that since so many of your projects are for your grandkids!) I was sorry to read about your problems today but glad you are so persistent. You weren't kidding when you said that checking for square is super important! I'm currently in the middle of my second project (the step up table, plans here on Ana White--actually done building but need to finish), and I took it apart/redid it twice to make sure it was square.
Thanks for building my Christmas list for me! I'm definitely itching for a fancy kreg jig, but I really need to get those clamps.