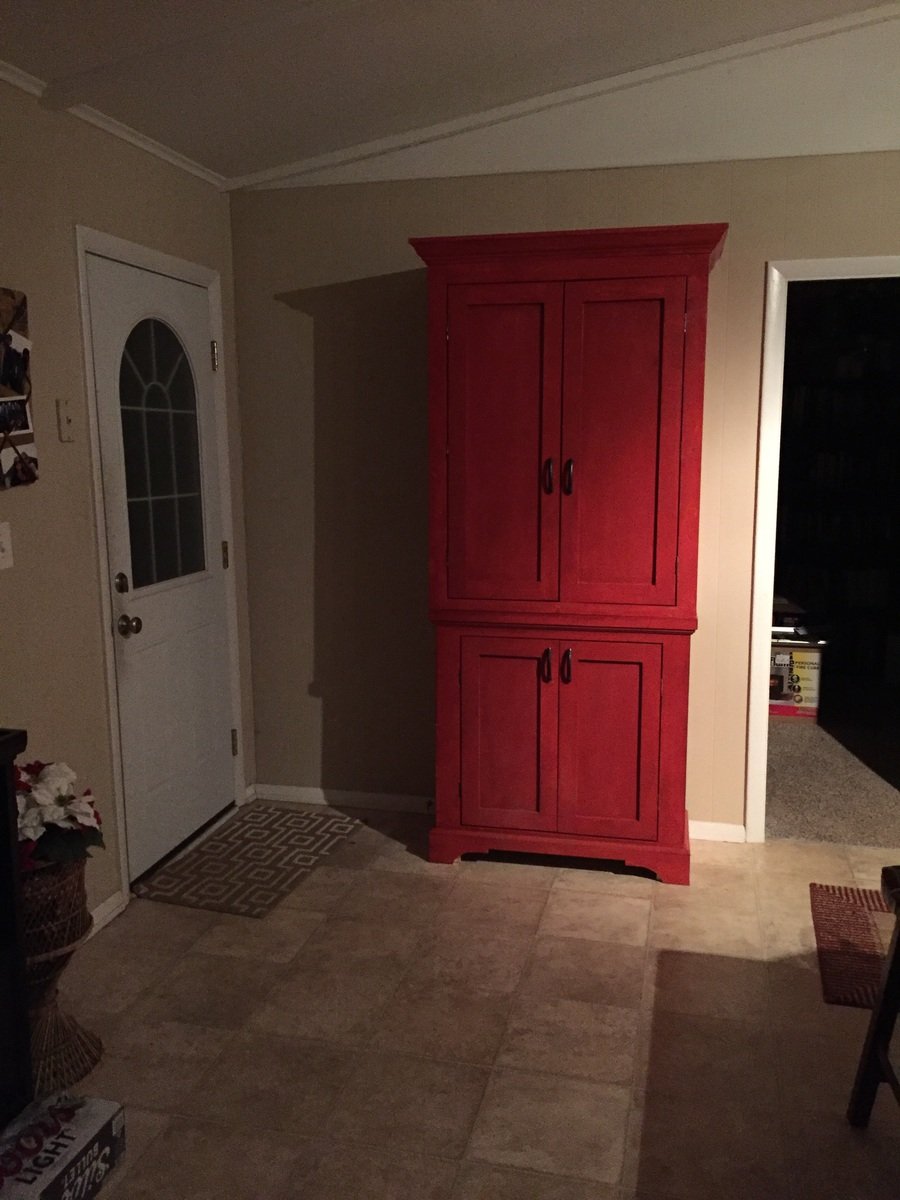
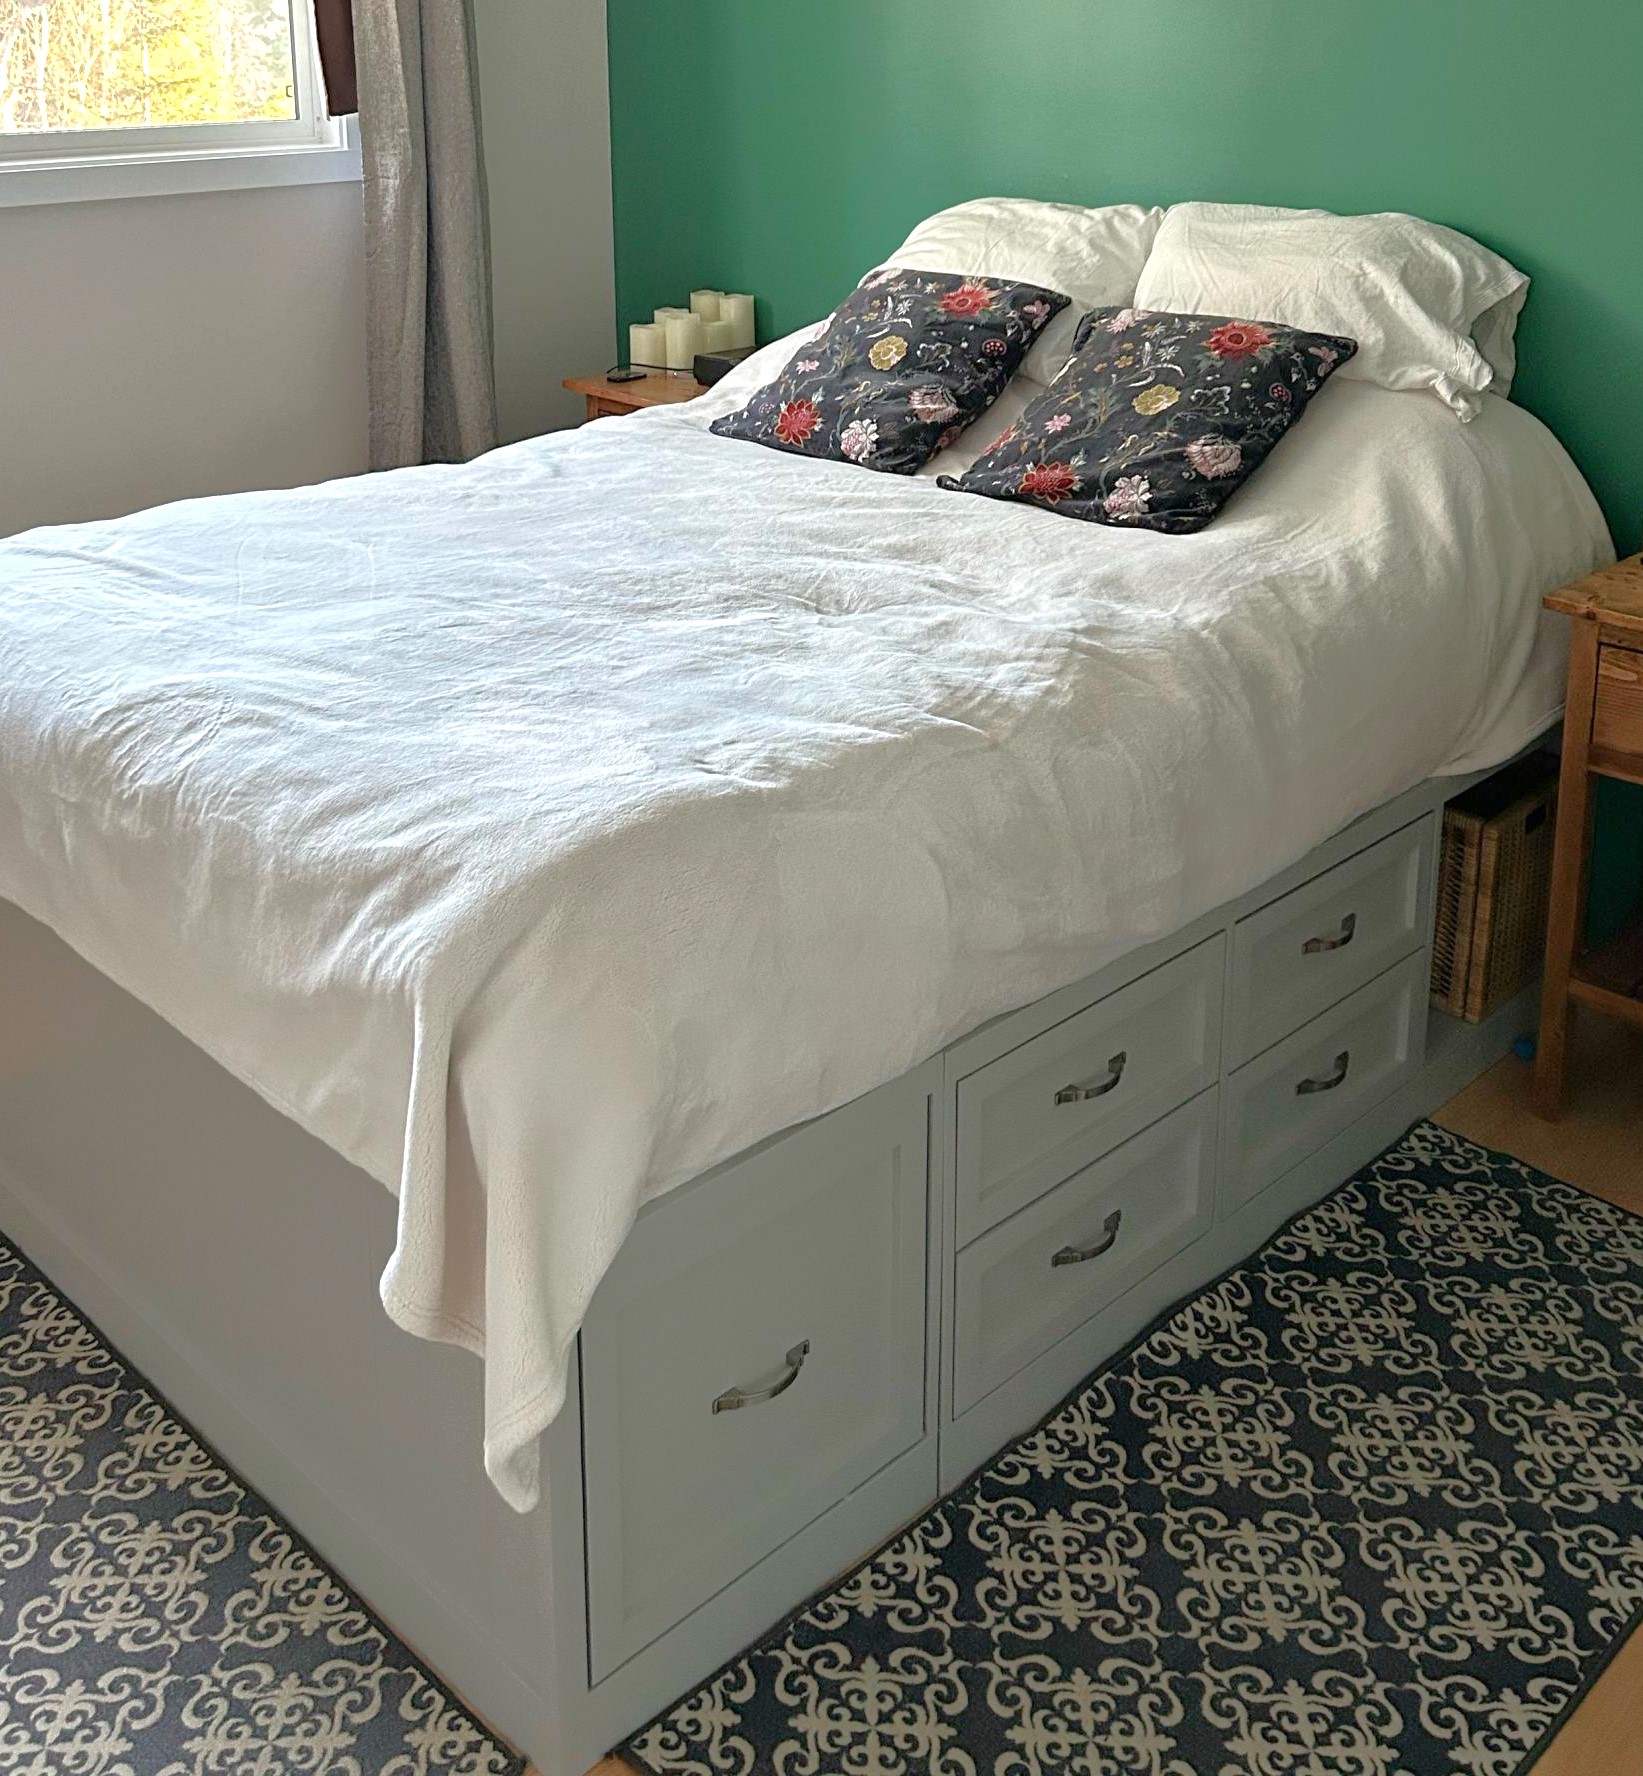
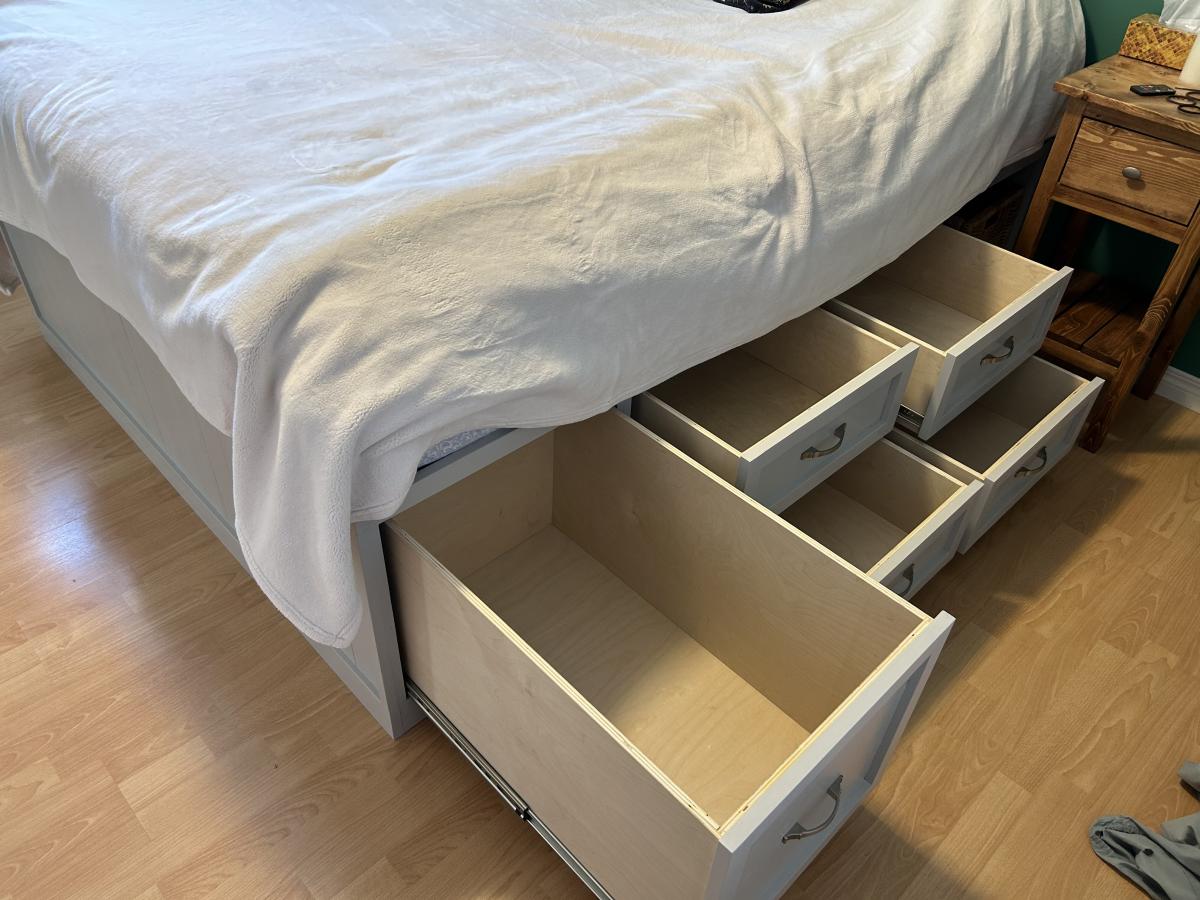
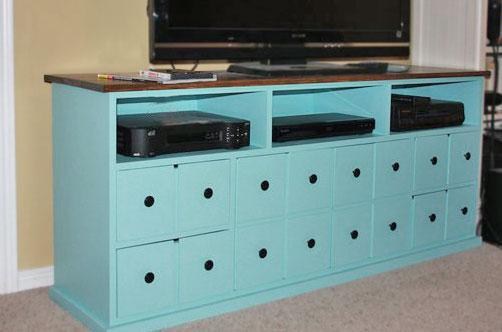
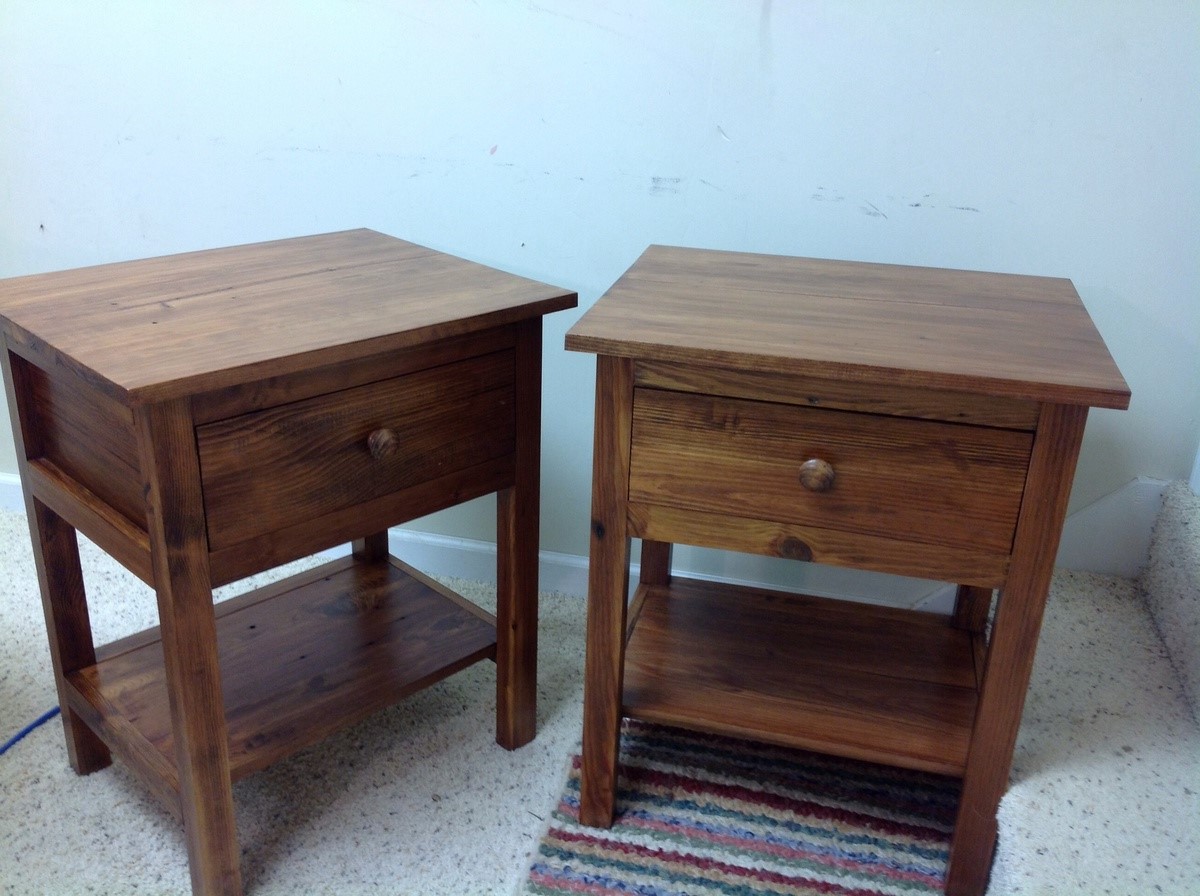
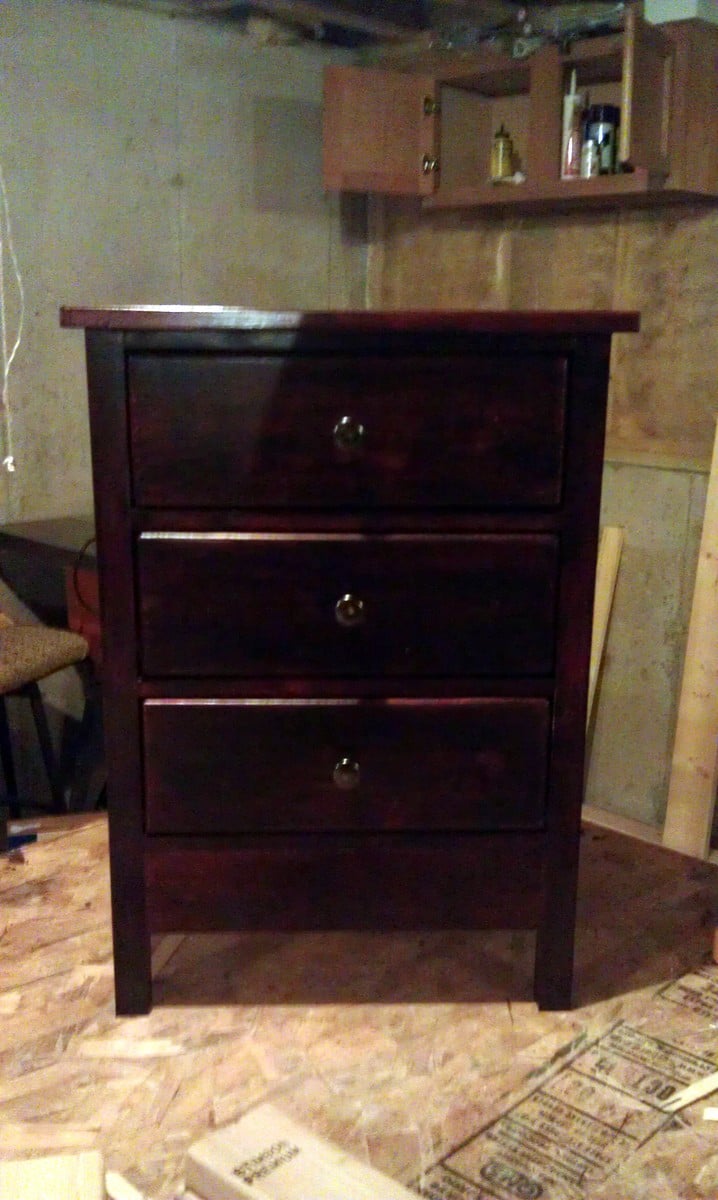
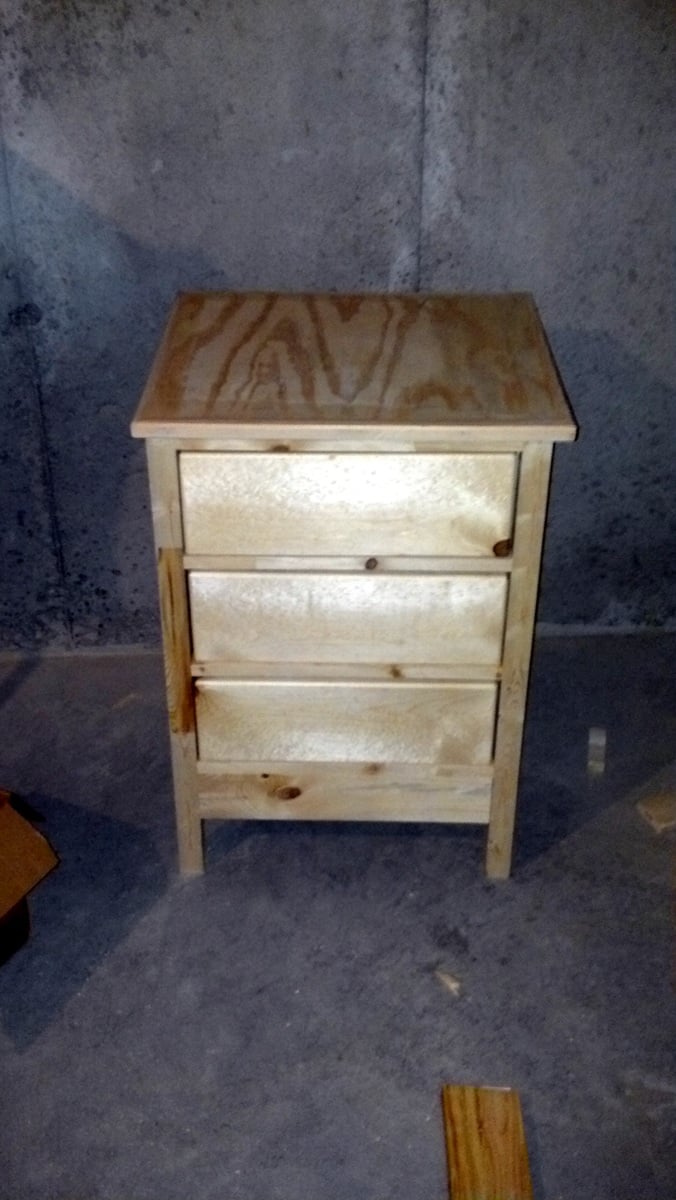
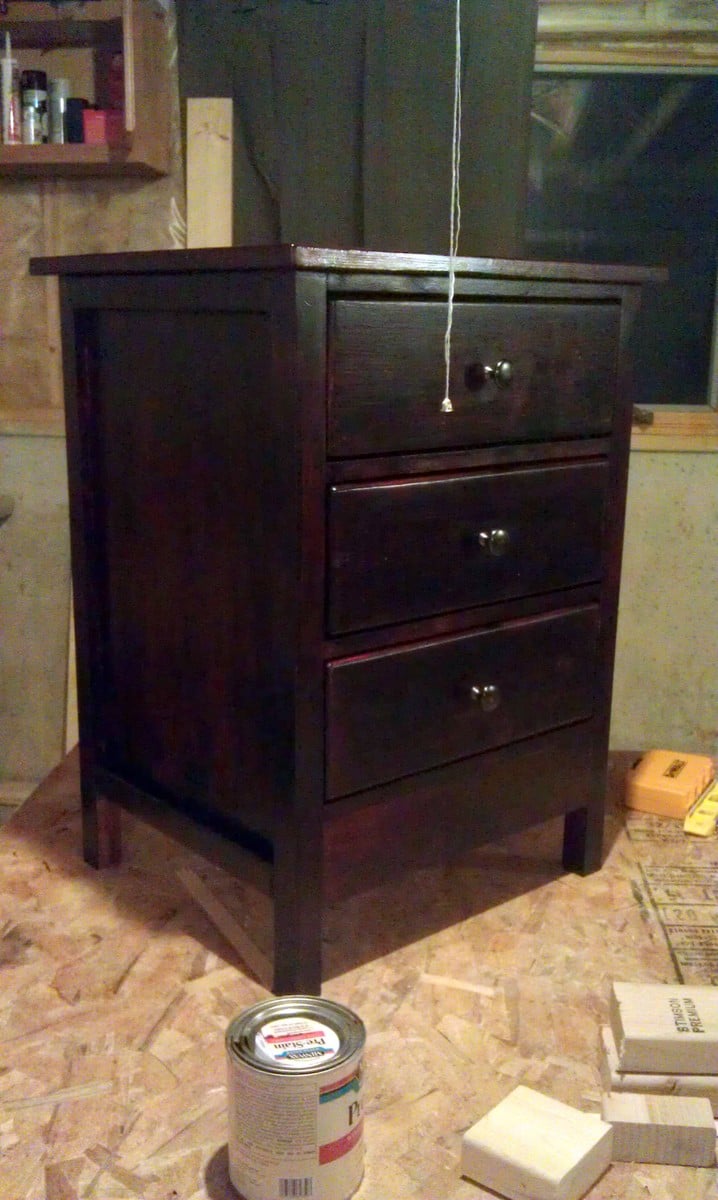
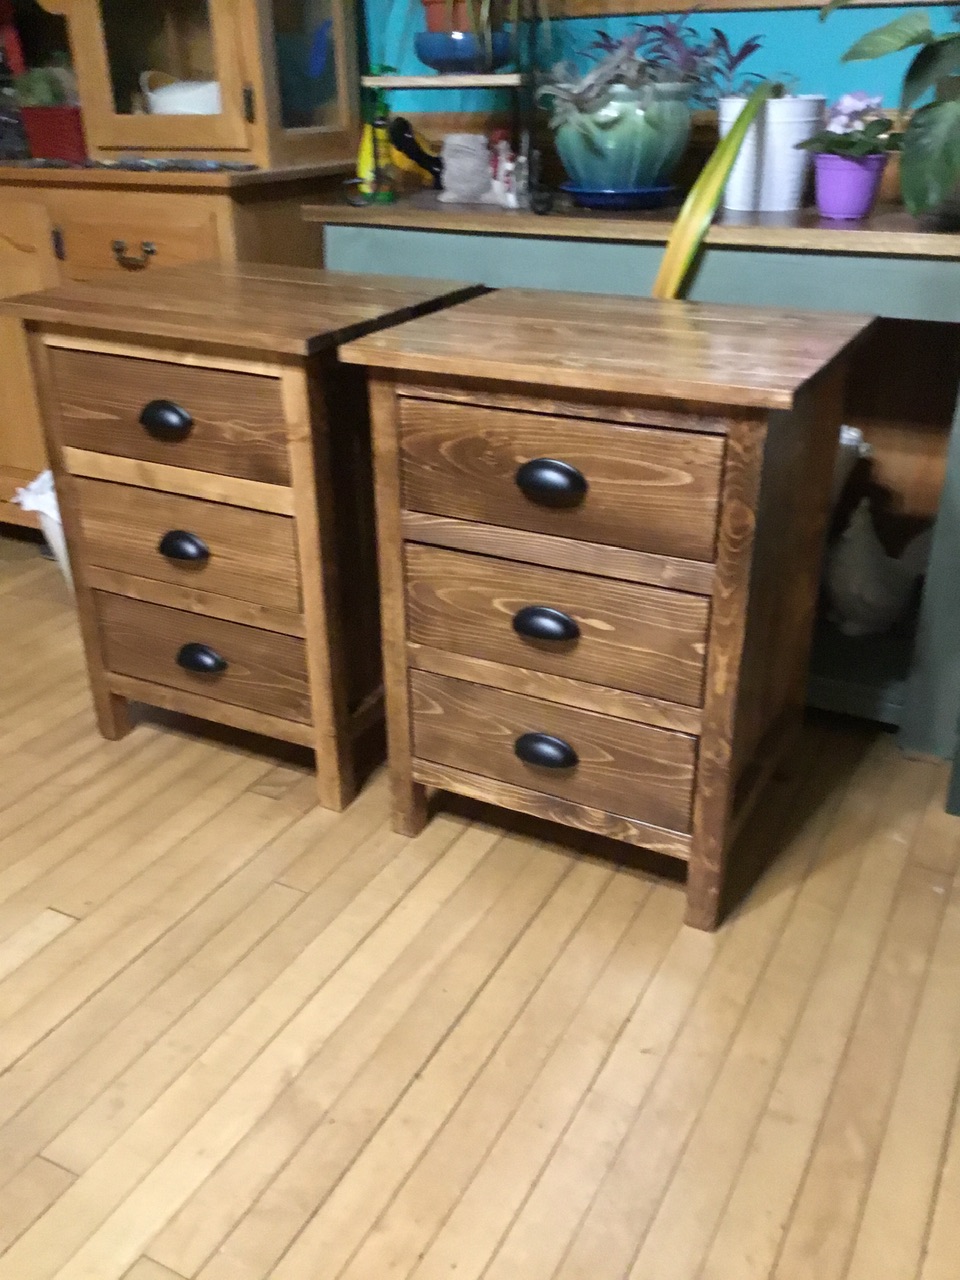
FARMHOUSE BEDSIDE TABLE
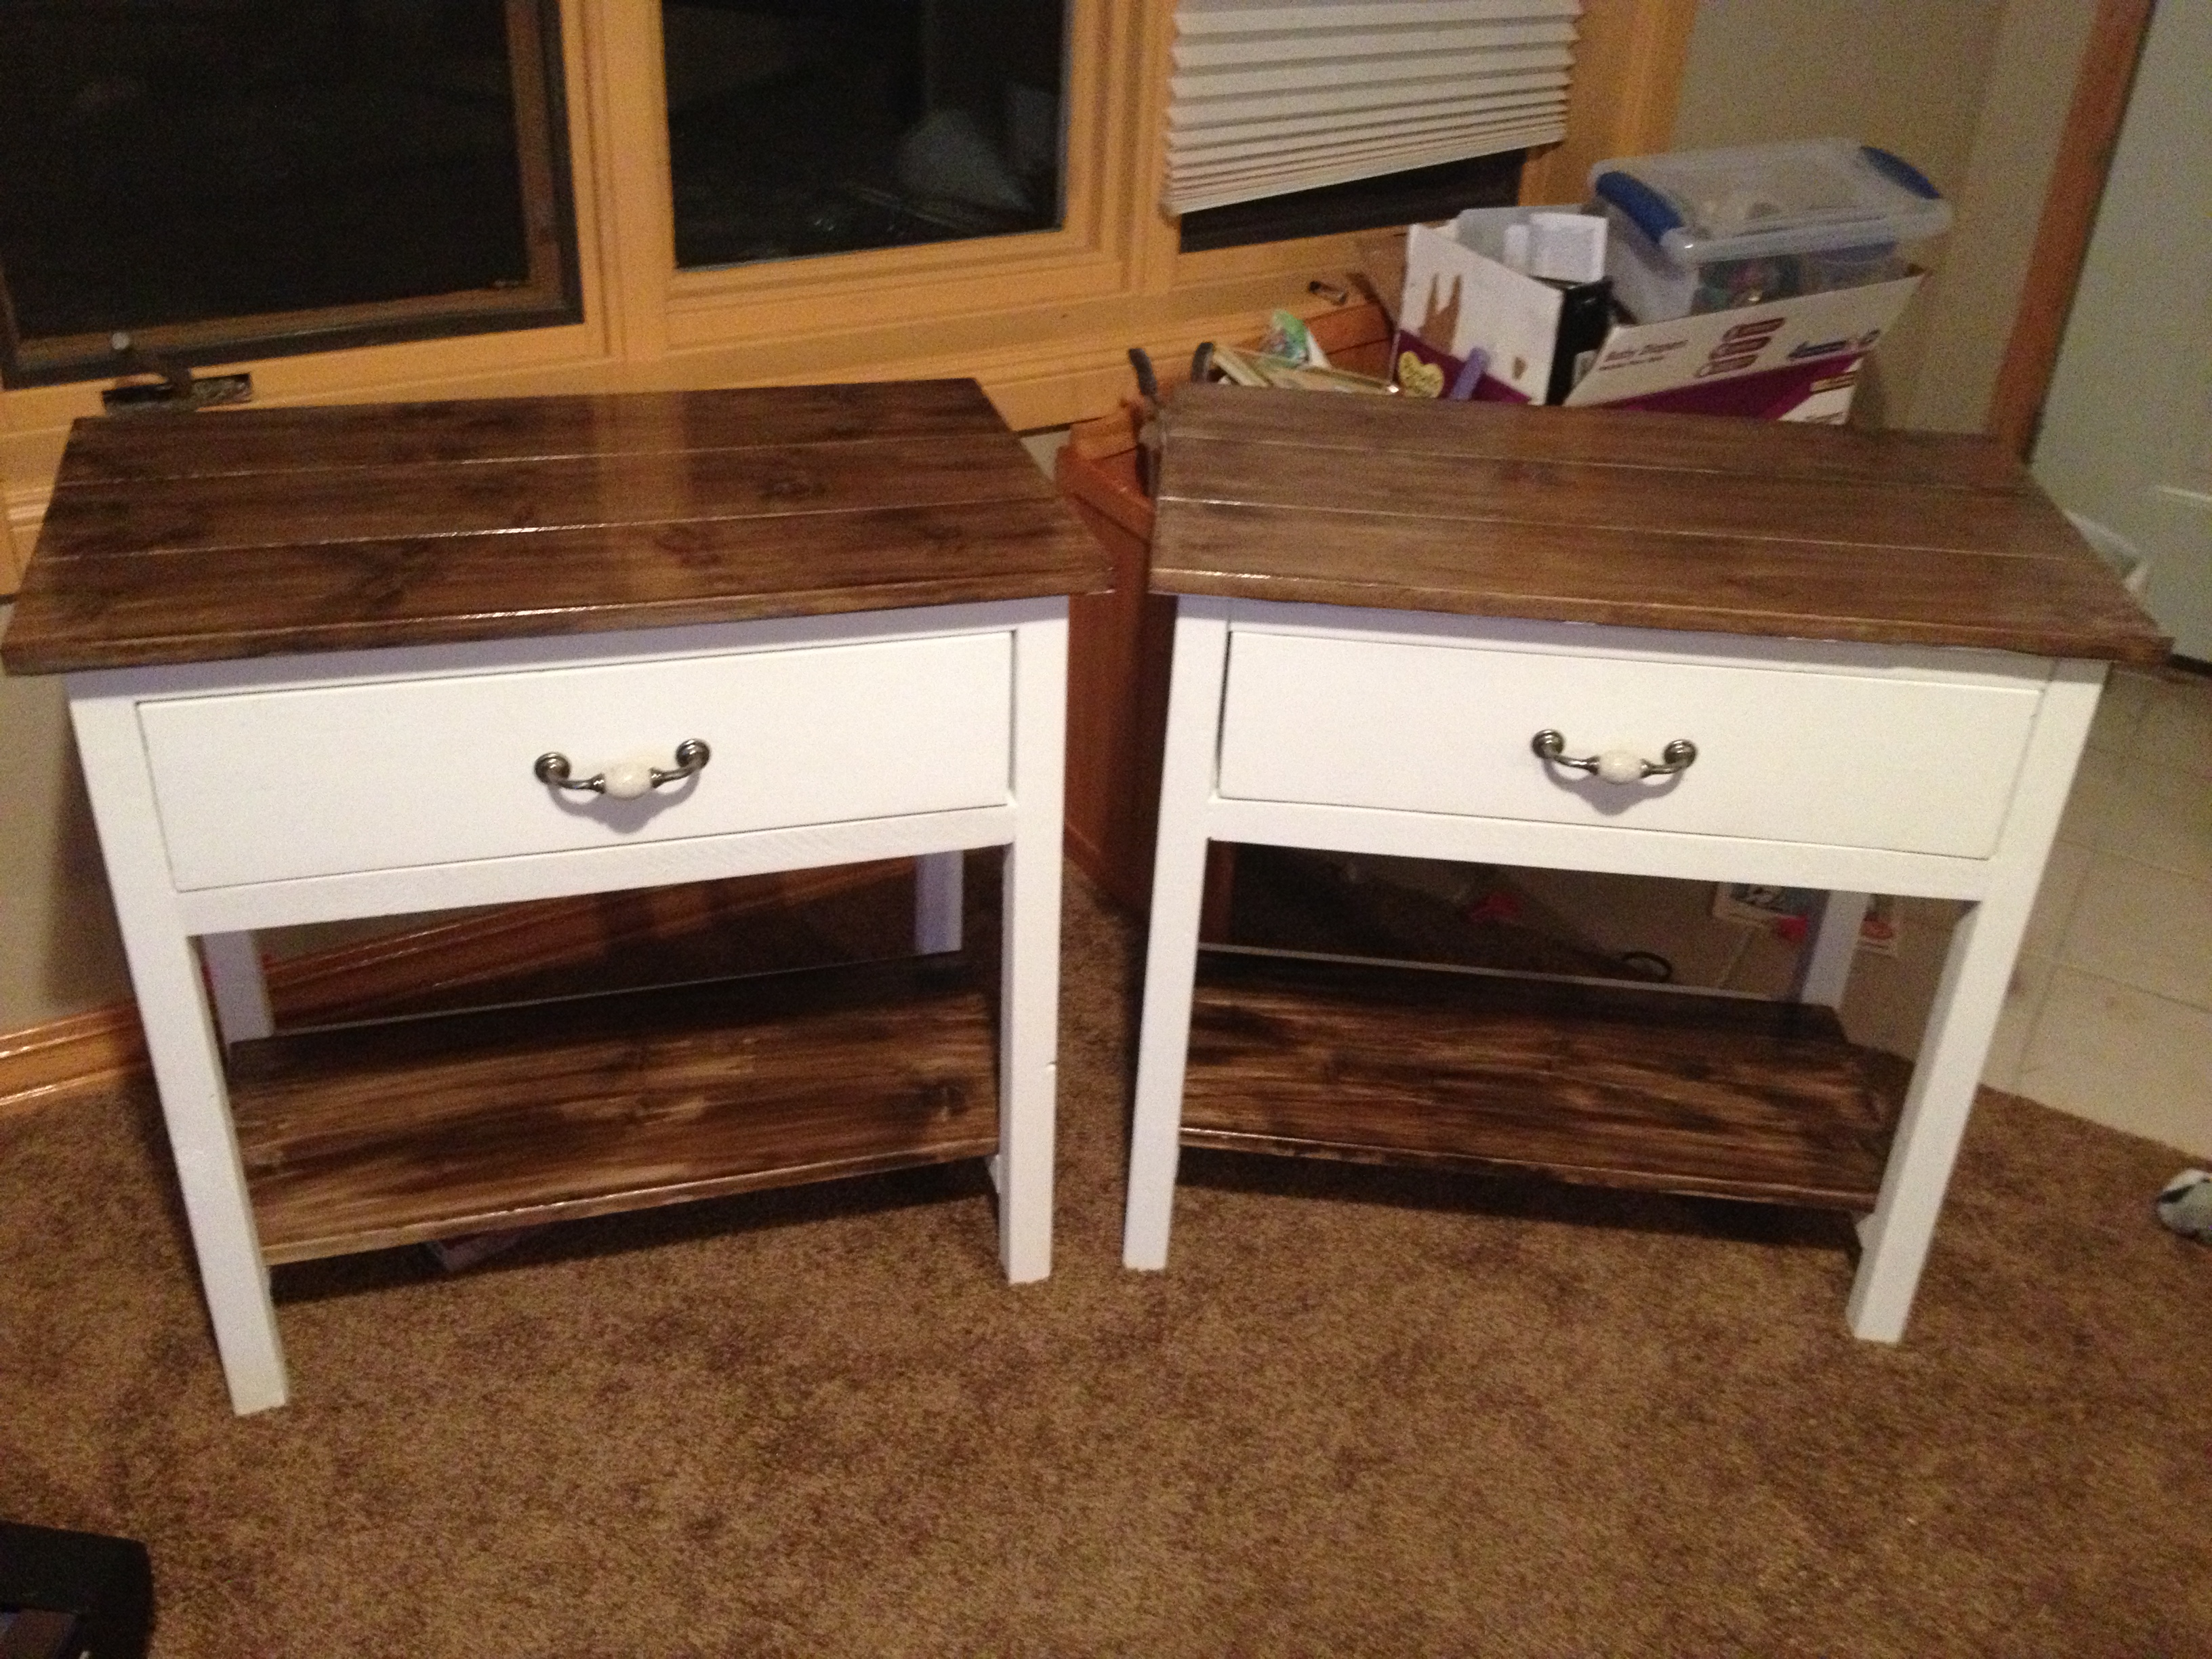
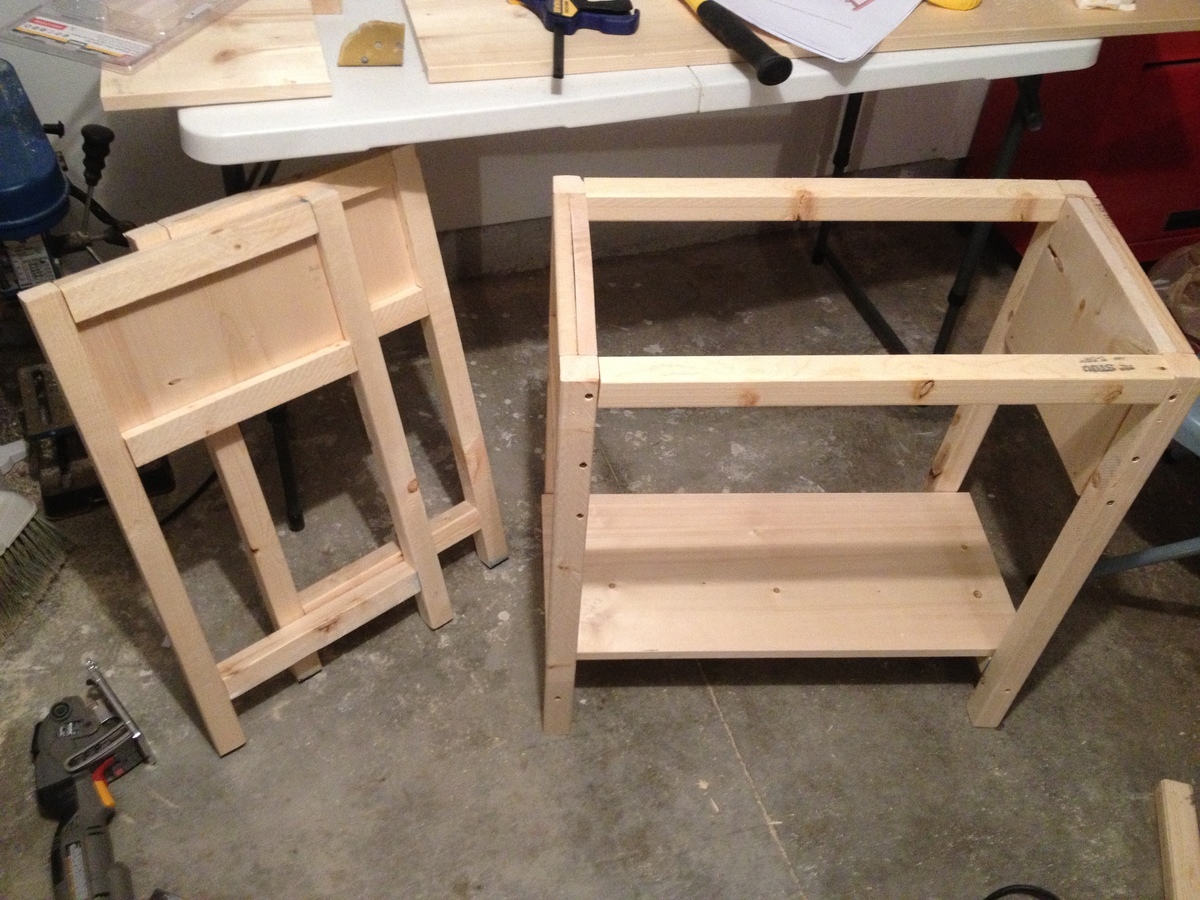
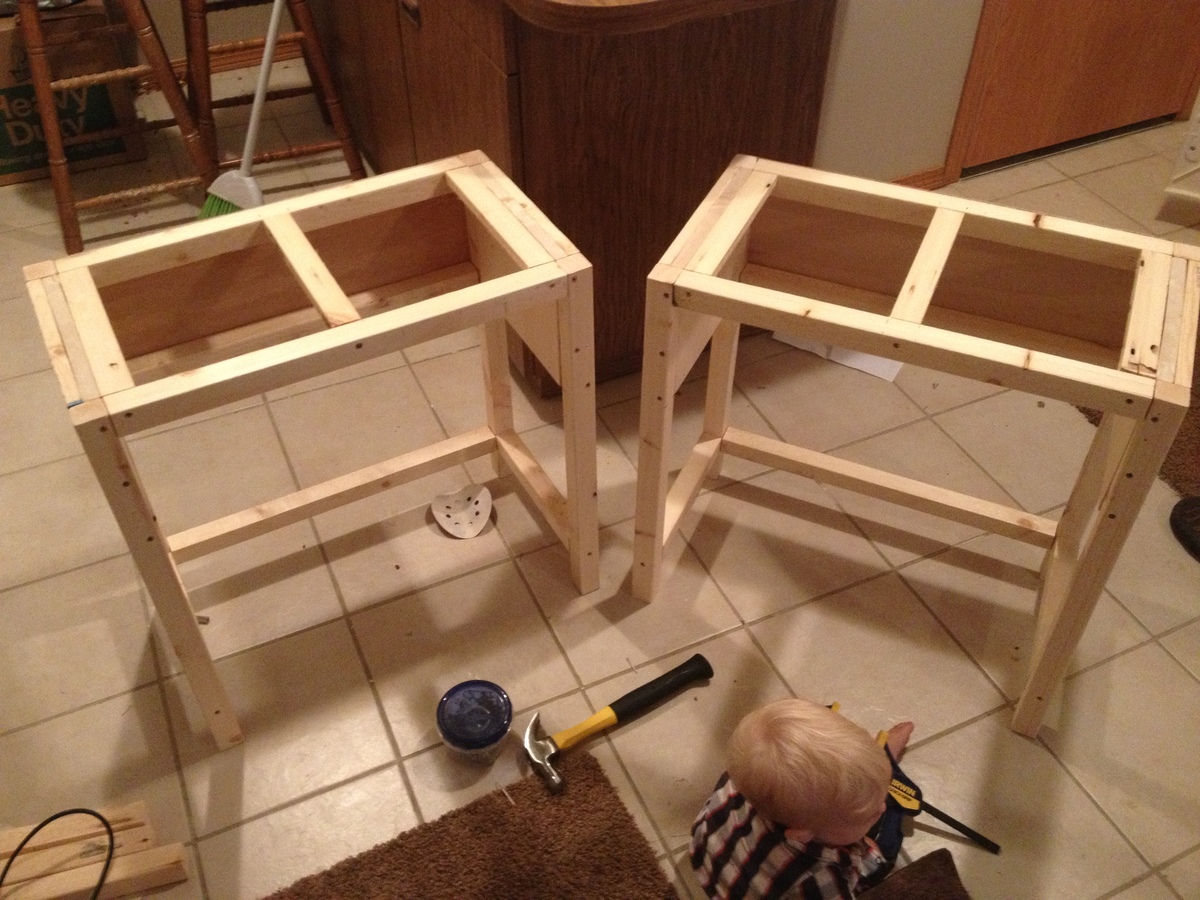
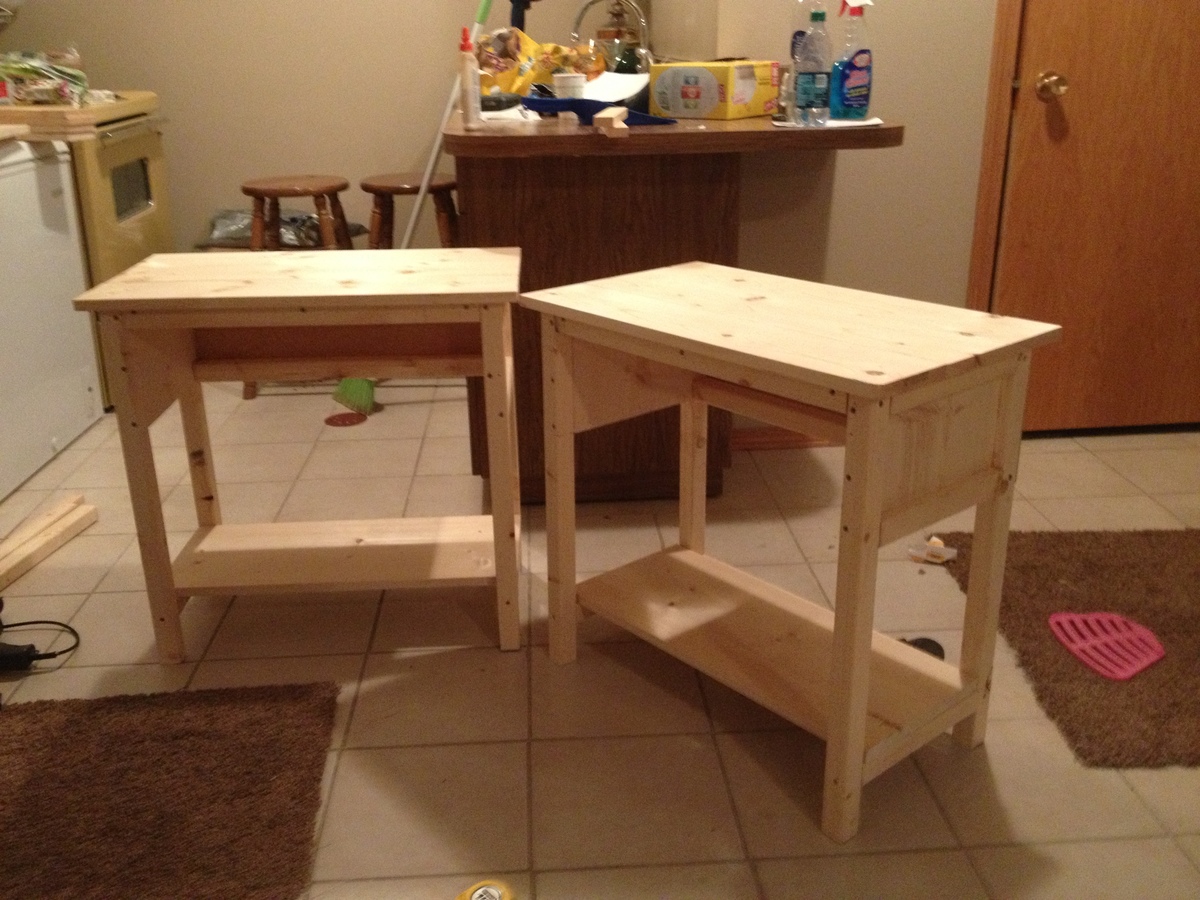
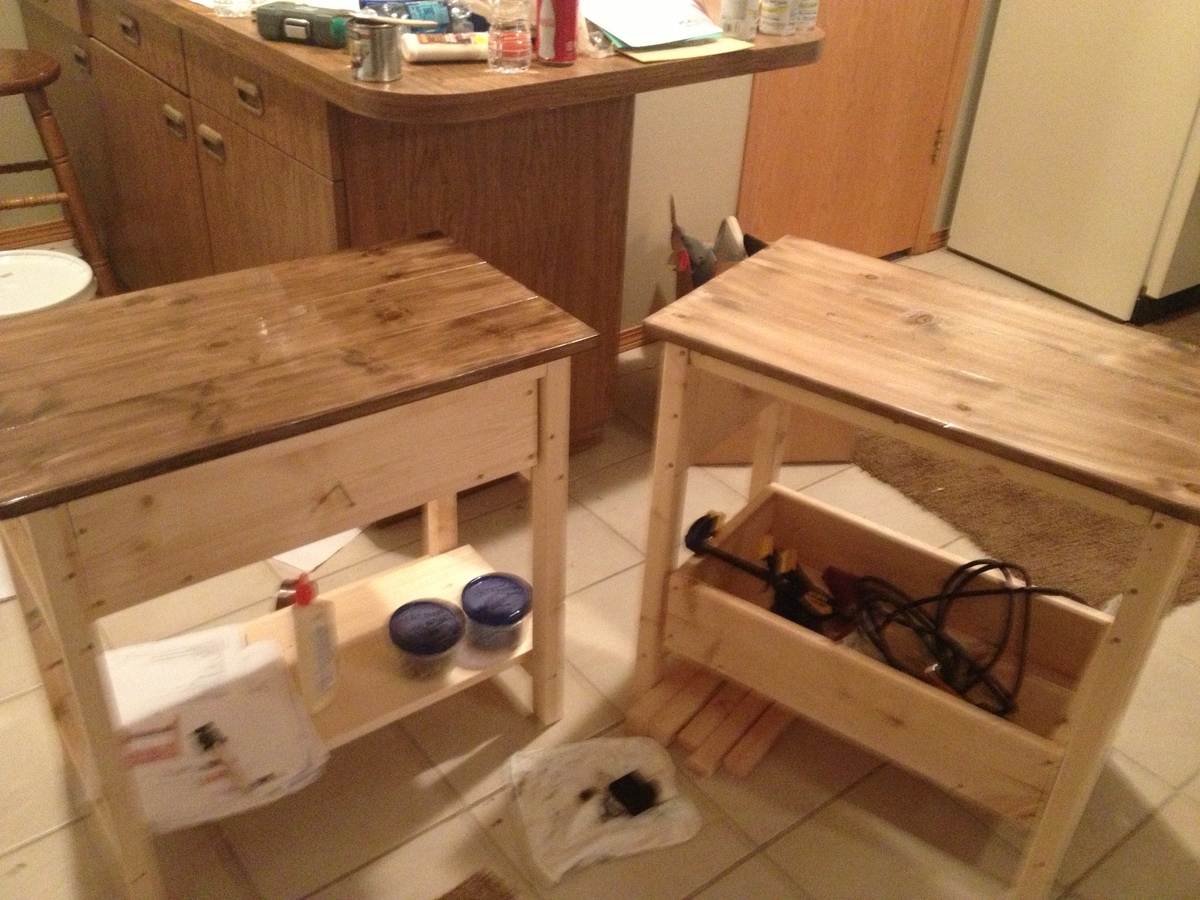
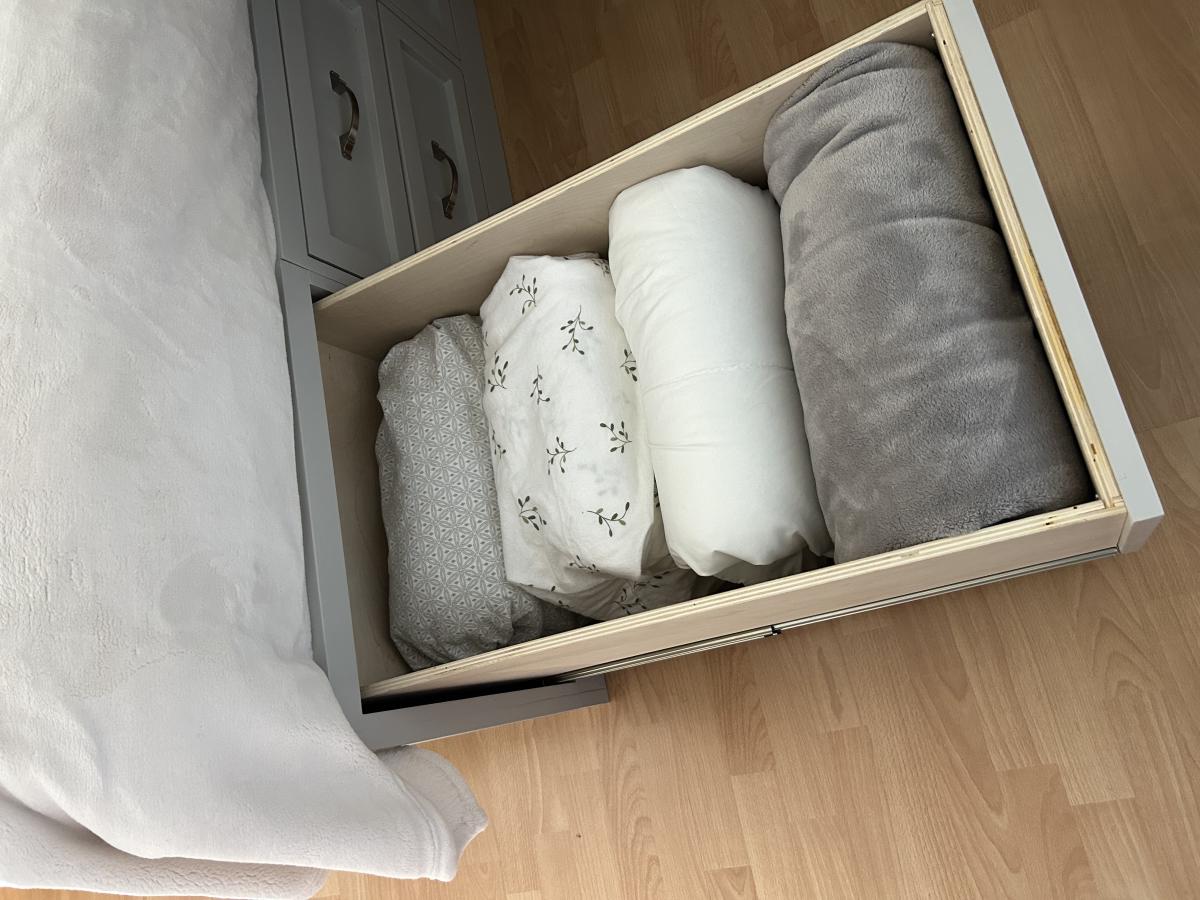
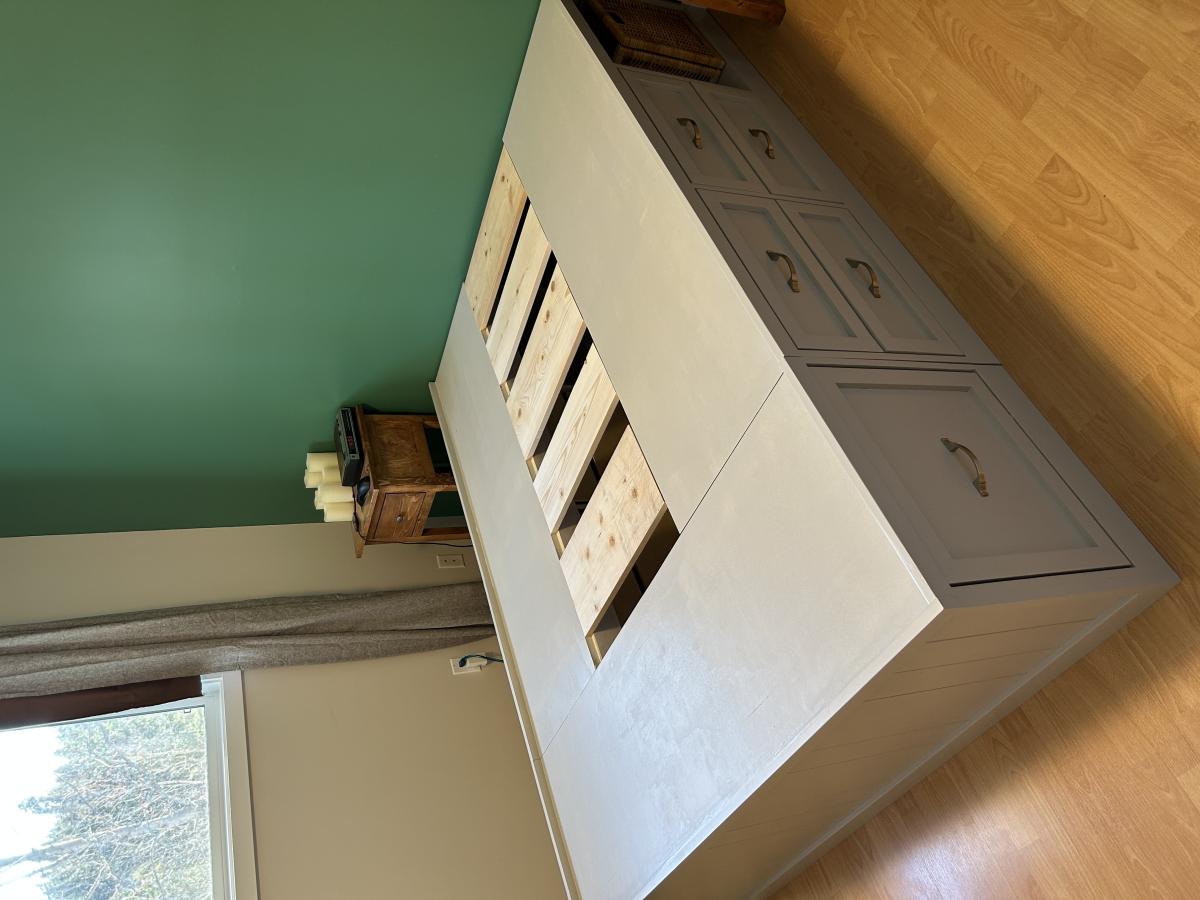
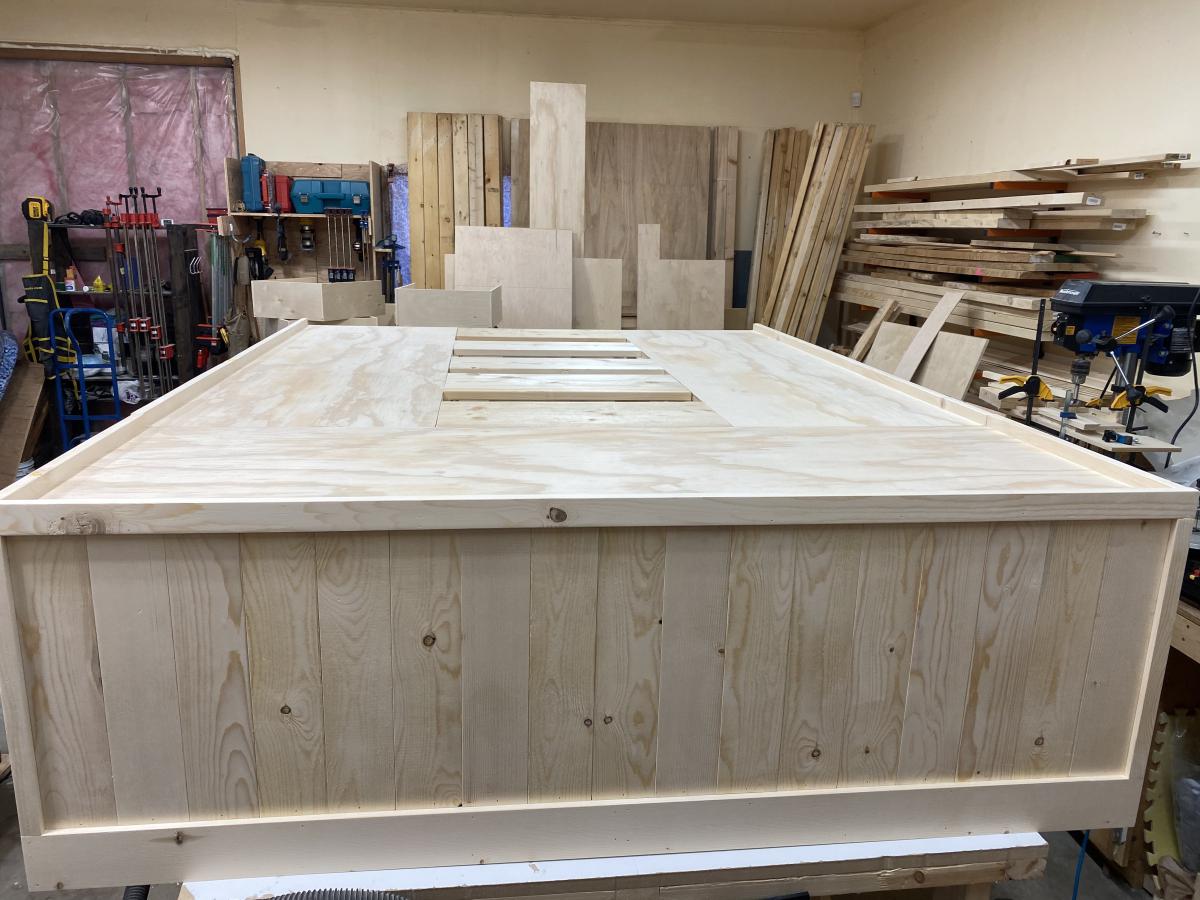
I have been working on this set of farmhouse nightstands for well over a month now. I have three kids and so I typically did a little here and there whenever I could find some free time. I love them now that they are finished!
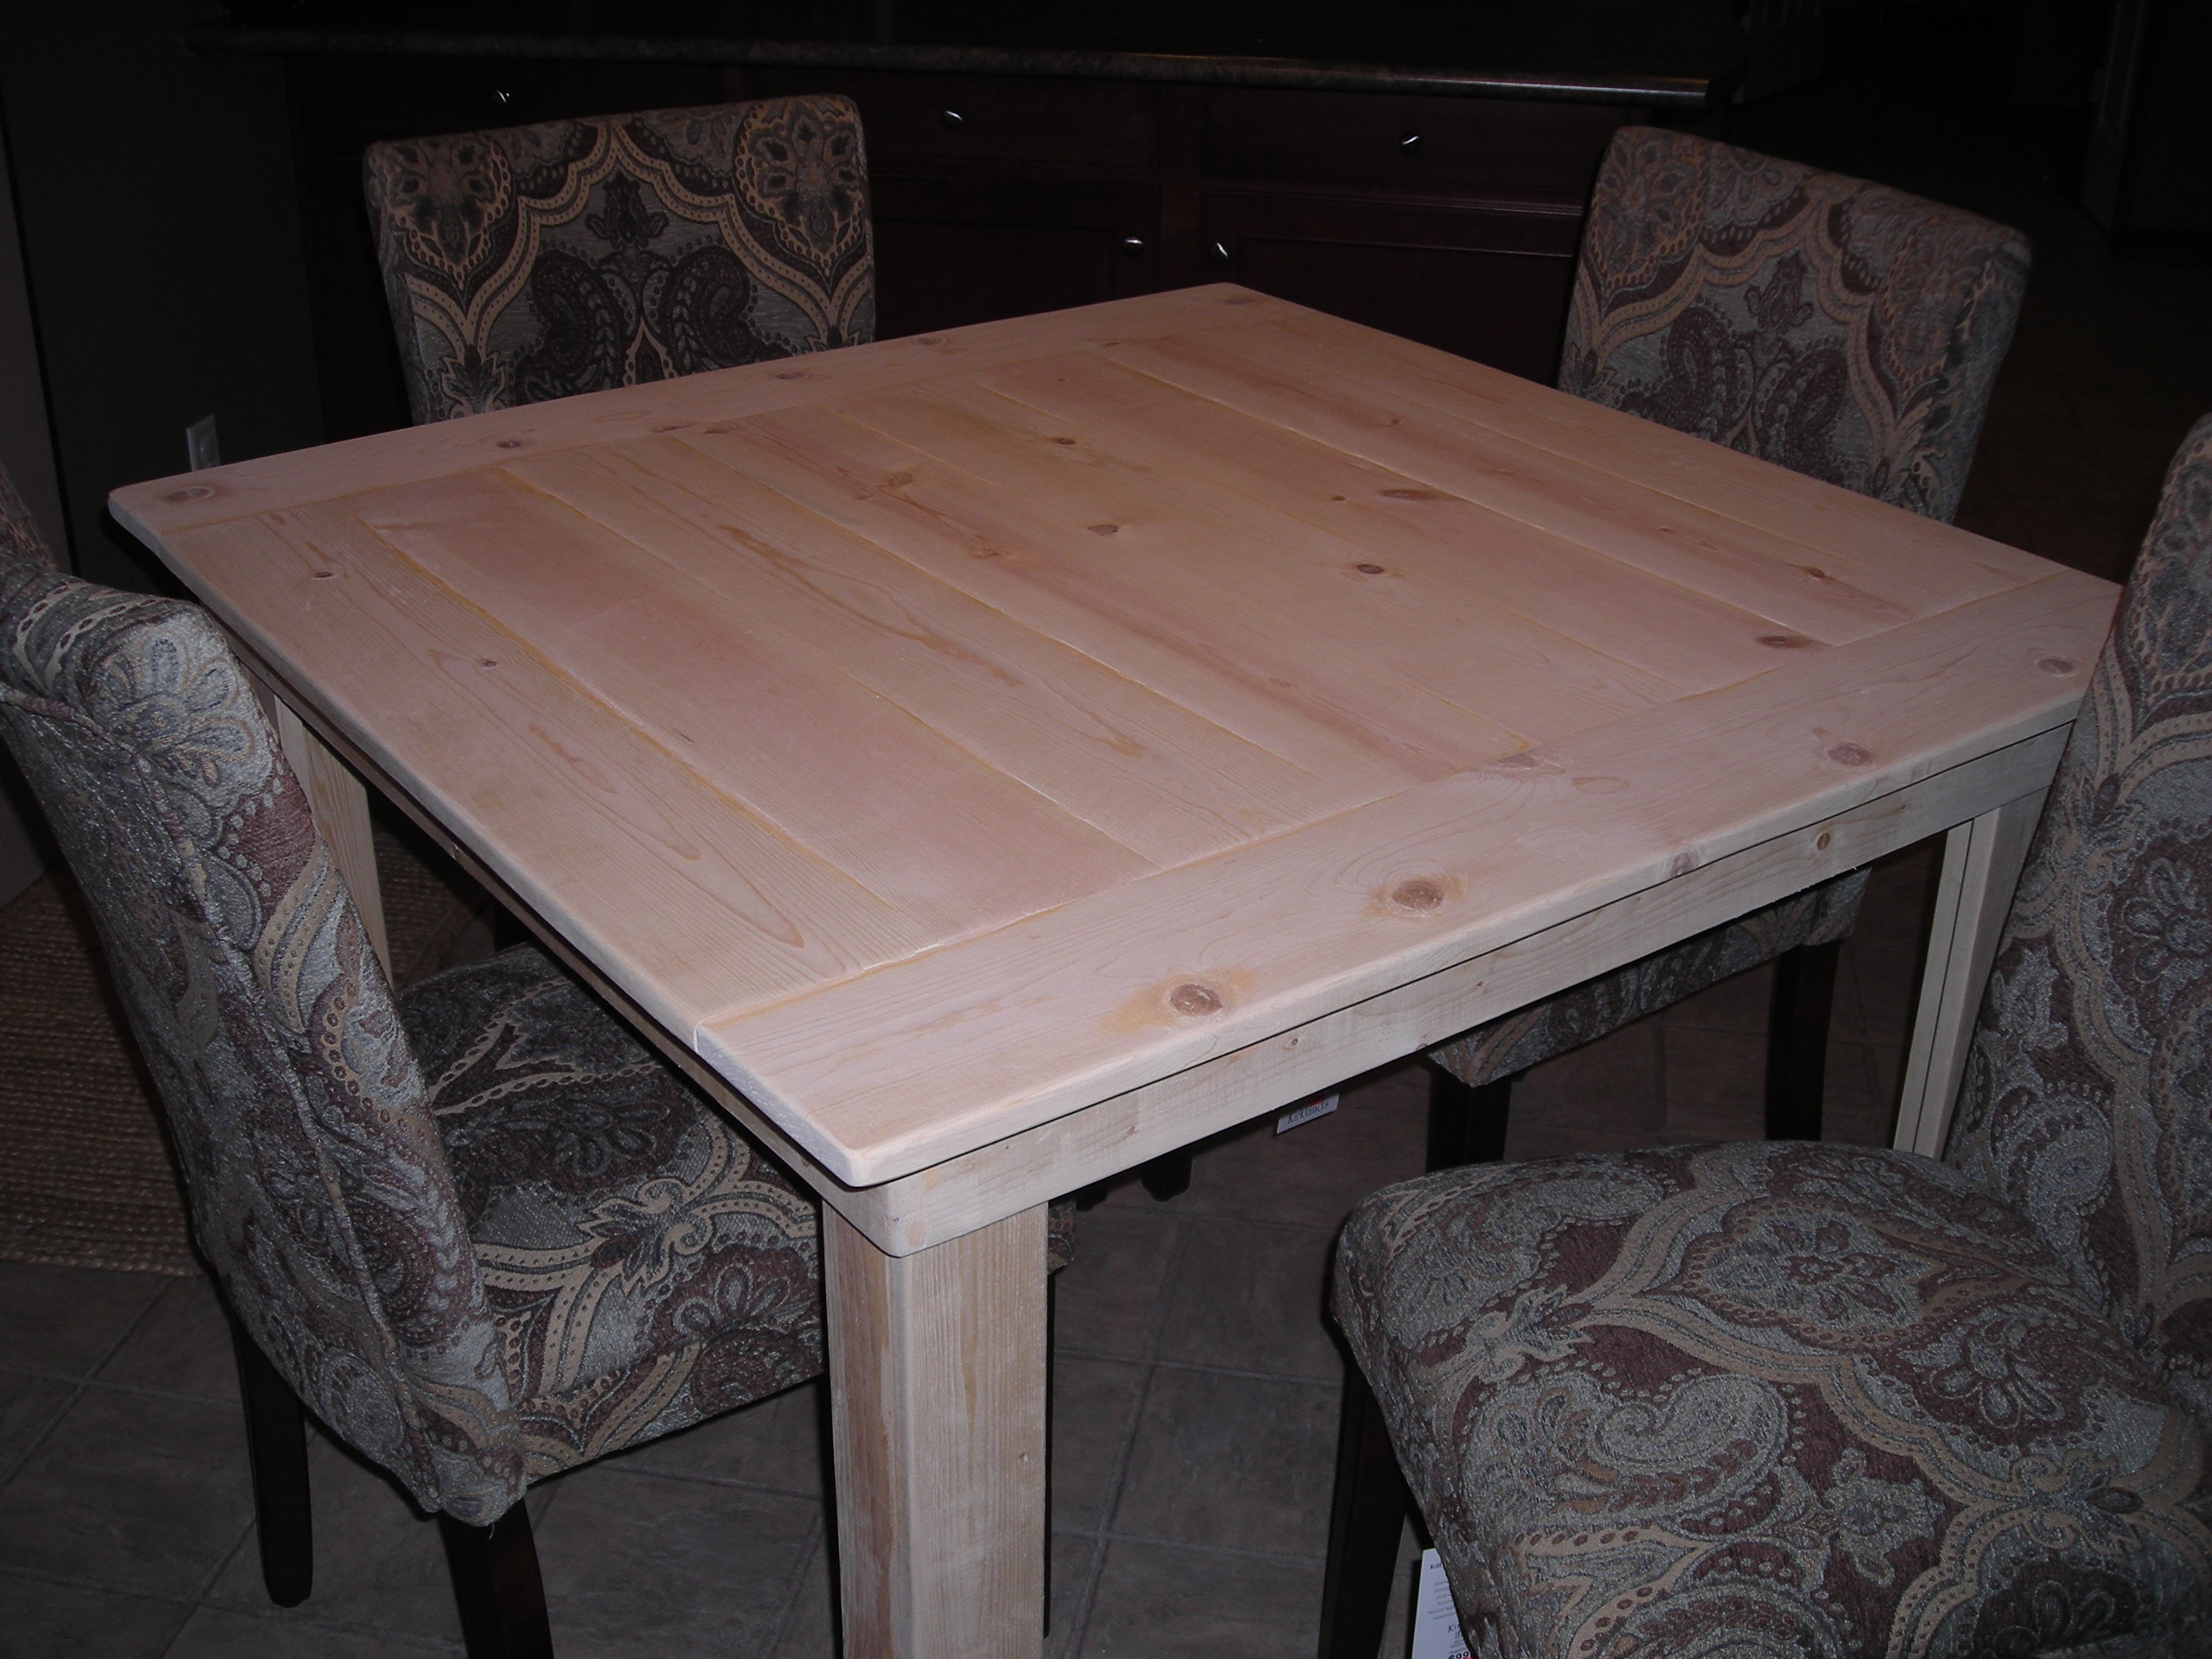
I stained the top before I did any painting and then covered it with newspaper while I was painting the bottom. I'm not exactly sure why I choose to do it this way, other than I was just excited to see how it looked.
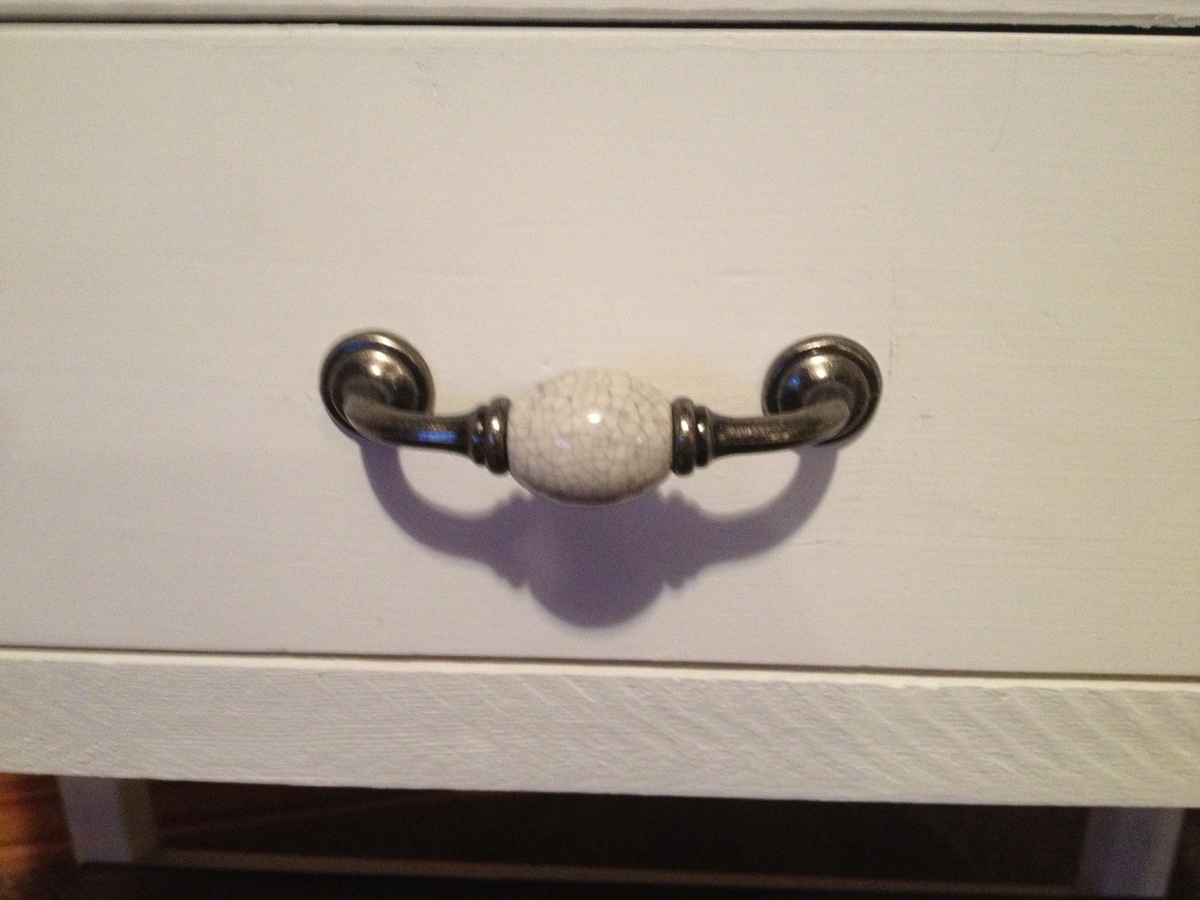
The knob I purchased from Hobby lobby.
This is the third project I've built from Ana. So I'm just getting started. But I will tell you right now that building anything with drawers is TOUGH!
Thanks Ana!
Here's a link to the plans:
http://ana-white.com/2011/01/farmhouse-bedside-table
Estimated Cost
$60
Estimated Time Investment
Week Long Project (20 Hours or More)
Recommended Skill Level
Intermediate


Comments
joshuaaslocum15
Mon, 11/11/2013 - 10:26
Fantastic
Those a fantastic! I think I just found my next project.