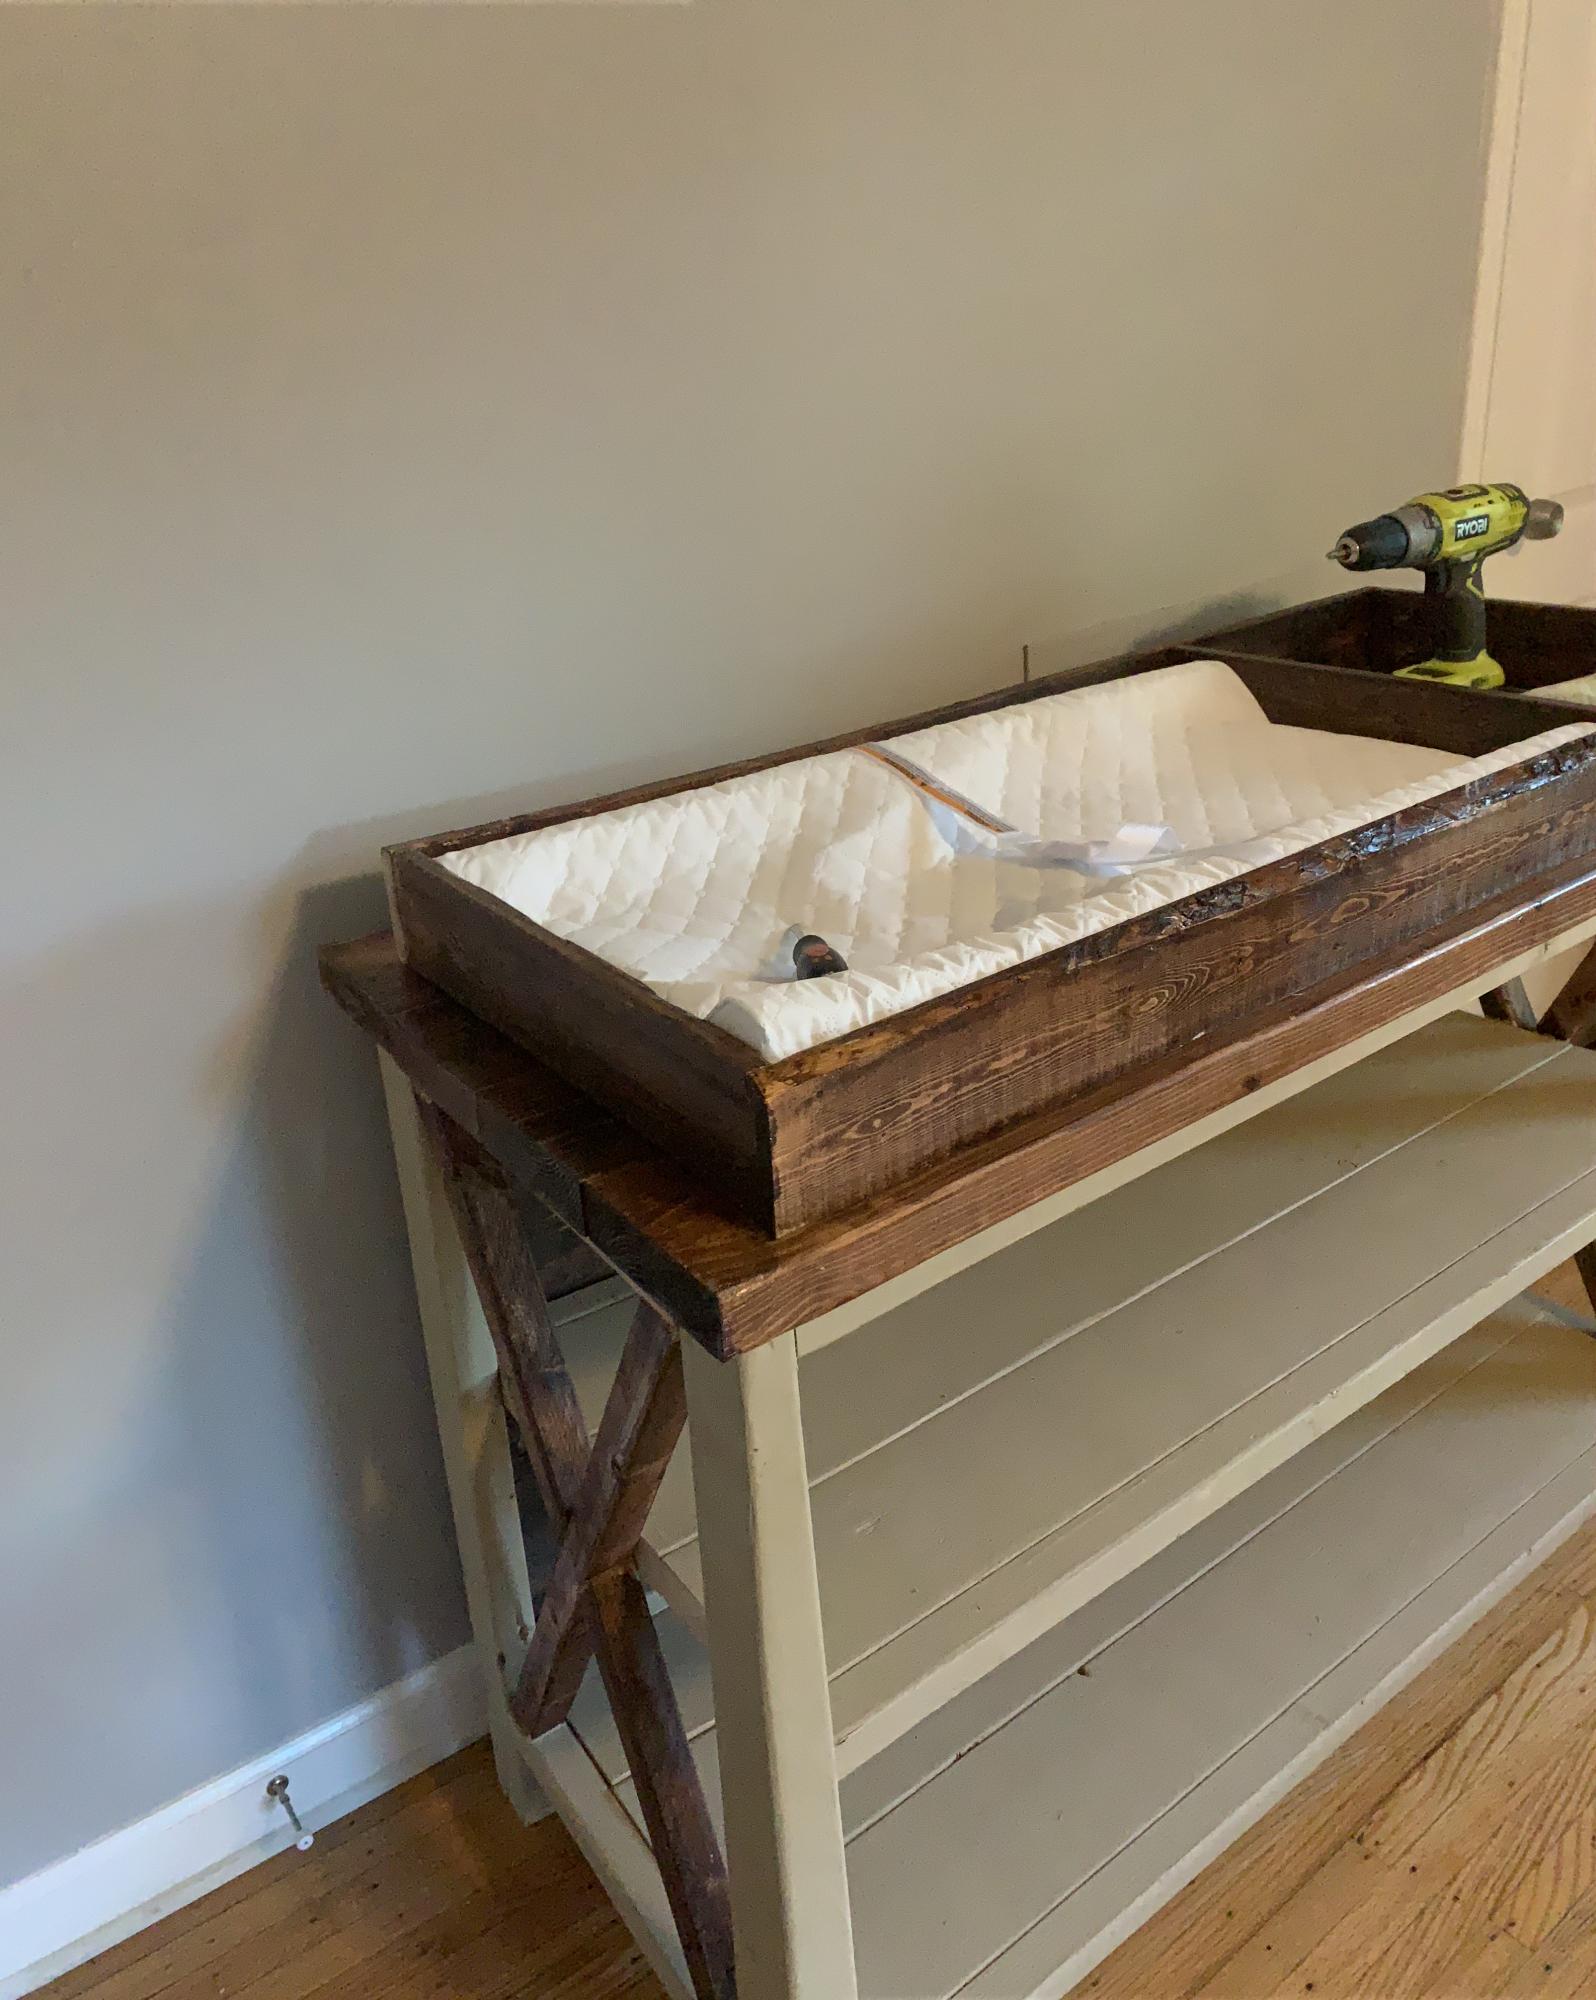
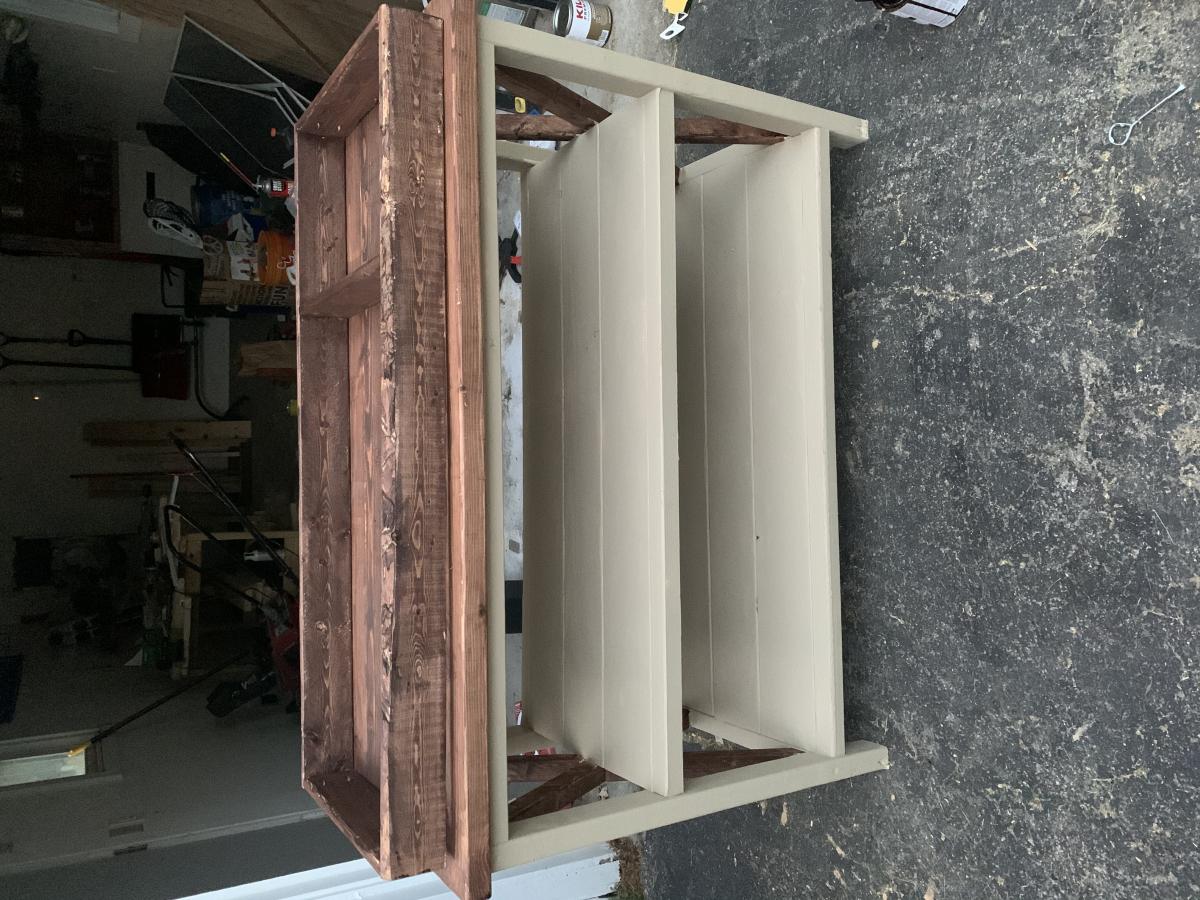
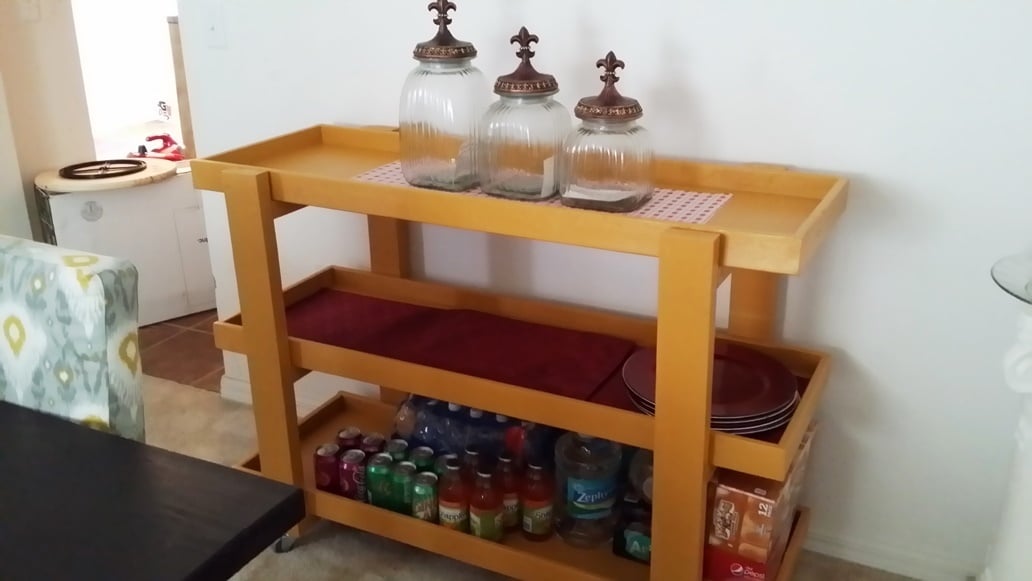
Easy Console Table
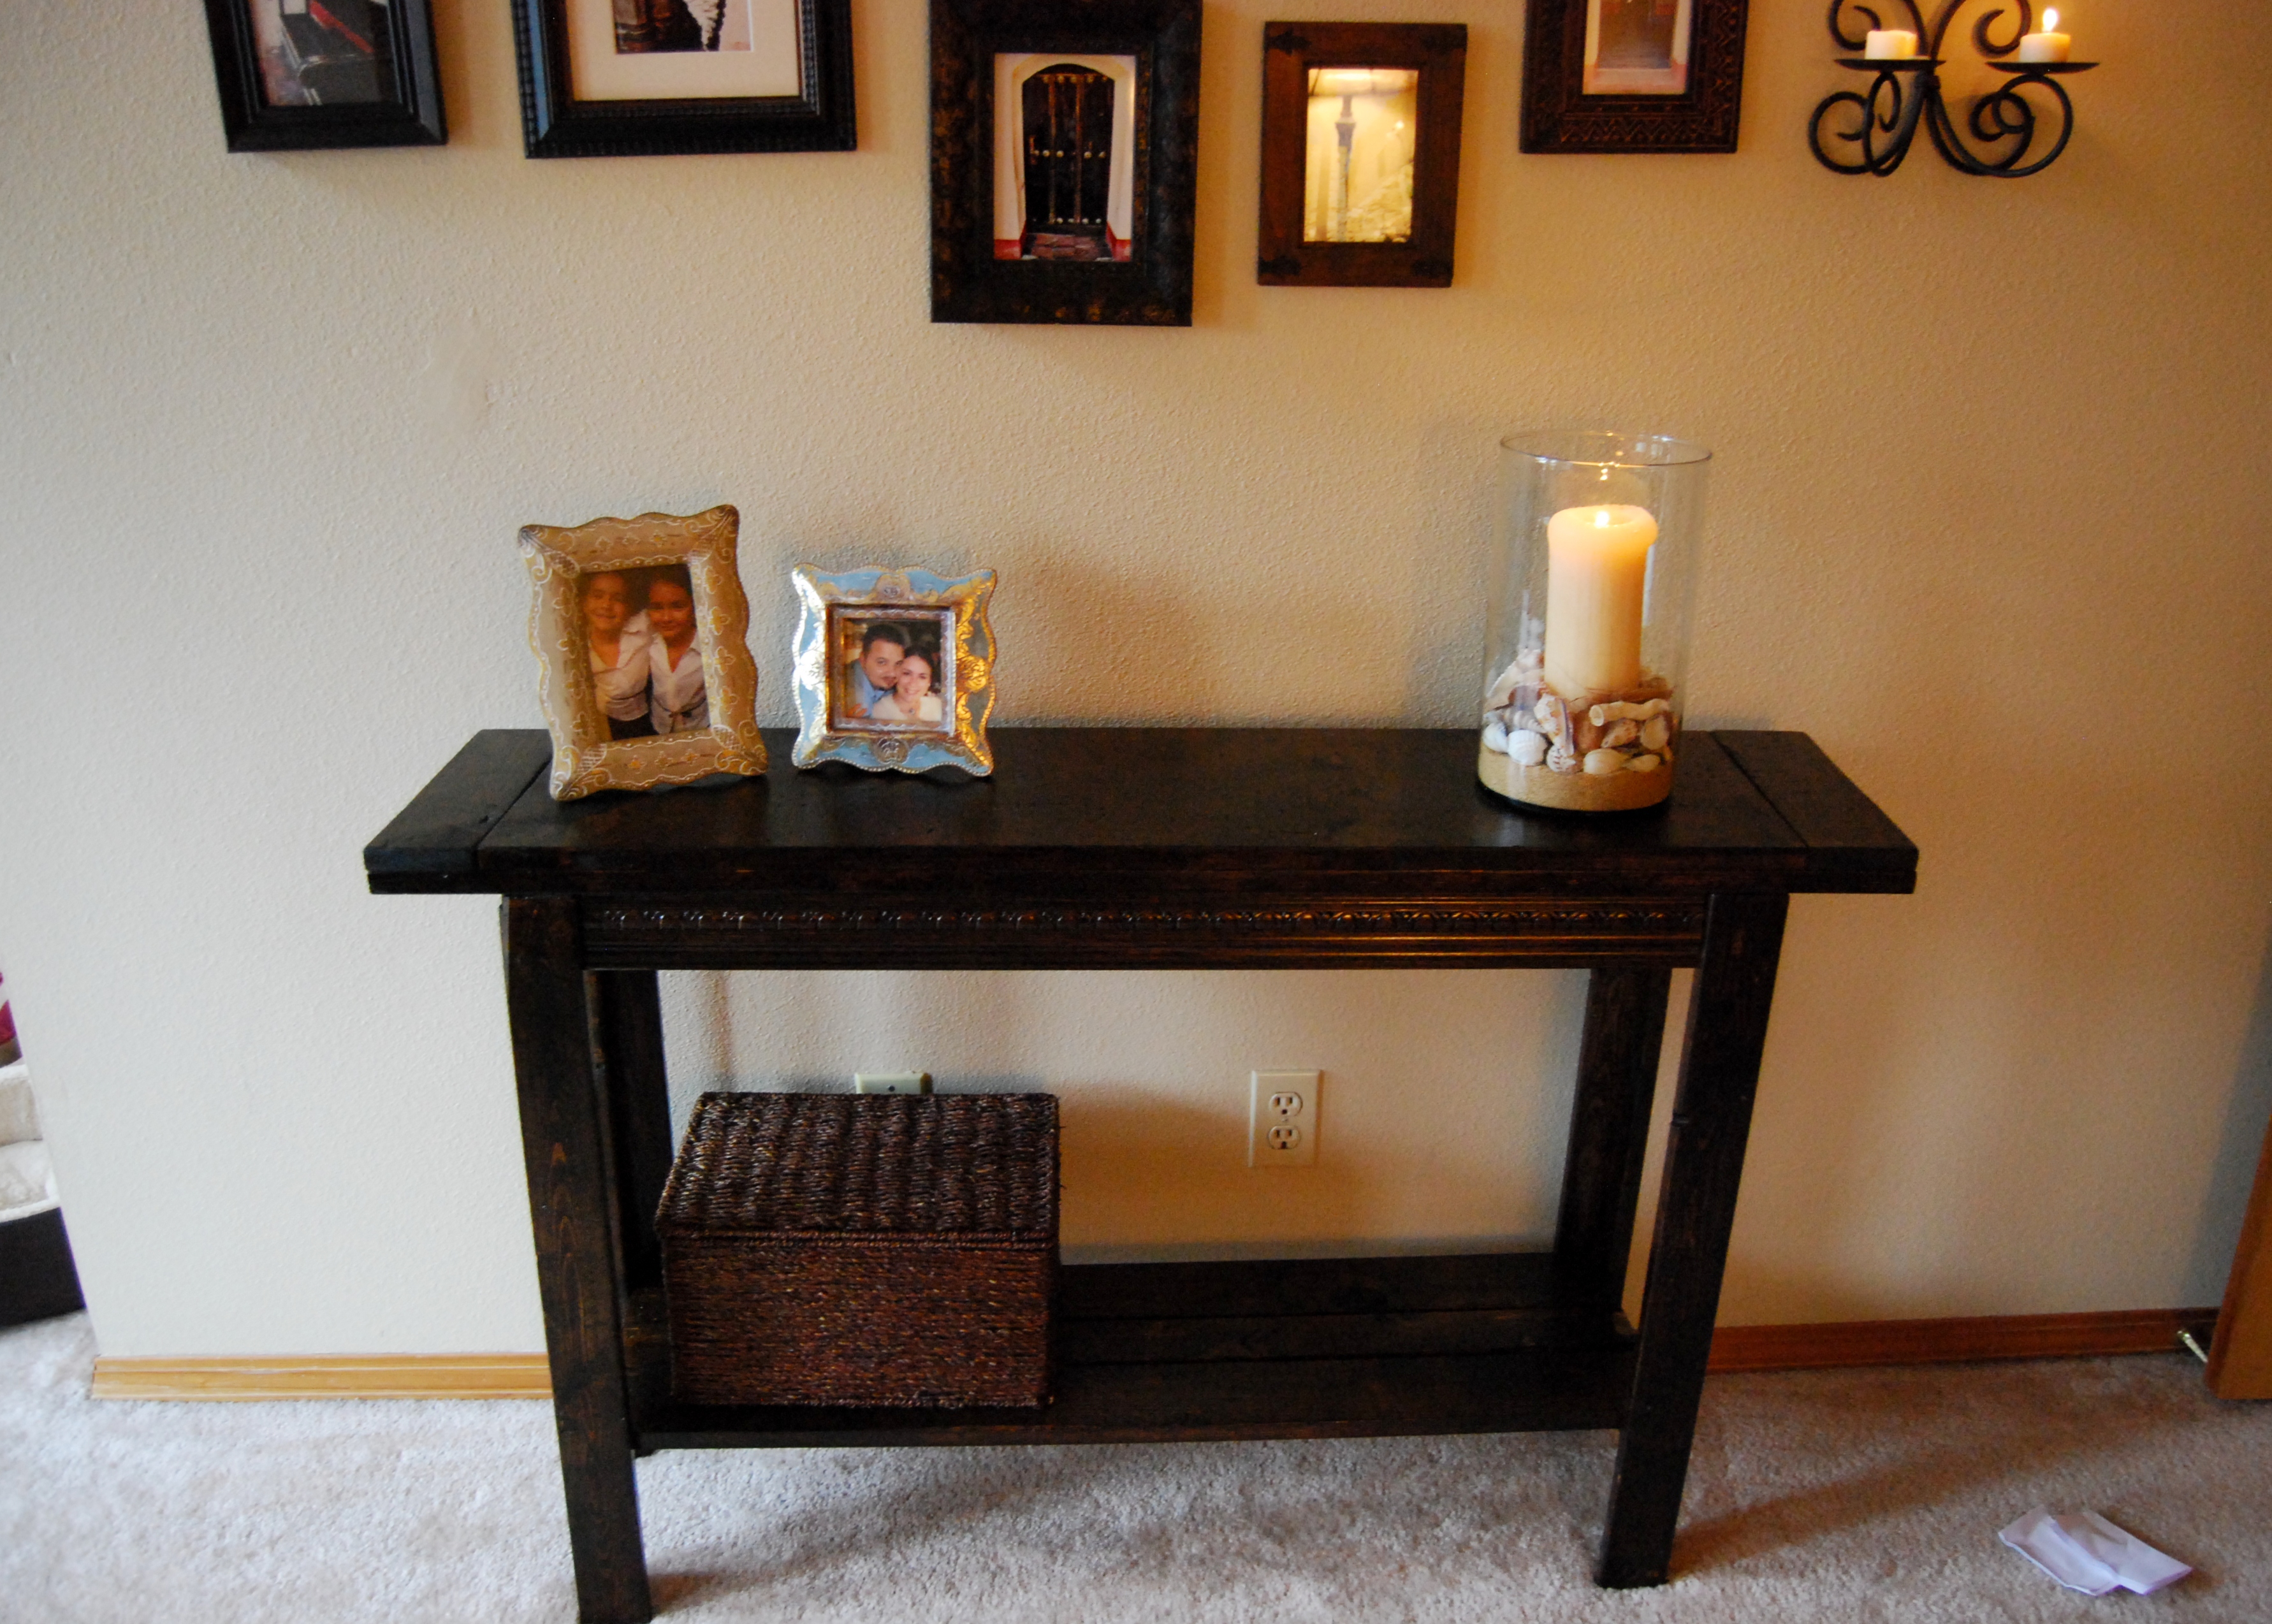
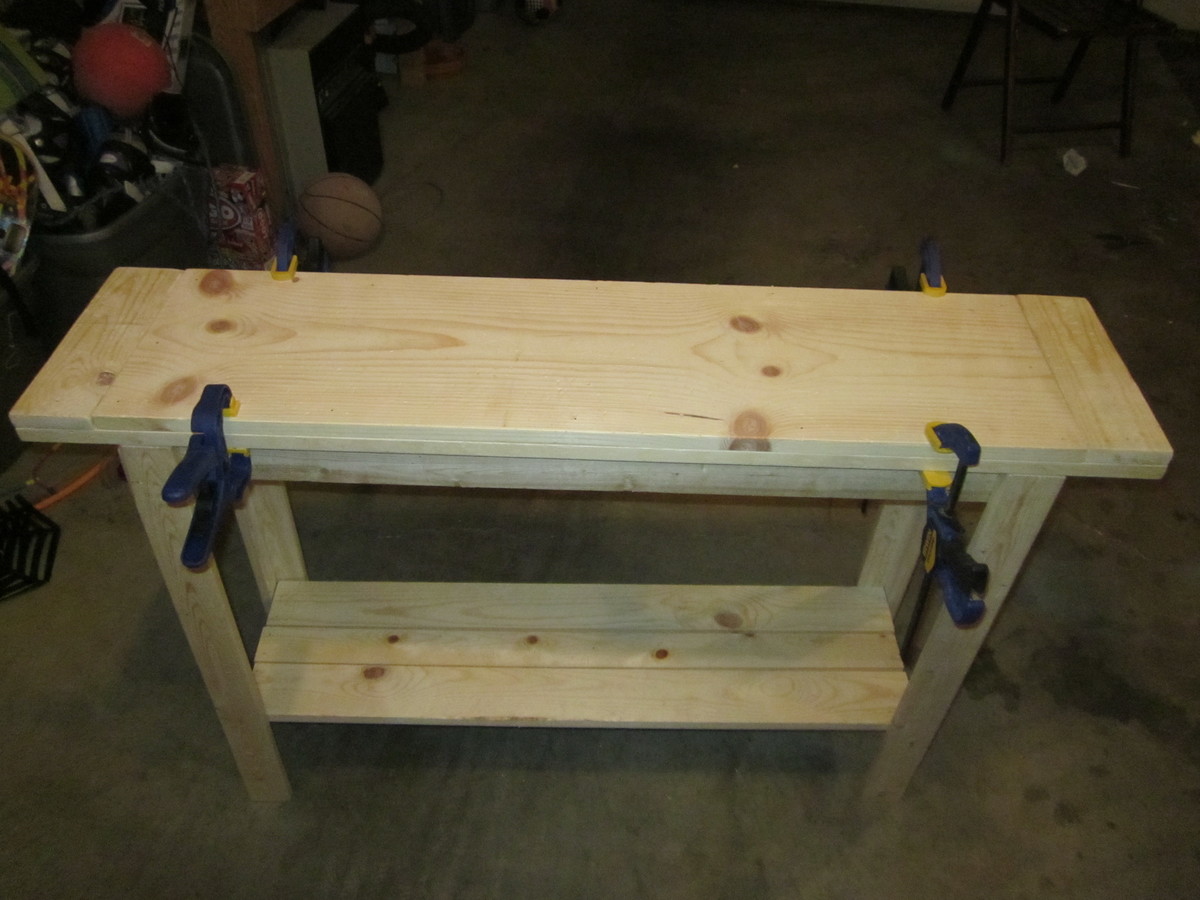
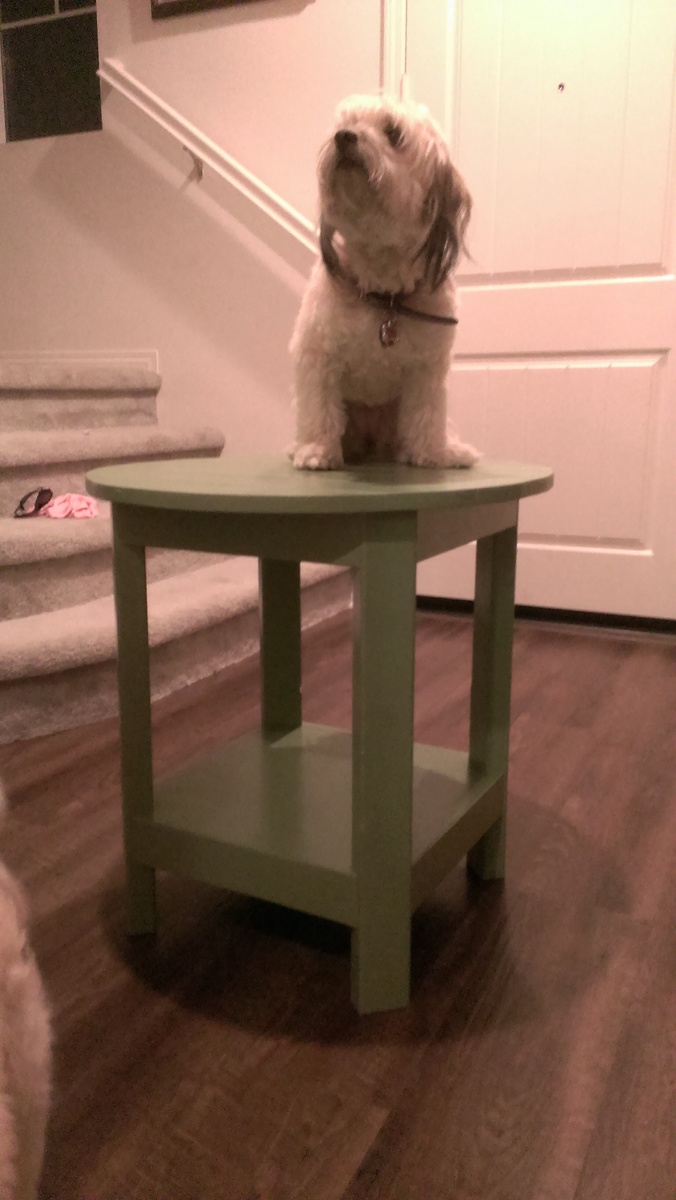
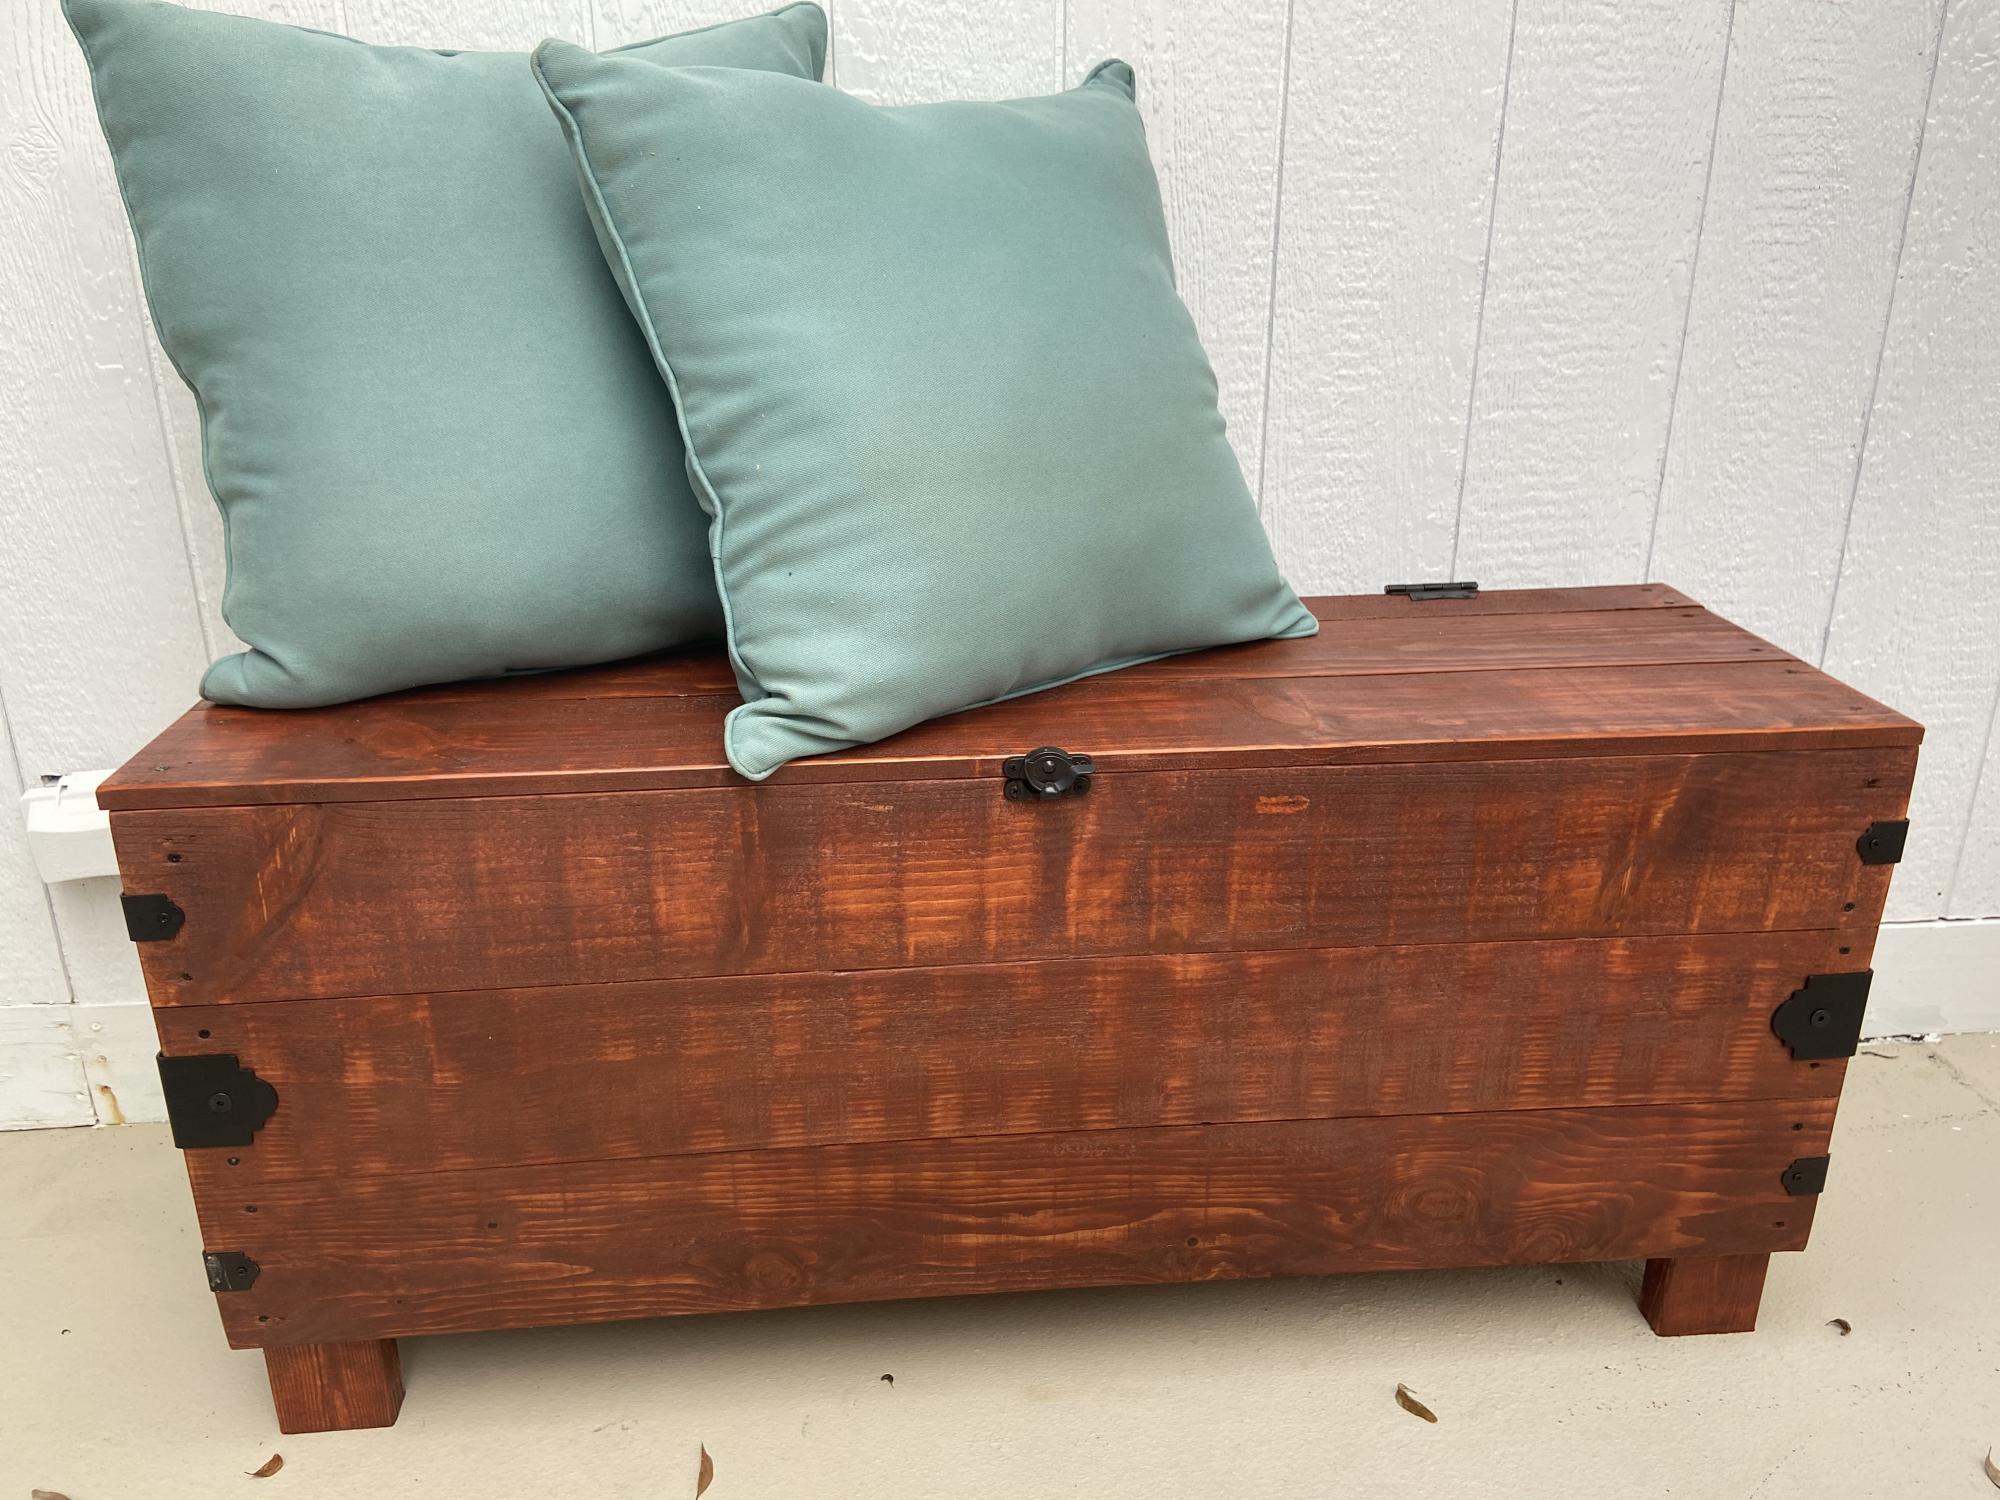
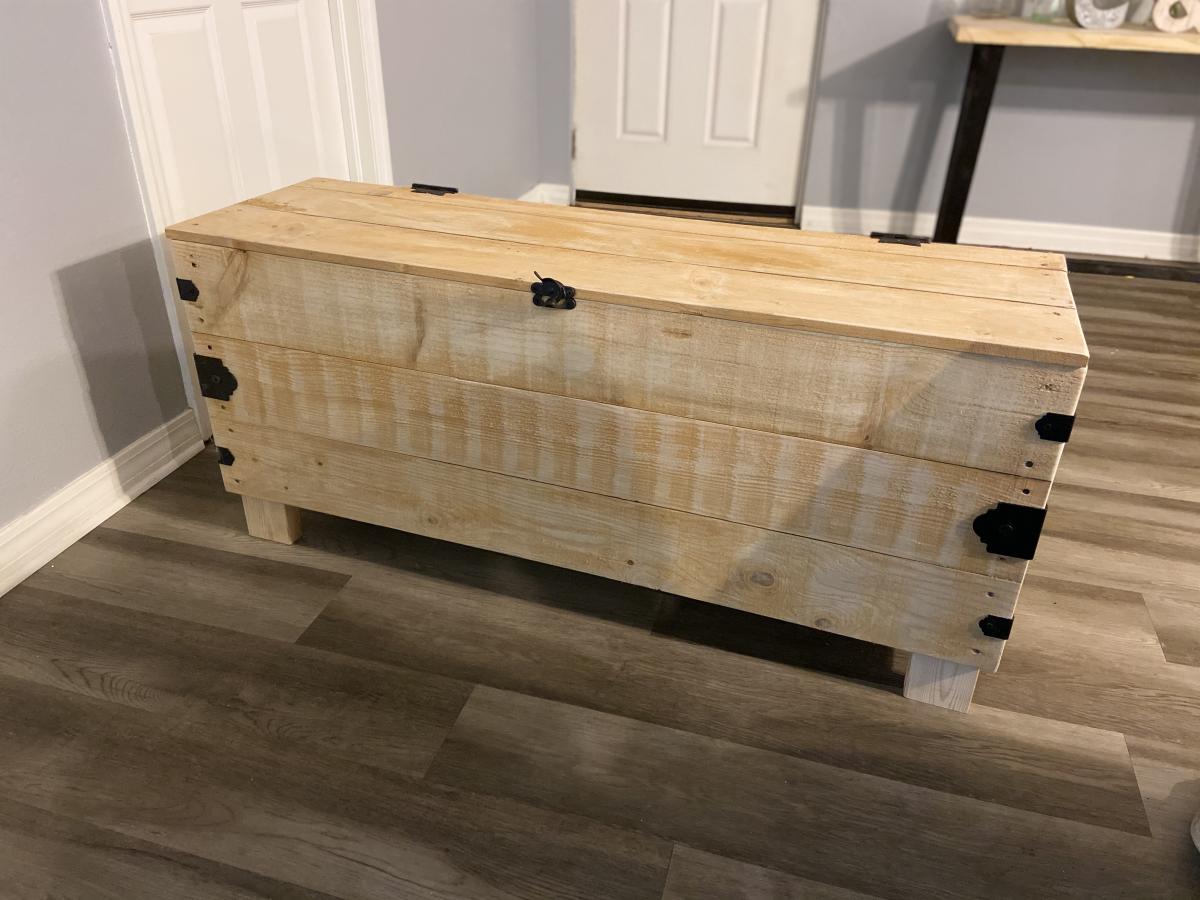
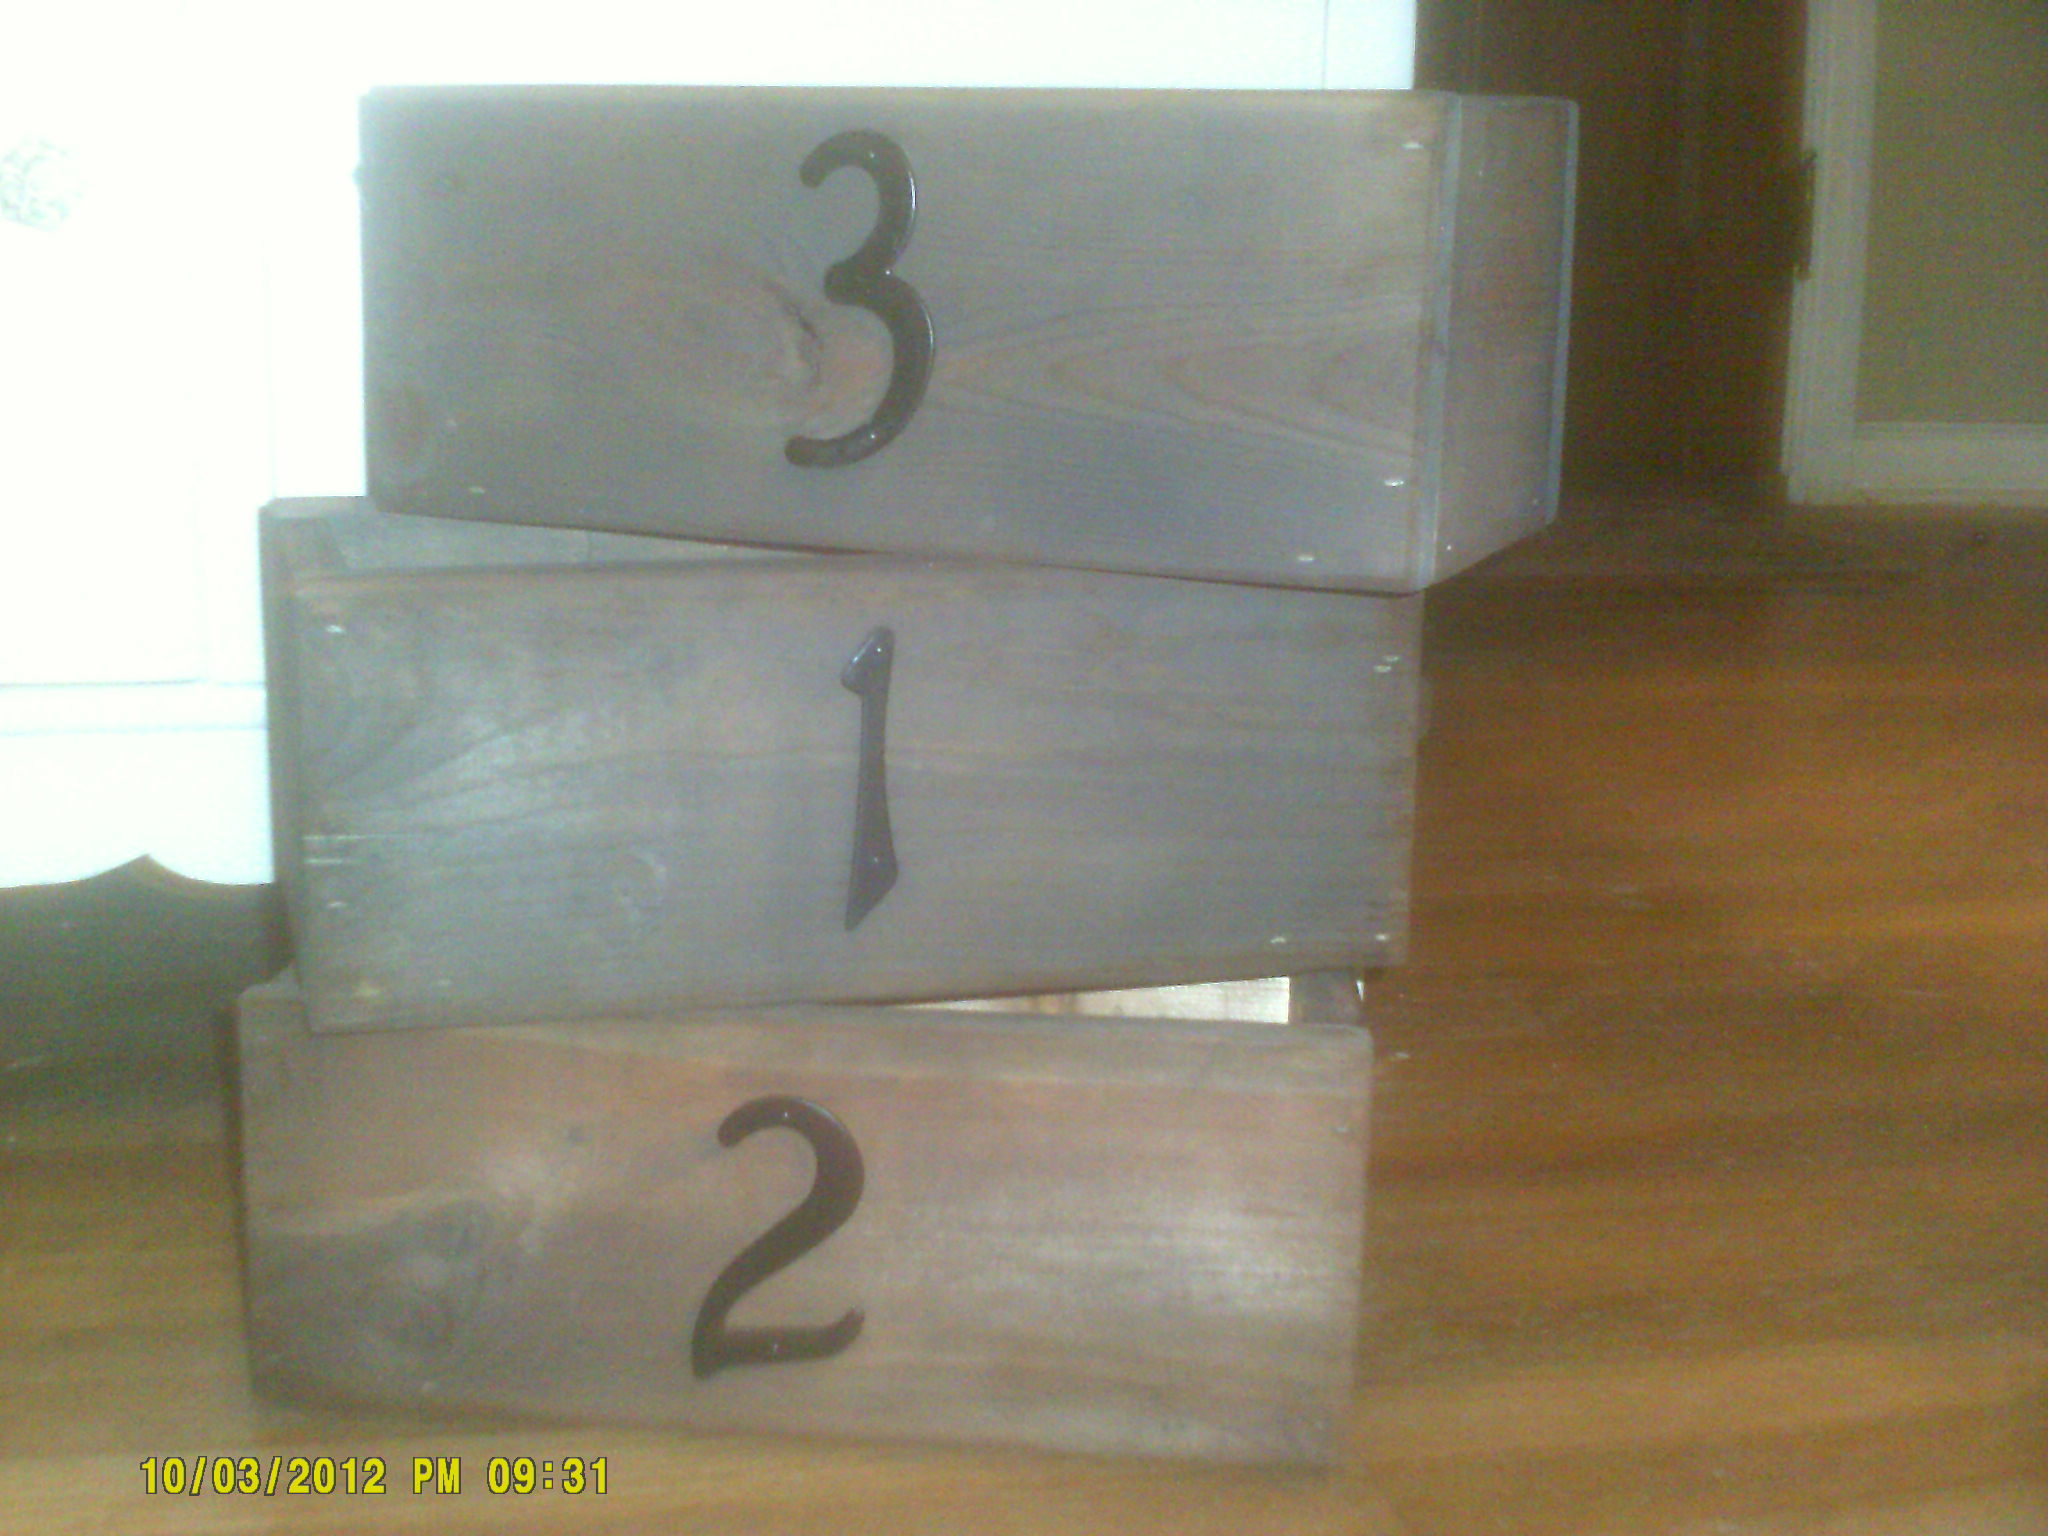
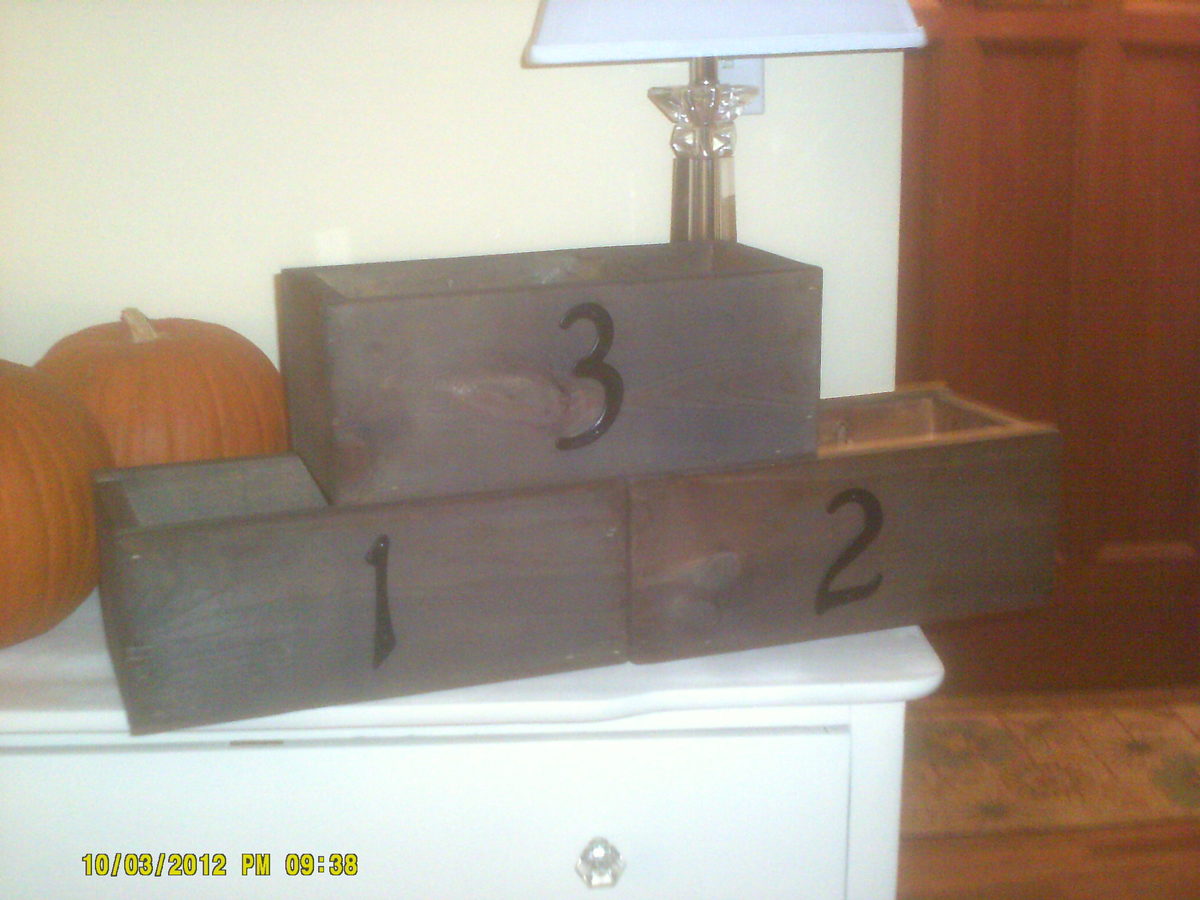
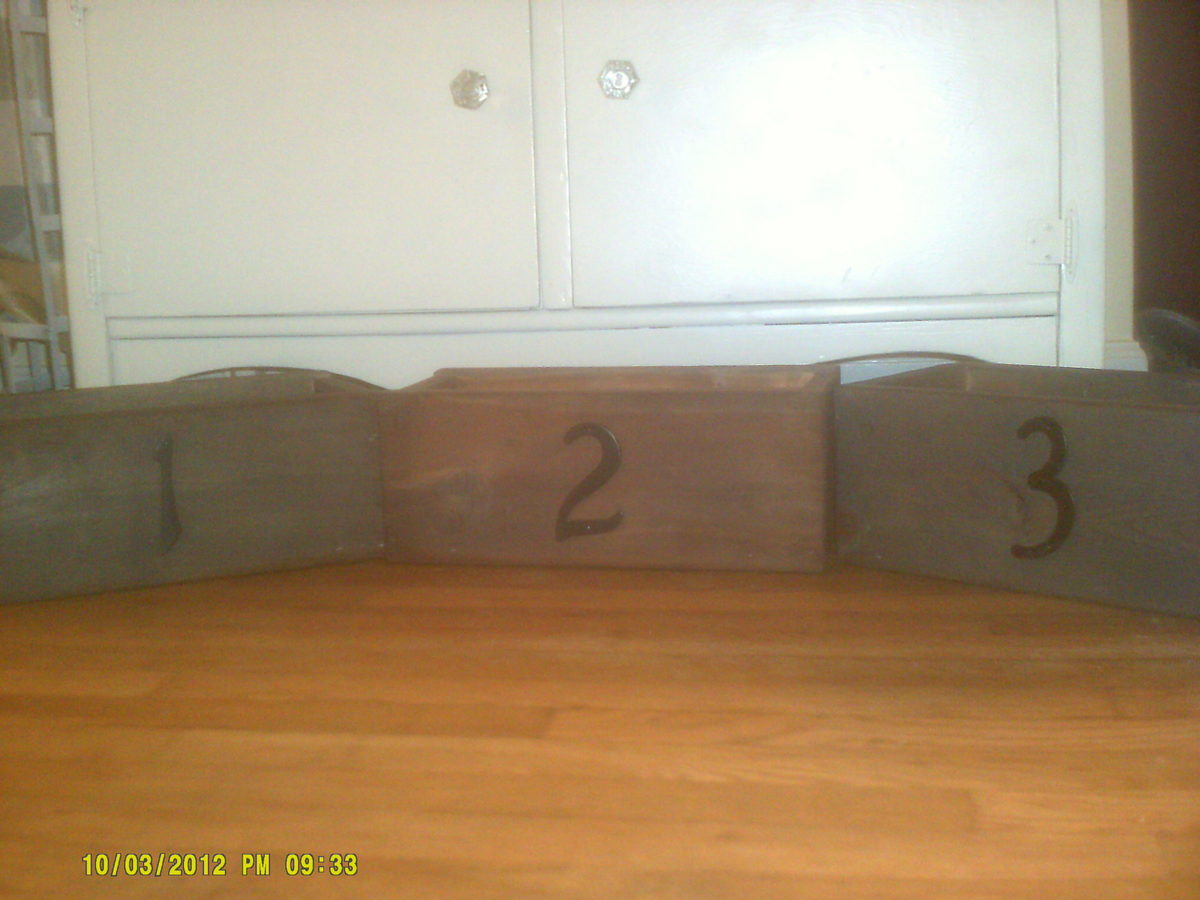
Here is my first woodworking project. I followed the plans (that were so user friendly) for the cheap and easy console table. I spent 40 in material only because I bought a 8 ft board of decorative molding for the aprons that cost 20 bucks. I used a circular saw (that was scary and fun) and I hand nailed everything. Ugh My hands are sore. I really am in love with Spanish Colonial furniture and really dont have 300-3000 dollars to spend on a piece.
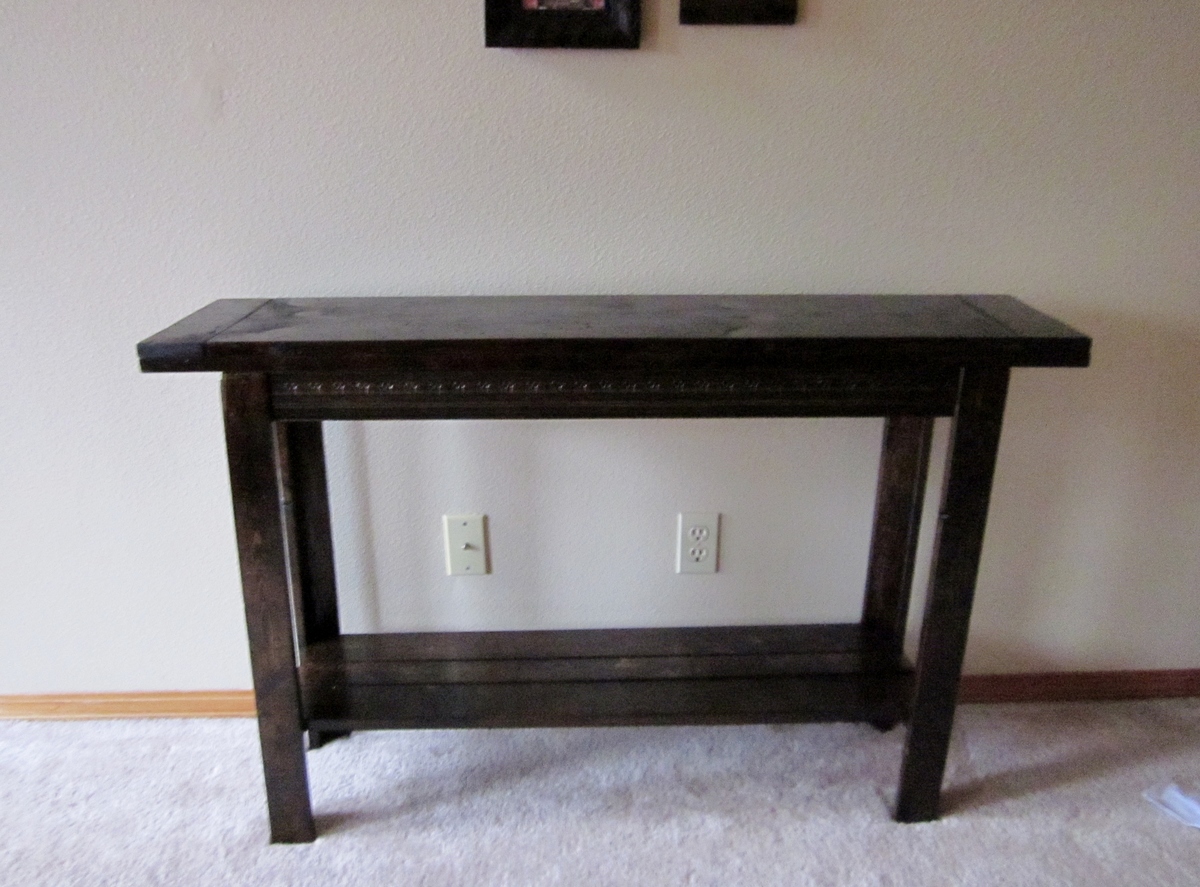
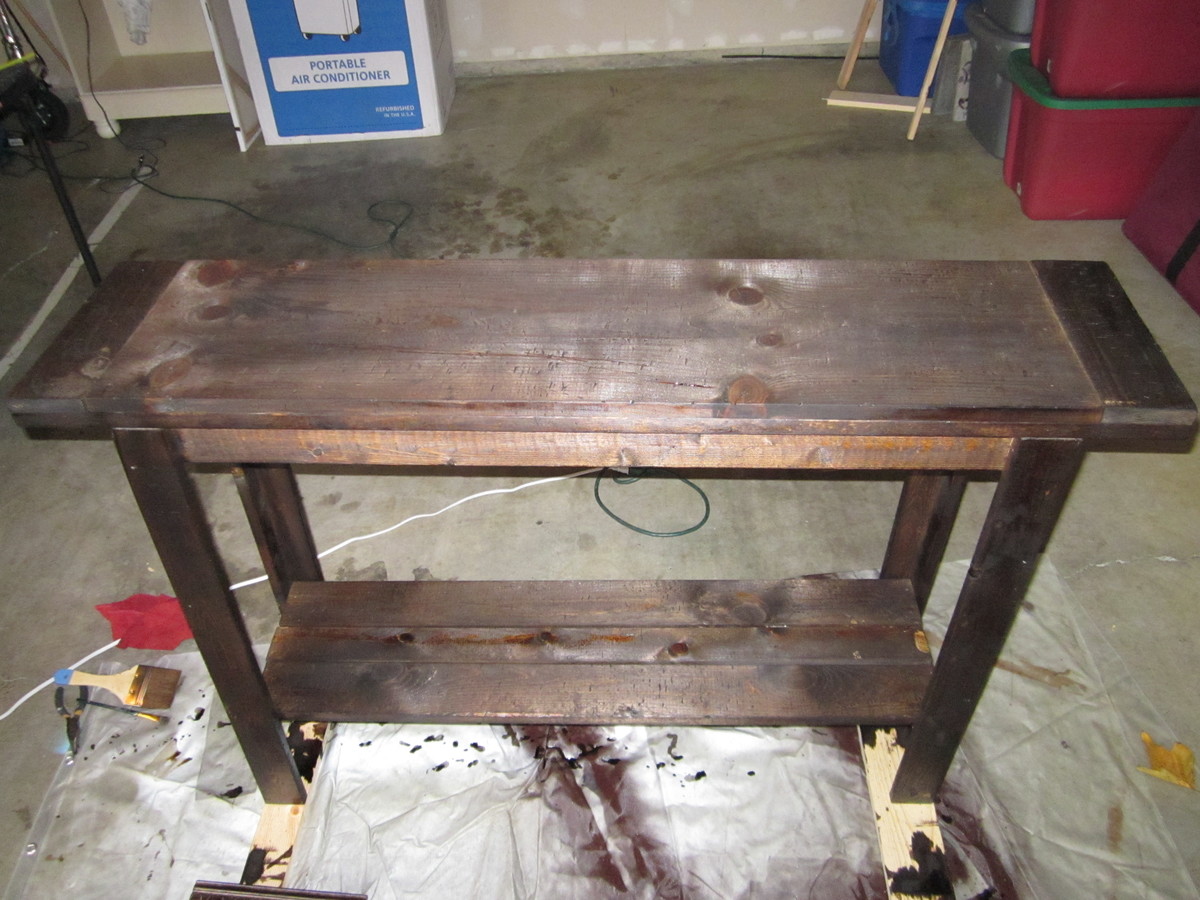
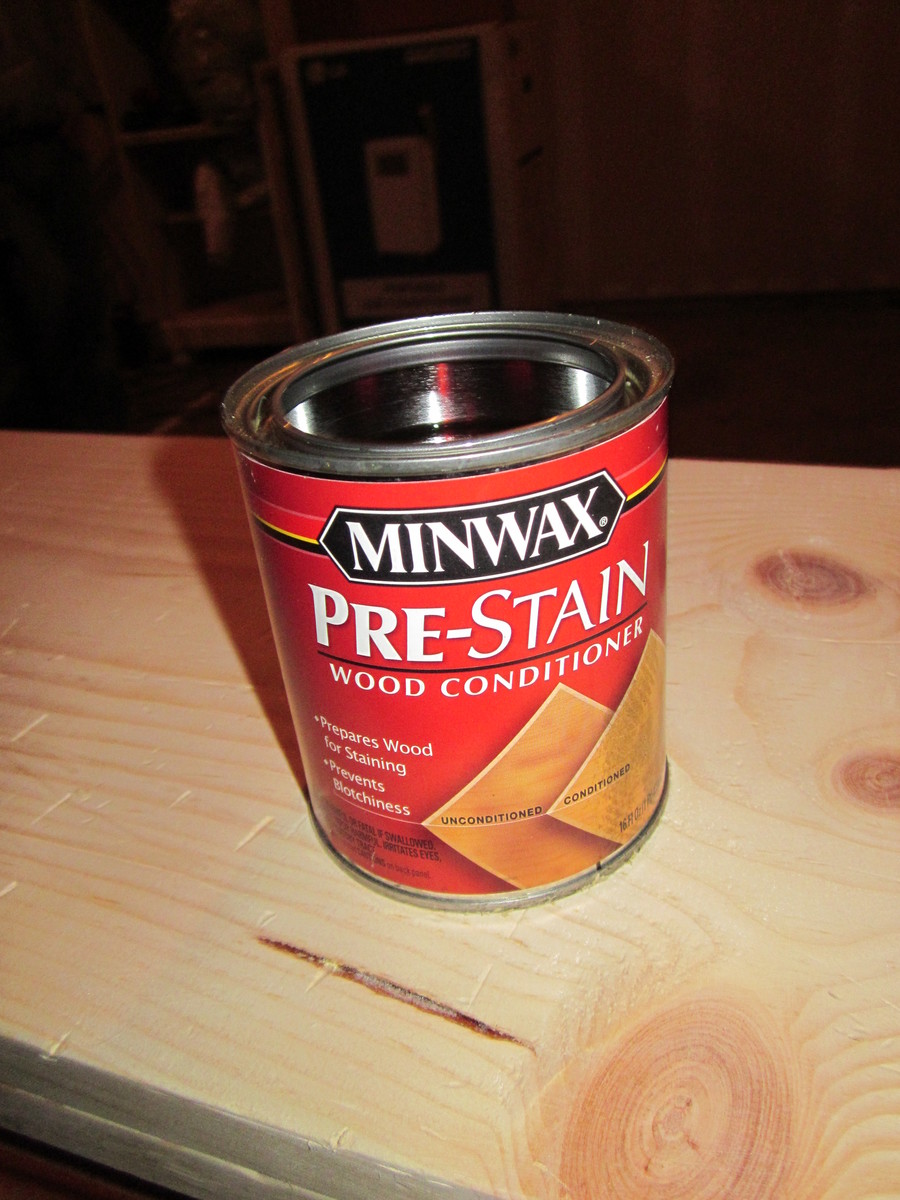
I beat the peices of wood with a metal chain and gouged it with the back side of a hammer. The kids had fun helping me with that! I also added more boards to the bottom shelf. Then used a wood conditioner. The stain i used is a dark walnut 2 coats and a satin poly on top.
This was the best web site for me!


Comments
moosmani
Fri, 11/09/2012 - 09:47
Nice!
Wow, this turned out really nice. I like the decorative trim.
moosmani
Fri, 11/09/2012 - 09:47
Nice!
Wow, this turned out really nice. I like the decorative trim.