Community Brag Posts

Bigger Kids Art Center

Submitted by Anonymous (not verified) on Sun, 03/20/2016 - 14:22

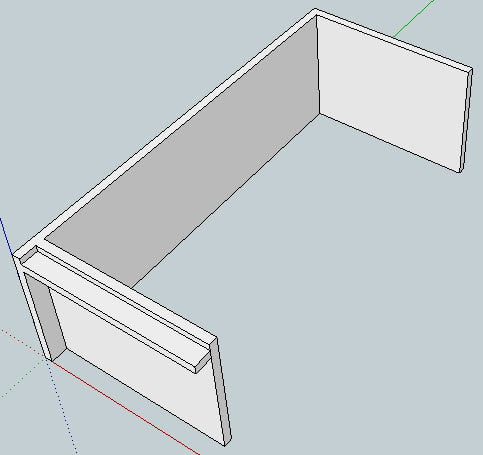
Ana sized her plan for 2-6 year olds, but a friend asked me to build this for her 9-year-old granddaughter as an art table that would live outside, on their covered patio. I made the table top 28x48, and set the top at 28 inches off the ground. The bookcase part is 42 inches tall, in keeping with the "rule of thirds."

In light of the larger size, I decided the legs needed some braces, so I added a cross brace at the bottom and some curvy side braces.

I considered adding some cupboard doors to keep the dust out, but decided to leave it open so it wouldn't become a haven for spiders. Doors don't really keep dust out anyway, the way the wind blows around here.

As shown, the birch ply top has natural stain on it. I'm going to finish the top with spar varnish. For the rest, I'm going to primer it, and deliver it with a few pint cans of water-based outdoor paint in basic colors so the girl can paint the rest of it herself. 

Thank you, Ana, for another enjoyable project!
Built from Plan(s)
Estimated Cost
I spent $30 on wood for the bookshelf part, but I used a lot of scraps and leftovers from other projects, so it's hard to really estimate.
Estimated Time Investment
Weekend Project (10-20 Hours)
Finish Used
pre-stain conditioner, natural stain, spar varnish, primer, water-based outdoor paint
Recommended Skill Level
Beginner

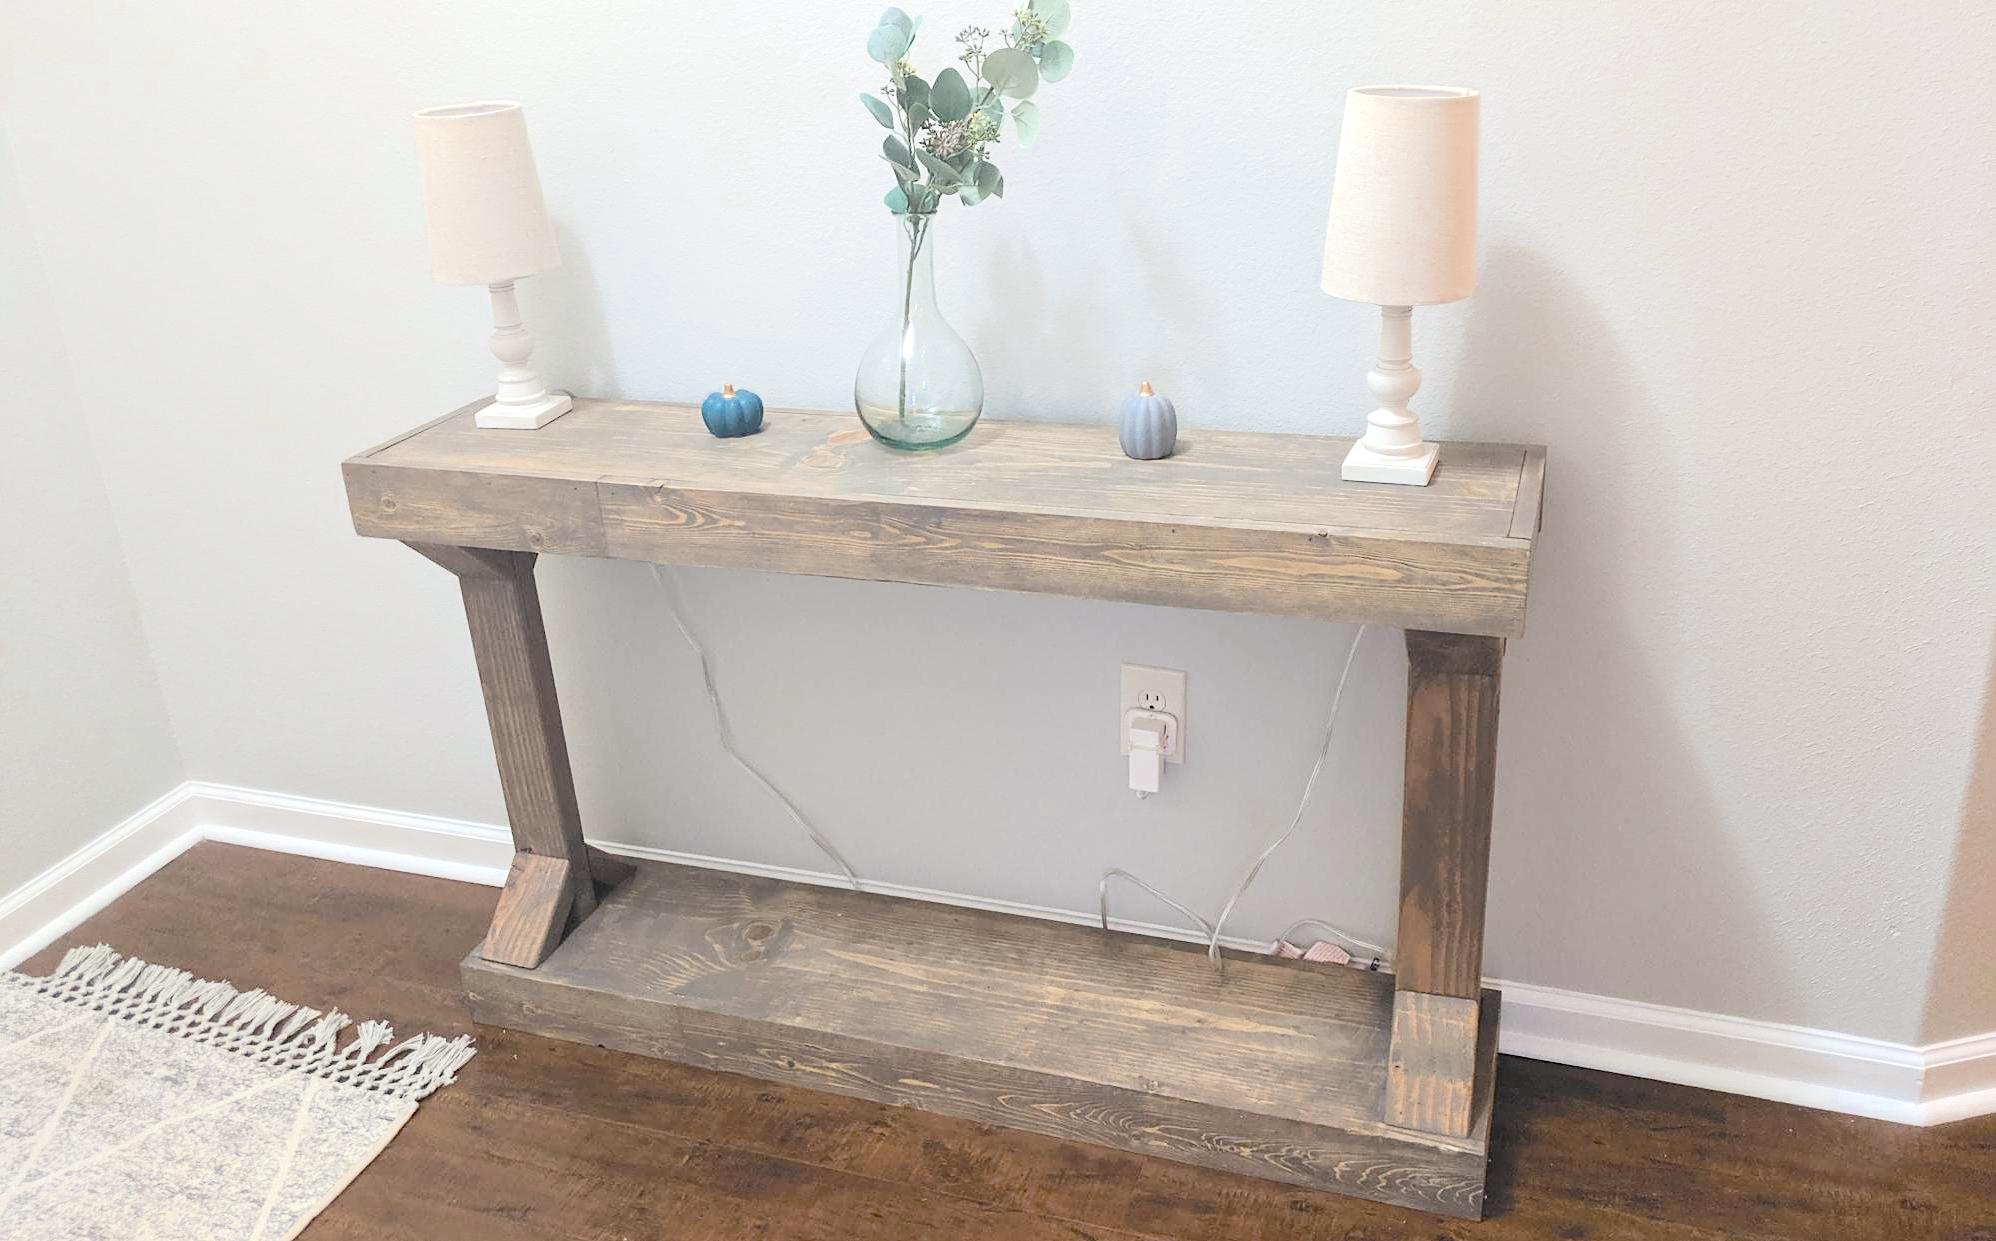
Modern Console Table

Submitted by Anonymous (not verified) on Thu, 10/31/2019 - 13:11

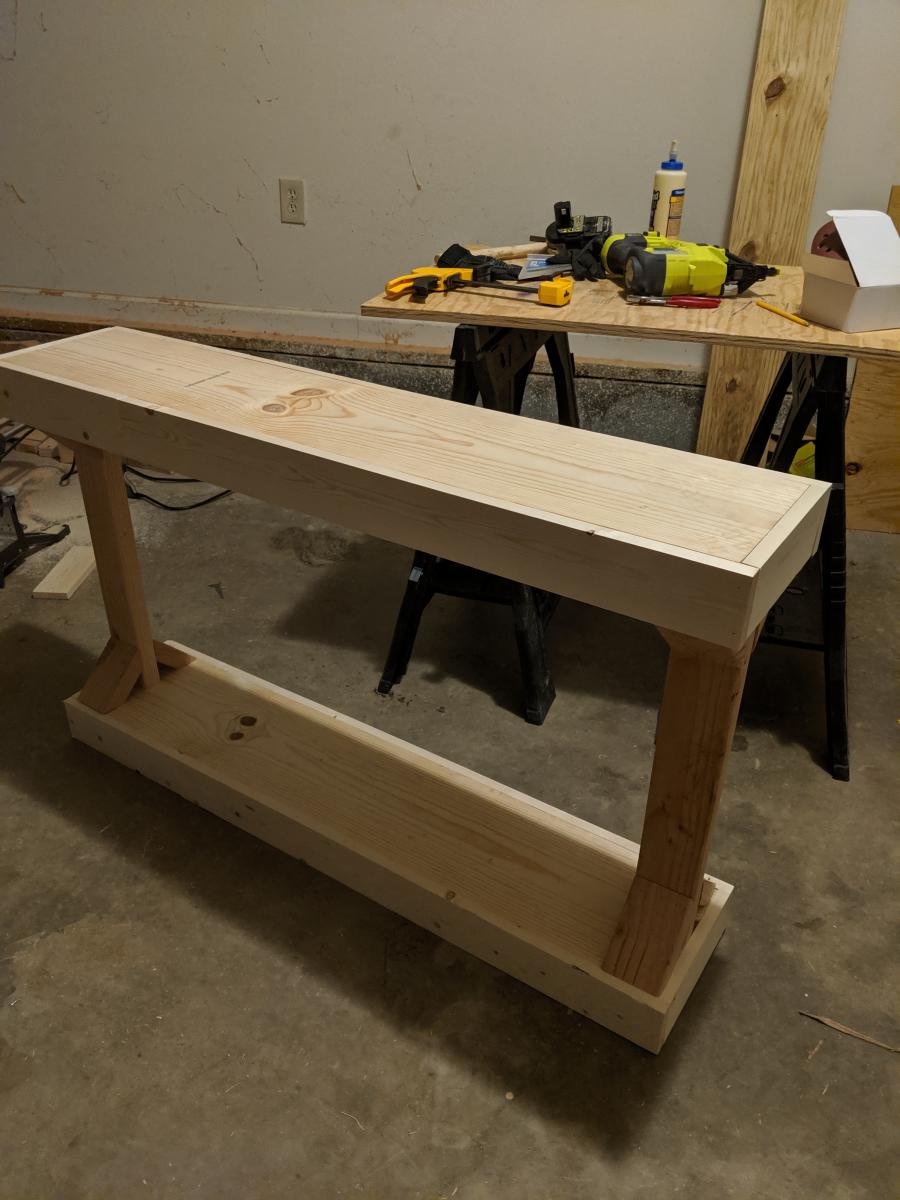
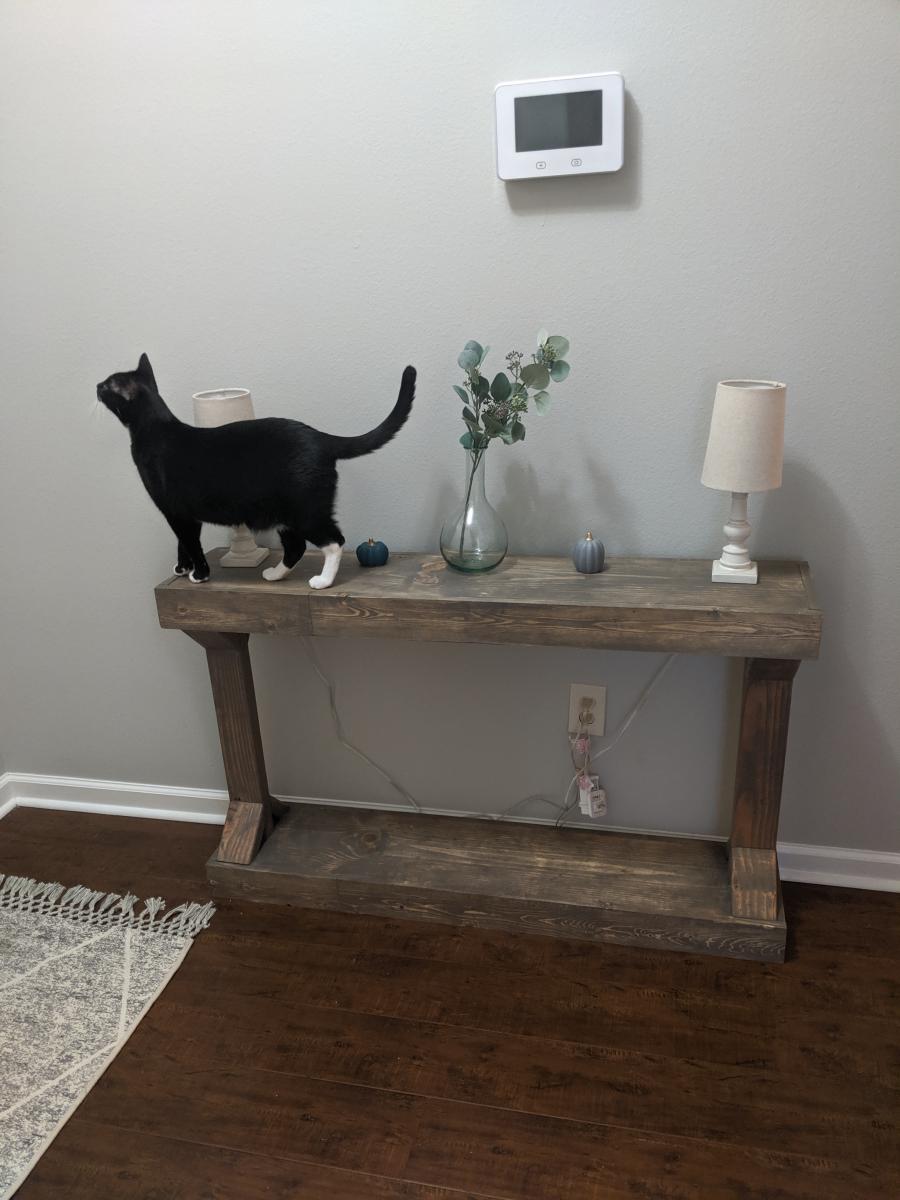
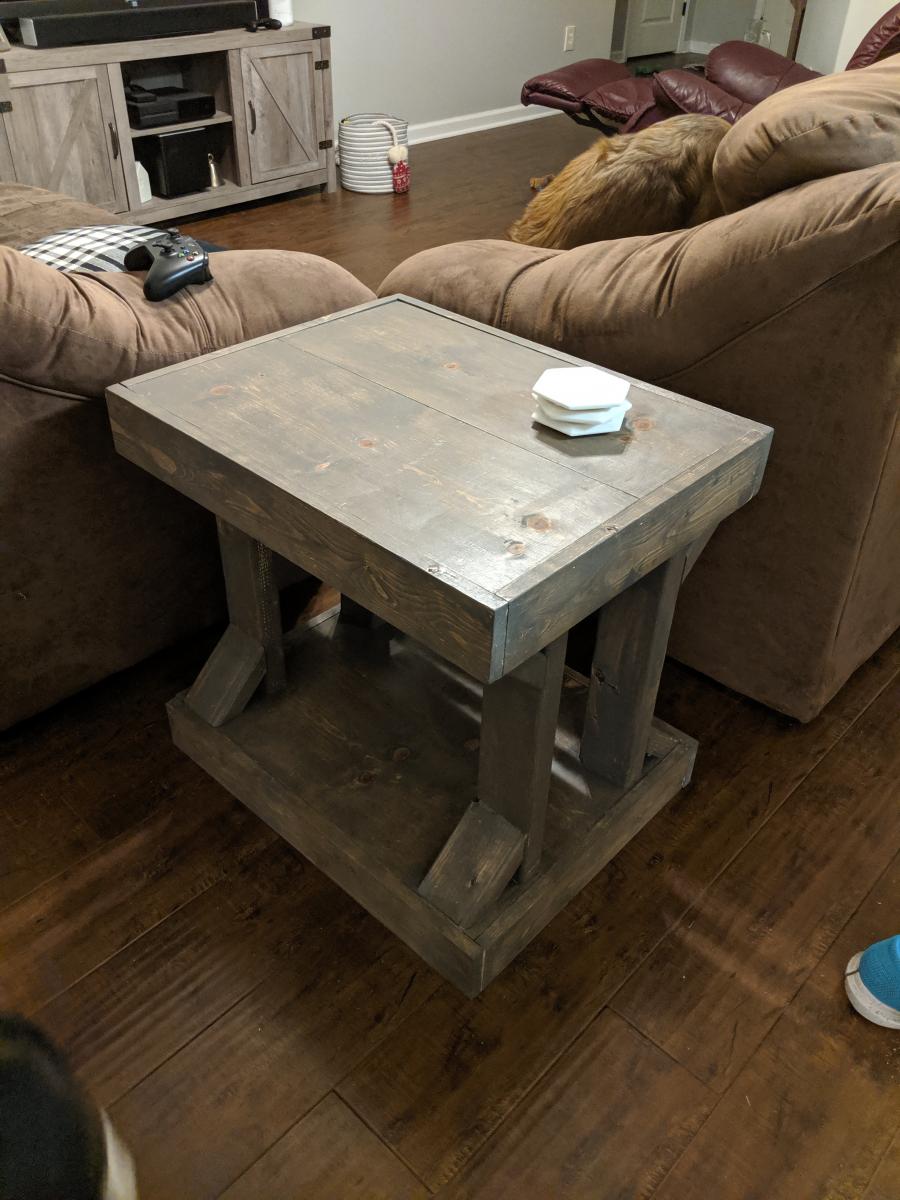
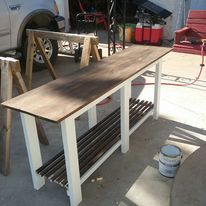
Made my table 4 feet on accident (forgot to cut the 1x10 boards down to 36" before attaching everything) but I kinda like the extra length. I also ended up making the matching side table.

Estimated Cost
$40
Estimated Time Investment
Afternoon Project (3-6 Hours)
Finish Used
Briarsmoke
Recommended Skill Level
Beginner

Comments

Mrs.Green

Fri, 04/10/2020 - 21:07

If I wanted to make this taller like 3×6ft what size wood would do I need? I want to make this stand for my daughters urn area. She passed away last month and I'm trying to make this perfect. The sooner the better.. Thanks! Love all your work..

Simplified Farmhouse Doll Bed

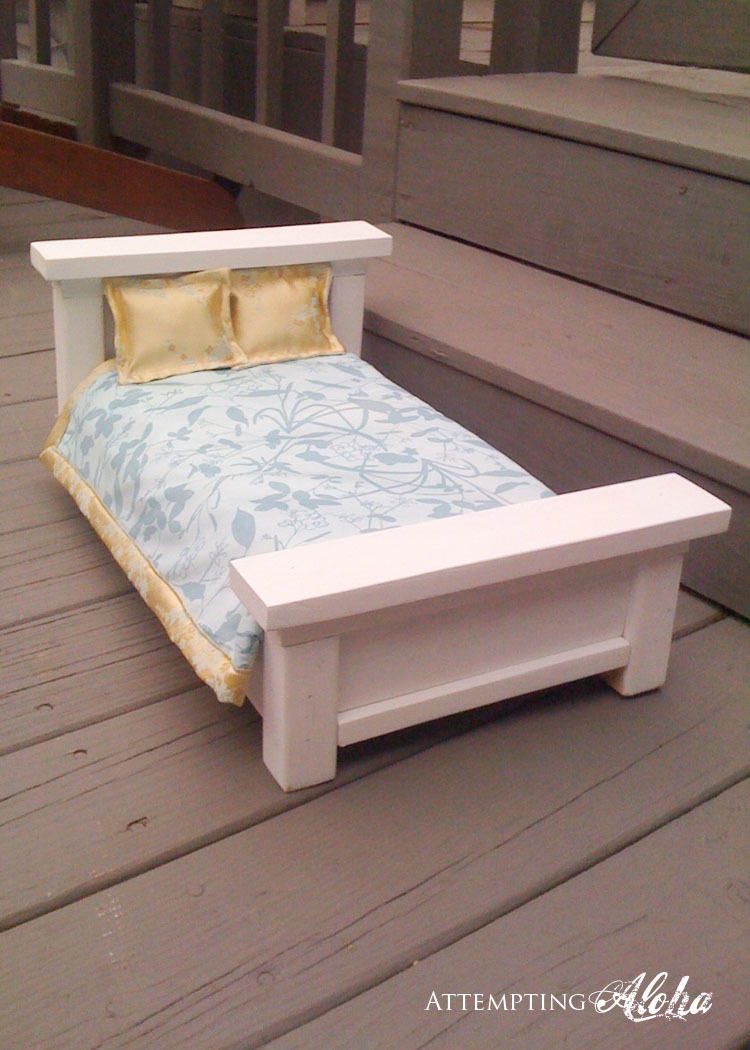
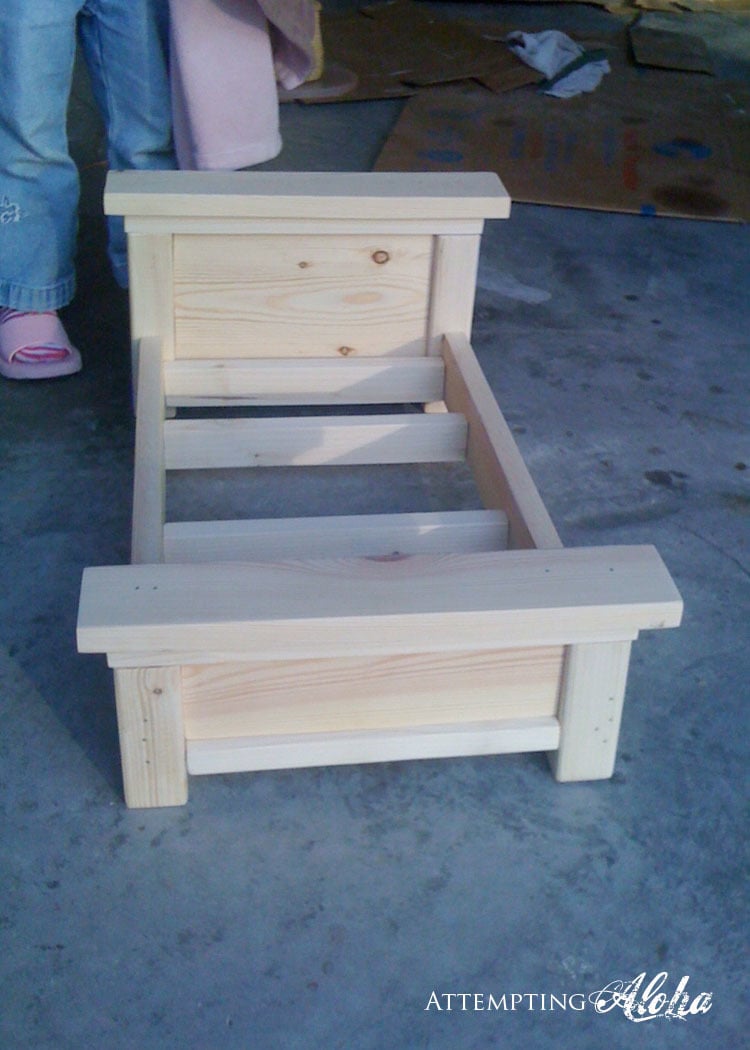
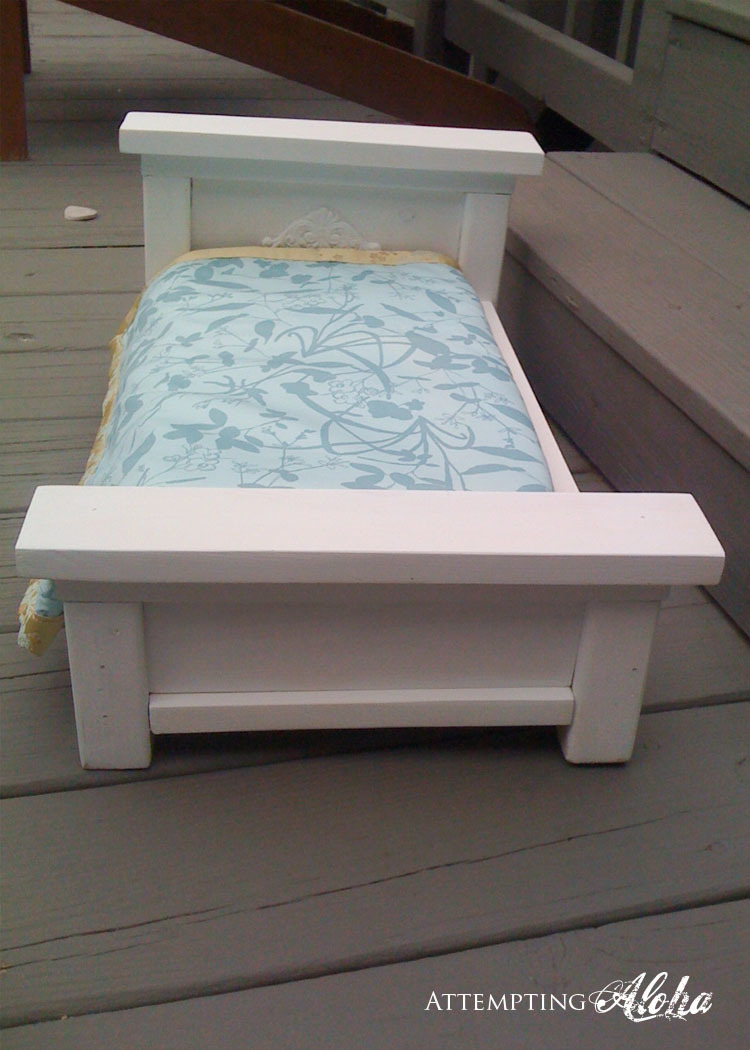
I love Ana's farmhouse doll bed. But I've made a couple beds/cribs, and I know how tedious it can be to make the slats, so I cheated and used a 1x6 across the headboard instead of the slats and a 1x3 (turned lengthwise) for the footboard. :) It was a gift for my daughter's friend who is using it for a stuffed animal, so we made it more narrow as well. Details on the changed dimensions can be found on my blog.

Estimated Cost
$1-6 depending on scraps you have around
Estimated Time Investment
An Hour or Two (0-2 Hours)
Finish Used
Zinsser primer, semi-gloss latex paint, and polyacrilic topcoat.
Recommended Skill Level
Beginner

Simple Modern Toy Box with Lid

Submitted by christyp on Fri, 01/03/2014 - 11:13

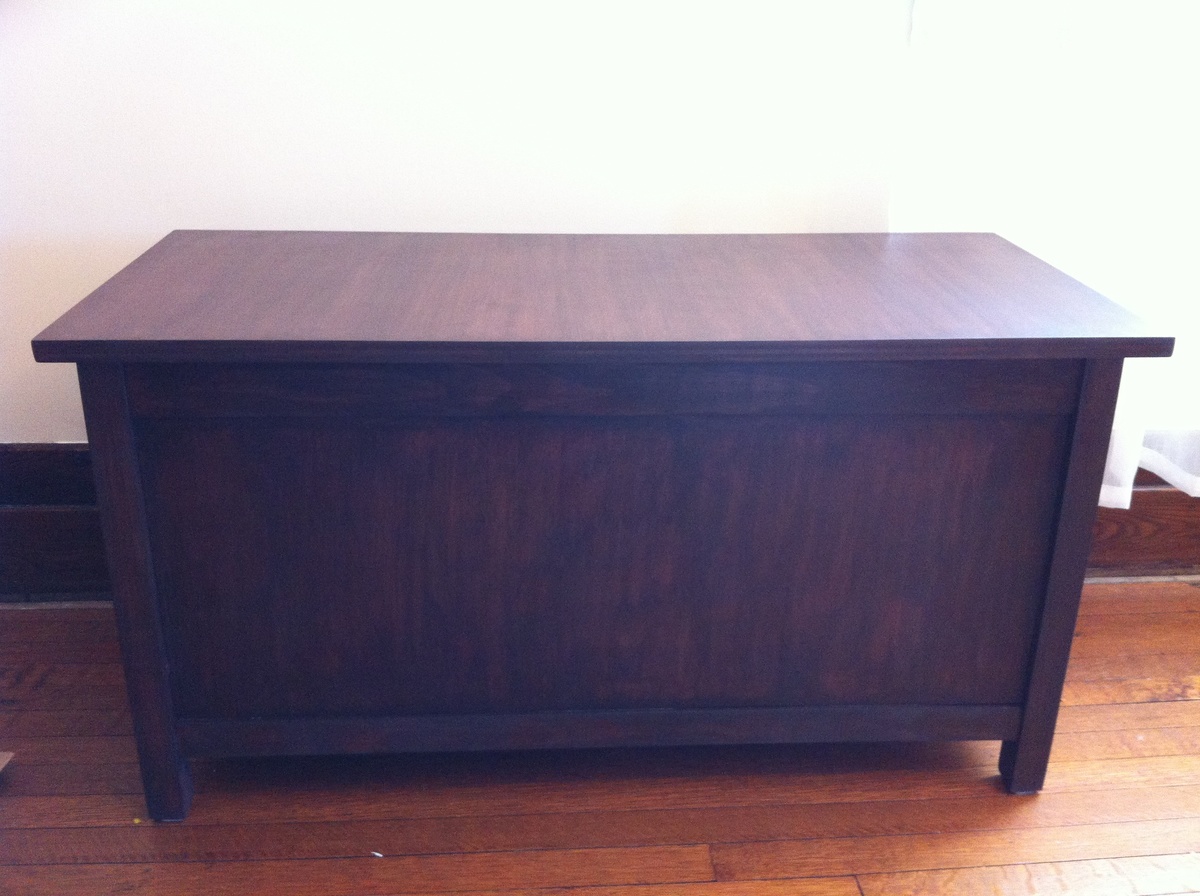
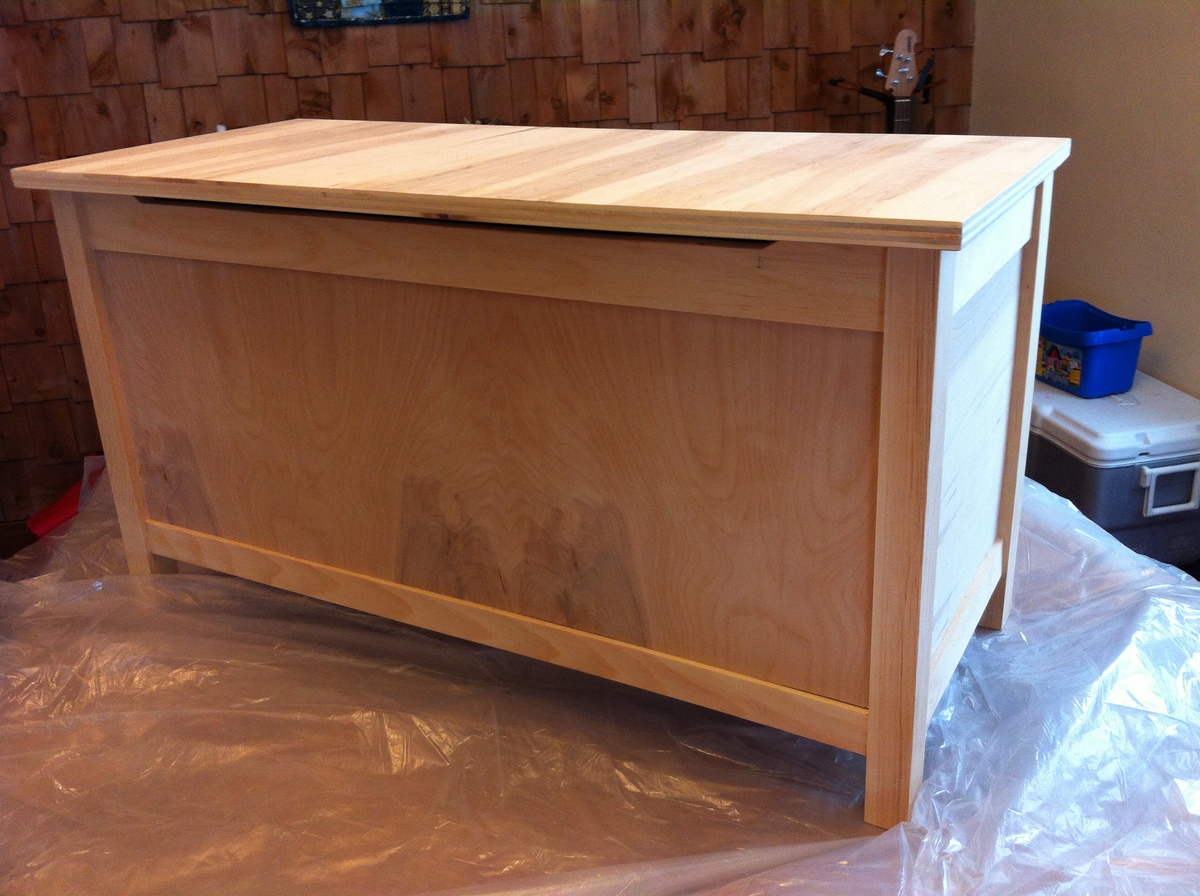
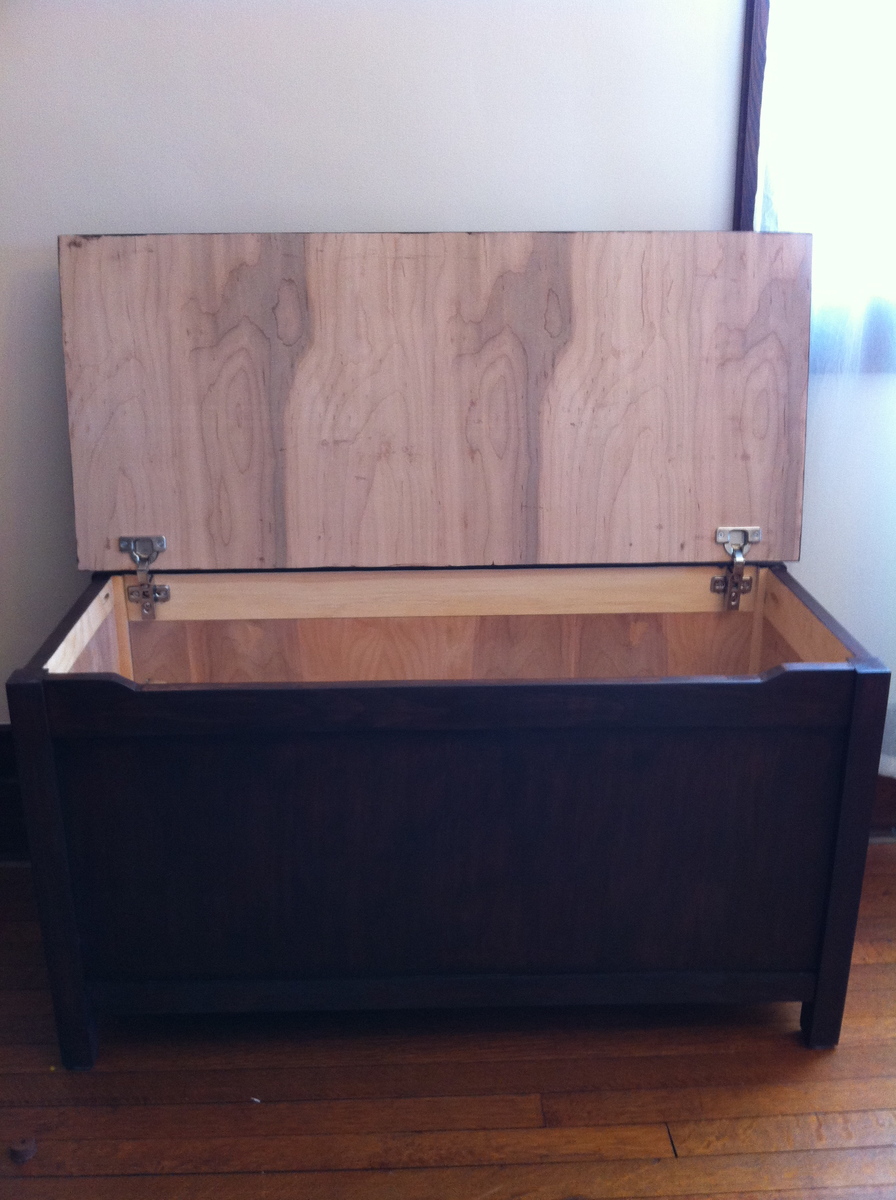
I made this for our kids for Christmas. It was originally meant for their costumes but we loved the size, so we decided to use it for toys and a bench for meals at family gatherings. We're so happy with how it turned out!
Estimated Cost
$50-100 (i used pine for the 1x boards so increased the cost)
Estimated Time Investment
Weekend Project (10-20 Hours)
Finish Used
Saman water based stain, American walnut with a little chocolate stain mixed in.
Recommended Skill Level
Beginner

Worked great. Followed plans exactly..

Submitted by Anonymous (not verified) on Wed, 03/23/2016 - 08:10

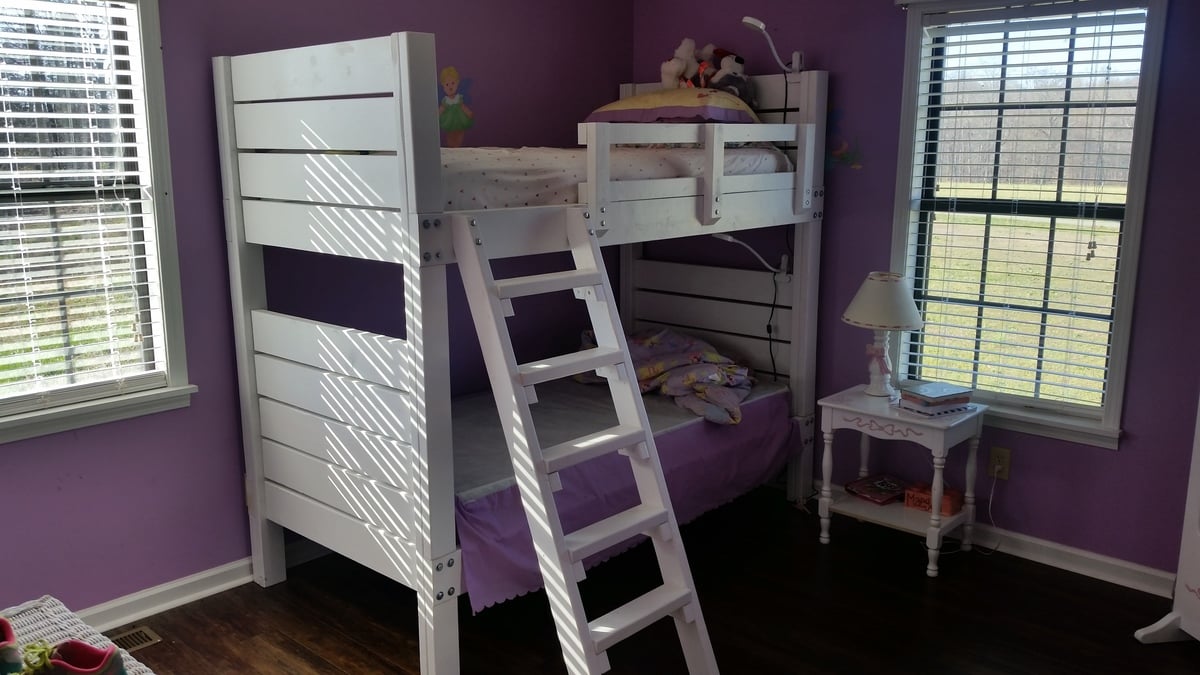
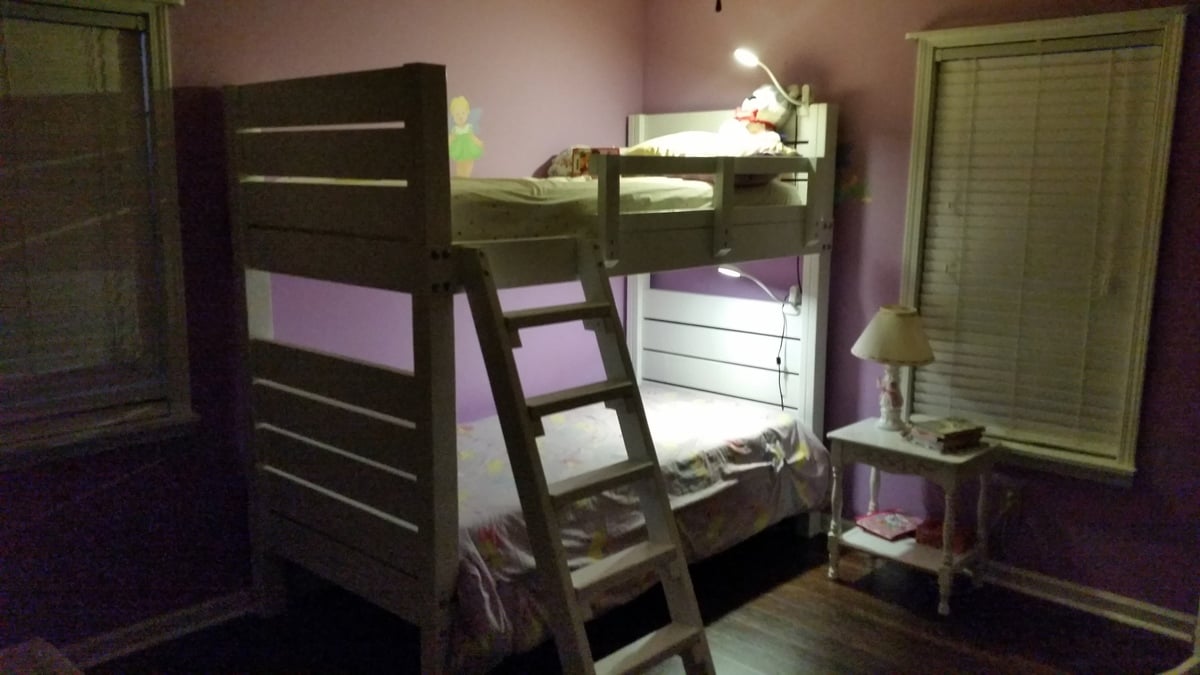
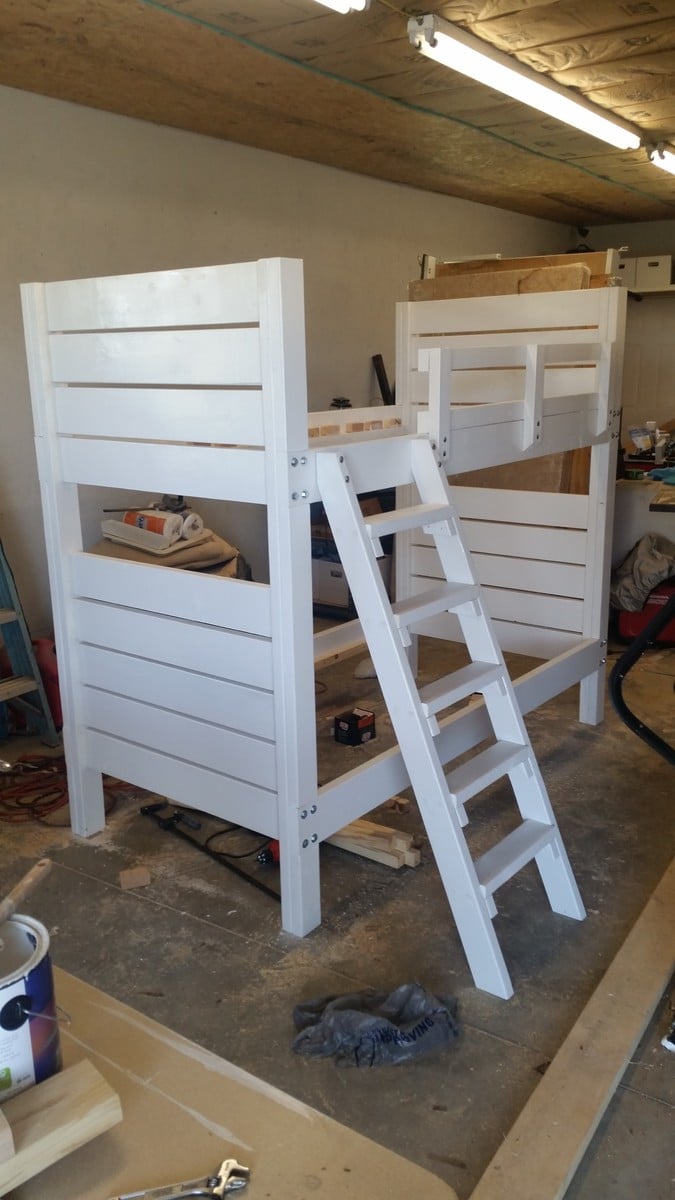
 Followed the plans exactly and all worked out perfectly.  I designed my own ladder and rails.  Kids love this bed.  Took about 1 gallon of valspare 2000 paint to paint everything.  

Built from Plan(s)
Estimated Cost
$175 total. including paint ($20) and nuts, bolts, and screws ($30).
Estimated Time Investment
Weekend Project (10-20 Hours)
Finish Used
White gloss valspar 2000
Recommended Skill Level
Beginner

Comments

Off the cuff

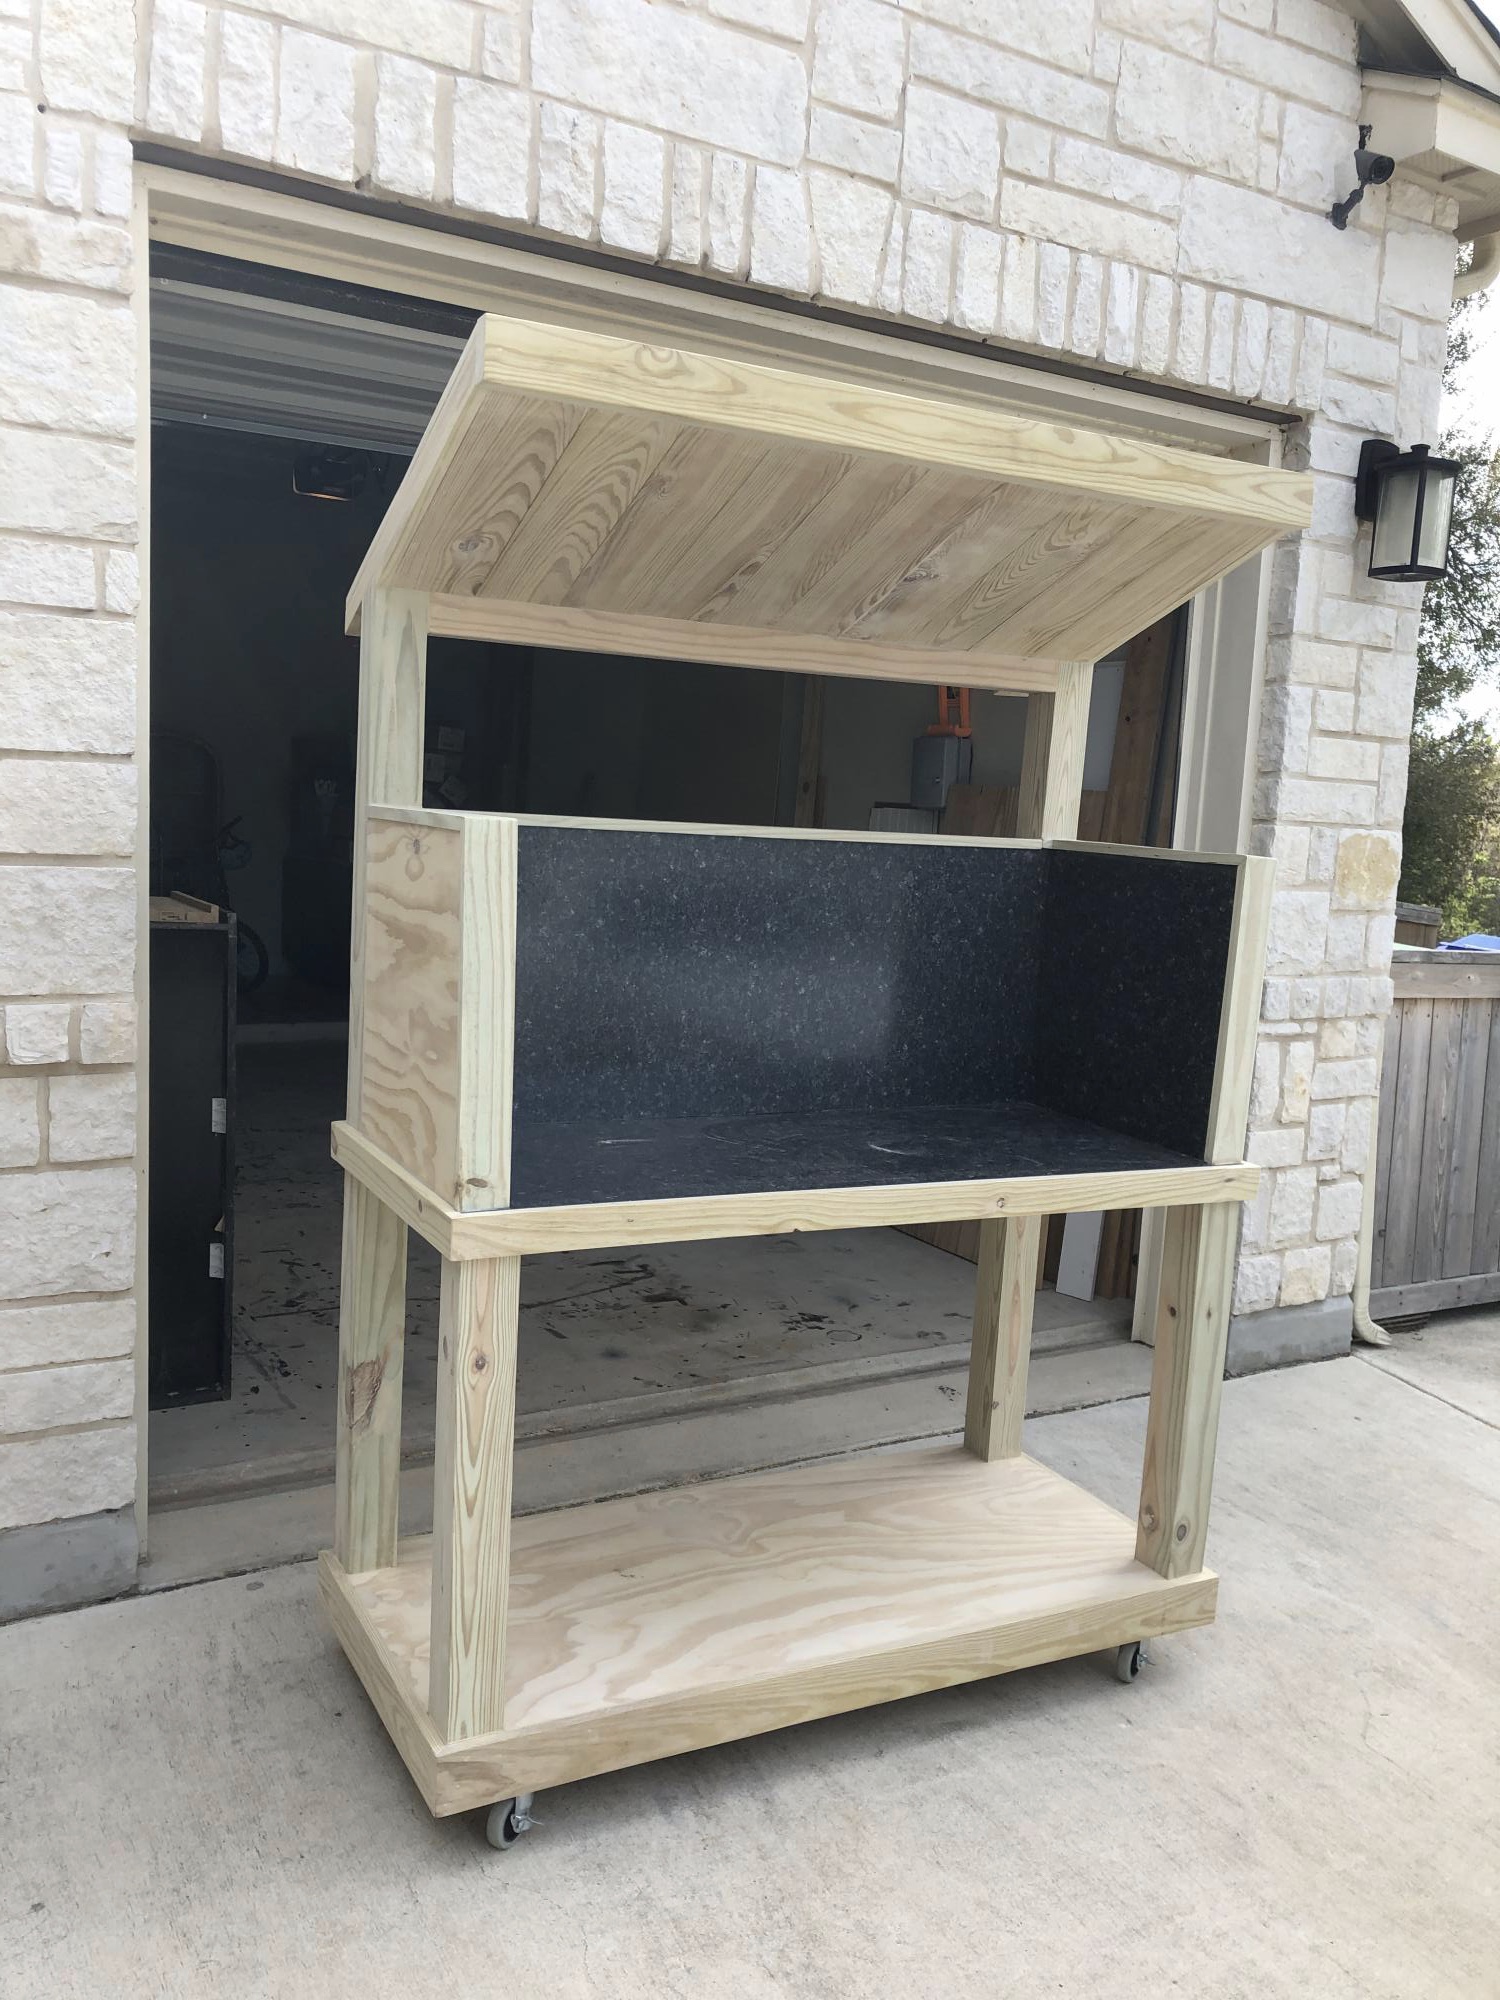
Portable (rollerized) Outdoor burner work station with Formica surface. Just because. Not bad for disabled vet. No plans..just thought it out.

Wood Console

Submitted by Anonymous (not verified) on Mon, 07/24/2023 - 10:27

Bed I built from a Shanty2chic plan. Also a Sofa Table inspired by some of the plans I've seen of yours.


bed

Tidy Up Coffee Table

Finished our tidy up table! A couple of tweaks: I didn't want to kreg jig the boards together because I have a tendency to split 1x's when using a lot of joins. I tried drilling from below, but the 2x2 furring strips were so soft that I couldn't get my warped 1x6's to suck down without the screws popping through, even when changing to 1 1/4" ones. So, I countersunk two holes on each end of each board, and used 3/8" buttons to fill them to provide a decorative element. I LOVE THEM! Not only are all my boards flush, but the top is now so pretty. I secured the middle by screwing in from below with 2" screws, but since I didn't need to make them so tight to get my boards flush they no longer popped out. I hope that makes sense.
Also, the sides are pretty wobbly without the trundle in there, so my husband suggested adding L brackets to each corner. Success! It's now solid as a rock. We screwed in from the outside and filled with more buttons. For those of you who don't like the raised look, they also have flat button hole plugs. They take stain so much better than wood putty.

Lastly, I chose 1 5/8" casters that move in all directions. Bad idea. It gives the proper 2" height, but makes the trundle difficult to maneuver. Going to try and find some fixed-side one-way casters to replace them. Other than that, it's fantastic!

Estimated Cost
$85 (includes lumber, plugs, brackets and casters)
Estimated Time Investment
Weekend Project (10-20 Hours)
Finish Used
We used my Husky air brushing system for the first time, with Rustoleum Ultimate Stain in Golden Oak. I love this stain because I've never had to wipe it off, and it gives a very even, rich finish. This is the first time I used an air compressor with sprayer for stain, and it was so easy. 10 minutes and I've got an even coat on both the top and trundle. I followed it up with 3 coats of poly on exterior and interior. Will probably add a few more coats on just the top for added protection.
Recommended Skill Level
Beginner

Comments

Bunnie1978

Tue, 03/13/2012 - 13:42

OK, I'm curious... tell me all about it. :)
I love the buttons, they are adorable. The finish does look very natural and charming.

craft island

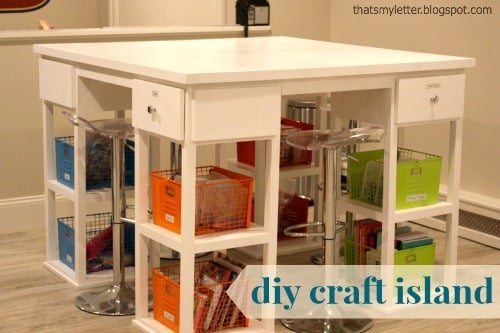
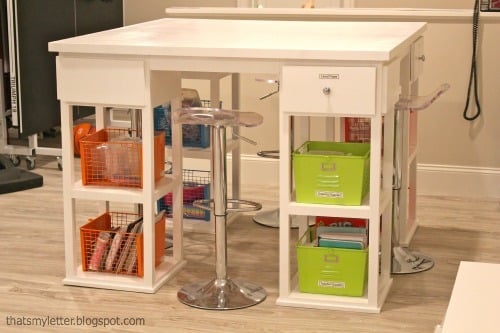
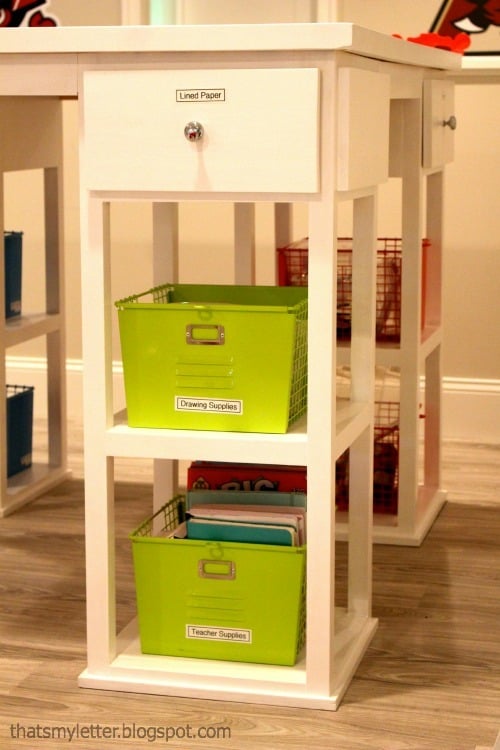
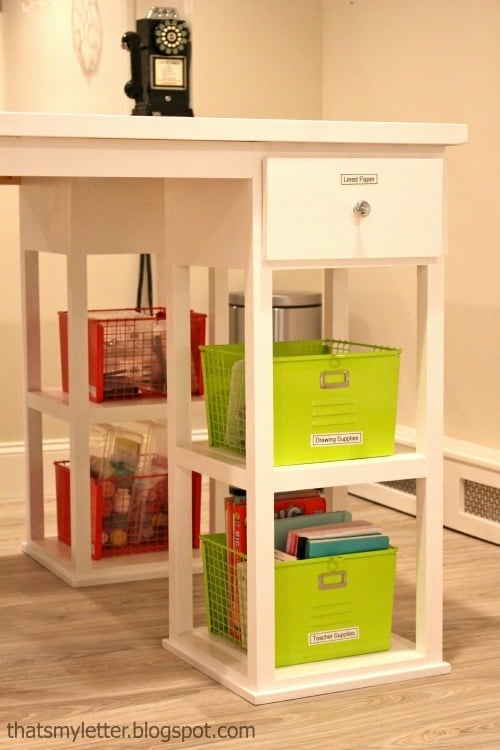
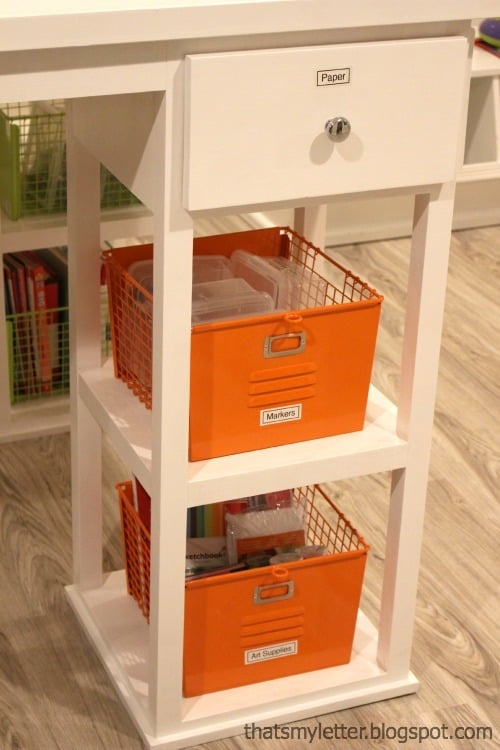
I built this craft island for a friend for her basement playroom space. Click the blog link for full build details and the inspiration picture.

Estimated Cost
$300
Estimated Time Investment
Week Long Project (20 Hours or More)
Finish Used
1. ZInsser oil based primer
2. Two coats BM high gloss white enamel
Recommended Skill Level
Intermediate

LOVE these....

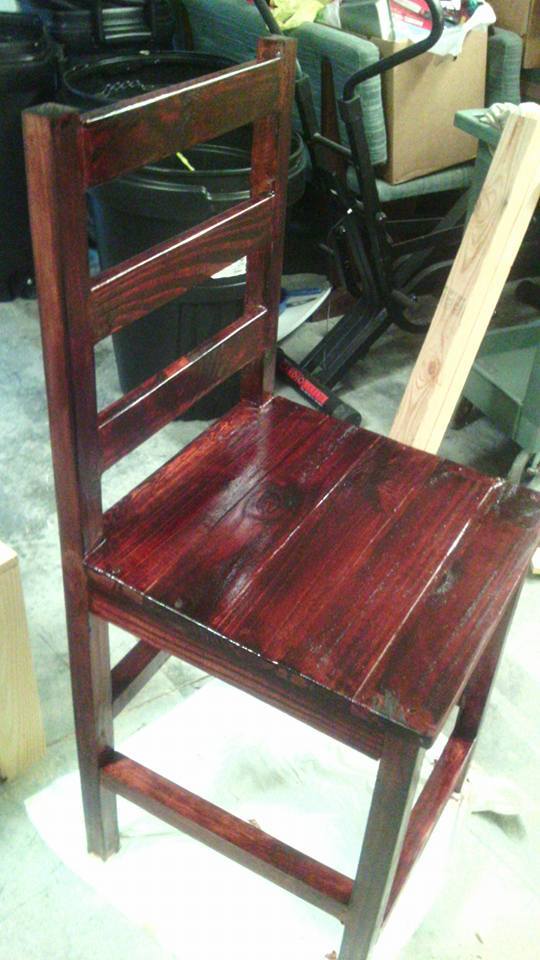
My mom moved into an apartment and had a bar that needed some bar stools so I made two of these bar stools that she loves.

Built from Plan(s)
Estimated Time Investment
Afternoon Project (3-6 Hours)
Recommended Skill Level
Beginner

Recycled pallet crates

Submitted by tull0032 on Sat, 03/17/2012 - 07:18

I had some left over pallets from another project I was doing and decided to make some recycled wood planter boxes to liven up our decking area. The whole project only took a few hours to make both boxes and used entirely reclaimed pallet wood aside from the two end pieces.

Estimated Cost
$3
Estimated Time Investment
An Hour or Two (0-2 Hours)
Finish Used
Sanded back pallet wood
Recommended Skill Level
Starter Project

Comments

Christmas Presents

Submitted by Farmer Kim on Tue, 01/07/2014 - 14:56

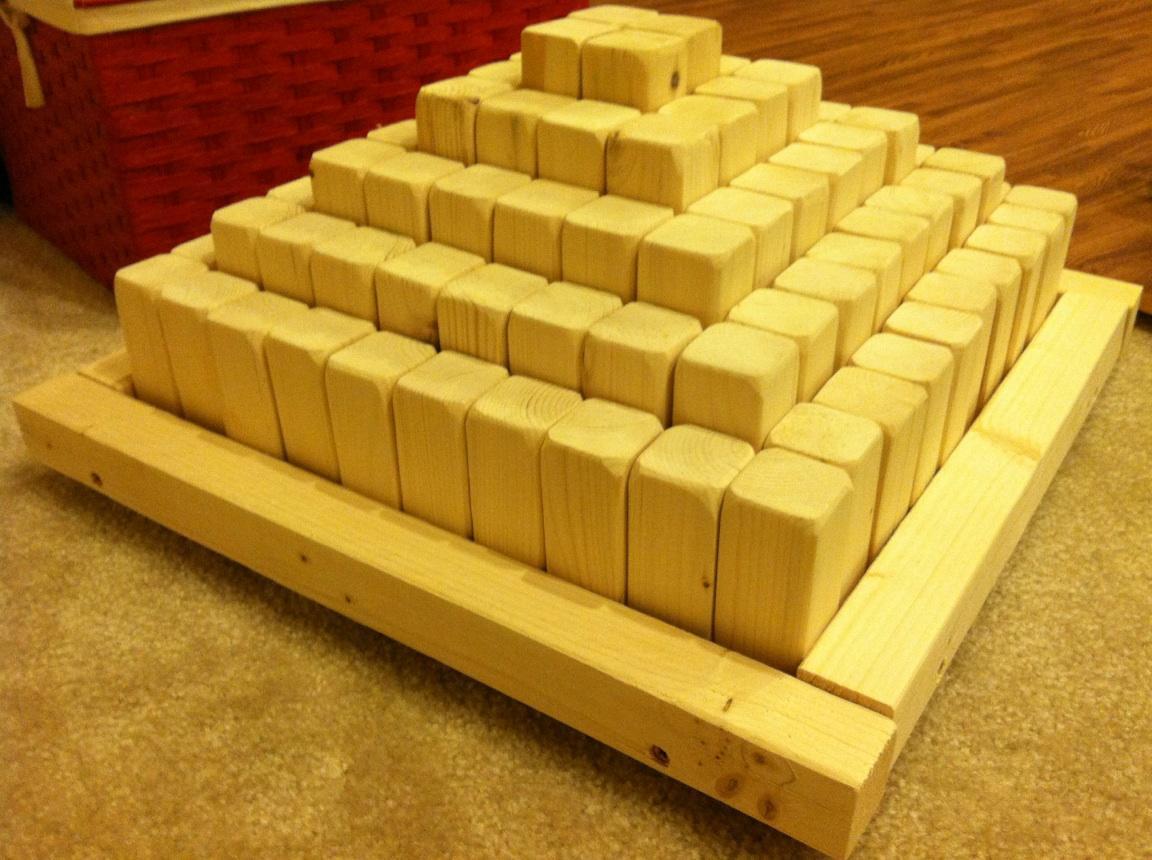
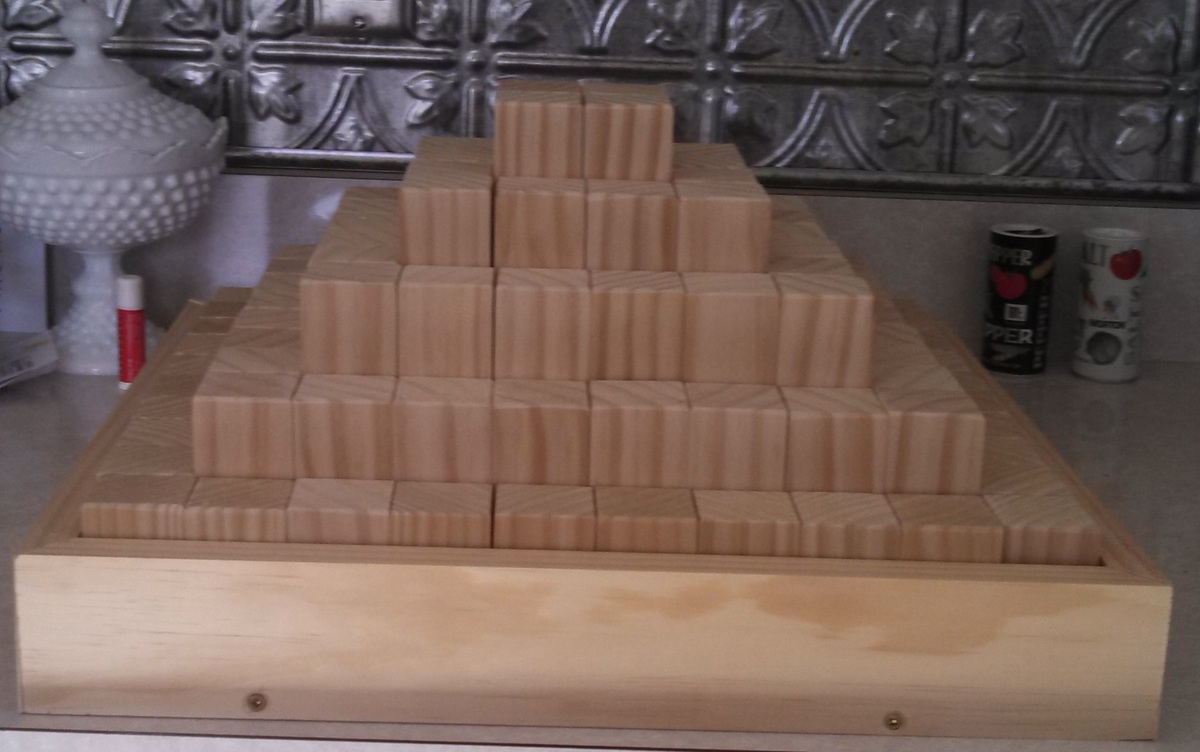
I got a saw for Christmas and decided to make Christmas presents right away. This was my first project and both of the recipients were very happy with their presents. I have gotten a ton of compliments on the pieces. The blocks were very easy to make, the frame took a little more work.

Estimated Time Investment
Afternoon Project (3-6 Hours)
Finish Used
None
Recommended Skill Level
Starter Project

Comments

Pokemon Center

Submitted by Anonymous (not verified) on Tue, 03/29/2016 - 11:15

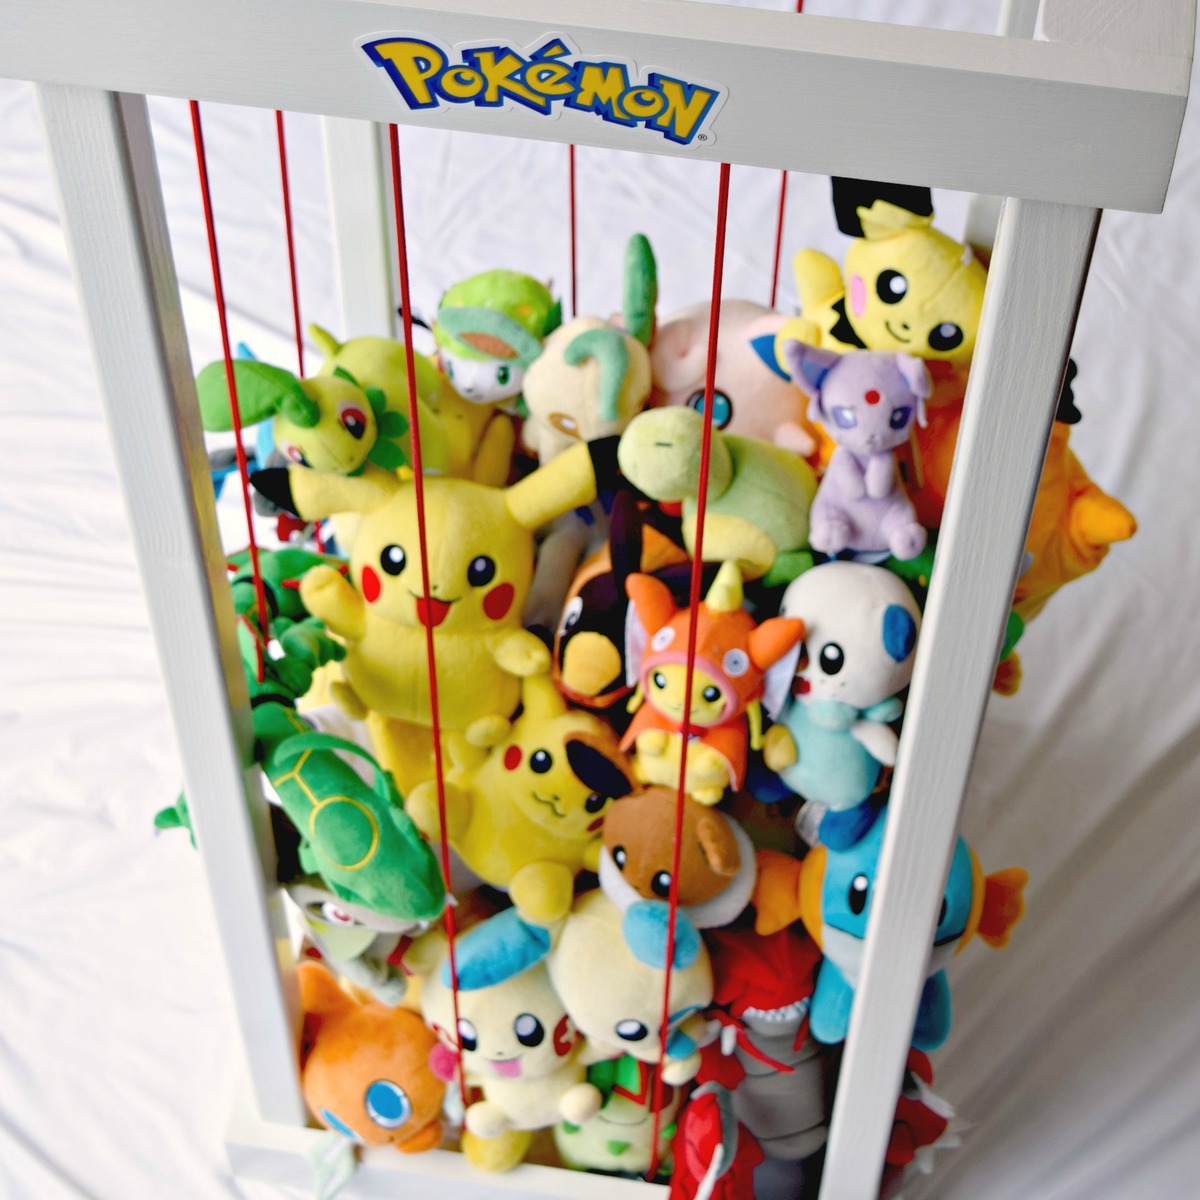
My son is obsessed with Pokemon, and has amassed quite the collection of Pokemon plush toys. I wanted a simple way to keep them contained but accessible, and this was the perfect solution! I changed a few things in my build to make it shorter and square, and used shock cord instead of rope for more give. My son loves it!

Built from Plan(s)
Estimated Time Investment
Afternoon Project (3-6 Hours)
Recommended Skill Level
Starter Project

Modified Rustic X

Submitted by Anonymous (not verified) on Sat, 11/23/2019 - 19:26

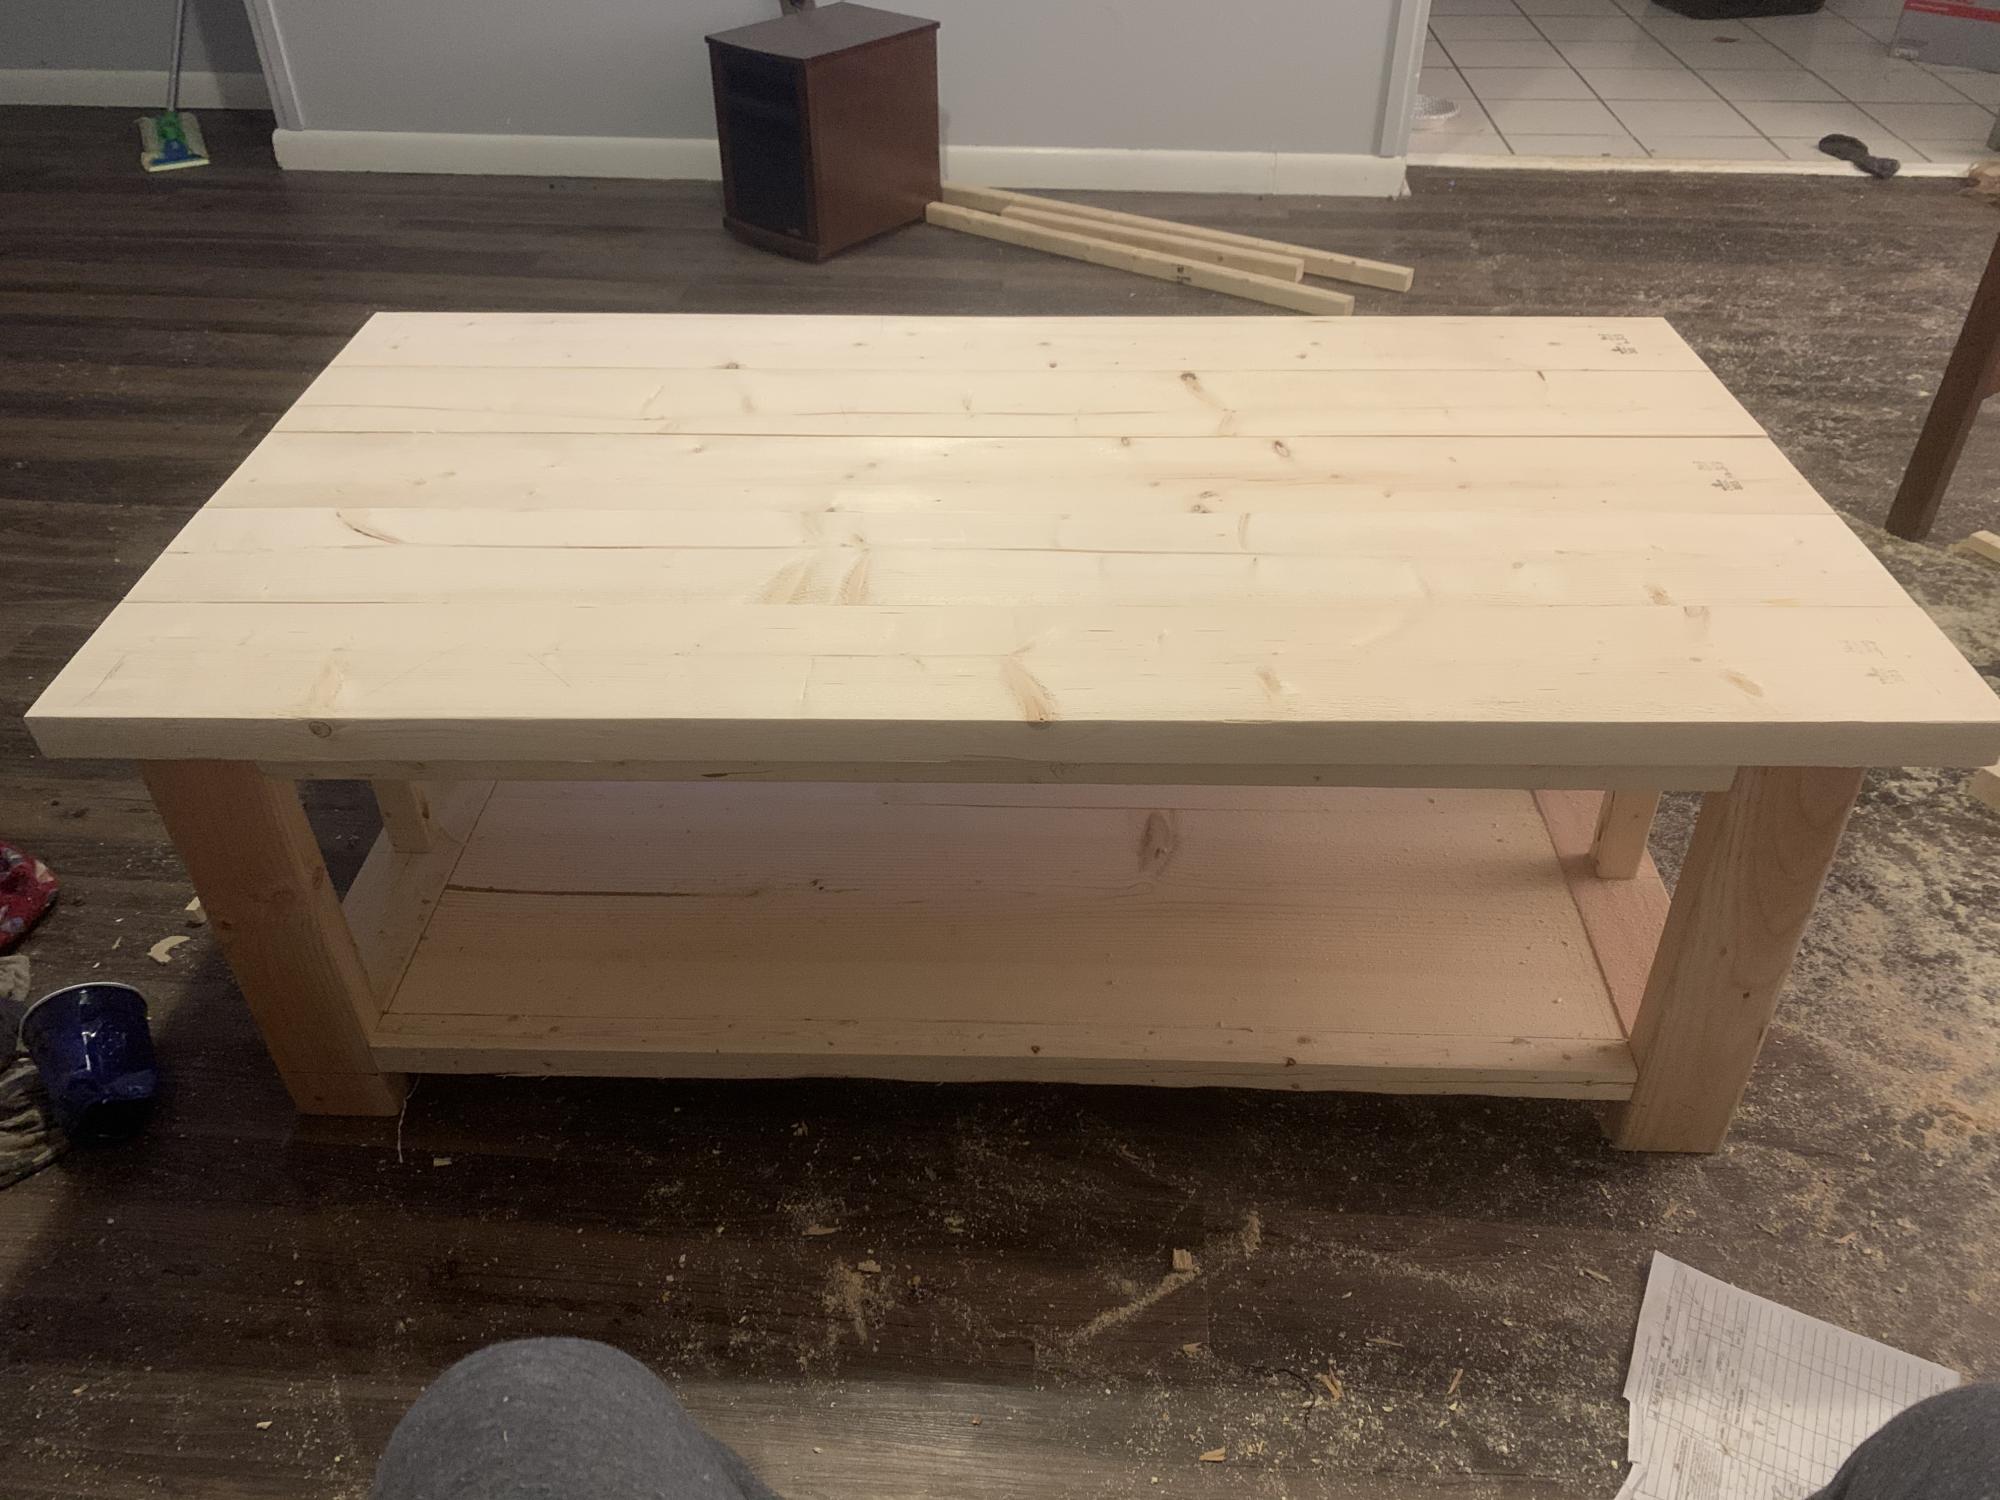
Pondering how to finish it. I did modify the ends using 2 uprights rather than the X. It was a fun weekend project. Thank you for you inspiration!

Built from Plan(s)
Estimated Cost
$50
Estimated Time Investment
Day Project (6-9 Hours)
Finish Used
Will probably paint it white.

DIY Brew Station

Submitted by Anonymous (not verified) on Sun, 07/30/2023 - 14:38

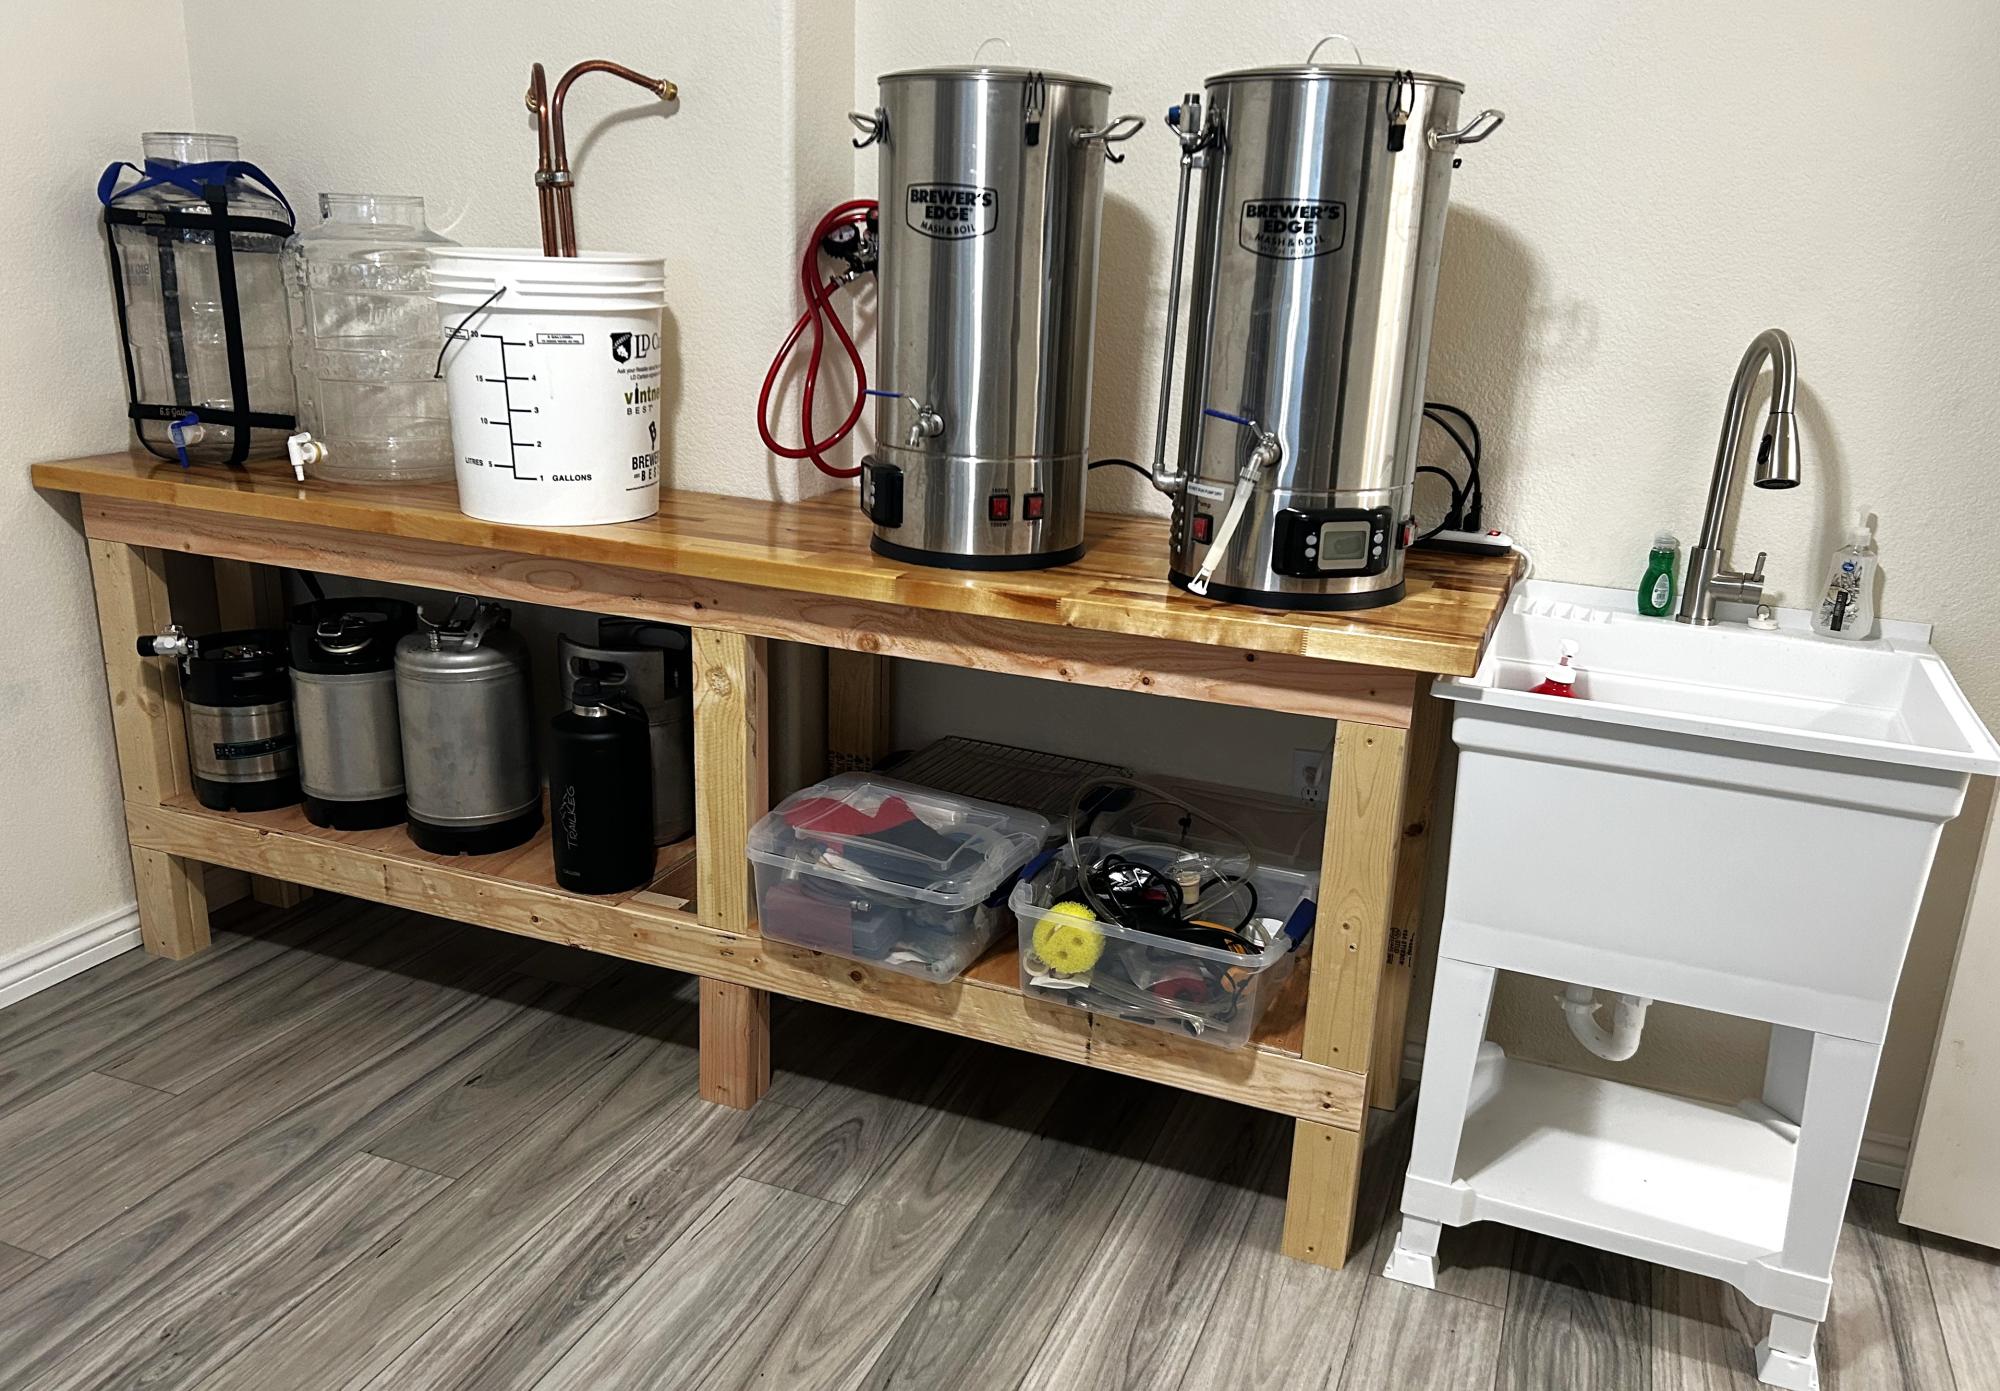
I used your workbench plan to build my Brew Bench. I changed the measurements to fit my space and used a butcher block for the countertop. Very sturdy and pretty easy project. Took one day to build.

Scott R

Comments

Benchright Coffee Table

Submitted by mactanya on Mon, 03/19/2012 - 17:46

Made the Benchright Coffee table. Costs too much - time to make it myself.

Built from Plan(s)
Estimated Time Investment
Week Long Project (20 Hours or More)
Finish Used
minwax jacobean and minwax polycrilic
Recommended Skill Level
Intermediate

Comments

mactanya

Tue, 03/20/2012 - 20:07

Thanks Megan.
Couple of my next projects are going to be the matching TV stand and the buffet for which I drew up plans. It'll be probably another month or two before I can find time to do it.

My First Brag

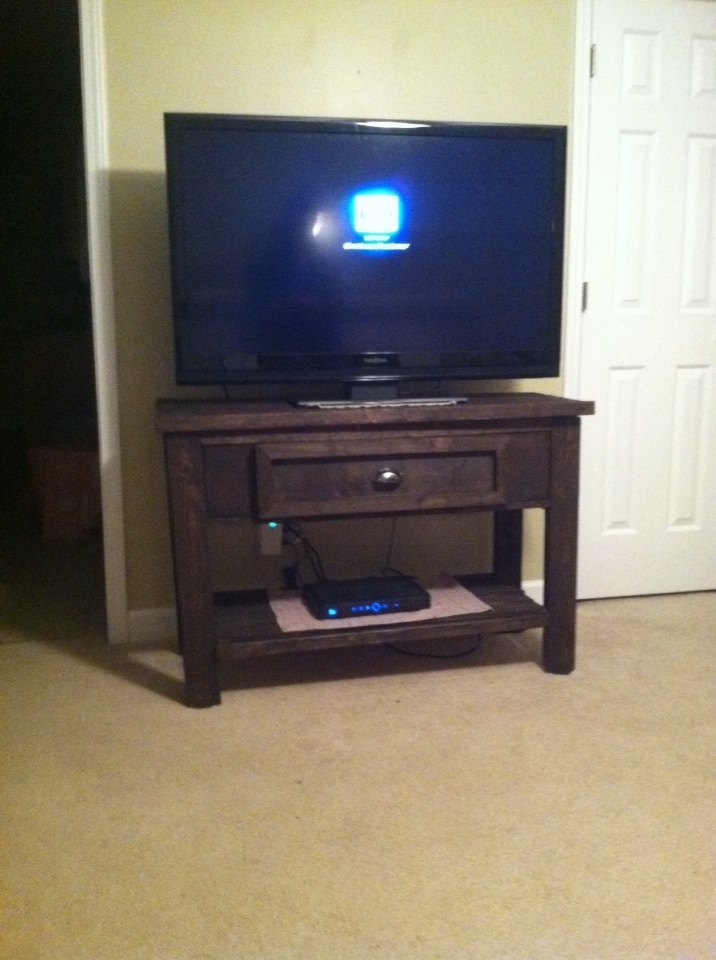
I used the plans from the Ridge Media Console, but modified it a tad. I adjusted the measurements for my space and used pallet wood for the lower shelf. I also decided to make a drawer instead of the flip down storage.

Built from Plan(s)
Estimated Time Investment
Weekend Project (10-20 Hours)
Finish Used
Kona
Recommended Skill Level
Beginner

Coastal End Tables

Submitted by Anonymous (not verified) on Thu, 03/31/2016 - 17:53

We changed the finish of the tables from the original plan, but everything else was the same. We loved the slats on the bottom of the table, and they turned out even better than expected. The two end tables are the first pieces of furniture we ever built, but the plan was very easy to follow without much knowledge needed. The kreg tool and screws are truly magic.

Built from Plan(s)
Estimated Cost
$150 for 2 tables
Estimated Time Investment
Weekend Project (10-20 Hours)
Finish Used
Walnut stain for the top (2 coats)
A bright white paint we had from painting trim (2 1/2 coats)
Recommended Skill Level
Intermediate

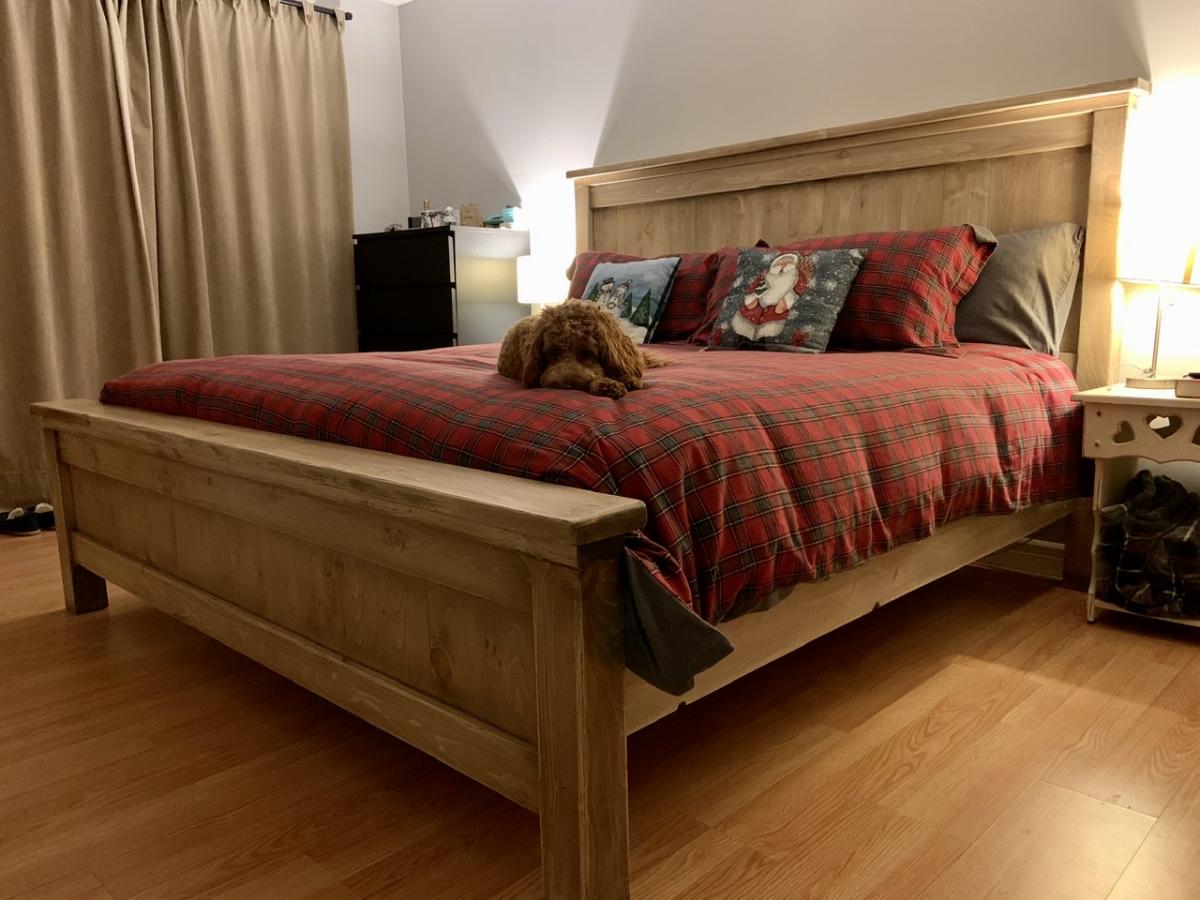
Farmhouse Bed - Canadian King

Submitted by rbernier09 on Thu, 11/28/2019 - 06:39

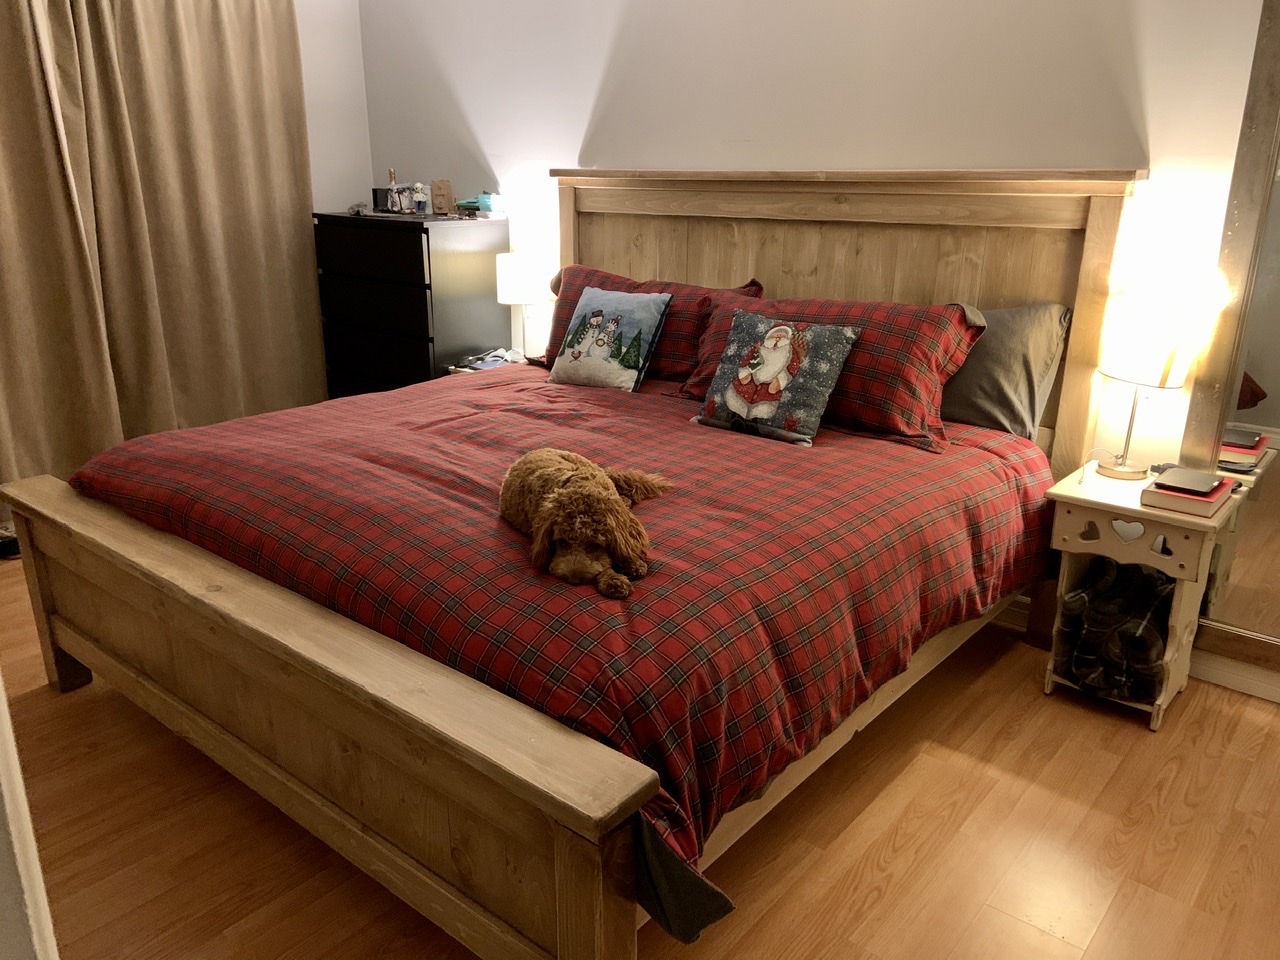
Followed Ana’s plans to the inch and I had no issues at all everything fit like a glove. I used knotty pine for all facing boards except for the 2x4 sandwiched second from the top on both head and footboard (used spruce). I used spruce for anything that would be hidden. Glue and #10 fasteners. Instead of screwing the side rail cleats to the foot/headboard post I used 3.5 inch bolts and washers.

A Canadian King is when your dog owns your bed and allows you to sleep in it.

Estimated Cost
$500
Estimated Time Investment
Weekend Project (10-20 Hours)
Finish Used
Circa 1850 Bleach.
Minwax white wash pickling stain.
Old Masters Wiping Stain - Dark Walnut.
Varathane Diamond water based clear coat - Satin.
Recommended Skill Level
Intermediate

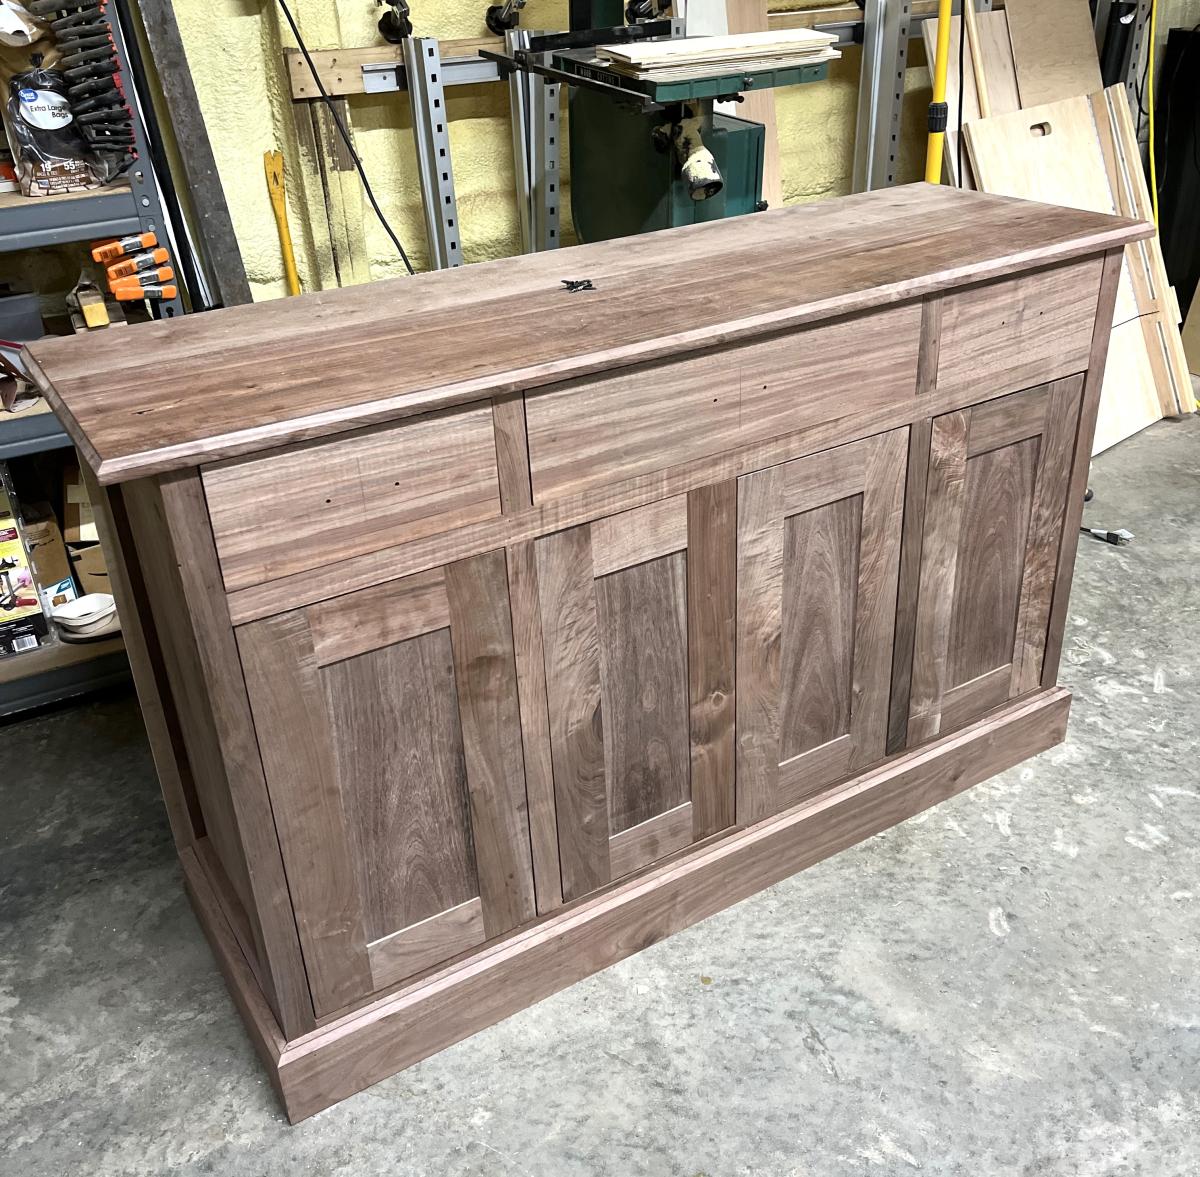
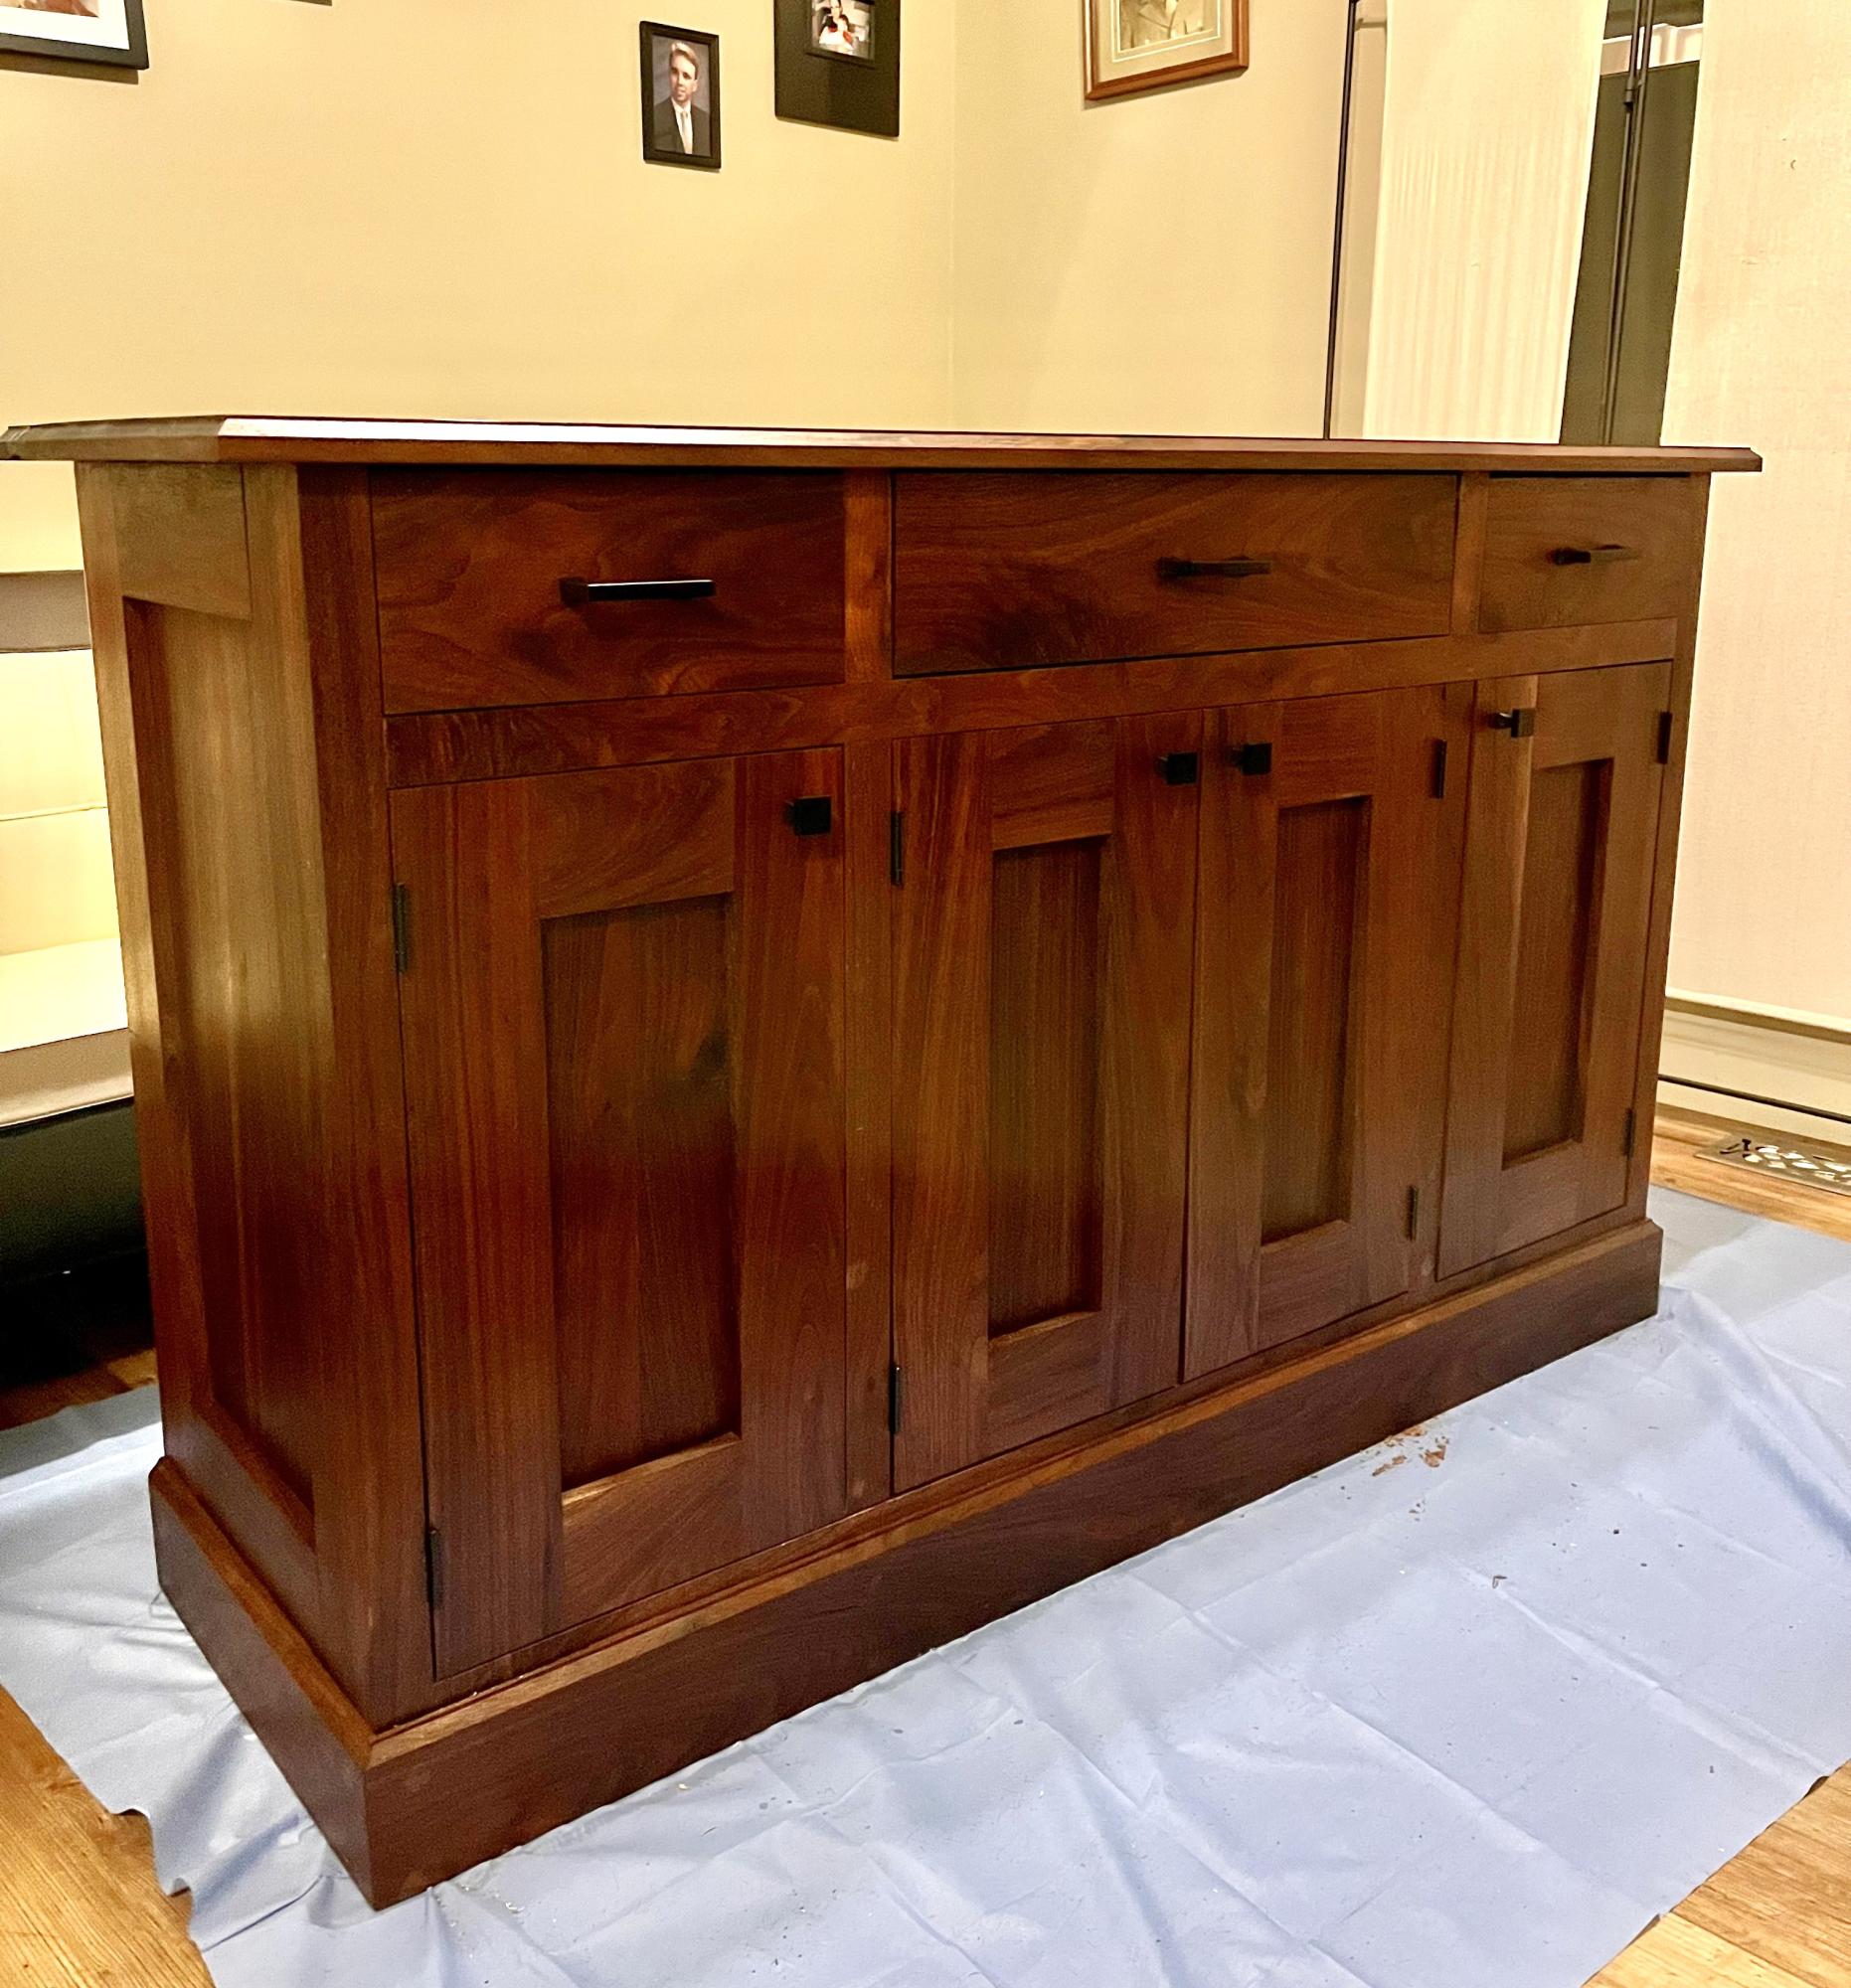
Planked Wood Sideboard

Submitted by Anonymous (not verified) on Fri, 08/04/2023 - 11:23

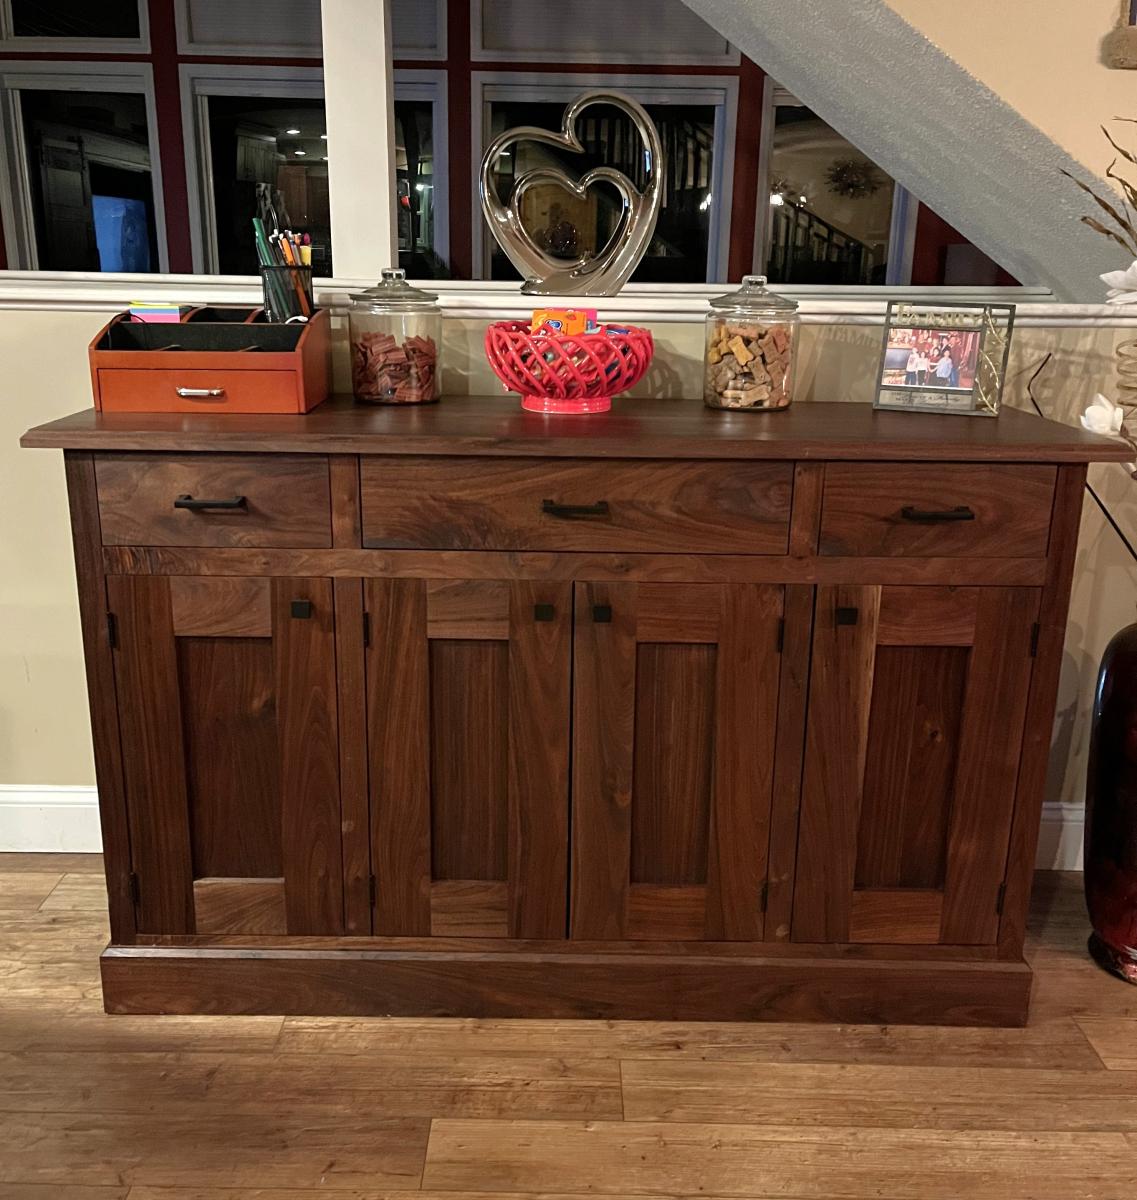
I used a modified version of the Planked Wood Sideboard to fit the space I had. With the exception of the frame, it’s made of walnut. I love the way it turned out. Thanks Ana!!

Adam Benns

Built from Plan(s)
Back