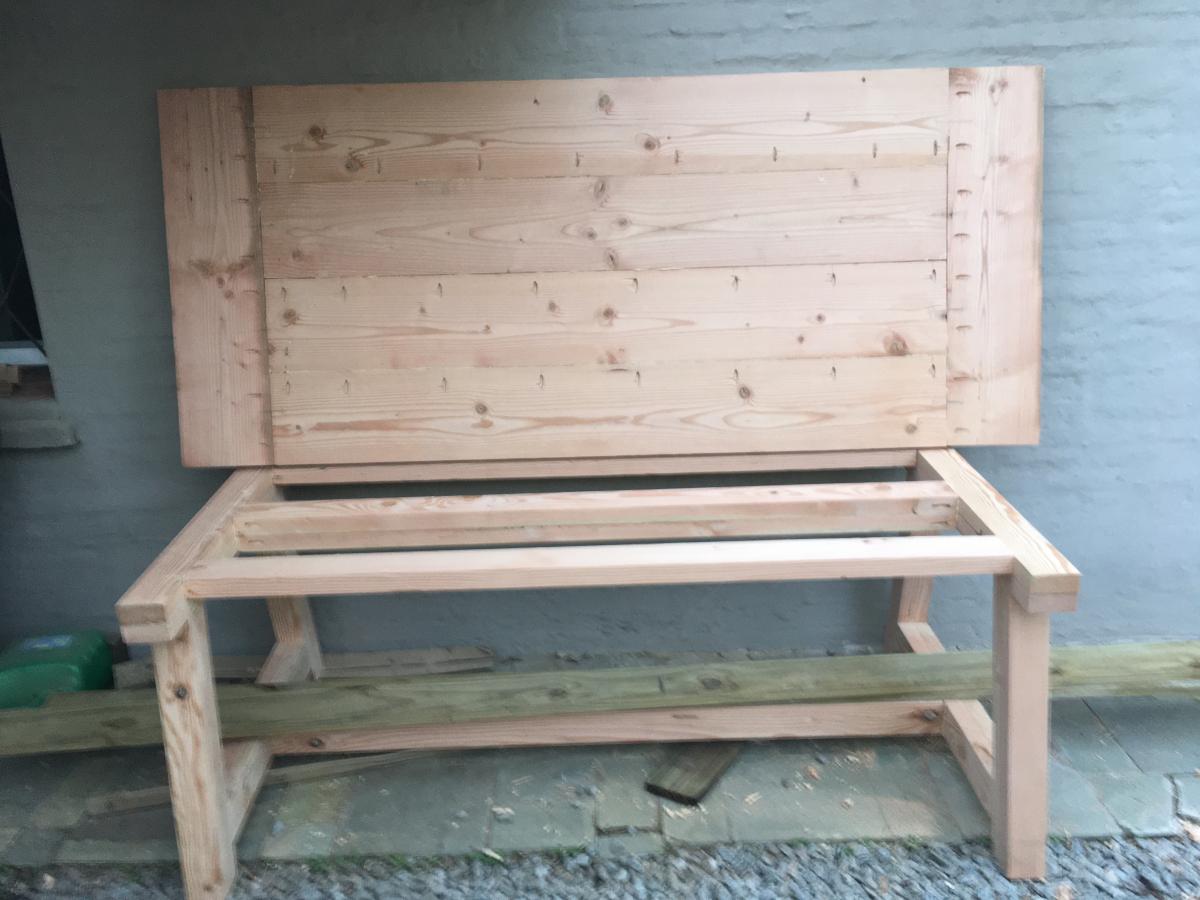
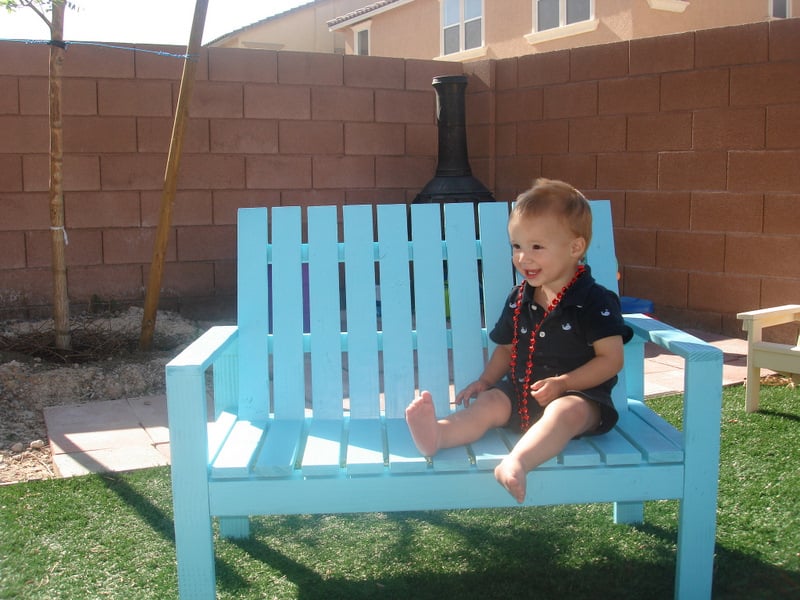
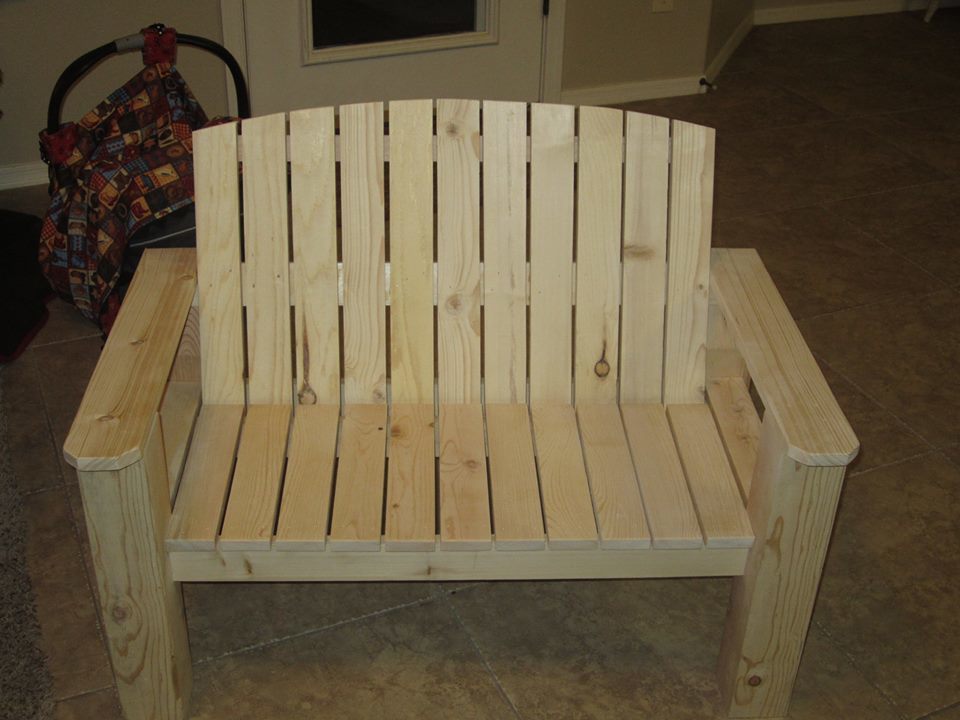
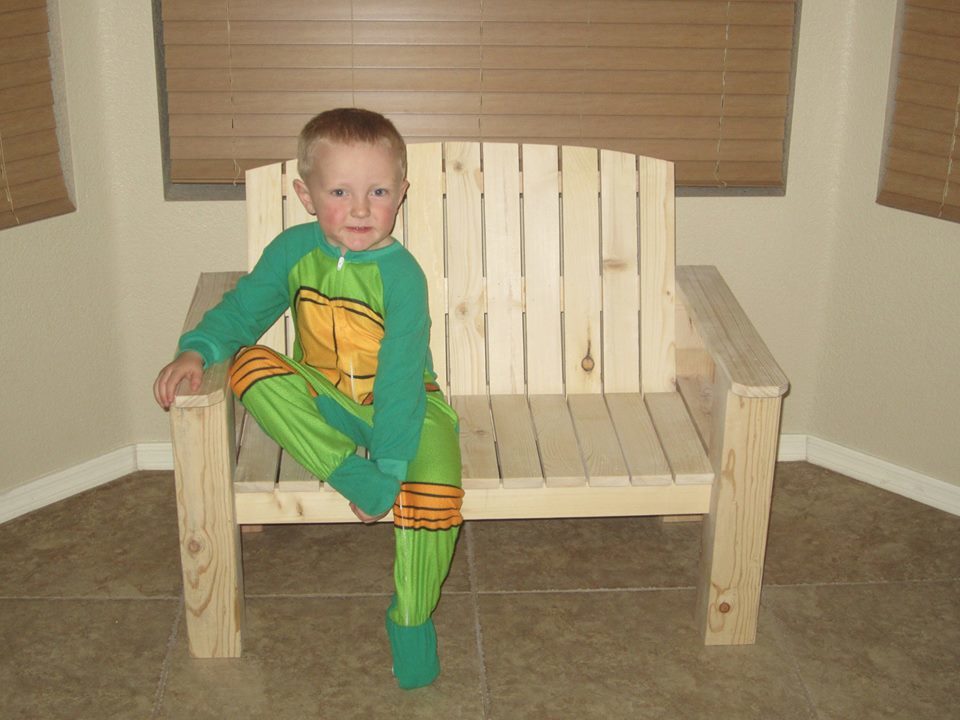
Modified Kids Lounge Bench
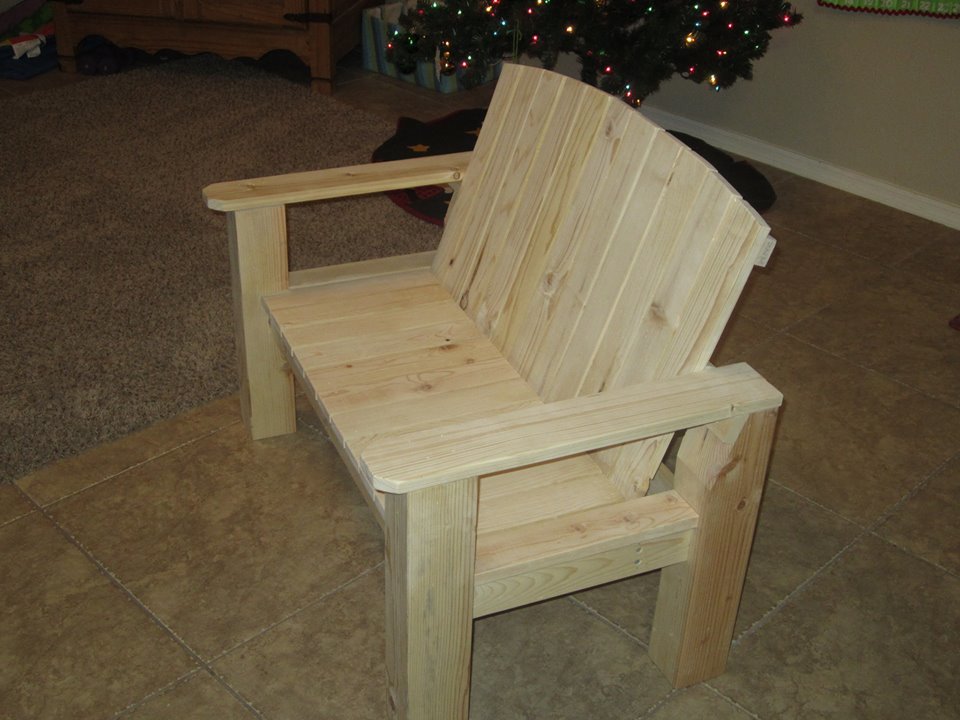
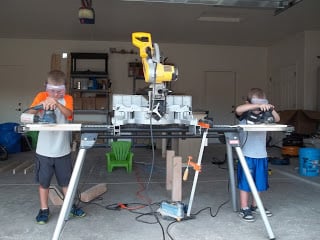
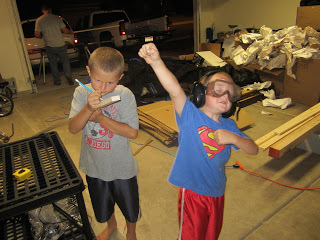
In getting my boys (ages 8, 5, and 3) started in woodworking, I decided to try this bench. We had a ton of fun building it together.
As you can see, I beefed it up a lot - using 4x4's for legs and recessing the frame into the legs themselves. The boys did all of the sanding and assembling and 80-90% of the cutting. I was just there as training wheels. It took much longer to build with the 4 of us than if I had done it myself. I estimate I could have done this in 3-4 hours. Group effort made it about 20-22 hours.
My 5 year old was the one who campaigned for the arched backrest. I think that they did a great job, and just wanted to share.
Estimated Cost
$33
Estimated Time Investment
Weekend Project (10-20 Hours)
Finish Used
None yet, plan to paint
Recommended Skill Level
Beginner