Outdoor Sofa
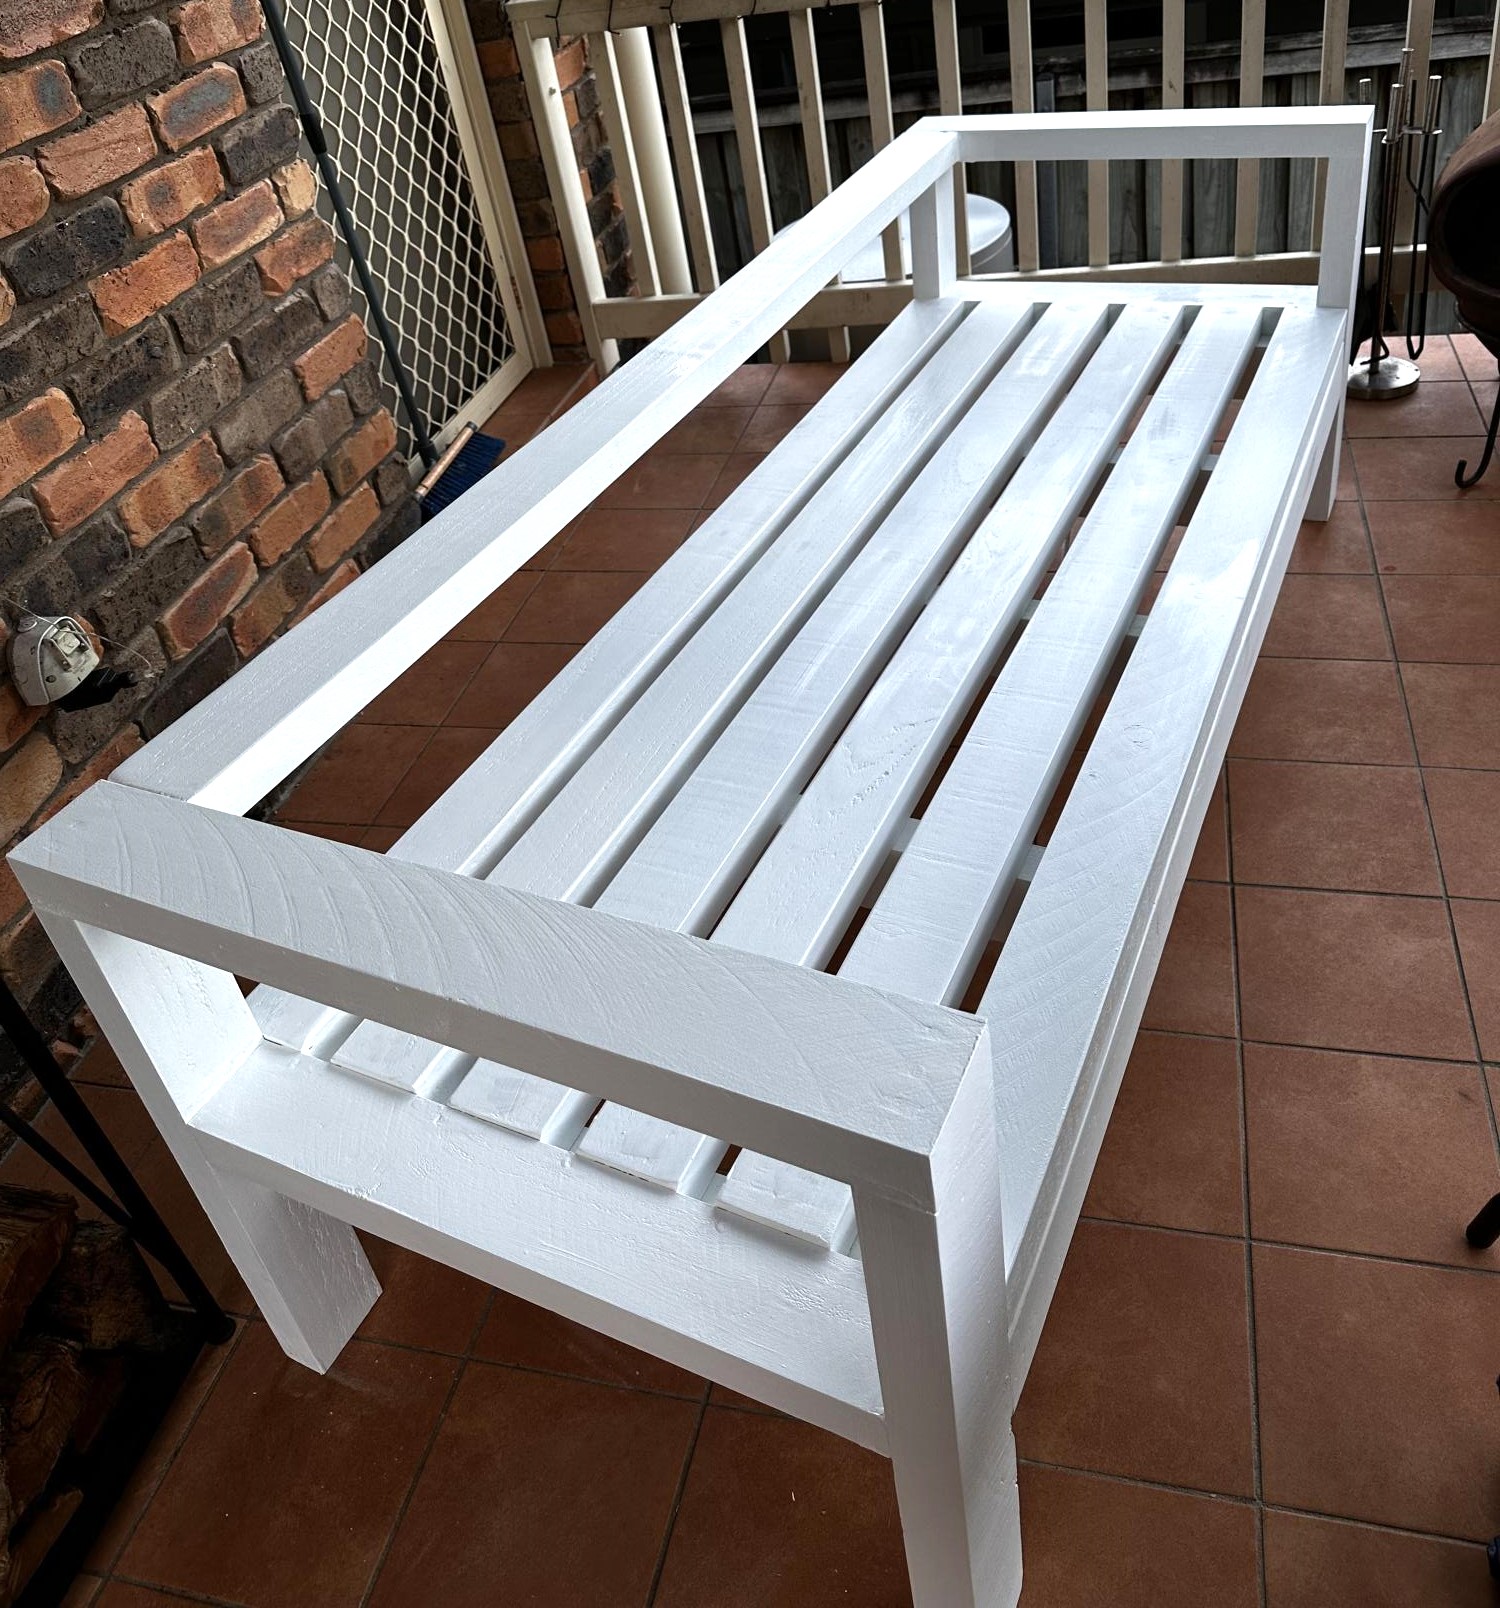
Choose the equivalent of 4 x2 here in Australia but as you can see the Depths were different. Painted in Dulux outdoor paint in Vivid White
Built from Plan(s)
Choose the equivalent of 4 x2 here in Australia but as you can see the Depths were different. Painted in Dulux outdoor paint in Vivid White

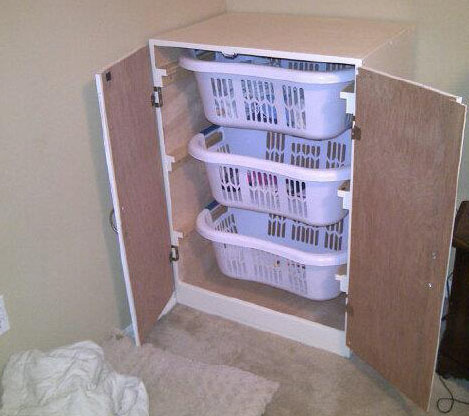
This is our version of a dresser cabinet. Thought we would share. We used mostly birch plywood and began by staining it but ended up painting it after the stain didn't work out.
Tue, 04/17/2012 - 07:34
Great job! I am in the process of building mine. Trying to figure out how to do my doors. I did a double set (6 baskets). Figuring hinges out is baffling! Lol

I used the basic plan but made a few changes. First I wanted a track layout that was screwed down. Easy to start playing for a two year old. And a reversible top that could be used for activities. The top therefor is one piece of ply. With a hole drilled in one end for inserting a finger to start the lift/flip. I used a little thinner ply than recommended to give a little lip around the trim to not allow the crayons and trains to roll on the floor. This also allows me to put two inserts on the plain side. I have a half chalkboard/ half whiteboard inserts. This gives it more flexibility. I also added a theater front to the mix that I store in the cavity of the box with the other top inserts. Finisher with white paint and minwax spray lacquer.


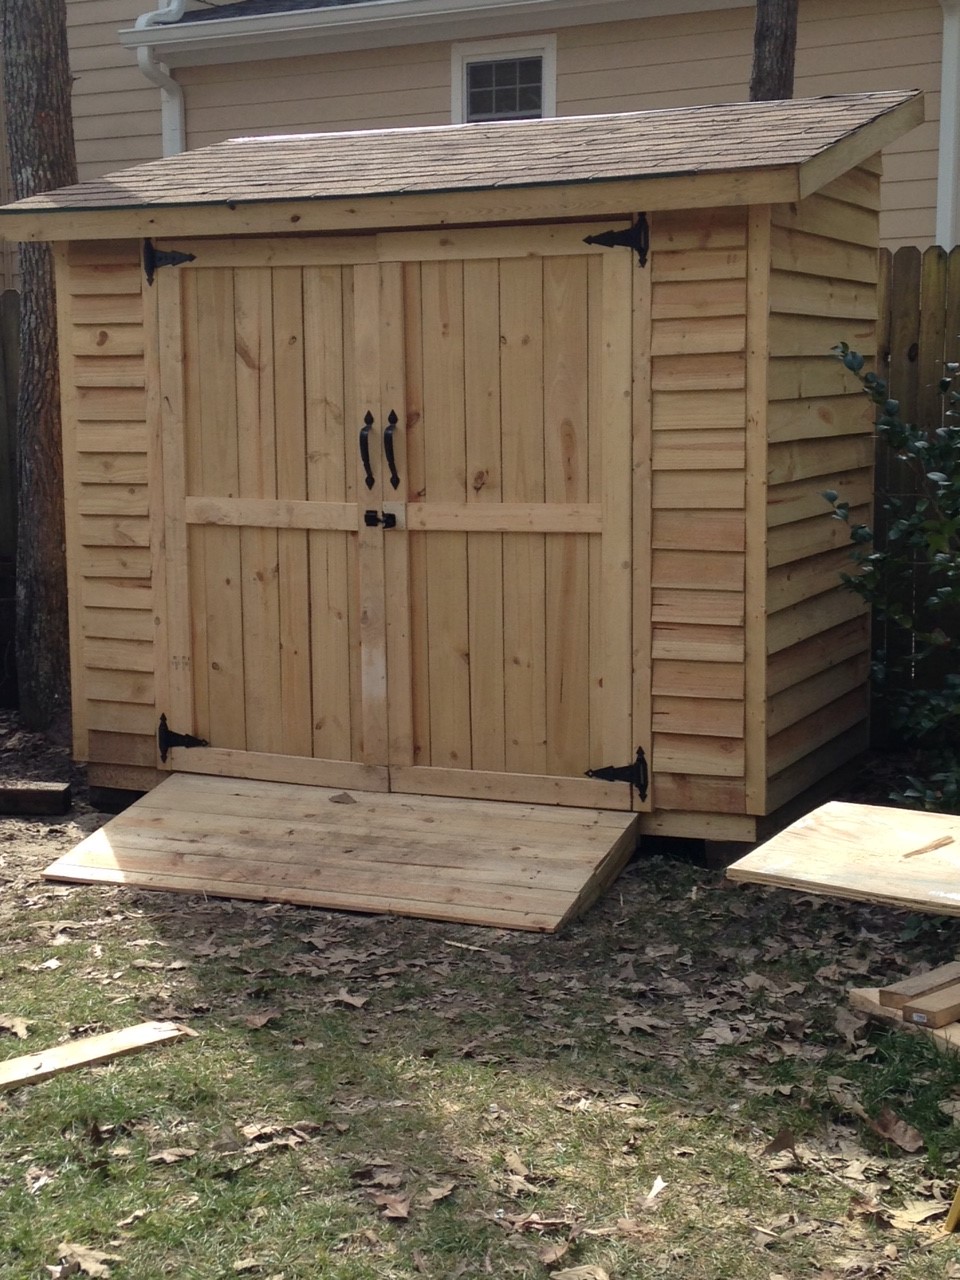
This is a modified version of your plans. I made it 4x8 and adjusted the roof and front according. For the back wall, I used T1-11 siding and the pickets everywhere else. I added a floor and ramp too.
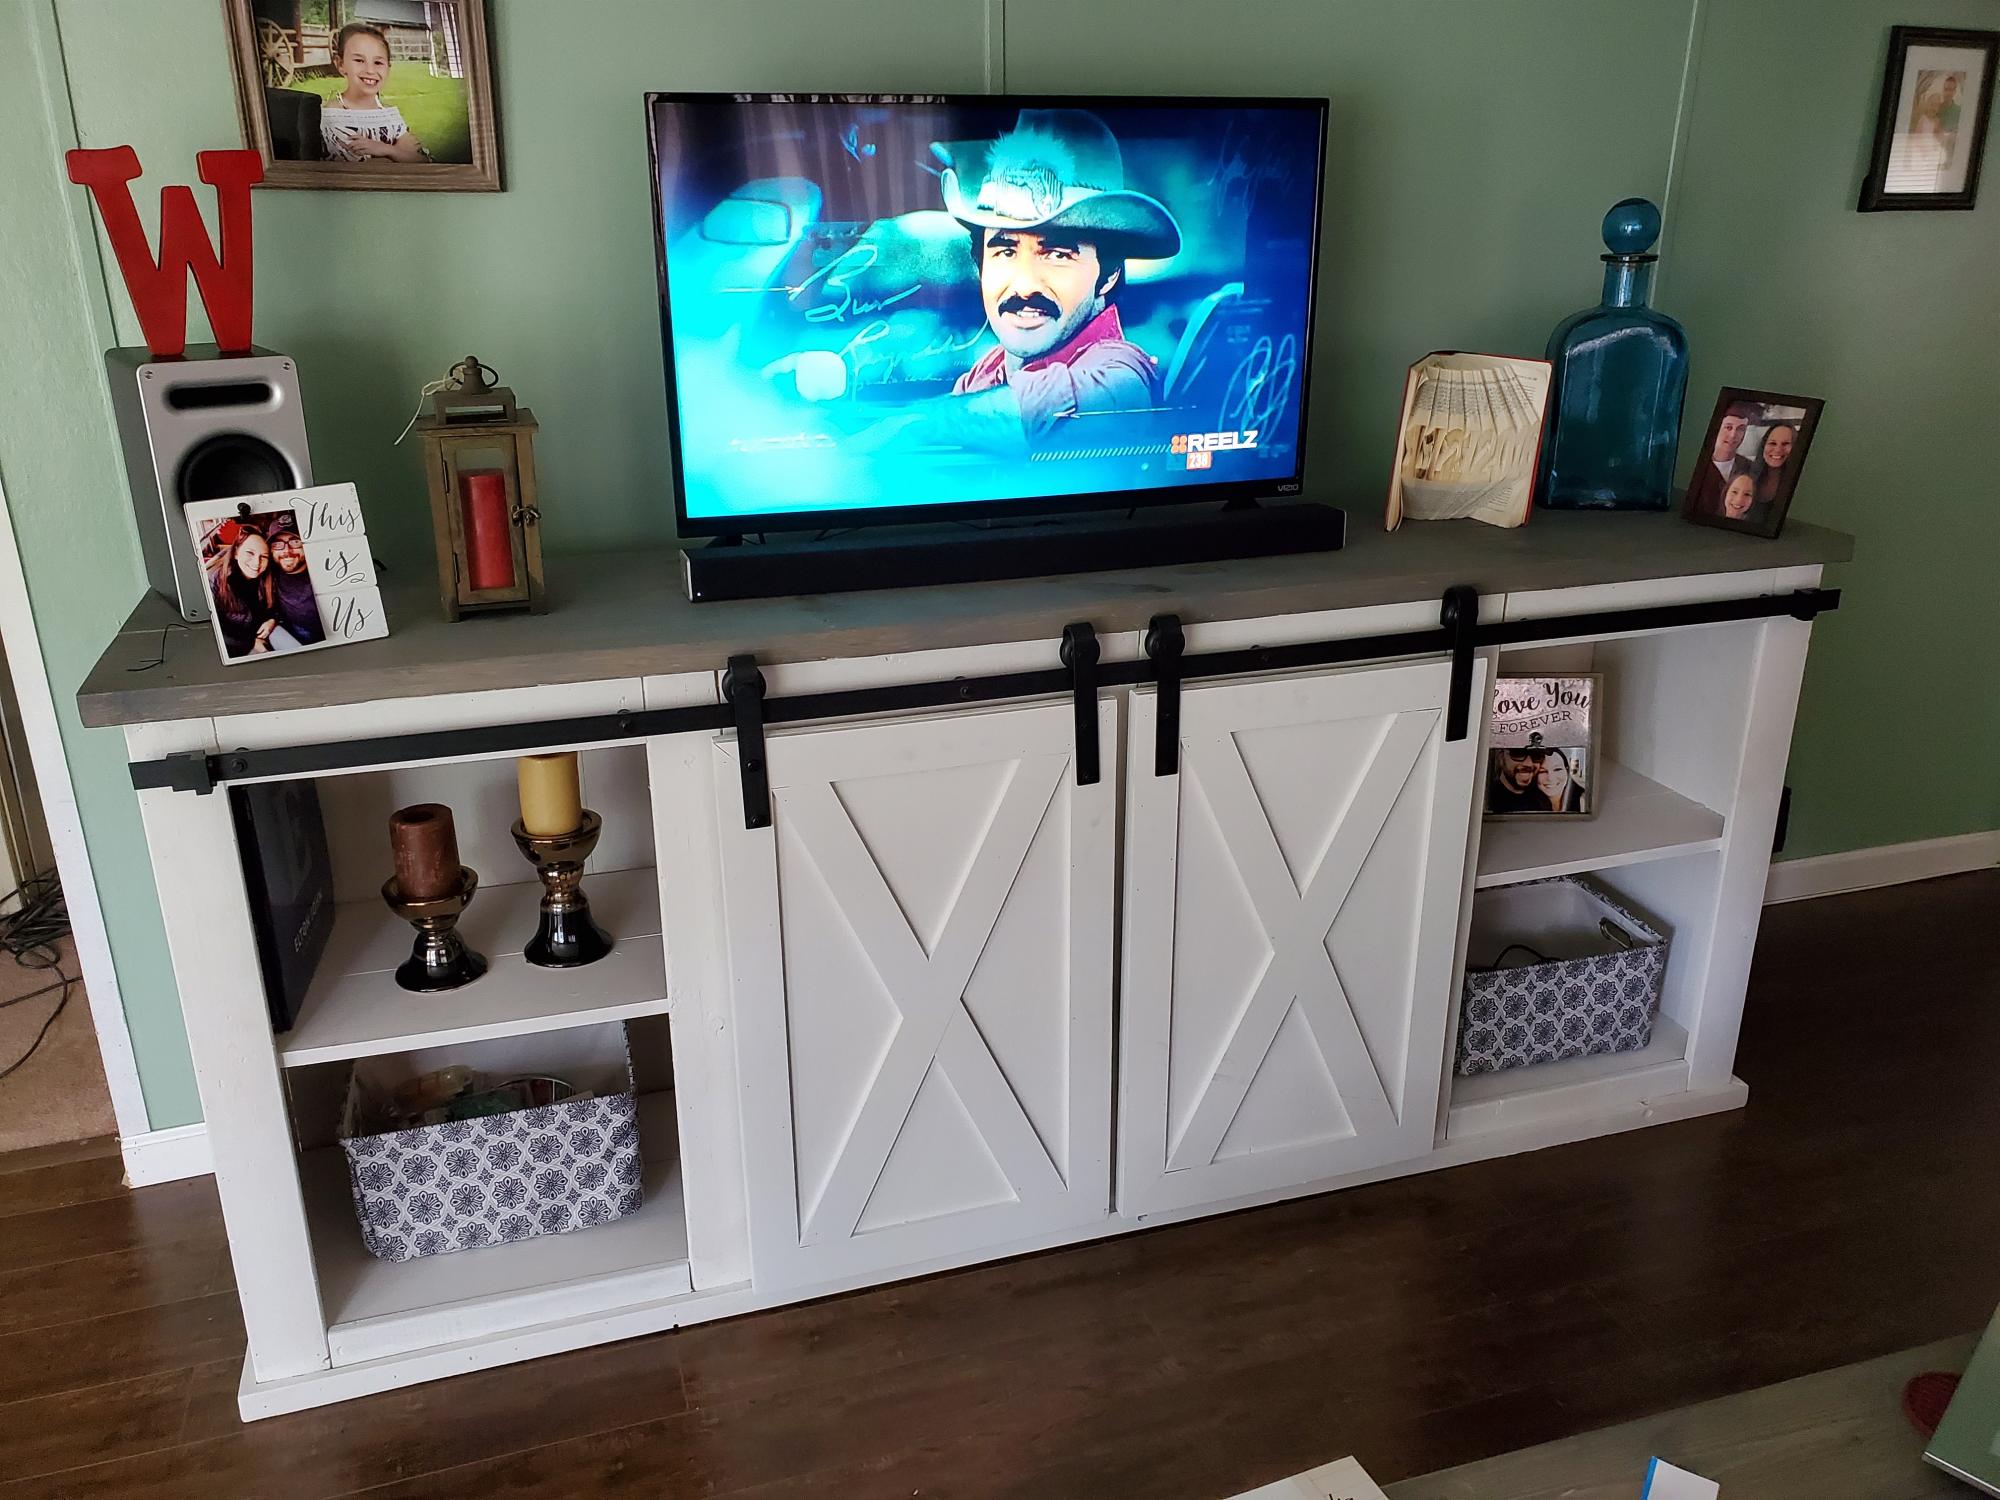
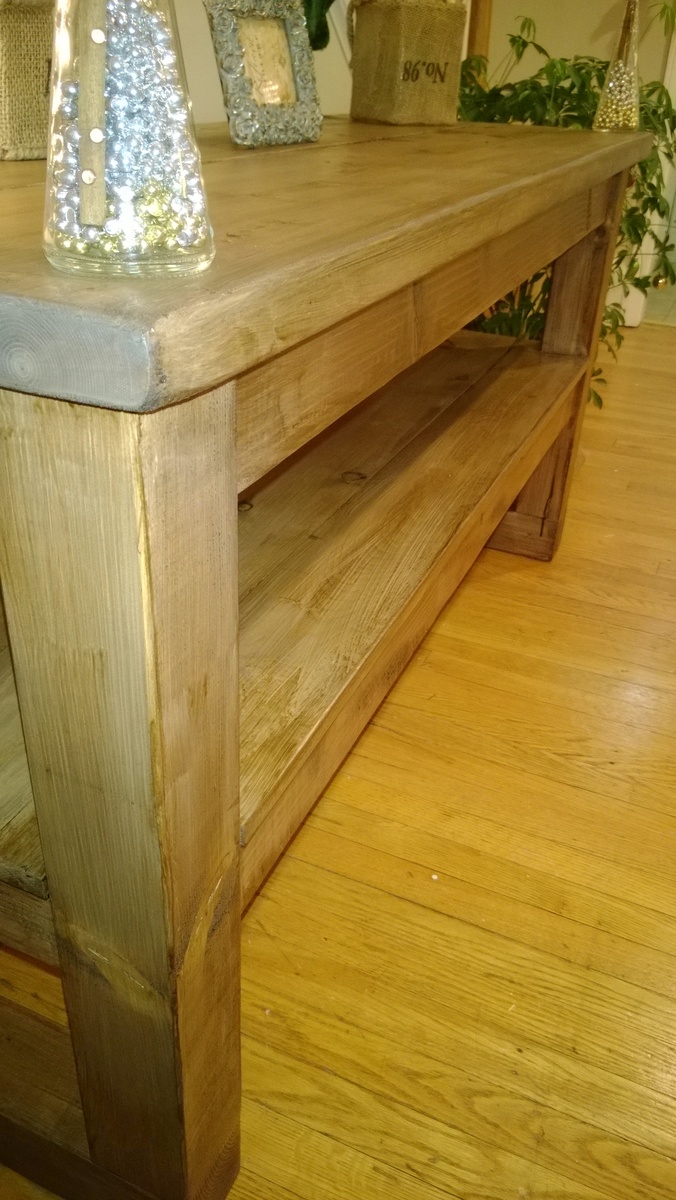
After moving, my wife informed me that I would be building her a new TV console. This is the end result. Now we need a bigger TV!
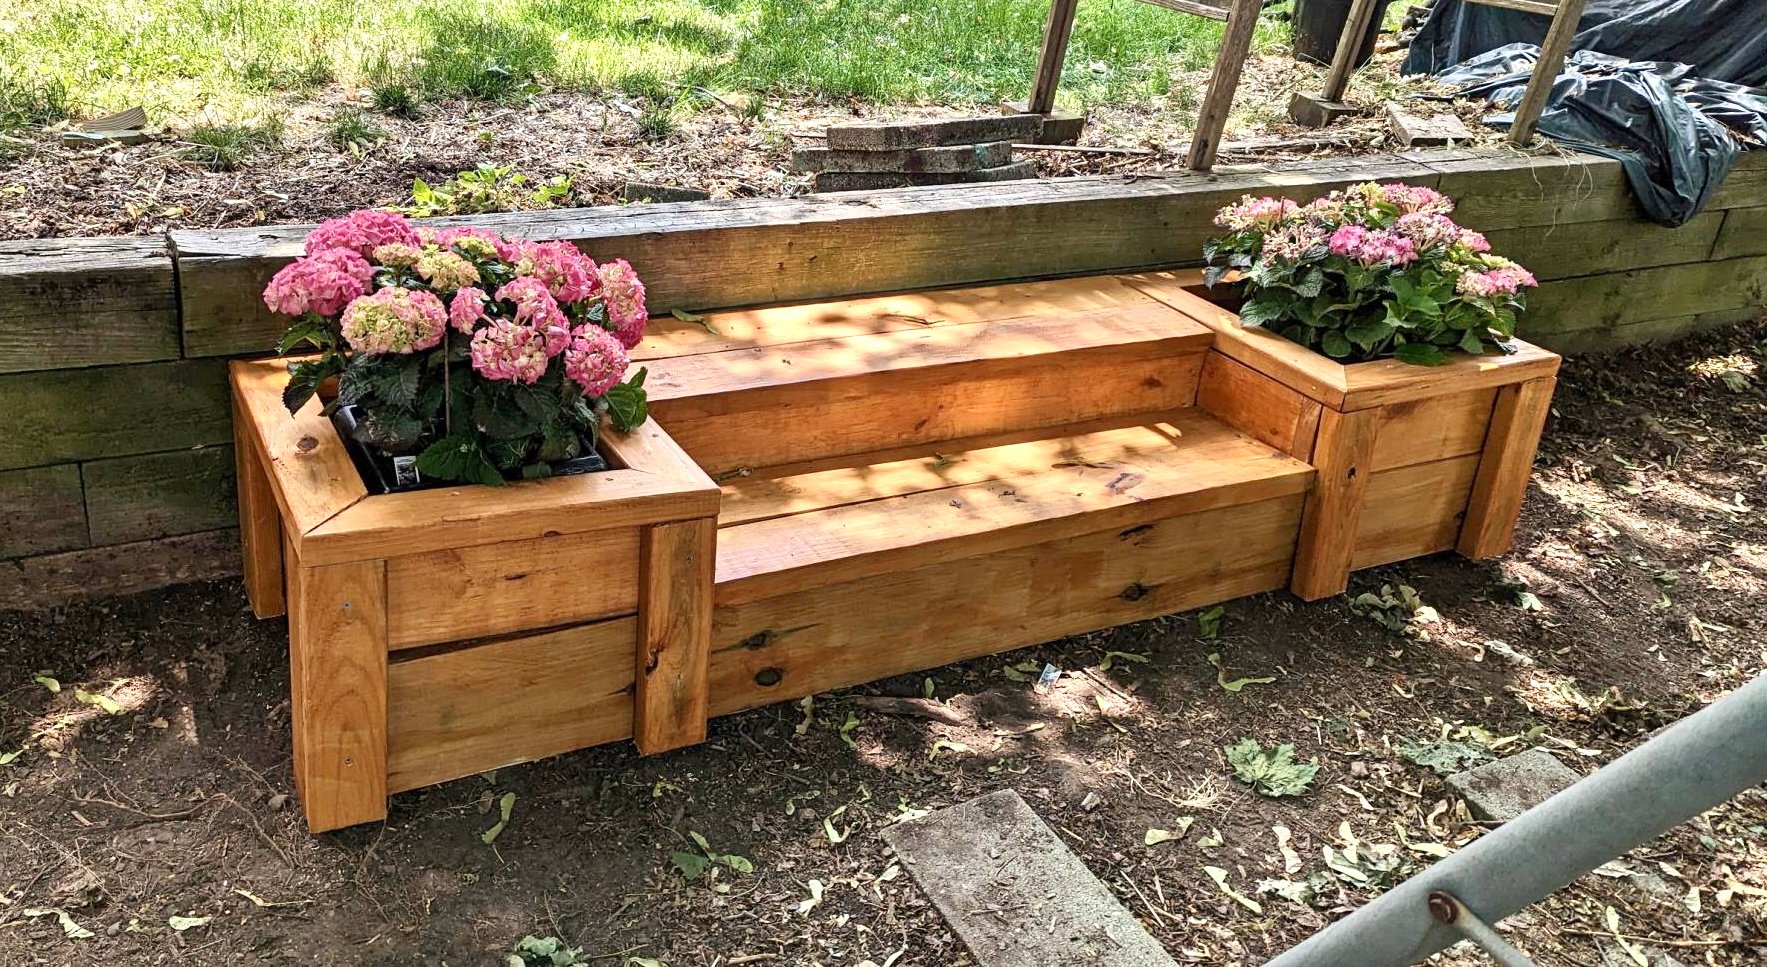
When my husband left he left behind an entire tier of our yard that he'd used to throw sticks, branches, clippings, dead plants, you name it for years. I cleared the mess last spring and am excited to make it beautiful this season!
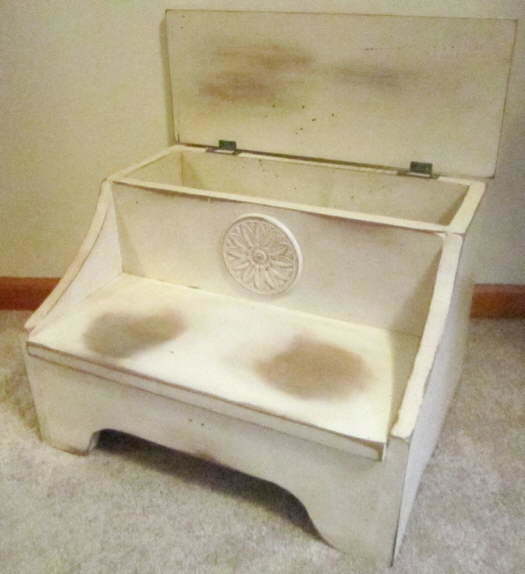
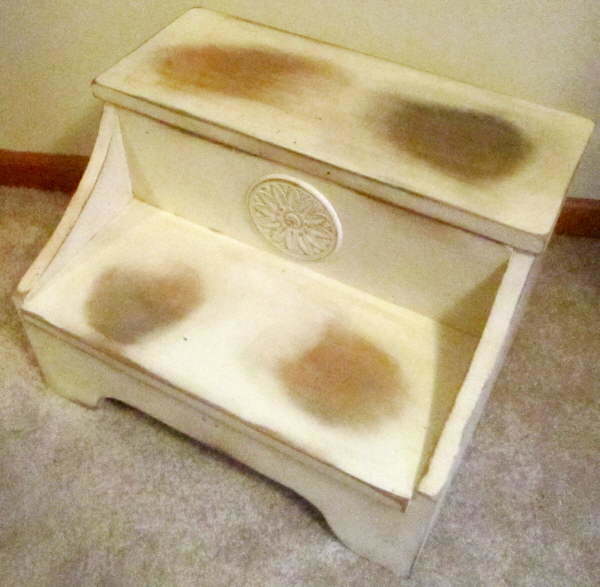
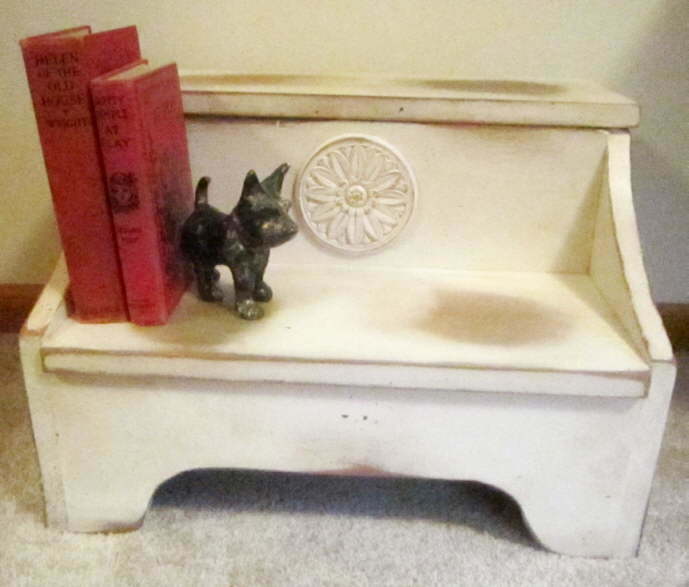
I've wanted a storage bed step for years. They can be used for all sorts of things from storing books (not just in the bin, but also on the lower step) to remotes to . . . well, whatever clutter you need to stash away! But all those professionally-made ones are a steep price. The children's step on the site ( http://ana-white.com/2010/09/some-more-stairs.html ) is just perfect for modifying for a more adult look. An applique, wider steps, sloping sides, and a decorative cut on the front help transform child's furniture into practical storage space for children, teens, and adults!
Before I start, here's a bit of encouragement for those of you like me who don't have access to a lot of power tools: I made ALL of the cuts with a jigsaw! So if that's all you have, don't be afraid to try it!
The main thing to do is to take your time. Think things all the way through and do them in the way that you feel will be the easiest for you. Use a pencil and draw all over that wood (for this plan--I recommend a paint finish!). For example, I realized I would need to assemble a significant amount of the middle section first, because there was no way to get the bottom step securely attached without doing this. I couldn't attach its back edge to the interior, with tools I have access to, if the plan's assembly order was followed. Other than putting the lid on last, I had to use a completely different order for assembly, and it was so unusual that I'll leave that order up to you. So, take your time--but you can do it!
Bed Step's Interior and Top
----------------------------
Adding 4" to the plan's side-to-side lengths brings it about up to the size of a traditional adult bed step. It also adds a LOT more storage space under that top step! However, you'll notice from the photo that I wanted an inset lower step. With it inset, sloped sides could be added--these double as built-in bookends! The lower step/tread, therefore, won't have 4" added to it. Instead, it should be cut to the same width as the interior boards (such as the footer). The lower step then becomes 16" (the same new length as the interior pieces), while the top one becomes 18" (4" added). Here's how I modified these pieces:
* 2 - 1 x 12 @16" (rather than 12") for the actual box's front and back (they're called "sides" in the plan). Here's a really easy change. The hole in the front one to pull open the lid can be omitted. This cut seems to make it look more like a child's step, isn't on adult ones I've seen, and the overhang of the top tread, especially on the side edges, is enough to open the lid. With a lot of planning and measuring, it can be helpful to add the applique to the box's front before too much of the assembly is complete, because it's easier to attach it to a flat board. On the same board, draw where the top of the lower step tread should hit. This is one of many helpful lines you can draw on the wood before assembling the bed step.
* 2 - 1 x 6 @ 16" (instead of 12") for the storage box bottom and the footer of the lower step (where it says "Molly" in the plan). On the footer, add a decorative jigsaw-cut-out design of your choice. Remember to leave a significant amount on the bottom for support.
* 1 - 1 x 8 @ 16" for the lower, inset tread
* 1 - 1 x 8 @ 18" for the top tread
Bed Step's Sides
-----------------
The above instructions pertain to the bed step's pieces that make up the center section. But the sides of the bed step can be a little intimidating due to the slope change, and here's where a pencil will come in really handy! First, a sigh of relief. The pieces are cut to the same length, so there's no change there. Cut out two 1 x 12 pieces at 14". Another sigh of relief: Your lower step will hit in the right place, because it's inset, and you've already drawn on another board where it should hit on the other side! In some ways, this can be a bit easier than having to get those original-plan L-shaped cuts just so.
Because the 1 x 12 I used was really off with measurements (it was 11 1/4"), I can't really give precise measurements for the step's two sides. But I'll try to explain what I did as best as possible in hopes that it will be helpful if you want to copy this look. The side pieces require a lot of thinking, in order to get that slope to hit the right areas. When I was finished with this bed step (before painting it), it was covered in pencil marks!
You won't want to cut as far down as the instructions say, in order to have the side slopes end a bit higher than where the lower step hits. Because the dimensional lumber I used was not a standard width (it was 11 1/4"), I only cut down about 5 1/8" instead of 6". But don't follow this measurement--base it on the wood that you have, instead. When you measure, keep in mind where the other boards will hit the sides, and measure. Basically, where the top of the arch sits shouldn't need to change from the plans, but you probably won't want to have your lower arch cutting point as low as 6".
I freehanded the slope to the needed size on a piece of paper, and then traced it to both pieces on opposite sides. The bottom arched cut already in the plans should be drawn on, as well. Remember to measure and draw, measure and draw, getting it exactly as you want it before making those cuts.
If you're going for the homemade antique look, it's easier, which is one reason I like the distressed look. You can just tell yourself it's supposed to look whatever way it ends up looking!
I hope these tips will help you make a bed step, as well as encourage you to try to modify other Ana White plans to fit your own needs. Have fun!

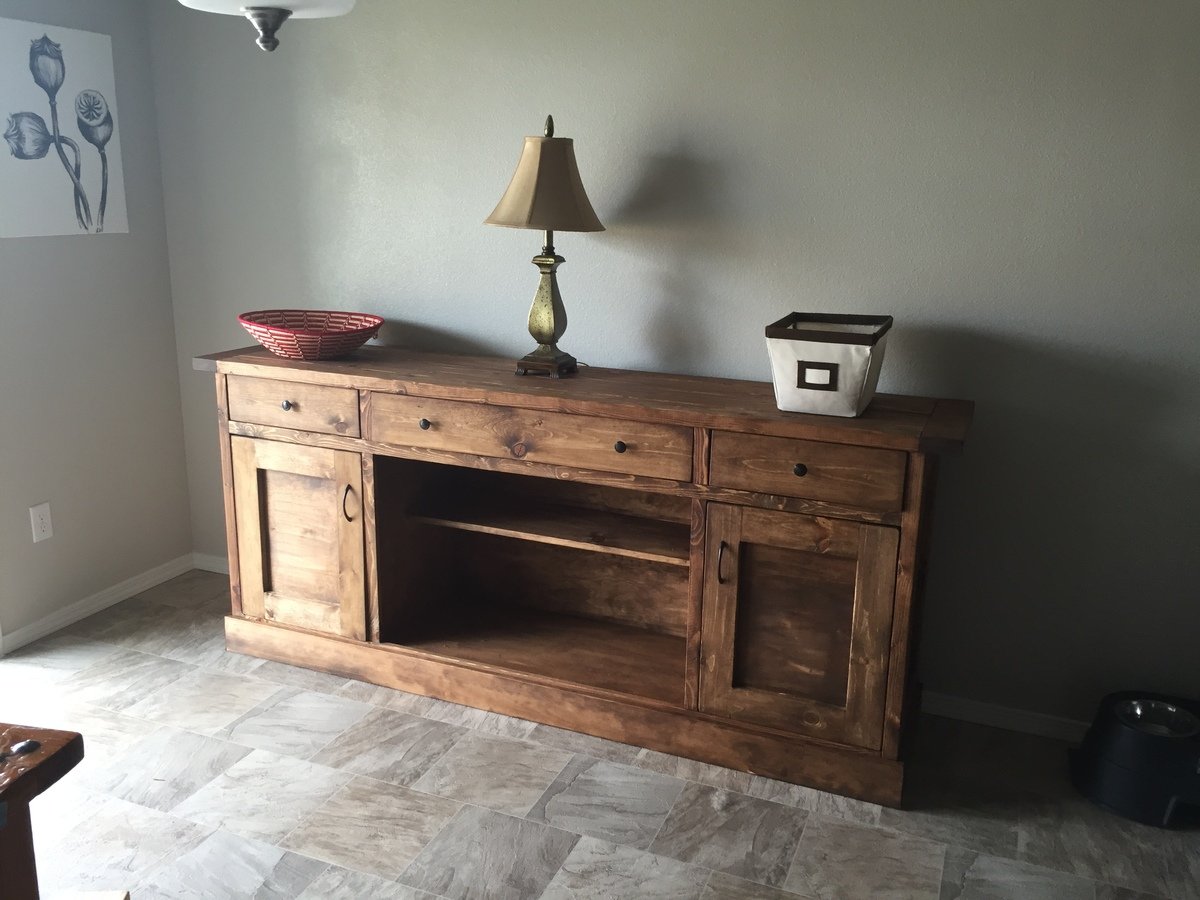
Built this buffet/sideboard in about a week. Huge, and kind of a pain to move, but beautiful and extremely useful.
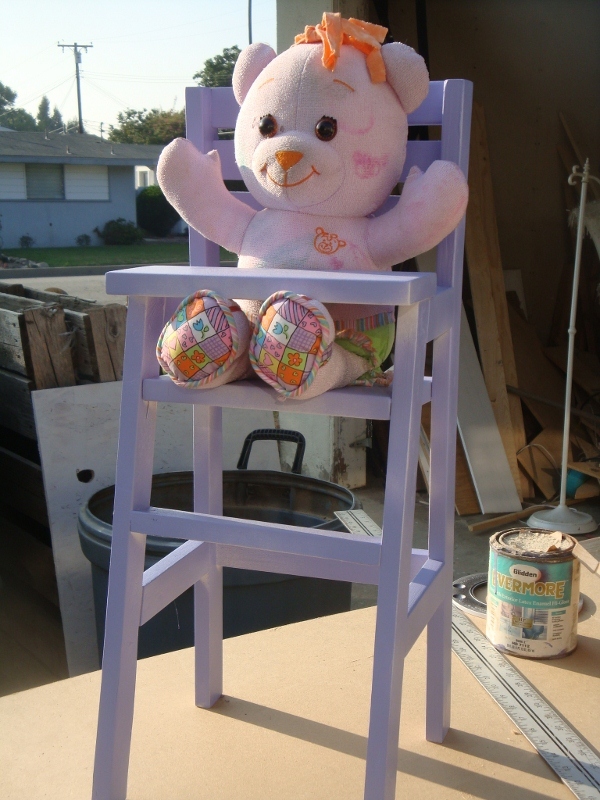
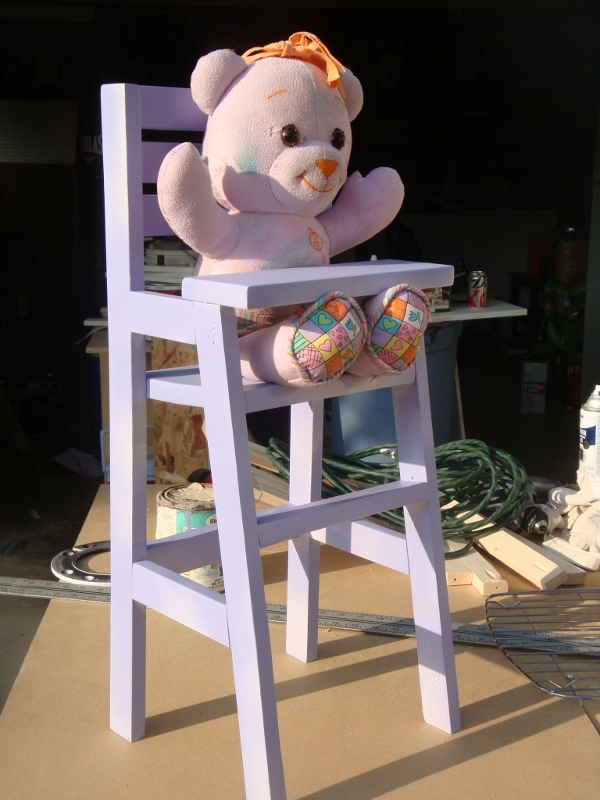
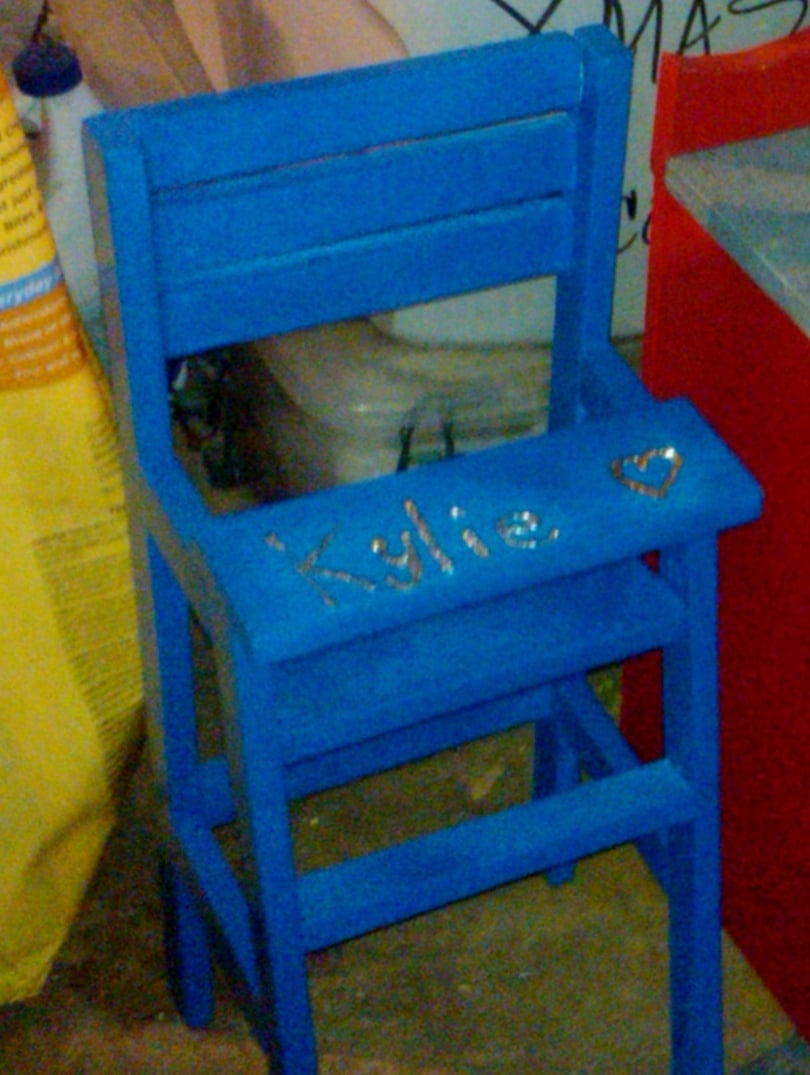
I love this design, Ana has created the perfect toy, esp to give as Birthday presents! The size is perfect, very sturdy, I put mine together with Kreg Jig. I've made 7 so far, the first time I made it, I didn't have a 1x8, and ended up Jigging 2 1x4's together. Worked so well, I do it every time now. I like to make these, fully sanding the piece before I put it together, and letting my niece or whoever is recieving it, paint it themselves. It's a great way to spend an afternoon with your aunt
Blog is under construction, I will be posting additional high chairs as I make them
Thu, 11/15/2012 - 02:12
Why viewers still use to read news papers when in this technological globe everything is
presented on net?
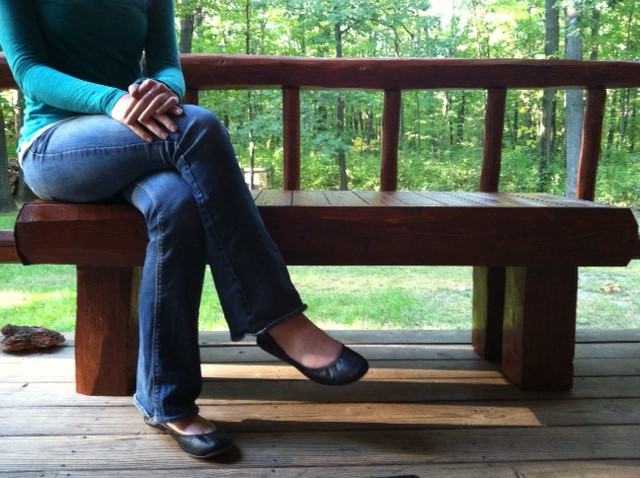
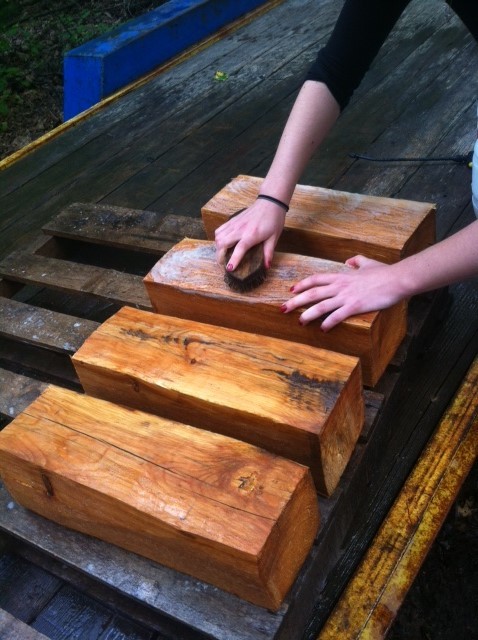
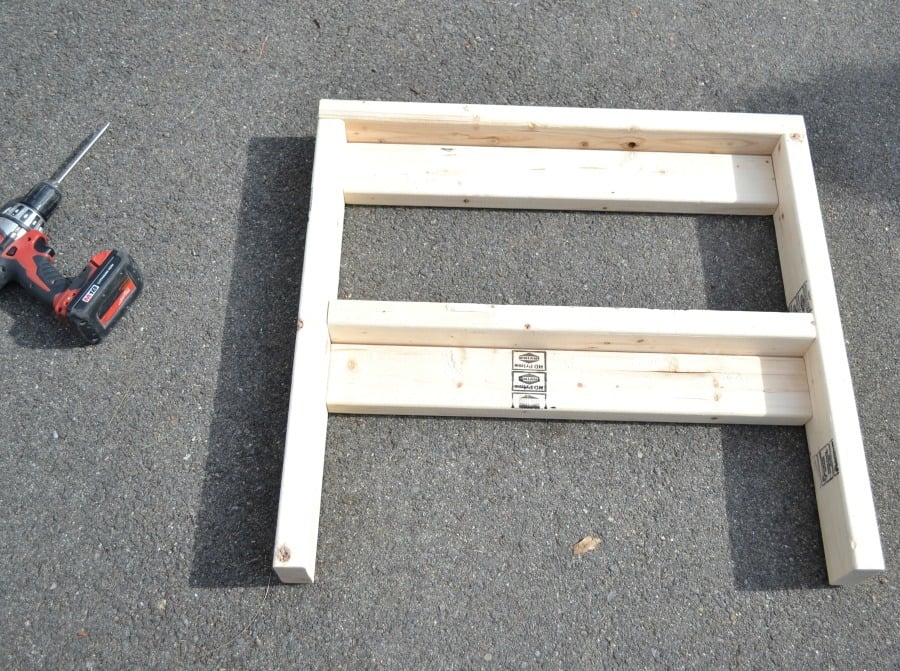
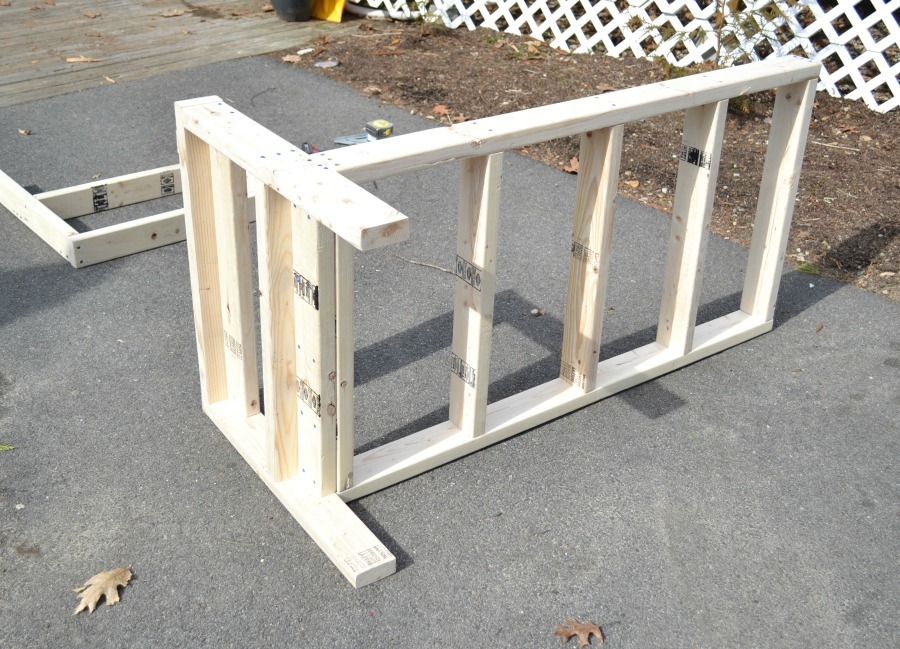
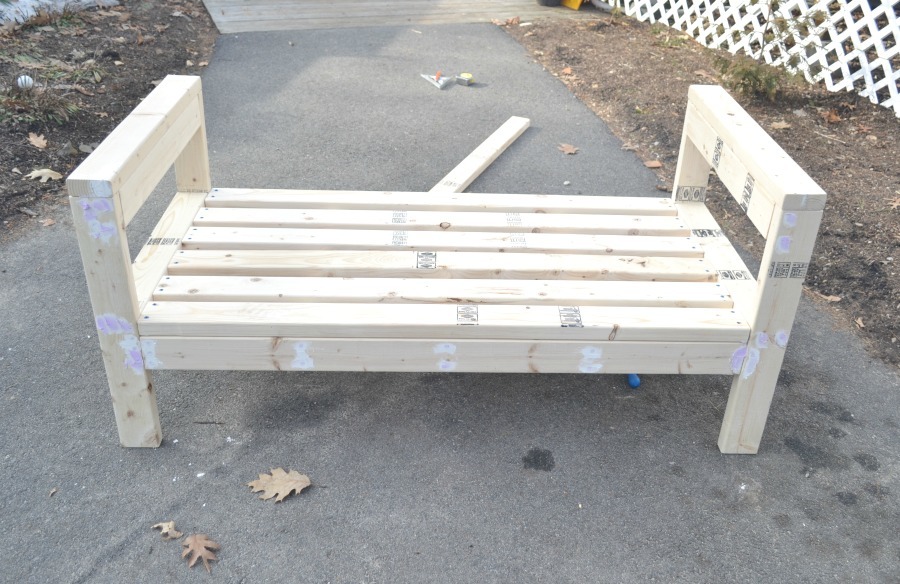
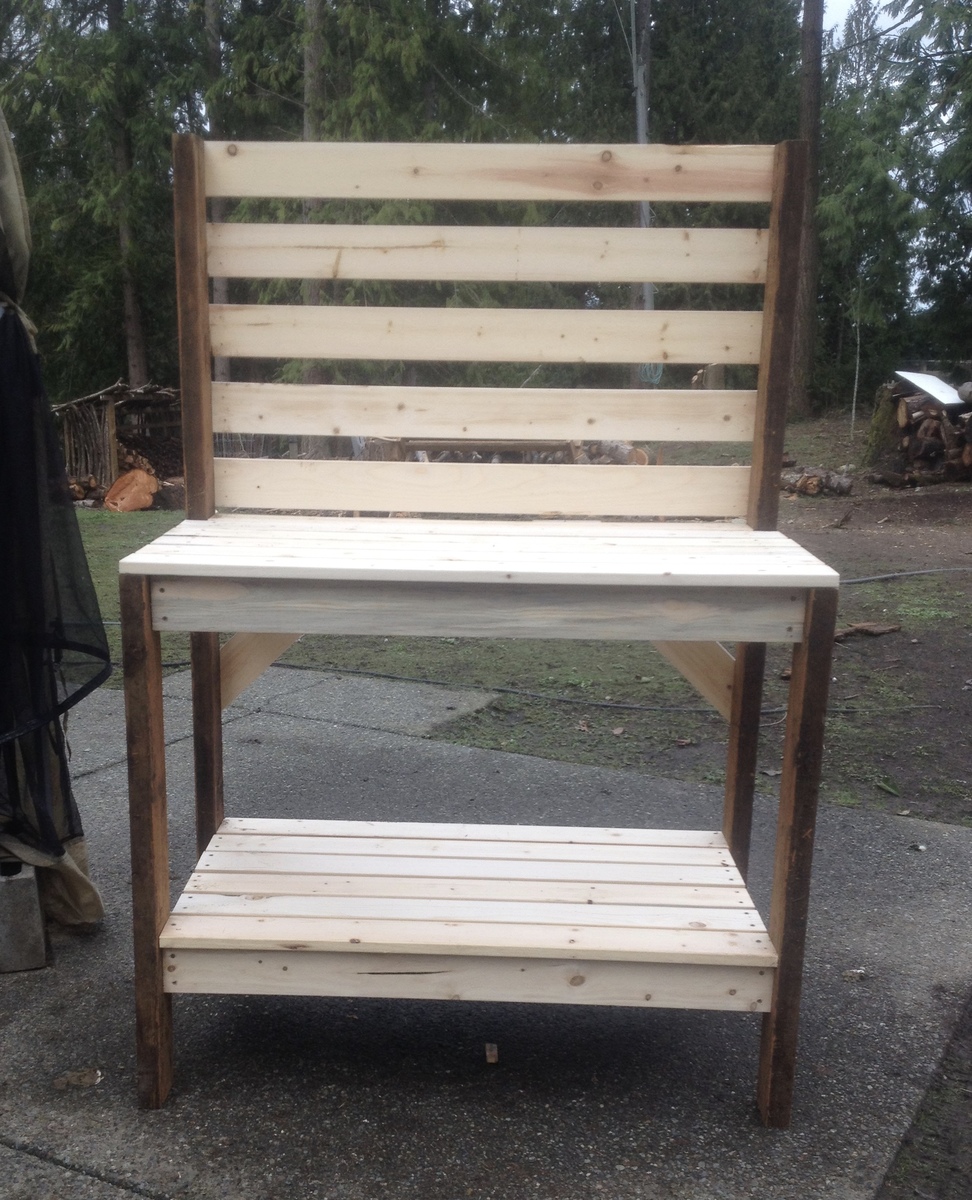
My younger brother, John, and I built this bench during the weekends during the first few months of "back-to-school" as a way to spend time with each other. This is a variation on the simple outdoor bench by Ana. Our mainframe was built of regular 2x4s and the slats with pine, while the legs and the exterior wood was of cedar that was leftover from when our parents built our log home 20 years ago. Since we used the cedar, we also had to wash the logs with special logwash, and wait for them to dry, so our project took a little longer than most. Due to the staining, which was the stain used on our house we ended up putting a light clear coat over top of the stain since we didn't want it to be rubbing off on our clothing during use (since it's not typically used as furniture stain). Our Dad did have to help us a bit with the log legs that needed to be cut with a chainsaw and he sandblasted (he's a stone engraver by trade) the wood to make it look a little more weathered and "rustic." Overall it was fairly simple and my brother and I are both very pleased with the outcome, and this project has driven me to start making my own simple bedroom furniture when I move out for graduate school!

Wed, 12/18/2013 - 09:16
I love the rustic look, but that it is also very useful. Lovely.
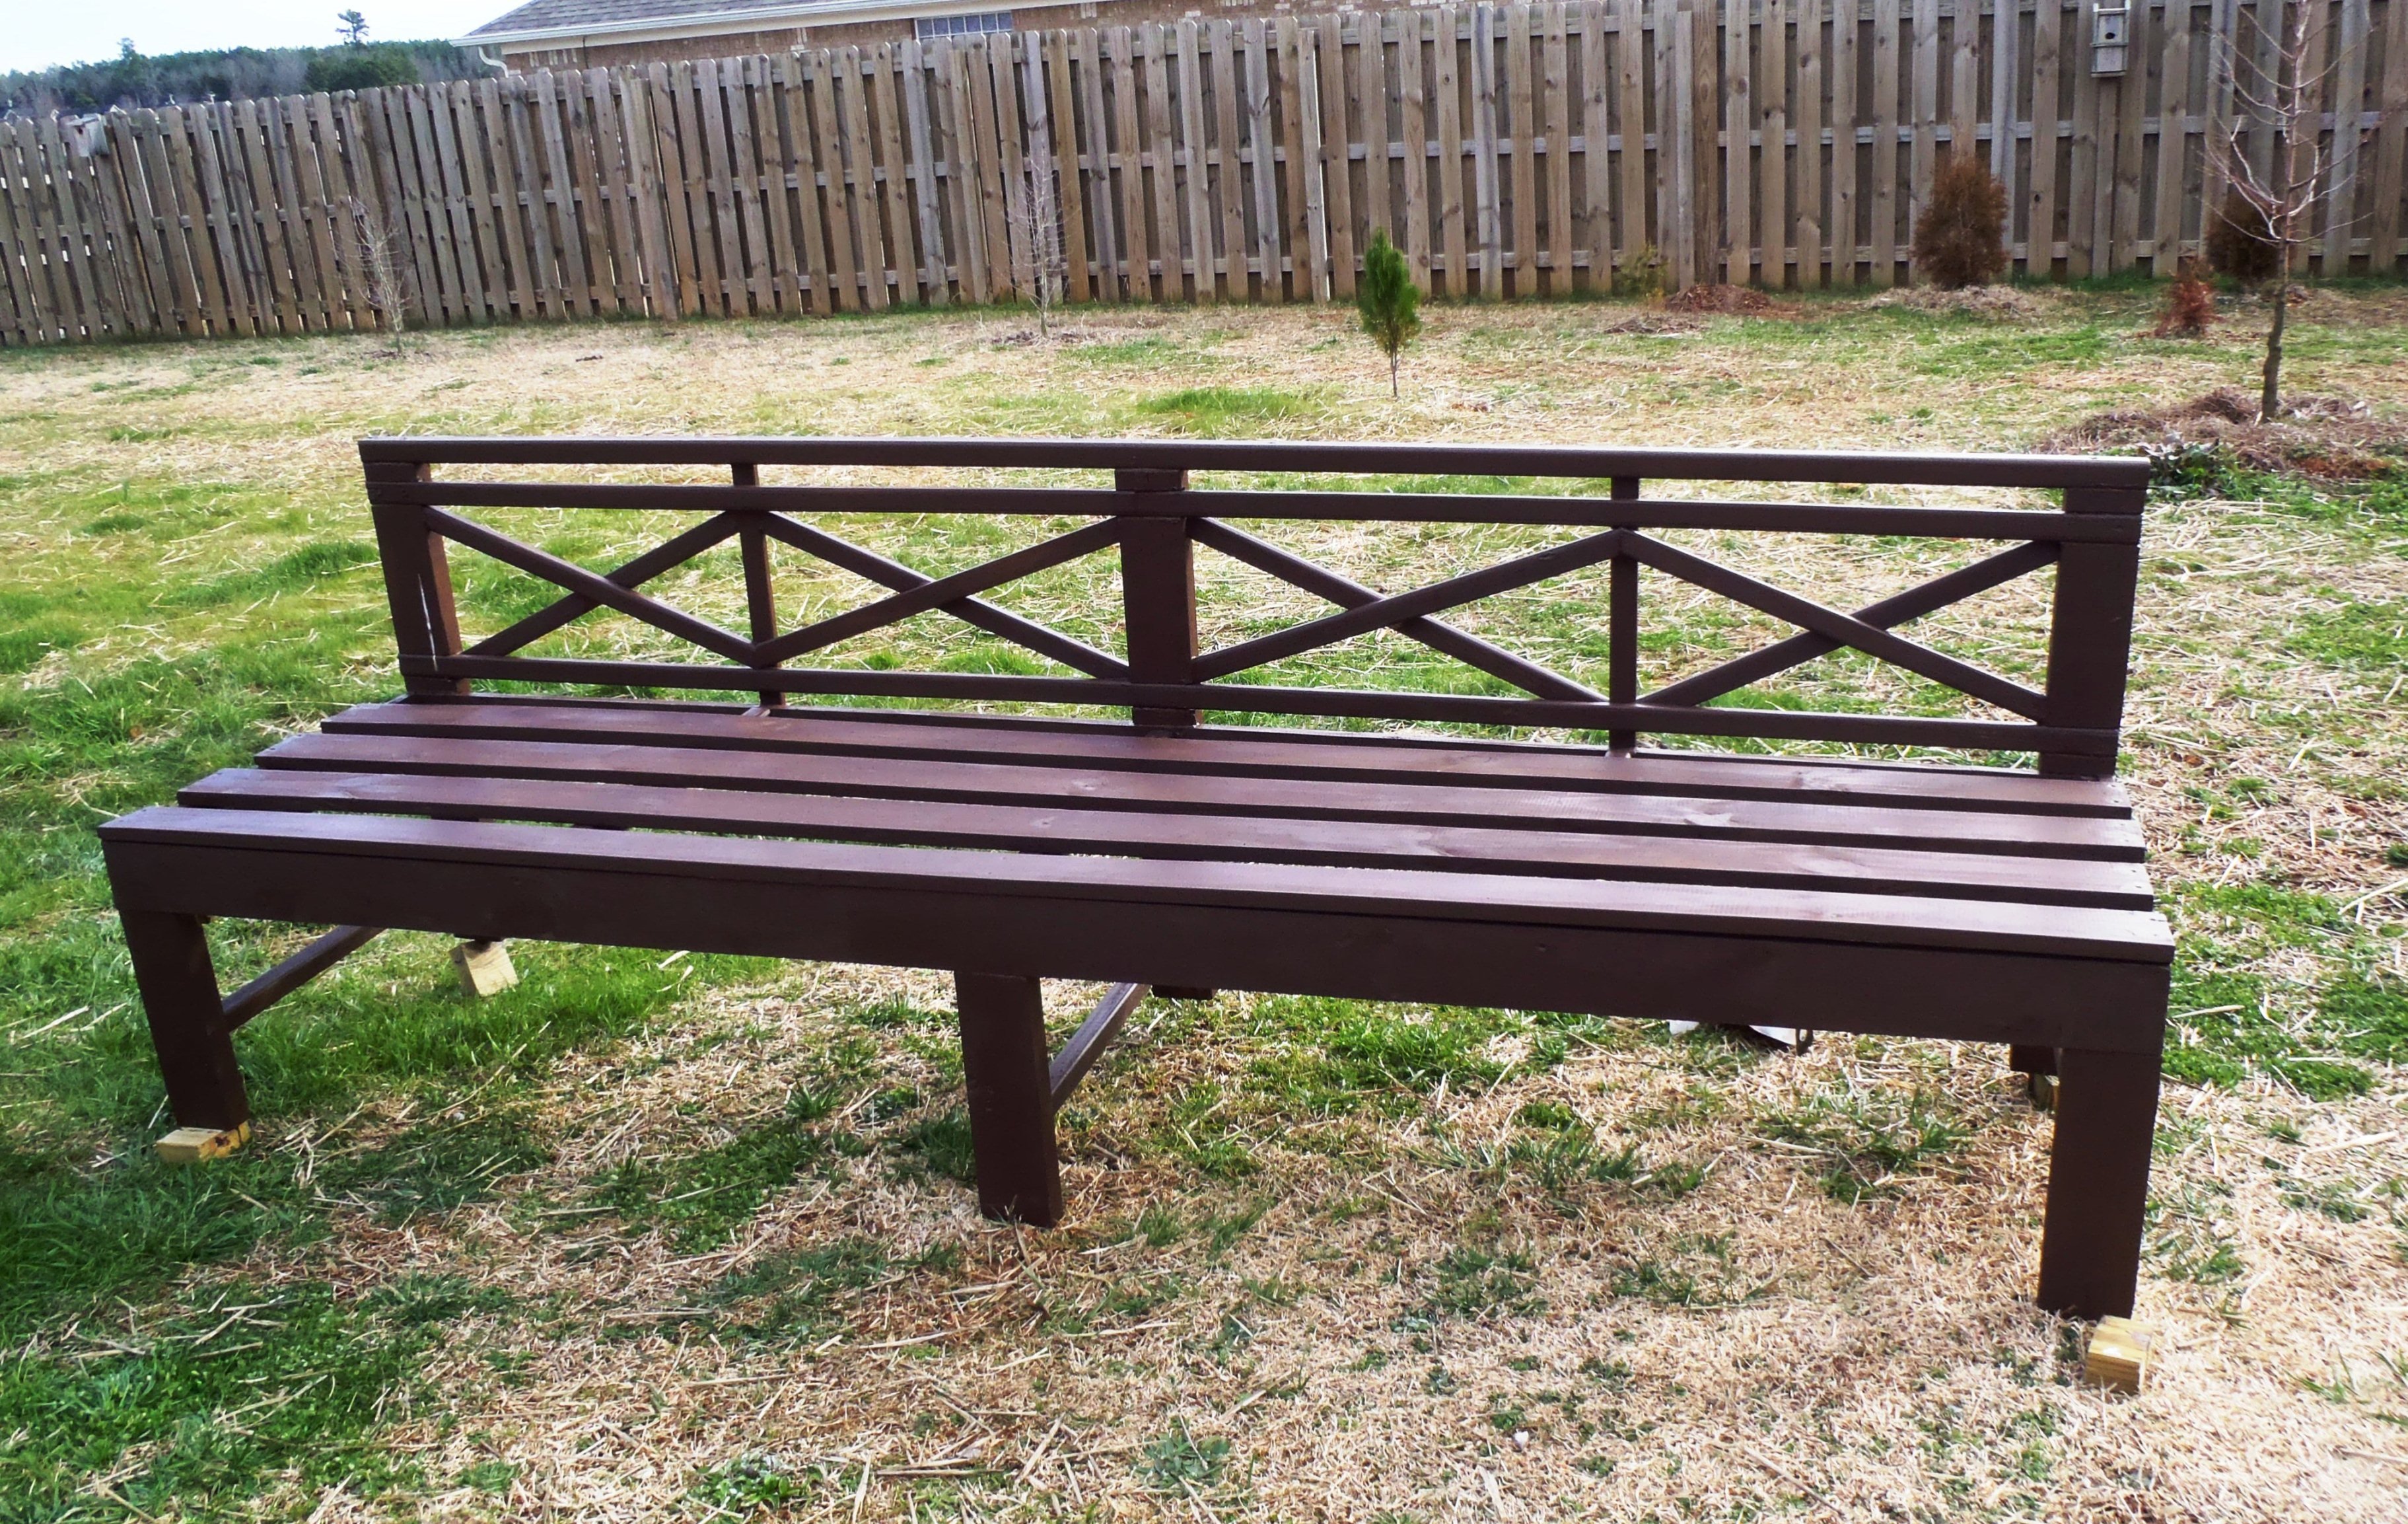
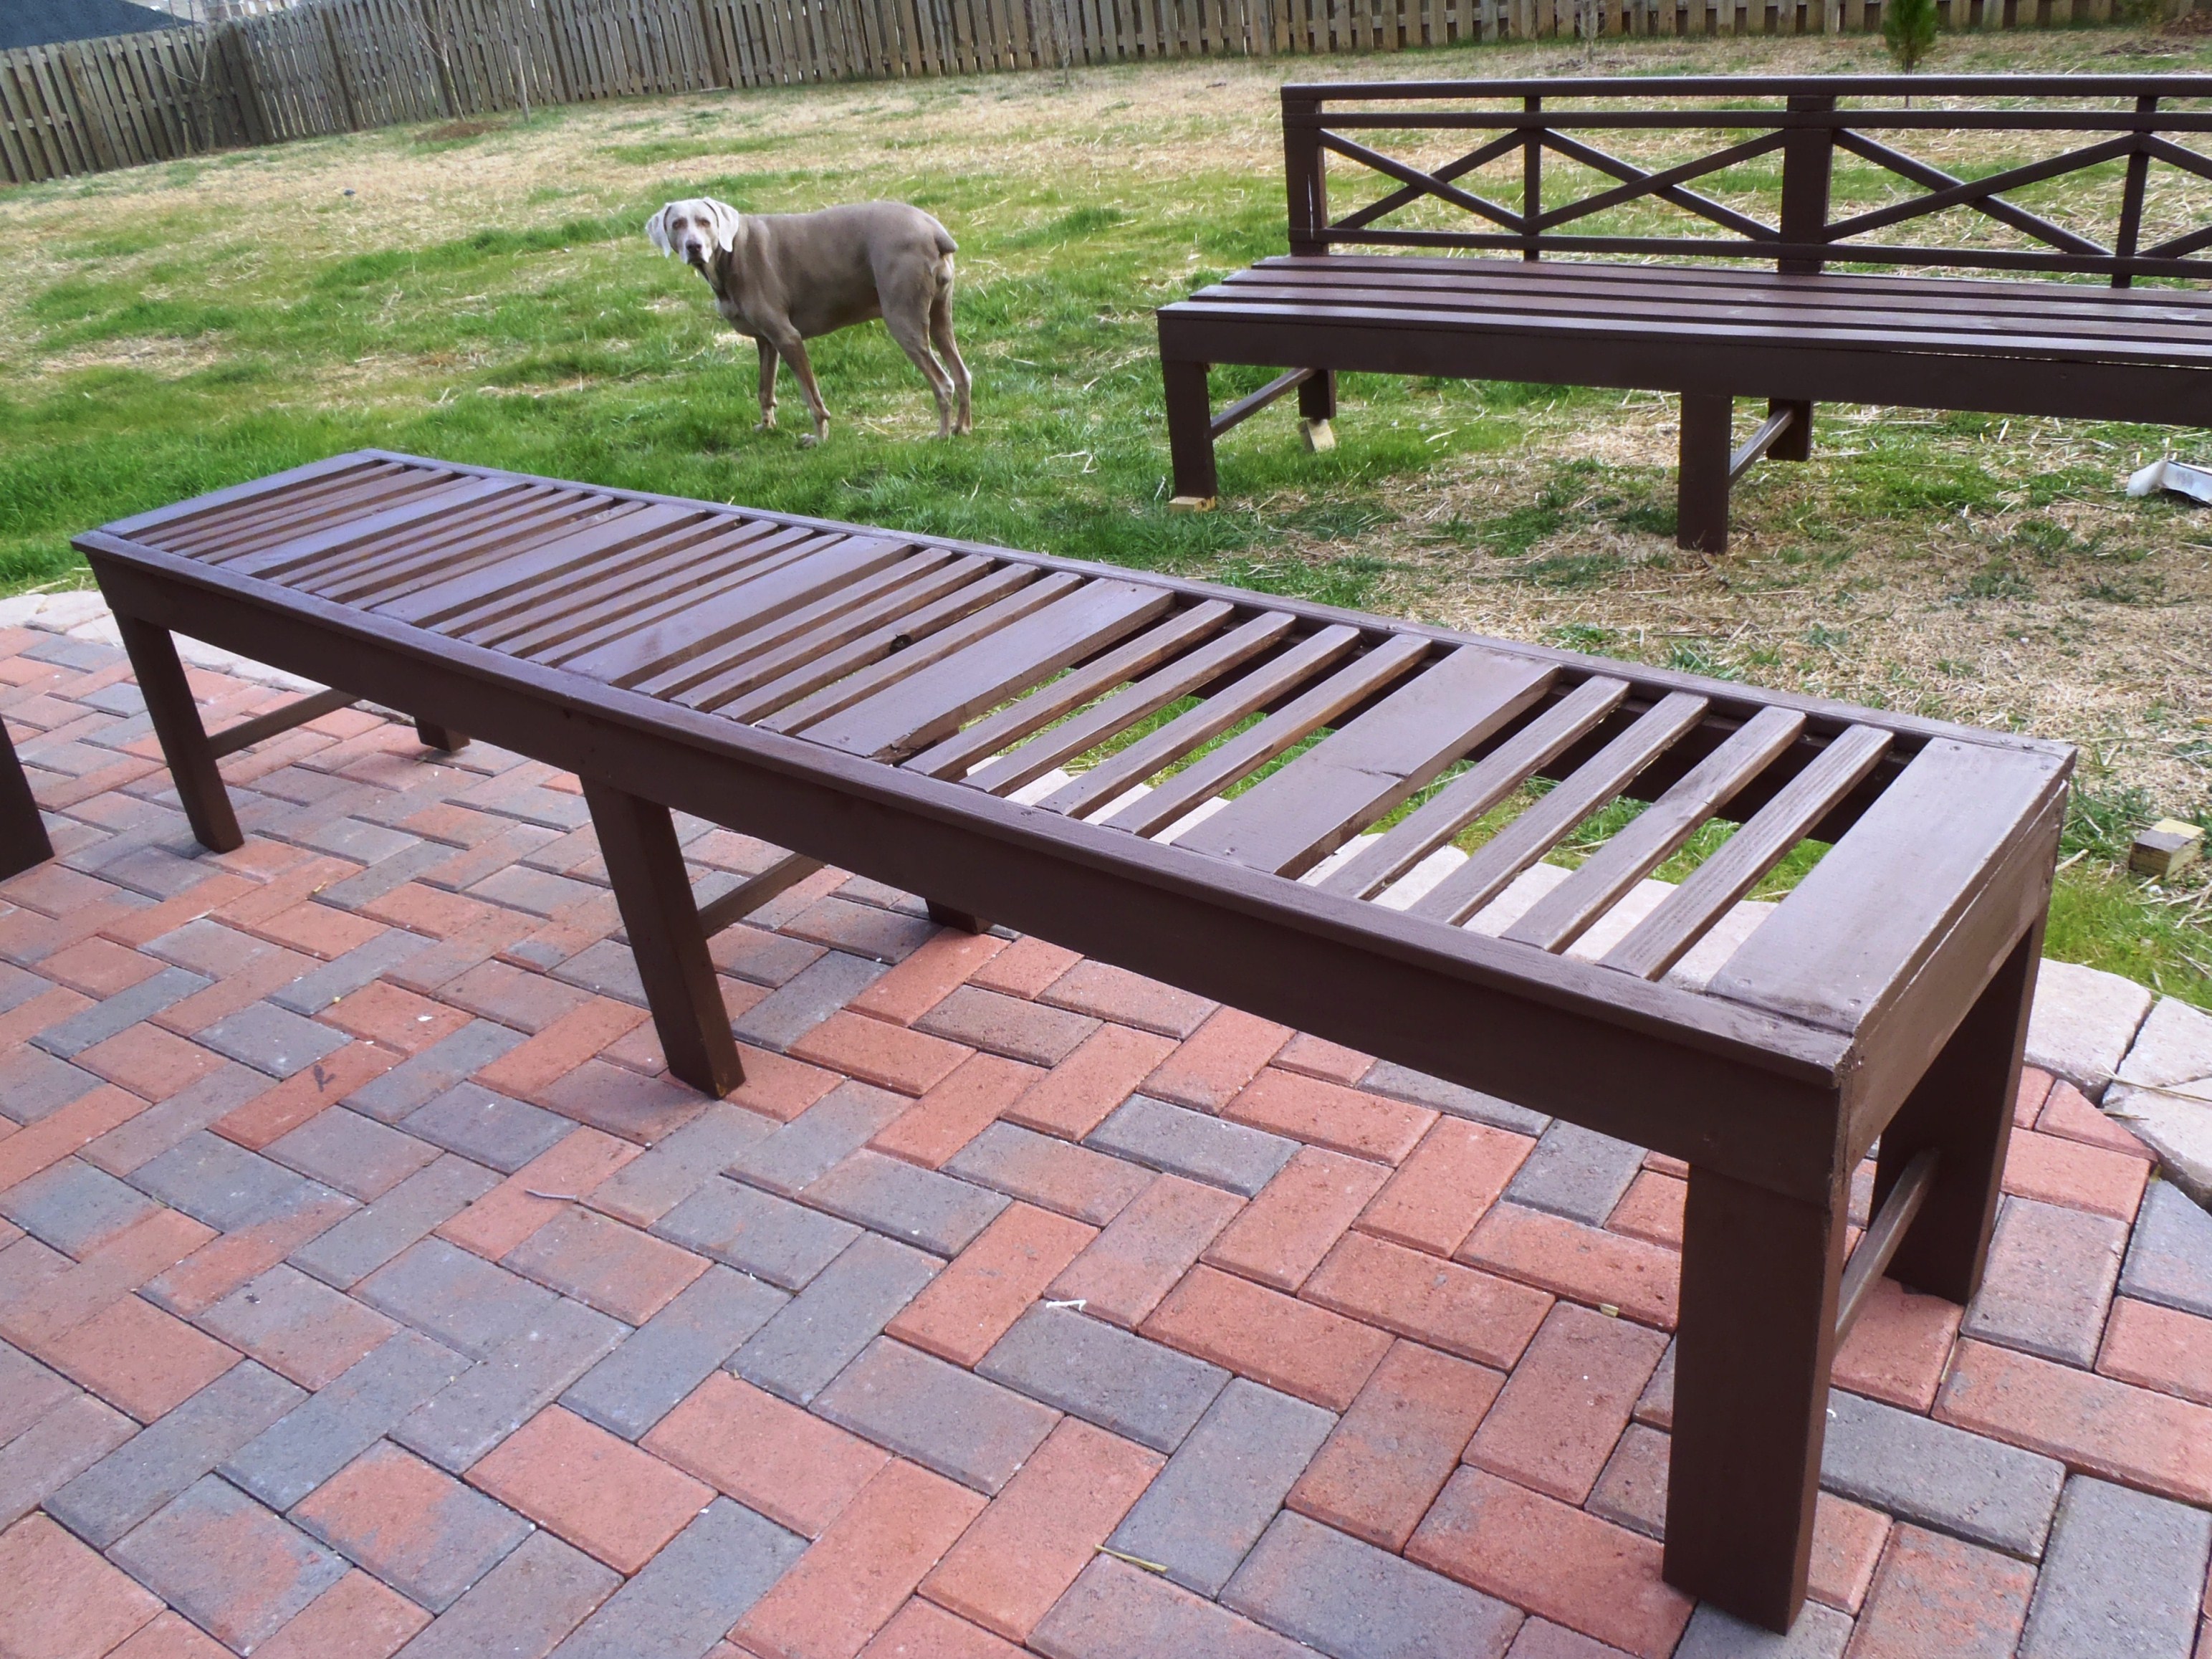
I have been looking for something to add extra seating to my deck while also filling an awkward corner that I have never been able to find prefab furniture to fit. This build reminded me a lot of the large X bench that Ana made for her cabin (that I also built for my front porch.) It is super simple and so sturdy. I can't wait to sew cushions for it and build the second half.
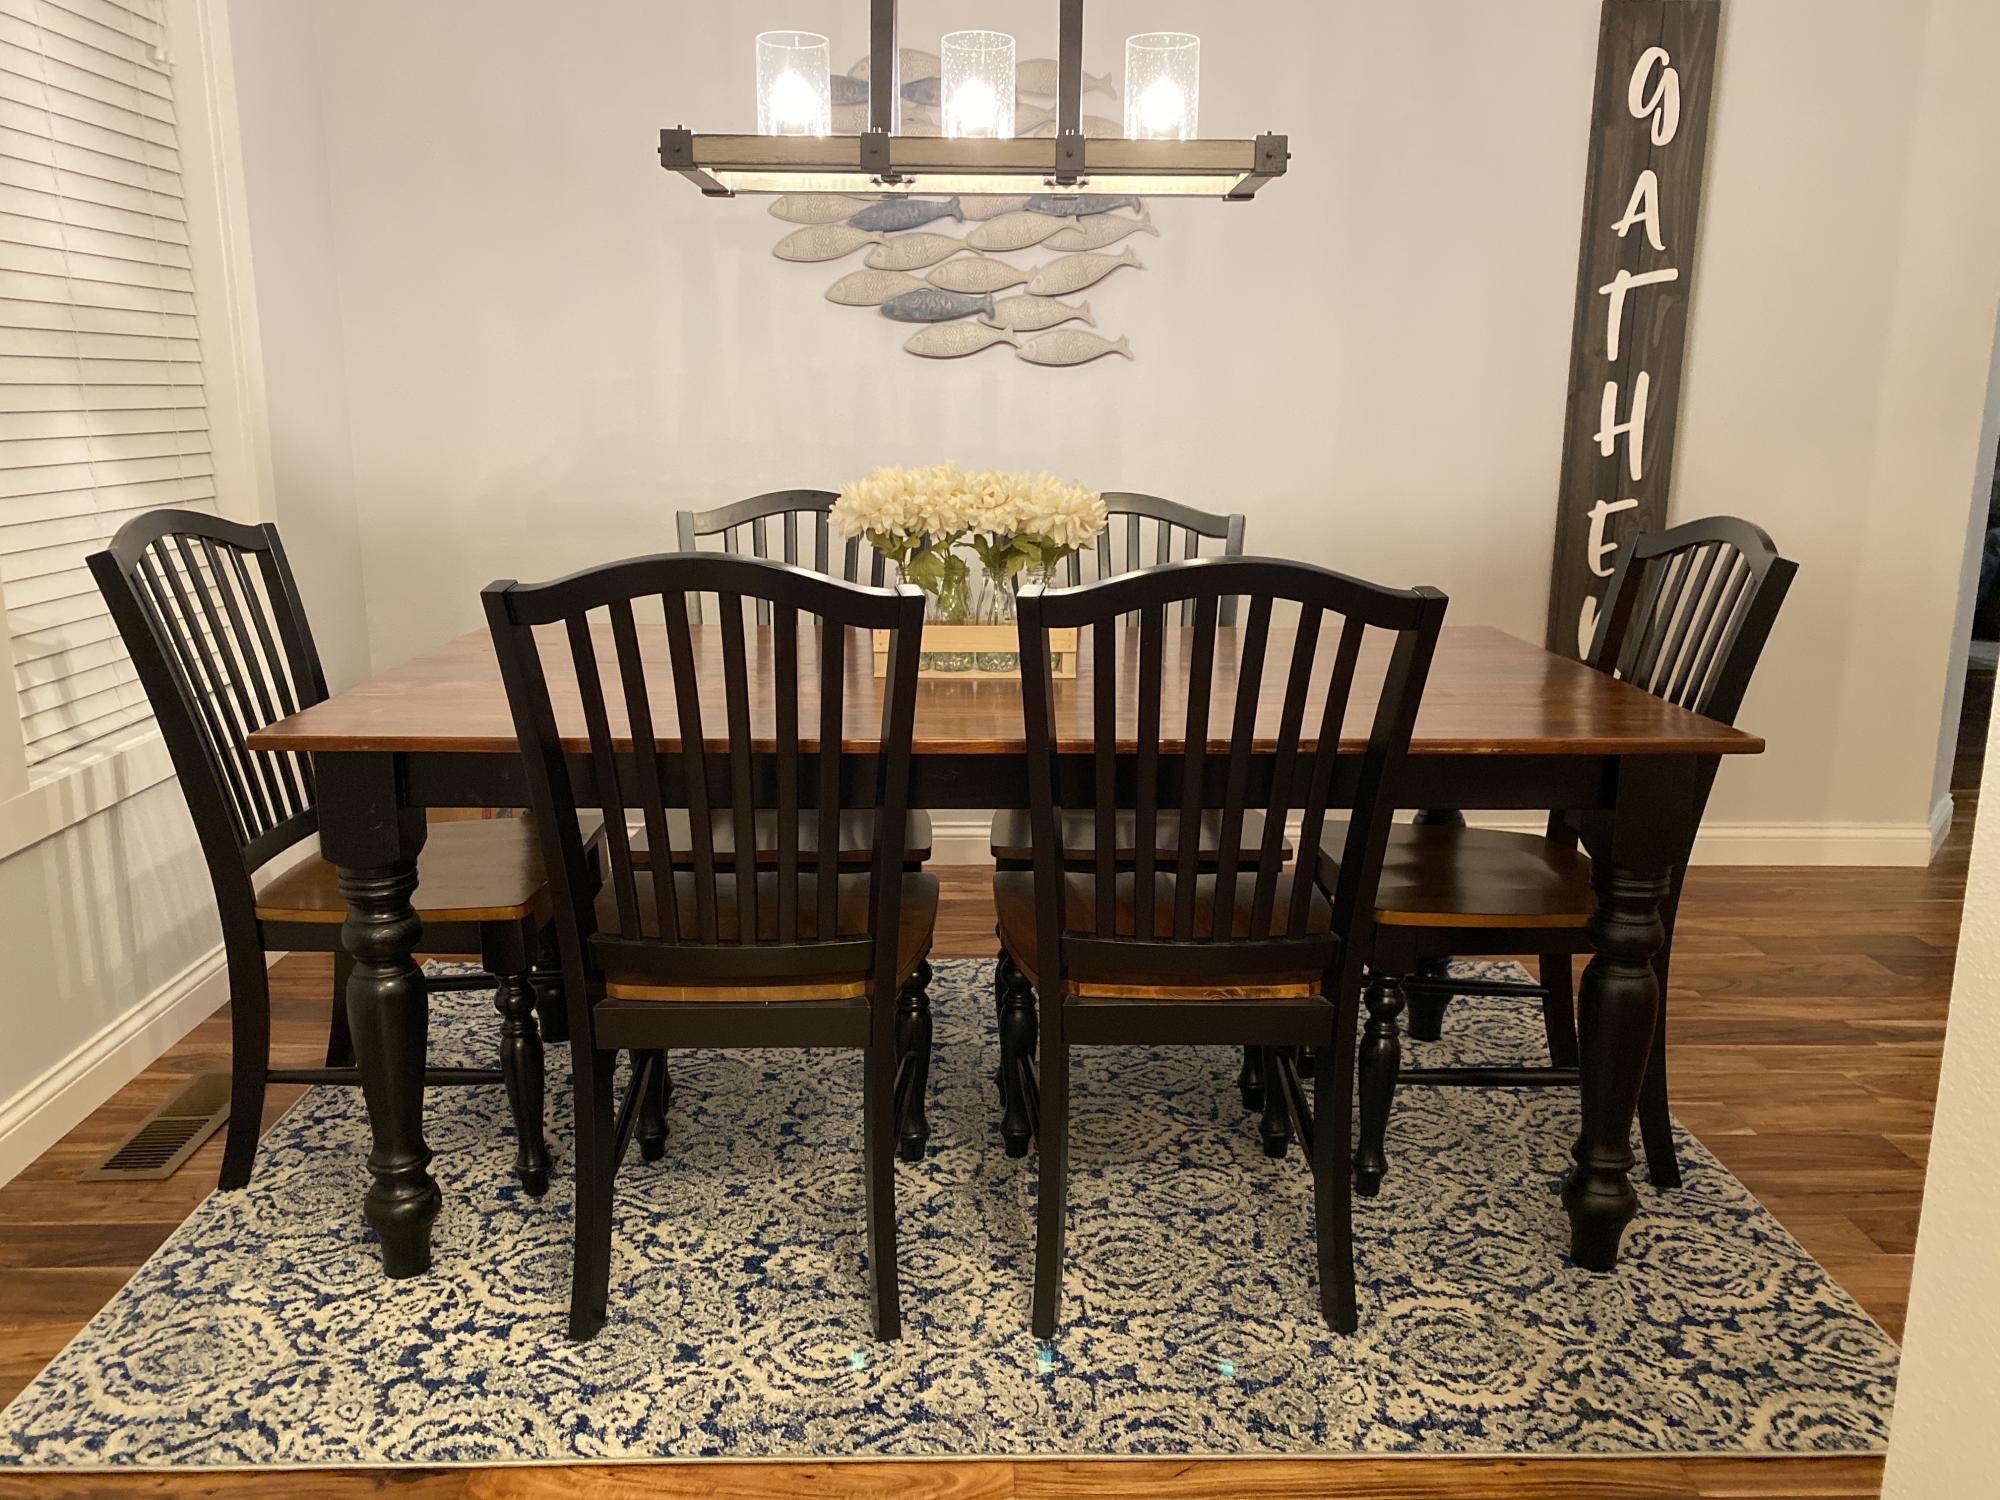
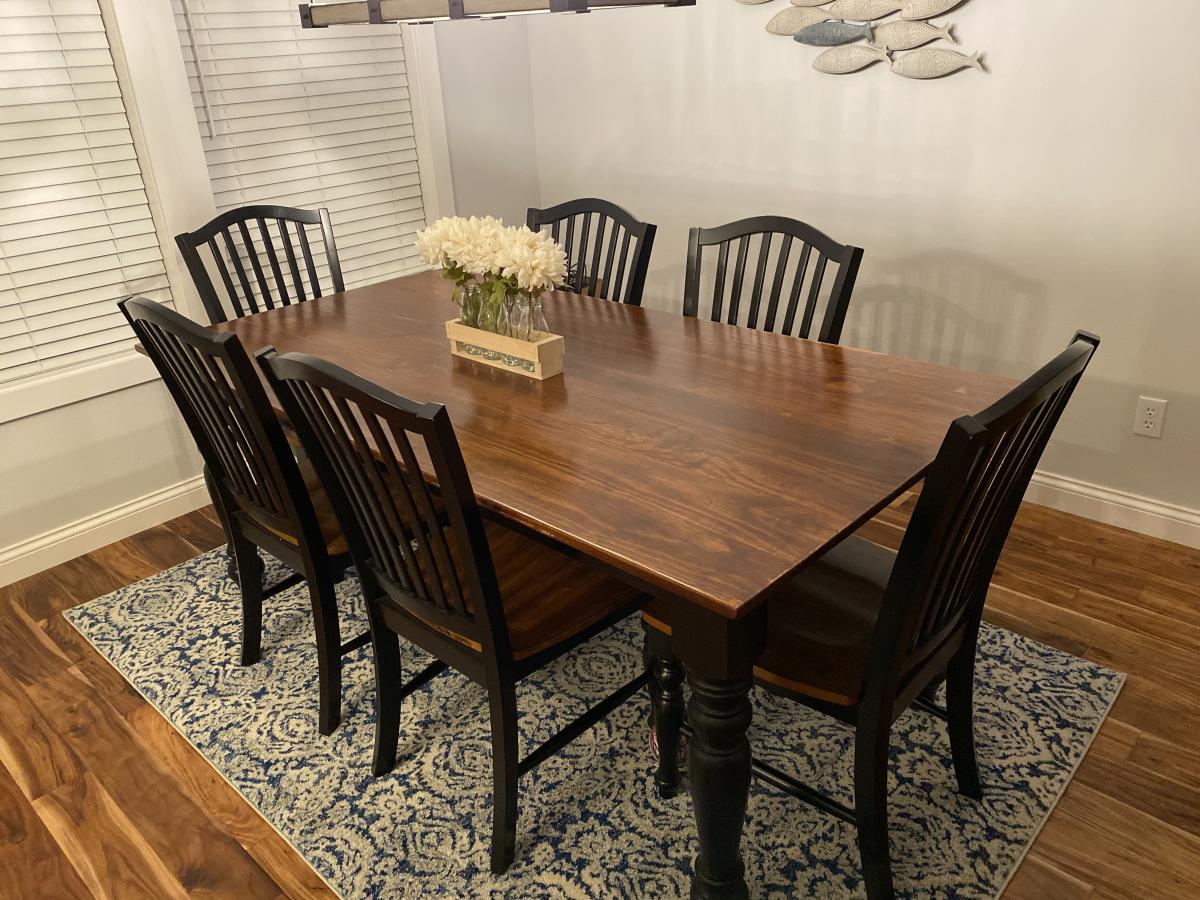
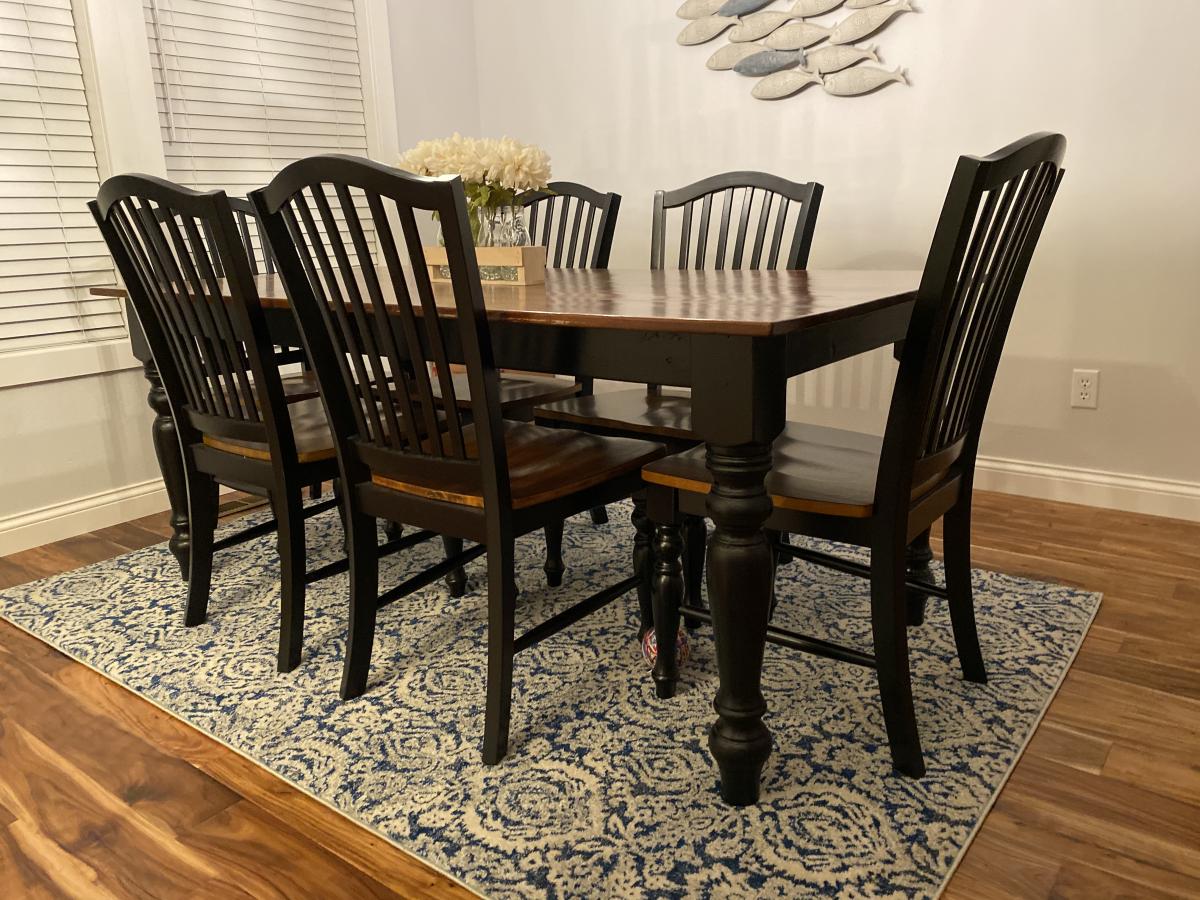
I made this table from the husky farmhouse table plan, I have loved this table since I first saw the plan. I used 4” legs instead of 5” and 1x6’s for the top. It turned out beautifully. I did purchase the Osborne legs as recommended.
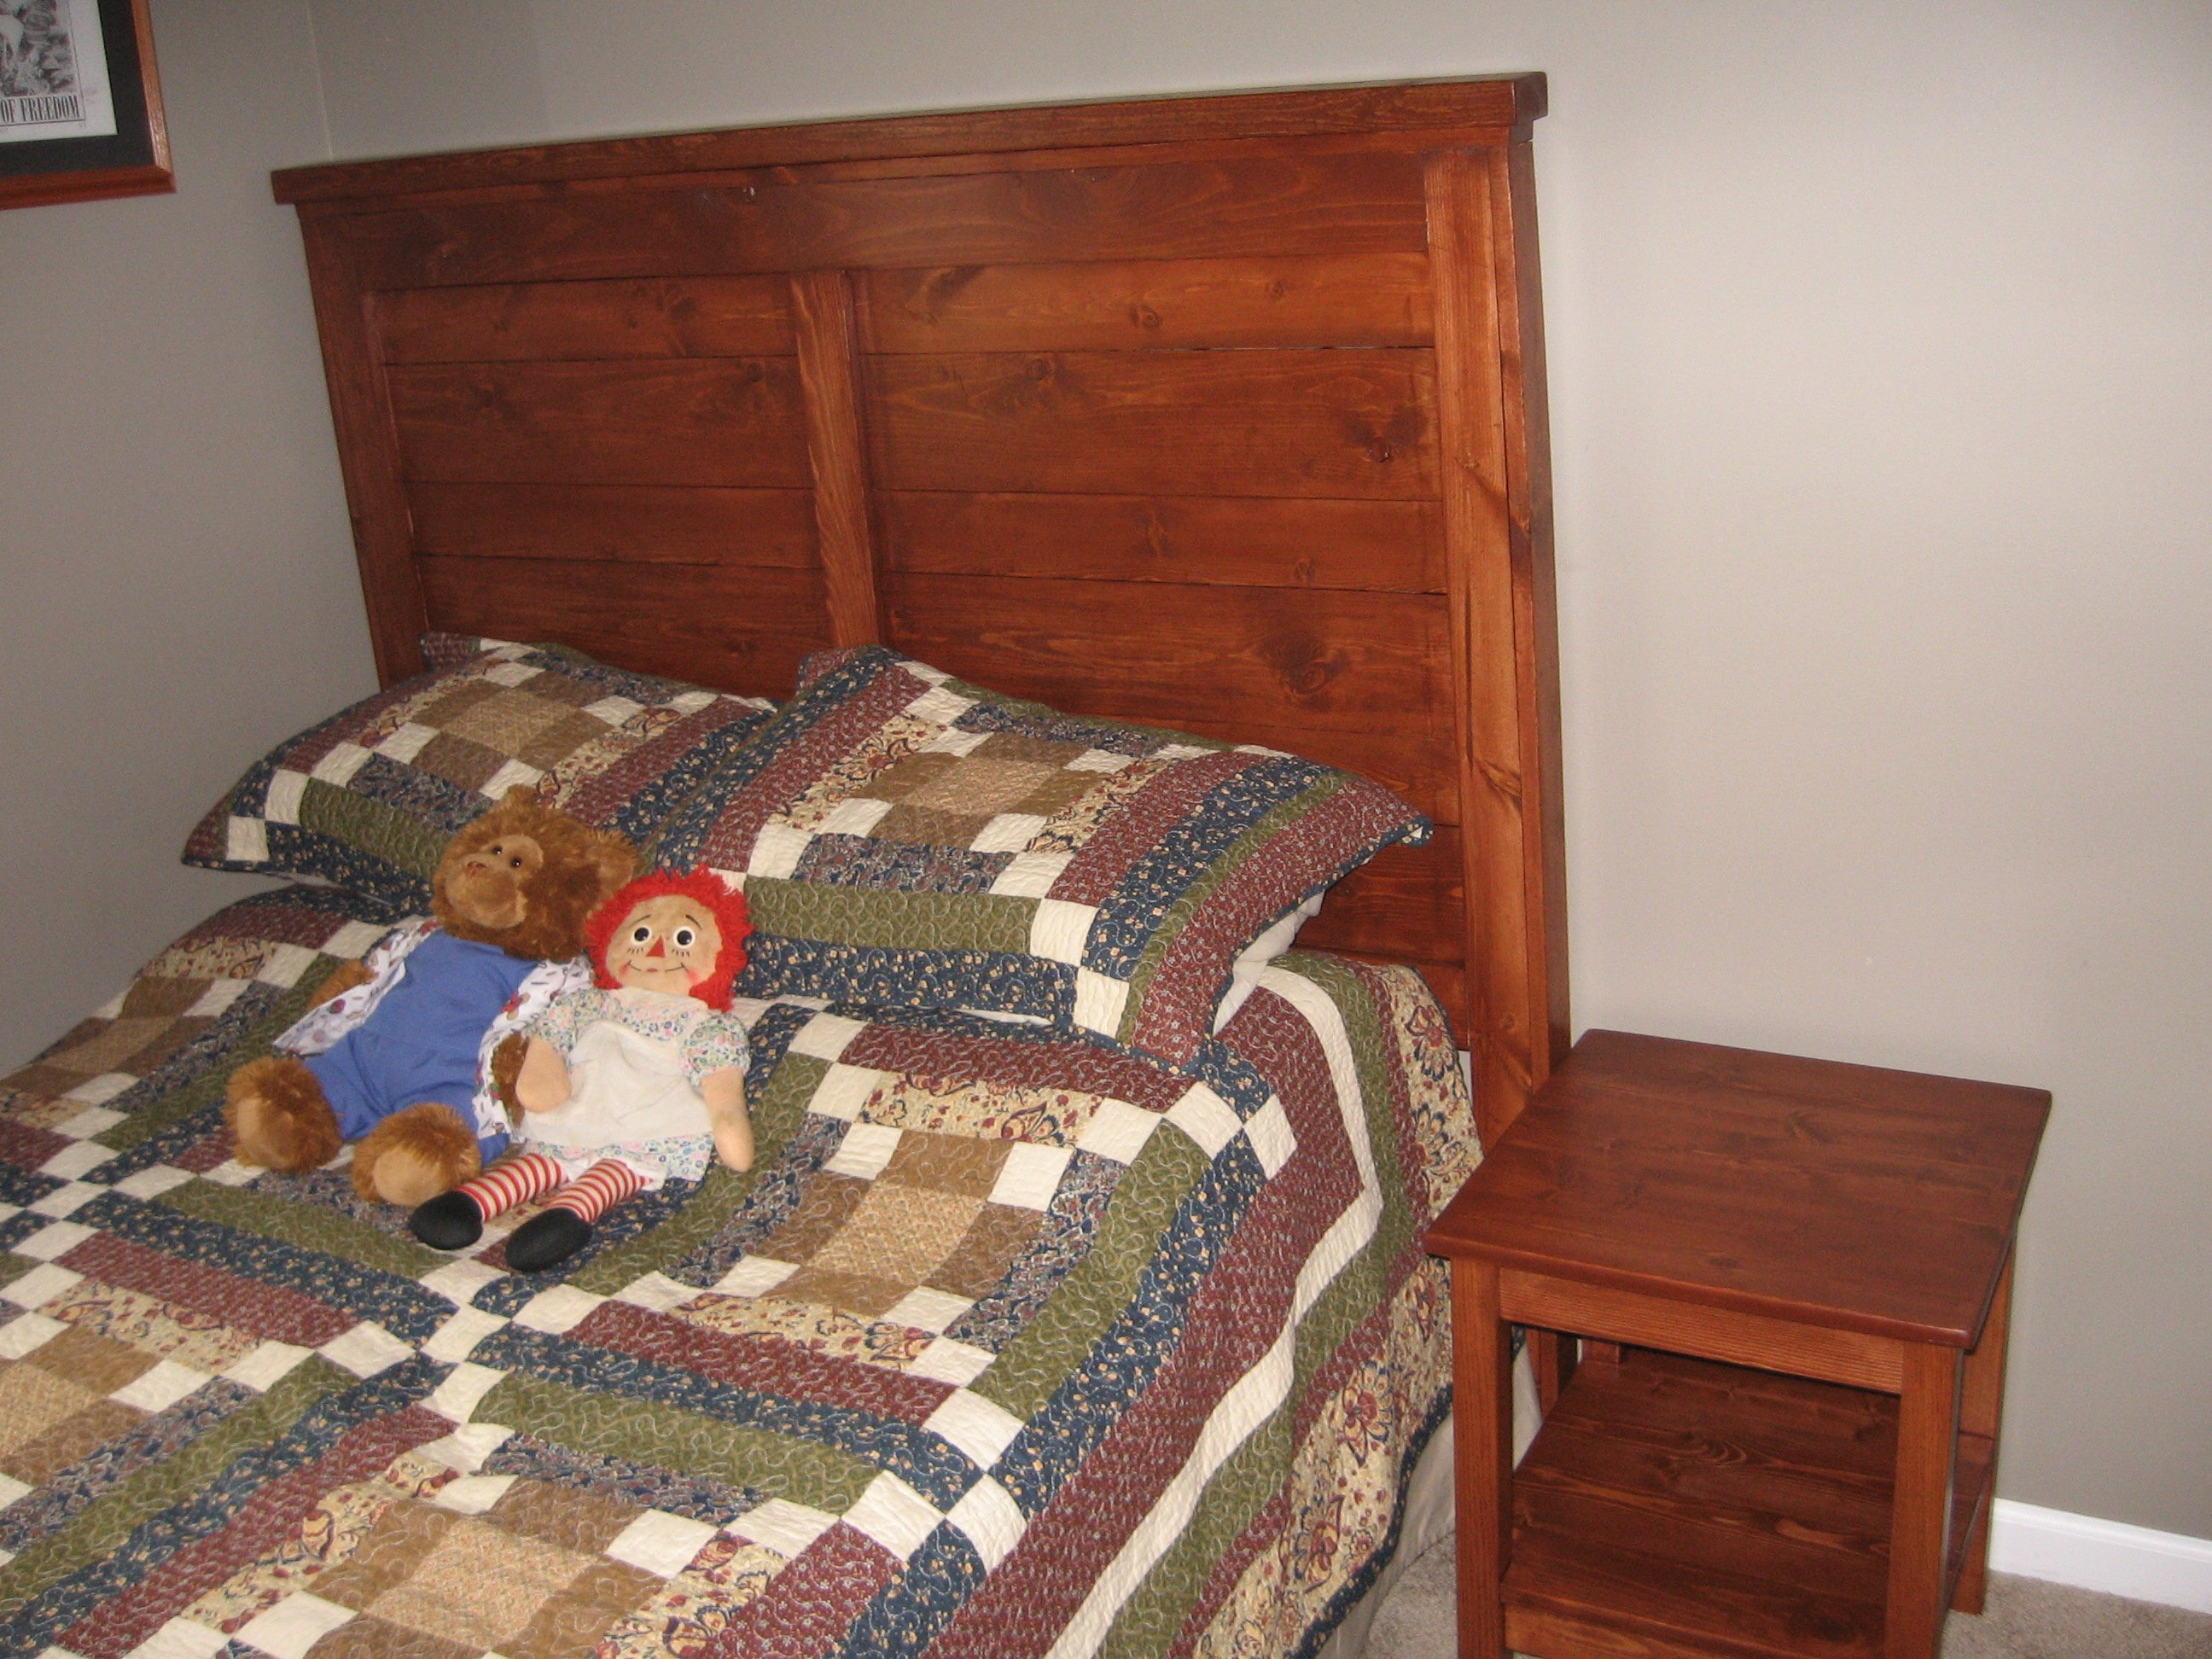
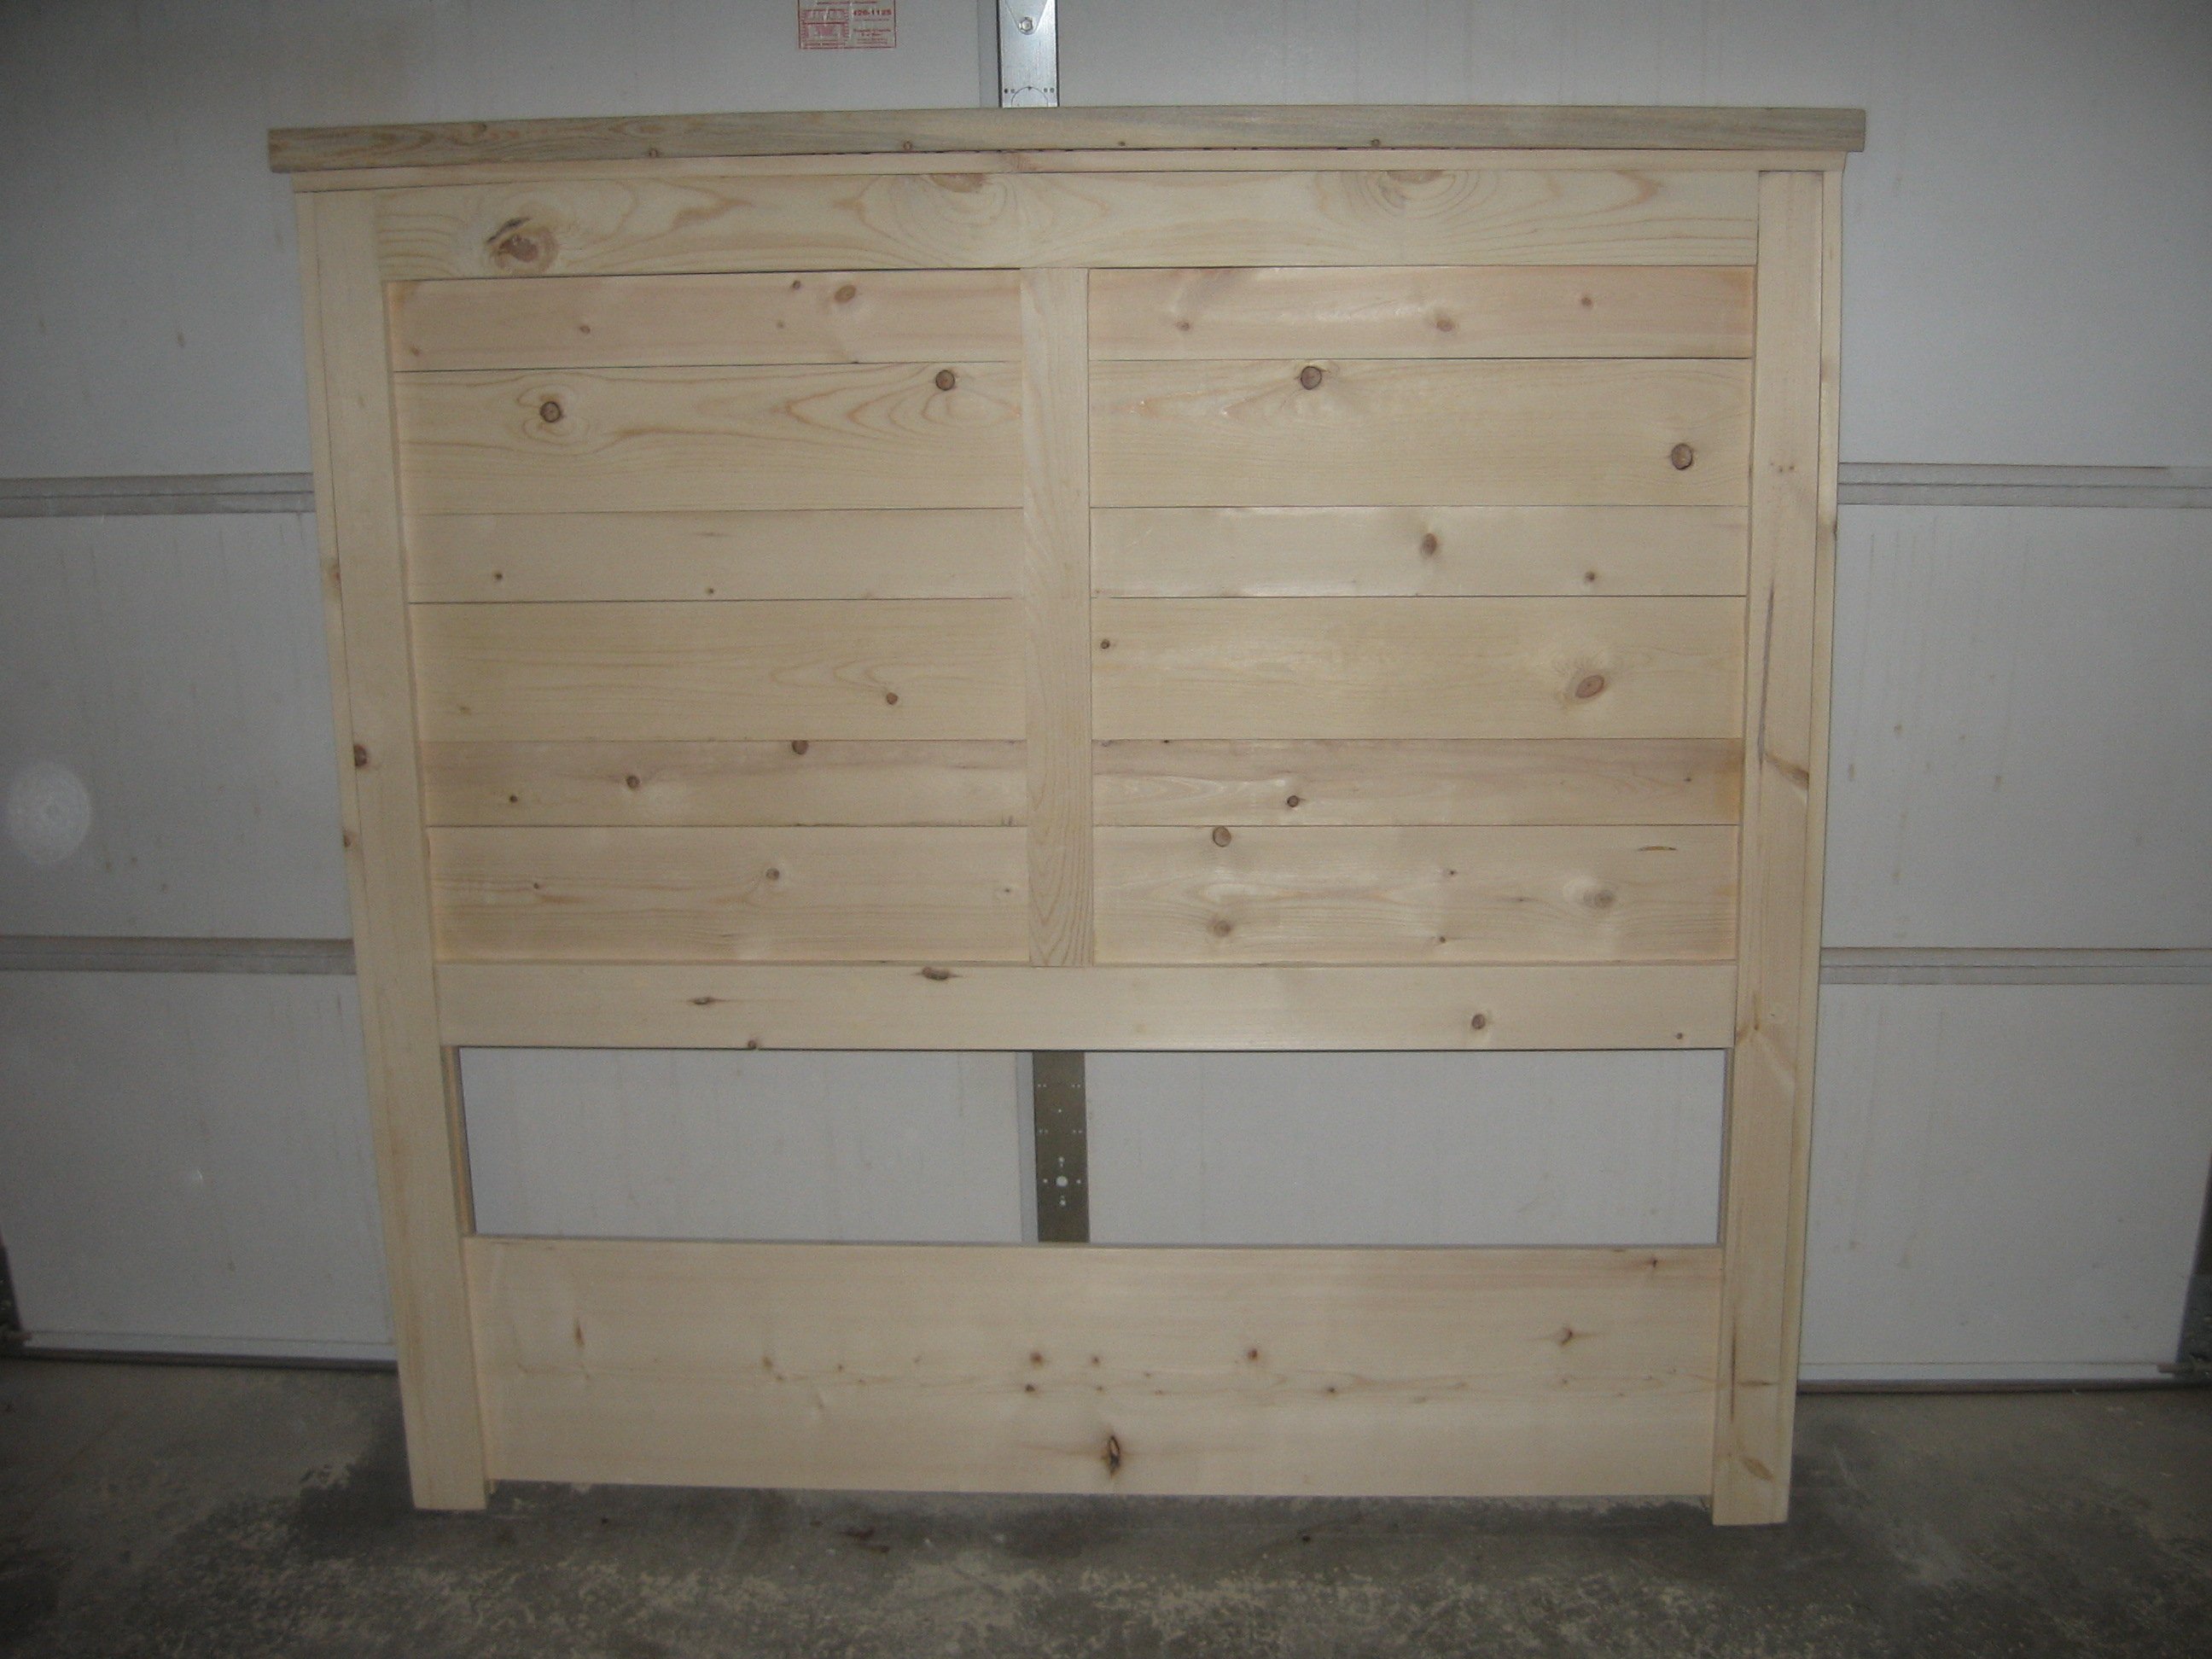
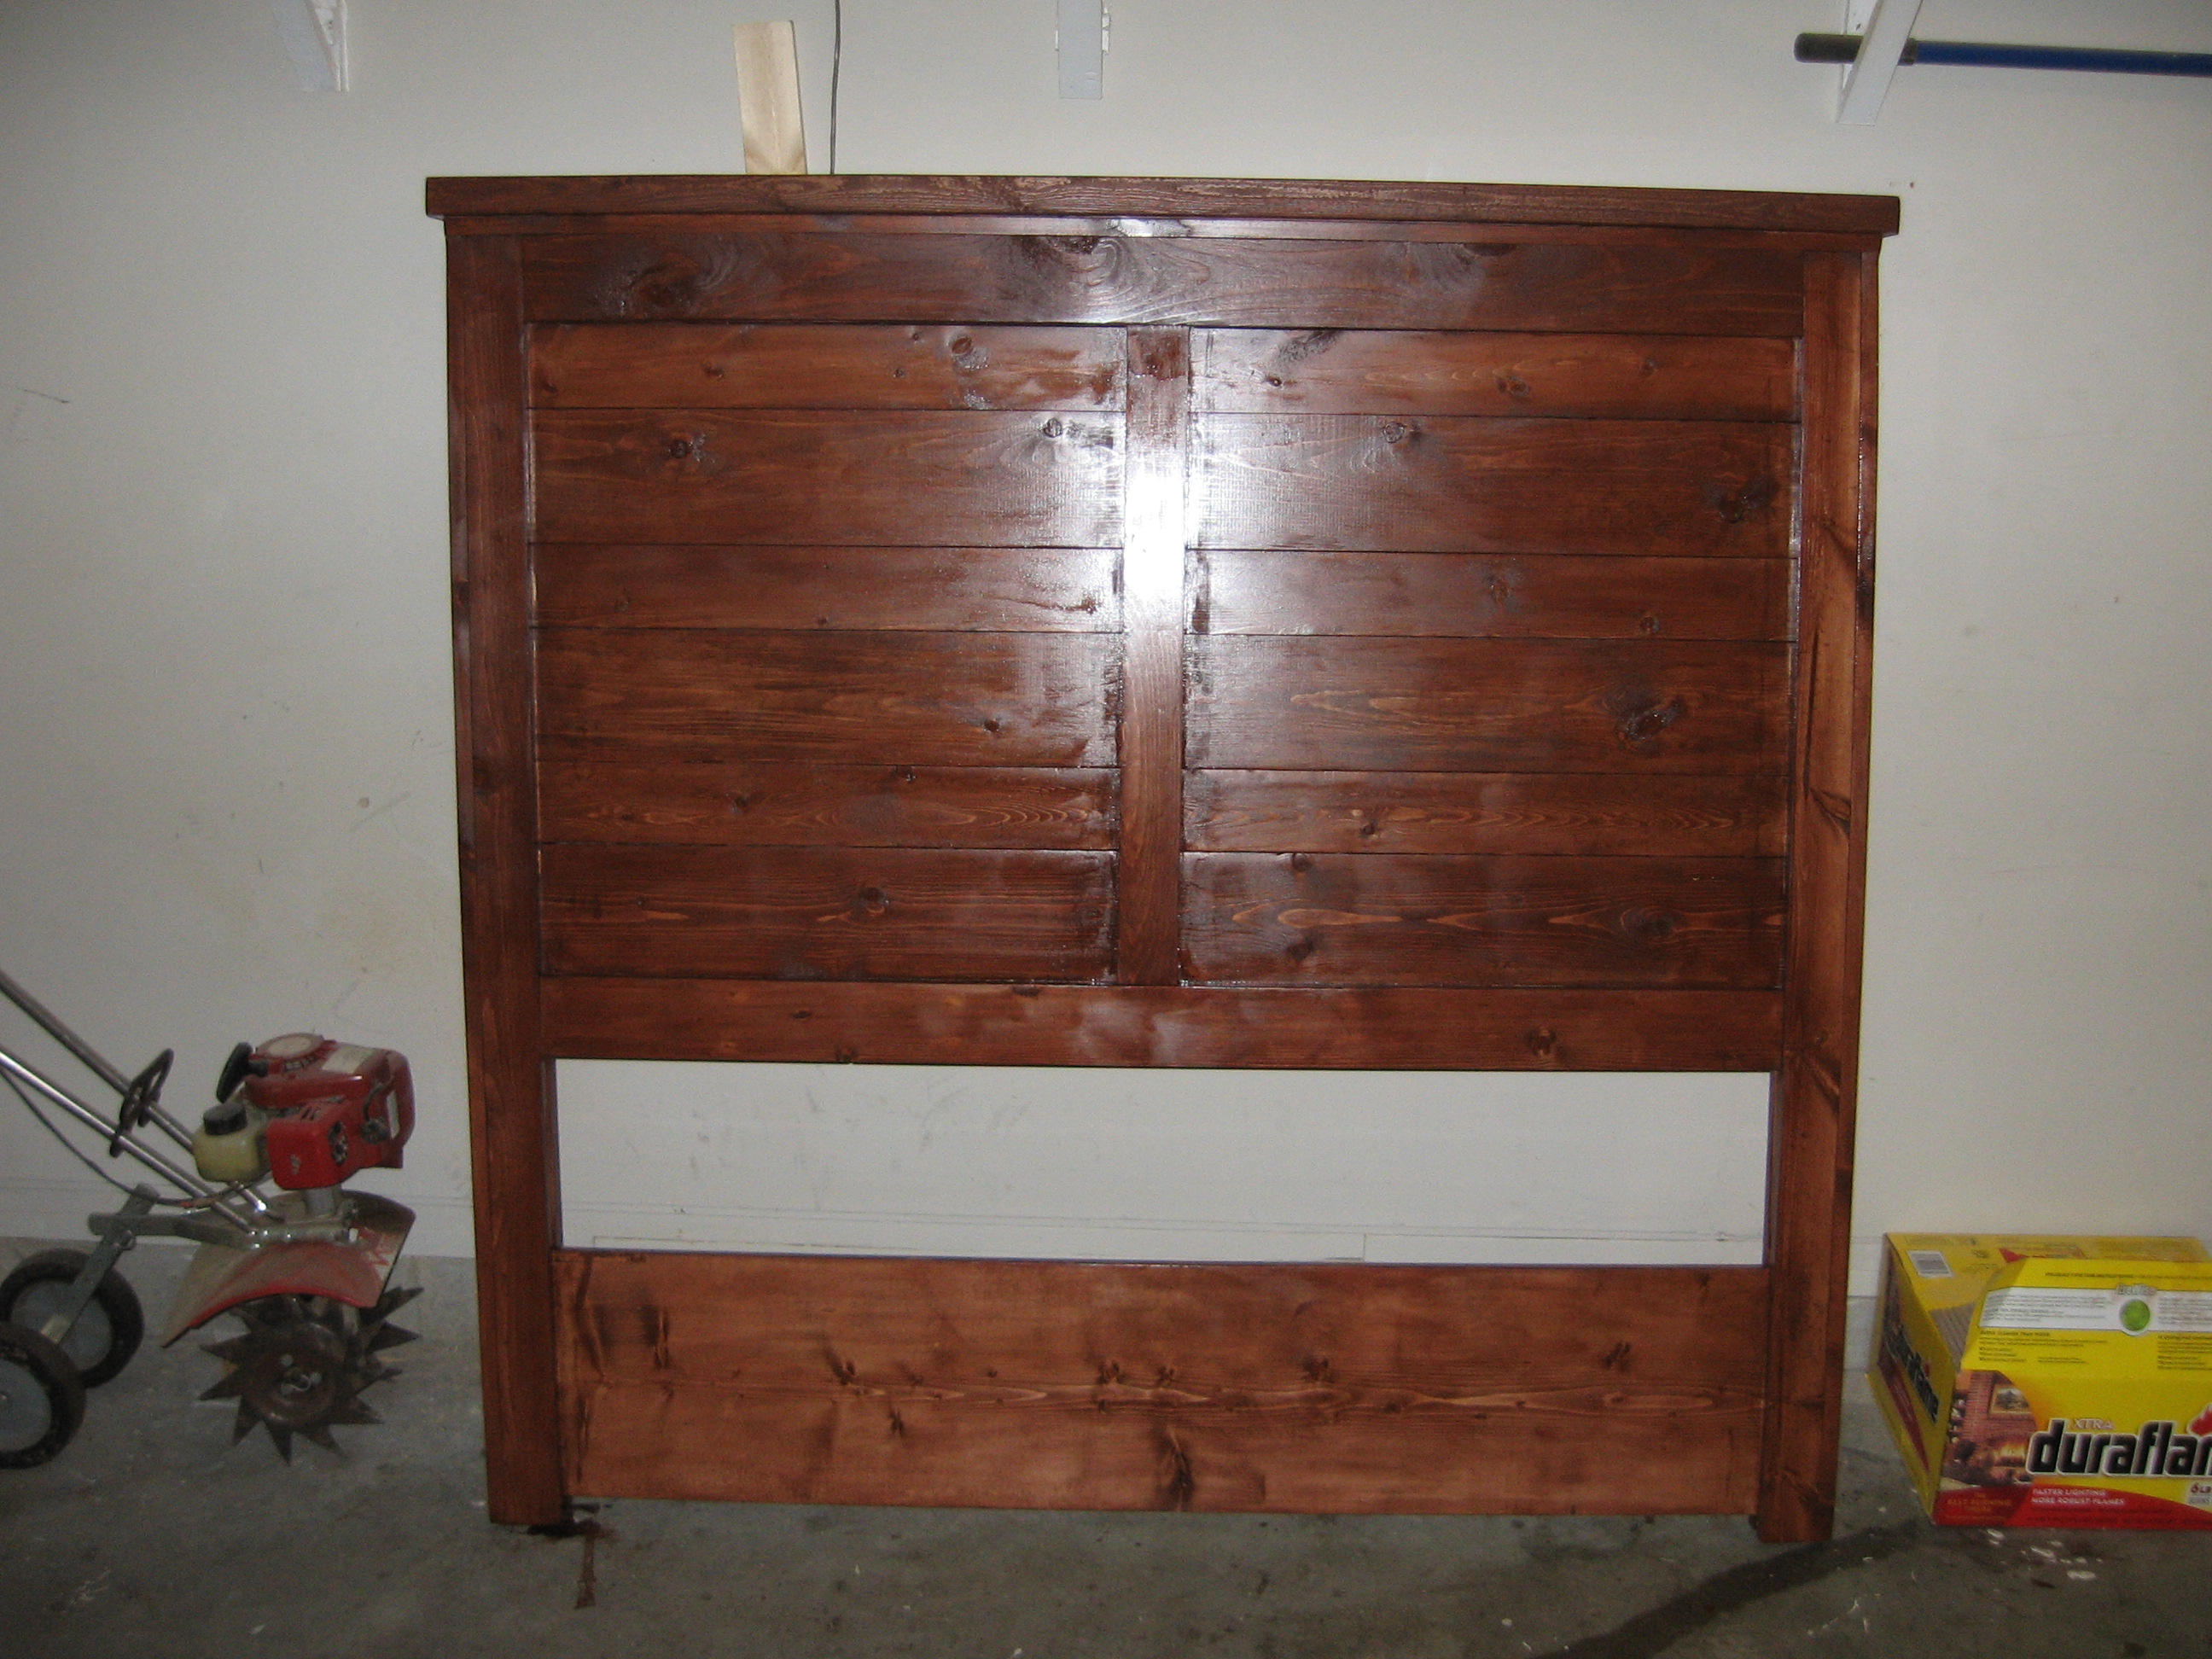
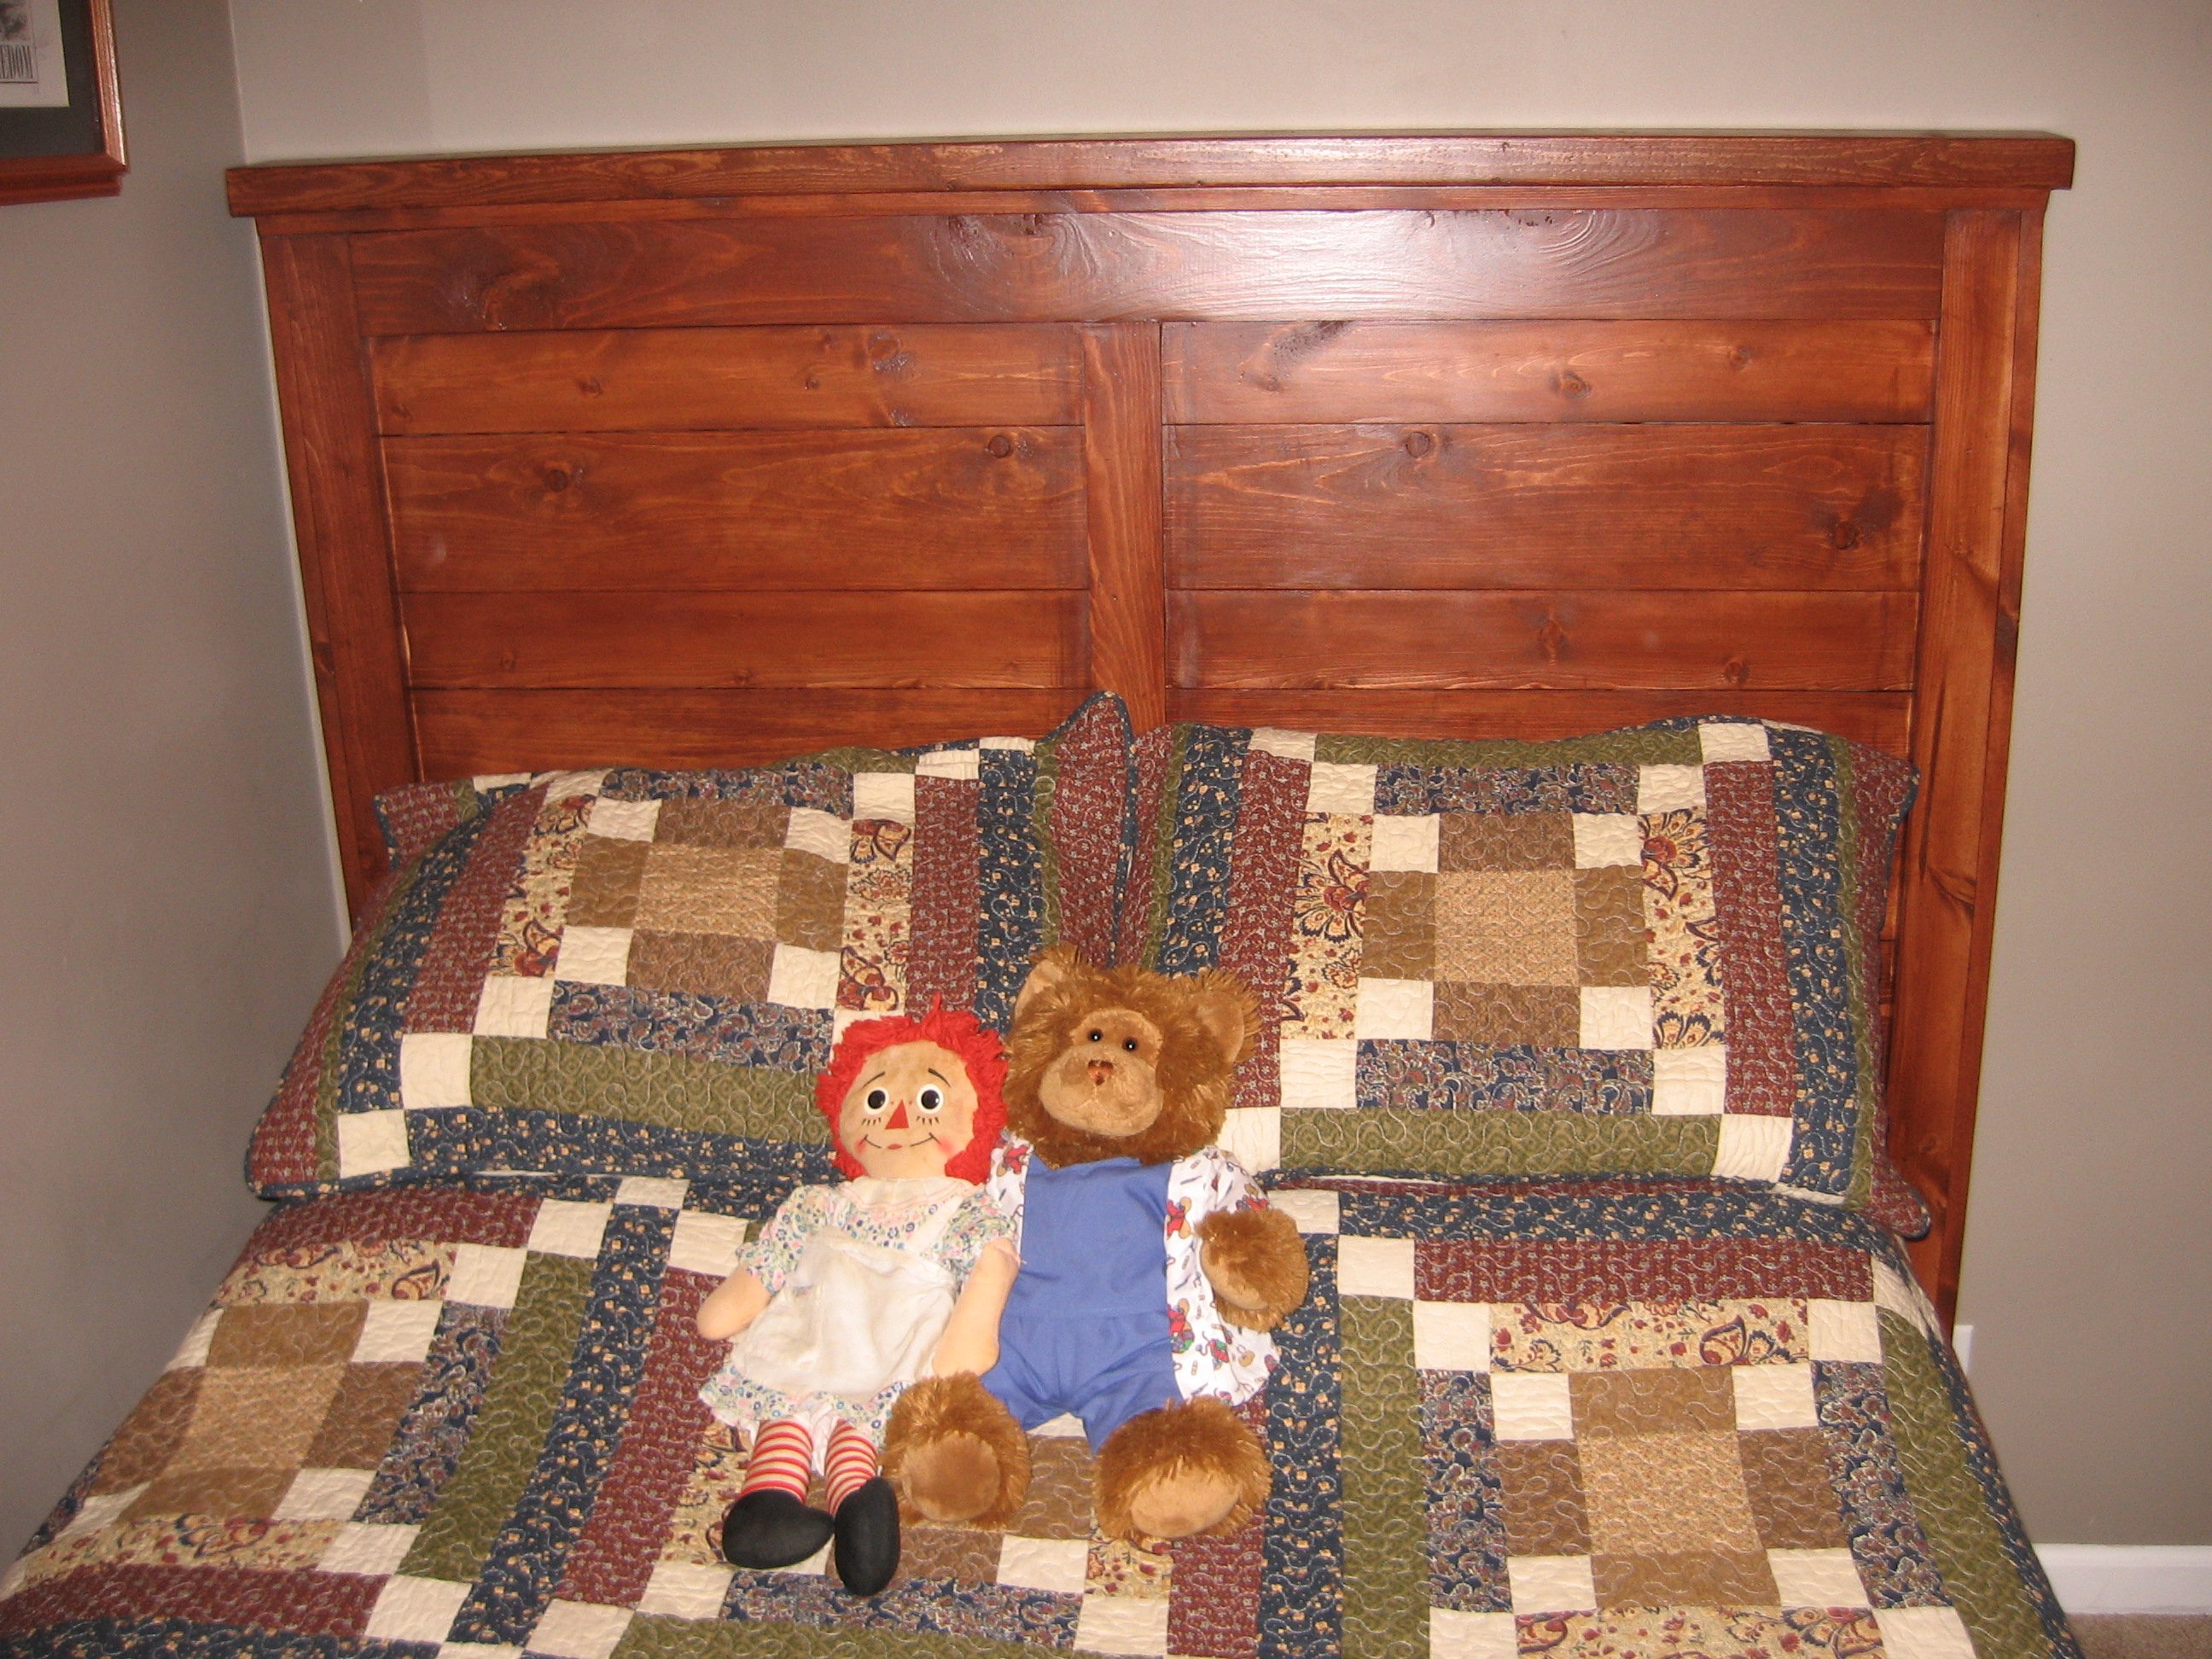
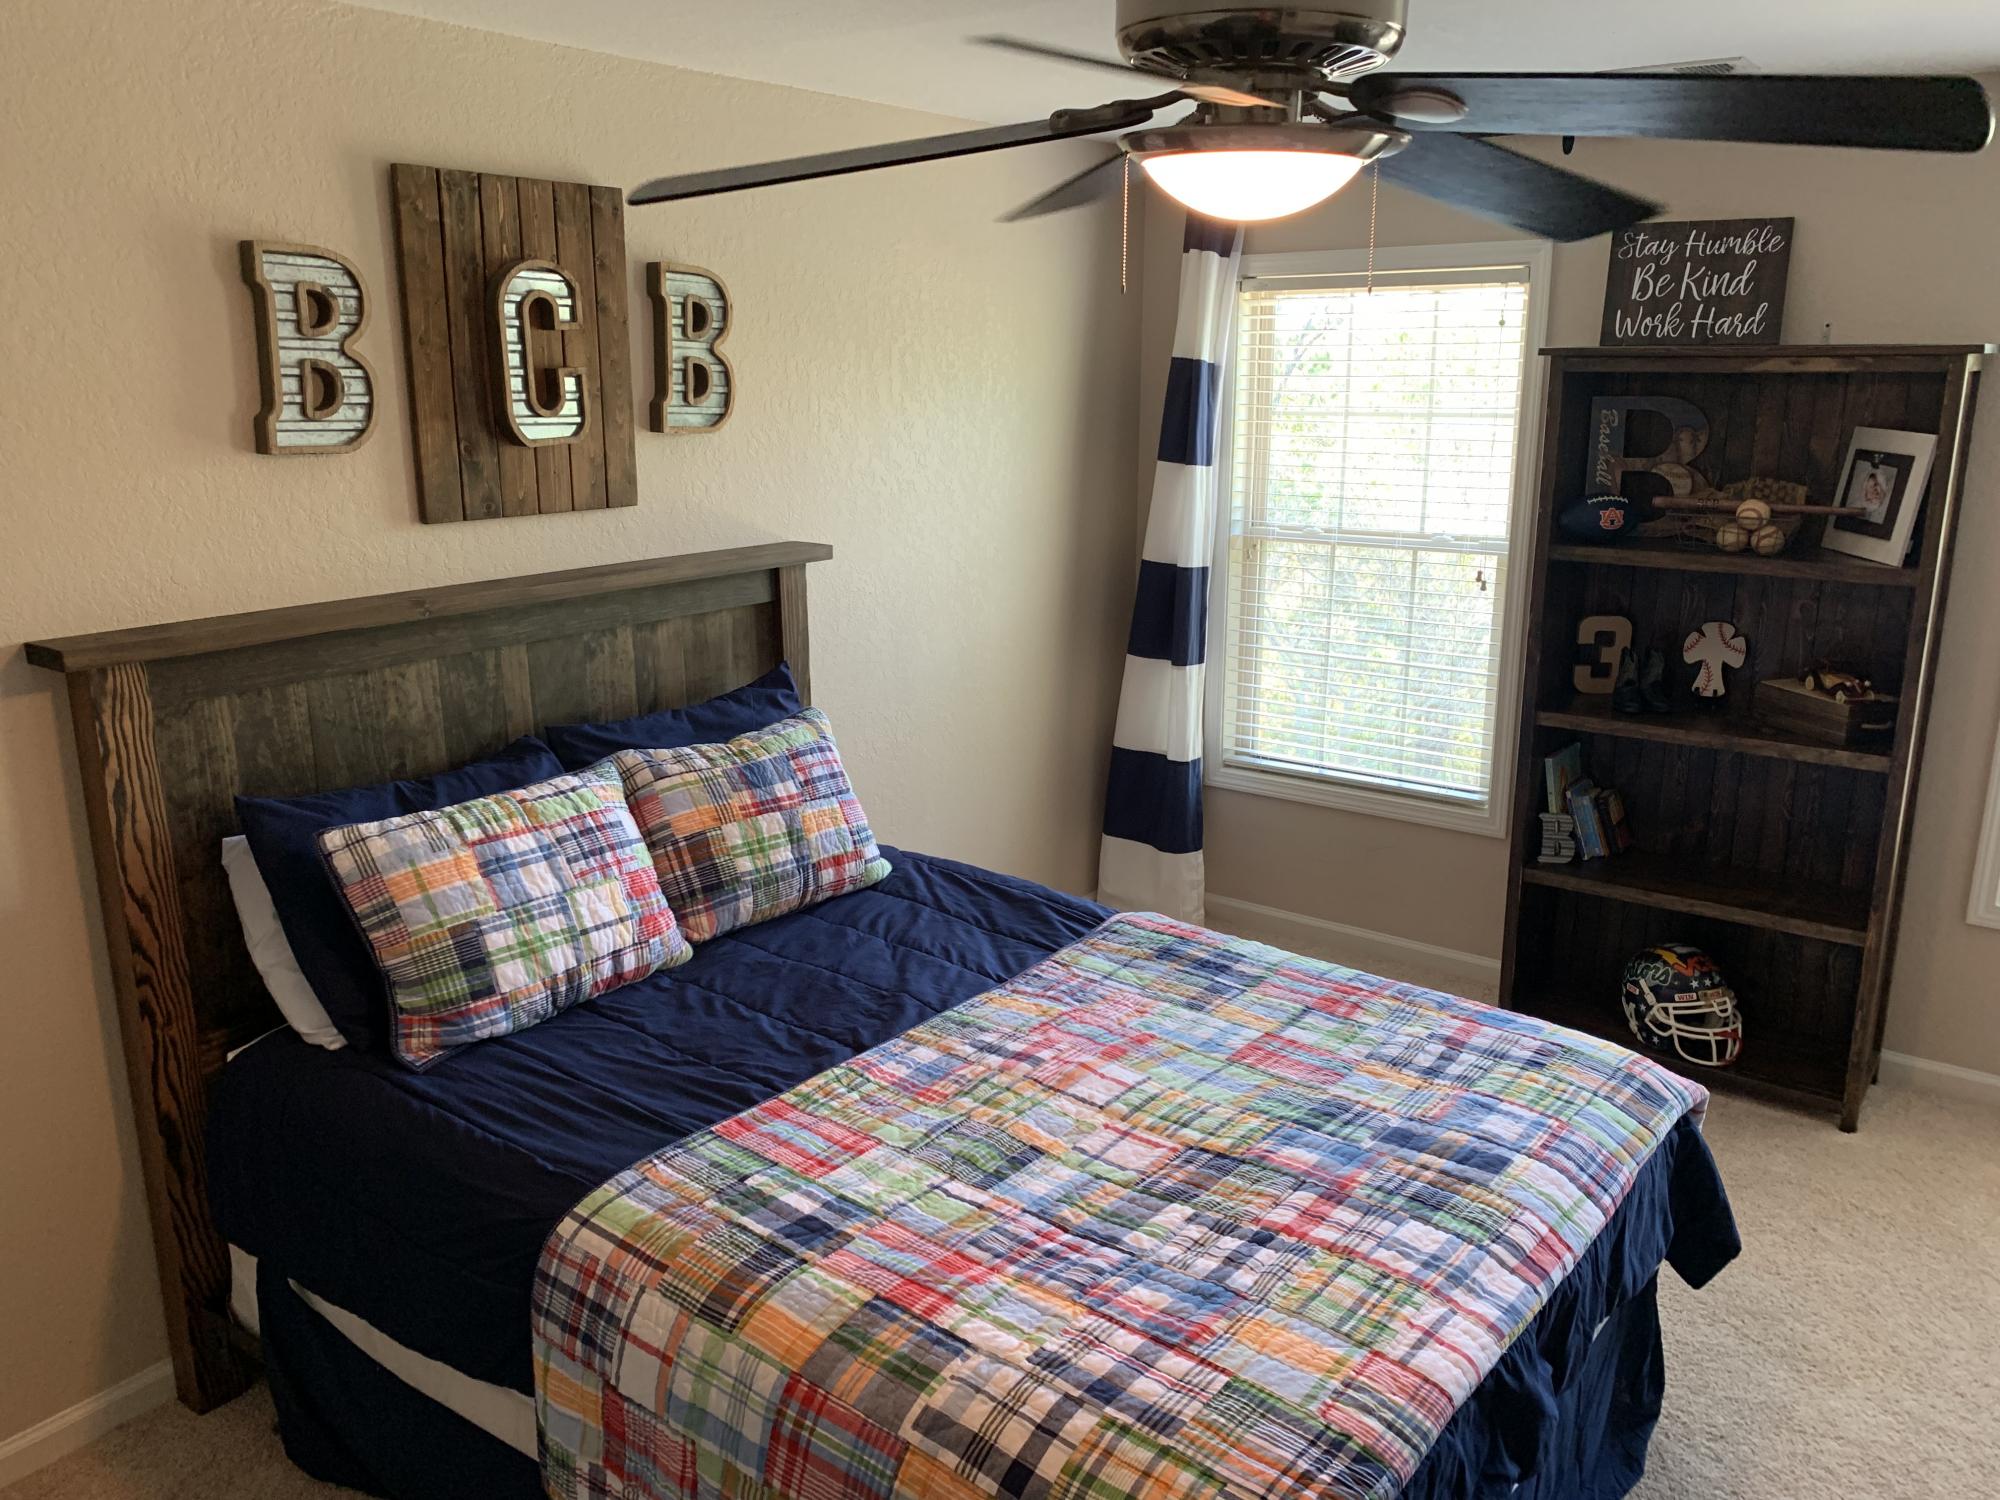
I used the Farm House Headboard plan to make this headboard. I had to mix the stain to match a dresser I already had. I used a mix of Minwax pecan, red oak, and jacobean stains for the base coat and then Minwax red chestnut for 2 additional coats. I then used 2 coats of fast drying poly to top coat with. The wood is pine stud grade. I did modify it a bit by adding an additional vertical cross member in the center and I had to add a 1" x 12" at the bottom because the style of the bed frame. I built it in an afternoon but it took several days to stain and top coat.
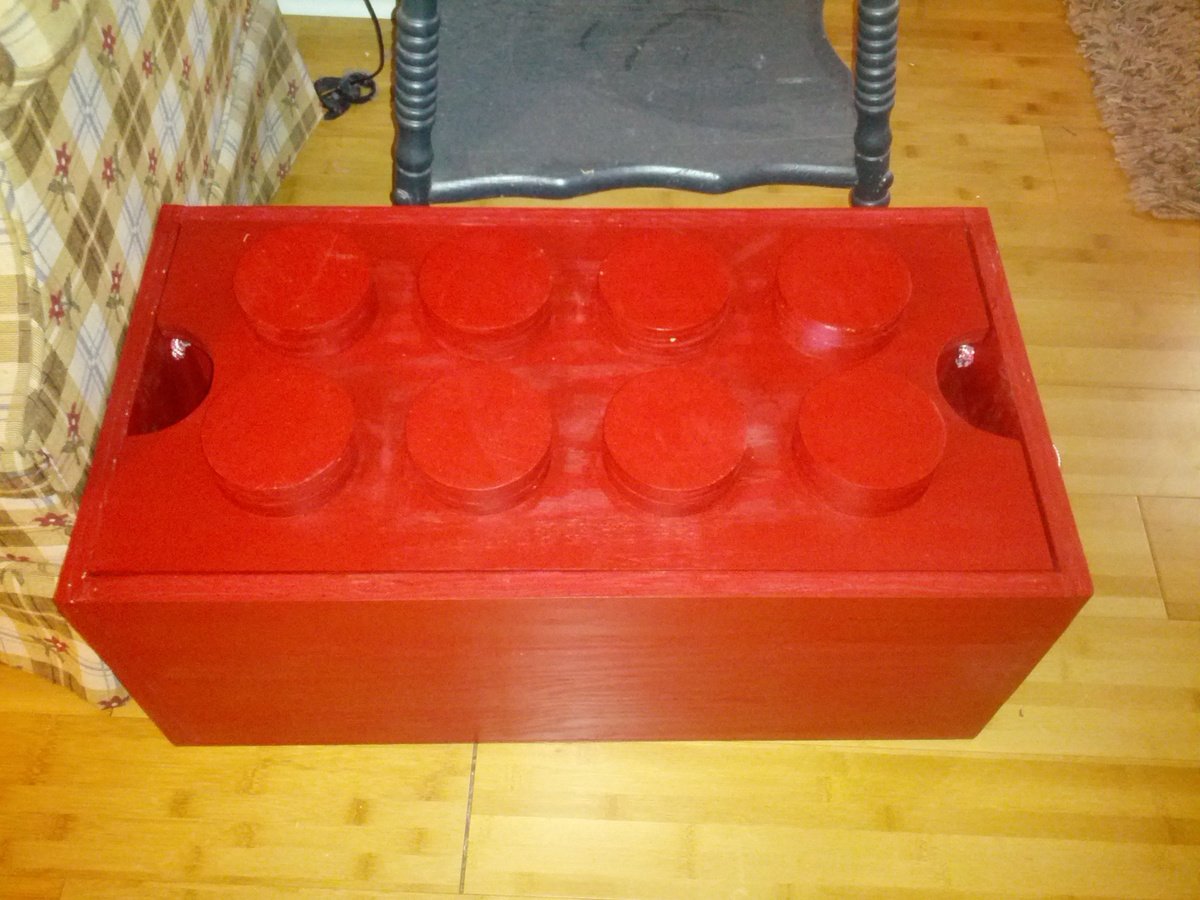
I built one for my kids and one for a nephew. I ordered the 10" x 10" Lego plates from Amazon. The sides and top are made from 3/4" plywood and the bottom is 1/4" plywood. The overall dimensions are 26 1/4" x 13 5/8" x 11 7/8" (not counting the top circles). I used a 4" hole saw to cut the circles then glued/nailed two together and used wood filler to fill the hole created in the center of the circles by the hole saw.
Other than changing the dimensions, I followed the original plans closely. The images in the original plans have 2 plates that are 15" x 15".
When cutting the circles, I clamped/screwed a scrap piece of wood under the plywood to produce much cleaner cuts.
I did paint the inside bottom white to make it easier to see the bottom and small pieces. I also drilled a pair of holes on each side to add rope handles.

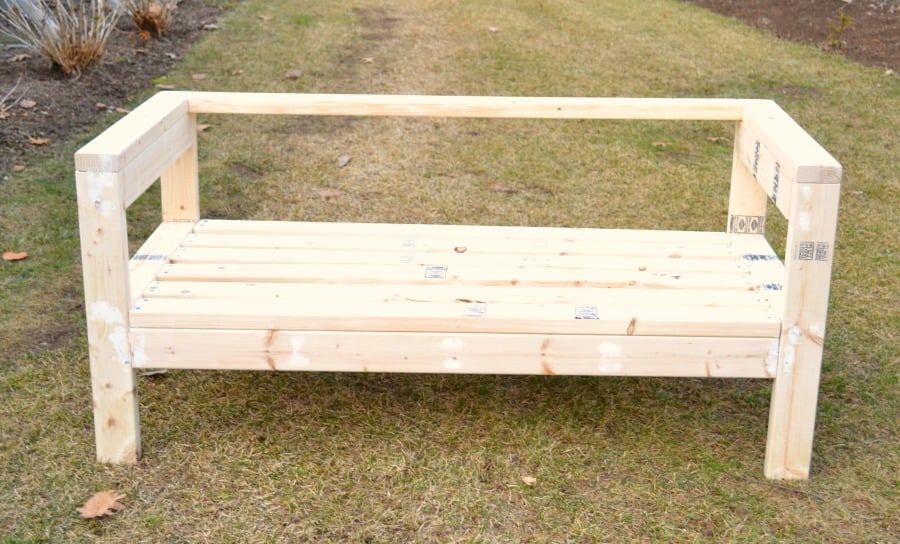
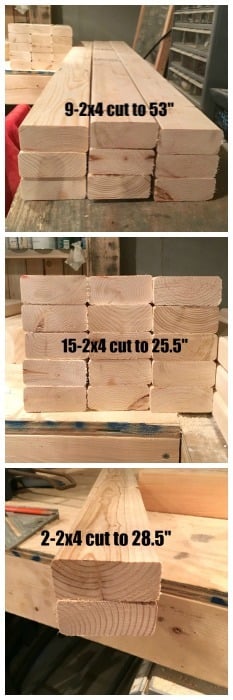
Loved making this. Took less than 2 hours, not including painting, which I haven't done yet. Plans were easy to follow but I couldn't find a cut list which would have made the trip to the lumber yard a little easier. I used some scrap wood and some new so very reasonable to make.
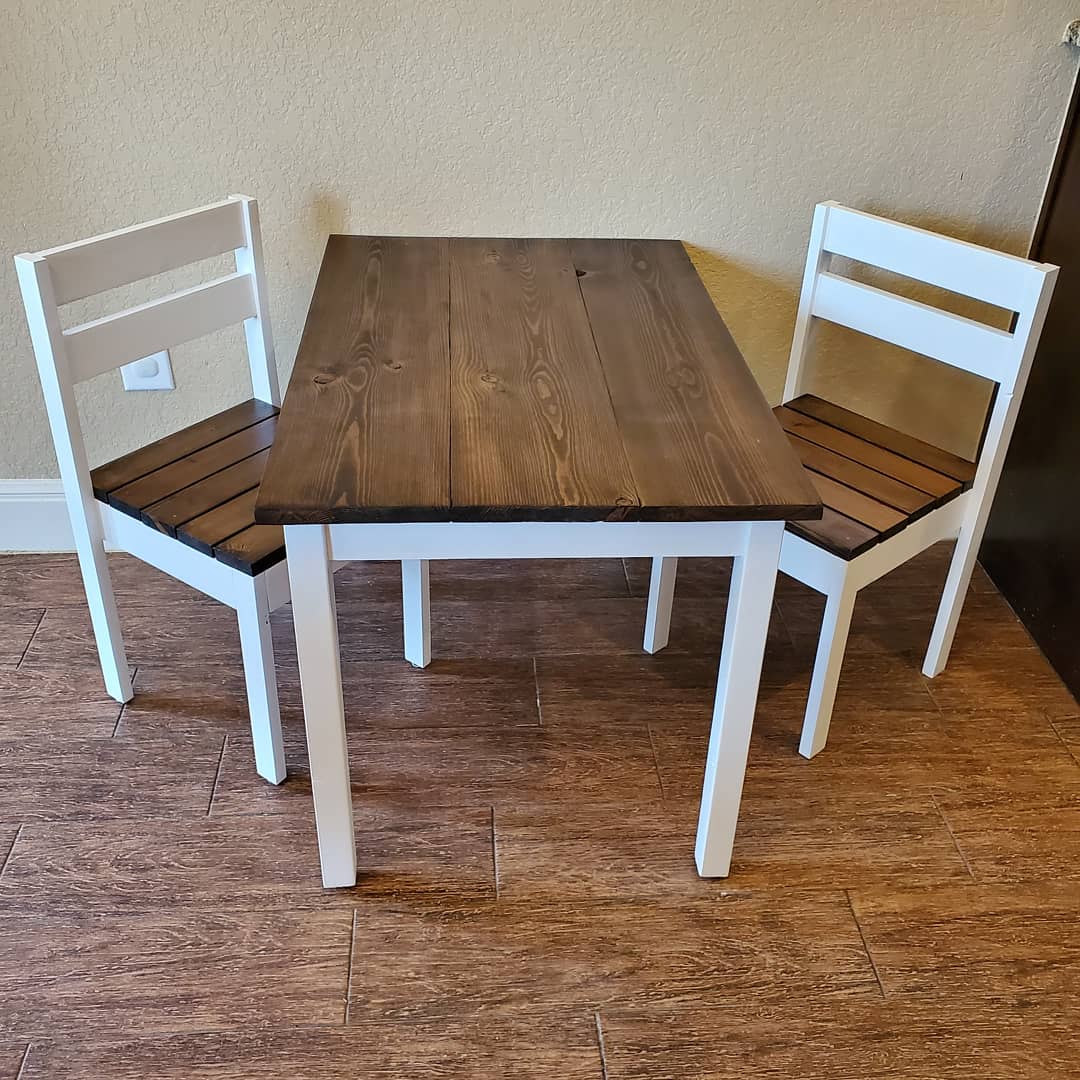
I stained the top with Dark Walnut stain and used perfect white paint.

Fri, 10/11/2019 - 09:38
What a beautiful set!
Thank you for uploading so many brags - love it!
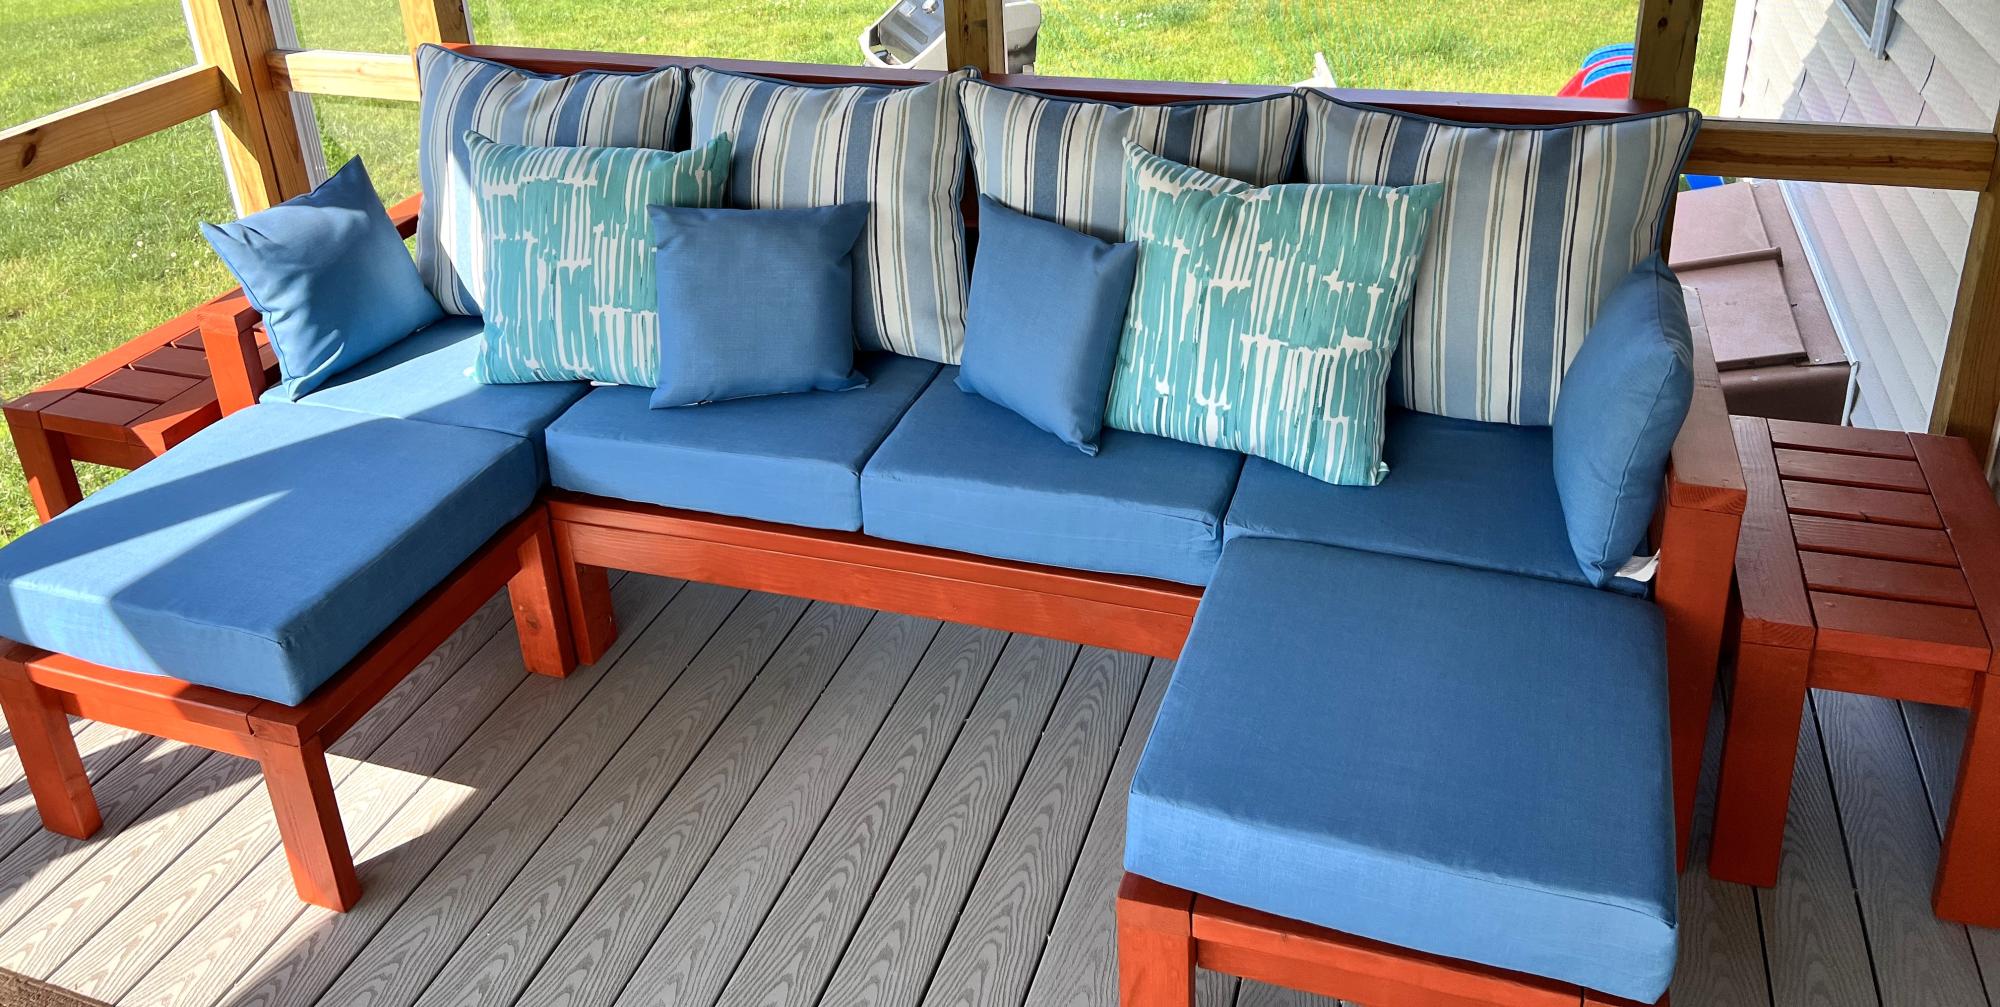
Sofa with 2 ottomans and 2 side tables.
Vinny M
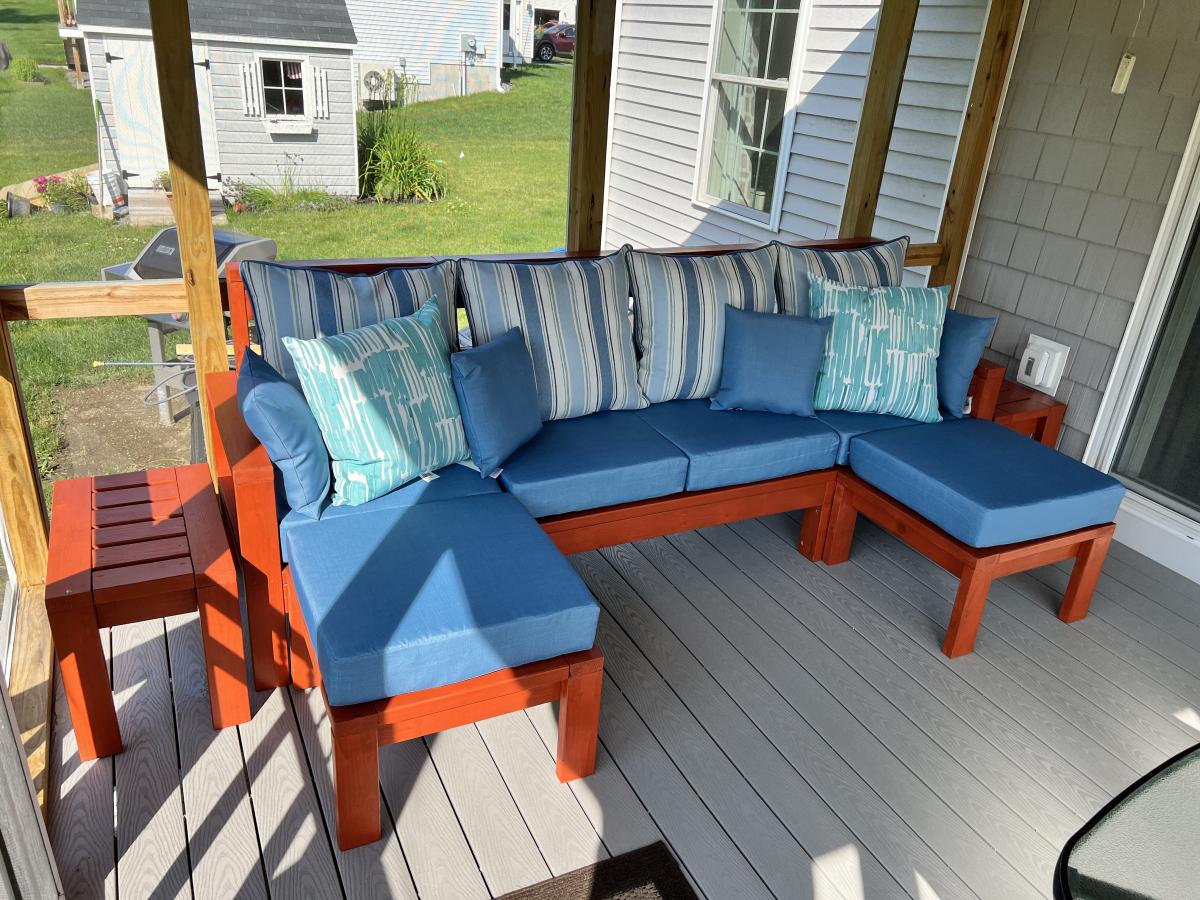
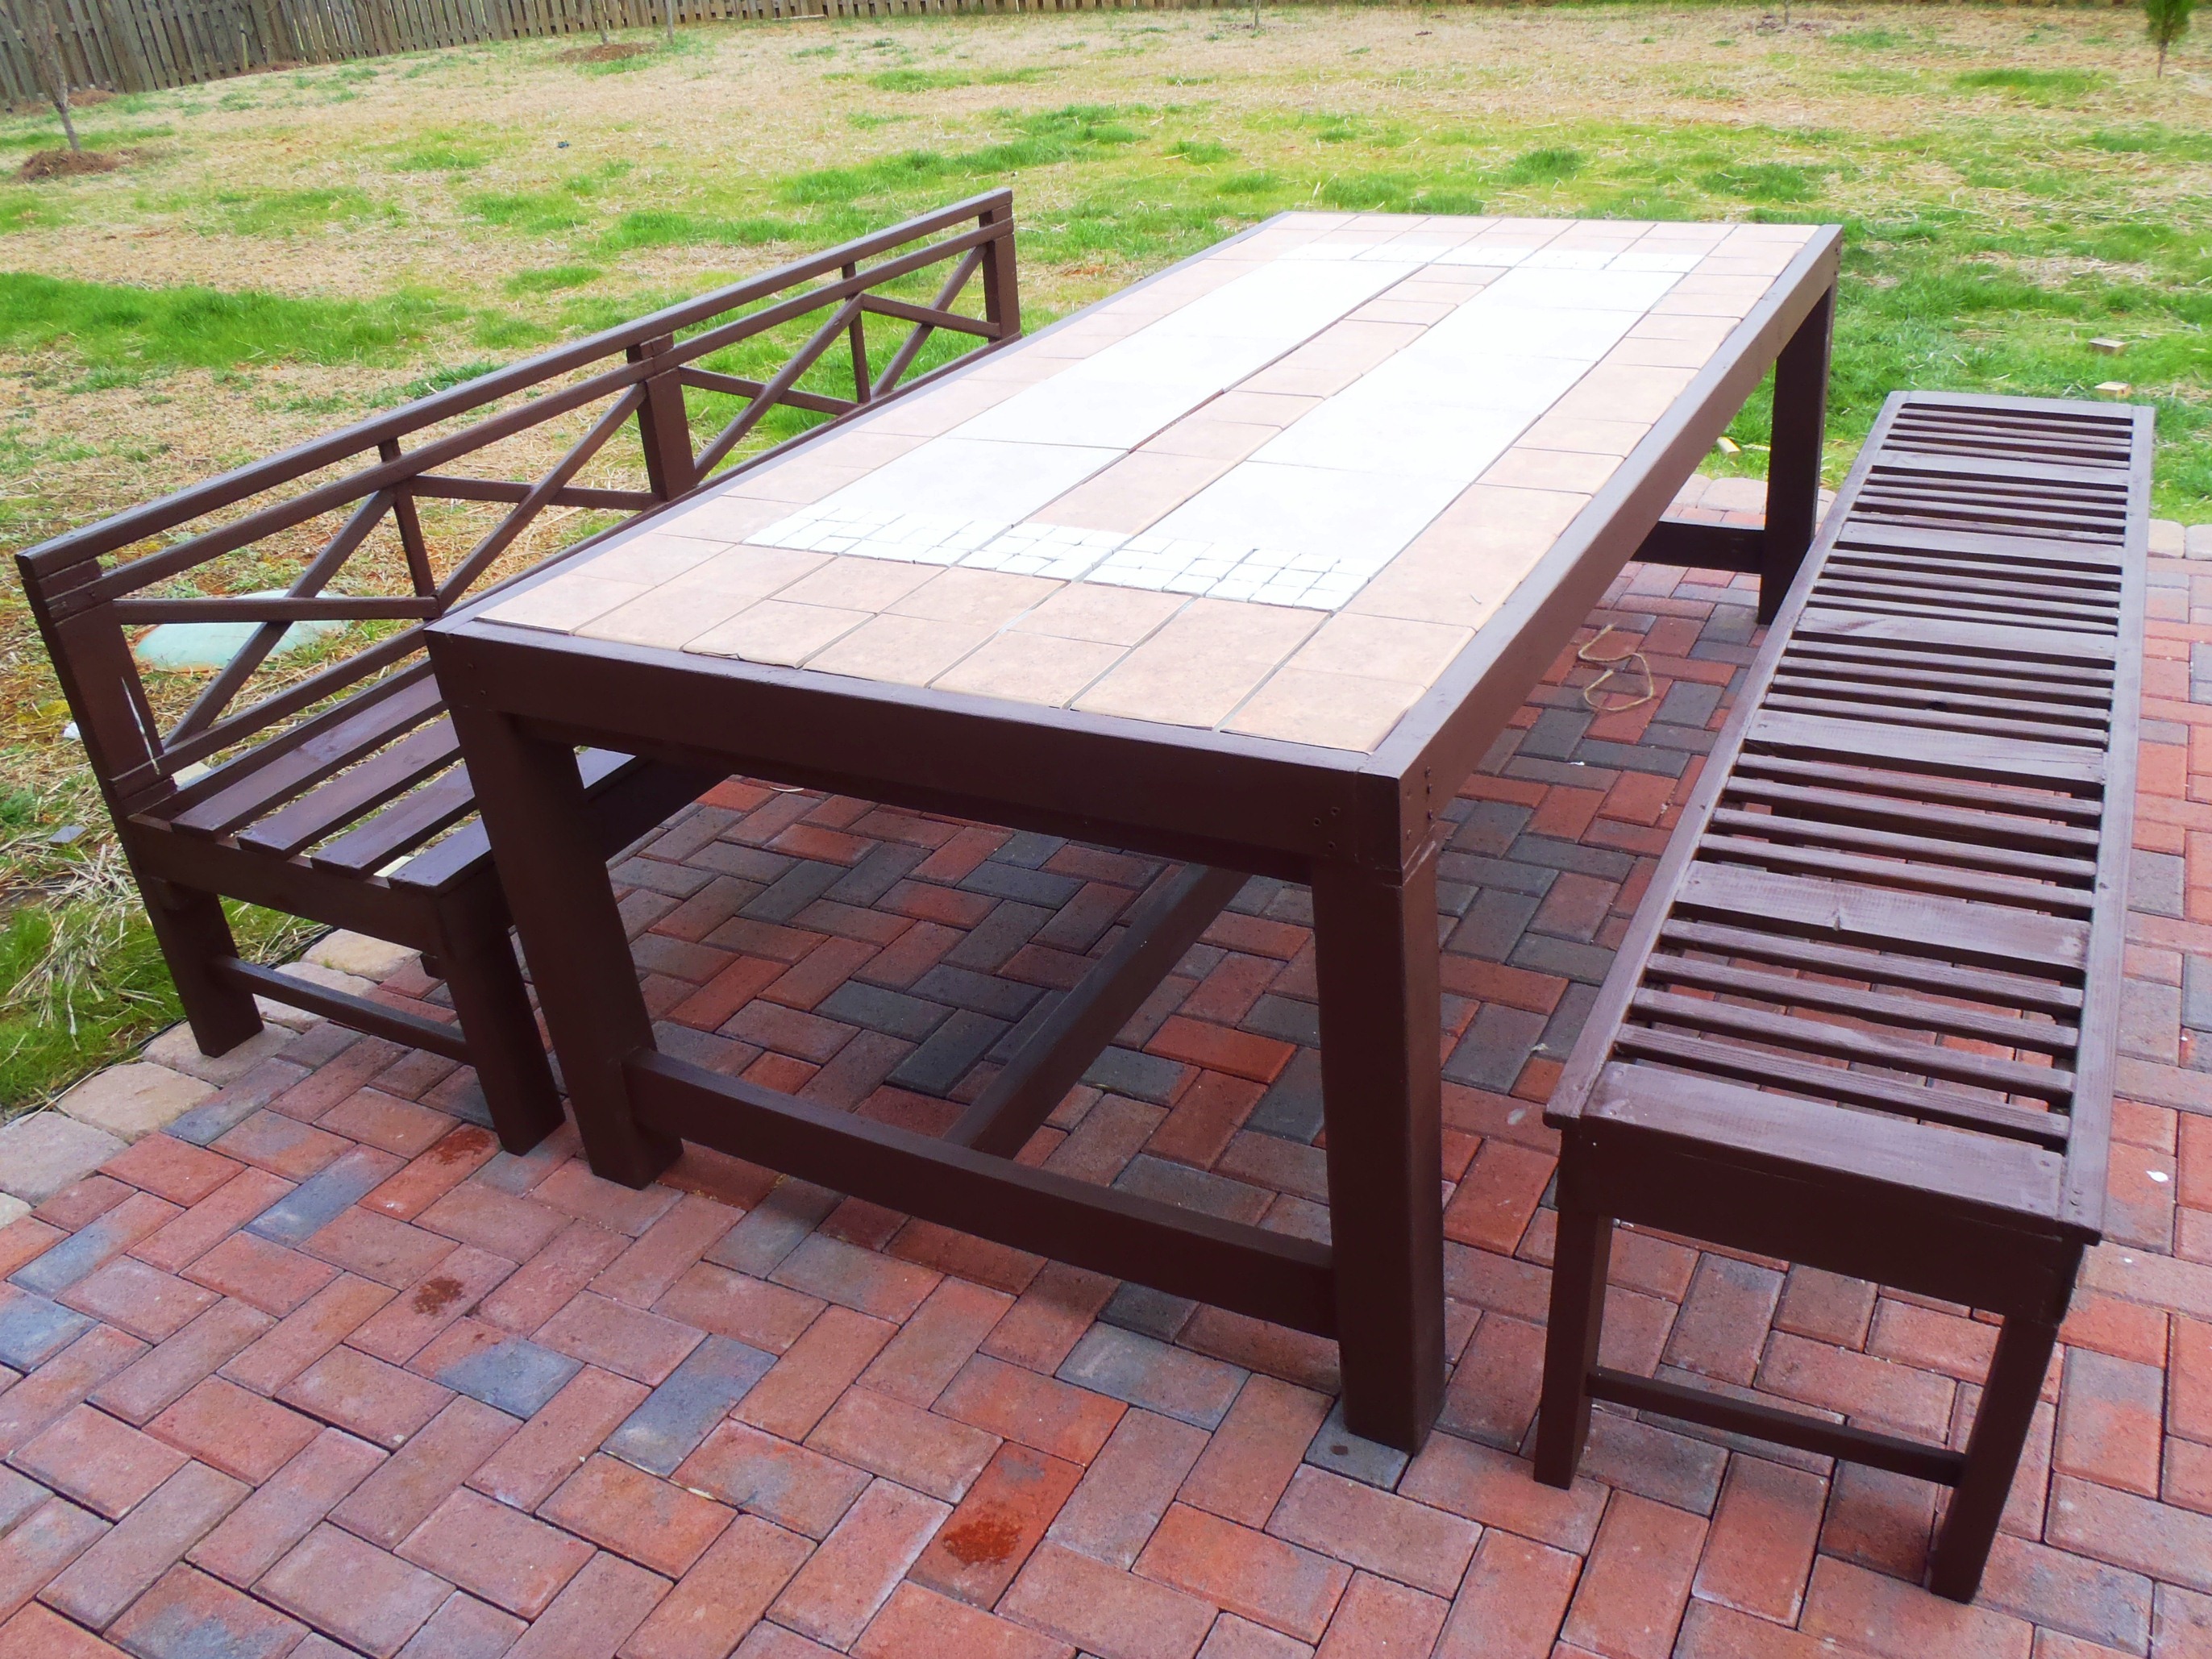
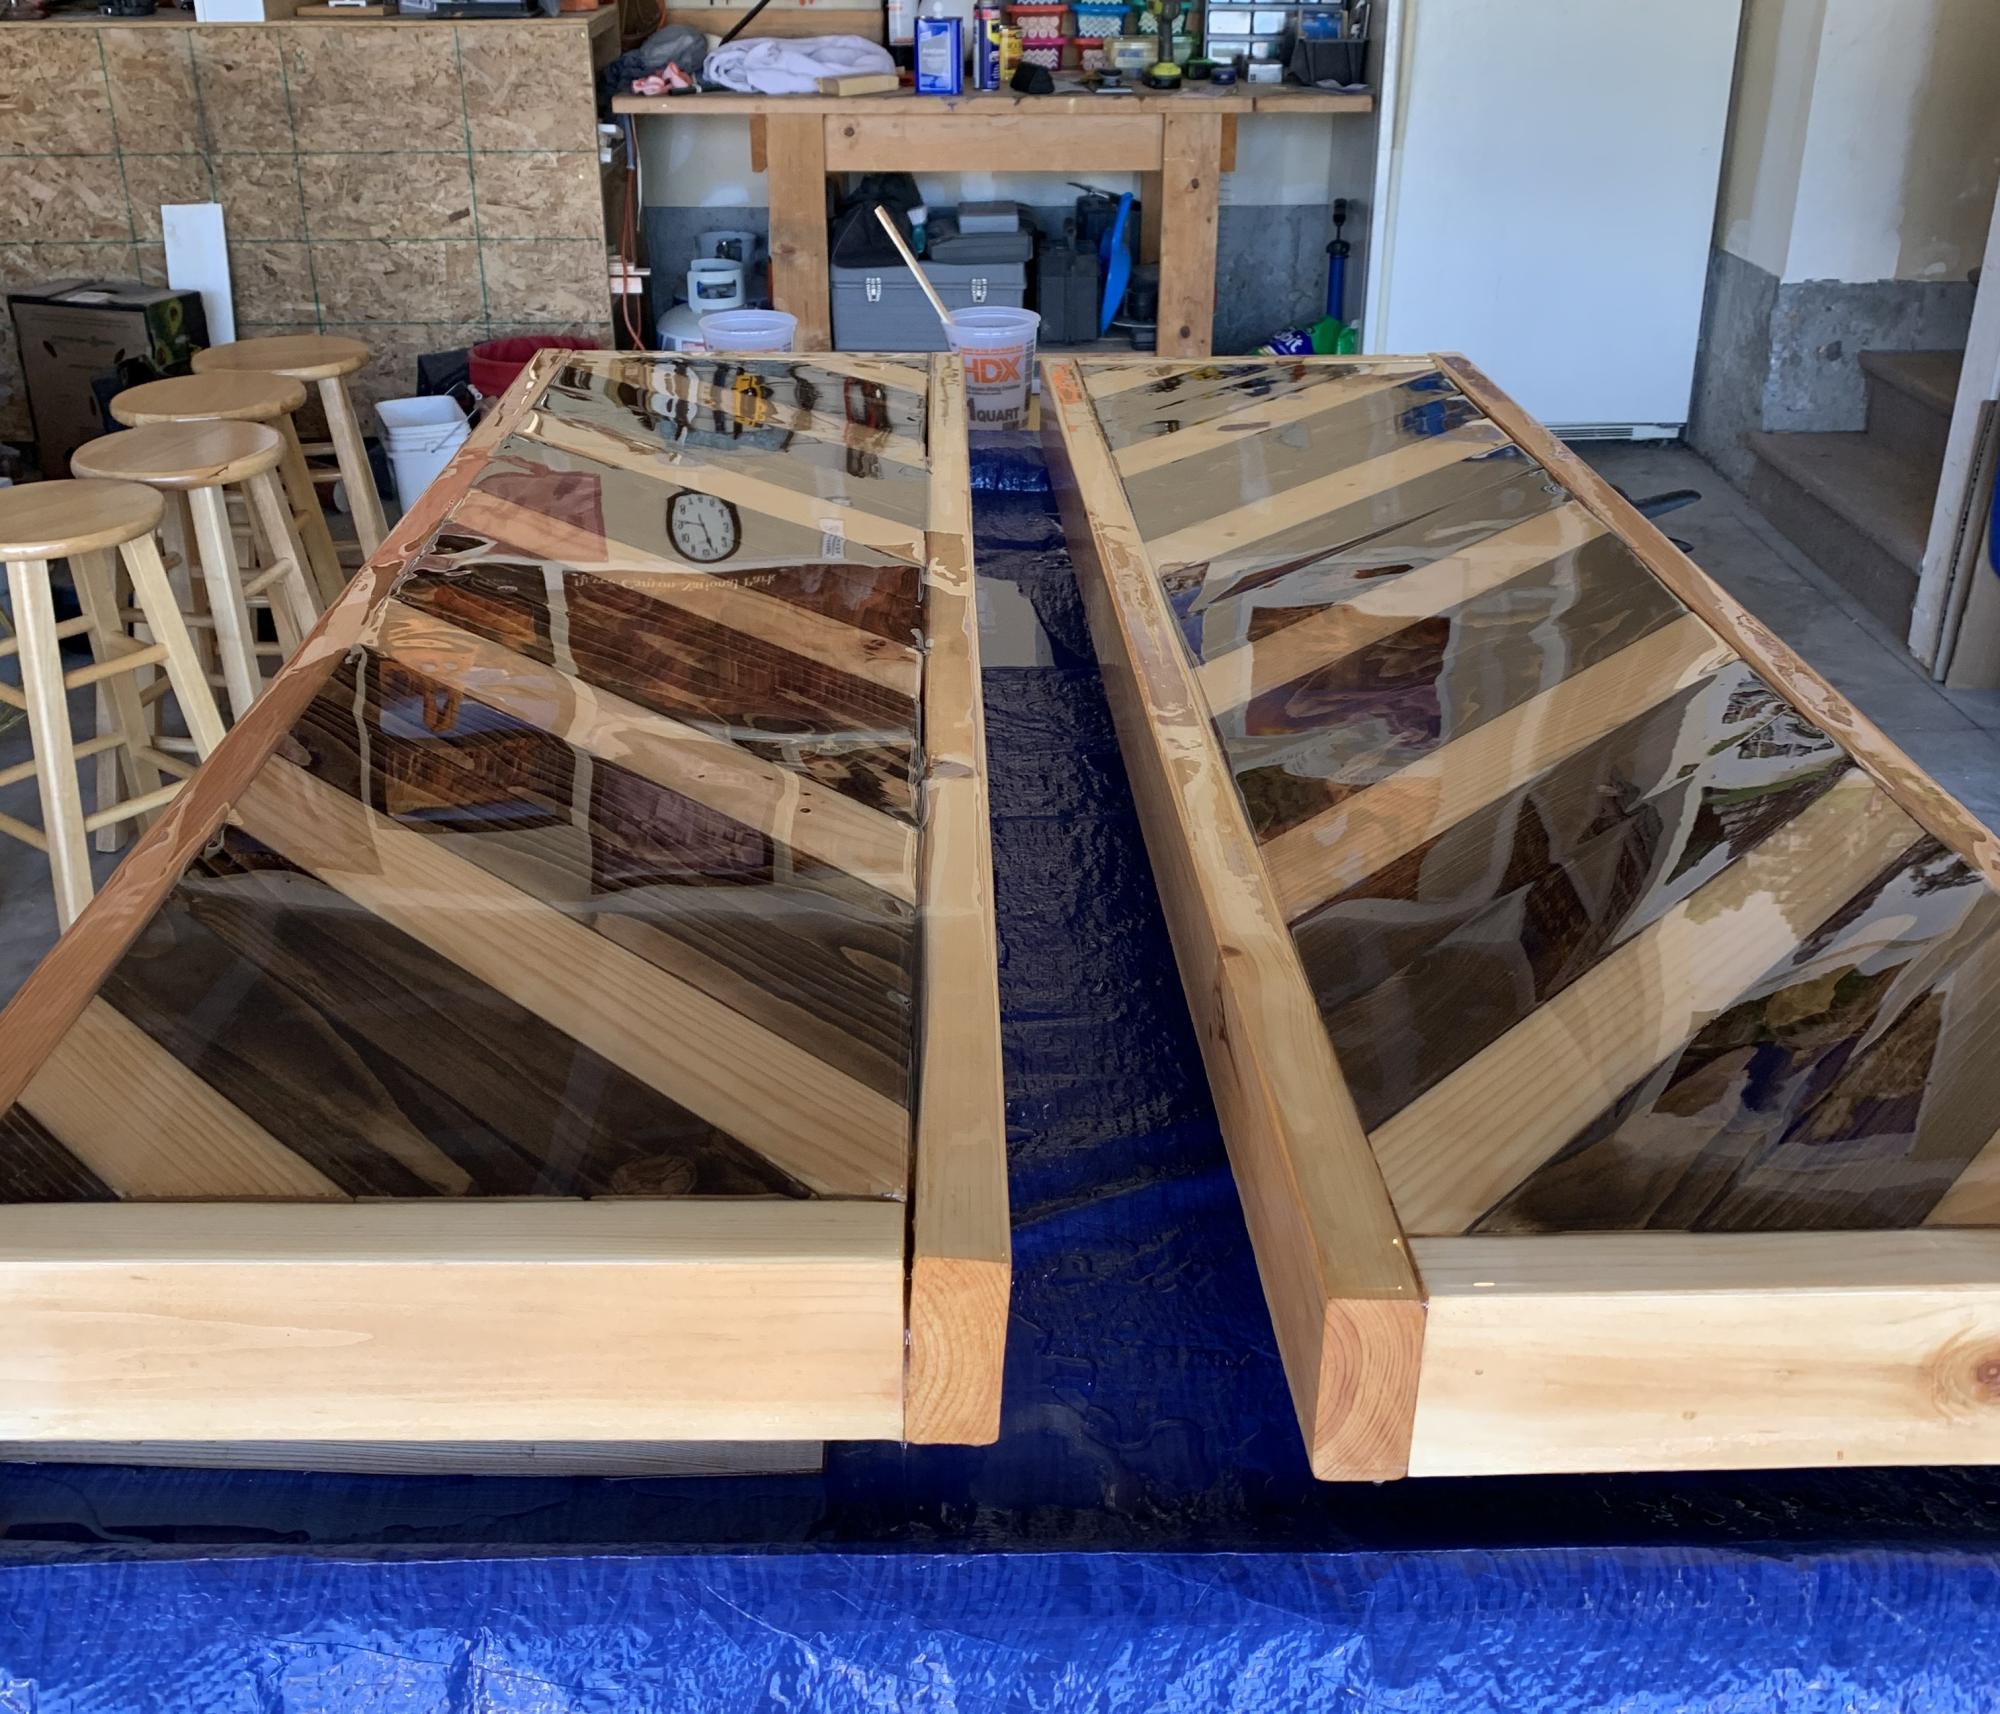
Modified the design and built from the sturdy bench and weatherly sofa plans for my patio set(will buy cushions in spring). I designed the tiled top dining table but I have yet to learn how to use the google sketch up to be able to submit plans here. However, if interested on what materials and step by step process with photos can be found on my blog link.
Tiled top table measures 42"X96" and 30inch high, seats 8 to 10.
All wood used are pressure treated pine.
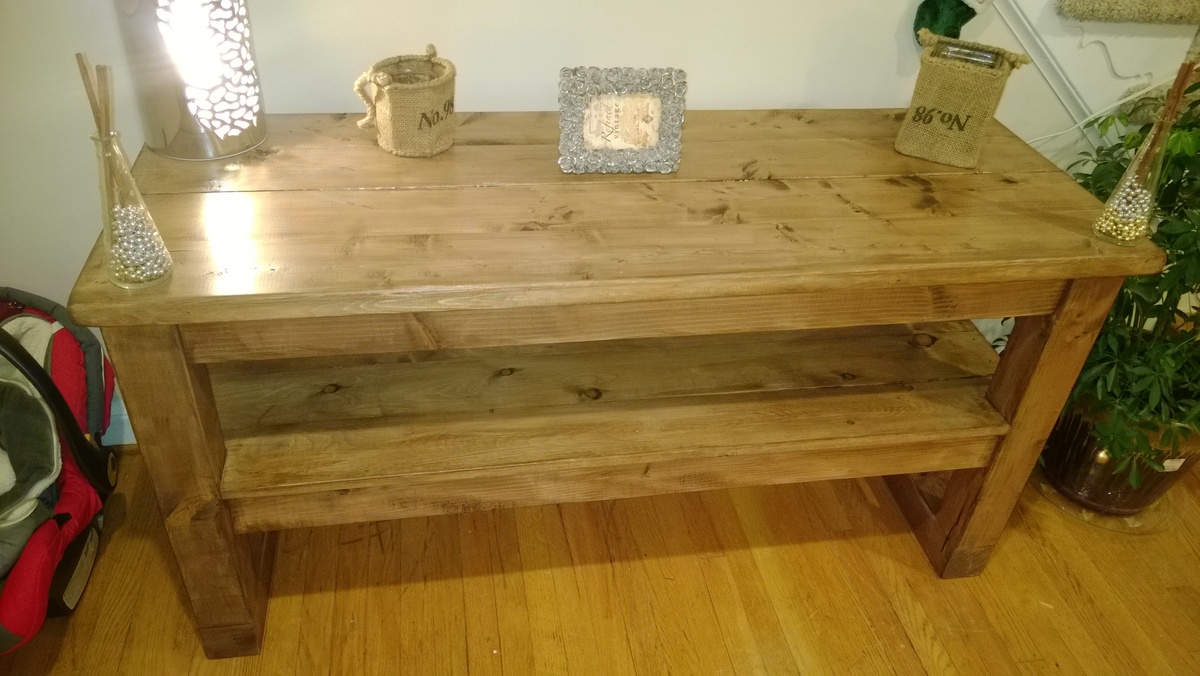
This was a fun and easy project to do. We really like how it turned out and how it compliments the room. For the bottom shelf I used four 1x6 boards instead of a single 21" wide plywood board. For that worn look, I took a drywall rasp and chewed up the corners and edges. Staining was a two part job. The first coat was called weathered gray. After it dried I lightly sanded it with 180 grit and applied a second coat of dark walnut. The gray subtly shows through the walnut. If I had it to do it over, I may have applied a coat of ebony stain to the corners and edges to make the color less even. I did very little sanding on this piece because I wanted a rough texture, but I did enough to make it sliver-free. The project cost about $80.
Comments
Ana White Admin
Sat, 06/10/2023 - 06:28
Thanks for sharing!
It looks great, yes there is some figuring when dealing in metric...