Easy Kitchen Island Built-in
Built-in Kitchen Island by Nick Wiedenfeld
Built from Plan(s)
Built-in Kitchen Island by Nick Wiedenfeld
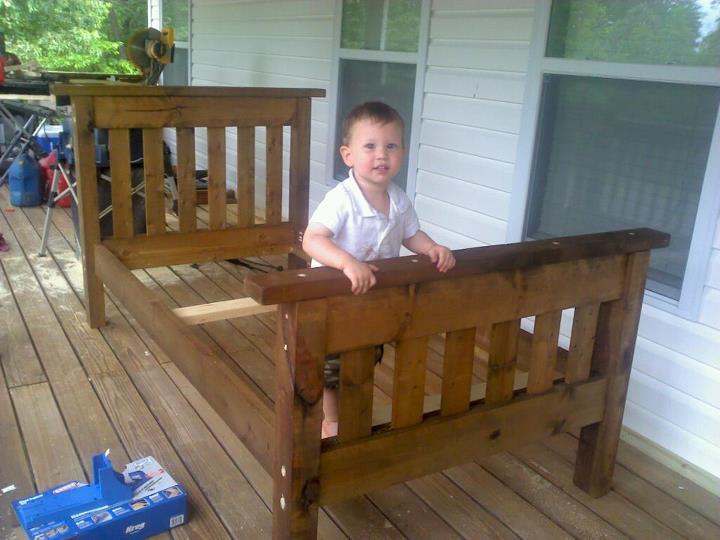
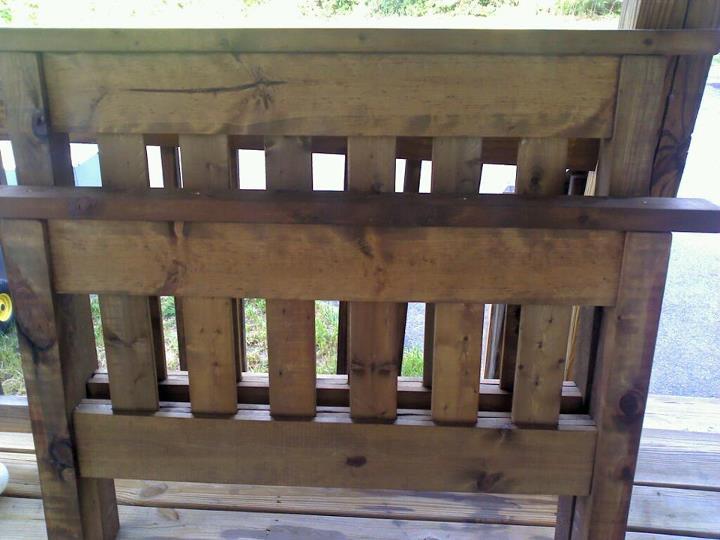
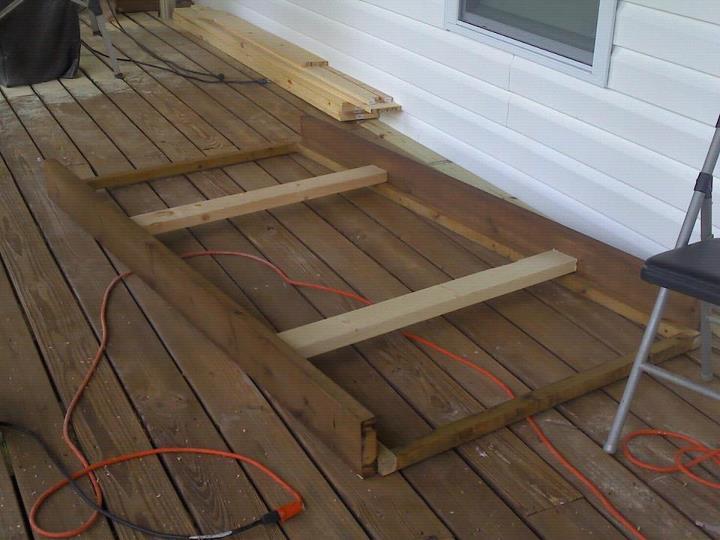
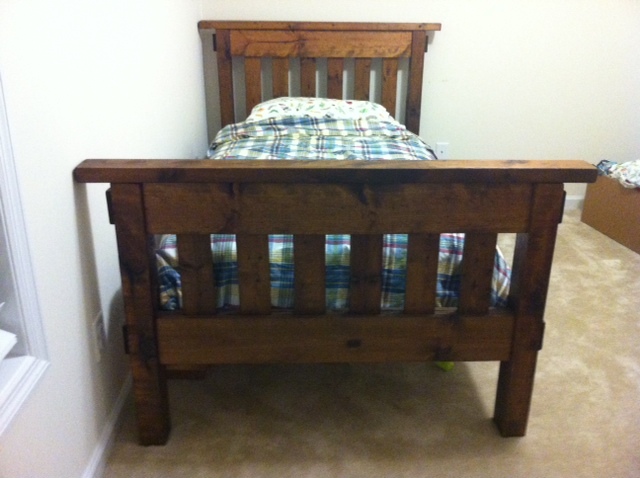
This was my first Ana White project! There was a learning curve so it took longer than it probably should have but over all the build went pretty fast. The finishing was the part that seemed to drag forever! I used a tea followed by vinegar/steal wool treatment to make it look rustic. Finished with a wipe on poly that looks great but smelled atrocious for weeks! Looks great and smells fine now. The bed is super heavy and sturdy, which shocked everyone. Not only did I build something, I built something really well and its all thanks to these awesome plans that made it too easy!
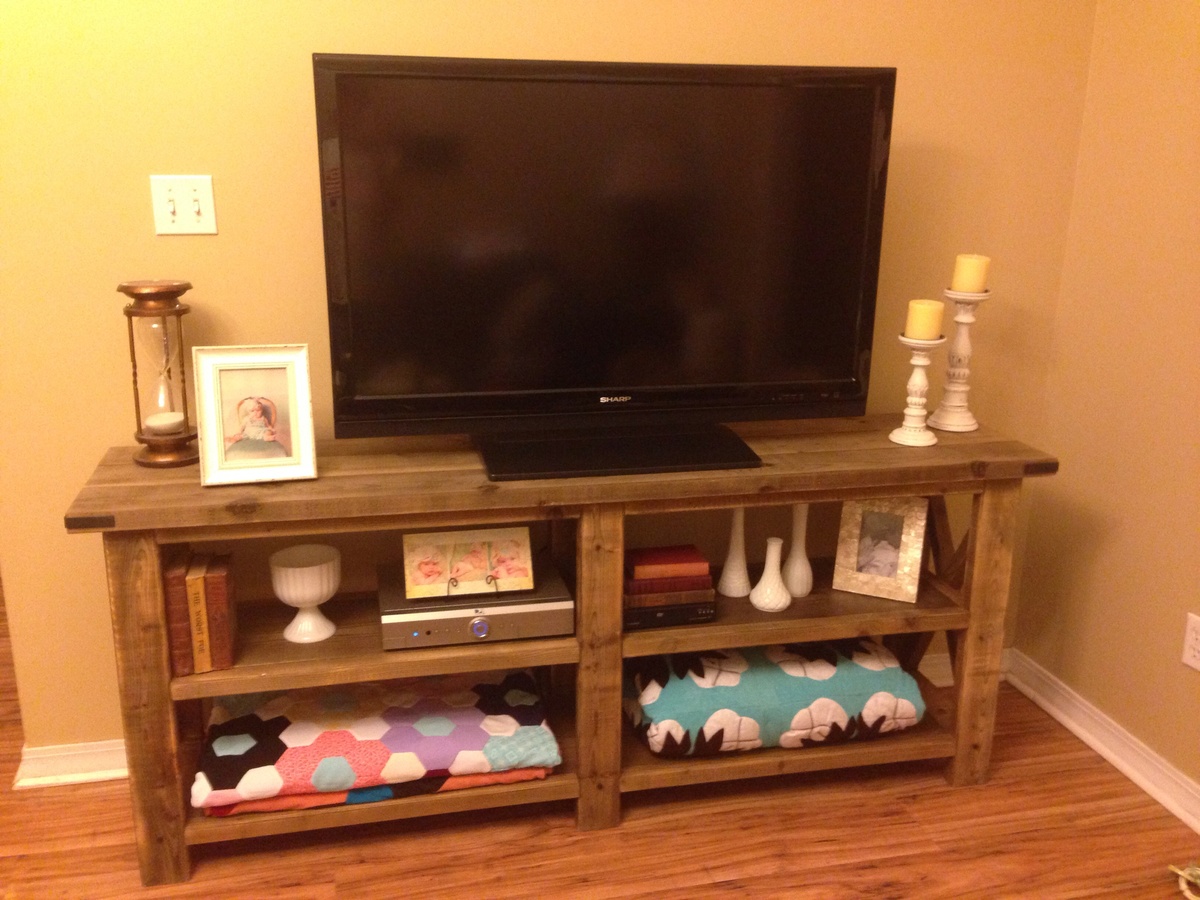
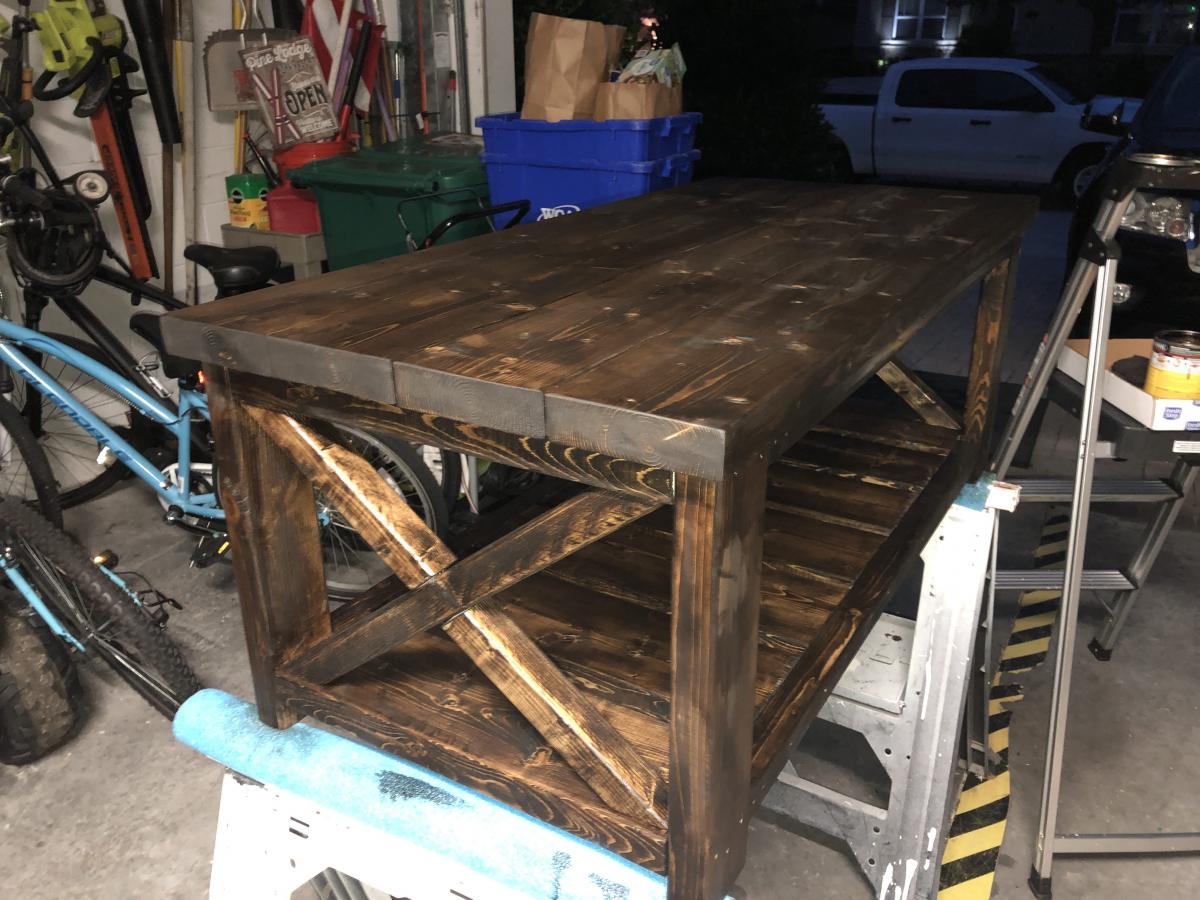
X console table with steel wool and vinegar treatment distressed and sealed with wax

I was contacted a few months back by a friend of mine to build a custom cabinet for his aquarium. I was given free reign with the design and I decided to go with a modern look to the cabinet.
I decided to go a little unconventional with the finish on this cabinet and use something I am very familiar with, an automotive finish. I chose to got this route because I knew that I wanted an ultra smooth finish. I knew that because he was using it for a large aquarium it was going to have to be built sturdily. But you can use whatever type of materials and finish to suit your project.

Like any good DIY project, I started with plans and then changed pretty much everything.
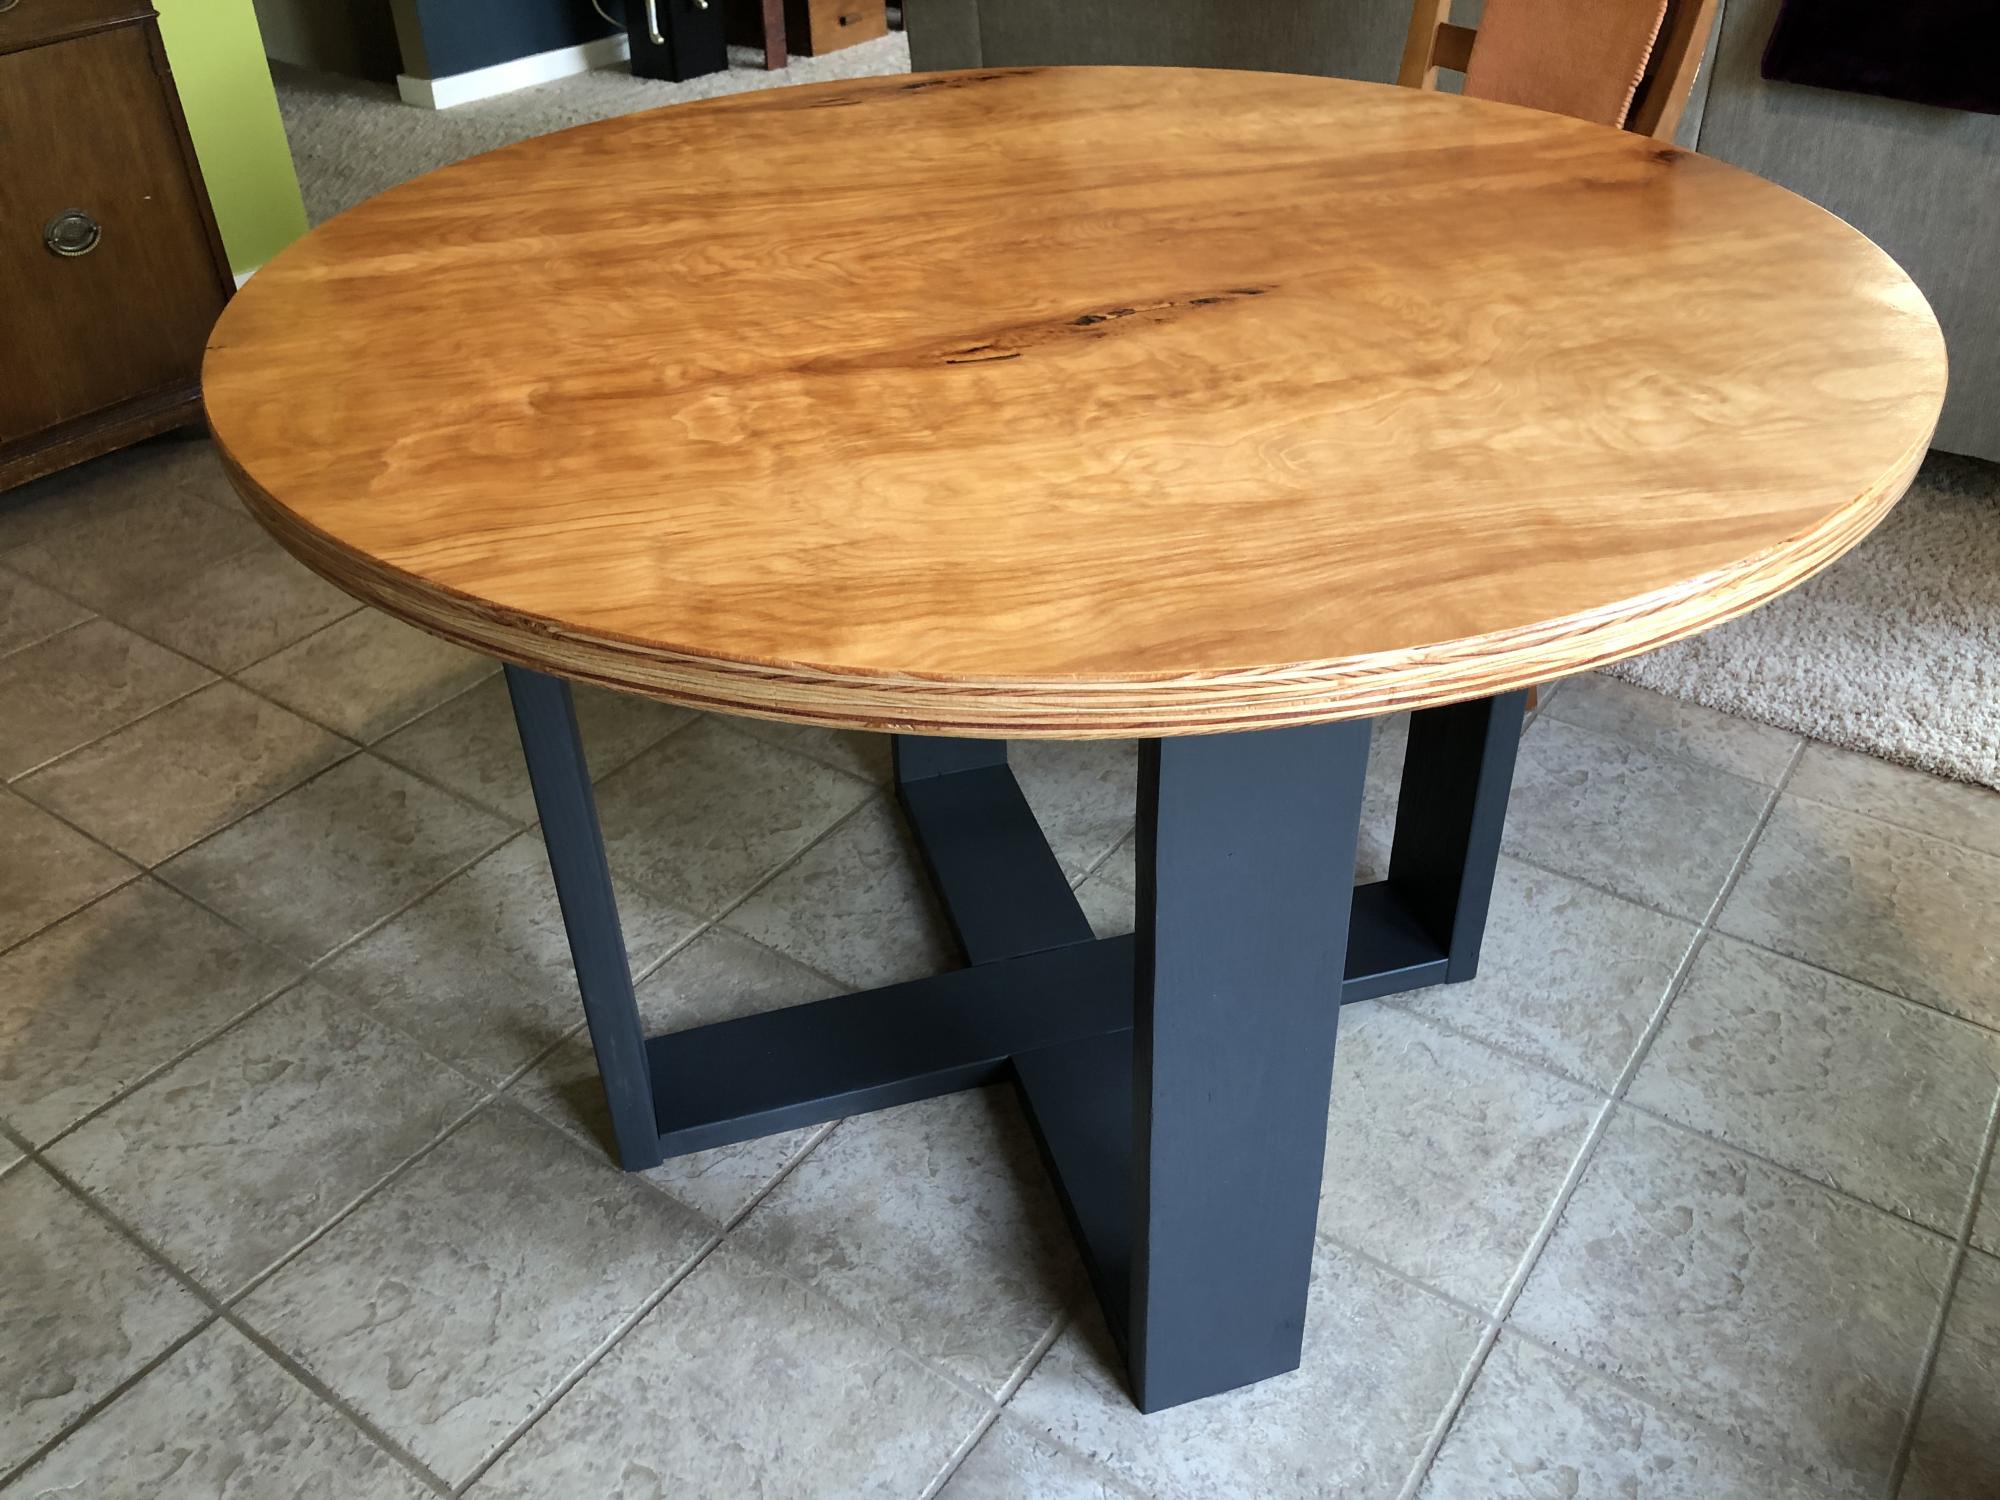
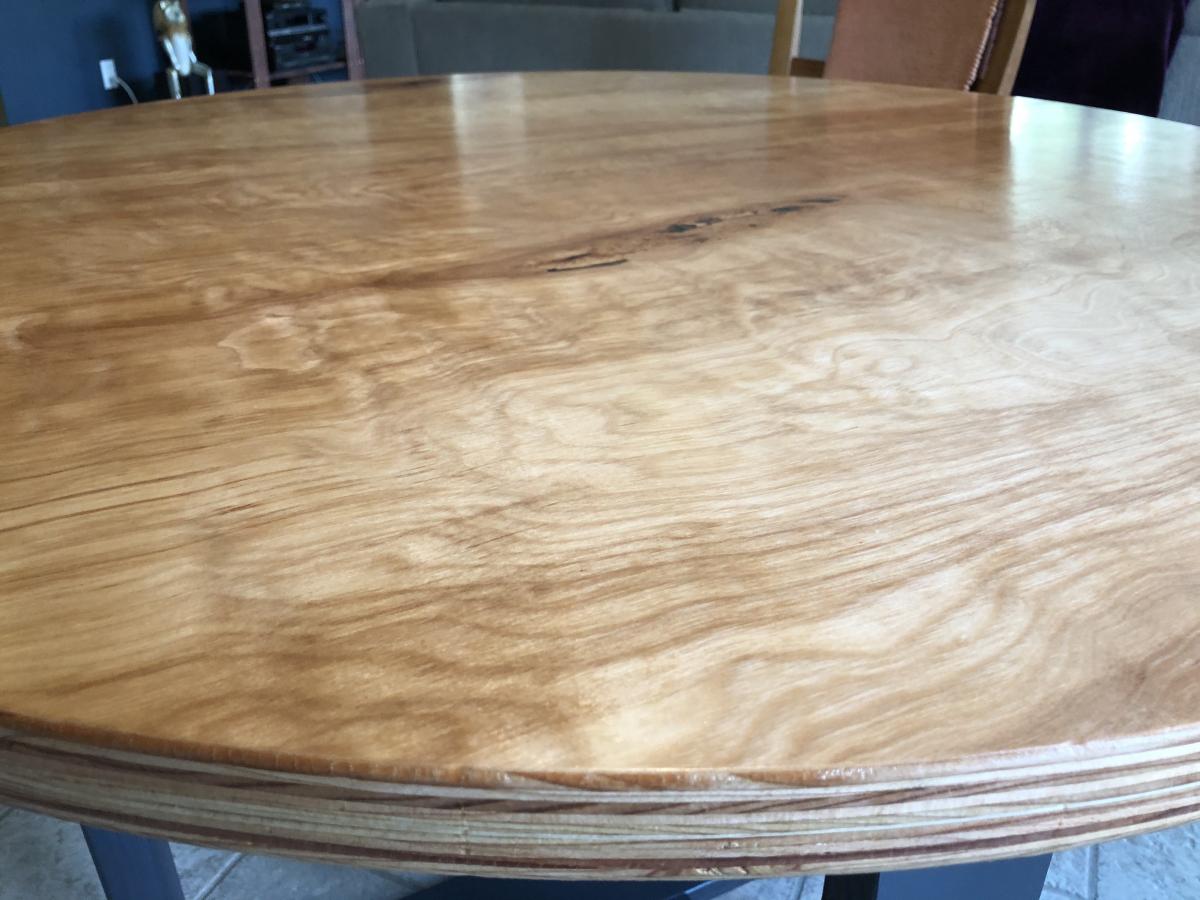
We wanted a modern but sort of rustic table for our dining area. The Modern Round Table plans almost fit the bill but not quite. The local Lowe’s had the perfect answer—Birch plywood. It also fit our Alaska setting.
I laminated two half sheets of 3/4” together, then cut out a 48” round top with a router.
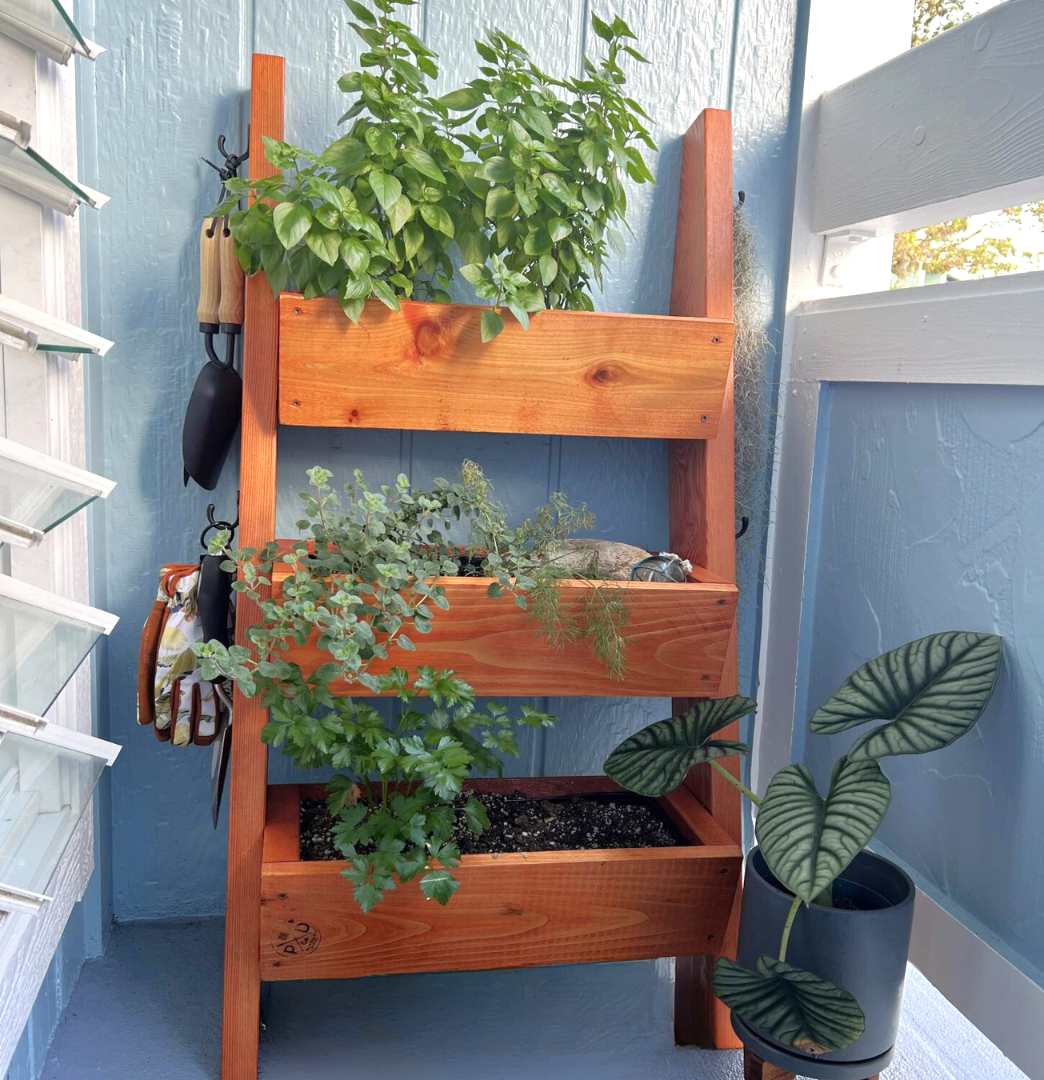
Adjusted the original plans to meet AOAO requirements. Shortened the boxes to 20” and the length to stay below balcony railing. Love this herb garden on my very tiny balcony in Hawai’i ❤️
Made by Melissa Puanani Nobriga-Petrichko.
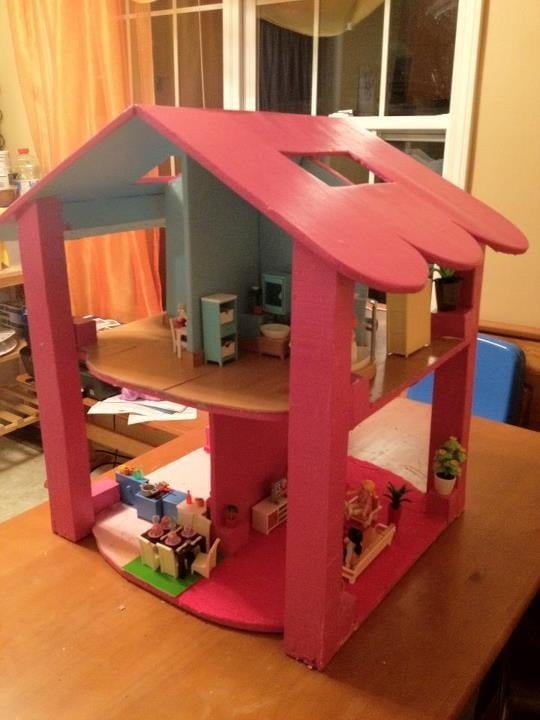
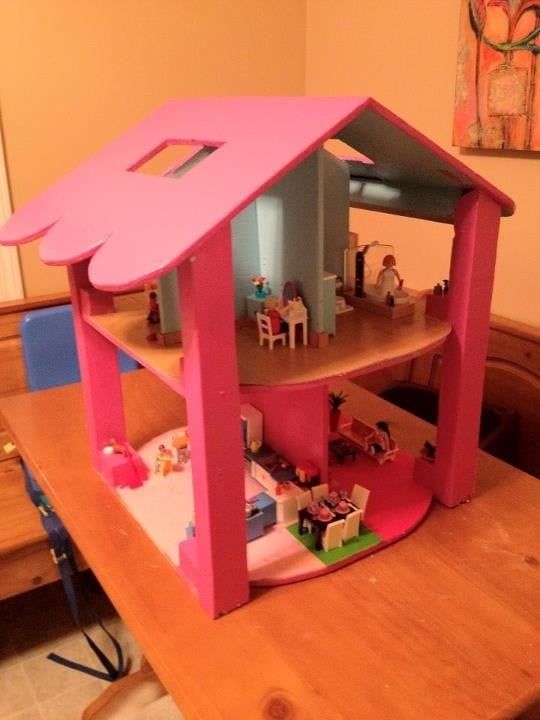
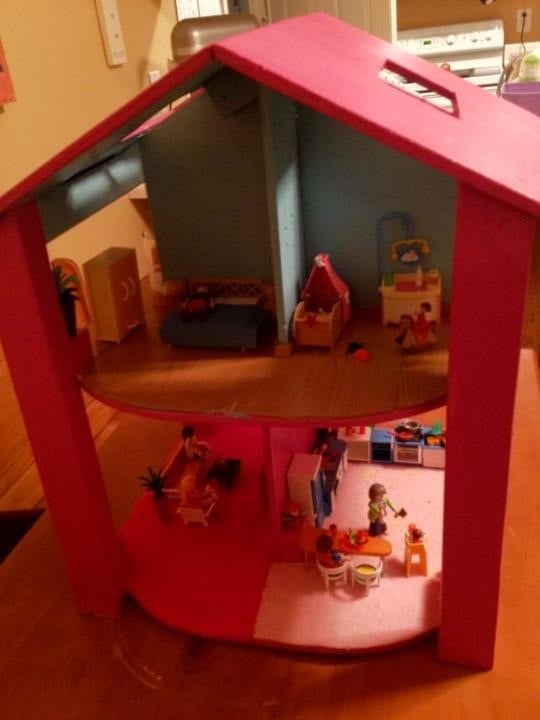
I made this dollhouse a couple months ago from scrap wood I had in my garage. It was my third build! I used felt for carpet on the bottom level and I used a laminate scrap that was laying in our garage for the upper level to look like a hard wood floor. I used leftover paint that we had from other projects, and I didn't spend a penny on this project other than screws and glue, etc. I didn't think it would come out as nice as it did, and it provides hours of entertainment for my daughters! I'm going to be making another one of these as a Christmas gift this year! What I liked best about this project was the endless amount of creativity that could be used. I'm going to try to make handmade furniture for the next one I build!

After looking at how much a play set was for my kiddos, I decided I wanted to play with some tools and build it myself. With a family of four and busy schedules, this took a little longer than I expected, but I did finish it and I'm happy with the results.
Total cost was around $650.

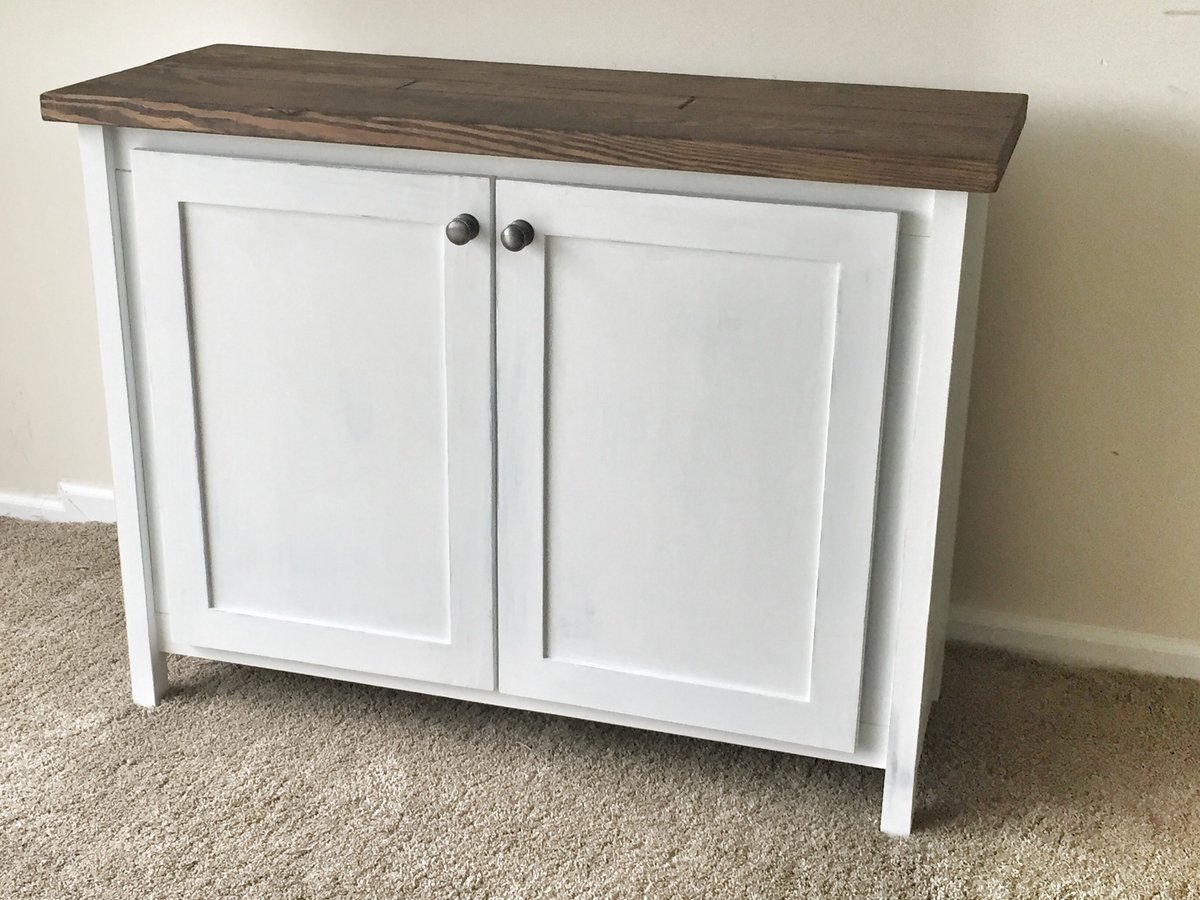
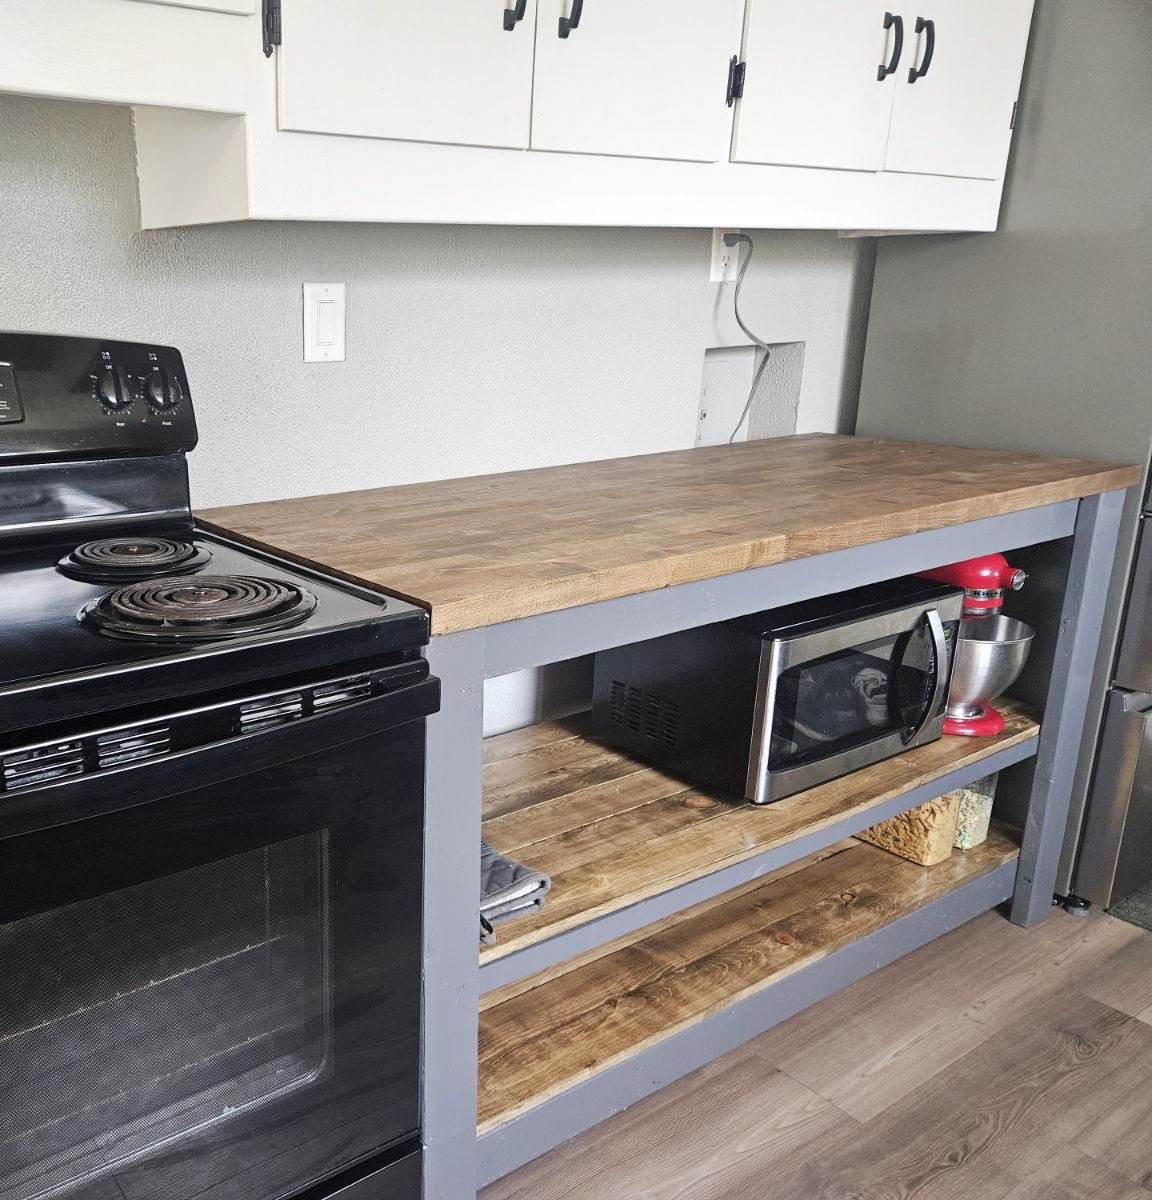
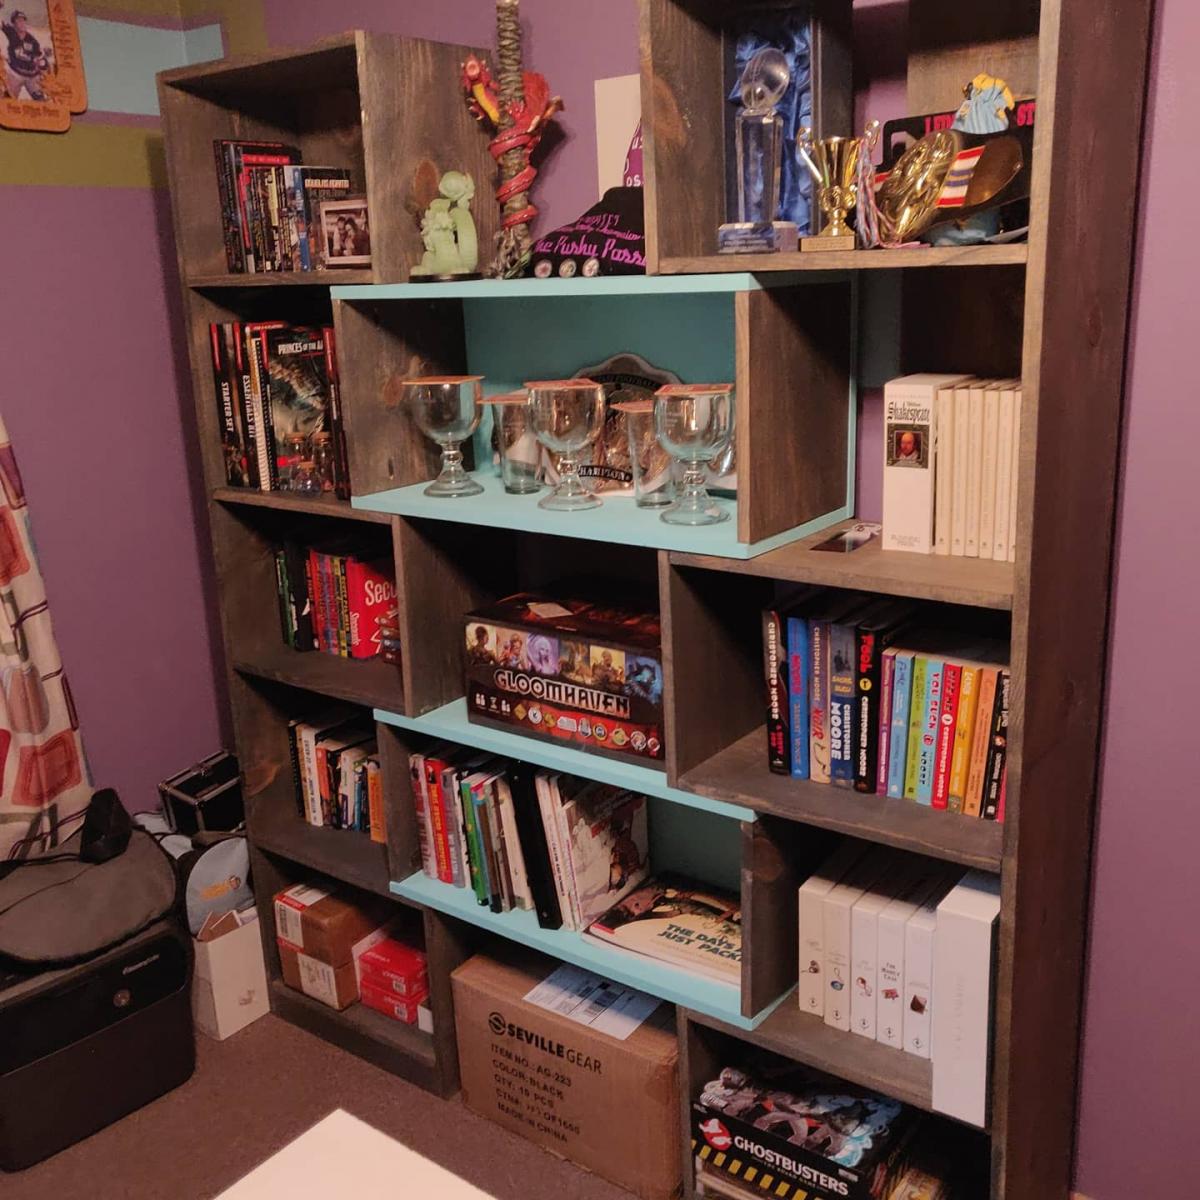
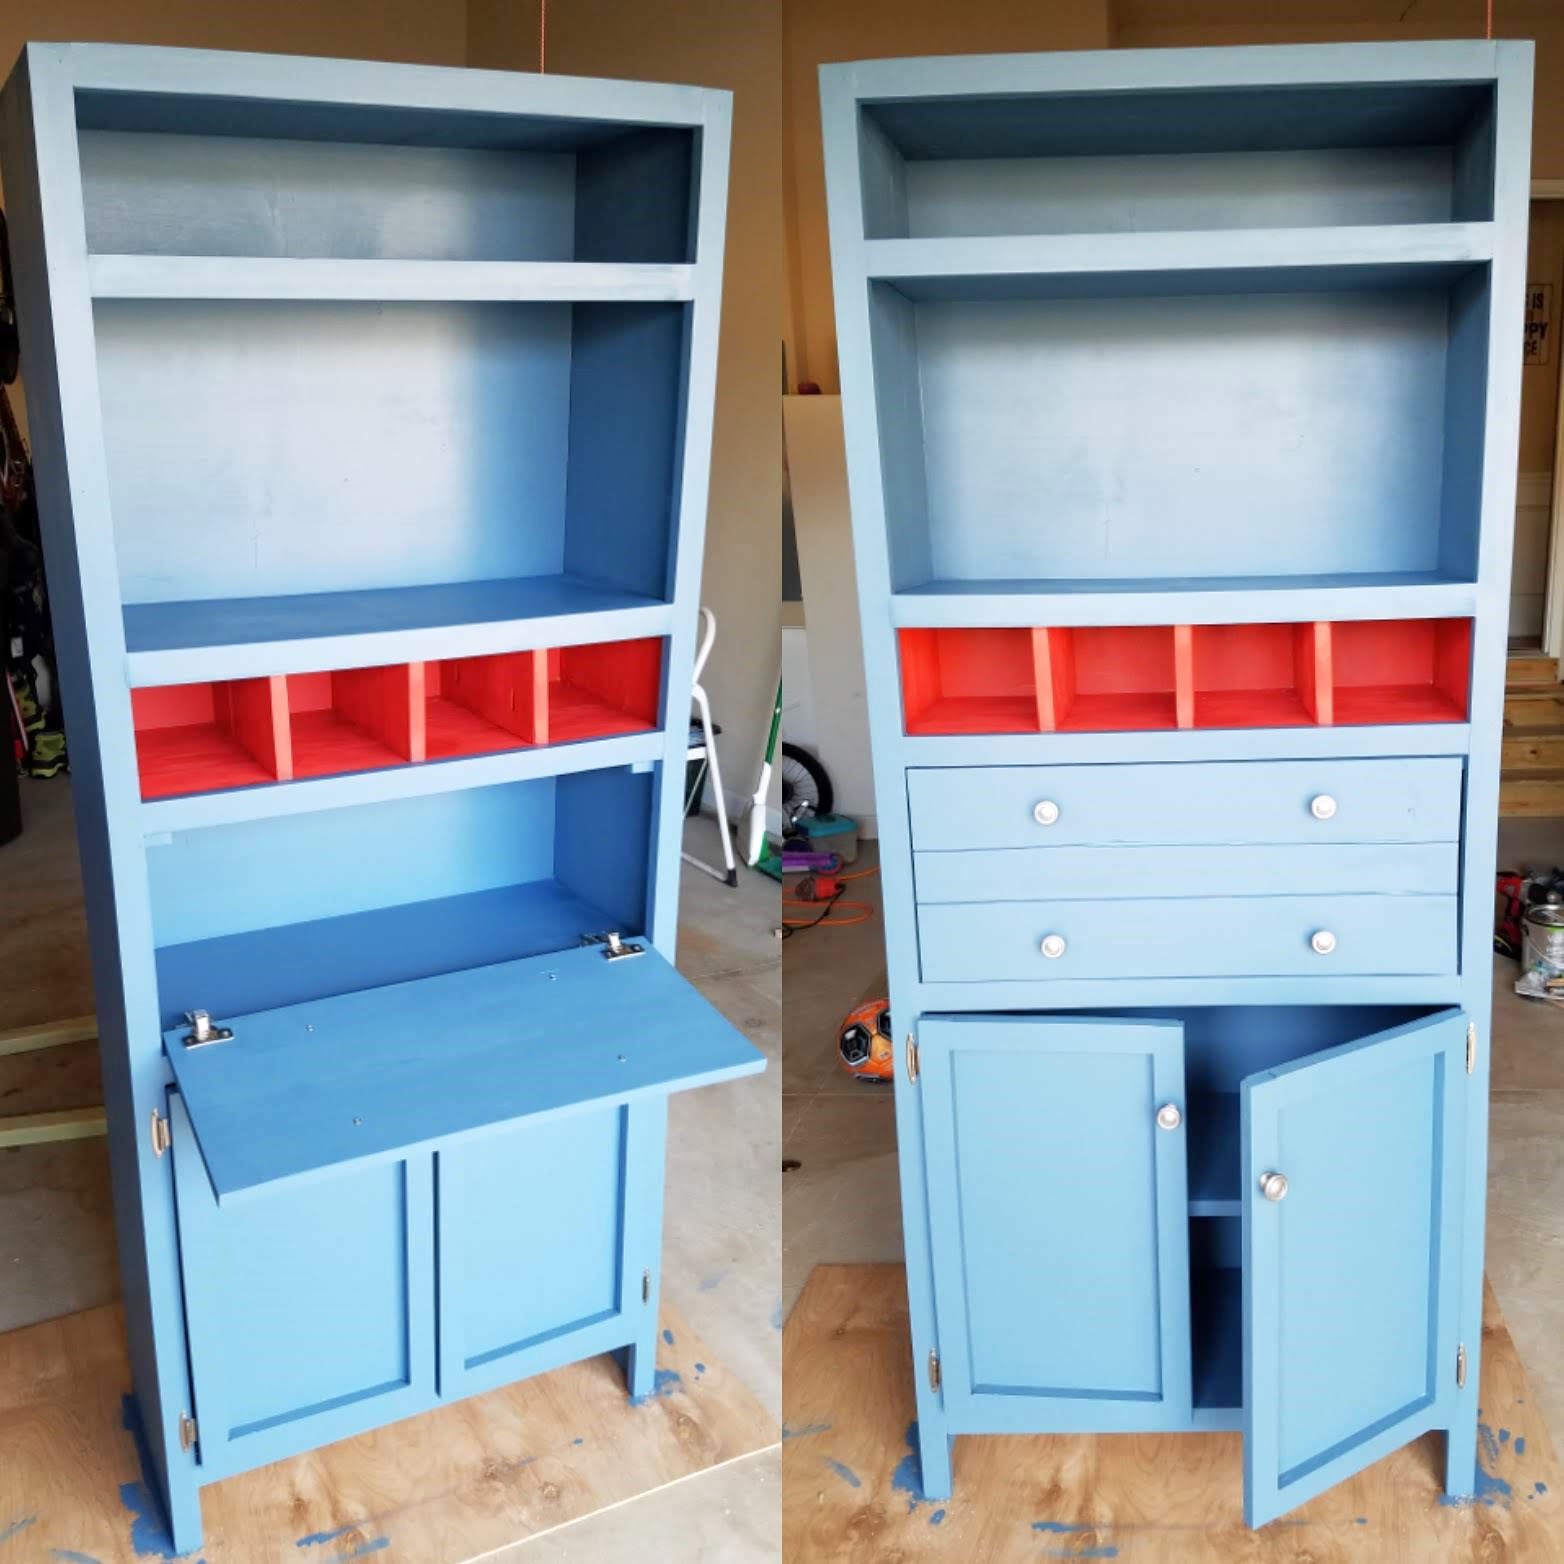
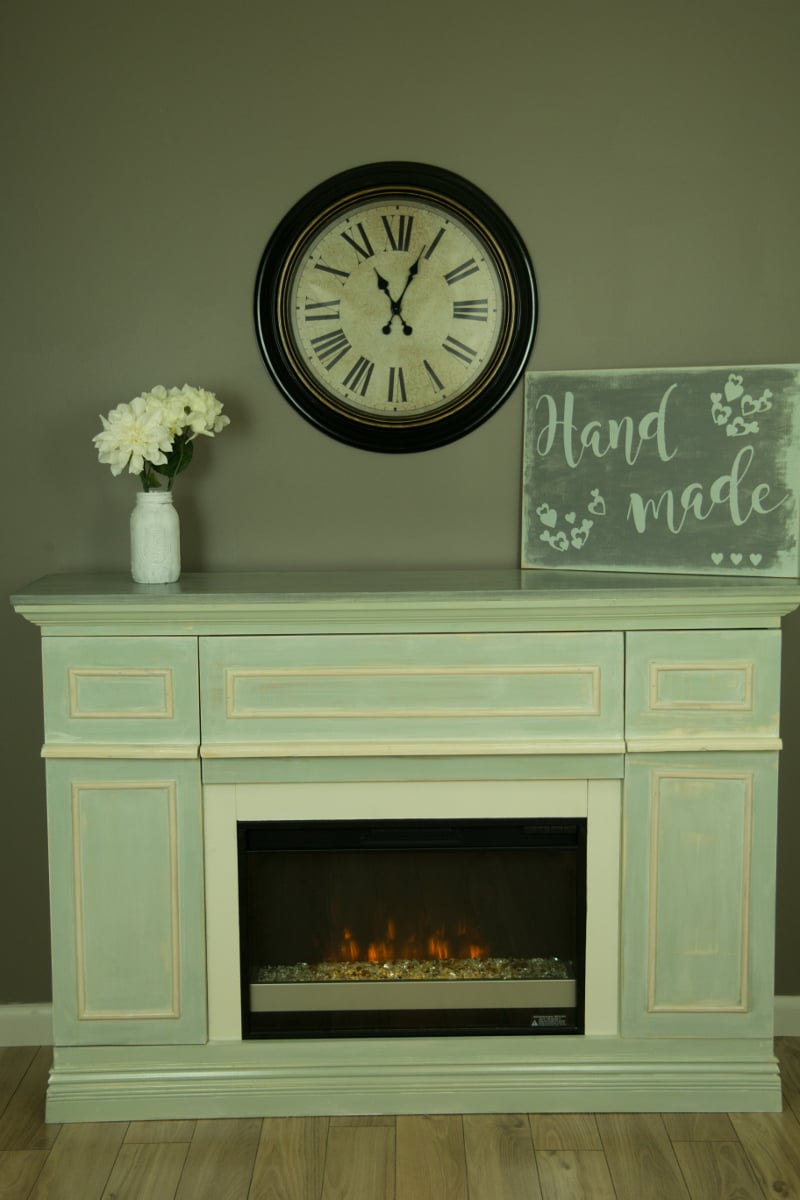
White cabinet made from some doors and hardware left over from my built in book case project and other wood left over from the book case and closet projects. All I bought was the wood for the top and the legs.
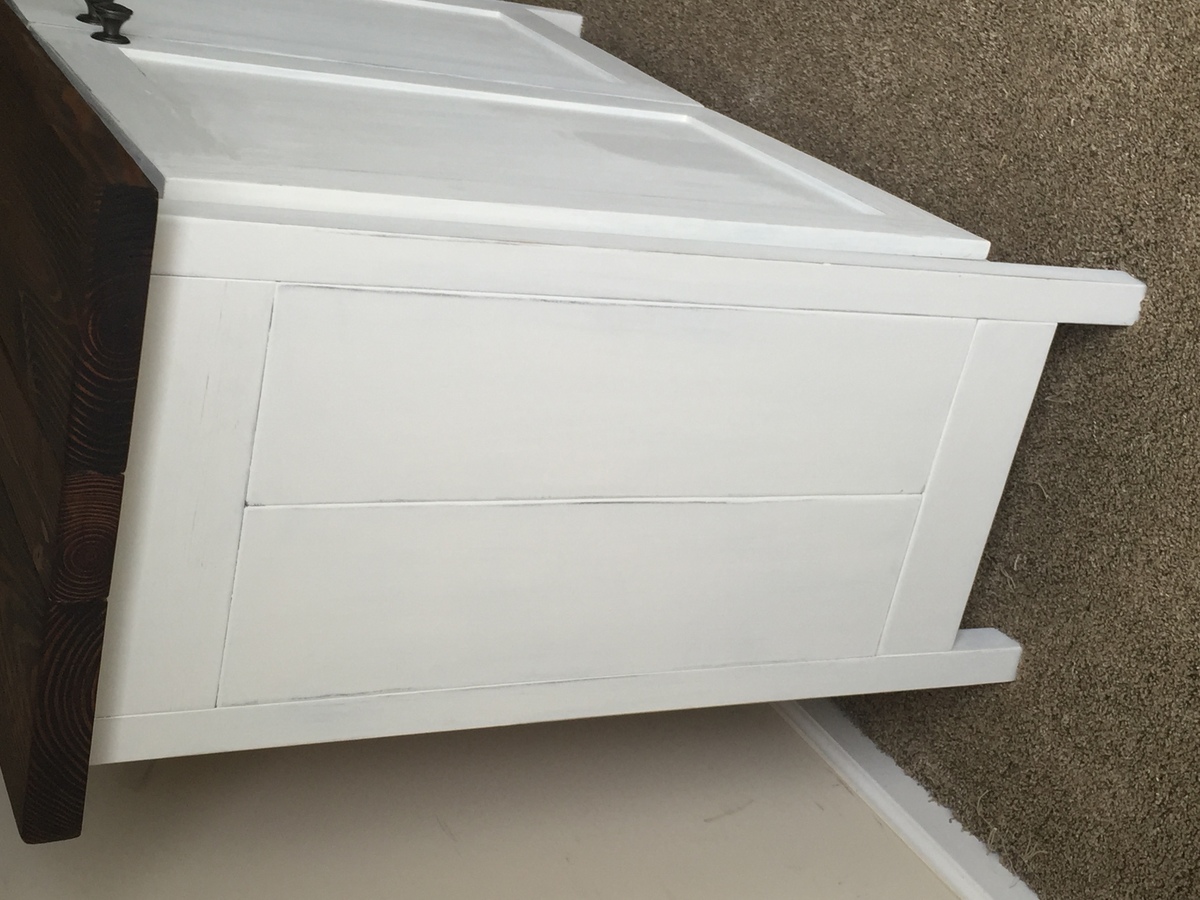
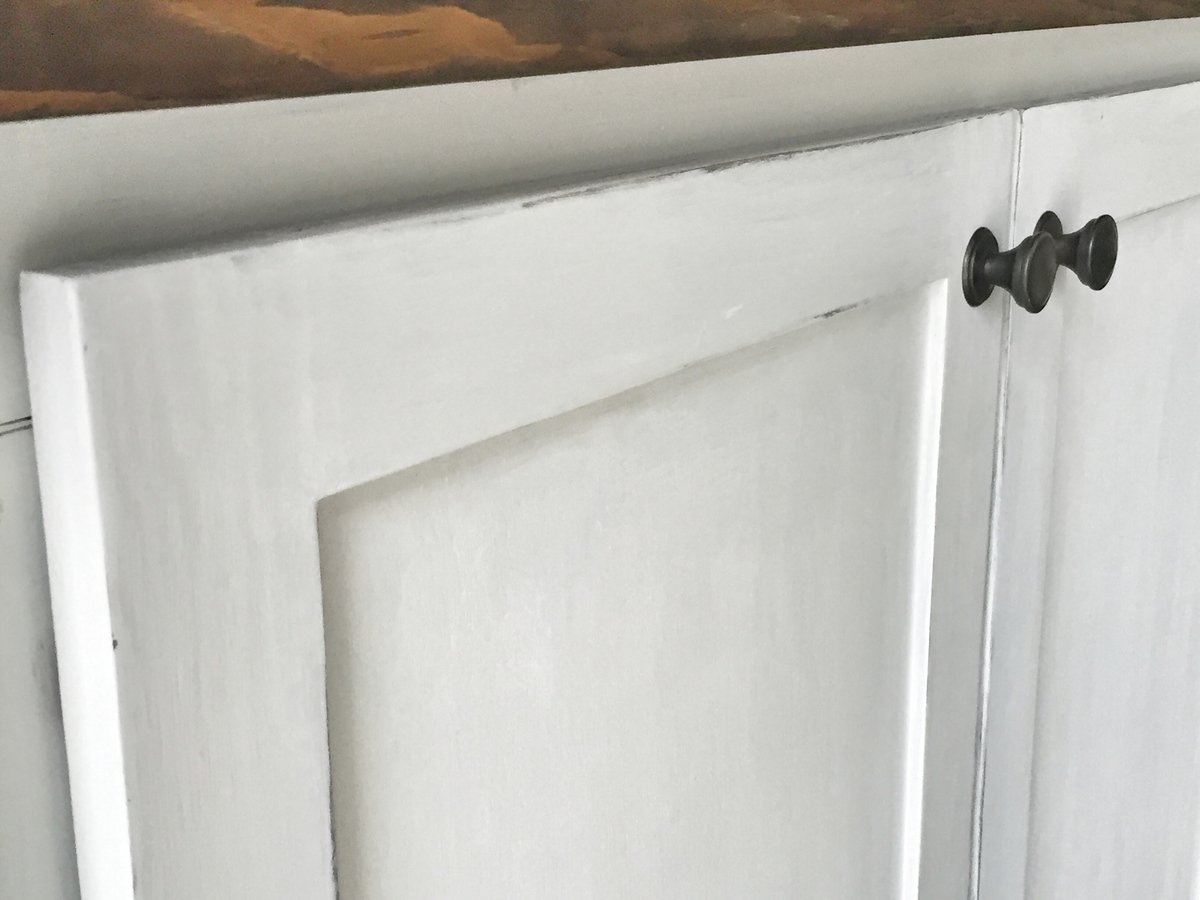
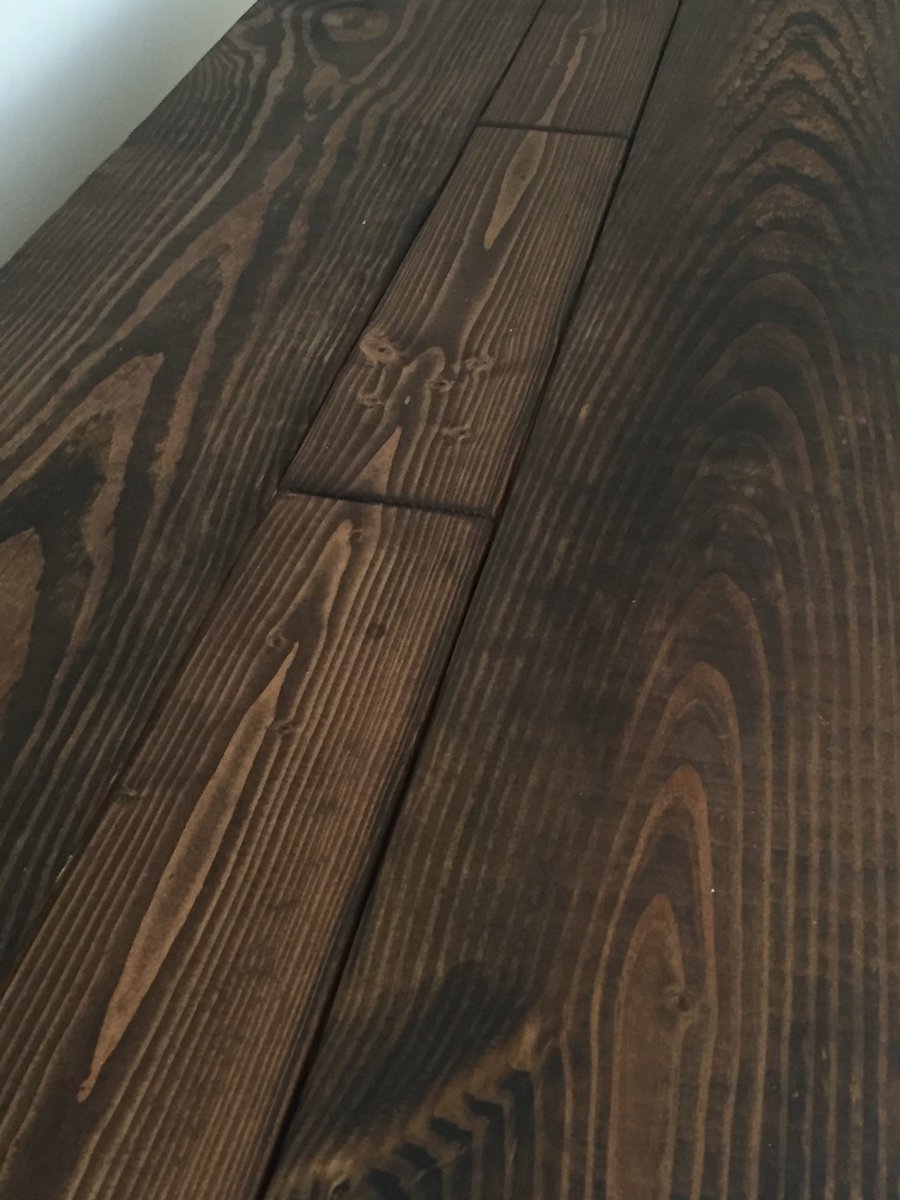
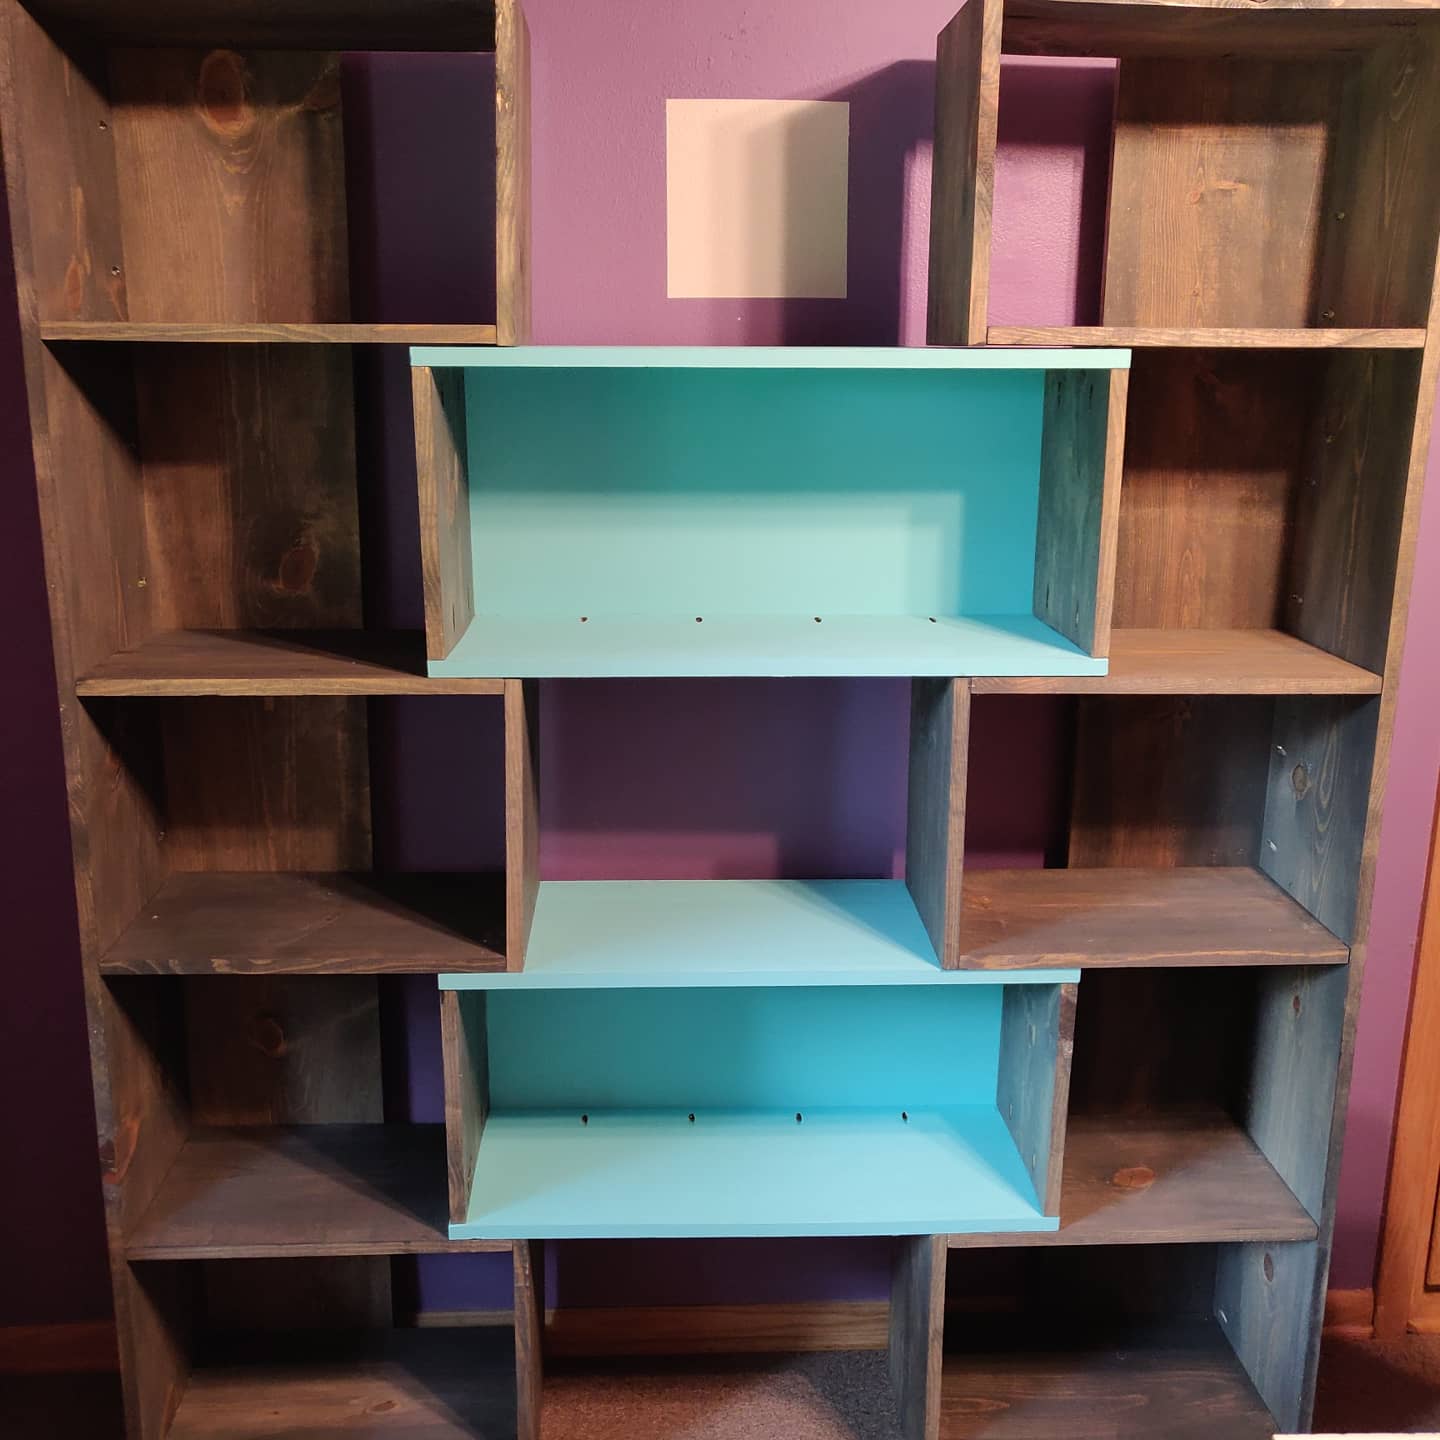
Made over two weekends - used pocket holes - stain is charcoal grey and the paint is rainwater by Behr - had some issues with warped wood but it still turned out great - I did not secure the cubbies to the bookcases; my hubby likes the idea of being able to change the size - overall very happy! Plans are so easy to follow
One of my first "big builds.: Learned so much making this! I love it!
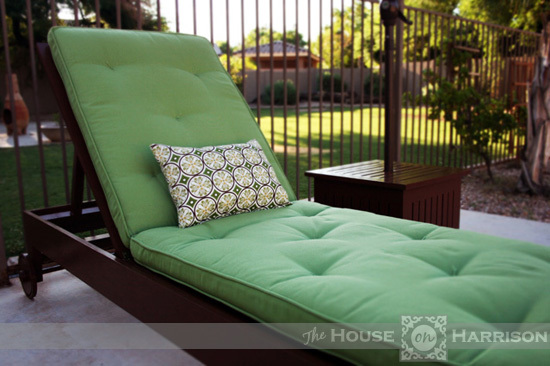
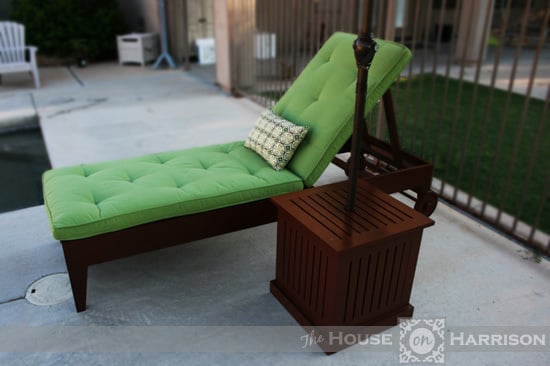
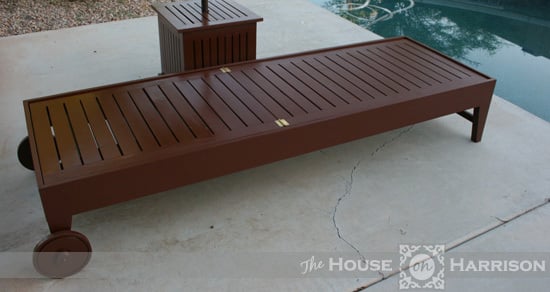
My husband and I made this outdoor chaise lounge using a combination of Ana's plan and another we found on the Internet. We wanted to be able to move this easily, so we added wooden wheels that we turned on our table saw. All in all, this project took us about two weekends. We are hoping the next one goes a little faster.
You can see more pictures of the build process on my blog.
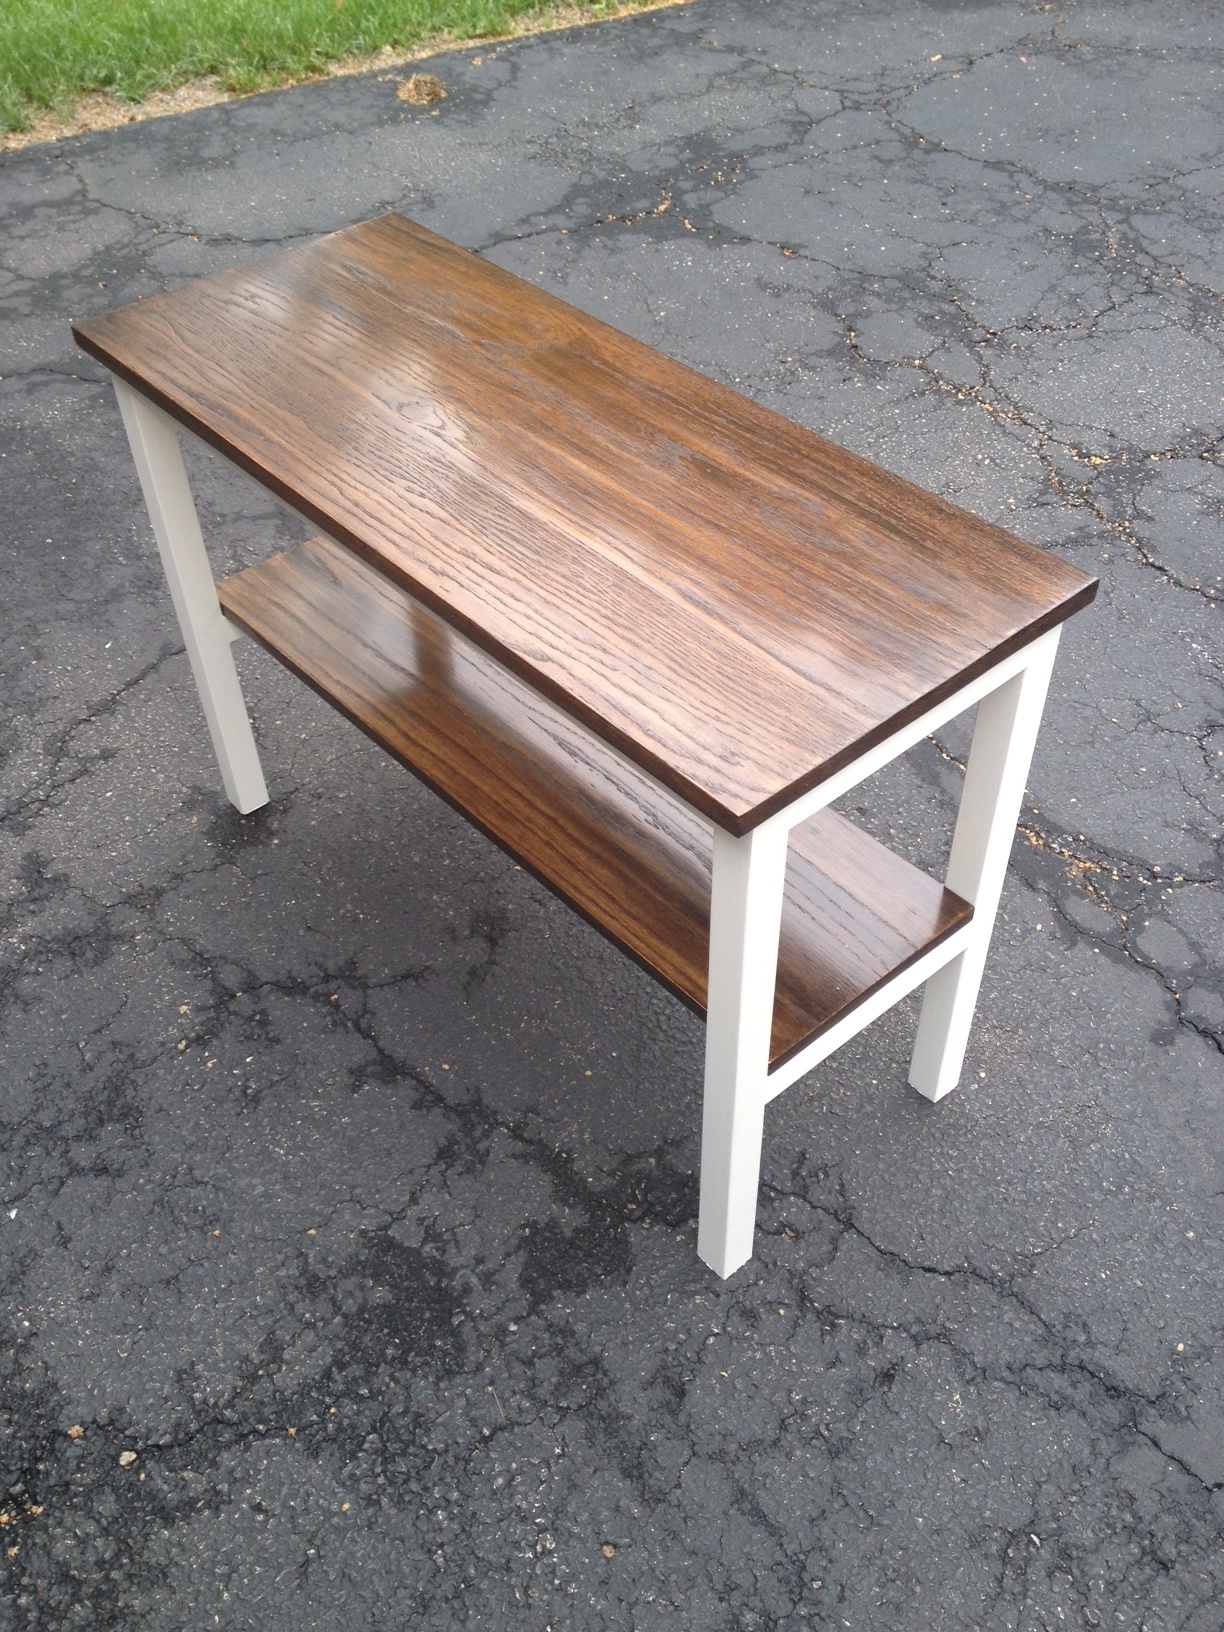
I saw the post and loved the table. I changed the dimensions to fit our couch and living room. The wood for the shelves was reclaimed from two old house that were eventually torn down. The houses were 90+ years old. Great old oak wood!
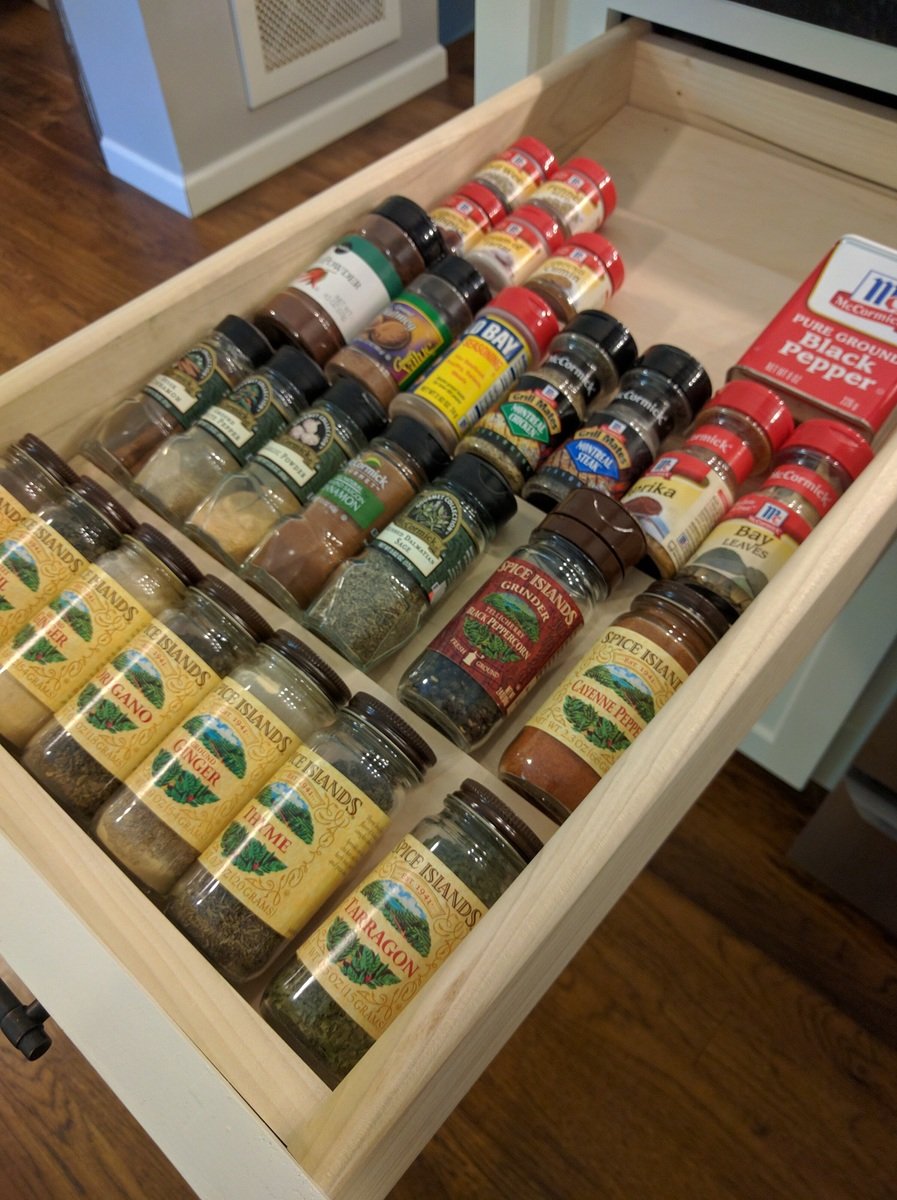
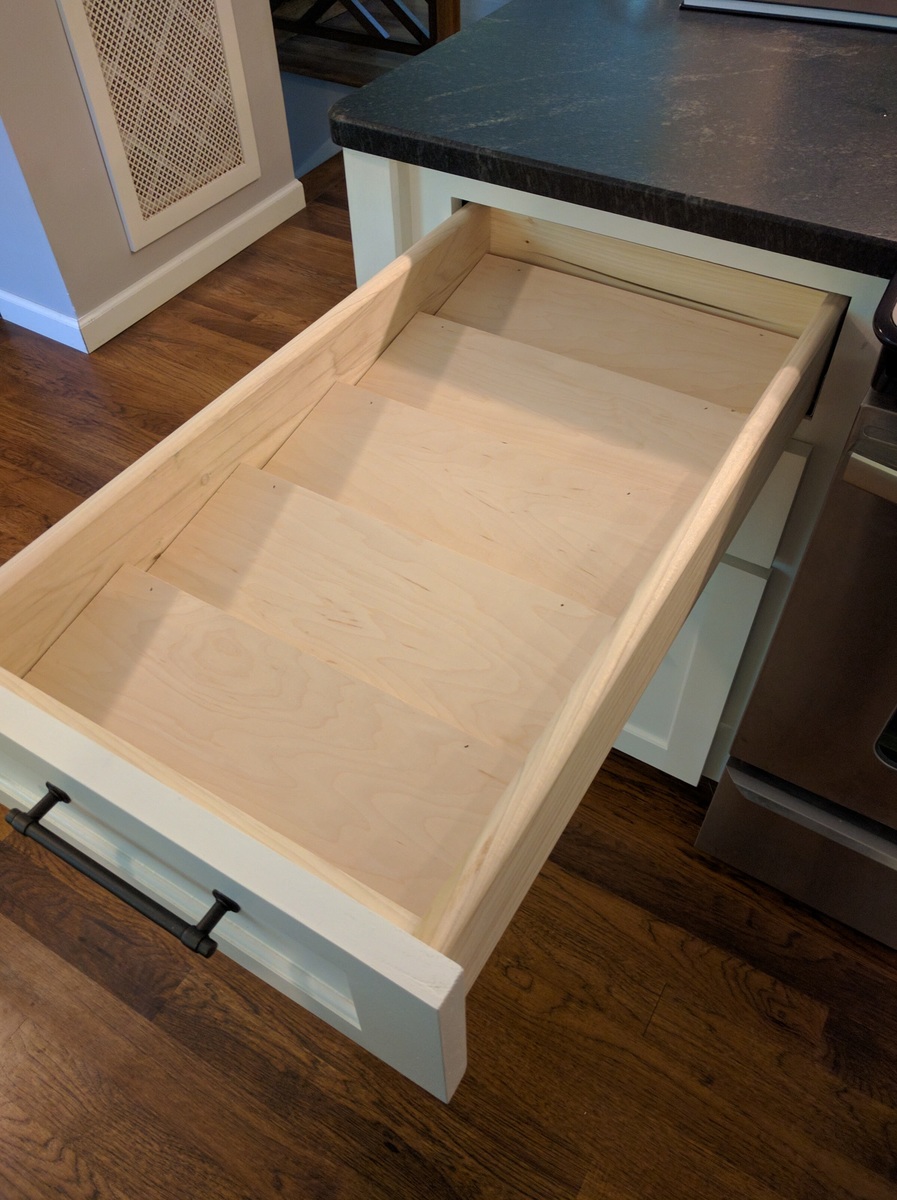
This project took 45 minutes, from measuring to filling up the drawer :)
I ripped some existing 1/4" plywood scrap down to 5" (that's how deep each divider is)
My bases are quite small: they were made from a 3/4" tall by 5/8" deep scrap piece. This made each shelf fairly shallow, but the incline is plenty so that the spices don't slide up and down.

This was a birthday present for my husband. I made a few adjustments because we didn't want that big of a table. To make it decorative, I added 45-degree angles for the outside edge and then added the planks on the inside. I found the planter size that I wanted and then I built it to fit around the planter that I used for the ice cooler. I liked the hole in the middle for the lid so if I wanted to I could take out the planter/cooler and put a table umbrella in its place for shade if we wanted. We have a family of four so I wanted to make a bench for each person and enough room for more if desired. I mostly used the same plans for the table I just shrunk the size and made sure that they would push in under the table. My husband loved it.


I'm a complete amateur and the instructions made it so easy!
Lori
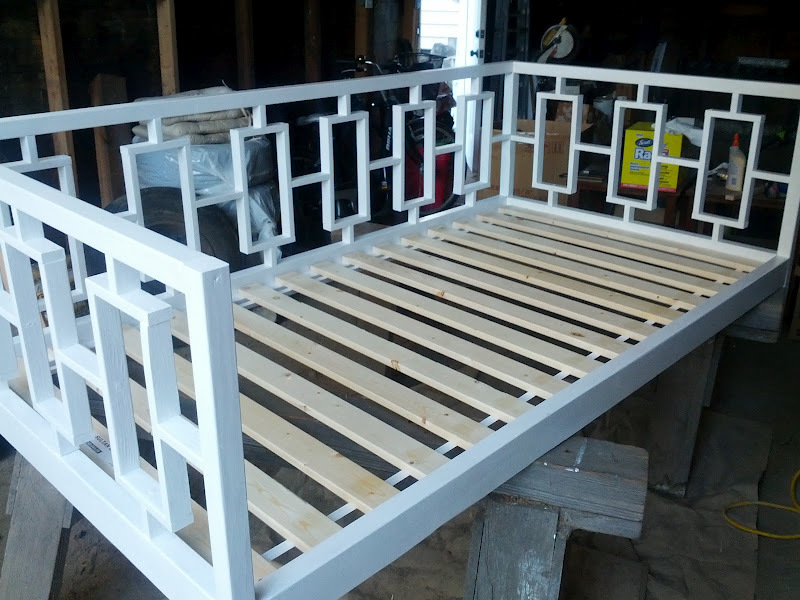
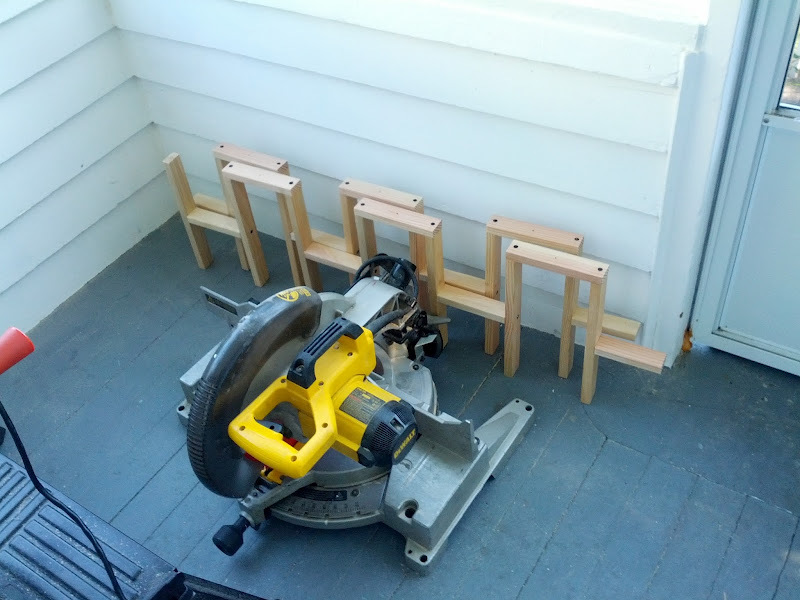
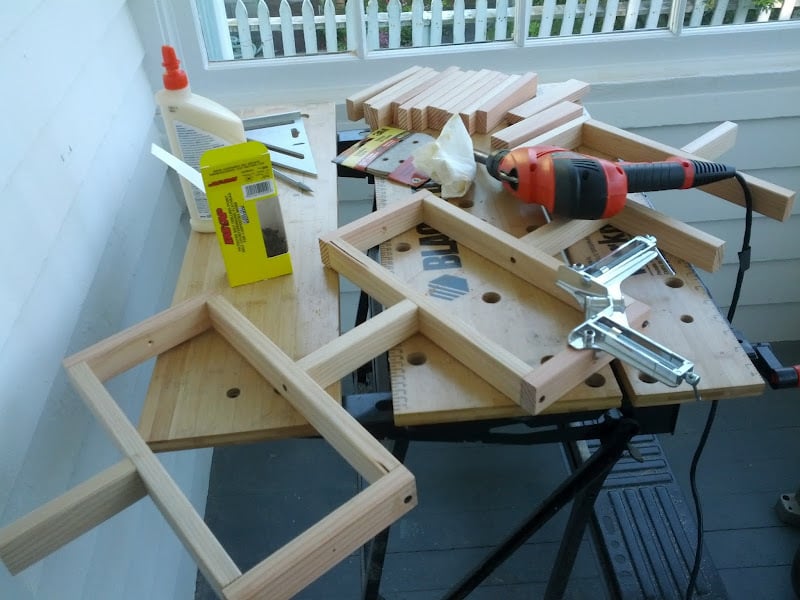
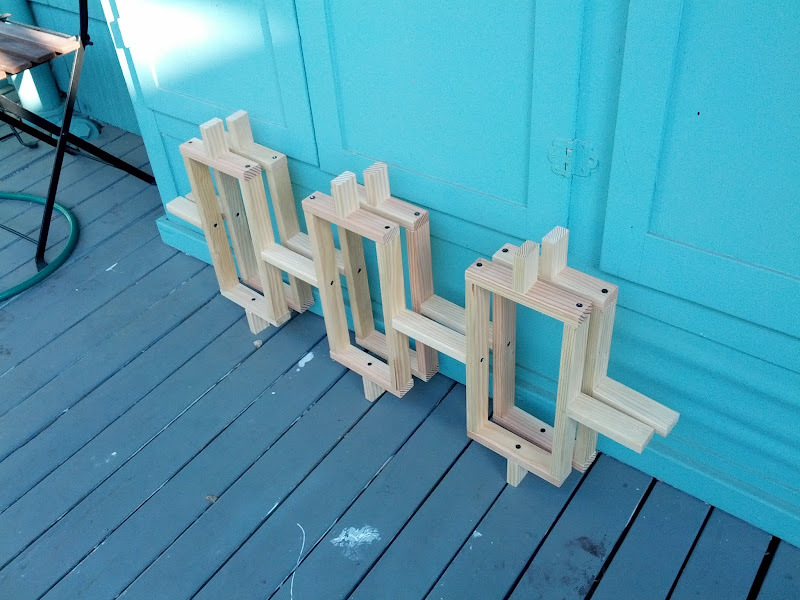
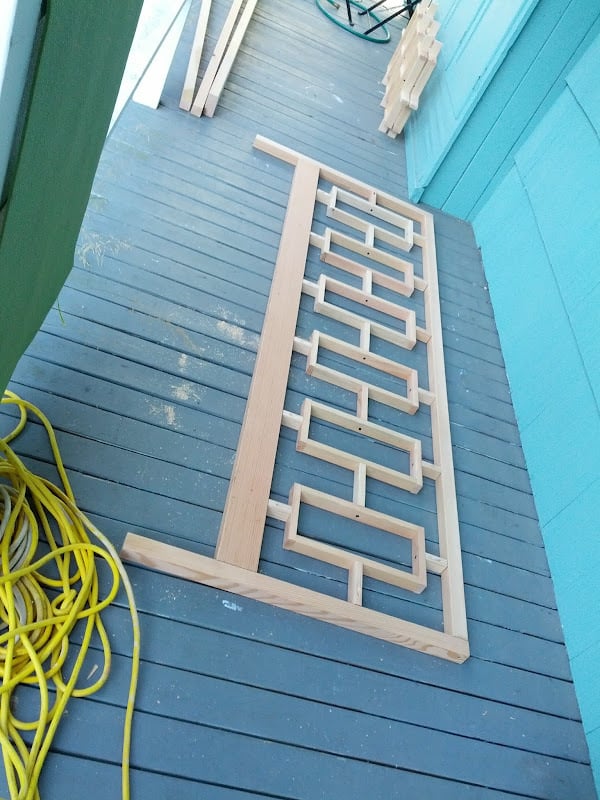
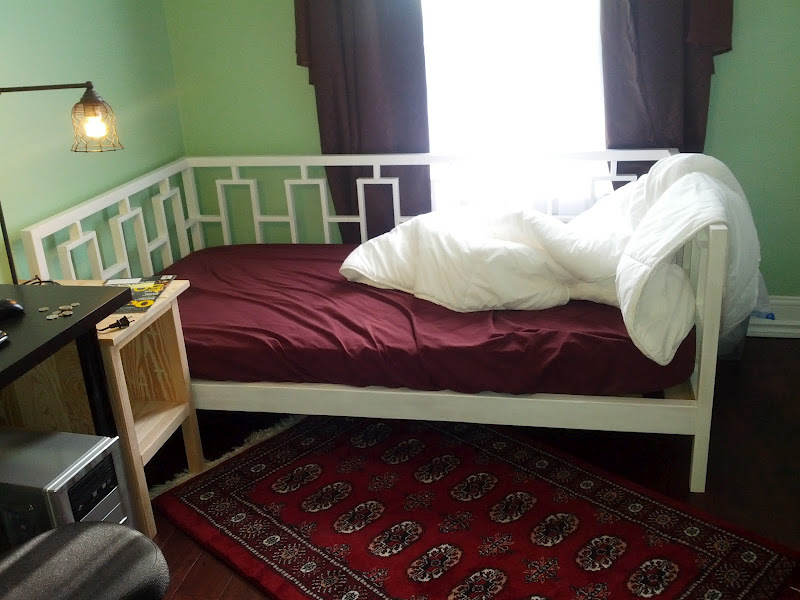
For my first woodworking project ever, I decided to make the Rectangles Daybed. I have not handled a power tool before, except the drill. So, over all, I'm quite happy with the result.
I got odd lot fir, which was more expensive, but prettier and easier to work with. I would probably not do that if I had known I was painting it. I also decided to put in IKEA slats instead of making my own.
I put more details in my blog posts.
Sun, 09/16/2012 - 17:12
Is there any chance you are making this to sell? if so, how much? Email me at [email protected]
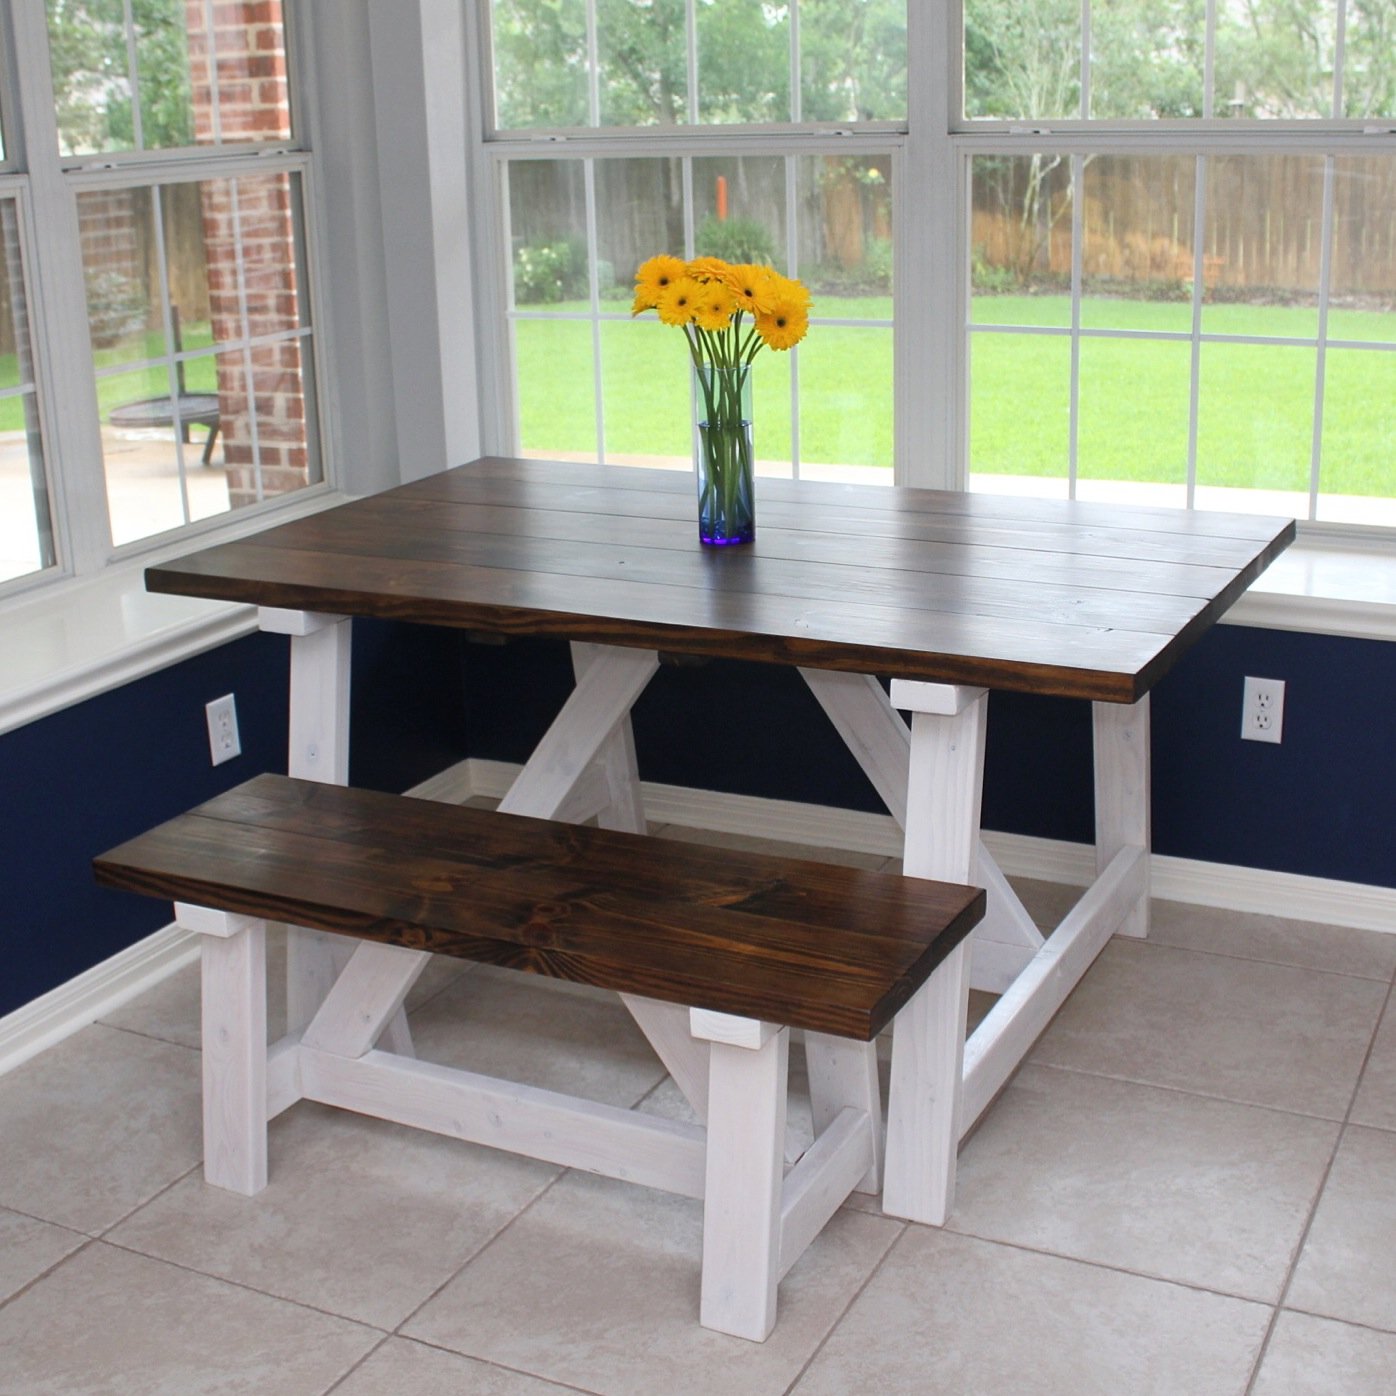
We shortened the original table plans by 2 feet to fit it inside our breakfast nook and it turned out perfectly!
Wed, 06/11/2014 - 08:41
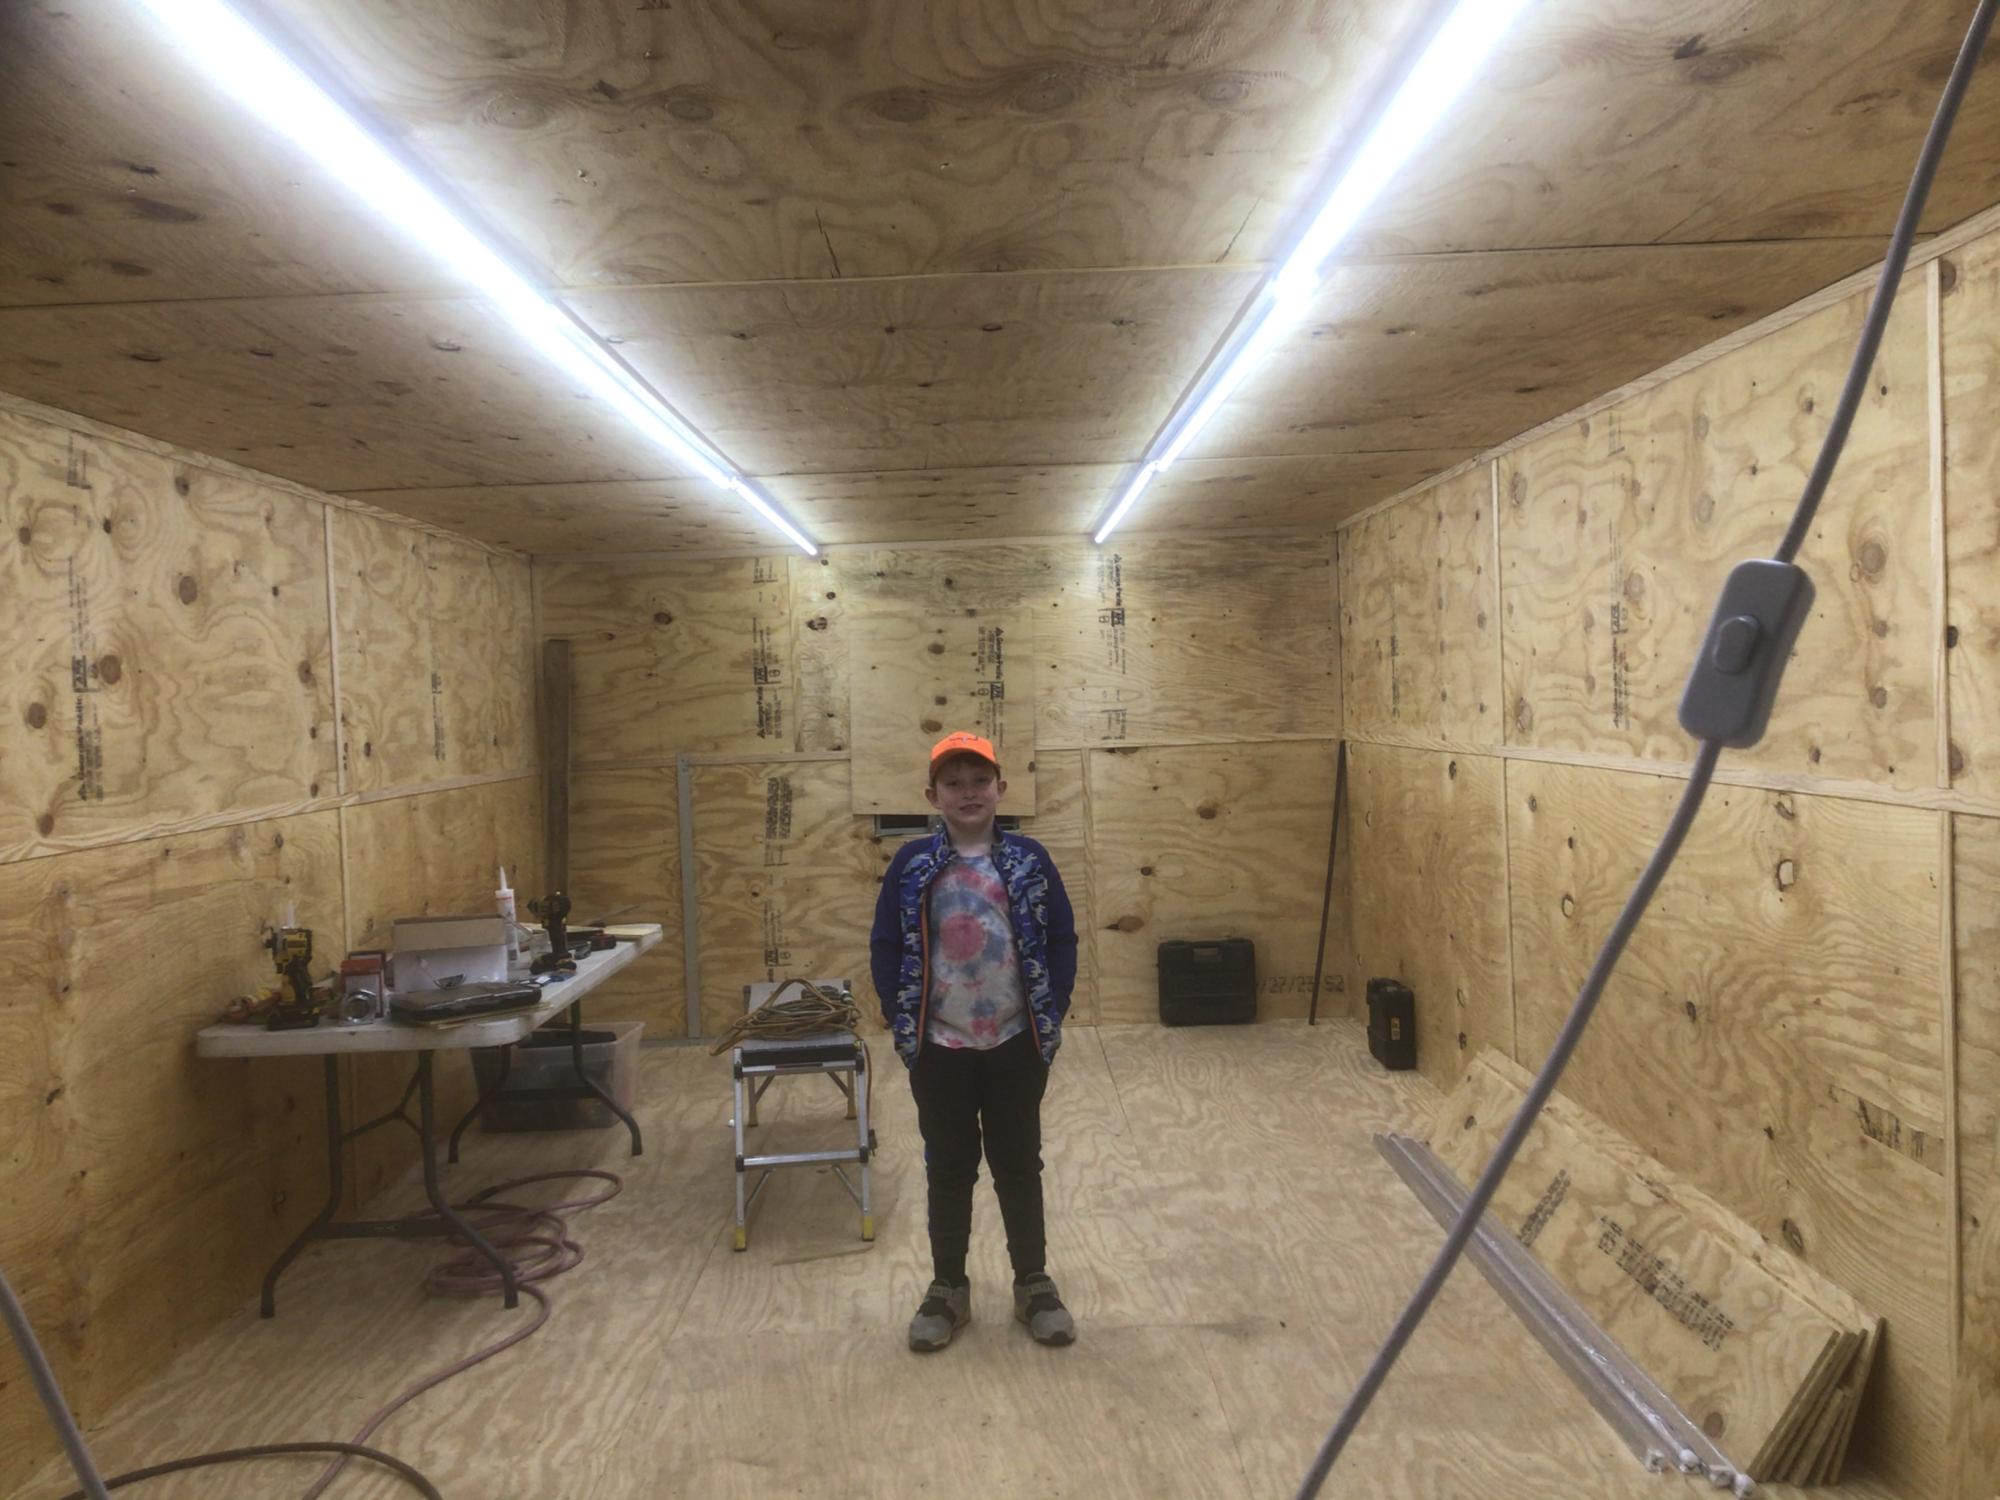
Love the bright beautiful space! Great build and mod, thanks for sharing!

This was a fantastic project and I love the way it turned out. You can check out my blog post for more details how it all came together.
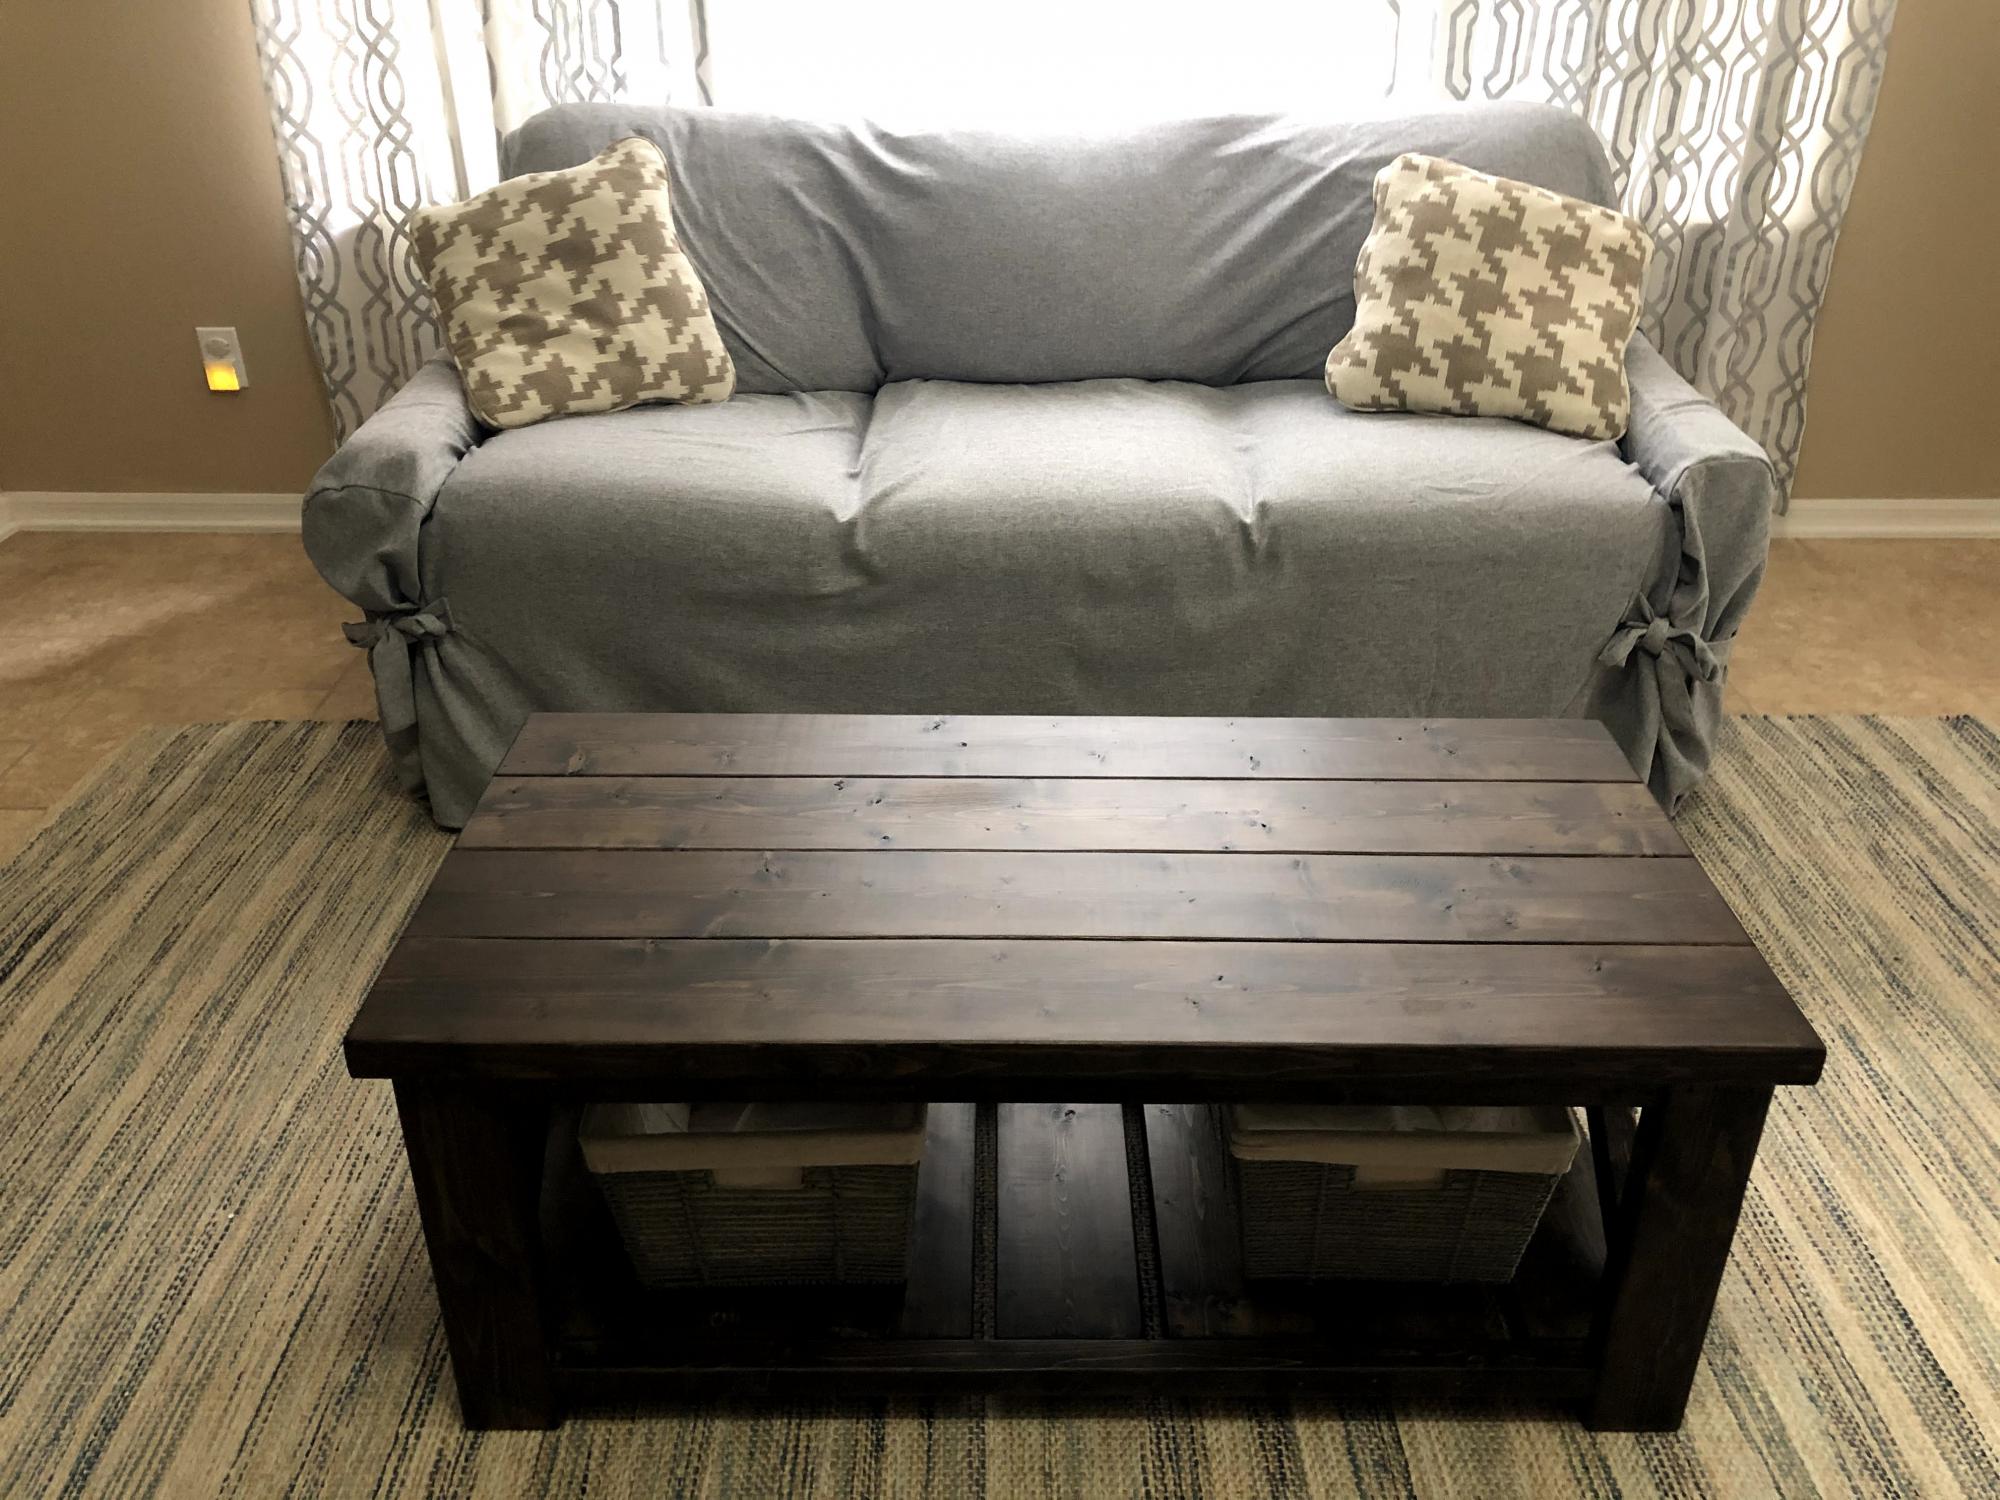
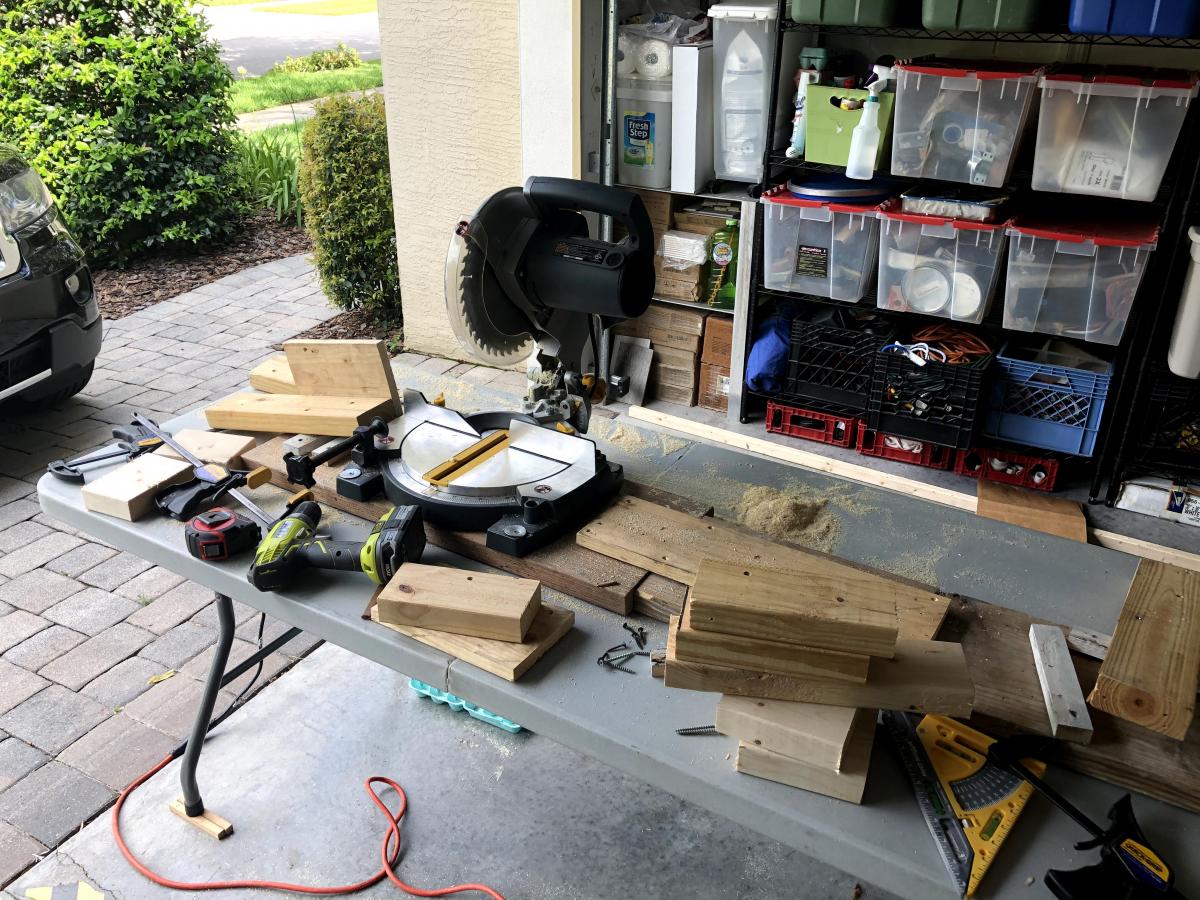
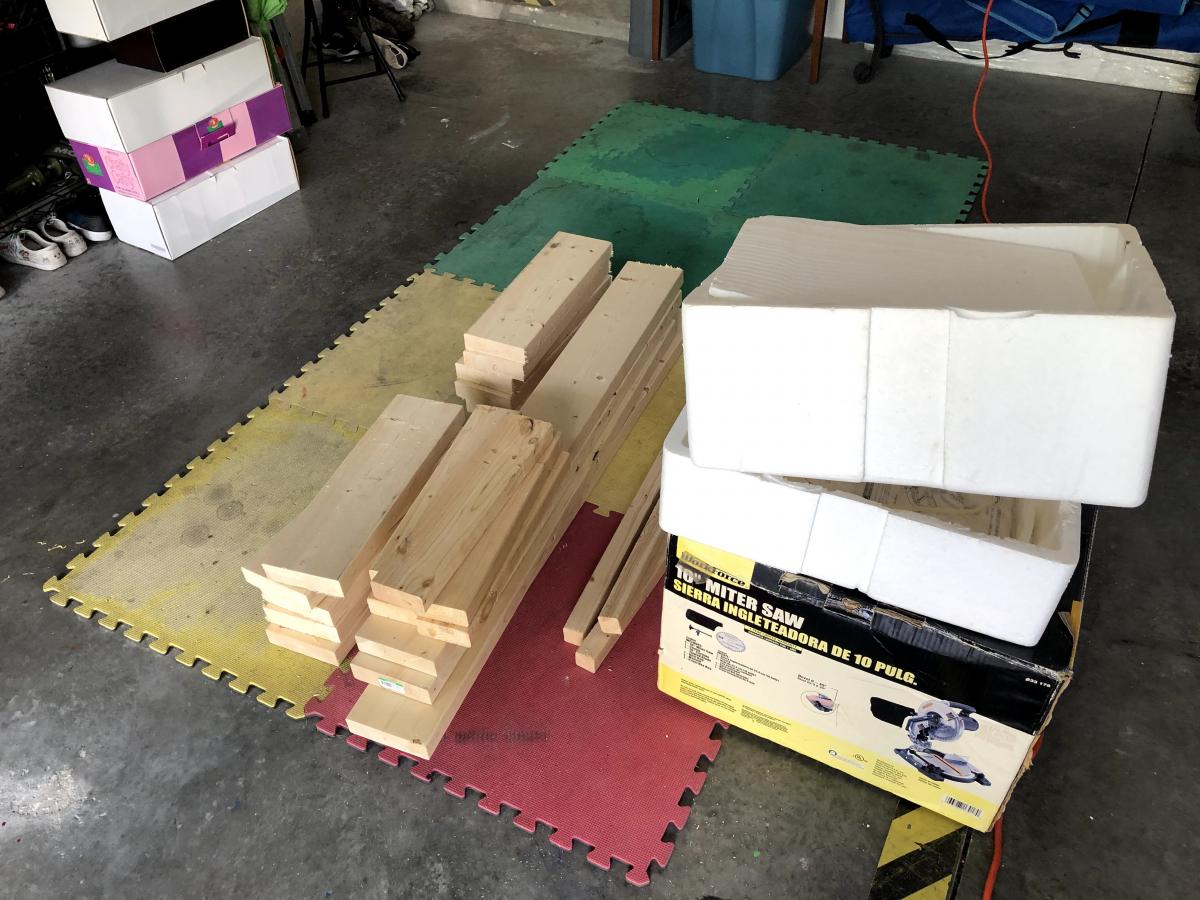
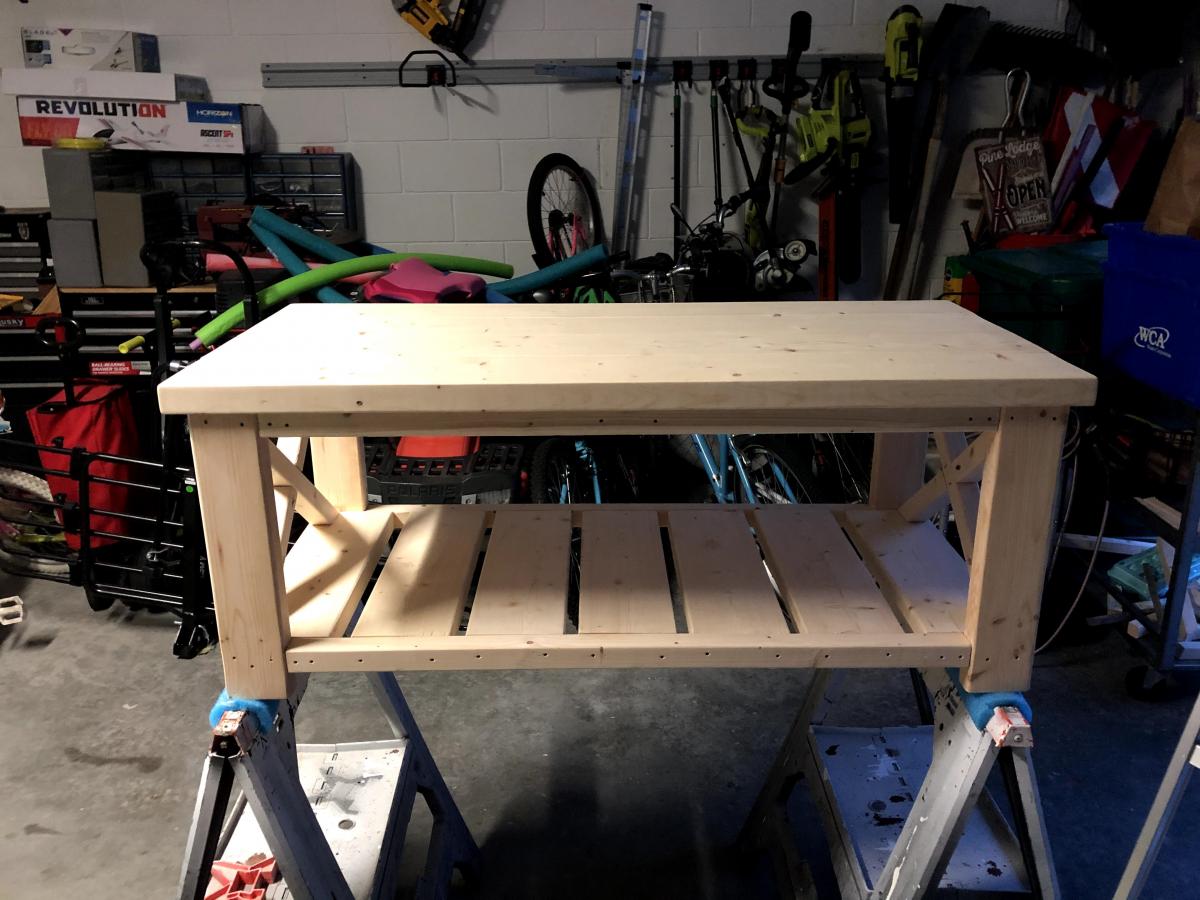
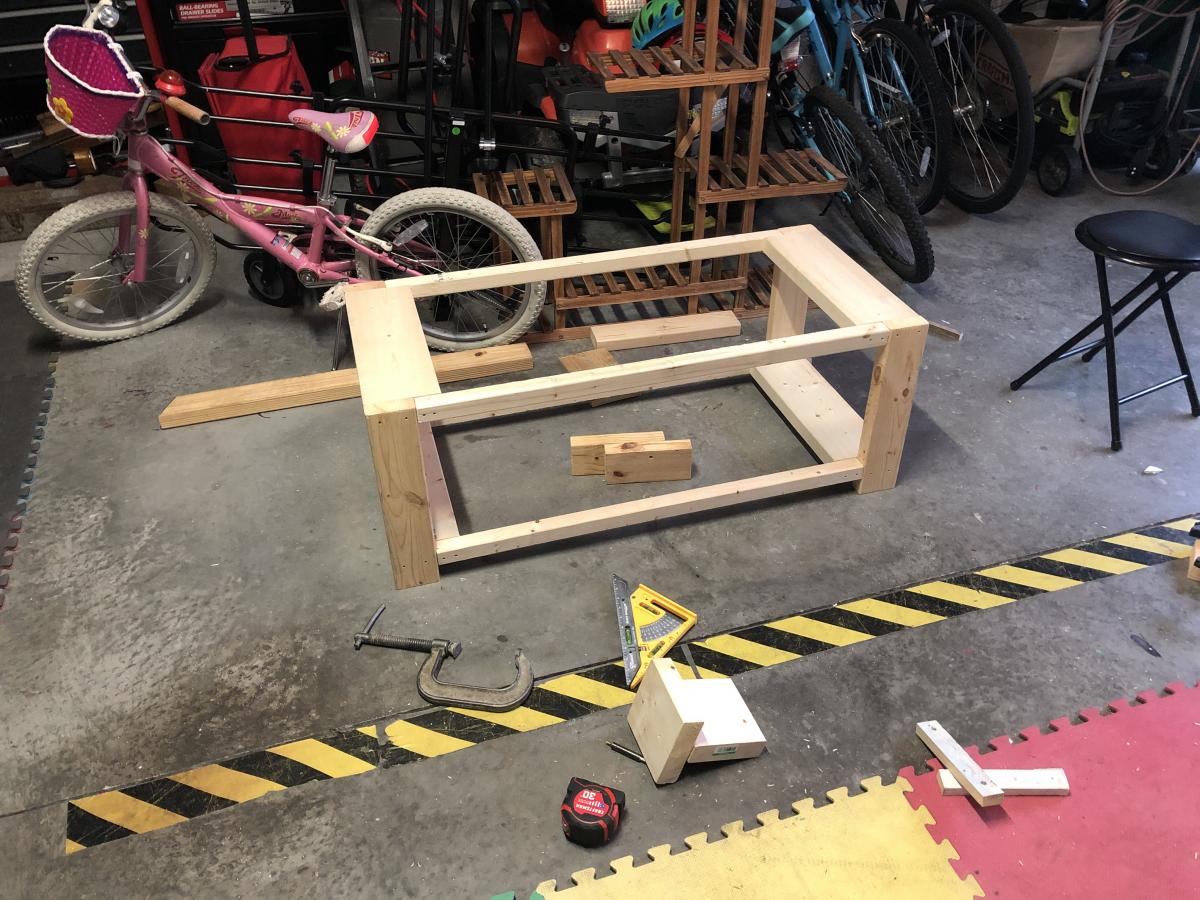
Started down this road on May 30th 2020. First it was the $40 Coffee Table (Which cost me $47 in wood from Lowes) Highly recommend a Miter-saw with a long enough fence to make identical cuts, I learned my lesson. Cut and built the table over the weekend. Had some trouble with the X's on each end, do not use the dimensions in the plans for the X's they were 3 inches to small. (Watch the video and follow Ana's technique.) Sanded all the wood stained with Jacobean 2750 tint Minwax and sealed with Satin Polycrylic. After it was finished my wife asked for the matching side tables see the other Brag Post. See Photos for Details.