Starting Small with the Farmhouse Doll Bed
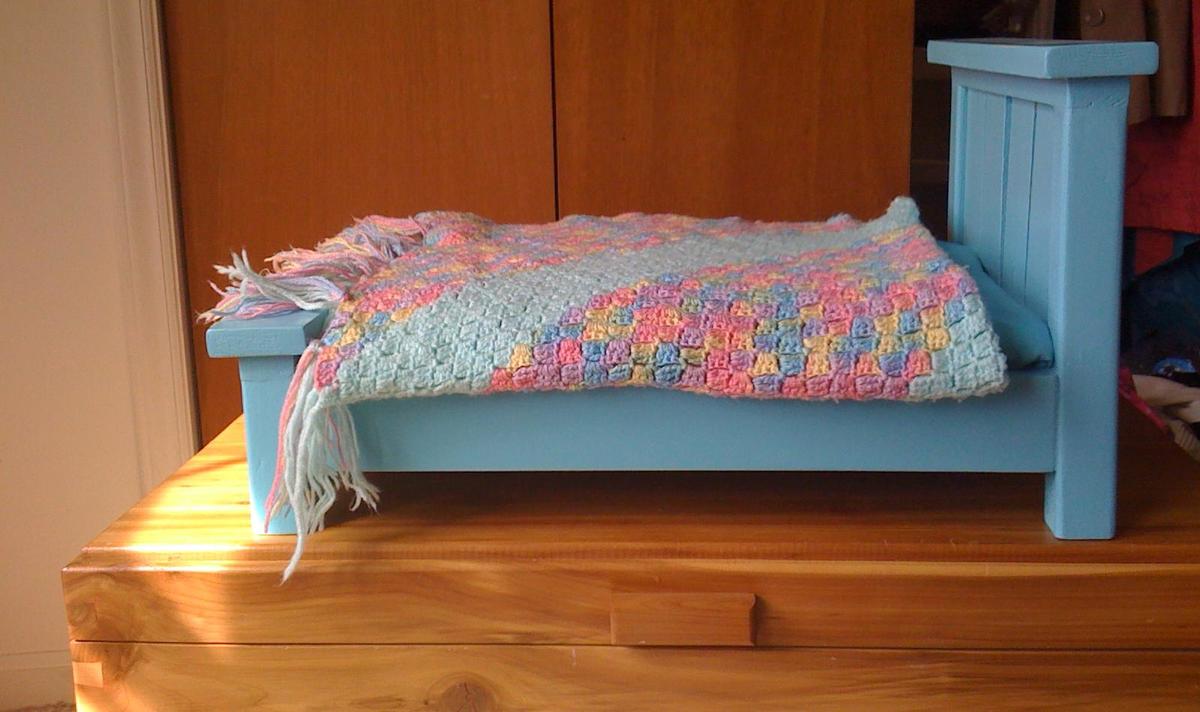
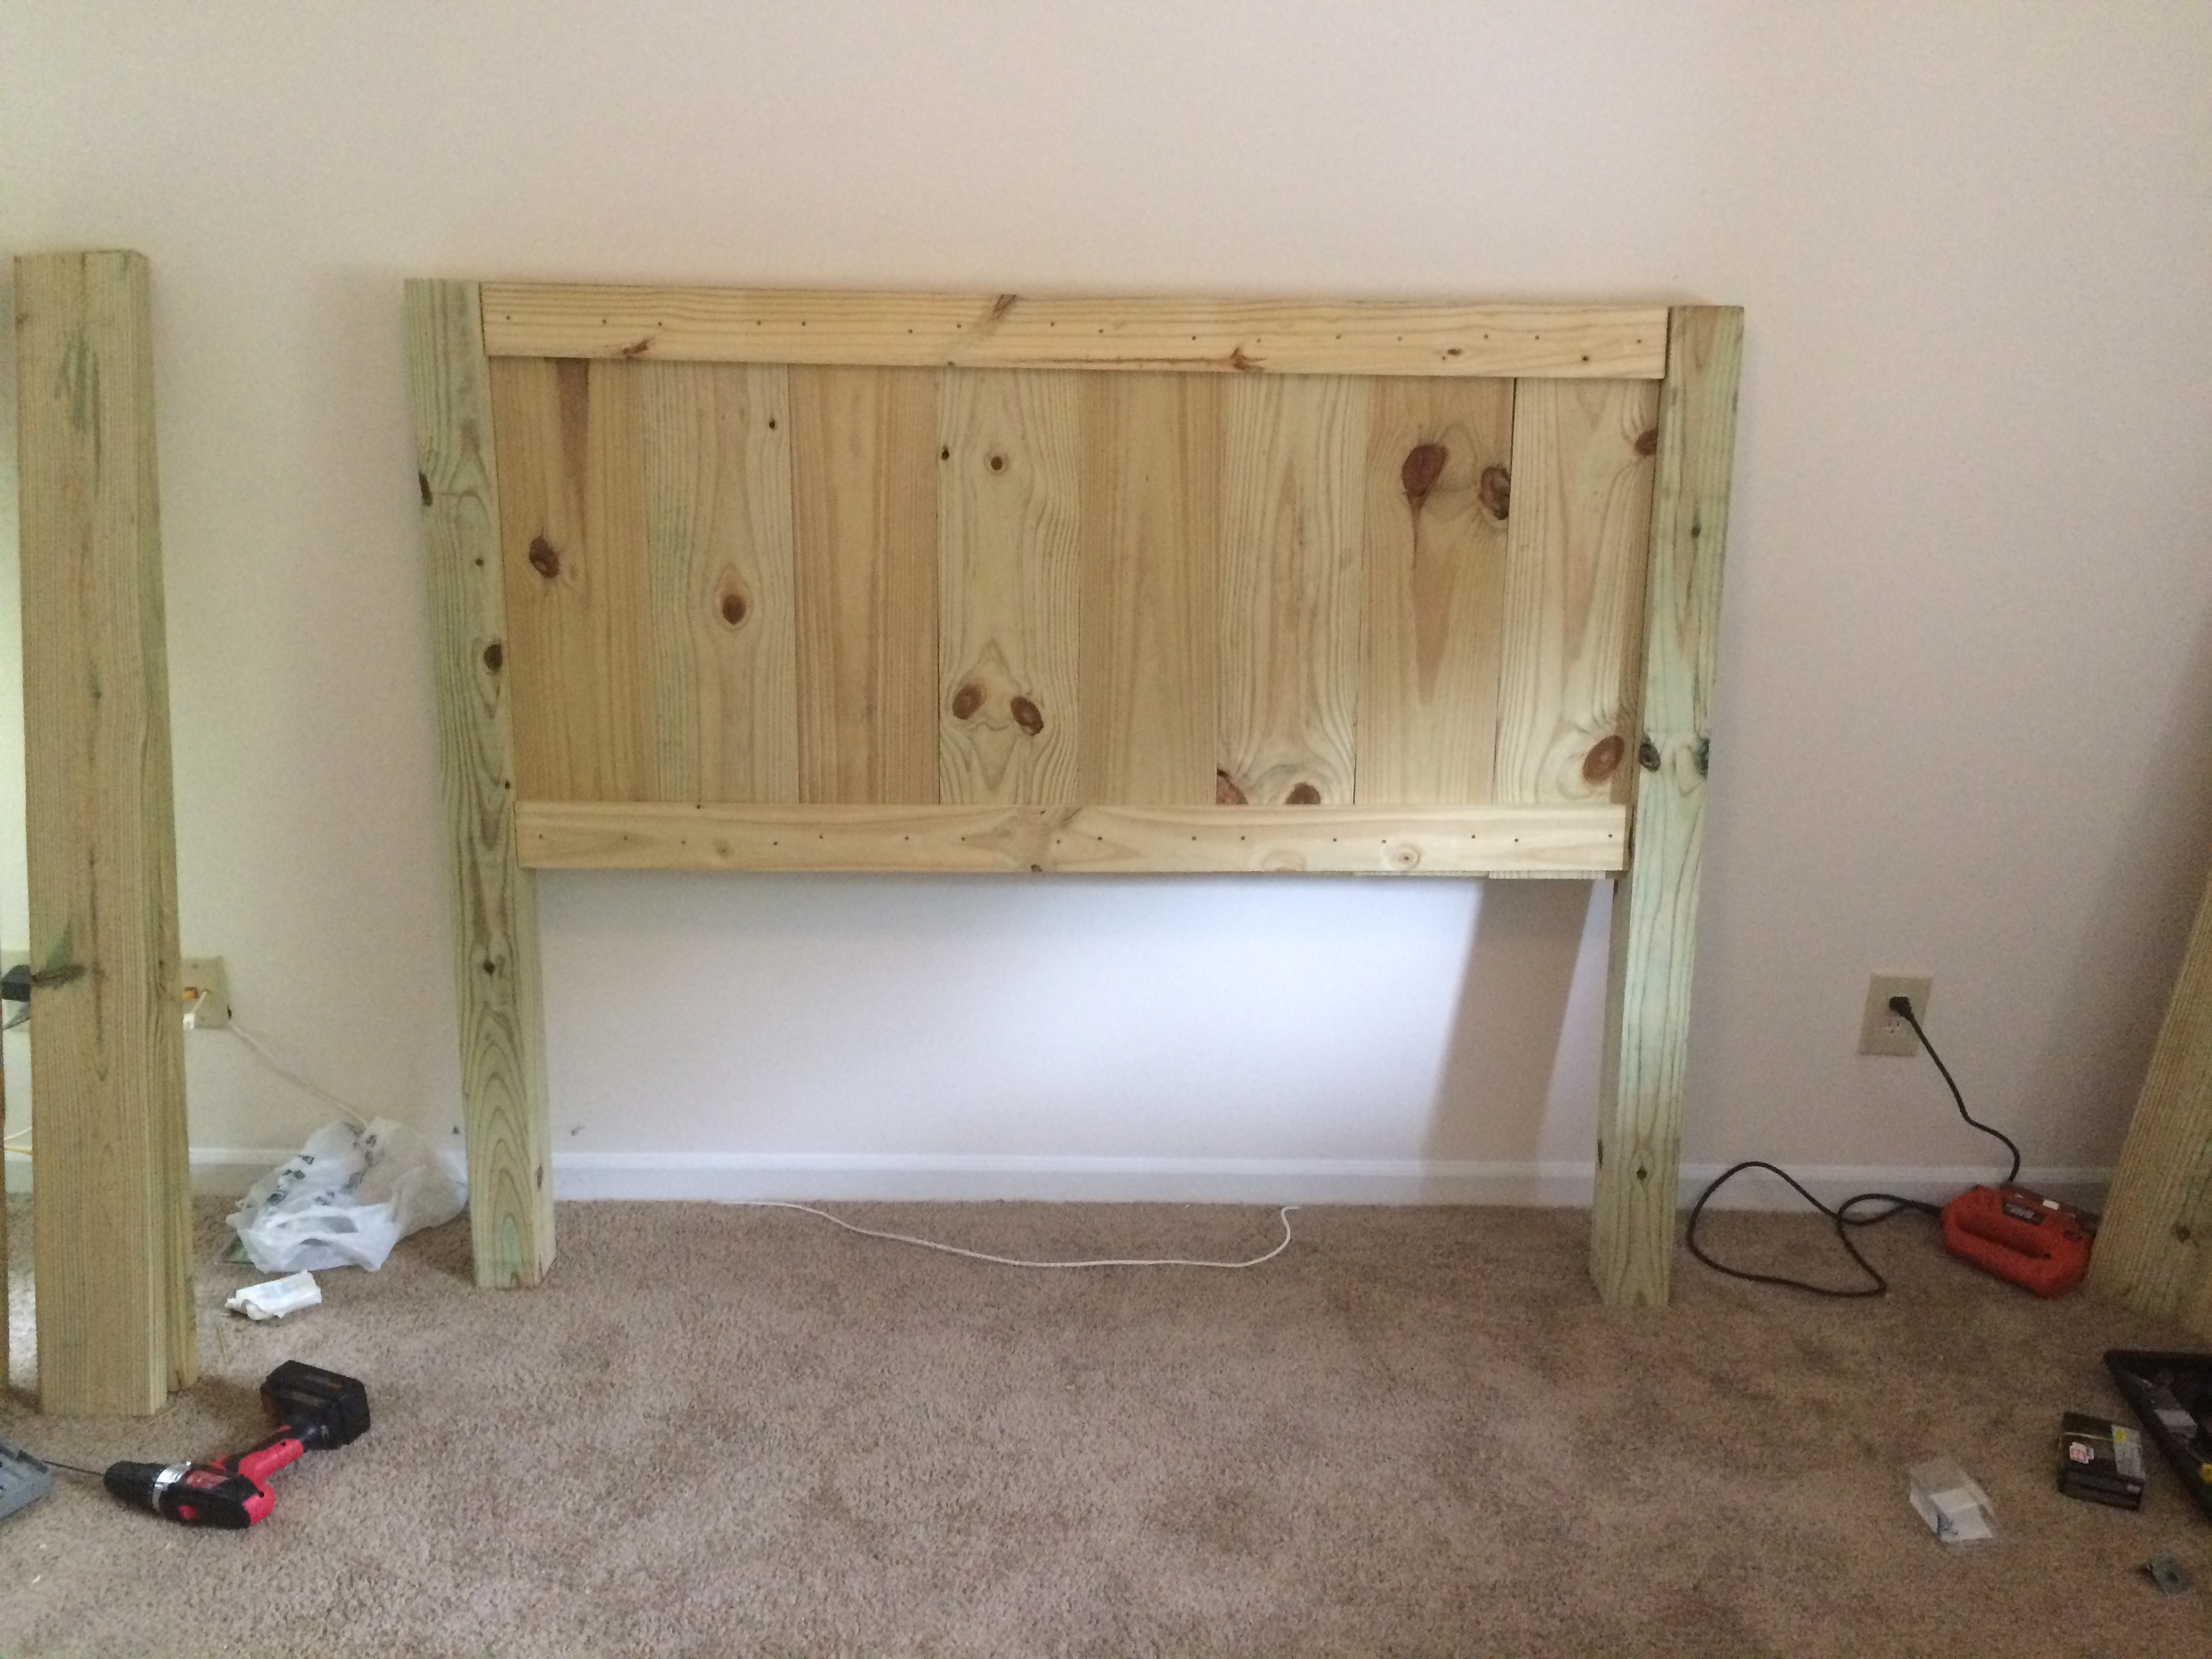
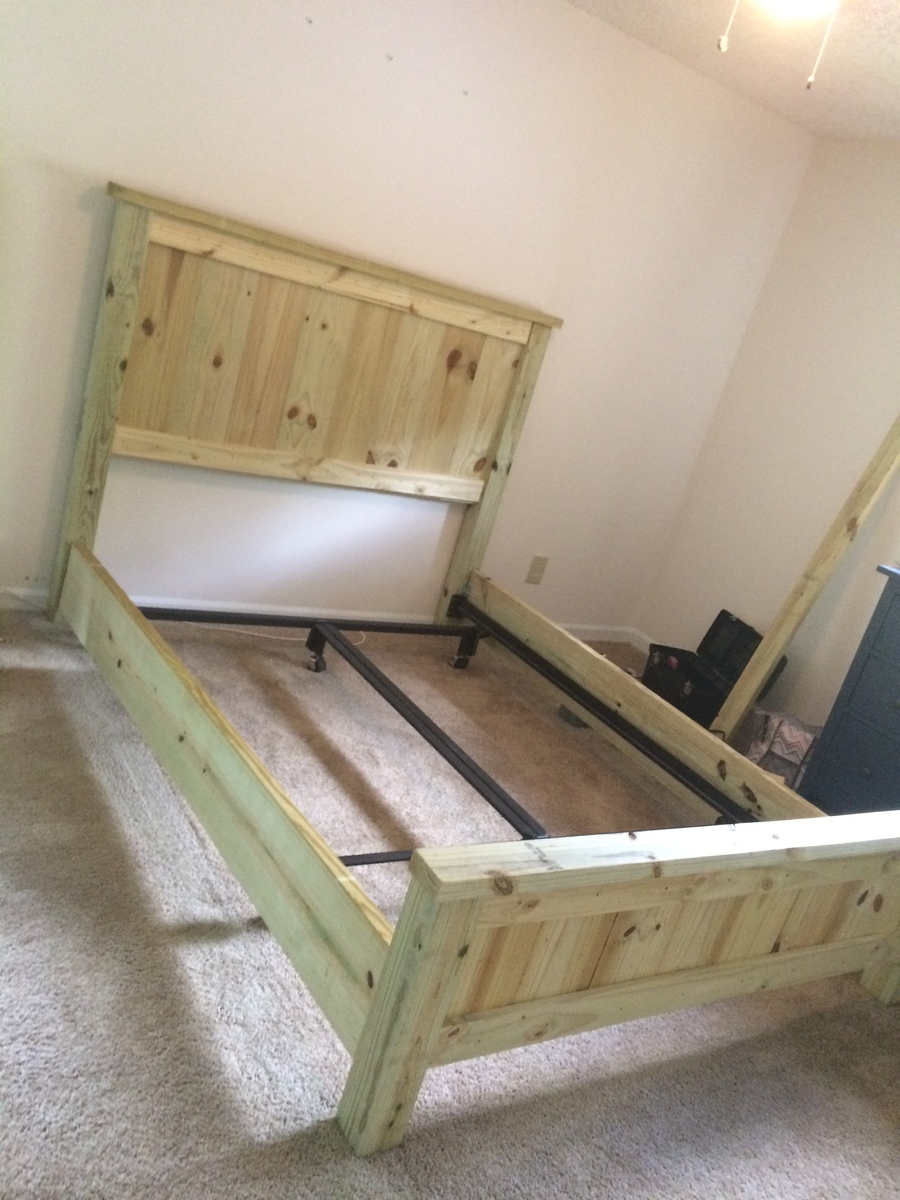
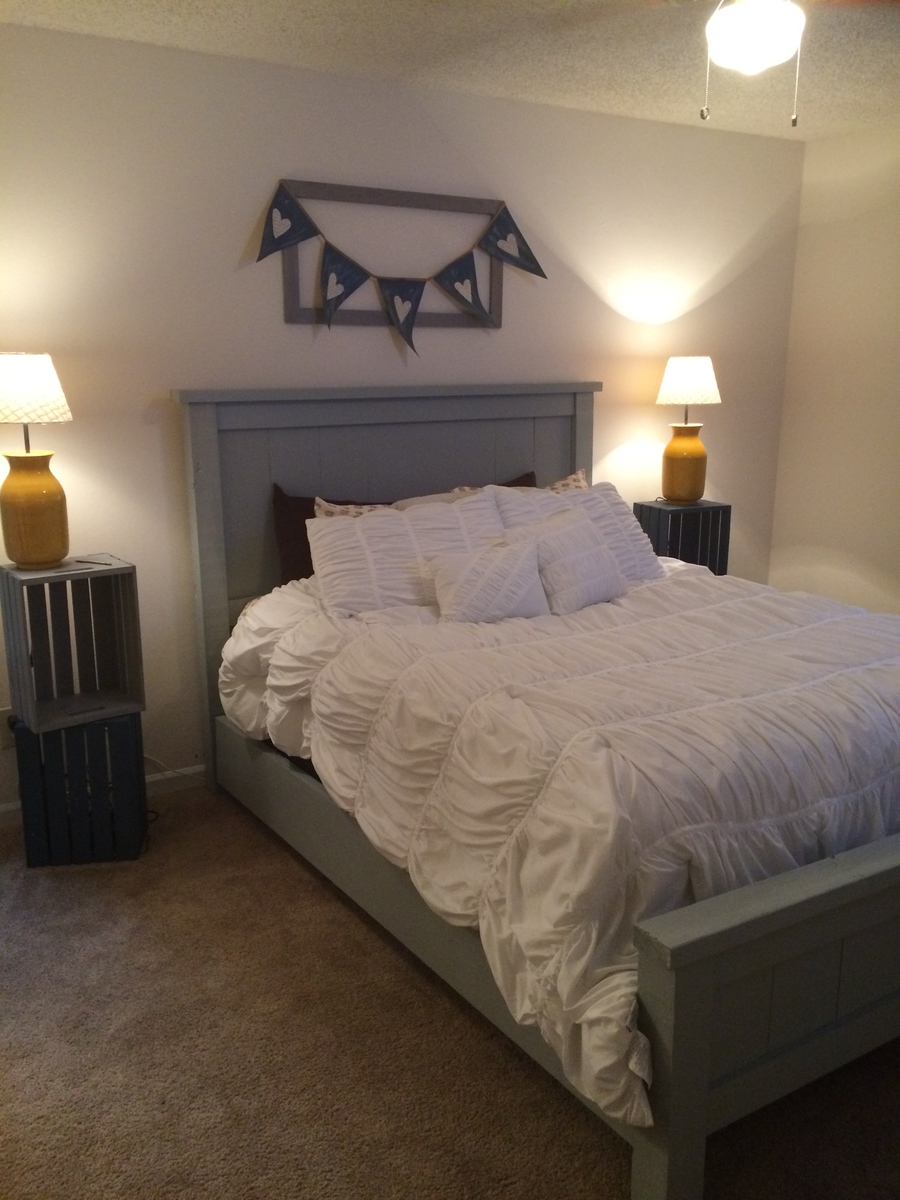
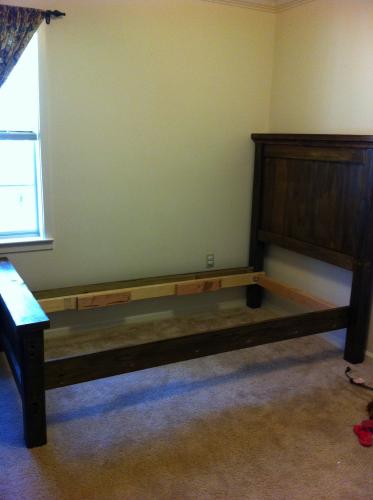
This was my very, very first woodworking project. My daughter and I needed beds, but decided to start small. I’d been scoping out Ana’s plans for weeks or maybe months, and finally, finally worked up the nerve to tackle a project. Everything worked out beautifully. Somehow, I’d been intimidated about the idea of learning how to countersink screws, but with Ana’s directions it was easy! I did get a measurement wrong somewhere and after cutting all the wood, the 5 1×3′s for the panel were too wide for the panel top, so instead I spaced out four of them. My daughter has never liked dolls, so I made the bed thinking that it would be a gift for someone else, but my daughter really, really liked it and wanted to keep it. Now the doll bed lives at the foot of the full-sized bed that we made as our second Ana White project! Now if I could only figure out how to sew a doll-sized pillow… Thank you Ana for making this simple.