I got tired of the aluminum framed bunk beds in my kids room, and wanted to build something they can enjoy for years to come.
My 7 year old didn't have the luxury of one of our dogs jumping up on his bed, as he was on the top bunk, and my wife and I didn't interact with him as much as we would have liked during his reading time prior to bed.
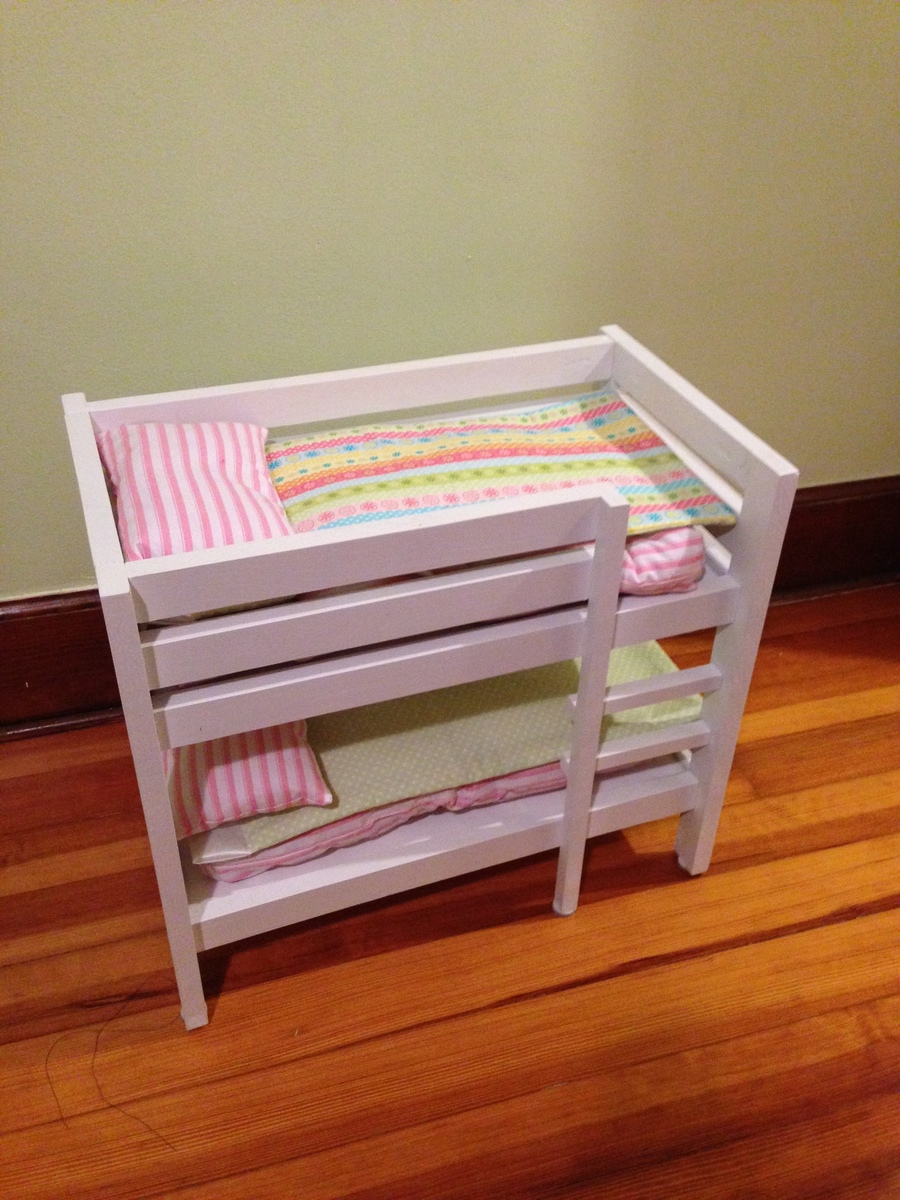
Only one thing to do....build the boys some beds. Although they have a little less room in their bedroom, they have their own individual beds and storage nooks.
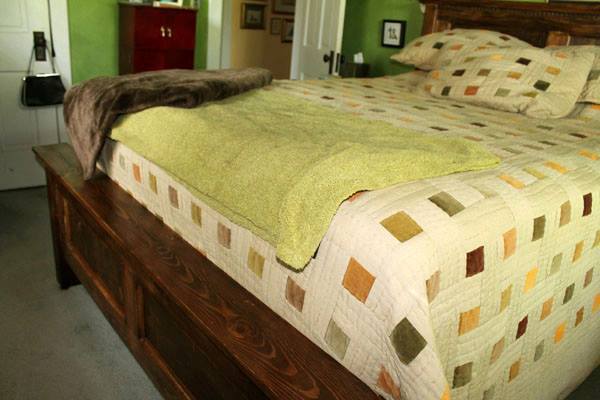
In an effort to reduce wasted space, I took a similar page out of birdsandsoap's book by hinging the footboard to create easy access to the void under the slats.
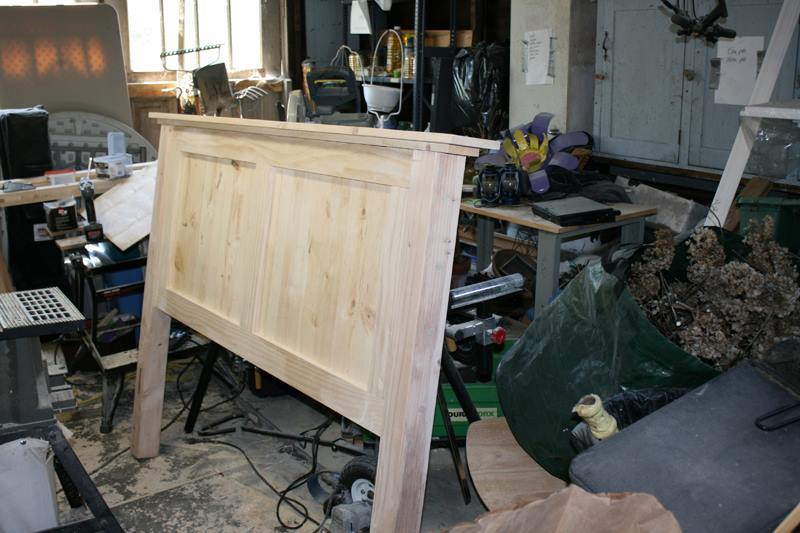
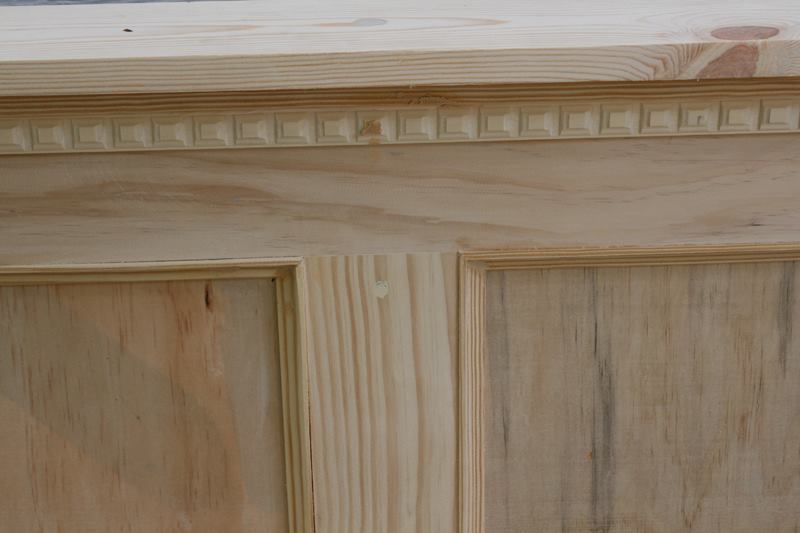
The head and footboards were 'tiled' by simply cutting 1x2 and 1x3 pieces and attaching them with wood glue.
Between the sanding, staining, and poly coats, it took about a week (on and off) to complete the set, but overall am very happy with the finished project.
Only 1 bed is included in the pics, as the other one is identical.