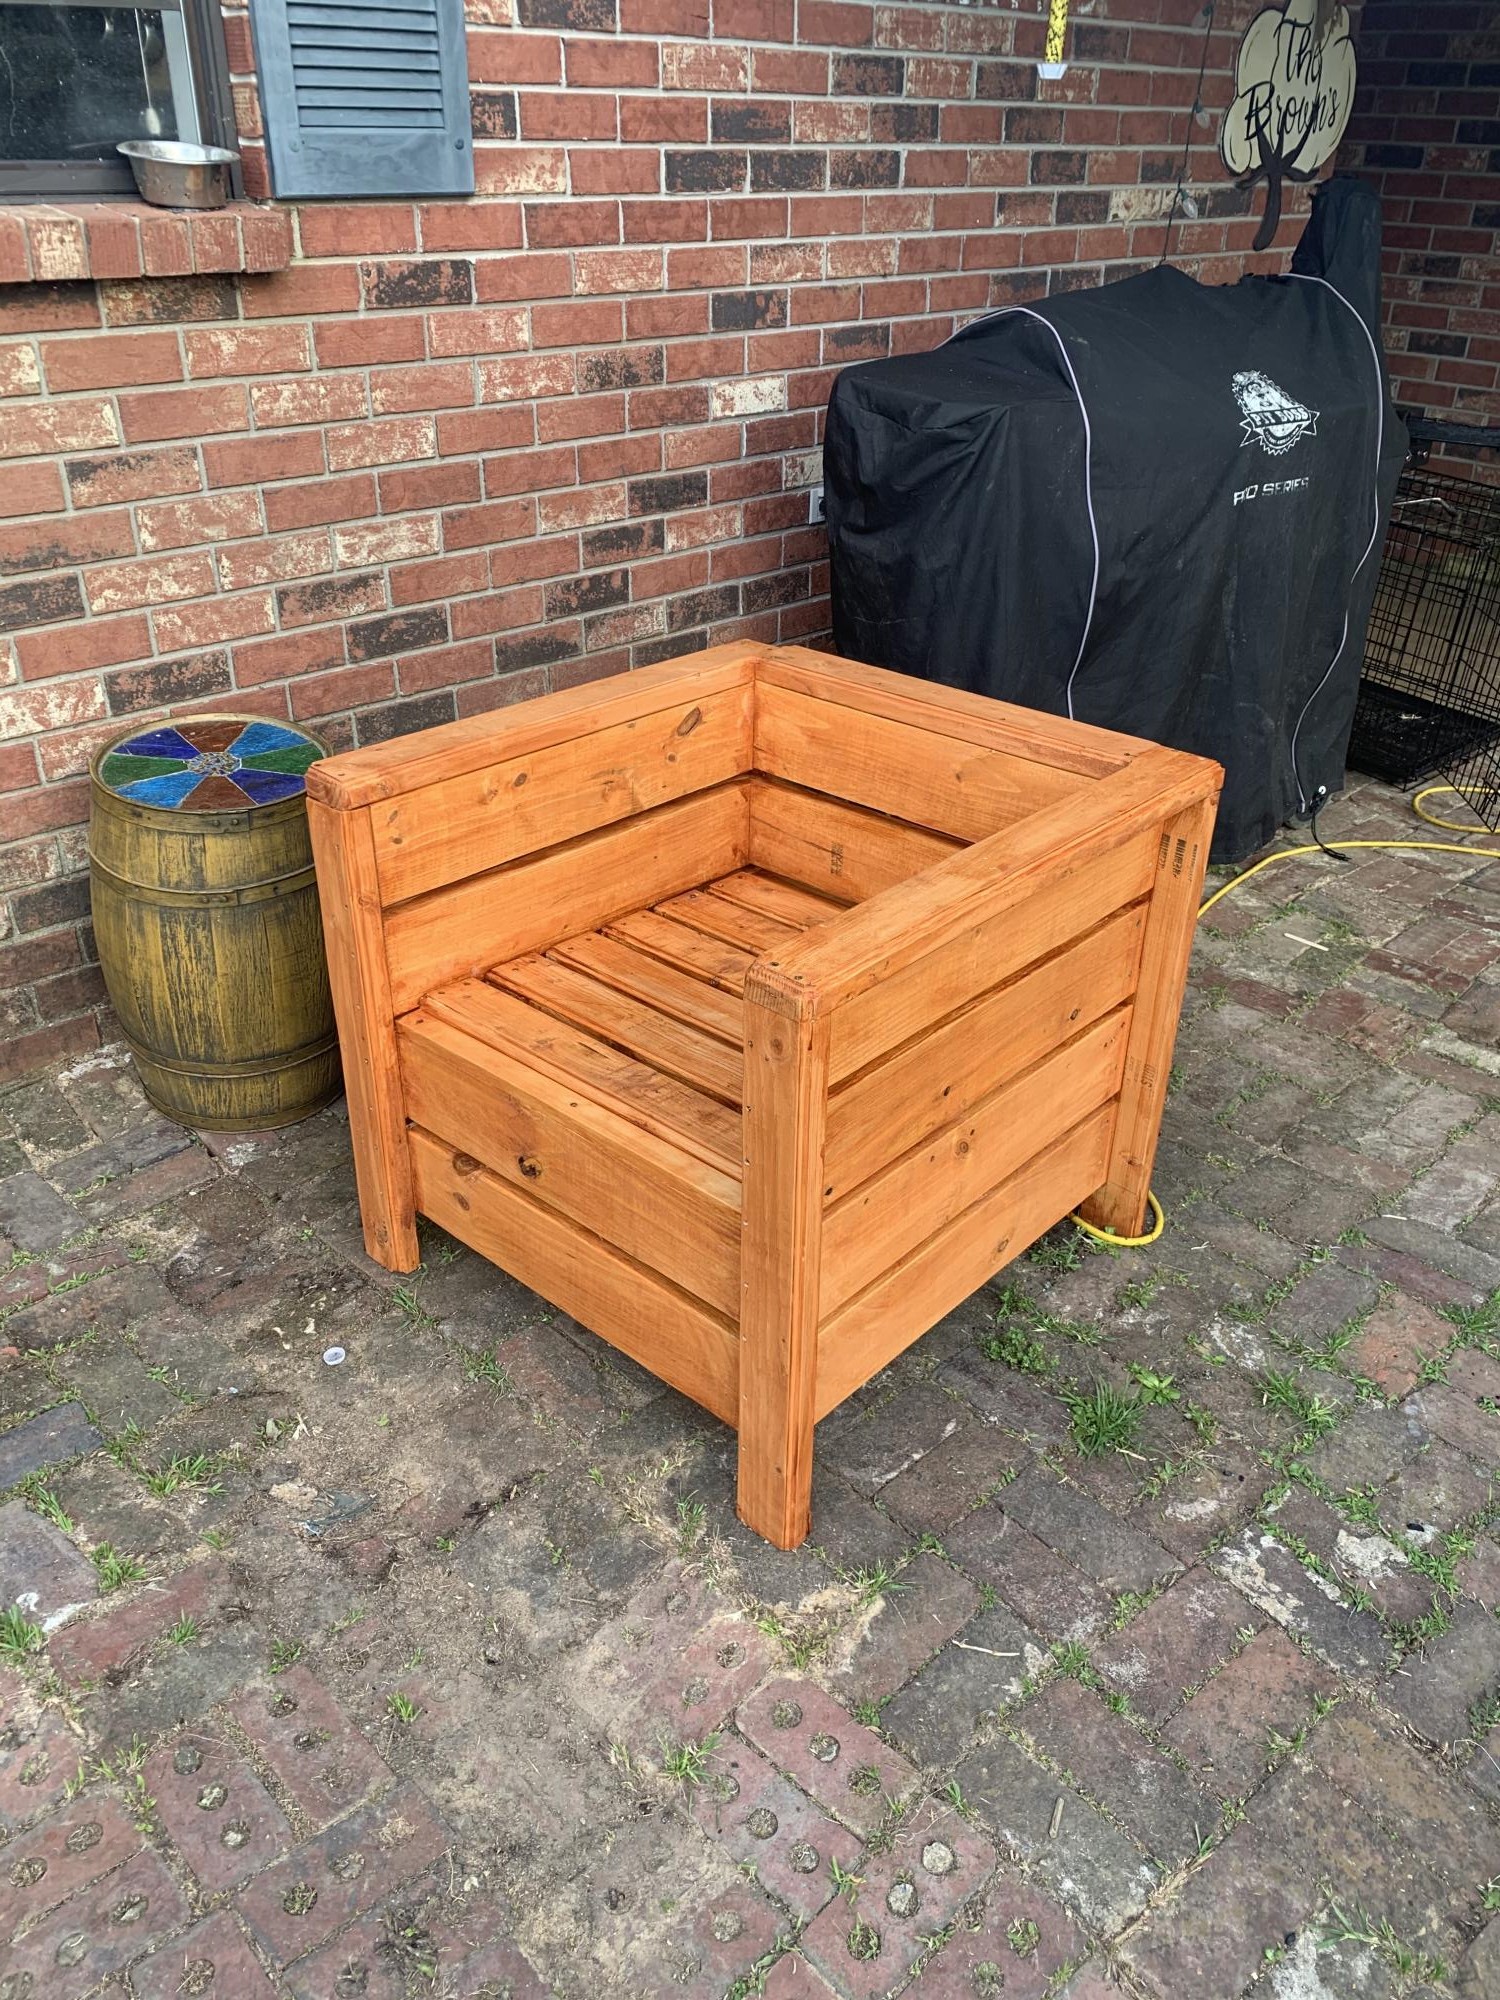
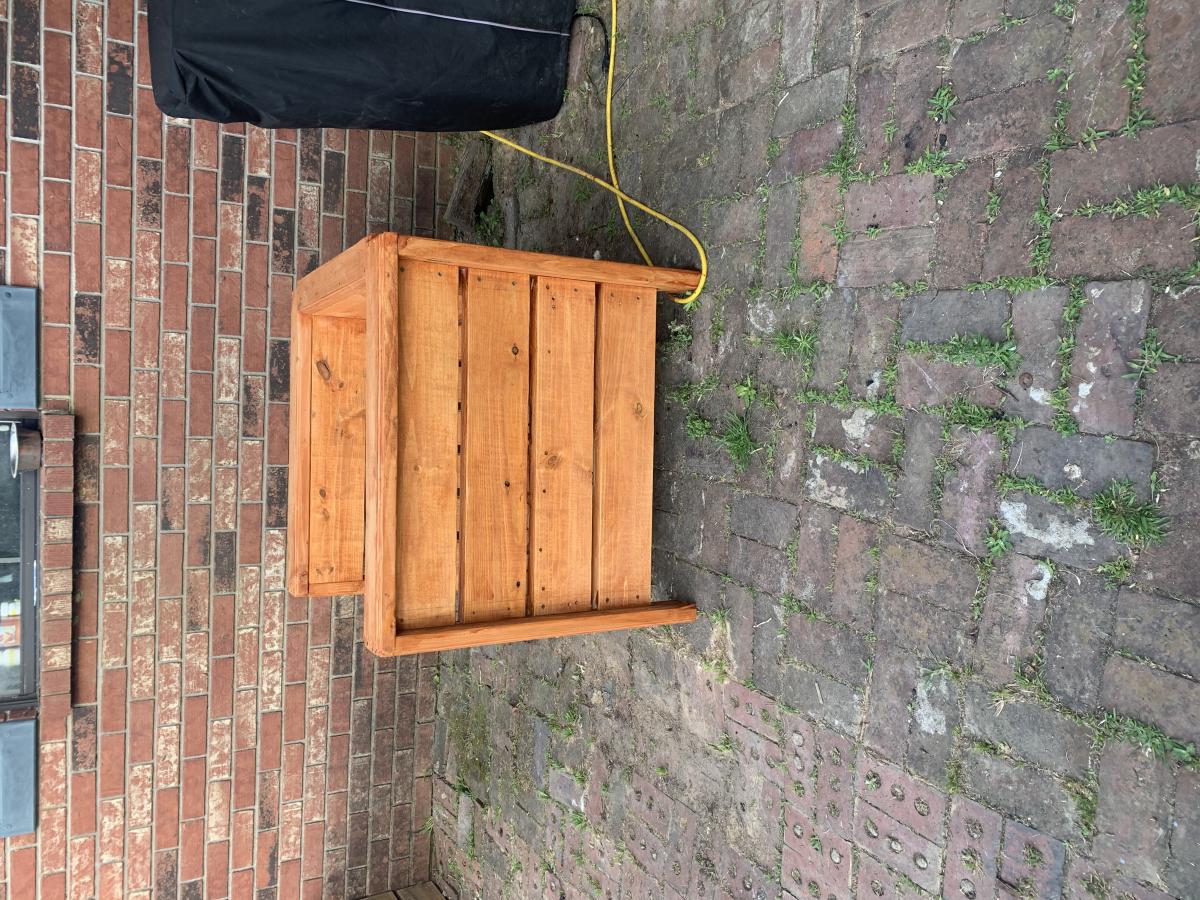
Wooden Rustic Cooler
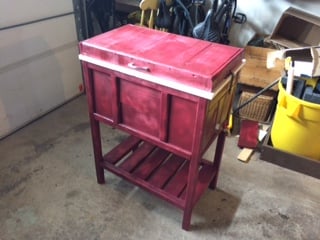
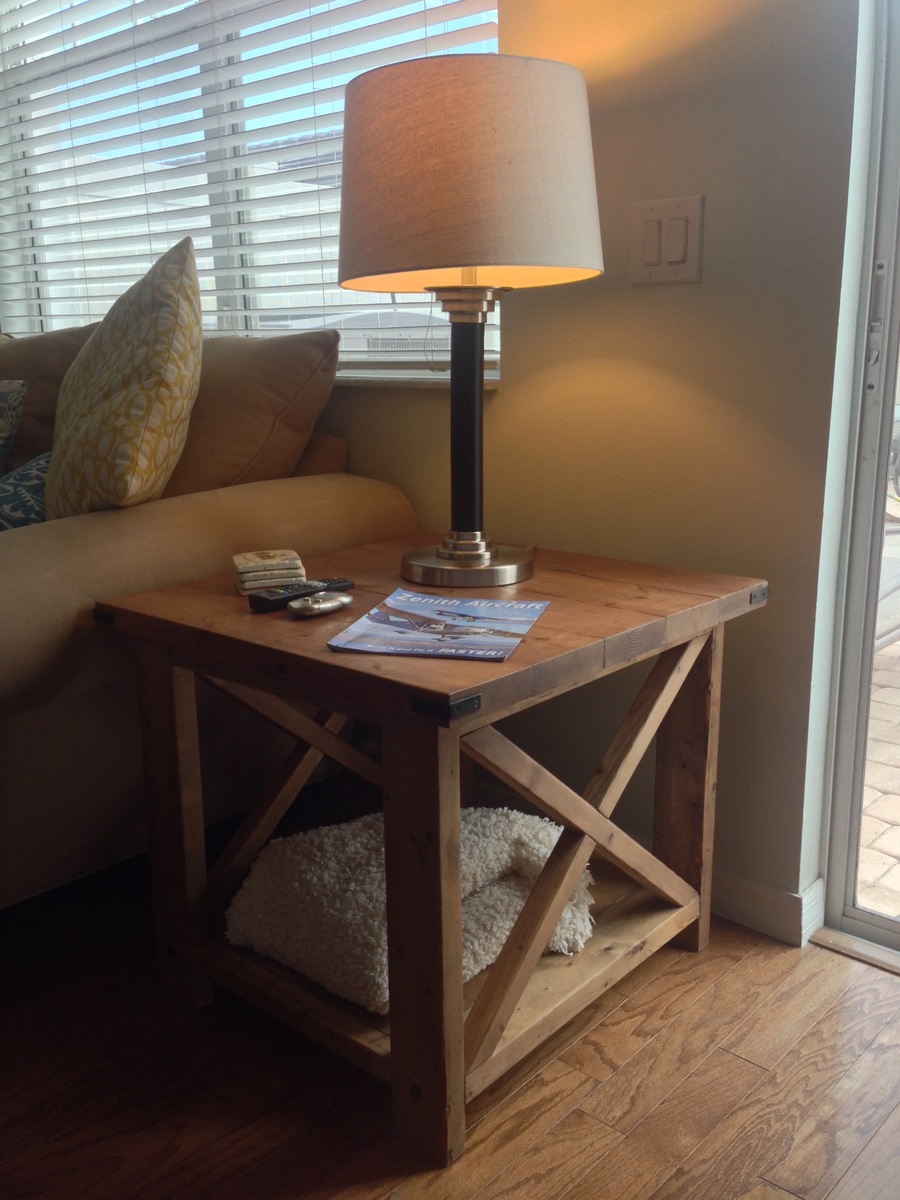
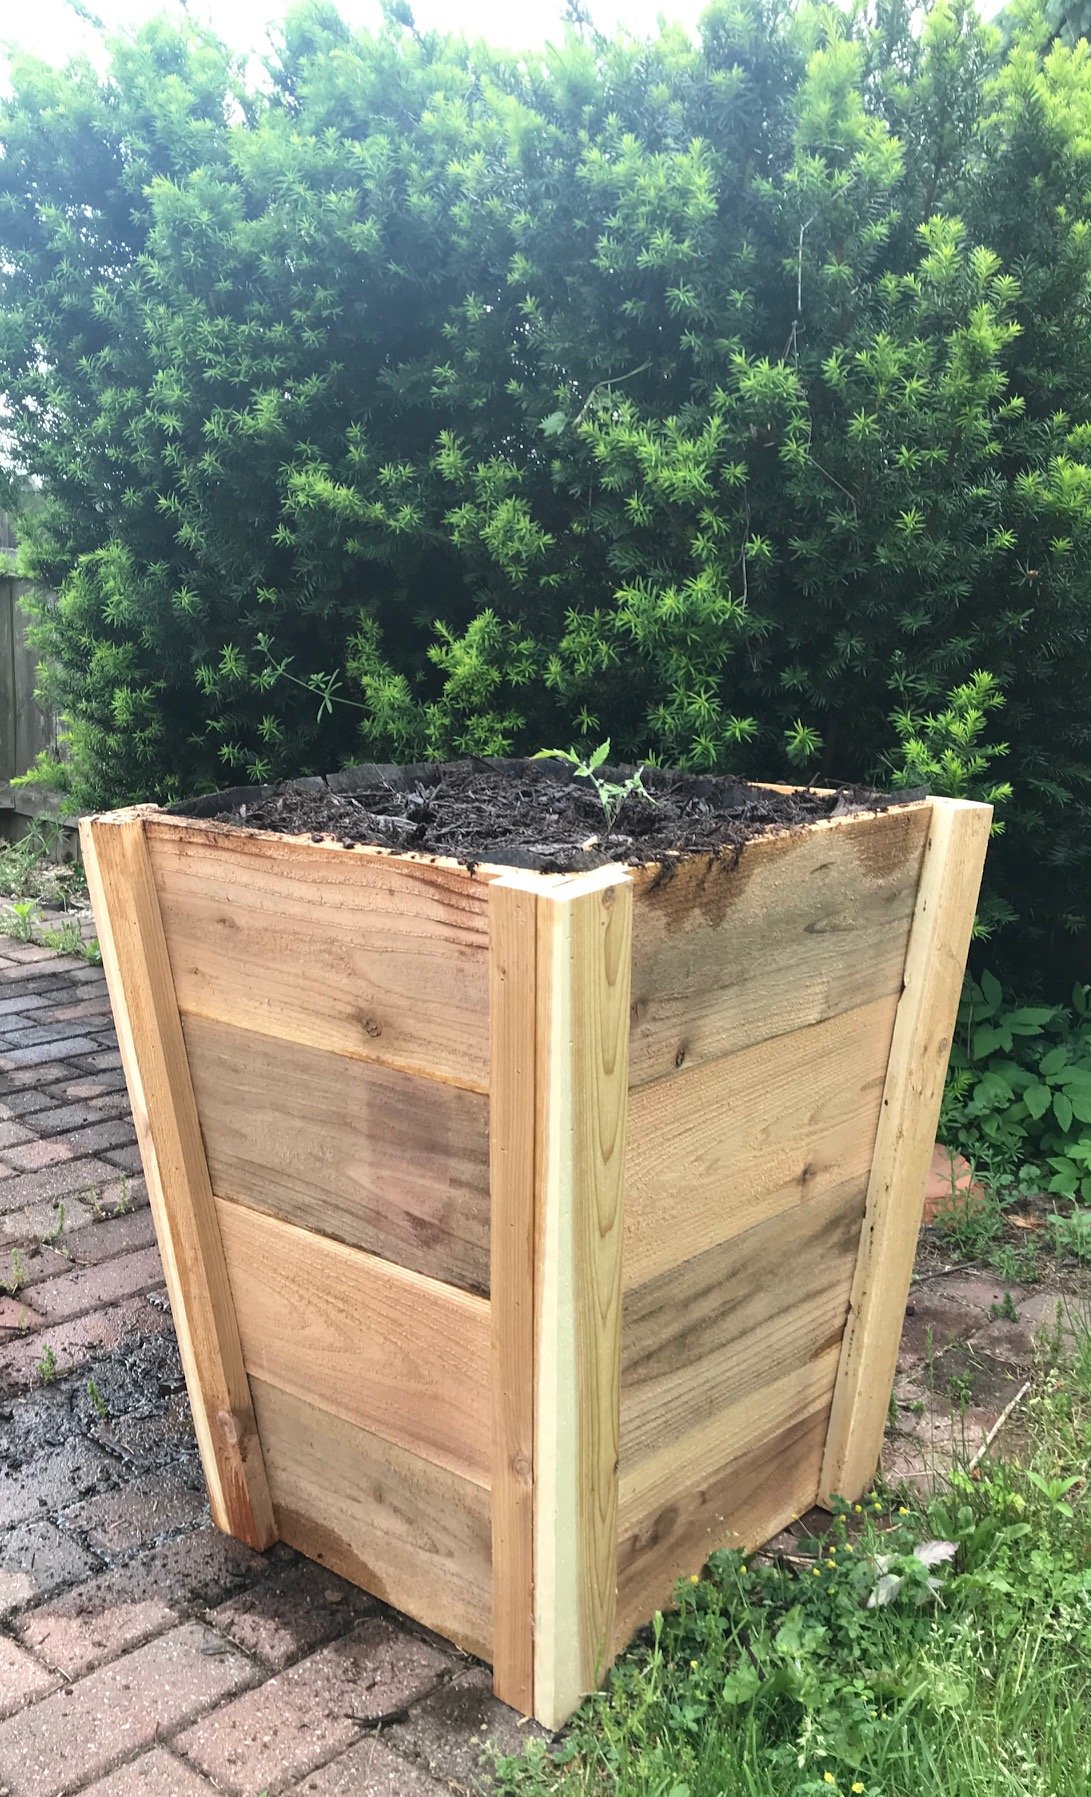
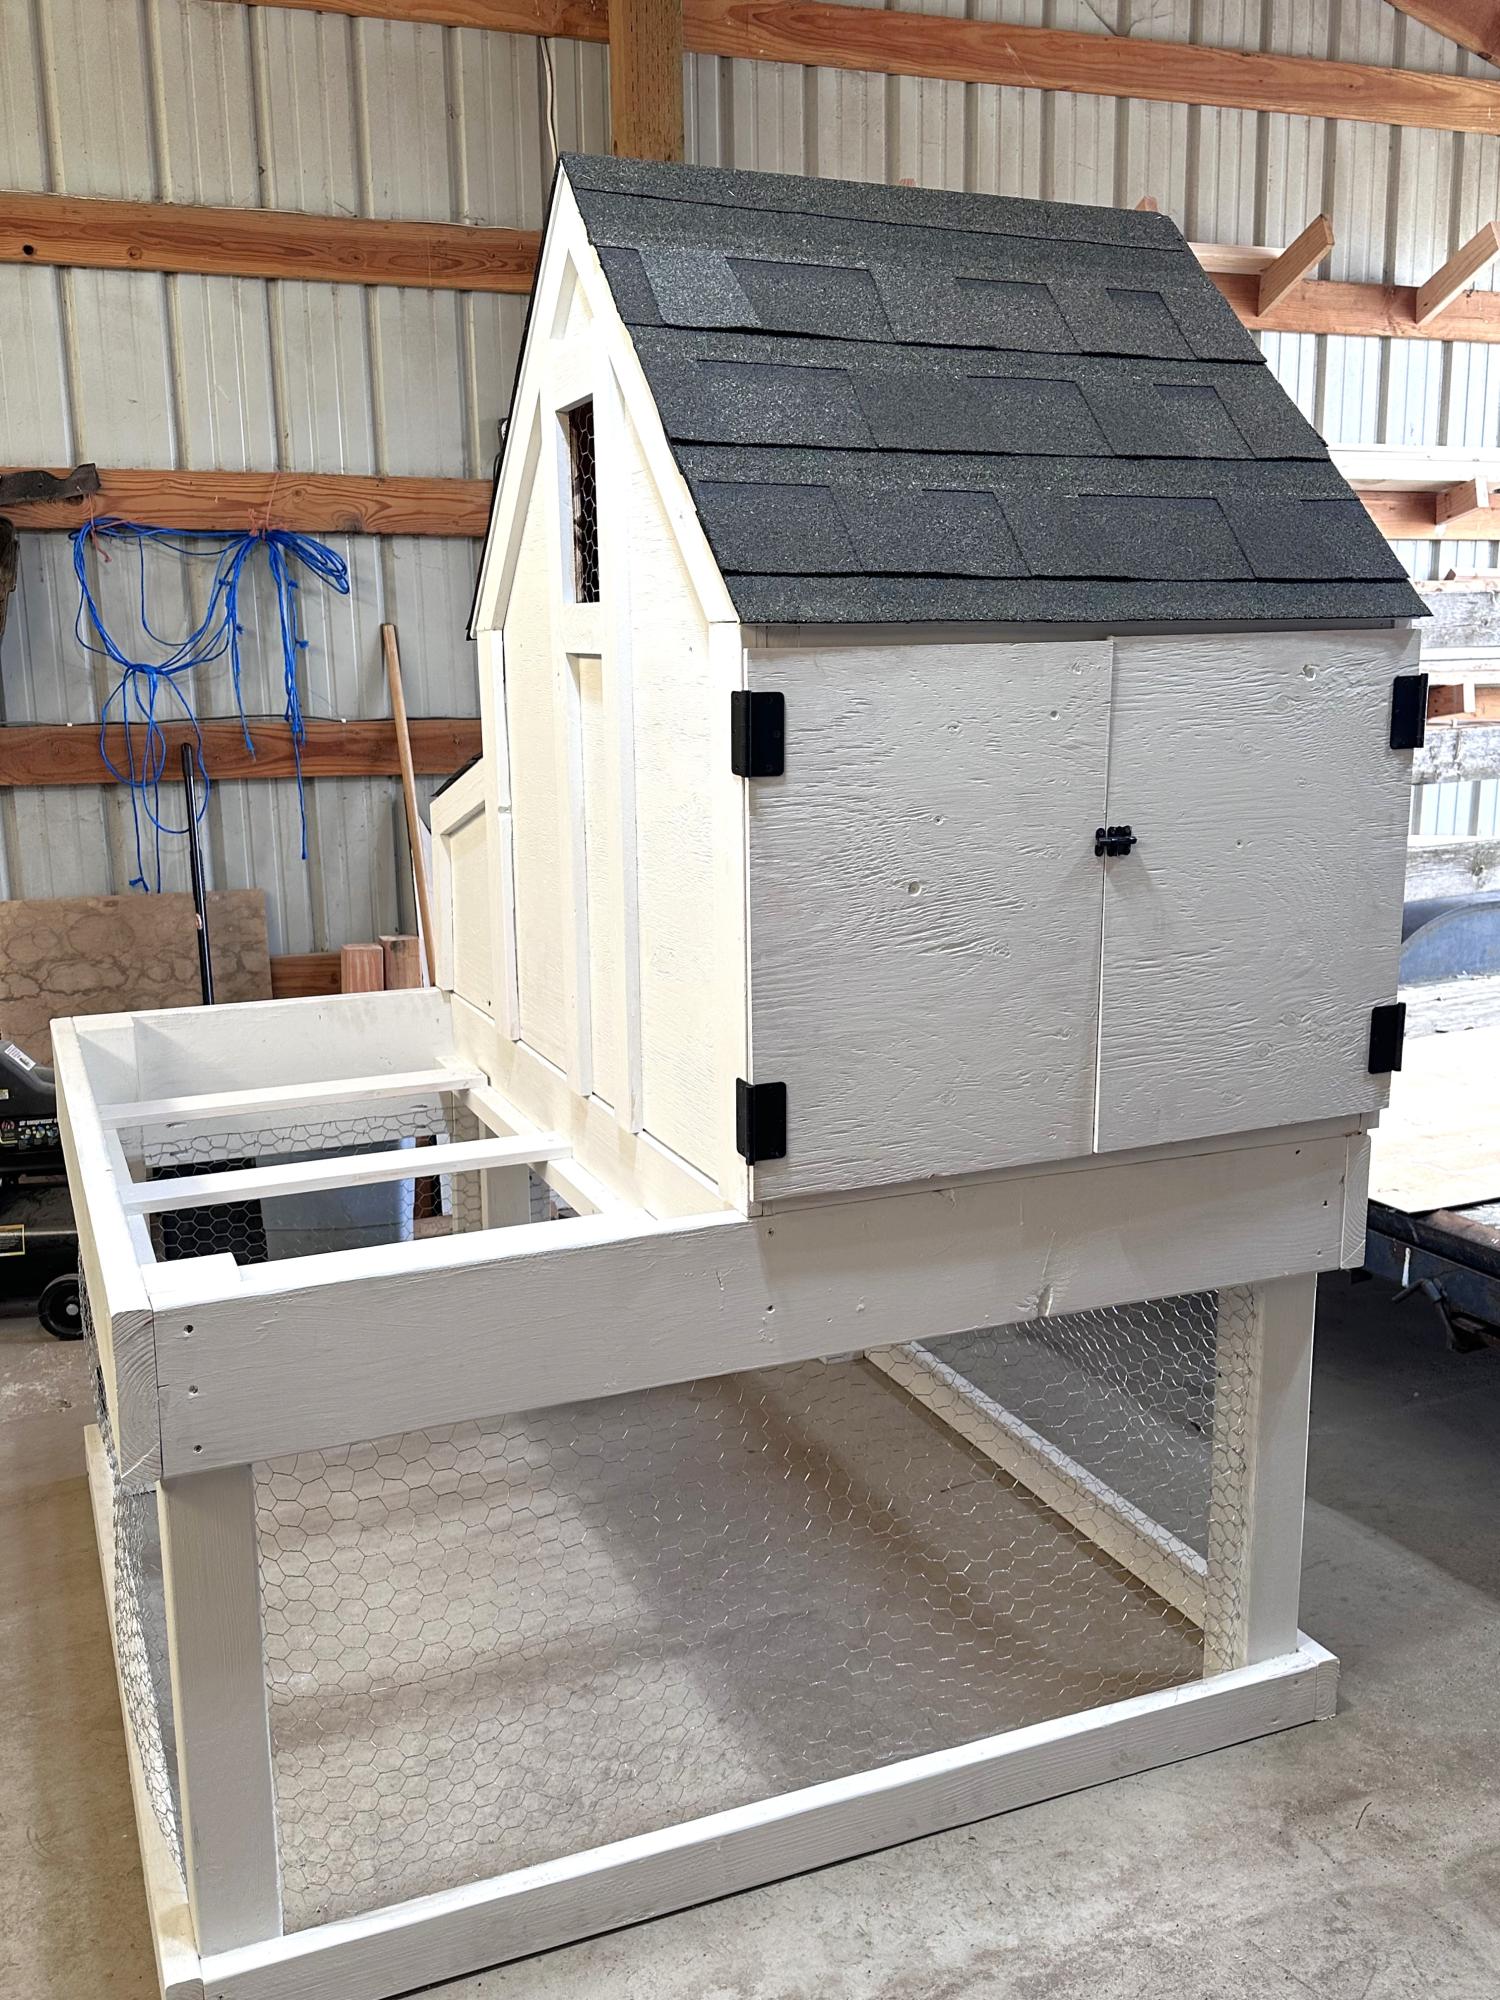
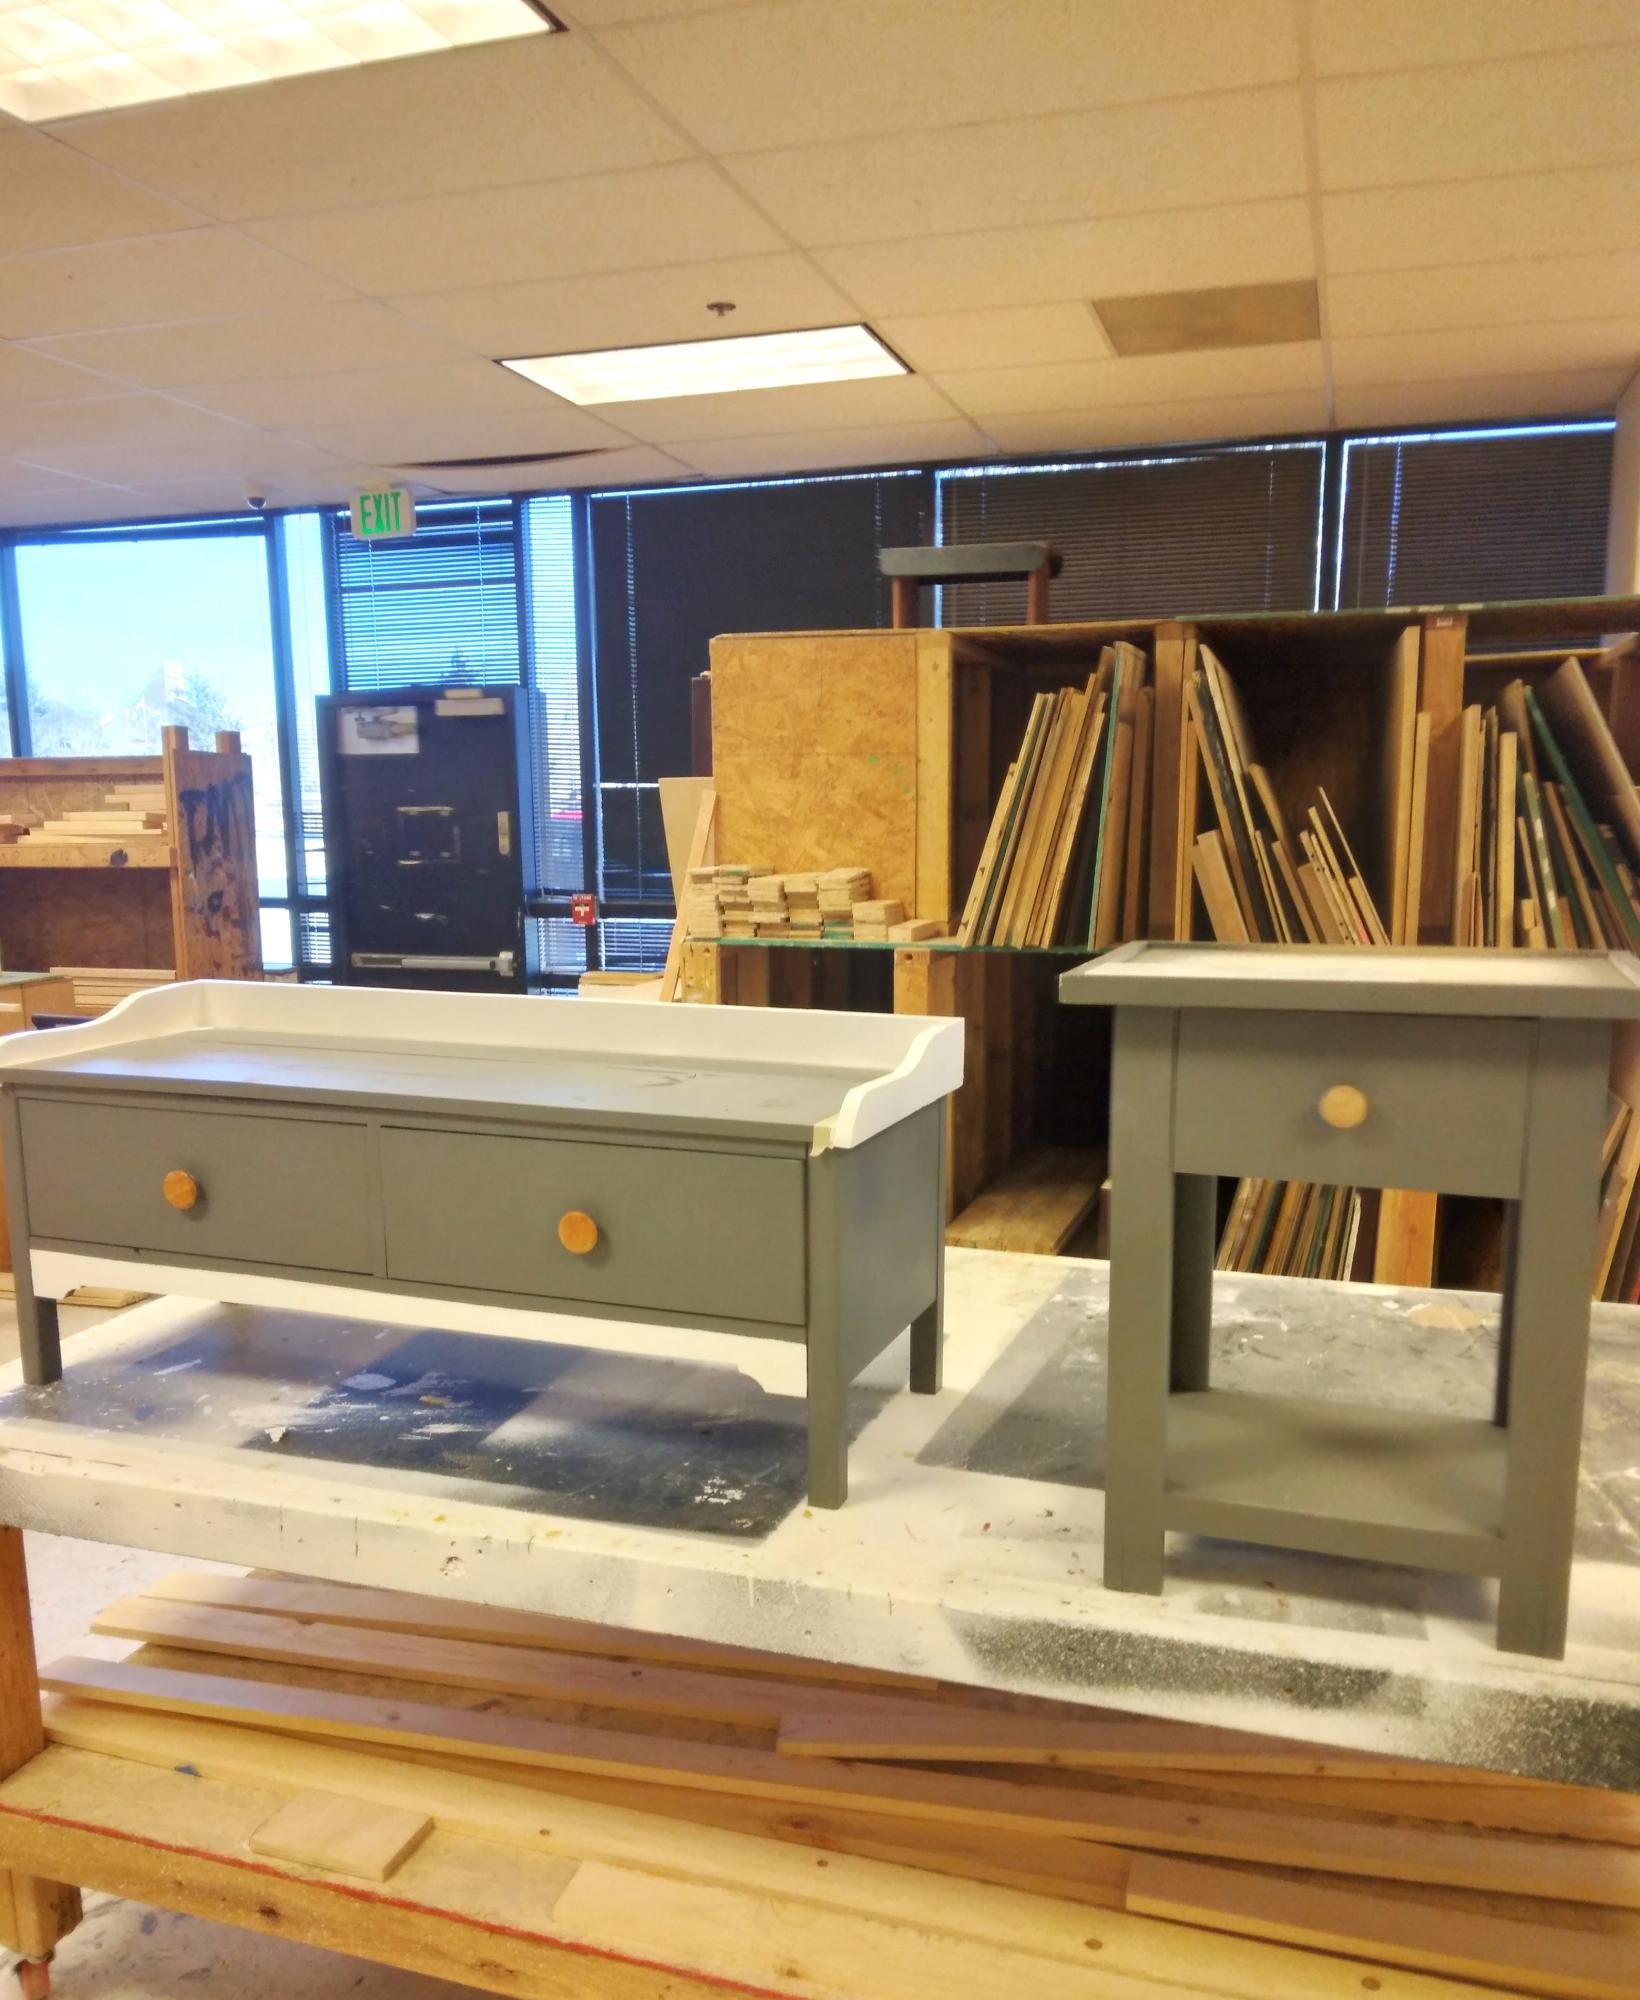
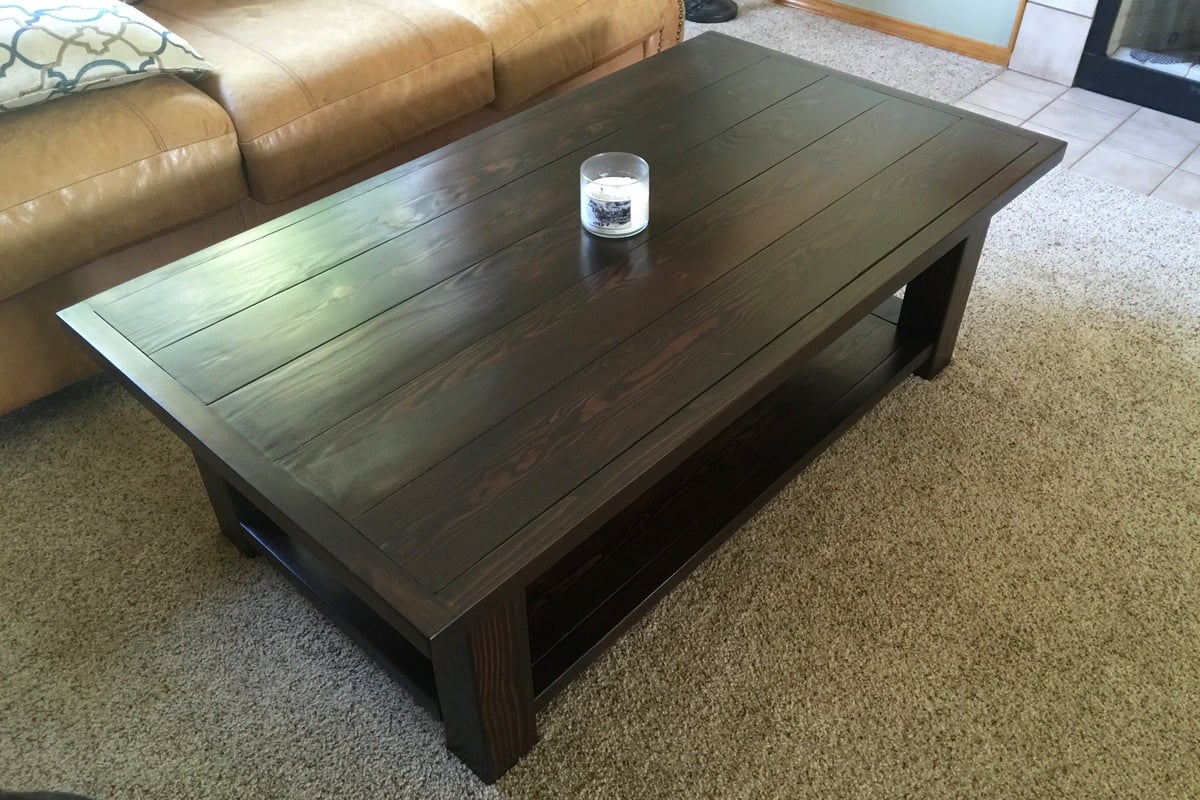
I saw this project posted online and thought it would be a nice improvement to our patio since we just added fire pit benches this would be a great addition instead of dragging the old plastic cooler out every time we entertained.
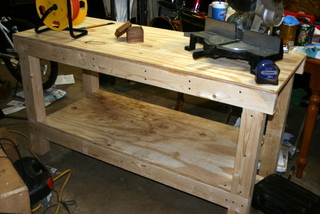
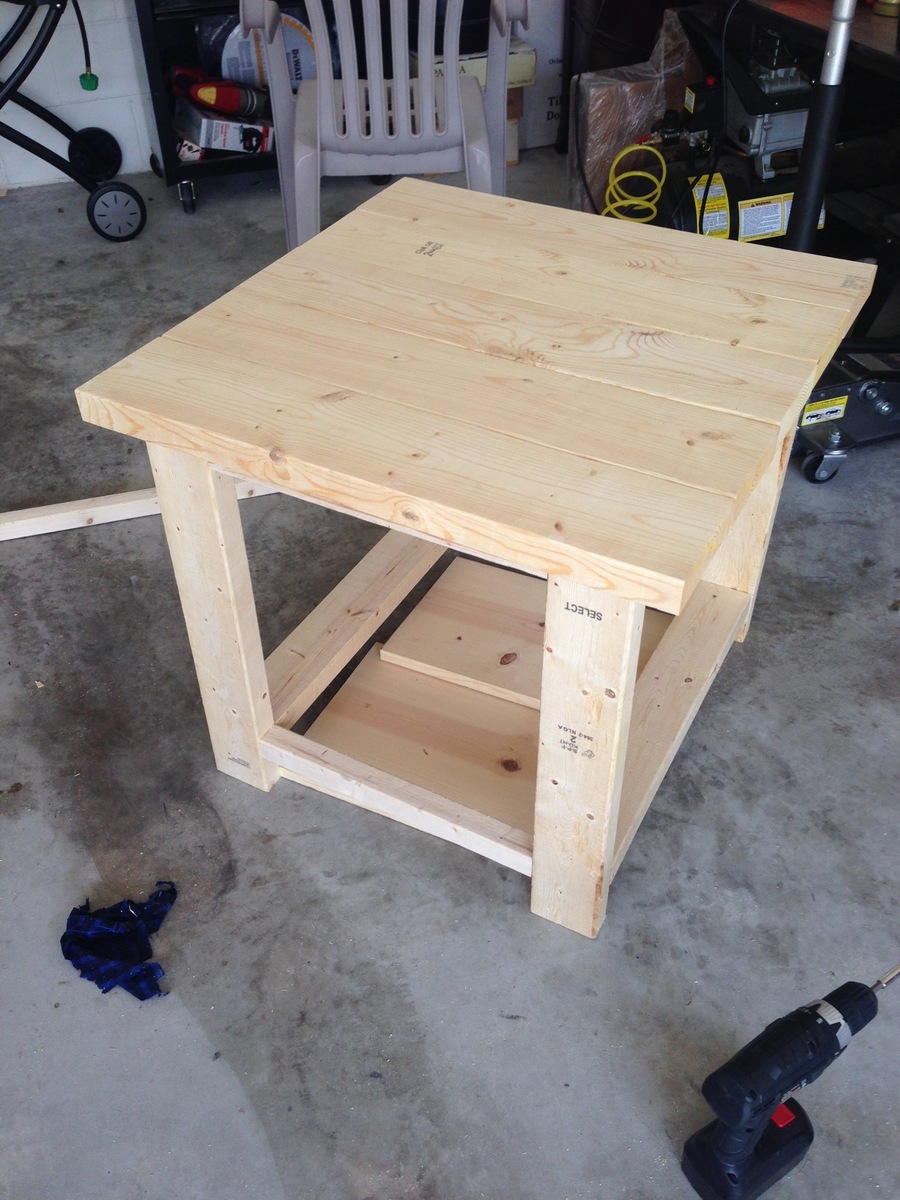
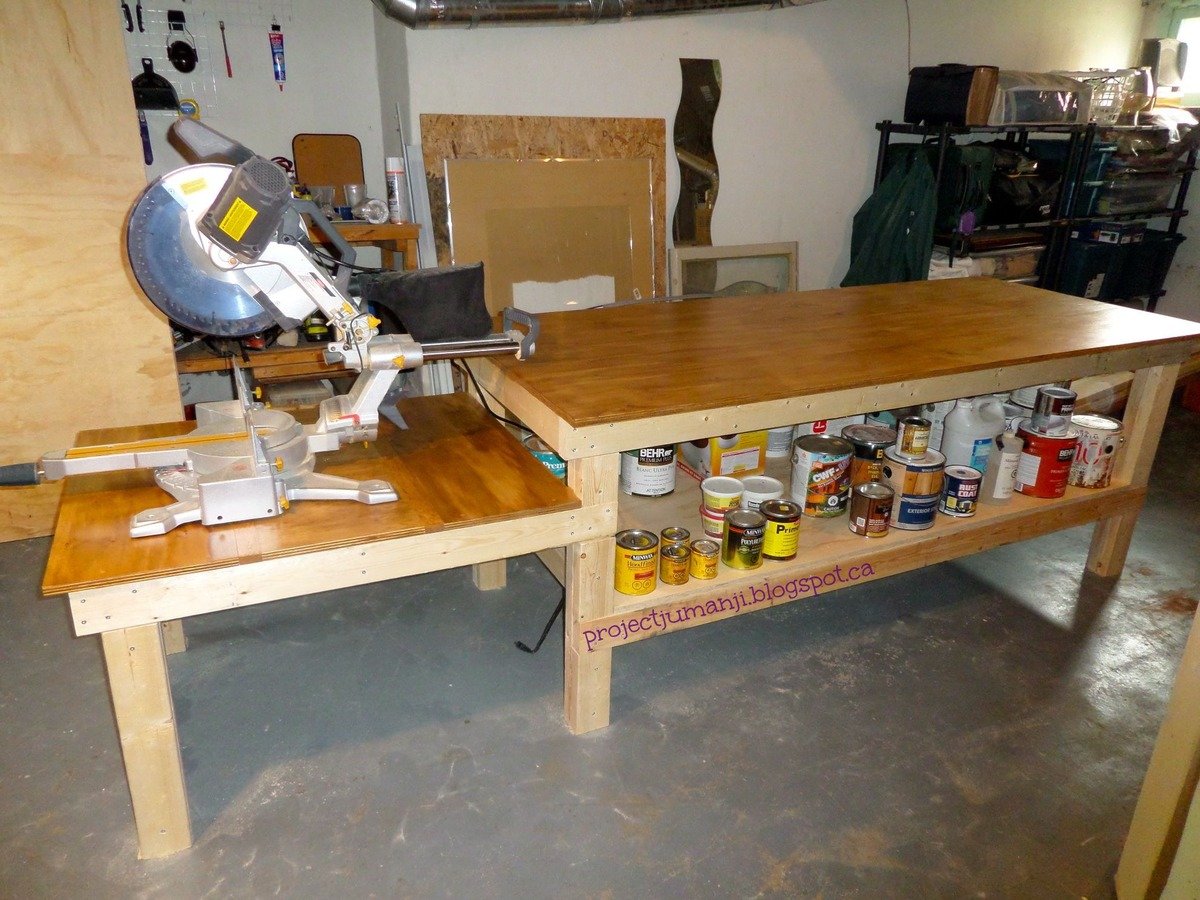
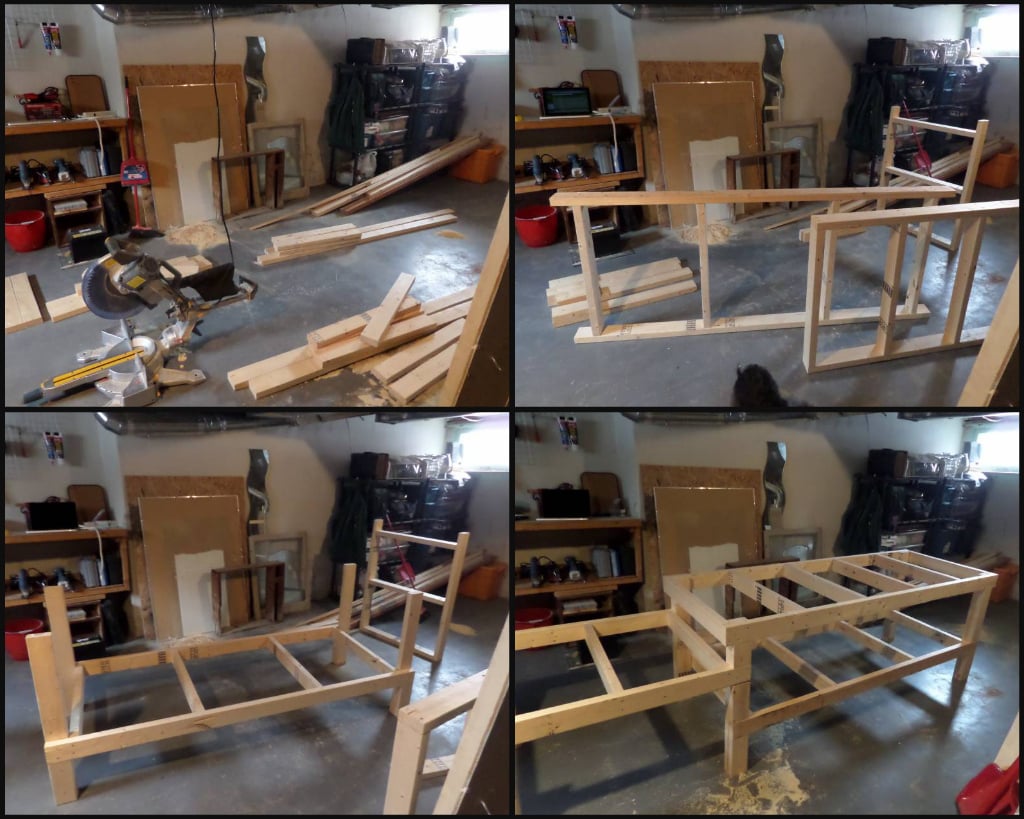
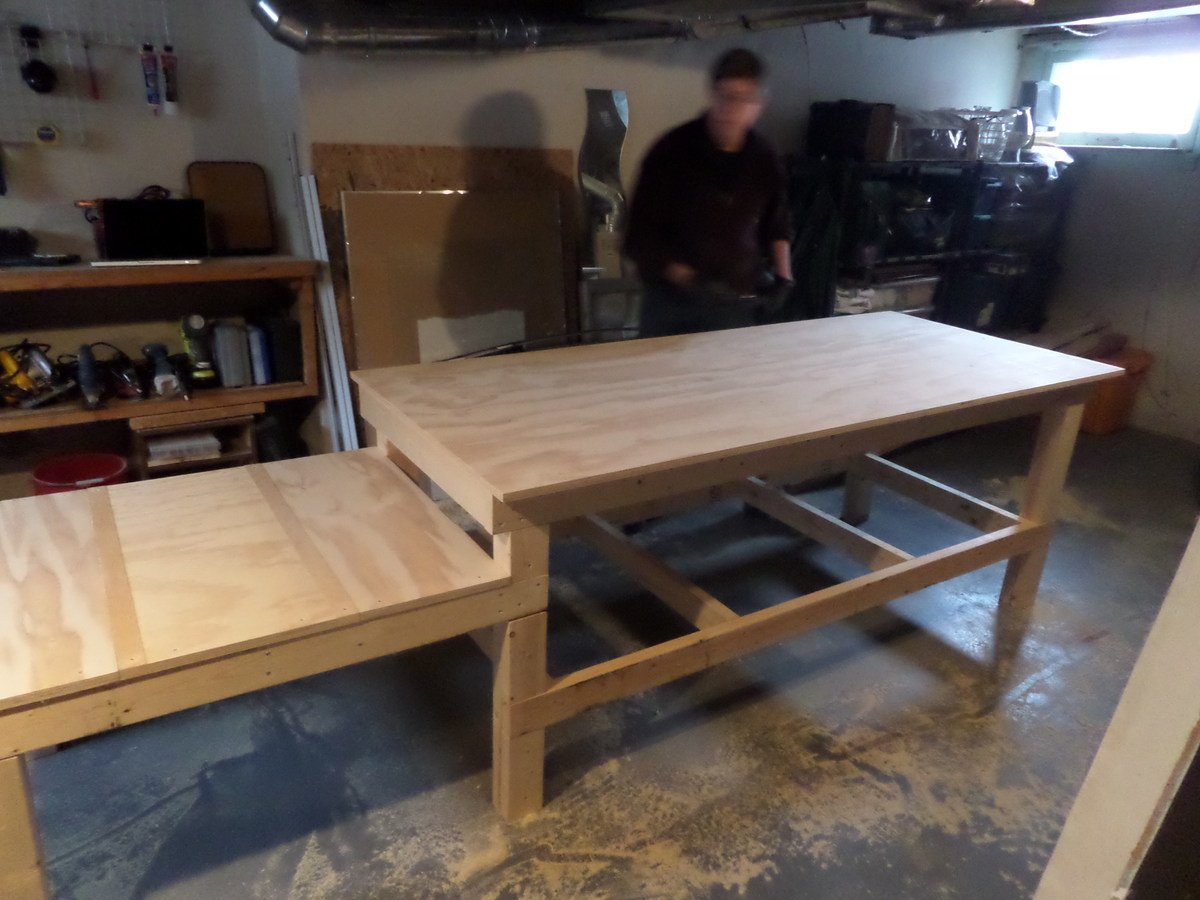
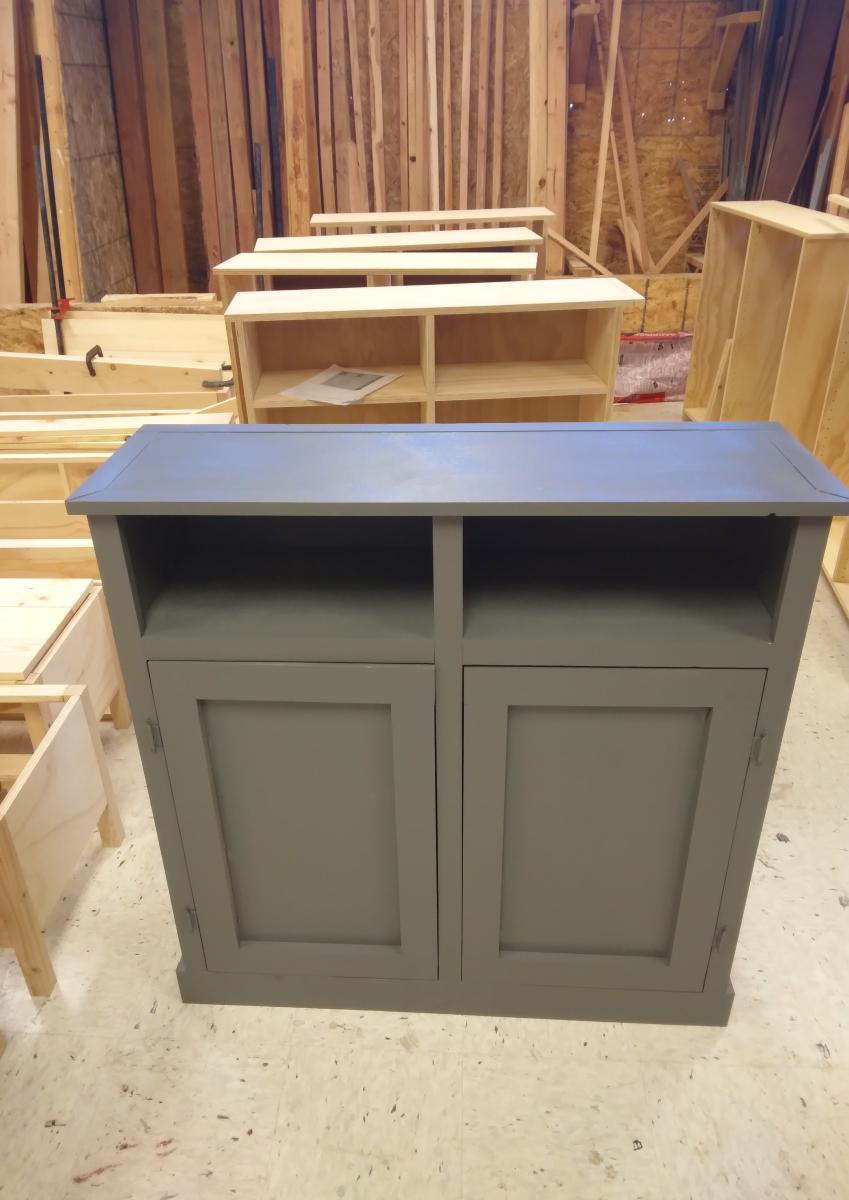
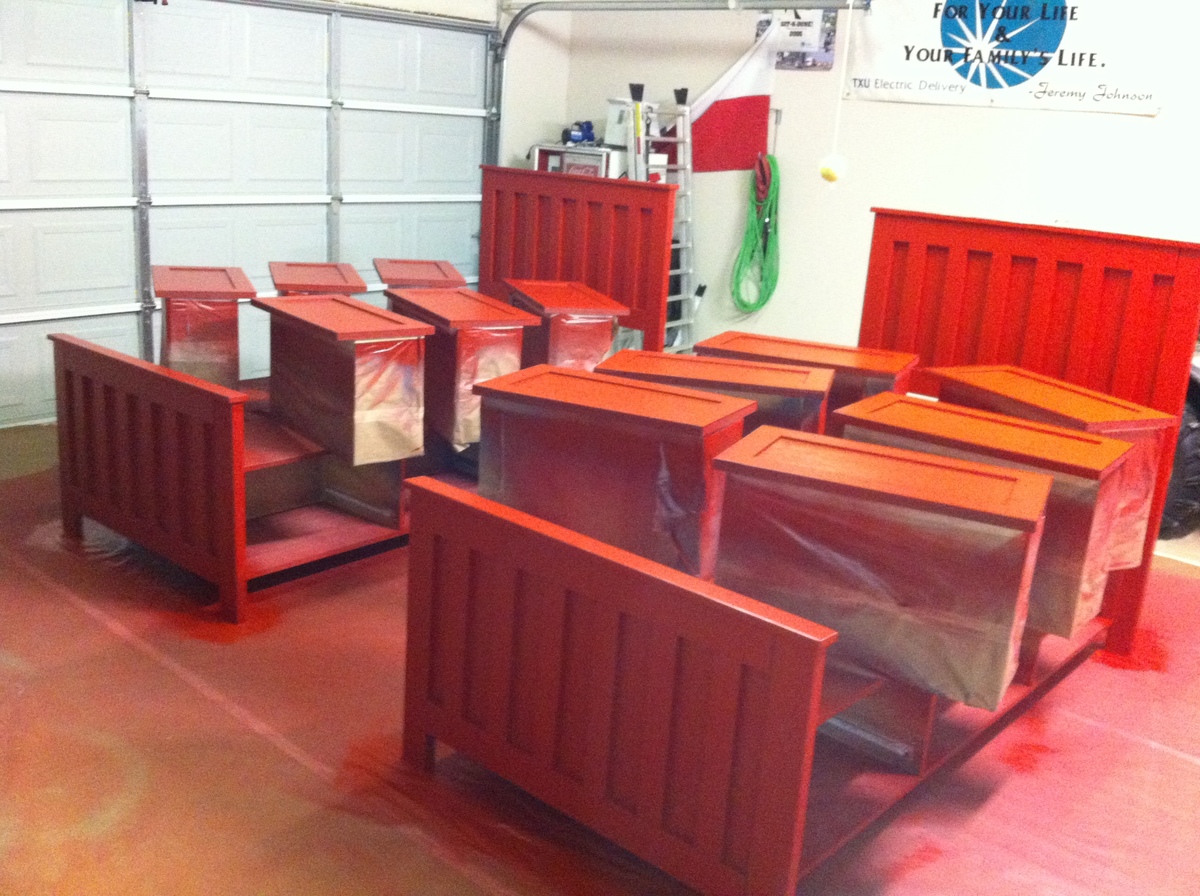
Once I got all the cuts done it was like putting together a big puzzle. For the most part I did this one my own on the floor of the garage. If you have the space I would suggest doing all the screwing together atop a table and off the floor.
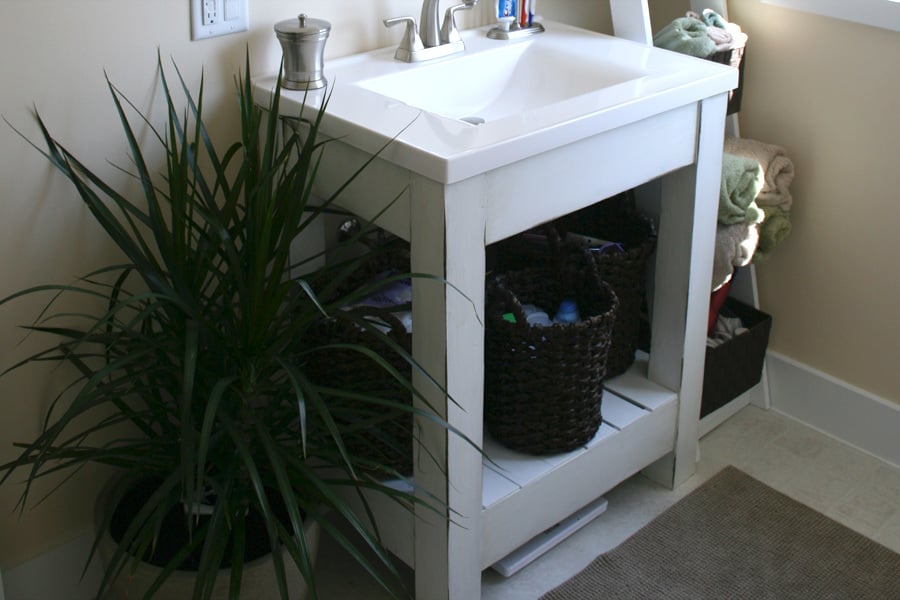
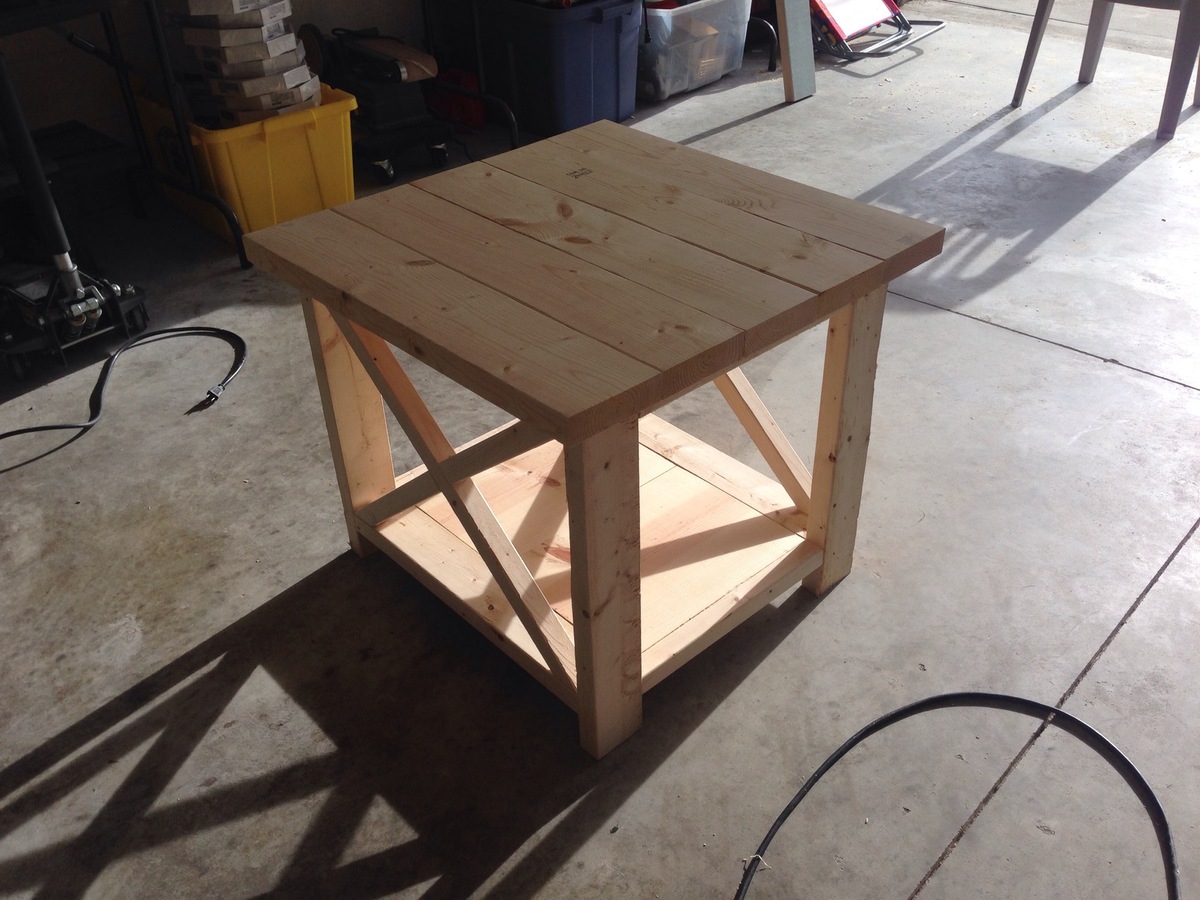
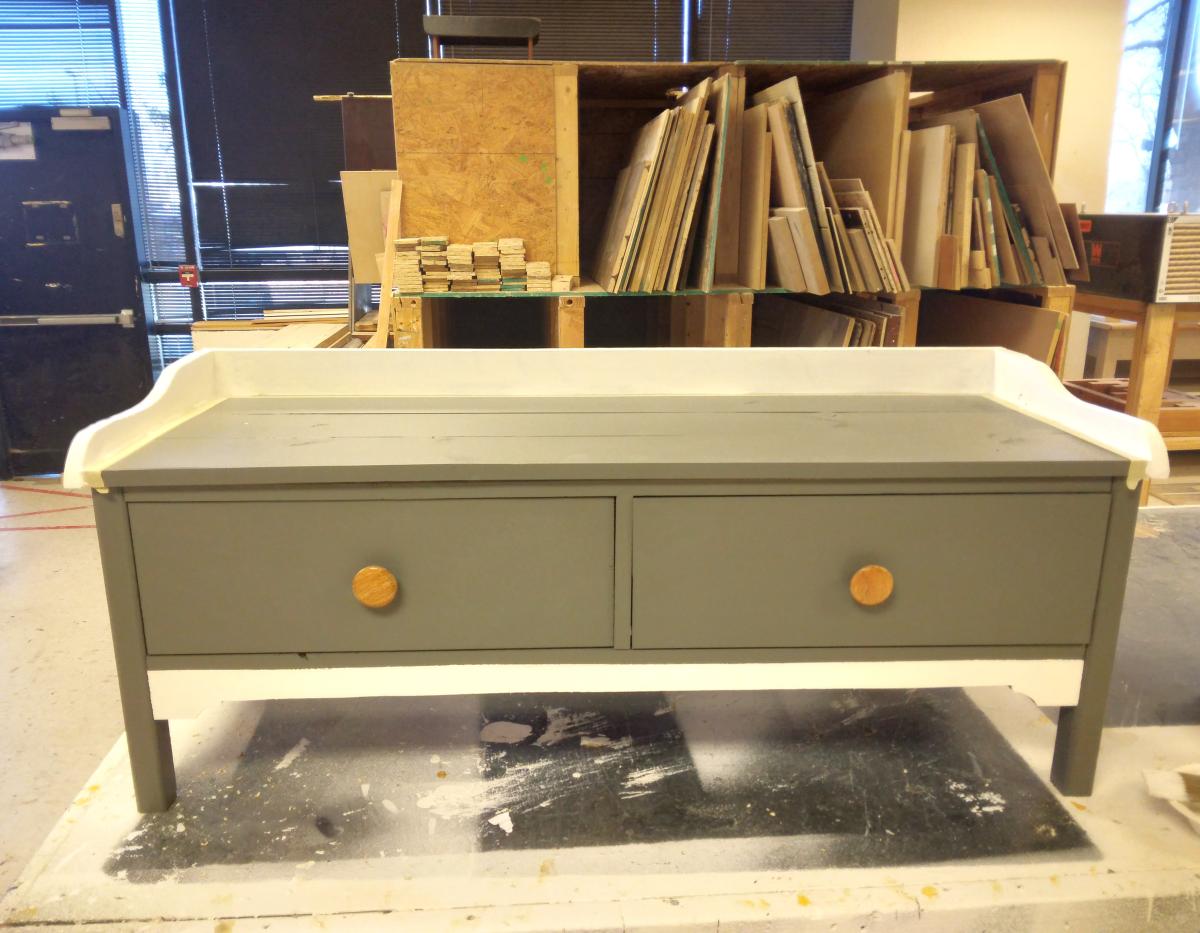
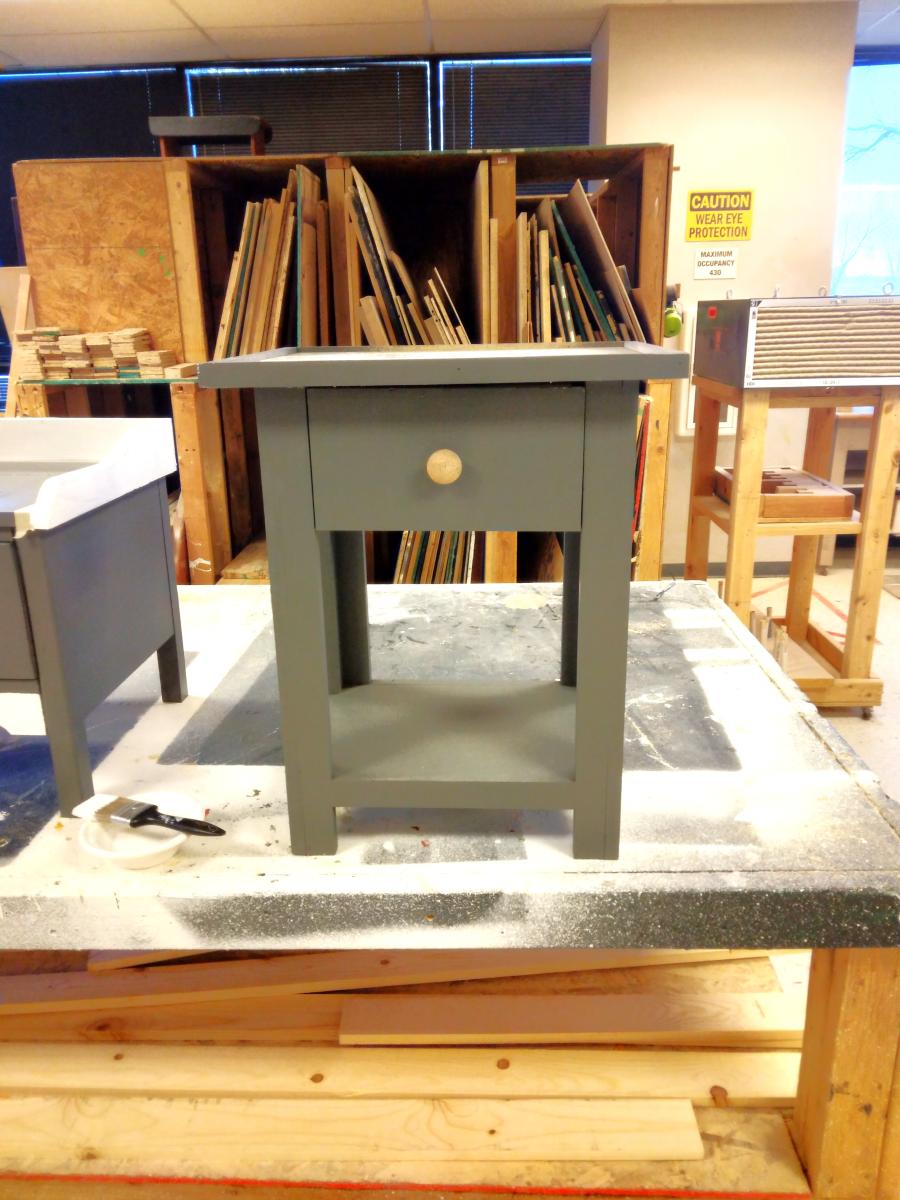
I was very happy with the outcome and I look forward to finding more projects here to add to our backyard.
Estimated Time Investment
Weekend Project (10-20 Hours)
Finish Used
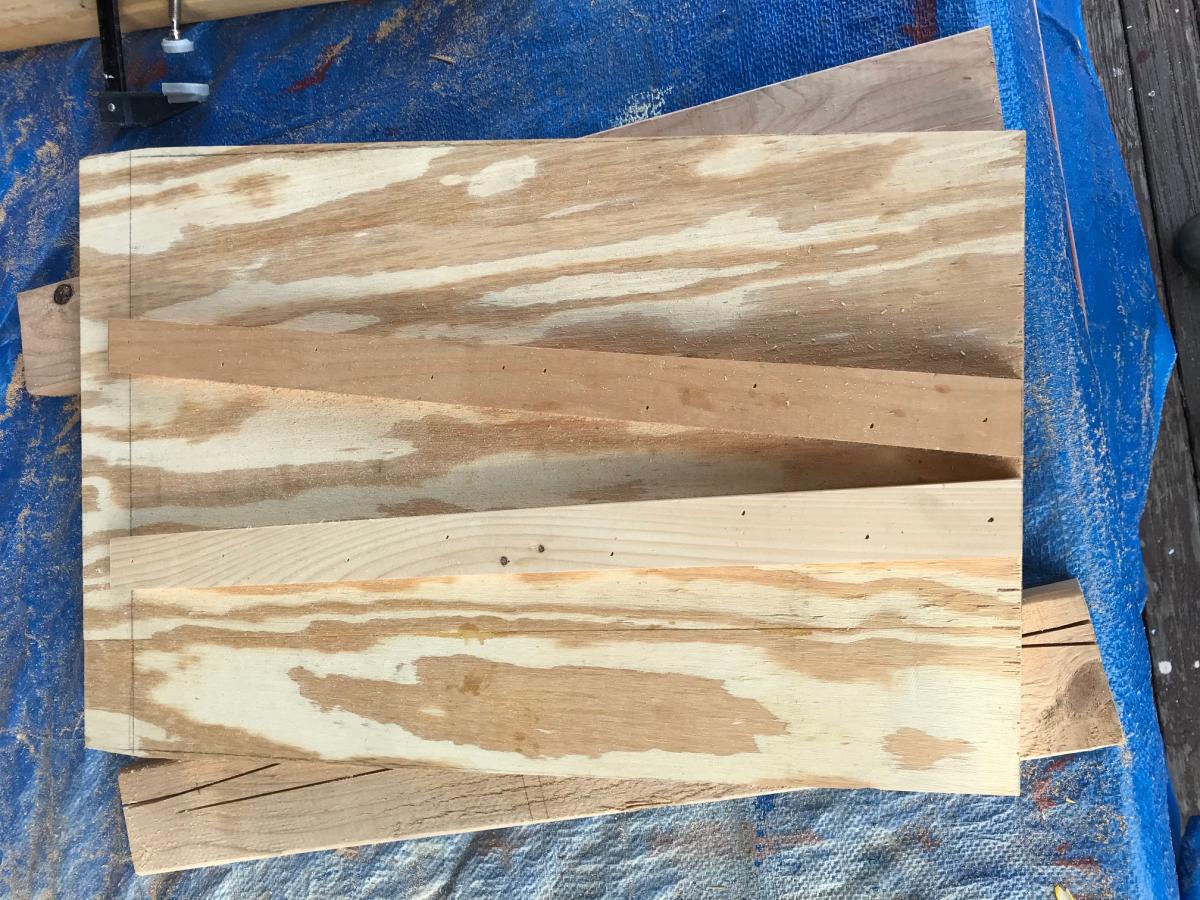
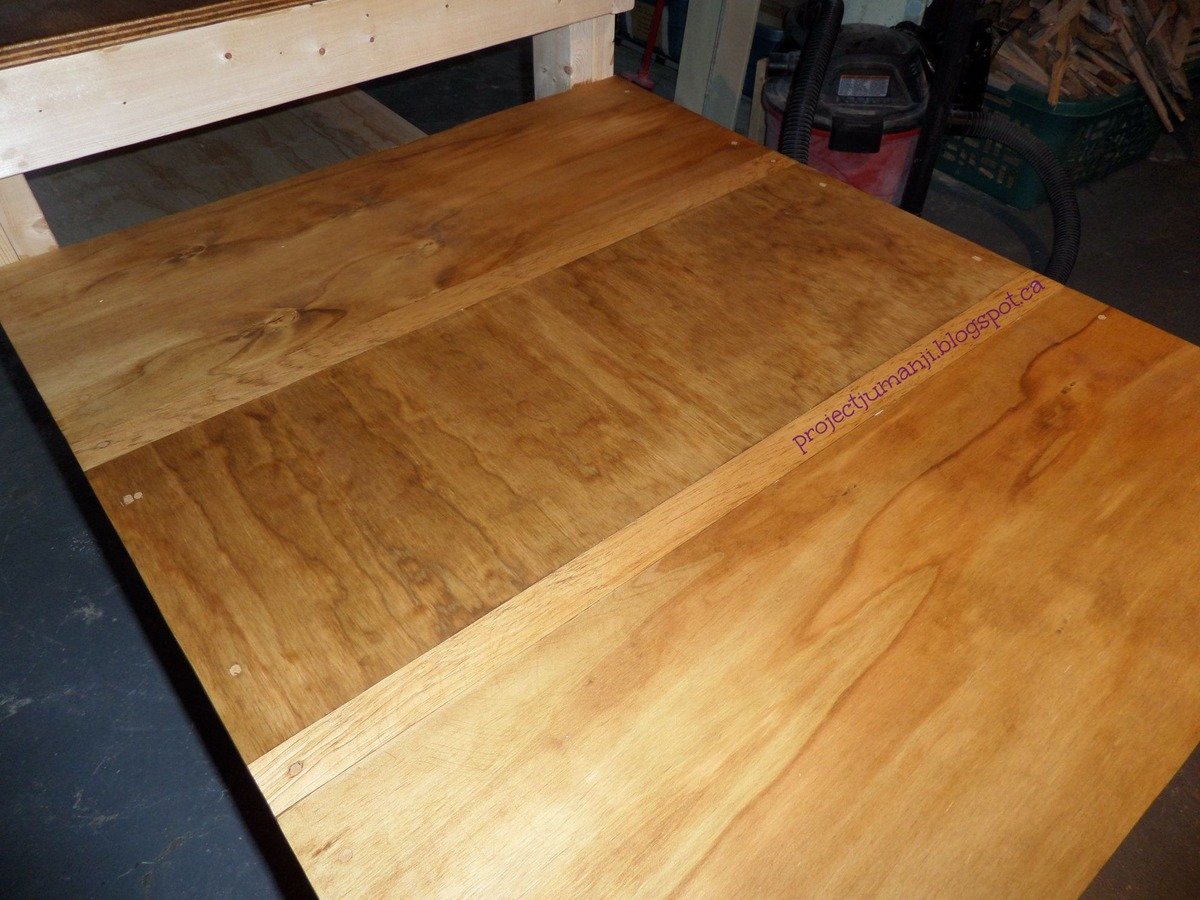
I used some sandpaper, then primer and I actually used spray paint because I had alot left over from previous projects.
Recommended Skill Level
Intermediate


Comments
birdsandsoap
Wed, 05/07/2014 - 09:52
Nice Job!
Nice Job!