Community Brag Posts

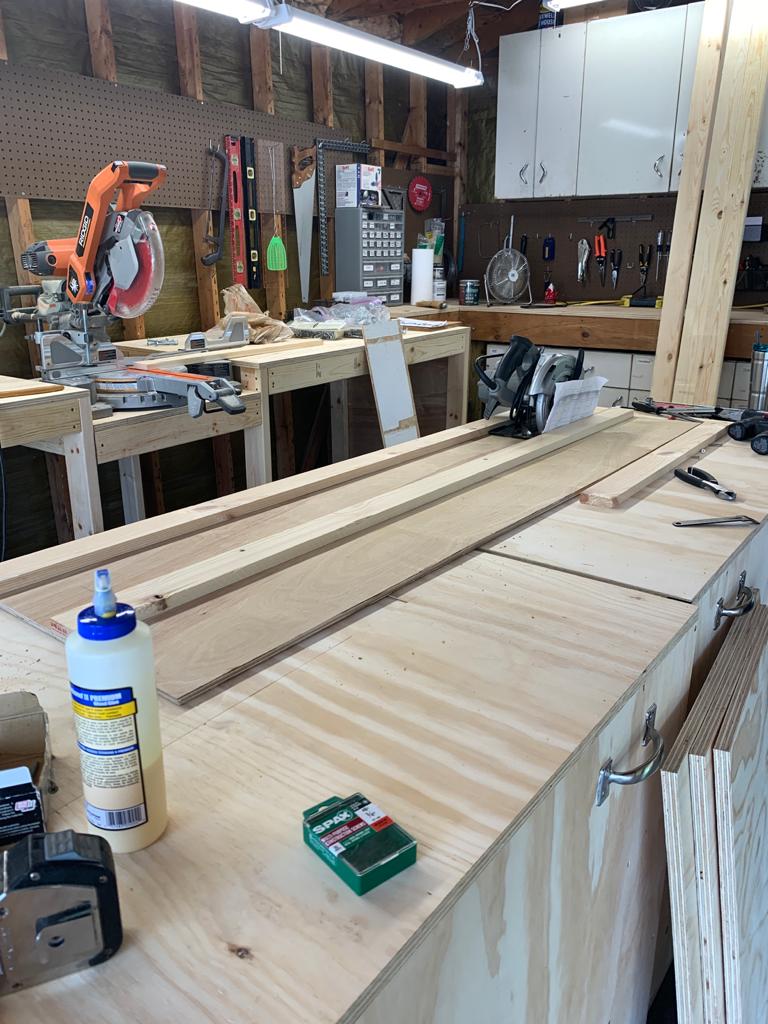
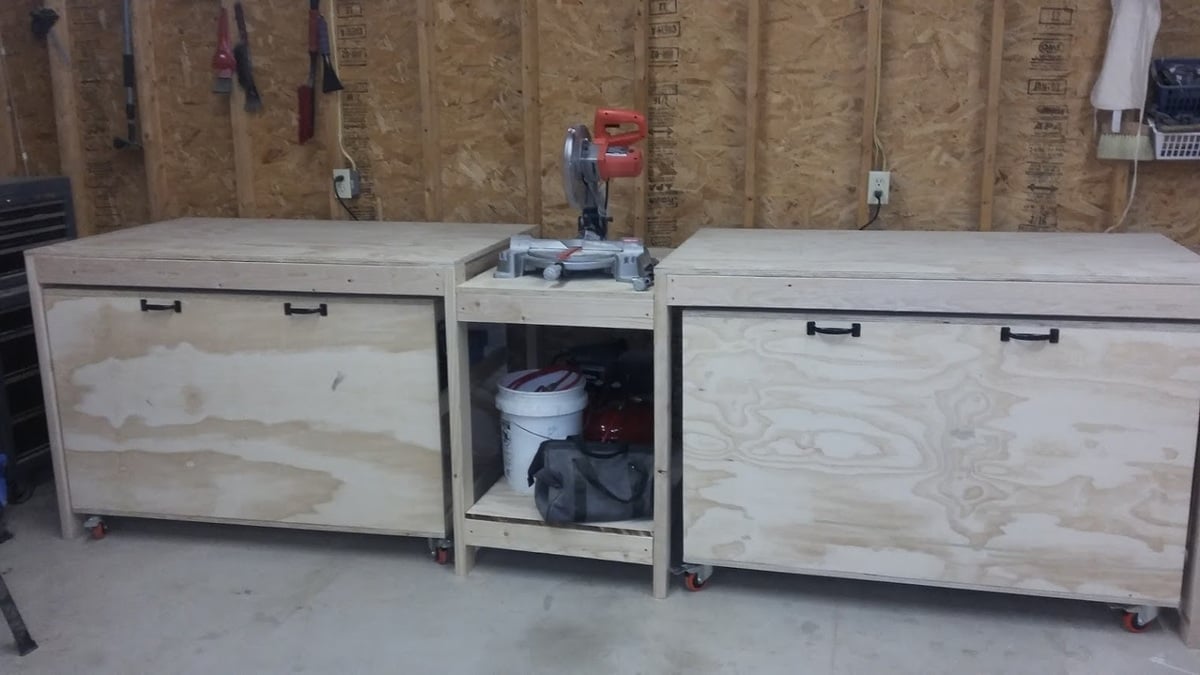
Ultimate roll away workbench
Submitted by maker4510 on Sat, 08/01/2020 - 05:22

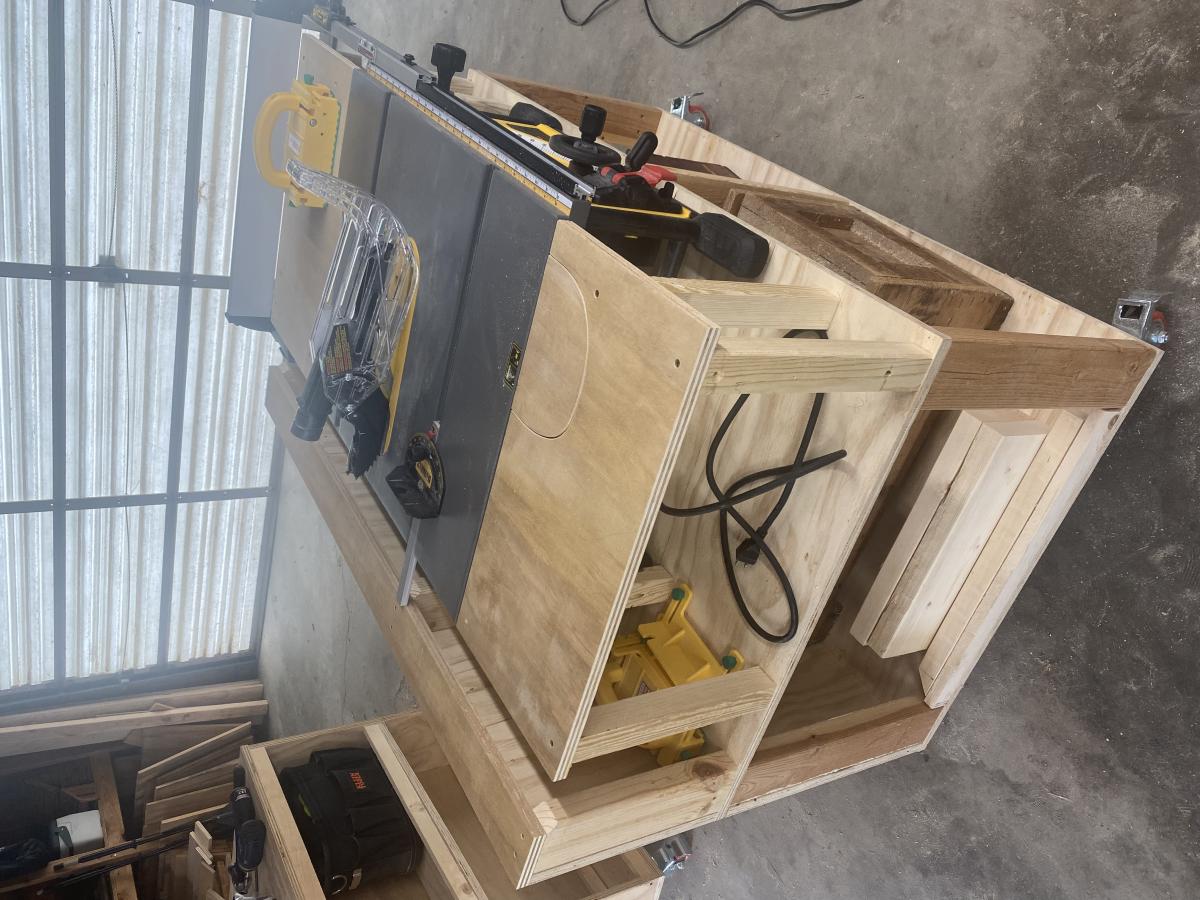
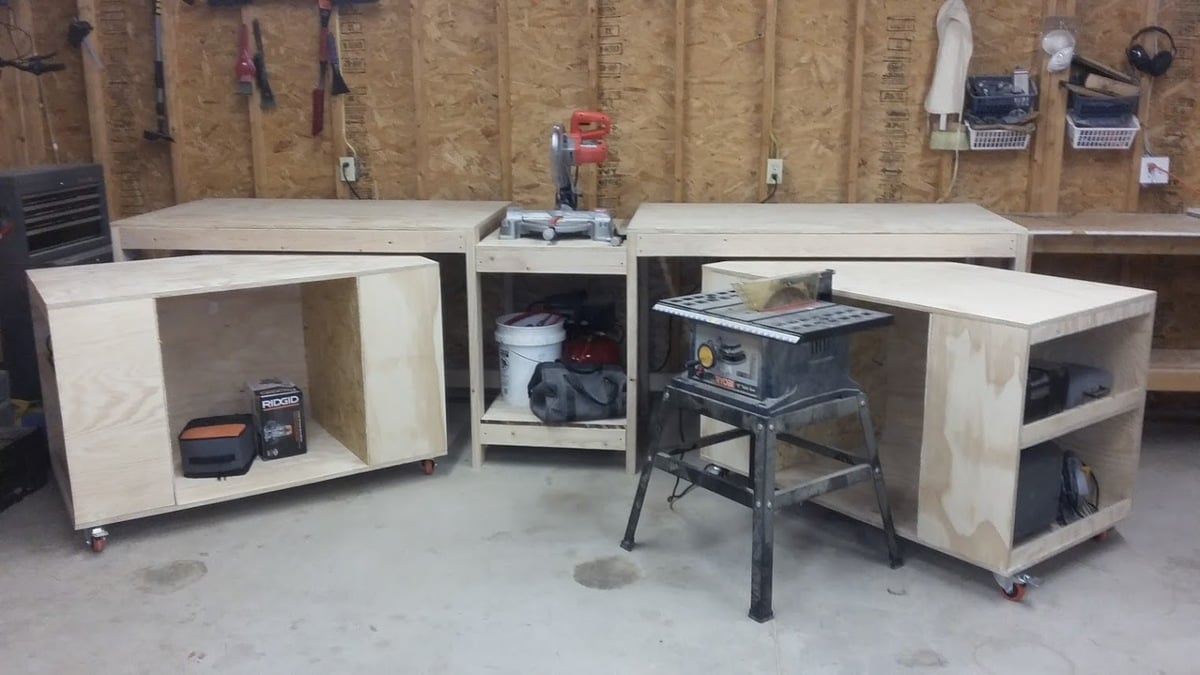
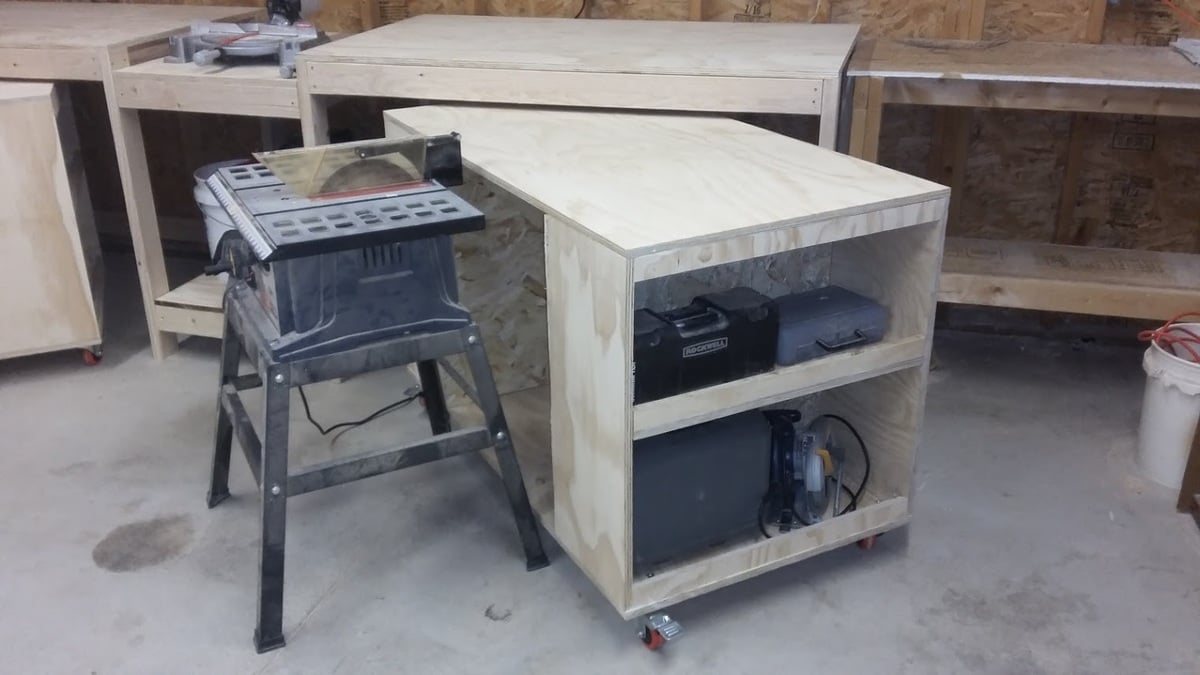
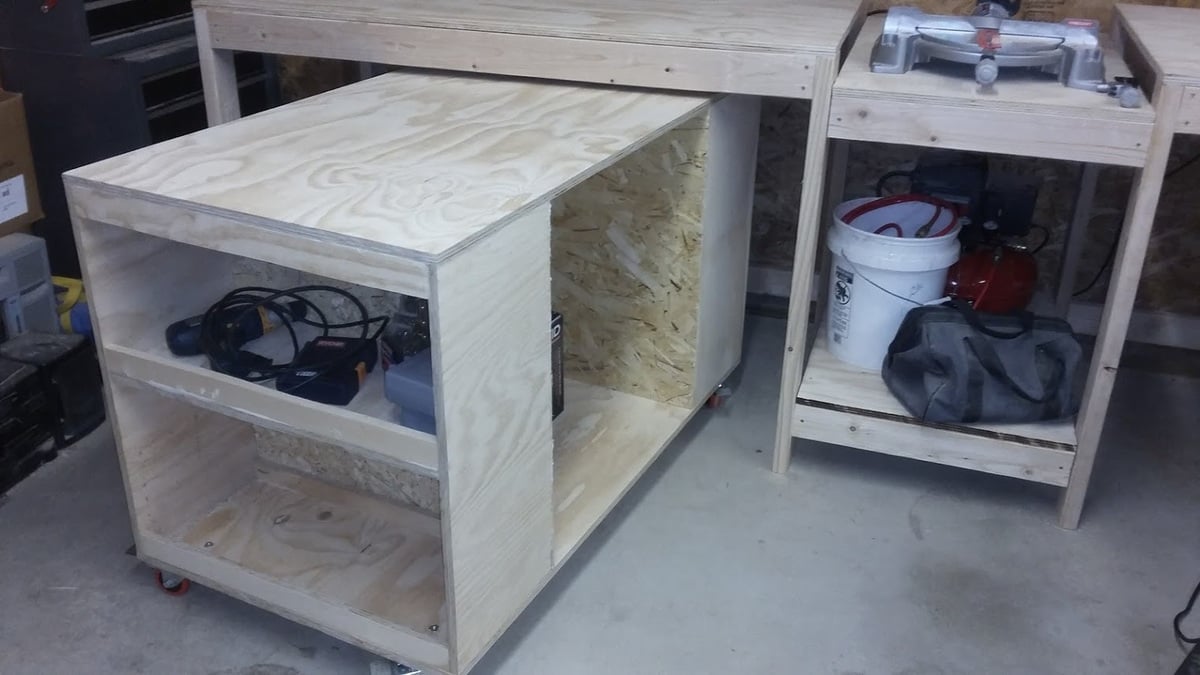
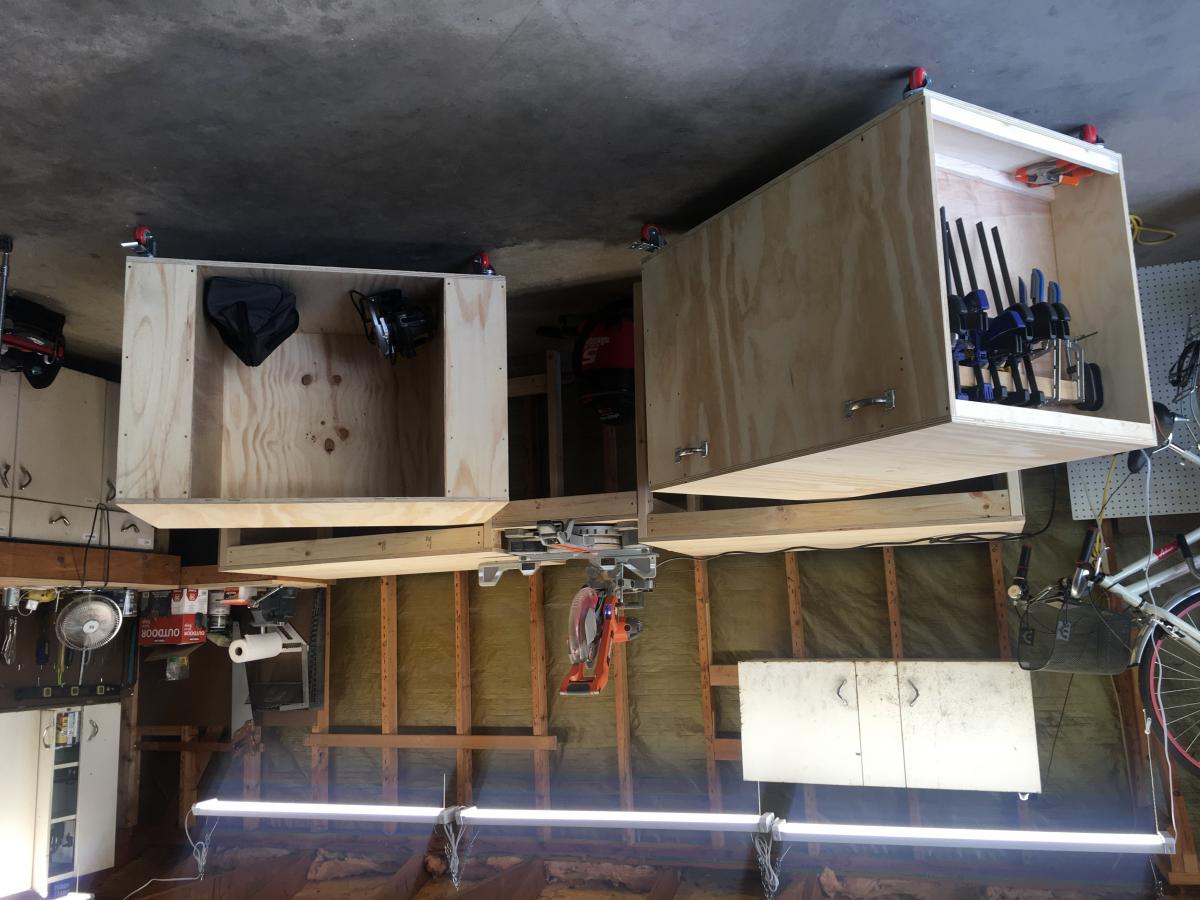
NINE MONTH UPDATE: After using the bench for almost nine months, we’ve made some changes. The first is that our table saw, a Dewalt 7491 didn’t fit in the way the plans called for because of the fence. We ended up cutting down and rebuilding the table to make a platform for the saw, then we built three “tables” around it to leave a gap for the fence operation. We also added a curved piece that can be removed to access the riving knife lever.

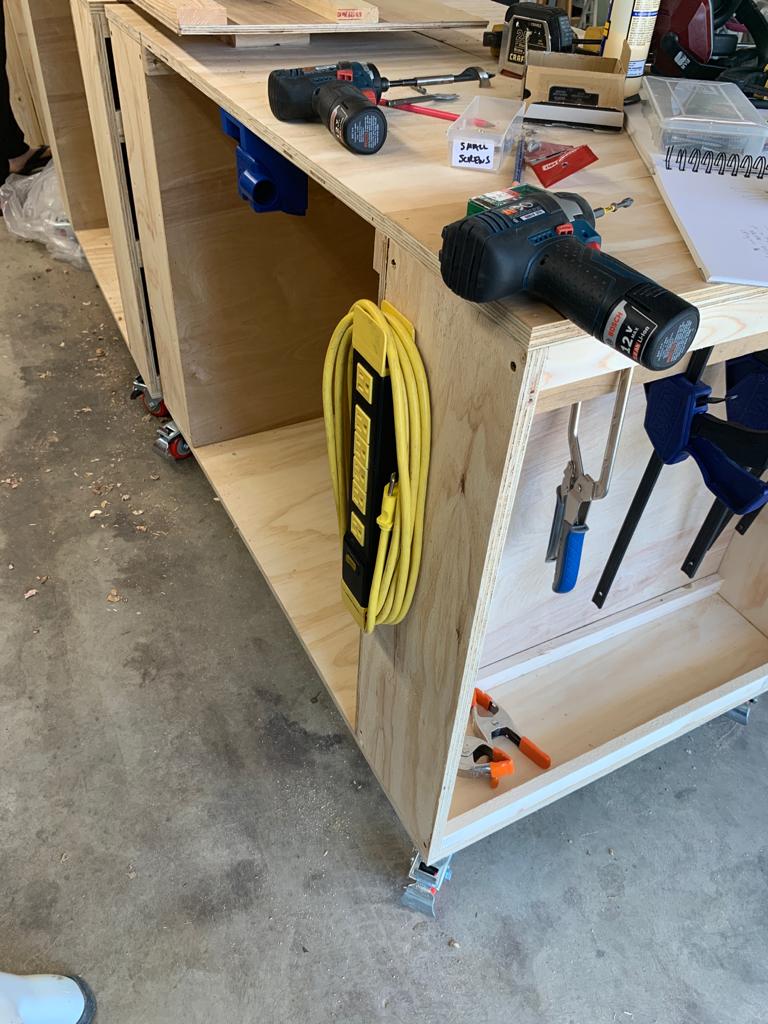
The other change we made was to take out the clamp storage that was in one of the cart ends. When we rolled the cart in and out, the clamps would catch and fall off. We put in another shelf instead.

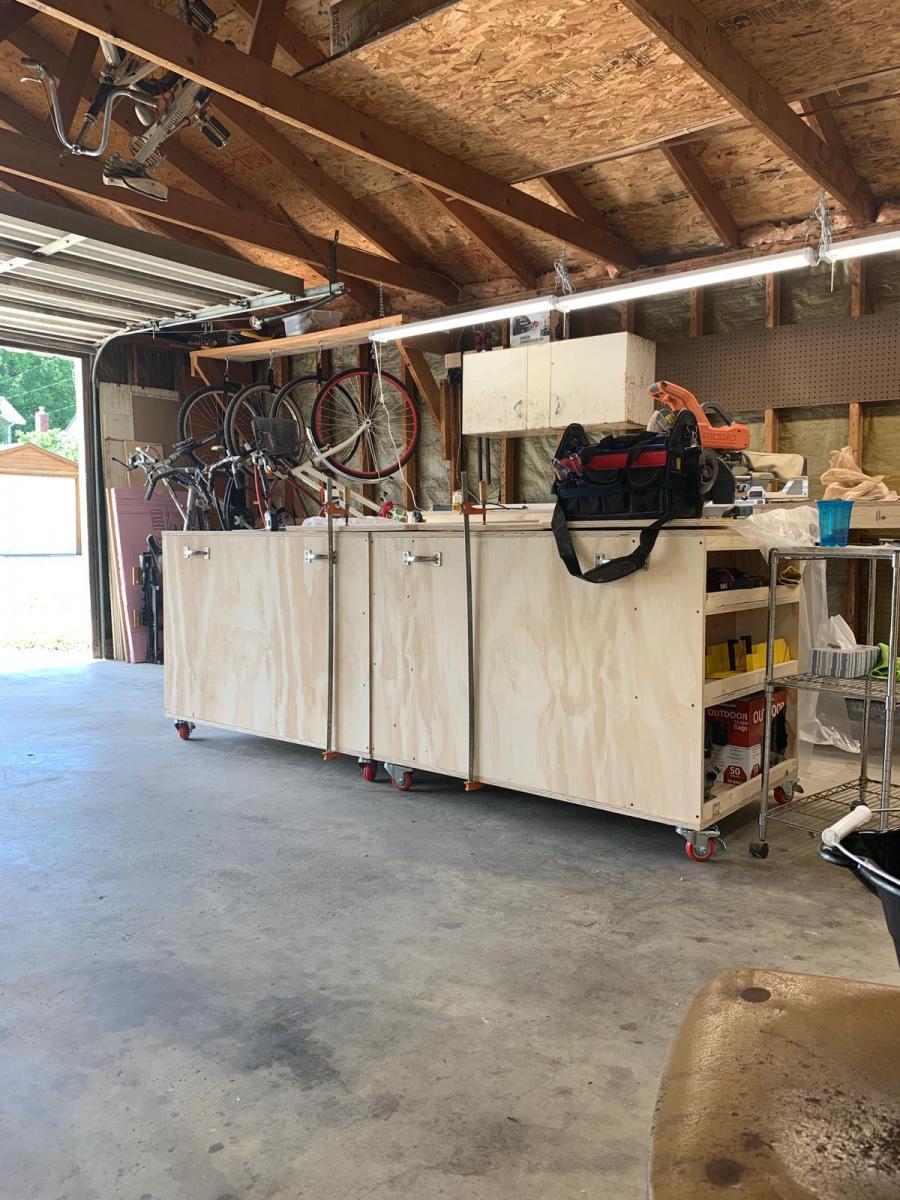
Otherwise, we love the bench. Having the two rolling carts that we can reposition based on where we need a table extension is great. The miter saw stand works perfectly, and our dust collection setup rolls right underneath. We’re also in the process of building a router table that fits in the removable bench room area.

ALSO, sorry for the upside down/sideways pics. It won’t let me remove or fix them.

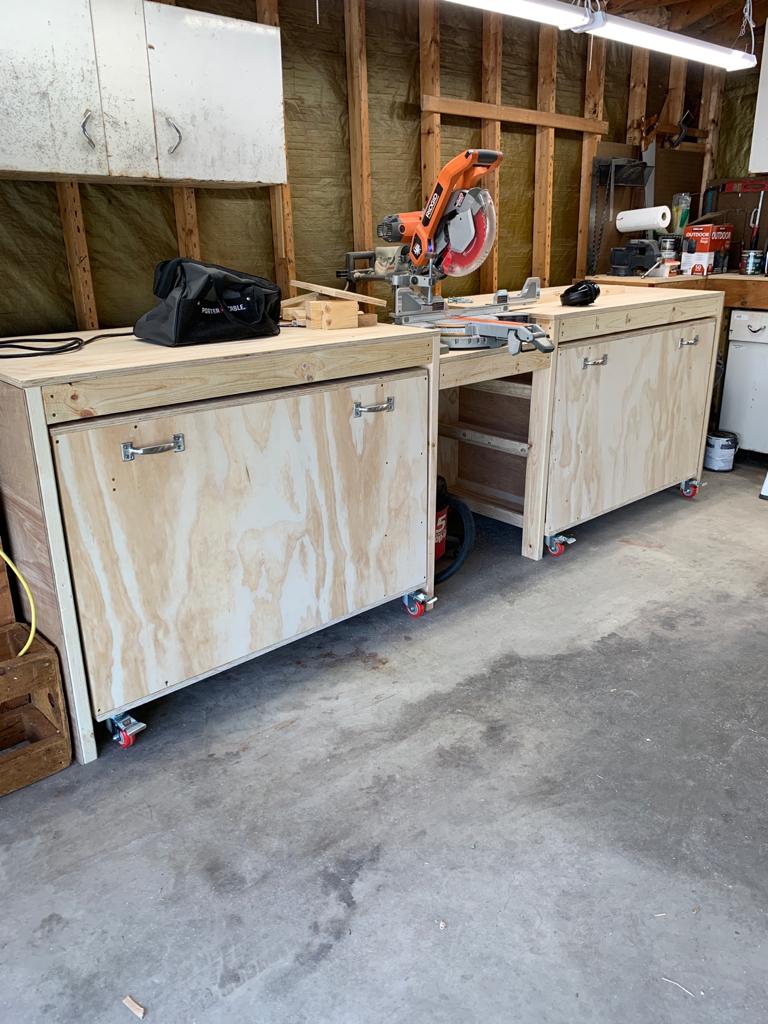
We made the ultimate roll away workbench with very few changes. Added the clamp hanger on one end as pictured. We didn’t add the shelf under the miter saw, as well be putting a dust collection cart.

We absolutely love the cart.M, now to save up for a table saw. The only change I would like is that I wish the side shelves were a little deeper, more like 10” instead of 8”, so more tools would fit.
Estimated Cost
380
Estimated Time Investment
Weekend Project (10-20 Hours)
Finish Used
None
Recommended Skill Level
Beginner

Floating Corner Entertainment Stand

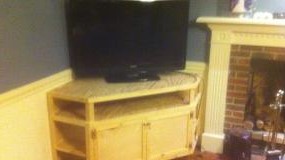
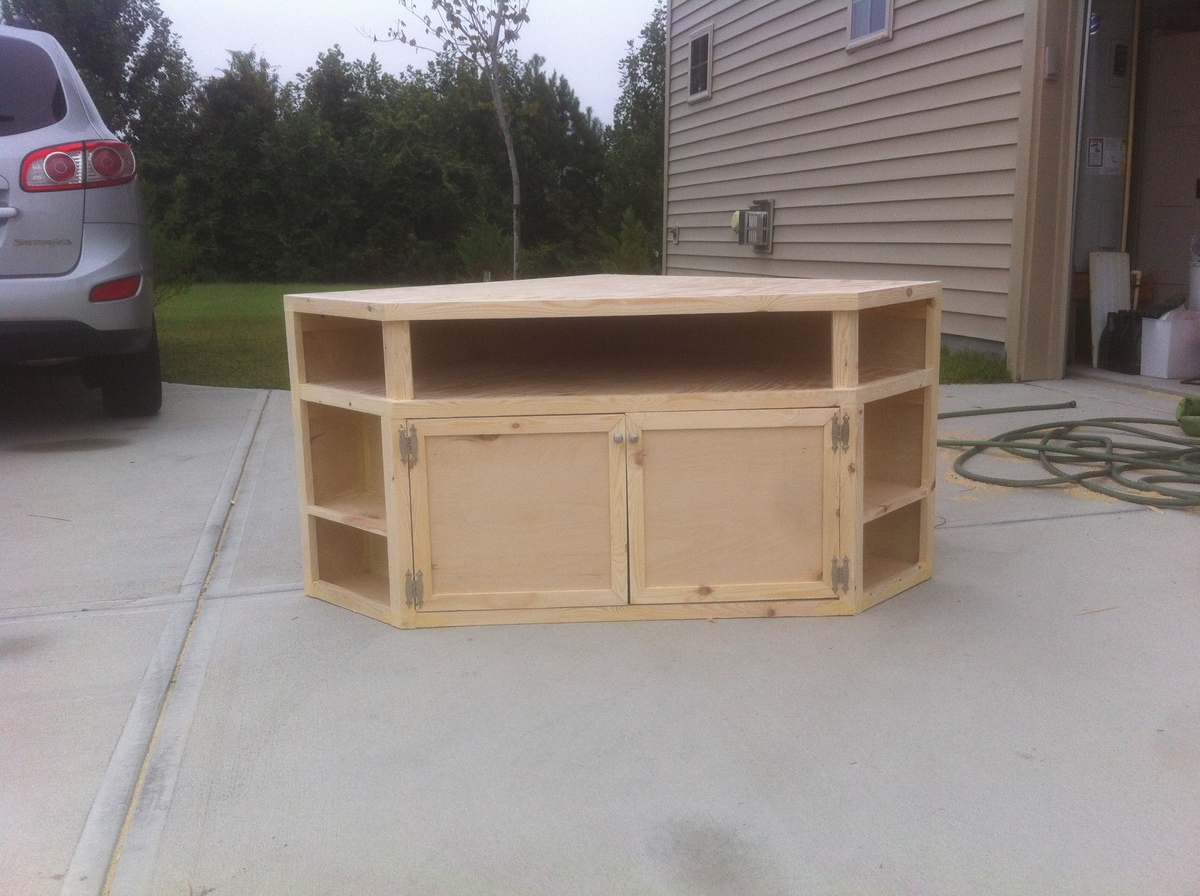
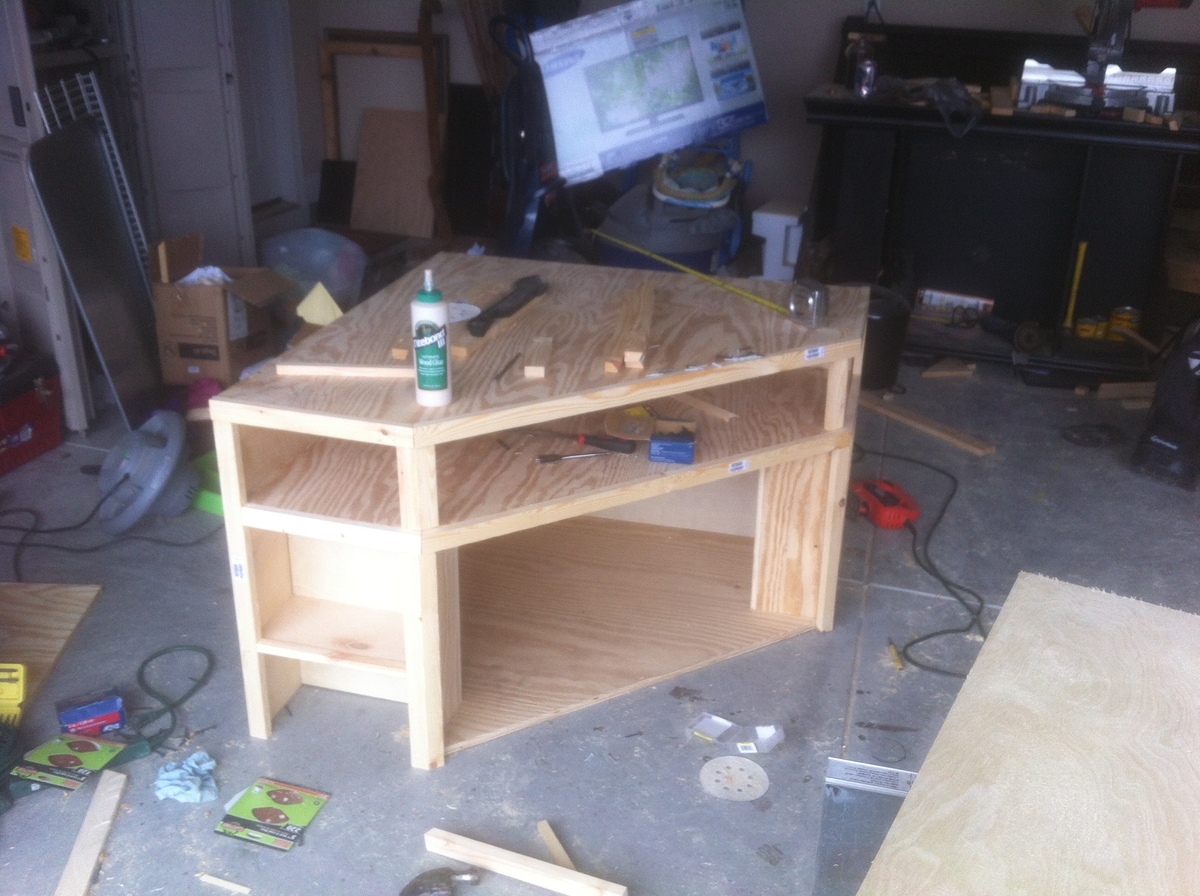
This is a corner entertainment stand. I didn't have a plan to follow so I made it up as I went. The dimensions are 40" L xW and 27" tall. It has a base hidden underneath it help support the weight and is also screwed into wall studs to prevent tipping. The angle for the front cross section is 22.5 degrees. I made this for a friend. She is going to paint it unfortunately. Materials cost only around $120. 3 sheets 3/4" plywood, some 1x2s and a couple hinges and cabinet knobs.

Estimated Cost
$130
Estimated Time Investment
Weekend Project (10-20 Hours)
Recommended Skill Level
Intermediate

Comments

Justin G (not verified)

Sun, 01/06/2013 - 04:49

This is REALLY a nice looking corner unit. In our living room, the ONLY place for the tv is in the corner. I have a prebuilt unit now that cost me quite a bit, and we hate it. Its all modern with glass shelves. This corner cabinet is EXACTLY what I want to build. I have a 1 year old so having doors to hide the electronics is a must.
I would VERY much like to build this. Are there any more detailed pictures or a plan I could download? Ive been searching for the last few days an just cant seem to find anything that catches my eye like this one.

Looks great!!

Wounded Marine

Sun, 01/06/2013 - 06:18

The shelves are made out of premium plywood. For the top, bottom, and the middle shelf, I measured and cut out on pieces of plywood. Then used plywood for the "walls" of the unit. I trimmed it with 1x2s. The doors are also plywood. I just rabbit jointed nice wood for the frame of the doors. Underneath the the TV stand is a 2x4 set back a little bit to give it that floating looking. It is anchored to the wall on the inside of the unit with screws going into the studs of the wall. I hope this makes since.

arod718

Thu, 09/05/2013 - 19:13

Is it possible to get dimensions of the stand and what you based the base from. I would like to build the Ana version for my wife because of the storage it has. Thank you, best site ever.

Hallway table

Submitted by Nicto21 on Sat, 08/02/2014 - 16:43

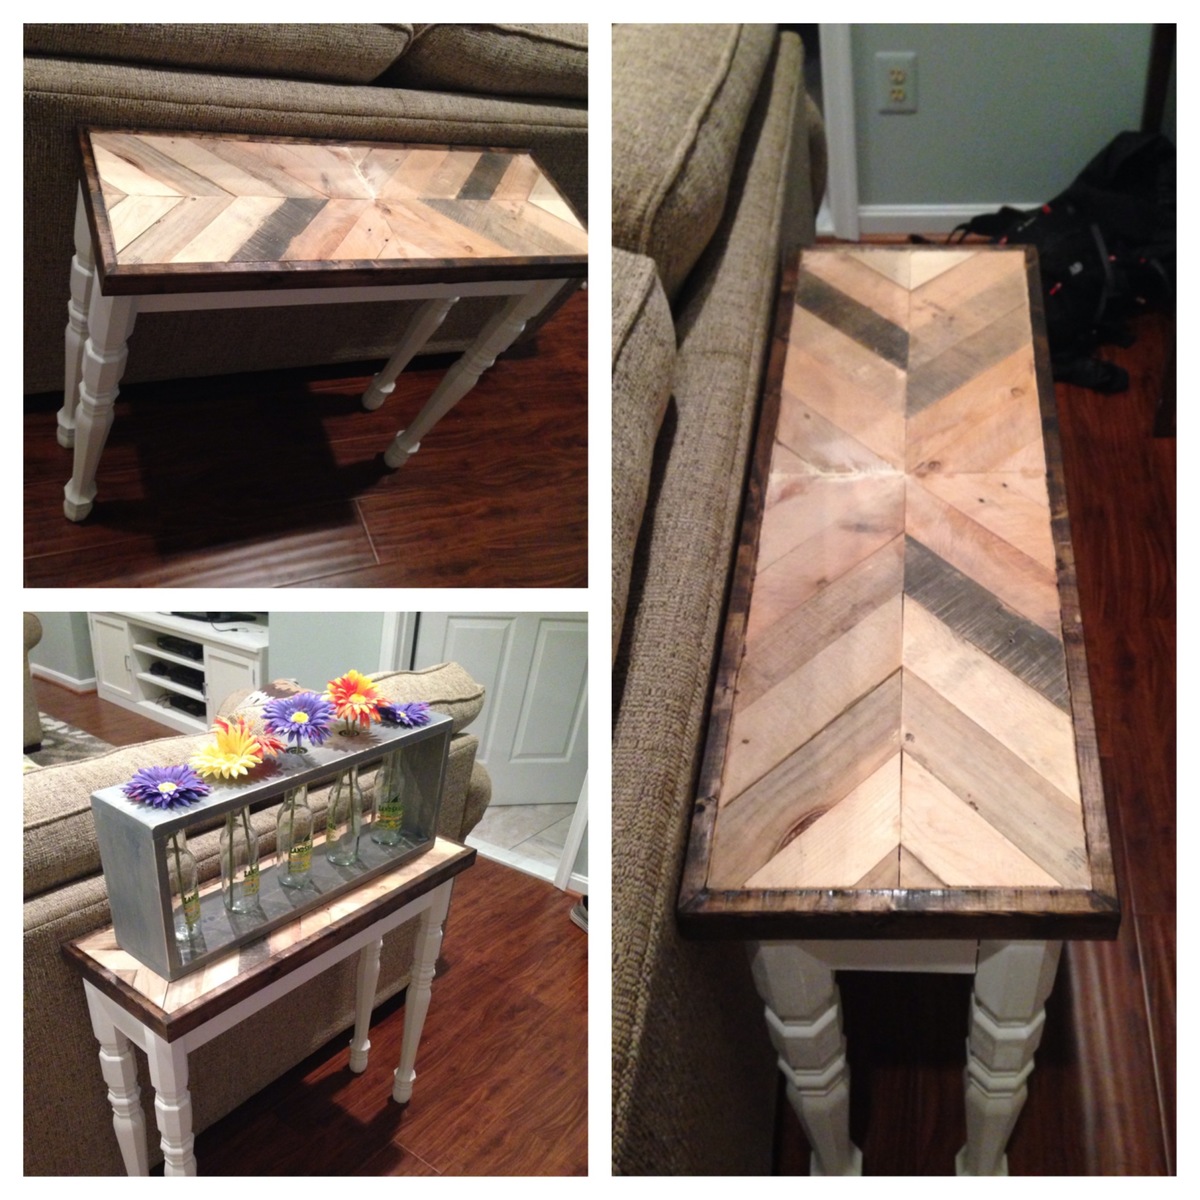
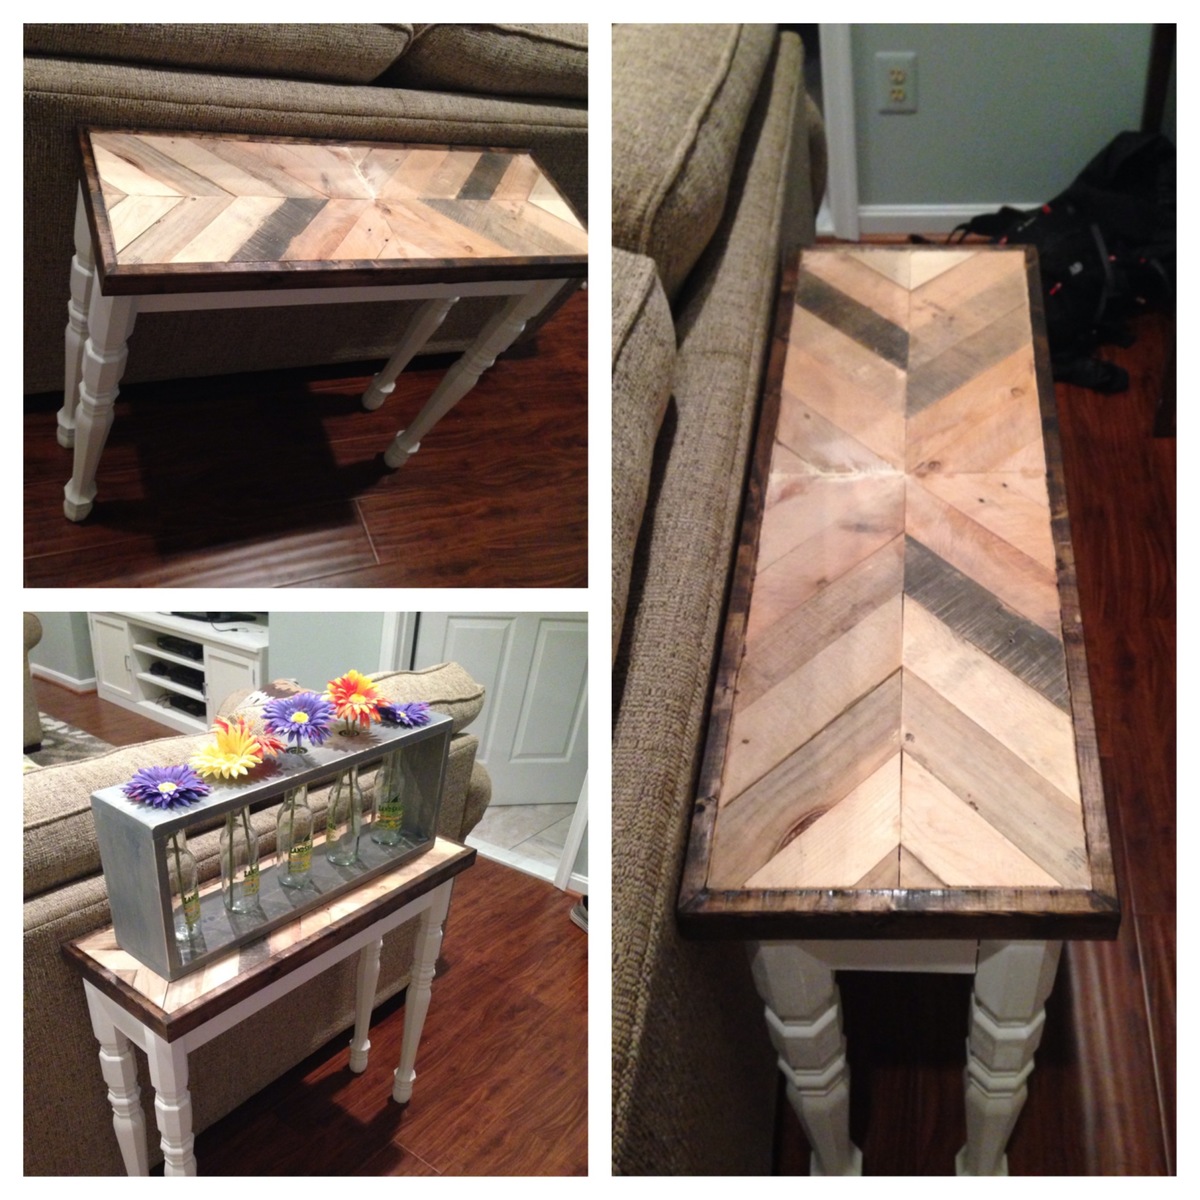
I made this hallway table for my gf's bday. It is really simply apart from taking apart pallets and squaring them off. The project only costs about $40-50, which most of the cost came from the purchasing of the table legs. I angled the pallet boards to be approximately 45 degrees. For this project, I used a table saw to cut, pneumatic brad nailer, tite bond wood glue, kreg jig pocket hole and paint/stain.

Estimated Cost
$40-50
Estimated Time Investment
Afternoon Project (3-6 Hours)
Recommended Skill Level
Starter Project

2x4 shelving unit

Submitted by Anonymous (not verified) on Tue, 11/15/2016 - 12:05

I built your 2x4 shelving to fit a small space in my garage. The unit is really easy to customize and ended up being a perfect fit for my saws. Thanks Ana!

Estimated Time Investment
Afternoon Project (3-6 Hours)
Recommended Skill Level
Starter Project

First Big Project!

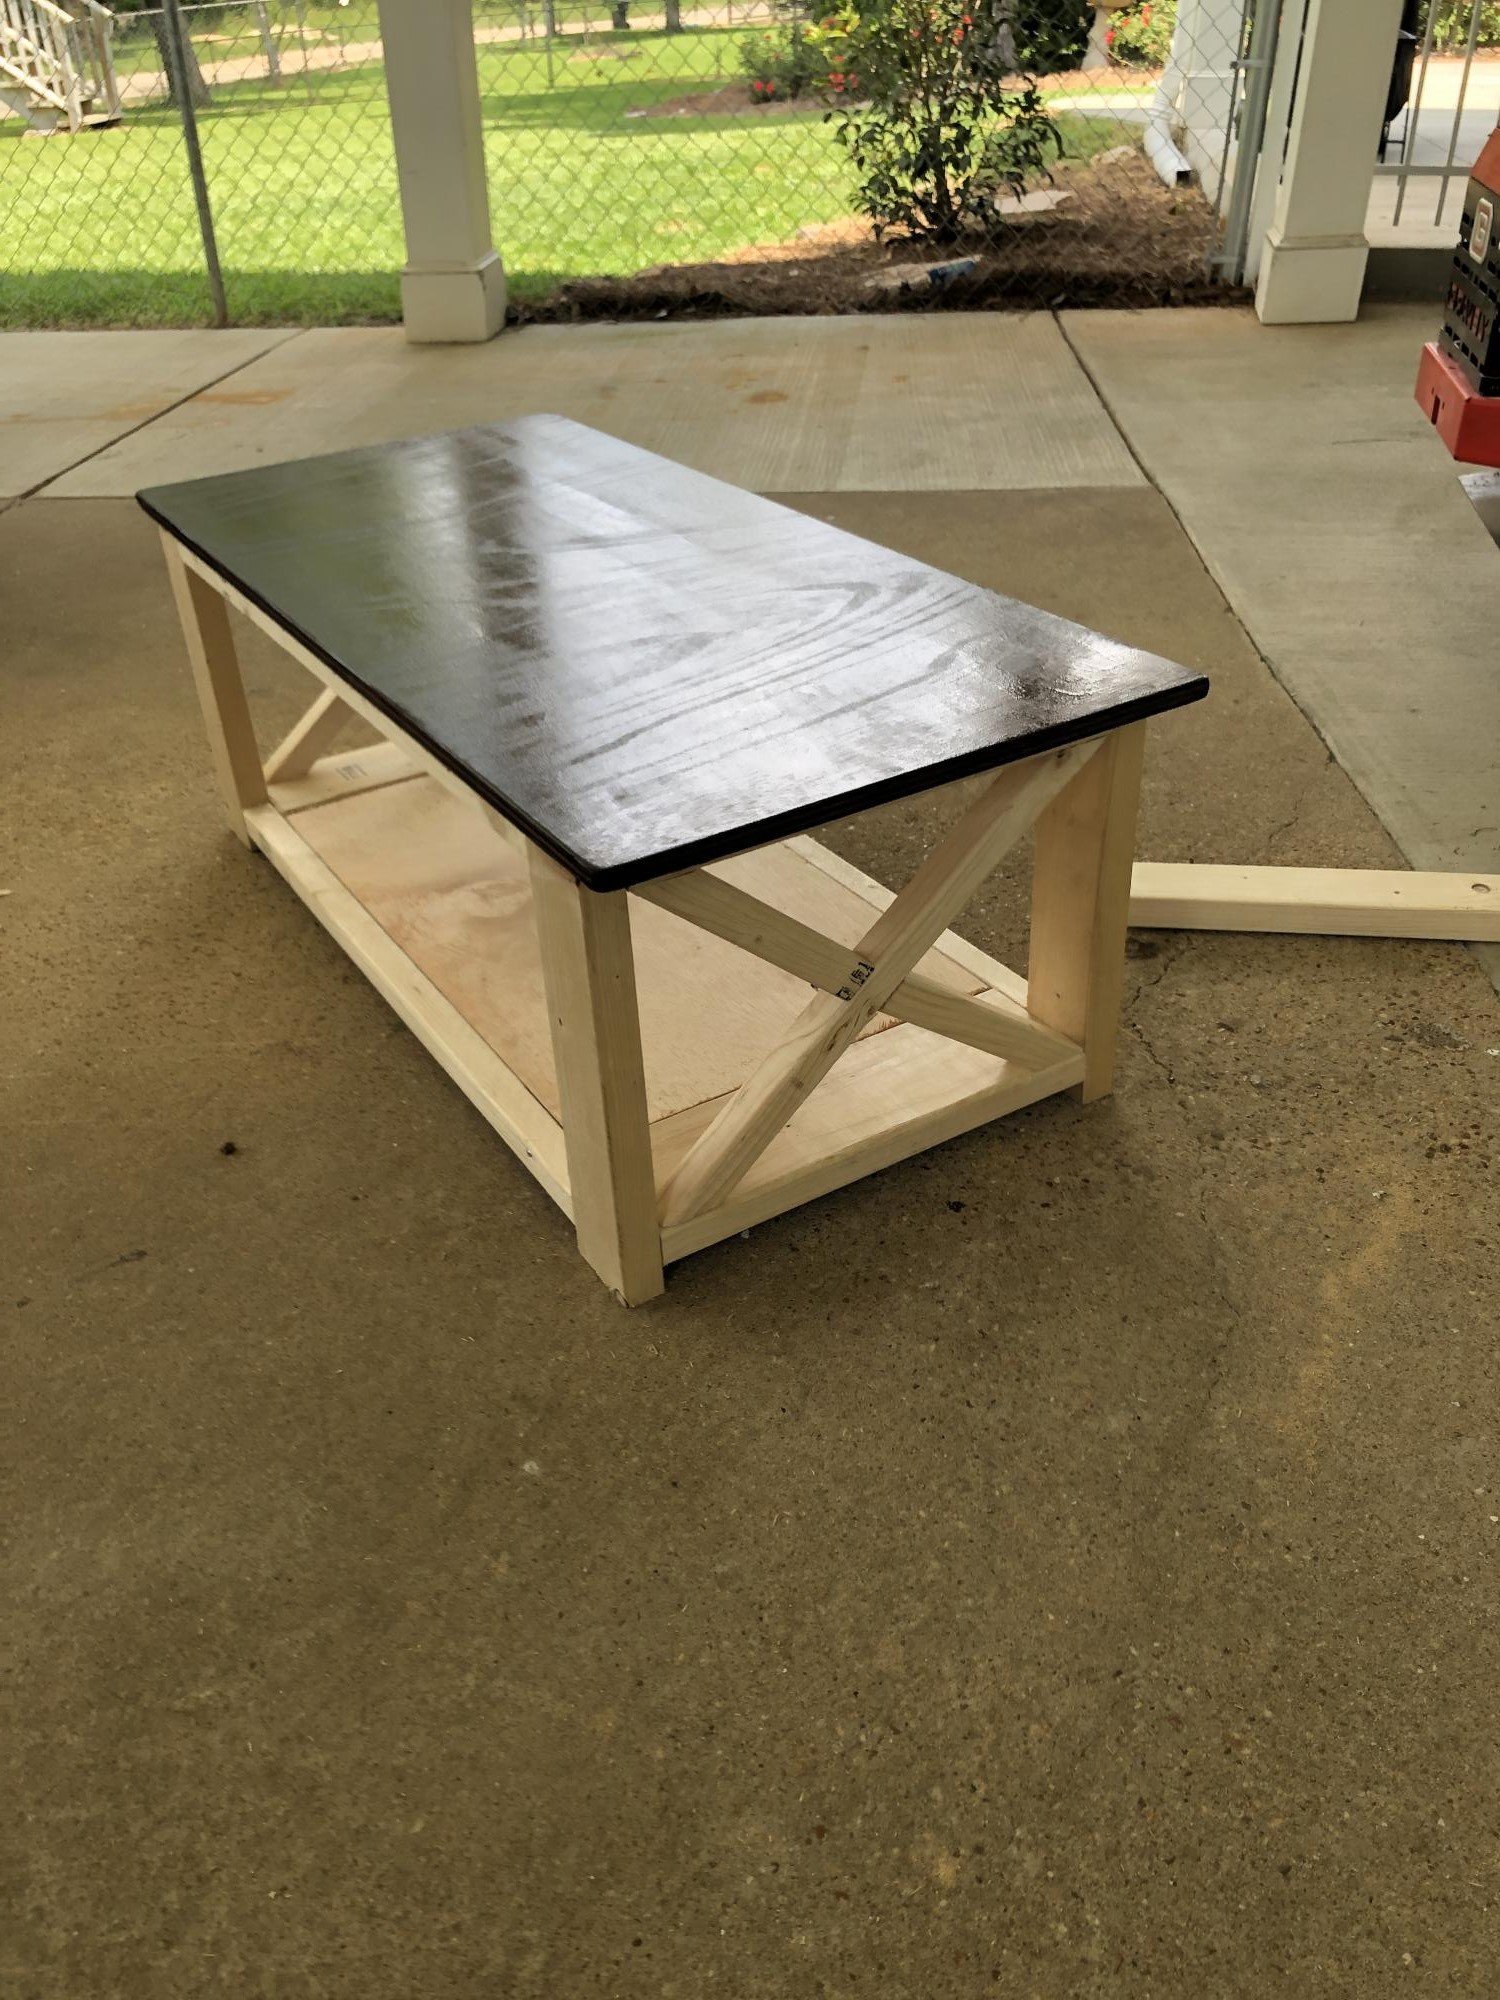
Surprisingly easy! Have received a lot of compliments and it’s sturdy too! Decided not to stain it because we like the look. Very, very happy with this table, thank you!

Estimated Time Investment
Weekend Project (10-20 Hours)
Finish Used
None
Recommended Skill Level
Beginner

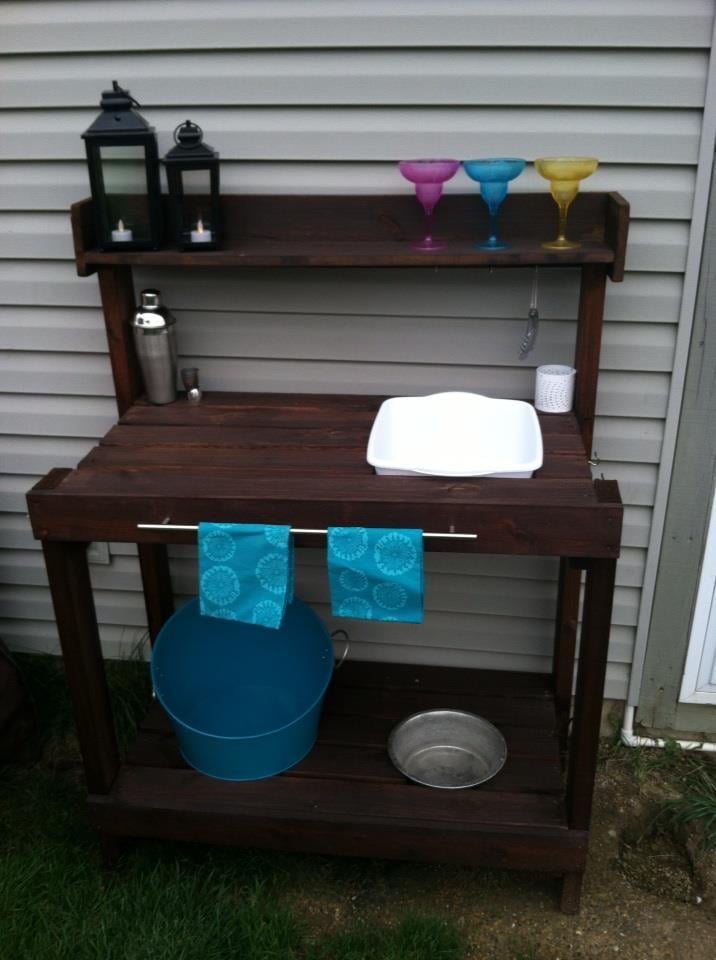
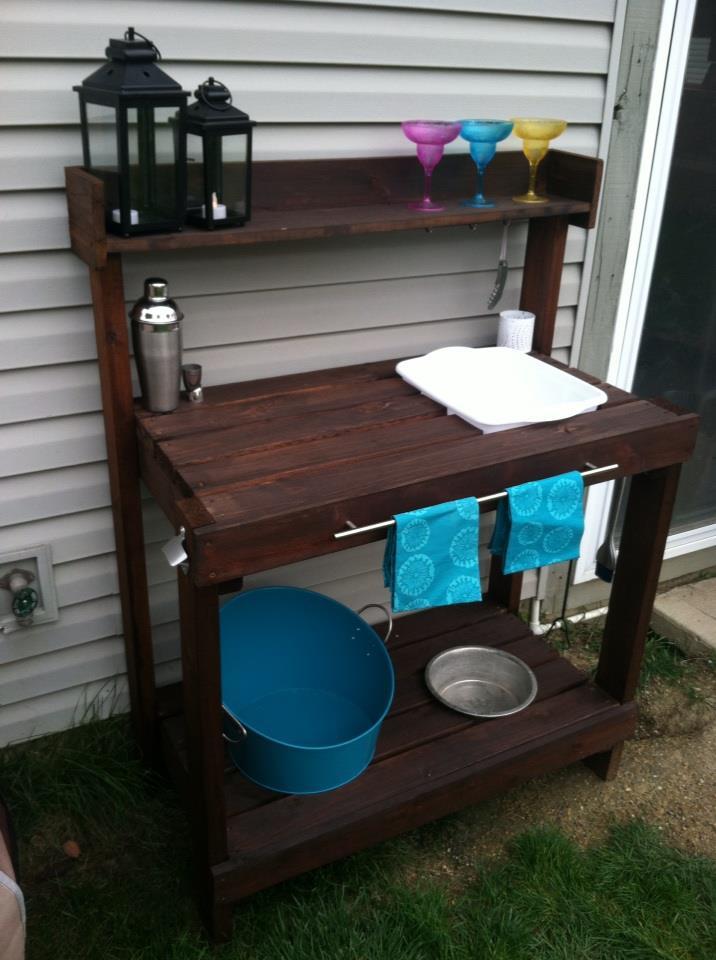
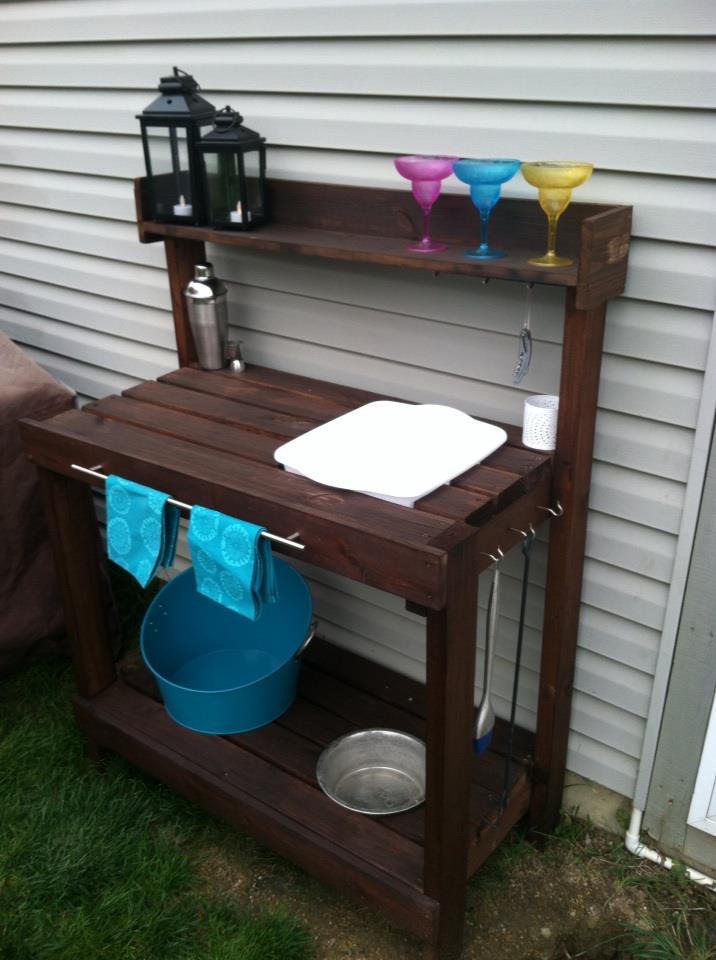
Outdoor Bar

Submitted by jenitsch on Sat, 10/13/2012 - 14:58

This is my first project. I'm so happy with the results. We turned this potting bench into an outdoor bar. :)

Built from Plan(s)
Estimated Time Investment
Weekend Project (10-20 Hours)
Finish Used
Outdoor stain.
Recommended Skill Level
Starter Project

Wedding Guest Bench

Submitted by Linda7 on Tue, 08/05/2014 - 16:43

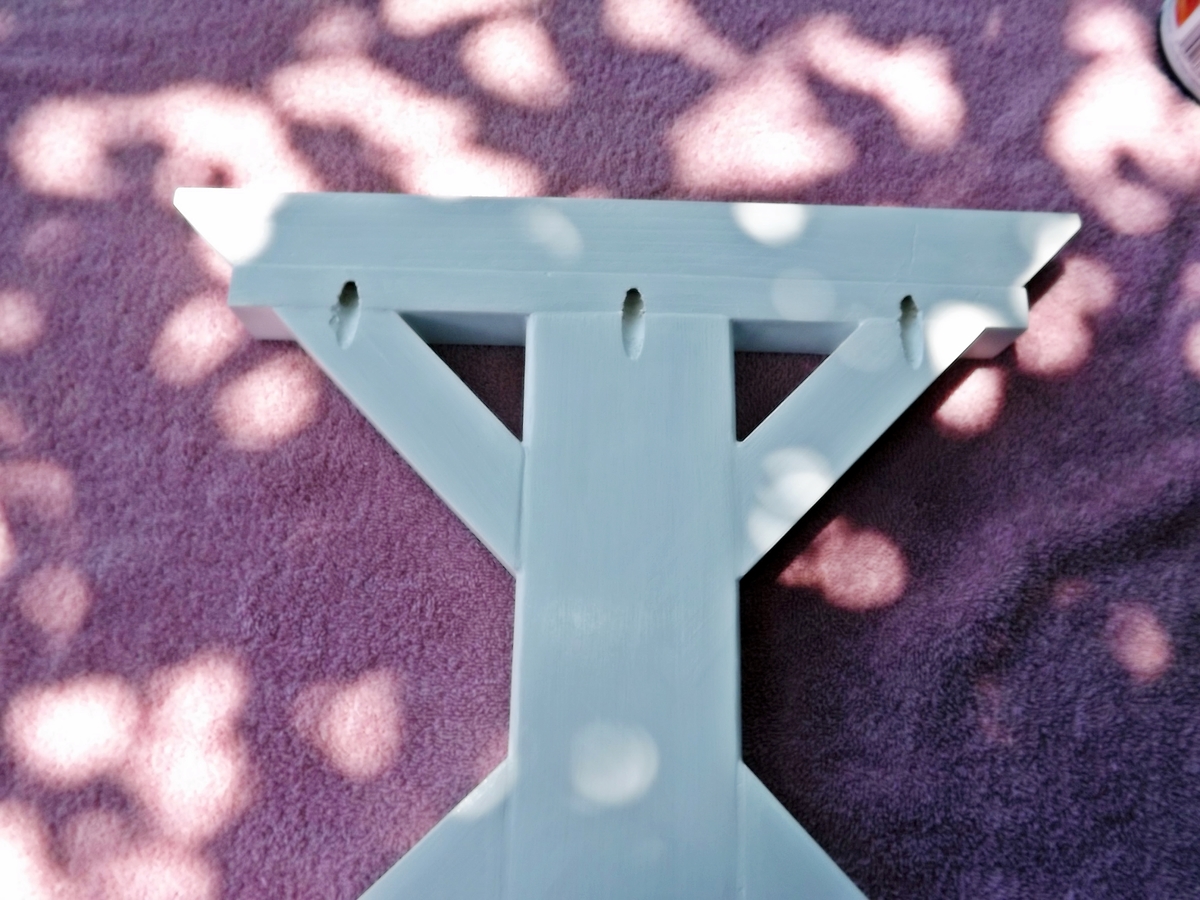
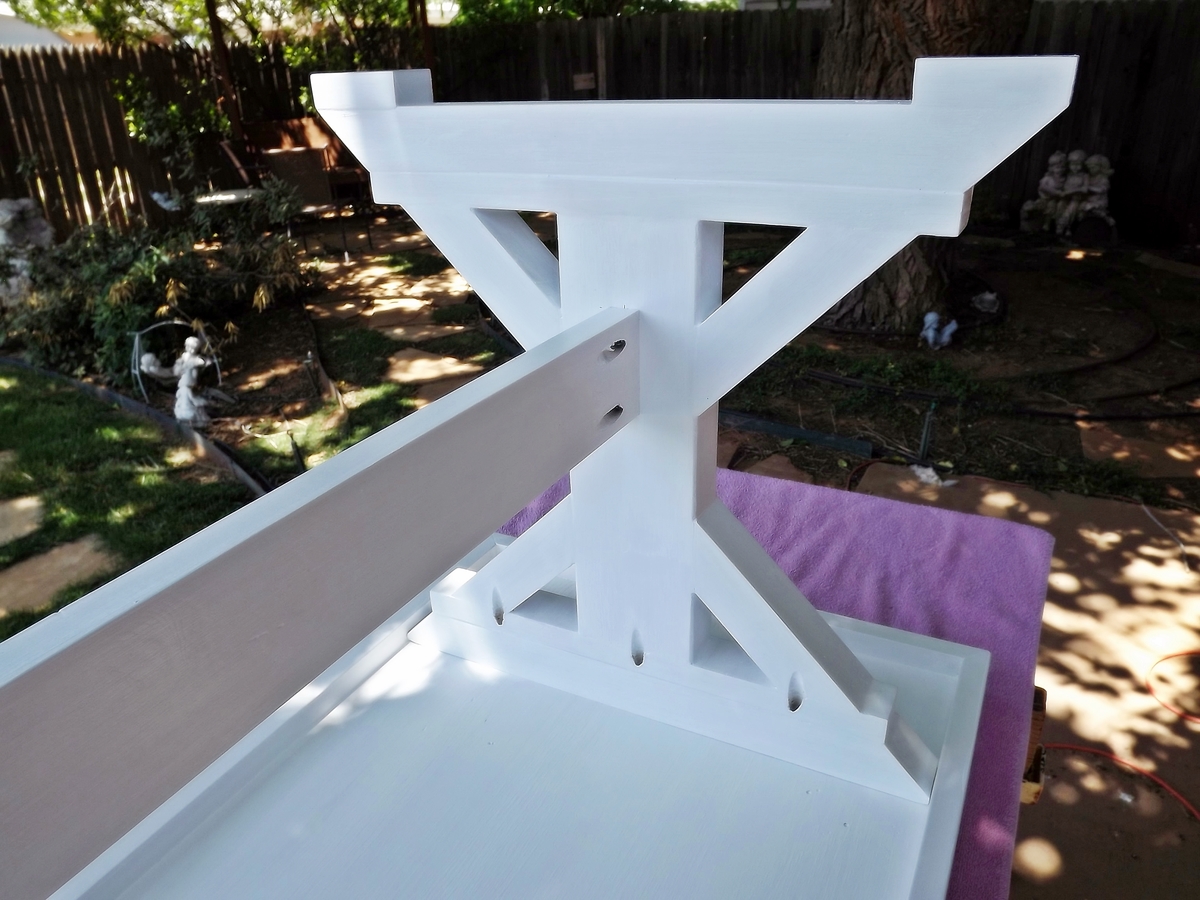
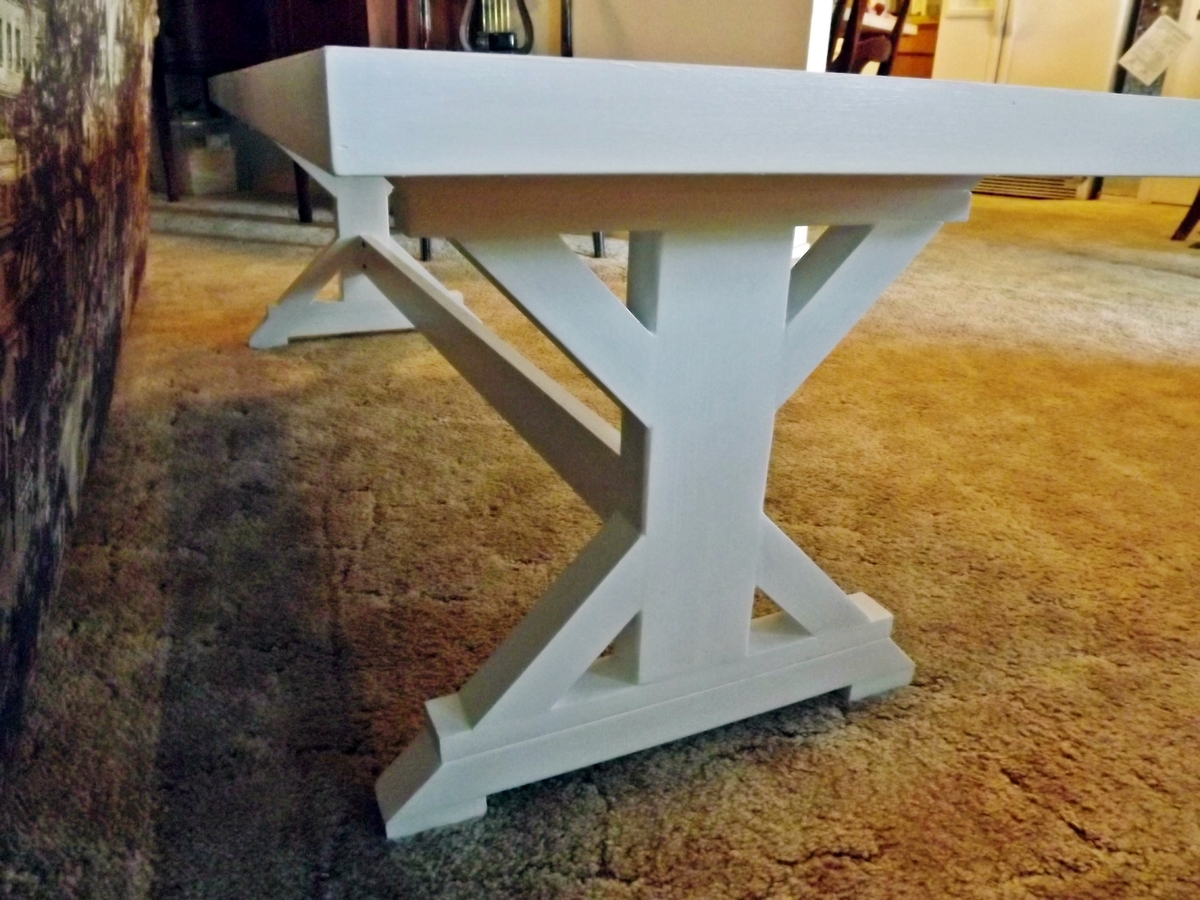
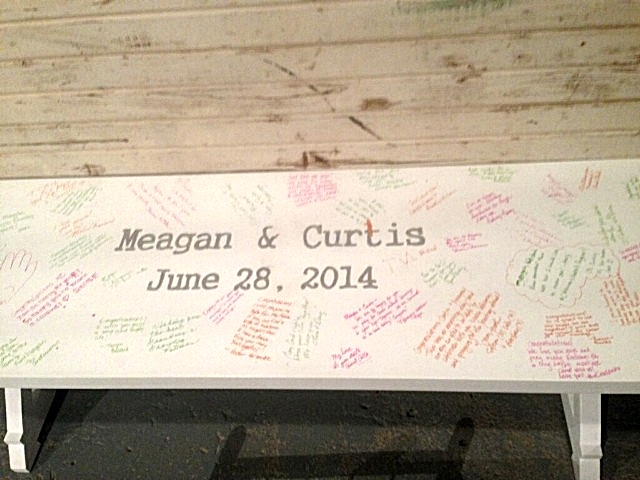
I saw a post some time ago from brookifer86 for a wedding guest bench...I knew I would build one someday. First I'd like to thank Ana for her plans Fancy X Farmhouse Bench, and Whitney at Shanty 2 Chic for the wonderful instructions/pictures for this build. I would also like to thank Brooke at Killer B Design (brookifer86) for the mods to this plan.

This bench had to be able to break into the top and legs as it had to go from Texas to California. That is why I used Whitney's idea for pocket holes to attach the top to the legs. I used 2" screws. Brooke shortened the table with just two legs, and used a project panel for a smoother top for writing. I did, too. She also added a 1" x 2 " board around the edge of the 3/4" panel to beef it up. I used this idea and mitered the corners of the board and filled in the space between the board and the panel to make it very smooth. I sand a lot, and I painted three coats, so this took several days for me to complete.

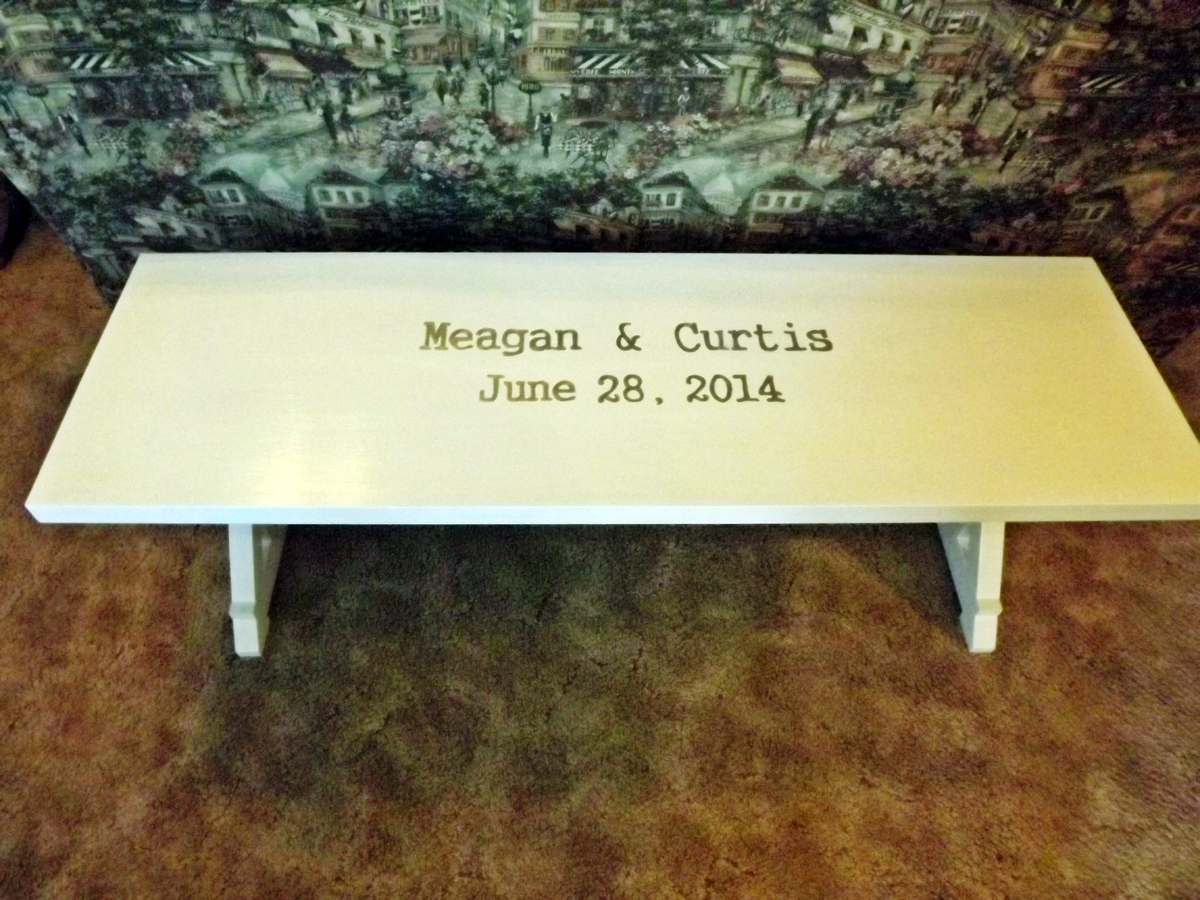
For signing the top, I purchased fine-tipped oil paint pens. I learned from other brag posts that permanent-type "Sharpie" pens would smear when a finish was applied later. Also, you should use spray poly-acrylic finish to avoid yellowing the white paint.

My dear friend's daughter was thrilled with her surprise, and the guest bench was a hit at the reception. Thanks to all the brag posters - I studied every single one.

Built from Plan(s)
Estimated Cost
$35 (for project panel and one quart paint - other wood was scrap I had on hand)
Estimated Time Investment
Weekend Project (10-20 Hours)
Finish Used
Valspar "Bright White" outdoor paint. three coats applied with a foam brush. Spray top with poly-acrylic to protect the signatures.
Recommended Skill Level
Beginner

My first project from scratch-bar

Submitted by Anonymous (not verified) on Fri, 11/18/2016 - 11:56

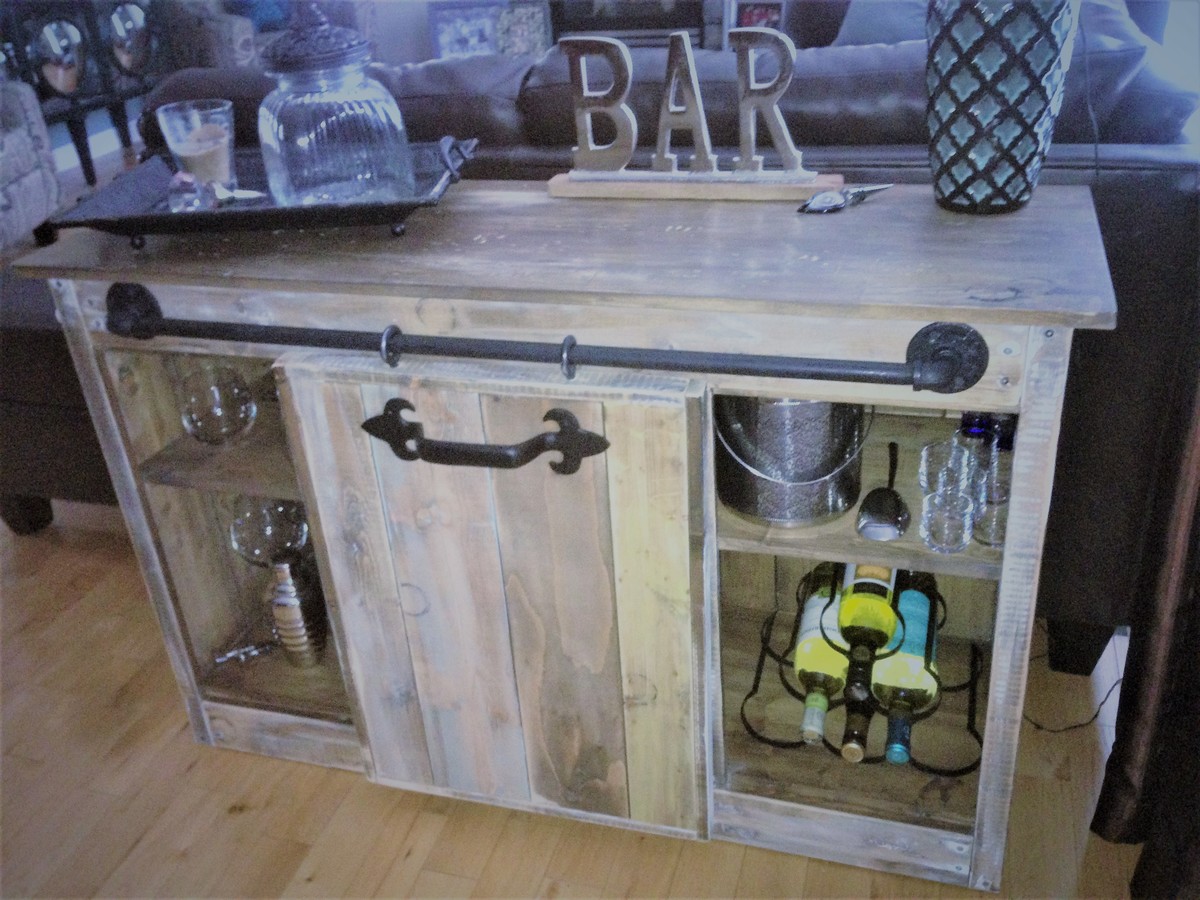
My inspiration for this piece was the Grandy Sliding Door Console - I made this piece to fit behind a sofa so adjusted the plans to customize my piece. 

I used plumbers pipe instead of barn door hardware - much more cost effective and still gave me the vintage look I was after.  I stained and distressed the wood and added some hardware! Voila!

I am hooked to your site, stay tuned for more projects! 


Built from Plan(s)
Estimated Cost
Total Cost of lumber - $101.00, Plumbers pipe - $18.00, Handle - $17.00 = $136.00
Estimated Time Investment
Day Project (6-9 Hours)
Finish Used
Painted each board different chalk paint color, white, yellow and blue - added black ring marks and used tools to mark up the top board. Once built sanded piece to desired look and then used antique wax to deepen the colors, finished with furniture polish- minwax!
Recommended Skill Level
Beginner

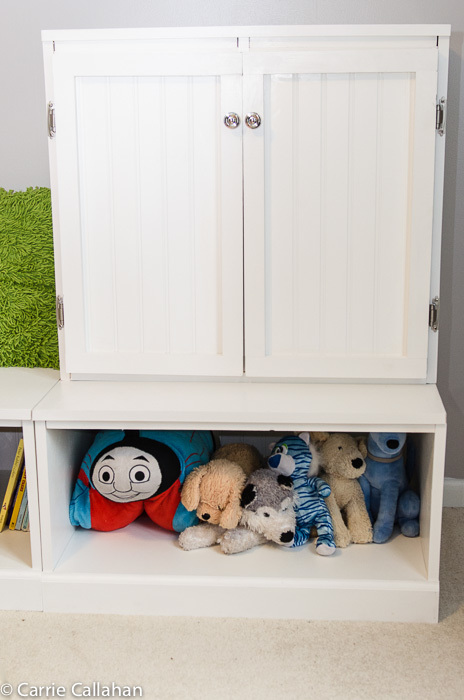
Toy Storage for my Little Man

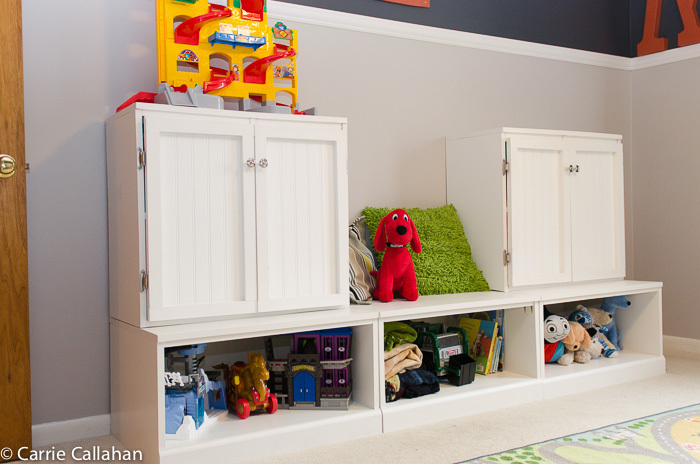
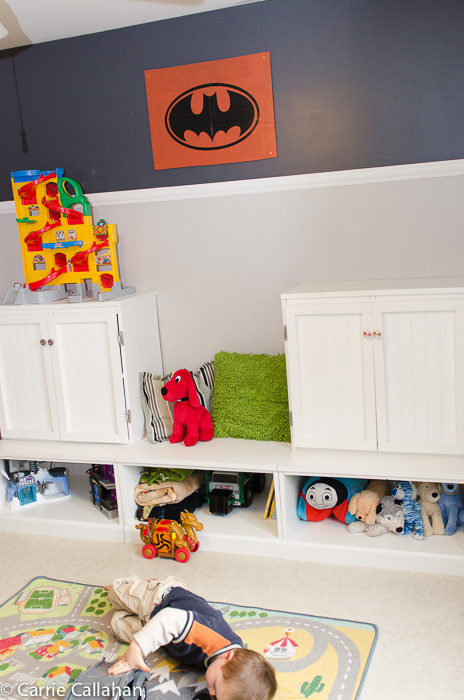
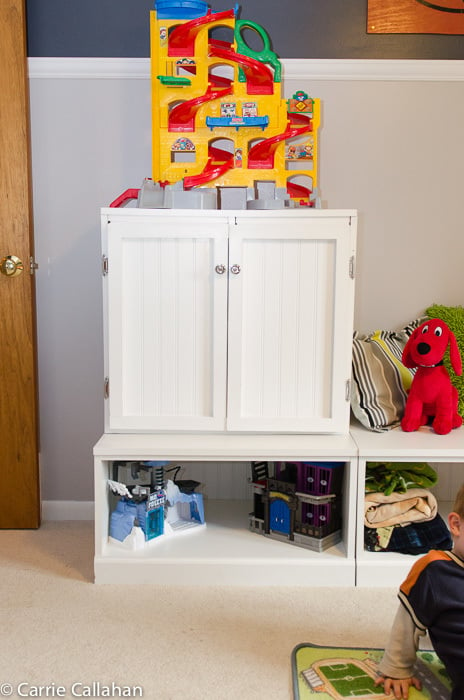
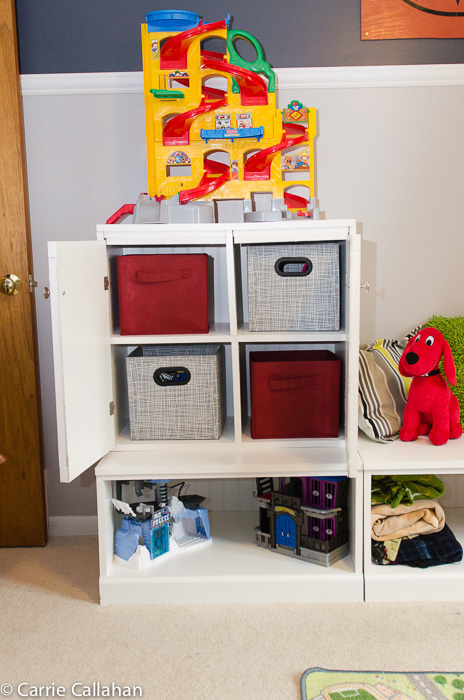
I am so excited about this project! I re-did my entire little man's room. It included a ton of Ana's projects! The closet, $10 ledges, step stool and the toy storage. This was quite the venture for me, I have done a lot of plans from Ana, but this one was a lot - a lot of painting. And hanging the doors, was a challenge :) I couldn't be more happy. My little man didn't want to leave his room he was so excited!

Estimated Cost
$220
Estimated Time Investment
Weekend Project (10-20 Hours)
Finish Used
Primed, sanded, painted with White Semi-gloss for two coats, sanding between each.
Recommended Skill Level
Intermediate

Comments

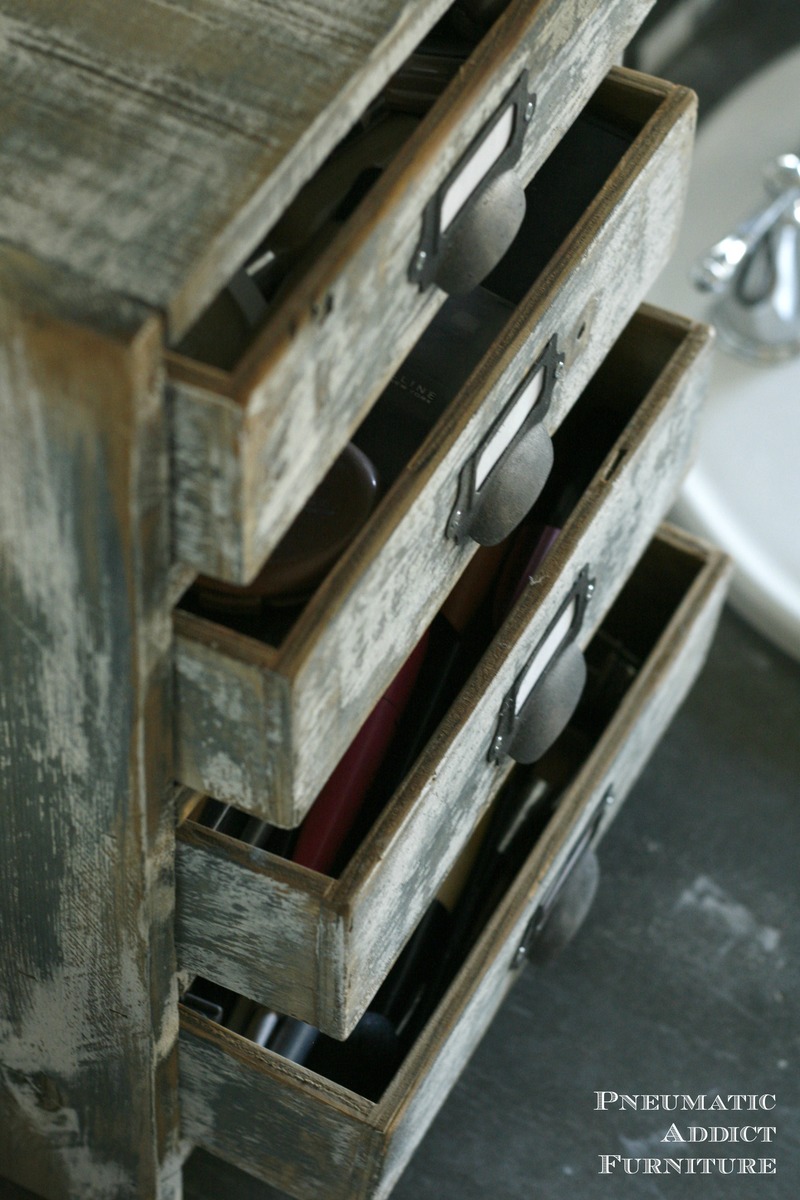
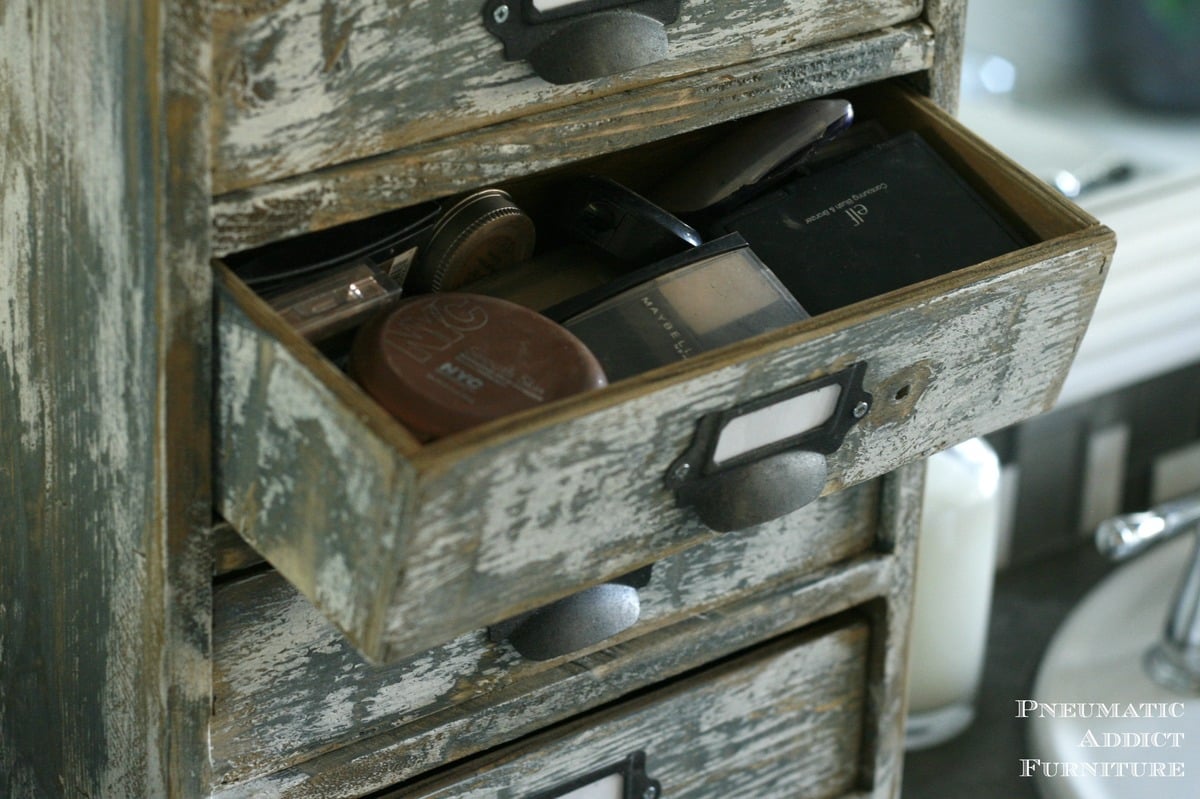
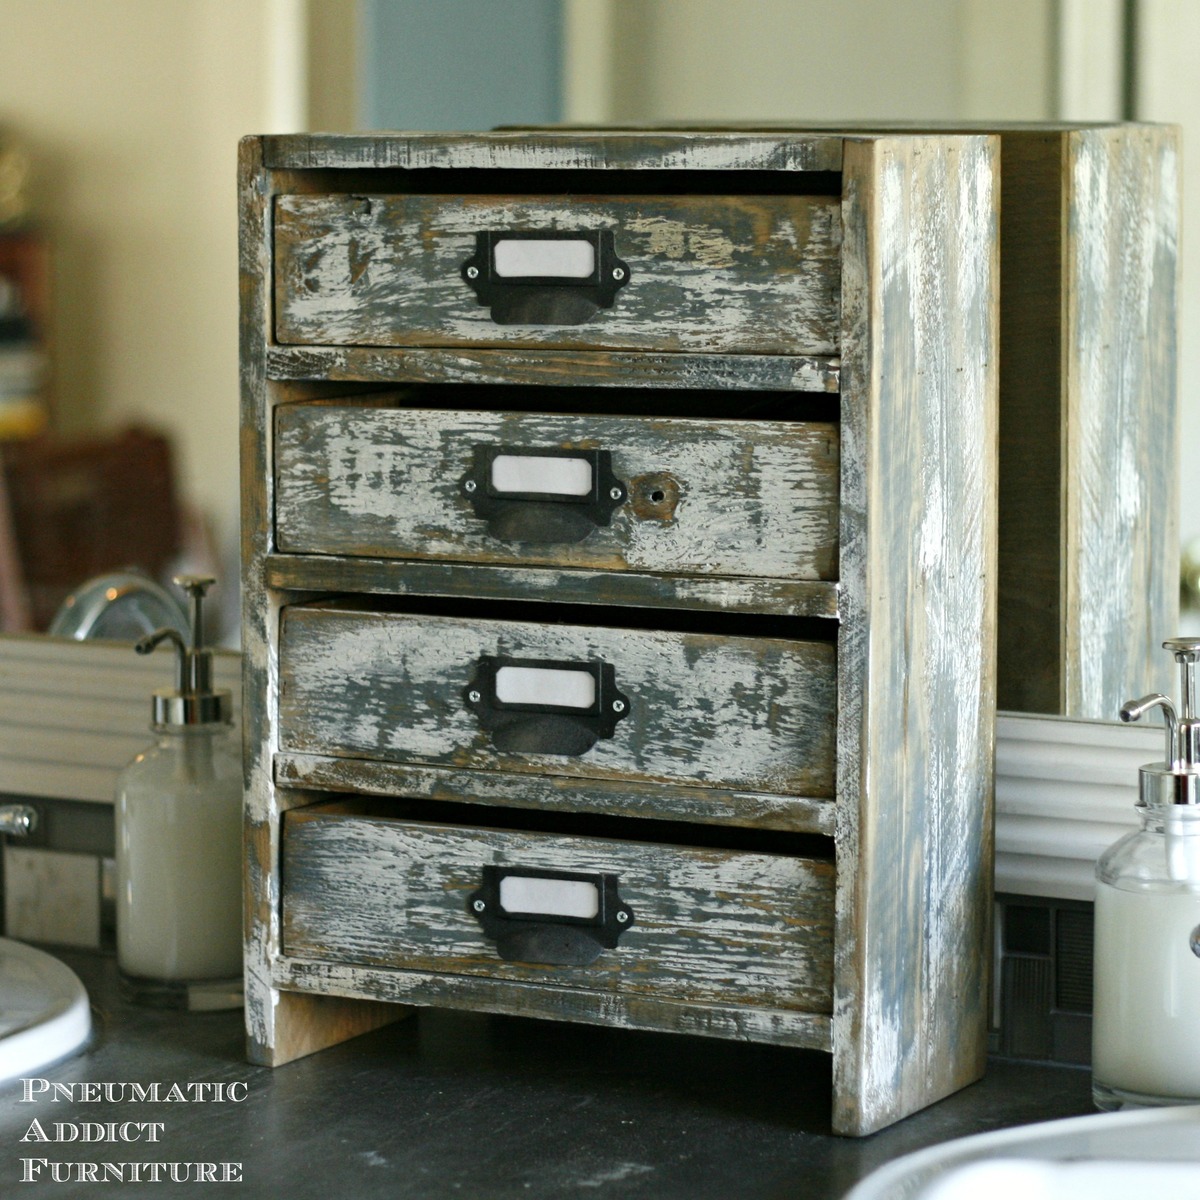
Counter Top Make-up Storage

Submitted by efmolly on Thu, 08/07/2014 - 09:54

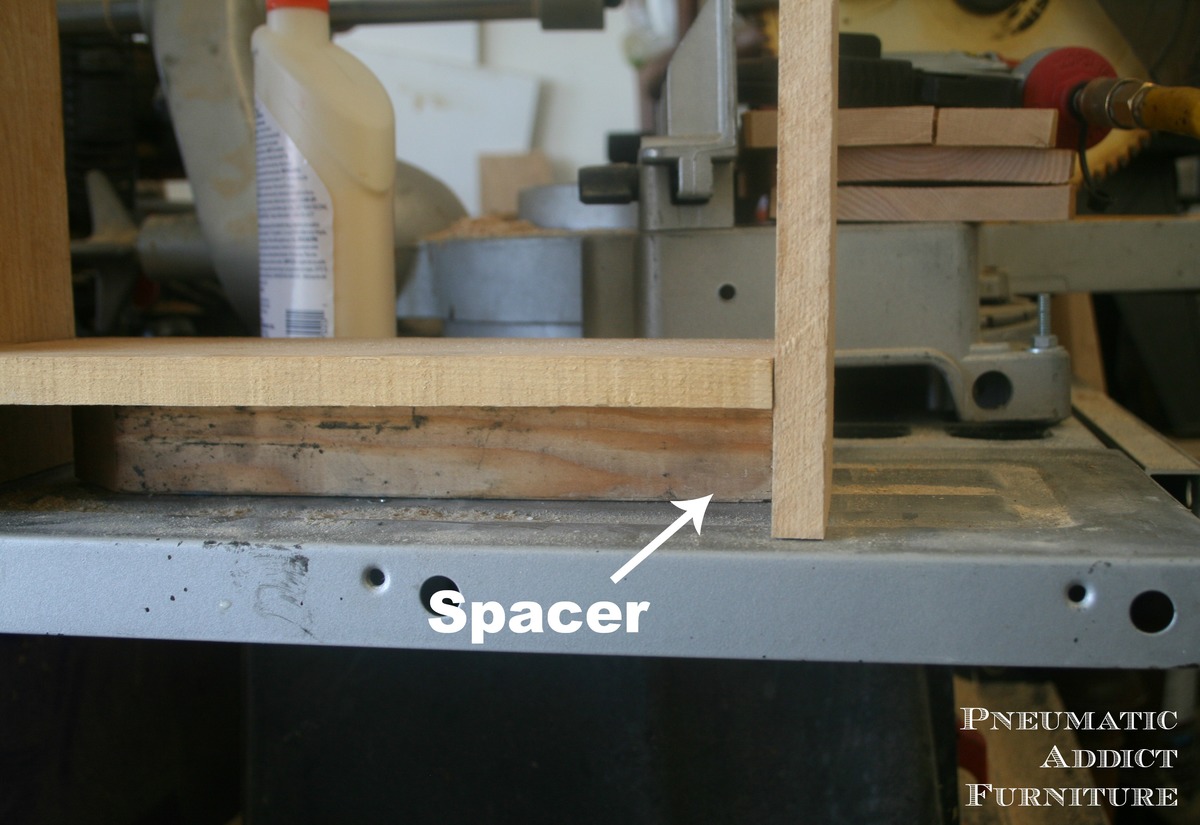
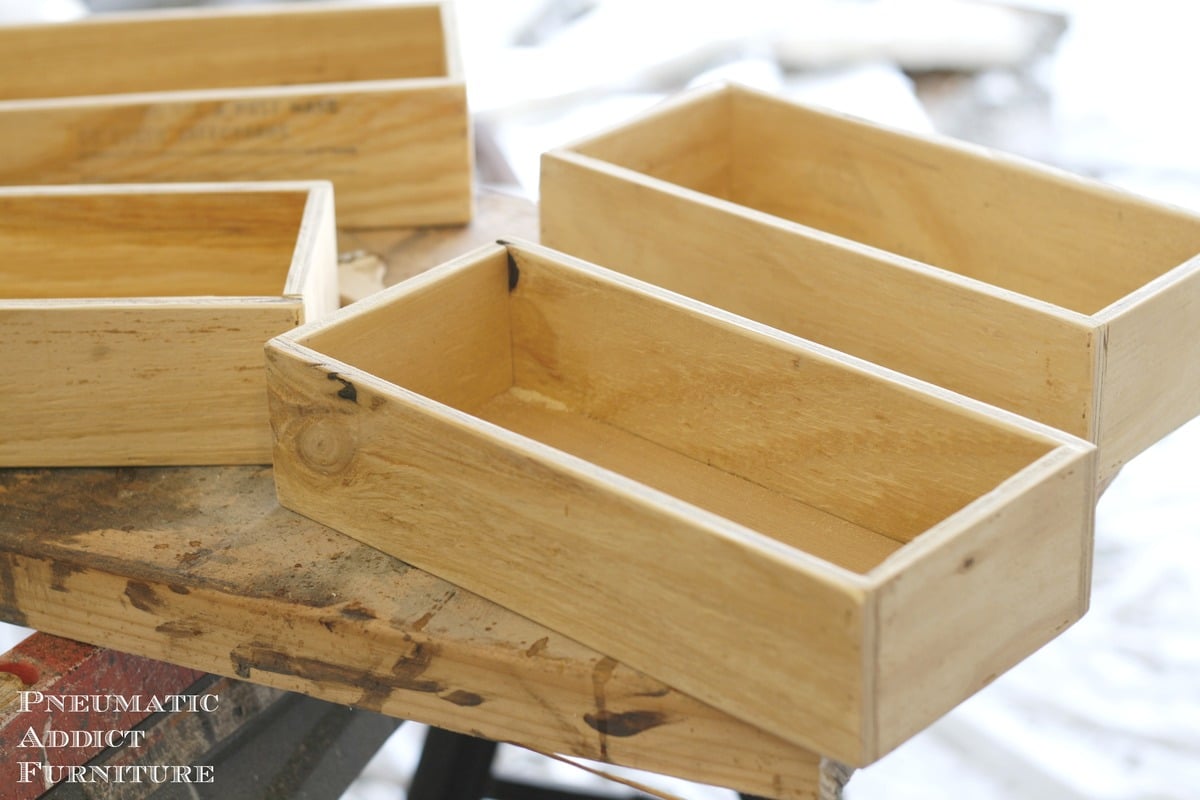
I needed a way to store and organize my make-up without taking up drawer space. It is built very similar to a small dresser, but with no drawer slides.

Estimated Cost
$10
Estimated Time Investment
An Hour or Two (0-2 Hours)
Finish Used
I first stained the frame and drawer boxes with homemade oxidizing solution. Next, I layered gray and white latex paint, then distressed heavily with a belt sander.
Recommended Skill Level
Beginner

Full size farm house bed

Submitted by ttrotter on Tue, 11/22/2016 - 06:44

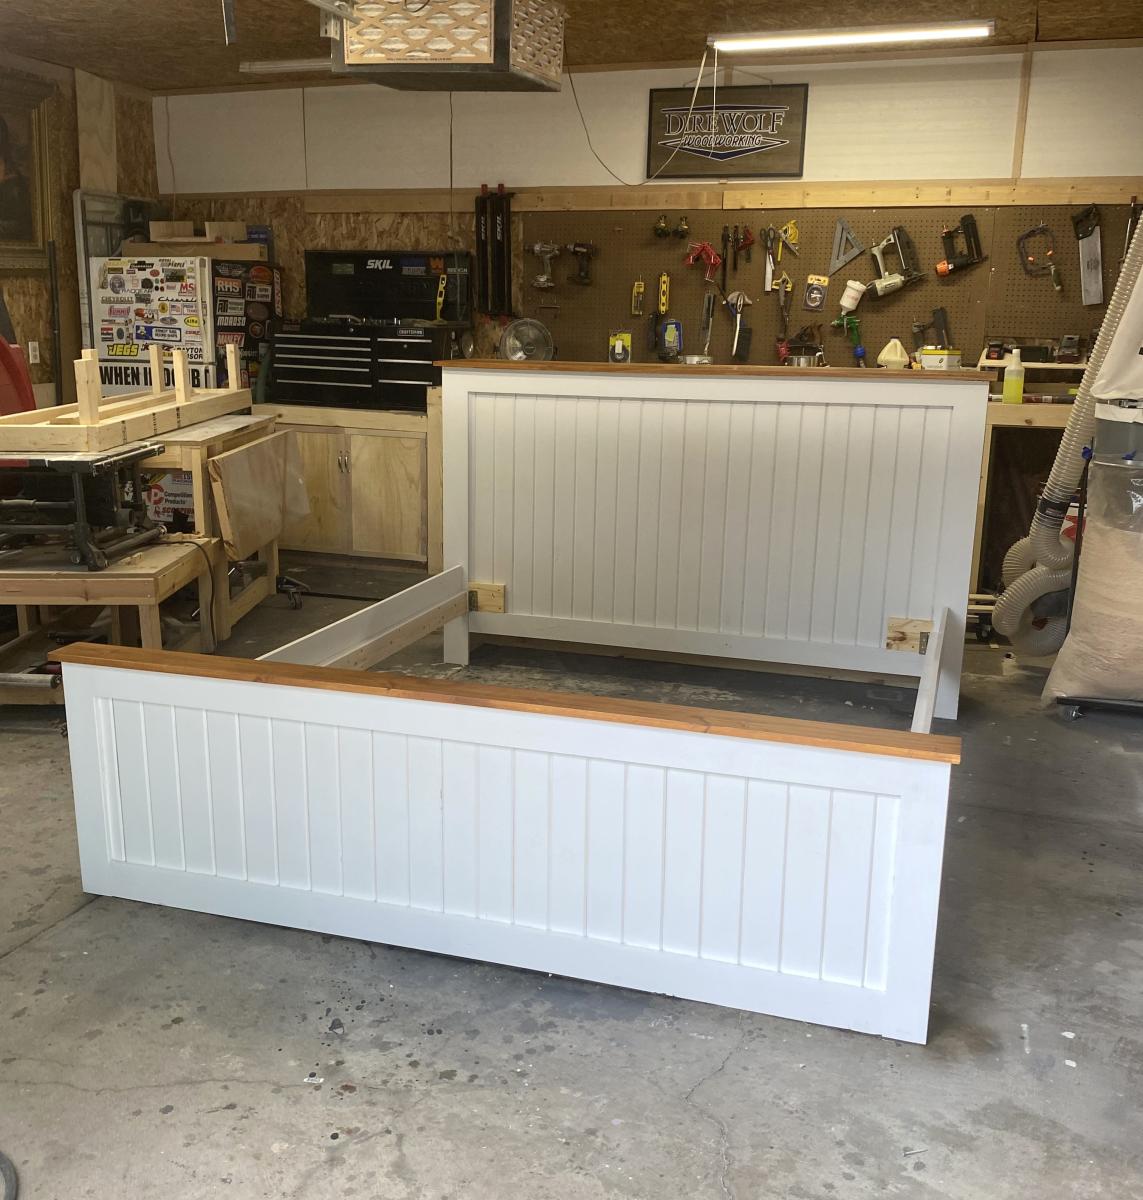
I found that if you use (16) 1x4's in lieu of the (8) 1x8's as for the panels no cutting is necessary for a standard full size bed.  Worked out wonderfully!

Built from Plan(s)
Estimated Time Investment
Weekend Project (10-20 Hours)
Finish Used
No finish, bare wood.
Recommended Skill Level
Intermediate

Bench with soft-close drawers for Front Entry

Submitted by drickstan on Tue, 08/11/2020 - 10:43

We needed a bench to fill the space in our front entry and provide some storage for seasonal gear. We couldn't find anything to buy that would work for us, so when my wife found these plans, I had to try it! Couldn't be happier with the results. We widened the bench by a foot to 84" to fill the space. Basically, it just made each drawer 4" wider. Everything else was built to plan. The most expensive thing was the soft-close 24" drawer slides (~$100). As soon as you go above that 24" depth, they get pricier! It was also tricky to get the drawers to catch properly on the soft-close mechanisms, but I made sure to take the time to get it right before closing it all in. Now I just open and close the drawers for the pure satisfaction of it! I used premium pine plywood for the top and I find it still doesn't give that smooth finish I like, even after sanding. I think I'll create a new top out of joined knotty pine planks later and just attach it to the top.

Built from Plan(s)
Estimated Cost
$300 CAD
Estimated Time Investment
Week Long Project (20 Hours or More)
Finish Used
Primer and pearl finish paint.
Recommended Skill Level
Intermediate

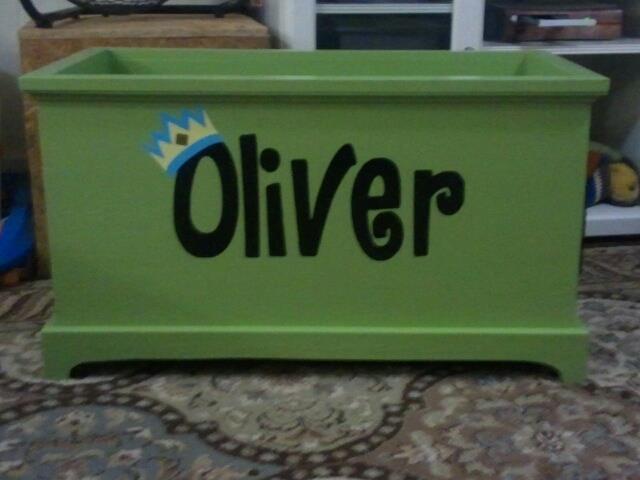
Toybox built from A/B plywood, for son's 1st birthday.

I built this toybox for my son's first birthday. It took about a week to do, starting and stopping. I got Lowes to cut the plywood for me, and screwed everything together. Wood filler filled the countersunk holes, and a coat of primer and two coats of paint finished it off.

After everything dried, my wife added the name and crown in vinyl cut out using her Cricut.

Built from Plan(s)
Estimated Cost
$60
Estimated Time Investment
Weekend Project (10-20 Hours)
Finish Used
Kilz2 and 2 coats of latex paint.
Recommended Skill Level
Intermediate

first project

Submitted by gbhein on Sun, 08/10/2014 - 10:25

My very first project, made it for my girlfriends birthday. Did not have time to stain and paint them yet, will add finished pictures.

Estimated Cost
$550
Estimated Time Investment
Week Long Project (20 Hours or More)
Finish Used
none yet, will be staining table and painting chairs.
Recommended Skill Level
Beginner

Miter saw stand with rolling tool storage carts

Submitted by UCF99ENG on Fri, 11/25/2016 - 18:04

When I saw the plans for the miter saw stand that had two rolling tool storage carts, I knew I had to make it.  Having a cart used for an outfeed table is a brilliant idea.  It was a fun project to make.  I tweaked a few dimensions because I like taller workbenches because I'm taller.  Now my shop is looking more organized.

Estimated Time Investment
Weekend Project (10-20 Hours)
Recommended Skill Level
Intermediate

Comments

CSaintD

Sat, 03/18/2017 - 09:02

Very nicely done.  I am thinking about building the same system.  How is the dust control on the mitre saw working?  That is my one concern, that sawdust will be all over my other tools when I use the mitre saw.

UCF99ENG

Wed, 05/10/2017 - 20:47

I don't really have a dust control system.  I let the dust fall where it does and then just sweep it up.  I have a wet/dry vac but my wife uses it in the house because it's more powerful than many other vacuums.  If the dust gets out of control, I can just bring the wet/dry vac out to the garage and clean up.  There is lots of room to maneuver the vacuum.

CSaintD

Sat, 03/18/2017 - 09:07

Very nicely done! I am thinking about building this same system but am worried about the dust from the mitre saw getting all over my other tools stored in the rolling sections.  Do you have any issues with that?

Hexagon Table

Submitted by hgordon on Sat, 08/15/2020 - 08:08

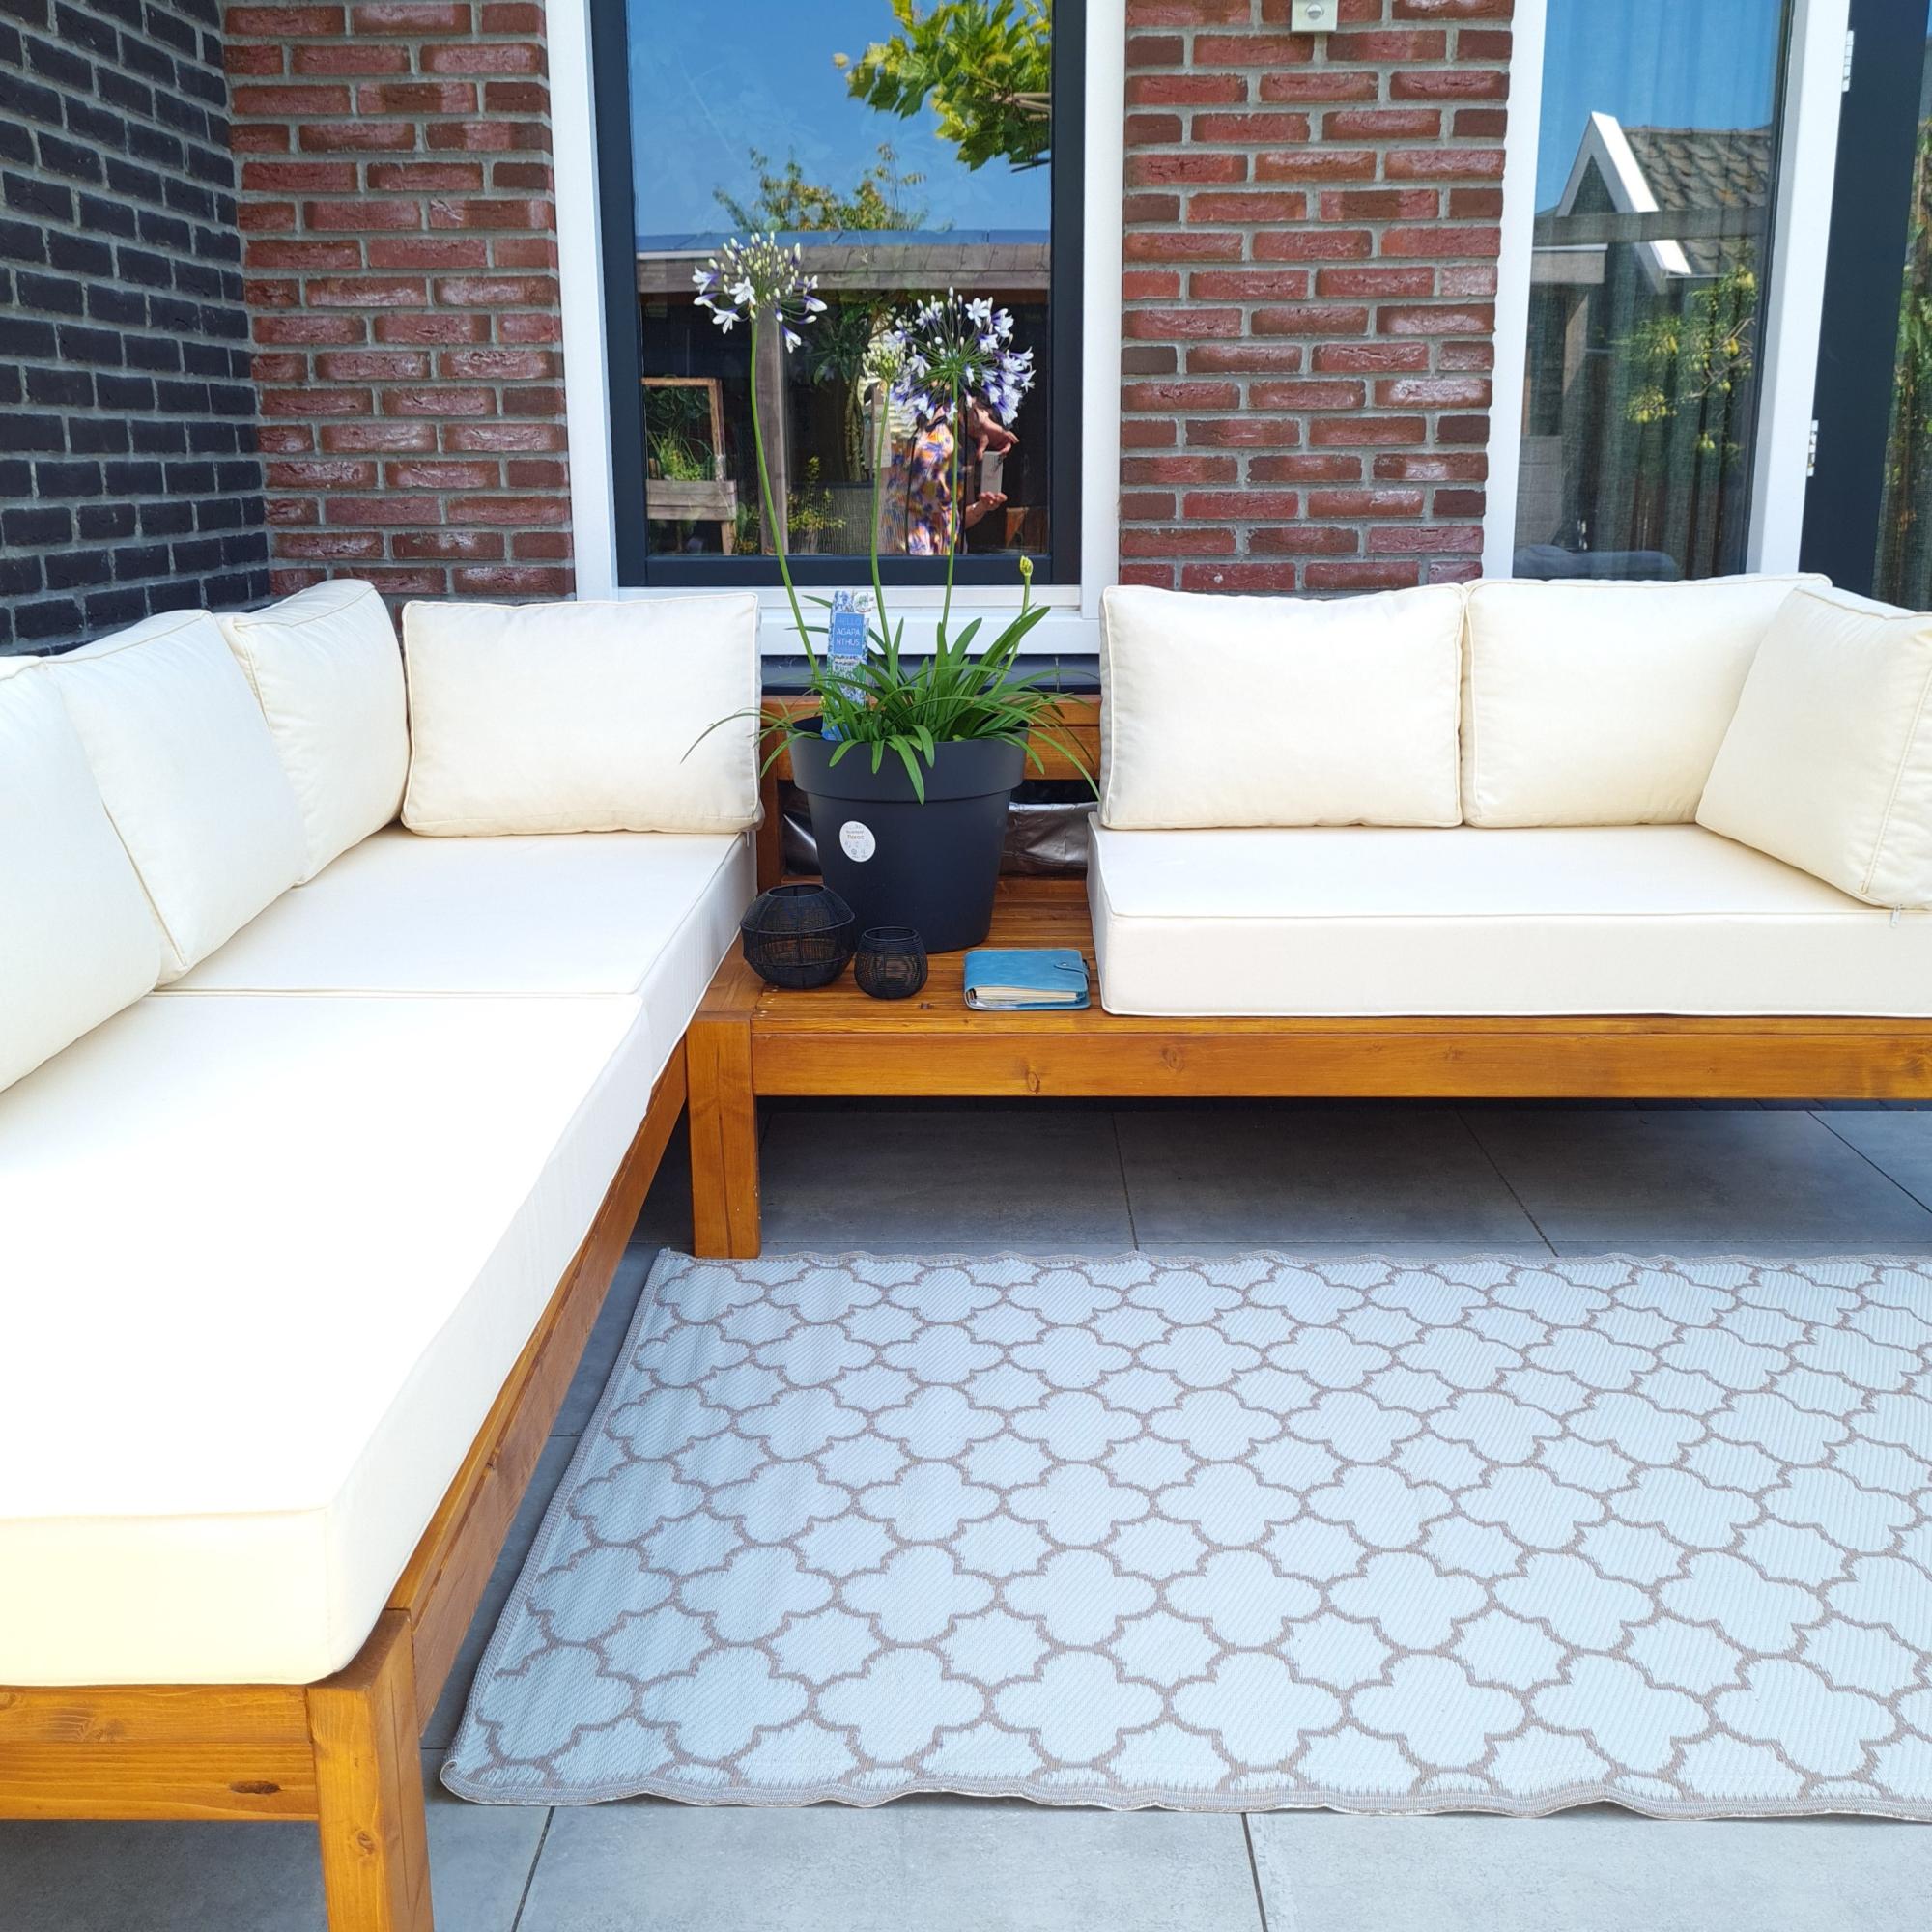
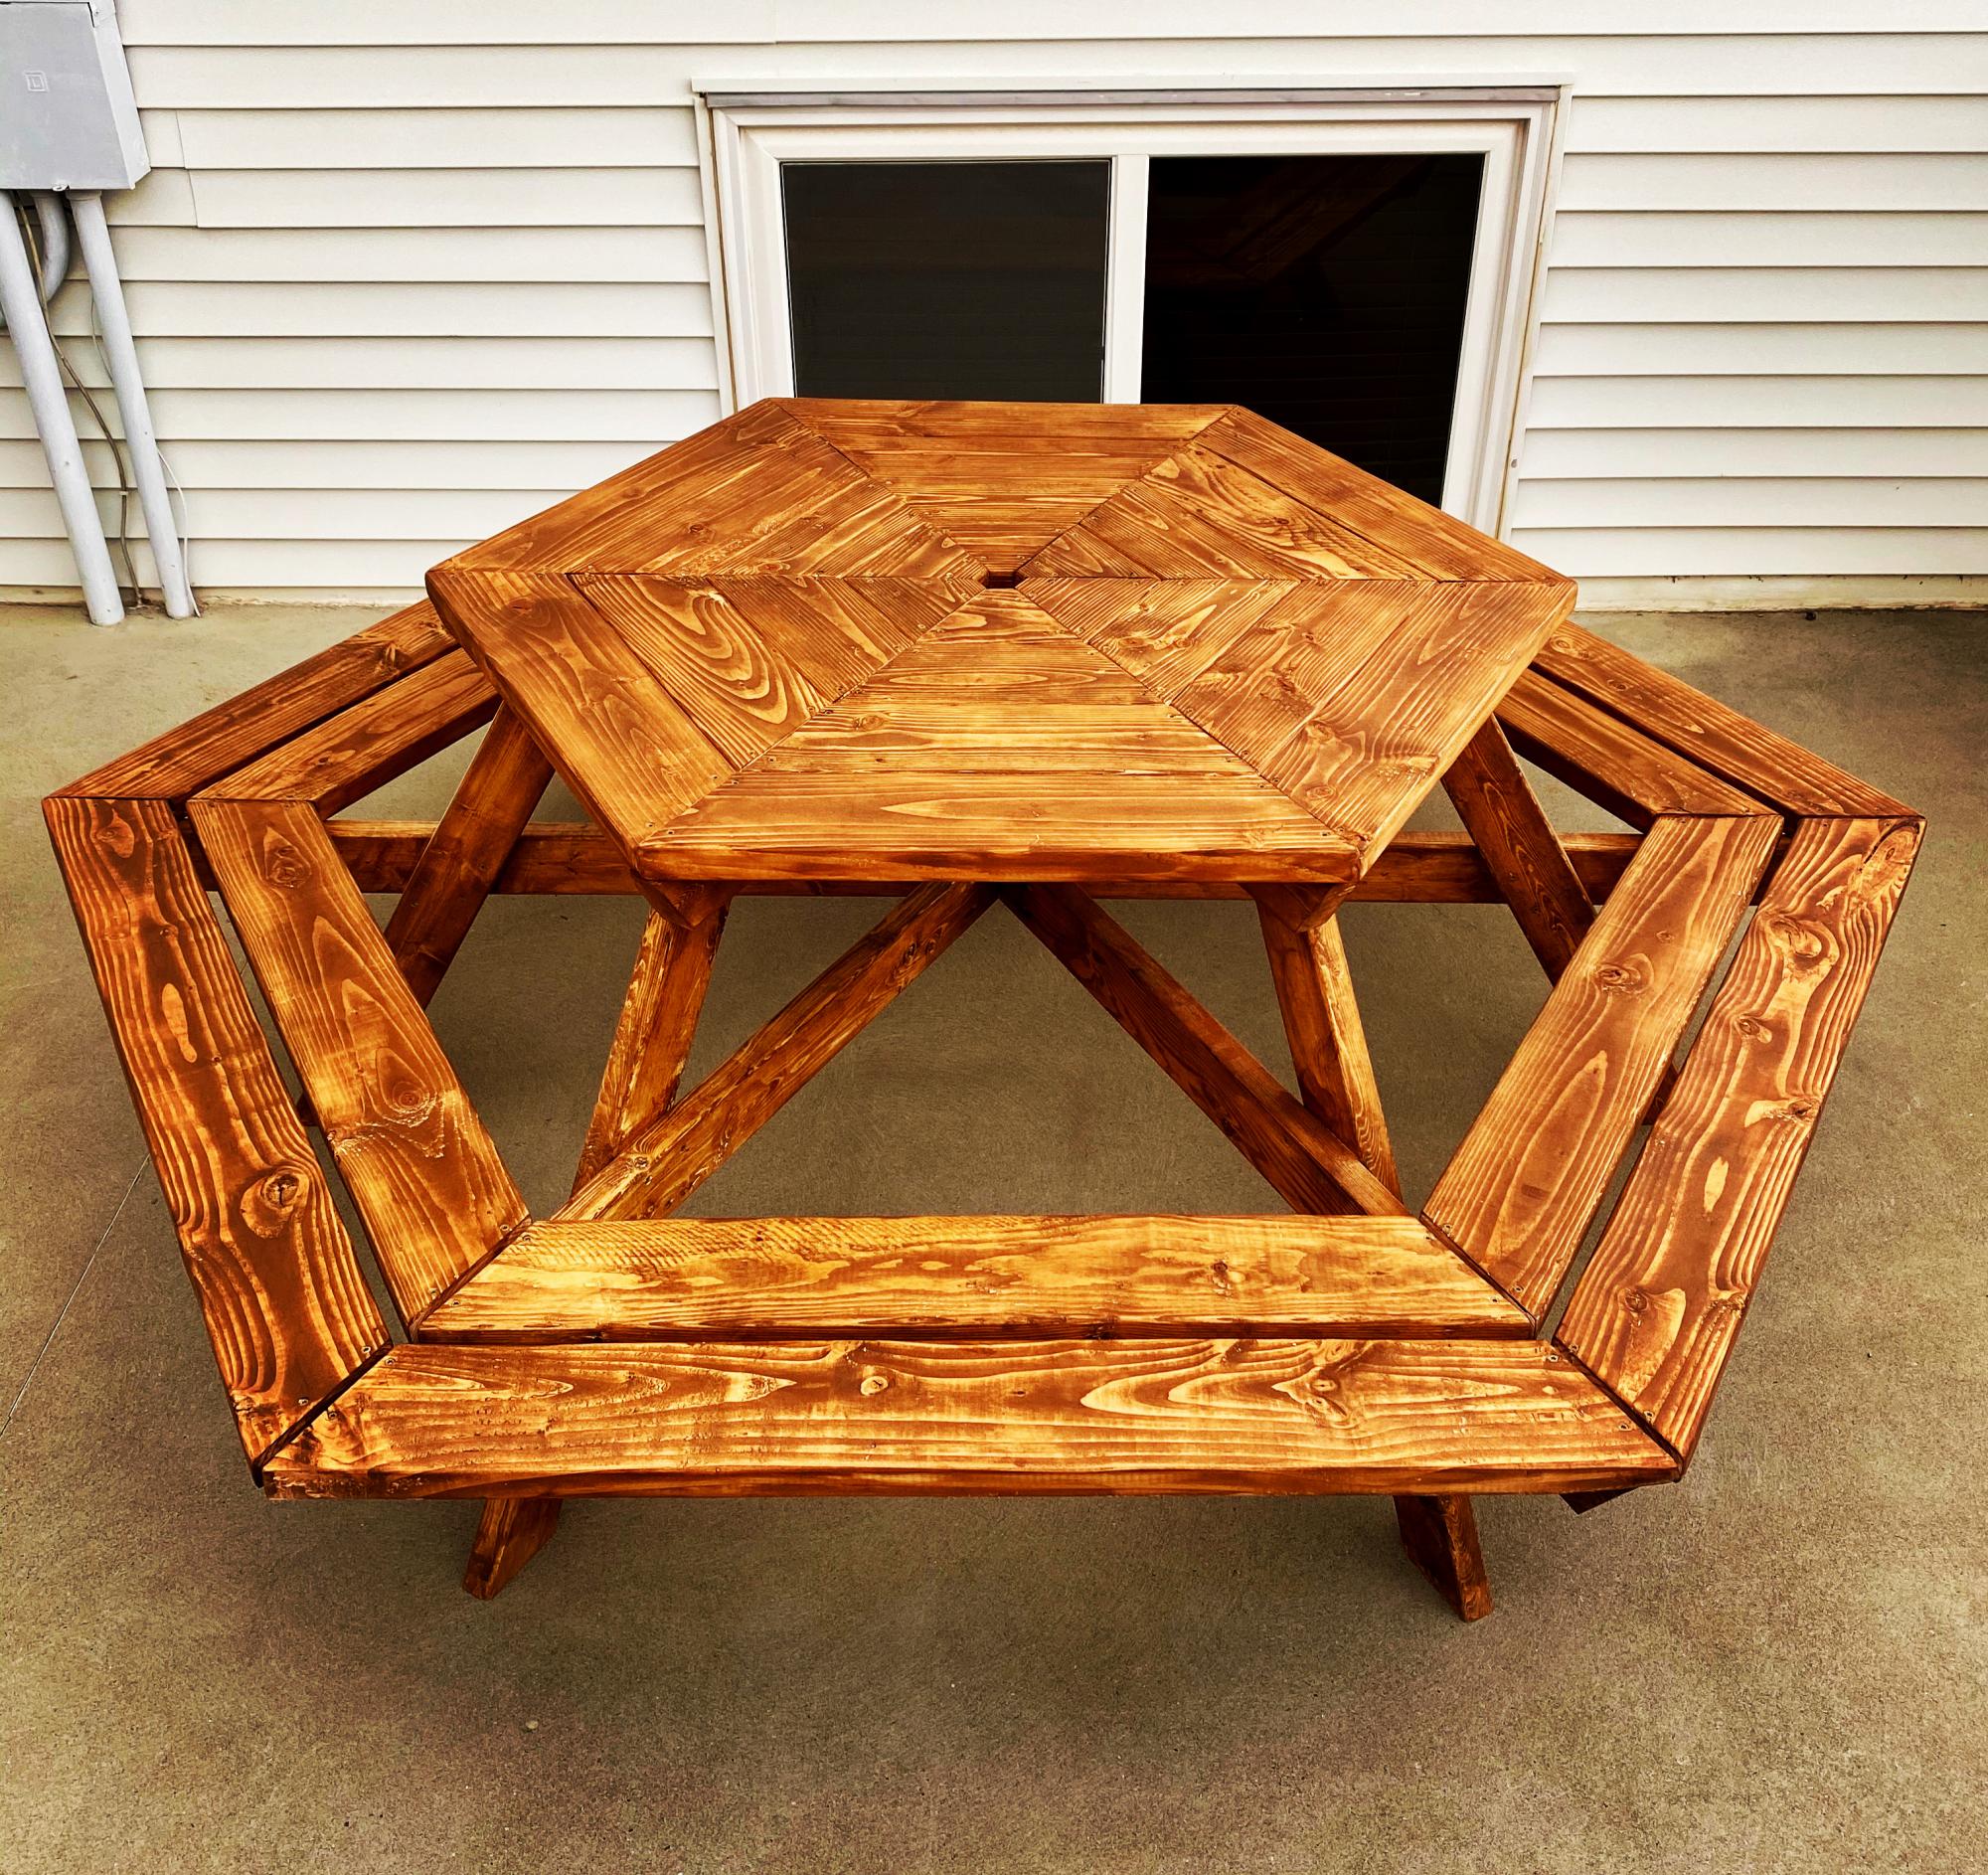
Great build for the patio!

Built from Plan(s)
Estimated Time Investment
Weekend Project (10-20 Hours)
Finish Used
Varathane Early American
Cabot waterproofing
Recommended Skill Level
Advanced
Seasonal And Holiday
Back