Community Brag Posts

Kids Play Kitchen

Submitted by julievic on Wed, 12/14/2011 - 11:28

Christmas 2010 my husband and I made our little girls a kitchen using Ana's plans. We used the materials on her cut list, and used paint for the finish. Used fabric scraps to sew the sink skirt, found the knobs at hobby lobby and habitat for humanity, and small bar faucet at Home Depot. It turned out amazing!

Estimated Cost
$100
Estimated Time Investment
Weekend Project (10-20 Hours)
Finish Used
Paint
Recommended Skill Level
Beginner

Comments

julievic

Tue, 12/20/2011 - 16:04

Thanks so much for the compliment! Means SO much coming from you! I love your site and your plans, Ana you are amazing! Thank you for making me your featured builder this month, I had no clue until someone saw my face on your blog! I feel like a rock star now ;)

Farmhouse bedside tables

Submitted by TarheelTim on Wed, 11/06/2013 - 18:30

Made these out of left over antique heart pine flooring. Definitely not for beginners. Lots of small pieces, good for using up scraps! Made to match a Reclaimed wood headboard made from the same wood.

Estimated Cost
Next to nothing. Leftover flooring scraps.
Estimated Time Investment
Week Long Project (20 Hours or More)
Finish Used
Mixed my own. Dark walnut, red mahogany, golden oak, and a little cherry.
Recommended Skill Level
Advanced

Wall Clock

Submitted by junkens on Thu, 01/21/2016 - 11:53

My wife wanted something to replace the wreath on our wall after Christmas and I was thinking of making her a large wall clock as a gift.  Plan meets opportunity and we just happen to be at Hobby Lobby at the time and so it began.   I used a piece of paneling for the face of the clock (same material as peg board without the holes about $8, enough to make two if I wanted) and built a wooden frame out of 1' X 2' s on the back that resembles a four pane window frame.  Painted the face and numbers, then printed our names and transferred them on to the face and followed up tracing them with a sharpie.  Affixed clocked to face and hung. 

Built from Plan(s)
Estimated Cost
$50
Estimated Time Investment
Afternoon Project (3-6 Hours)
Recommended Skill Level
Beginner

Modern Park Bench

Submitted by Ecorn on Fri, 06/28/2019 - 21:15

This is my second project using Ana's plan. Plans were easy to follow. 

Built from Plan(s)
Estimated Cost
$40 CDN
Estimated Time Investment
Afternoon Project (3-6 Hours)
Finish Used
double boiled linseed oil on bench and milk cans. I lightly sanded the milk cans to keep the patina.
Recommended Skill Level
Beginner
Seasonal And Holiday

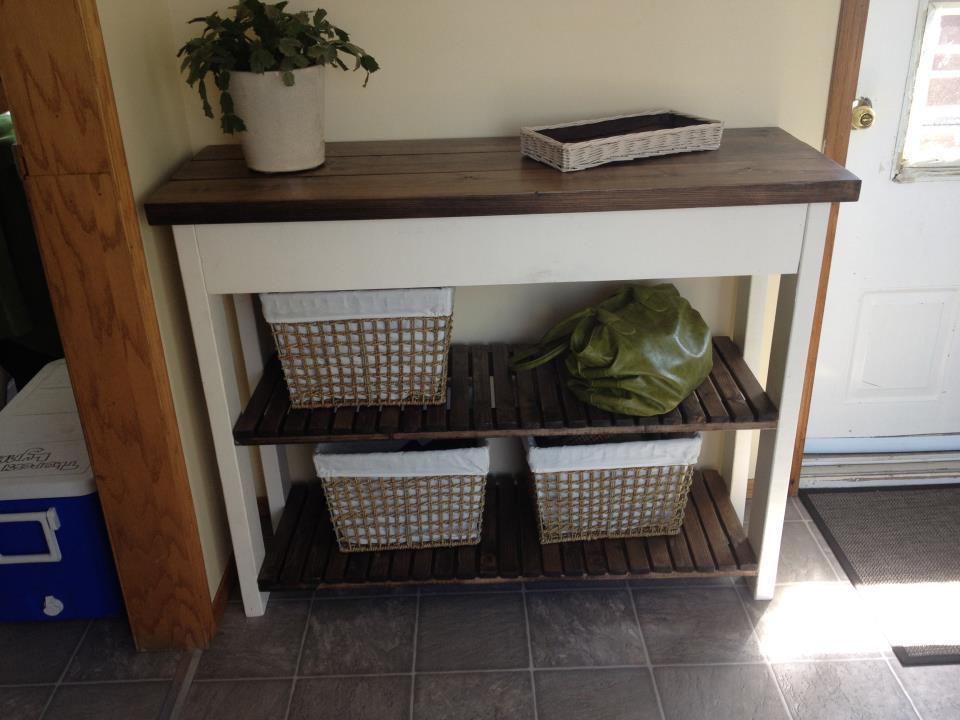
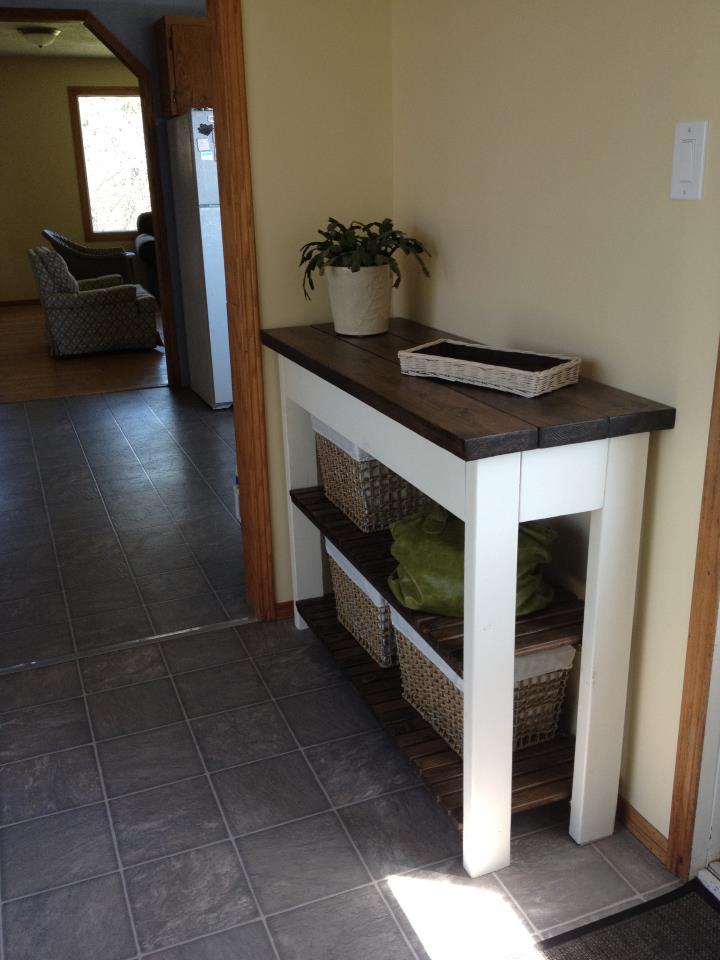
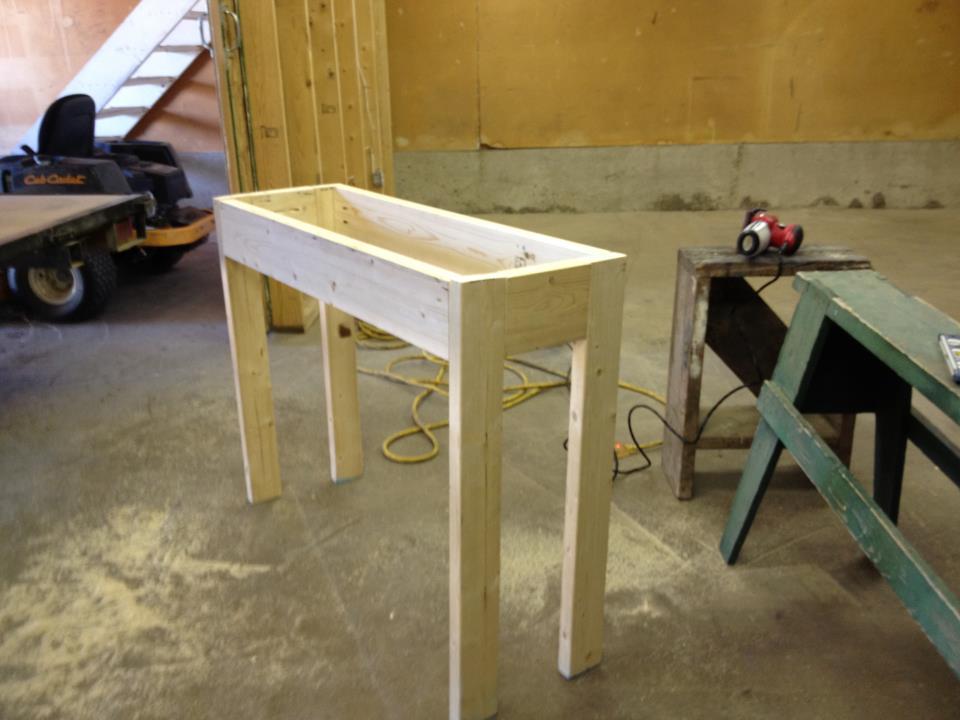
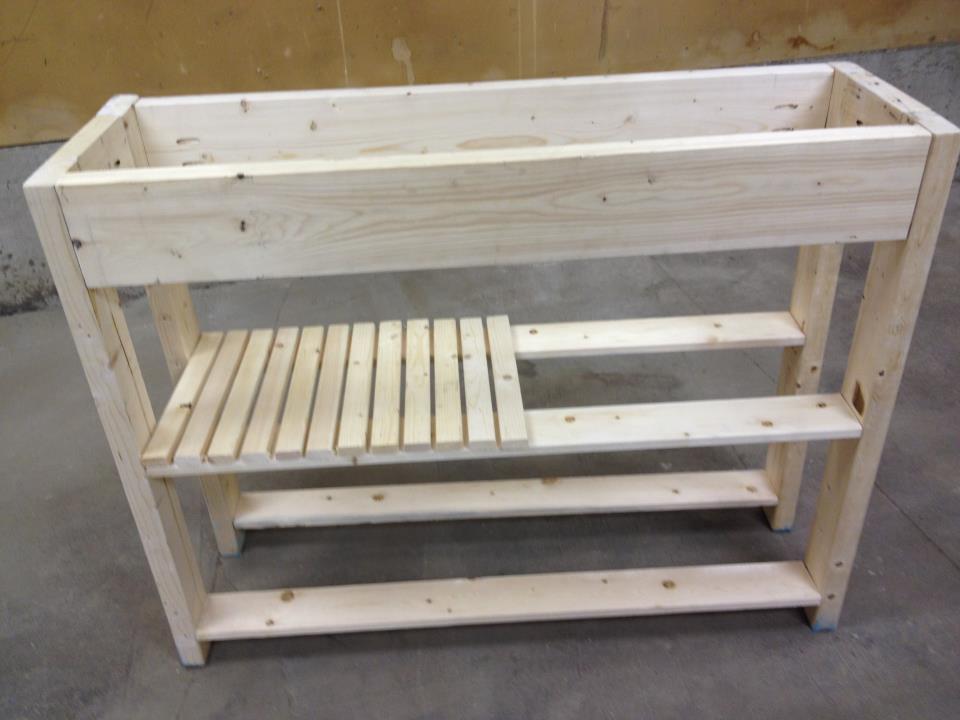
Raised planter

Submitted by Anonymous (not verified) on Sat, 04/08/2023 - 10:13

Nightstand

Submitted by Klem413 on Sun, 12/18/2011 - 18:05

Another project my husband worked diligently on! It took him forever because he's a perfectionist, but he finally got one done. He used a piece of 3/4" plywood framed with mitered wood instead of the planks for the top. Now, on to the other one.

Estimated Cost
20.00 each
Estimated Time Investment
Week Long Project (20 Hours or More)
Finish Used
Minwax Poly Shades Bombay Mahogany
Recommended Skill Level
Beginner

Comments

Debbie440

Wed, 01/22/2014 - 07:51

I love the way the top is done.......... I made a bed and stained it with the same stain as you used. I'm hoping my nightstand turns out like yours.

Reclaimed wood-look headboard

Submitted by TxDork76 on Sat, 11/09/2013 - 21:52

A friend found Ana-White, found the plans and asked if I could build this for her. I'm still new to building, so this was a great, easy project to work on. I went with slightly less expensive boards/furring strips. It means more searching/digging though.

Jaime_C mentioned having to use boards on the back to brace/even up the face boards as much as possible so I did this as well.

We were very happy with the finish. She painted a couple of coats of the base color (antique beige) then we glazed the headboard. We thought about distressing but the practice board looked great without it. I wiped on the glaze and she followed wiping it off to get the look she wanted. The picture really does the finish no justice.

Great plans, easy to follow and fun to build.

Estimated Cost
$80
Estimated Time Investment
Day Project (6-9 Hours)
Finish Used
base coat of ?Glidden? Antique Beige (satin) Rustoleum Java Brown semi-transparent glaze.
Recommended Skill Level
Beginner

Student work table

Submitted by Anonymous (not verified) on Sun, 01/24/2016 - 16:12

I love this table! Made for my 5th grade classroom, I modified the plans to include a dry erase table top, magnetic strips to support dry erase marker holders and clips on each leg for microfiber cloths to clean the board. I also lowered the table by two inches so my vertically challenged students could still stand, wiggle, and work comfortably. Thanks for posting the plans!

Built from Plan(s)
Estimated Time Investment
Day Project (6-9 Hours)
Recommended Skill Level
Beginner

Comments

Modern Console Table

Submitted by DCecil43 on Mon, 07/08/2019 - 18:48

I built this for one of my friends that gave me the dimensions he needed.  He gave me complete control with the only caviat of needing 2 drawers.  I used Premium Pine from Menards, Minwax True Black stain and Minwax Satin Polyurethane.  This one came out better than I expected!

Estimated Cost
$225
Estimated Time Investment
Weekend Project (10-20 Hours)
Finish Used
Minwax True Black Stain and Minwax Satin Polyurethane
Recommended Skill Level
Intermediate

Bedside tables

Submitted by Anonymous (not verified) on Fri, 04/14/2023 - 04:01

Made for my granddaughter. First time doing multiple drawers.

Comments

Kitchen Table

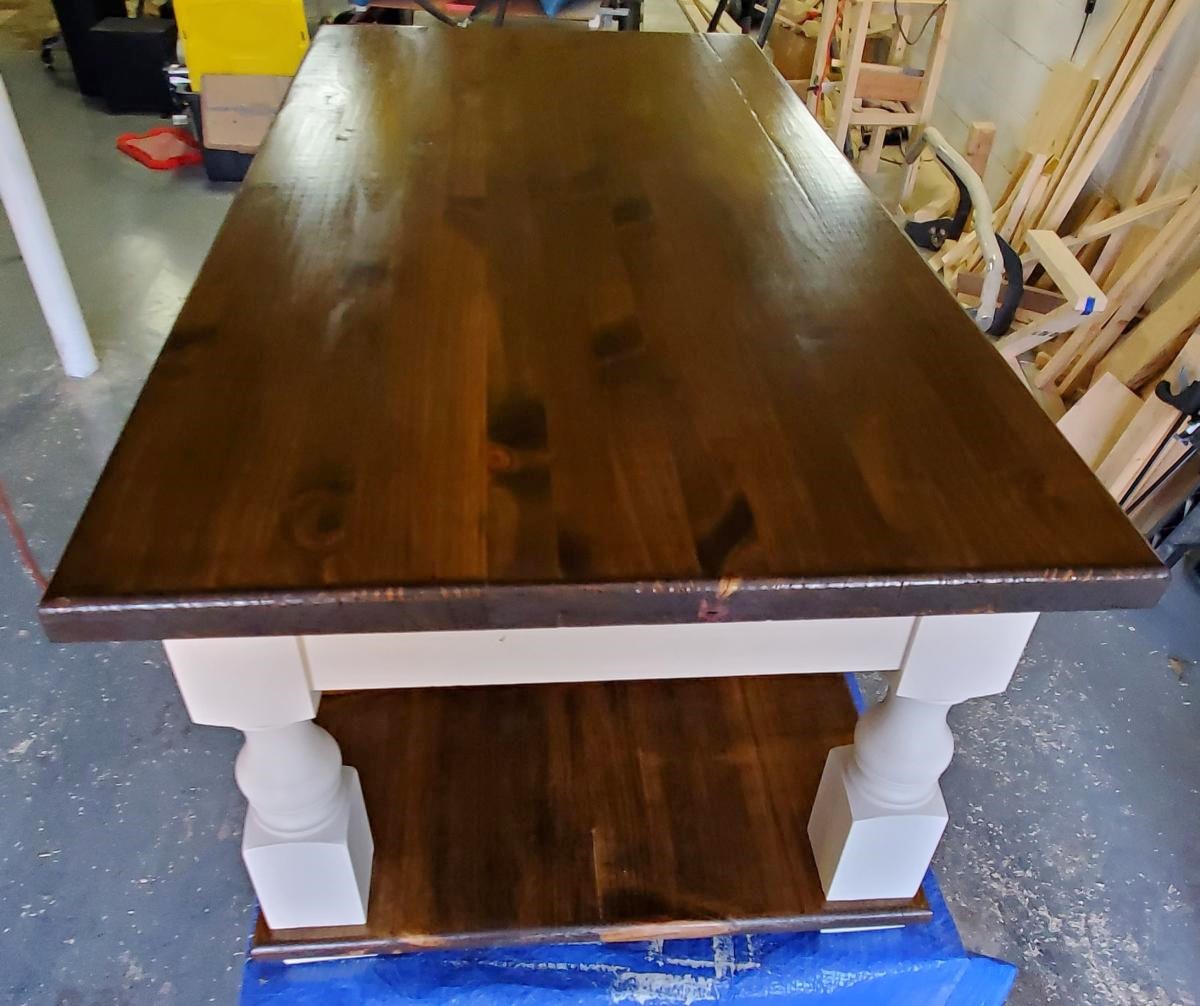
I couldn't find an exact plan for the kitchen table I wanted, so I used a combination of the farmhouse table and pub table to create the perfect table for my space. I liked the look of the 4x4 legs, but my local lumber store did not have a good selection of 4x4 boards. So I used a 1x4 and 1x3 kreg jigged together in an L shape to get the look of the 4x4 legs. The overall table dimensions ended up 44" square by 31" tall.

Estimated Cost
$100
Estimated Time Investment
Weekend Project (10-20 Hours)
Finish Used
Well, I asked for charcoal gray minwax stain. However, it turned out VERY blue, so I believe the paint machine must have made a mistake. I havent decided if I like the color, perhaps it will grow on me, if not, I'll be sanding it down and restaining it this spring. I used minwax satin polyurethane over the stain.
Recommended Skill Level
Intermediate

Comments

Erinski3 (not verified)

Mon, 04/16/2012 - 18:48

Great make, will you help with the dimensions and size of boards you used? What did use use for the top and aprons? 2x6? Any info would help. This would be a perfect fit for my place

MarioM

Sun, 10/27/2013 - 01:02

Is it necesery to drill holes on angle and what does it help (picture 3, under the table) ? Thank you

suedrakewest

Sun, 07/13/2014 - 05:43

Love the way the color of the table turned out and the size boards you used on top. Where did you find the matching chairs? This is the exact color scheme of my dining room remodel. Thanks!

Faux Fireplace

I tweaked the plans to fit the spot I had in mind- It's a little skinnier, but still super cute!

I eliminated some of the extra trim, but I don't think it suffers any for it.

It's super cute!

Estimated Cost
50
Estimated Time Investment
Day Project (6-9 Hours)
Finish Used
I sealed the knots with kilz primer and then used a paint and primer in one that I had laying around for the white.
Recommended Skill Level
Beginner

Comments

jackiemacrae

Mon, 11/11/2013 - 14:47

Thanks Ana!
I have this set up in my photography studio. The floors are just ripped 1/4 inch plywood painted brown, then the crackle stuff, and then a top coat of white, and a poly to seal it.

Pam the Goatherd

Thu, 11/14/2013 - 09:50

The "fireplace" looks really good! And I'm glad to hear how you did your floor. I've been trying to convince my hubby to do a 1/4" plywood floor in our trailer as a temporary fix until we can either afford to put down "real" flooring or build the house we have been intending to build on this piece of property for the past 17 years. I've pointed out that we can replace the almost 30 year old, worn-out vinyl and carpet in the living room, kitchen and main hallway for less than $300 including paint/stain and polyurethane. But he thinks it will look tacky. I'm going to show him your picture so he can see for himself that it can look pretty doggone good!

jackiemacrae

Thu, 11/14/2013 - 10:37

Hi Pam- try googling plywood floors if you haven't already. I know I've seen some bloggers use plywood floors in their laundry room , and rec rooms.

Upholstered Coffee Table/Ottoman

Submitted by Anonymous (not verified) on Wed, 01/27/2016 - 10:15

I built the plans exactly as given (minus the top of course) but in hindsight I would have reduced the height by three inches to accommodate for the three inch height of the upholstery foam. I am still very happy with it!

Built from Plan(s)
Estimated Cost
$100 approx.
Finish Used
For the base, I painted them with Rustoleum's Hammered in copper. (The quart, NOT the spray paint) I did two coats. When applying, go quickly and don't over brush the paint. I did spray on a light clear matte finish to tone down the shiny finish of the paint.
Recommended Skill Level
Beginner

Comments

Loft Bed

Submitted by BGBuild on Tue, 07/16/2019 - 07:30

This is the first bed I built for my daughter when she was about 3 years old and we were living in Colombia. I was able to get the people at the hardware store to cut most of the wood for me which helped since we were in a very small apartment and I put everything together was a $40 starter drill kit. In the end it came out great and she was very happy with it. When we moved back to the US and I had access to more tools and workspace I built her a Little Cottage Bed which was a much harder build but worth it.

Built from Plan(s)
Estimated Cost
$150
Estimated Time Investment
Weekend Project (10-20 Hours)
Recommended Skill Level
Beginner

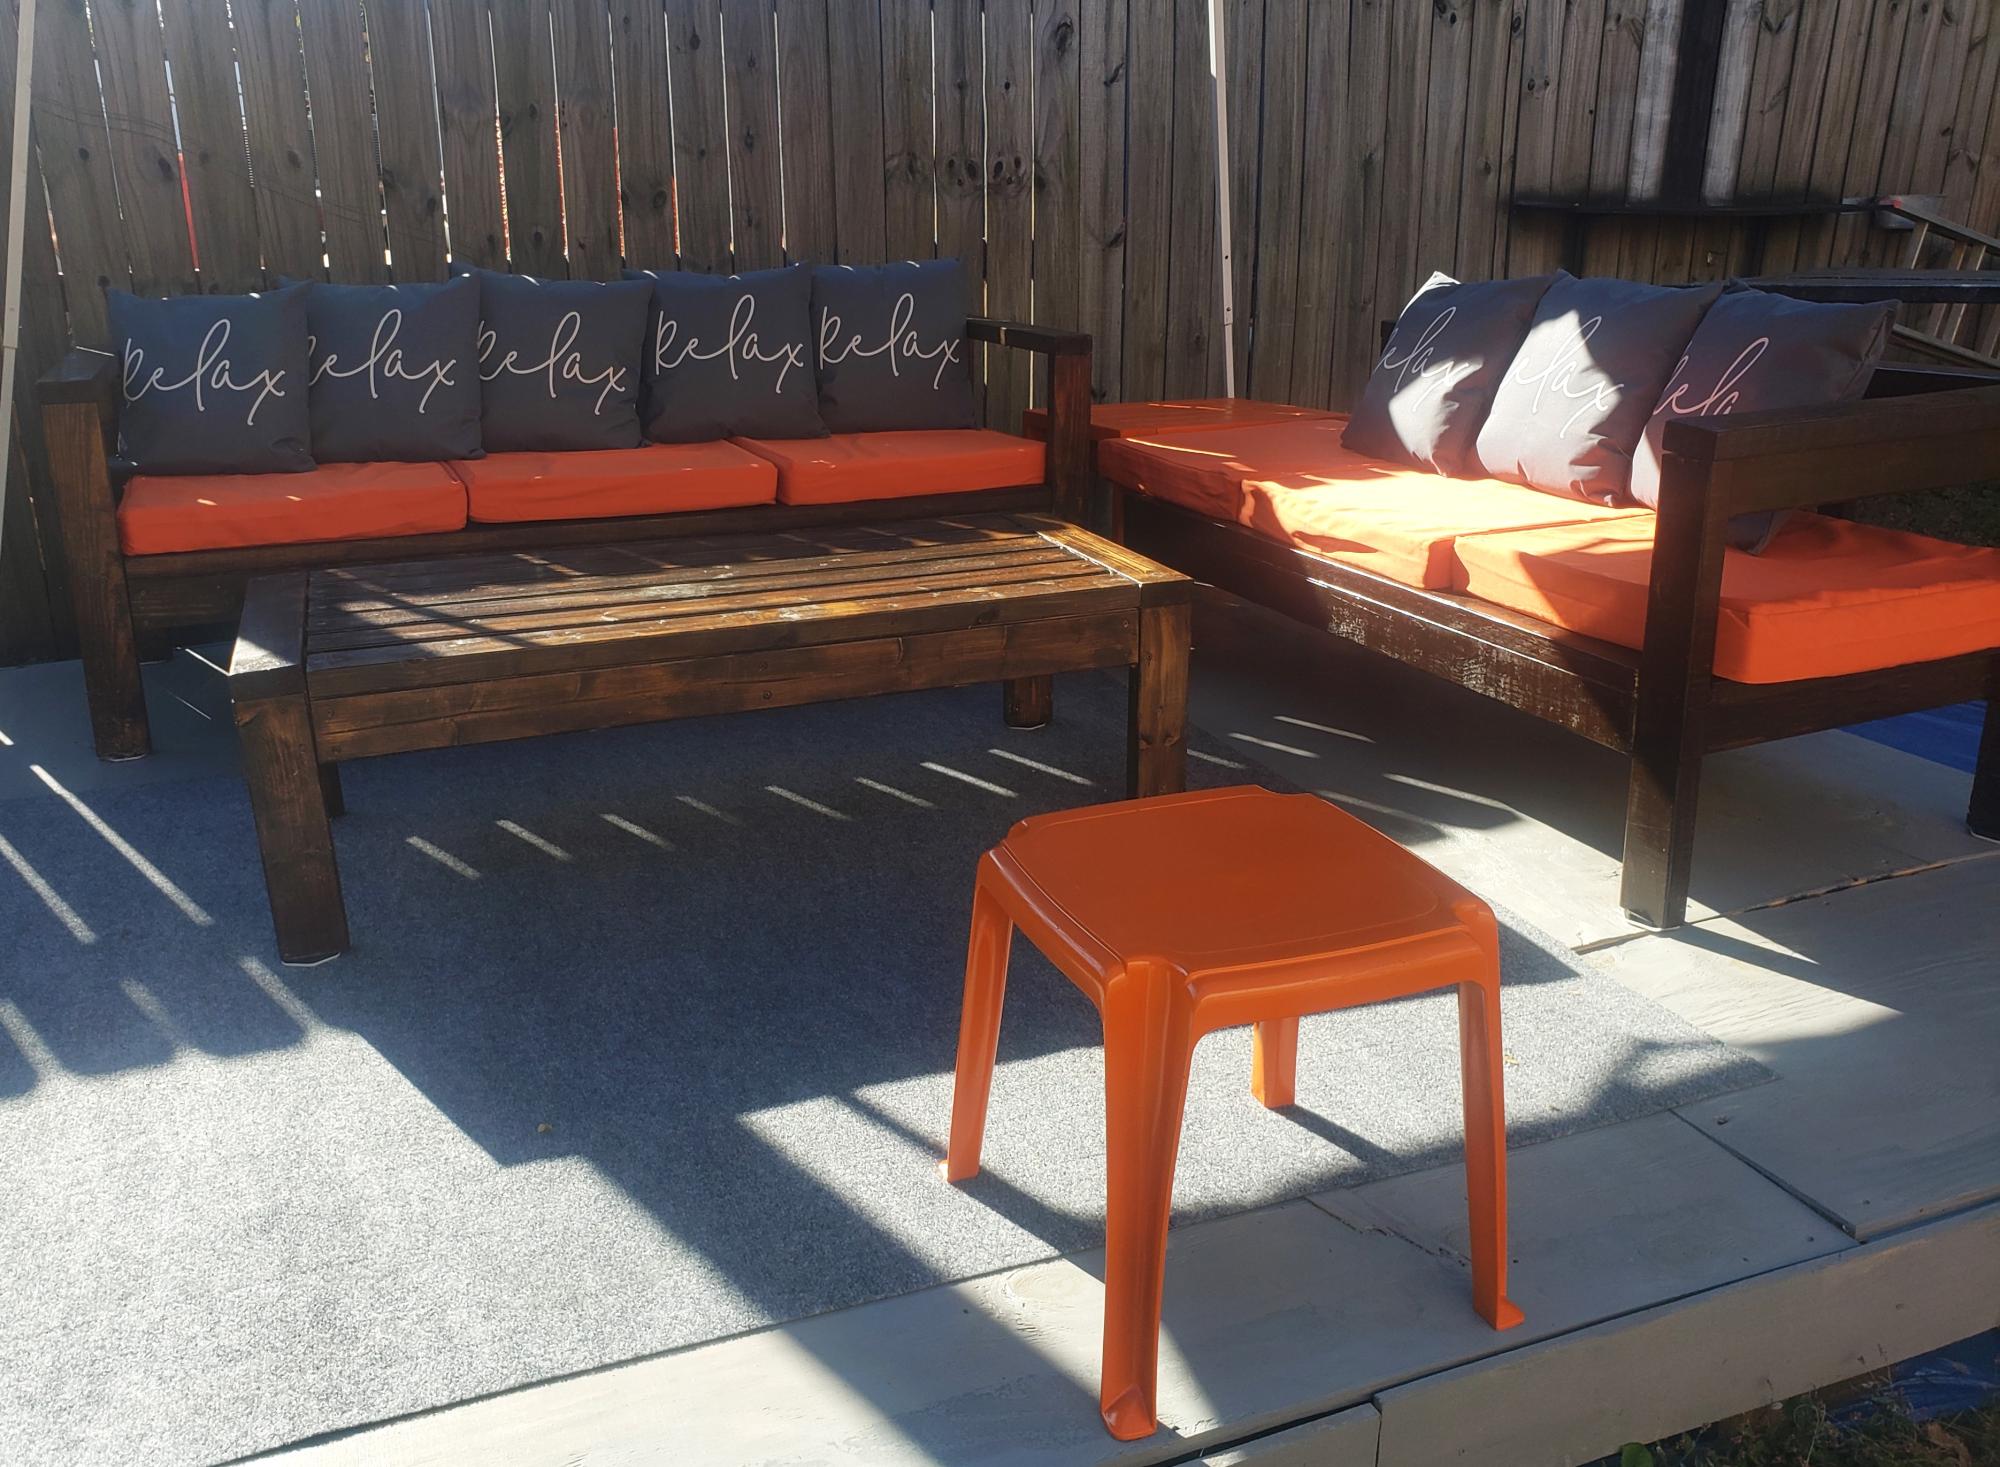
Outdoor Sofa plus ottoman came out GREAT!!

Submitted by Robster on Tue, 04/18/2023 - 12:30

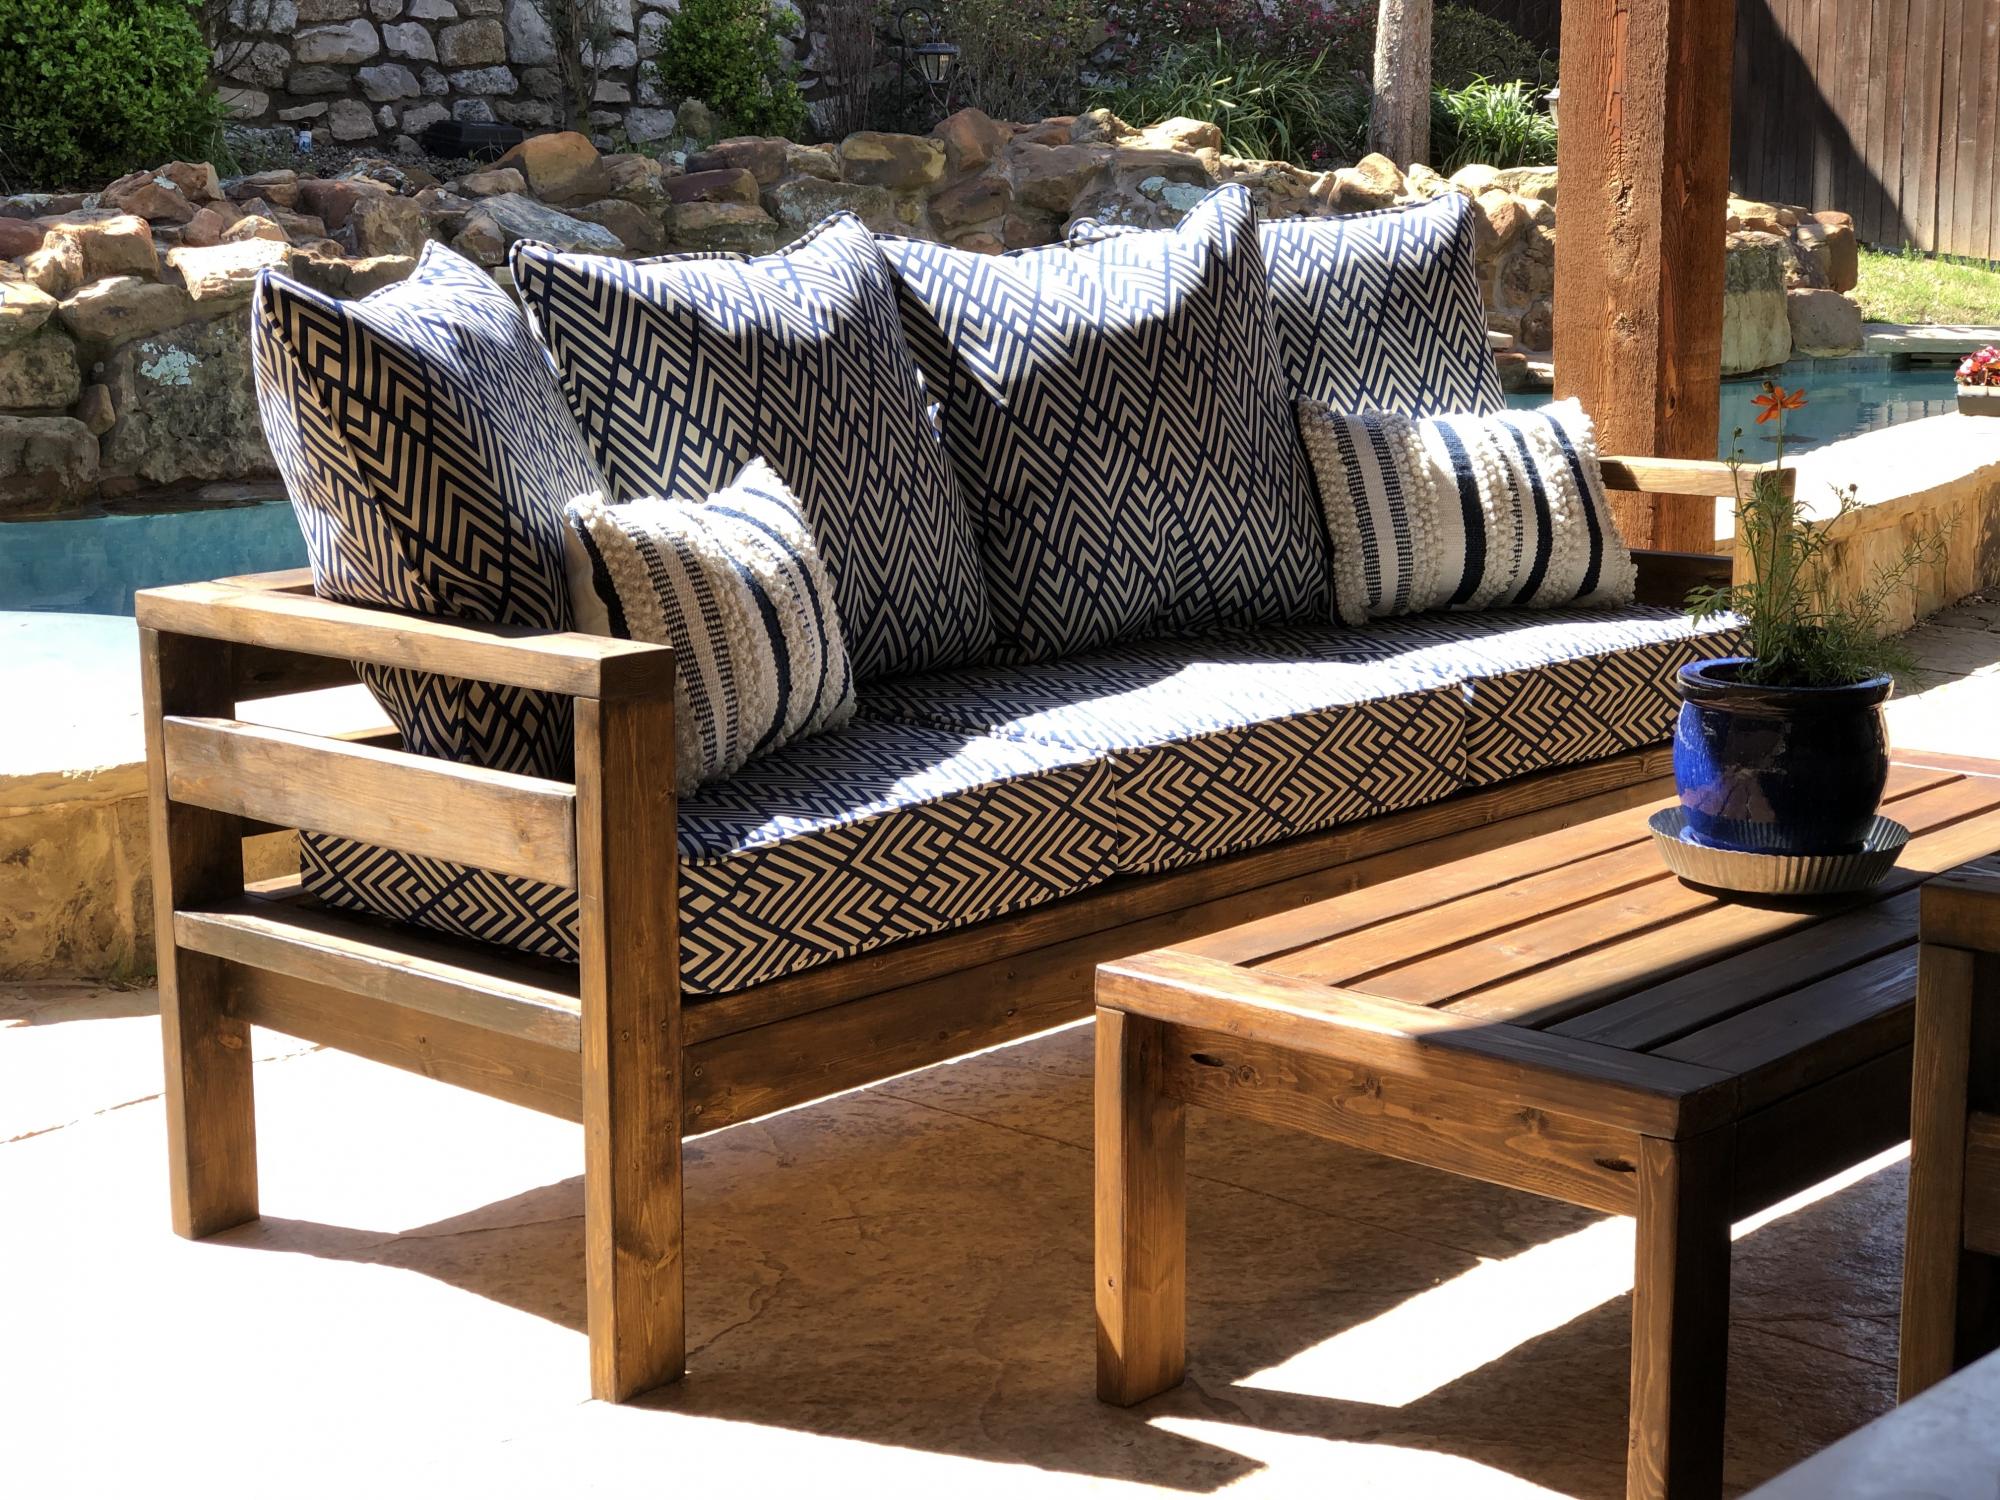
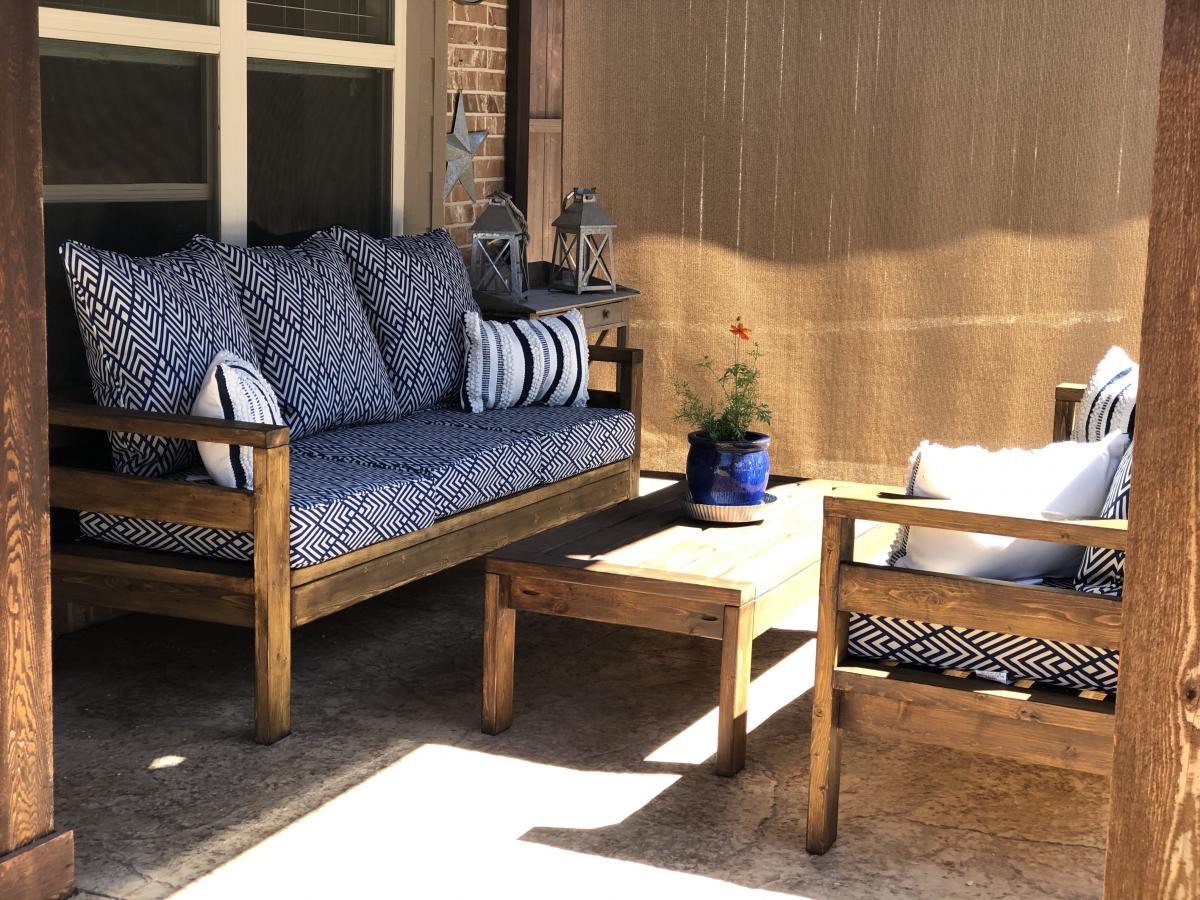
Inspired by outdoor sofa plan I saw on the Ana White website... wanted to customize by using larger cushions (29" wide) adjusted the plans for wider cushions and more relaxed sitting posture so pushed the back support angle further back by 4 inches. Added legs since we were wider. My wife is super pleased and build came out really nice. Thanks Ana for the inspiration!!

Comments

Claras Table and $4 stackable chairs sized for 18" Dolls.

Submitted by pjhaan on Mon, 12/26/2011 - 07:48

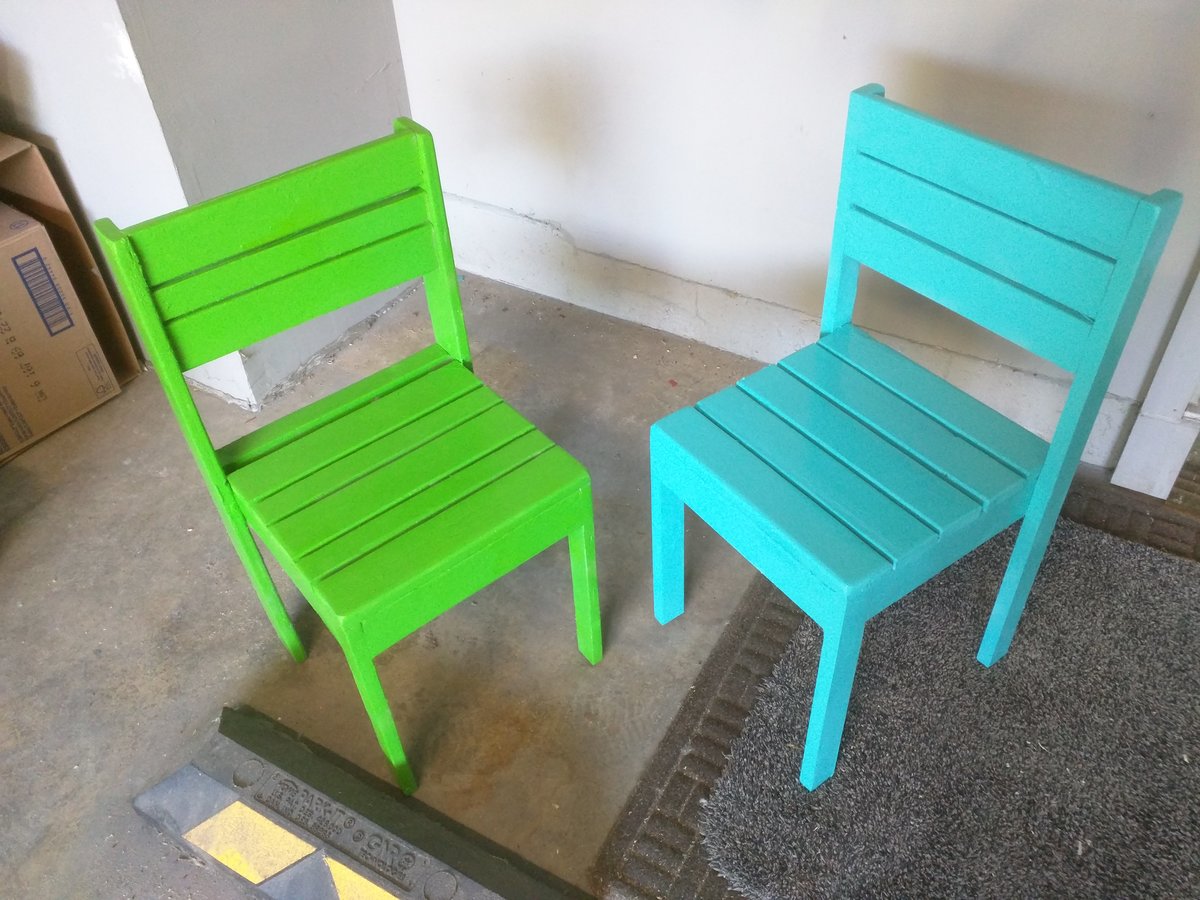
I decided to make the Clara table and the $4 stackable chairs for my daughters for Christmas. They were not for them though but rather for their American Girl dolls. I had to modify the plans to work for standard 18" dolls.

The Table:
It is a little taller than it should be but it allows the doll to fit under the table/apron while sitting in an appropriately sized chair (5" seat).

I also changed the length from 18" to 15 1/2" so the cuts could be made from a 4ft board.

3 - 1 x 6 @ 15 1/2" (Top) (1 @ 4ft)
4 - 2 x 2 @ 10" (Legs) (1 @ 4ft)
2 - 1 x 3 @ 10 1/2" (End Apron) (1 @ 4ft)
2 - 1 x 3 @ 9" (Side Aprons)

The apron is 1 1/2 inches. a 1x2 would probably work for the aprons too. You could then shorten the table legs by about an inch.

The Chairs:
The over all dimensions are now 12" H (back), 5 1/2" H (seat) X 6" W X 6 1/2" D

Cut List:
2 - 1×2 @ 4 1/4" (Side Aprons)
2 - 1×2 @ 5" (Side Supports)
3 - 1×2 @ 4 1/2" (Front Legs and Front Apron)
7 - 1×2 @ 6" (4 Seat Slats, 2 Back Slats and Back Apron)
2 - 1×2 @ 12" (Back Legs)

Built from Plan(s)
Estimated Time Investment
Week Long Project (20 Hours or More)
Finish Used
White paint. I used some Valspar paint on the table and one chair then decided it would take too long to get all the cracks and crevices. On the other three chairs, I used Krylon Spray paint. I put two coats of the spray paint on the first chair for better coverage.
Recommended Skill Level
Beginner

Comments

KAD050209 (not verified)

Tue, 10/09/2012 - 17:19

For the dimensions you have for the chairs... Is that to make one chair only? I so0o0o wanna make this for my DD! She'll love it!

Toddler Day Bed

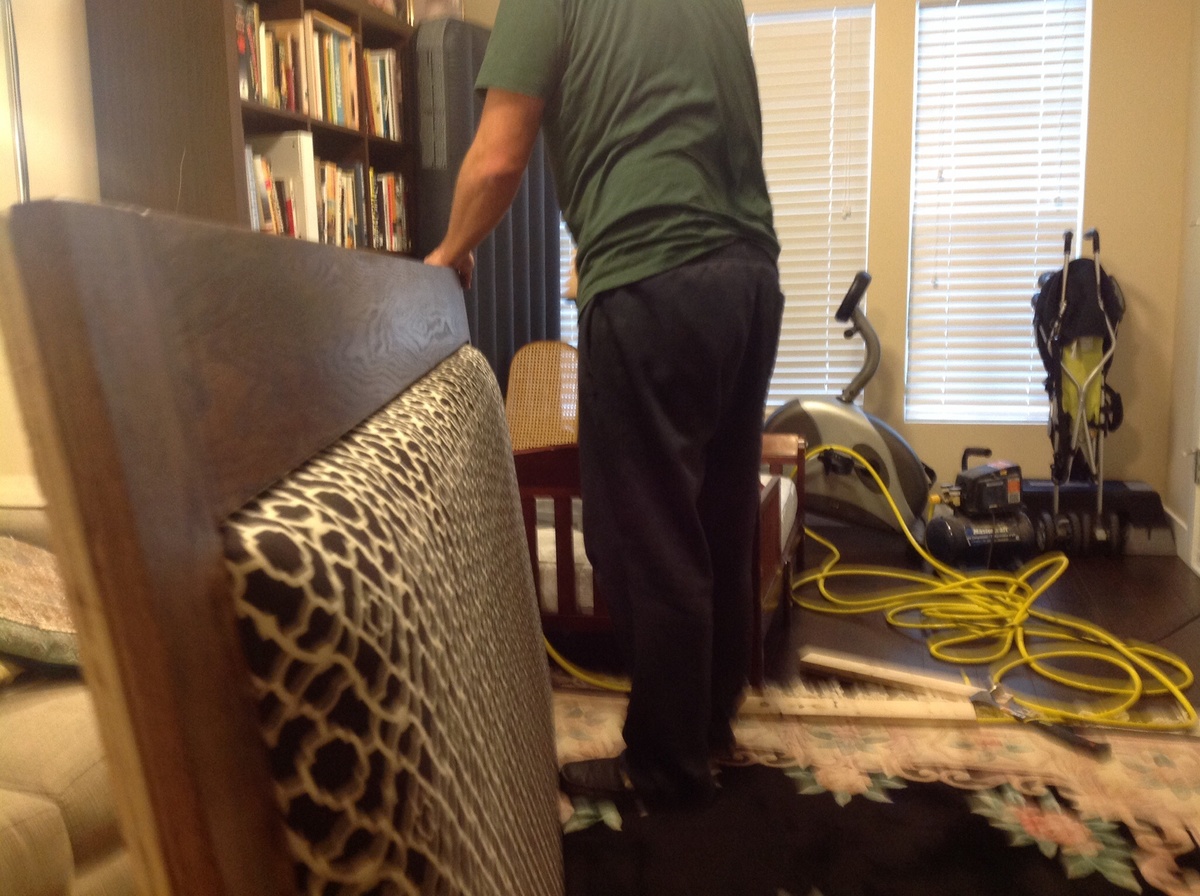
Not bad for our first project...We love it and so does our daughter! Followed the directions except we did 1x10's instead of 1x6's and we left one inch to hold the mattress on instead of the 1/2 inch it called for since we bought her a foam mattress it needed a piece of plywood for extra support.

Built from Plan(s)
Estimated Cost
$120 total. The wood alone was $90. We had the sheet and crib skirt.
Estimated Time Investment
Weekend Project (10-20 Hours)
Finish Used
Headboard was fitted with a velour crib sheet. Bottom of bed we used her crib skirt that was made of tulle.
Recommended Skill Level
Beginner

Comments

JoanneS

Thu, 11/14/2013 - 16:19

This is just darling! Absolutely beautiful. Congratulations on a terrific first project!

Laundry Pedistal

Submitted by Anonymous (not verified) on Sun, 01/31/2016 - 09:09

Been waiting to tackle this project for months. This was more for a place to put our laundry baskets while our laundry was being washed and dried. We come through our laundry area from our garage and so do most of our guests as our front door is a long way from parking. Tripping over empty laundry baskets no more. The opening for baskets is 11.5", which also elevated the opening to clear the dryer exhaust out and allow our units to push back a little closer to the wall. The floor and top were framed using 2x4's cut at 26" and a kreg pocket hole jig. 4x4 posts 11.5" were attached using the kreg jig and L brackets. 3/4" plywood sheeting the top and bottom cut at 55"x29". I did save a little money by only using one sheet of plywood. Full cut for the top, pieced together on the base in the back using excess from one sheet. 3.875" base moulding was used on the top and bottom to cover the seam where the 3/4" plywood sheet for the top and bottom meet the framing. The moulding on the top was inverted, and raised 5/8" over the plywood sheeting top to create a lip so the machines would not slide off the pedistal. Didn't want too much dressing up, I like clean, straight lines. A coat of primer, and 3 coats of semi gloss white paint. I put a sheet of the black rubber runner from Home Depot in the carpet roll area like Chris did, for some noise dampening to prevent our washer from walking at all. Tacked down with black carpet tack nails. The hardest part of the whole project was hooking the washer and dryer up in the tight space we have after getting the units on the pedistal. The dryer exhaust vent pipe in the wall is behind the washer, so I used adjustable rigid exhaust vent elbows to route the flexible exhaust duct through the pedistal, tacked it up to the underside of top with zip tie's and then up and around the side of the pedistal to the dryer exhaust port. All and all a very fun and rewarding DIMyself project. Thanks Sausha....

Estimated Cost
2x4's 10 @ $3=$30
4x4 $7
3/4" Plywood sheet $30
Rubber runner $10
L brackets $3
Drywall screws & paint already had $0
Total out of pocket cost $80
Estimated Time Investment
Day Project (6-9 Hours)
Finish Used
Kilz Primer Glidden semi gloss white
Brushed and rolled on
Recommended Skill Level
Beginner

Comments

bclute

Sun, 01/29/2017 - 16:40

Great looking build, thanks for the detailed photos!

Modern outdoor chair and loveseat

Modified chair plans to build loveseat. Chairs took one day and loveseat took one day. 

Estimated Cost
Lumber is way more expensive where I live. The chairs were $85 in lumber for both and the love seat was $40 because I had some leftover from the chairs.
Estimated Time Investment
Weekend Project (10-20 Hours)
Finish Used
Red mahogany stain, then a coat of polyurethane
Recommended Skill Level
Beginner

Comments

jessicawhitlock

Wed, 07/15/2020 - 11:33

I love how you set the cushion down in the seat. What type of cushion did you use? Is it comfortable this way? This looks exactly what I am picturing in my head, but I worry the bar on your legs might be uncomfortable.

Marvel Comics Scooter

Submitted by Anonymous (not verified) on Mon, 04/24/2023 - 20:47

I built this per your plans for my grandson that turned 2 last week. He loves it! I used Mog Pog to affix the comic pages that I printed from the internet. However with the 4 caster wheels, it seems to tip over too easily. I am going to swap the two rear wheels with non-castering ones and see if that helps. Great plans....Great details....thanks for sharing!!!!

Gary G.
Athens, Alabama

Comments

one more farmhouse doll bed

Submitted by justqltin on Wed, 12/28/2011 - 19:27

A cooperative project. Hubby made the bed and I did the bedding.

Estimated Cost
$10
Estimated Time Investment
Afternoon Project (3-6 Hours)
Finish Used
going to paint it white
Recommended Skill Level
Beginner

Comments