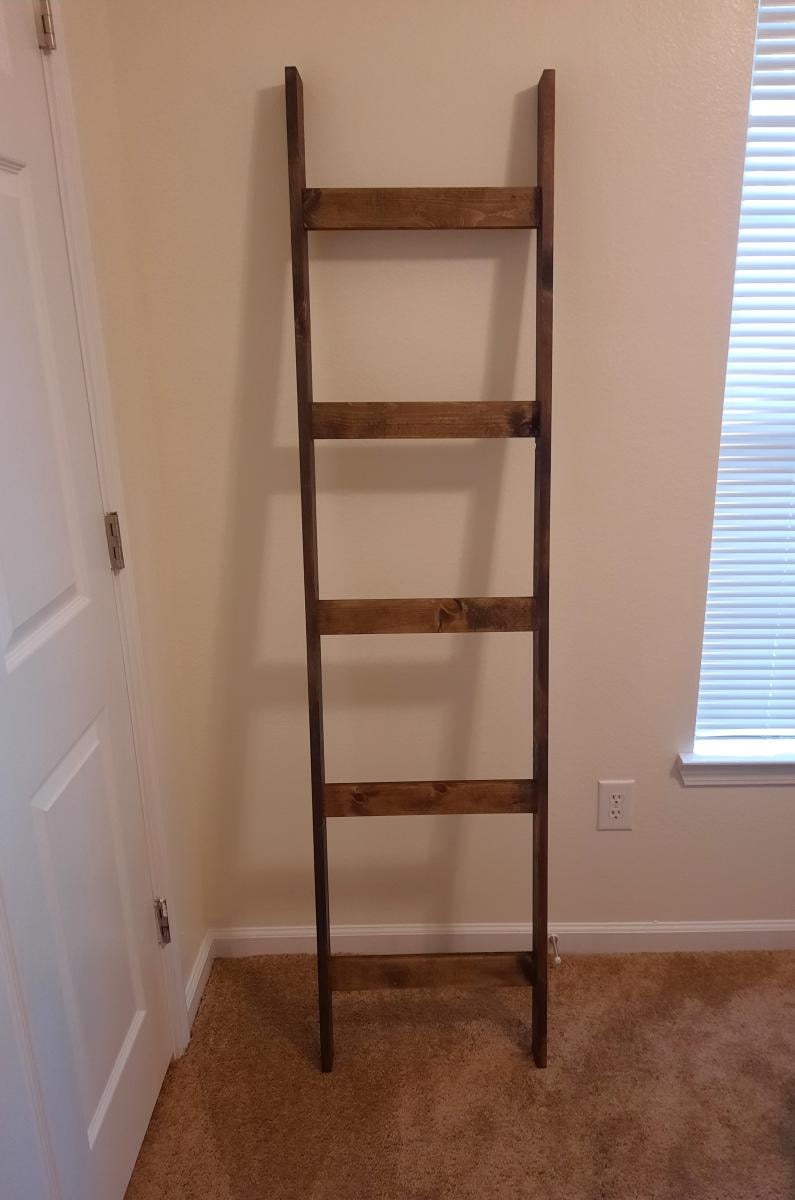
First Project Blanket Ladder
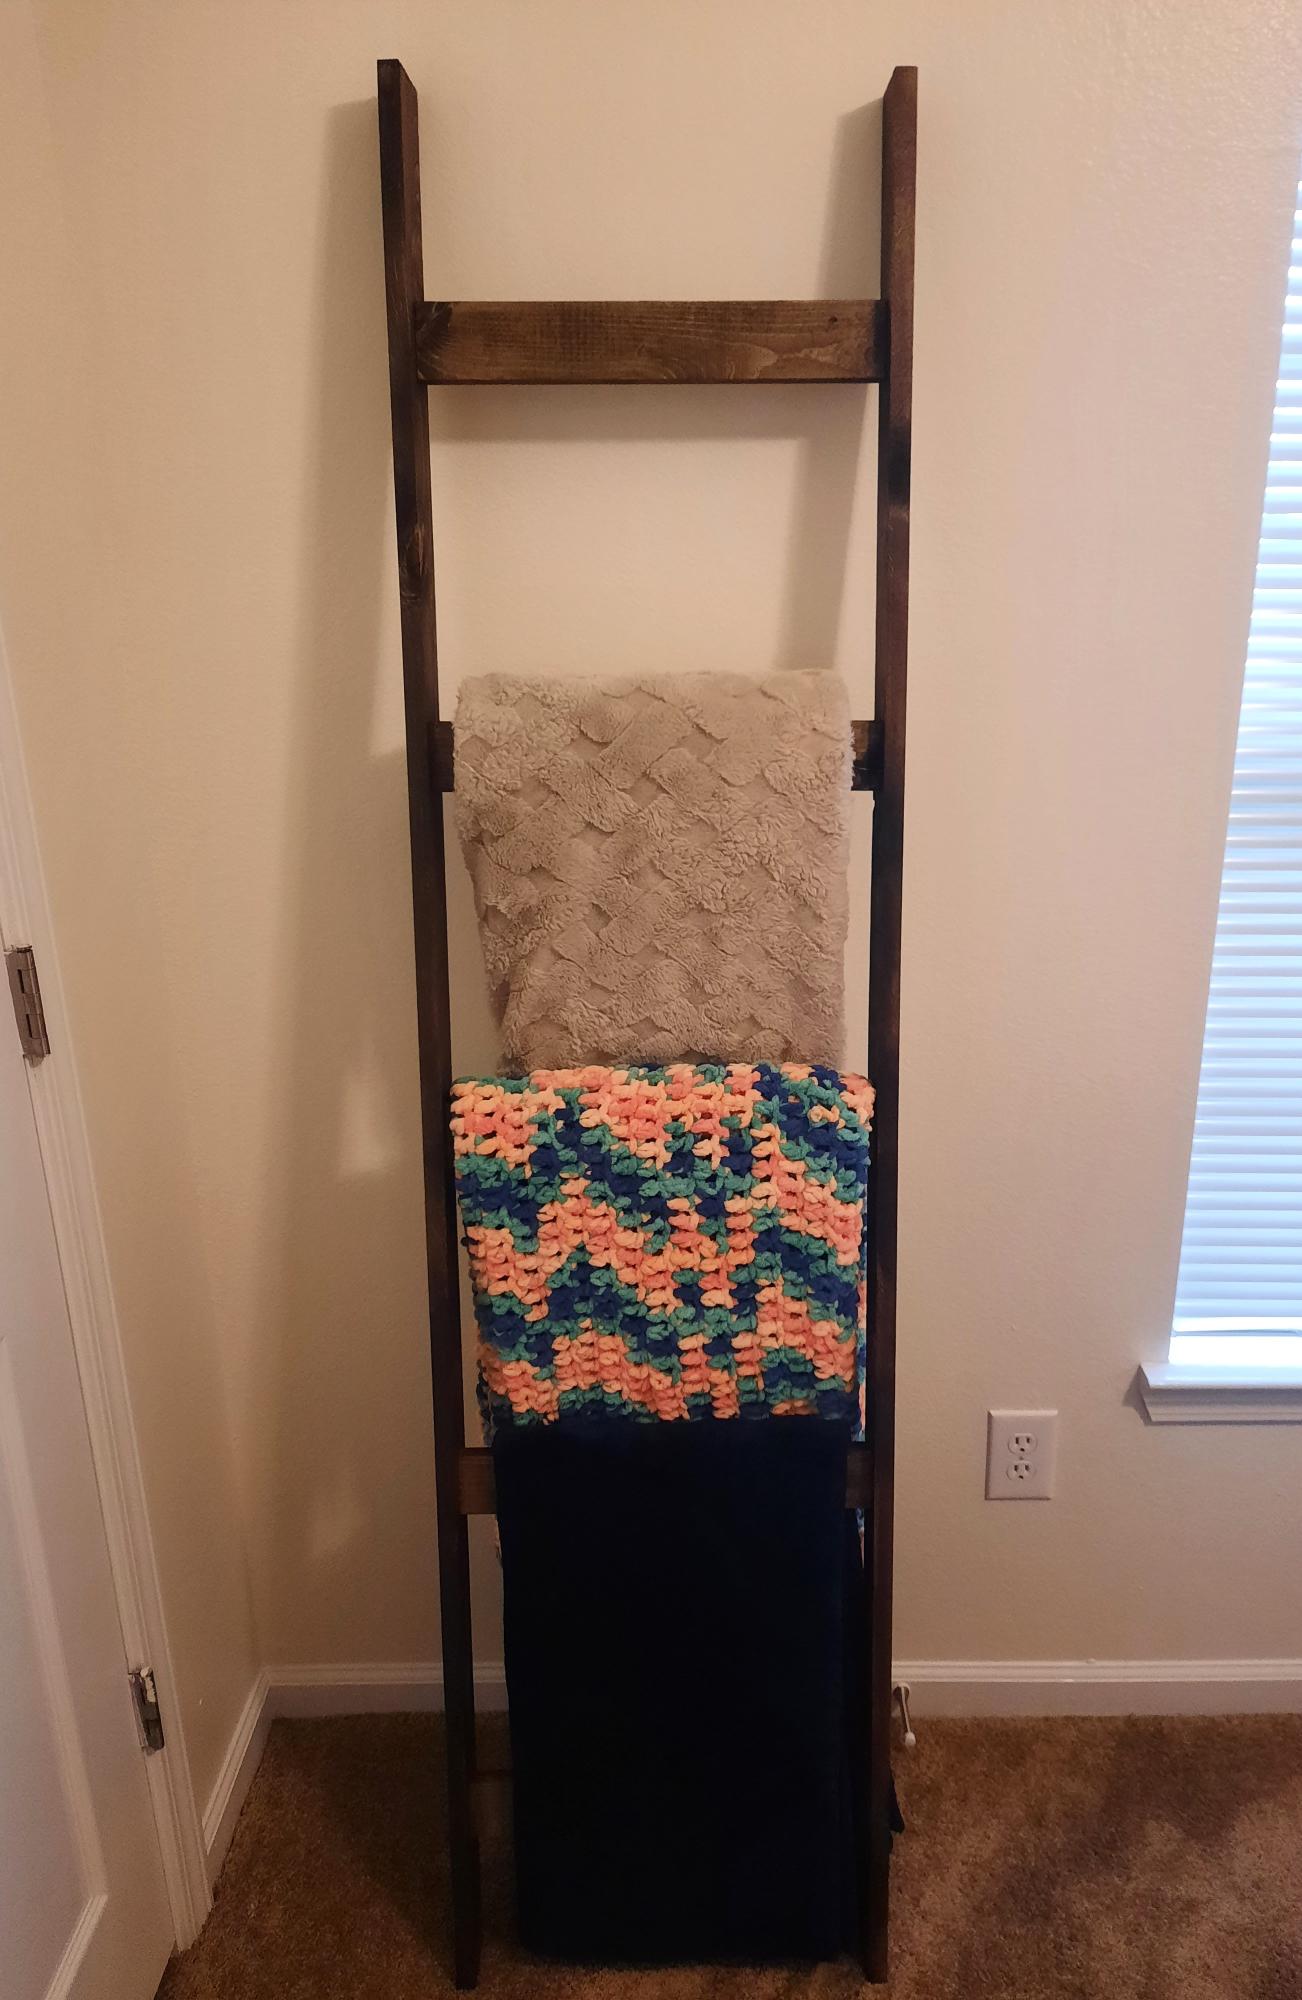
This was my first project and I am so pleased! The stain is beautiful and once I got the hang of it, so easy to complete. I am excited to try a new plan and keep going!!
Laura
Built from Plan(s)
This was my first project and I am so pleased! The stain is beautiful and once I got the hang of it, so easy to complete. I am excited to try a new plan and keep going!!
Laura
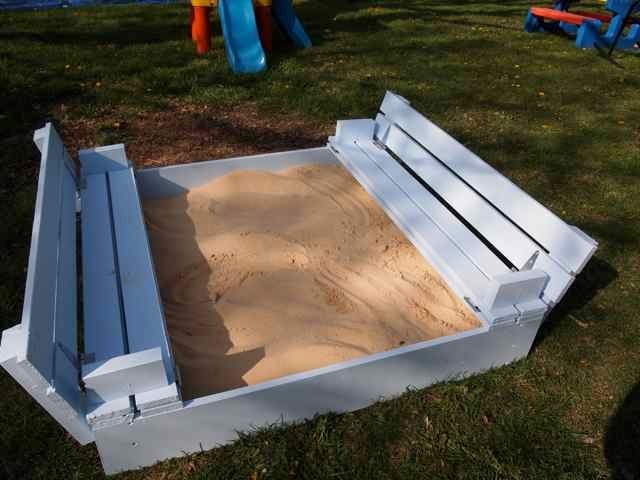
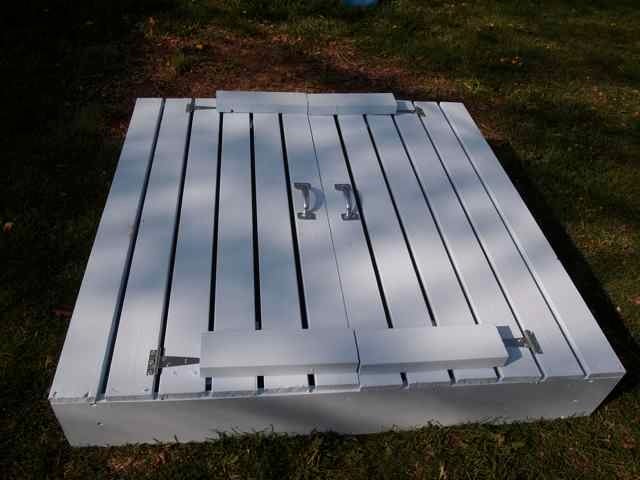
I knew I needed a sandbox for my toddler, and saw the original on pinterest. I was so happy when I came here looking for designs and saw that someone had created a plan for this. I think I'm more excited about it than my little guy is.
The plan was easy to follow, and it went together quickly. Thank you very much for these plans


Tue, 04/10/2012 - 10:45
Your son is adorable, and I totally "get it" when you say that you're more excited than he is! haha. Great job!
Wed, 04/11/2012 - 19:43
Great sandbox, it looks awesome! Your son is going to have so much fun in it this summer.
Tue, 10/16/2012 - 19:32
You rock Ana! Your plans are some of the best quick builds with lots of features. I built this sand box in two hours and my son is having the best time. This is a Texas winter replacement for the beach and the backyard pool.
Mon, 05/23/2016 - 19:44
So I just started making this box and it's truly an awesome design but I couldn't get 1x8 lumber instead I got 2x8... For the box base, will this make an difference in the mechanics of the seat and back opening..and the overall size of the box is 1.5" longer at 49" instead of the 47" the plans detail.. I was hoping that it won't but I think it might interfere with the 2x4 support the seat back..
I right in the middle of this project so I need to get on with it as it's nice tomorrow..
THANK YOU
ED
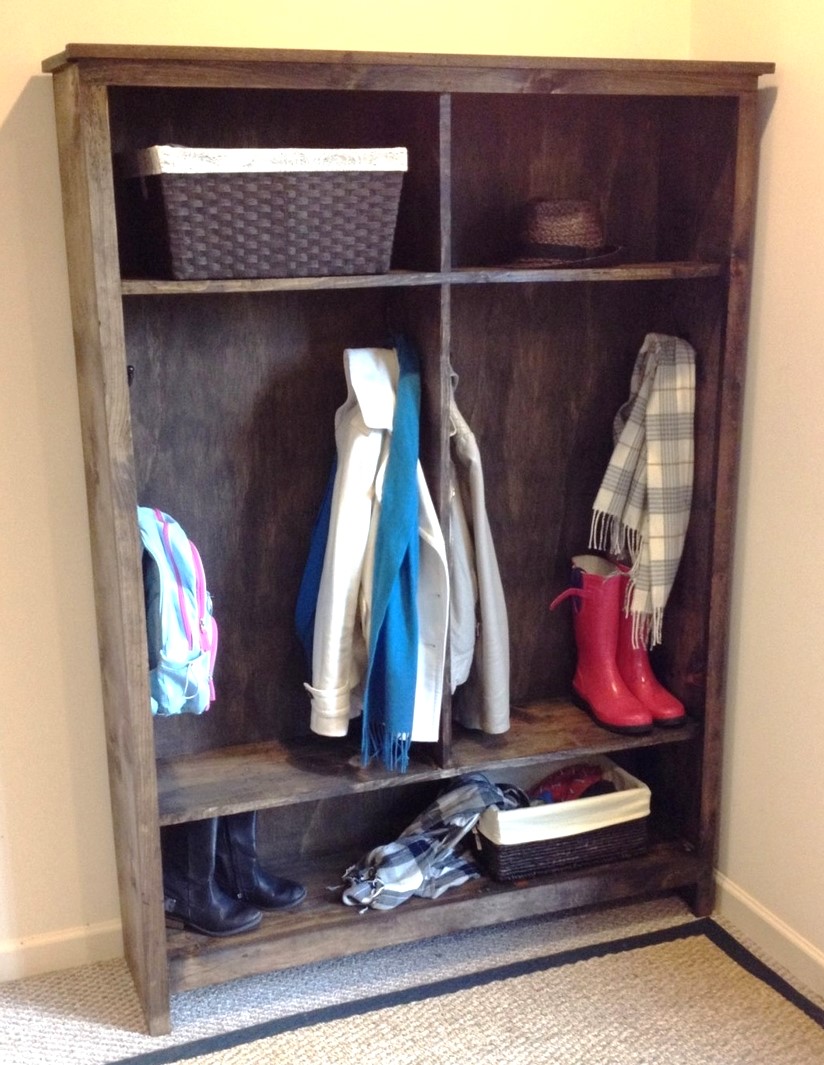
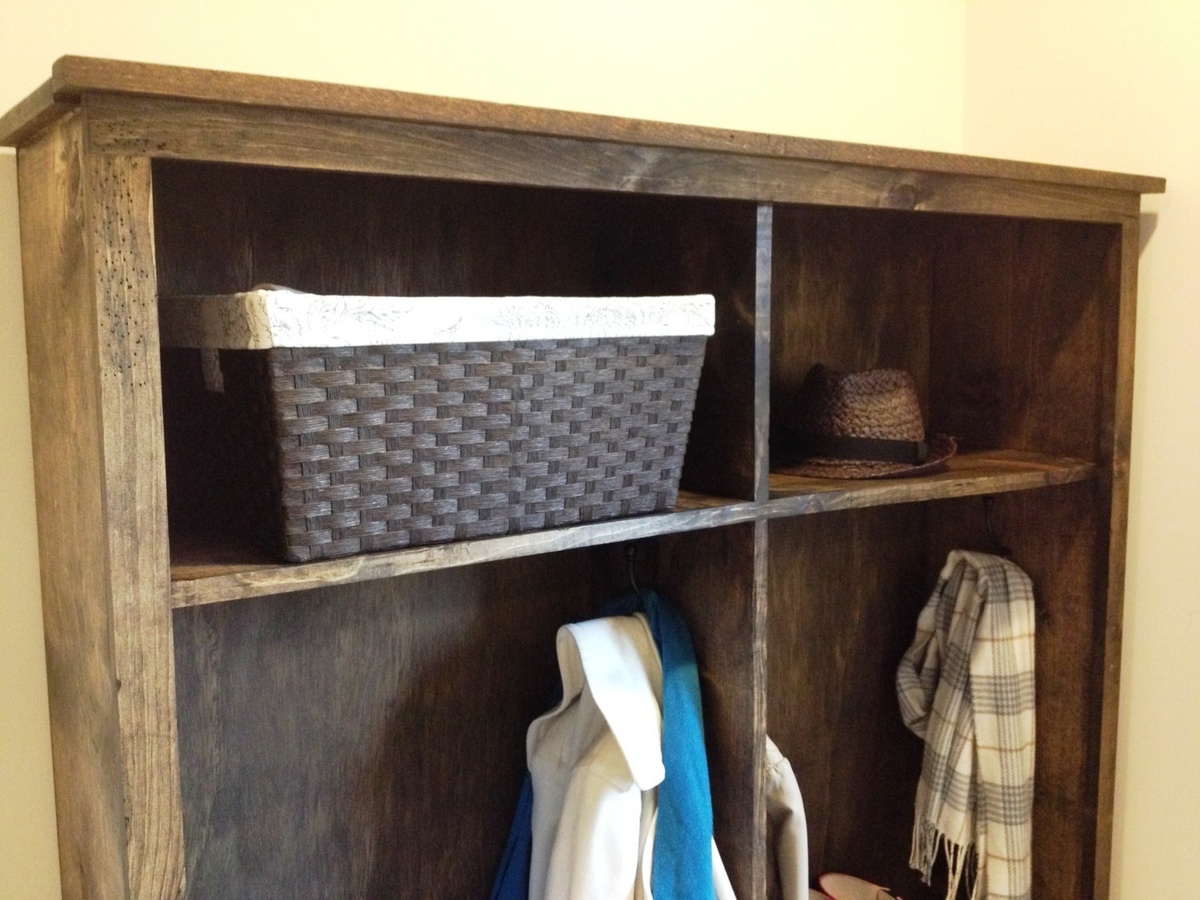
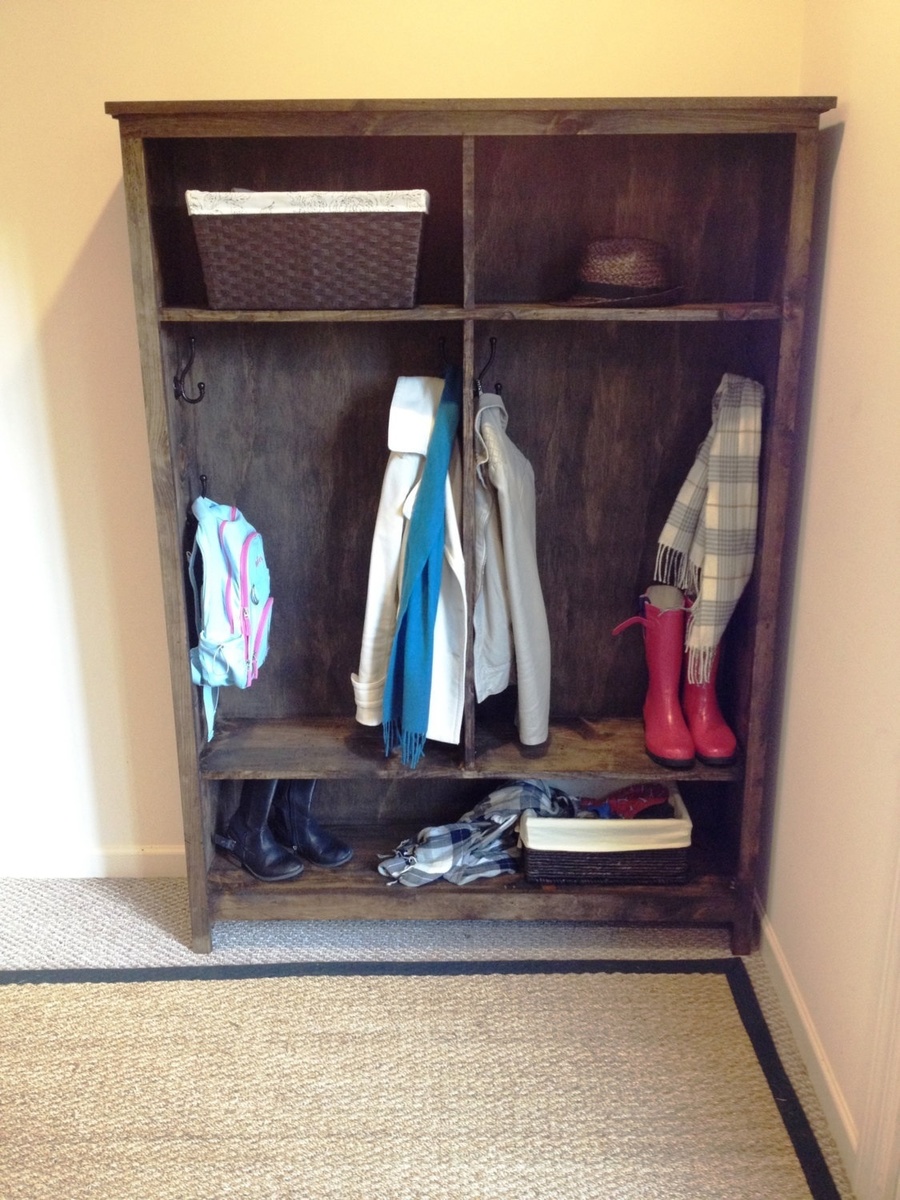
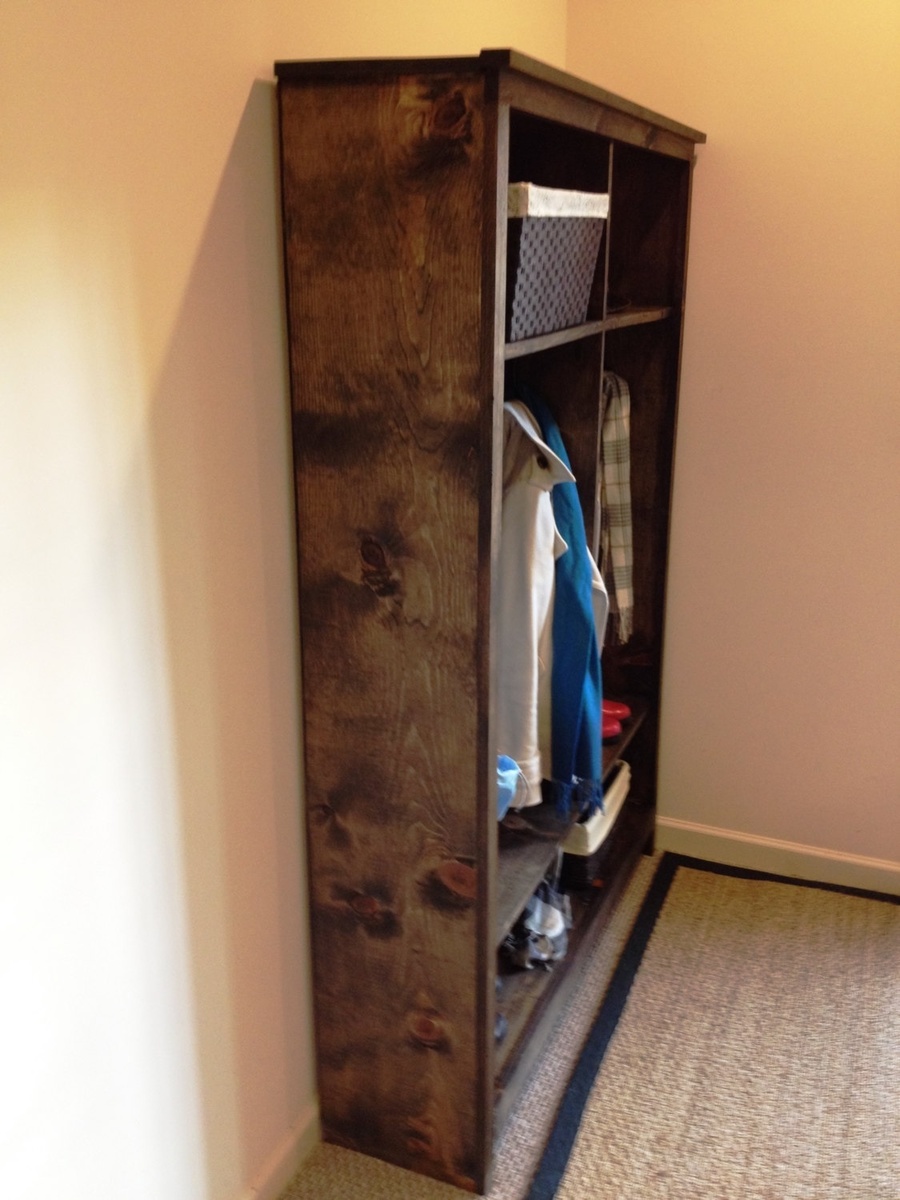
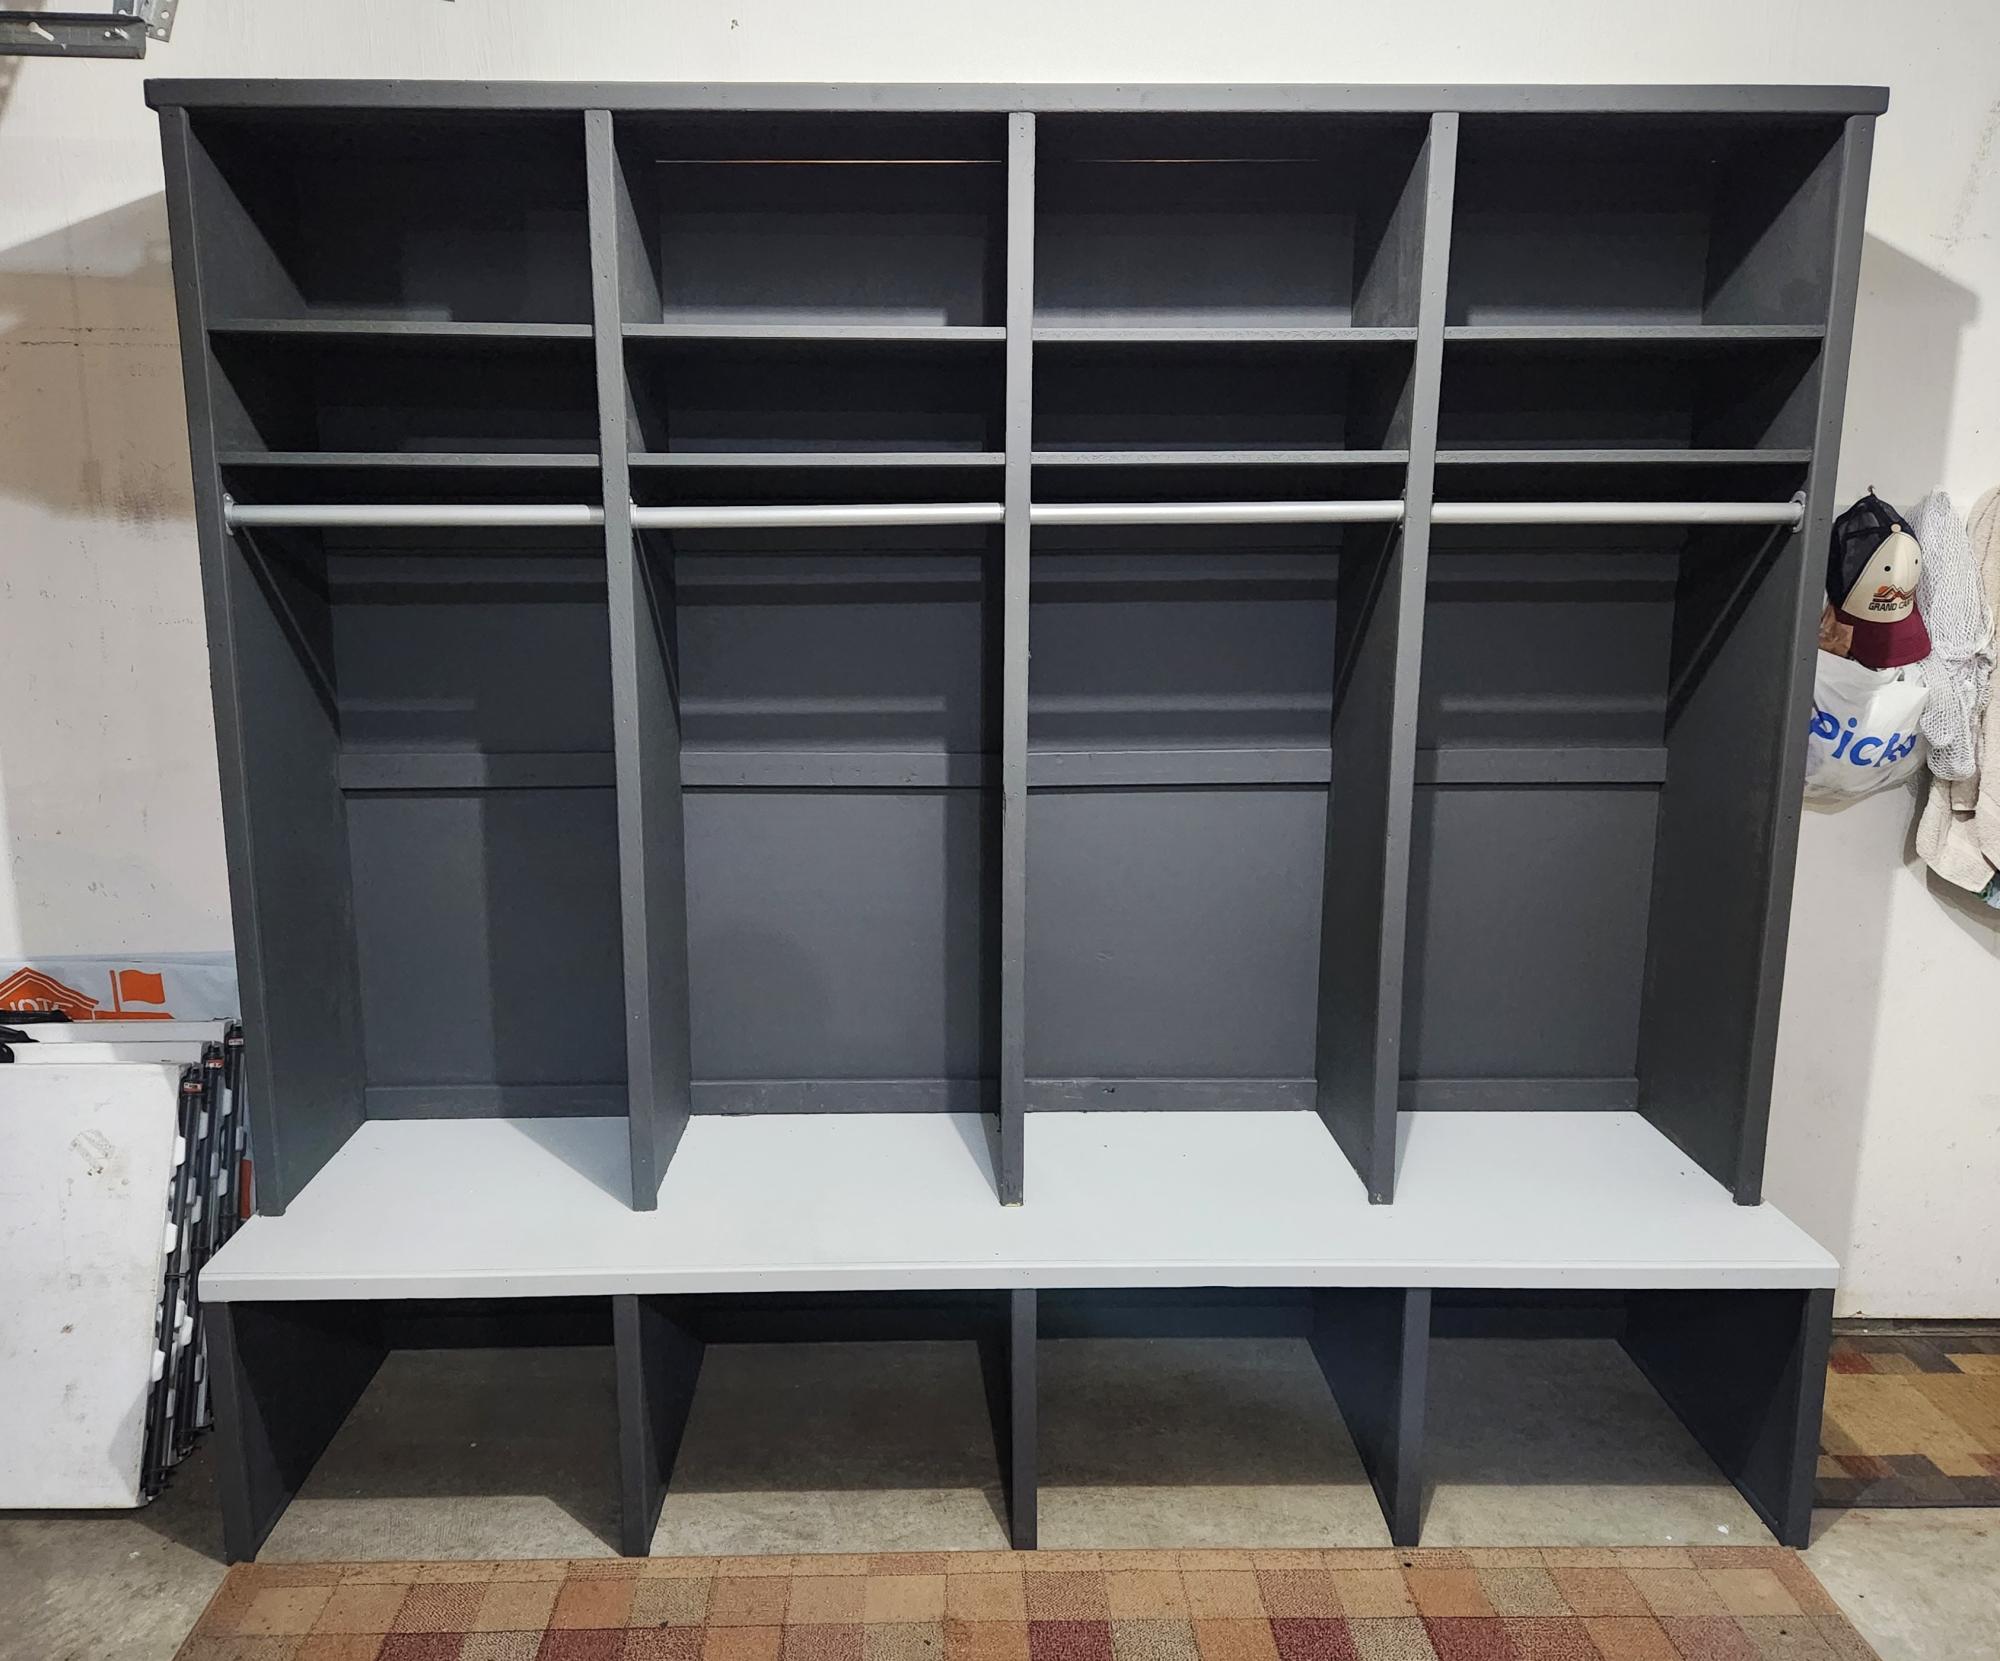
We modified these plans for a customer down to two lockers. We also added a divider for the cubbies on the top per her request. We found the whole thing to be a bit top heavy and easy to get a wobble. Recommend securing it to the wall with a tether or L bracket. Also, it is CRITICAL to not skimp on the quality of wood and getting straight boards for this. We did not and it was seriously skewed for a while until we did a lot of adjusting...and it still has a bow! Also I recommend doing the build all in one day. I think since we broke it up into two days it allowed the wood to warp more than had it all been assembled and fastened/tightened at one time. Message us with any questions! The stain is Minwax Jacobean- one coat. We got the hooks from Home Depot. The customer wanted plenty of storage so per her request we used 8 hooks! Good luck with this build!
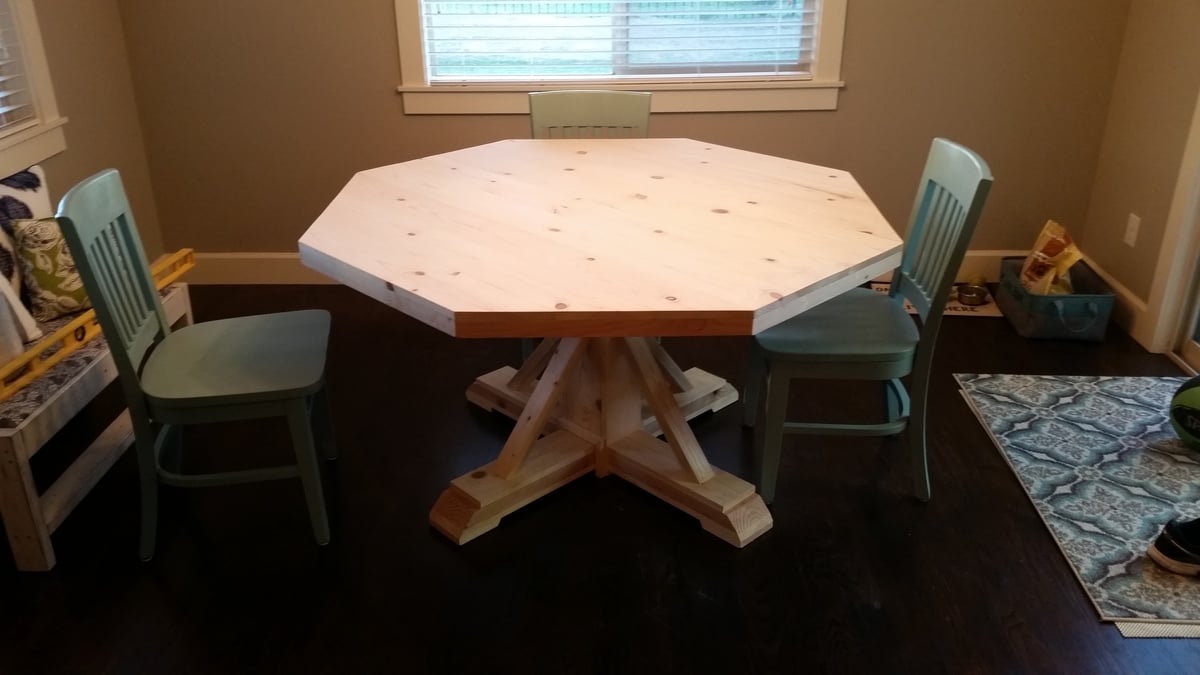
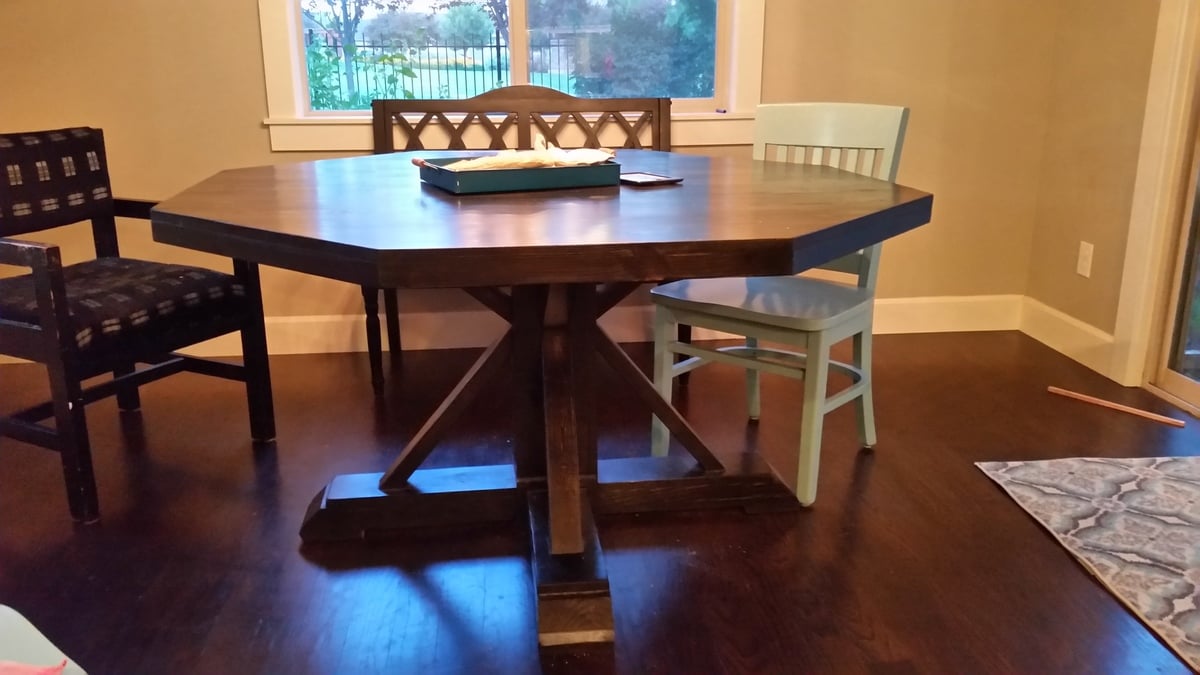
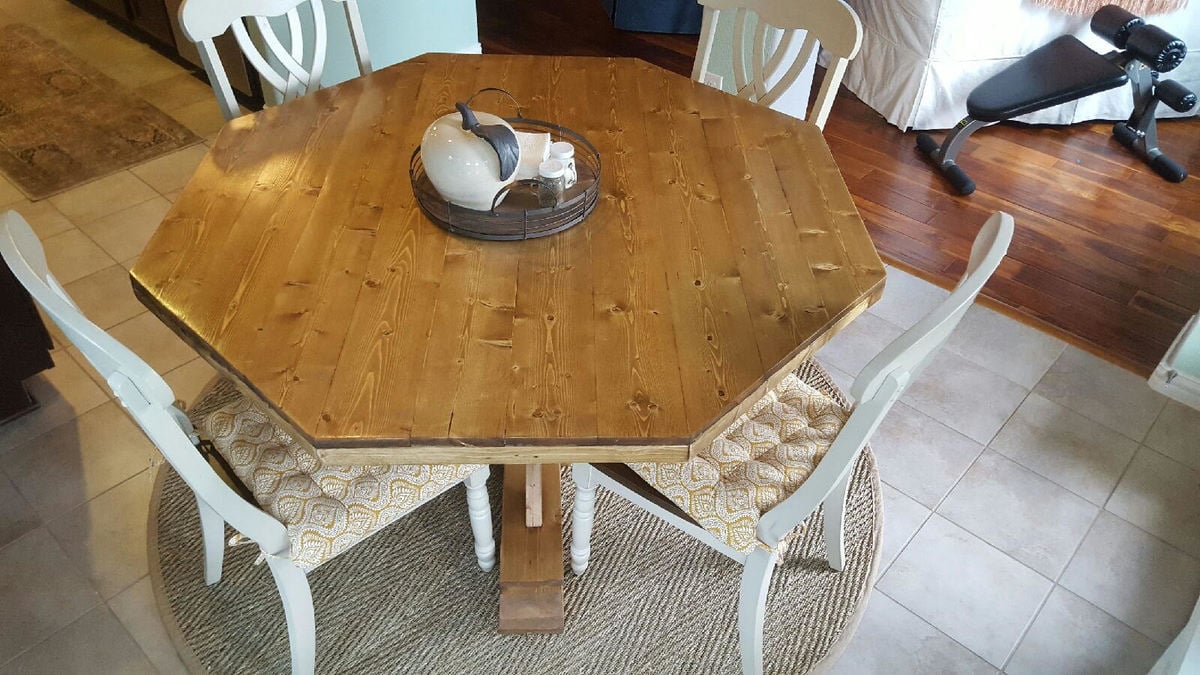
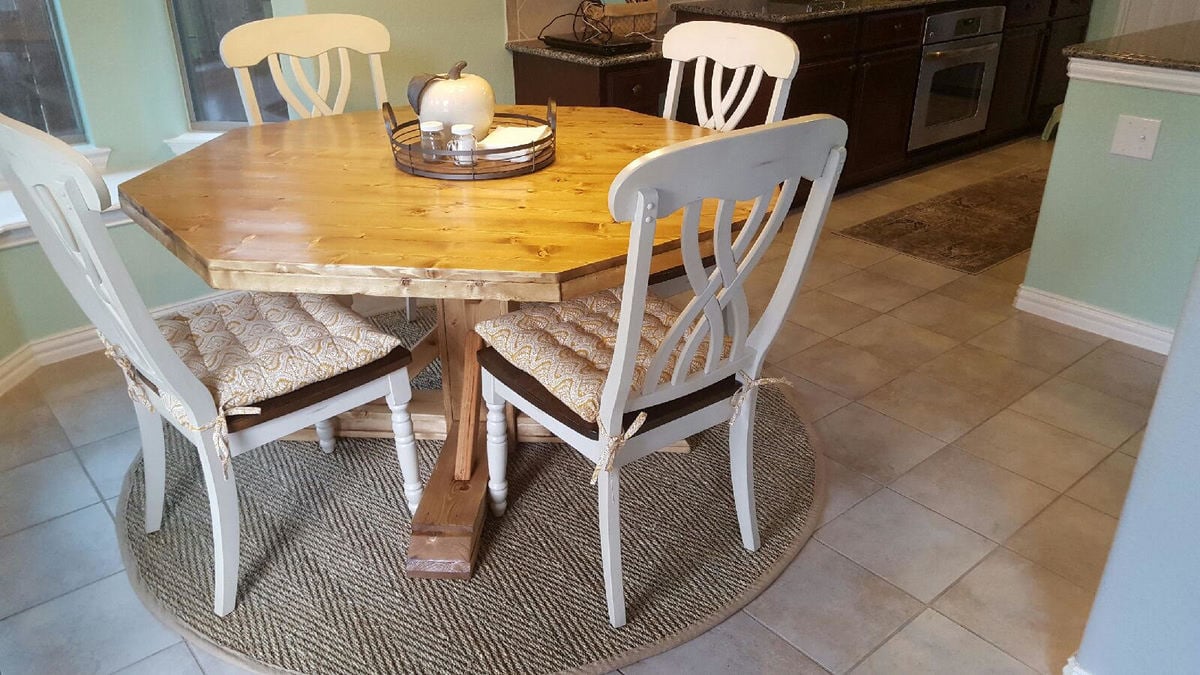
We wanted to build a new kitchen table for the home we moved into. I had just bought a new table saw and needed a project. We searched through a lot of plans and settled on the Benchmark Octagon Table that Ana White had. My 14 y/o son and I built this over a few nights in our garage and my wife did the finishing. We were thrilled how it turned out. It comfortably seats 8 adults (yes we have had 8 adults at it). My wife and I always sit in the bench that is pictured and we easily eat side by side on one end. It is a great project. I would recommend being very careful attaching the table top support to the base column and also reinforcing the joints of the diagonal upper and lower supports to keep the table top from twisting easily. All in all a fantastic project and people are shocked when I tell them my son and I built it, particularly from off the shelf pine.
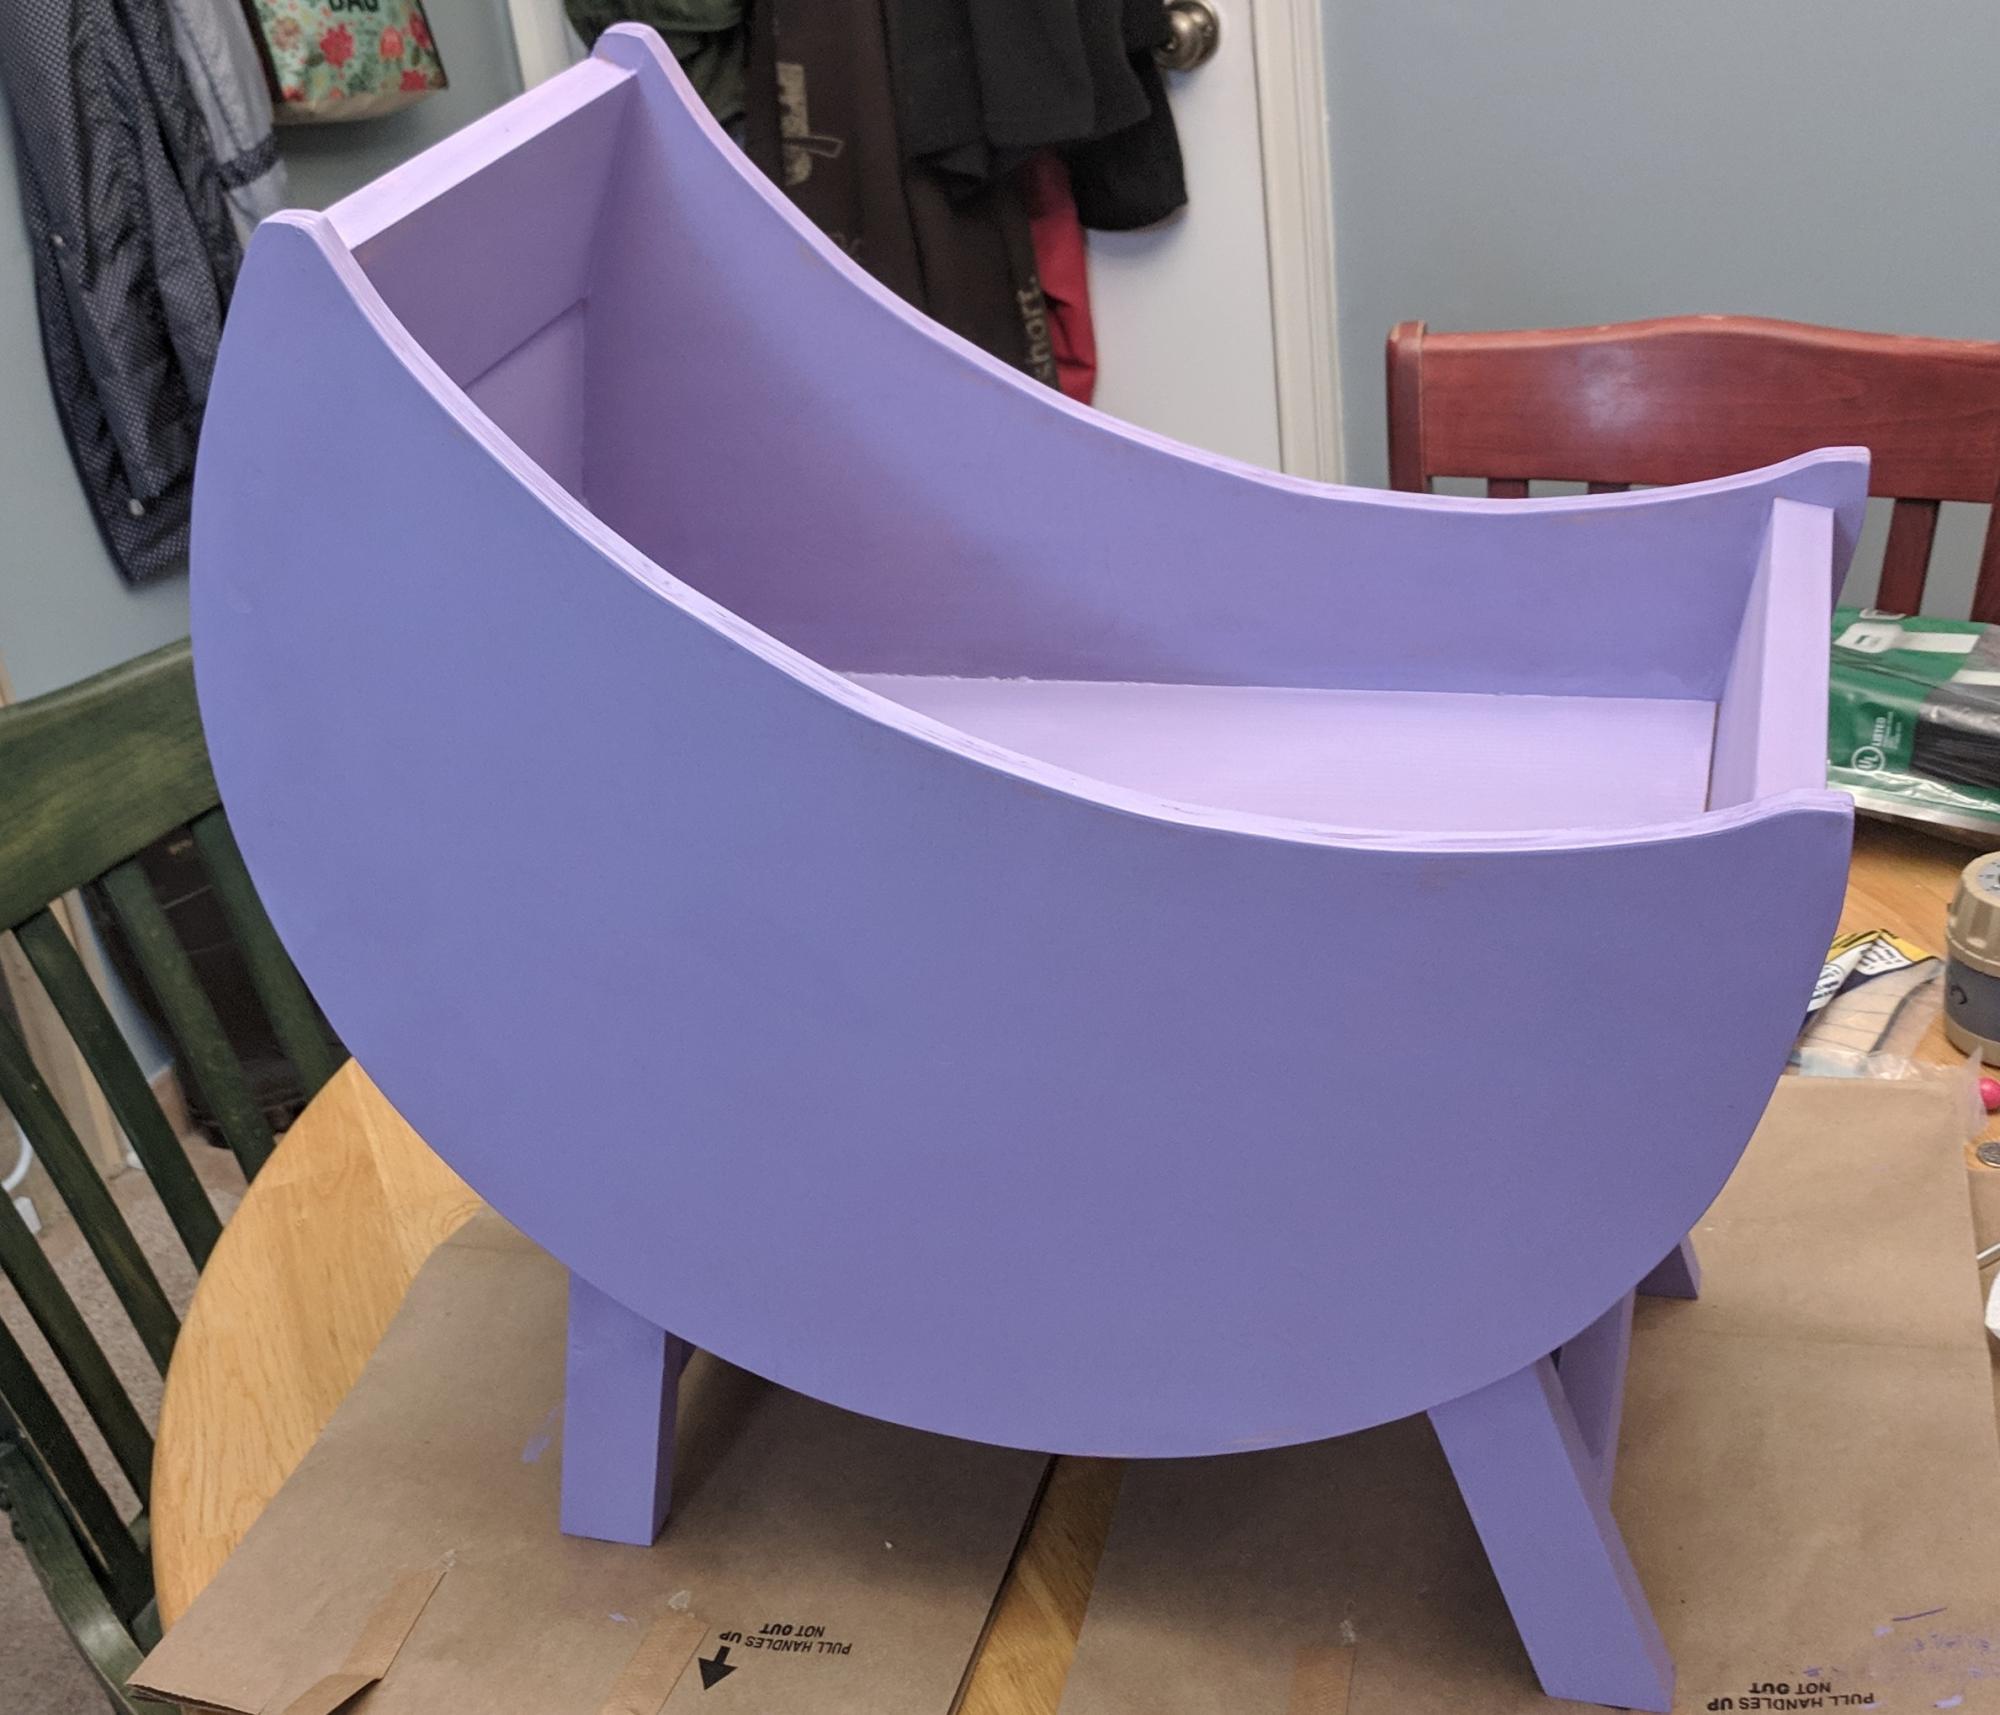
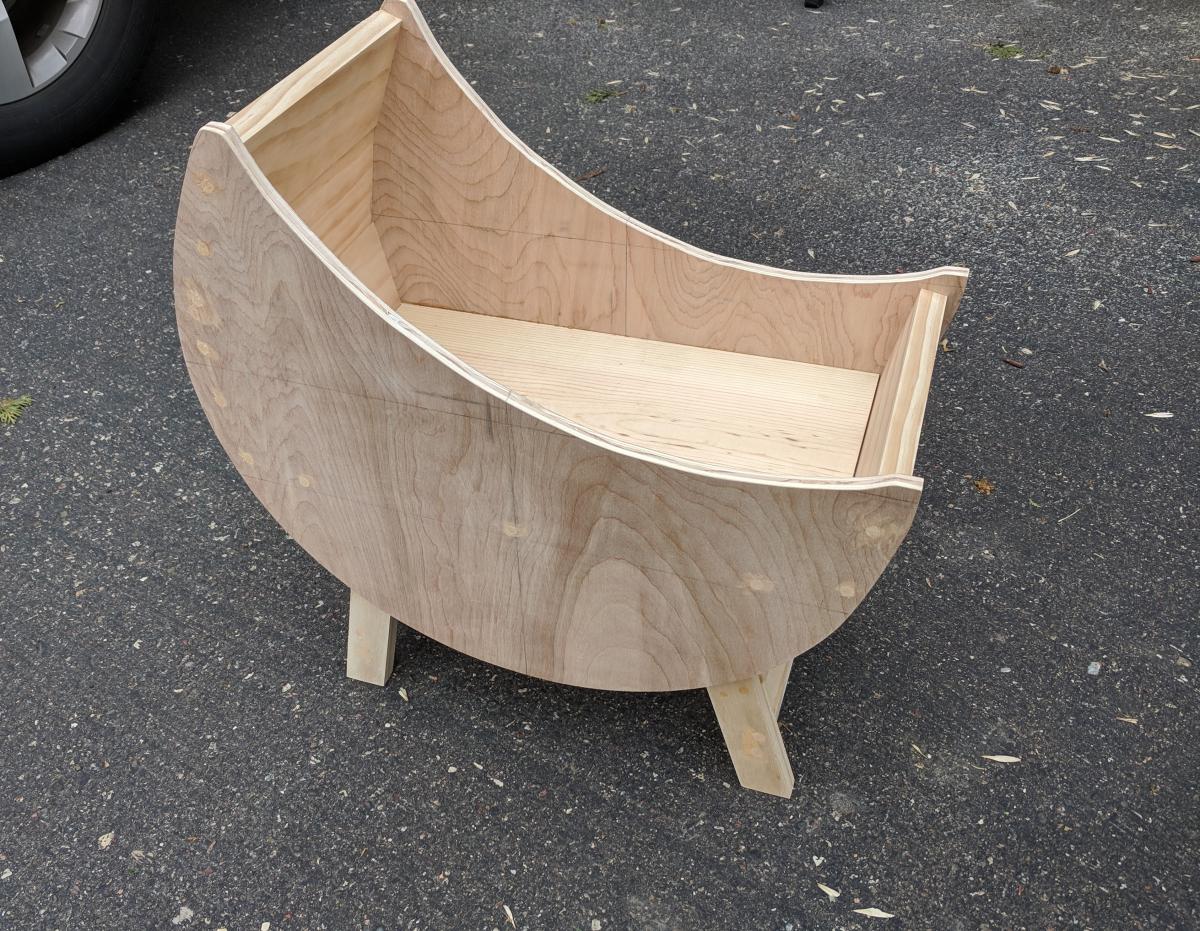
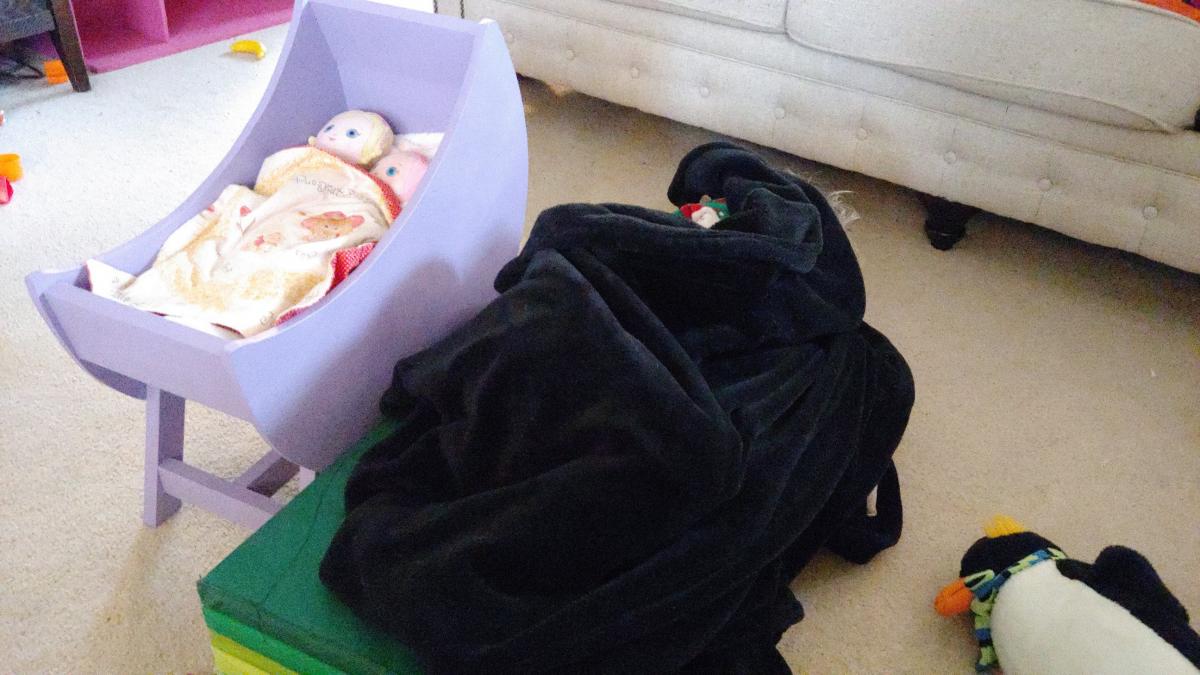
My daughter-in-law asked me if I could build a doll crib for my granddaughter. I had no idea how to do that, so of course I said "Absolutely!" Then I immediately came to the Ana White site!!
I found a few options and checked with my daughter-in-law to see what style she wanted. She chose the "Baby Doll Furniture Moon Bassinet" and said that it needed to be "lavander".
As usual, Ana's plans made me look like a hero! My granddaughter liked it so much she insisted on sleeping on the floor next to it during her nap!
Garage bench with lockers. Plans and videos provided great inspiration and proves most anyone can do it.
Steve L. in Ohio
Fri, 09/08/2023 - 08:42
You did a fantastic job, love the added hanging option! Thanks for sharing.
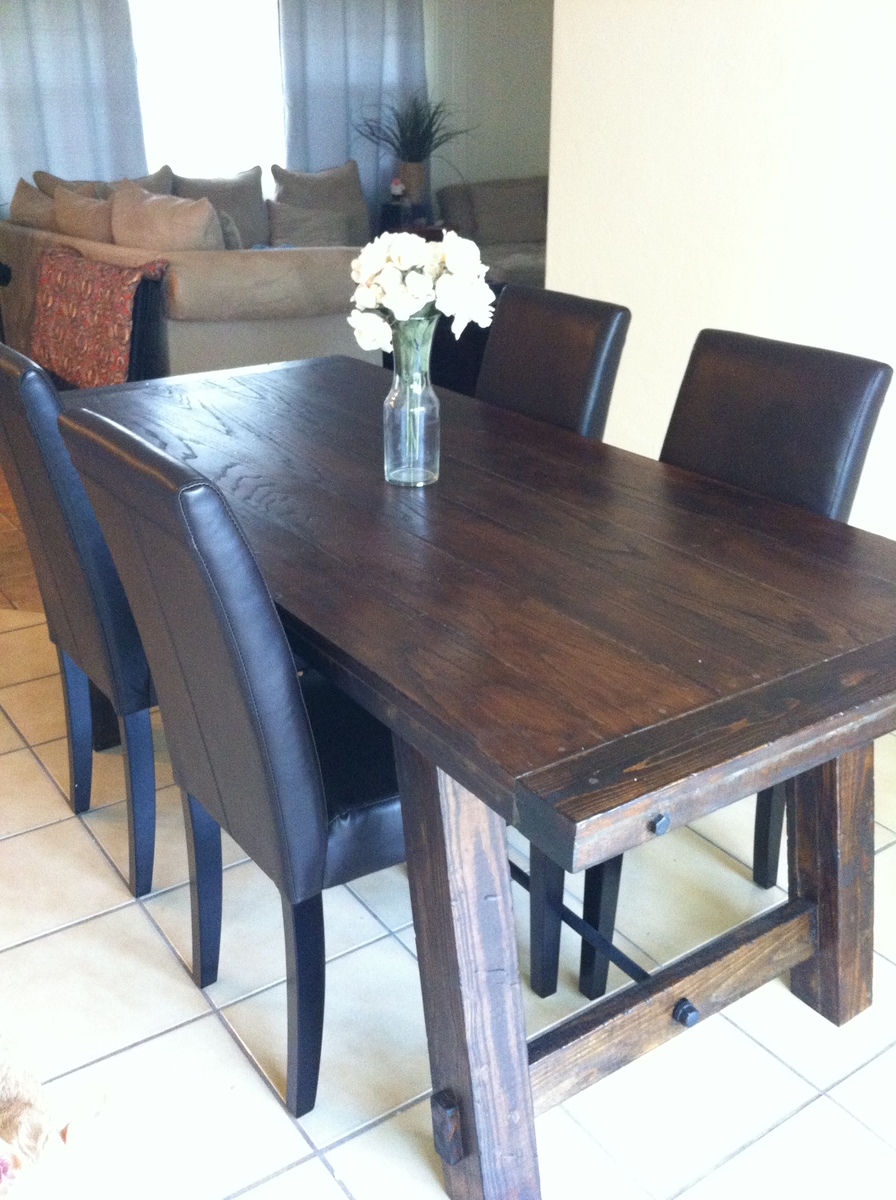
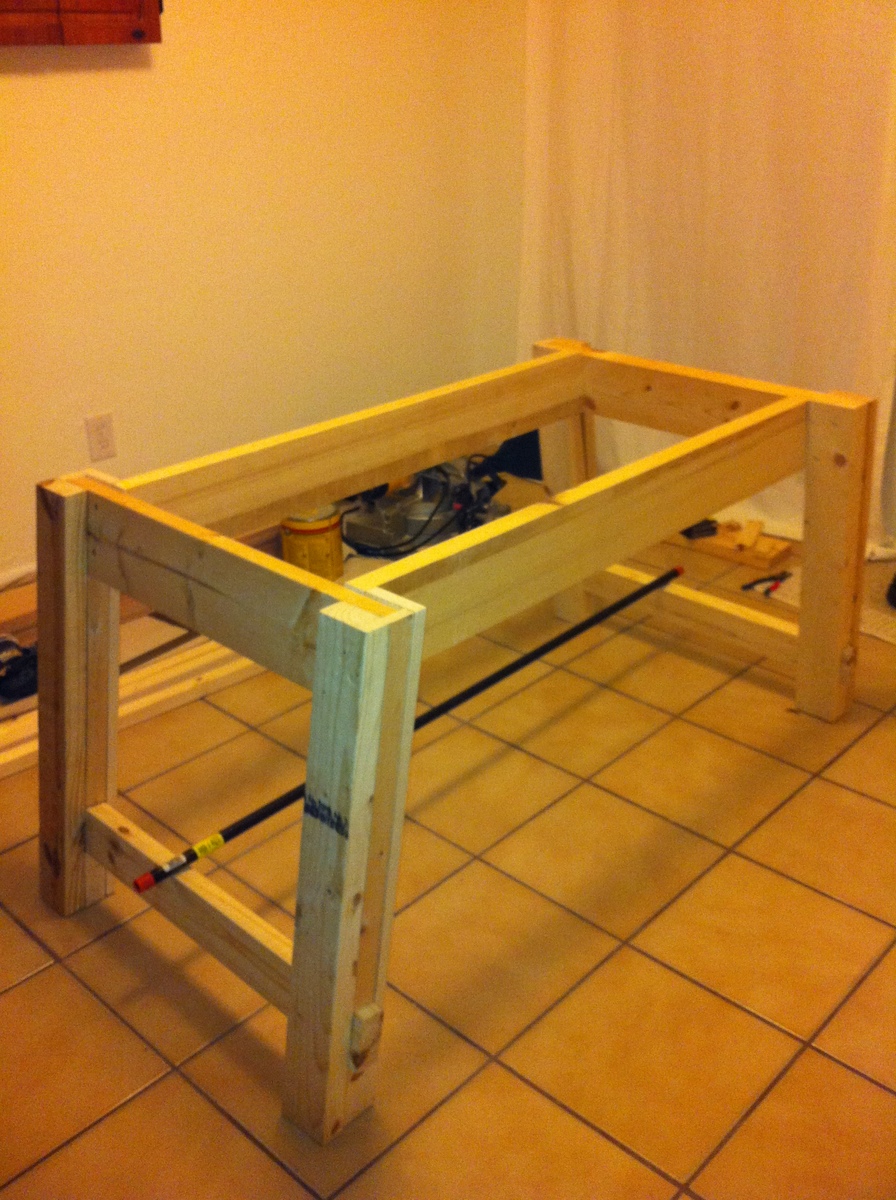
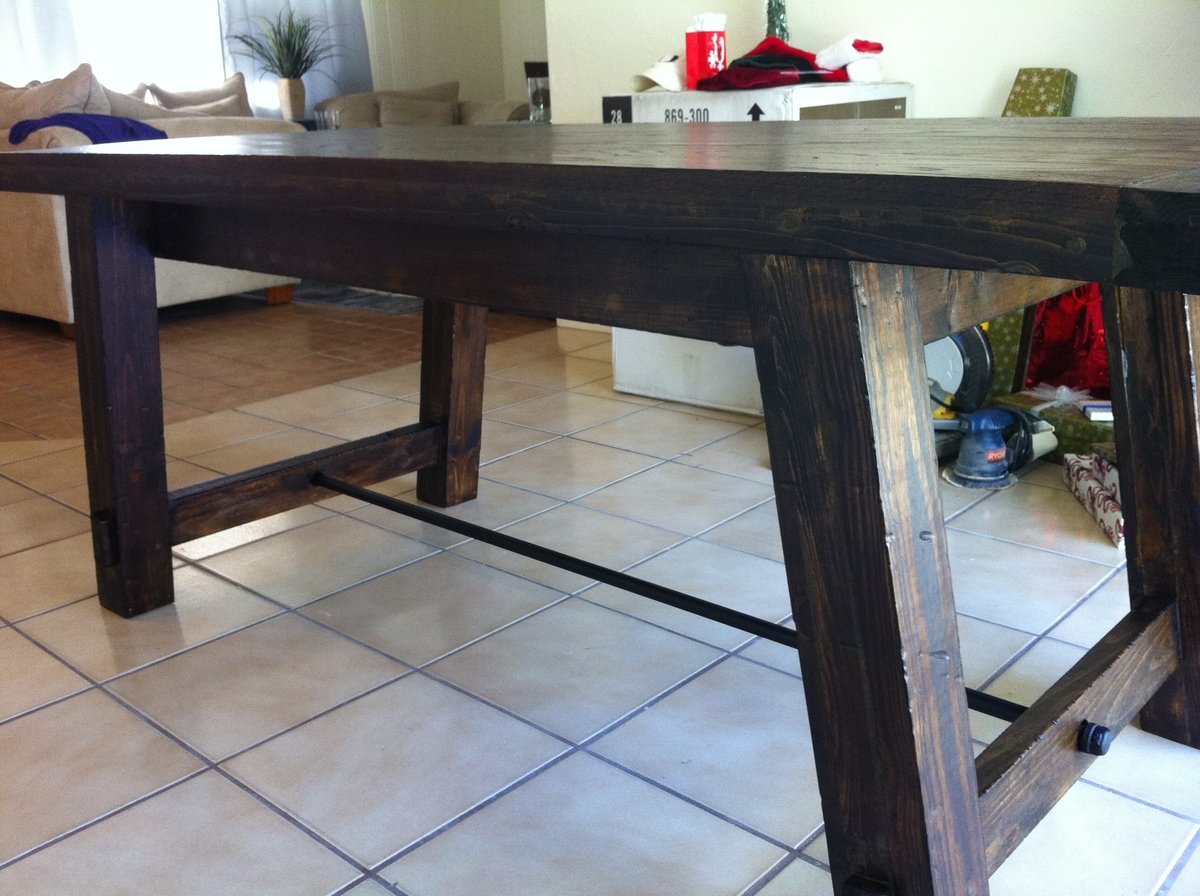
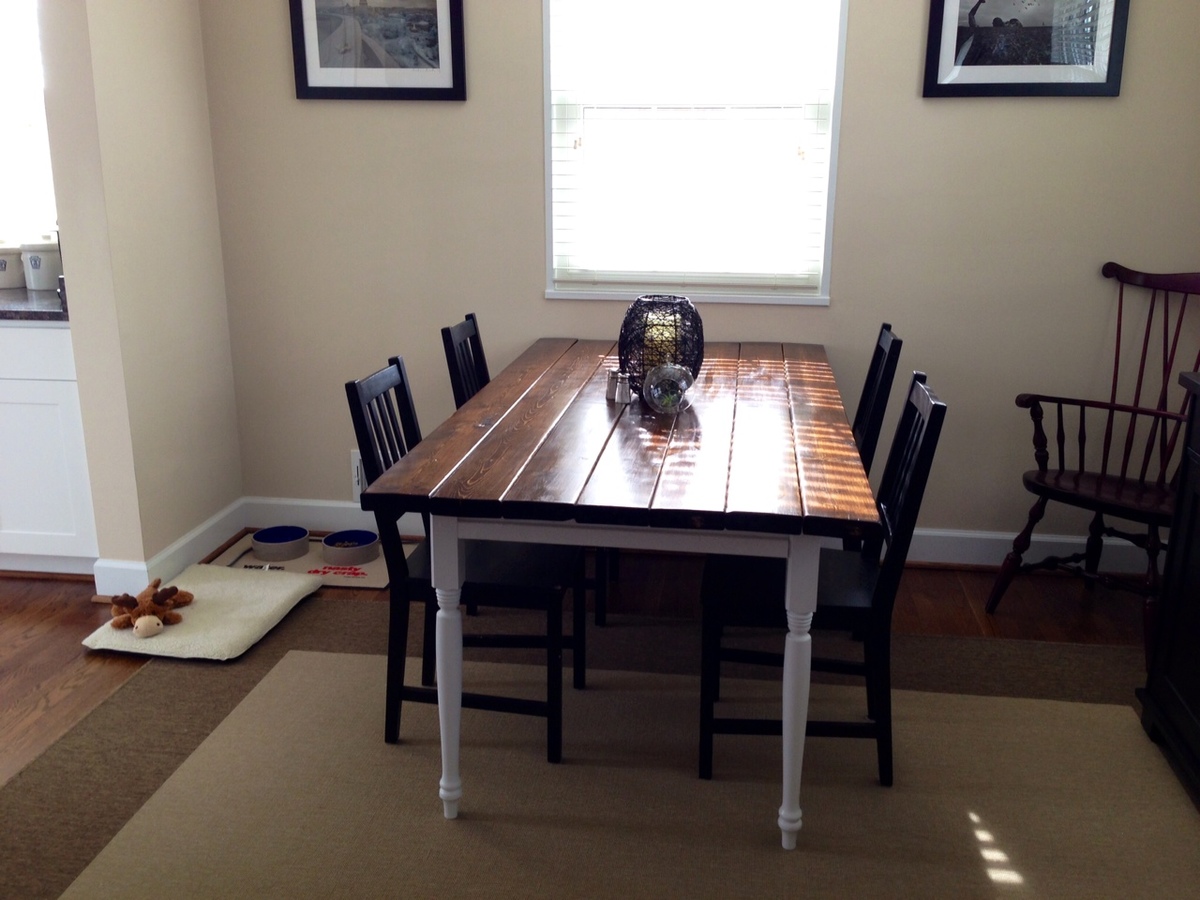
This was our very first project EVER and it came out beautiful! We needed a dinner table and couldn't find anything that came close to the thousand dollar Pottery Barn Benchright table. While searching for used furniture I came across these plans to build my own. After days of begging and convincing, my husband agreed to help me build it. Now he thanks me all the time! It was so fun and easy.
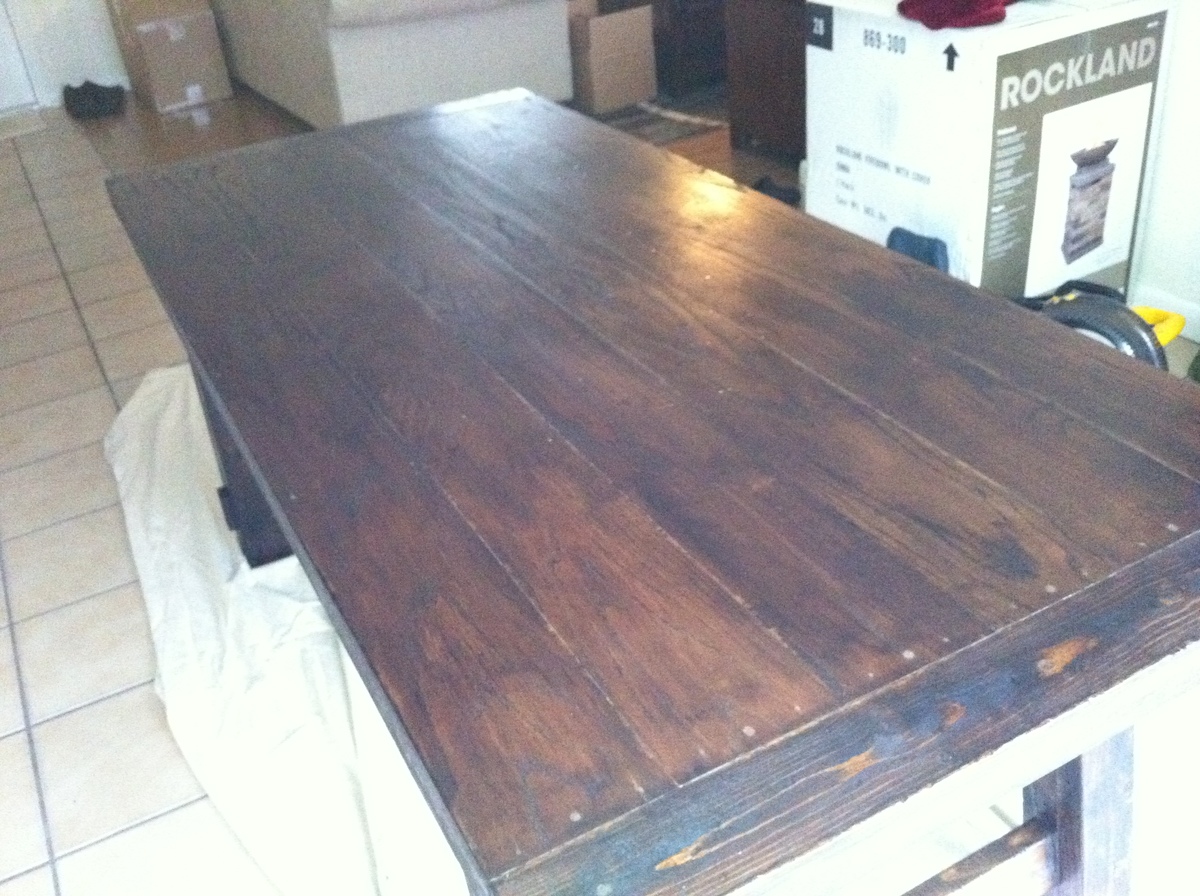
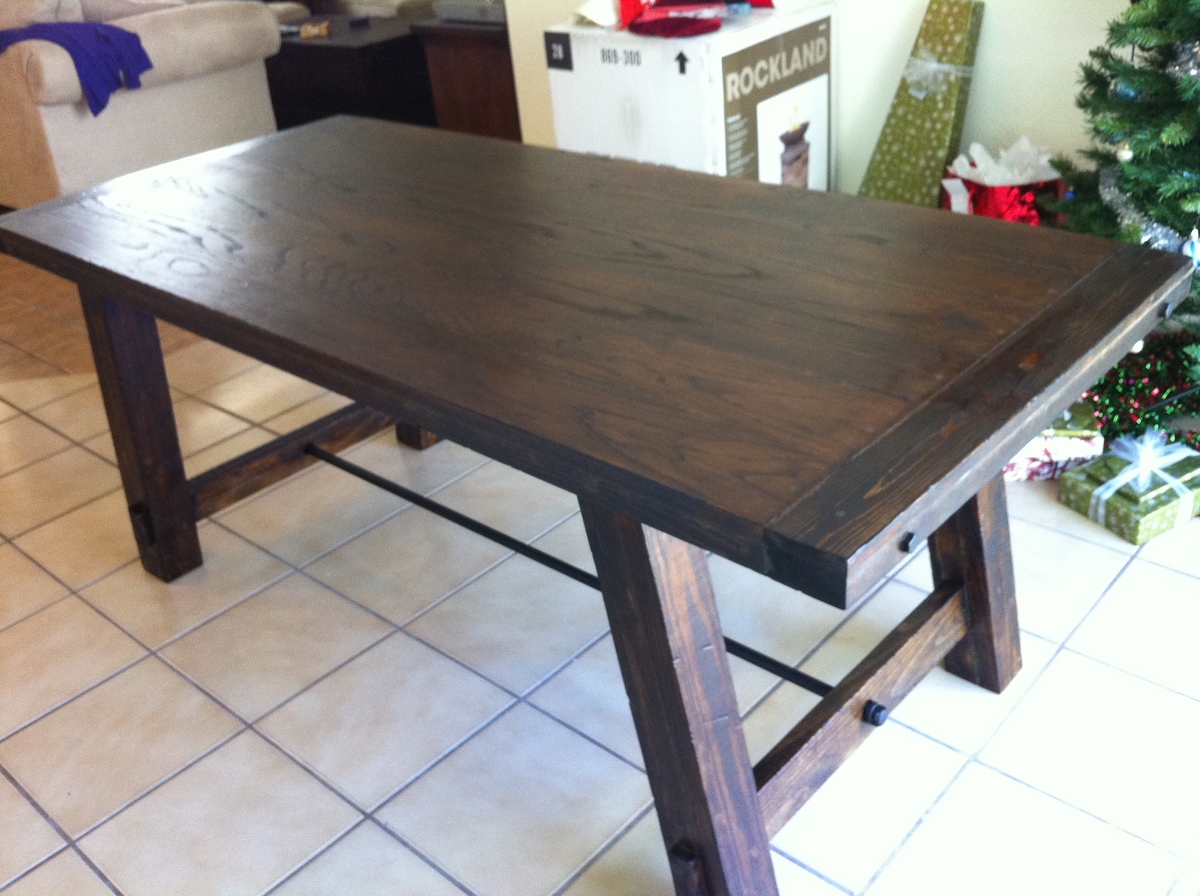
We did have a couple hiccups with the measurements. Ana did say to read through the plans and comments first, but we failed to write down and remember what others suggested. That being said, these plans were very easy. We took our time building this table since it was our first time using a miter saw and our first time building anything. Our table was a little more expensive than other braggers because we didn't use reclaimed wood and since we are beginners, we botched a couple cuts and had to buy a few extra boards :). After sanding, we took some chains and a hammer to the tabletop and legs to make a more distressed and rustic look. We painted the bolts and pipe black with Rustoleum Flat Black. Our pipe was longer than our table, so we had it cut. If you buy your pipe from Lowe's, they will cut and thread it for you. We couldn't find any hardware that look anything similar to the Pottery Barn Benchright. We checked Home Depot and Lowe's, but decided to settle with some plumbing knobs that screwed in the pipe. Once we painted everything and put it all together, we actually loved the pipe knob look more than the Pottery Barn table hardware!
This table is so darn sturdy and will last forever. I can't thank Ana enough, and thank you to everyone that posts these brags, because you helped me convince my husband and myself that we could do this!

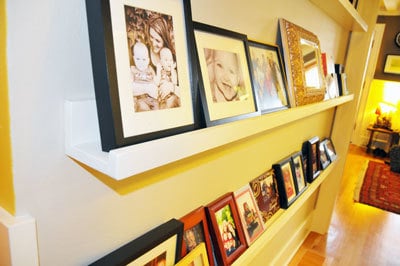
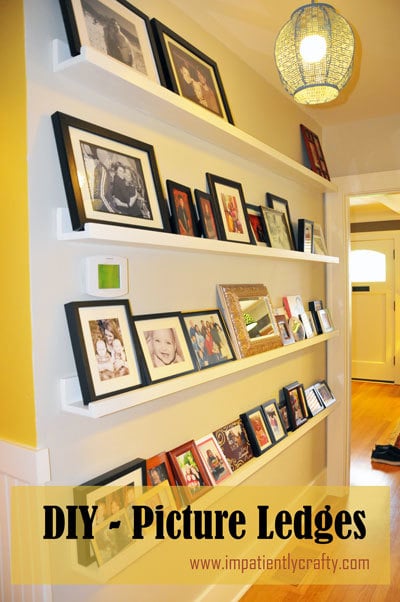
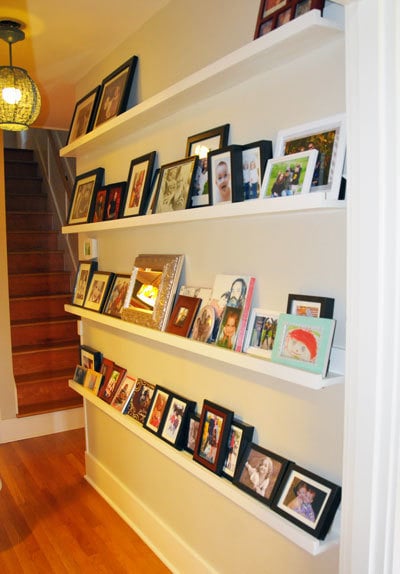
I think I get more compliments on these galley shelves/picture ledges than anything else I’ve made, and these were probably the easiest things to make!
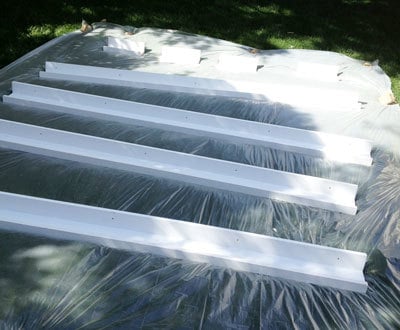
It cost me about $25 a piece but they were nearly 8 feet long each. I used a paint sprayer to paint them, WAY easier than brushing on the paint! watch for drips though (my first time using a sprayer, treat it like spray paint, light easy coats!)
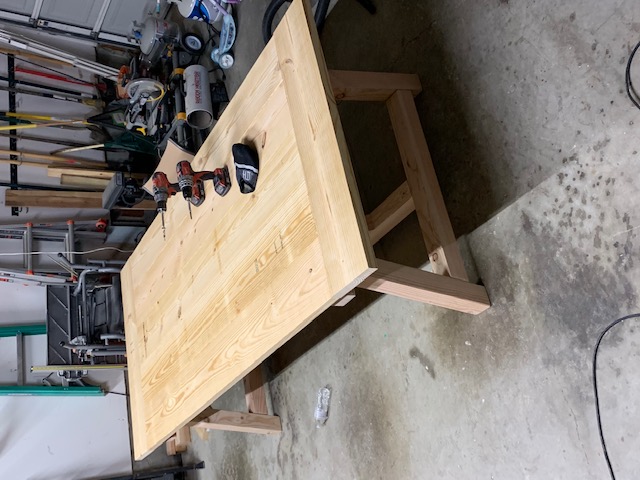
I challenged my husband who is new to any woodworking project to make me this table! That he did!!


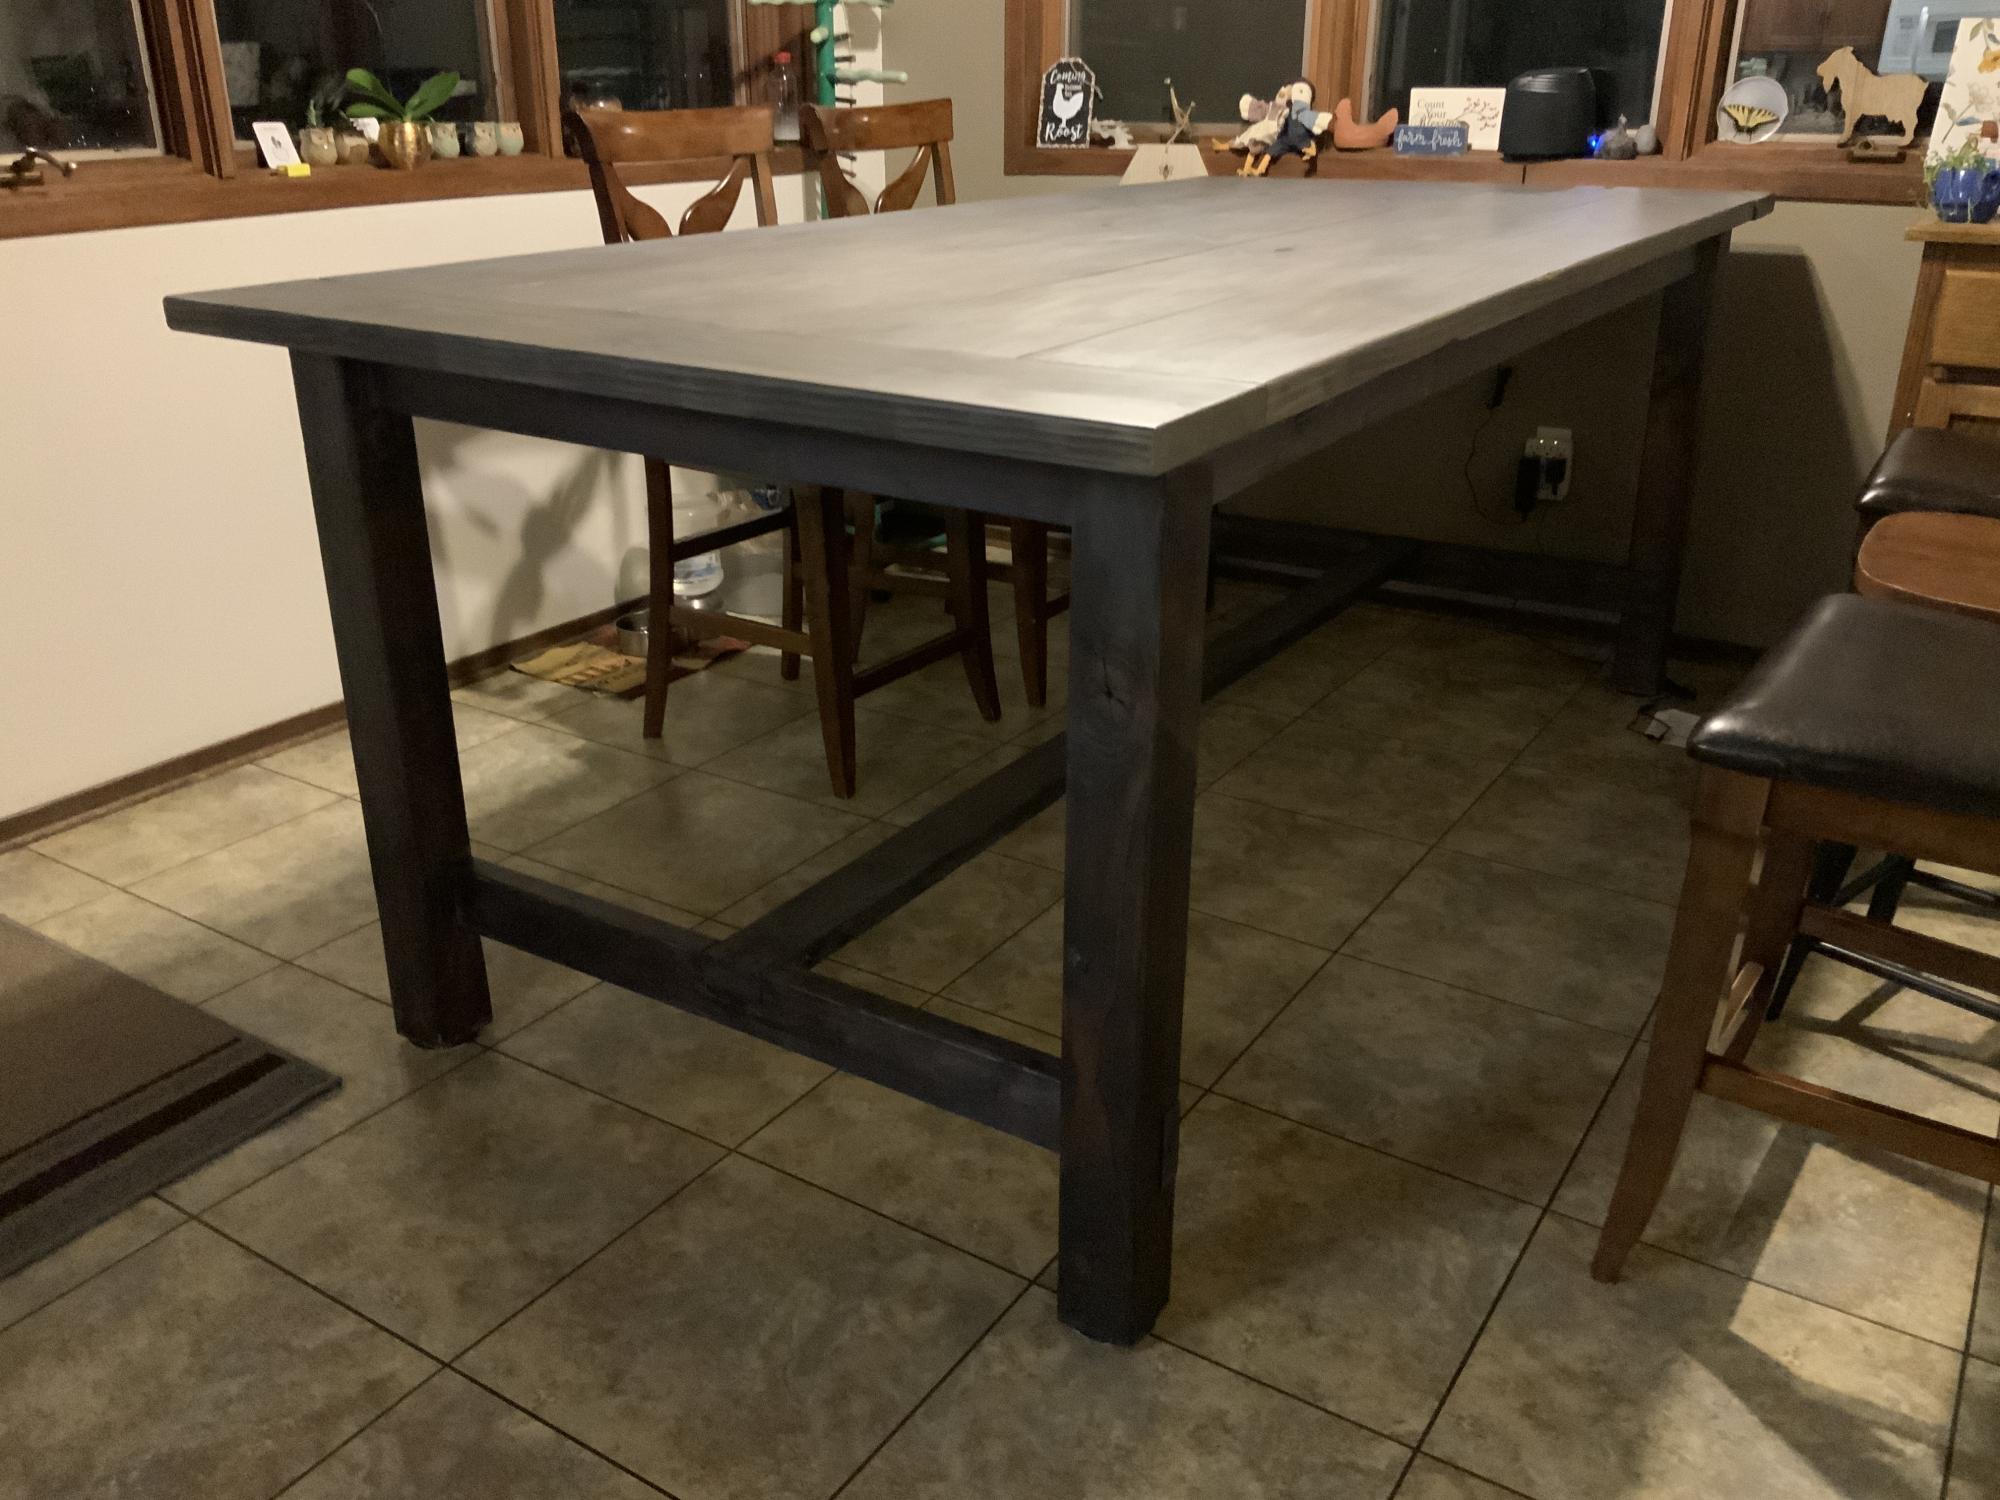
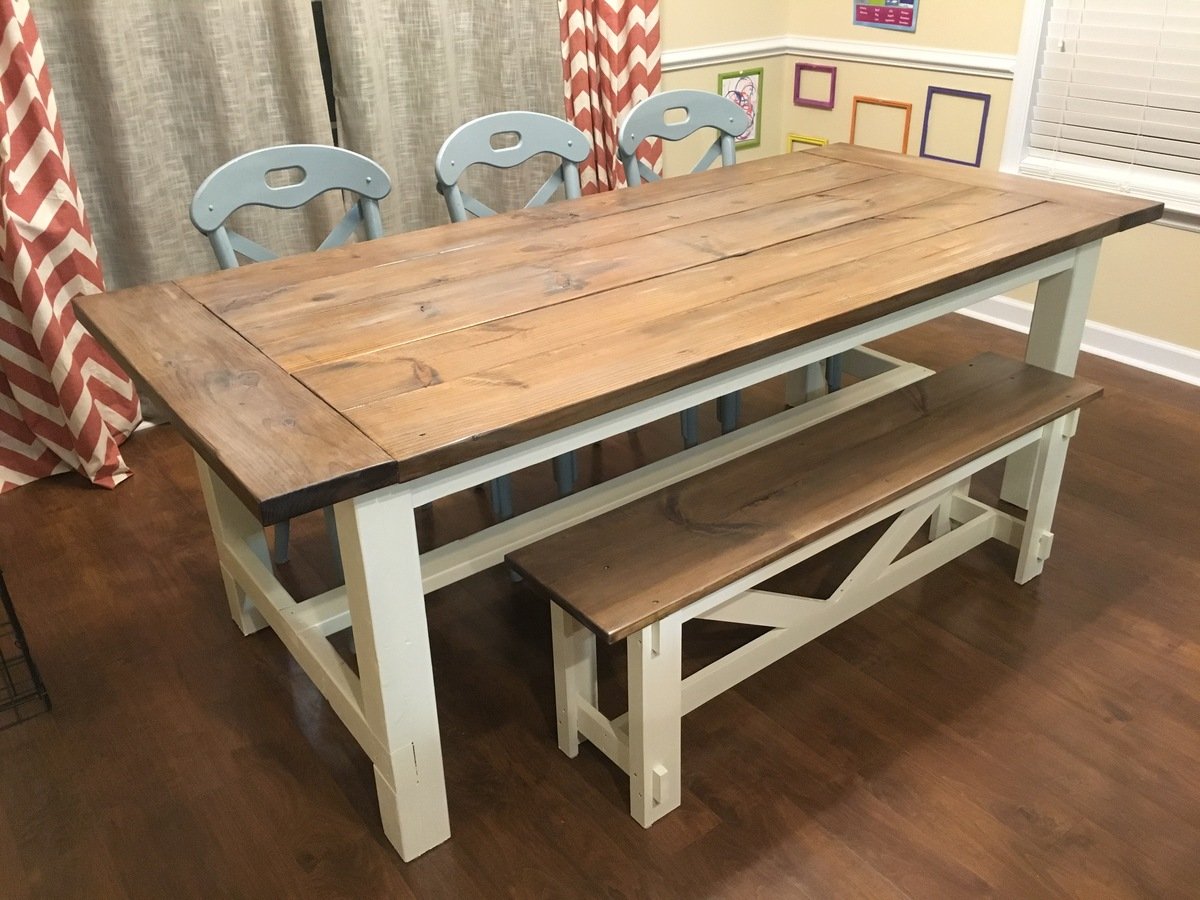
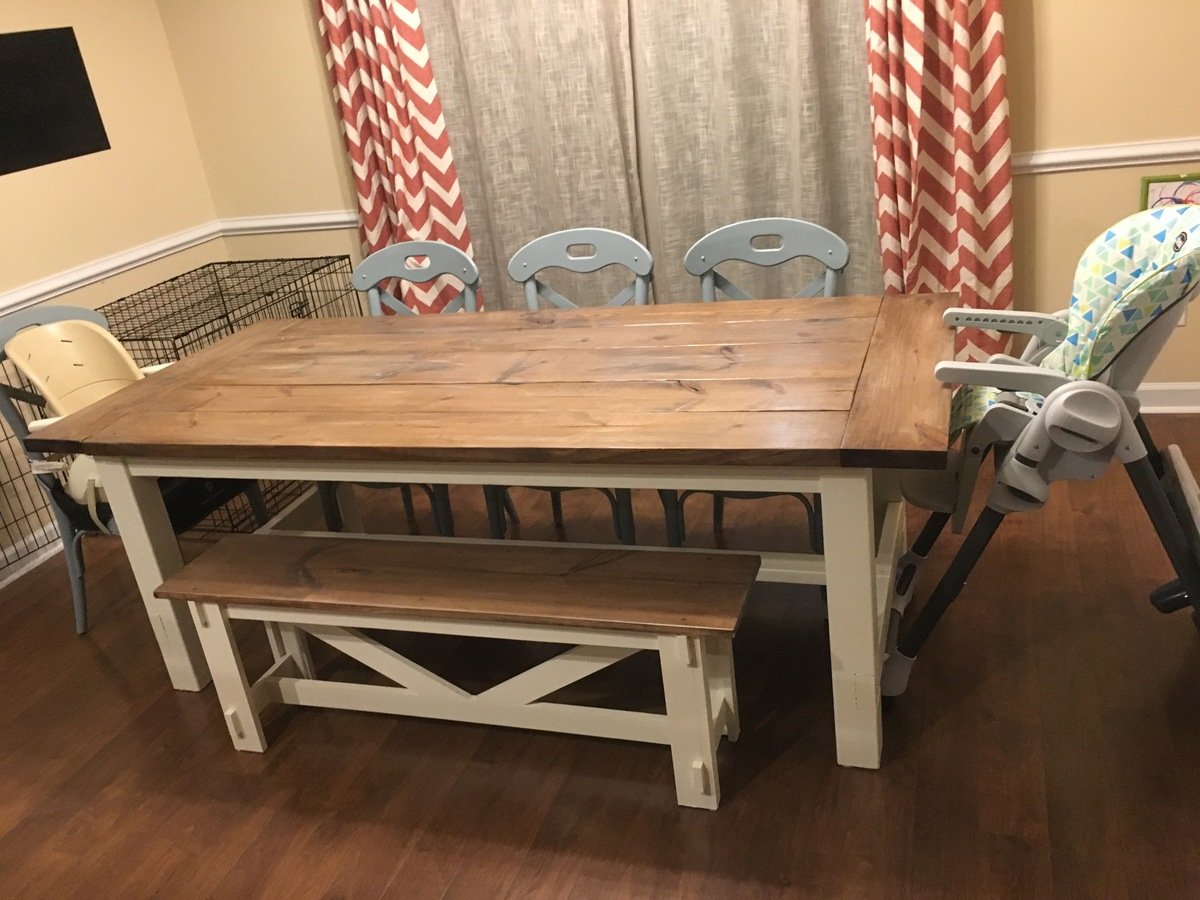
I modified the Farmhouse Table With Pocket Holes plans to make the table counter height for our views of the woods from the dining area. We also have large family gatherings every Sunday evening so made the overall length 95” and the width 46” using 2x10s instead of 2x8s. I also made a little extra foot room on the ends by moving the stretcher support to the inside of the legs. All of the lumber was run through a planer multiple times to get everything nice and even. Large knot holes where left by choice for character, and I filled them with epoxy and sanded smooth.
I started the project with lumber that was not completely dry. As a result, my tabletop width shrunk by nearly 3/4” over the first few weeks after completion. I would recommend bringing your lumber package inside for several weeks before you begin the build to allow it to dry and shrink. Do not bother to glue the table top if your lumber isn’t dry as it will simply pull apart like mine did.
This table is a BEAST, and will definitely be our shelter in the event of an earthquake. Because of the size, I had to build it in the dining area and I wish I had sanded everything to final finish before I built it. There was a lot of creative shopvac help from the kids.
Thank you for the great plans and inspiration to take on my first major woodworking project!
Very sturdy. Gets lots of use. Need to make one for new baby brother.
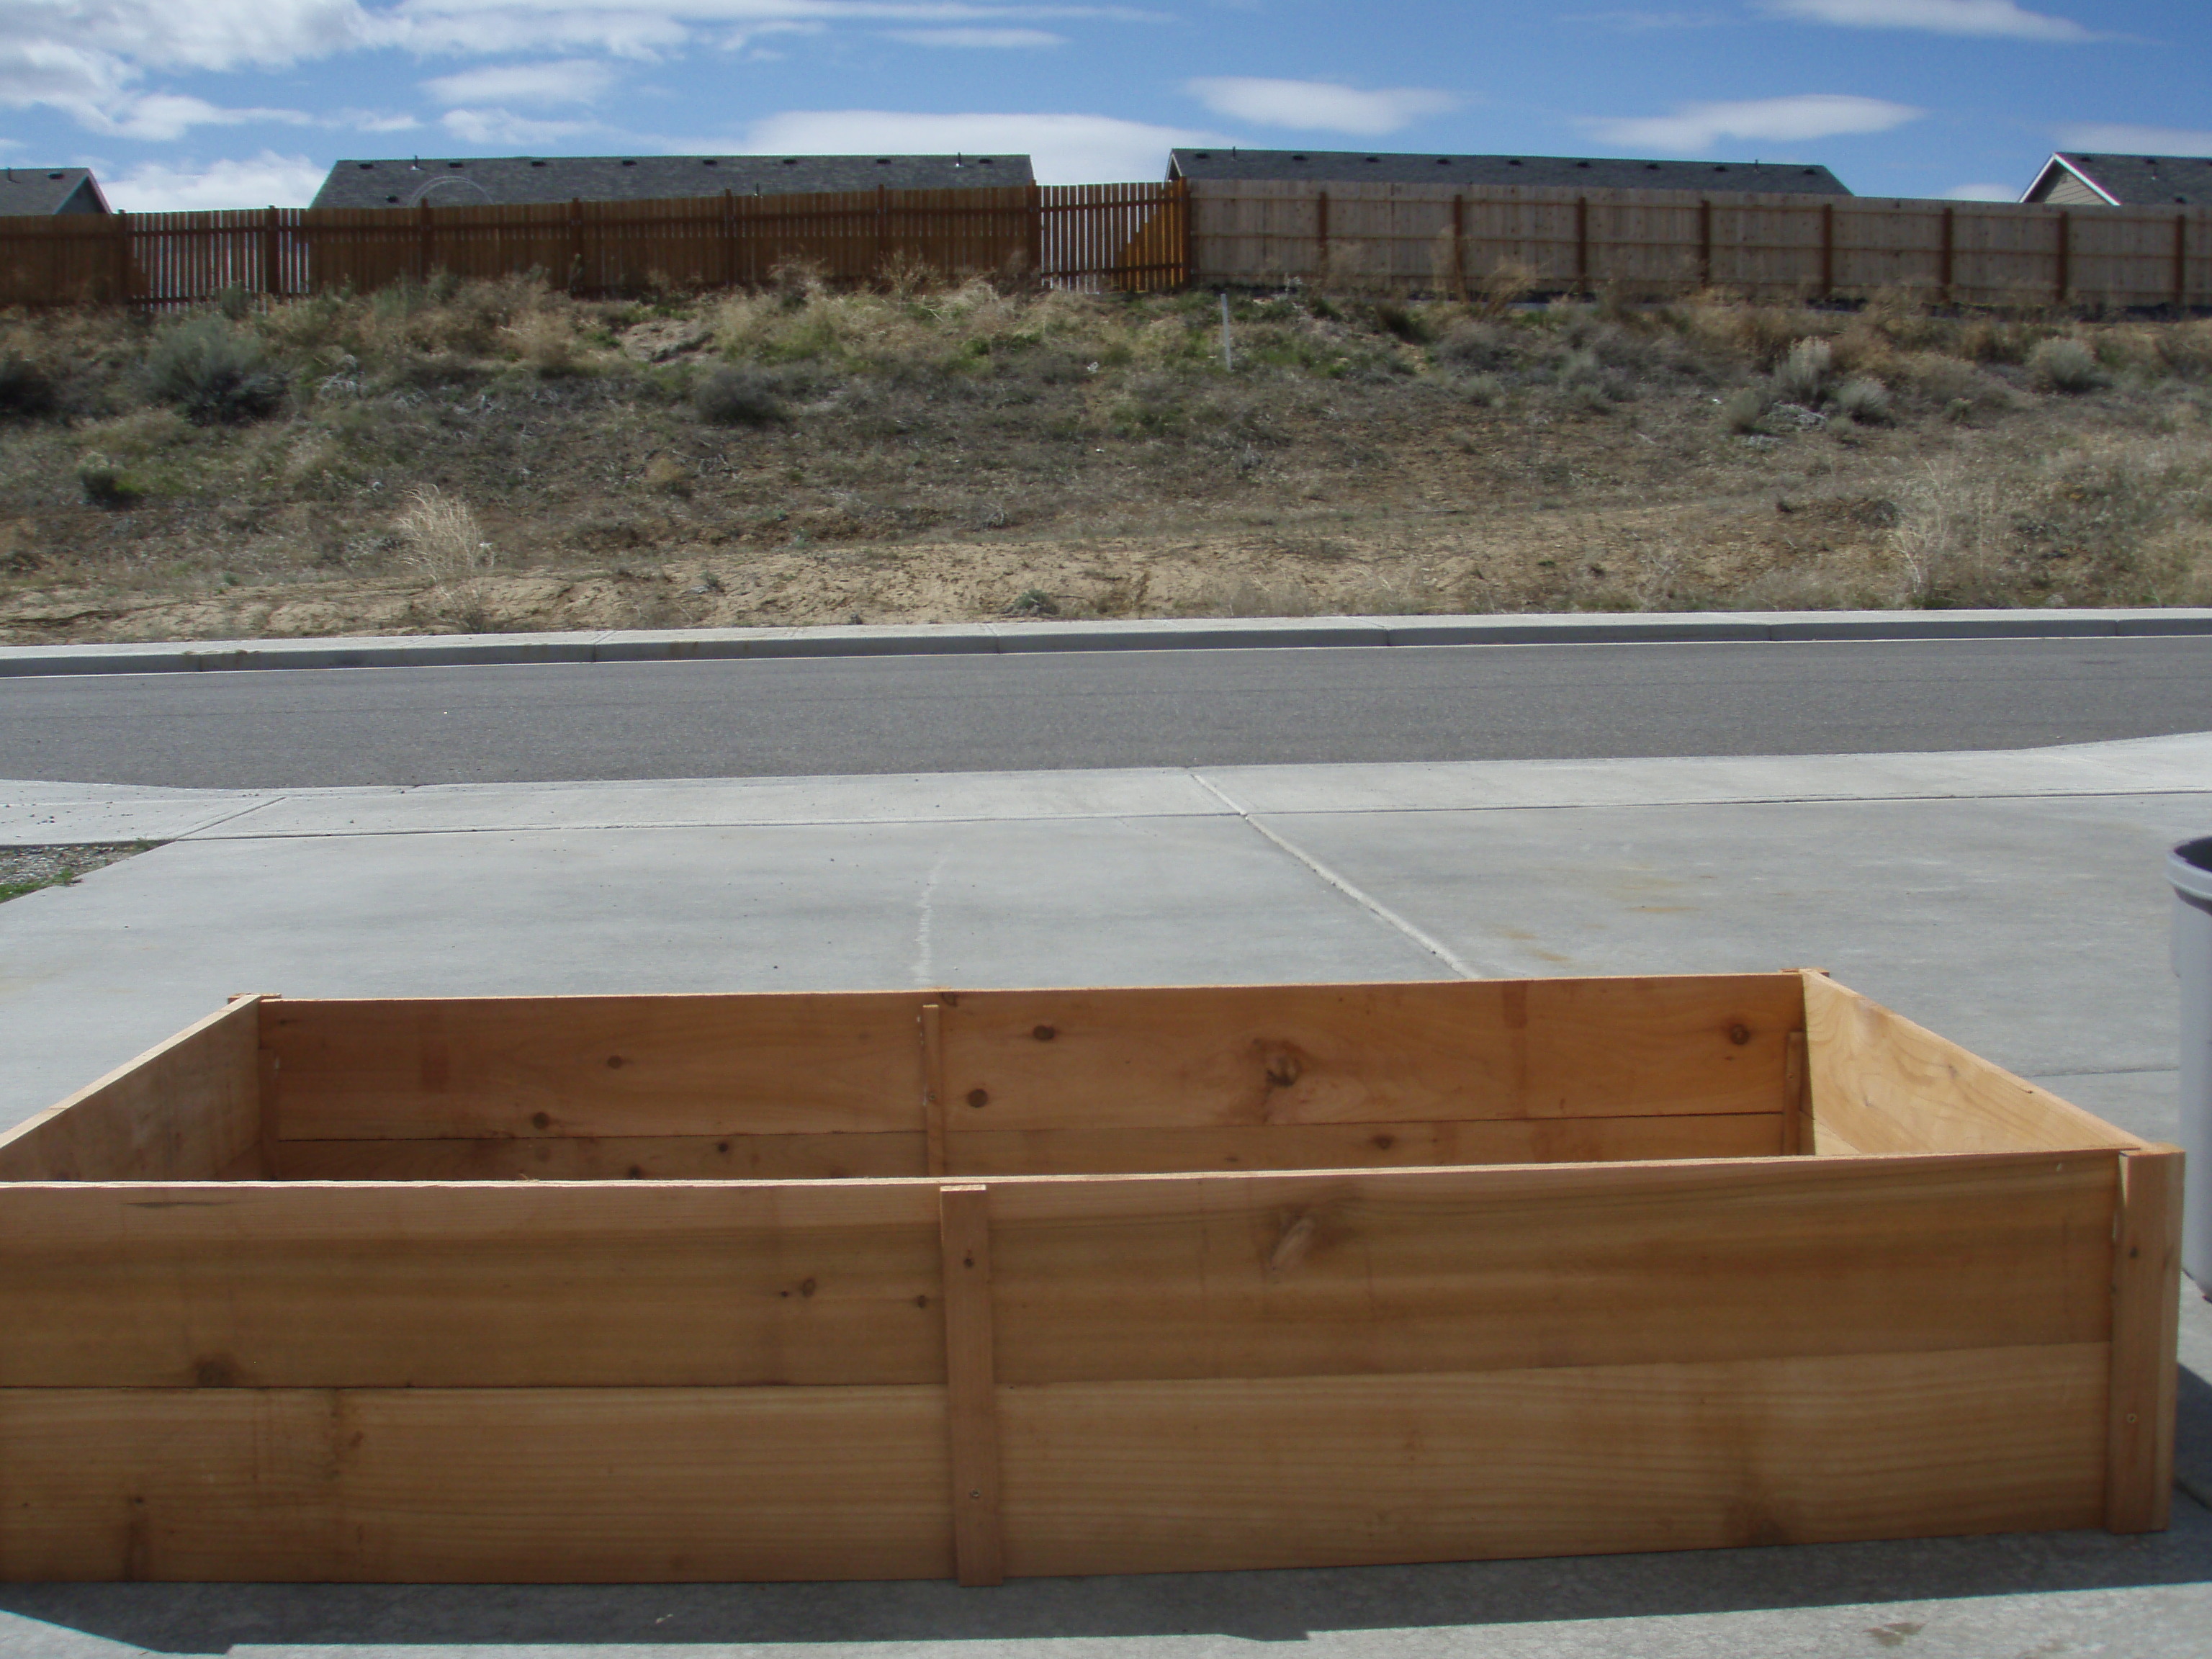
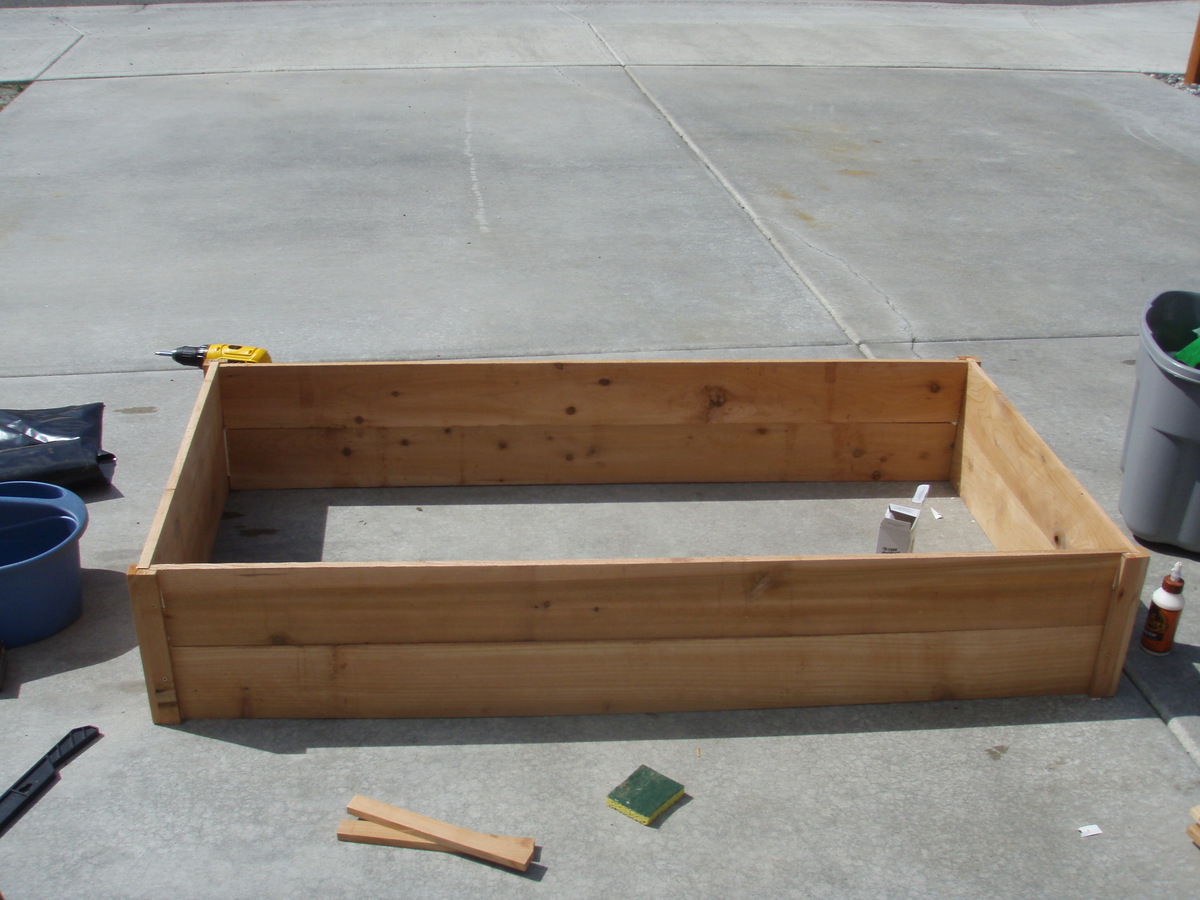
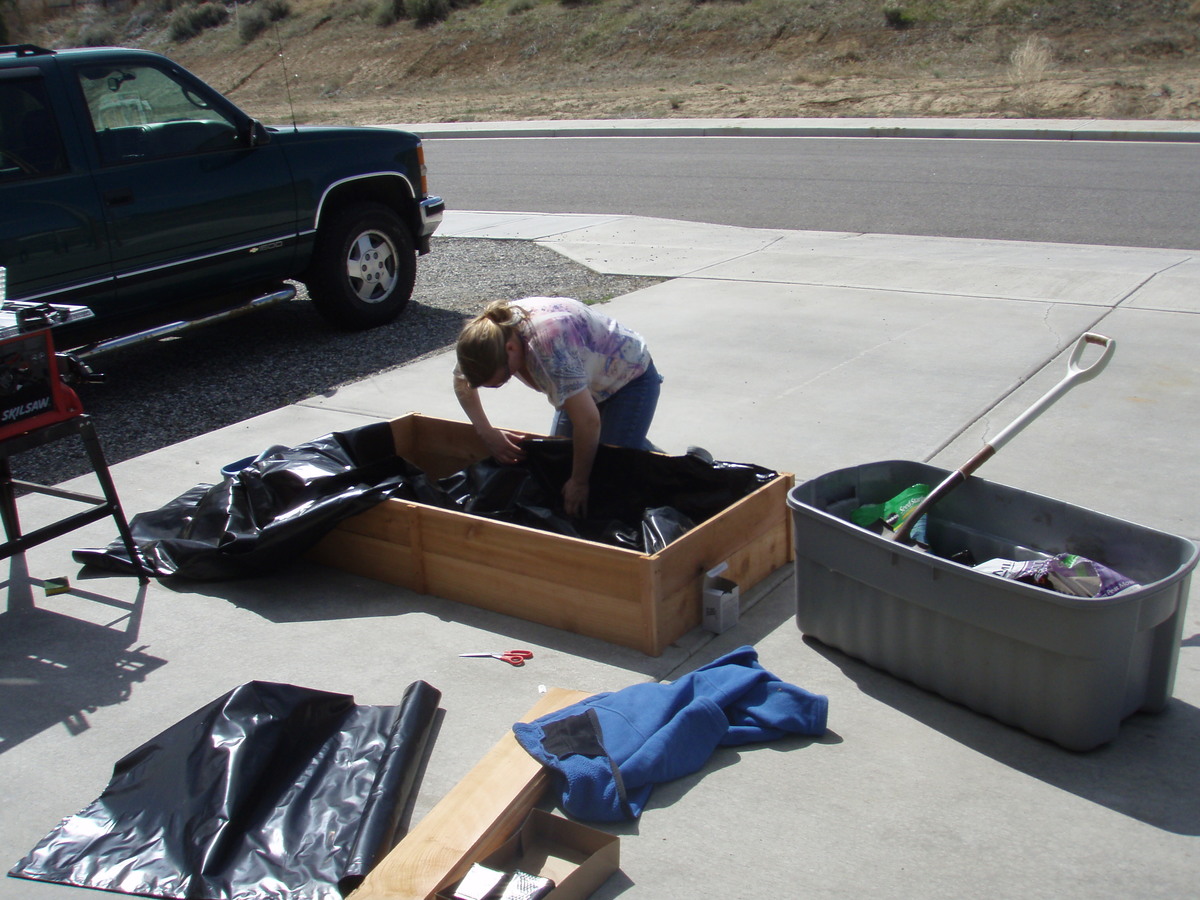
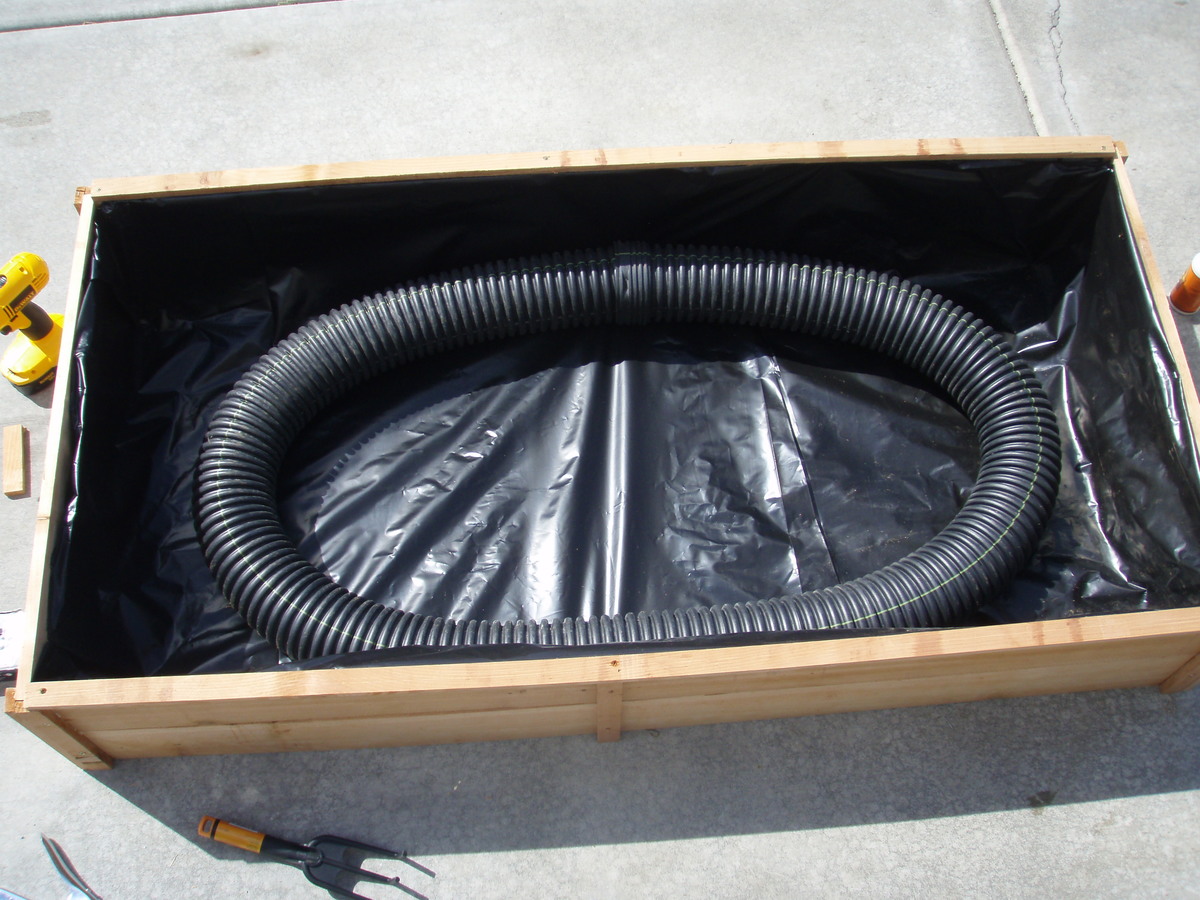
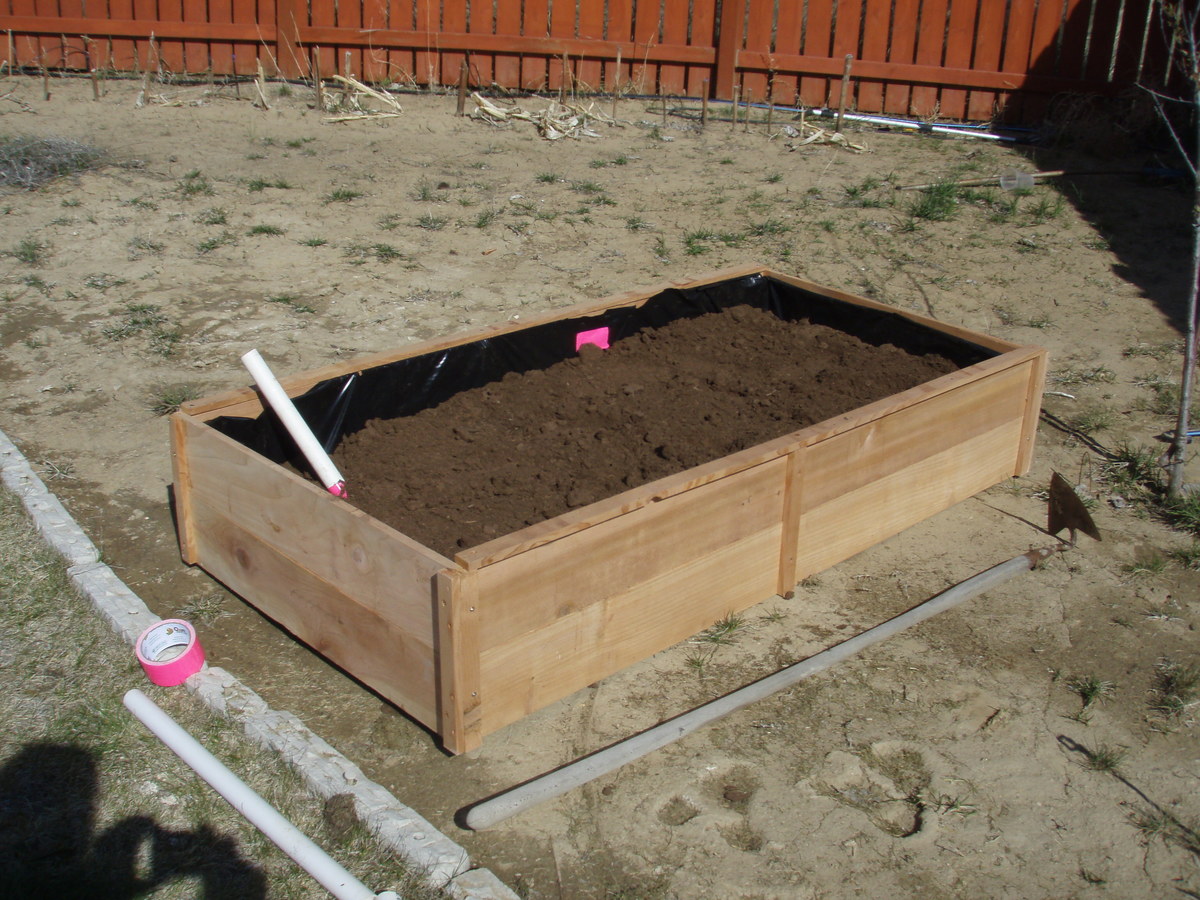
I read about a SIP, or self watering planter in Family Handy Man April 2012. There planse we expensive and compicated. These were easy and fun to make. I like the I dea of using 50% to 90% less water, and only watering once a week.
I added a post down the middle to help with bowing.
I found 5 foot cedar fence posts for $1.28 at orange. Including glue and screws $10. I have the palsit lininn, the withe piping on hand. HTe drain pipe was $6. for a total of $16.
Orange had a 2 x 2 plastic Self watering planter $30, big savings
I say starter only if you are not ripping, but using 1 x2 's
Wed, 09/05/2012 - 21:12
I am not sure, a roll my dad had laying around. Most research suggests pond liner.
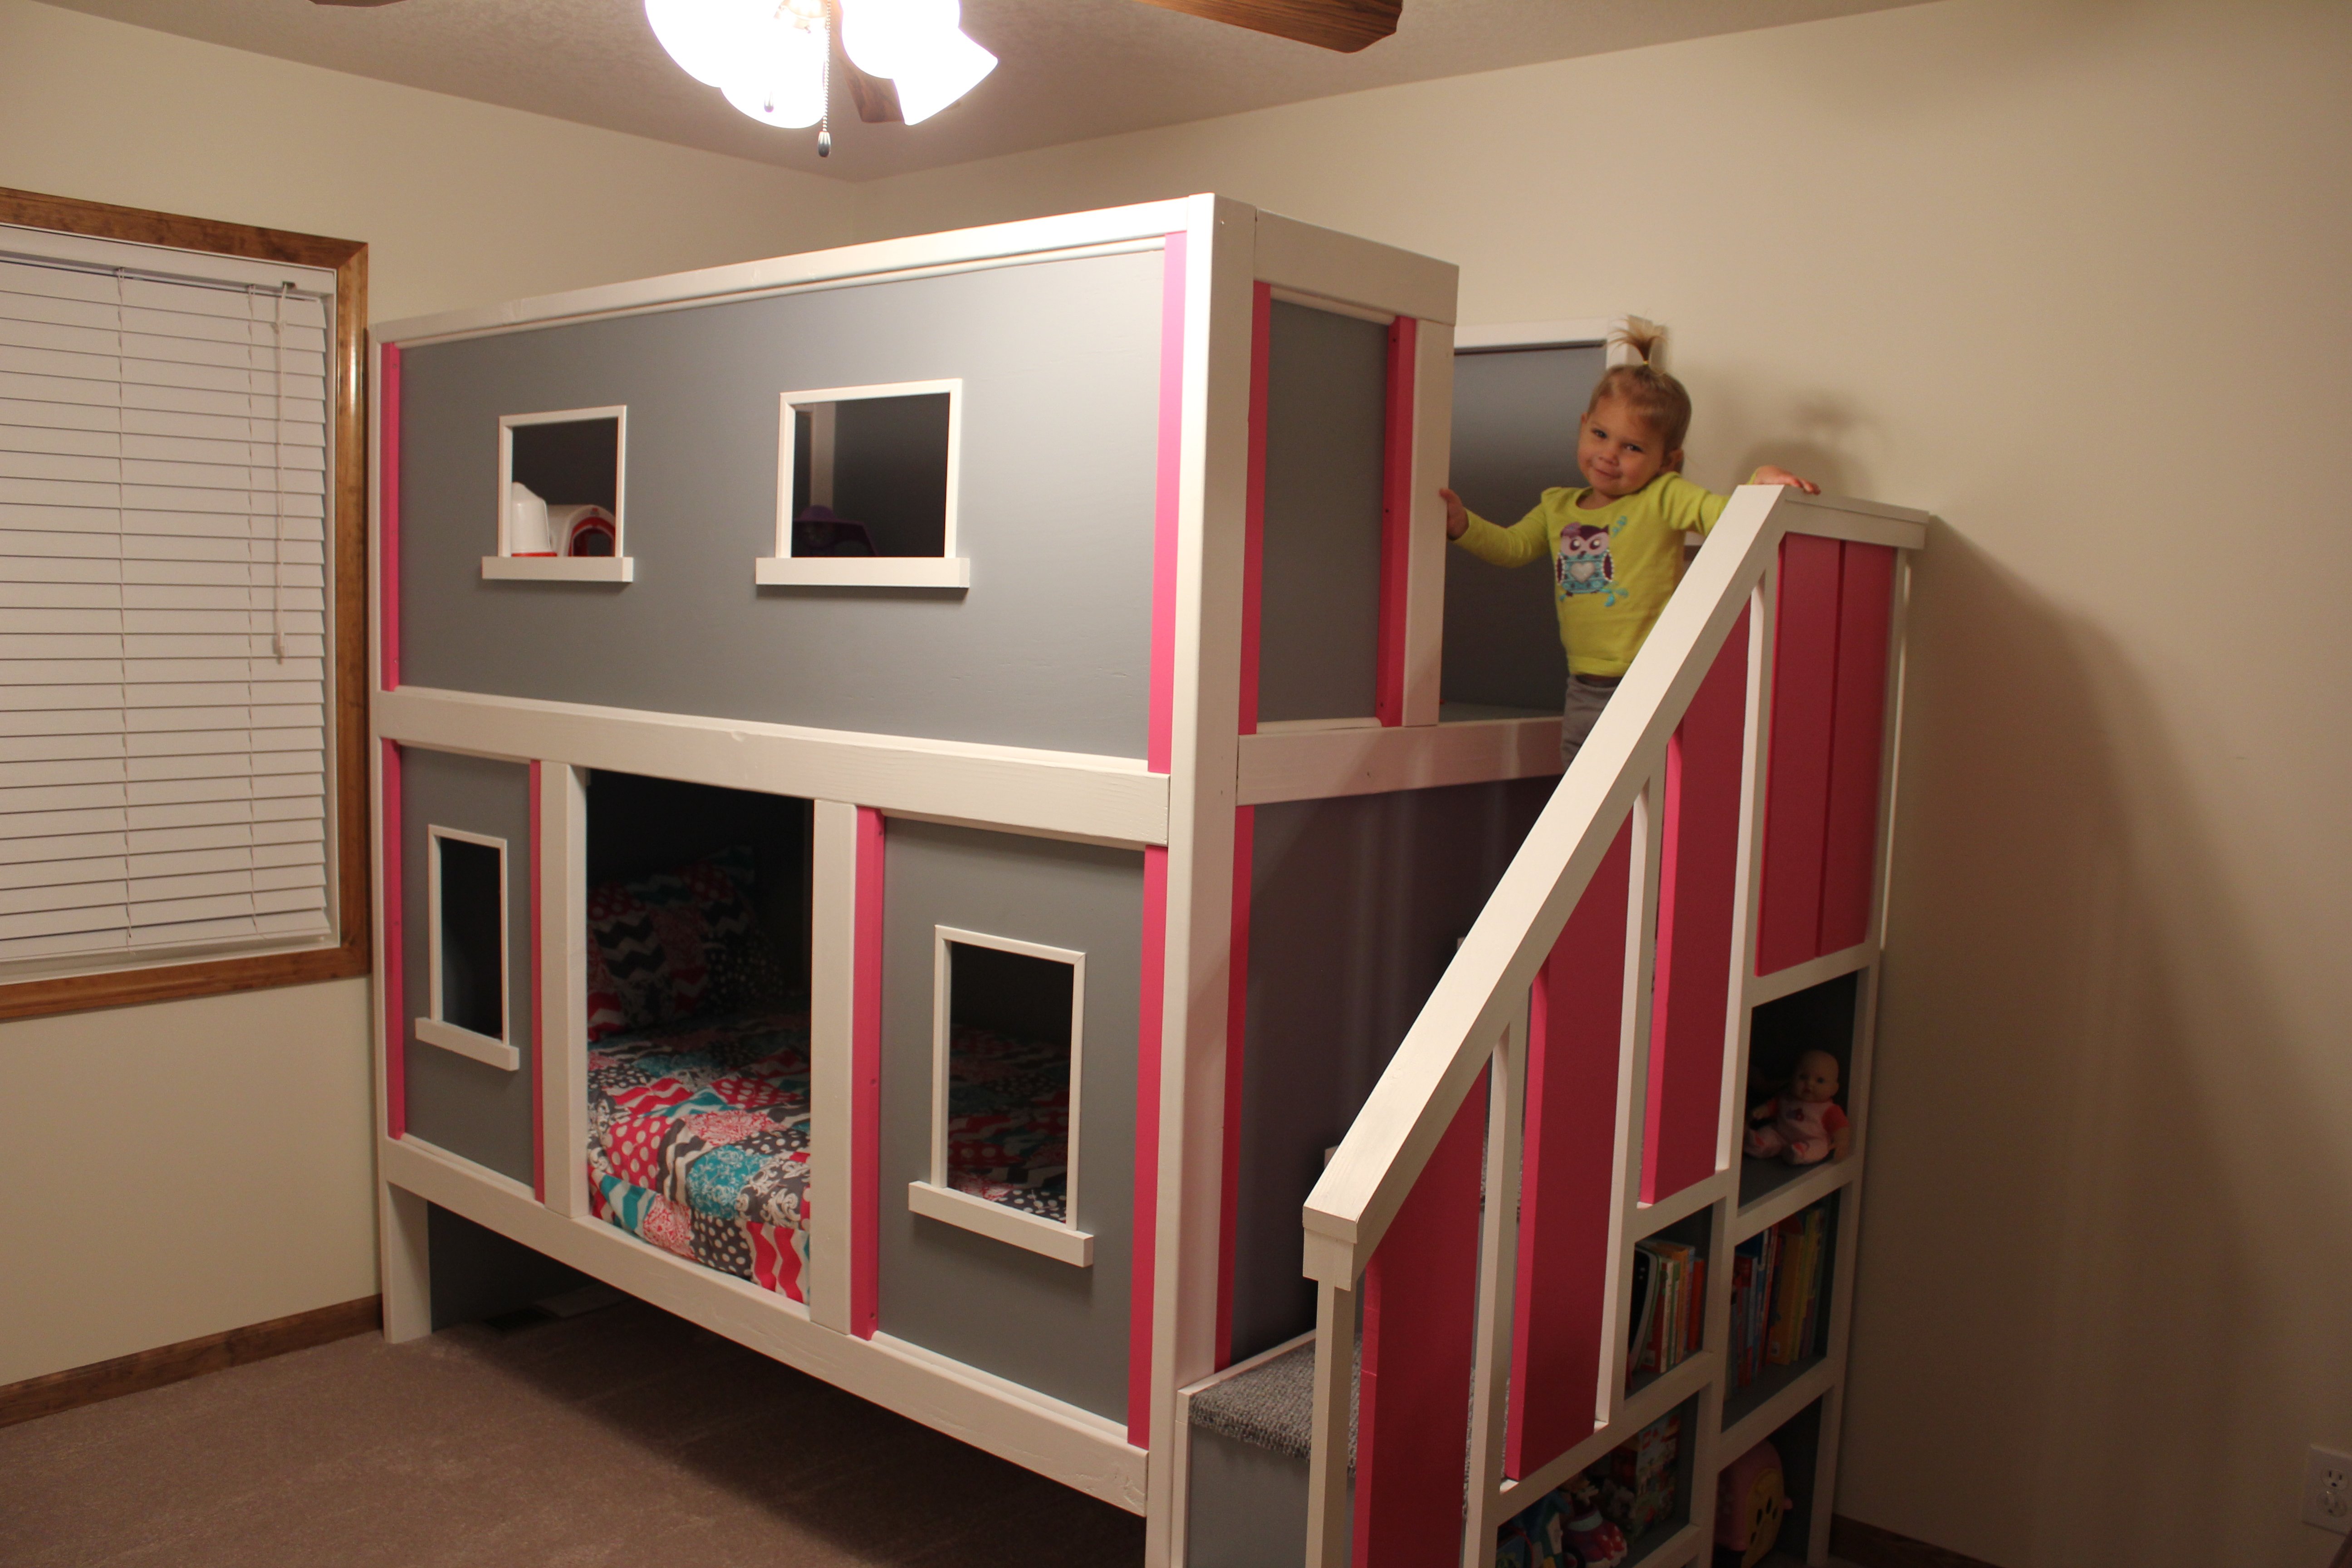
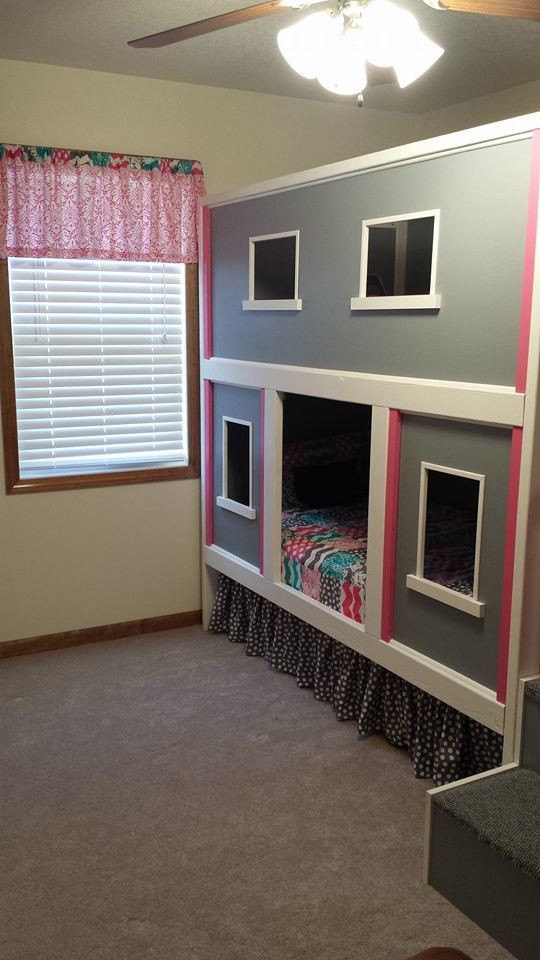
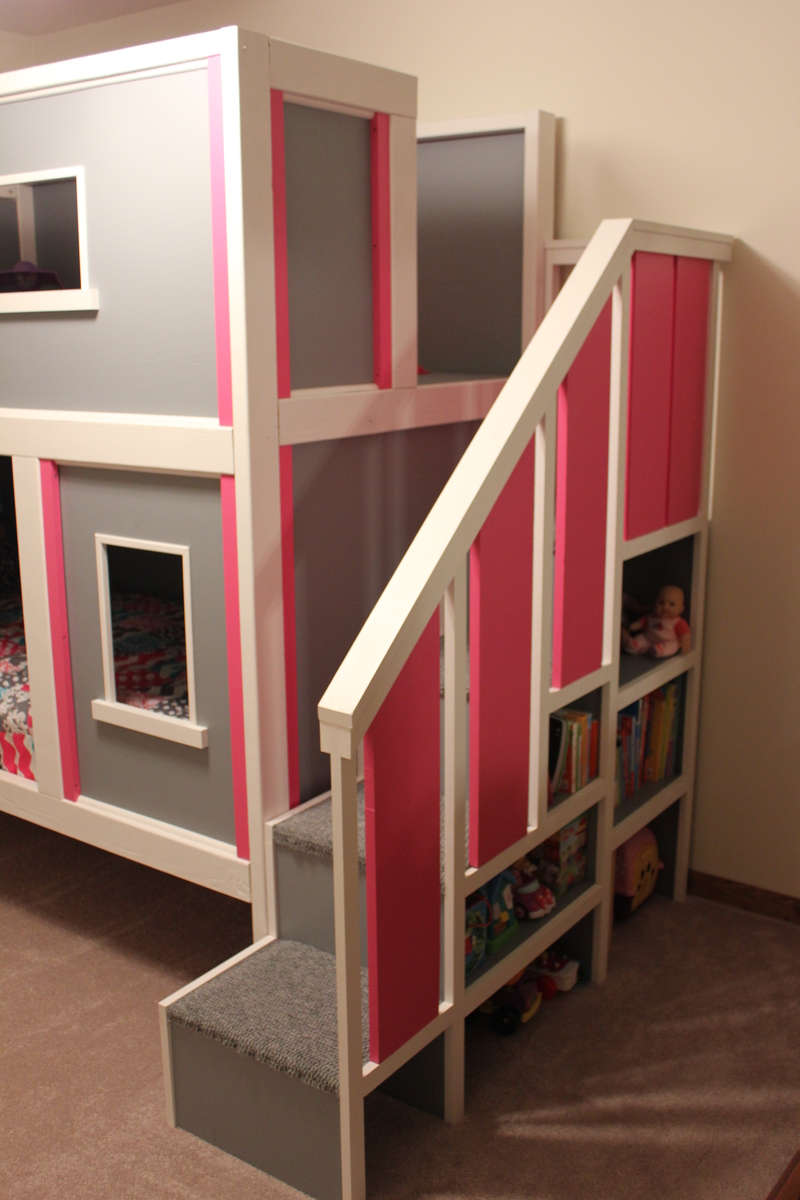
My husband and I are expecting our second child this April. We knew we wanted to move our 2 year old out of her crib and into a “big” girl bed so that the new baby could use the crib. I saw the Play House Loft Bed on Pinterest and fell in love. I showed it to my husband and convinced him it would be a great winter project for us. He of course started his research and had nightmares of our daughter falling over the top bunk. So when I saw the Sweet Pea bed I knew it was perfect. I pitched the idea to my husband that the bottom bunk could be her bed and the top would be her play area. He was sold. We went to Lowes and bought our first round of lumber and immediately realized this project was going to be more expensive than expected but we were still up for the challenge. My husband worked on the project two full days, I worked on it a half day and then together we worked on it a few hours over nap time or after putting our daughter to bed.
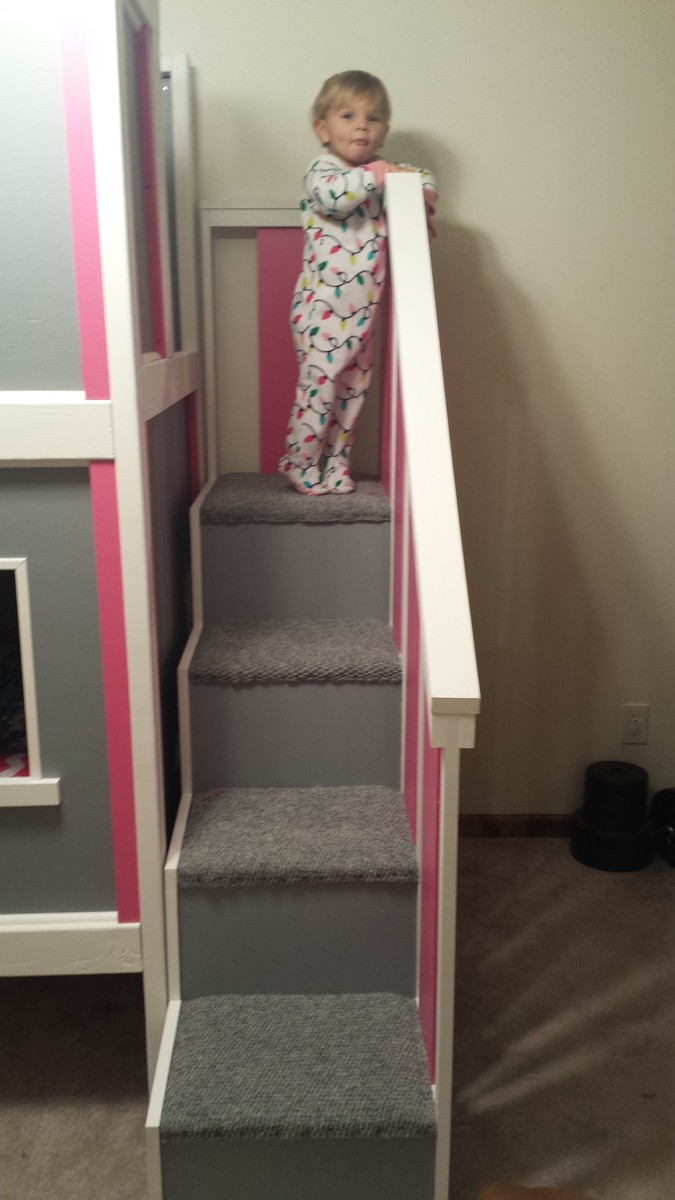
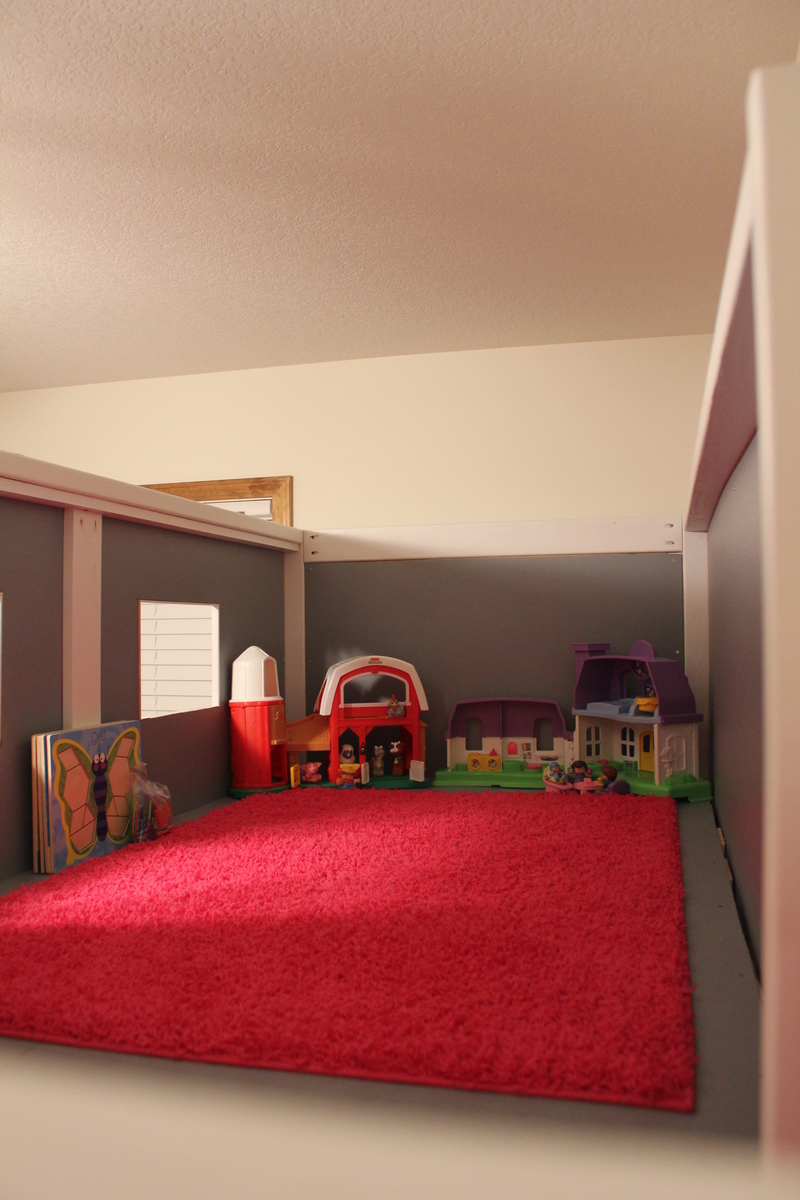
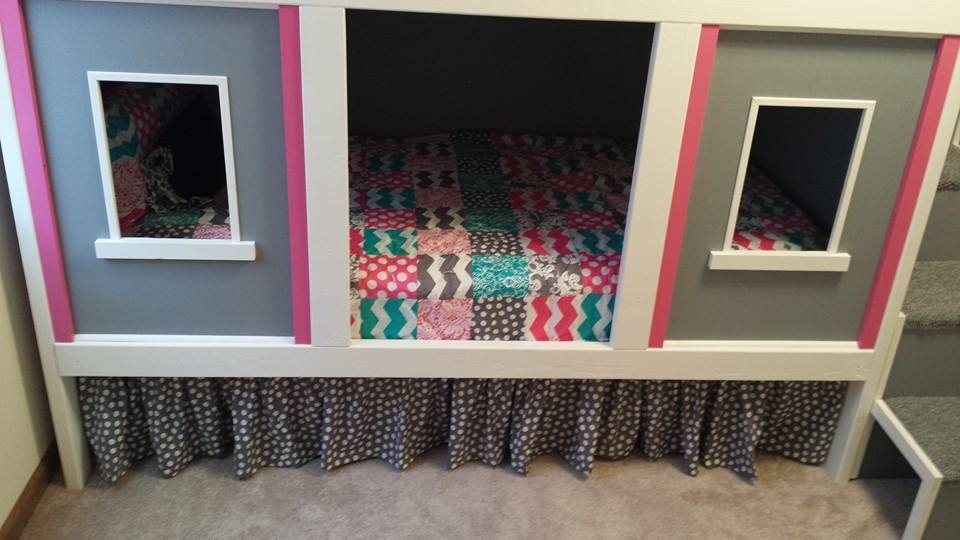
We made some modification to the plans, we liked the look of a flat front rather than 2x4’s so we used a flat sheet of ply wood. We added carpet to our stairs to help prevent any major injuries if fallen down. We left the roof off for now but may add it on later. We also decided to leave the bottom open for any size storage we needed. We added a fabric ruffle to hide the space.
Looking back we wish we would have done this project in the spring/summer and not dead winter. We had to park our cars outside and use our garage to cut and paint all the wood which meant space was limited. This also prevented us from being able to use a spray gun to paint. Had we been able to spray the paint this project would have moved a lot quicker!
Once the project was complete we were so happy with the outcome. Our daughter absolutely LOVES her new bed and loves her play area upstairs!

Wed, 01/29/2014 - 11:12
I love the color combo. This is a great bed to transition to from a crib, we did that with my youngest daughter too. I hope she enjoys it, both kids will be sharing a bunk in no time!
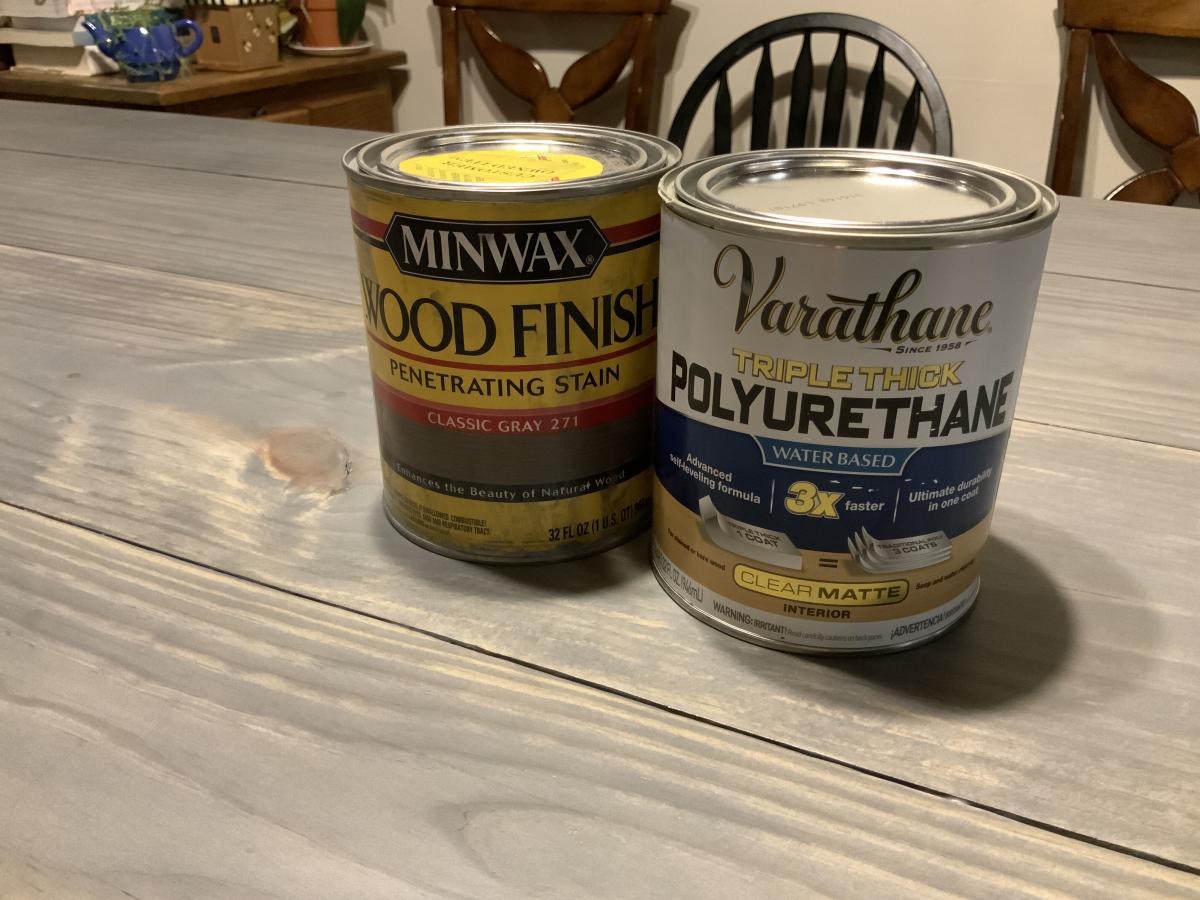
My husband built this following the plans for the farmhouse table and I painted and stained it using 2 different stains and a whitewash. We are so pleased with how it turned out.
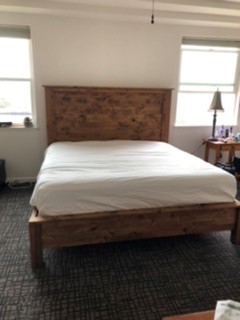
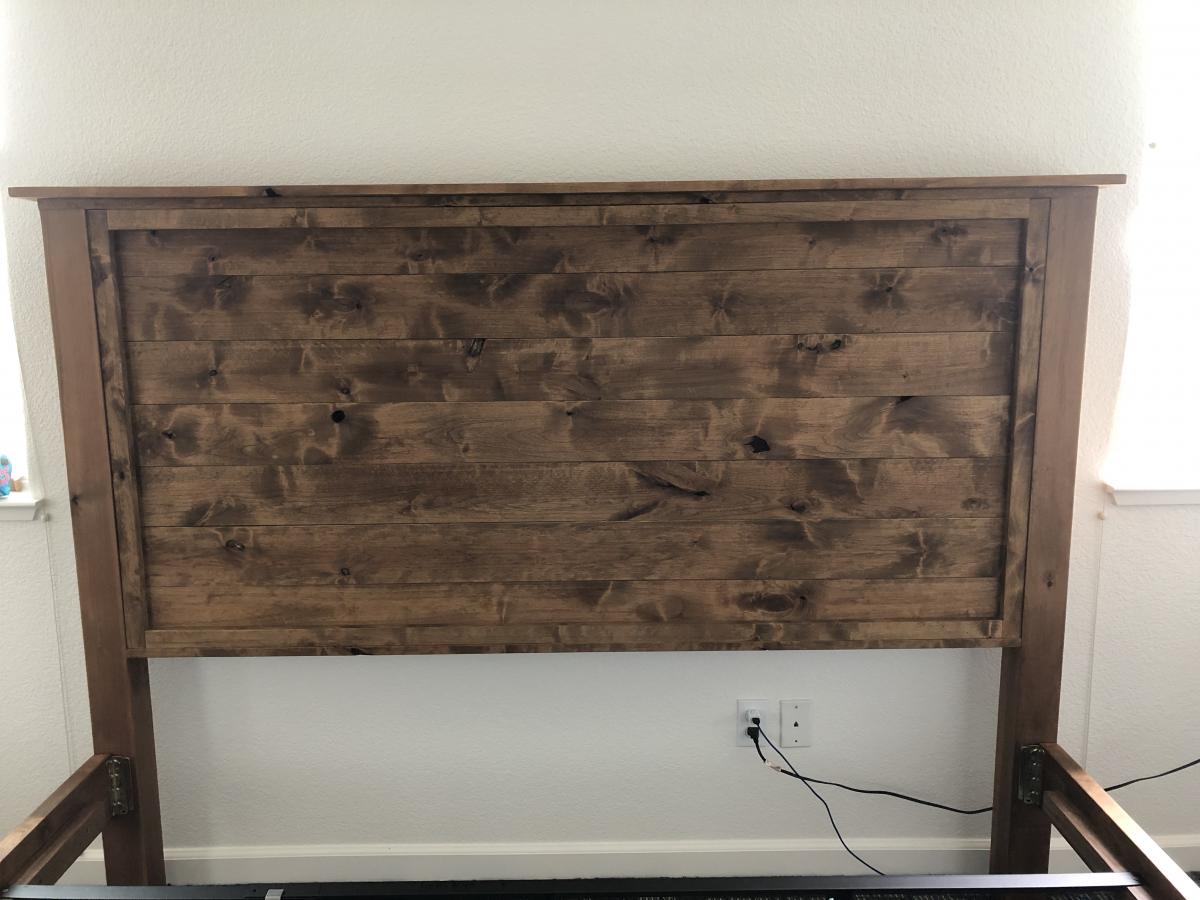
I love the farmhouse look and wanted to start changing out pieces in my bedroom. Good quality furniture is expensive, so I thought I would checkout DIY projects and came across Ana’s plans for a king bed. Her plans got me started and I changed a few things along the way. I LOVE the end result.
I used Knotty Alder and Danish Oil in Dark Walnut. Alder is an easy wood to work with and the Danish Oil brings out all the beautiful grain. I highly recommend both.
I decided to buy the metal frame and plywood to place the mattress on.
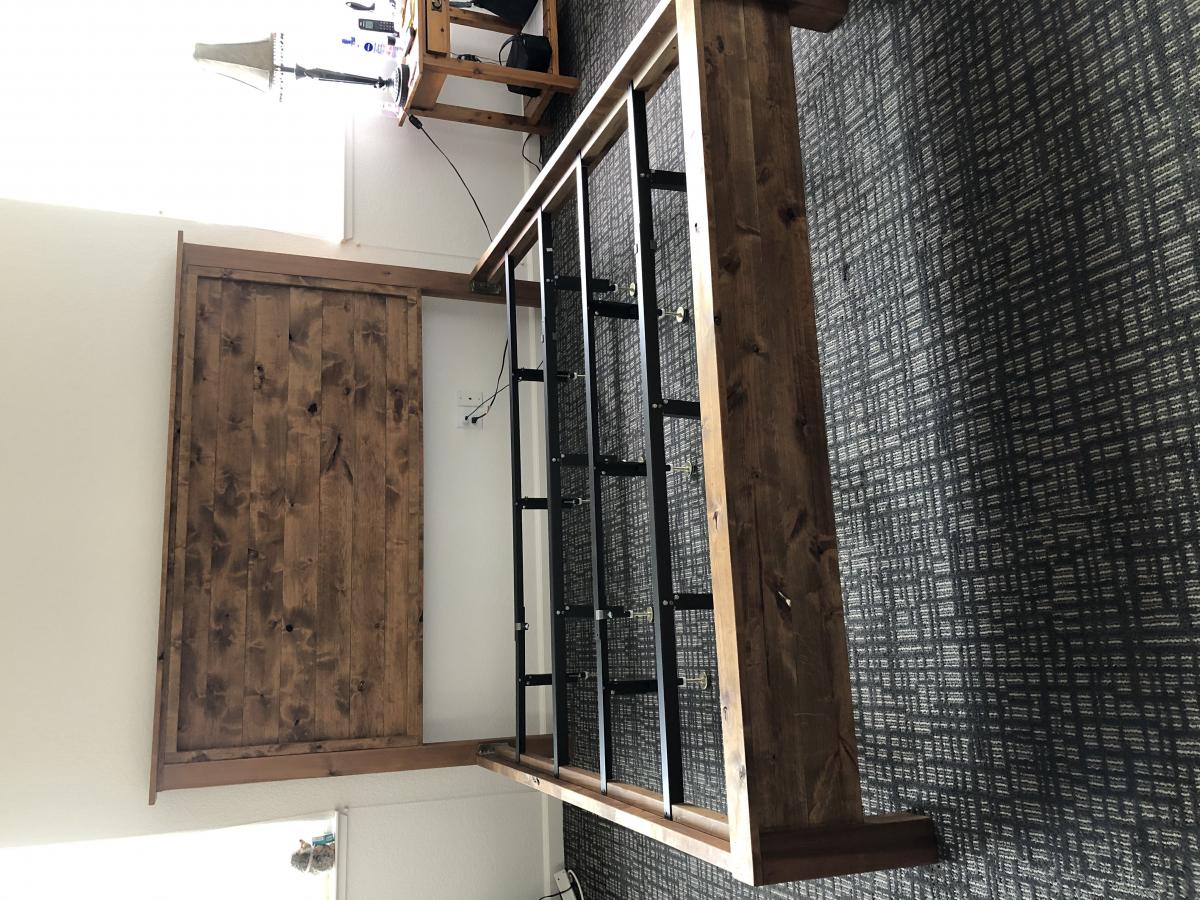
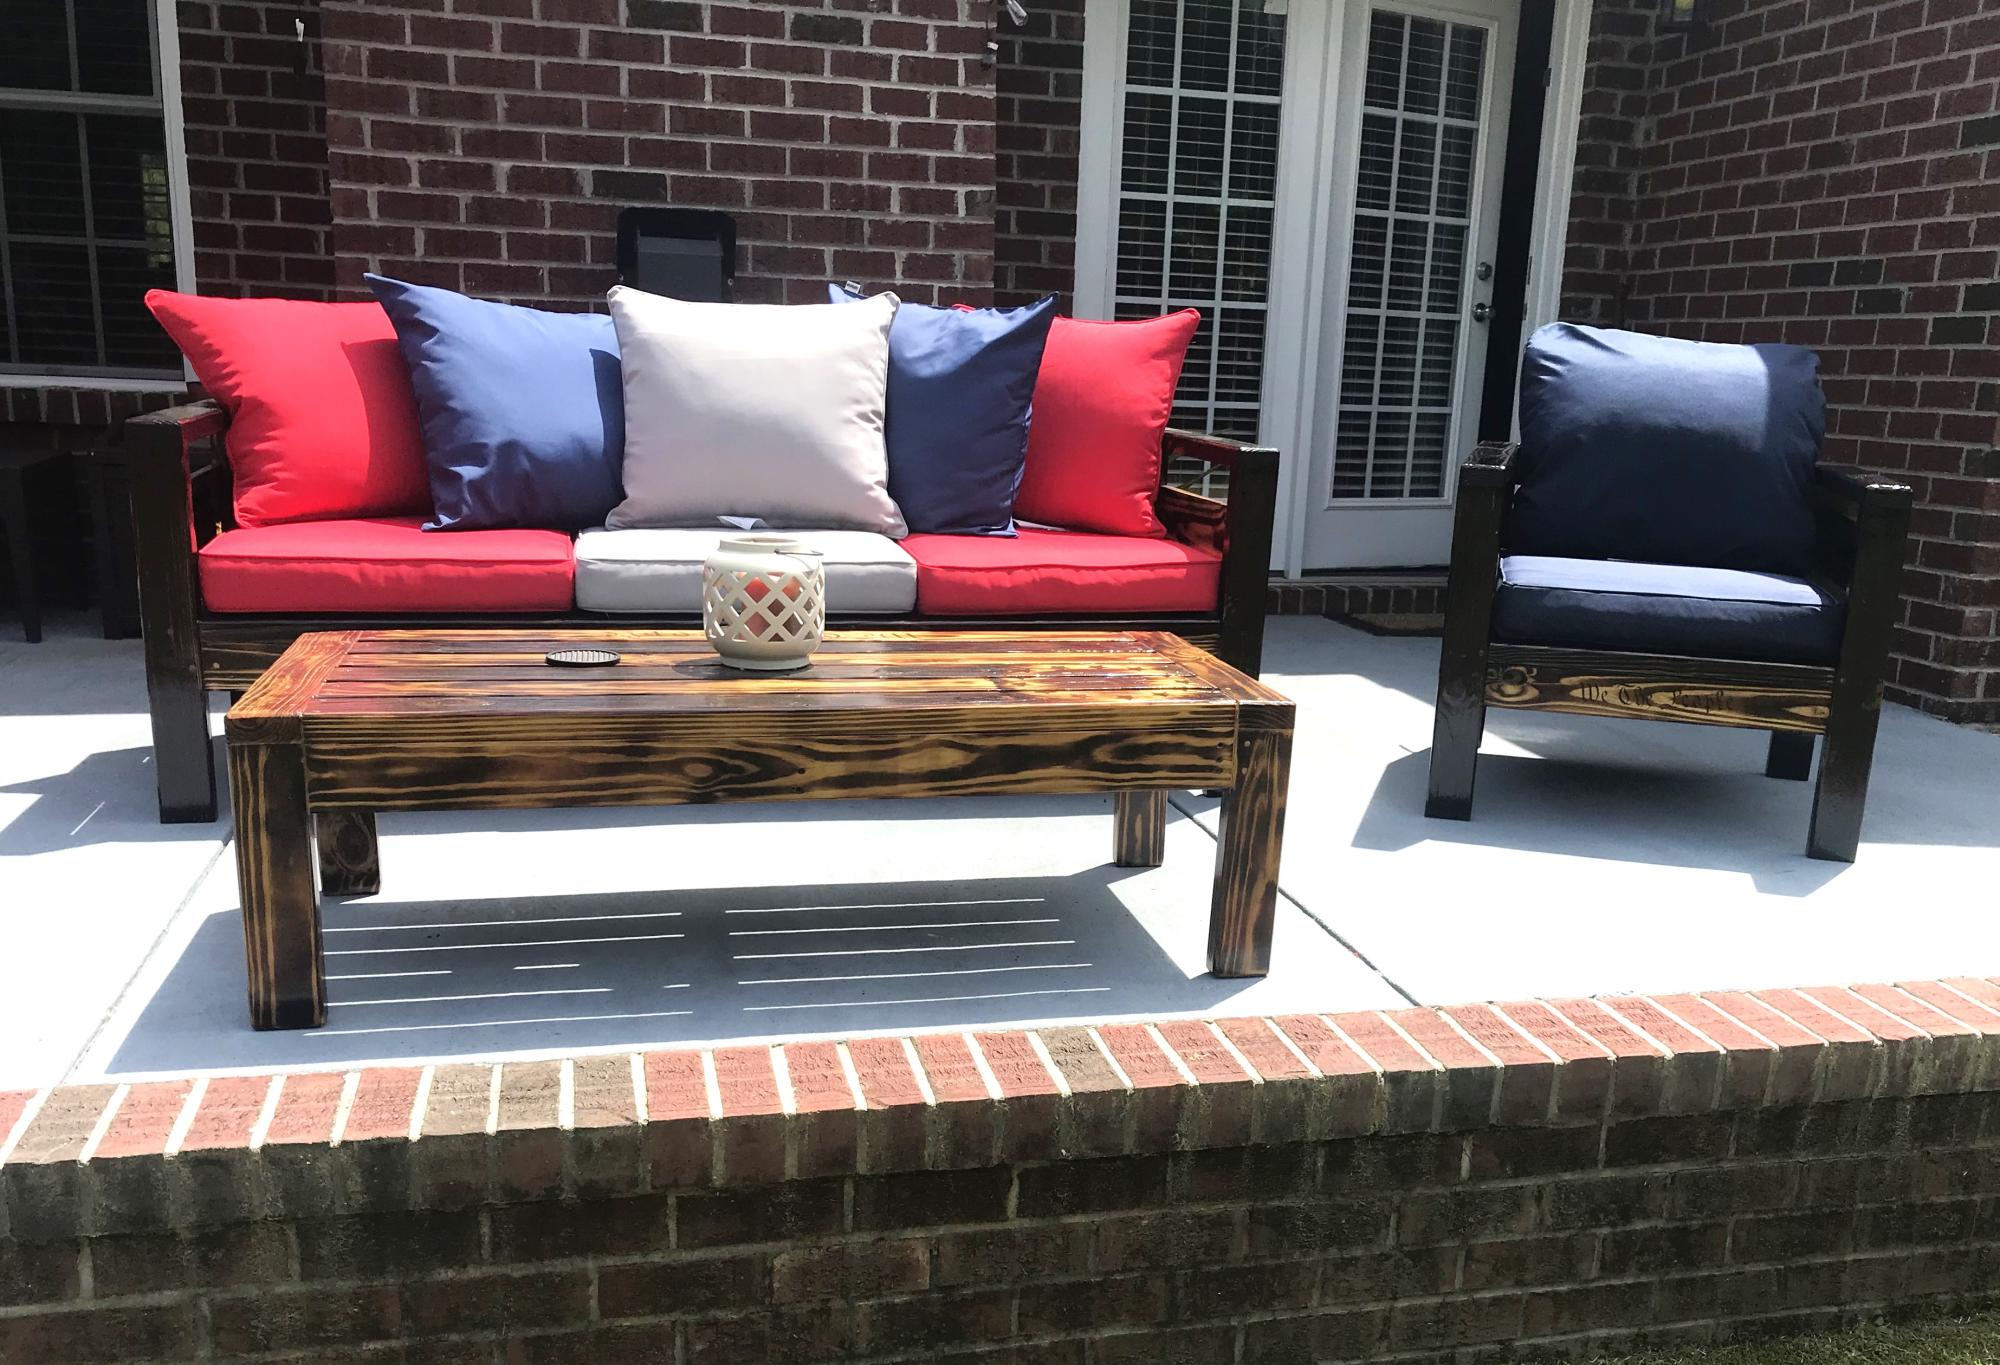
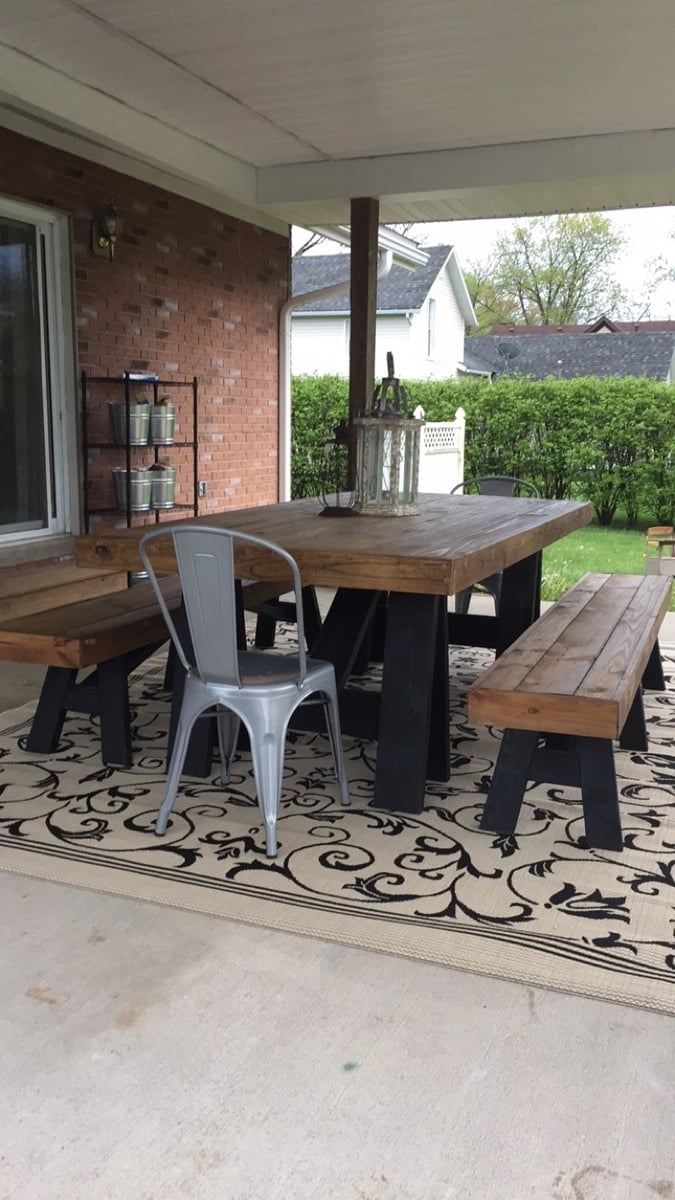
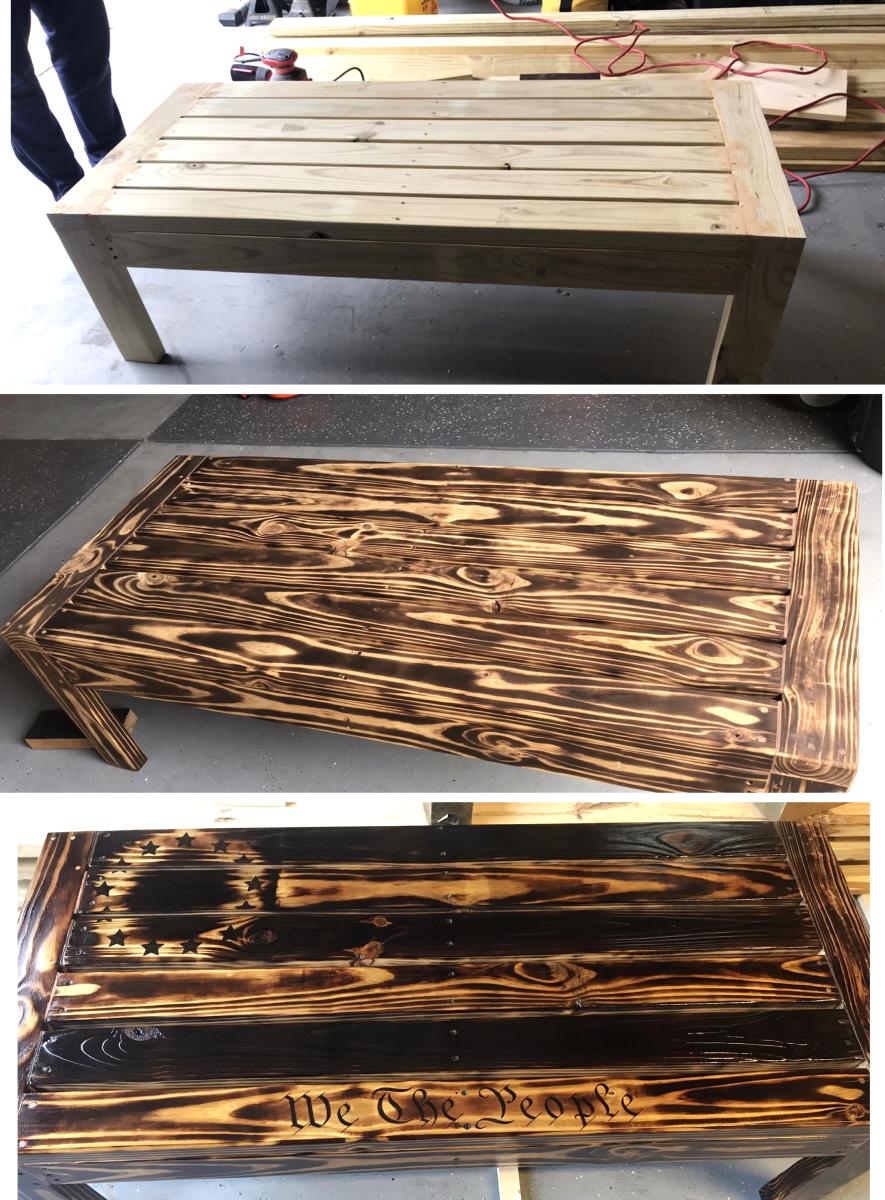
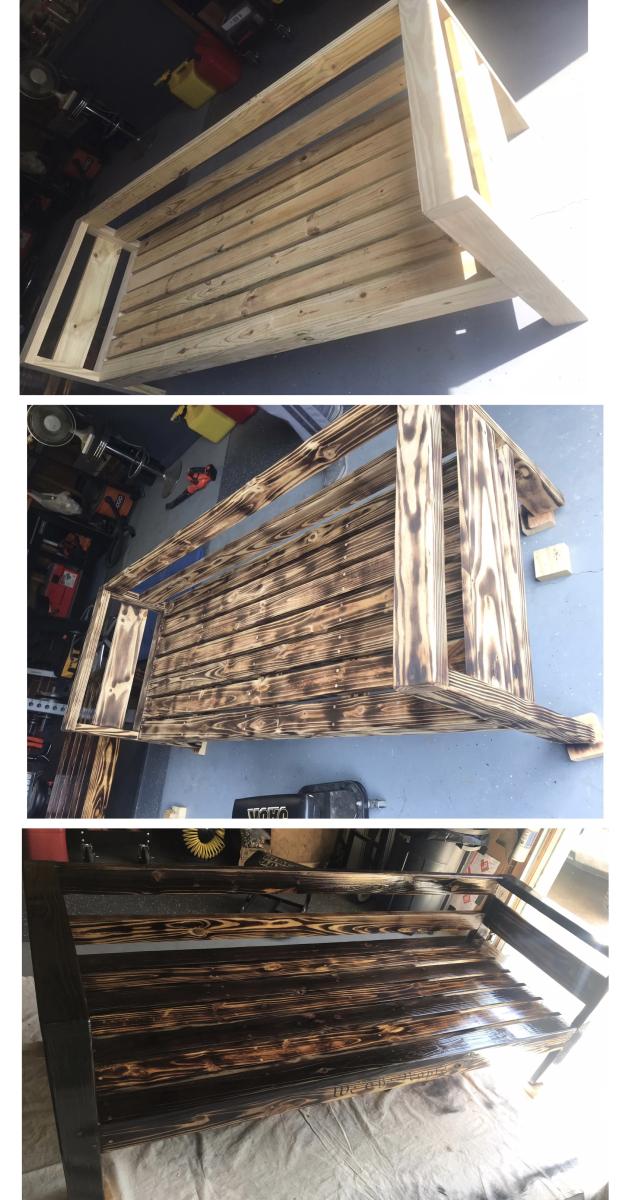
We were in need of a nice patio set and just couldn’t find the right fit until we came across some 2x4 plans and thought “that seems simple enough”. Took some planning for the right dimensions but I swear my husband can build anything. It turned out beautifully. He made a table, a sofa and a chair….burned them with a torch is certain areas then put polyurethane on them. Thanks for looking.
Lanette
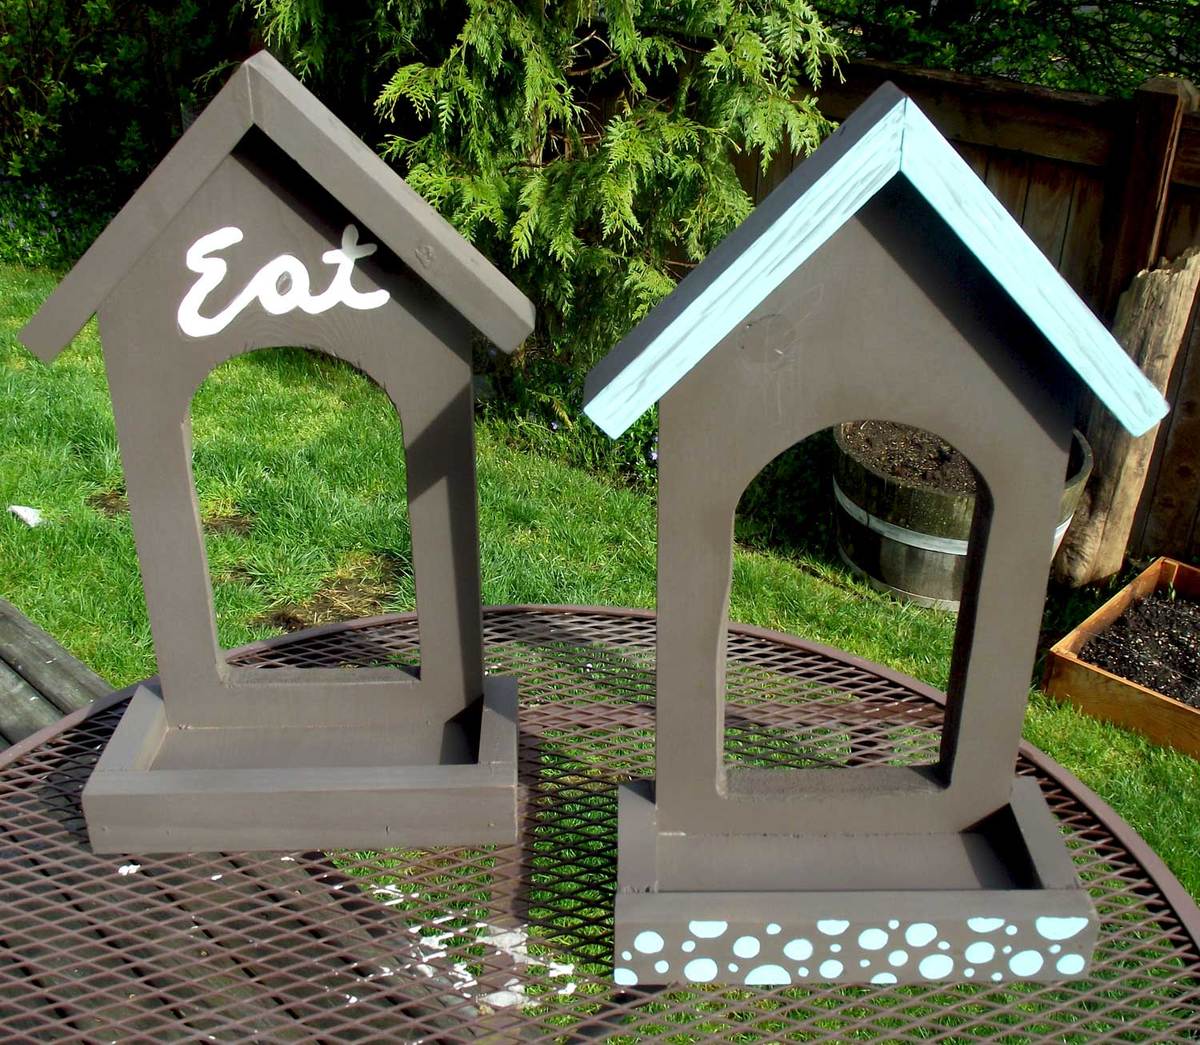
These little birdie feeders ended up being part of our Easter festivities. It was such a quick and easy project. I can't wait to hang them and see the looks on my kids faces as the neighborhood birds fly up for a snack.
We had almost all of the wood on hand from previous projects, they only thing we bought was the board for the faces.
I decided I had to have a farm table, but could not pay the store bought prices. SO I spent weeks poring over plans trying to figure out which one to make.
We picked this plan because I felt like as a beginning it would be hard to make the legs. I REALLY wanted to get the husky legs found in the plan but they were a little pricey, so I just got the same height legs at lowes.
I am SO happy with my table. For anyone feeling daunted by pocket holes and a kreg jig: get a kreg jig mini. I couldn't afford the regular kreg jig but the mini was only 20 bucks or less.
Happy building!

Sat, 02/01/2014 - 12:14
Your table looks beautiful! Congrats on a great first project!
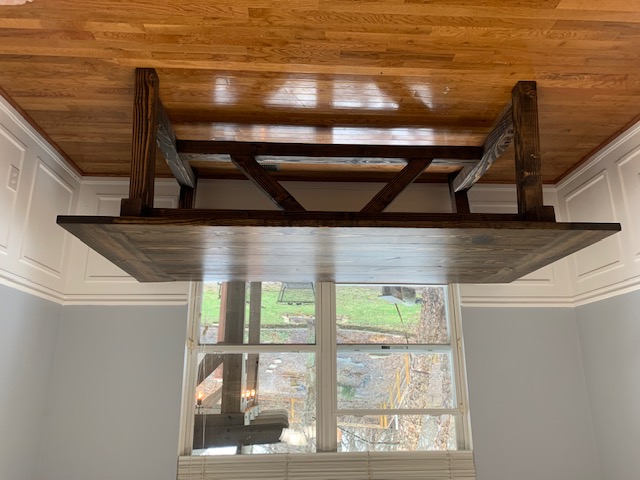
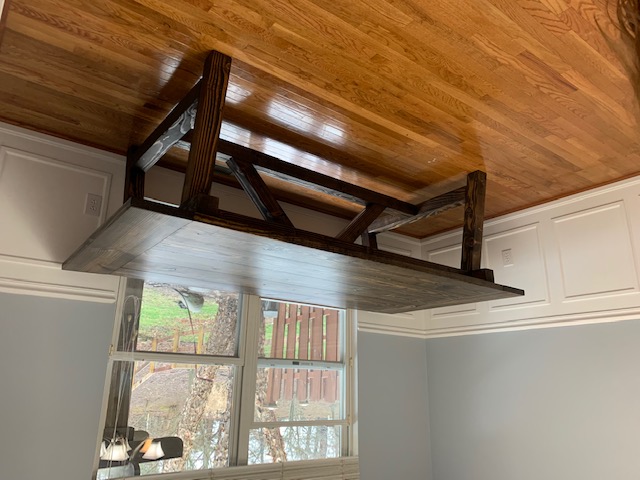
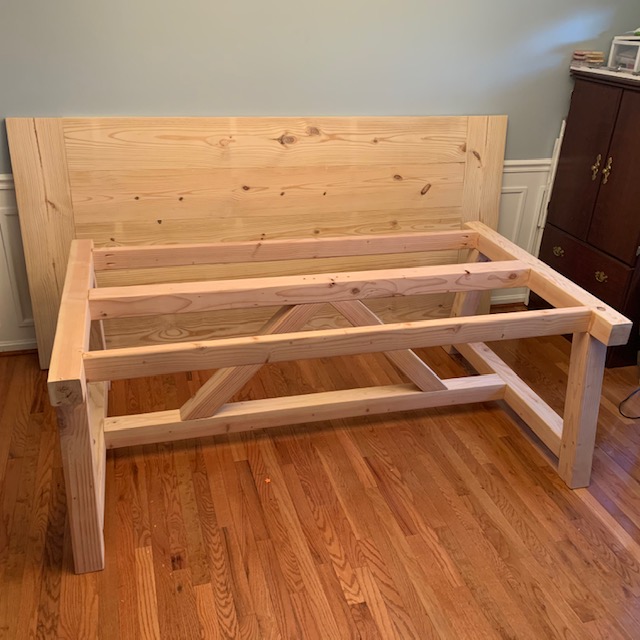
This was my first project and took about two weeks to complete from start to finish. I used an oil based walnut stain and five coats of an oil based semi-gloss polyurethane to finish, sanding in between coats. Be sure to wear a mask and eye protection.....holy sawdust!
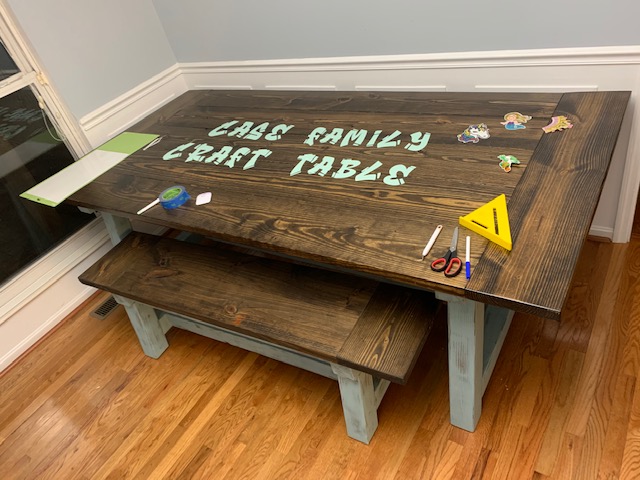
I built this as a craft table for my family. I altered the plans to make the table larger to fit a specific space in our craft room. The table was easy to build and turned out great!
Thanks for the plans
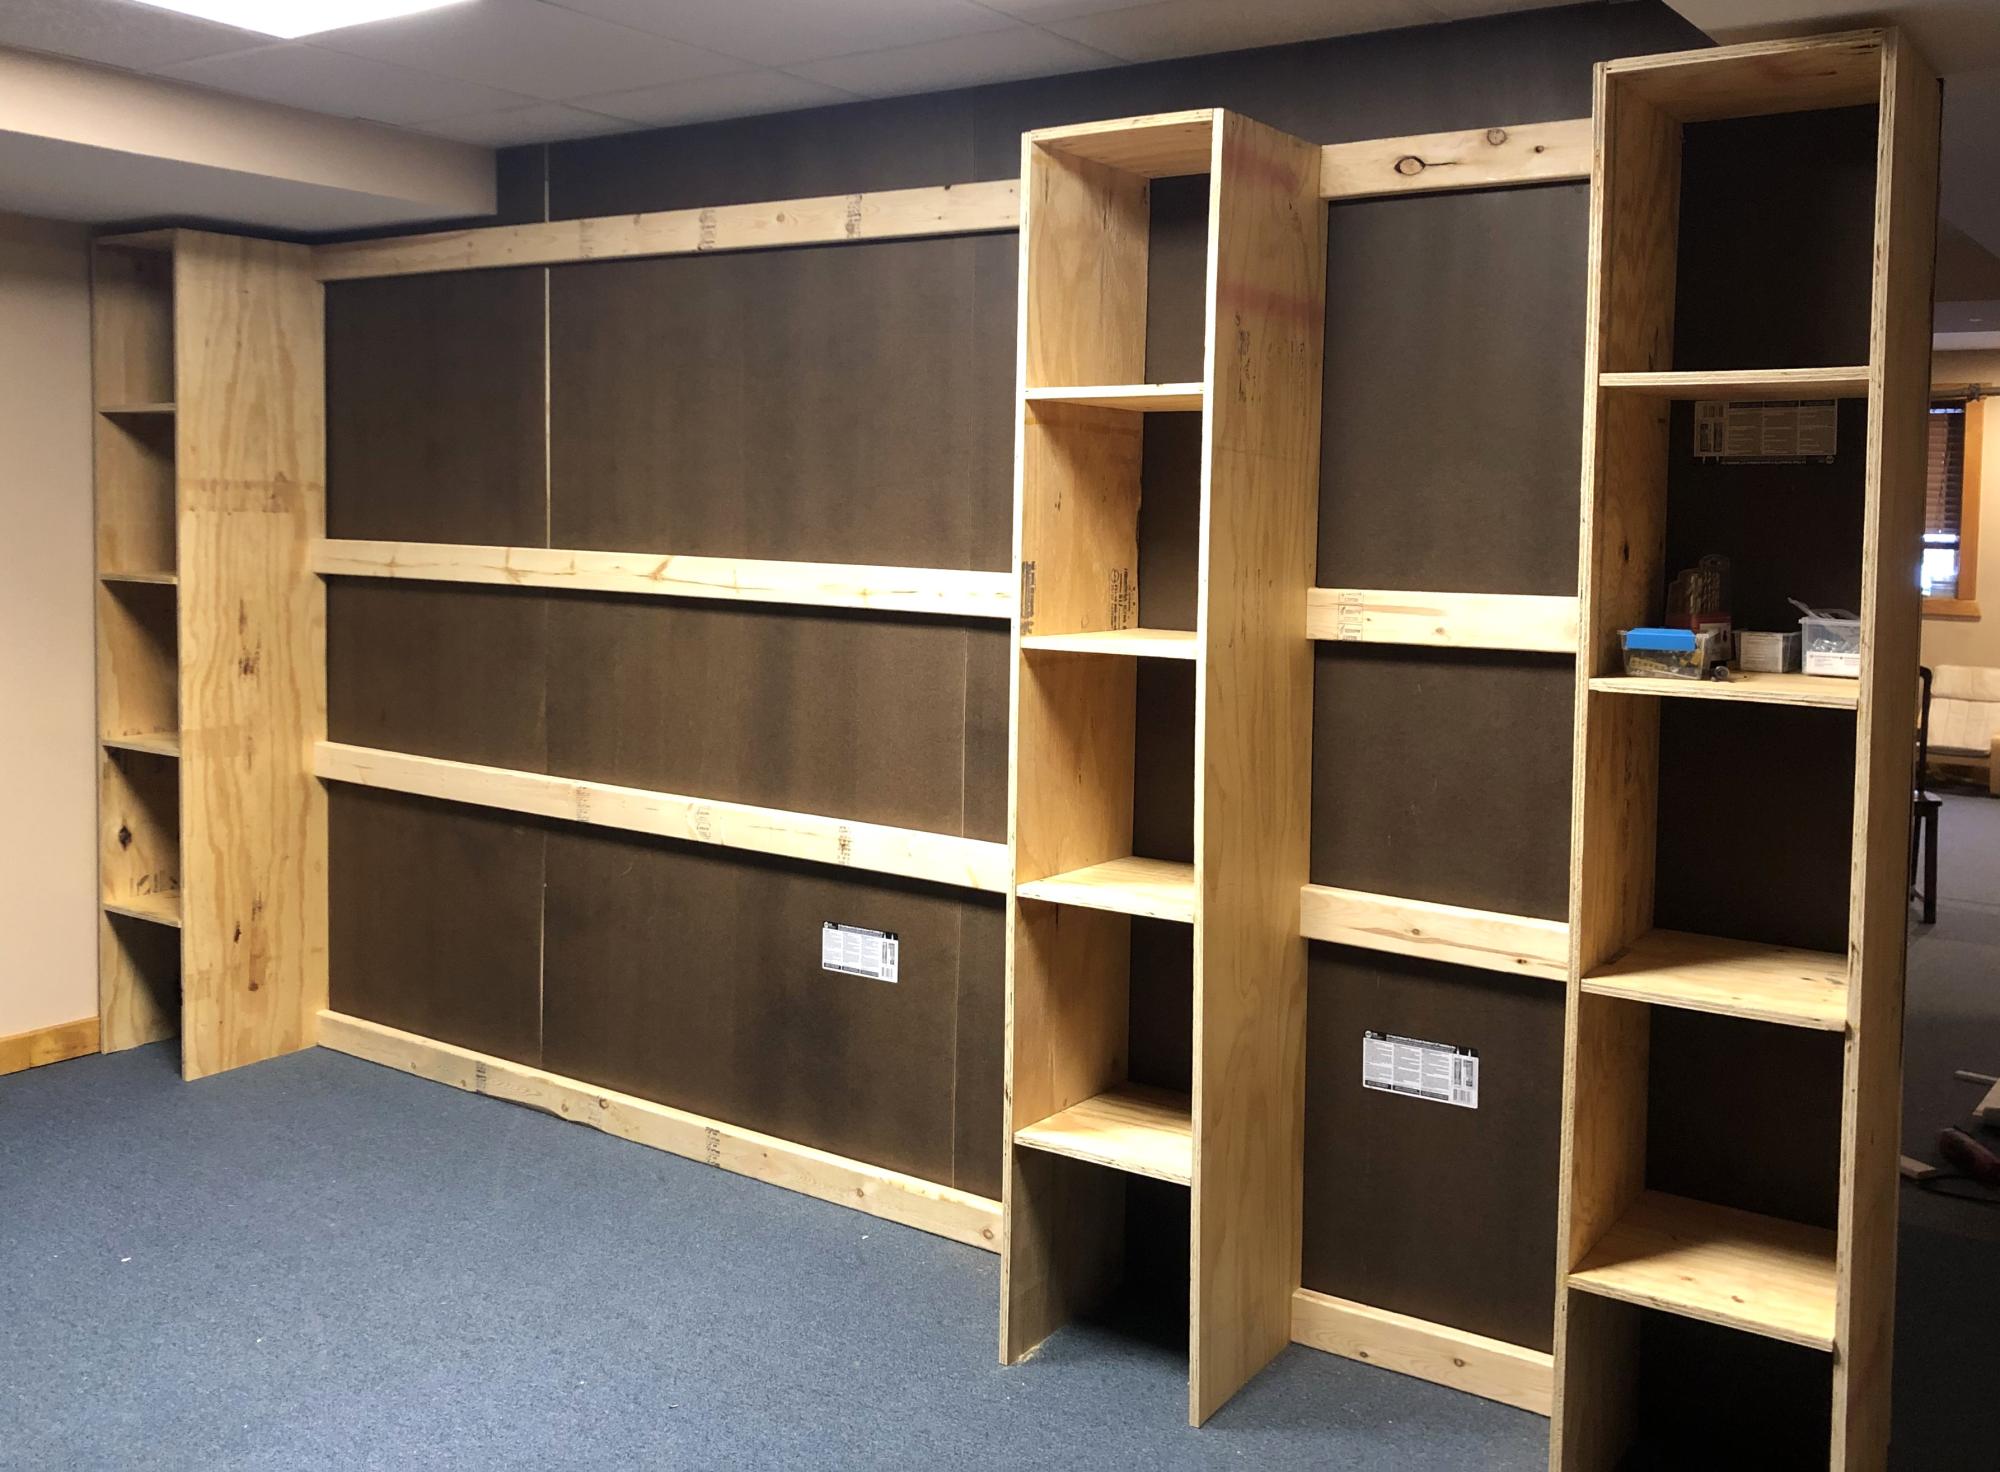
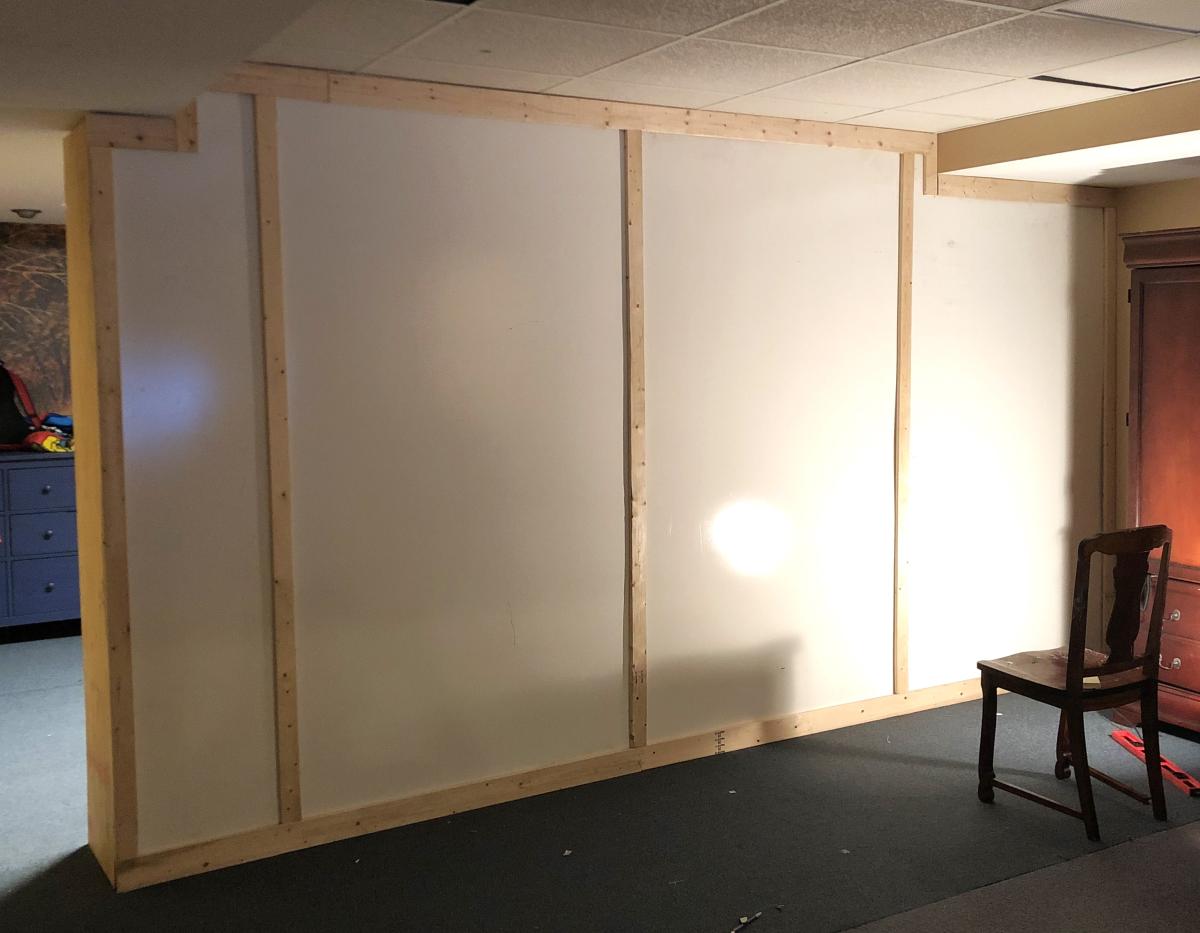
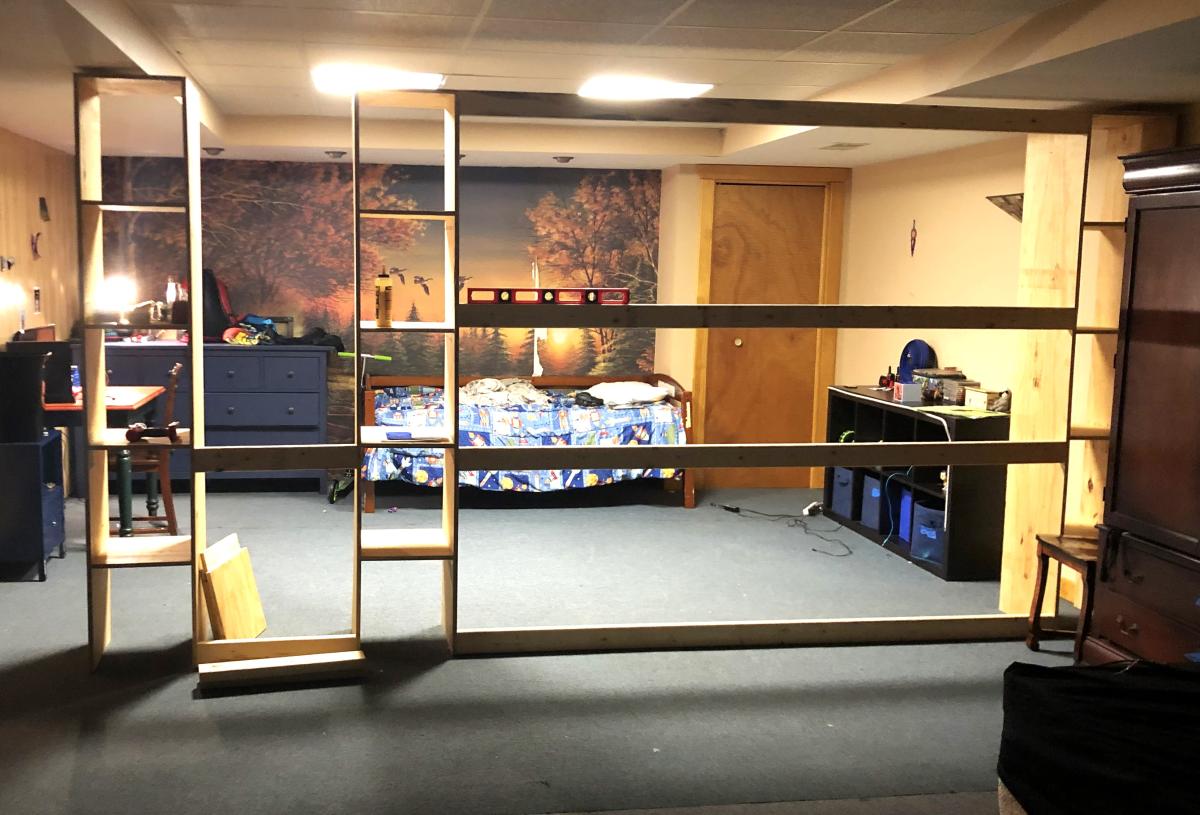
Modified the wall divider closet plan into a wall to serve as an extra bedroom in my basement. The inner wall was subsequently painted.
Grace LeBlanc