We've been talking about making this for quite some time now, probably close to 6 months. Mostly because we've never made anything before we kept putting it off. We had a free weekend and decided that we needed to complete this project that's been hanging out there for way too long. We'd researched where to get the wood, and what we wanted, but still did a little more planning. Thursday night we went to the big orange box and checked out their options for 2x4s, plywood and moulding. Friday I went to our local Ace lumber yard and looked at their options.
Friday night we decided to get the 2x4's and plywood from Home... the big orange box since their plywood was much more level. We paid a little more for the grade A plywood, but didn't want MDF as it will disintegrate when it gets wet. Not planning on getting things wet, but just want to be sure.
We got the moulding at the local supply store along with screws by the pound and corner brackets.
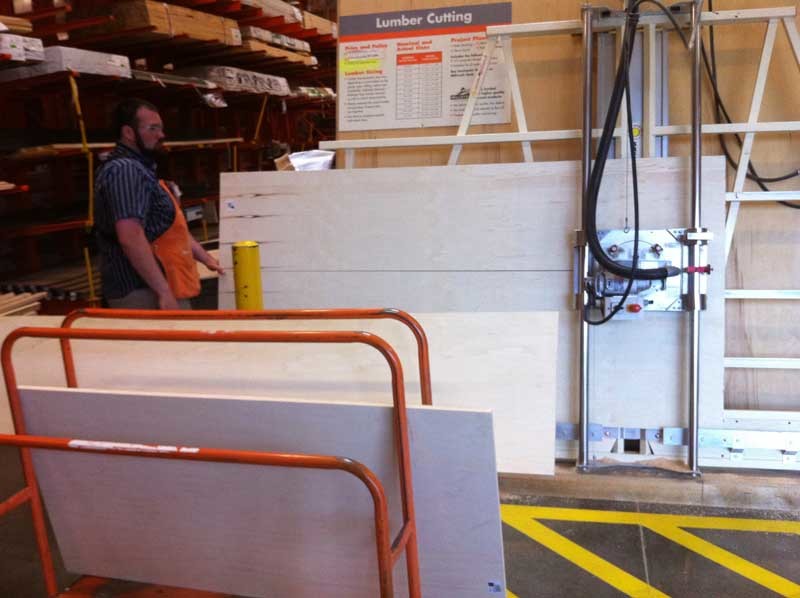
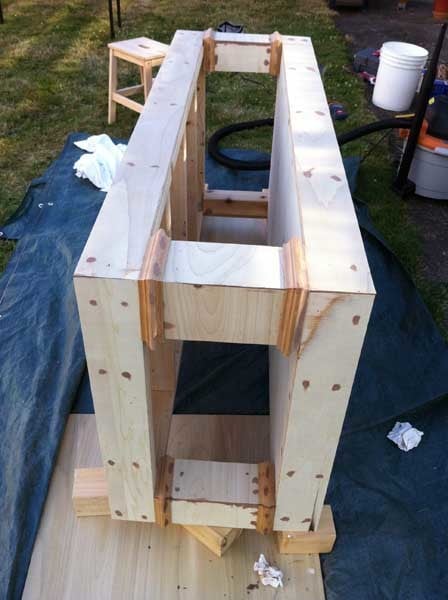
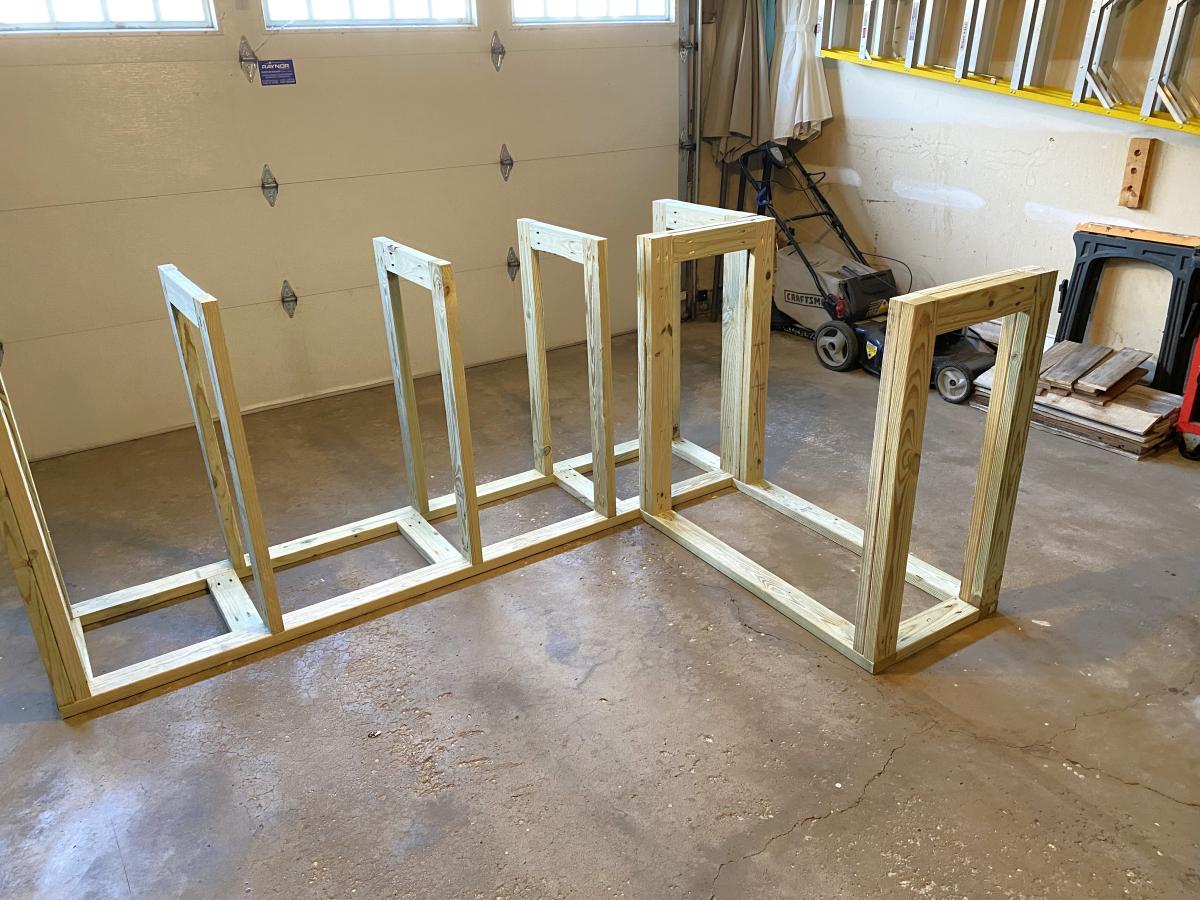
As you can see in one of the photos, we had the store cut the plywood for us as we didn't have access to a table saw. We borrowed and used a compound mitre chop saw for the rest of the cuts. Since we had so much leftover plywood and really liked the look of Sausha's wider pillars, we decided to go with facing out the front and left side (the only ones visible in our location) and columns and put moulding on the front and one back leg showing. For the moulding we only faced the back and right leg with two pieces. In hind sight as the pedestal doesn't go against the wall we could have gone all the way around, but that might have added another weekend.
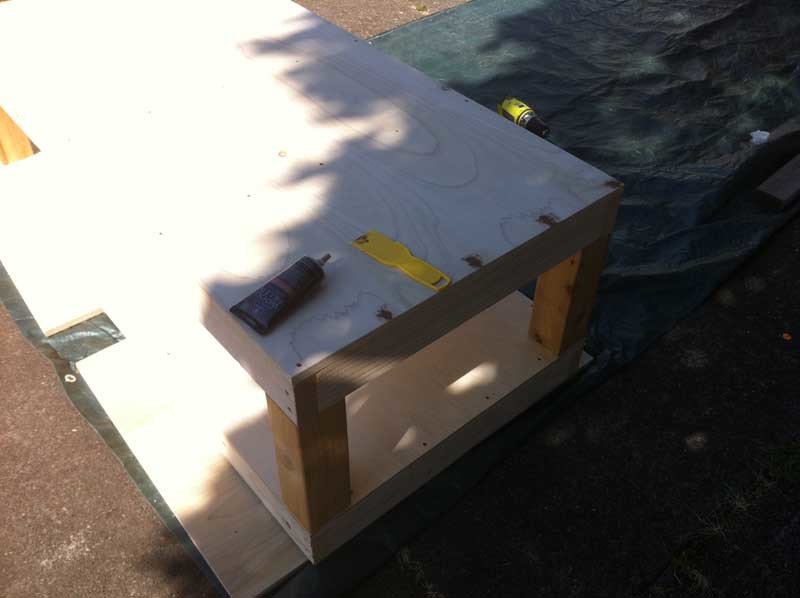
Saturday we started out getting the rest of the necessary wood, laying out the boards and deciding how we wanted to proceed. We ended up following the directions and not making any changes to it. The only change I thought about making was to take the 2x4's all the way to the ground rather than mount them on the bottom decking. We decided since this has been made quite a few times and haven't seen any bad reports, we'd stick to the plan.
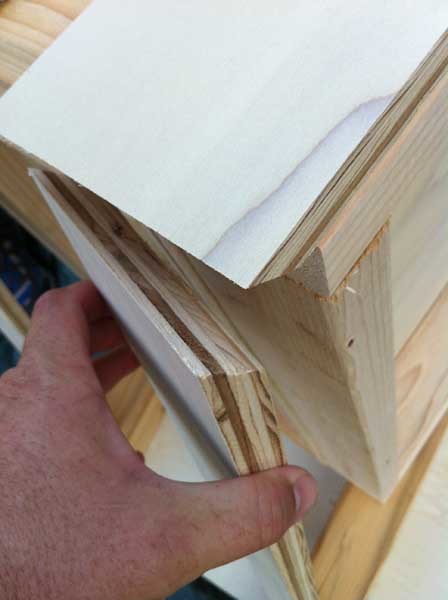
Saturday we worked about 9 hours total putting everything together, facing out the project and filling the screw holes with wood putty. My only regret at this point is that I didn't fill the top edge of the faced plywood all the way across with putty. In order to get a much cleaner look, if I were to do it again I'd have bought a tub of wood putty and filled the entire edge to eliminate any holes or spaces from the edge of the plywood and the seam between the face and decking.
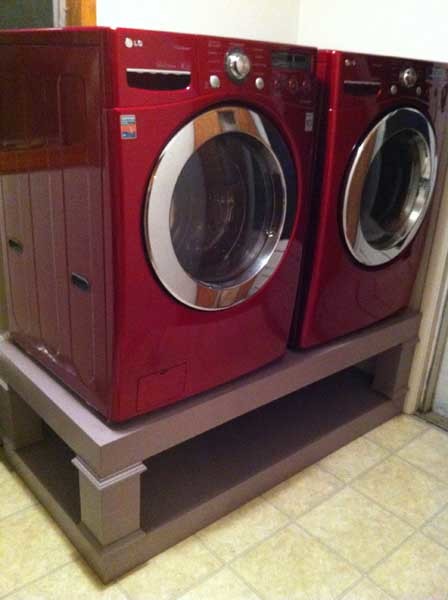
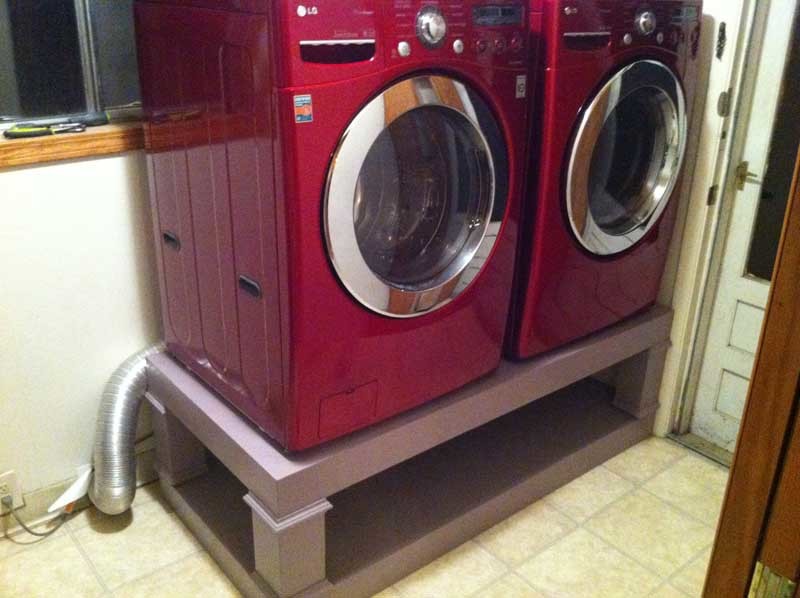
Sunday we started out by sanding the wood putty down, reapplying where needed, sanding the rest of the rough edges flat, and then started on moulding. The moulding took a better part of the day to get the angles right, and thankfully we had the compound chop saw that would do greater than 45 degree angles. We glued and nailed the moulding down, and then took the project into the garage to paint as it was getting late on Sunday. Three coats of paint smoothed out all the edges. Be careful about drips on the corners. We decided to go with something other than 1)trying to match the washer/dryer and 2) black as it might attract too much lint and show. In the pictures it's actually a lot more purple than in real life, but it's a gray paint with a tint of color to it, Behr premium primer and paint in one.
We put the stand in place Monday evening, although the paint was still slightly tacky. The hardest part about the end was getting the washer and dryer up and hooked up. We needed to put the washer up first and connect it as the hookups were behind the dryer and no way we could have connected it with the dryer in place.
We love it! It's raised the washer and dryer up to a decent level, saved us at least $350, and now have room to put baskets underneath. The whole thing rattles quite a bit when the washer spins up, but so does the house and the TV stand 2 rooms away...
Due to a few bad cuts, we ended up having to get an additional strip of moulding. If you're not experienced in doing moulding, plan on a LOT of waste. ;)
Our next project needs to be a matching recycling center which will go right next to this.