Best Floating Shelves
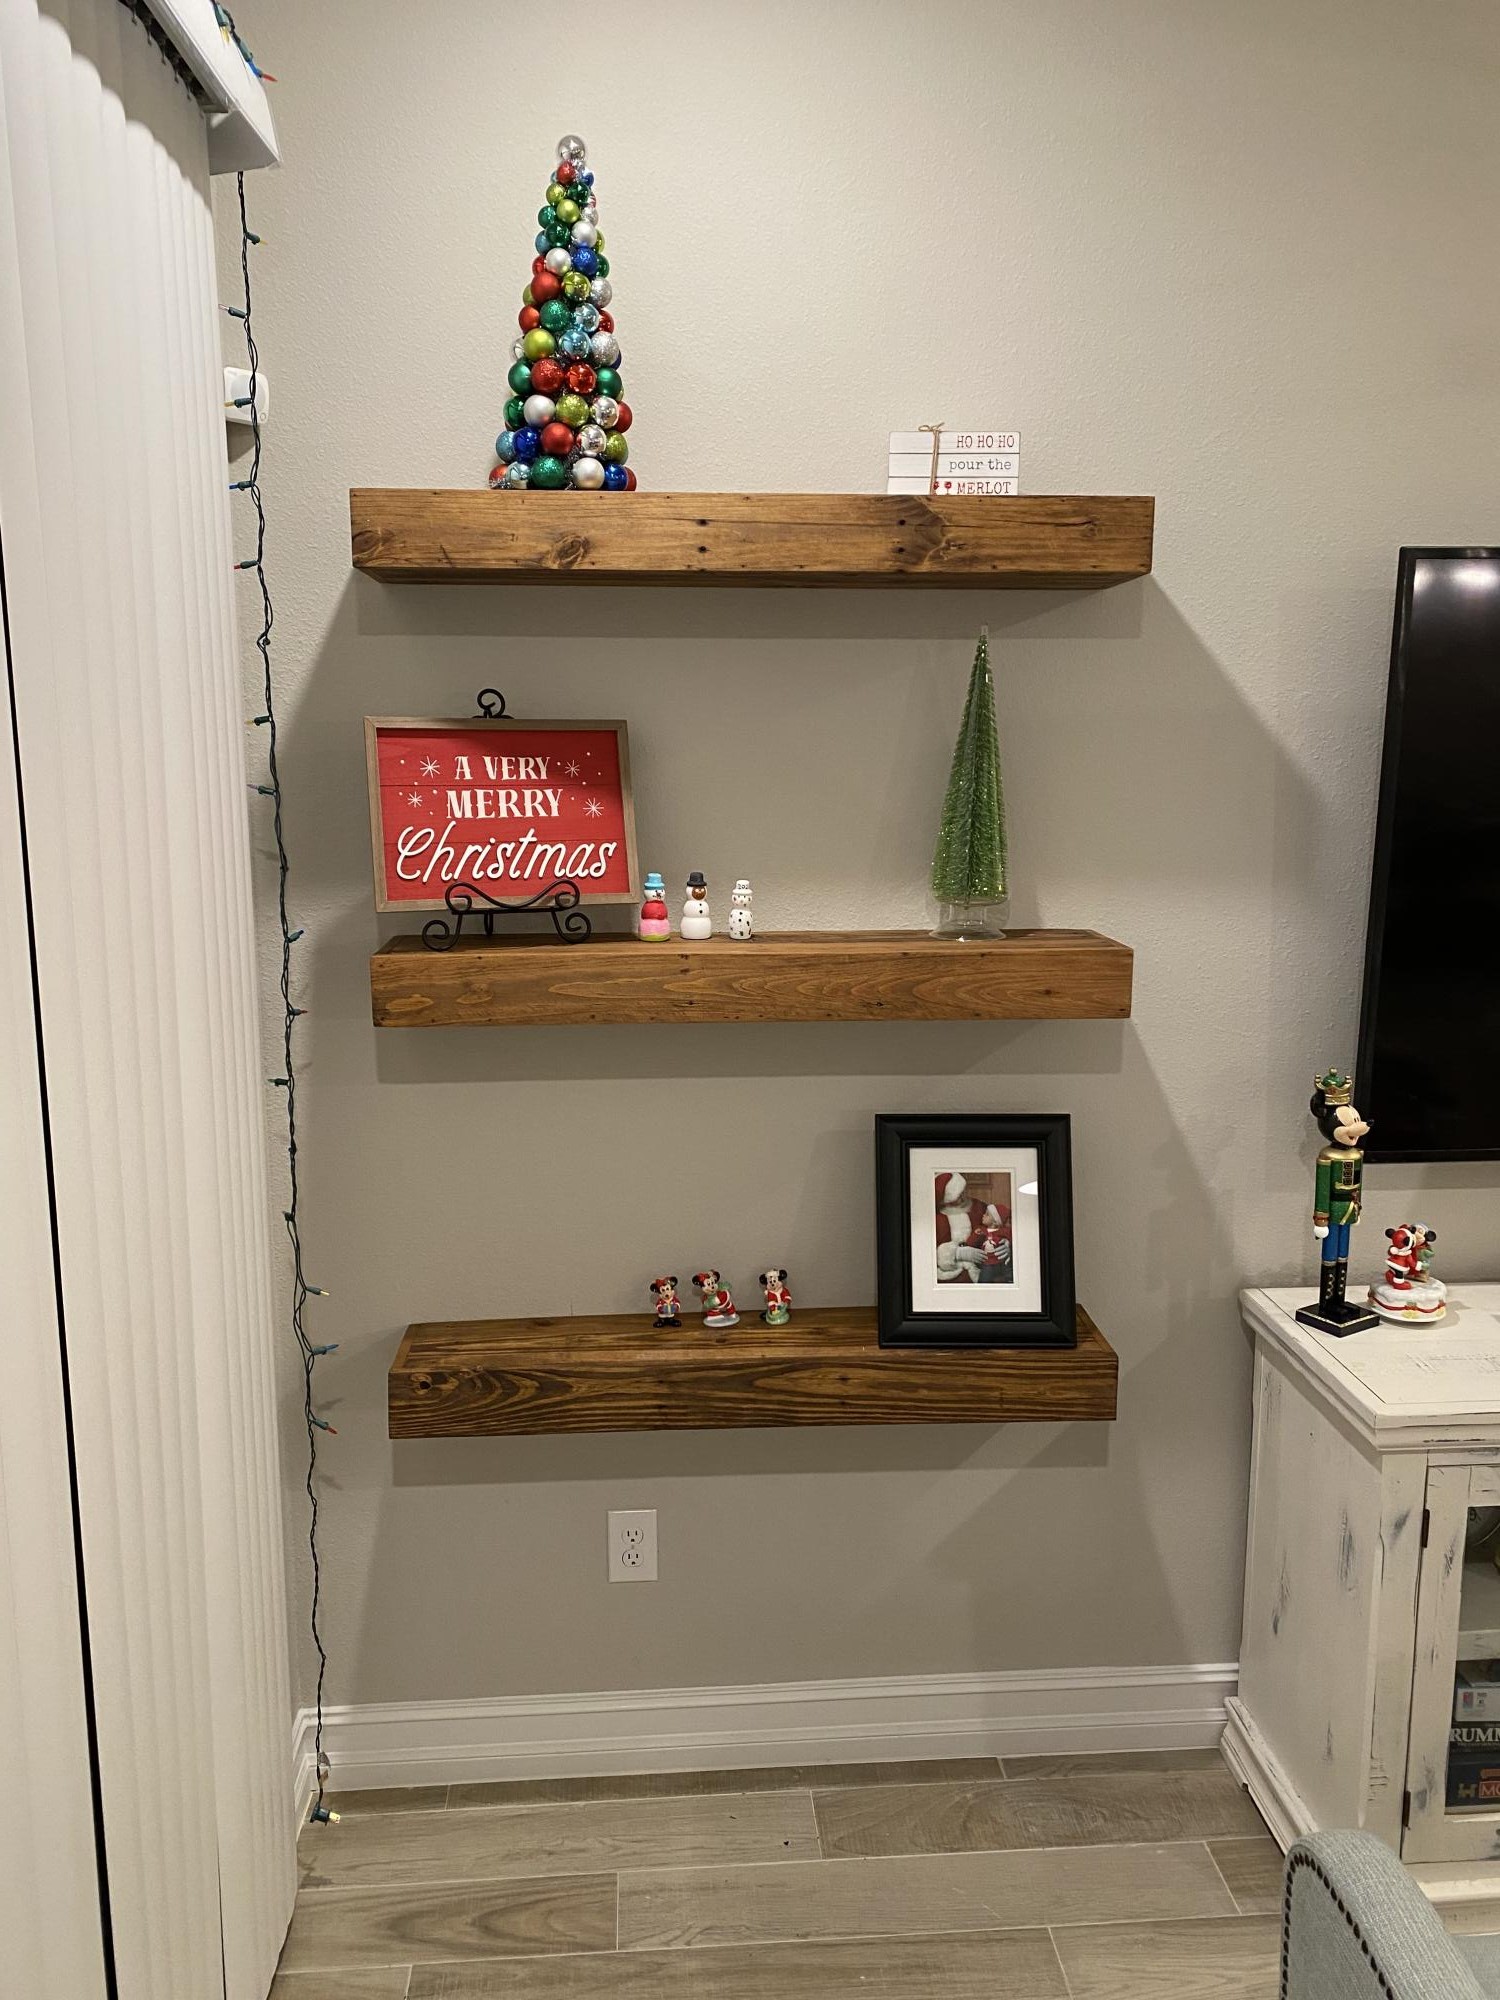
I modified the size slightly and turned an old pallet into three matching floating shelves.
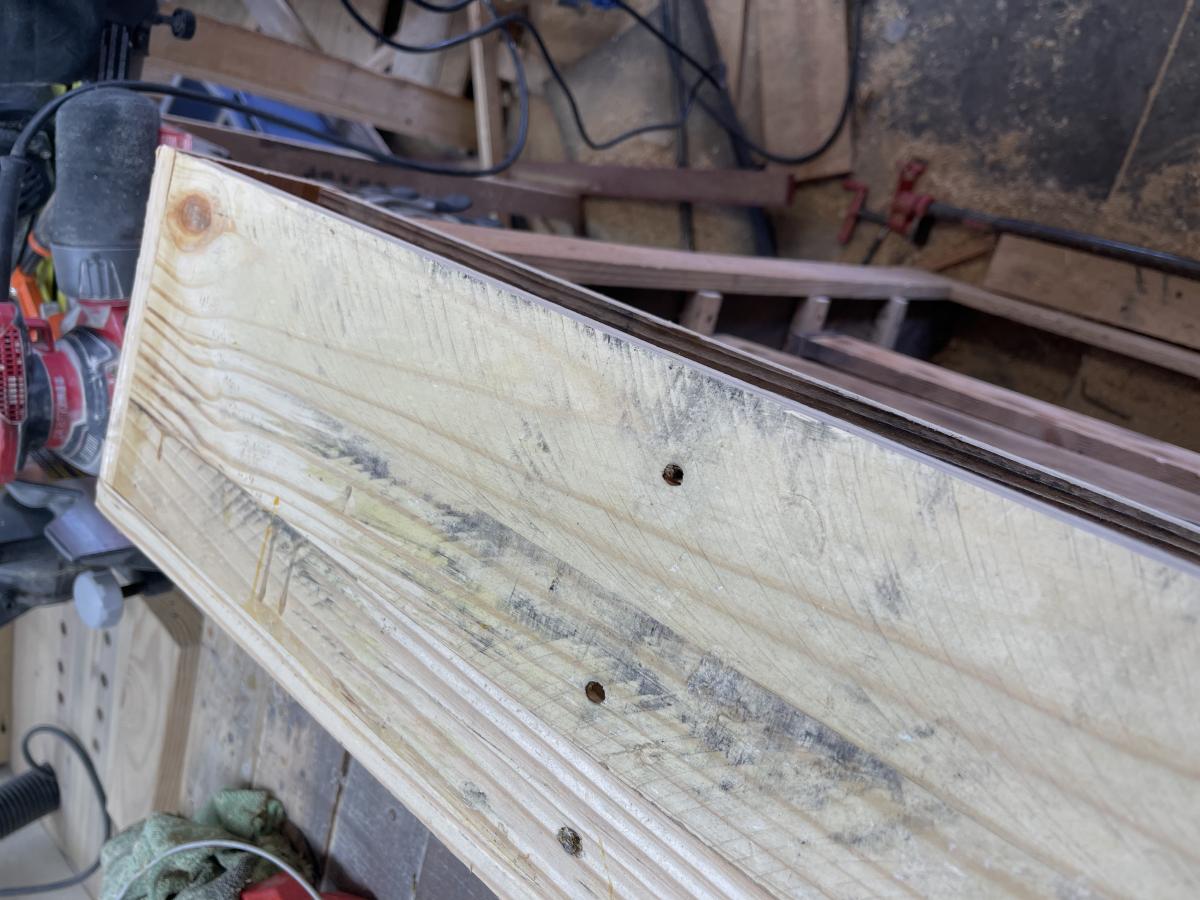

I modified the size slightly and turned an old pallet into three matching floating shelves.

I can't thank Ana enough for her plans on this project. We recently purchased a big project house that was going to need a lot of work (and a lot of money.) That's why I was thrilled to find Ana's plans for the exact West Elm Wood Slat Sectional I was eying for my screened in porch. The exact configuration at West Elm would have cost $2130, but I built it and sewed all the cushions for just $288! Ana's sewing plan was really helpful too, but I altered mine to include zippers in the back to remove the fabric for washing, and ties to hold the cushions securely to the sectional. We finished the sectional with super easy india ink and poly for a deep black finish that still shows the wood grain. The screened in porch is now our favorite room in the house! Thanks Ana!
Mon, 09/05/2011 - 11:05
This looks really super! I clicked on your blog link and read a few entries (funny!) You did a great job! Love the fabric for the cushions too. How much India ink did it take to stain a piece this big? Did it take a long time to dry? cheers!
J
This was my husband's first build using Ana White plans. He scaled down the hutch and sideboard to fit our kitchen (42"x80"). It took about 24 hours to complete. We used a Minwax stain in Dark Walnut. I have looked for a piece to replace an ugly old baker's rack for years and hated the junk at places like Target. Everything I liked at Pottery Barn and Restoration Hardware were too expensive. I never found anything old that I liked enough to refinish so having the hubby pull this one out is basically awesome! Yay!
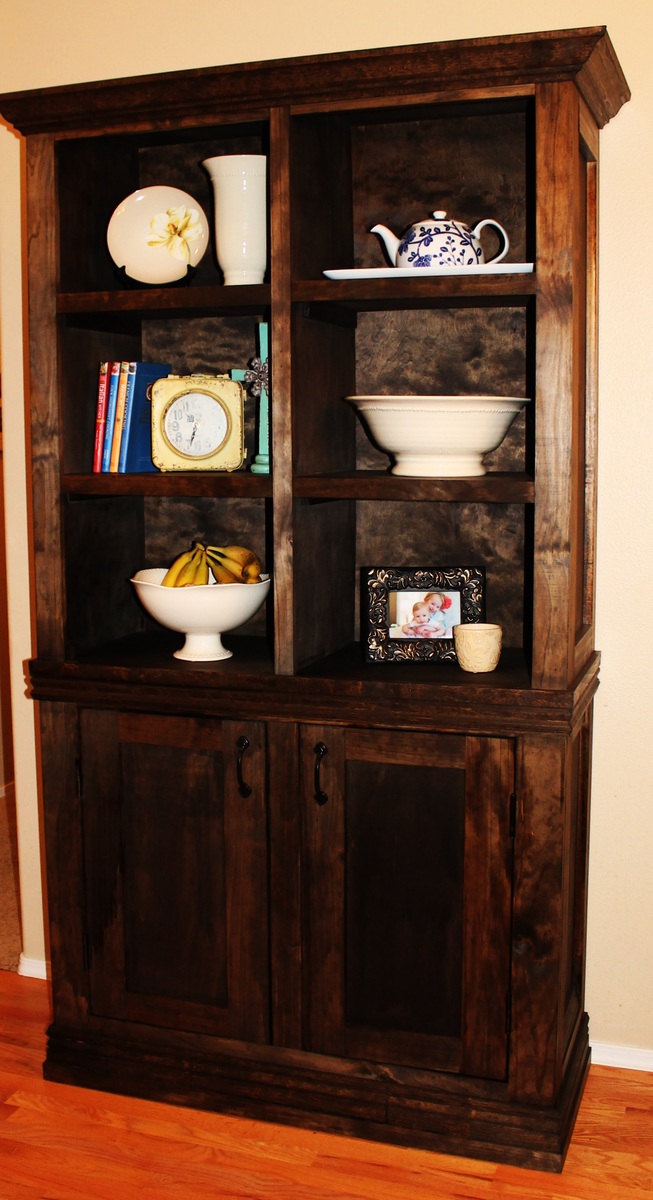
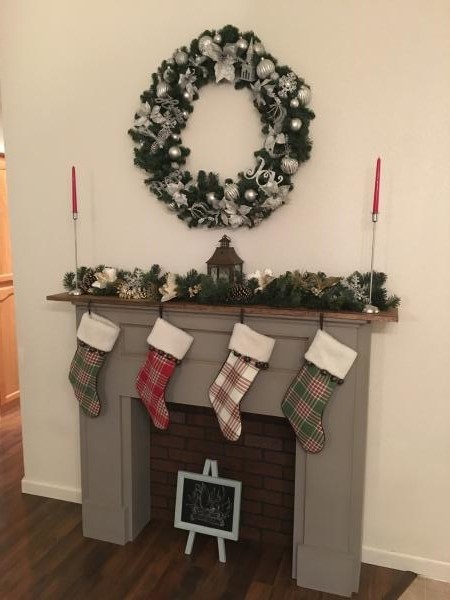
I just wanted to say thank you, Anna White, for easy to follow instructions for this DIY. I've really enjoyed making this piece and it turned out oh so pretty! It's exactly what I wanted :) And to those who may be intimidated by this project, I'd say Go For It! You can do it!!! :)
~ Marina
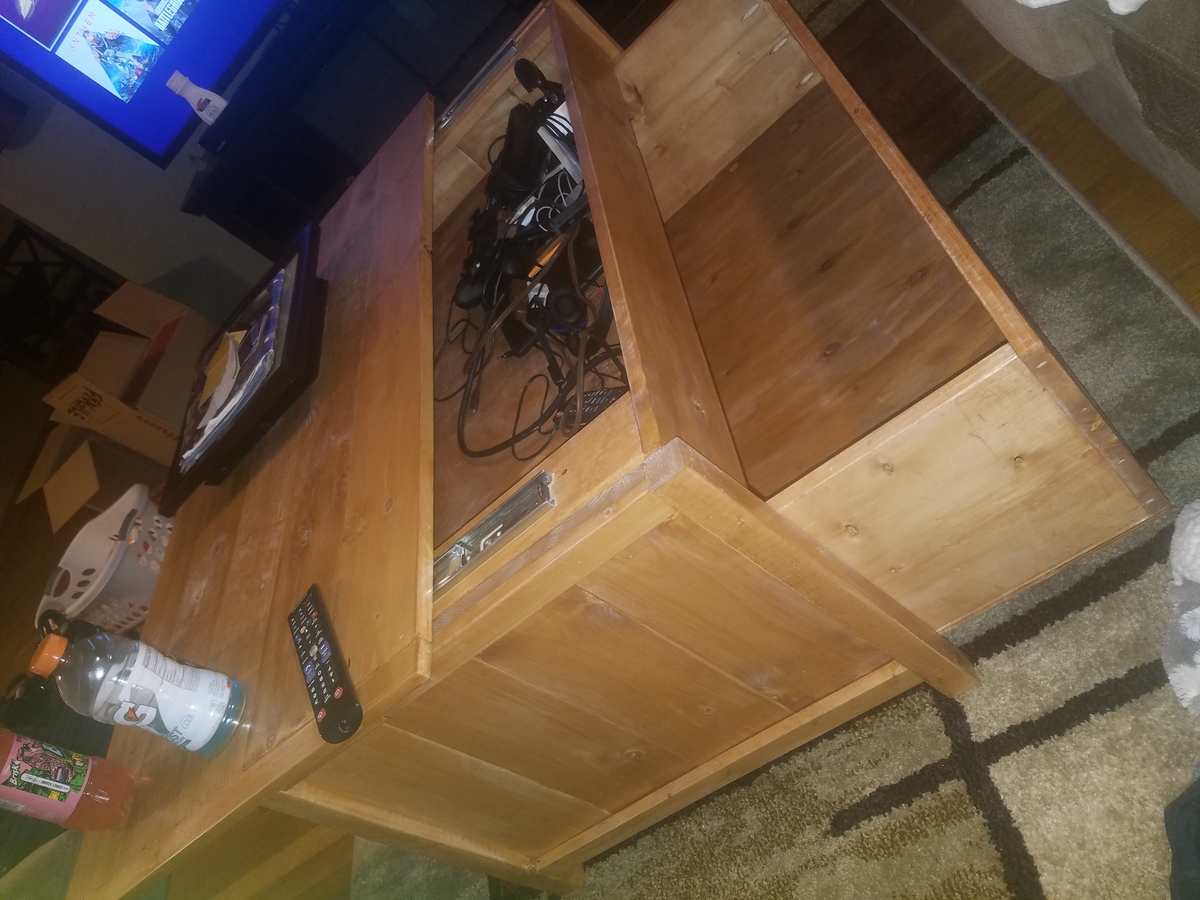
I wanted a add a safe spot to hide all my gaming controllers and remotes from my 1 1/2 yr old nephew. It was pretty simple and I got the idea from tactical designs. They make hidden storage! If you cant tell it is still dusty from sanding! Best wipe it off!
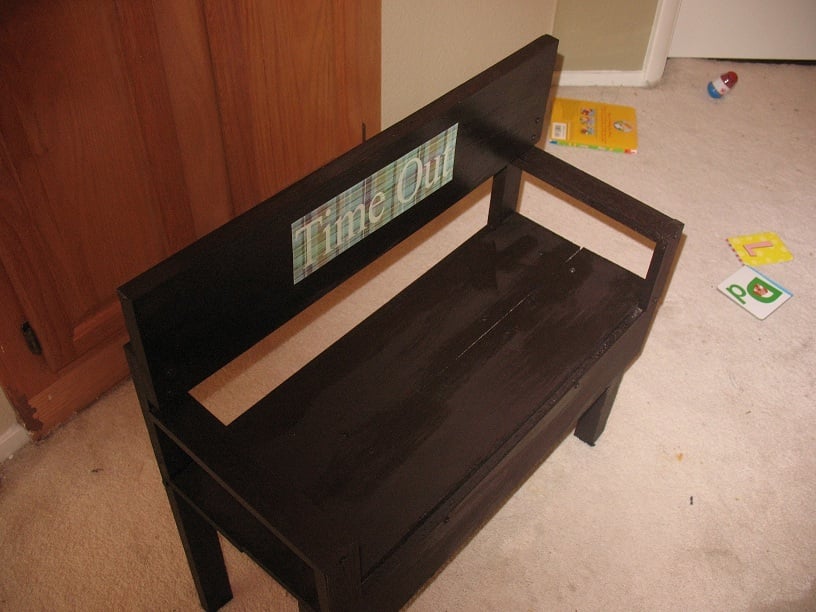
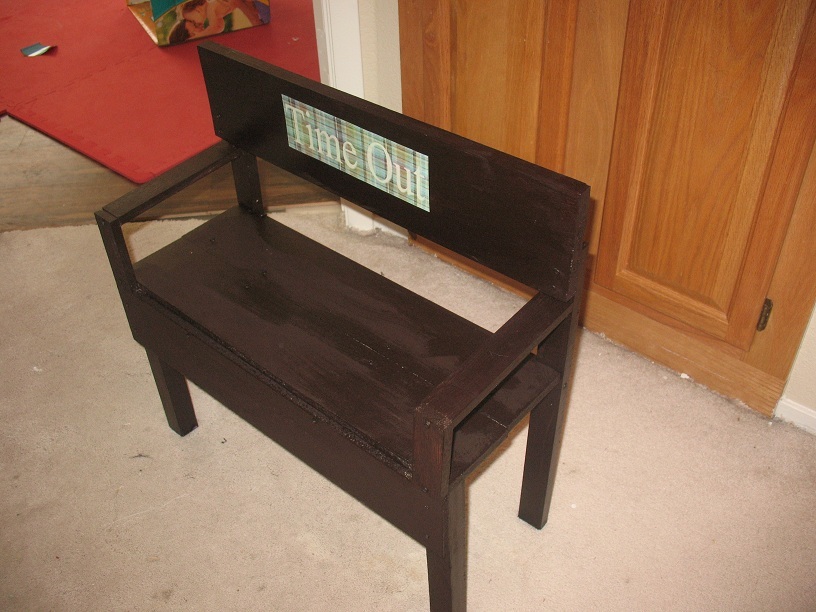
I built this from wood scraps. I saw one at Walmart online but thought it was too small. I built this to suit my tall toddler.
Thu, 09/29/2011 - 12:17
That looks awesome! I wouldn't have even thought to make one for time out! I think you're onto something! :-)
In reply to That looks awesome! I by Lady Goats
Thu, 11/03/2011 - 21:39
thanks so much! I saw it at walmart but wanted to make one a little bigger to fit a wall.
here is the walmart one
http://www.walmart.com/ip/Time-Out-Bench/12343327
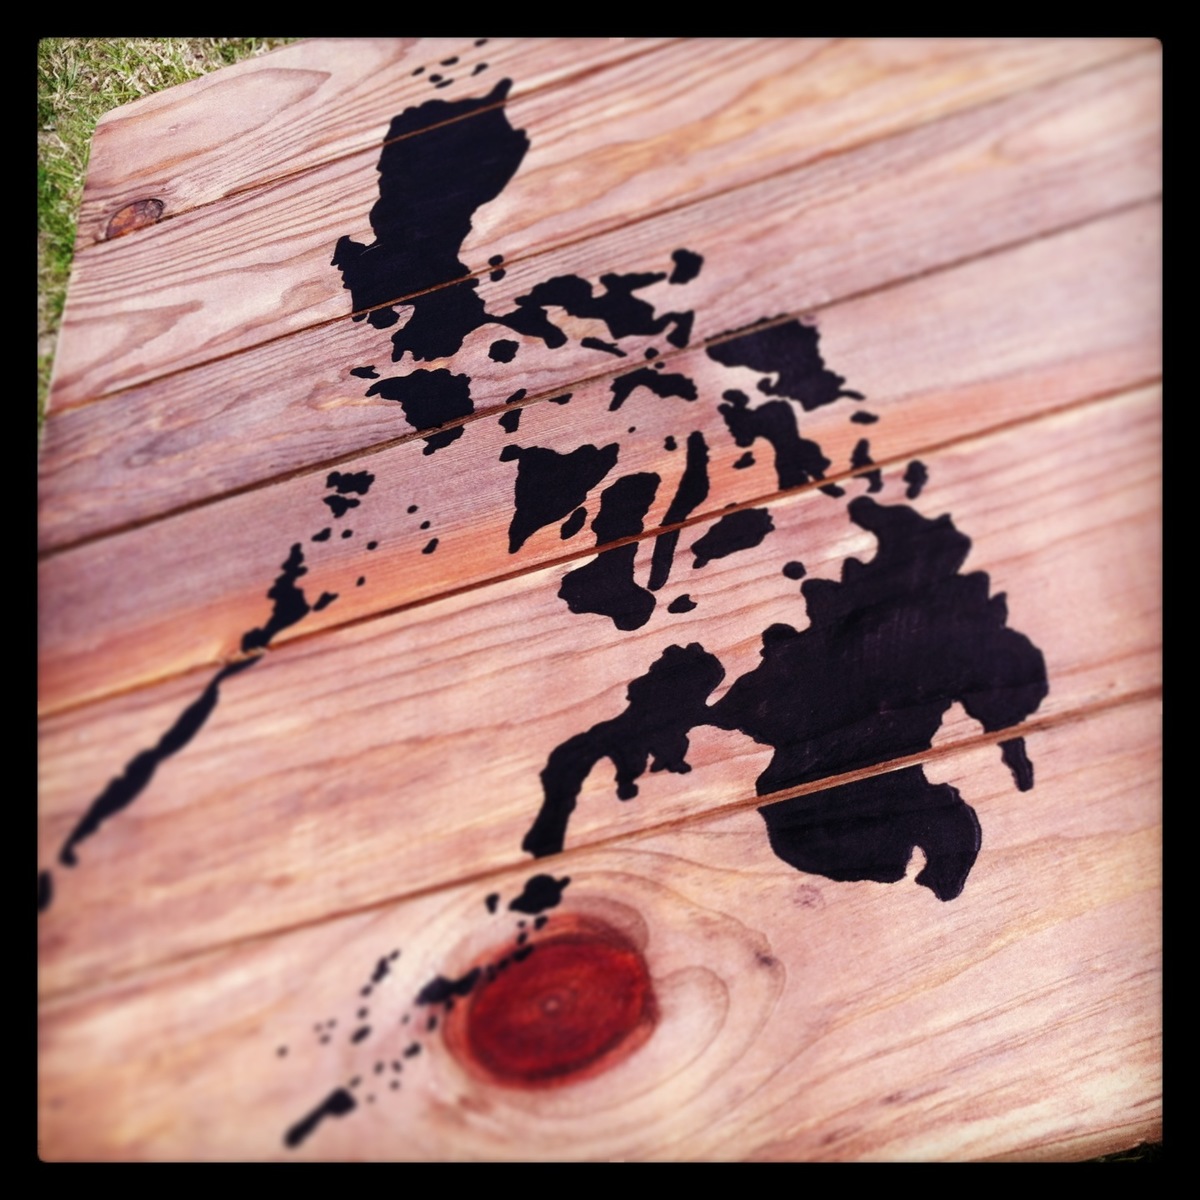
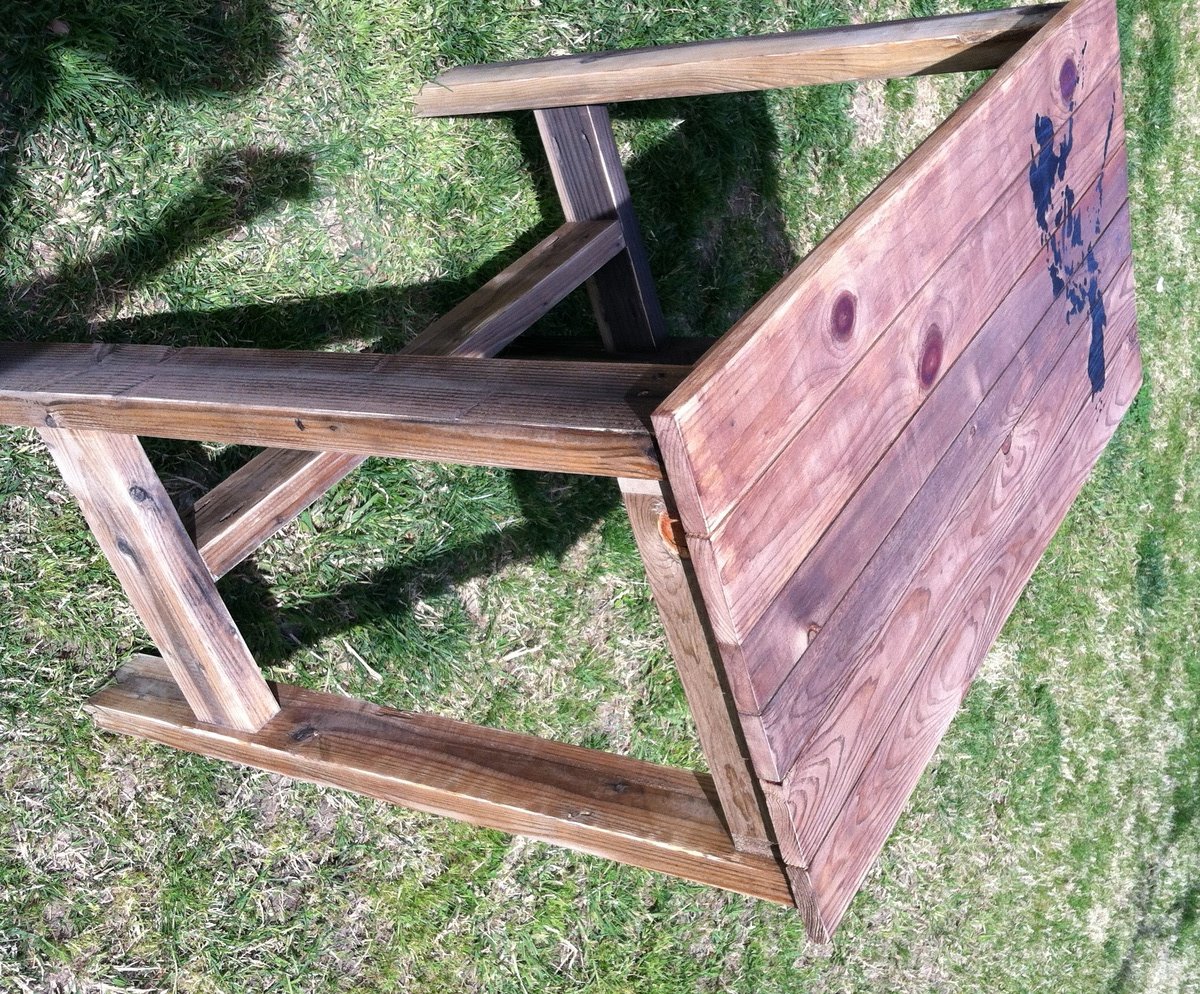
I call this the fish fry table because I built it for my mom to fry her fish on outside rather than in the kitchen. :) I did the old barn wood finish on it (vinegar and steel wool) and used a sharpie to draw the Philippine Islands on it. Conveniently, there was even a knot in the wood to emulate a tropical storm. Then sealed it with a clear gloss poly.
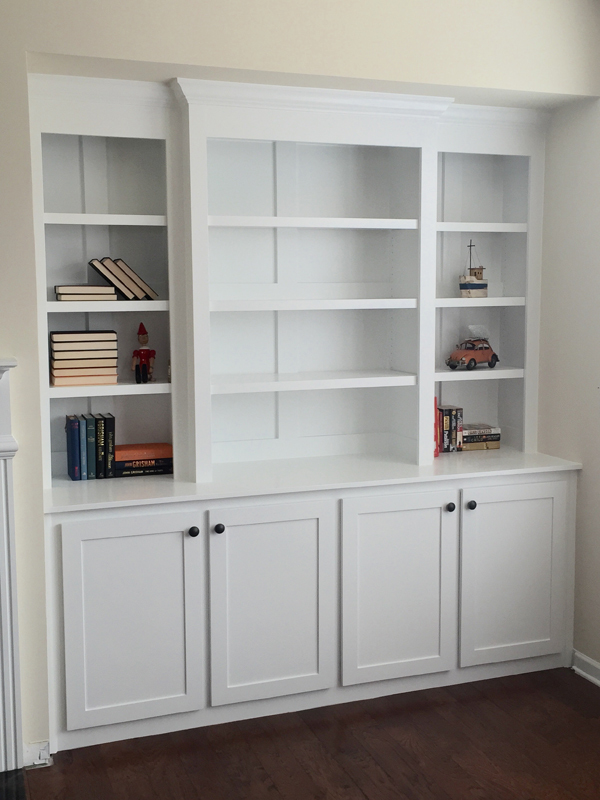
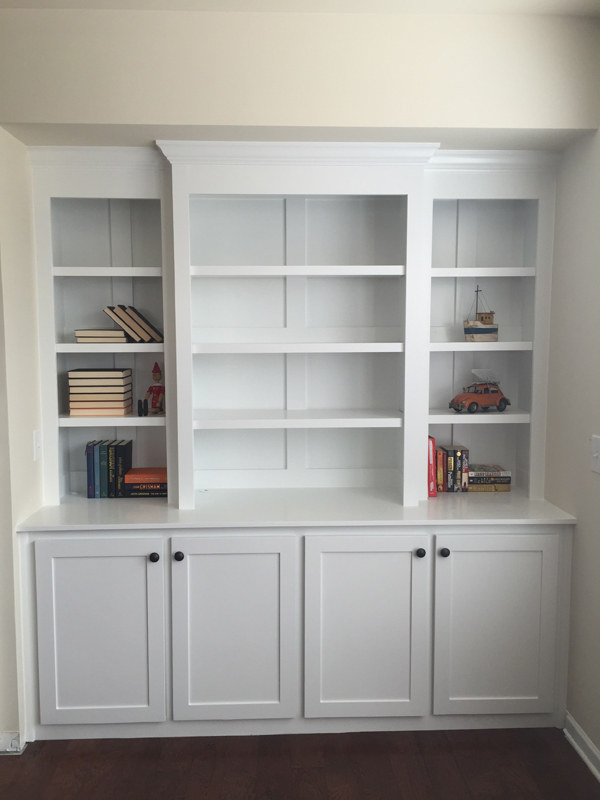
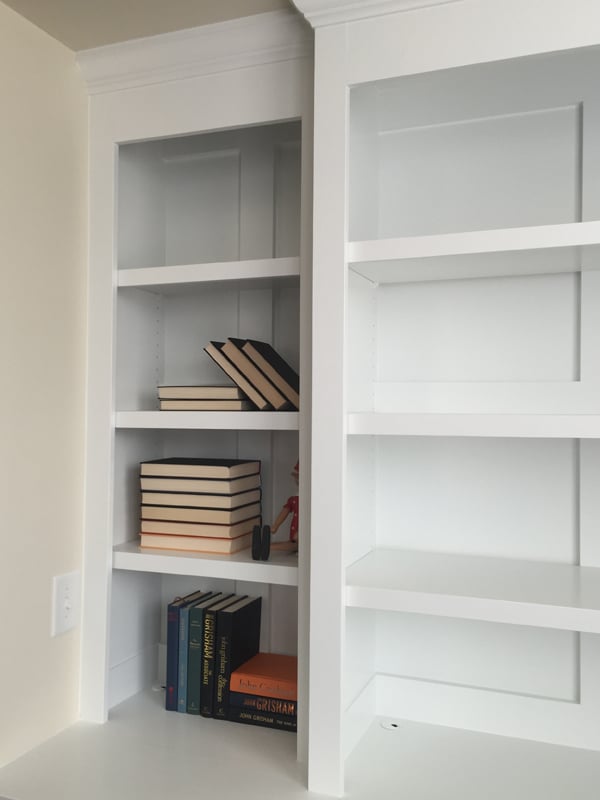
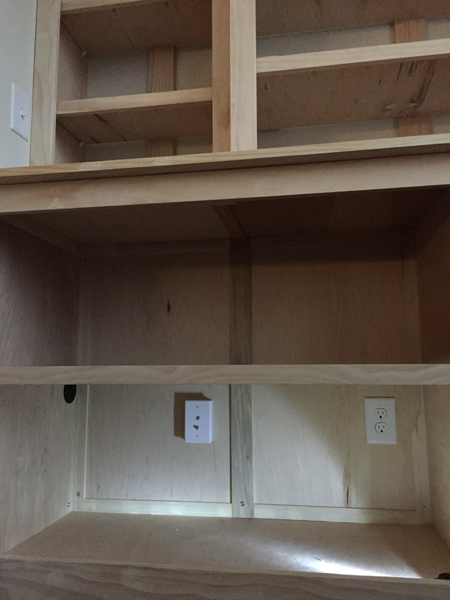
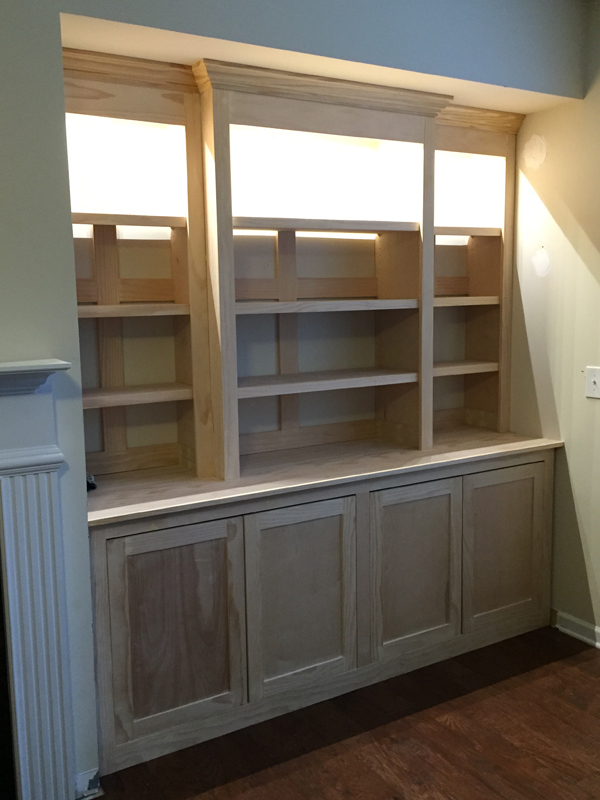
Built in bookcase with lighting and power outlets in cupboards for audio and DVD equipment to feed to the wall mounted tv (to the left).
The photo with the lights is when it was unfinished and I also decided that I didn't like the inset doors and so made new overlay ones. Now I have four doors I need to use on another project...
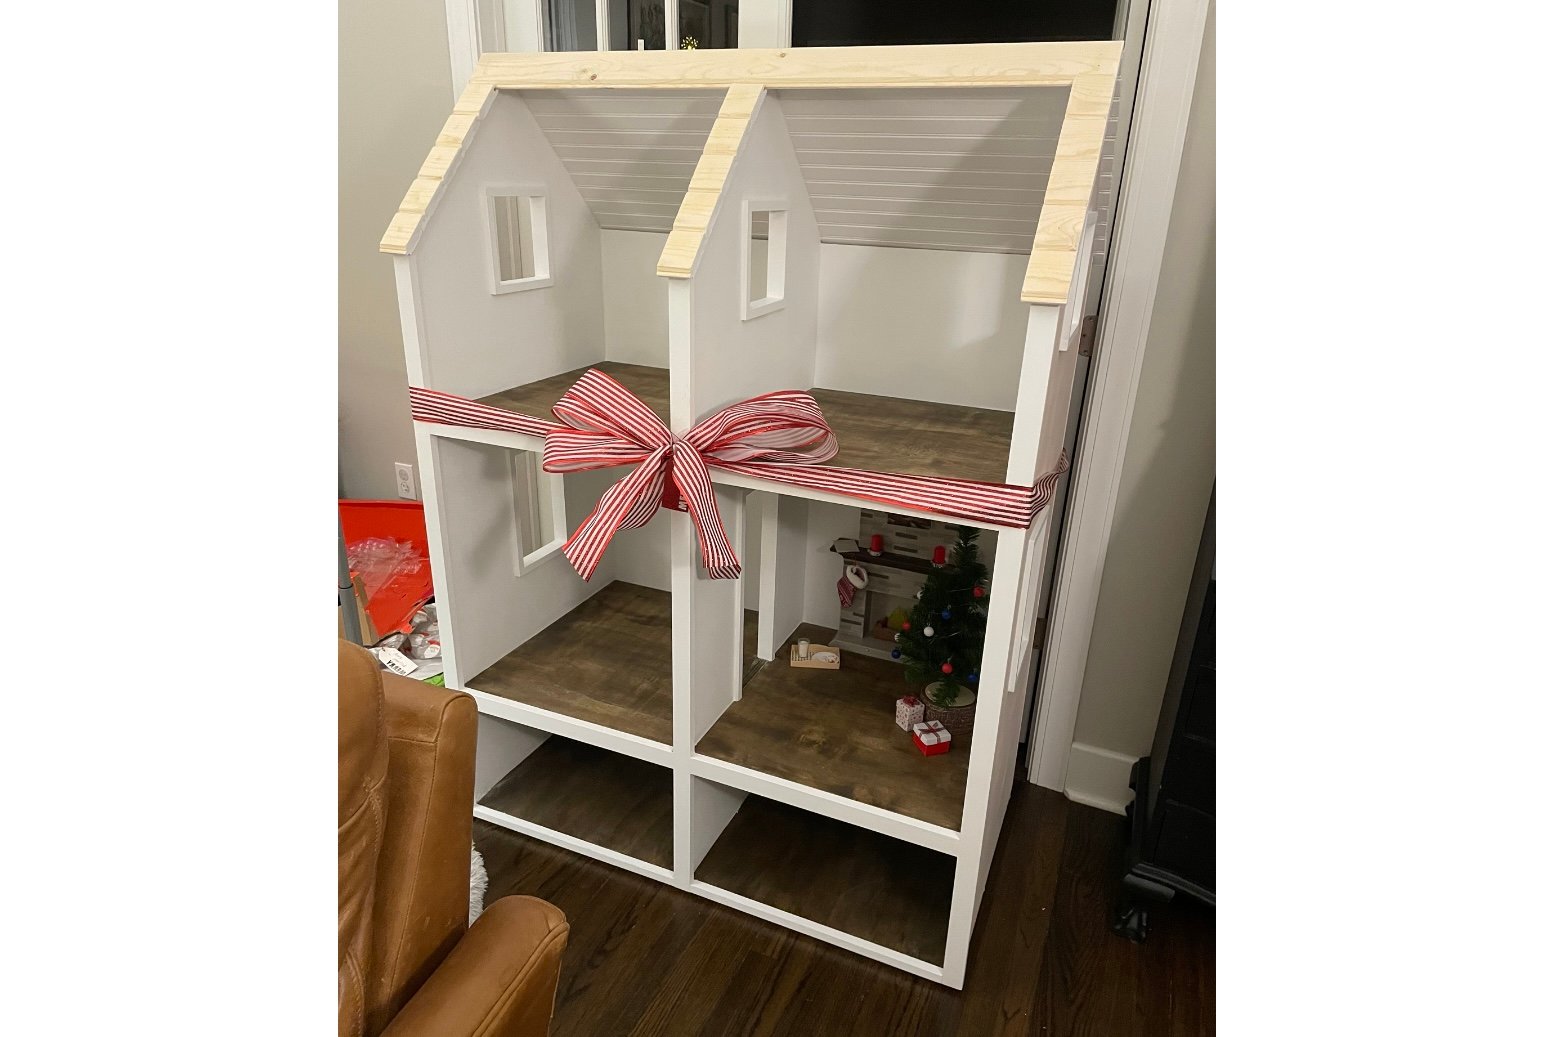
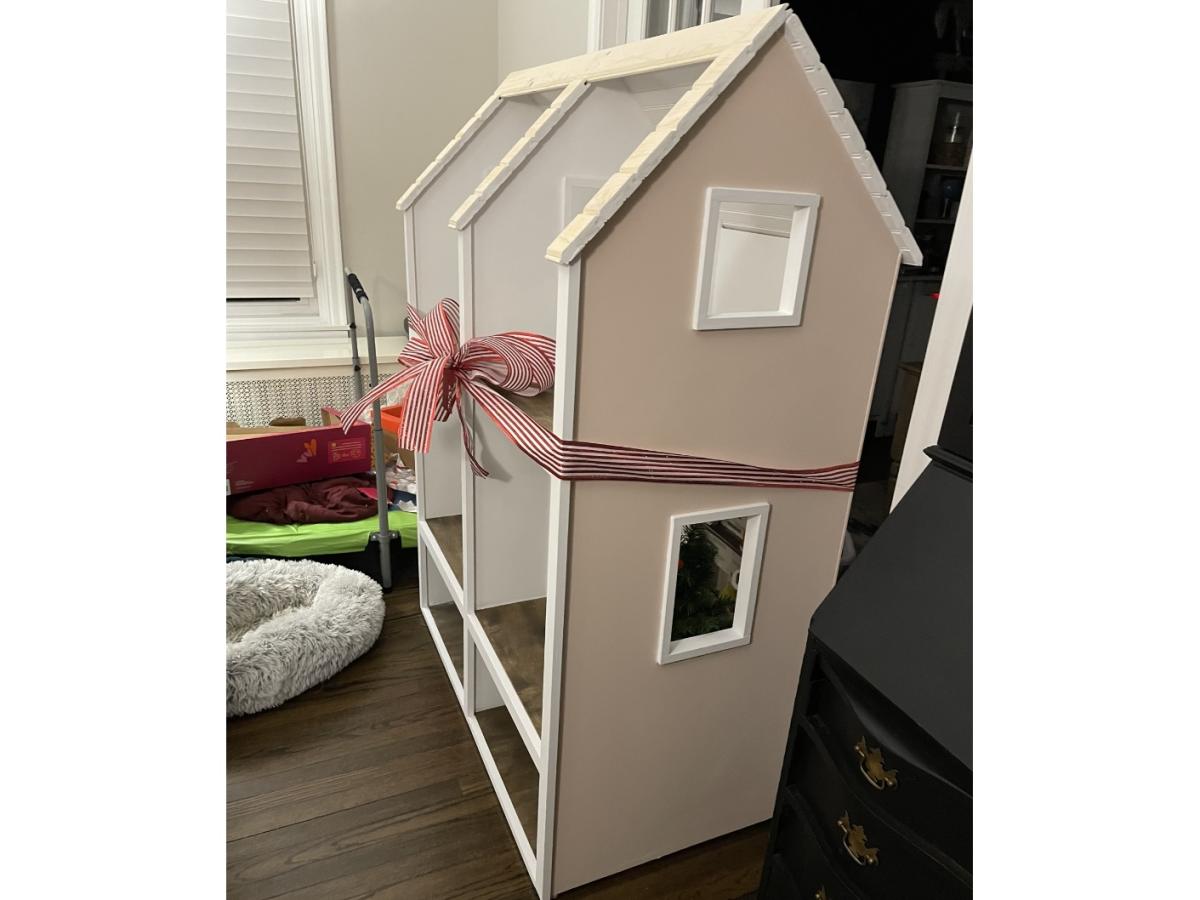
We had a lot of fun building this. We made the bottom floor 1/2 the size so she can use it as a storage (aka crawlspace). I also followed another posts idea of using 4 inch tongue and groove pattern board (beadboard) for the roof.
Wed, 12/28/2022 - 13:47
Thank you for sharing, I'm sure it was a big hit! Merry Christmas:)
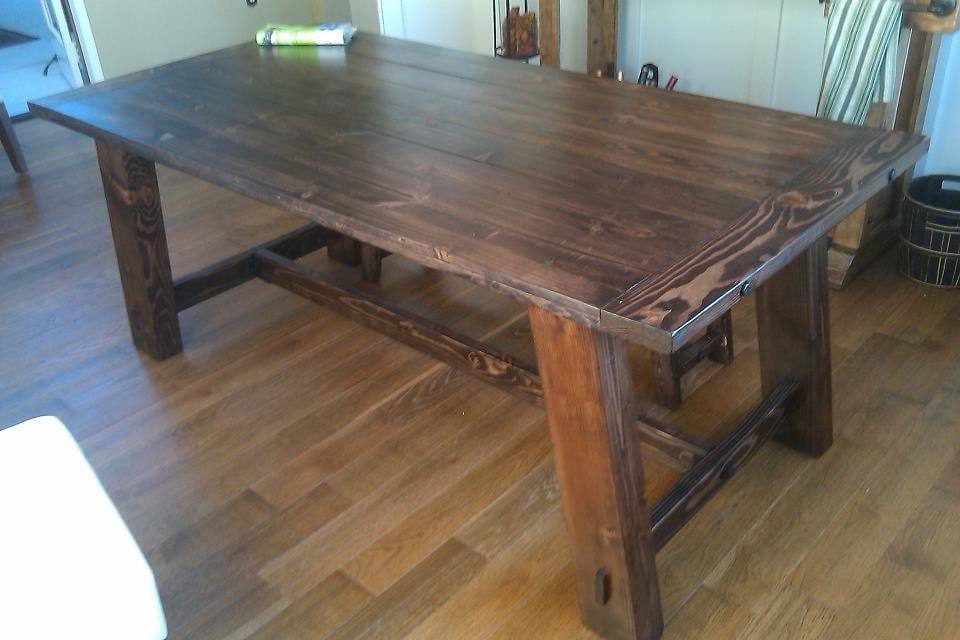
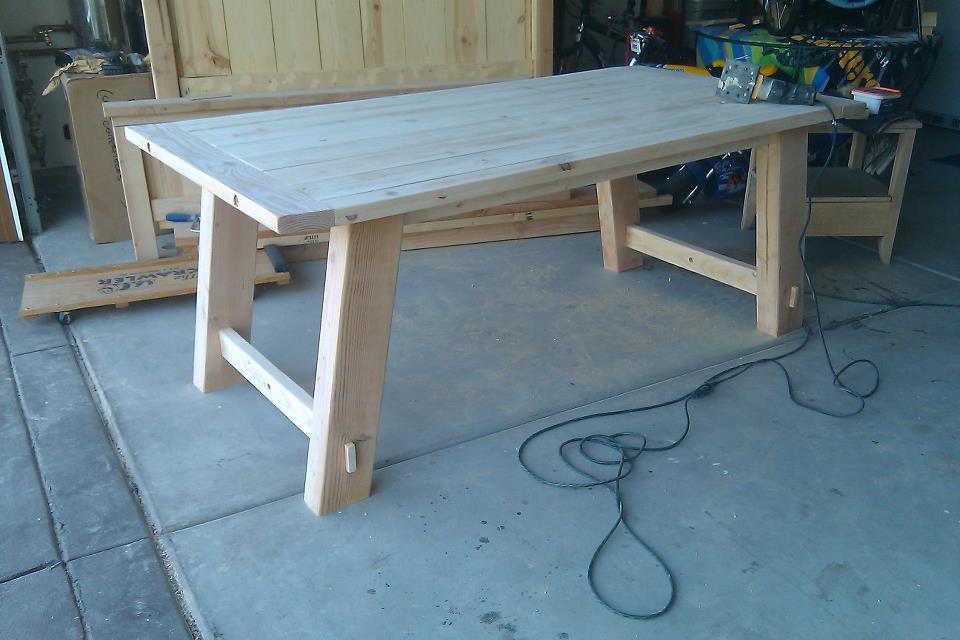
I built this table using a hybrid approach; I used Ana's plans as a loose guideline (leg angles) and drafted the rest using the dimensions supplied at Pottery Barn's website (for the fixed table, not the extendable version).
Wed, 09/14/2011 - 18:11
This is beautiful! Love it. Thanks for the detailed information.
Wed, 09/14/2011 - 23:04
This is awesome. I'm finishing up my first project (floor to ceiling bookcases) and looking for a dining room table to make next. This just might be the one. Thanks for sharing!
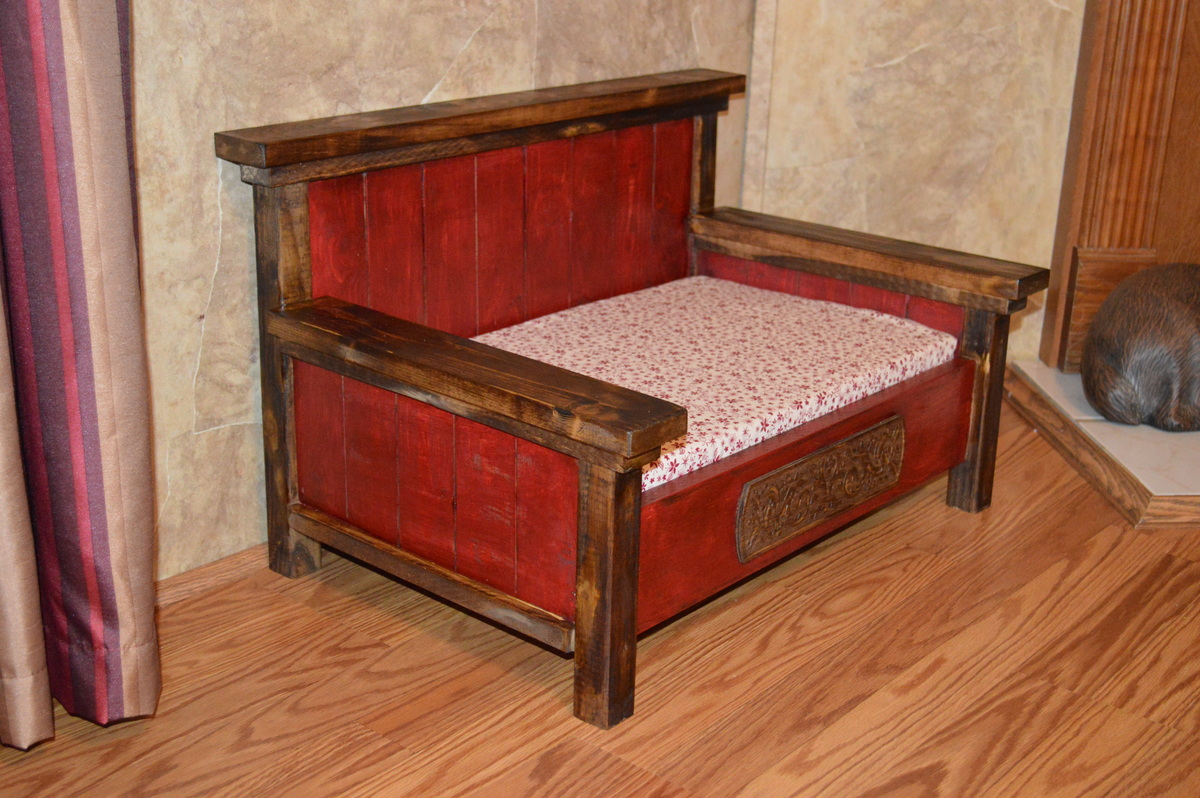
Primitive Doggie Daybed
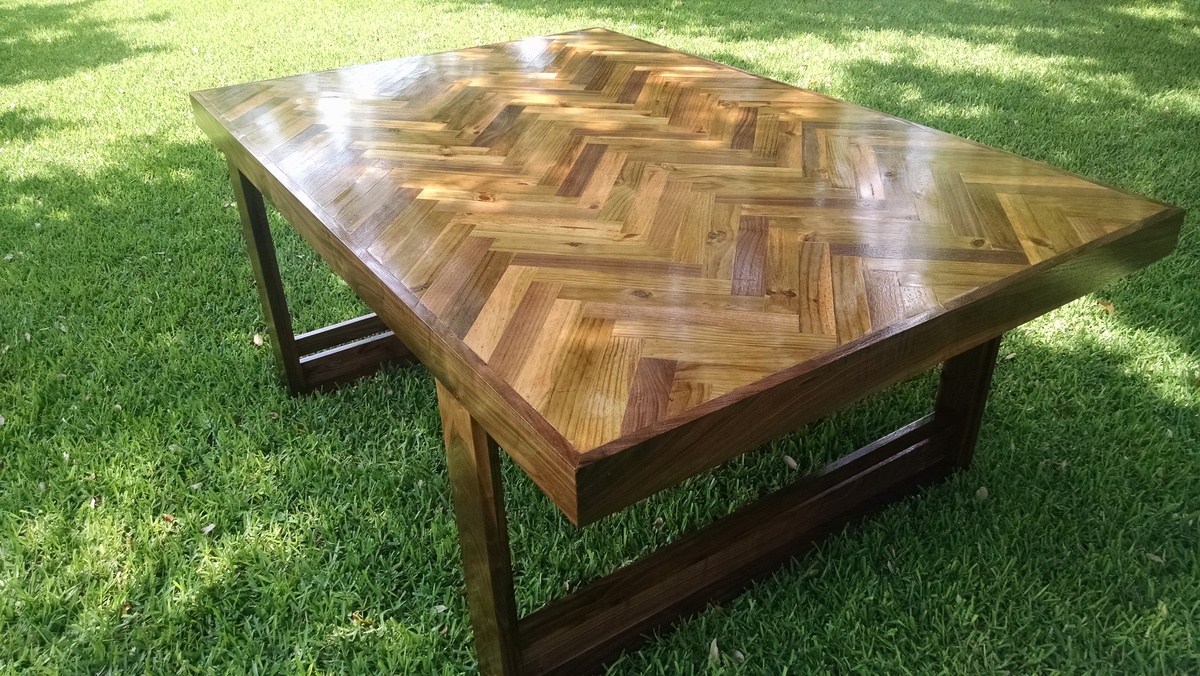
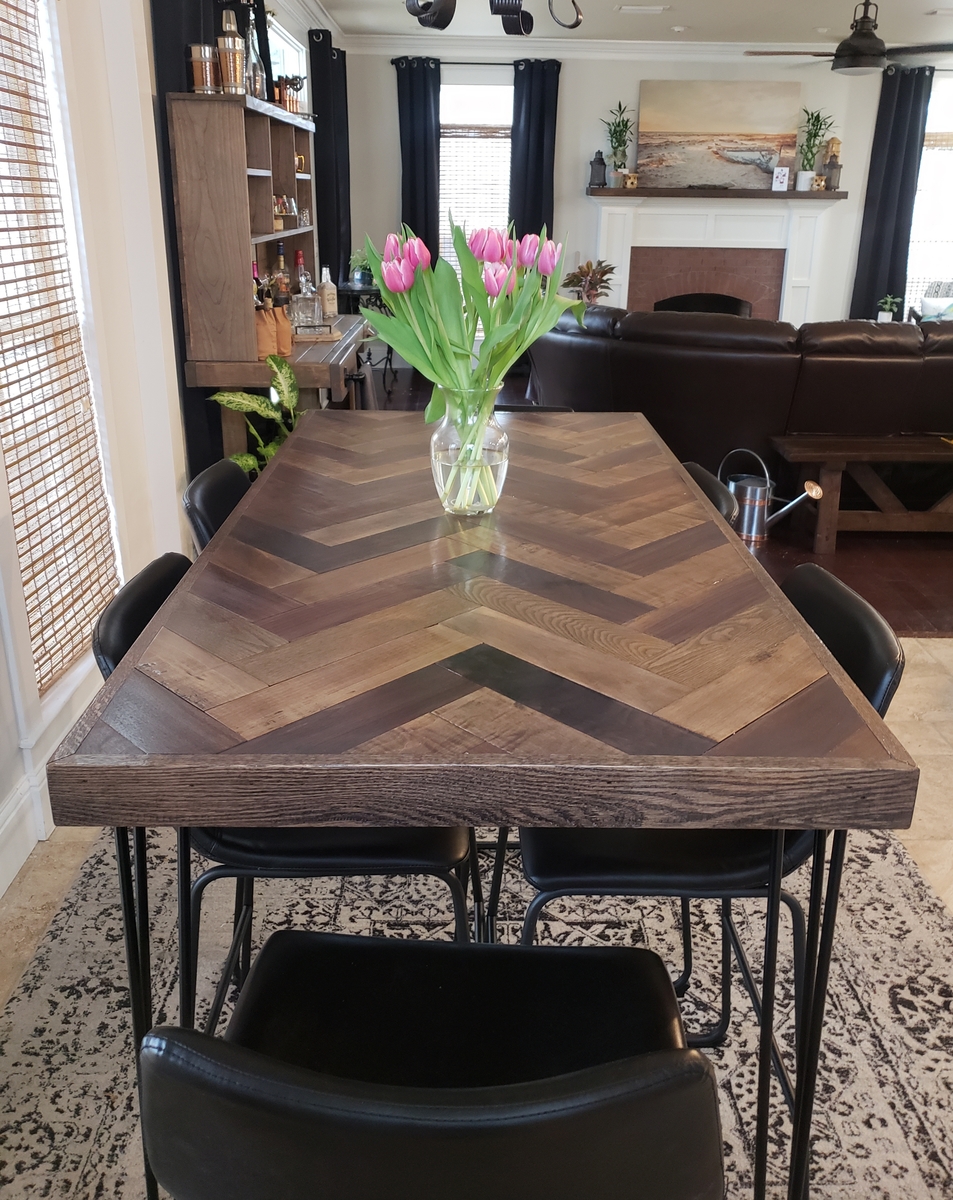
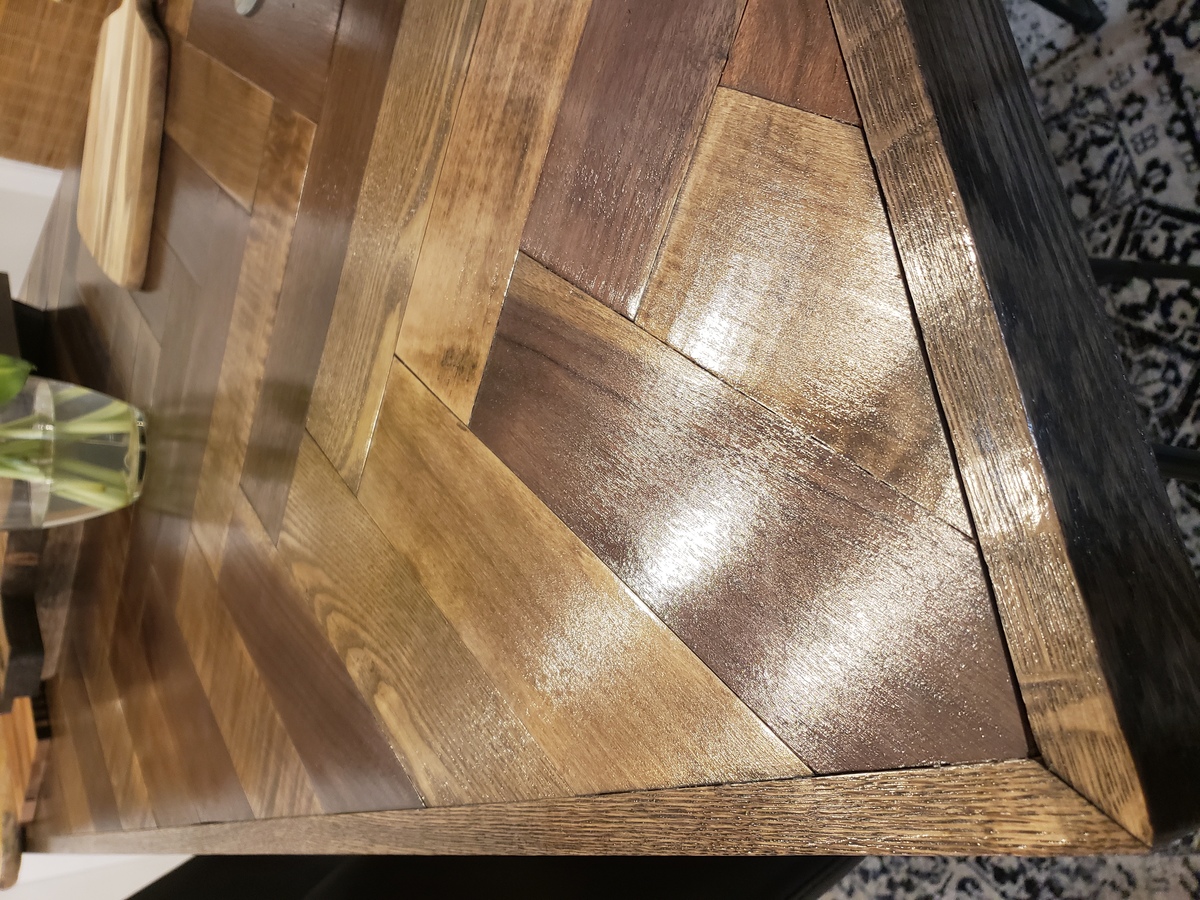
This was a project I had been dying to try out as a way to challenge myself. I wanted to make a herringbone pattern on a table top. I built the legs around the Bois Rouge Saint Paul Table plans. The hardest part was milling on the wood and making it the same width and size but once I had all my pieces the process went pretty smoothly. The funy thing is I did not build this piece for anyone specific and now I have this beautiful table that is sitting unused in my garage. The next step is to sell it!! ![]()
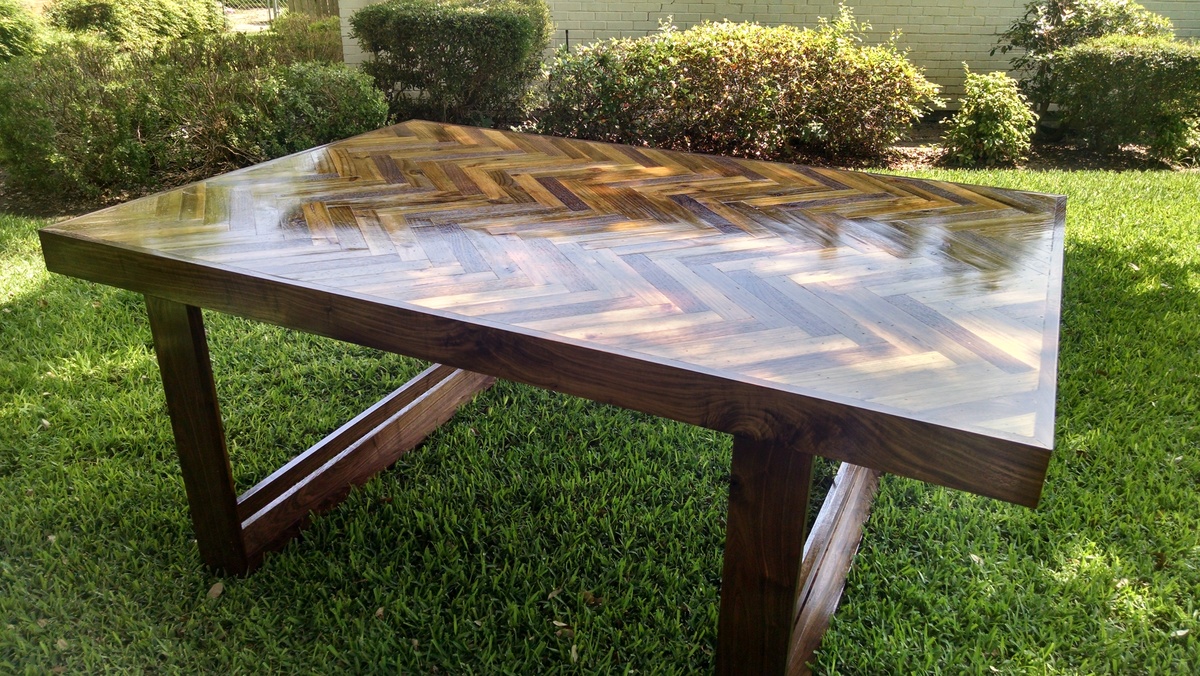
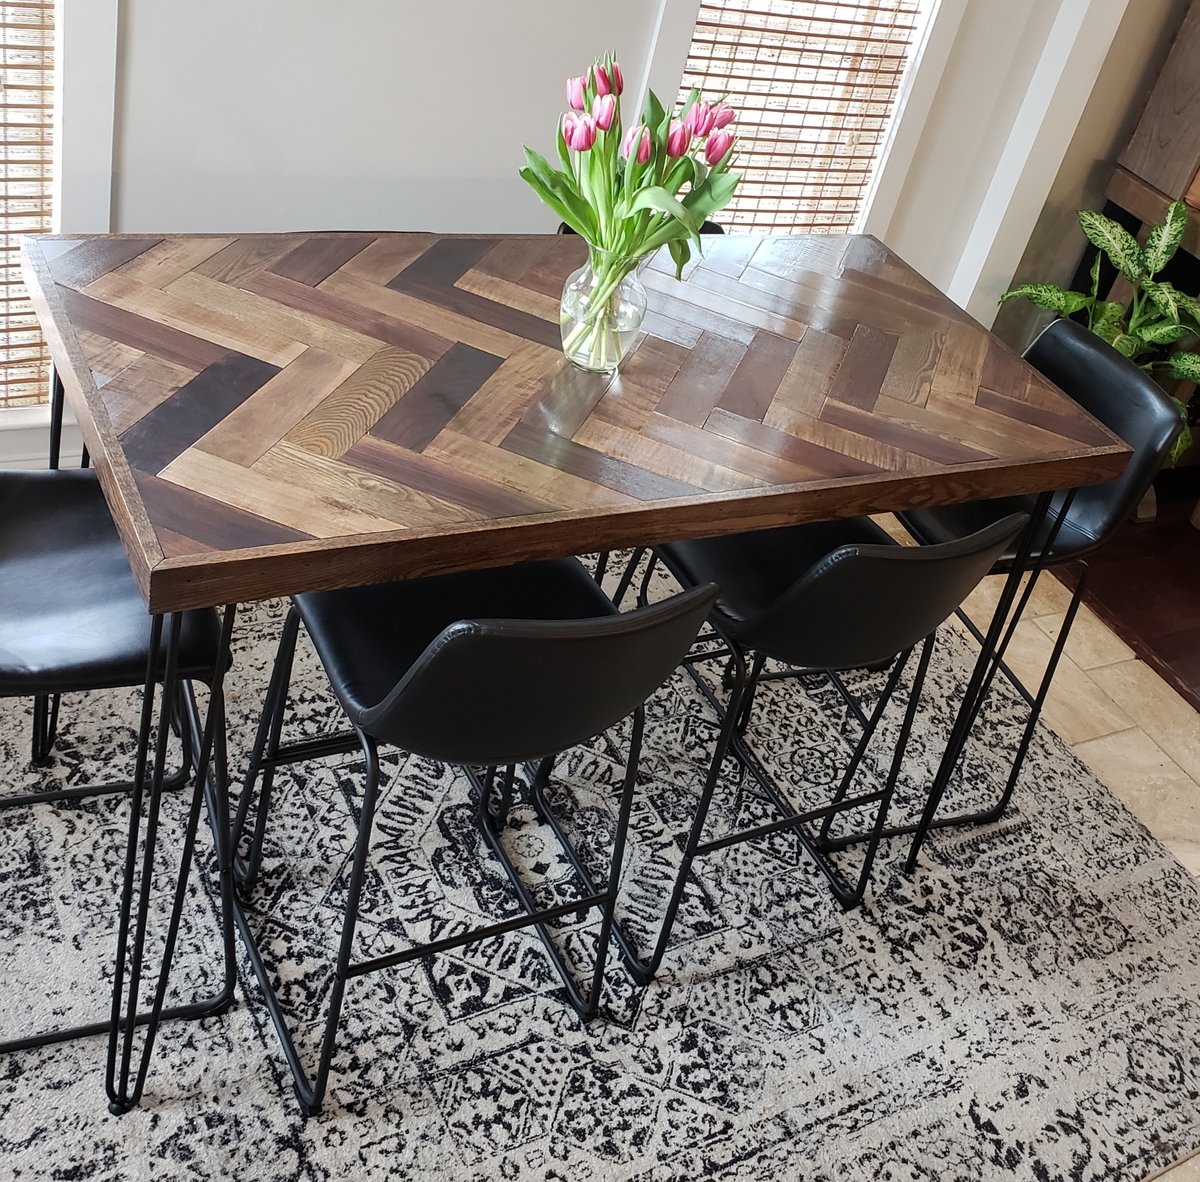
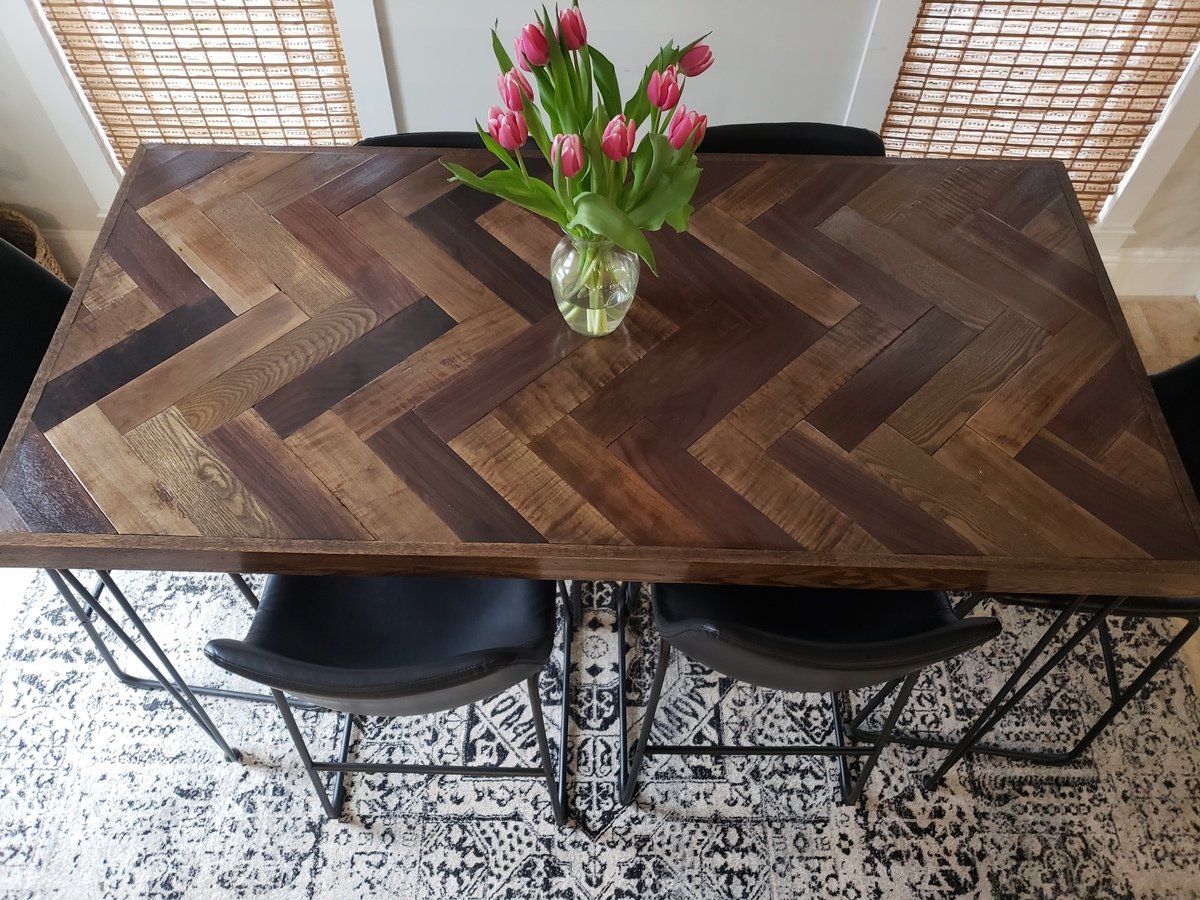
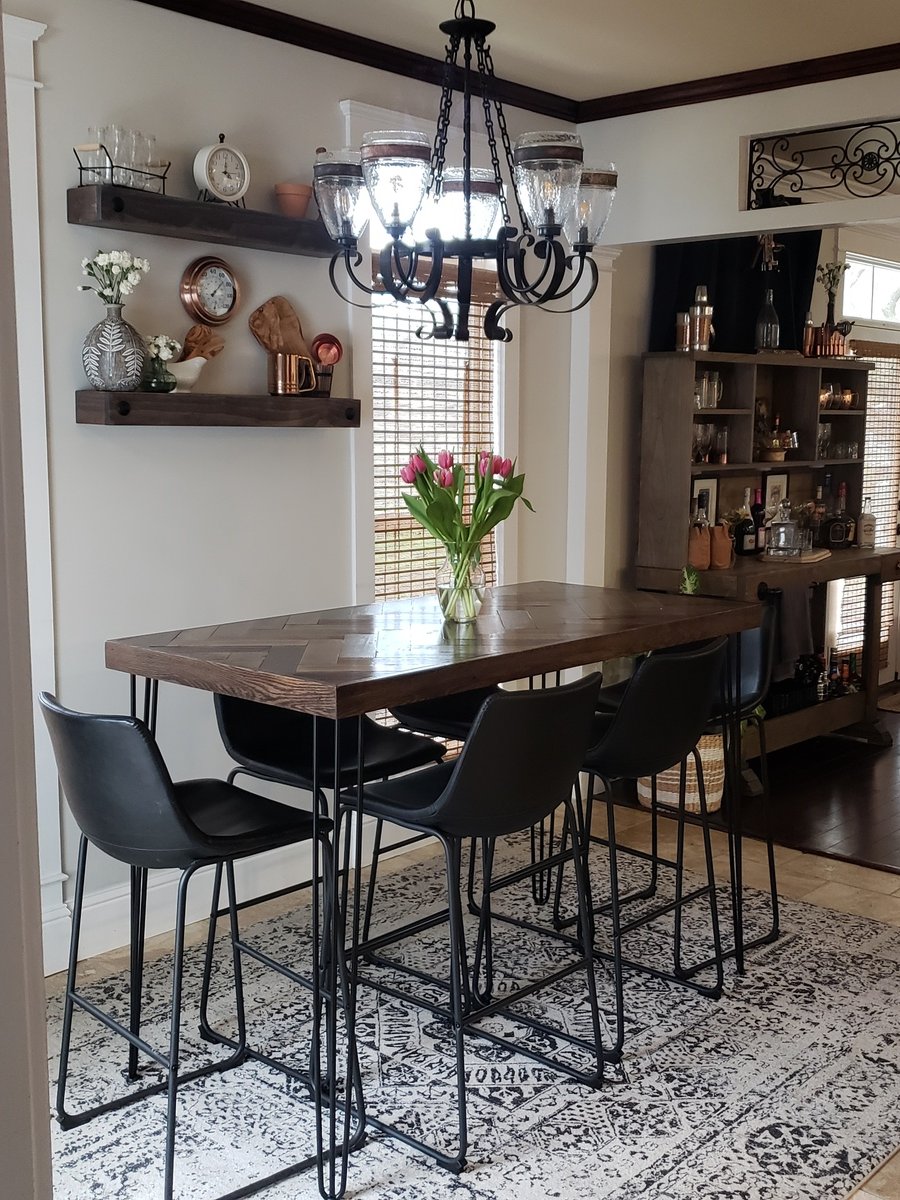
We used 3/4" birch plywood and glued 1/2" thick x 3" wide wood pieces in a herringbone pattern to make the top. We used 1 x 3 oak boards for the trim. The wood is a variety including walnut, maple, cherry, sassafras, etc. We ordered the metal hairpin legs.
We started with a base stain of Danish Oil in Dark Walnut. Once that dried, we went back over that with a very light coat of Minwax gray wash oil based stain. We used 4 coats Laquer for the top coat.
Easy build and we love how it turned out!
Tue, 04/21/2020 - 02:35
Hi. So sorry I just saw your comment. I ordered the craft boards from Ebay. They were 1/2 x 3" boards of various types.
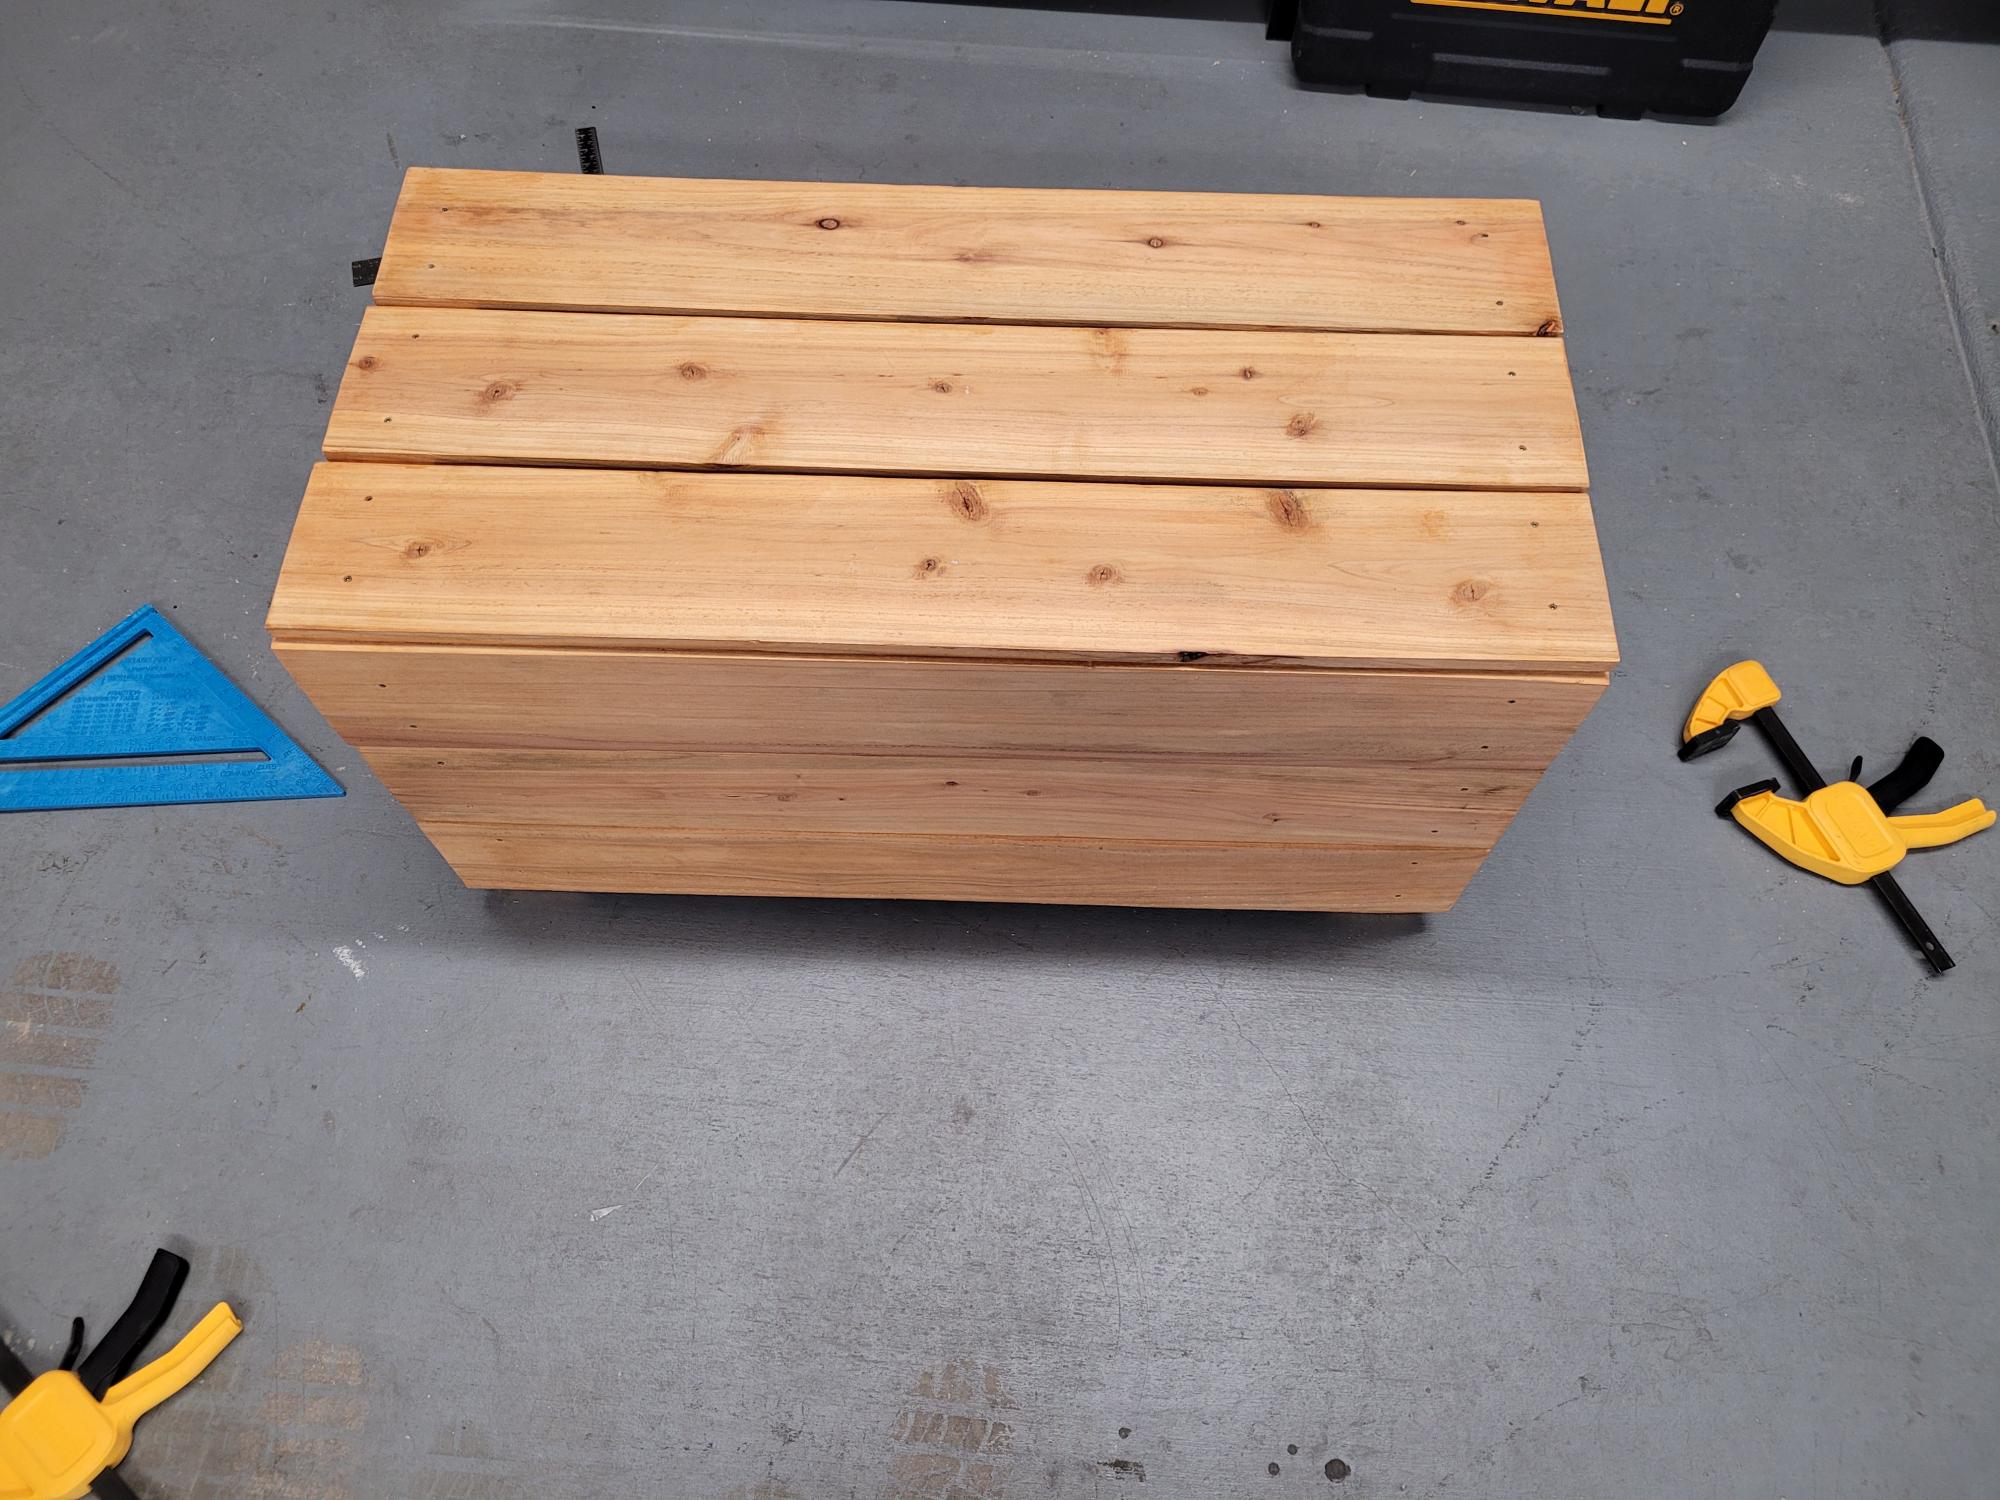
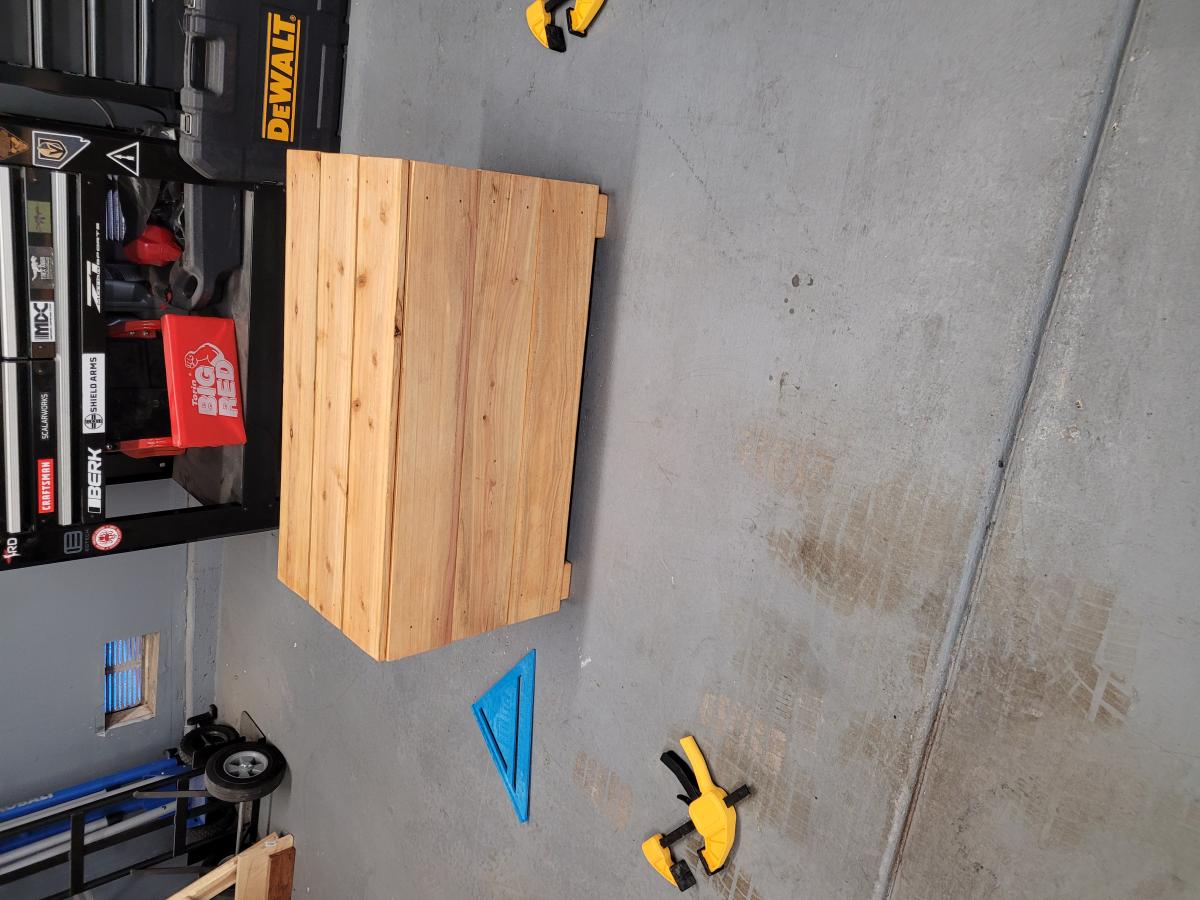
Lessons learned.
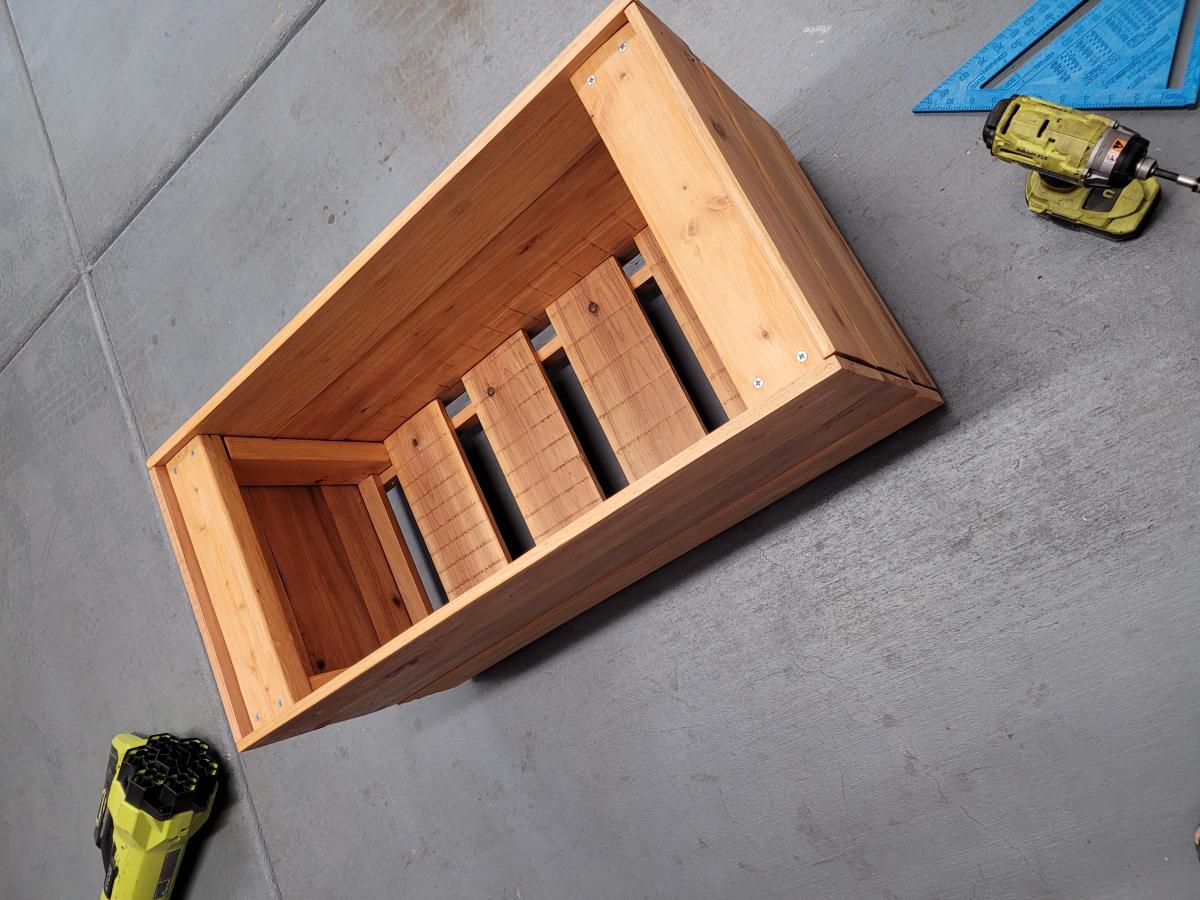
I am kind of a visual organizational neat freak and I have been annoyed by all the little things taking up good shelf space in my pantry for a long time now. This just kept getting pushed down the list ya know, not a major project. Anyway, grabbed an extra board at the store the other day and knocked this one out. I LOVE it. I made it short because I want to build a trash bag holder for the bottom half of the door. We'll see how long it takes me. I did use a 1x4 instead of Ana's plan which uses a 1x6. I only needed small things to put in here.
Tue, 09/20/2011 - 09:41
Ah, well dang it, now I have no excuses! LOL. This is on my list of things to do as well--yours looks great!
Wed, 09/21/2011 - 09:31
I love it! Great price,too!
I especially love how the design corals all those pesky little things that always seem to get pushed all the way to the back of my cabinets and drawers.
I'm definitely putting this on my list of things to build!
Cindy from Indiana
Thu, 09/22/2011 - 08:19
I just got an anchor that looked like it had a little more 'umph' to it. It is called a Cobra Tripple Grip. It looked like it had a section that popped open a little more once the screw went in. I thought that might hold it a little more securely. I feel no movement when I jiggle it at all.
Sun, 01/15/2012 - 08:29
Very nice project.
Just came along looking for a storage shelf and I saw your door shelf. Going to build one of these for sure, sick of the little wire ones we have falling down every other day.
Sun, 01/22/2012 - 19:28
Thanks for the idea. I had to purchase one instead of make one because I live in an apartment.
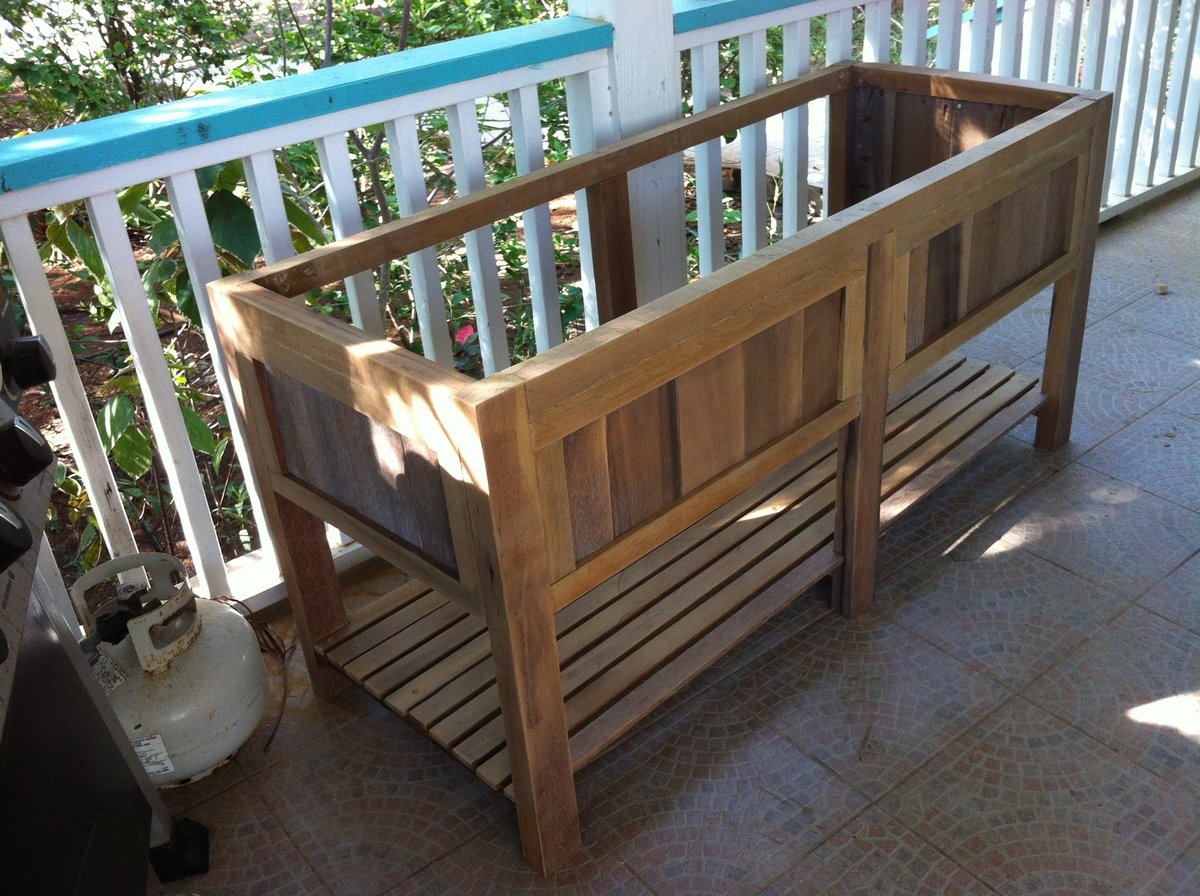
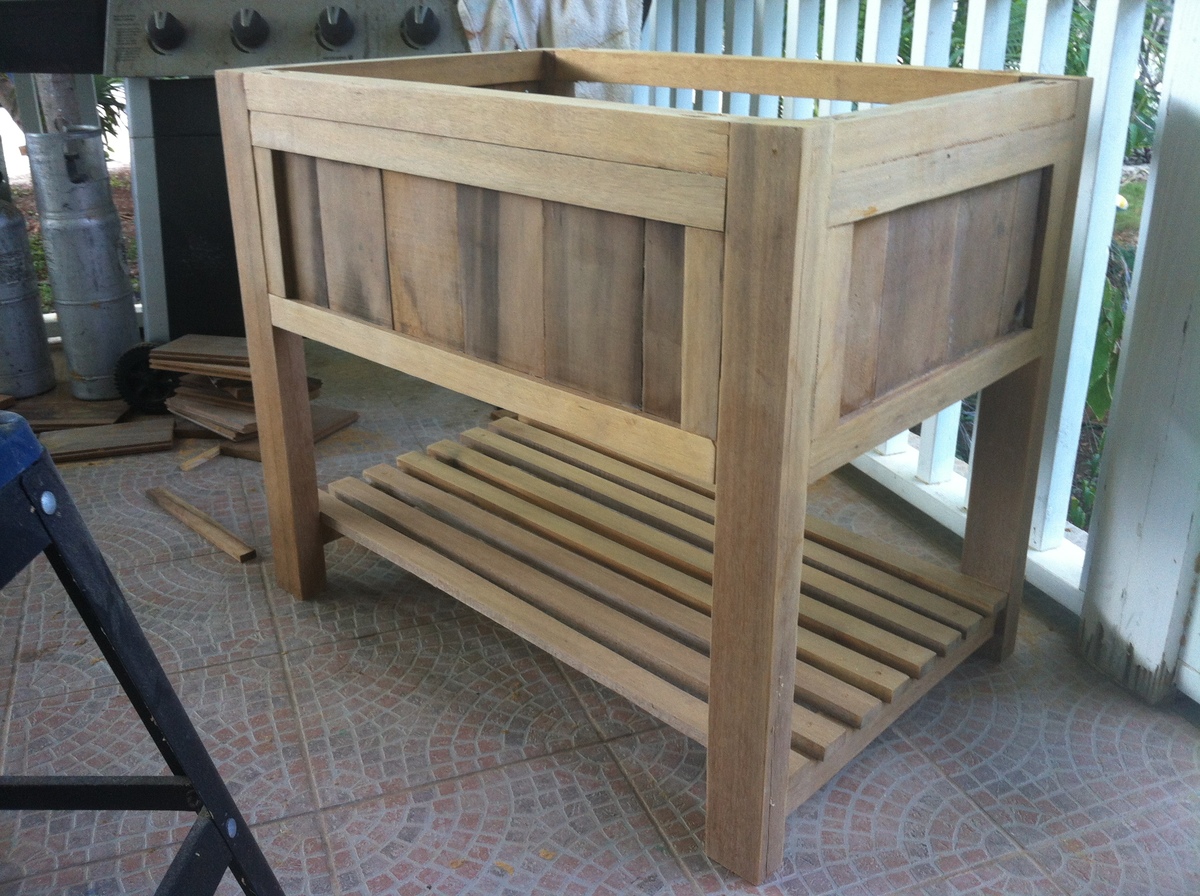
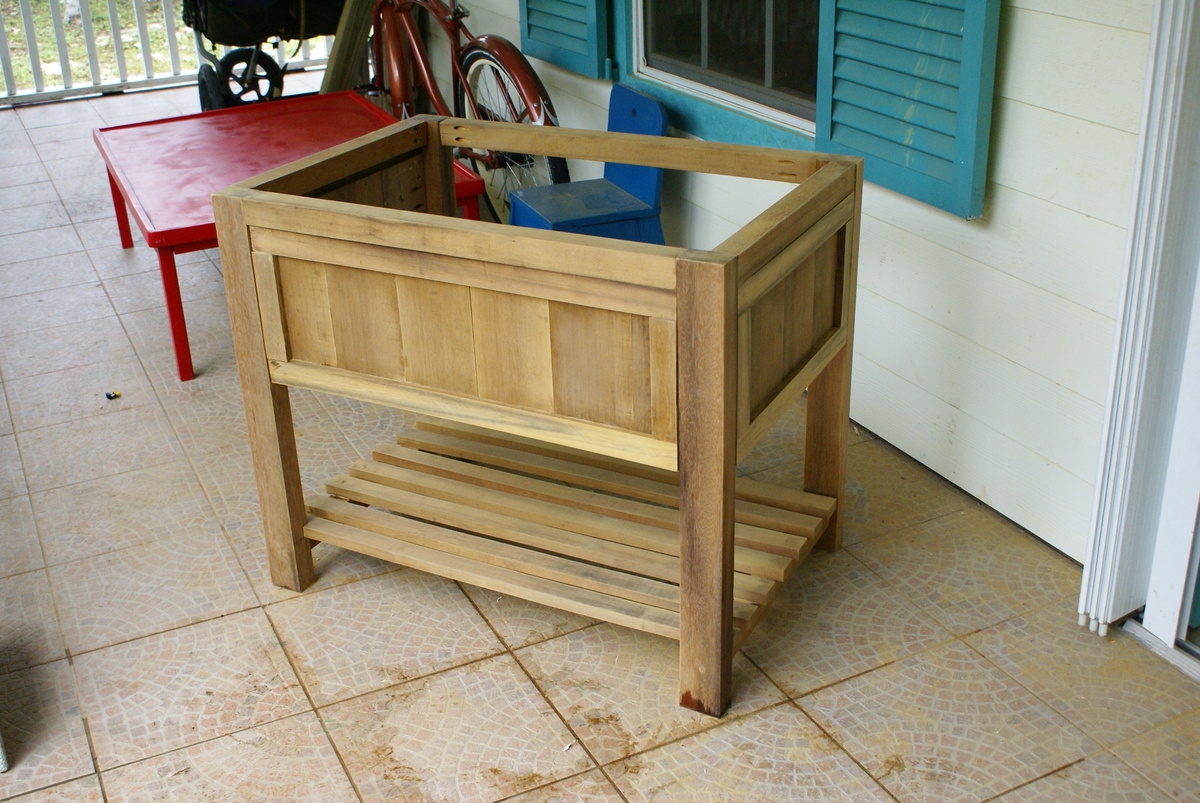
I've been working on these bathroom vanities for a family building a home. These are made of gorgeous Greenheart lumber. I have only worked with pine and spruce up to this point, but this wood is truly stunning. It has been quite the adjustment to work with, and I've broken my share of bits and screws :)
All of these together took me about a week to complete. Had I been working with a softer wood it would have taken no time hardly, but the hardwood....that's a whole other ballgame to me!
They will be adding 2'' thick concrete counter-tops on these when they get installed. I love the simplicity of their look!
Tue, 10/01/2013 - 07:35
These vanities are beautiful. It would be really neat if you could add pictures when they are installed with the counter tops! I am contemplating replacing a vanity with a DIY one, and I love seeing how other people have made things beautiful with their own 2 hands.
In reply to They are beautiful! by NimbleShopper
Tue, 10/01/2013 - 14:35
I will most definitely add the pics with the counters. I can't wait to see them myself :)
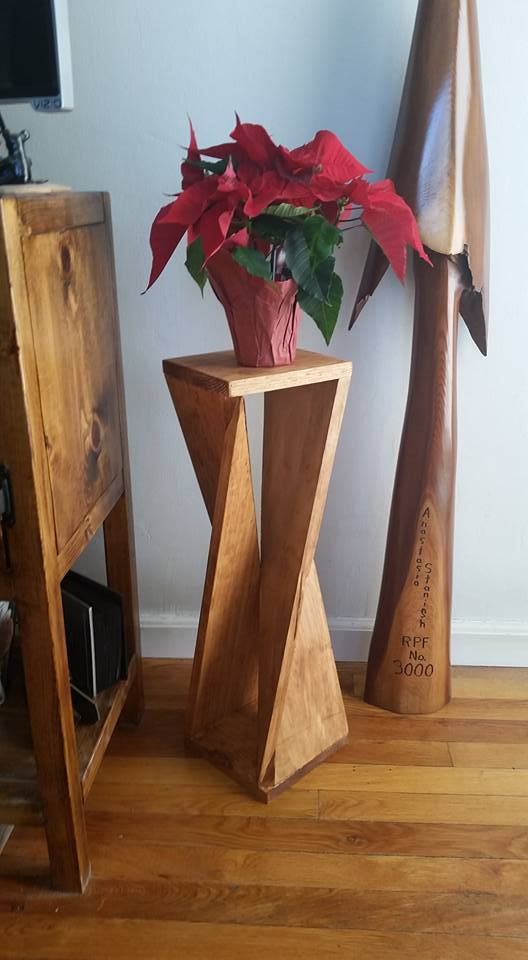
Saw this clever side table on Pinterest. It's made out of 1 1x8x8. I was able to figure out how to build a jig for the table saw to suit the project and then it was easy peasy lemon squeezy from there.
Mon, 12/21/2015 - 09:41
This is so clever and would make an inexpensive yet first-rate gift! I love it...thanks for sharing.
Fri, 10/28/2016 - 08:40
I would love to build this unique table, but can't seem to find some actual plans with dimensions and jigs
Fri, 10/28/2016 - 08:45
Would you please email me the plans for this table. Thanks so much
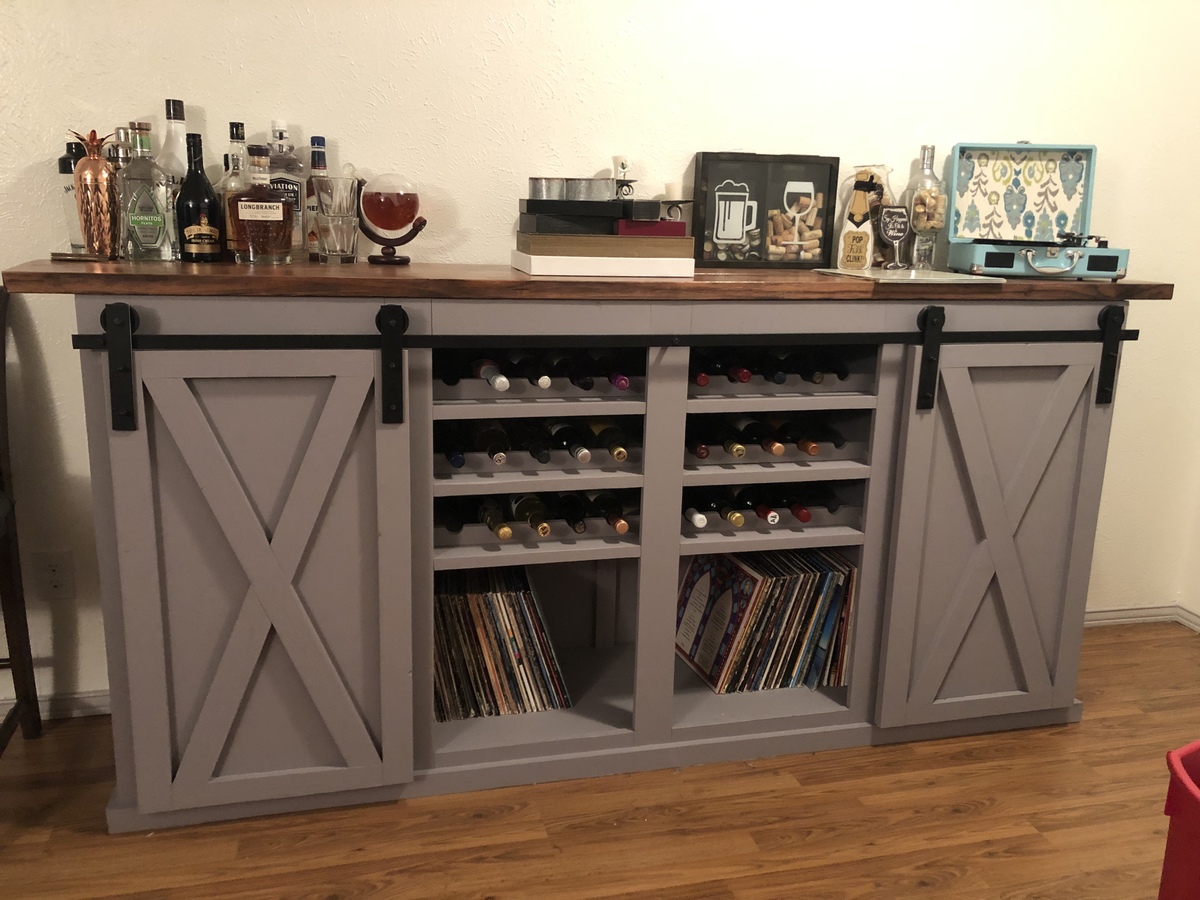
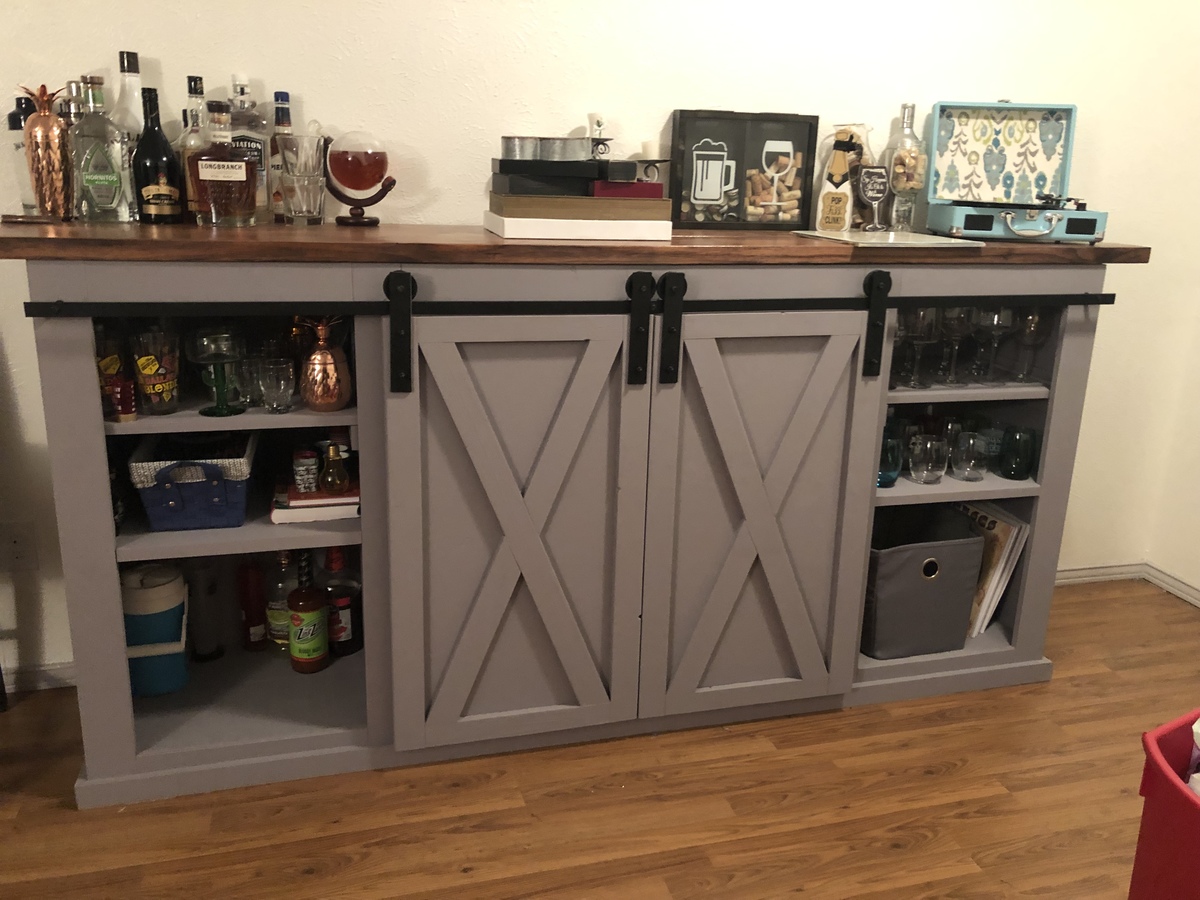
We needed a piece that served two purposes, a Wine bar and a record stand. I used a plan from the site and altered the dimensions to fit records and wine holders. I used thick wood up top and stained and lacquered it. I added a few extra shelves for glasses and so forth, and put in the wine holders. That ended up taking a little extra on this build but I had a great time doing it!

My step son, who is in college, comes to stay with us some weekends and we don't have a lot of room in the rental we are in. So I built a place for him to put his things and sleep, during his visit. This was an easy and quick build using 1x10's for the frame and 1x2's for the face frame. Being 1x10's it's super low profile and doesn't make the room feel much more crowded, so that is a huge bonus! I built it around the dimensions of this floor bed/sofa that I found on amazon.
Here's a Youtube Video of me building it, if you want to see how it went together.
I really like this design, because I feel it would make a great addition to a guest room, bonus room, dorm room, shared room and more. I ended up attaching it to the wall as you will see in the video because it will be tippy if not. Hope you like it!

Comments
Ana White Admin
Tue, 11/29/2022 - 17:21
Great shelves!
Thanks for sharing, these look fantastic!