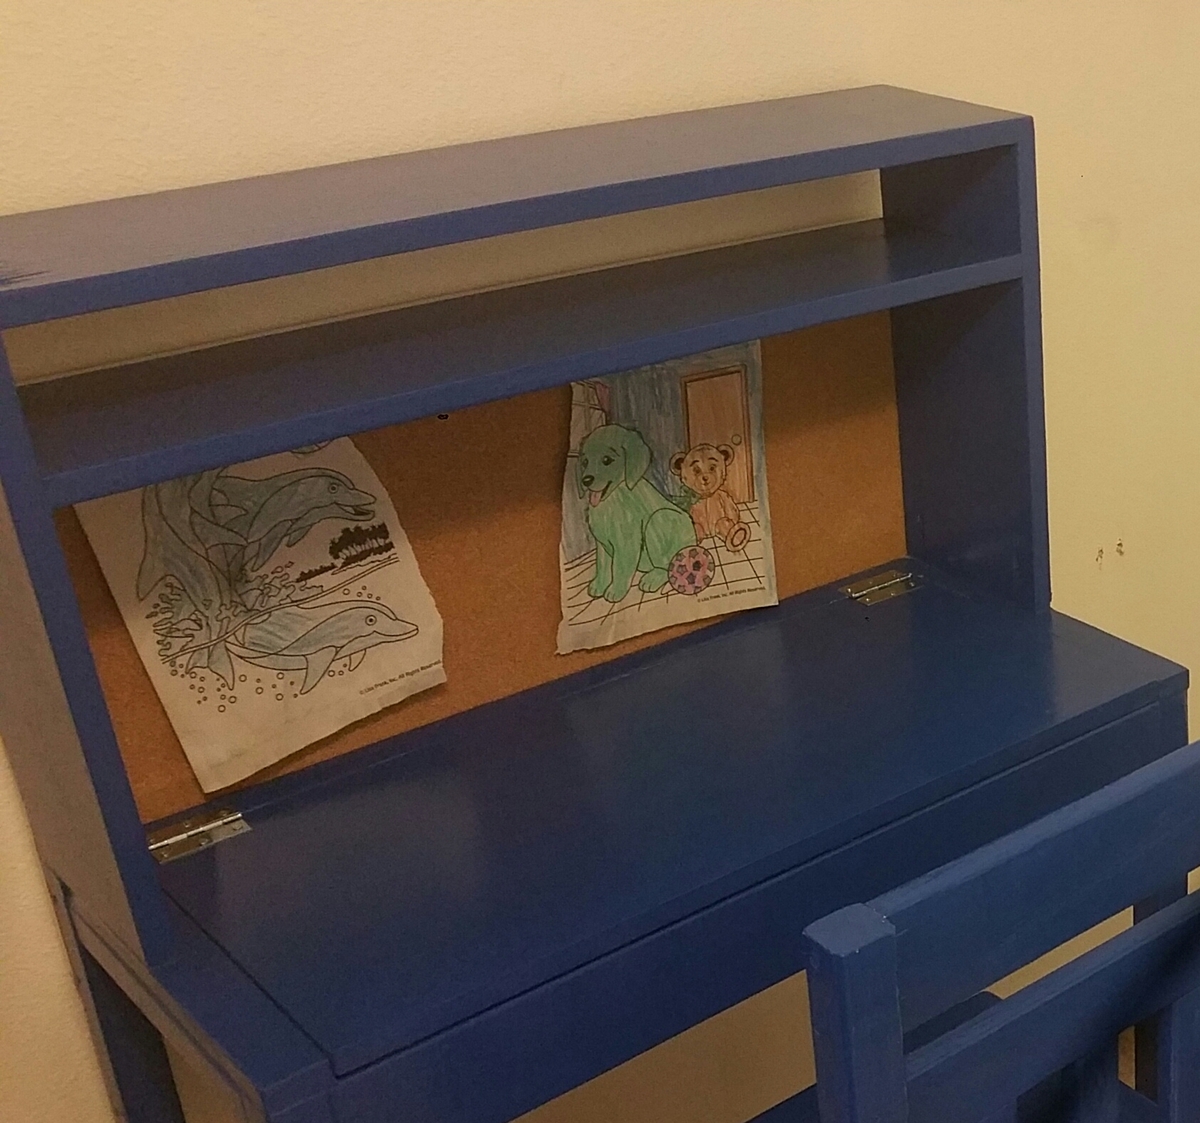
Parker Dream Doll House
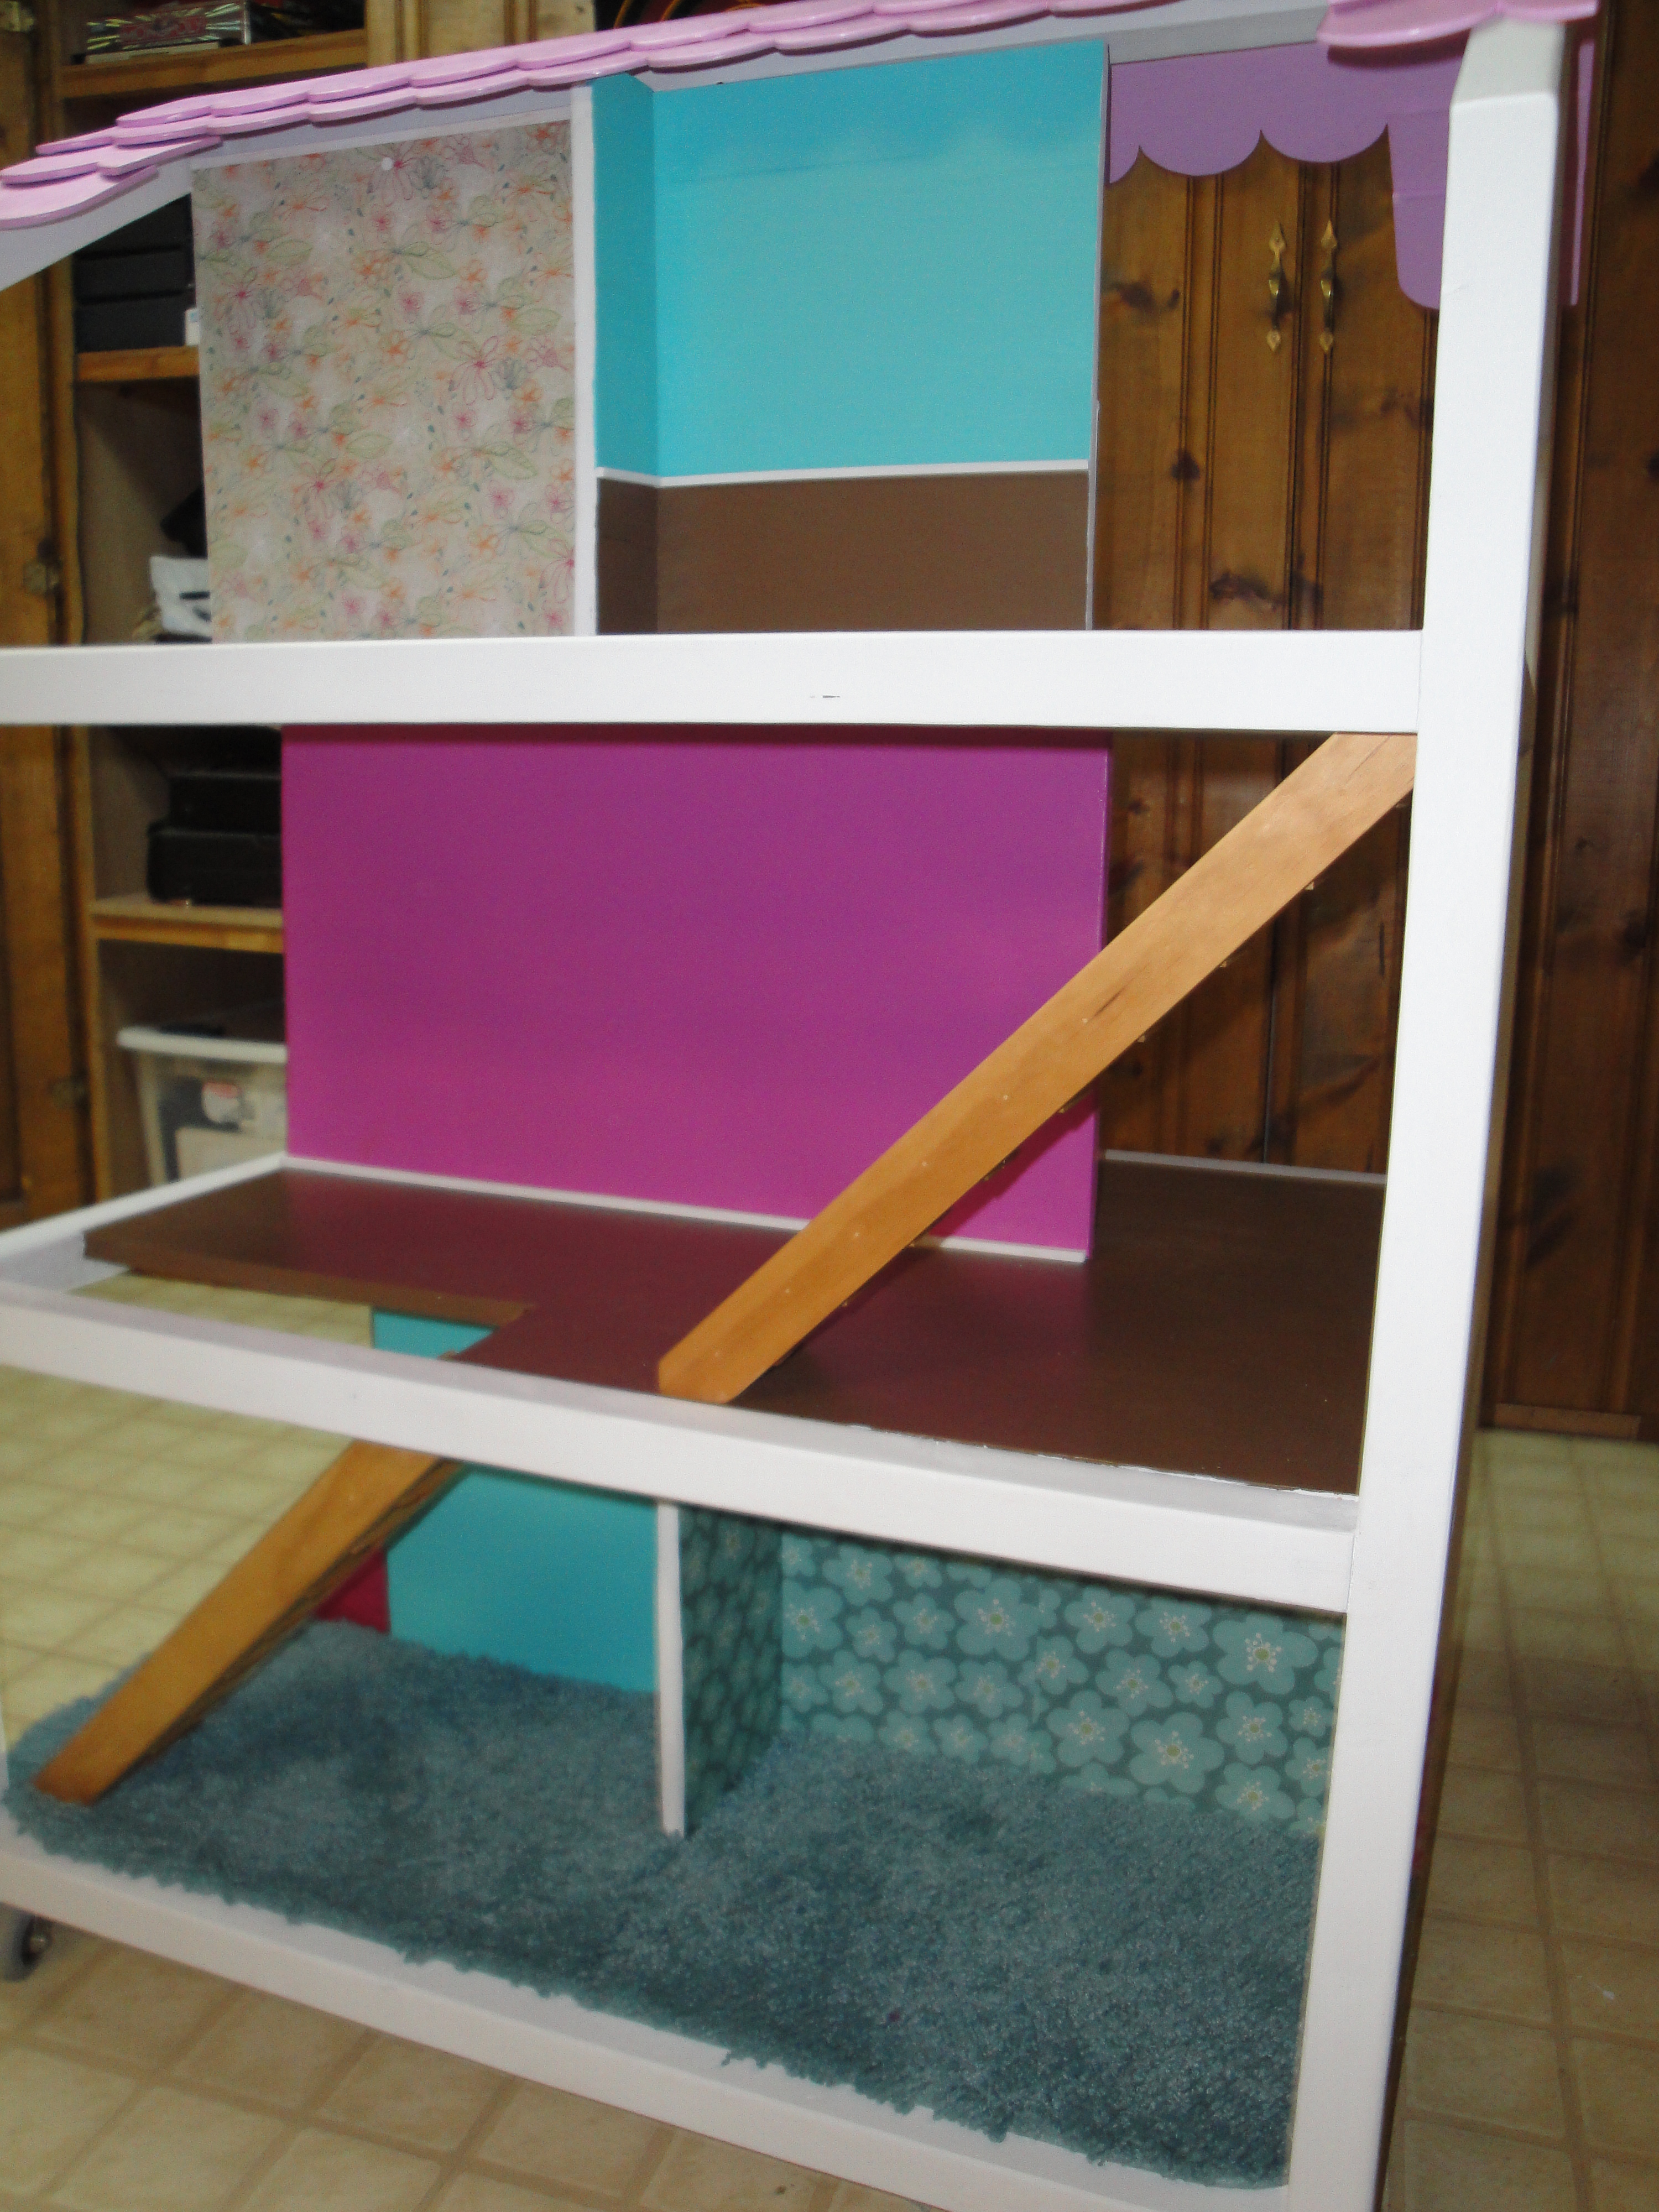
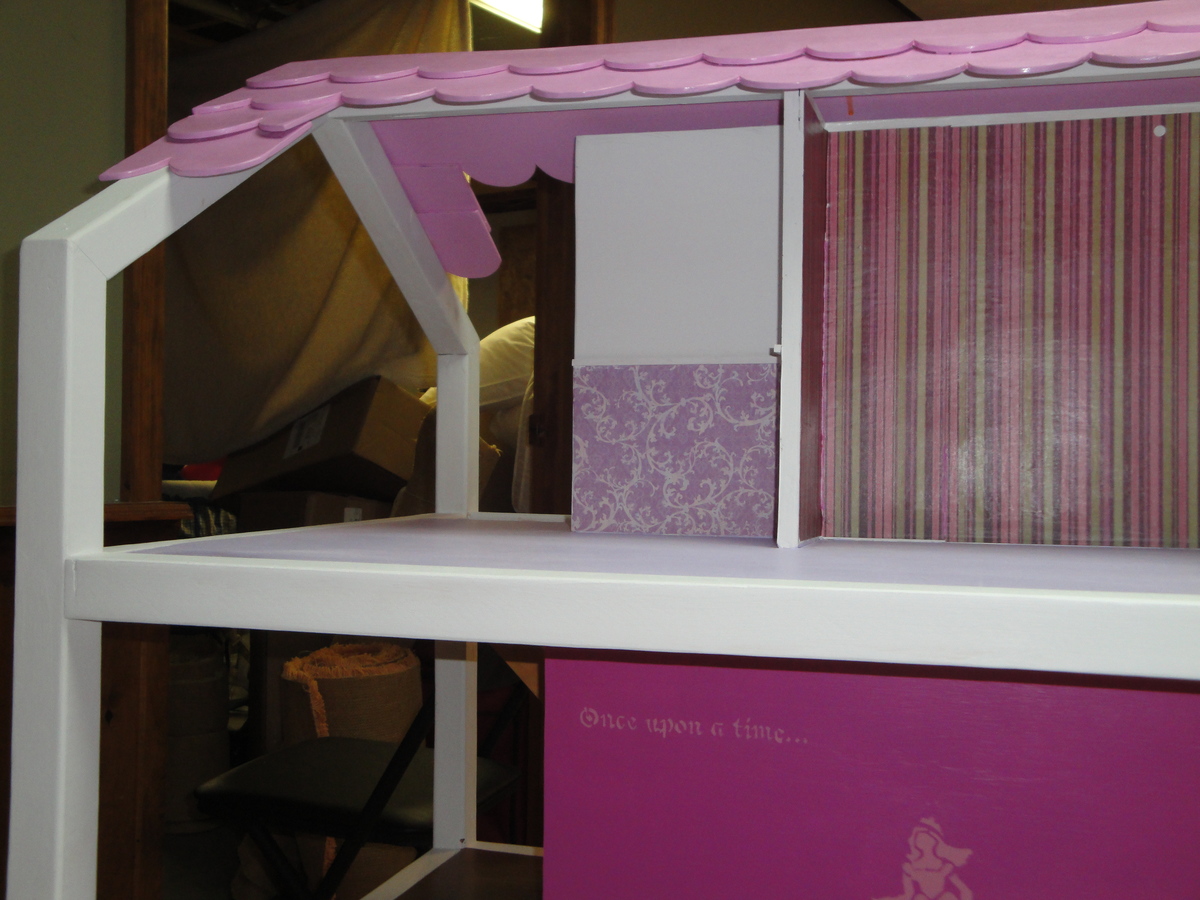
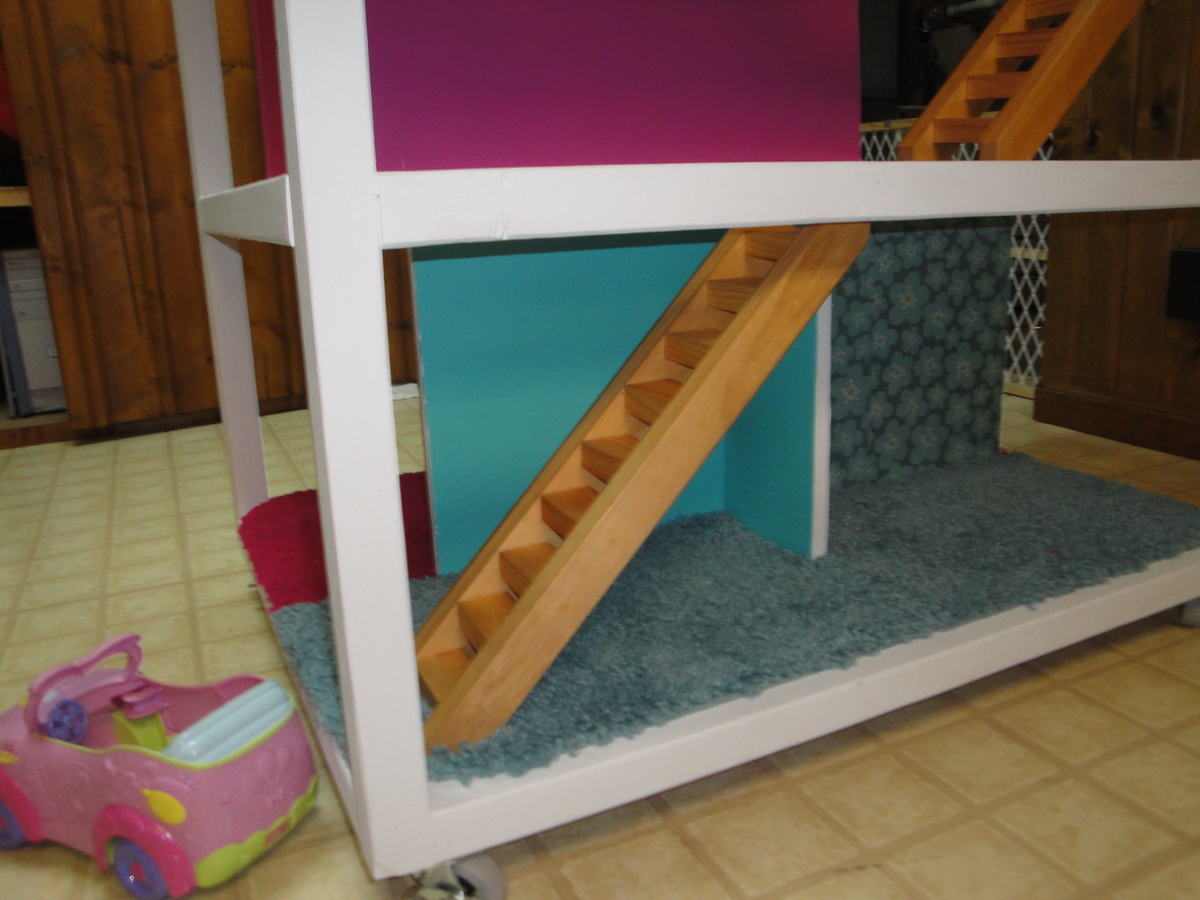
We painted the doll house with paint samples from Lowe's. For the stairs we cut 1 inch by 2 inch boards at a 45 degree angle. Then we glued and nailed each step on each side. The carpet was bath mats that we cut into shape. The chair rails are my favorite! We painted square dowel rods white and cut them to fit the rooms. We used scrap book paper for the wall paper. Thank you Ana for these amazing plans!!!
Estimated Time Investment
Week Long Project (20 Hours or More)
Finish Used
Wall paint samples.
Recommended Skill Level
Beginner