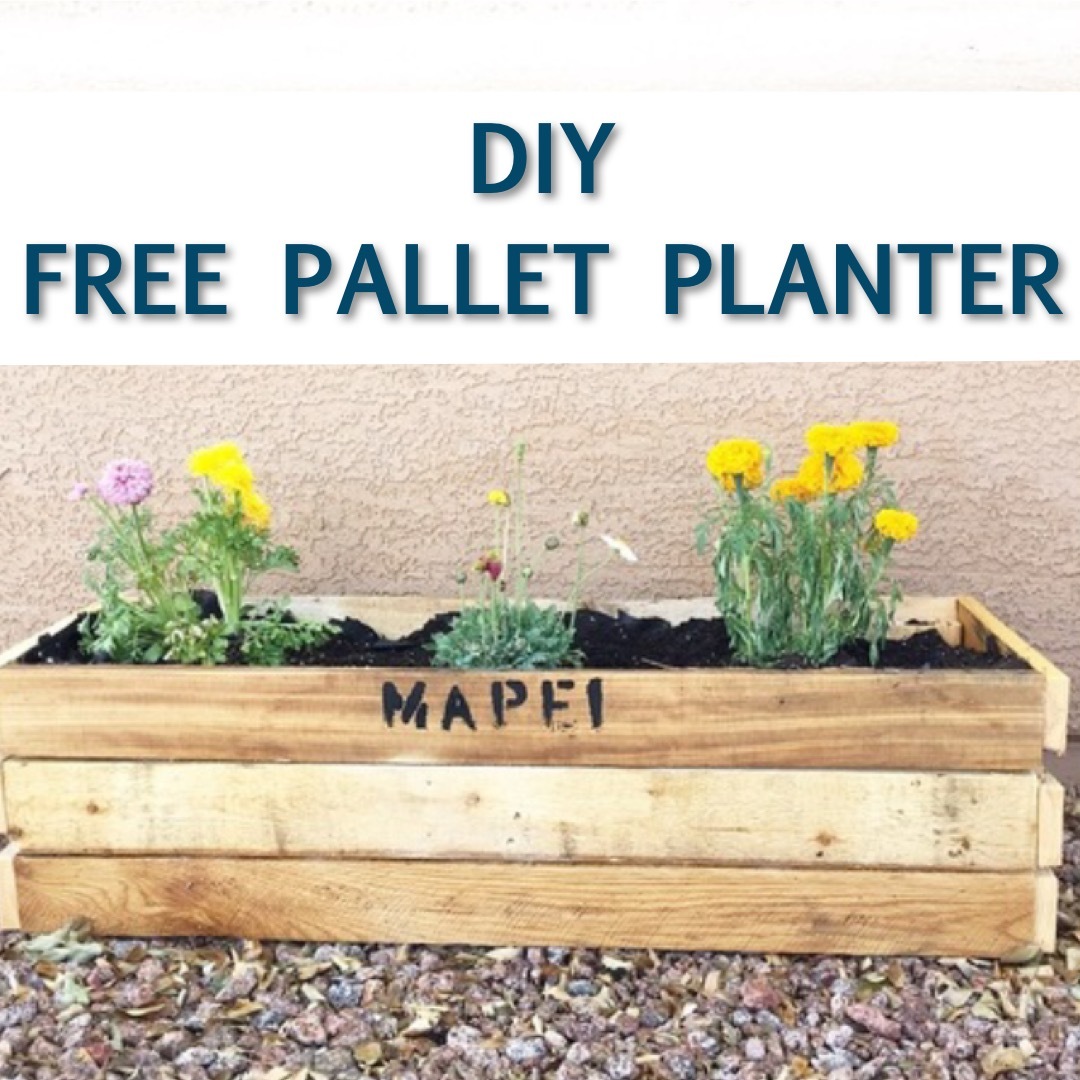
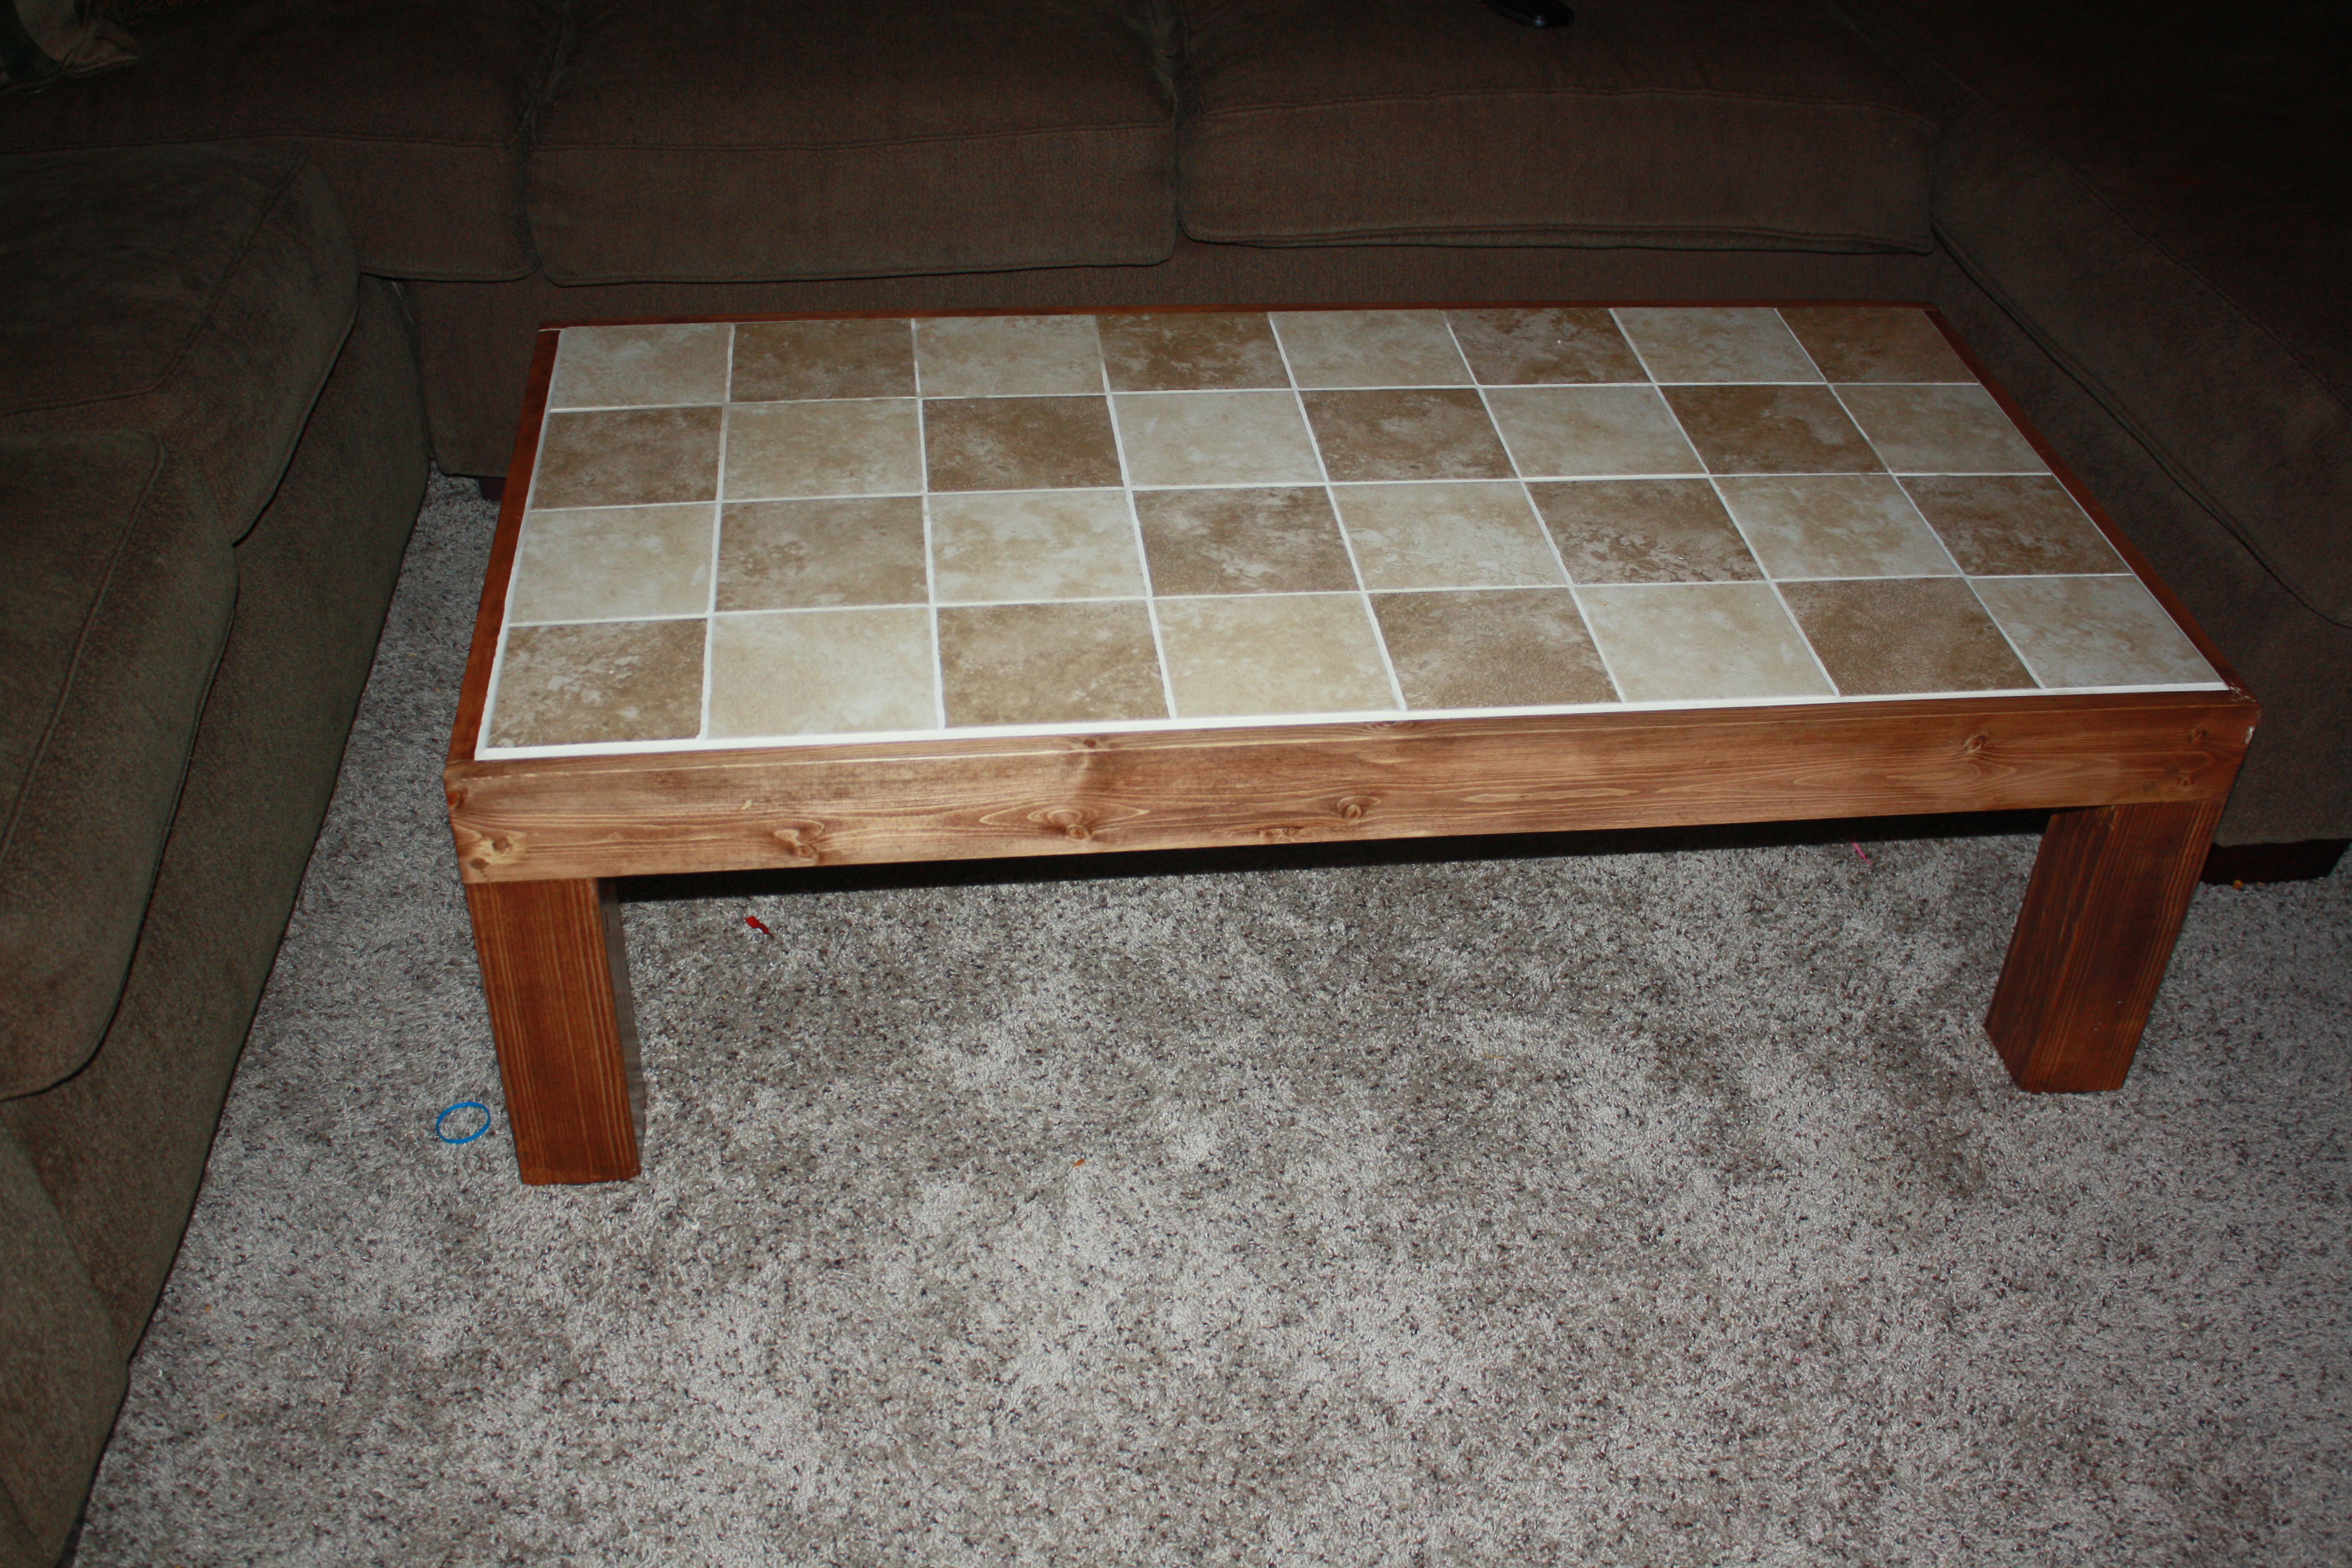
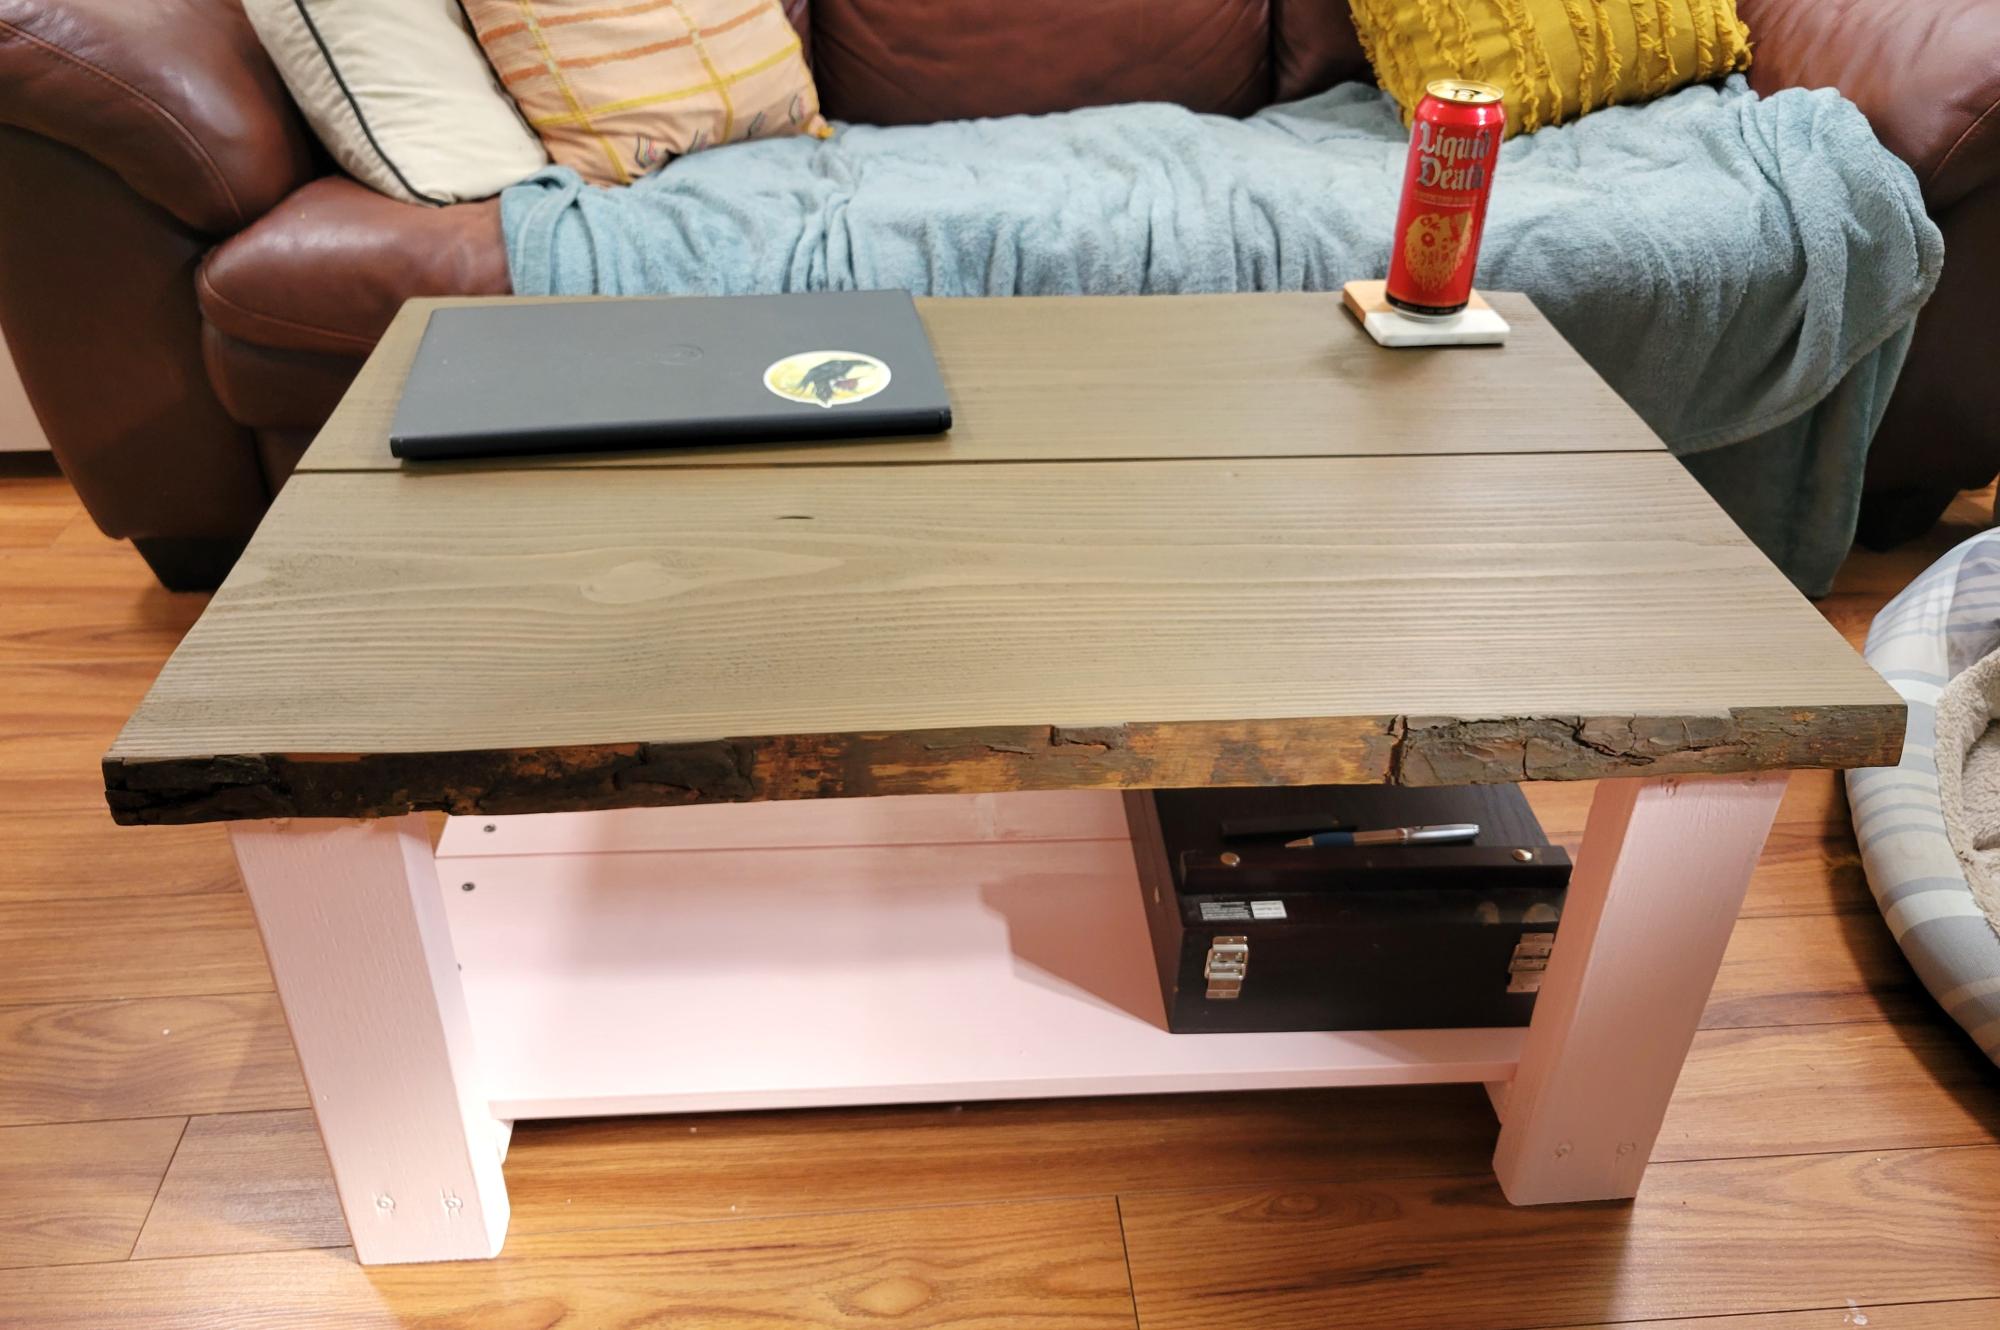
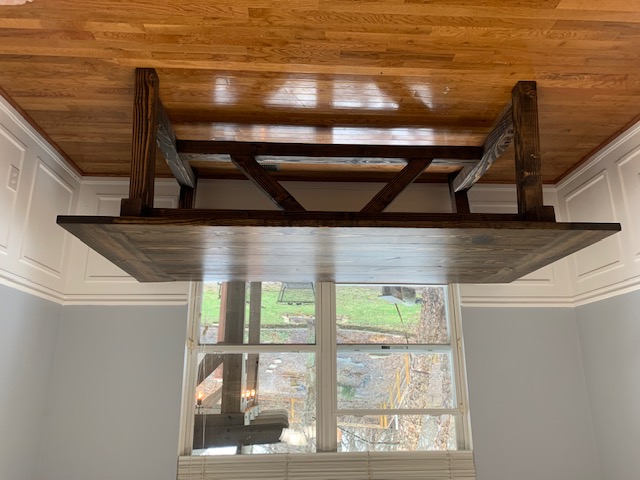
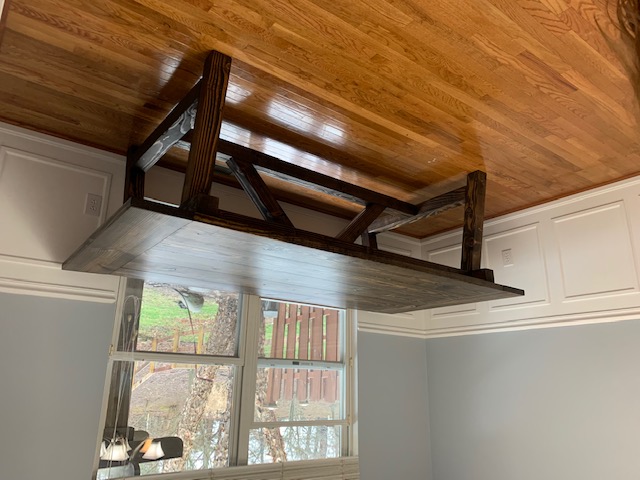
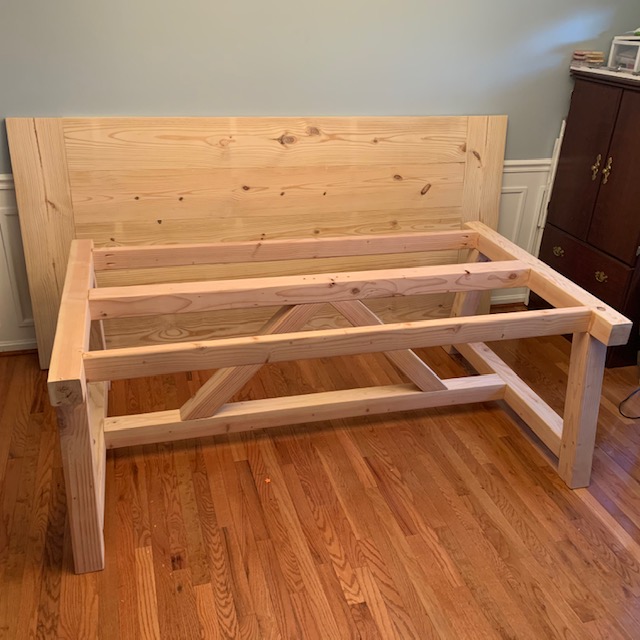
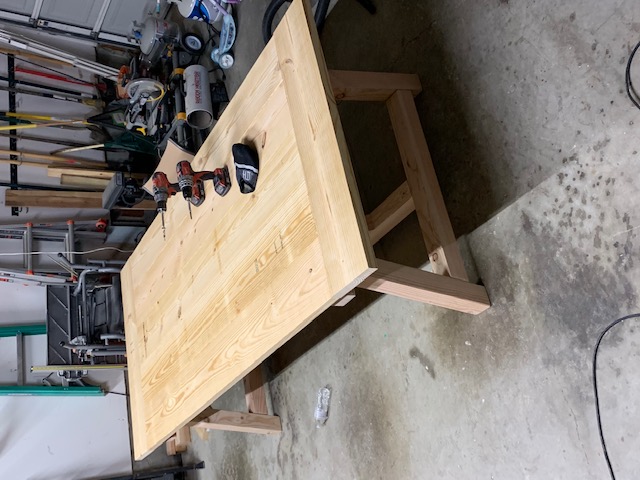
4x4 TRUSS BEAM TABLE
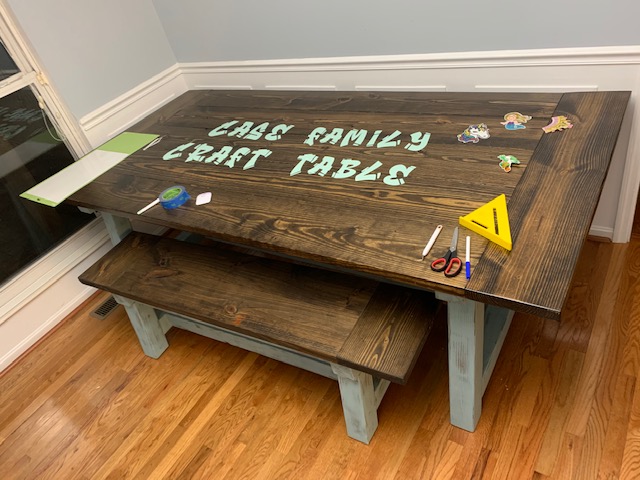
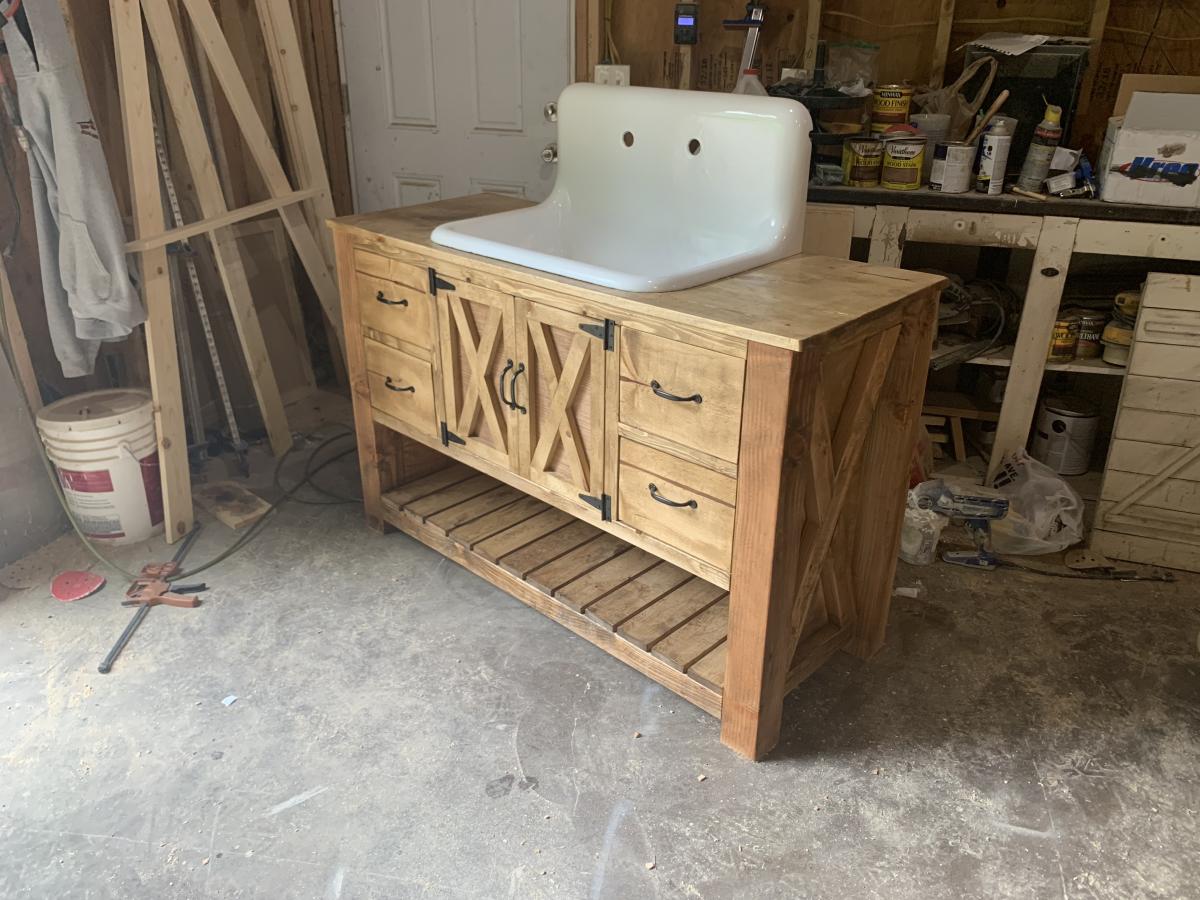
I built this as a craft table for my family. I altered the plans to make the table larger to fit a specific space in our craft room. The table was easy to build and turned out great!
Thanks for the plans
Built from Plan(s)
Estimated Cost
$100
Estimated Time Investment
Weekend Project (10-20 Hours)
Finish Used
Craft table for the family
Recommended Skill Level
Beginner