Joy Sign
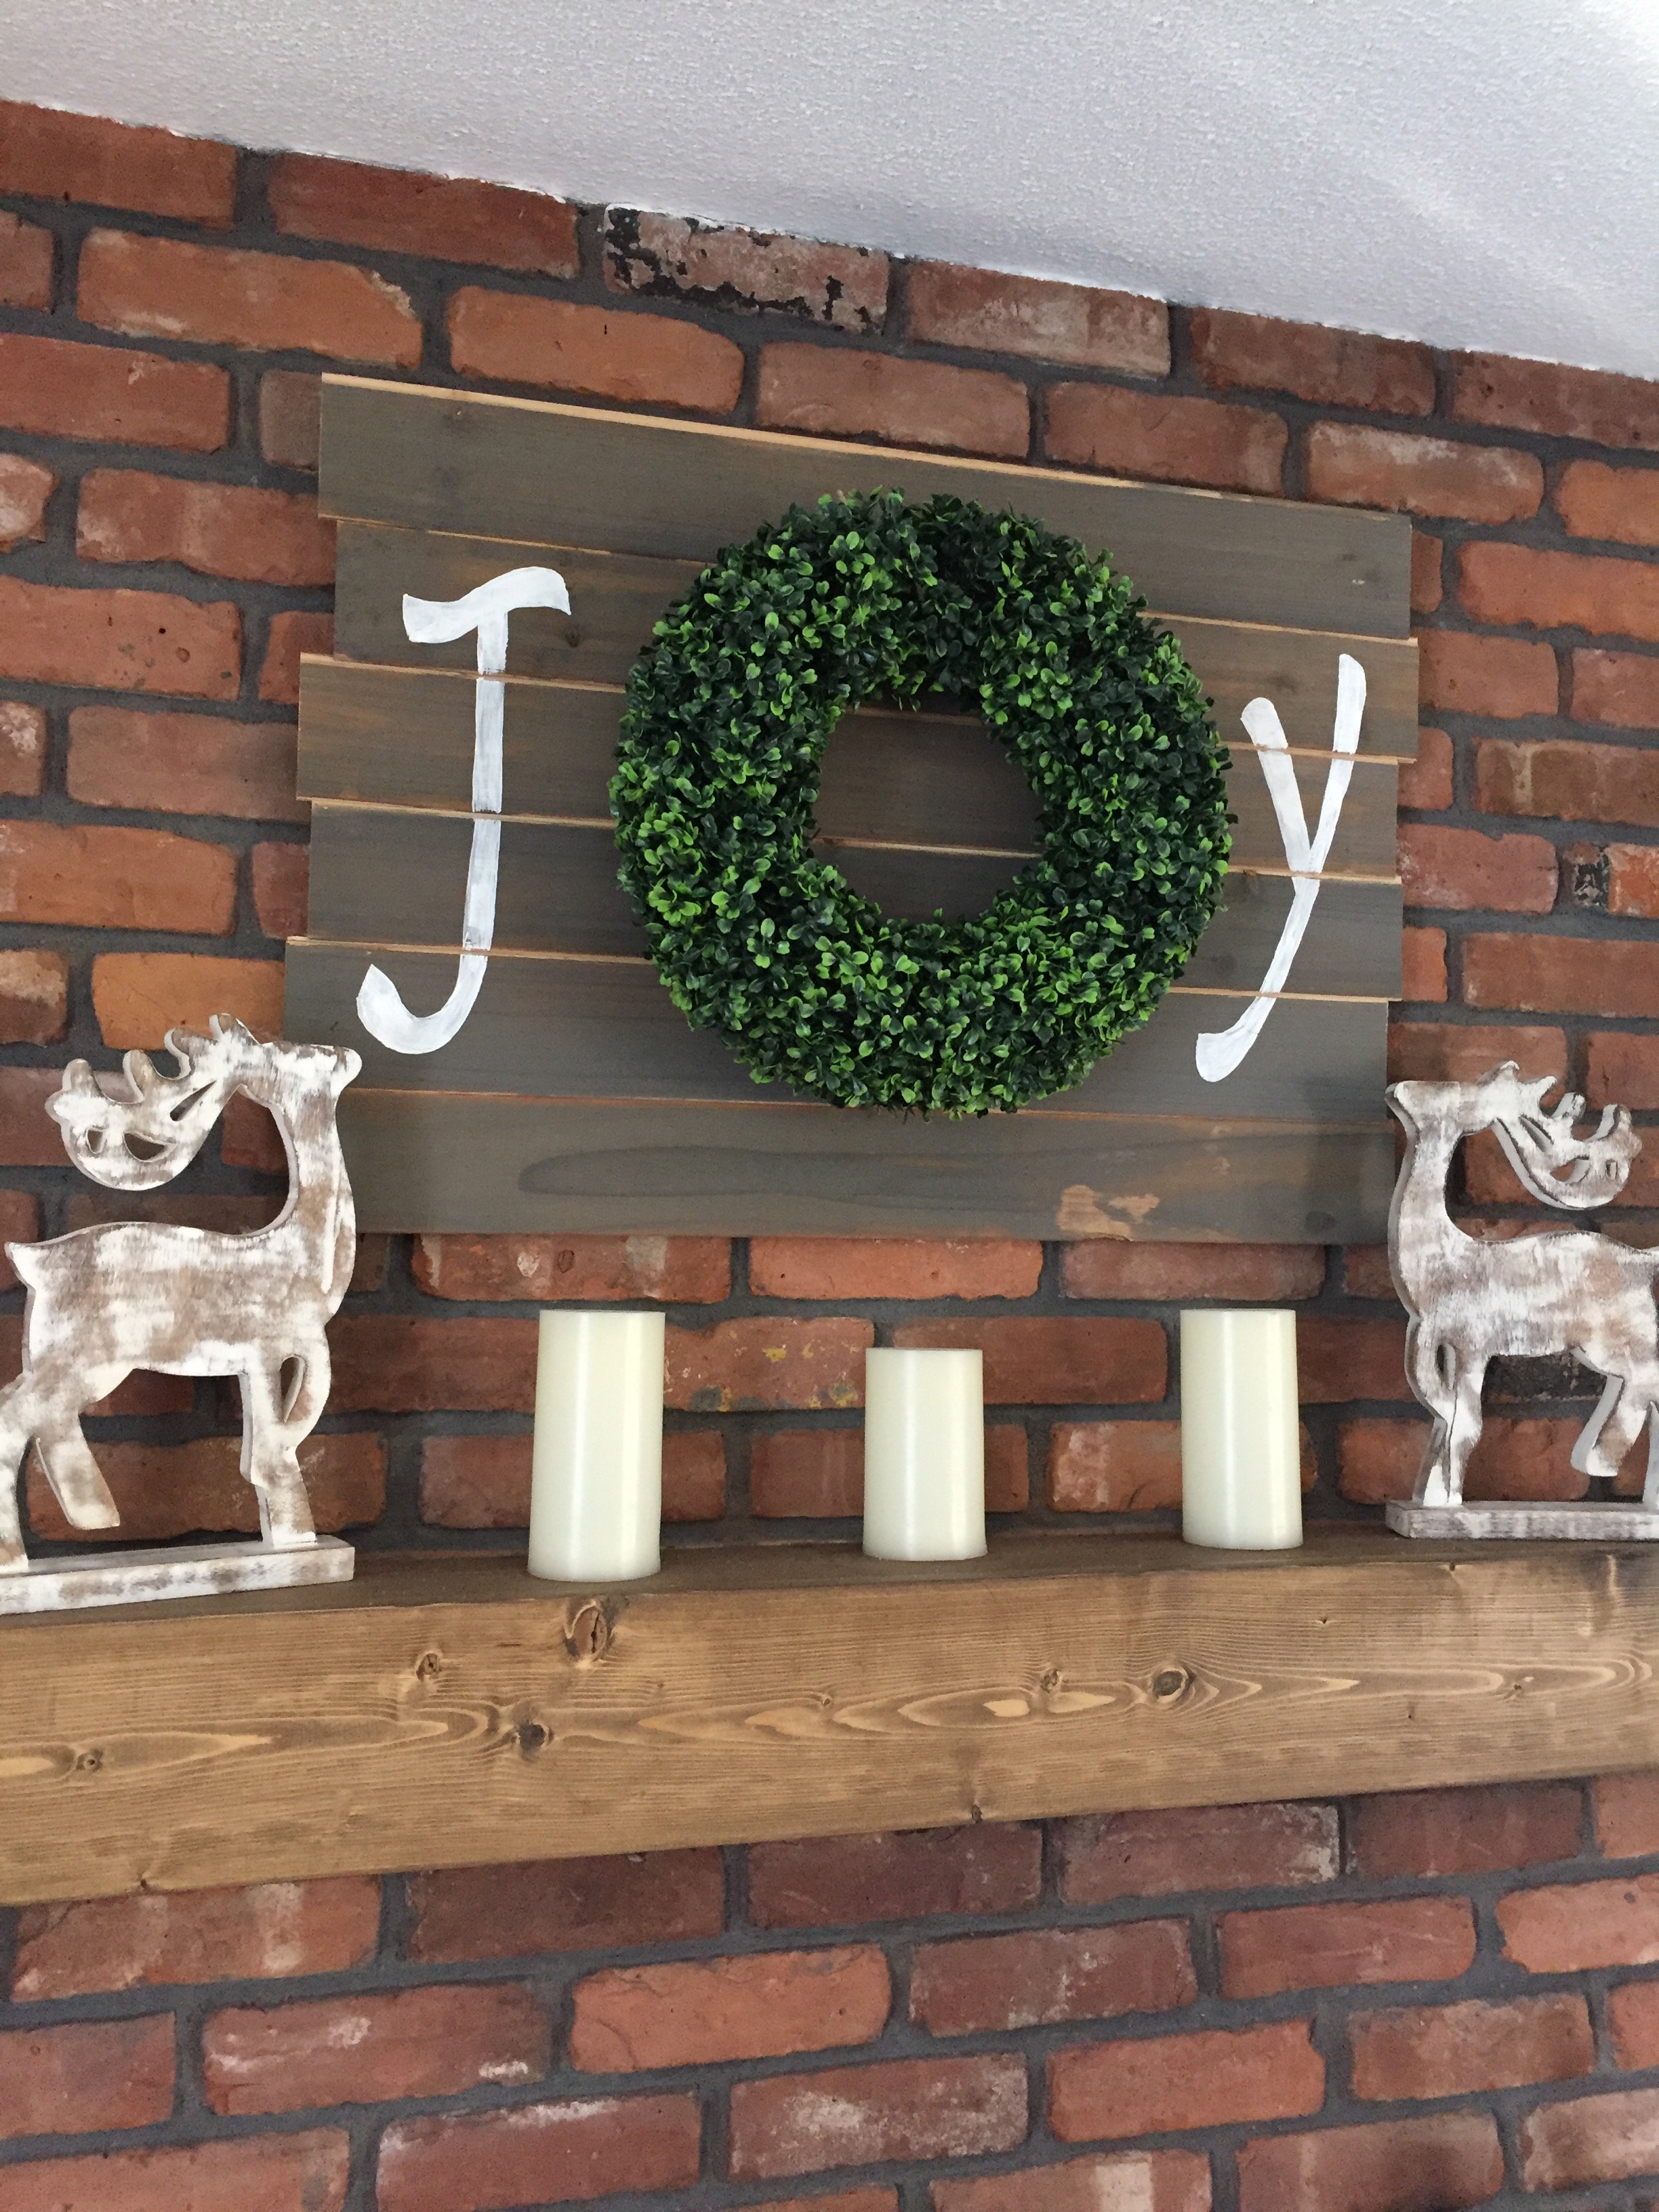
Had some leftover v groove planks from building a plank wall in son's room, so decided to make Ana White's cute Joy sign. Had trouble finding a boxwood wreath that I liked, so ordered one from Home Depot. It came in only 2 days. Super simple and super cute.
Built from Plan(s)
Estimated Cost
$20.00 for wreath.
Estimated Time Investment
An Hour or Two (0-2 Hours)
Finish Used
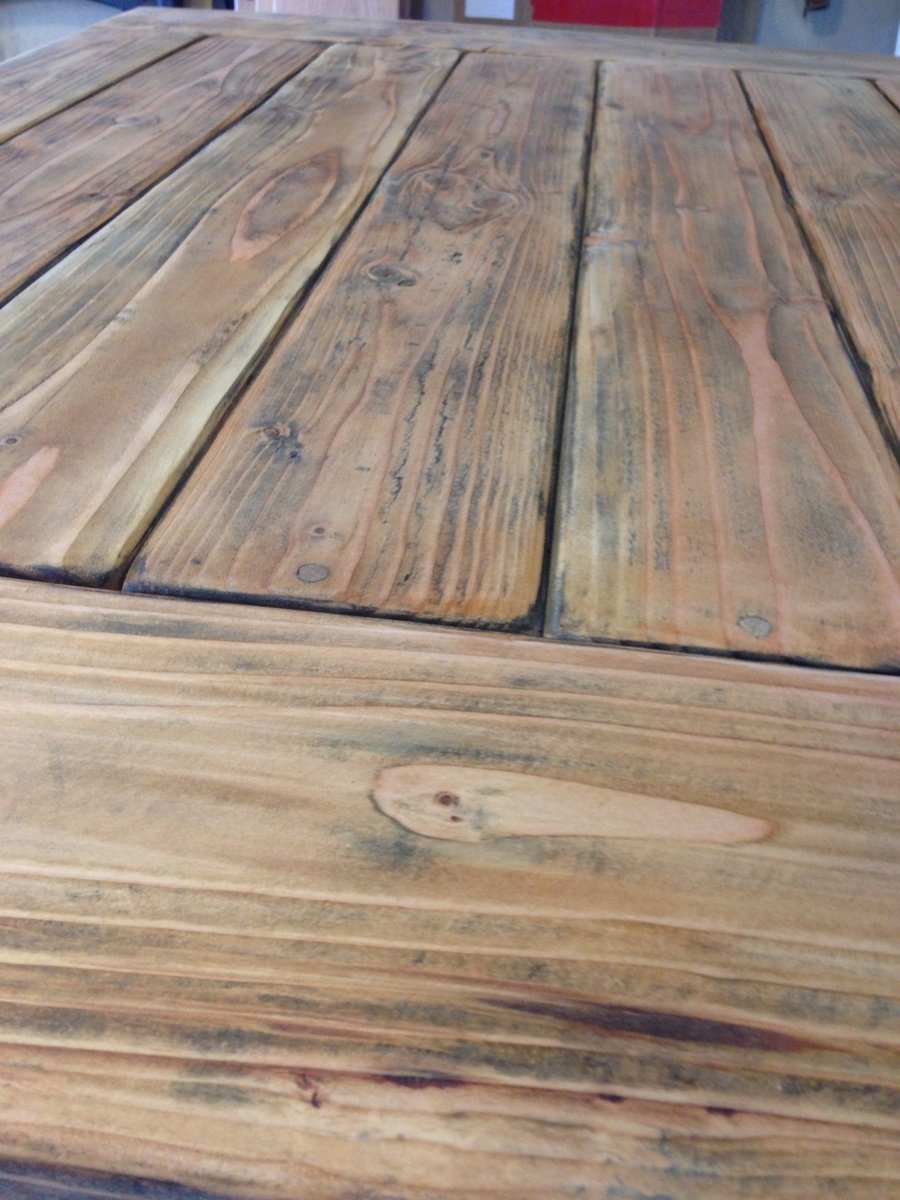
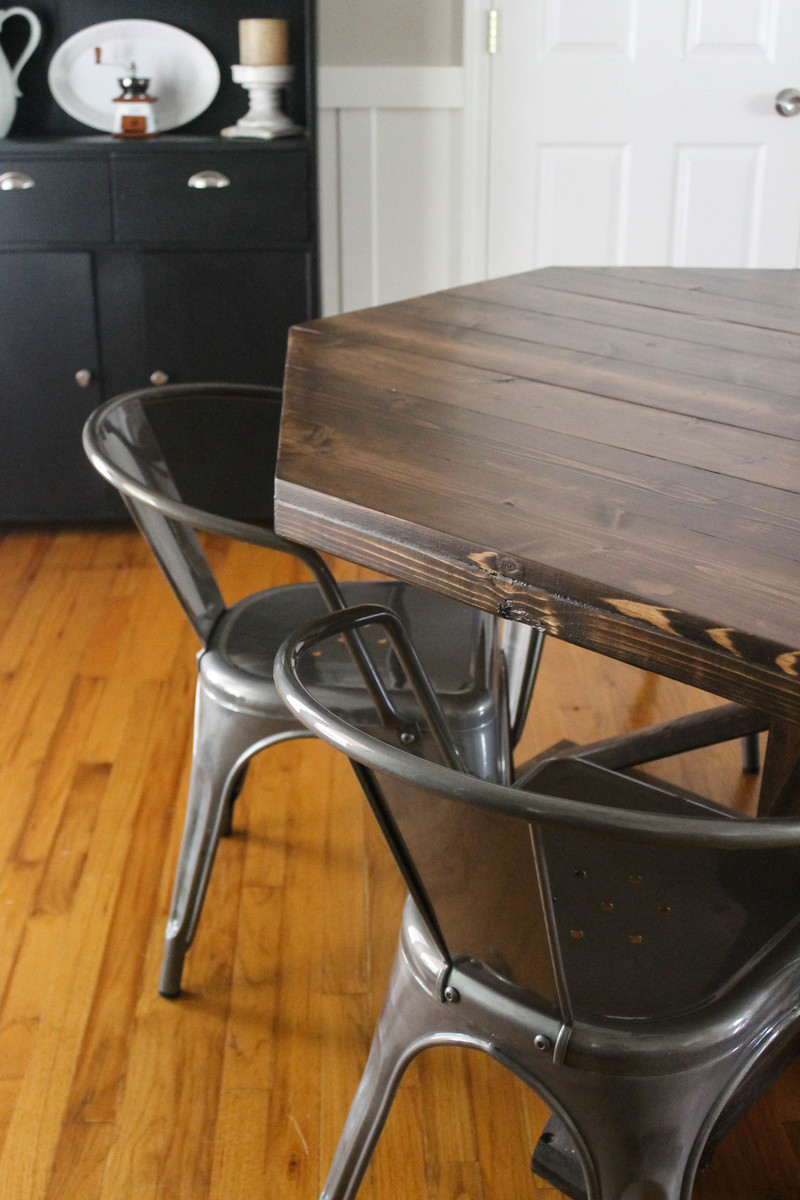
I used iron acetate on planks, sanded lightly, then finished with weathered grey stain over it. Used scraps of wood and liquid nails to attach boards together.
Recommended Skill Level
Starter Project


Comments
Ana White
Mon, 11/18/2019 - 12:34
This is gorgeous! Thanks so…
This is gorgeous! Thanks so much for sending in a photo!