Bailey Console Table
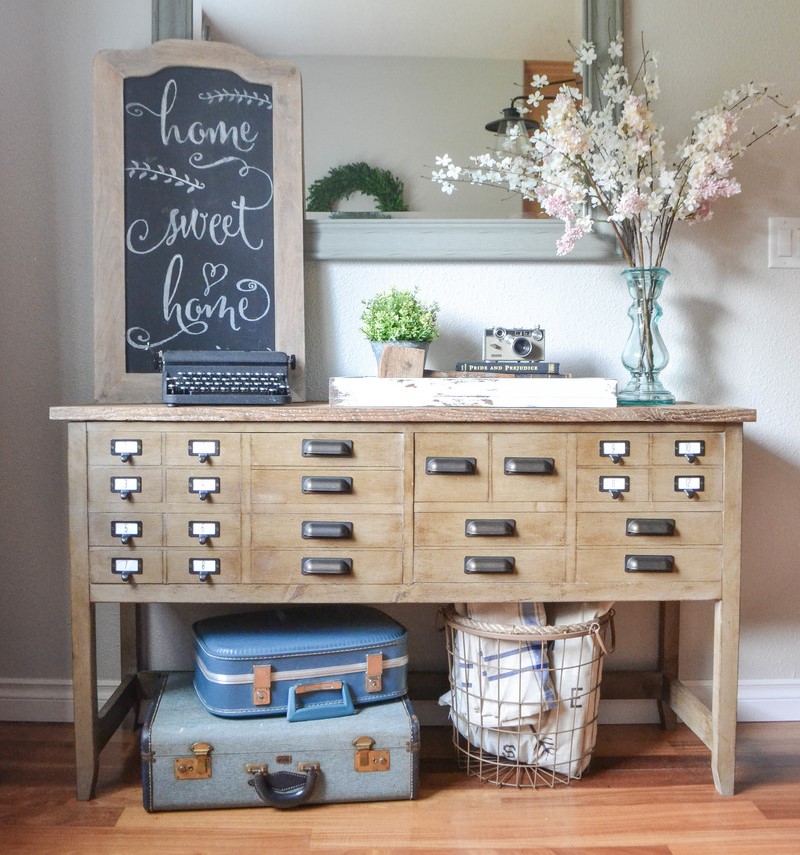
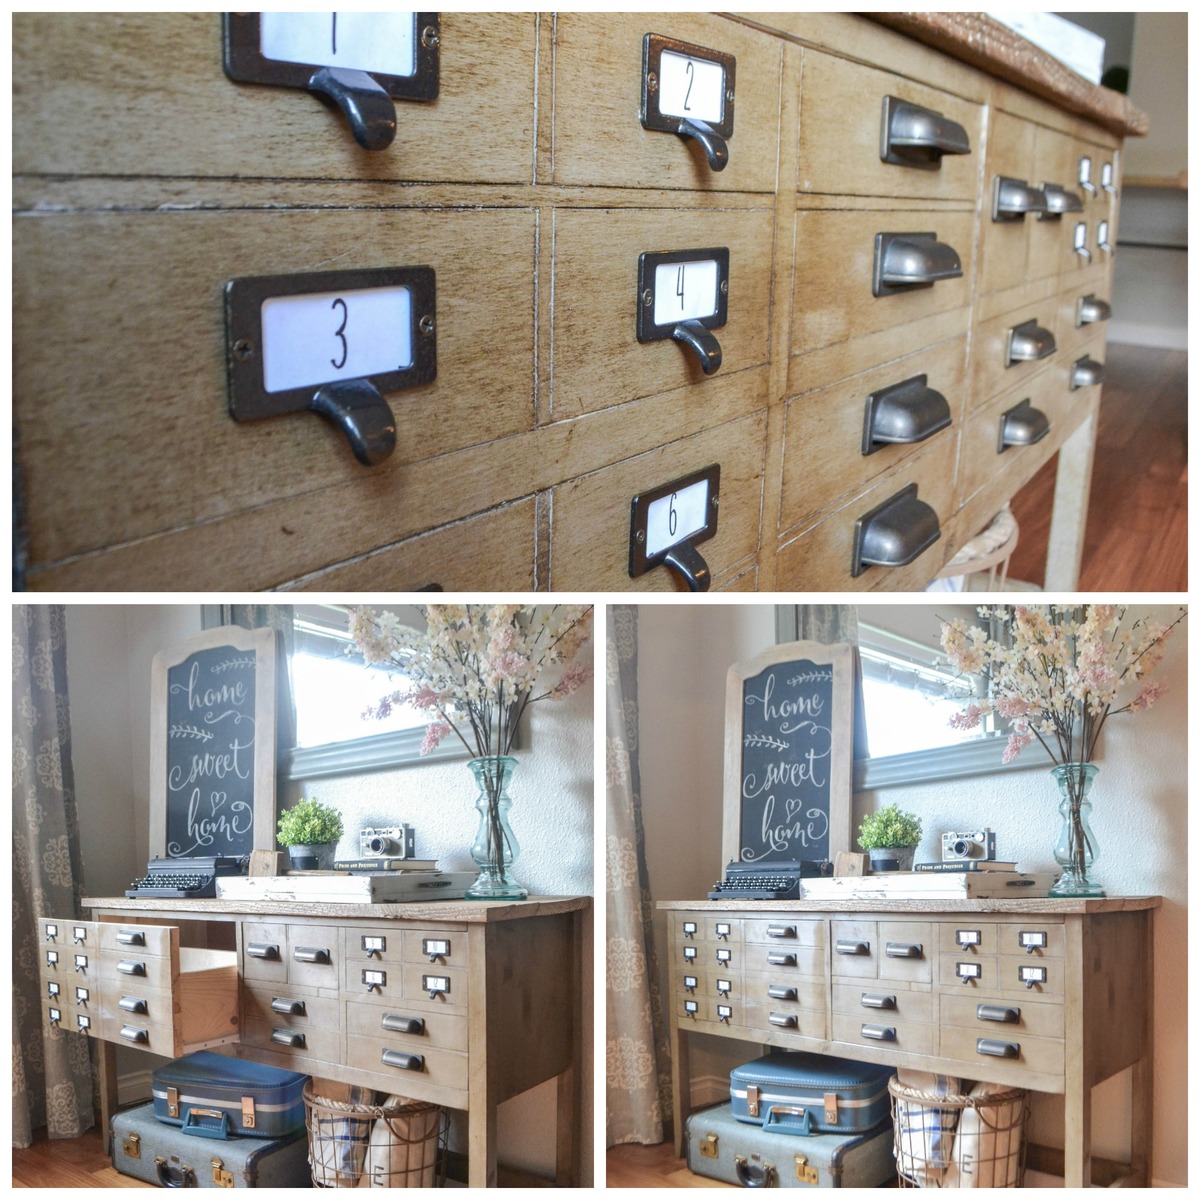


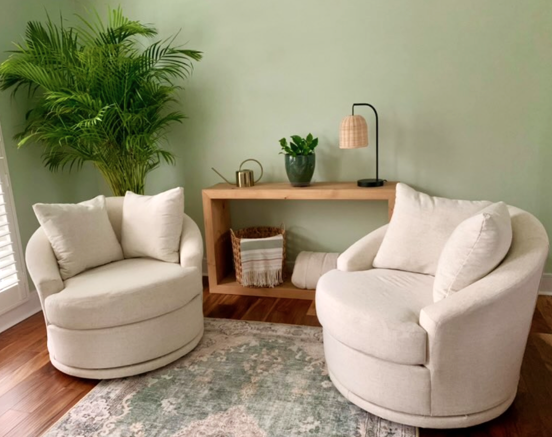
Gorgeous waterfall framed wood console by Jessica!
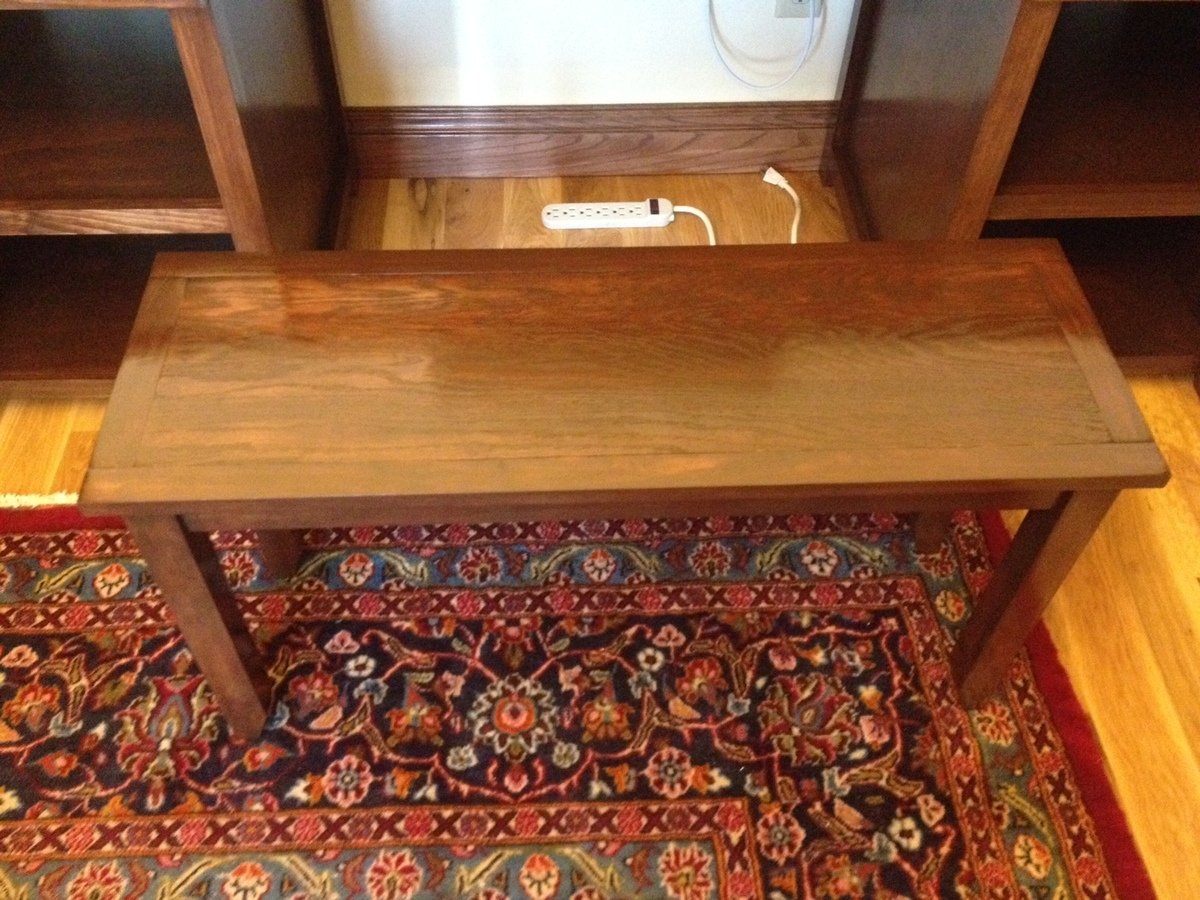
After building the computer desk from Shanty@Chic's design. We decided to make a simple bench that matches. It is about 36" long (which is long), but we wanted both kids to be able to sit in front of the computer at the same time.
Cost was low except more Minwax stain and a 1"x3" for the trim on the bottom. Most was built from scraps desk material and we have a ton of extra wood we saved from the trim carpenter when we built our house last year.
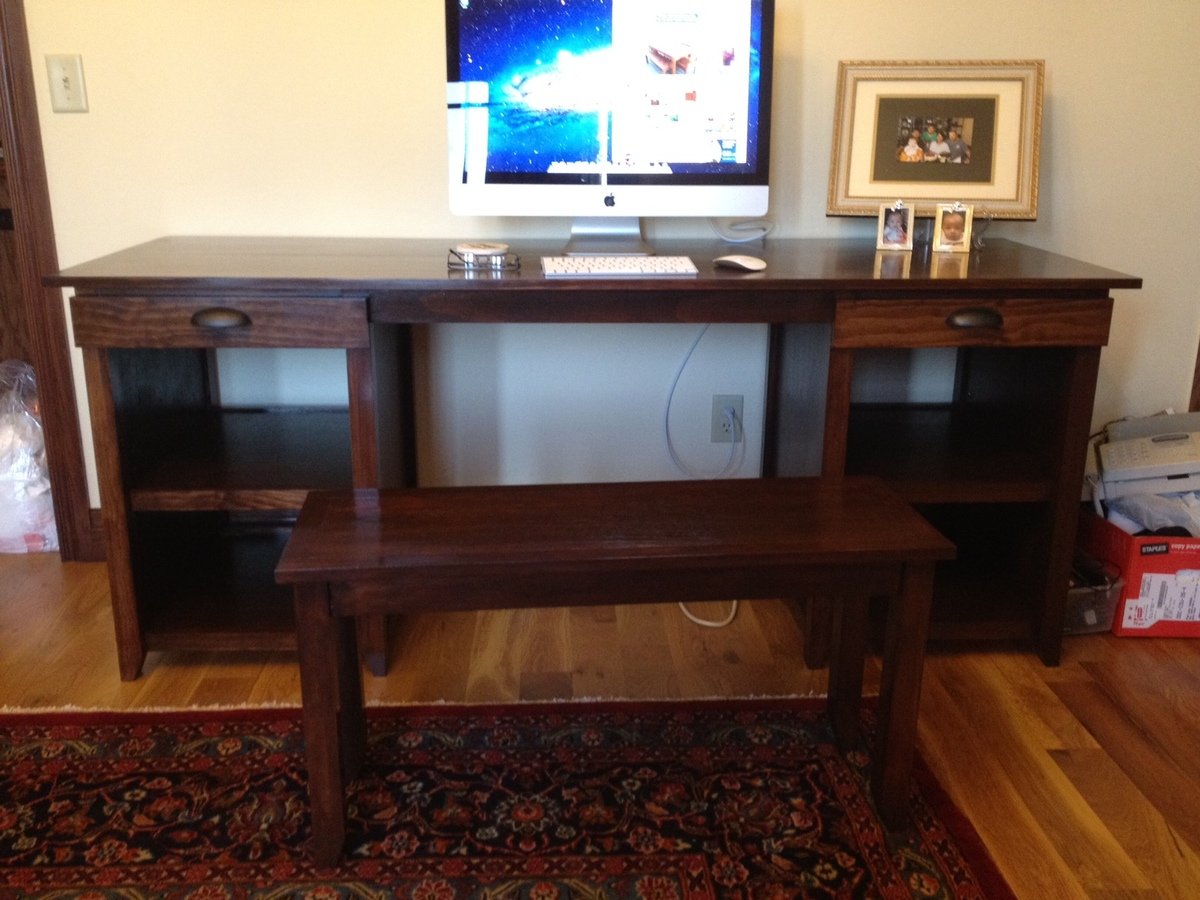
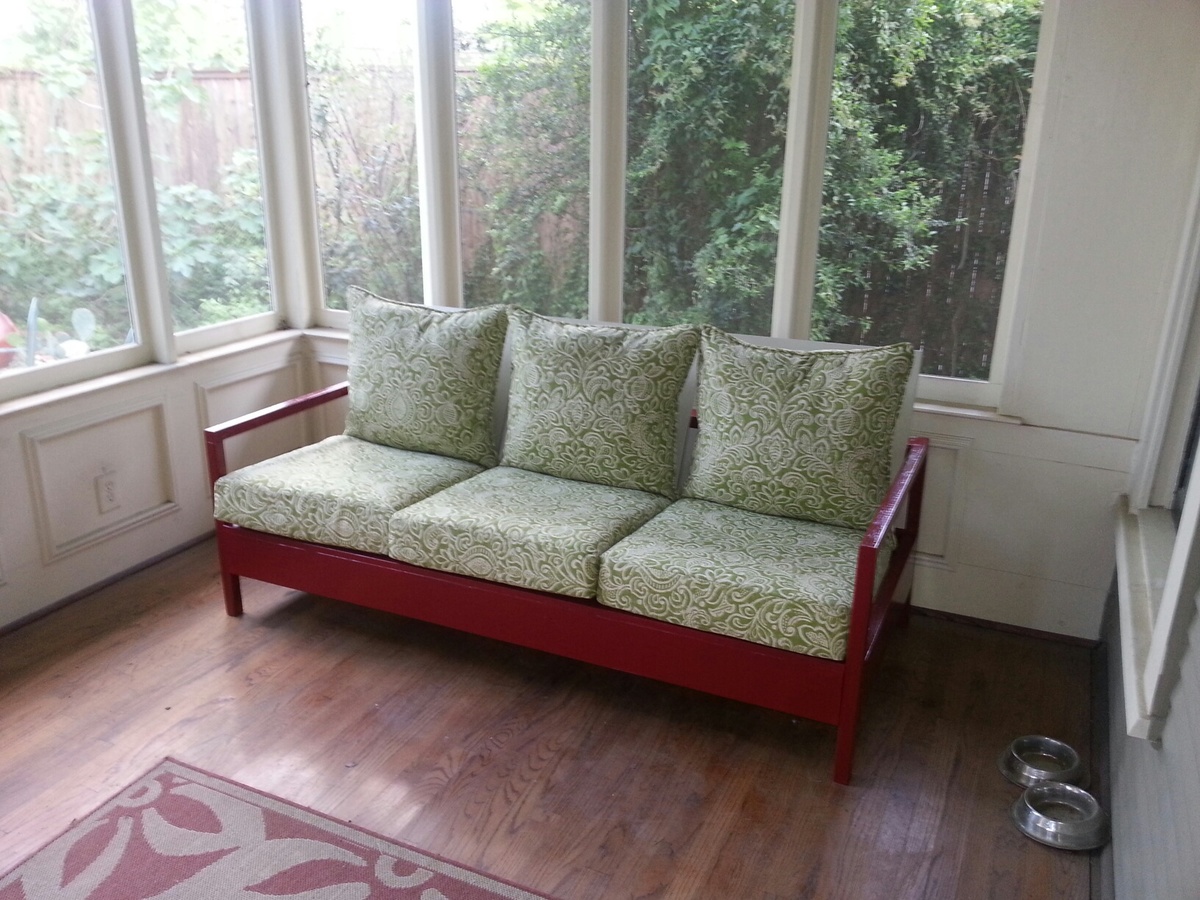
This is my first project using a Kreg Jig. Went together in about half the time of previous projects. I love it. Thanks for sharing the plans!
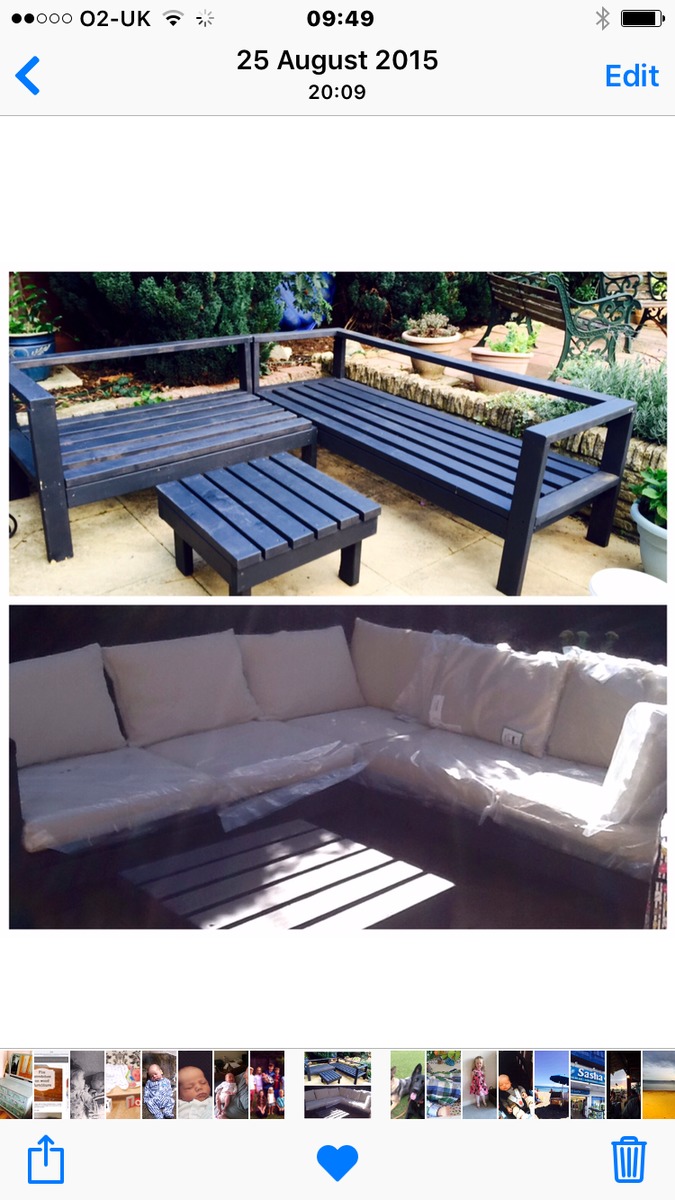
Hi. I'm I the uk. I saw your video on how to make this sofa. I showed my hubby. He said ( you'll never be able to do that). Red flag to a bull. Ha ha. I. So proud of myself. It was really easy your plans are very easy to follow . I bought the cushions from ikea . Just one problem . The gray British weather. Rain Rain and more rain. I'm looking into something to protect the feet from the wet.
Stephanie Harvey. Age 61
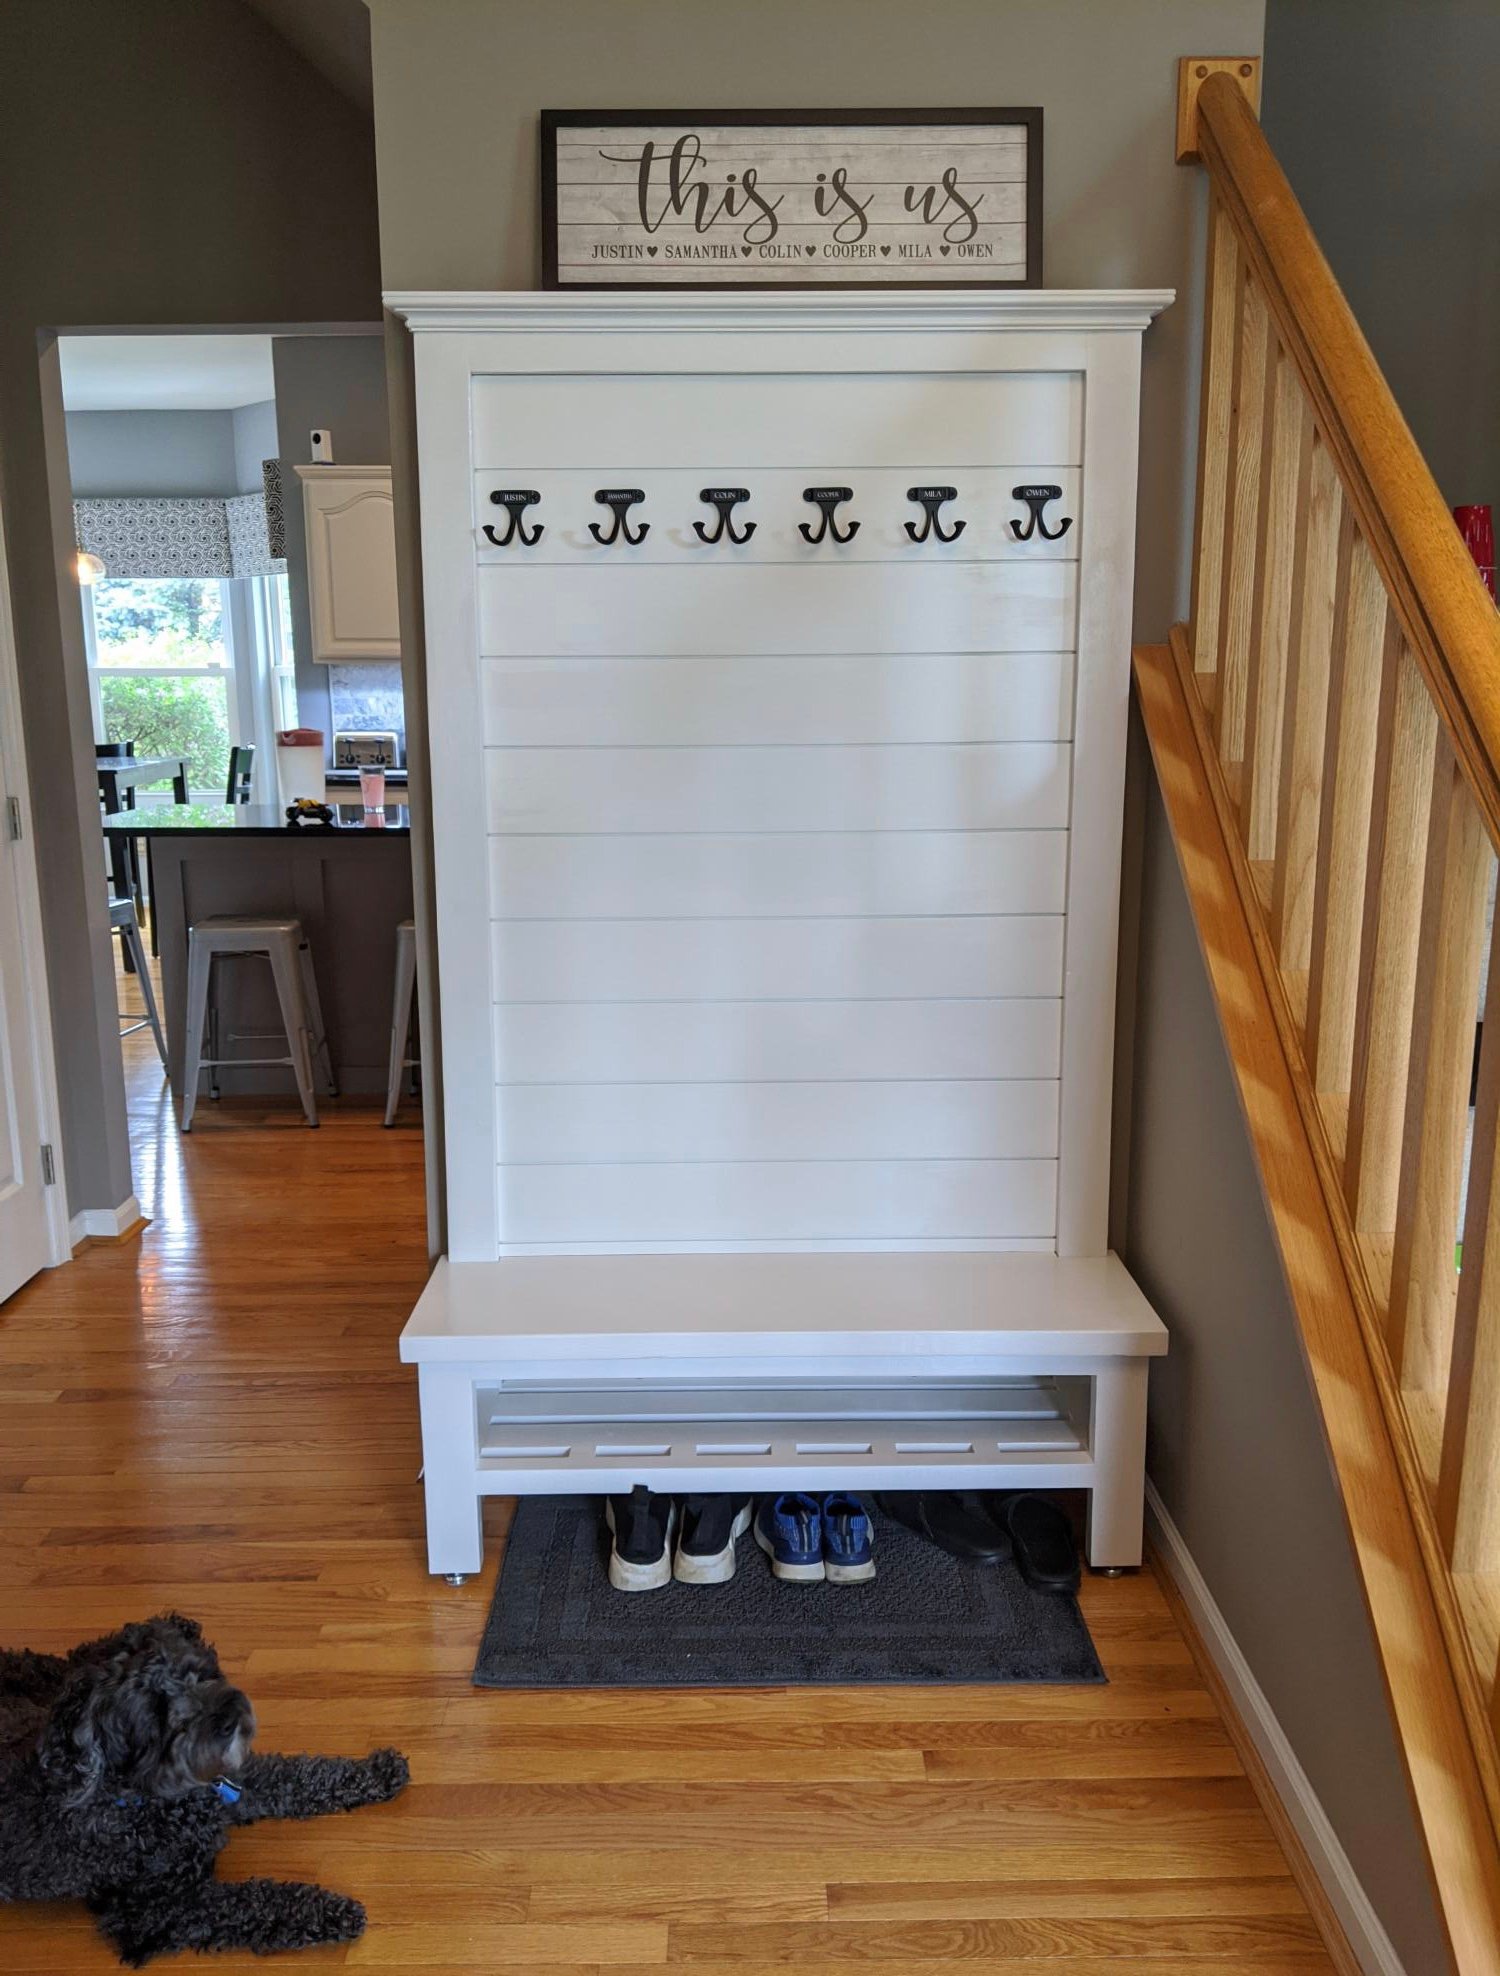
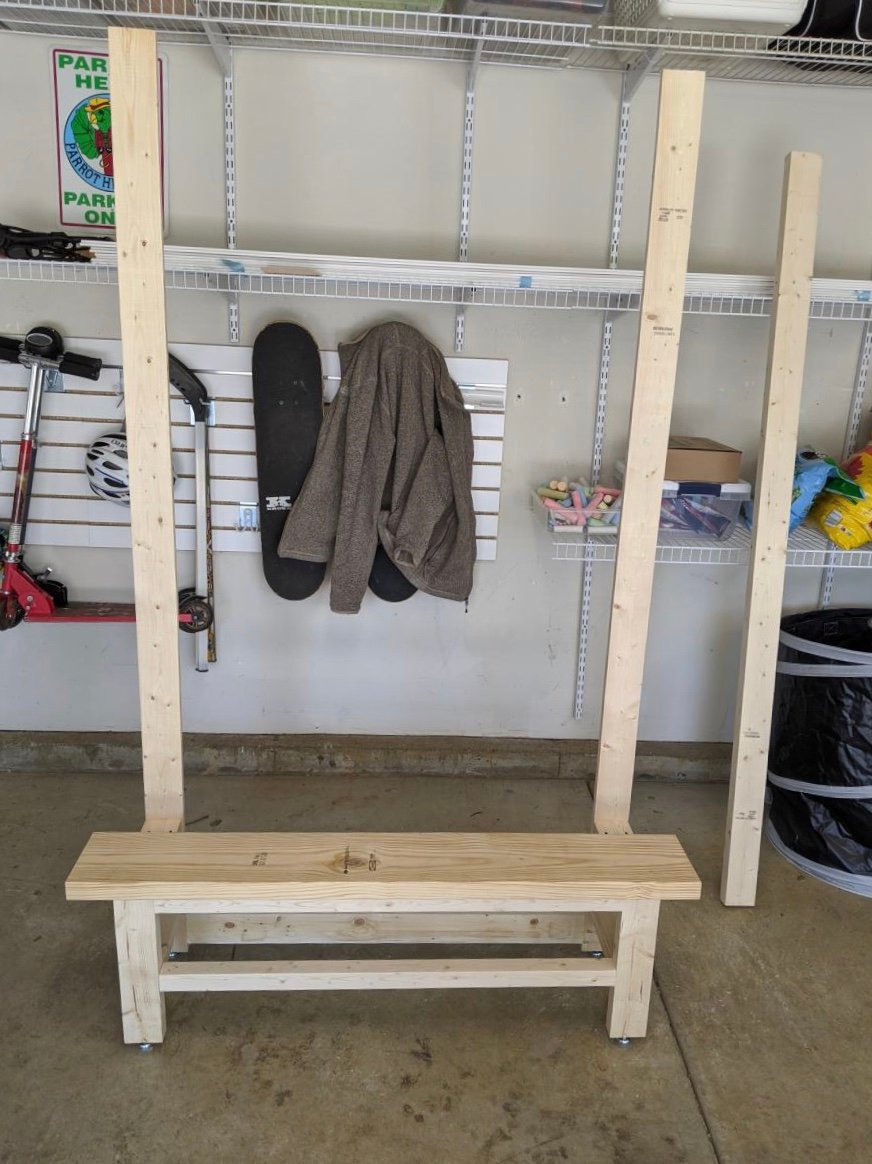
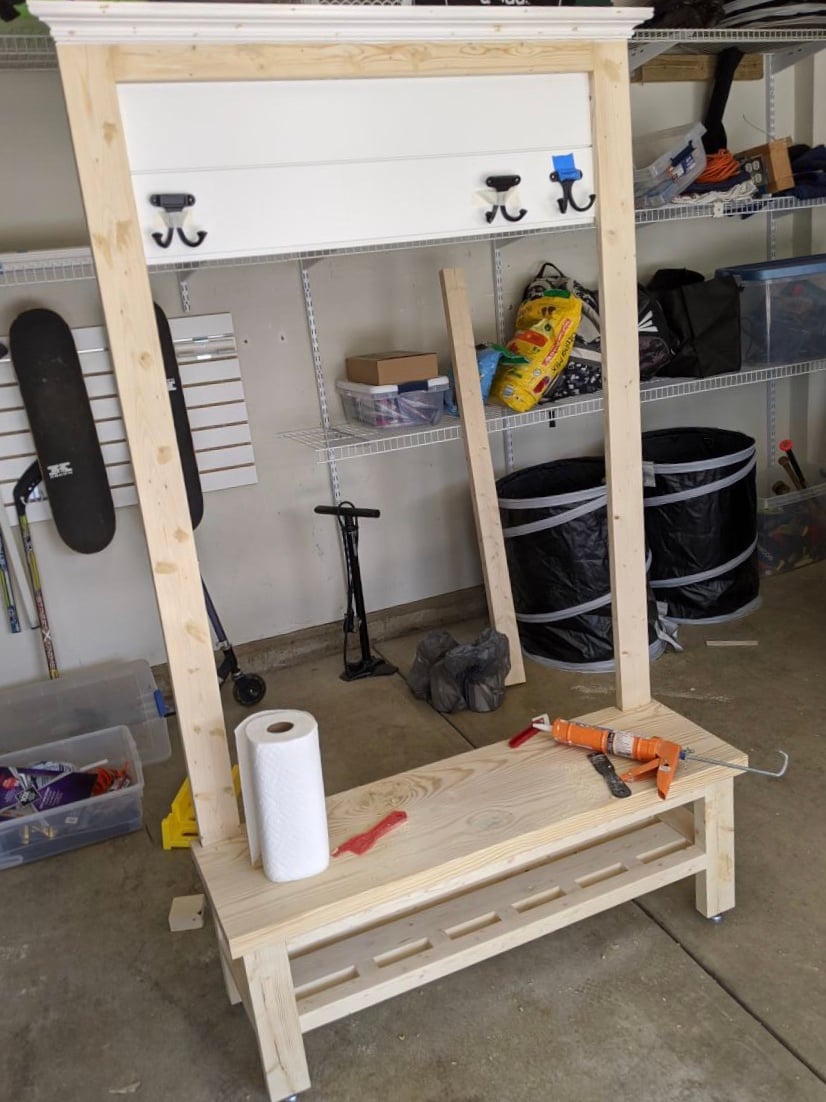
This is a great design! I made a few changes to suit our needs: 1. Raised the shoe shelf so shoes can also be kept on the floor 2. Added a few spacer blocks on the shoe shelf to prevent the 1x1 from spinning since there's only enough room for one pocket screw per side. 3. Cut a rabbet in the back of the tall 2x4s to accept the tongue and groove shiplap 4. Used tongue and groove shiplap (pre-painted white from Lowes) 5. Topped with crown molding 6. 6 hooks so everyone has their own hook (although I can see this getting very crowded in the winter) The wife loves it and got me a lot of brownie points right around Mother's Day!
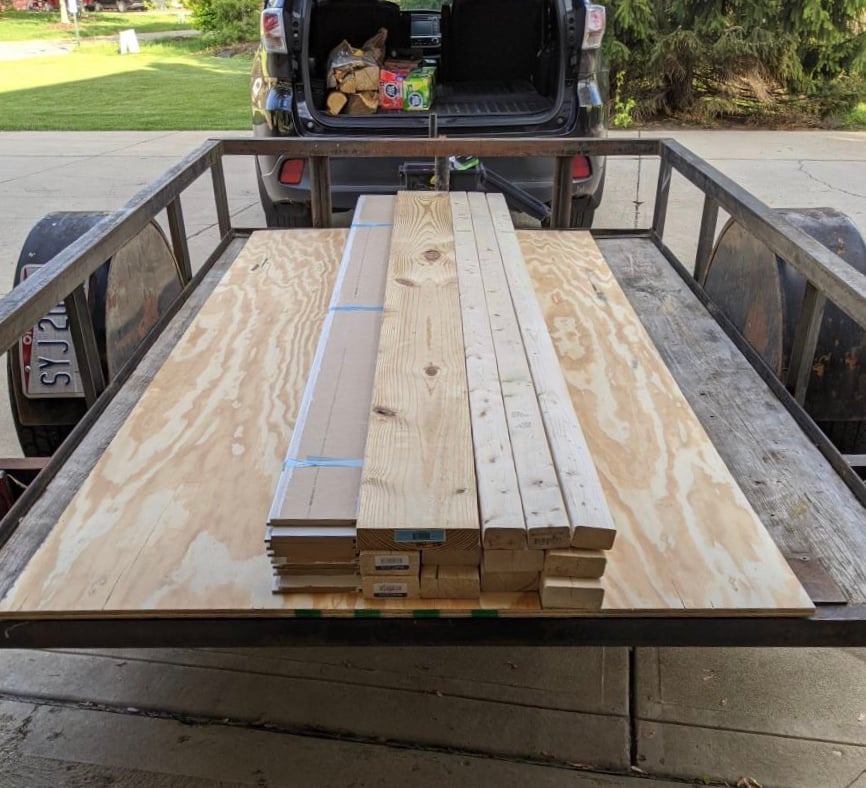
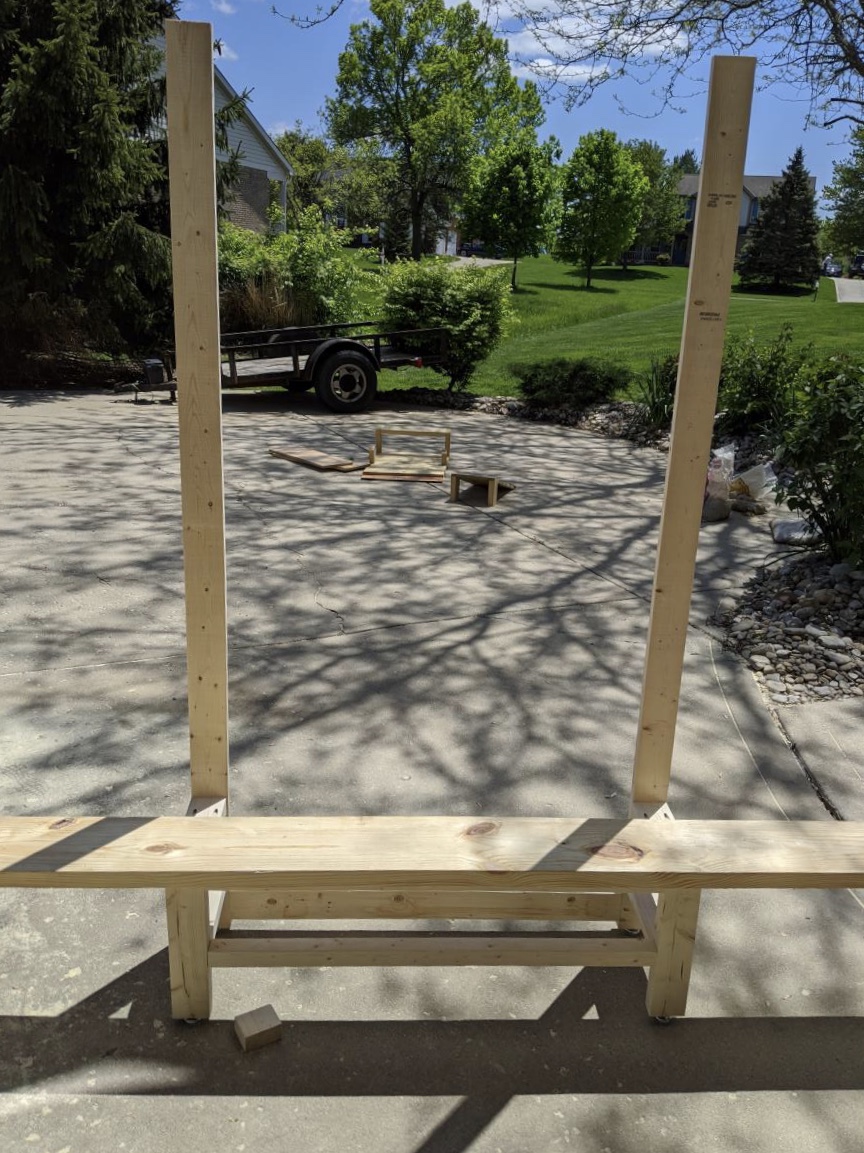
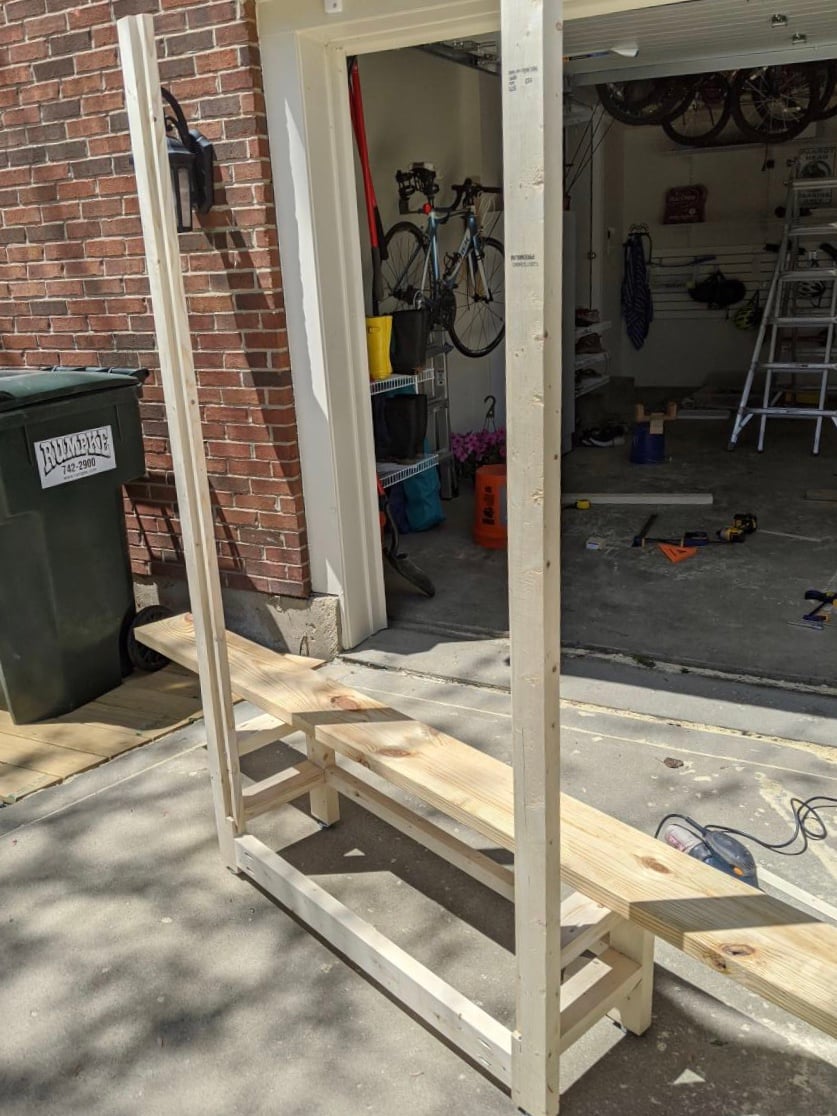
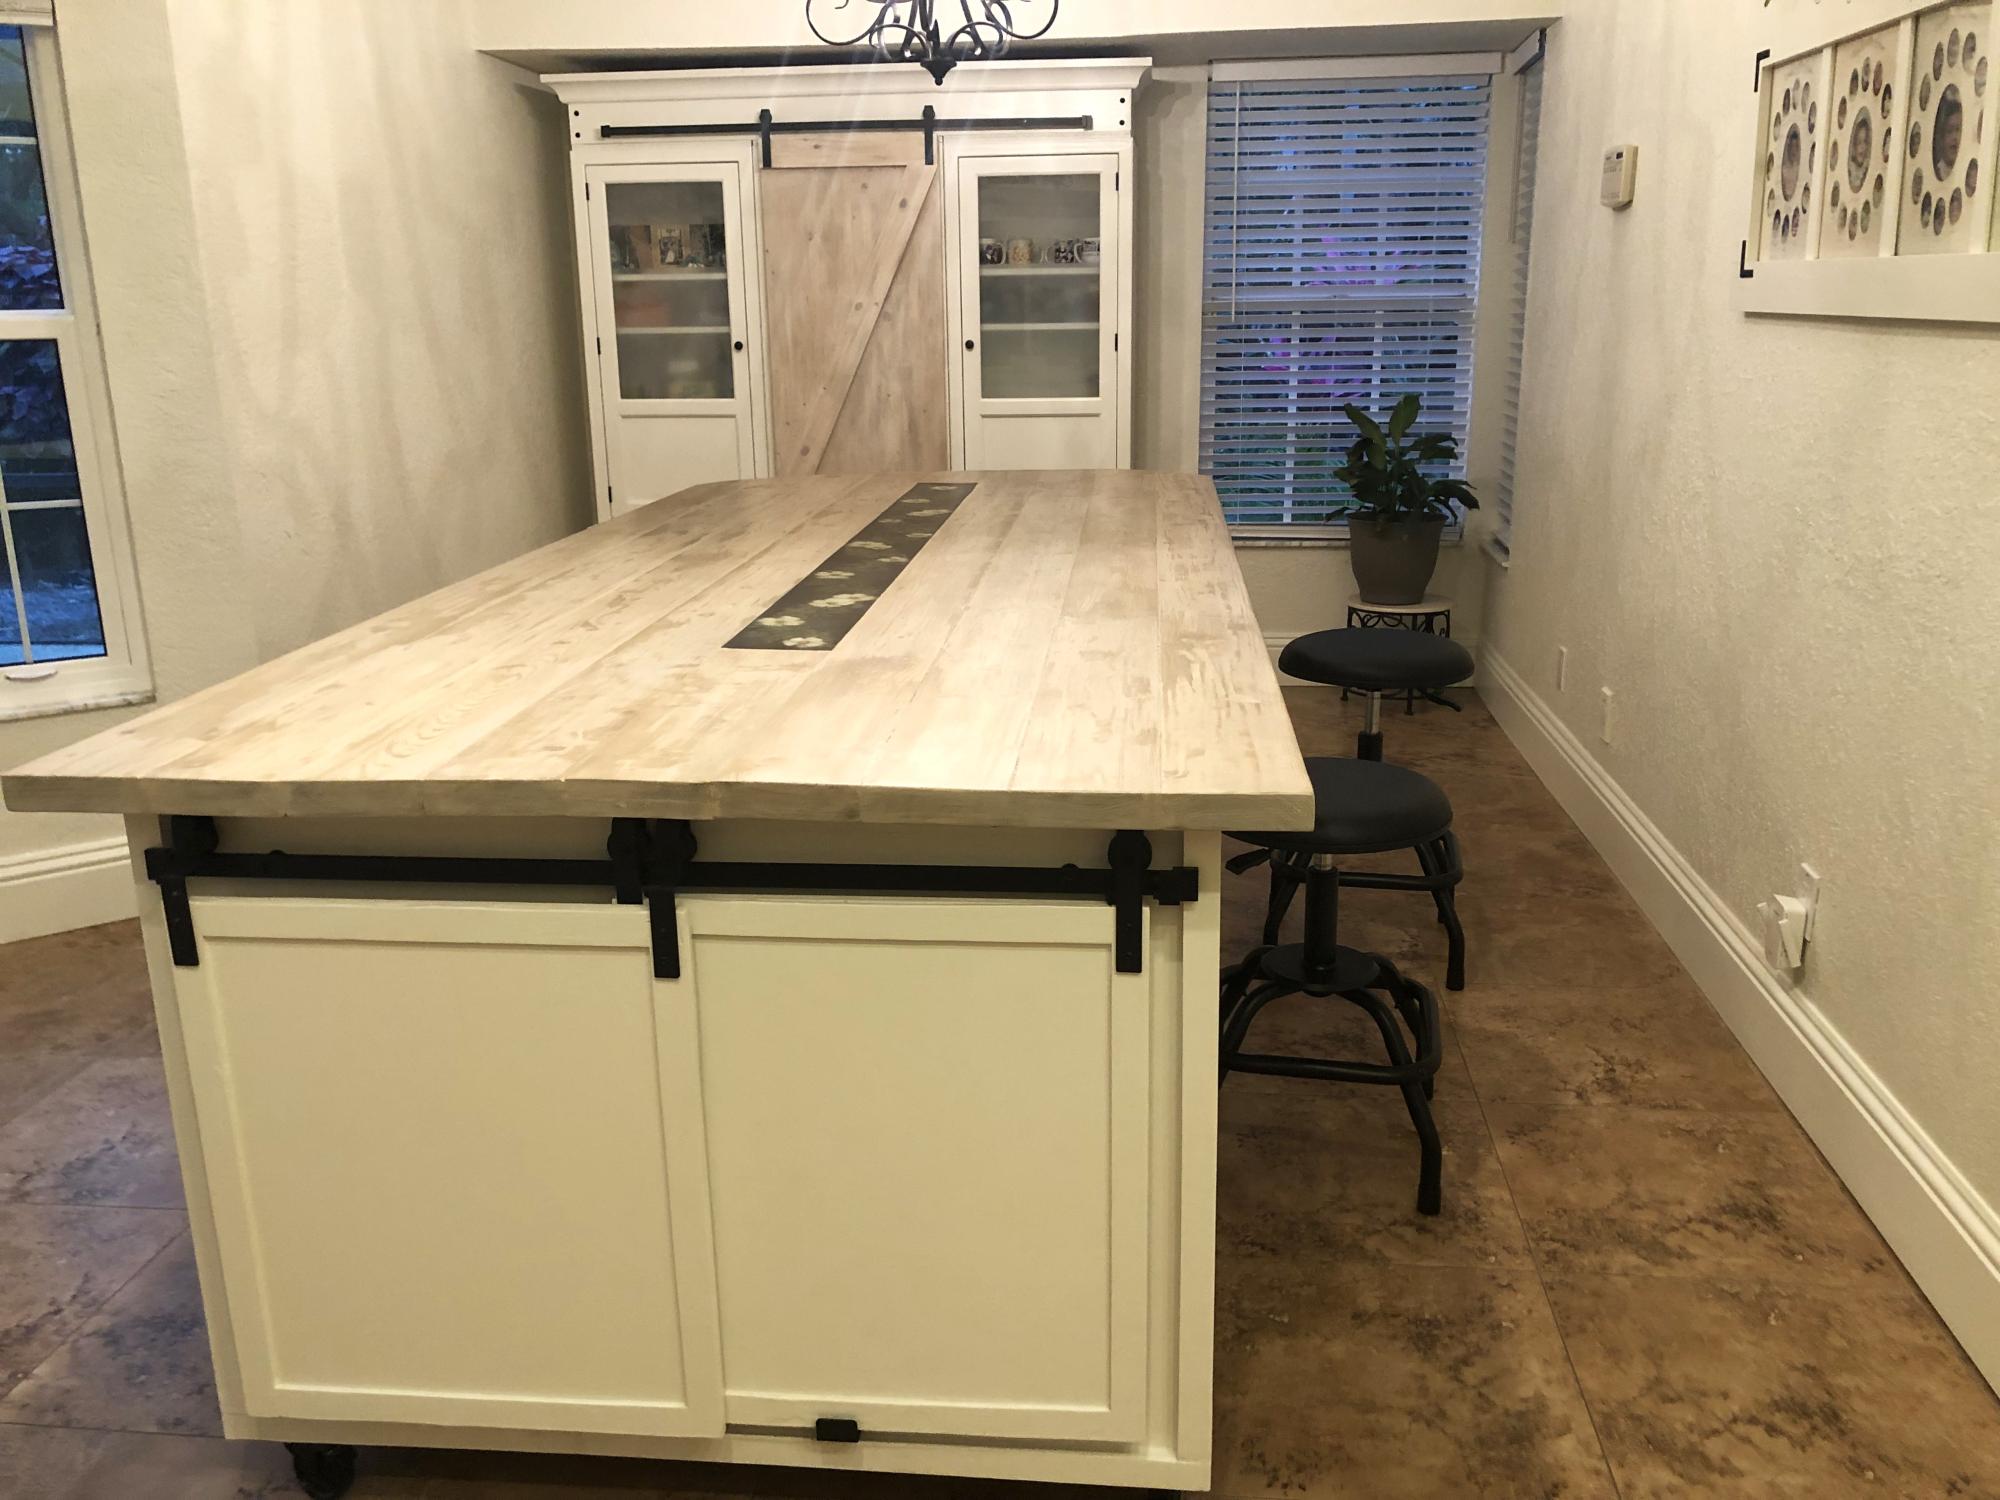
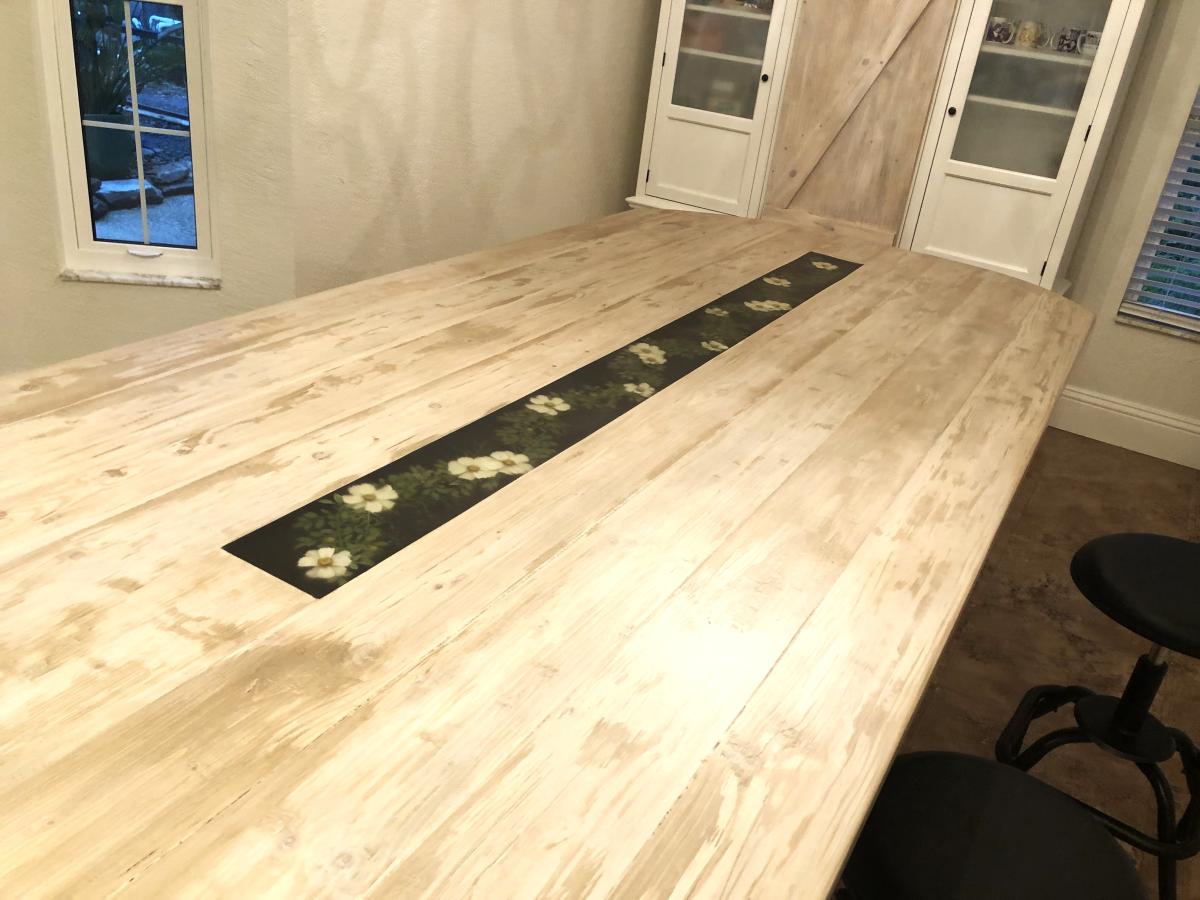
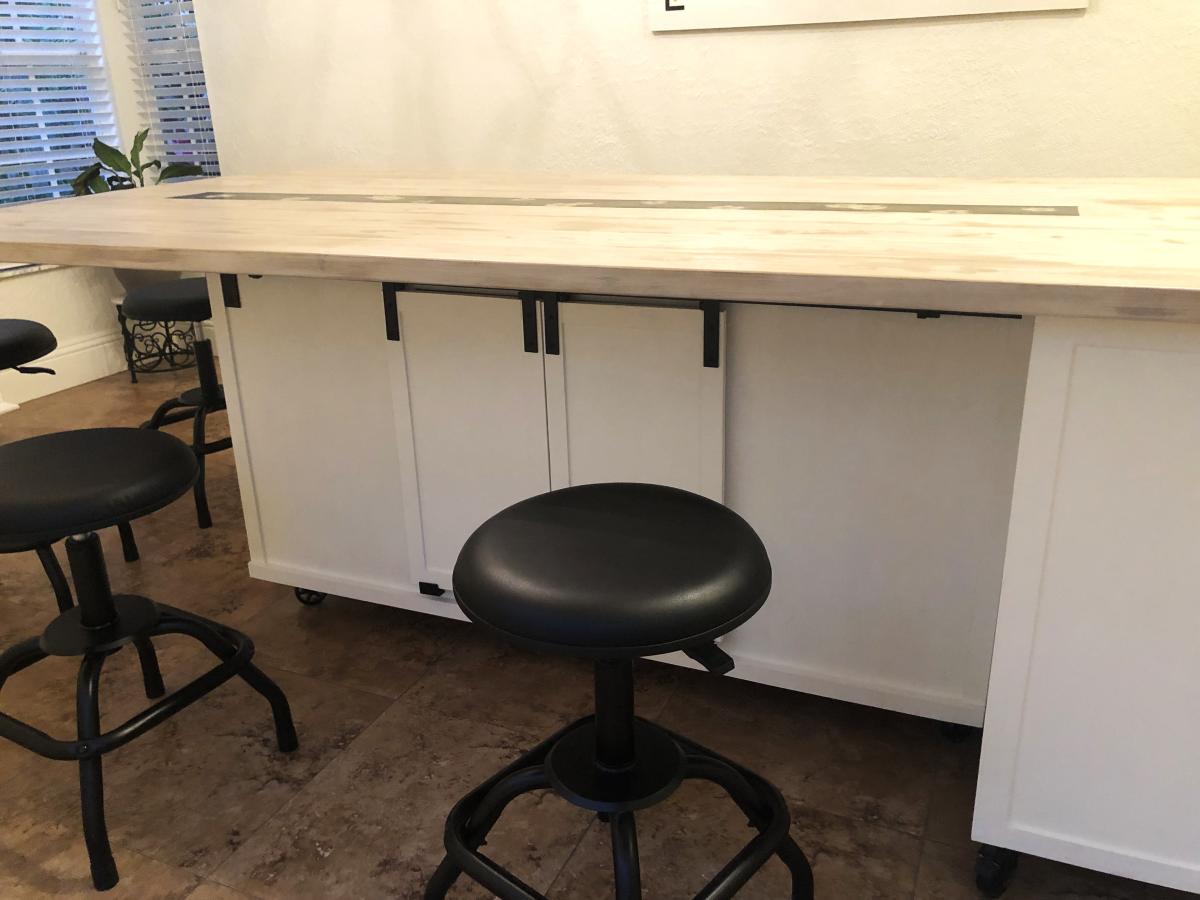
So I made a 4ft and a 6ft put them on casters joined them like a “T” shape, it is a moveable kitchen island dining table! The top has epoxy in the middle with flowers to give it some pop! Everyone loves it that comes over! Thanks for all your ideas on your site; it was my inspiration!!!

Taking the top of solar footlights & glued them to the top of a painted lamp cover then add the fishing line to hang & presto chango! You now have a hanging solar lantern for under $7!

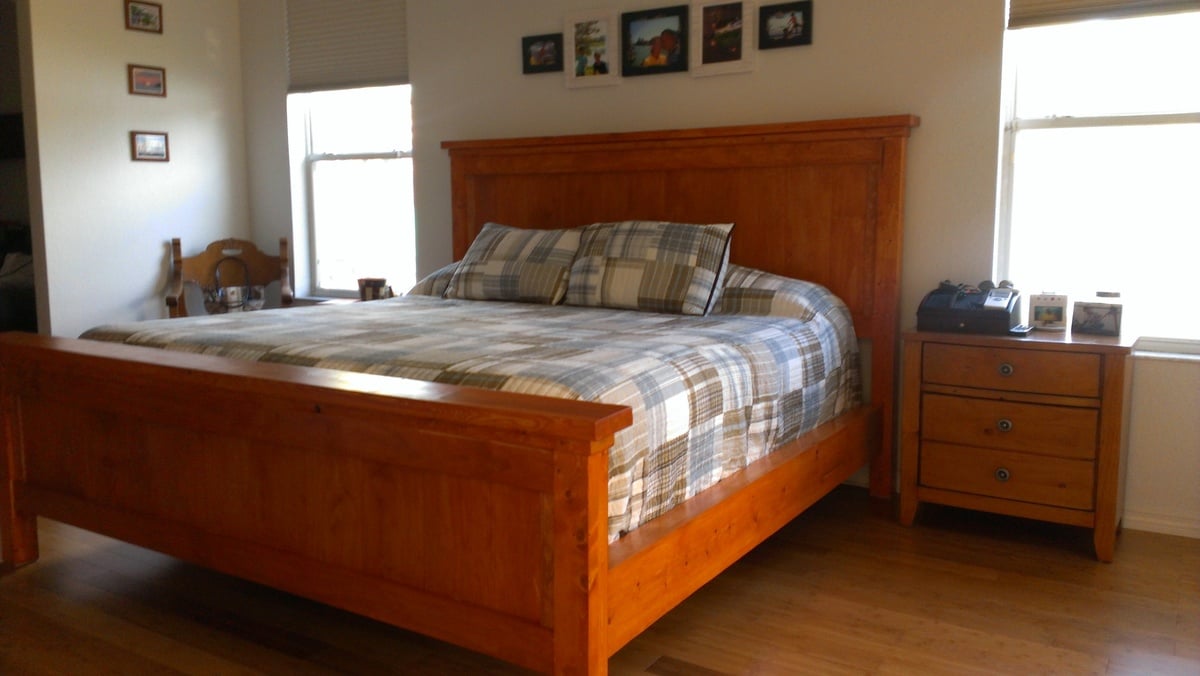
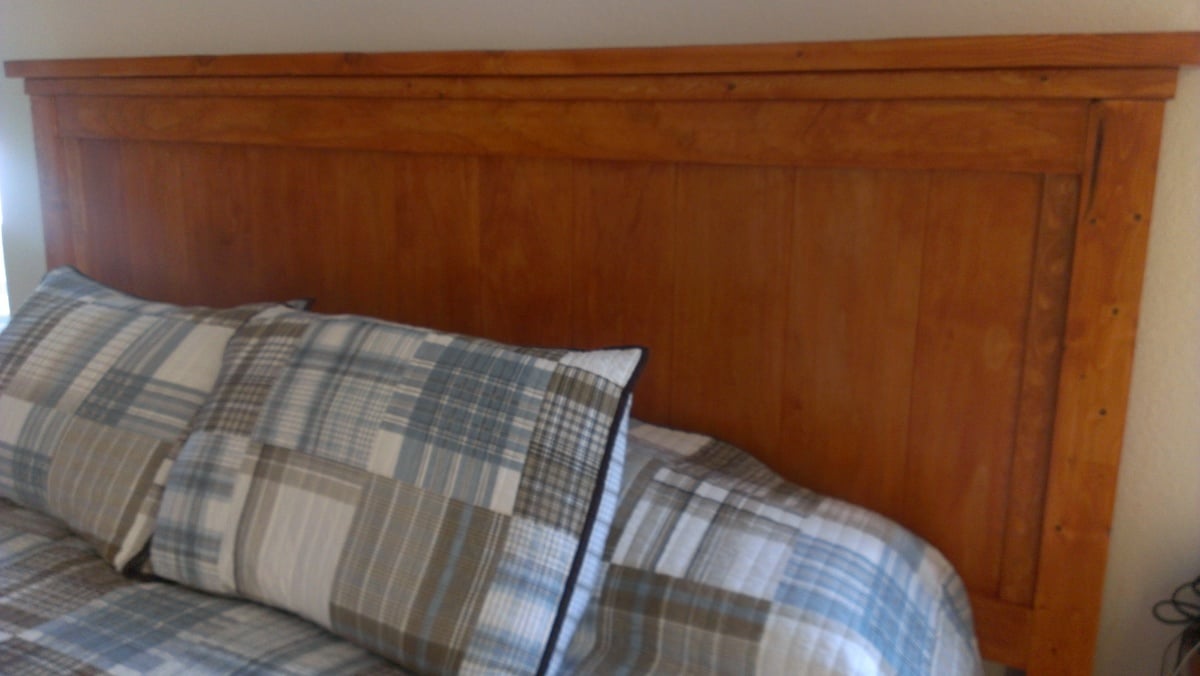
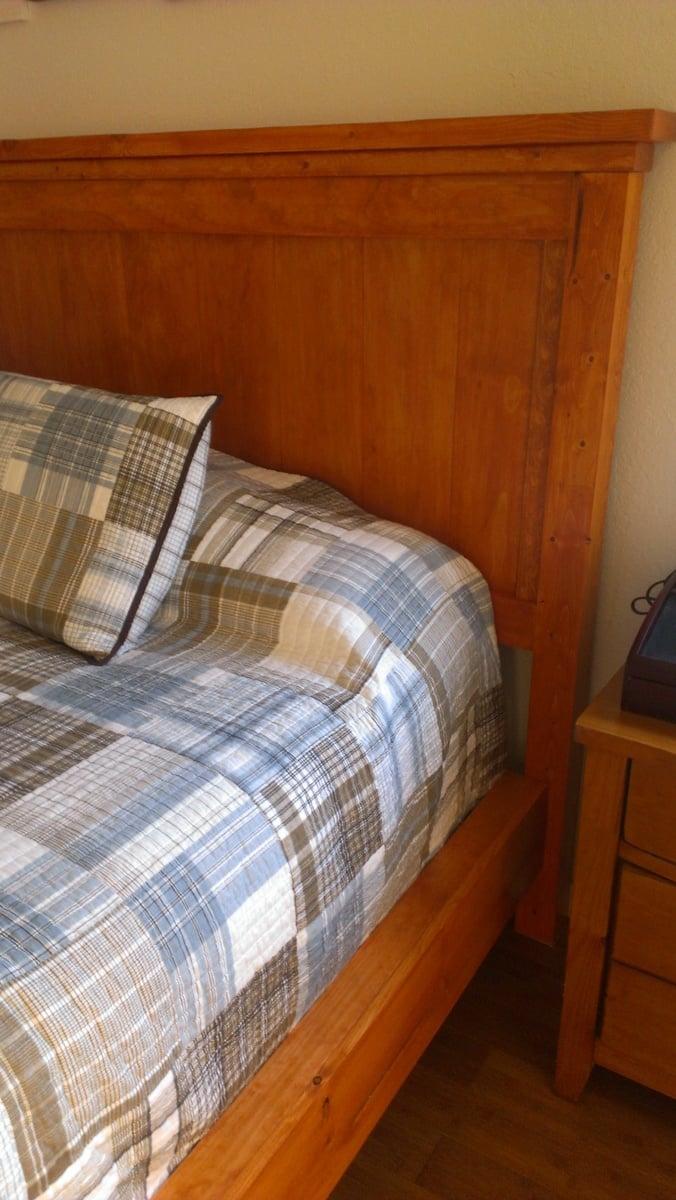
King size Farm House Bed. Project took about 30 hours of work (1-3 hours per night). Built with White Board and Pine woods. Pine was used for the head and foot boards slats. We made the mistake of making our bed head board and foot boards 6 inches too wide (mental brain fart). So our options where to scrap or figure something out. After some thought we decided to place a step on the running boards using a 1X3 (pine). The effect was stunning. Also added "vine" vertically to the end of both foot and head board, it looks better in person (you'll have to zoom into image). We took care in sanding all boards, staining using Wood preconditioner, then Minwax Colonial Maple, and then Semi-Gloss Minwax Polyurethane. We love the sturdiness of the bed! as our friends that have seen it have continuously repeat "It's beautiful, this is how furniture used to be made" couldn't agree more!
Fri, 04/25/2014 - 08:45
This is a great bed. I love the idea of a step. It looks professional.
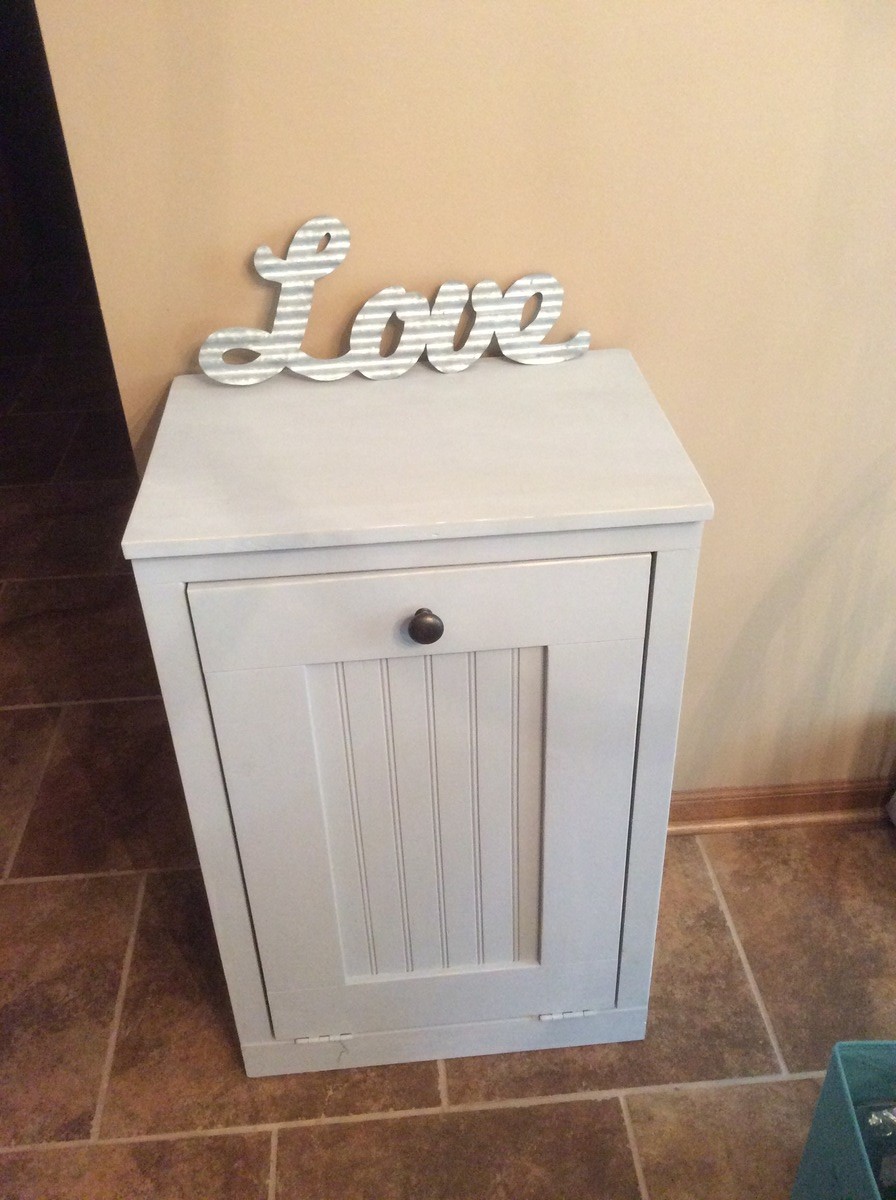
This was my first project. It was really easy! Although next time I will get a trash can first and build around it. I'm having a hard time finding a trash can that will fit.
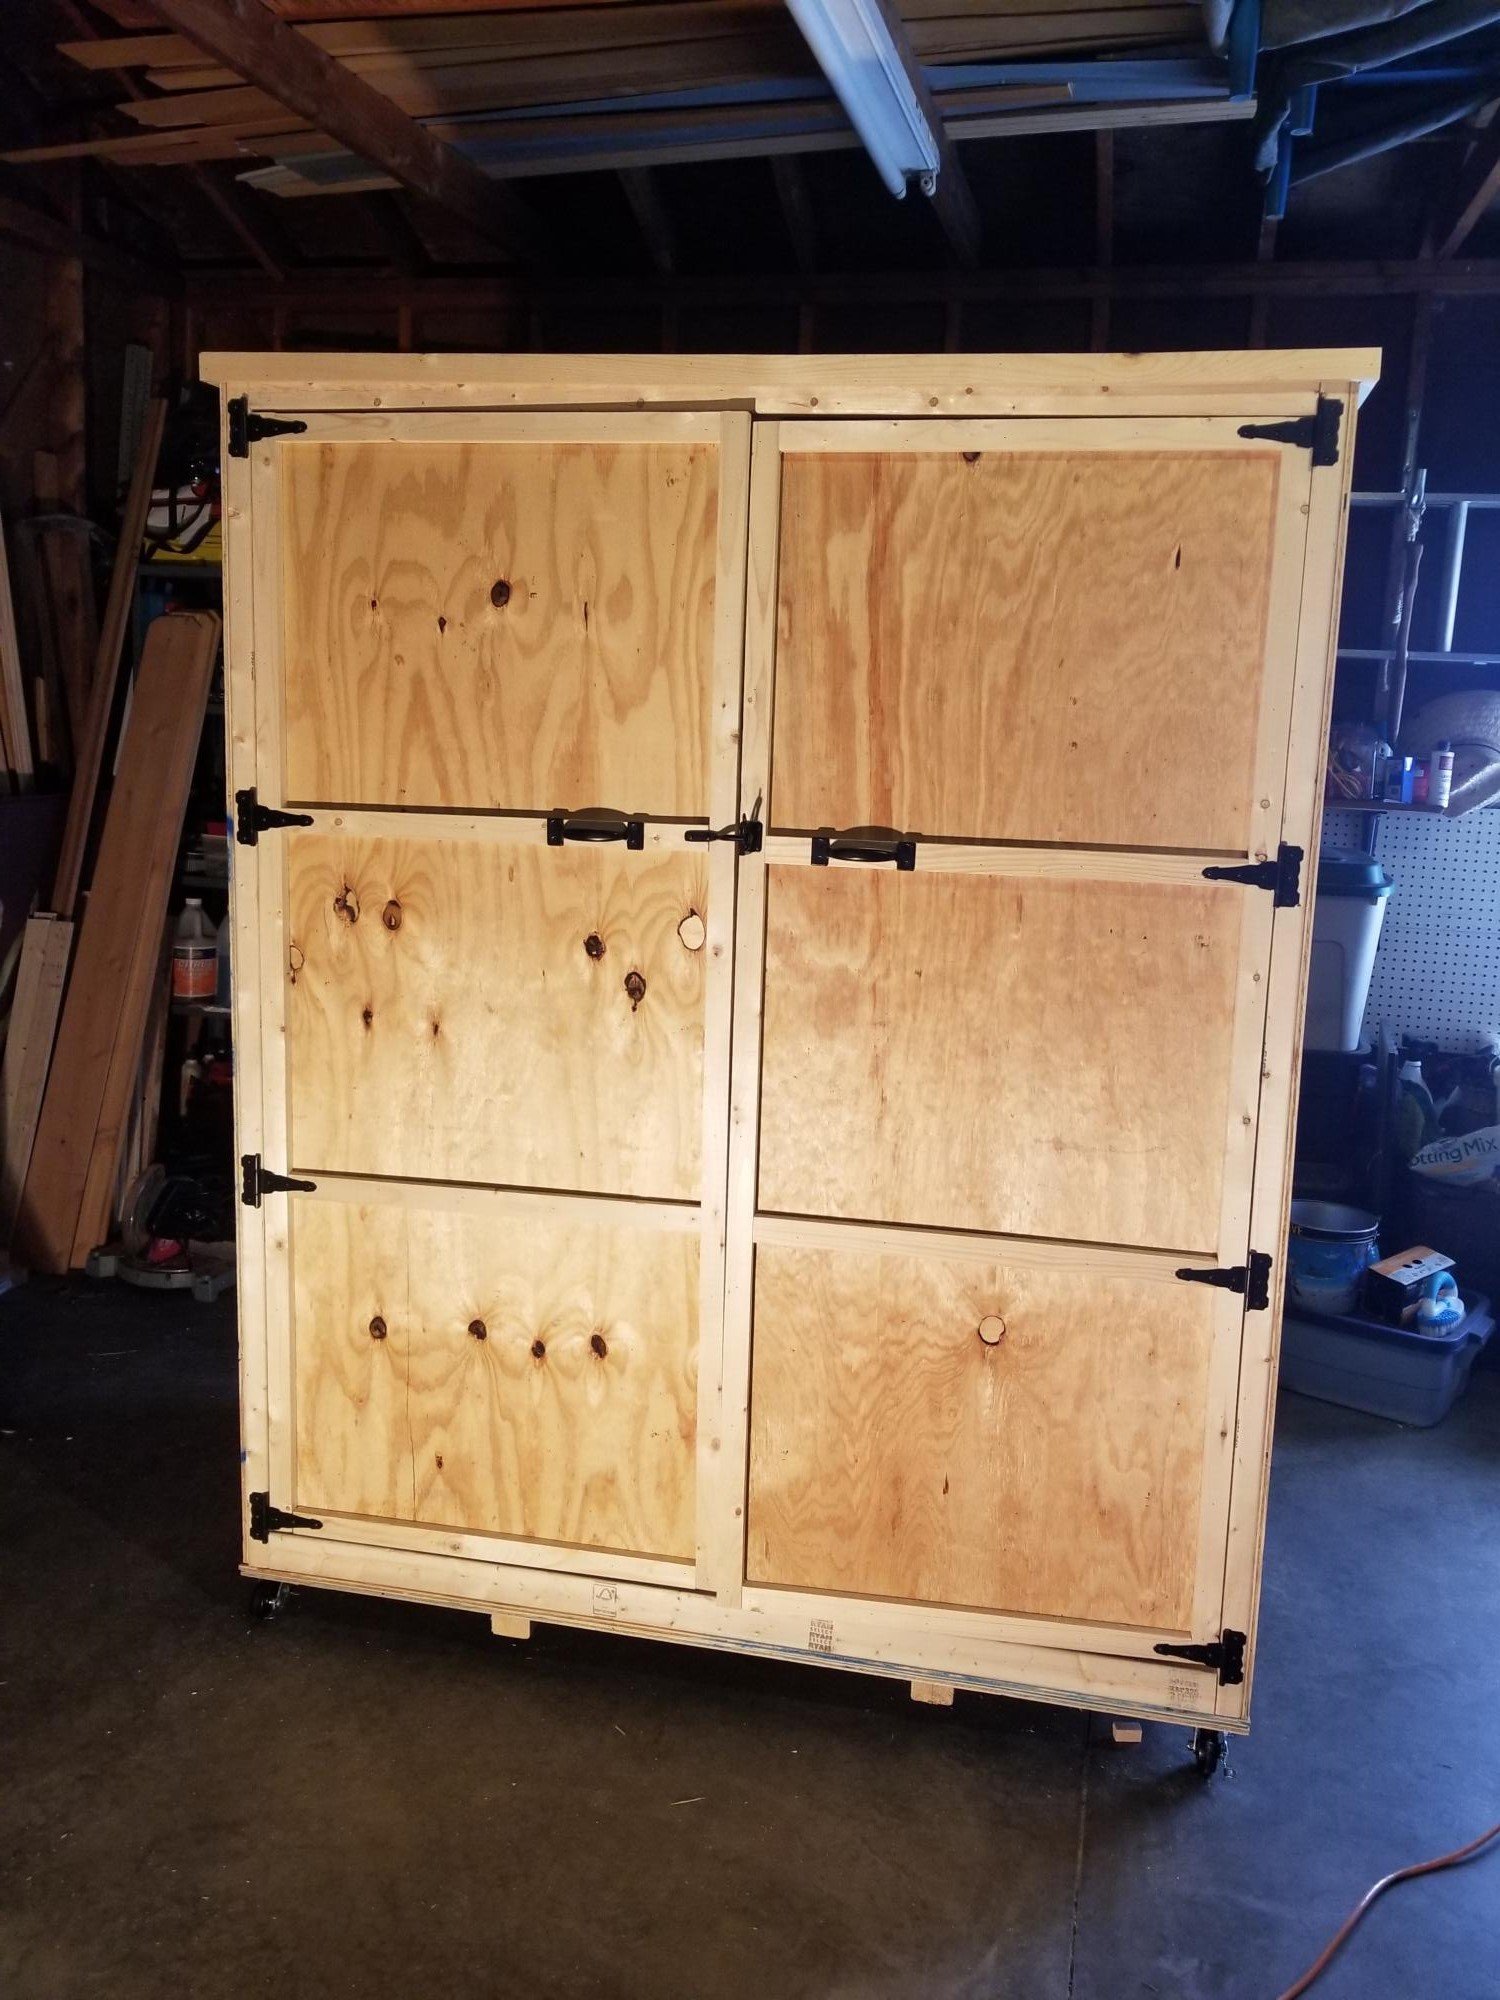
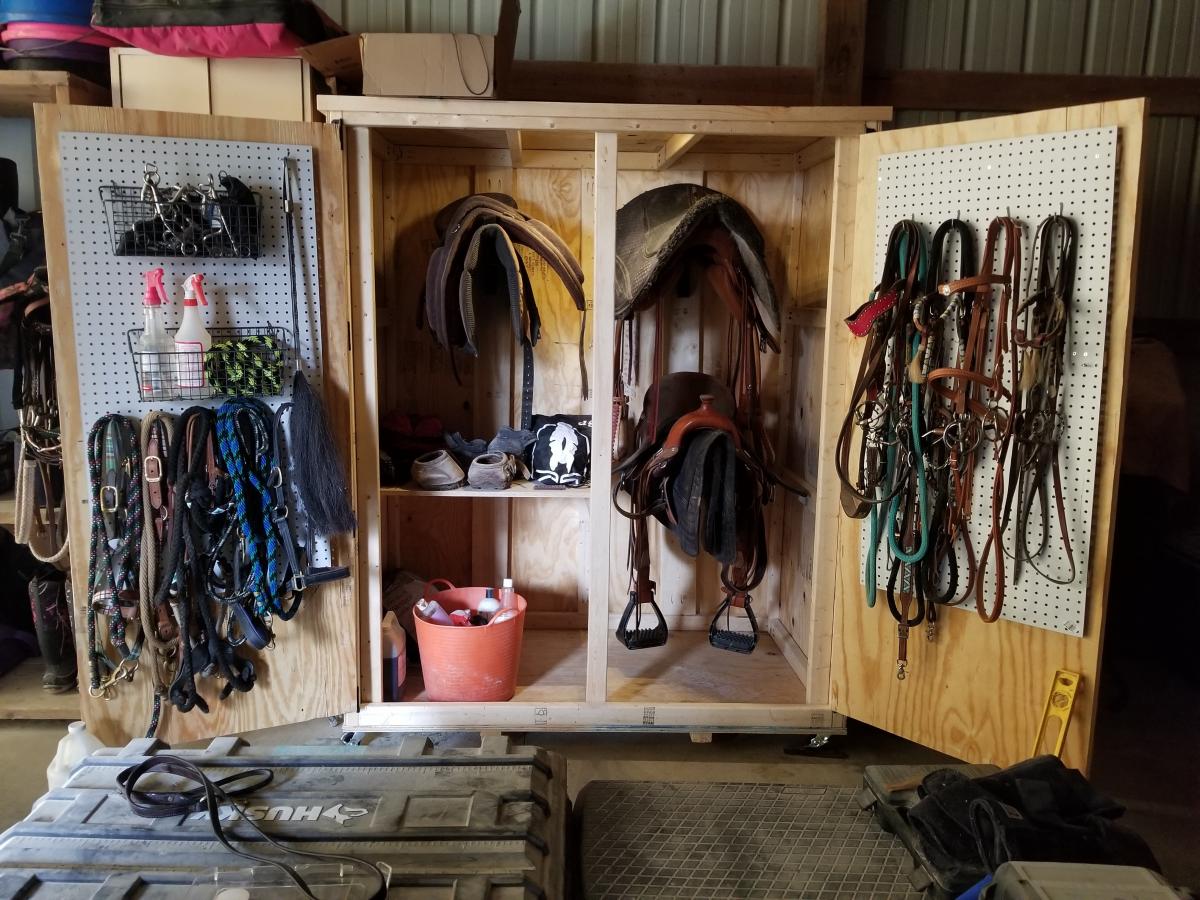
We did some conversions to the smokehouse plans to make a locker for all of my horse tack! :)
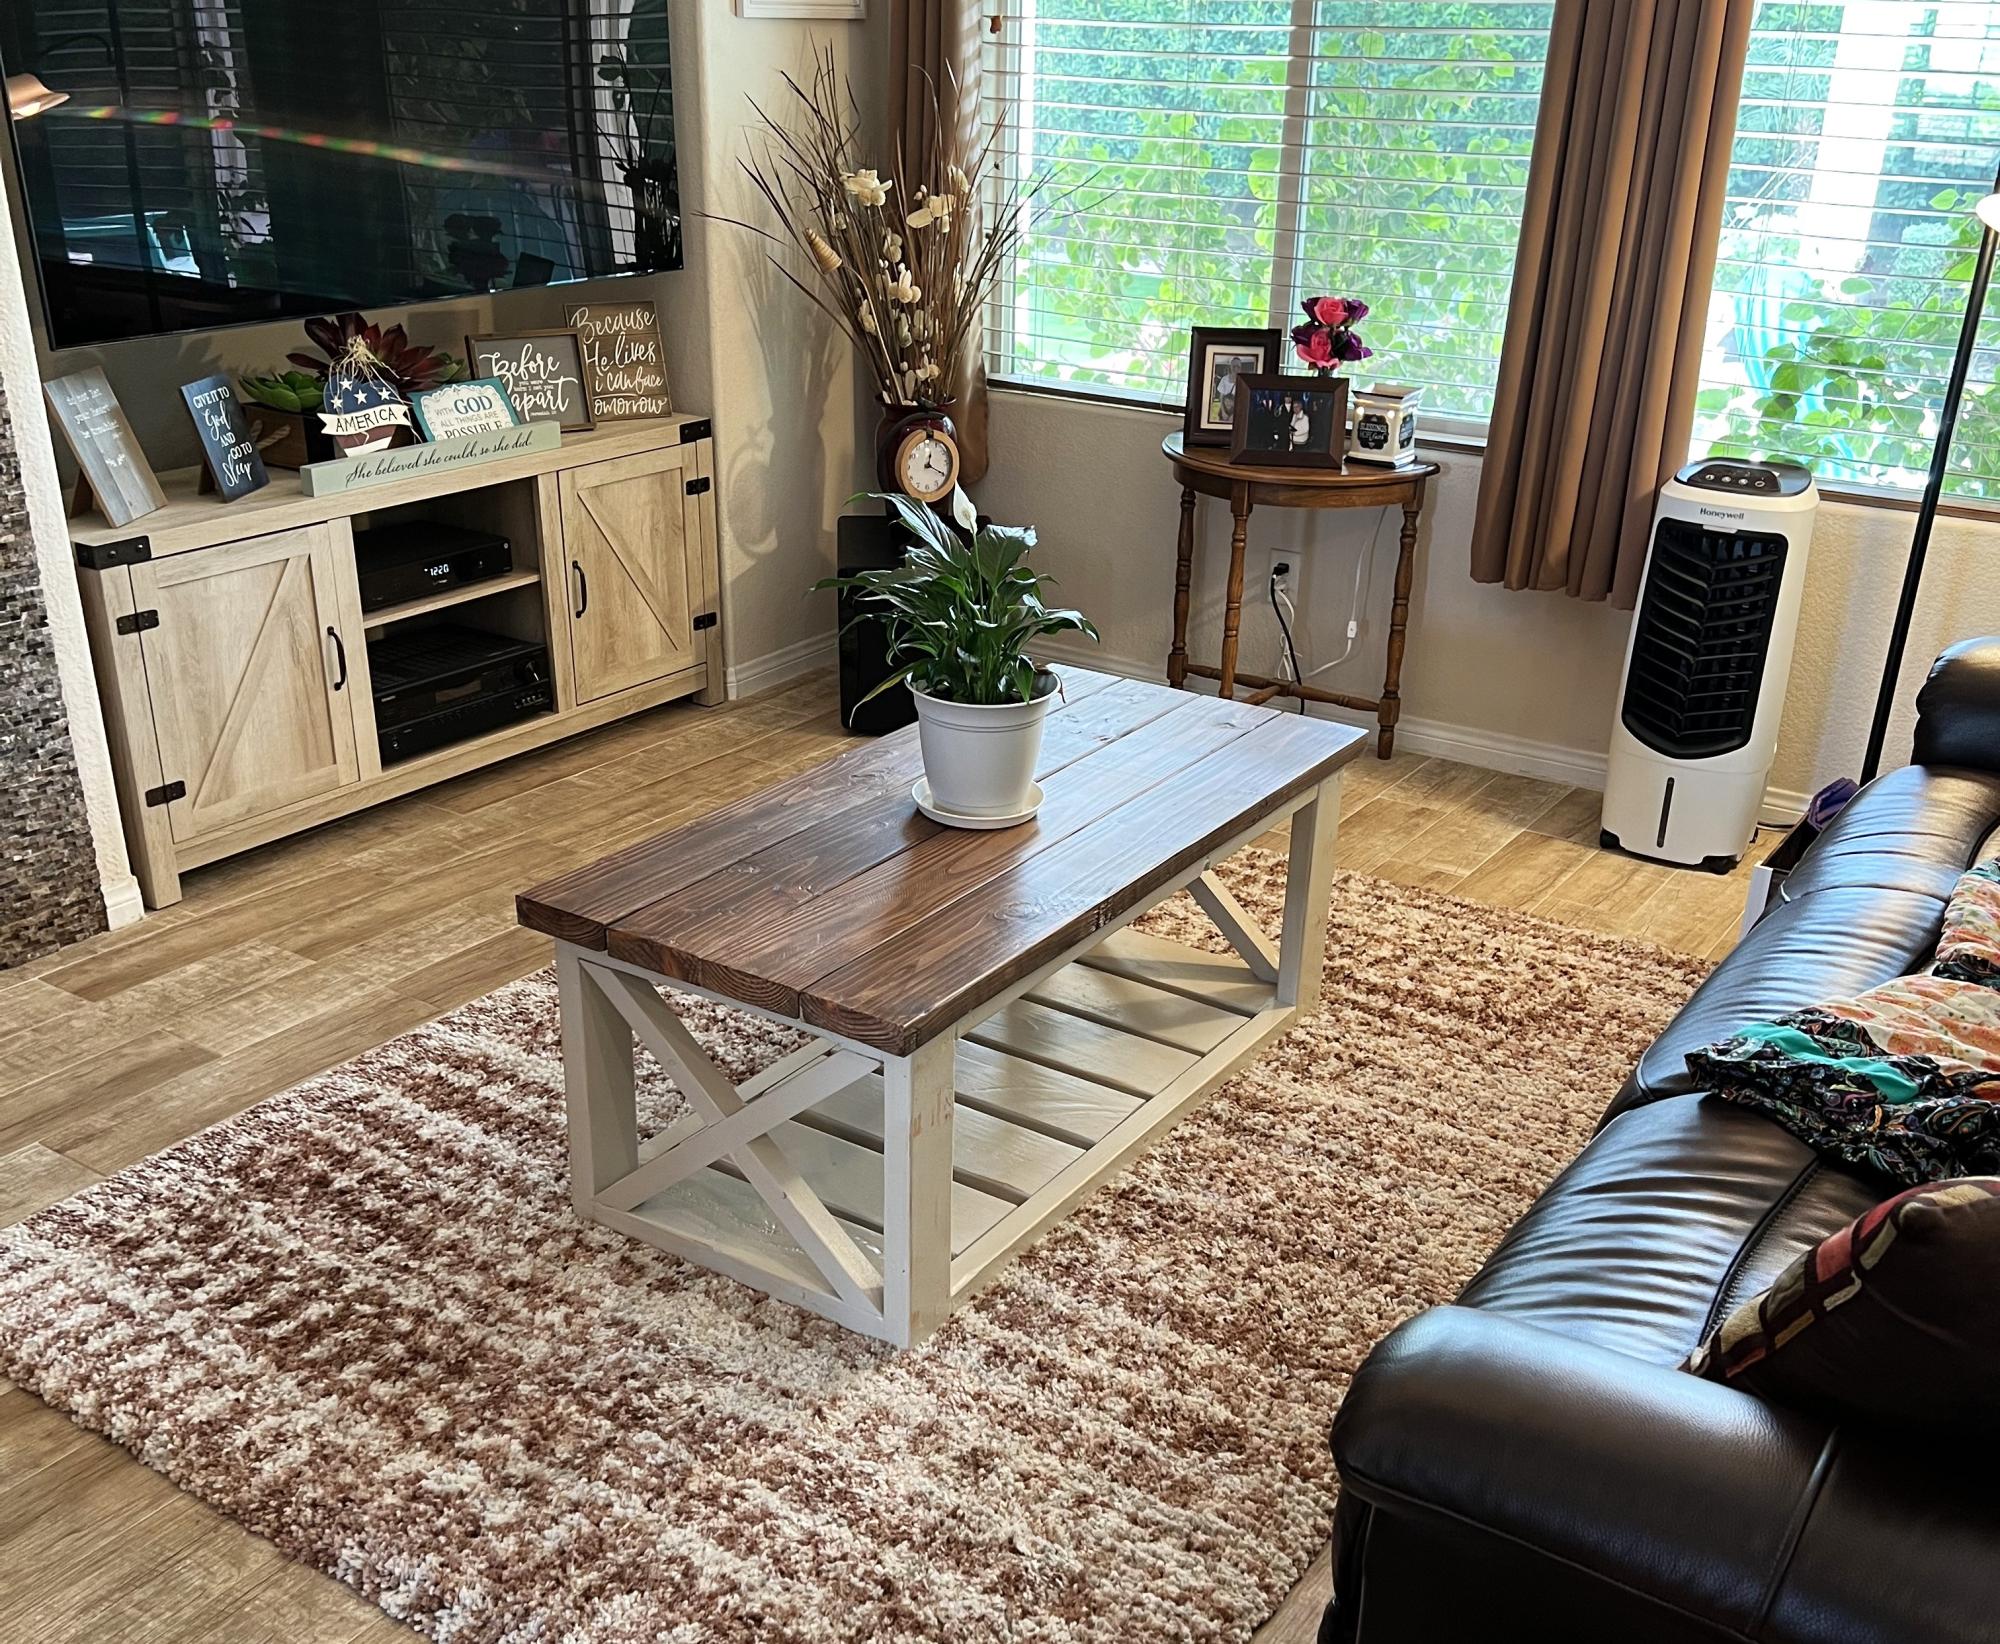
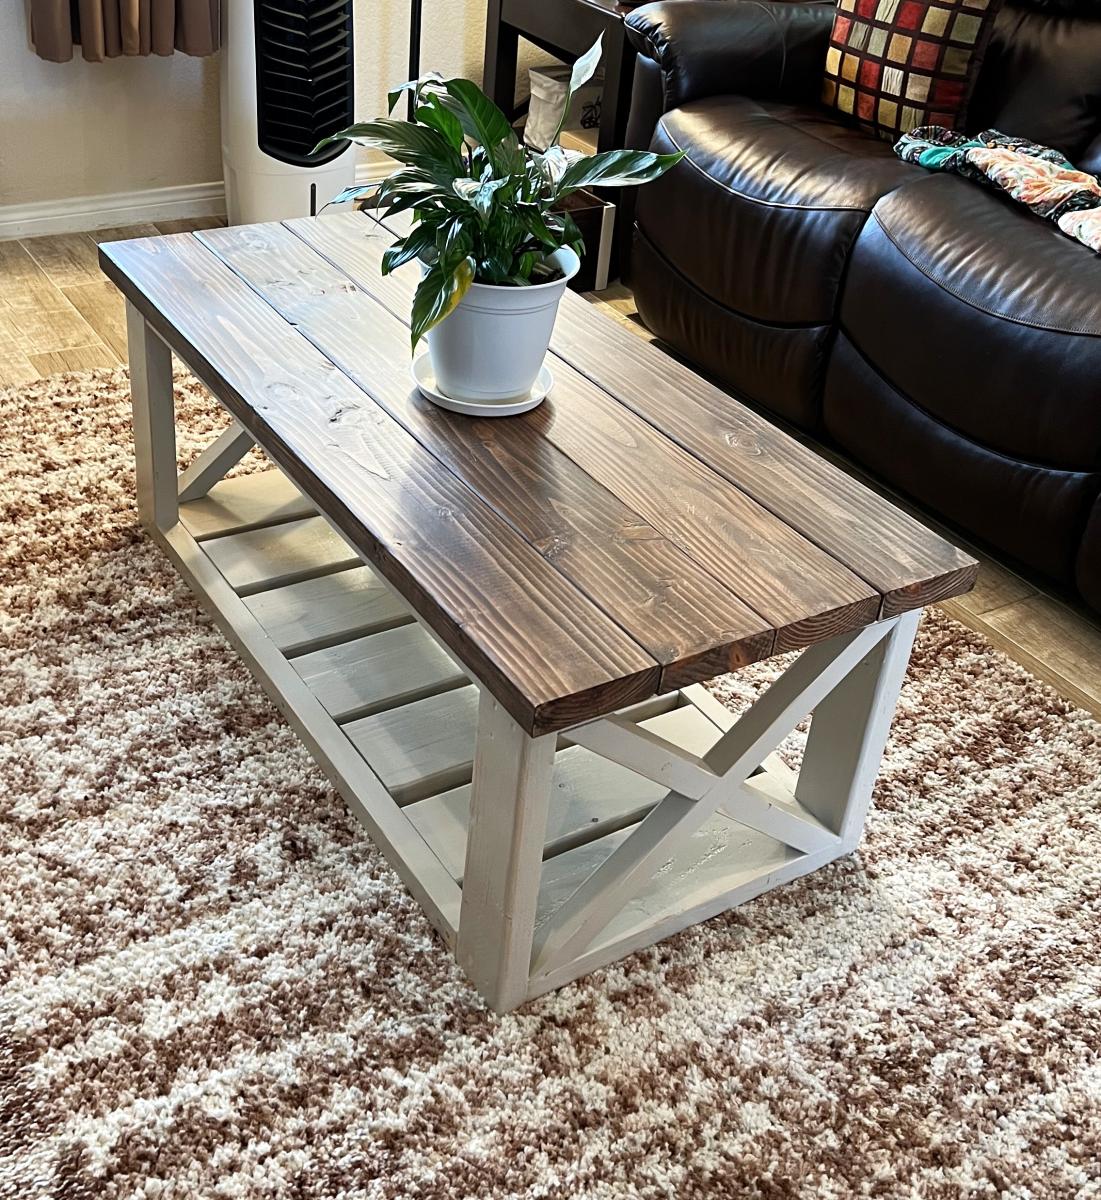
I am totally in love with this design!! I added my own twist by painting the bottom “Gravelstone” to match with my kitchen cabinets and a simple “dark walnut” matte shine on the table top (1 coat). Once painted I sanded the edges and some of the legs to resemble antique wood. Looks fabulous!!
Michelle H
My entry was filled with a huge armoir/bar, that made the entire house feel cramped...So, I moved it and replaced it with this beauty!
I wanted a shelf, so I used a 1x12 trimmed with 1x2's for this.
I modified and went with 5 drawers instead of 4...I have 5 boys, this way they each get a drawer for their stuff.
I also alternated finishes on the top boards to create a striped look.
Notice something missing? The hardware for the drawers! I cannot make up my mind on which ones to buy. ;) Any suggestions would be greatly appreciated!
I like the straight lines of this piece, so I want the pulls/knobs to be somewhat contemporary.
Mon, 08/05/2013 - 09:22
Love the way this came out - have you deceided on hardware yet? I suggest this http://www.restorationhardware.com/catalog/product/product.jsp?productI…
in oil rubbed bronze
Was so easy with ANA instructions and the results were an a amazing accomplishment!
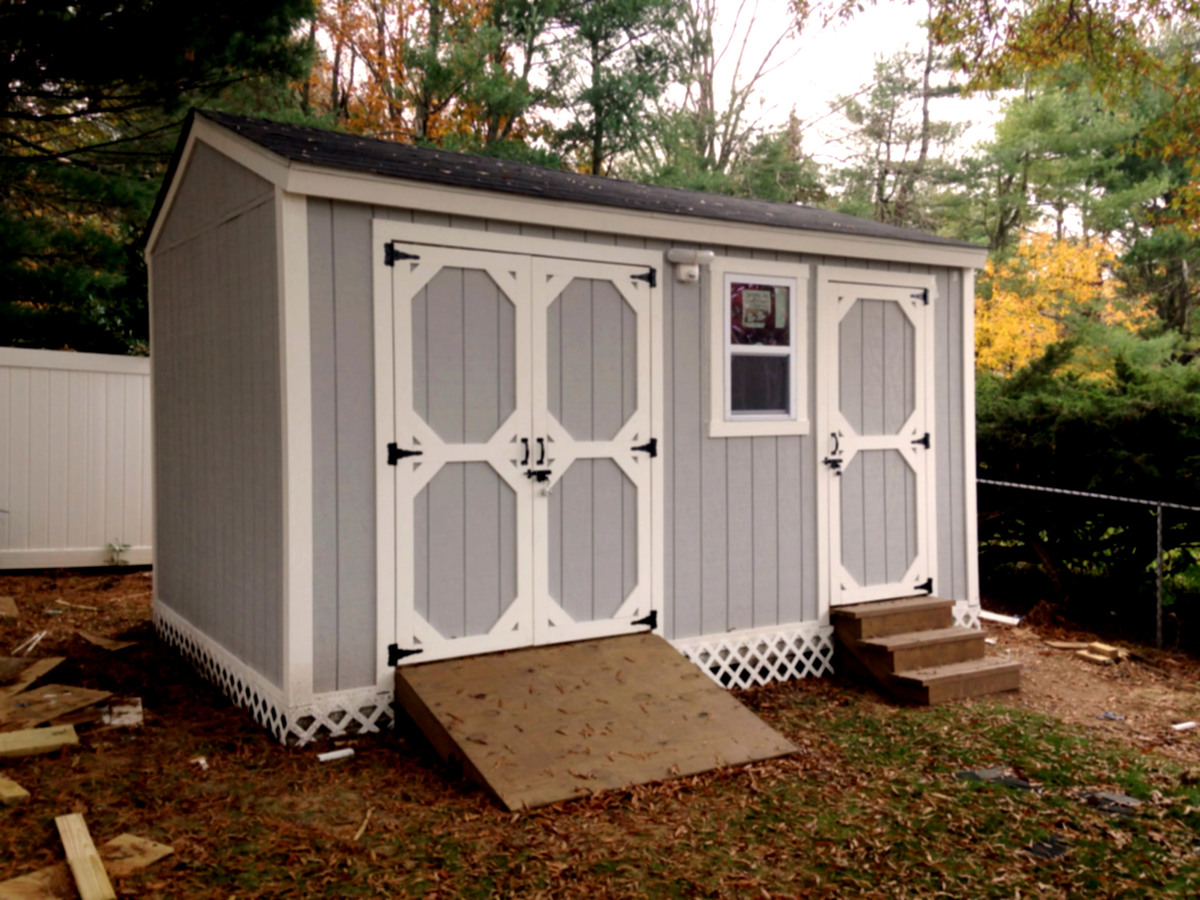
I used ideas on your site for inspiration for my current back yard shed. I did a lot of research before choosing one. If you've never built a shed before from scratch, it can be a little daunting, especially if its a larger shed. I also documented my whole process from the laying the foundation to putting the last nail on the shingles. Here's the link for you to my blog post:
http://www.justmeasuringup.com/blog/the-shed-project-phase-1
It was a lot of fun for me, and a huge wow factor to impress my friends ;) I store everything in there from my riding mower to all my patio furniture in the wintertime. It's such a useful thing to have.
I spent around $1500 and it took about 2 months to complete (working on it while having a full time job - otherwise would have finished a lot faster)
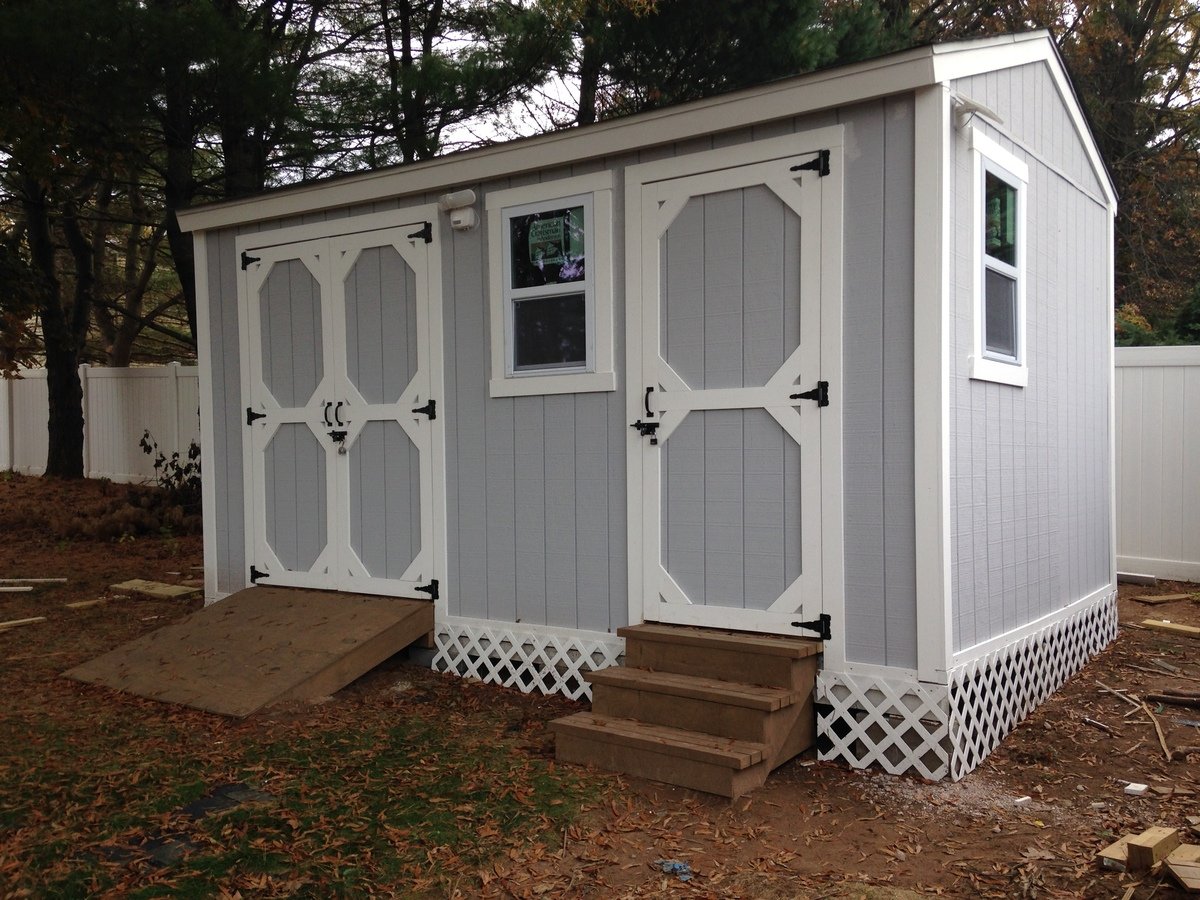
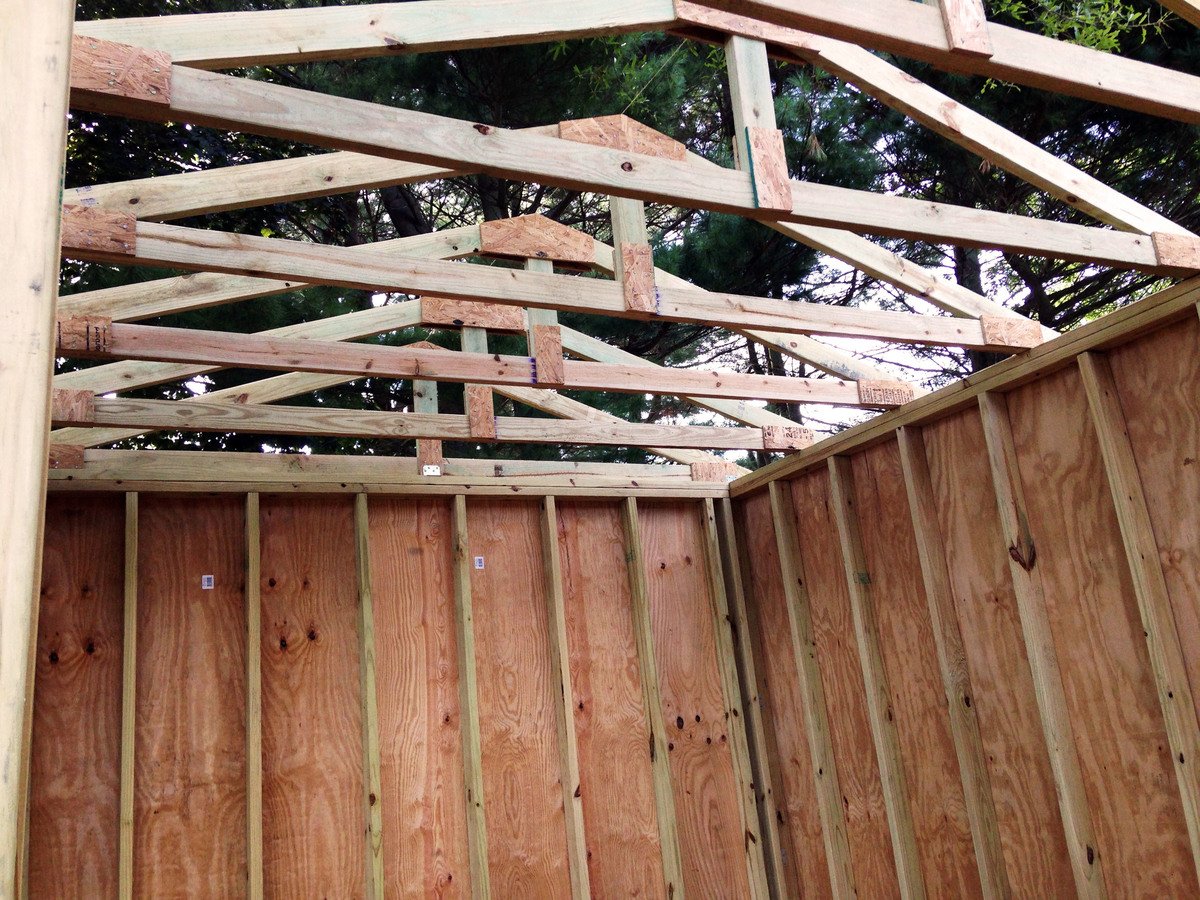
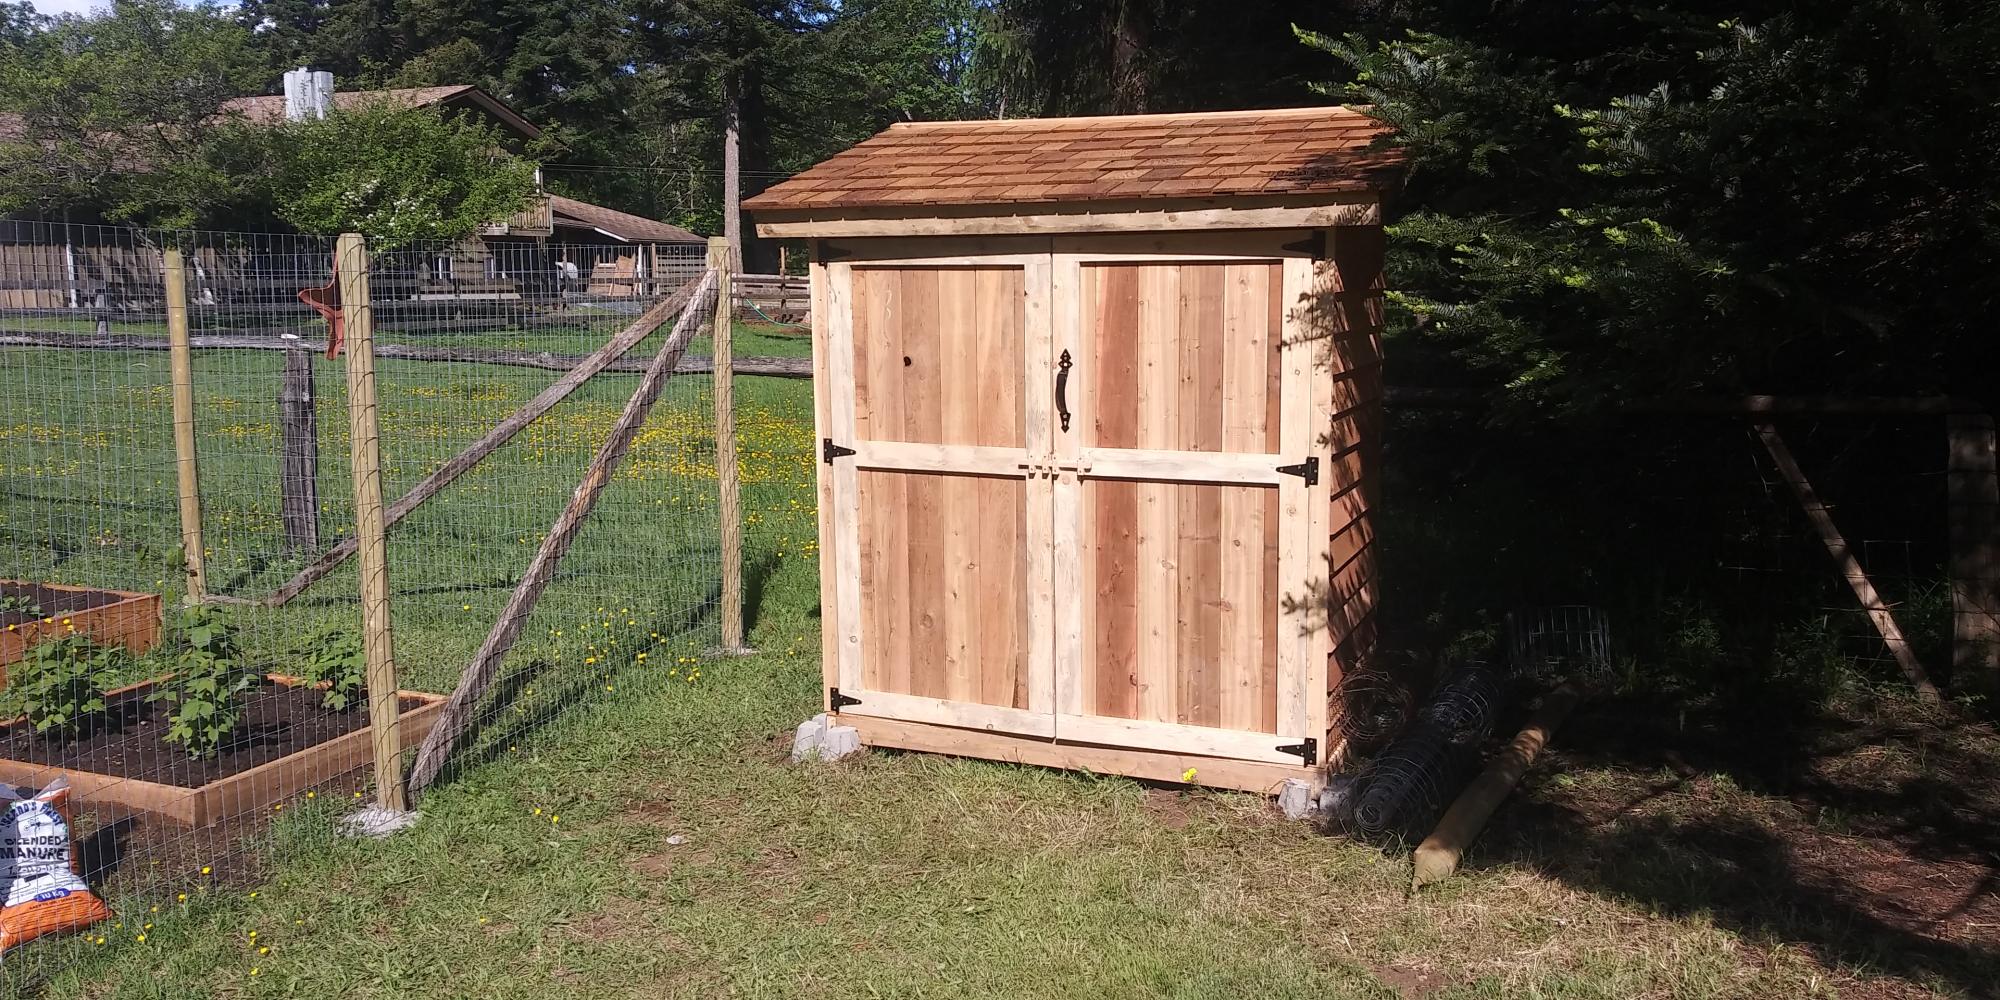
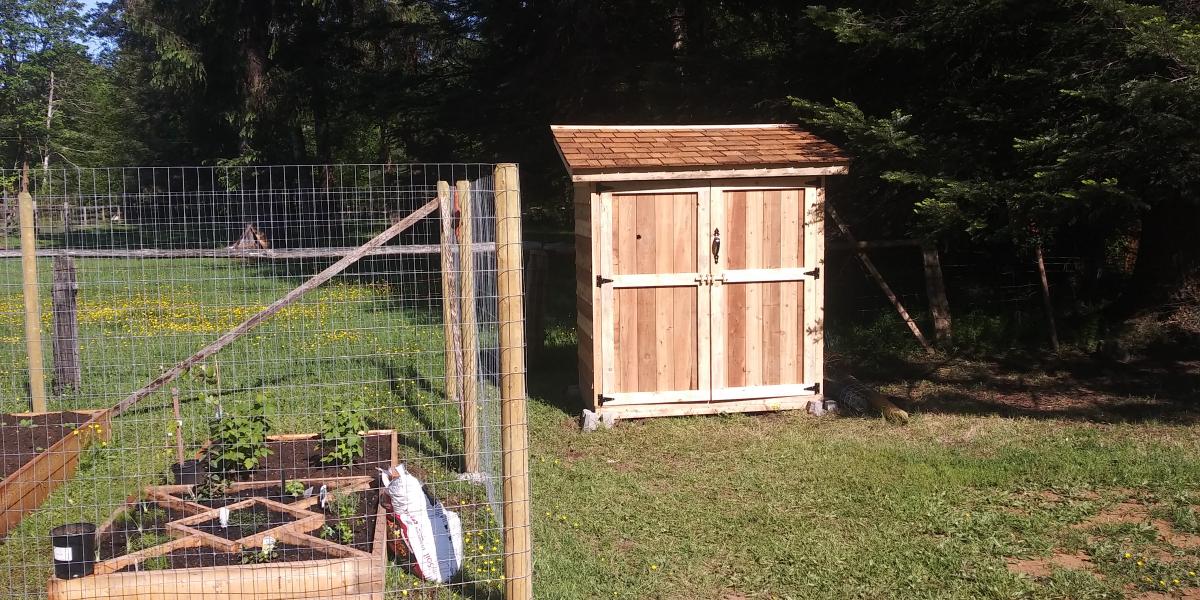
We needed a small shed to hold shovels and rakes along with a few other garden implements. This cedar shed has worked out perfectly. We made a few tiny modifications including a small shelf and plywood floor. Thanks for the excellent plans, as always.
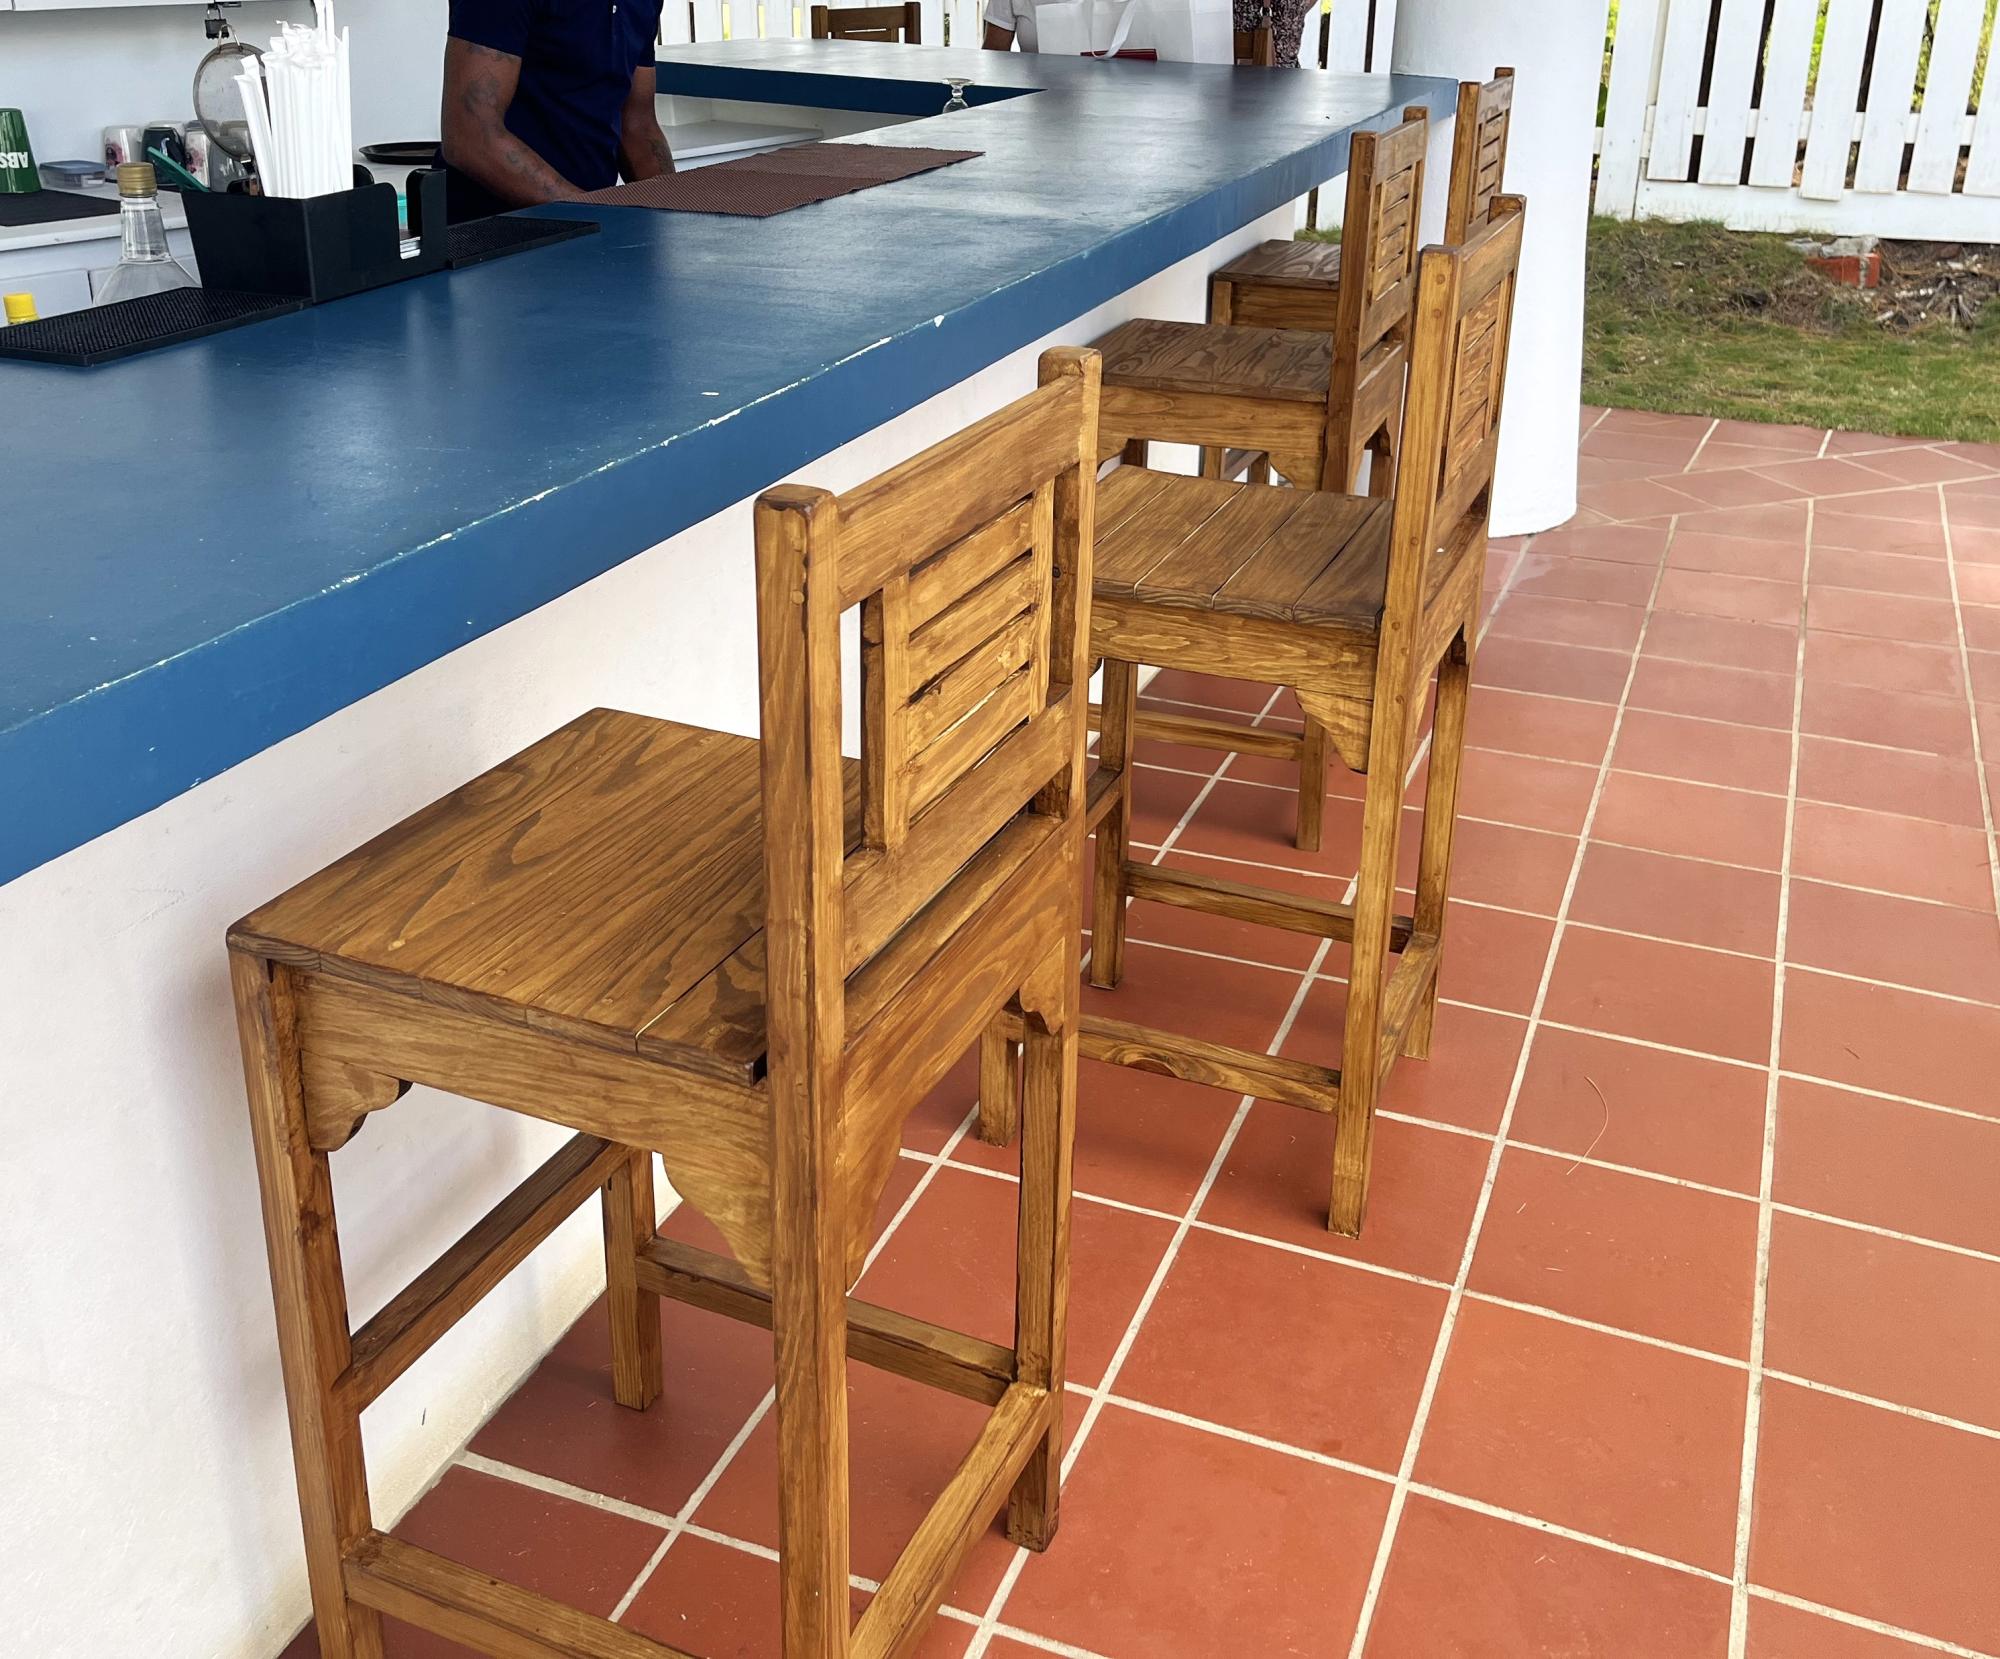
Great wood bar stools!
by Dennis
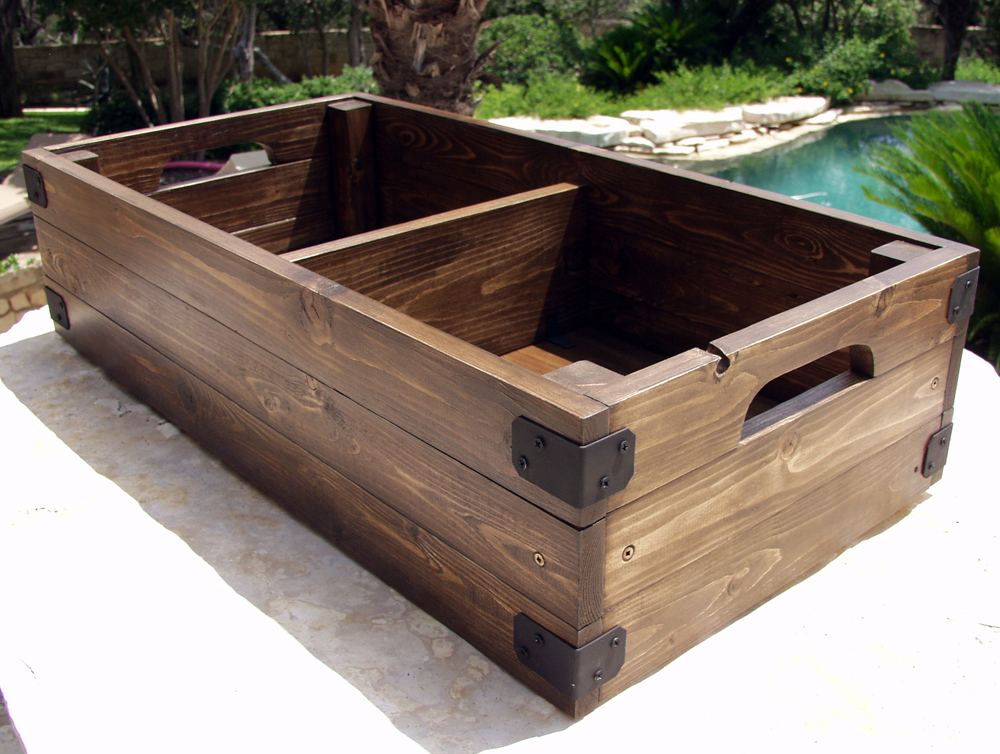
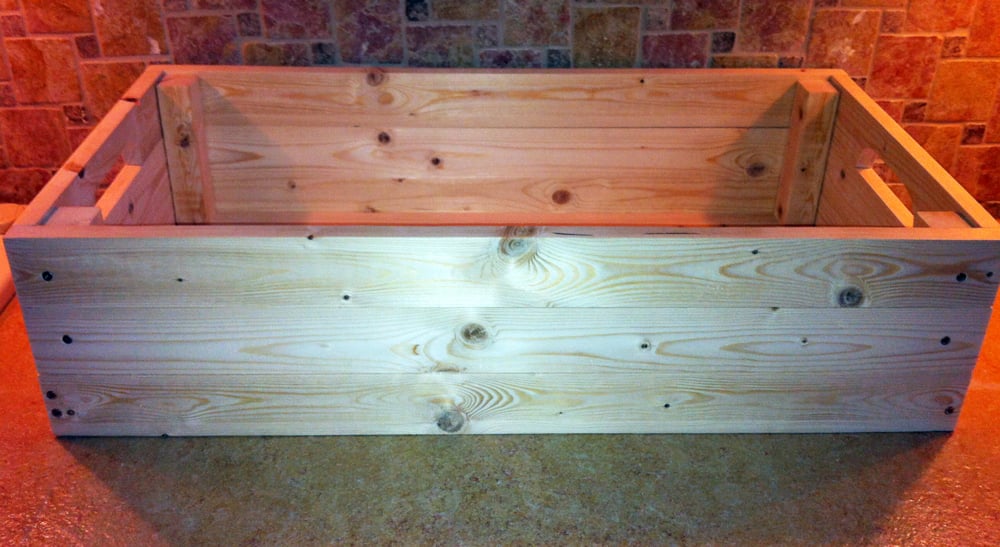
I needed a large box to use at the base of my stairs for shoe storage, so this is it! I made 2 compartments, and put handles on the side for easy moving. Being solid wood, this thing is heavy and a lot larger than it looks.
I wanted to do Bri-wax as a test on a smaller project before possibly messing up a larger one. Bri-wax advised me to wait a week to let the stain 'cure' prior to using the product. The stain was beautiful prior to using Bri-wax, but didn't look nearly as good when the wax took off some of the stain and kind of changed the color. I love the look of the Bri-wax finish, but probably won't be using it again (unless the finish has been cured for a long time). Bri-wax also told me not to use it over varnish or poly, as it would damage that surface. I would be interested in hearing from you guys who have used it successfully on top of other finishes.
Sat, 07/14/2012 - 21:00
Hello Joni,
I've used Briwax over a clear, satin poly finish without any damage, though typically, I apply a 100% Briwax finish on the majority of my pieces as I prefer the natural finish and find it's complimentary to the reclaimed wood I use.
Simply a personal preference.
Looking at your other projects want to commend you on your table too. Nice color distinction and accents. Very nice!
Mike
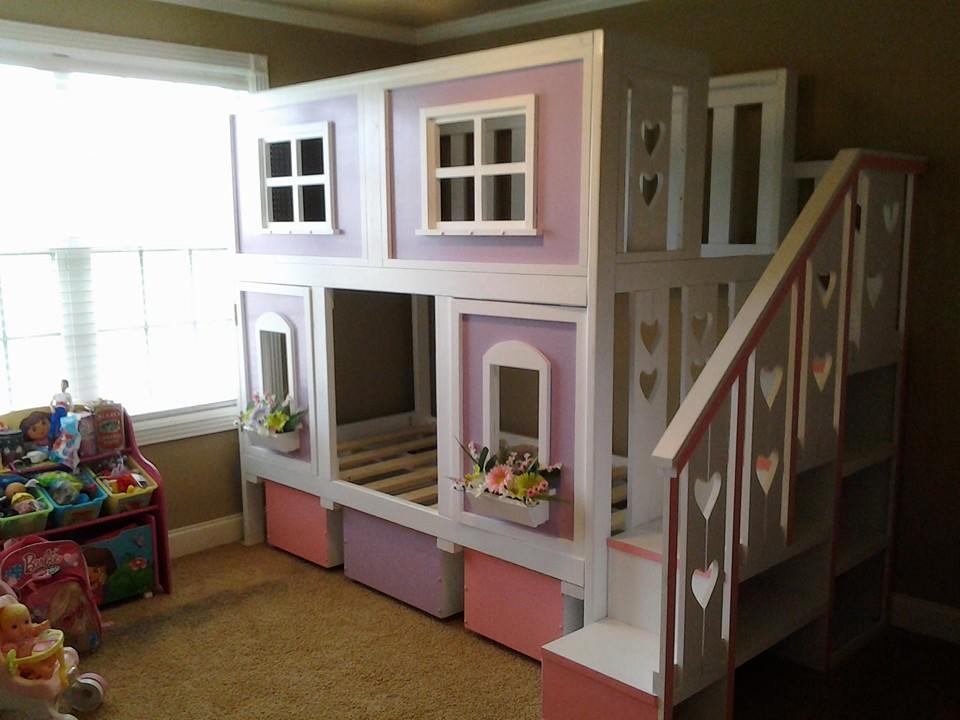
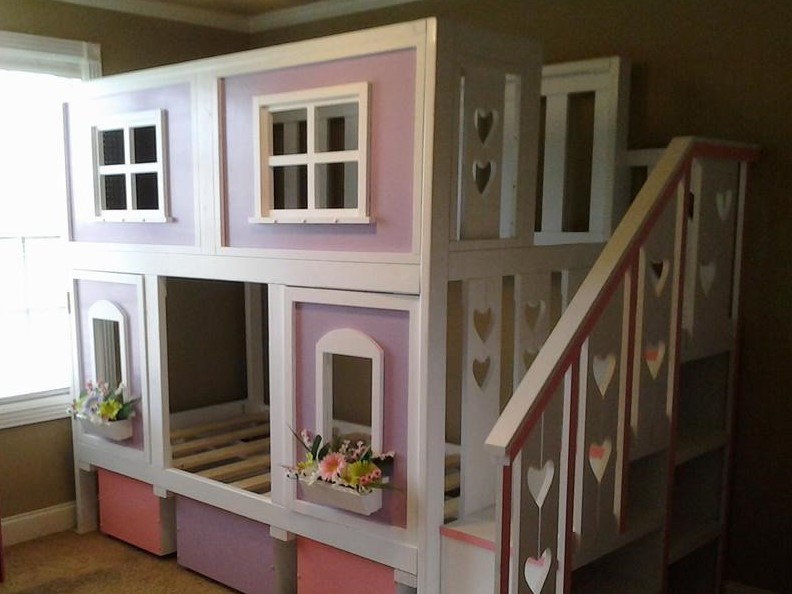
My dad built this for my daughter.
Thu, 05/01/2014 - 11:11
Your father is an artist. Excellent craftsmanship. Your daughter is a lucky little girl. :)
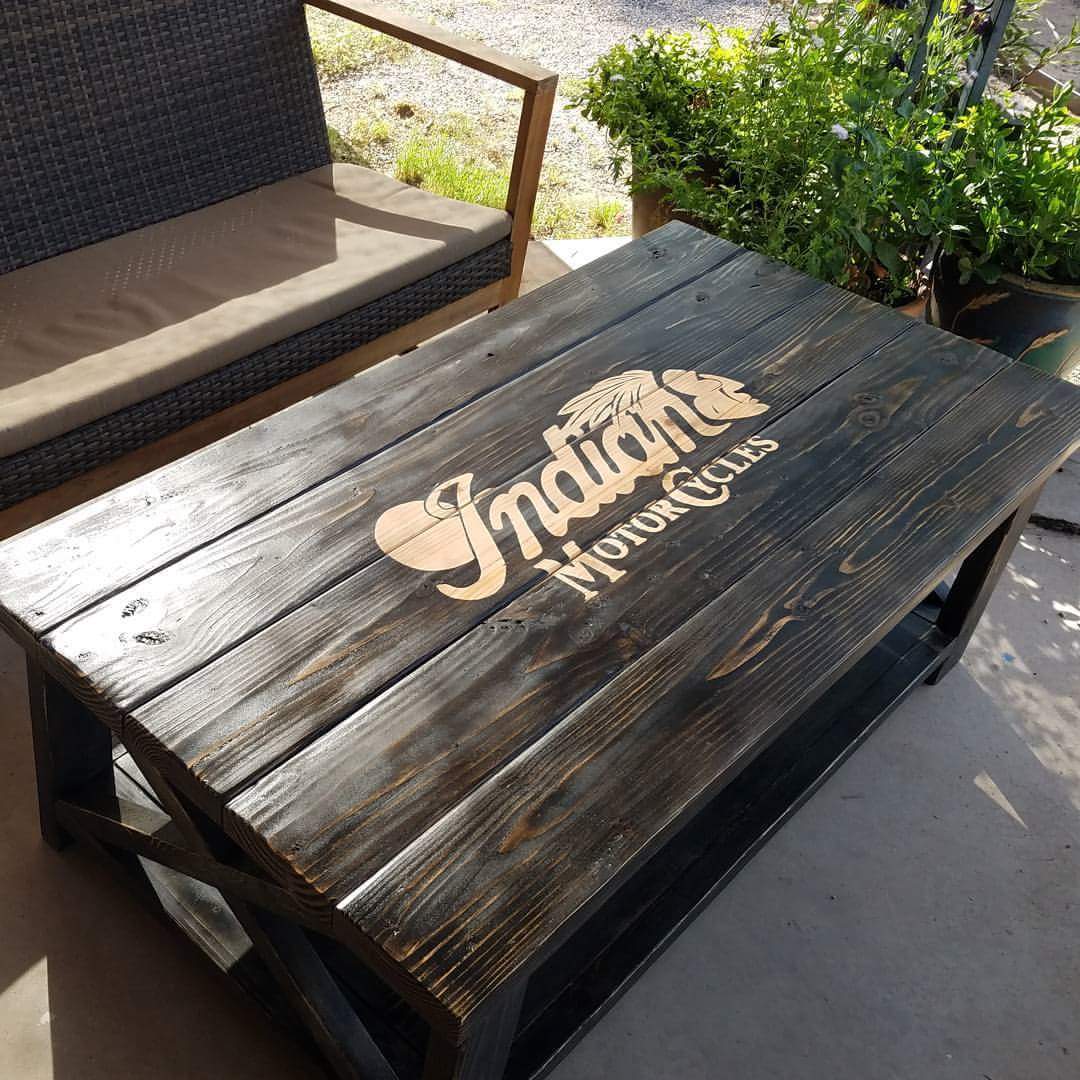
My son needed a coffee table to help him with his physical therapy. I didn't want to buy some plastic piece of shit from the store so I made him one. He loves toy cars, and in addition to the custom stain work I added a feature that will hopefully encourage him to stand and play. It can be removed when he grows up and he'll have something hand built to remember my love for him.
I did a step by step and posted to Reddit. Here's the link =)
https://www.reddit.com/r/DIY/comments/4vhbyl/diy_shitty_on_purpose_coff…
