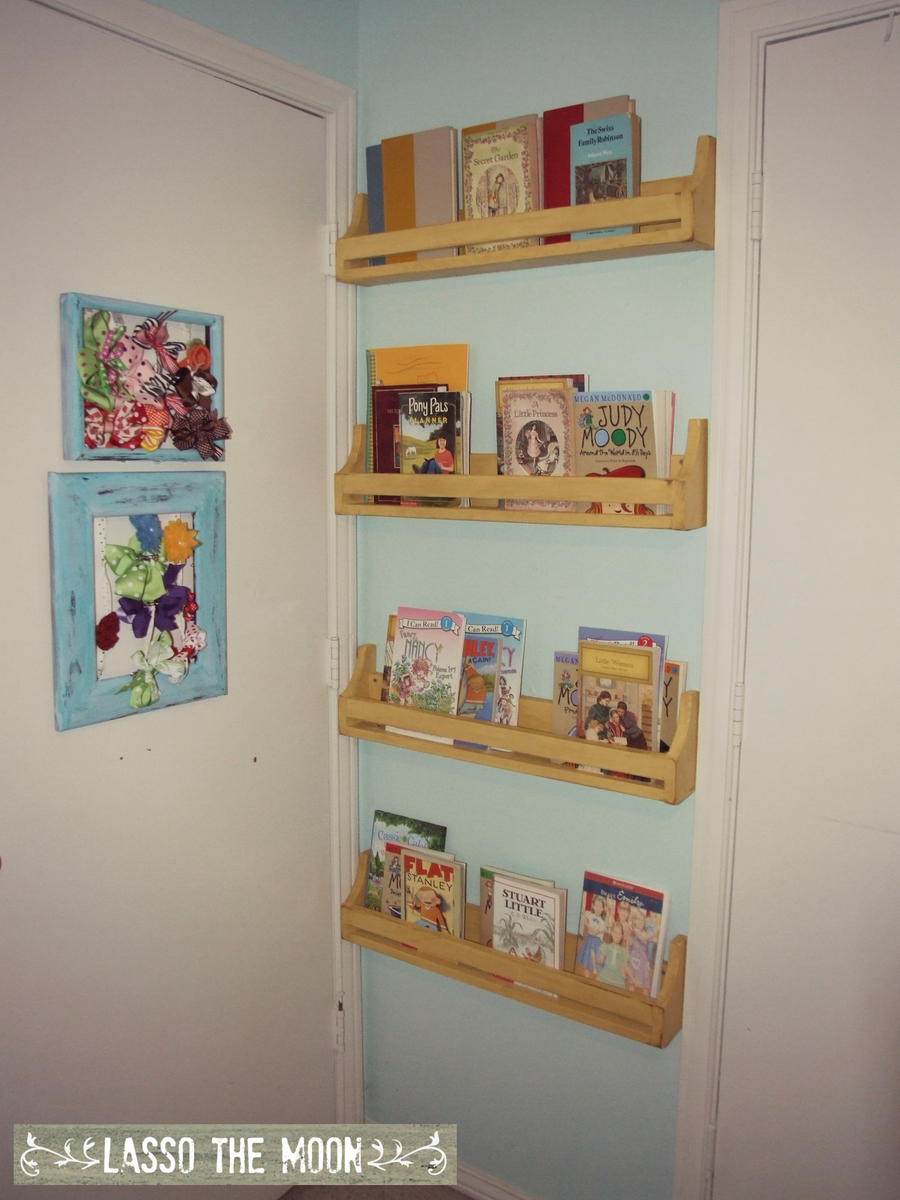
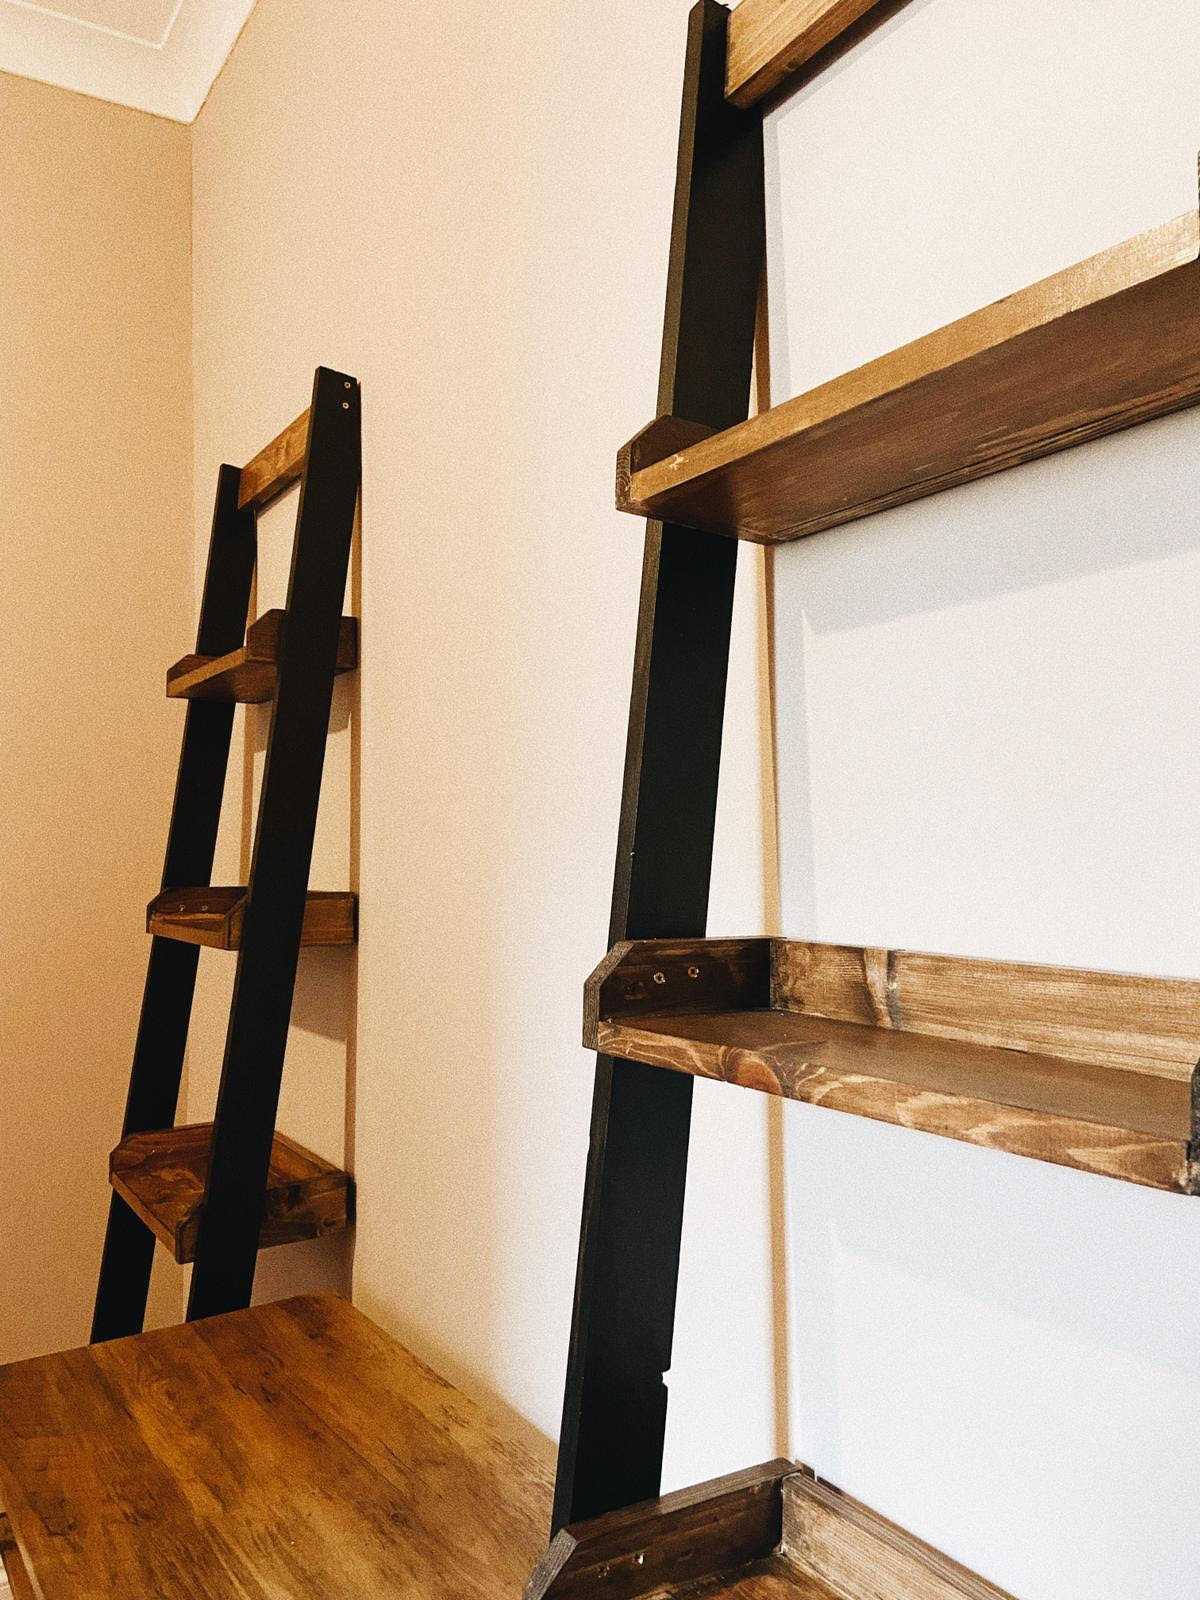
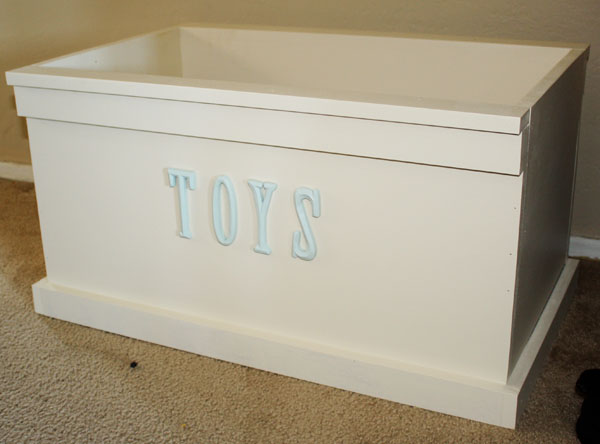
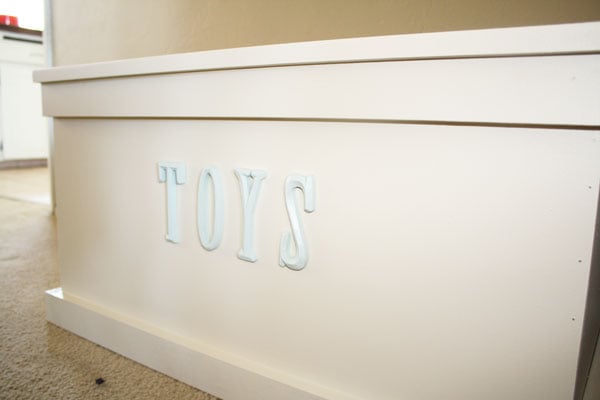
Emma's Secret Library Shelves
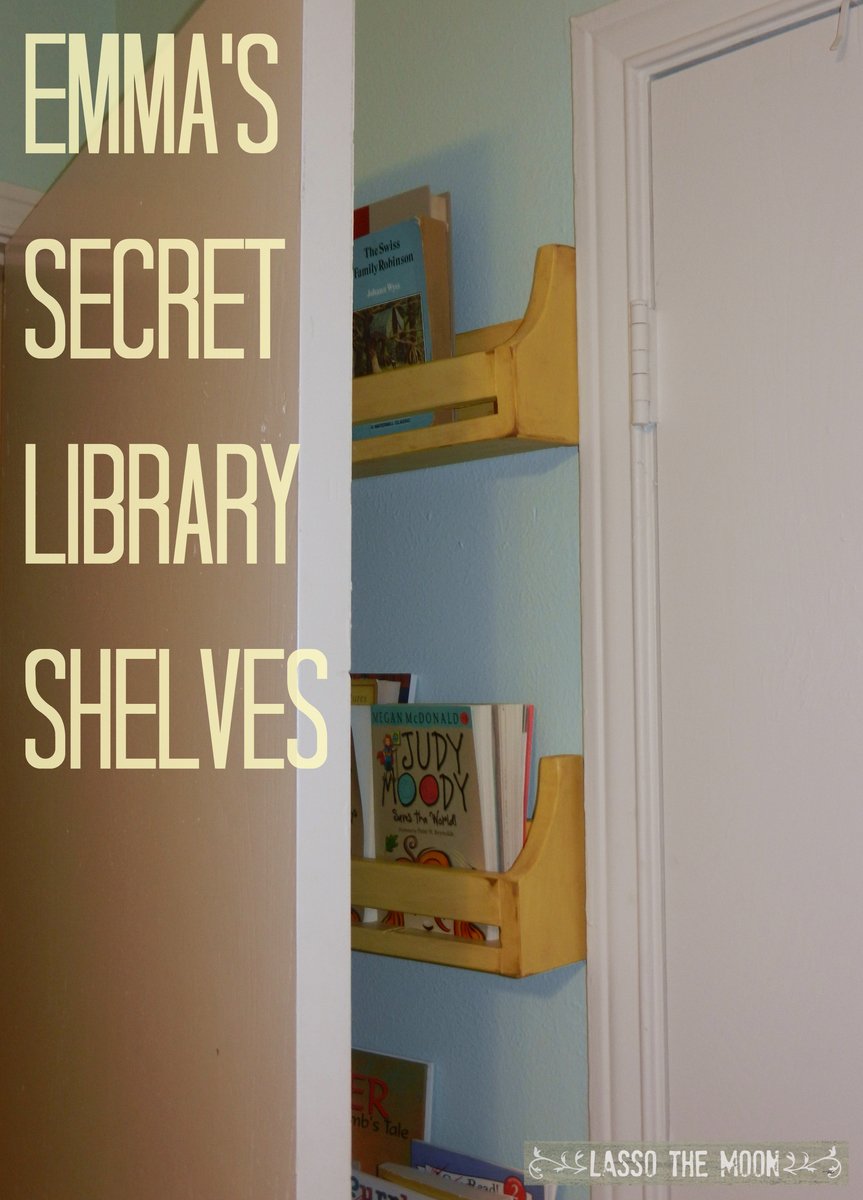
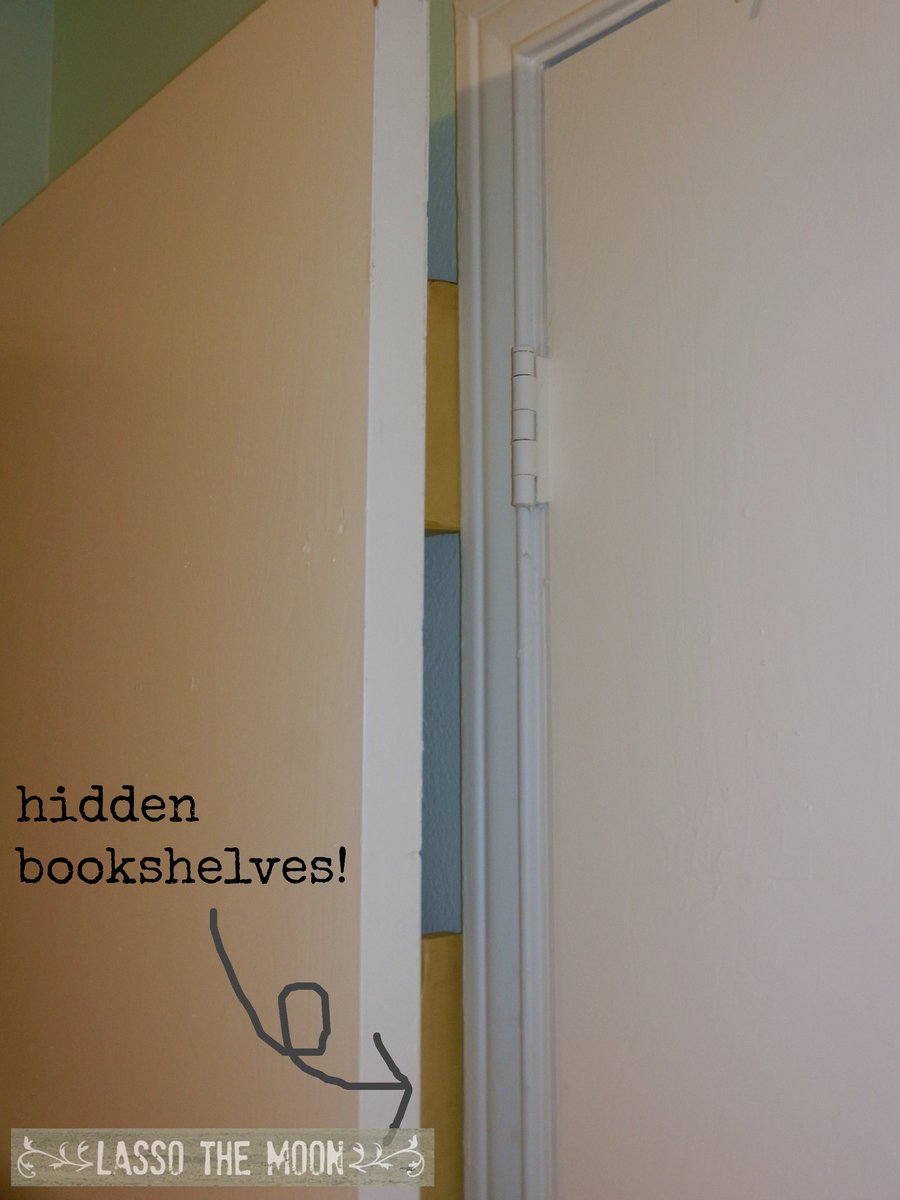
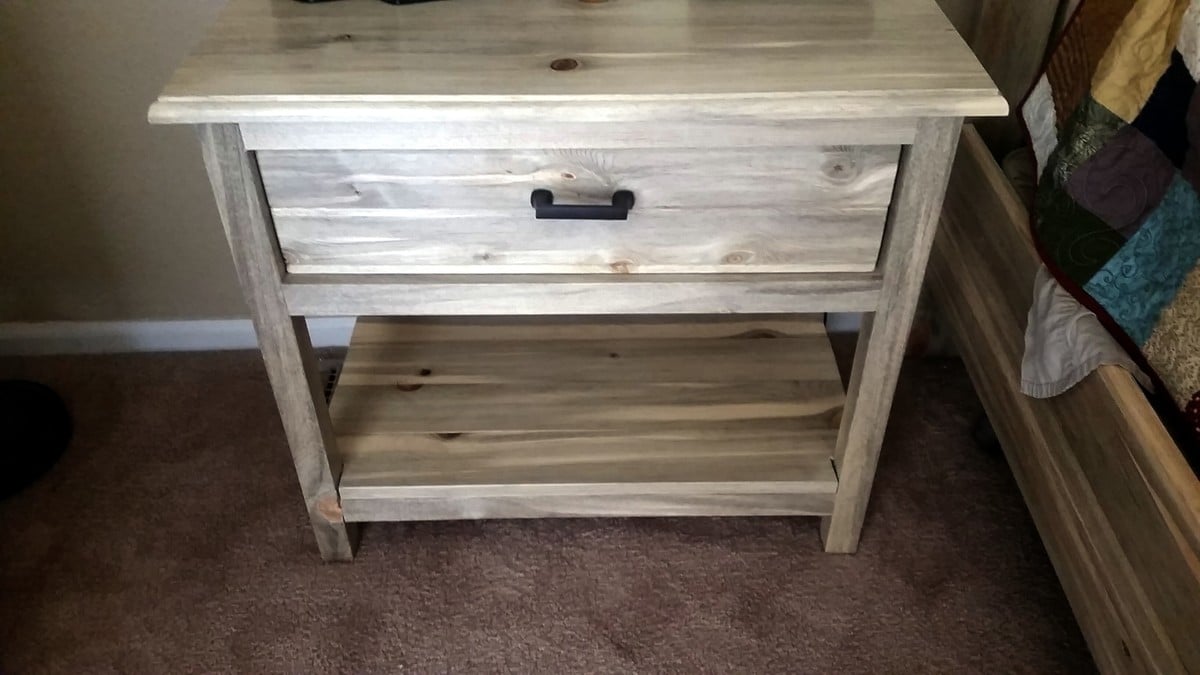
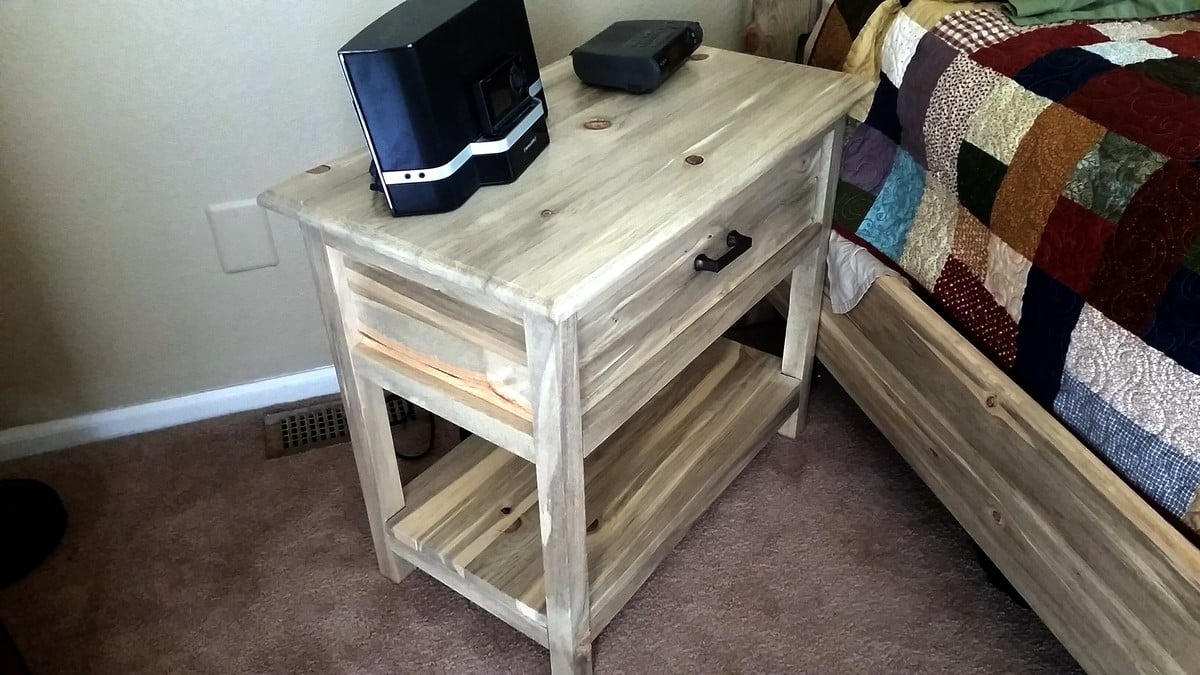
These shelves were absolutely perfect for hiding behind my daughter's bedroom door. Space is tight in her little room, and that 27-inch stretch of wall was not being utilized.
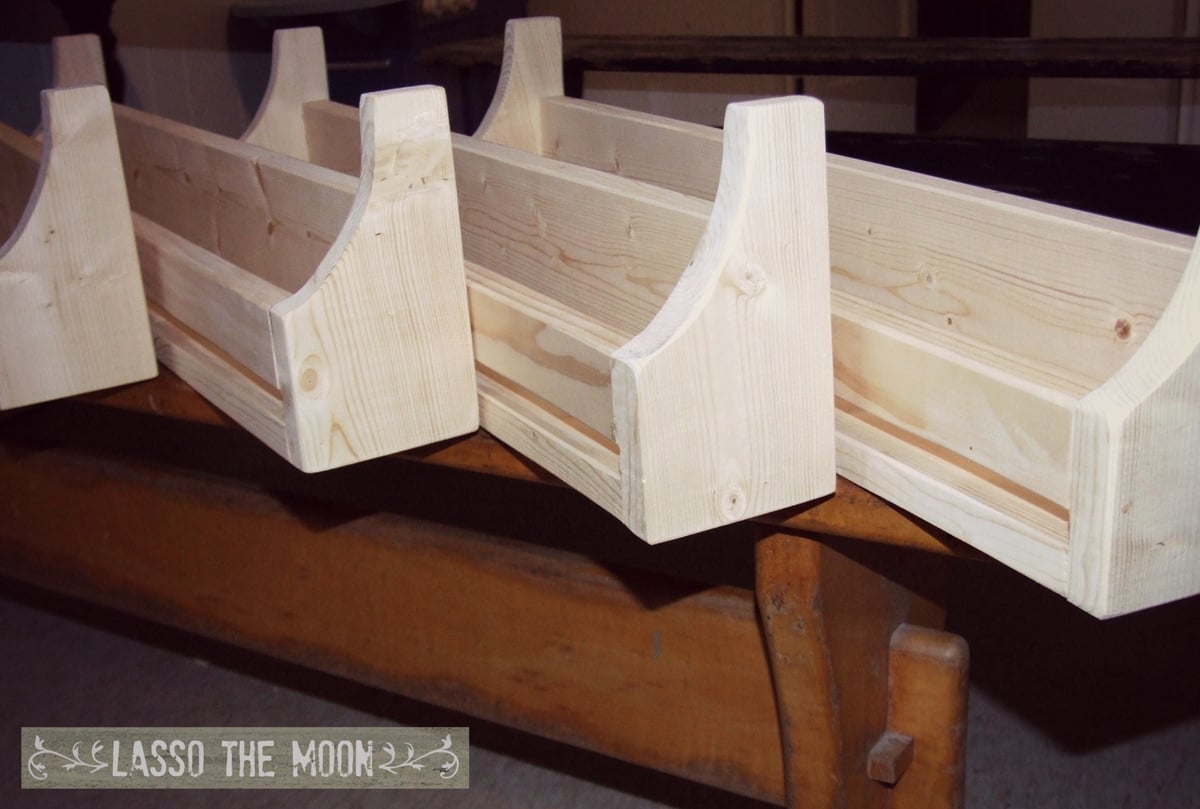
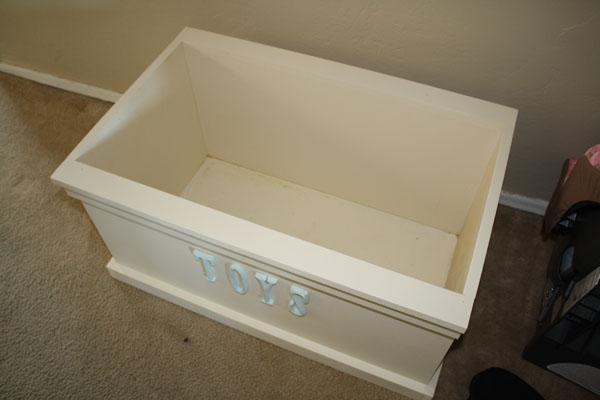
These shelves were so simple and took no time at all. I think total cutting and assembly time was about an hour for all four.
I put them together using pocket holes, so the order of assembly was a bit different than the original plan. I screwed the sides to the bottom, then added the front beam, and attached the back last, using pocket holes and filling them with spackle.
I can't wait to find more nooks and crannies to build creative storage from plans on this site.
THANKS!
Anna
More pics and details on the blog post:
http://lassothemoon.typepad.com/lasso_the_moon/2013/07/emmas-secret-lib…