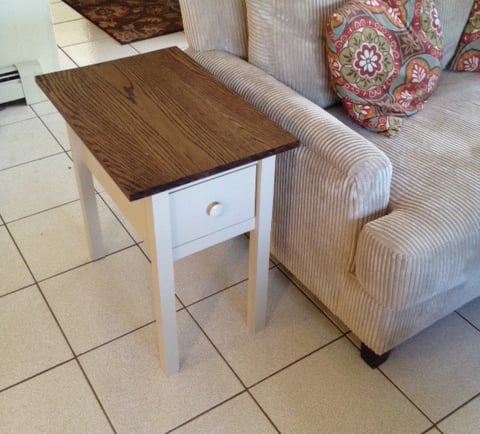
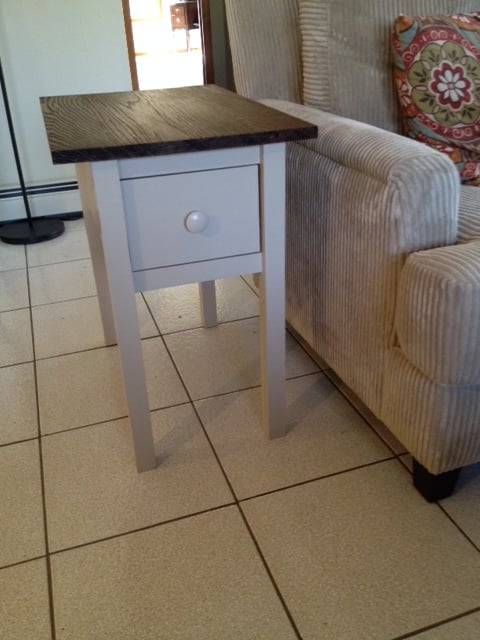
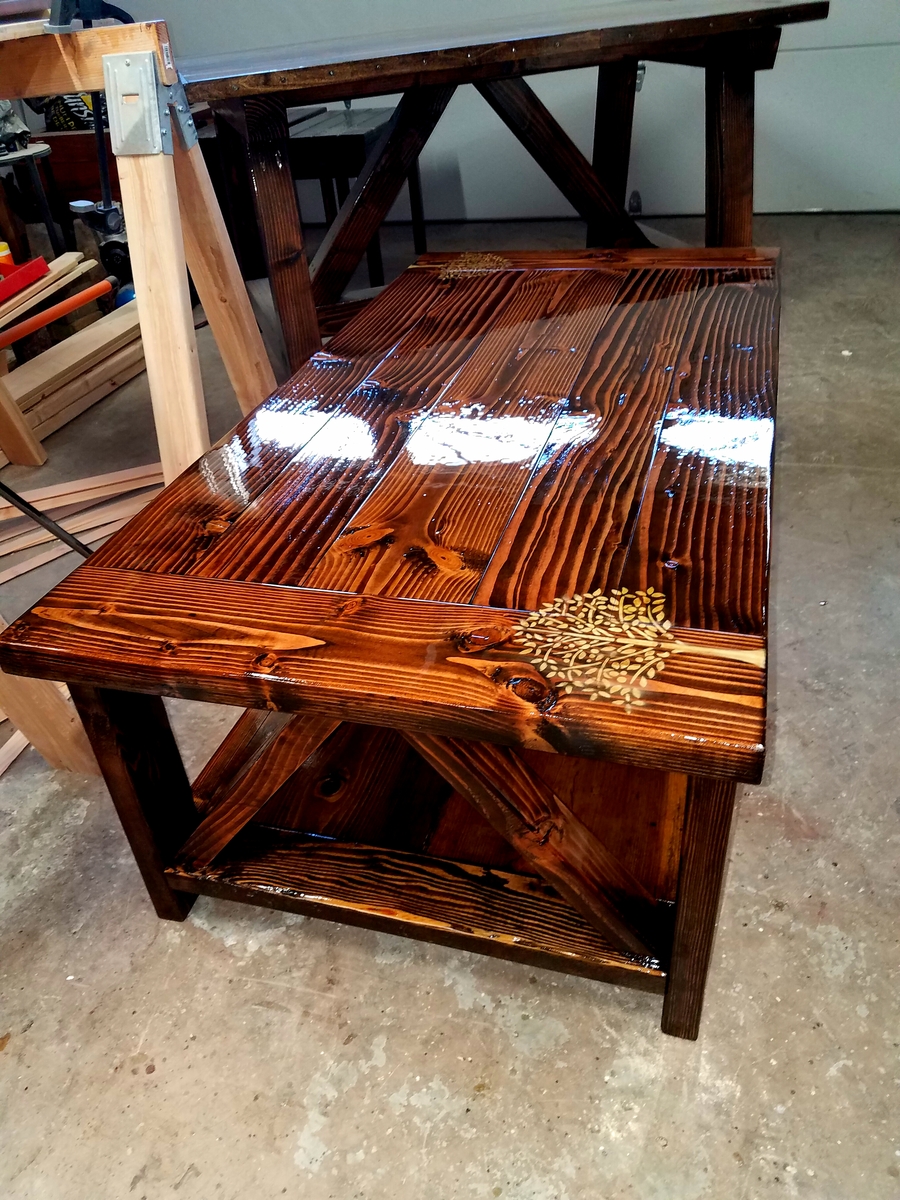
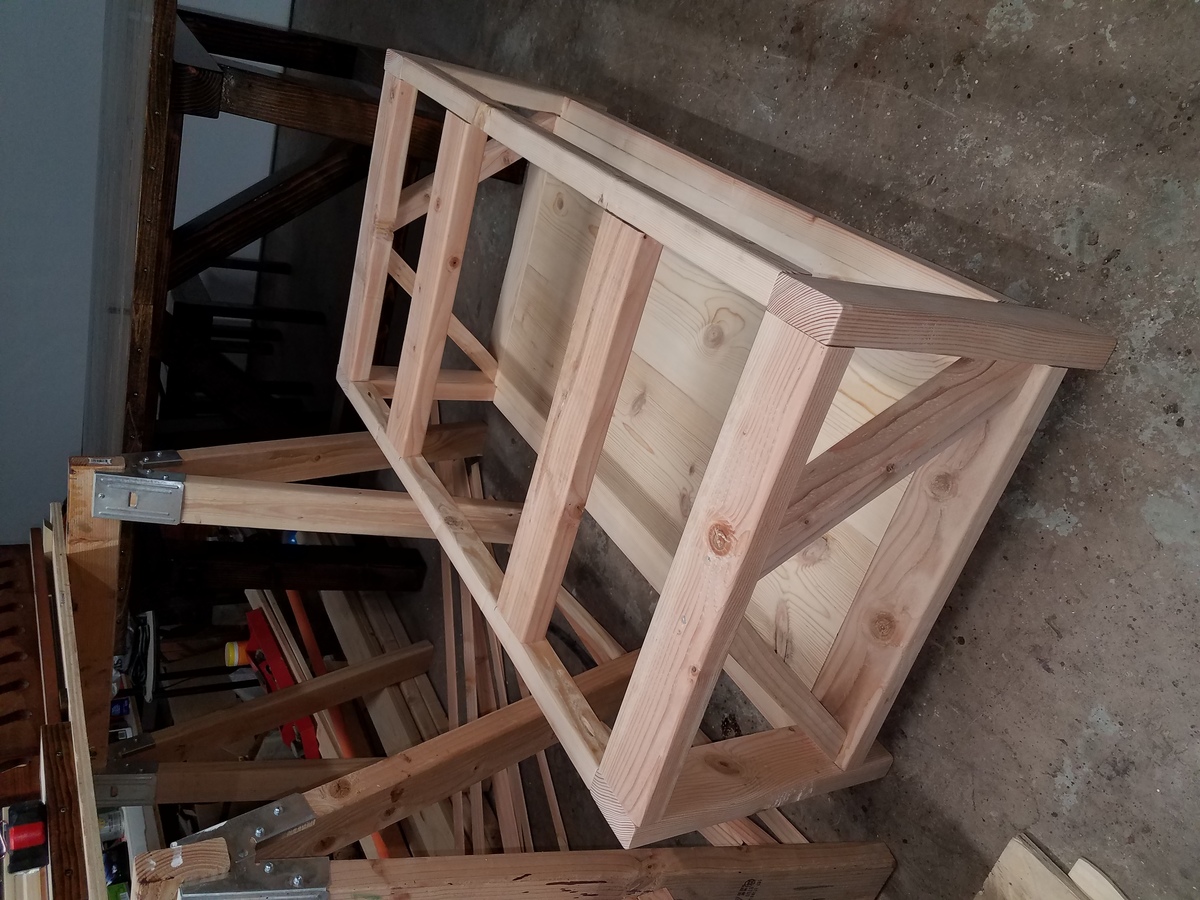
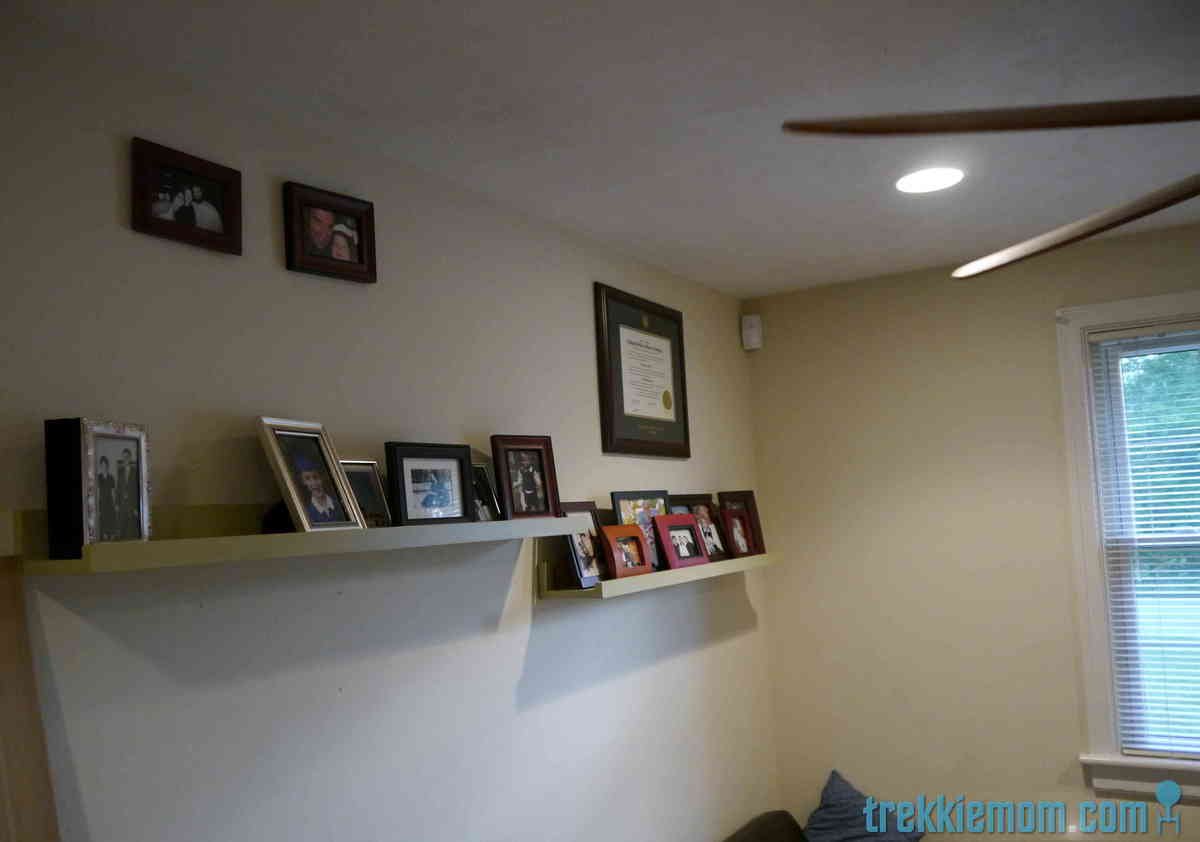
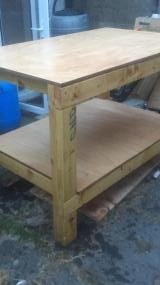
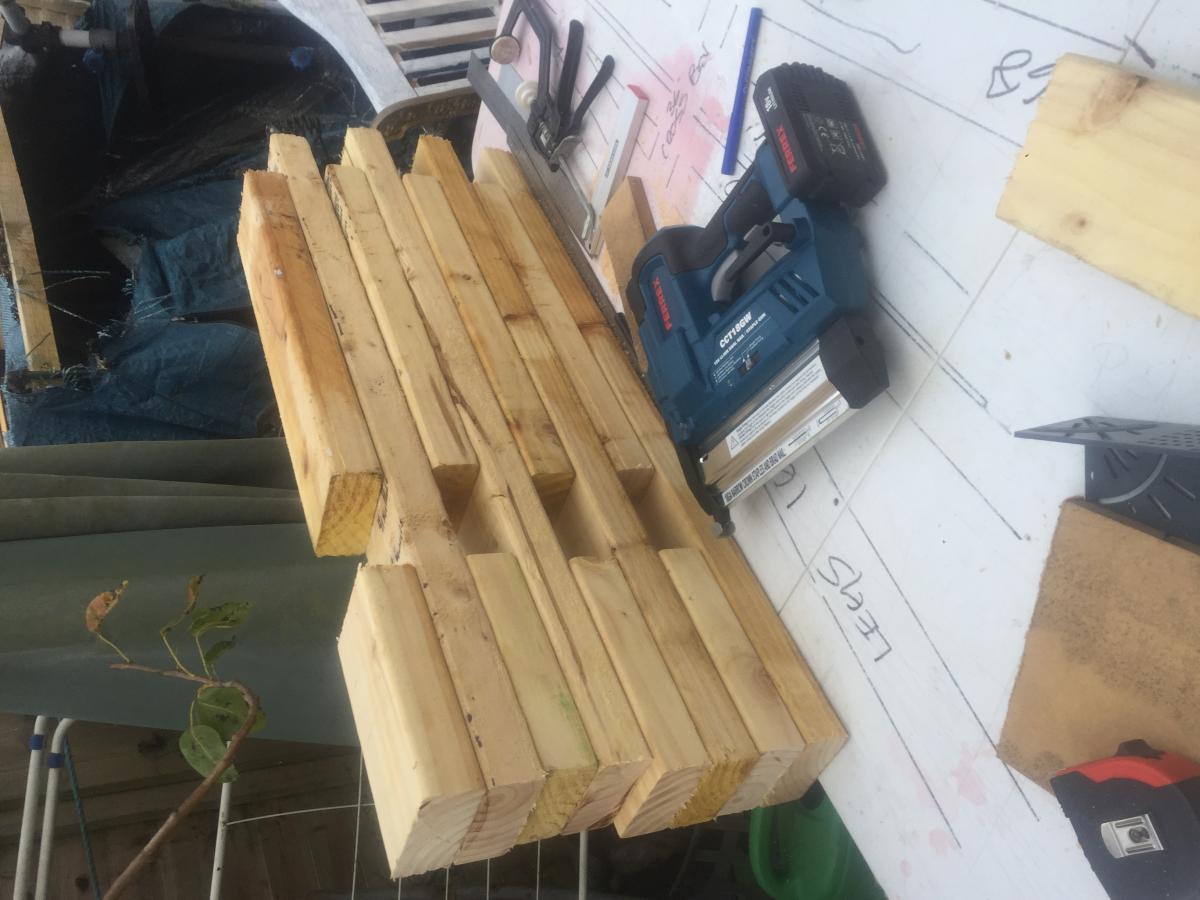
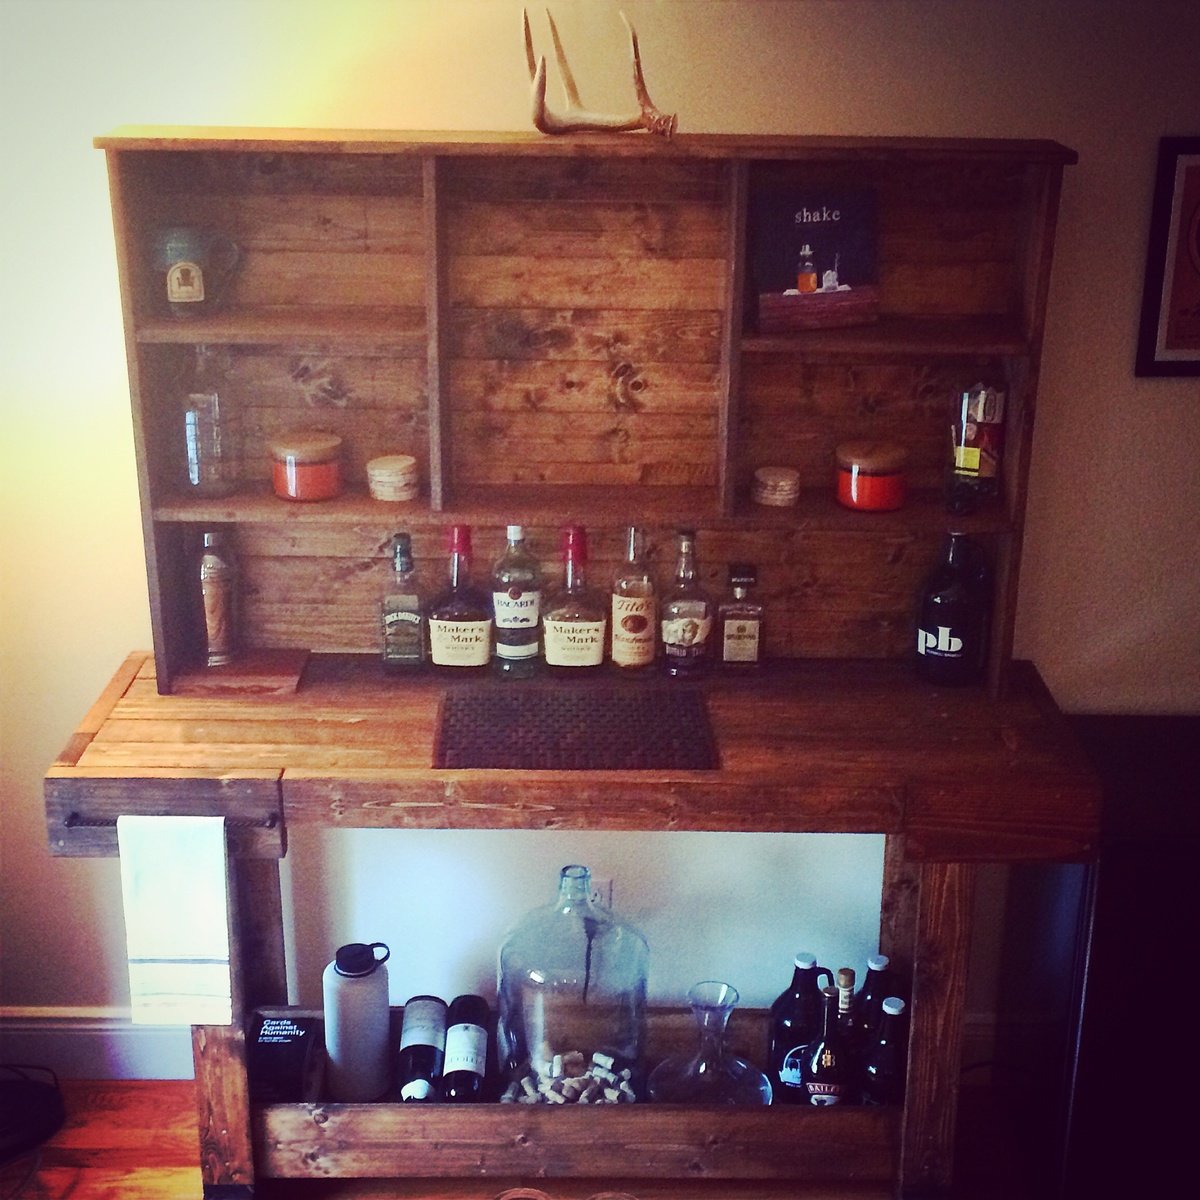
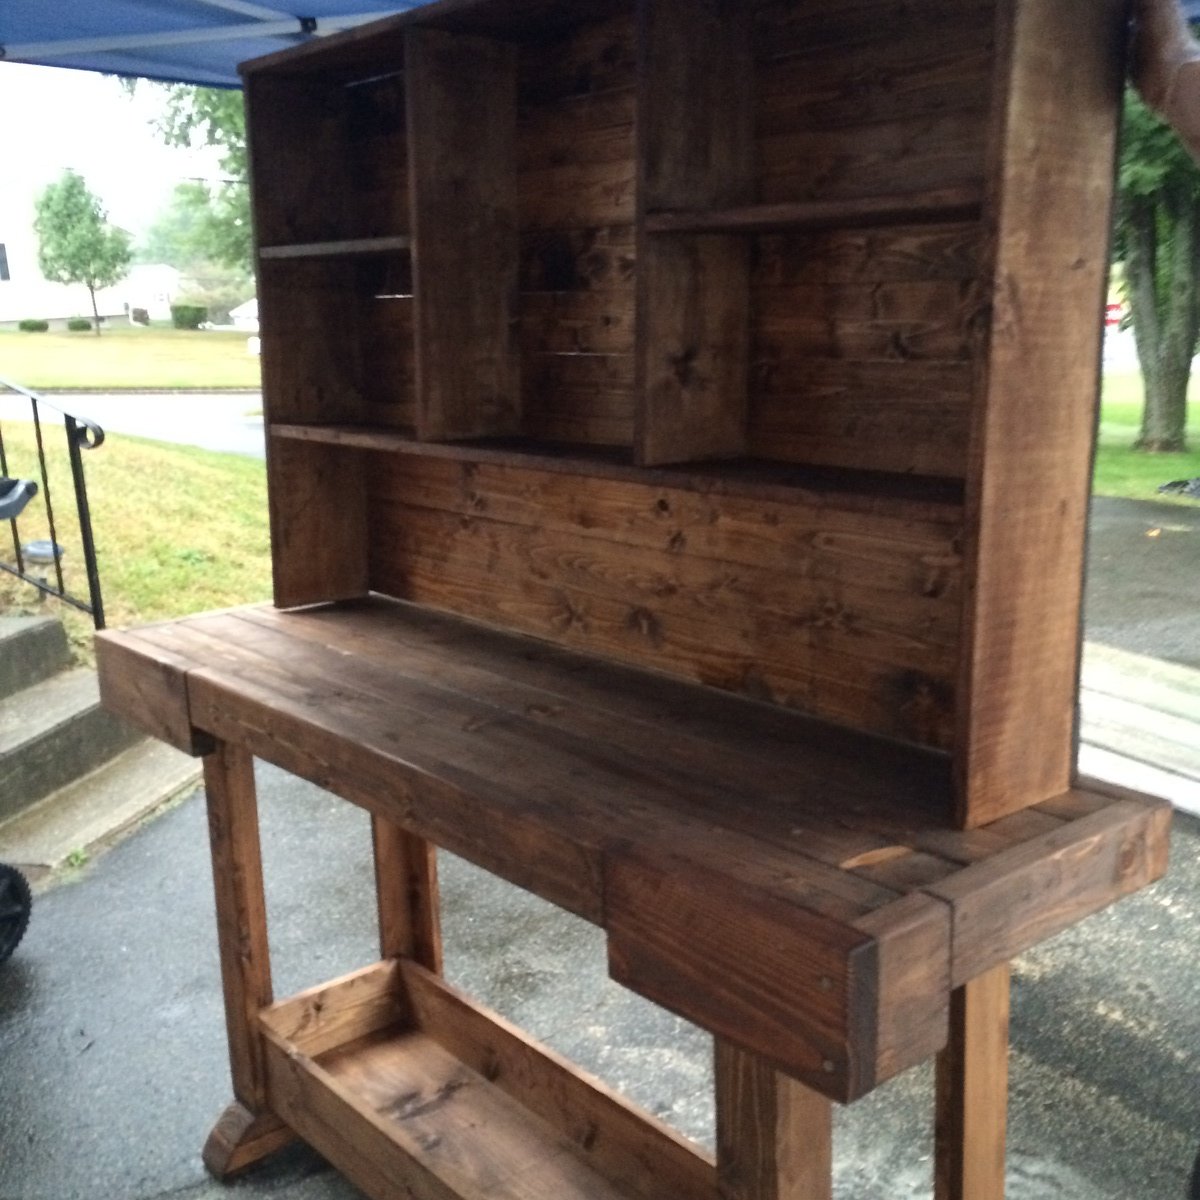
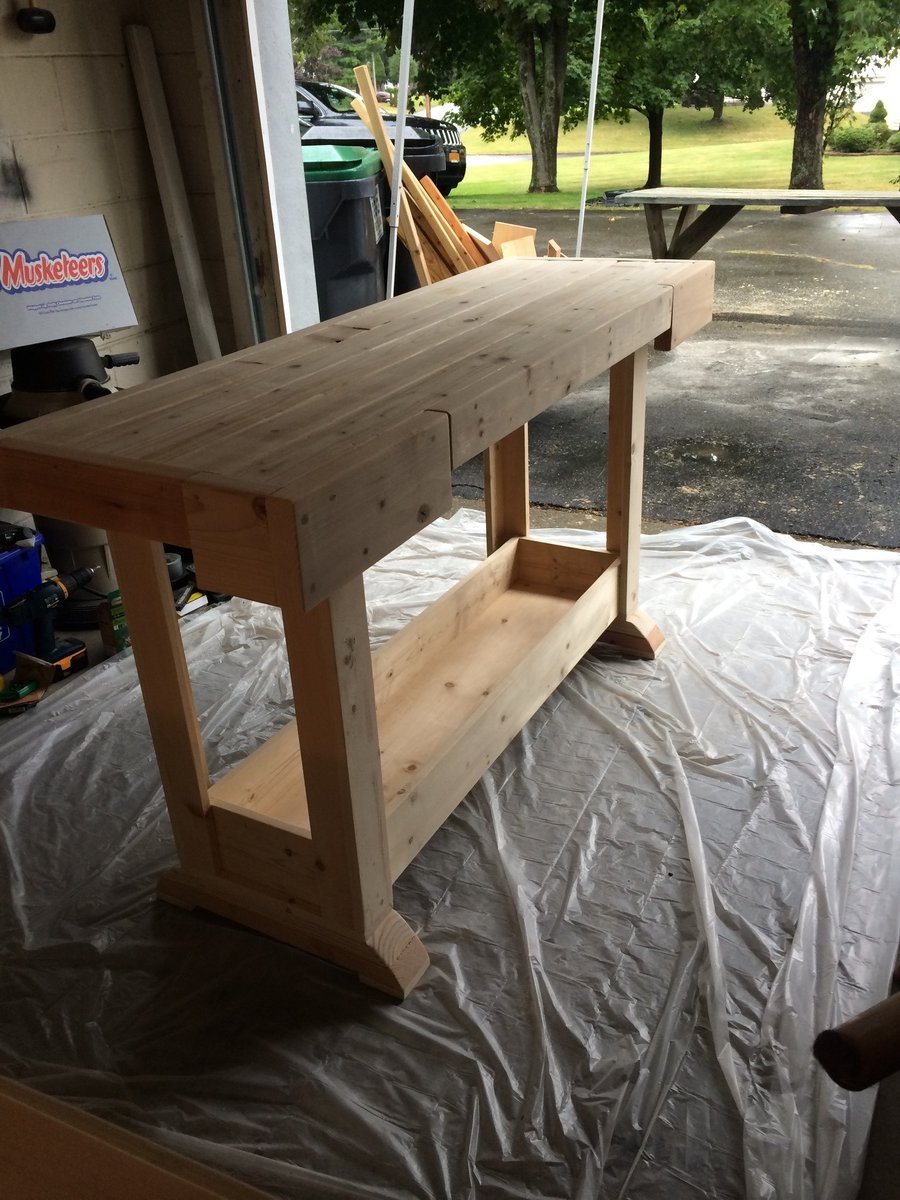
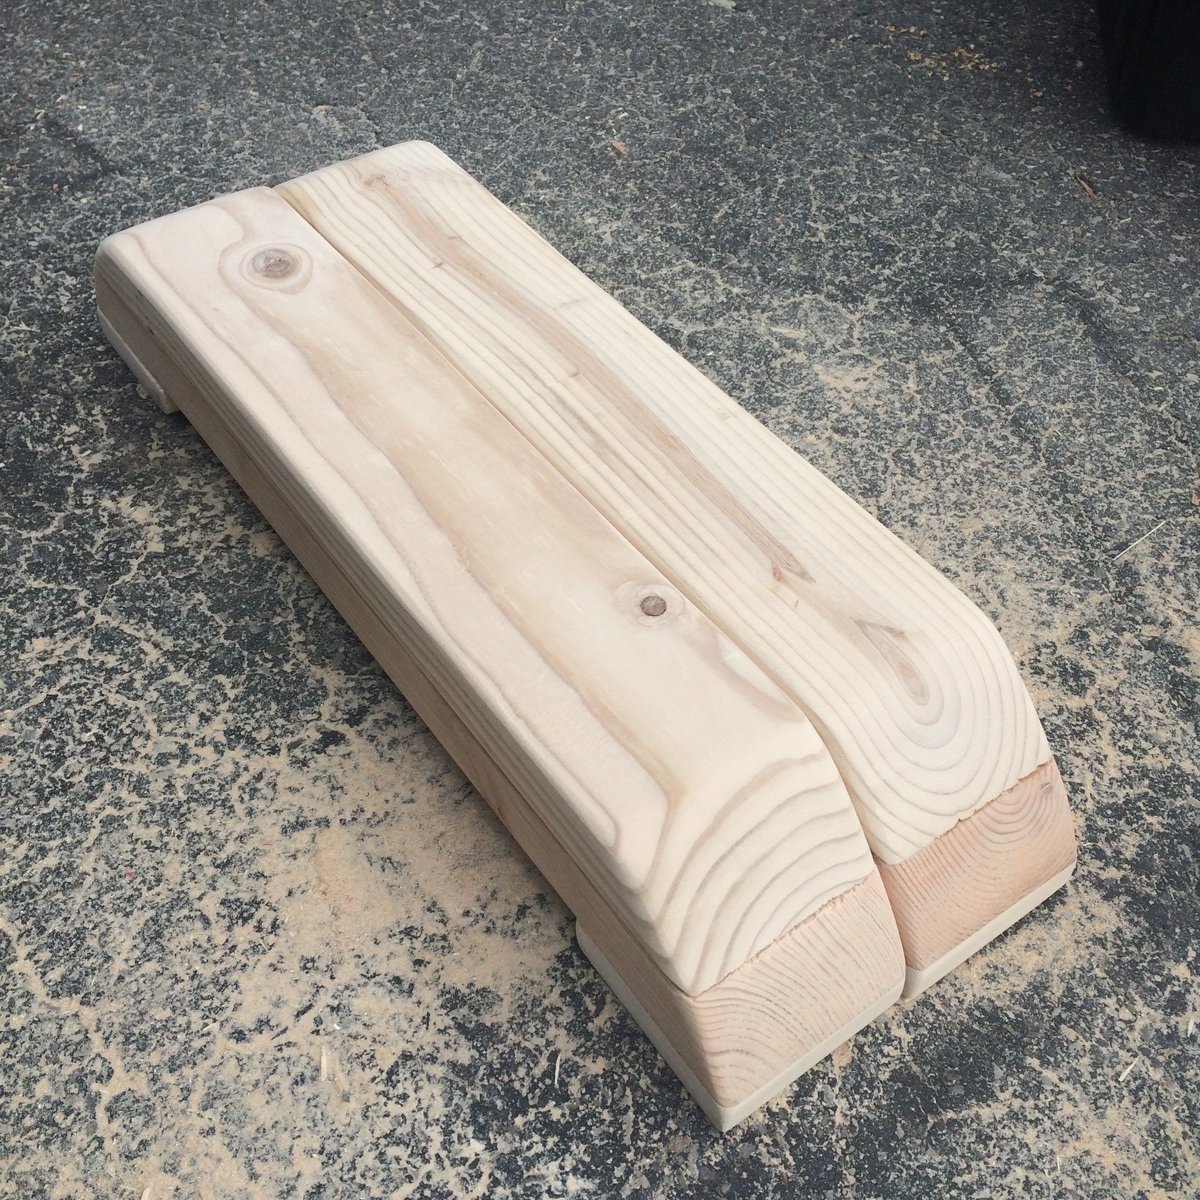
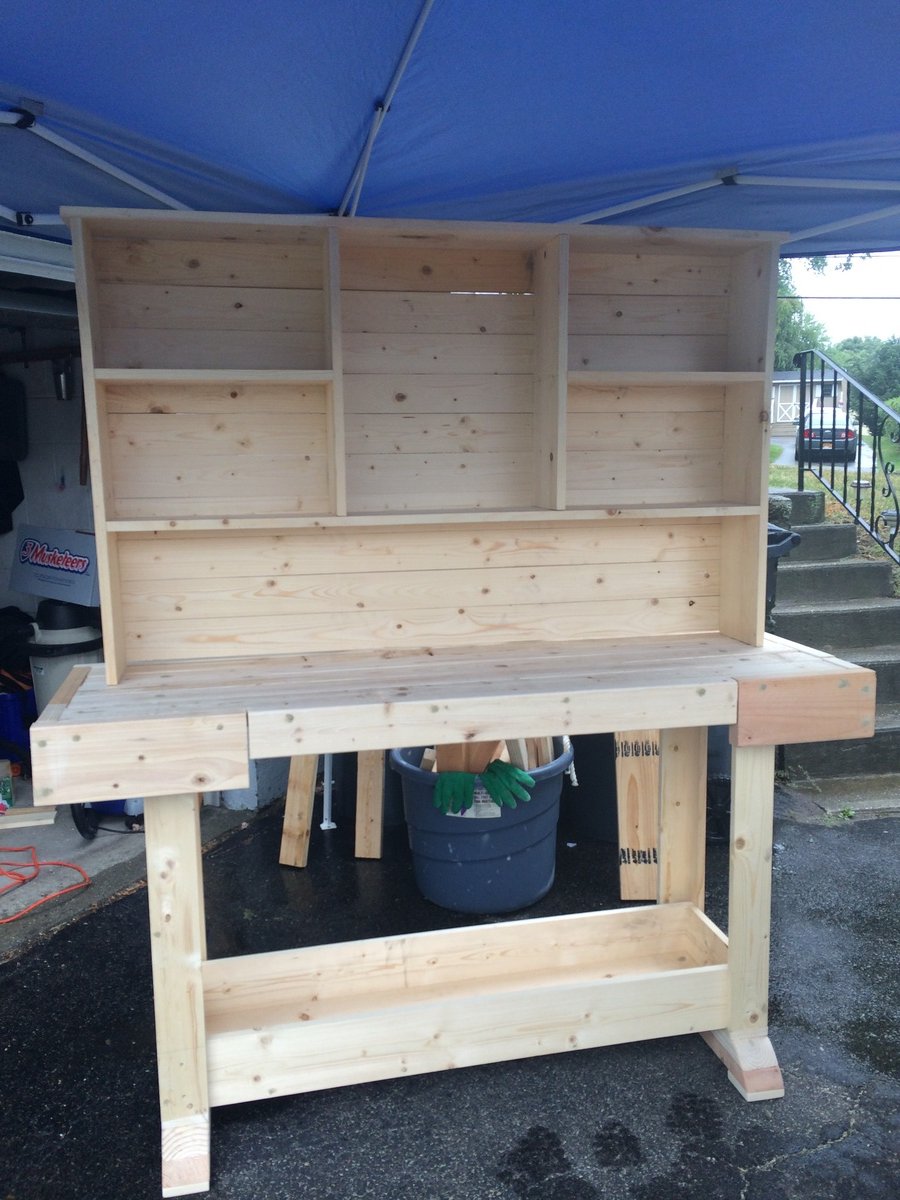
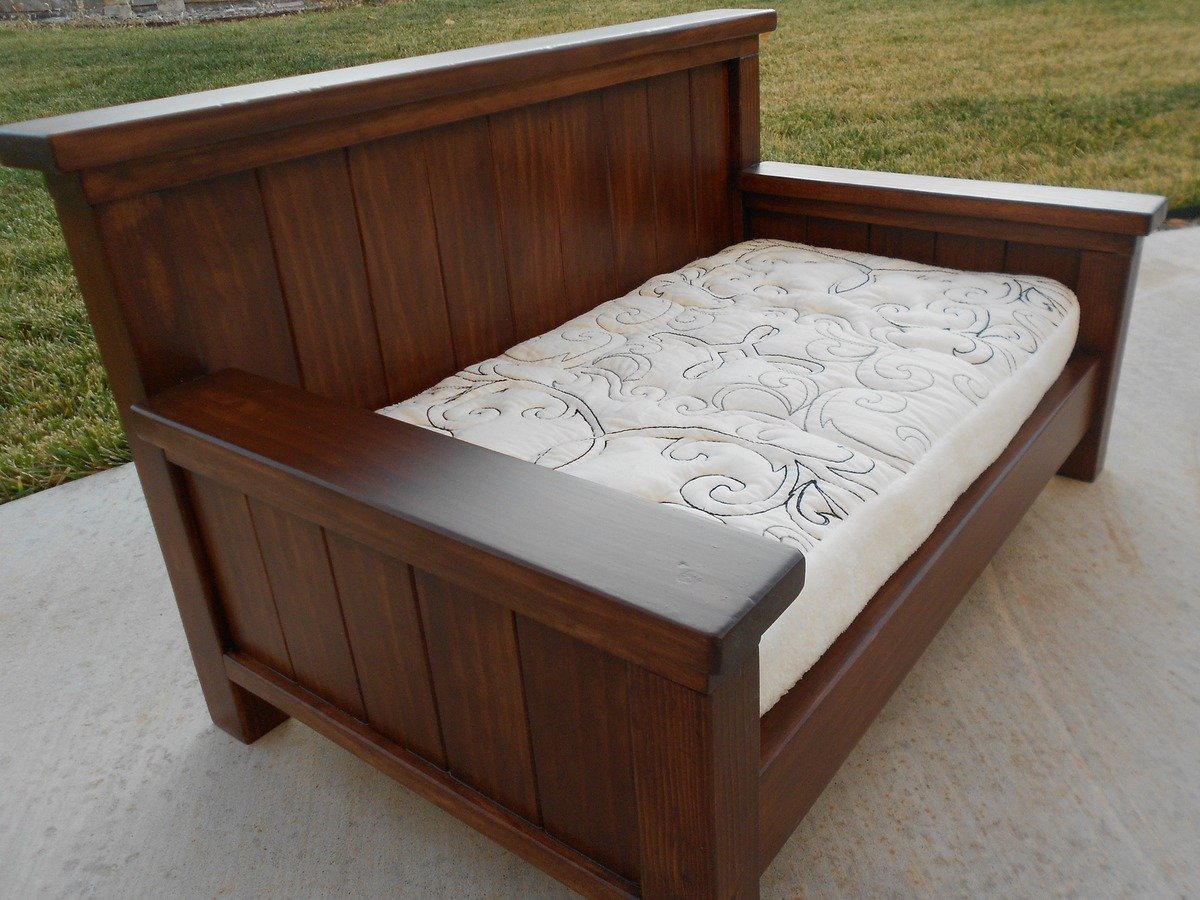
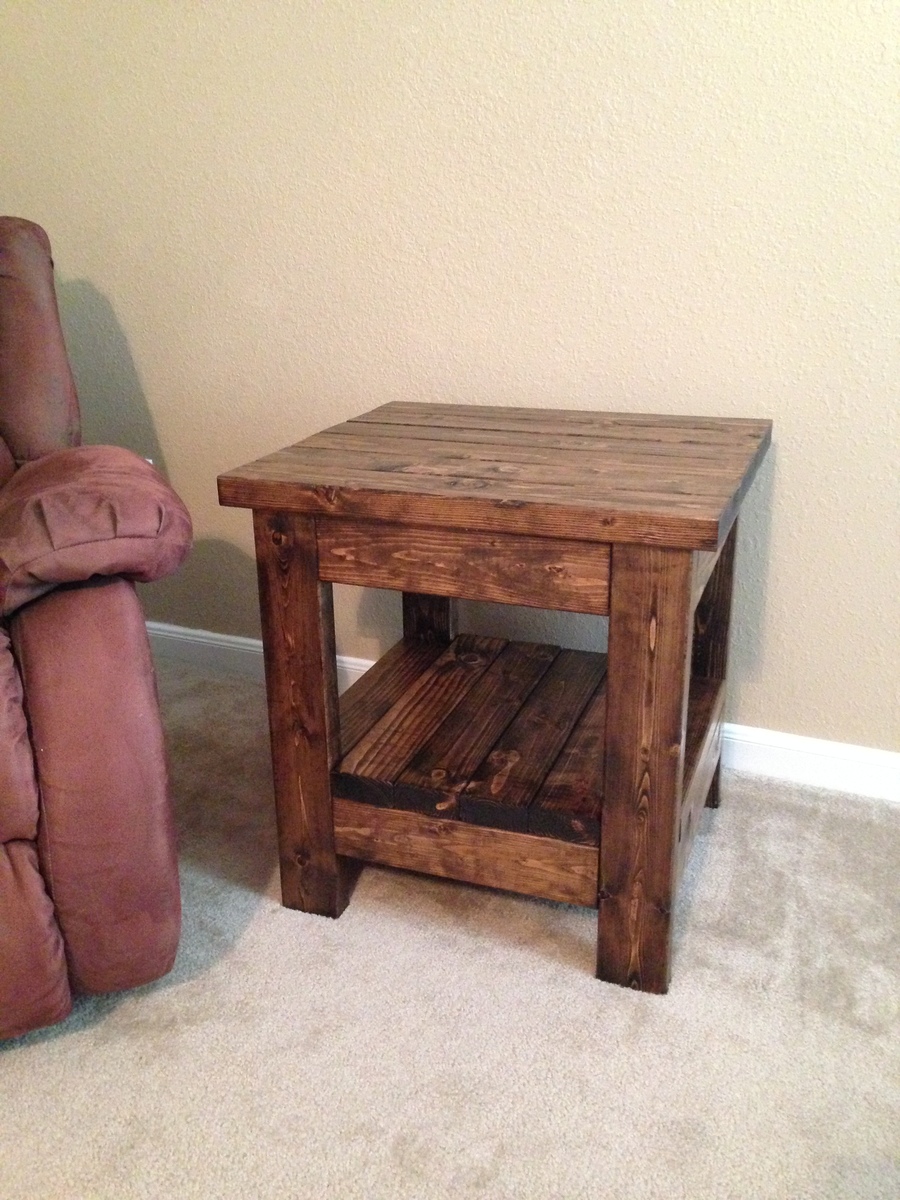
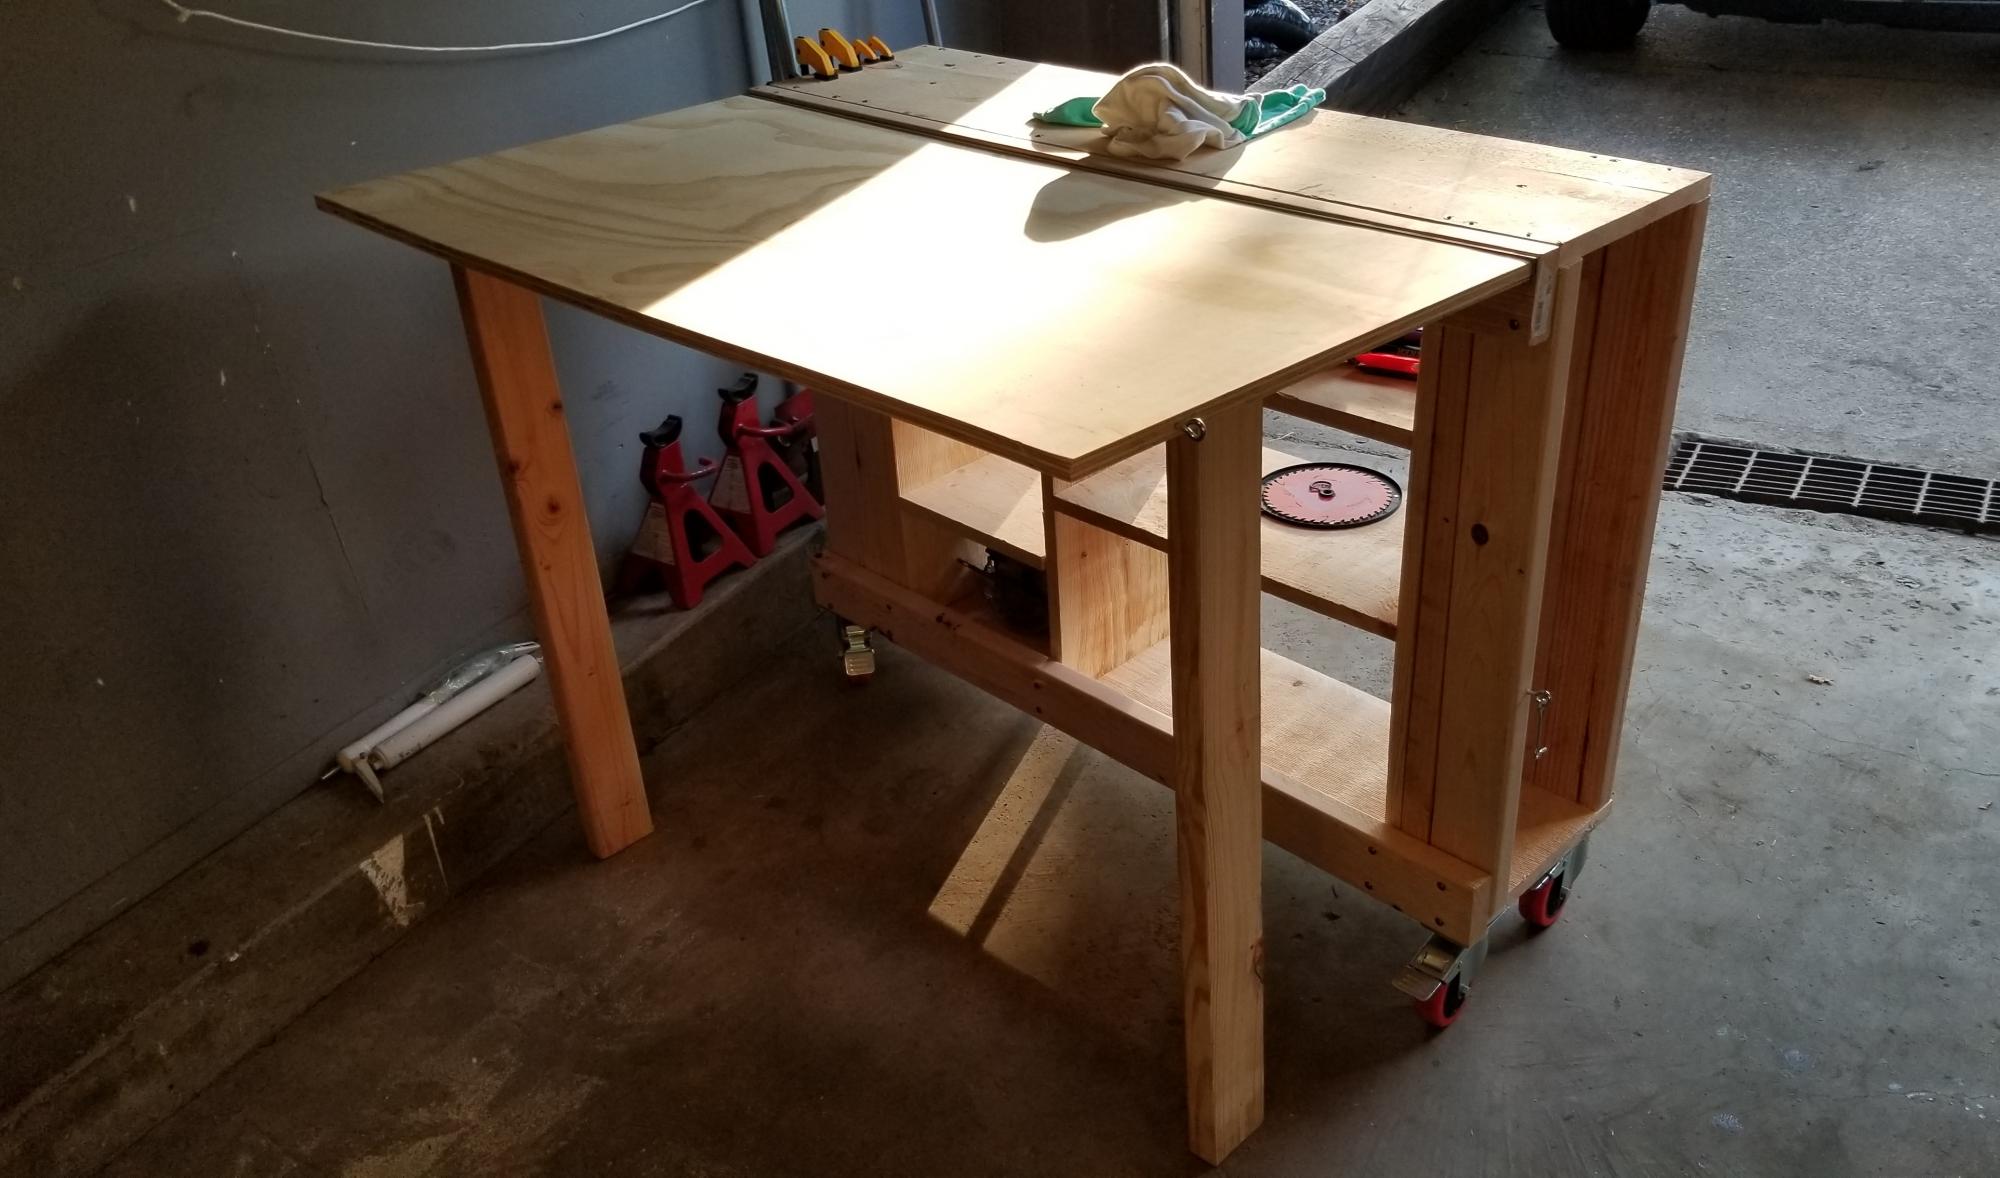
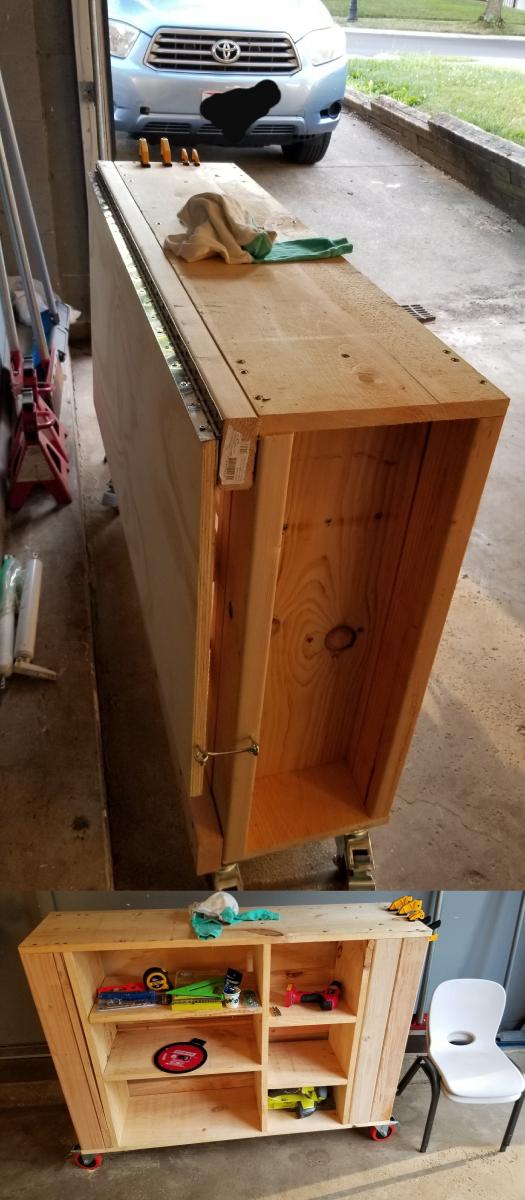
Garage organization project
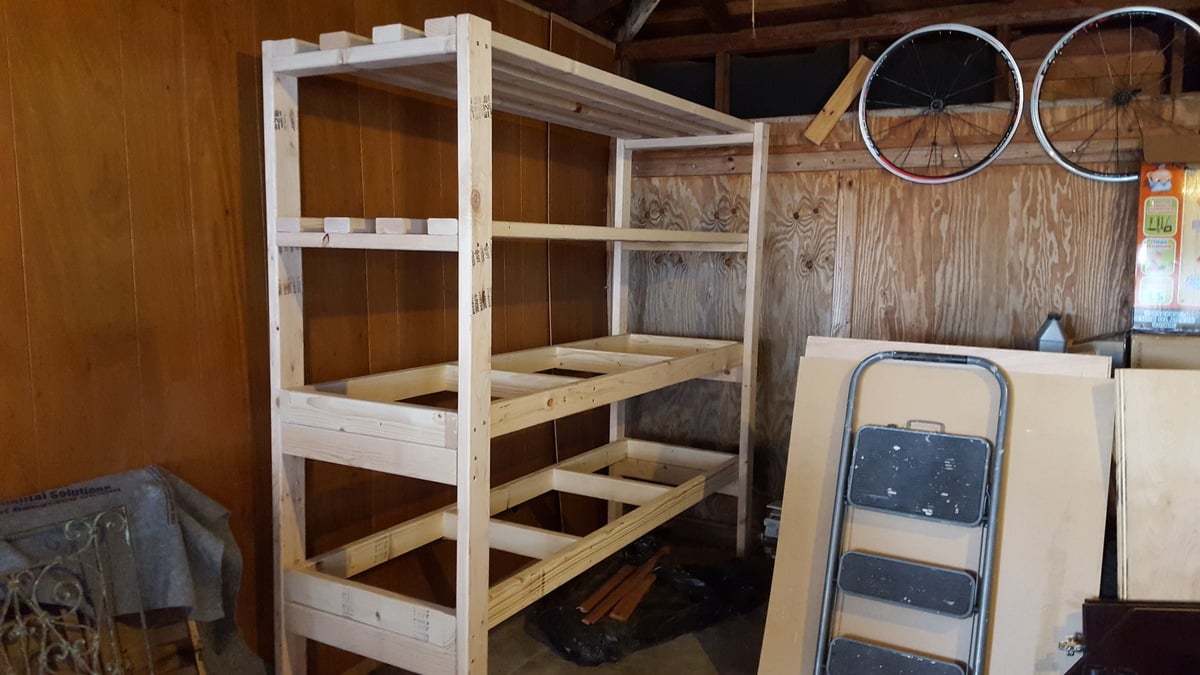
Slightly modified bottom shelves to be heavy duty. Used salvaged 60yr old mahogany paneling for shelves surface.
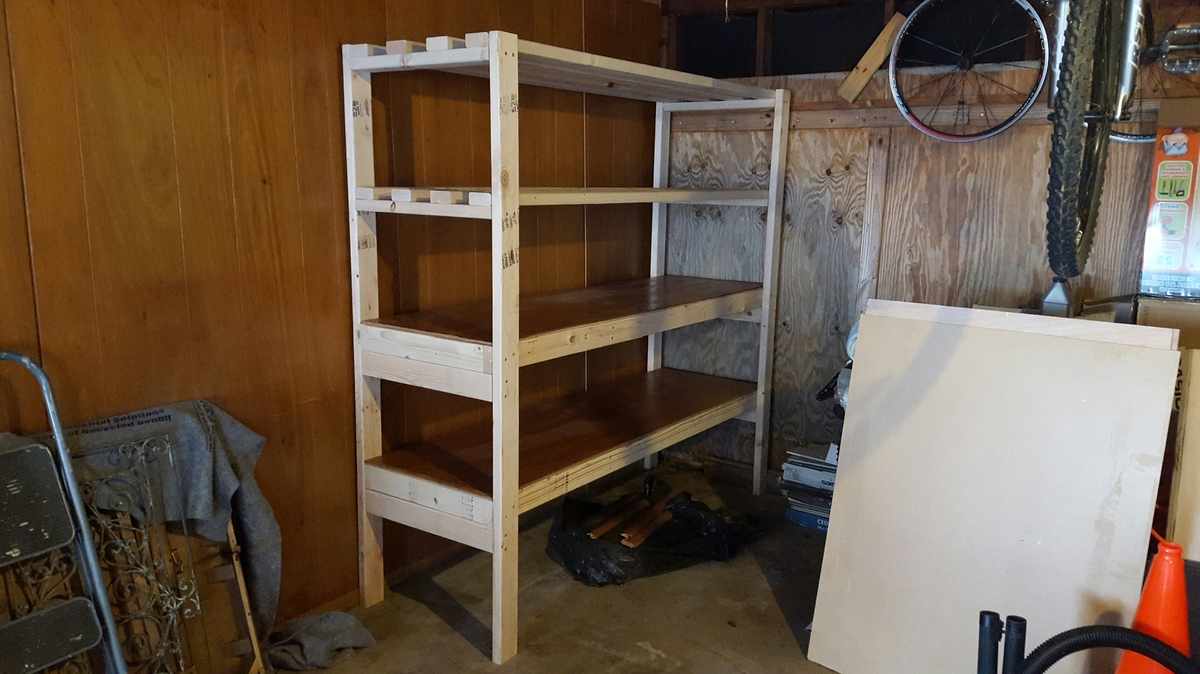
Built from Plan(s)
Estimated Cost
$65 in 2x4s
Estimated Time Investment
Day Project (6-9 Hours)
Recommended Skill Level
Beginner