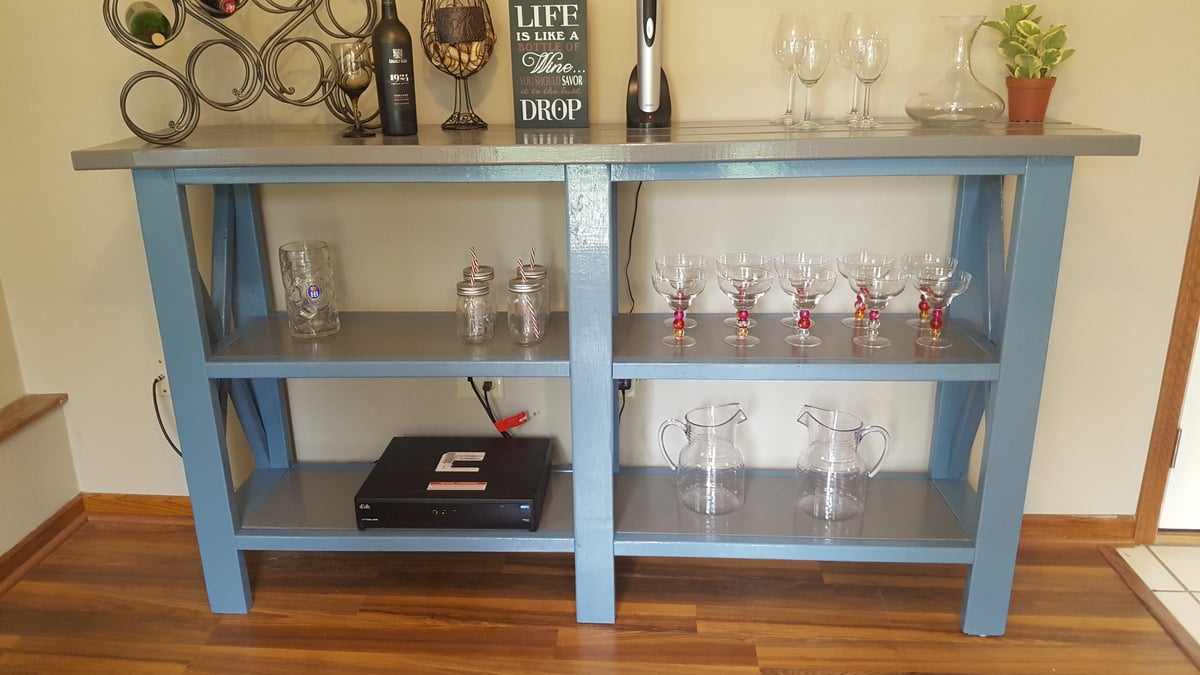
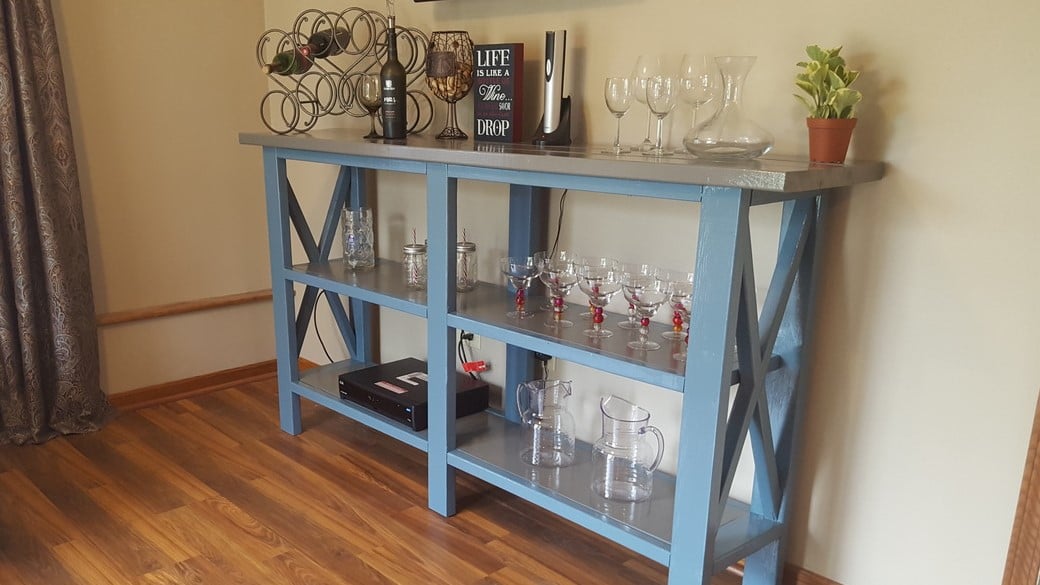
Laundry Room Makeover

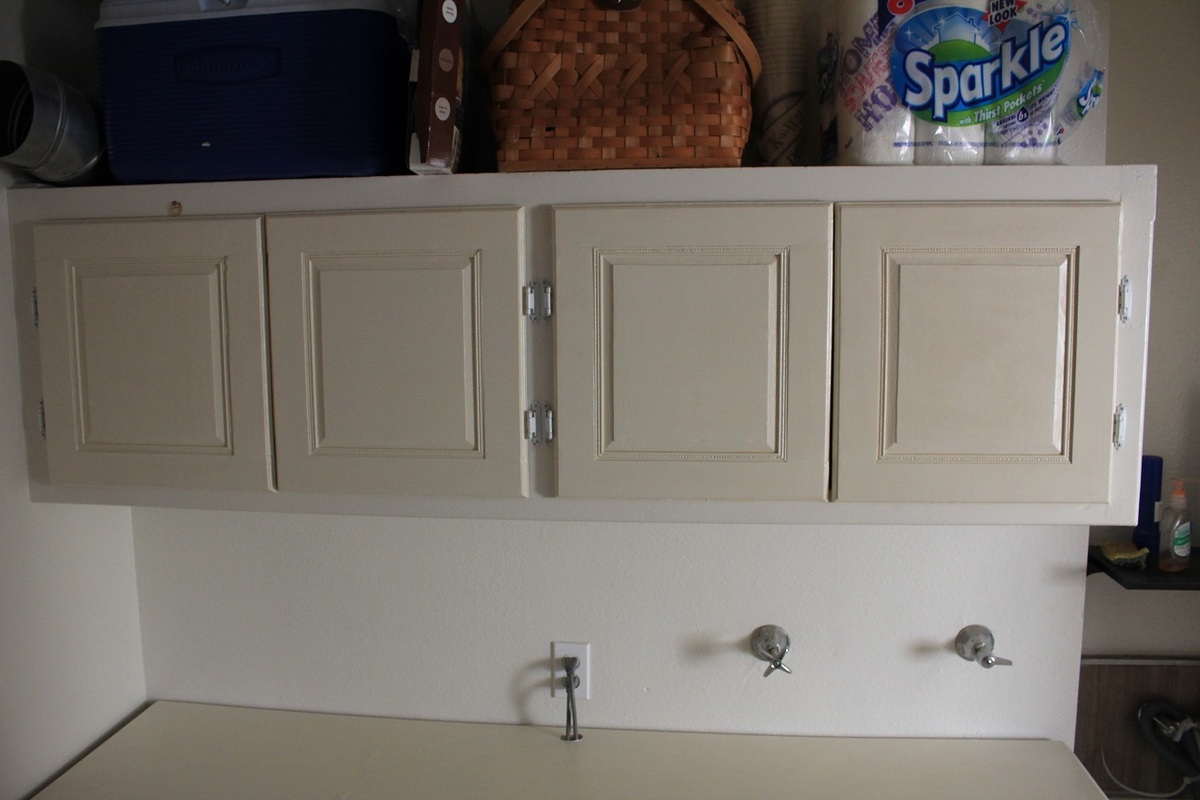
This project is the coolest. The laundry room was a sad sack of disorganization, open cabinets (who took off the doors??) and no surface to work on. The dog food sat in its' bag in between the washer and dryer. Here's a video of the makeover: https://www.youtube.com/watch?v=xIi2Ay2vXEE
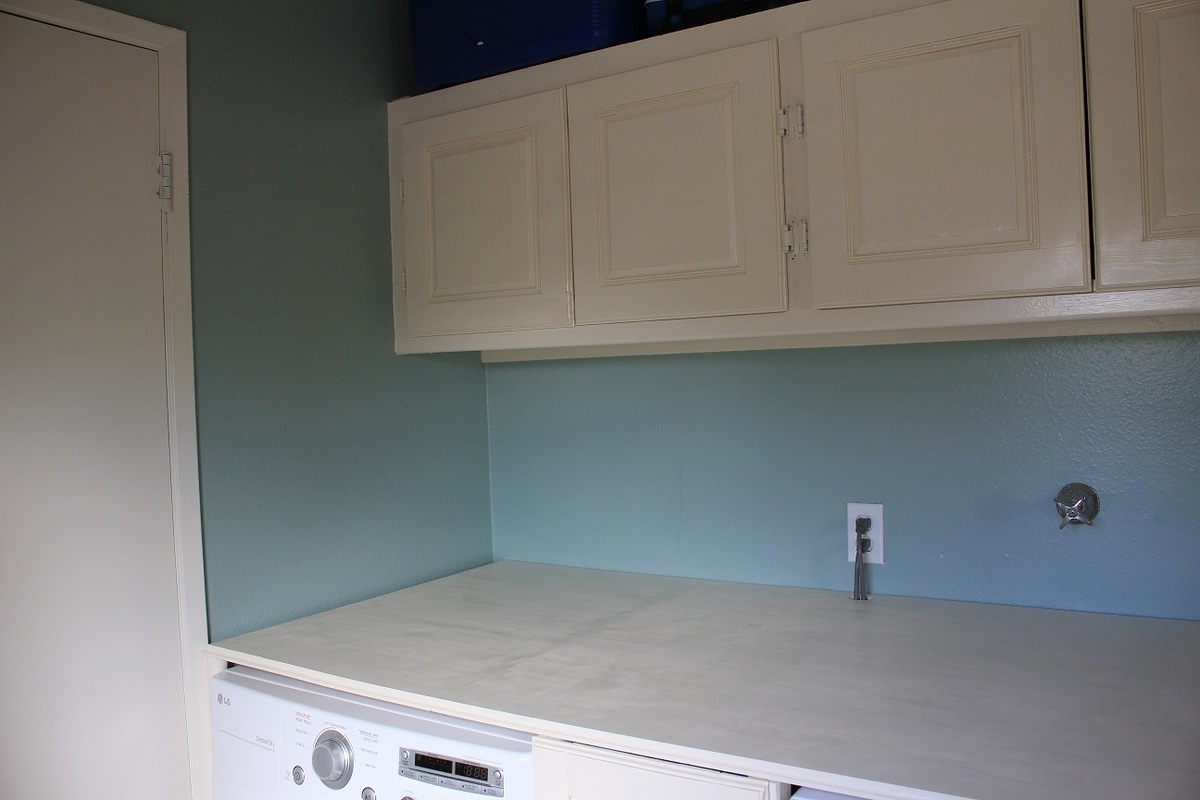
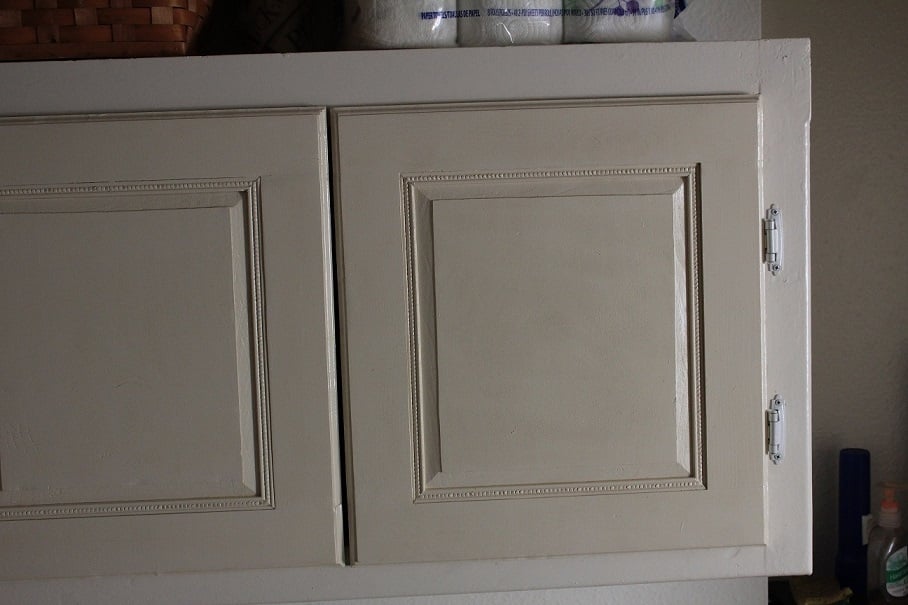
Used Ana's tut on making raised panel doors, and purchased tiny trim moulding to fancy it up. I also routered the edges to give detail. I LOVE these doors! I created the dog food pull out bin to match it all so the food is concealed. In hindsight, I should've sprung for better bigger wheels because we have 50 lbs of food in there and it's a little difficult to pull out when filled all the way. It's just a cardboard box lined with a trash bag and painted white on the outside.
Table top was made from plywood and scraps. It's more useful than I thought. Very nice to have a solid surface to put stuff on. Routered the edge of the plywood for a more finished look, though I'm not sure that's wise with plywood. I love that the cabinets are now closed and I painted the room so it looked more fiished. Yay for $75 room makeovers!


Comments
ewebrat
Wed, 08/09/2023 - 23:21
Yes!
Love to try parts of this!!