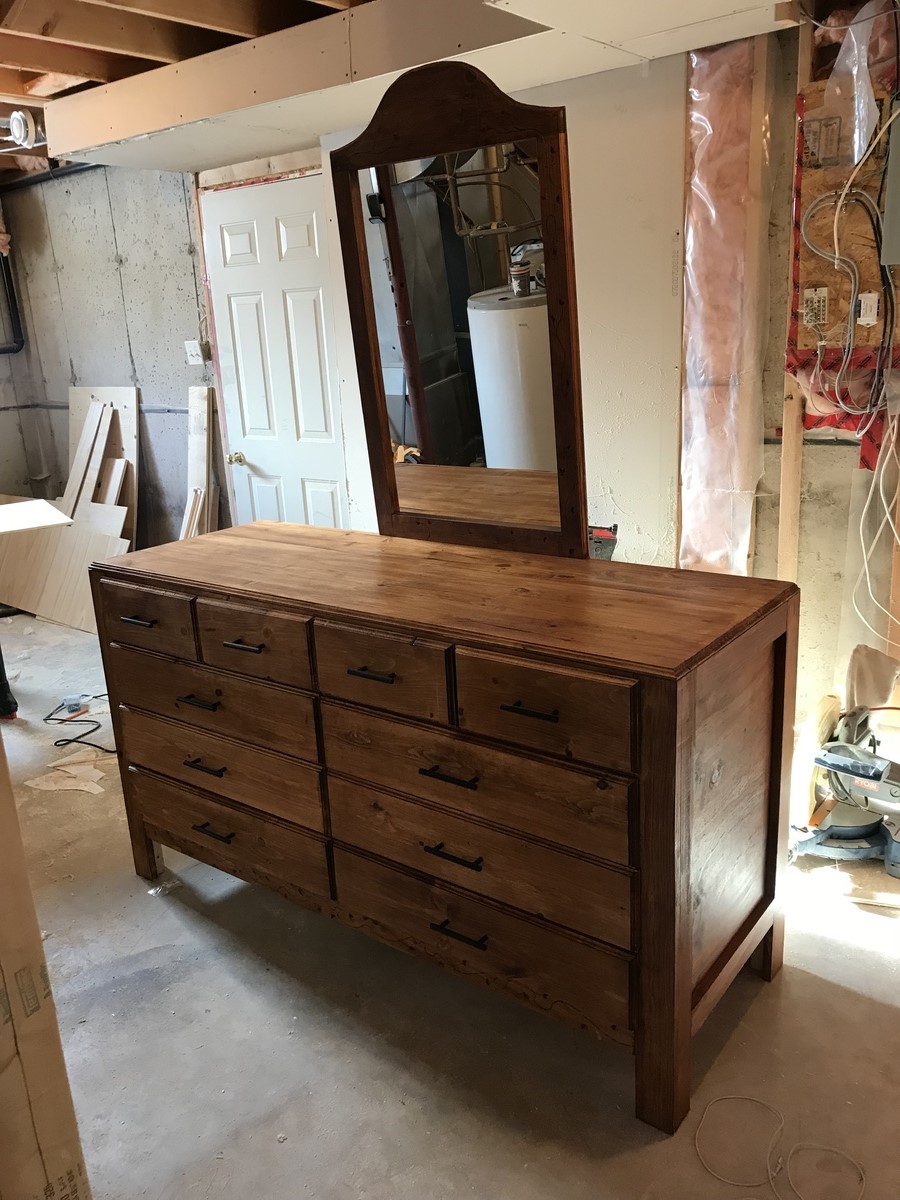
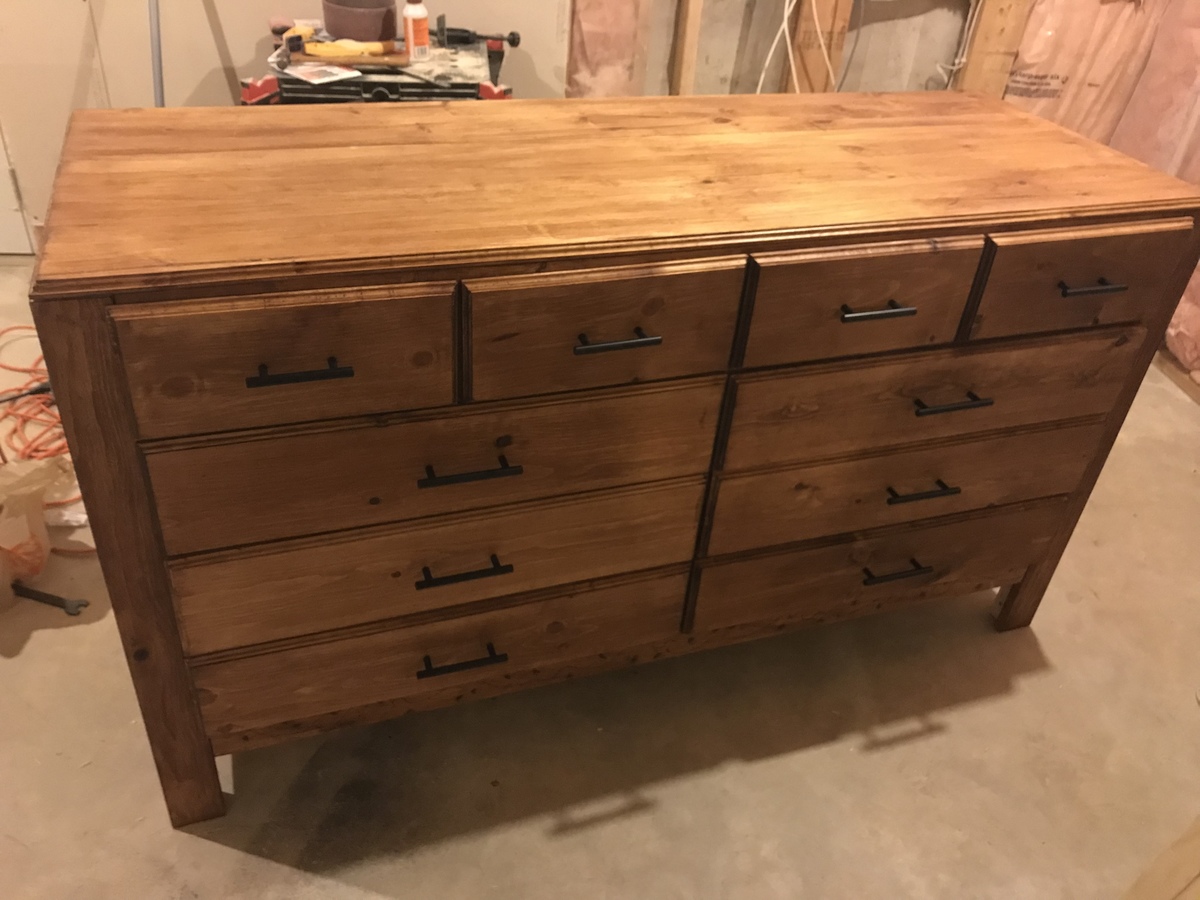
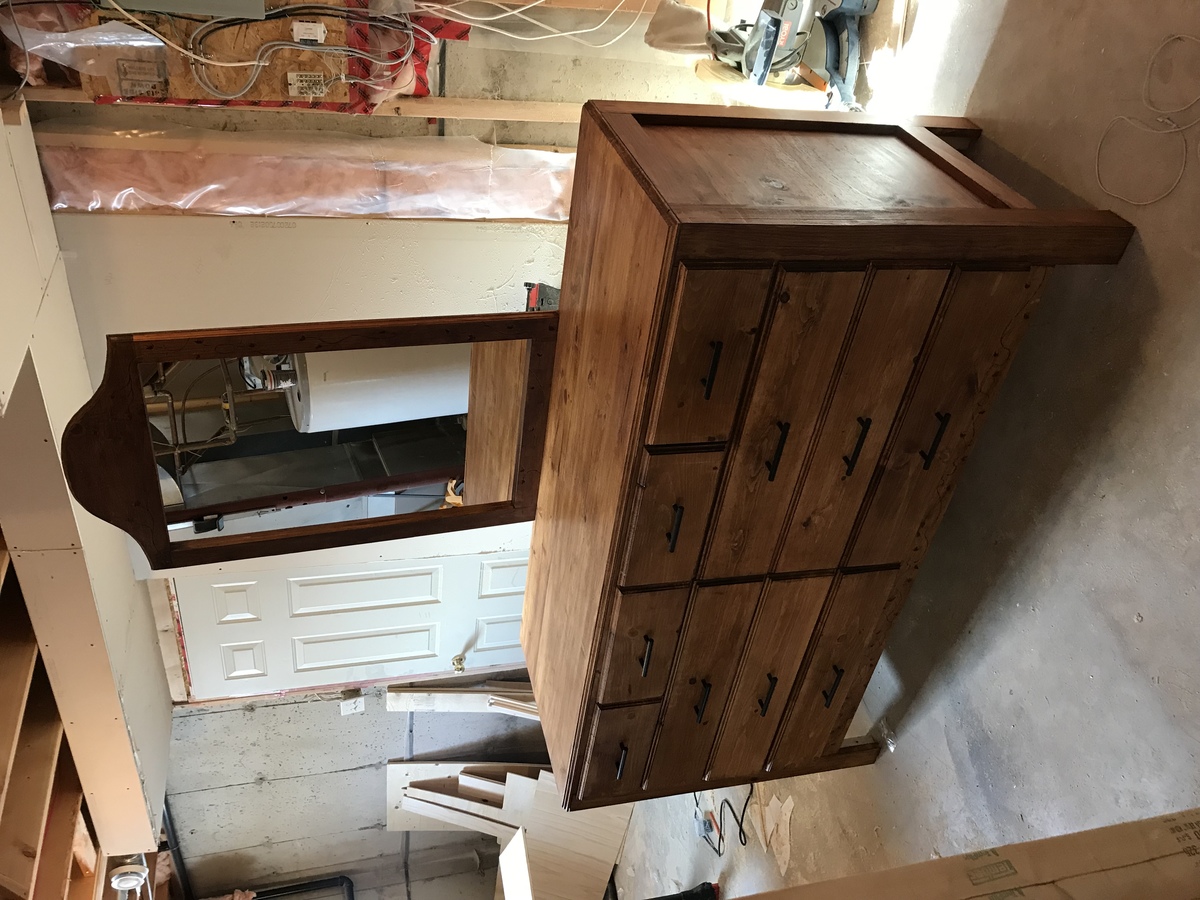
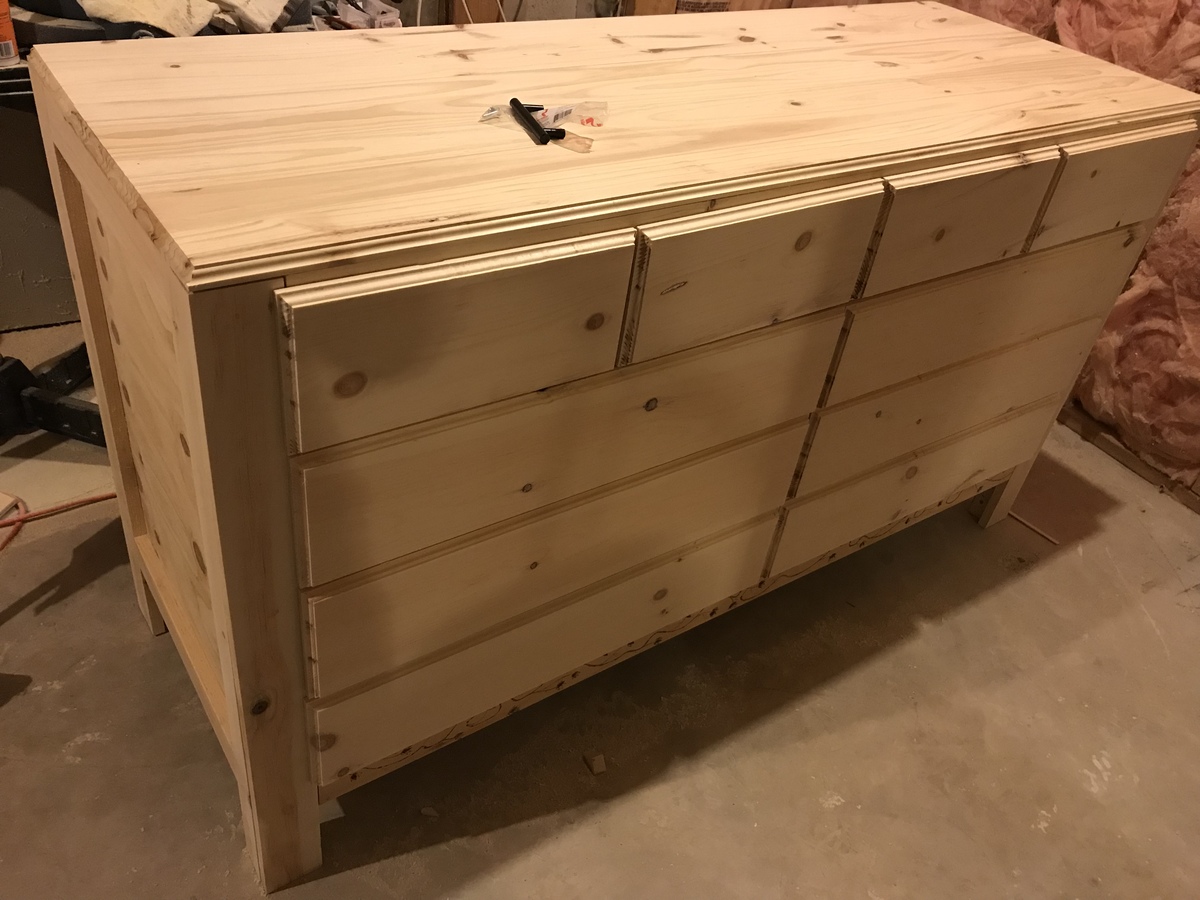
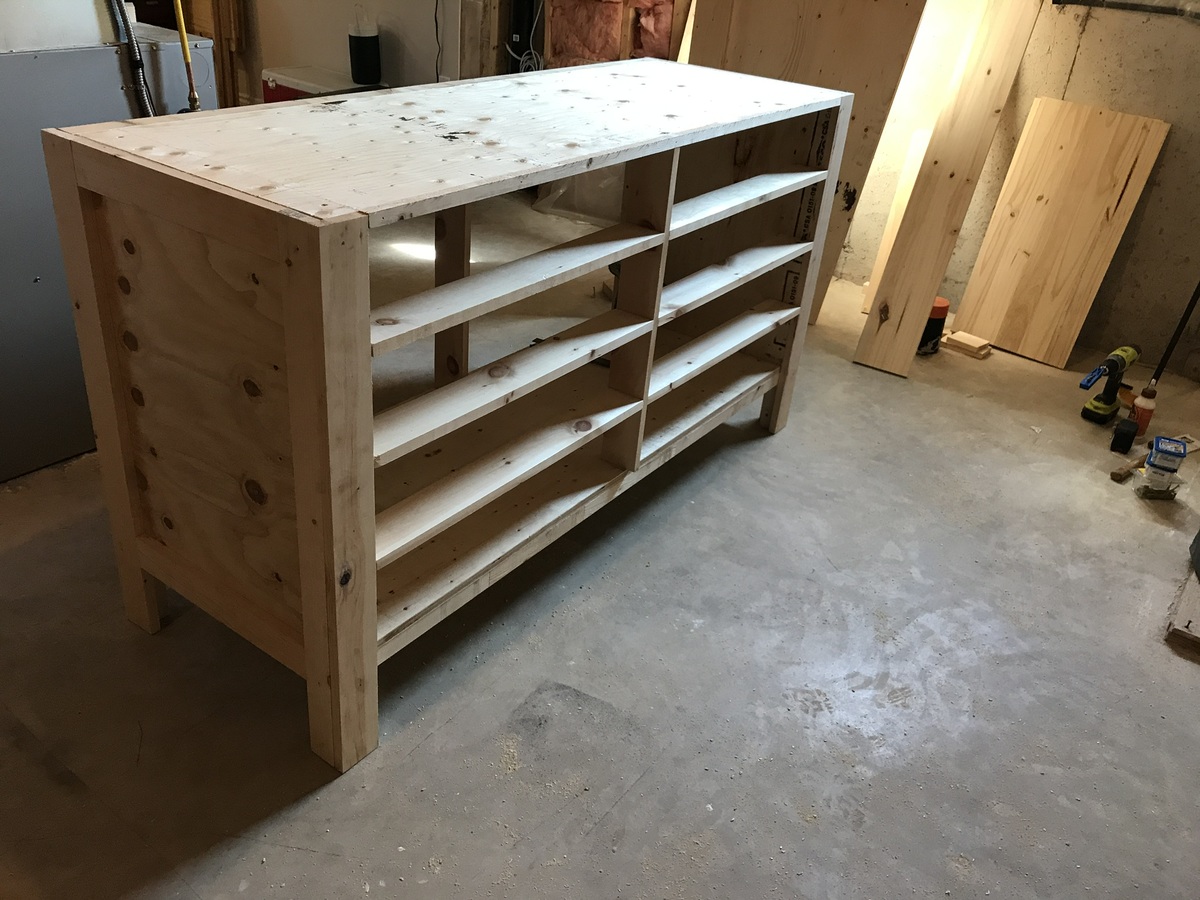
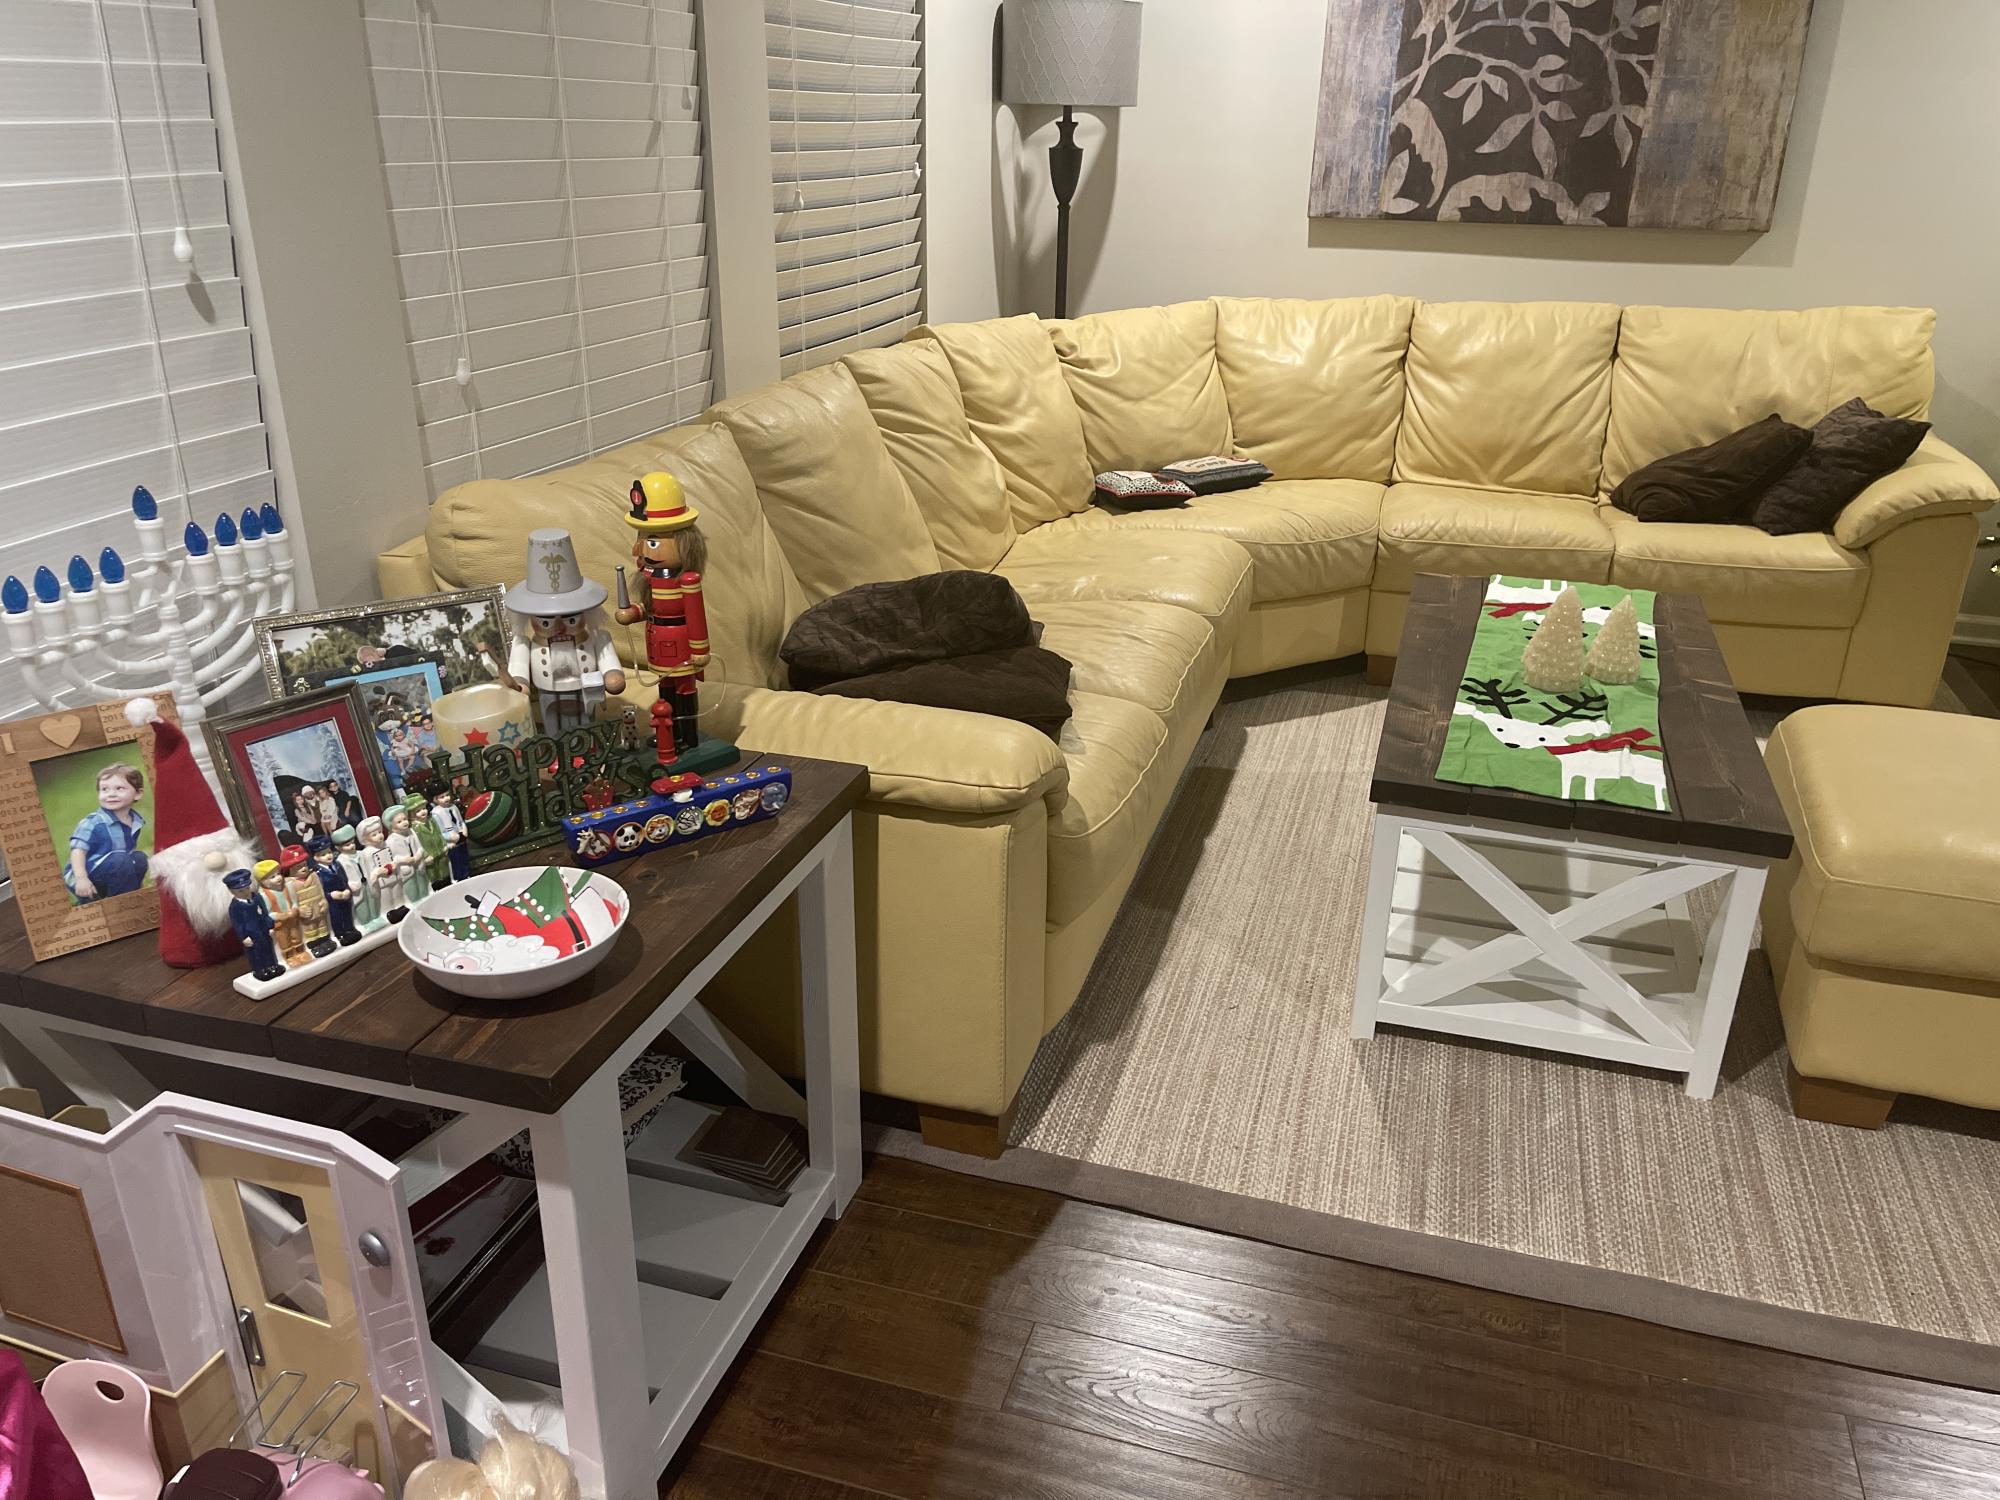
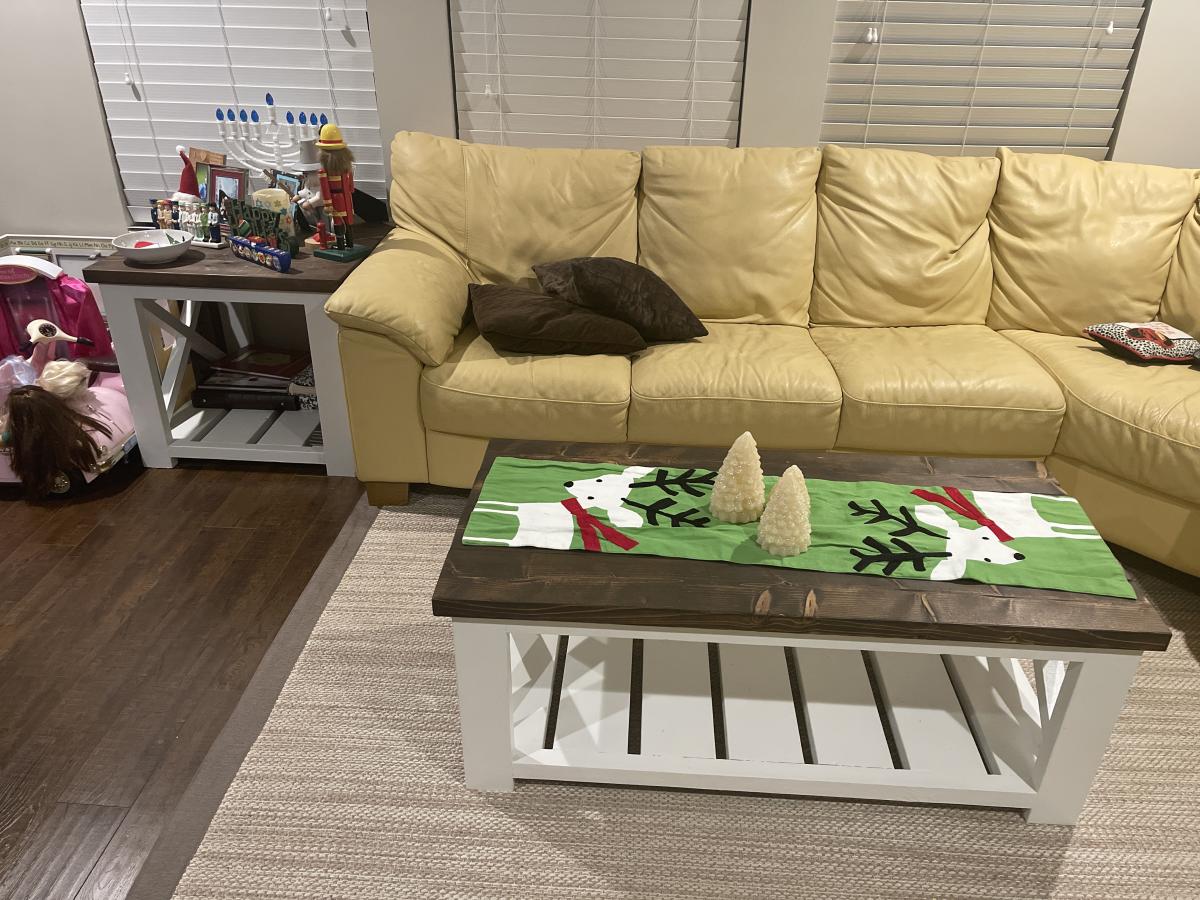
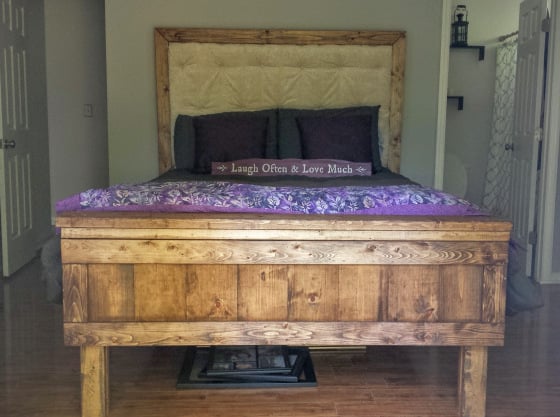
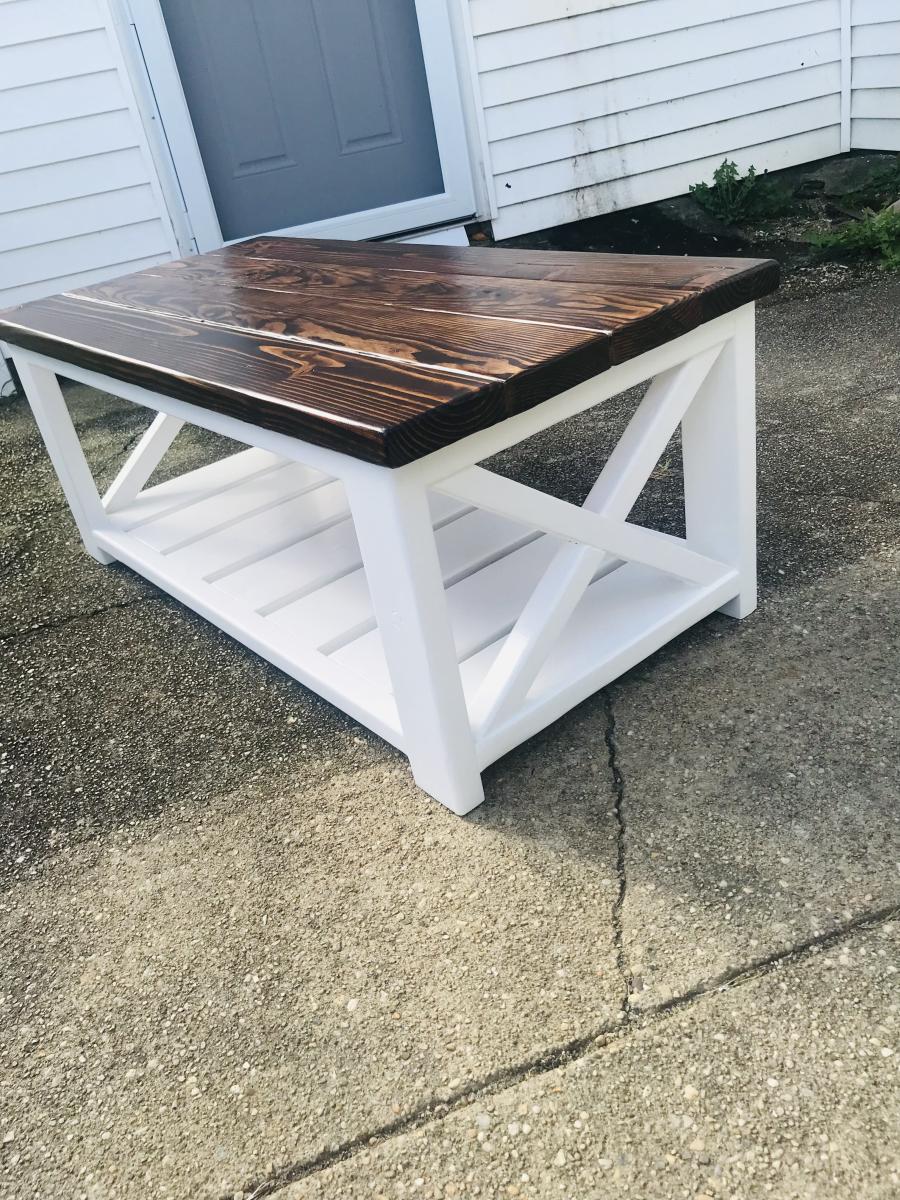
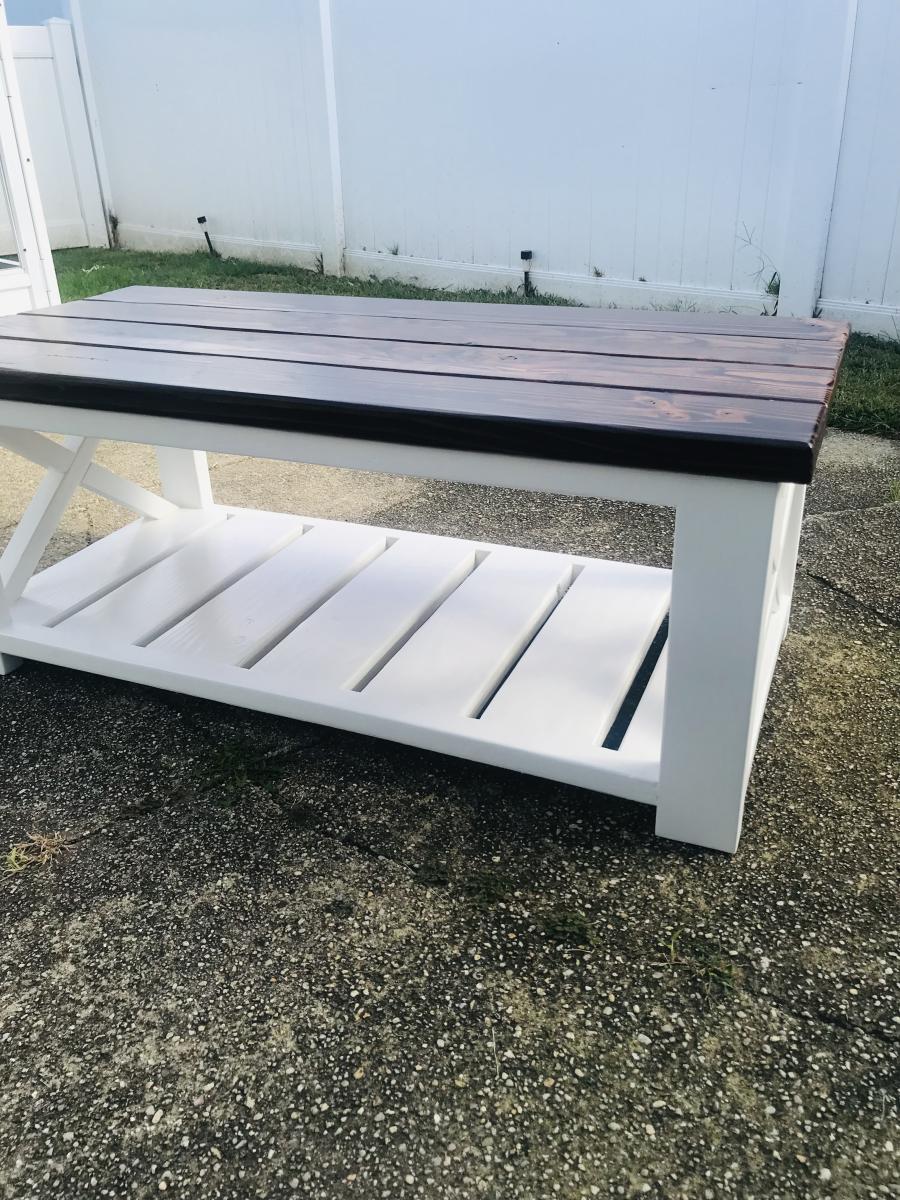
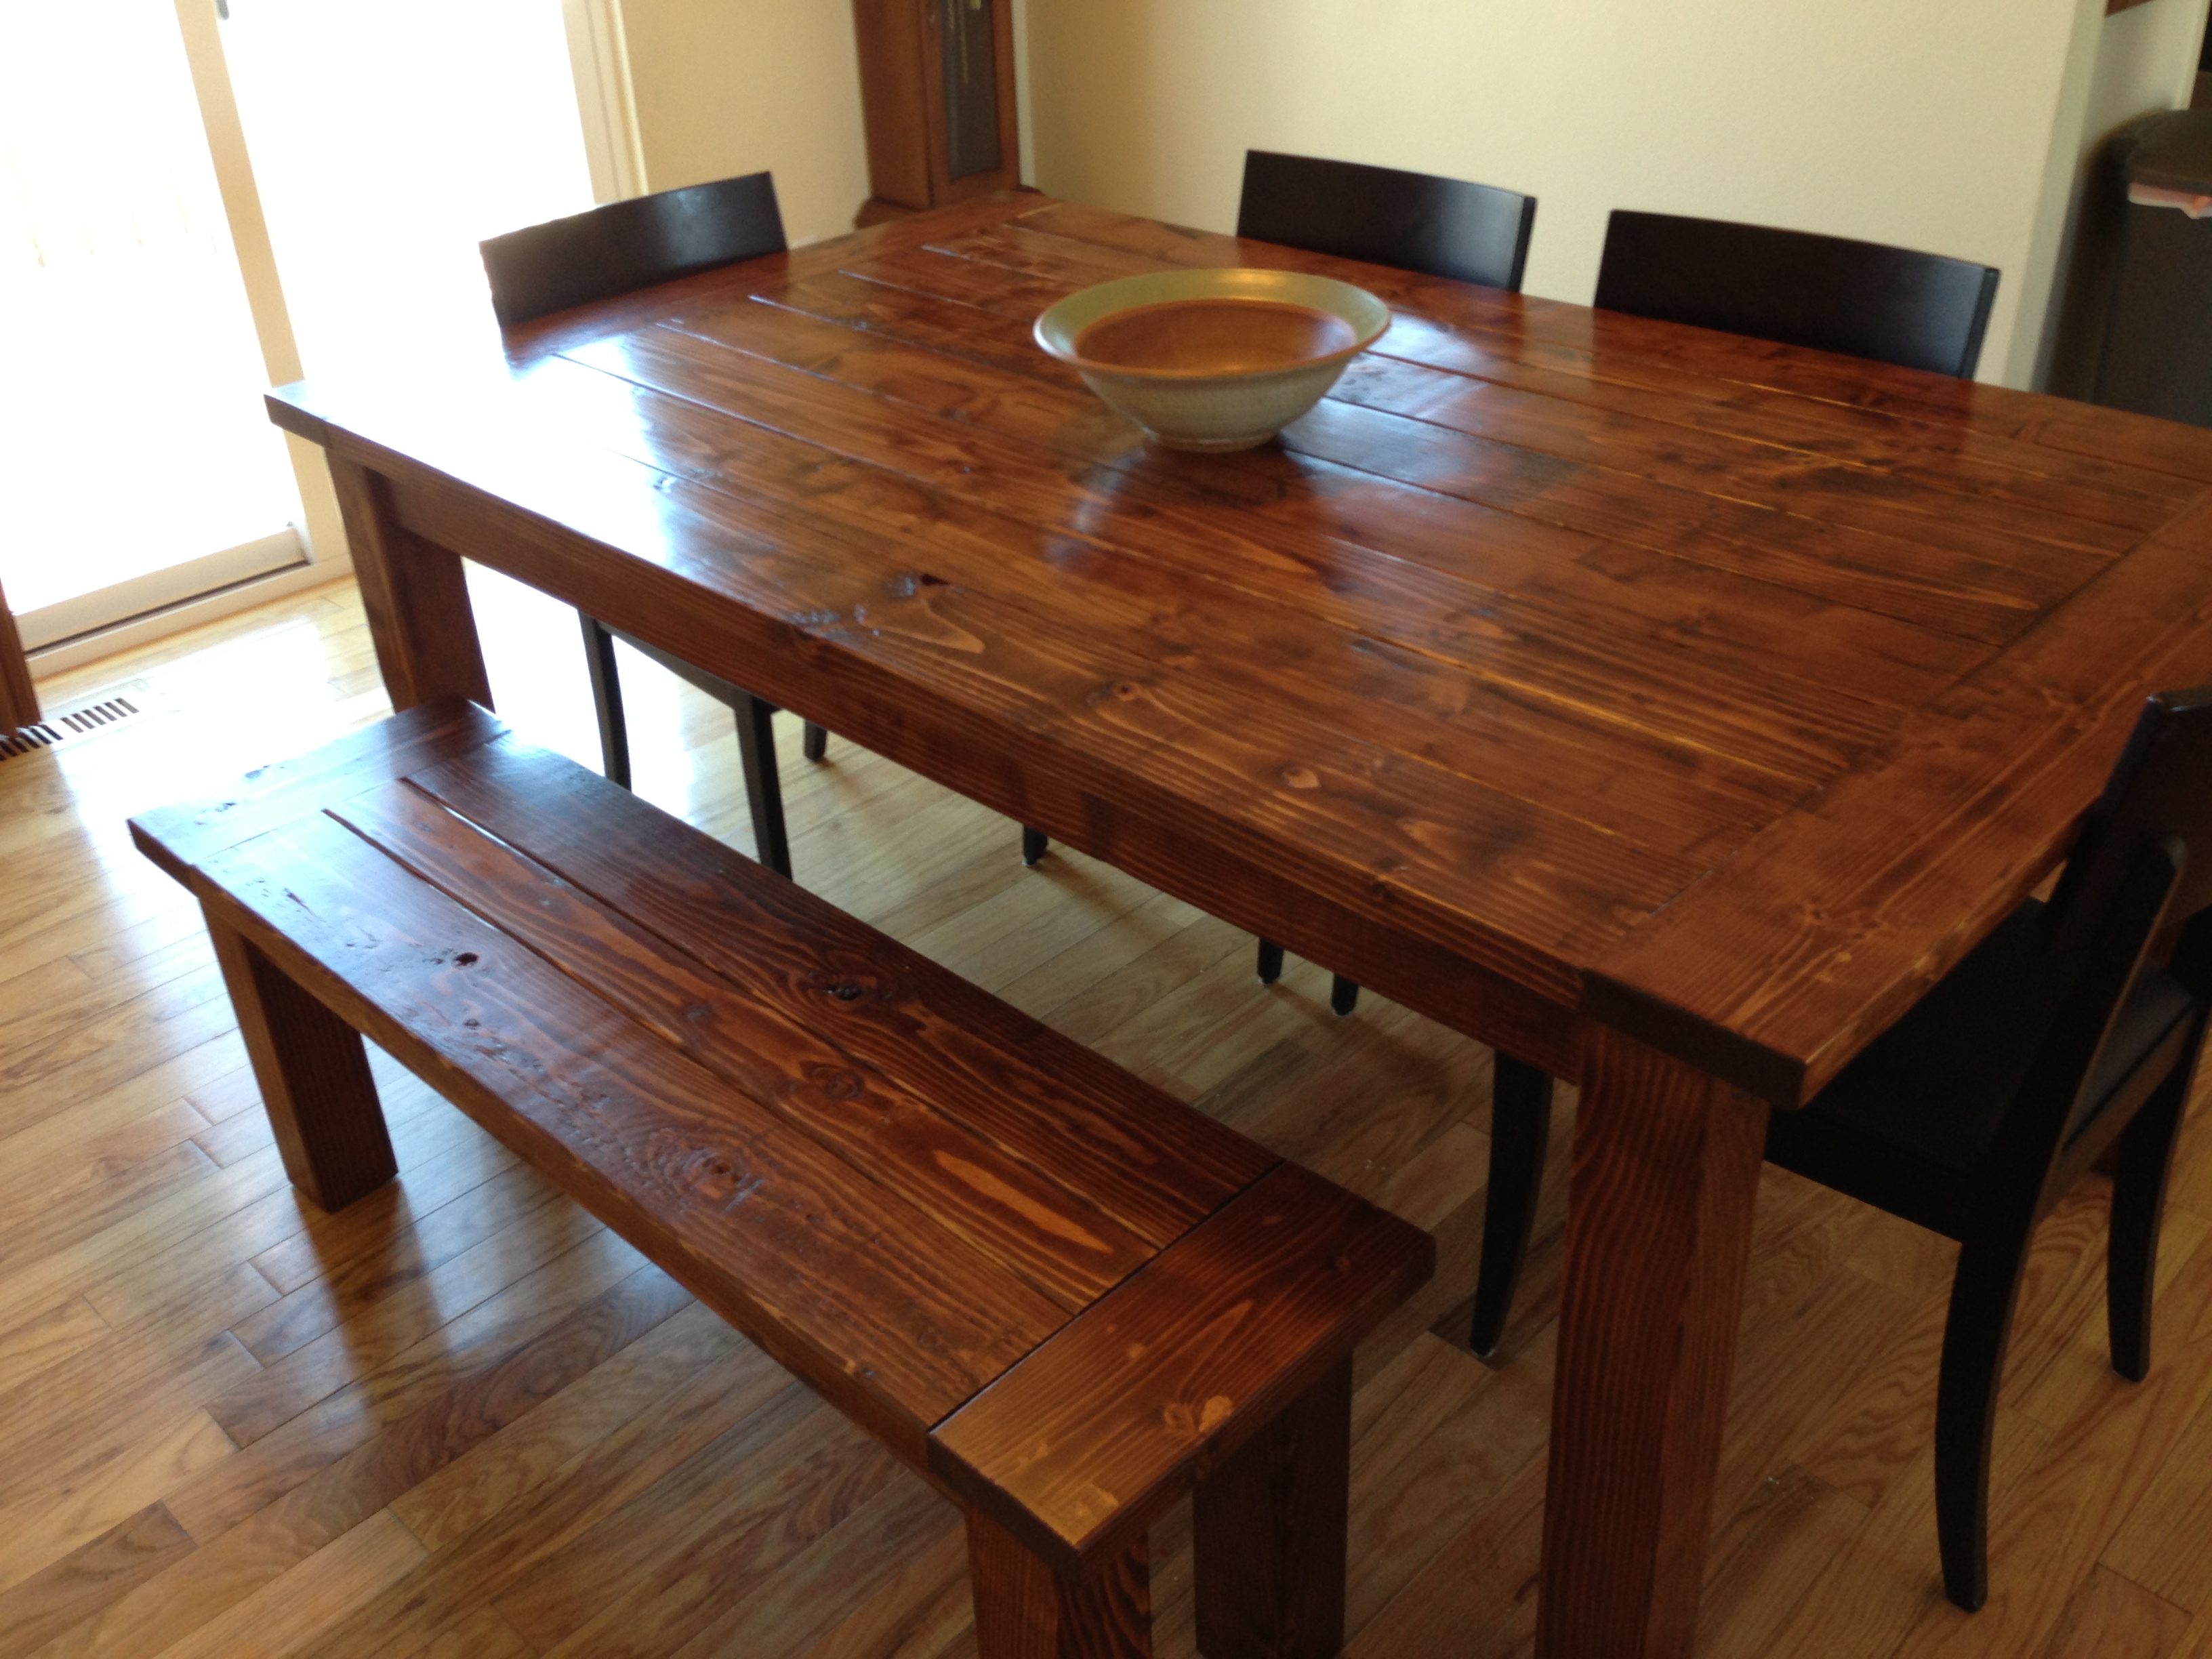
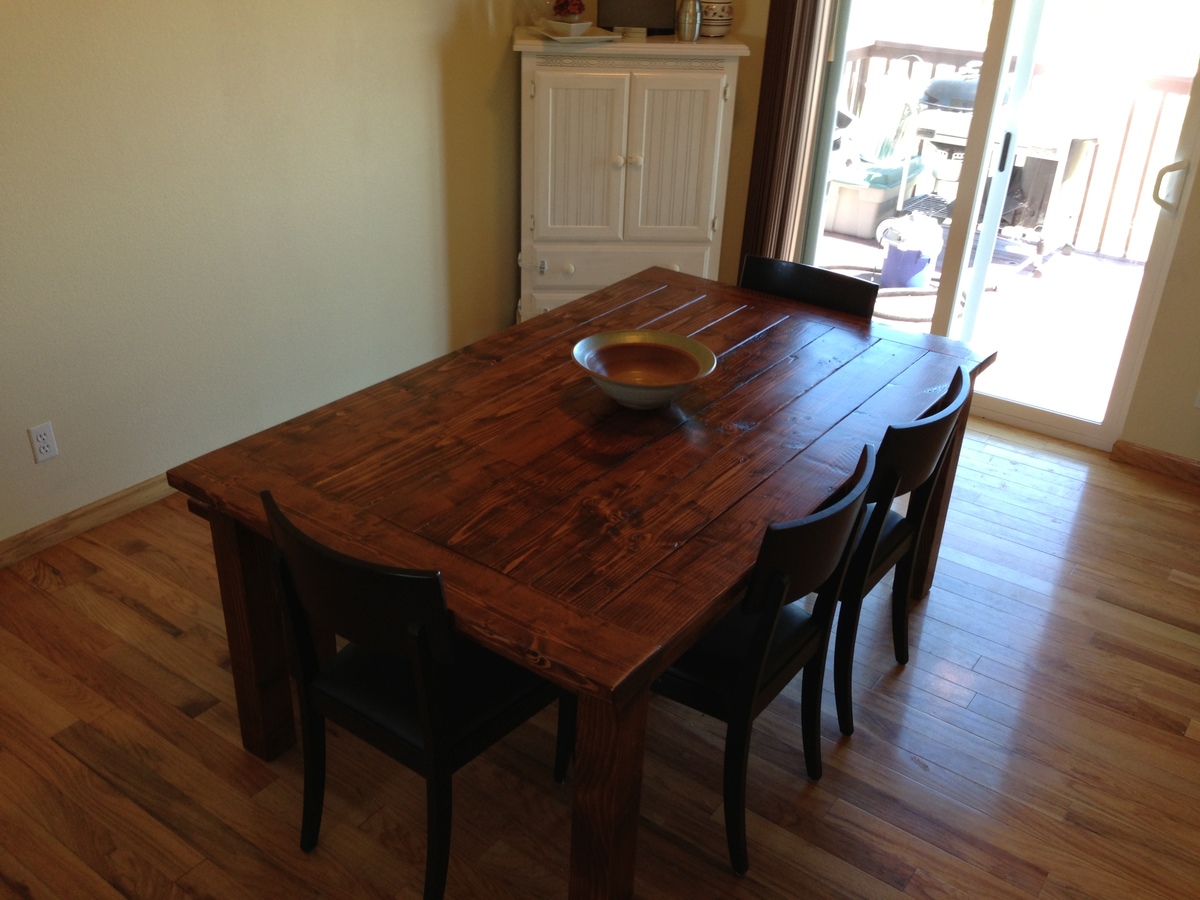
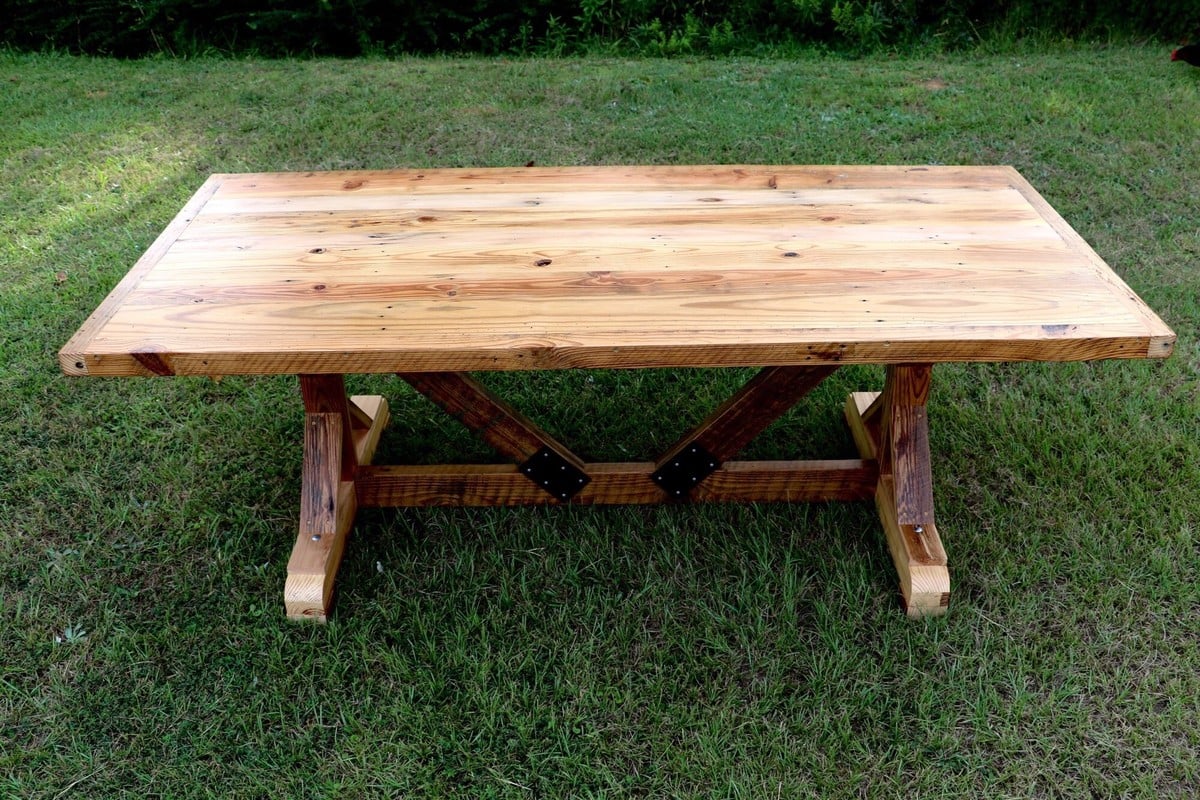
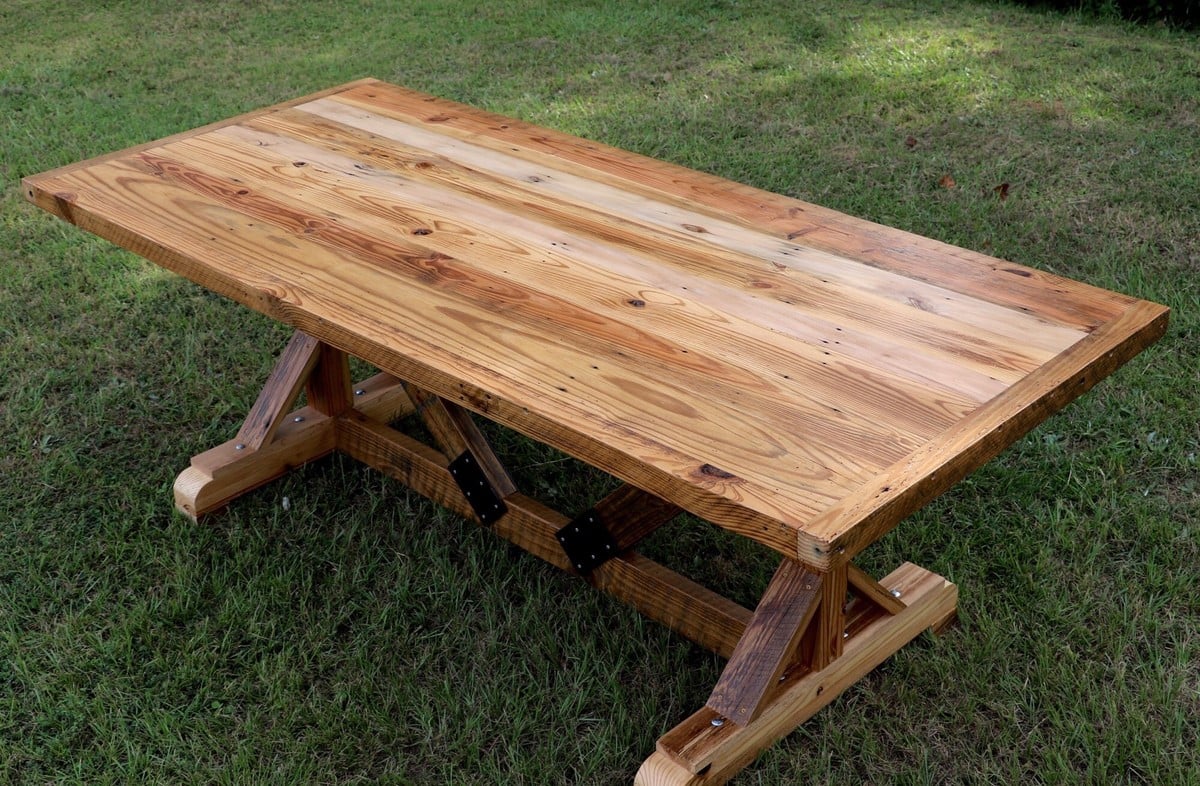
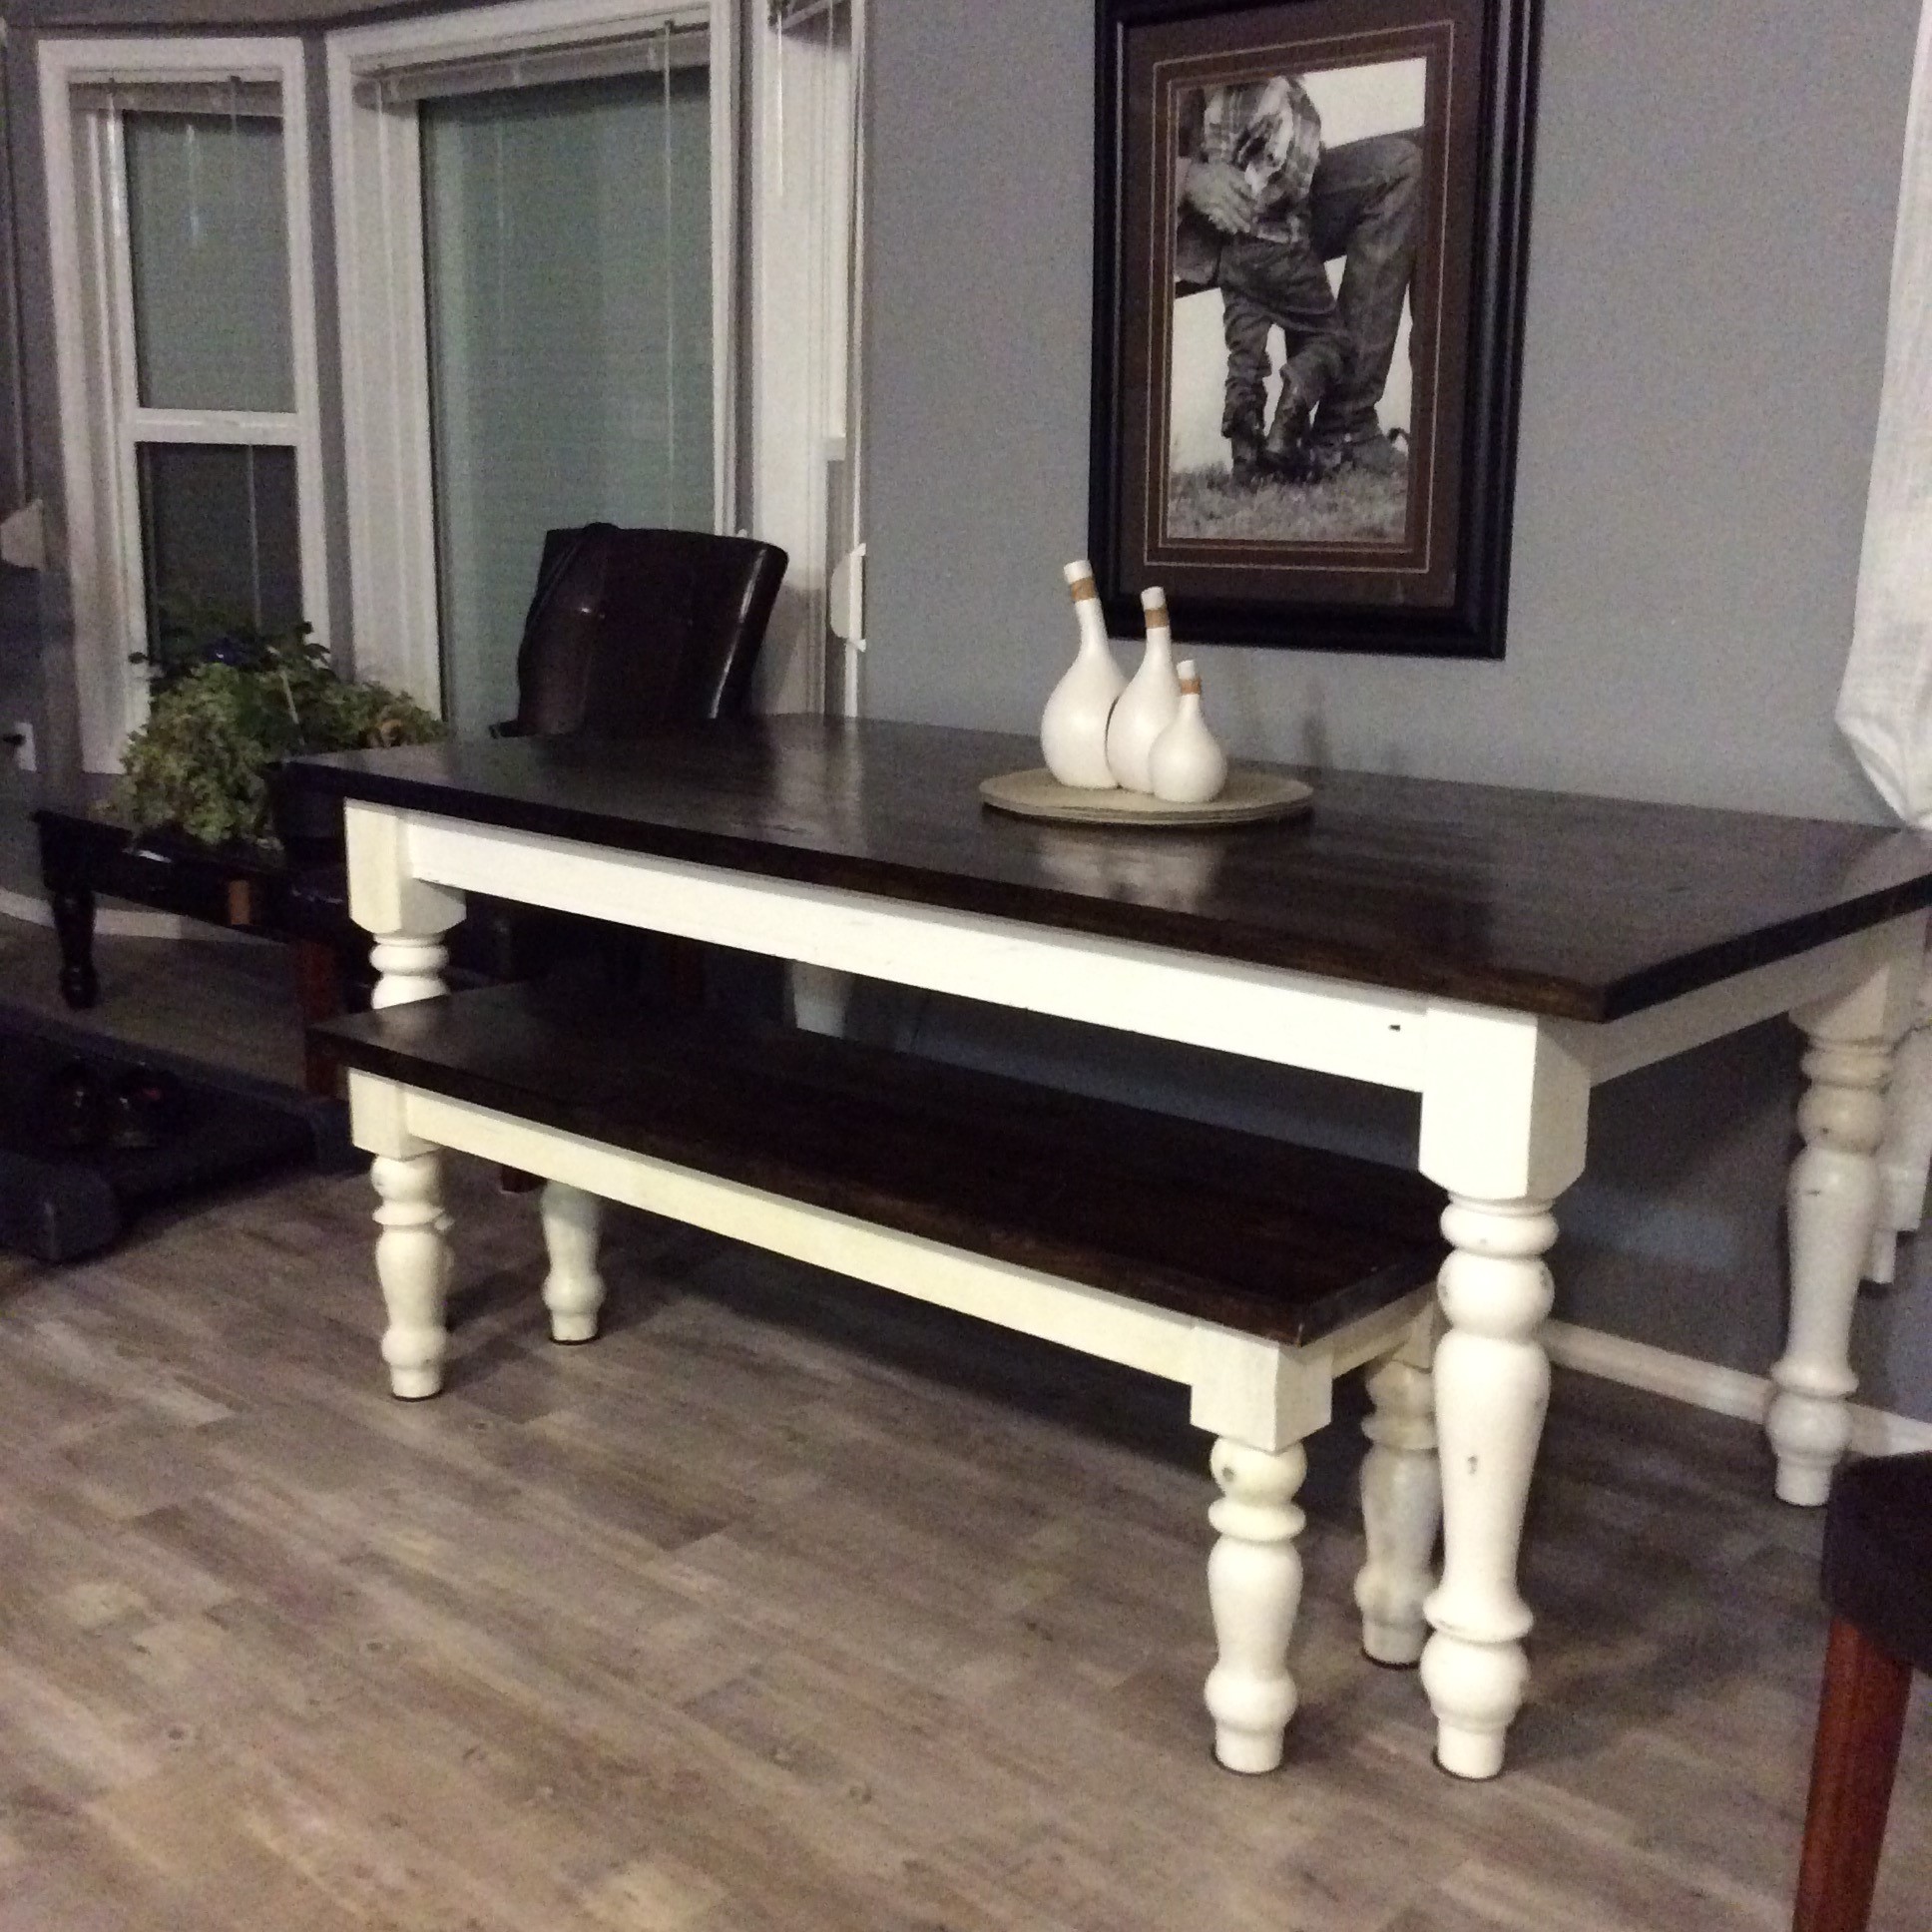
I have had the same kitchen table for years. My wife and I finally got out of the city and into the country and decided that the small Crate and Barrel table we have had since we first got married had to go. Looking through some plans I came across this one http://tommyandellie.com/index.php/2012/01/13/new-and-improved-farmhous… and decided it was just what we needed to fill the dinning area in our new home. I modified the table I built from the original plan as I was trying to do it cheap and keep it at about $100. After playing with some ideas I decided I was going to make the top completely out of 2x6 and delete some other items from the original plan so that the chairs can just slide under the table and wouldn't need to lift them at the head of the table to push them in. The table top is 72"x44" and the bench is 54"x14.5". I hope you enjoy it.
What I used.
10 - 2x6x96 - table and bench tops
2 - 4x4x96 - legs - each 4x4 makes 2 bench and 2 table legs
6 - 2x4x96 - bench top, apron and supports.
Cut List
Table 72 x 44
8 2x6x61 - Table Top
2 2x6x44 - breadboards - measure these when the middle section is done for the table top, as it is the total width of the top.
4 4x4x28.5 - table legs
2 2x4x35 - end apron
4 2x4x38 - inside supports
2 2x4x58 - side apron
tools
Saw
Kreg Tool
Drill
Measuring Tape
Pencil
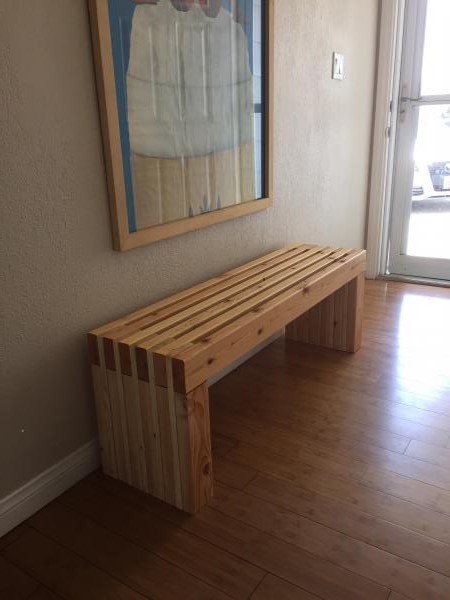
Bench 52x14.5
2 2x6x42 - bench top
3 2x4x42 - 1 bench top 2 for side apron
4 4x4x16x5 - legs
2 2x4x5 - end apron
3 2x4x8 - under supports
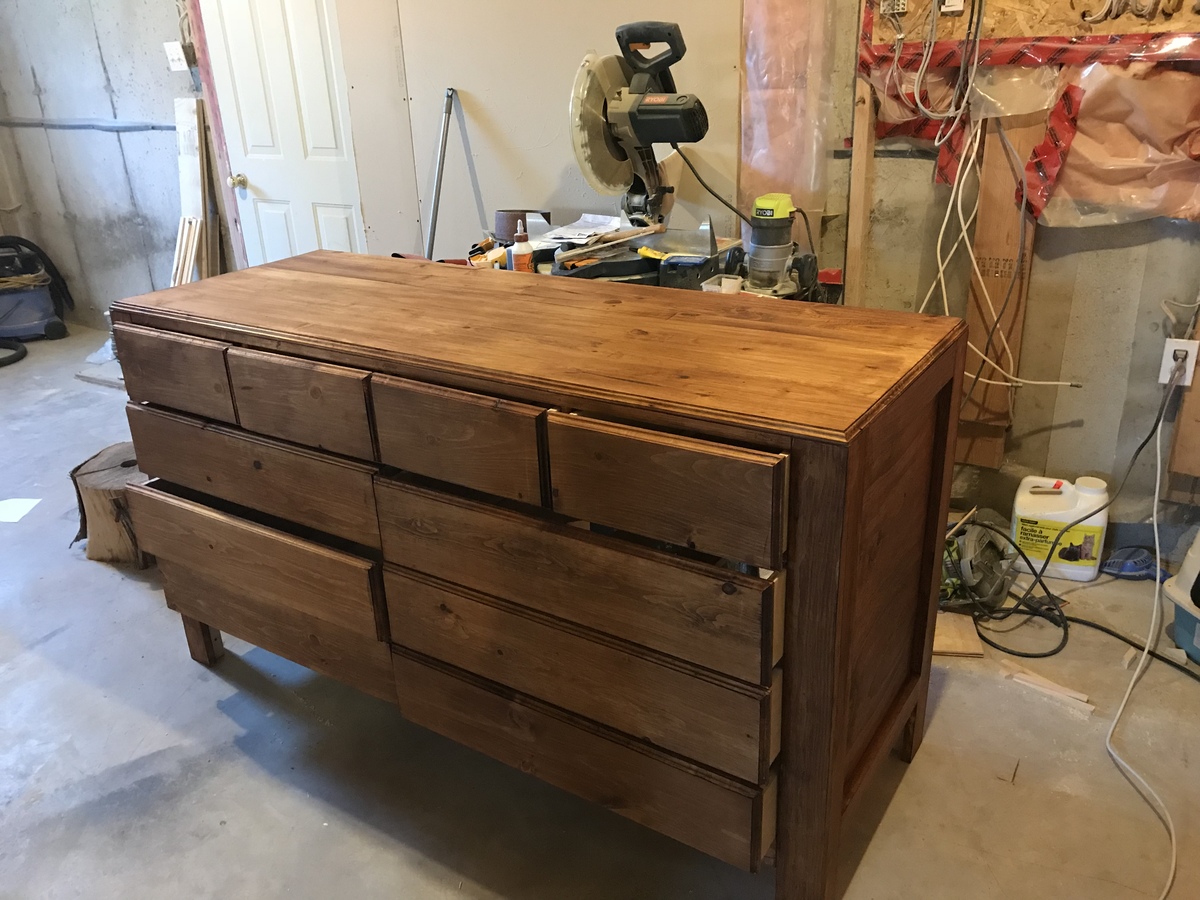
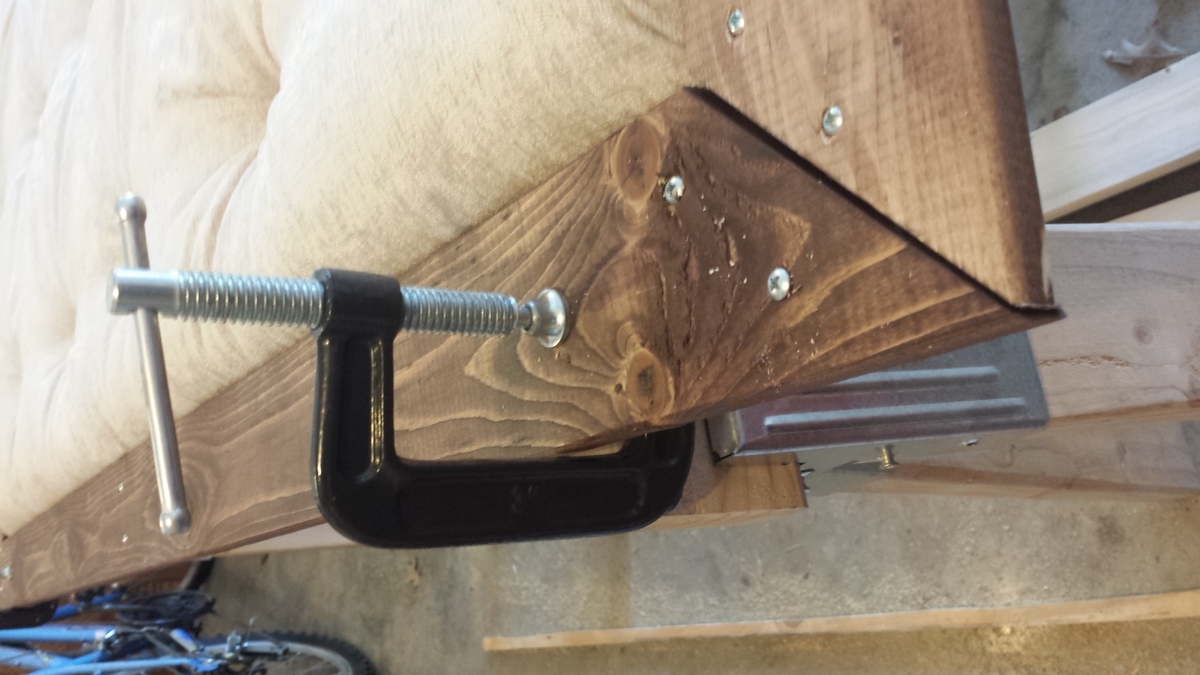
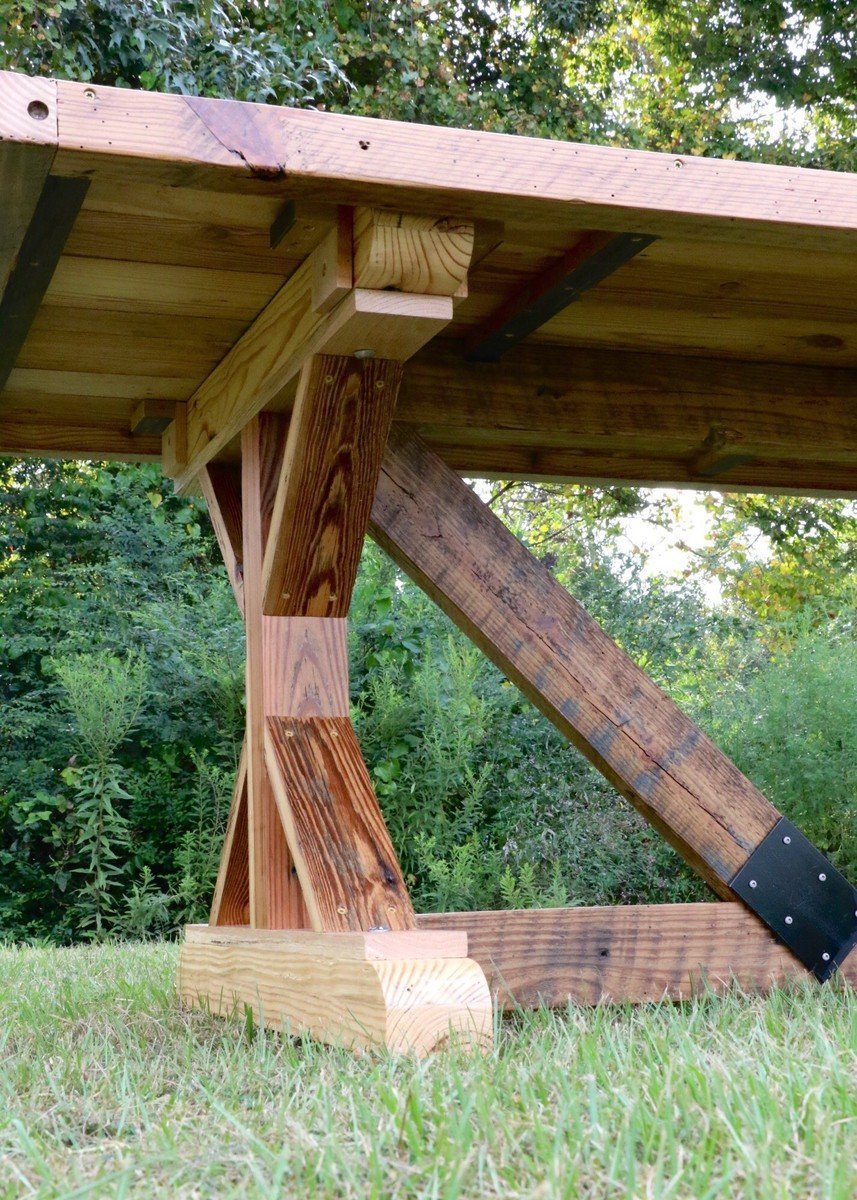
I put this at a week long project because of the way I finished it. If you just put your stain on and wipe off, it will take you a day and a half to do and you could use it lightly the second day if you have the right conditions for the poly to dry. I did use a Kreg tool and everything is held together with pocket holes, skip the glue, the poly on the top will keep things from going through the cracks.