Community Brag Posts

Wedding Guest Bench

Submitted by Linda7 on Tue, 08/05/2014 - 16:43

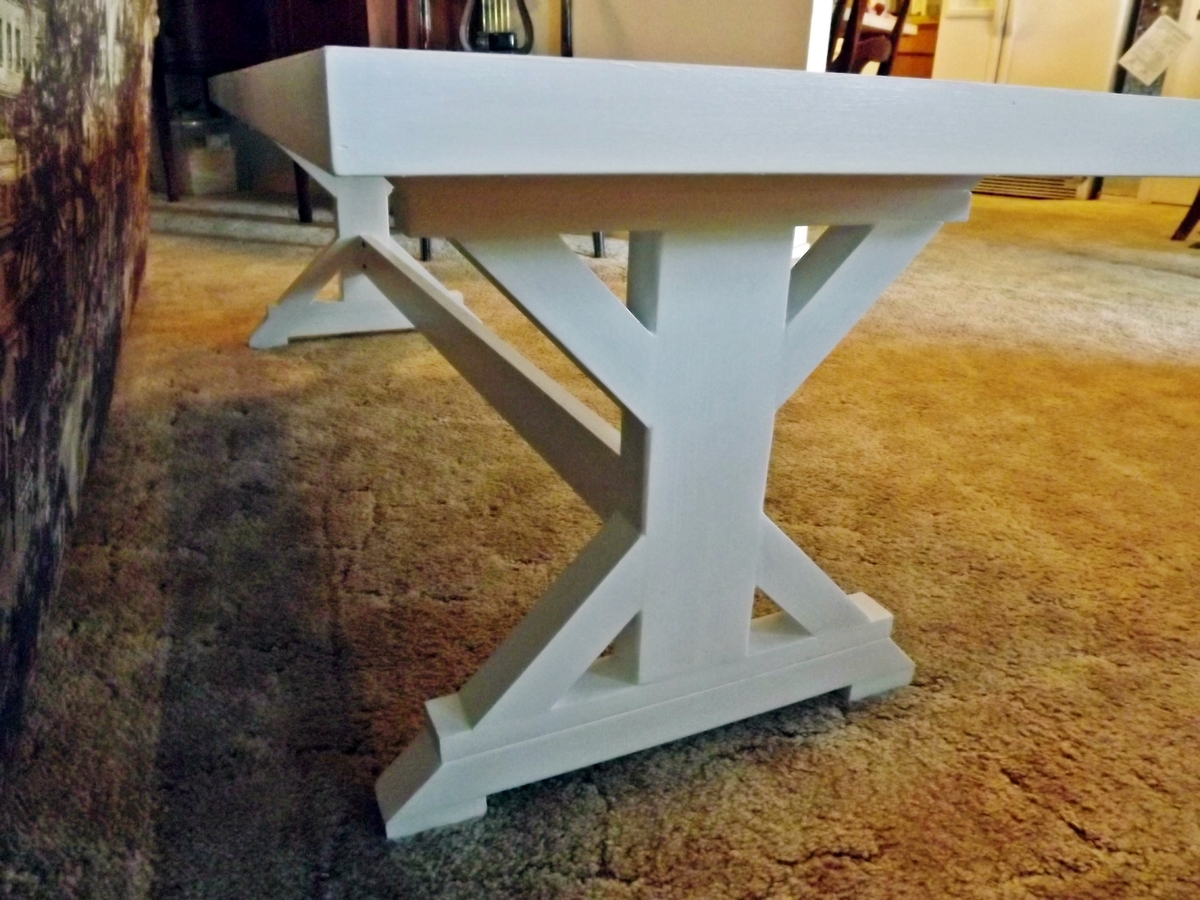
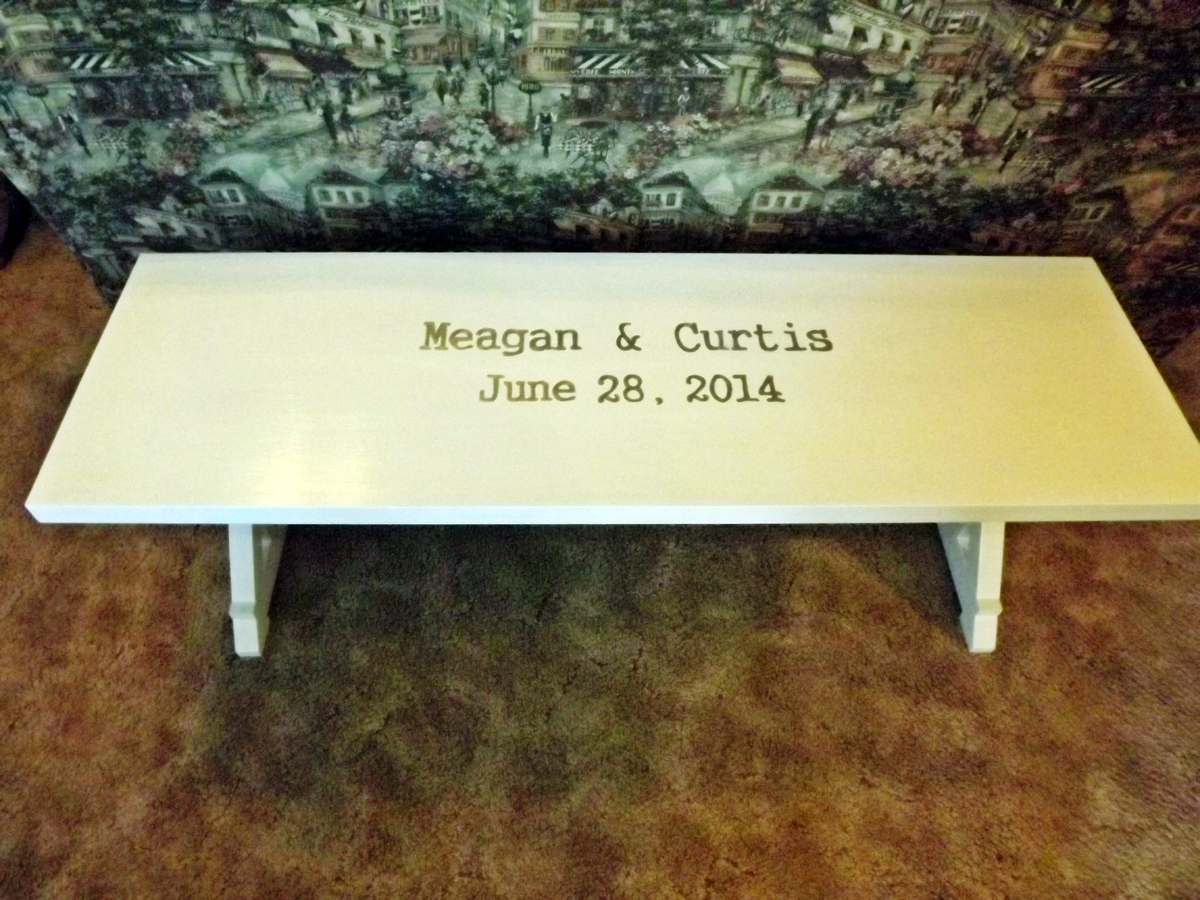
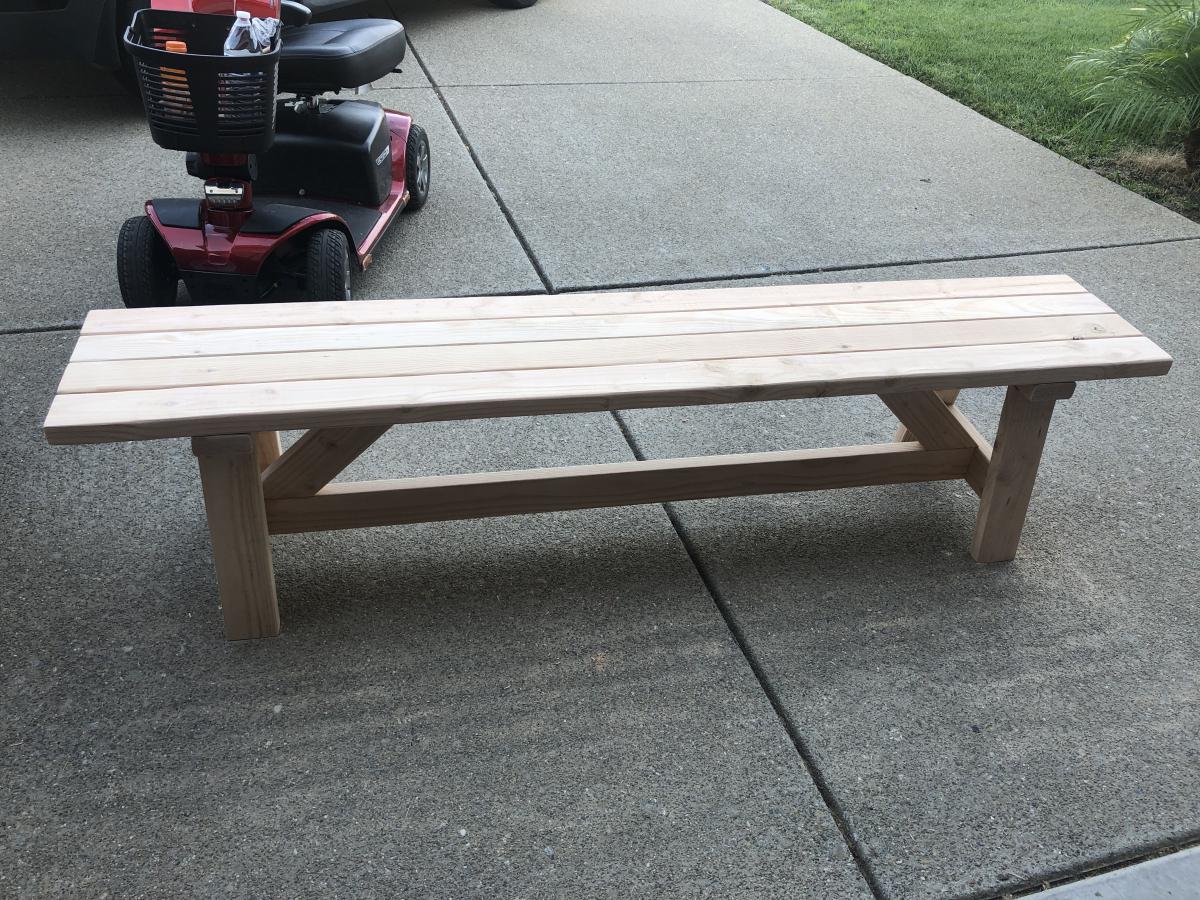
I saw a post some time ago from brookifer86 for a wedding guest bench...I knew I would build one someday. First I'd like to thank Ana for her plans Fancy X Farmhouse Bench, and Whitney at Shanty 2 Chic for the wonderful instructions/pictures for this build. I would also like to thank Brooke at Killer B Design (brookifer86) for the mods to this plan.

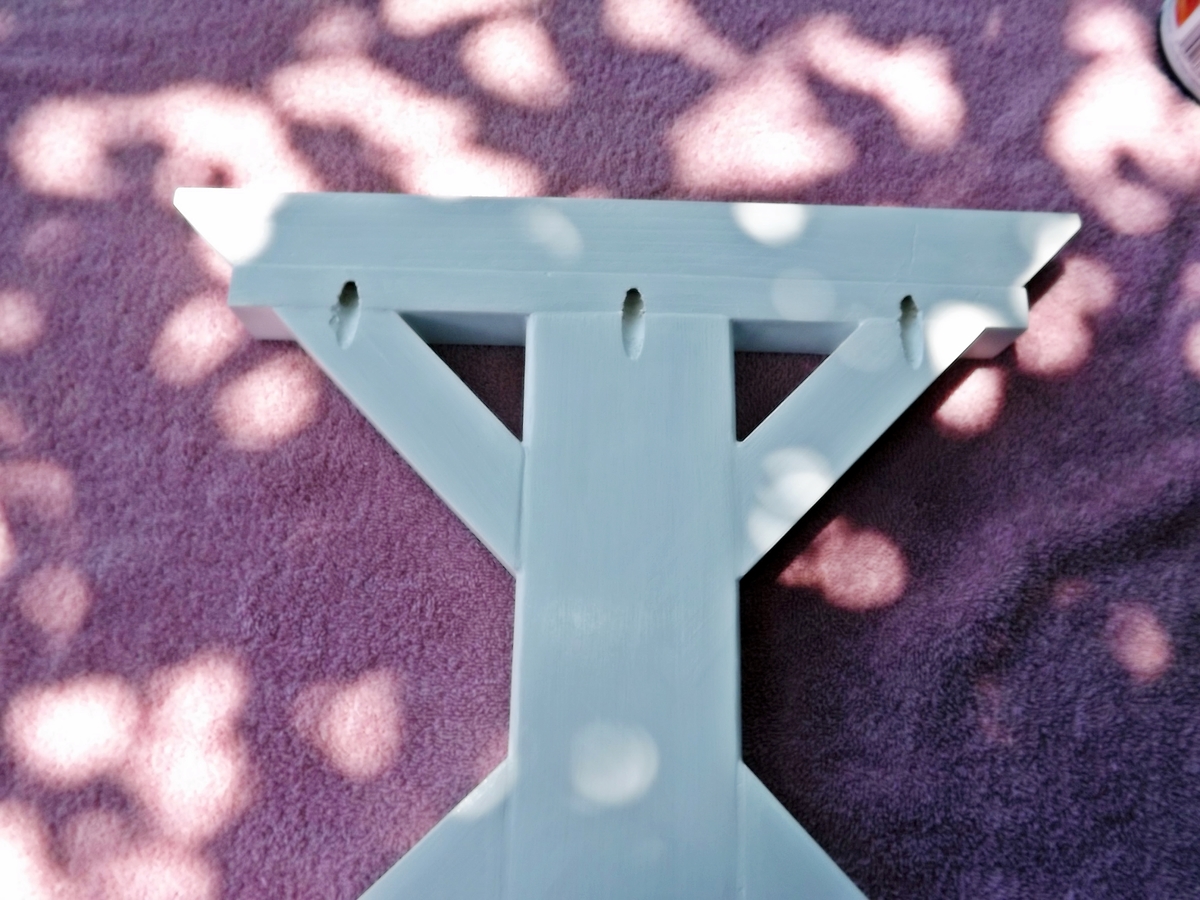
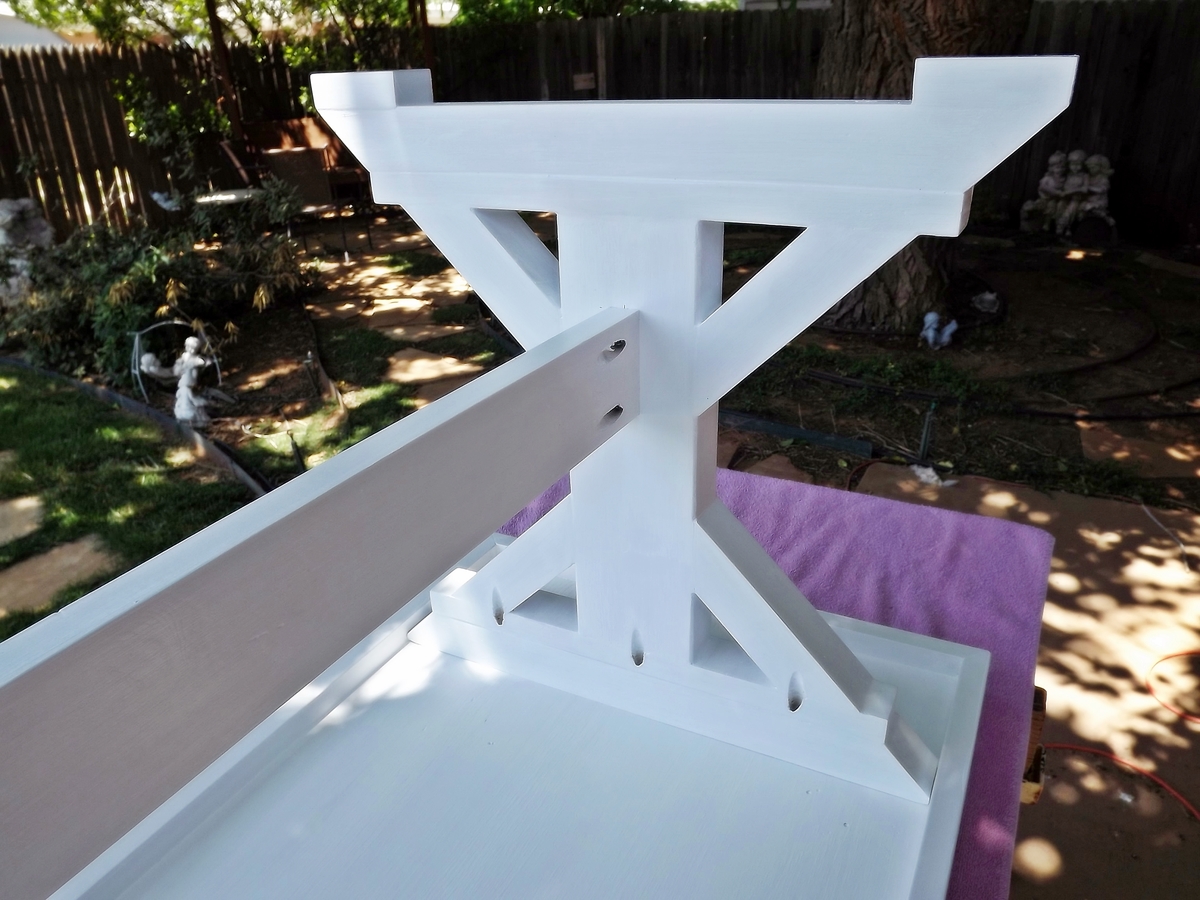
This bench had to be able to break into the top and legs as it had to go from Texas to California. That is why I used Whitney's idea for pocket holes to attach the top to the legs. I used 2" screws. Brooke shortened the table with just two legs, and used a project panel for a smoother top for writing. I did, too. She also added a 1" x 2 " board around the edge of the 3/4" panel to beef it up. I used this idea and mitered the corners of the board and filled in the space between the board and the panel to make it very smooth. I sand a lot, and I painted three coats, so this took several days for me to complete.

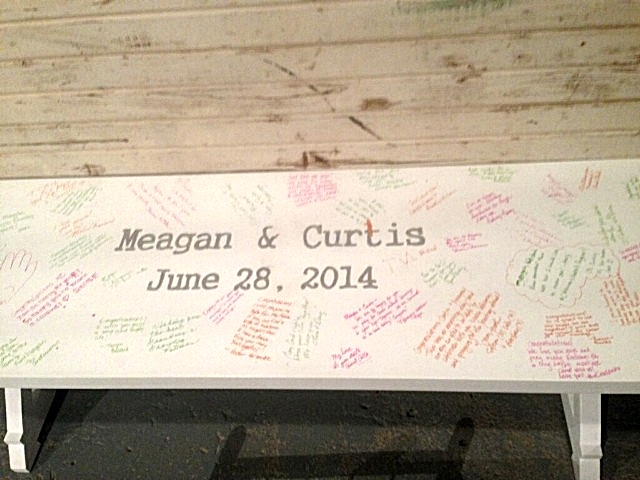
For signing the top, I purchased fine-tipped oil paint pens. I learned from other brag posts that permanent-type "Sharpie" pens would smear when a finish was applied later. Also, you should use spray poly-acrylic finish to avoid yellowing the white paint.

My dear friend's daughter was thrilled with her surprise, and the guest bench was a hit at the reception. Thanks to all the brag posters - I studied every single one.
Built from Plan(s)
Estimated Cost
$35 (for project panel and one quart paint - other wood was scrap I had on hand)
Estimated Time Investment
Weekend Project (10-20 Hours)
Finish Used
Valspar "Bright White" outdoor paint. three coats applied with a foam brush. Spray top with poly-acrylic to protect the signatures.
Recommended Skill Level
Beginner

My first project from scratch-bar

Submitted by Anonymous (not verified) on Fri, 11/18/2016 - 11:56

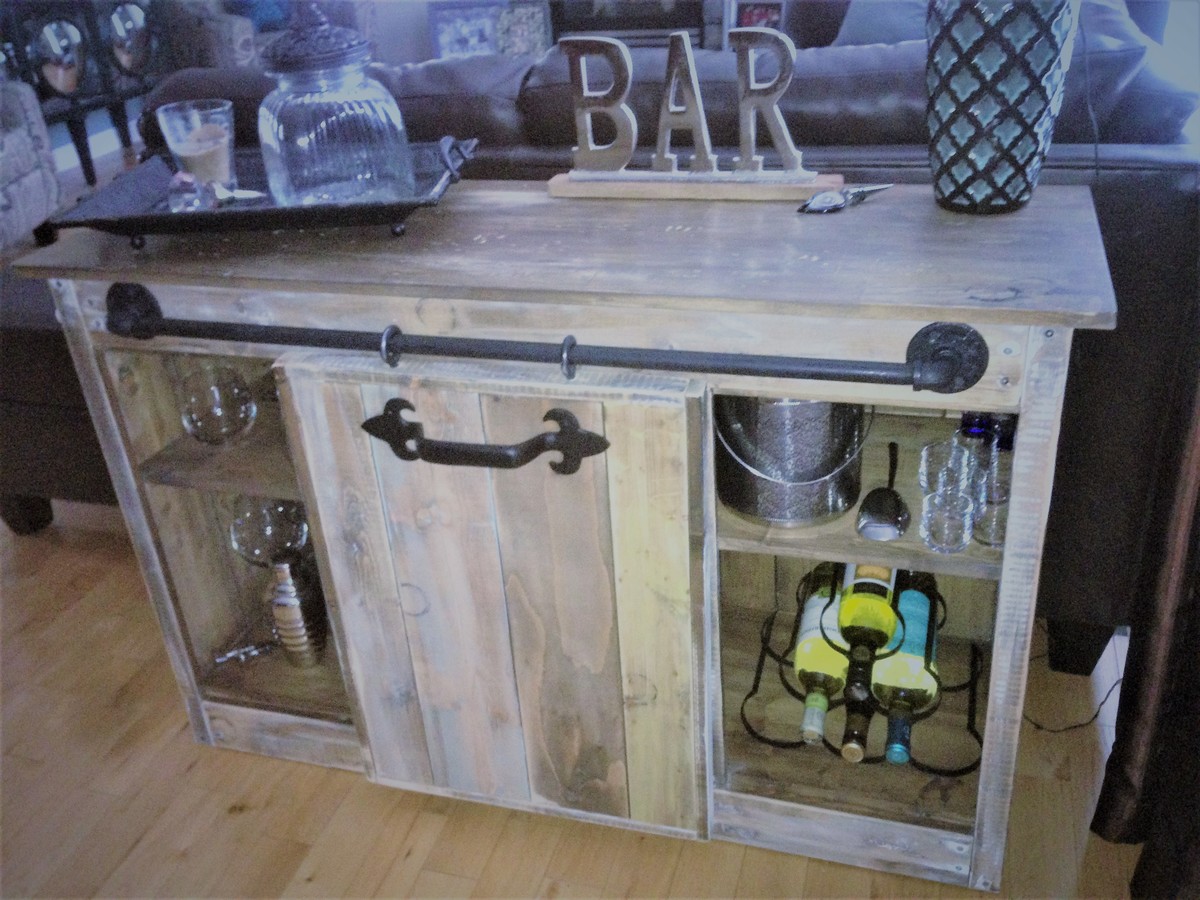
My inspiration for this piece was the Grandy Sliding Door Console - I made this piece to fit behind a sofa so adjusted the plans to customize my piece. 

I used plumbers pipe instead of barn door hardware - much more cost effective and still gave me the vintage look I was after.  I stained and distressed the wood and added some hardware! Voila!

I am hooked to your site, stay tuned for more projects! 


Built from Plan(s)
Estimated Cost
Total Cost of lumber - $101.00, Plumbers pipe - $18.00, Handle - $17.00 = $136.00
Estimated Time Investment
Day Project (6-9 Hours)
Finish Used
Painted each board different chalk paint color, white, yellow and blue - added black ring marks and used tools to mark up the top board. Once built sanded piece to desired look and then used antique wax to deepen the colors, finished with furniture polish- minwax!
Recommended Skill Level
Beginner

Toy Storage for my Little Man

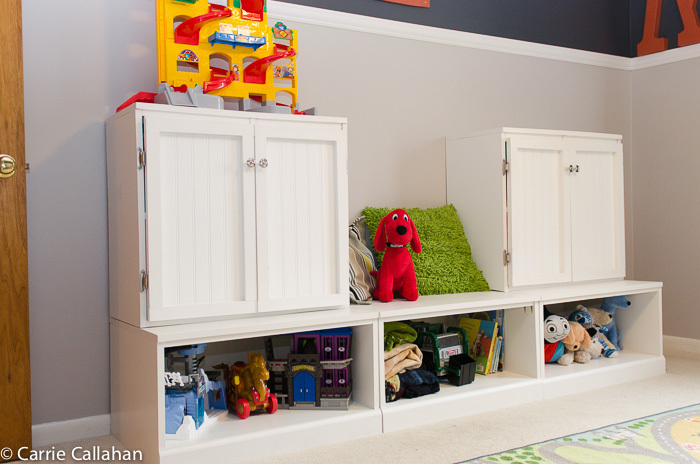
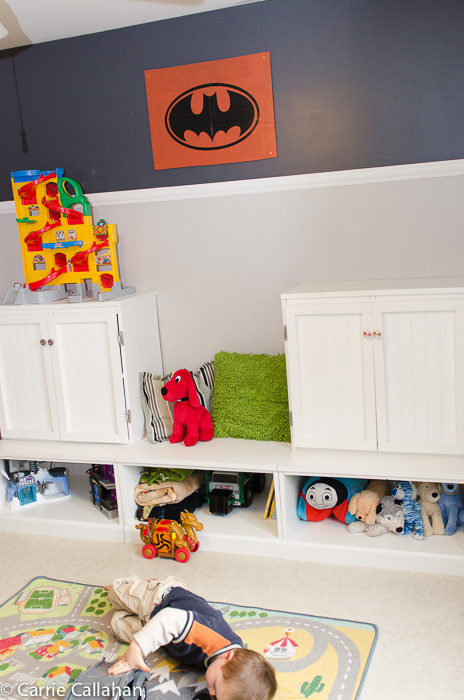
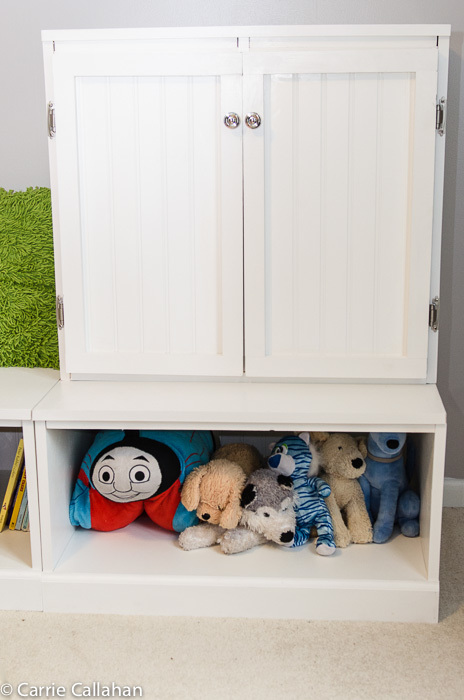
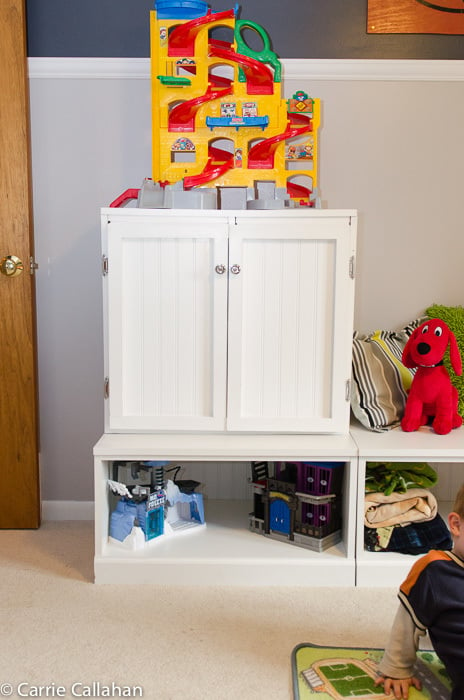
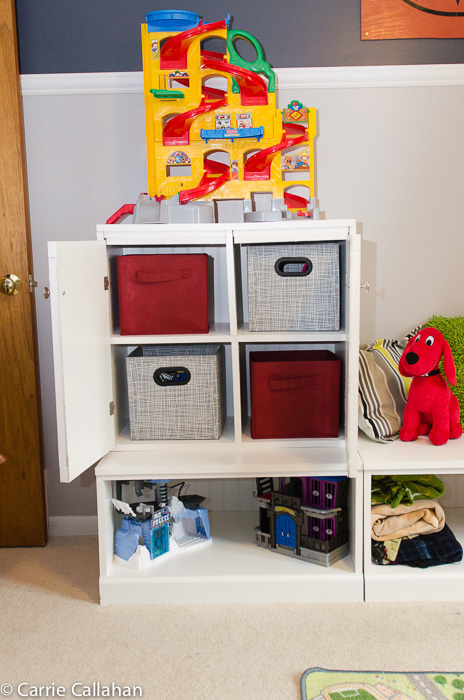
I am so excited about this project! I re-did my entire little man's room. It included a ton of Ana's projects! The closet, $10 ledges, step stool and the toy storage. This was quite the venture for me, I have done a lot of plans from Ana, but this one was a lot - a lot of painting. And hanging the doors, was a challenge :) I couldn't be more happy. My little man didn't want to leave his room he was so excited!

Estimated Cost
$220
Estimated Time Investment
Weekend Project (10-20 Hours)
Finish Used
Primed, sanded, painted with White Semi-gloss for two coats, sanding between each.
Recommended Skill Level
Intermediate

Comments

Counter Top Make-up Storage

Submitted by efmolly on Thu, 08/07/2014 - 09:54

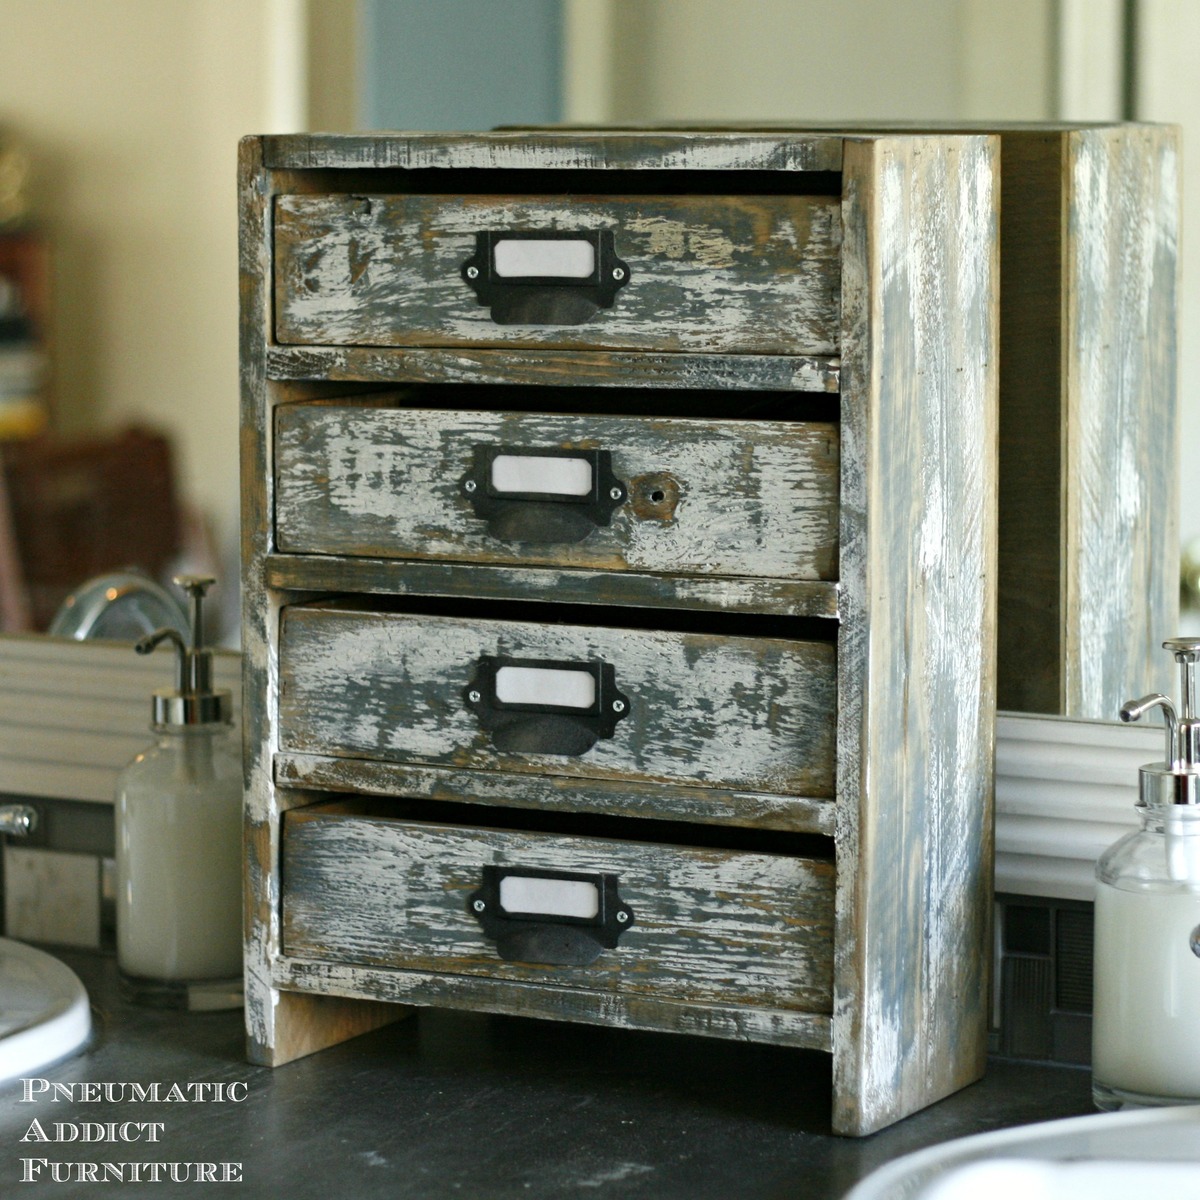
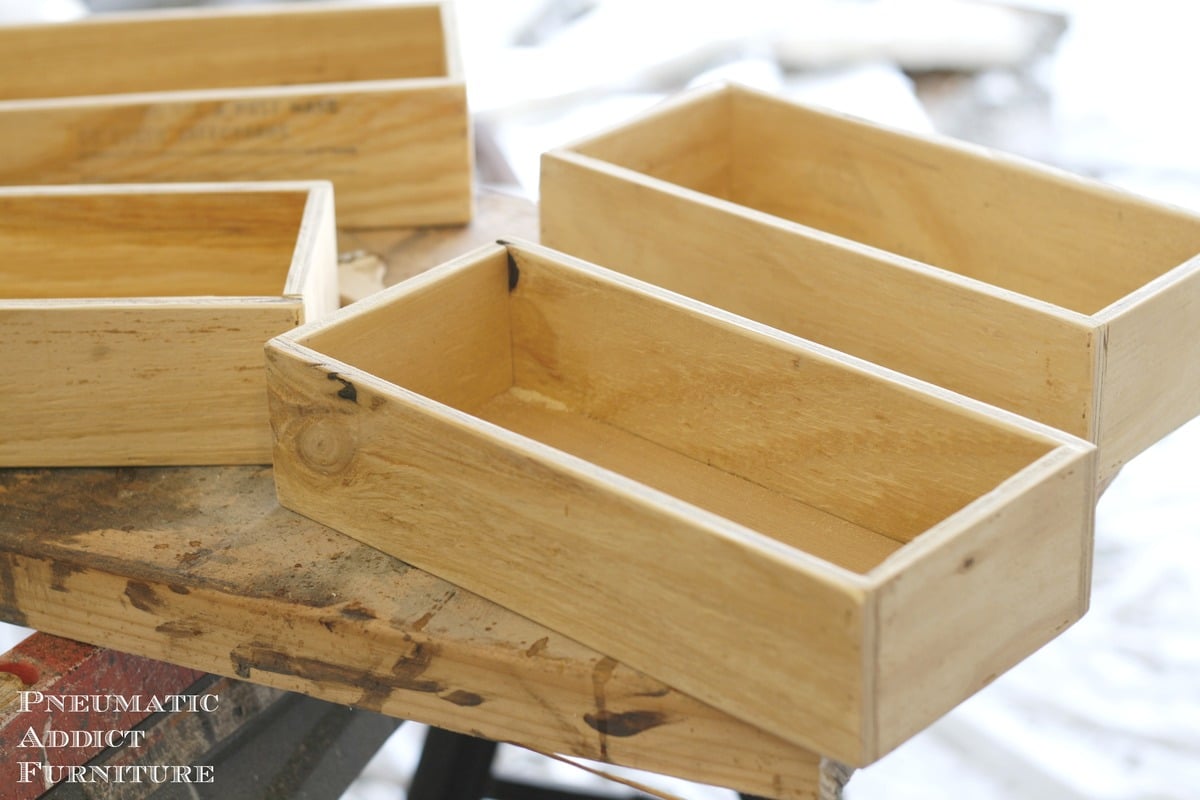
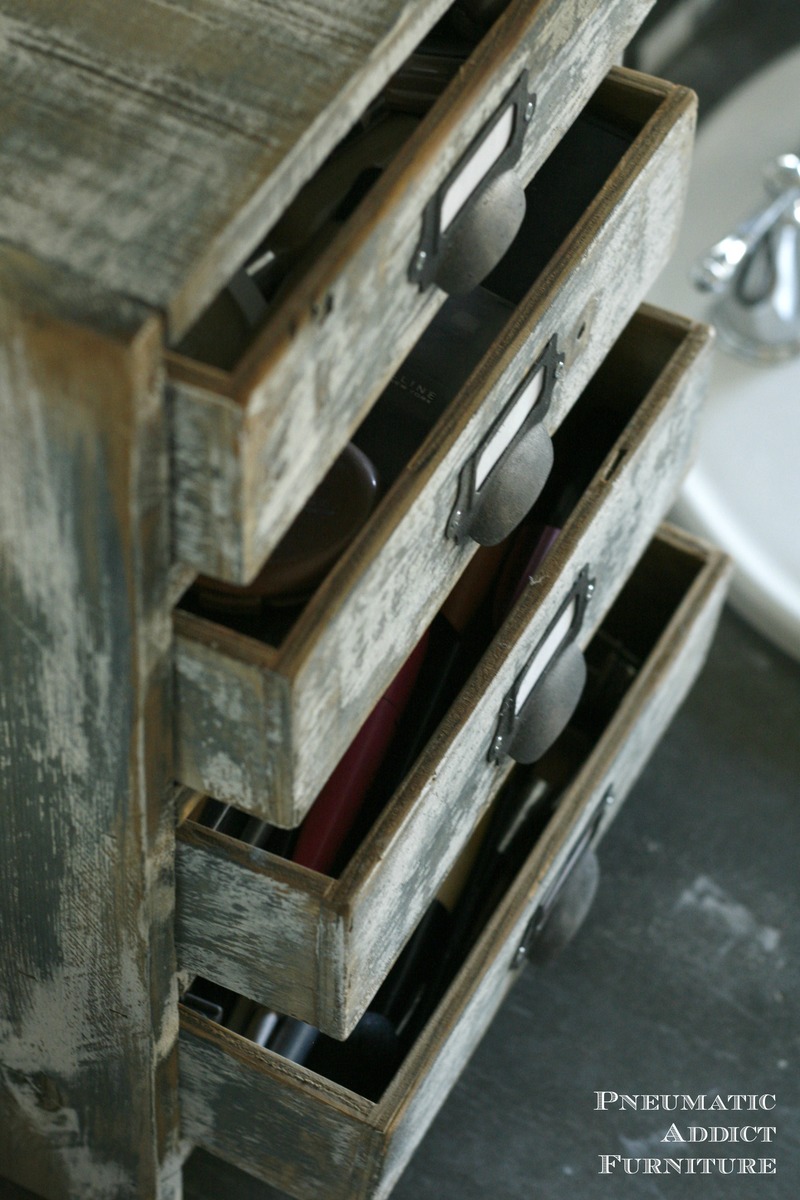
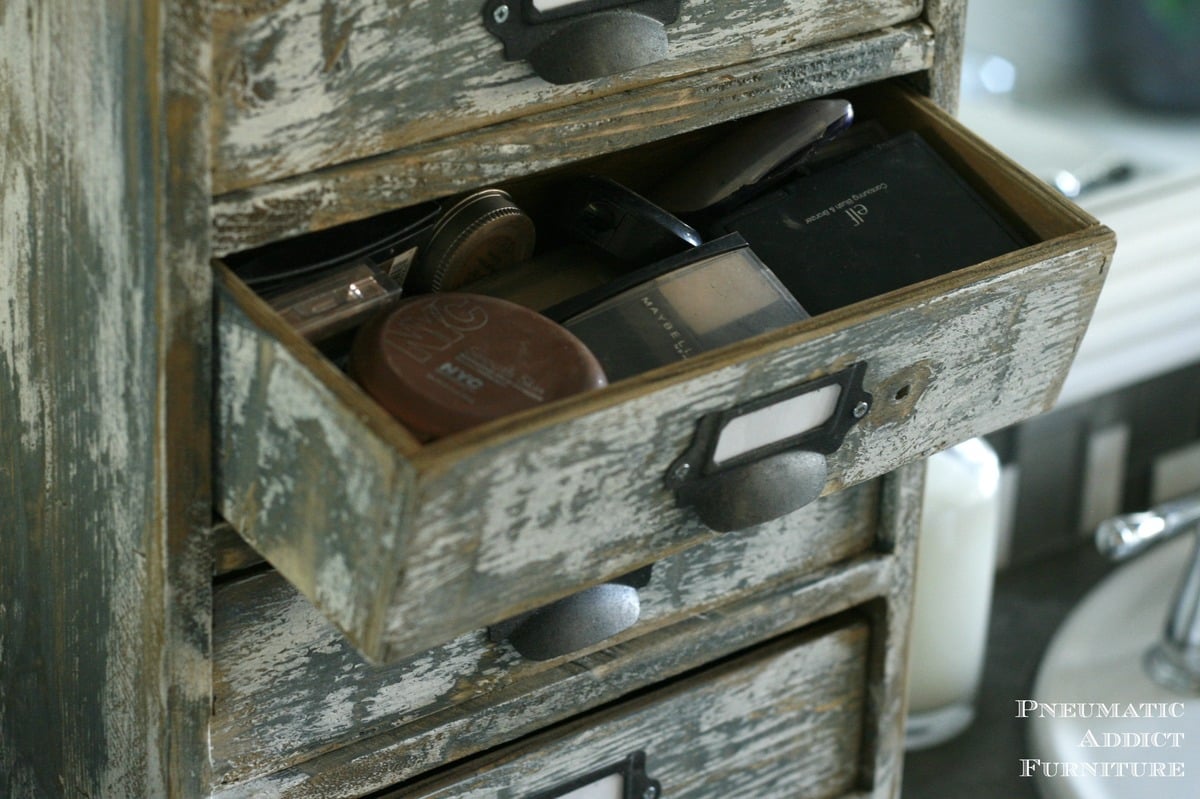
I needed a way to store and organize my make-up without taking up drawer space. It is built very similar to a small dresser, but with no drawer slides.

Estimated Cost
$10
Estimated Time Investment
An Hour or Two (0-2 Hours)
Finish Used
I first stained the frame and drawer boxes with homemade oxidizing solution. Next, I layered gray and white latex paint, then distressed heavily with a belt sander.
Recommended Skill Level
Beginner

Full size farm house bed

Submitted by ttrotter on Tue, 11/22/2016 - 06:44

I found that if you use (16) 1x4's in lieu of the (8) 1x8's as for the panels no cutting is necessary for a standard full size bed.  Worked out wonderfully!

Built from Plan(s)
Estimated Time Investment
Weekend Project (10-20 Hours)
Finish Used
No finish, bare wood.
Recommended Skill Level
Intermediate

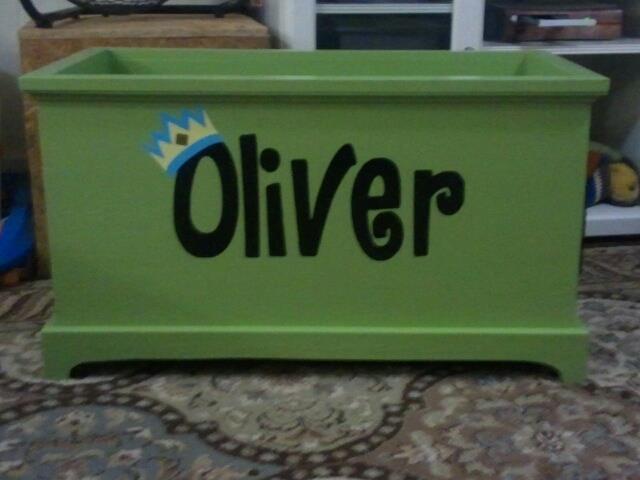
Toybox built from A/B plywood, for son's 1st birthday.

I built this toybox for my son's first birthday. It took about a week to do, starting and stopping. I got Lowes to cut the plywood for me, and screwed everything together. Wood filler filled the countersunk holes, and a coat of primer and two coats of paint finished it off.

After everything dried, my wife added the name and crown in vinyl cut out using her Cricut.

Built from Plan(s)
Estimated Cost
$60
Estimated Time Investment
Weekend Project (10-20 Hours)
Finish Used
Kilz2 and 2 coats of latex paint.
Recommended Skill Level
Intermediate

first project

Submitted by gbhein on Sun, 08/10/2014 - 10:25

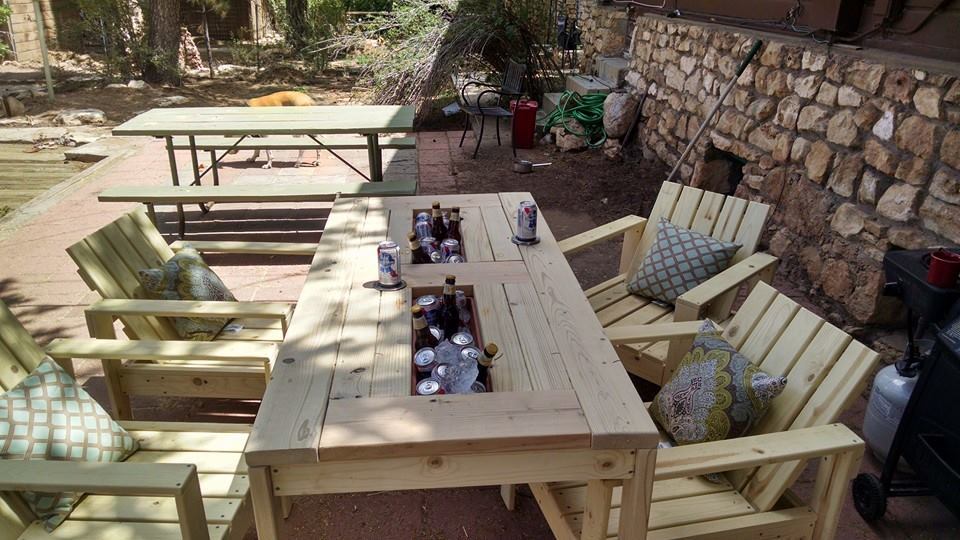
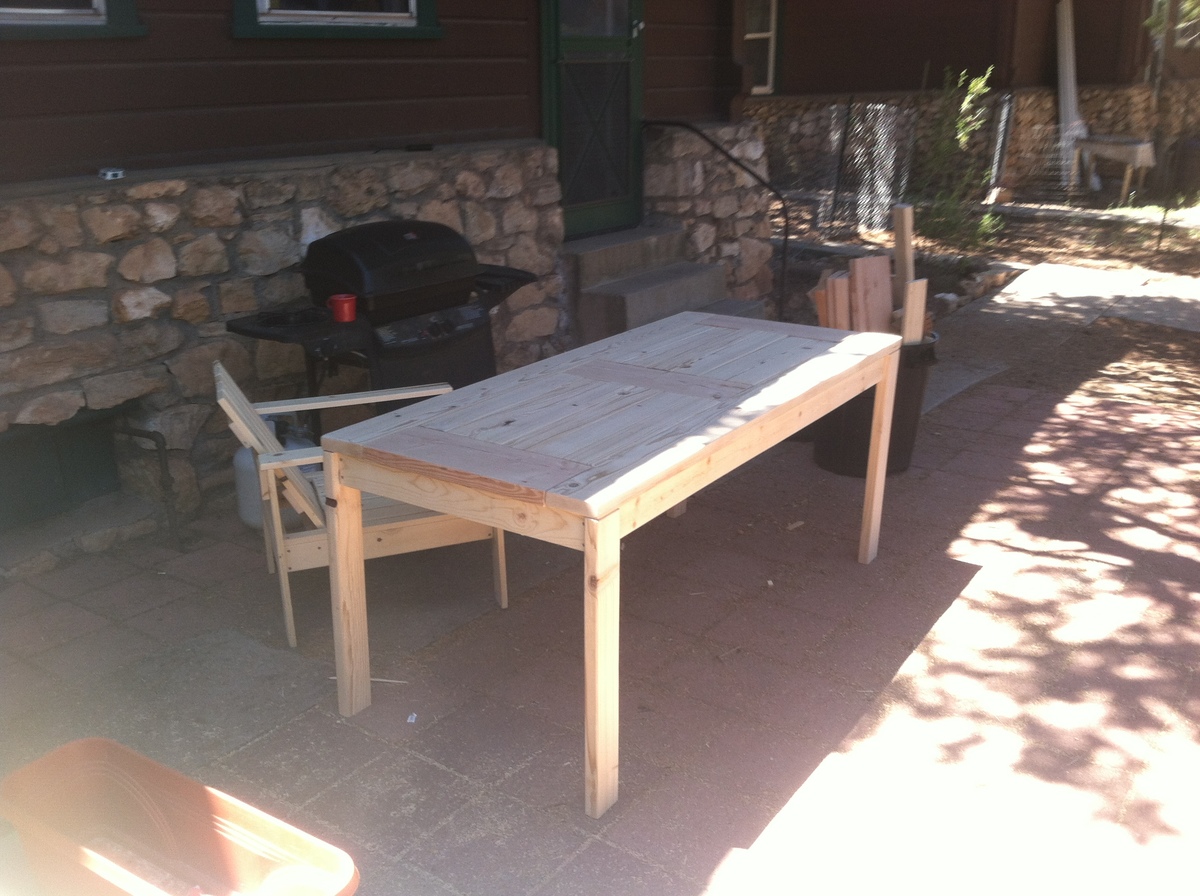
My very first project, made it for my girlfriends birthday. Did not have time to stain and paint them yet, will add finished pictures.

Estimated Cost
$550
Estimated Time Investment
Week Long Project (20 Hours or More)
Finish Used
none yet, will be staining table and painting chairs.
Recommended Skill Level
Beginner

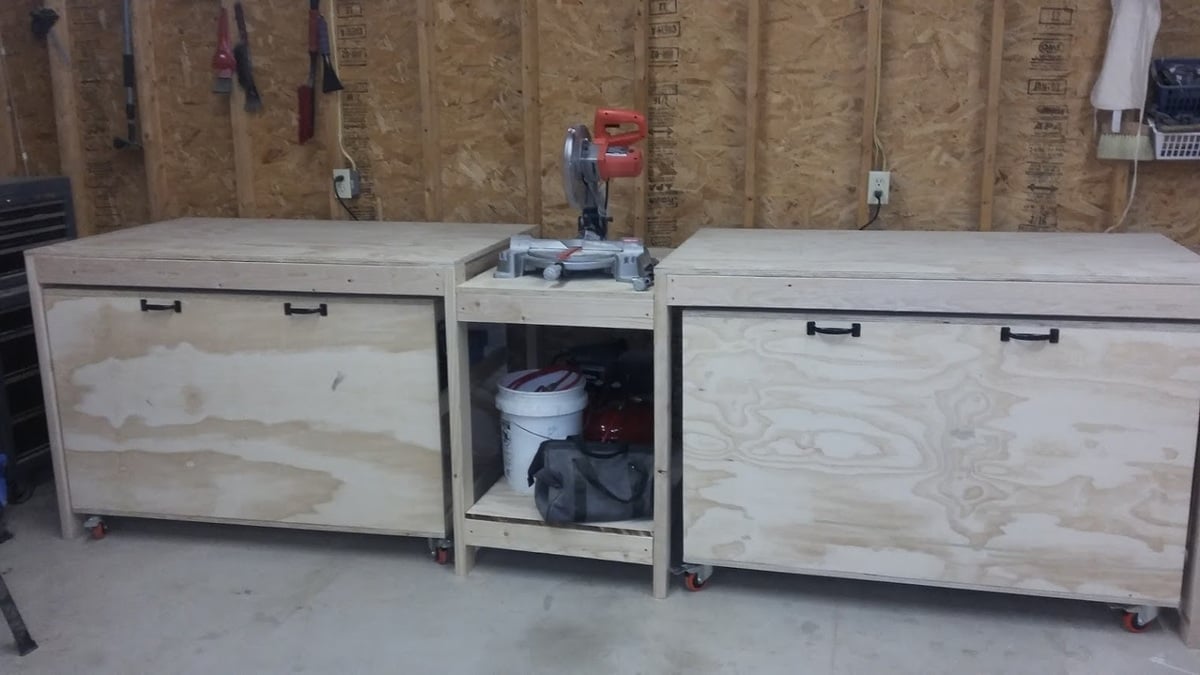
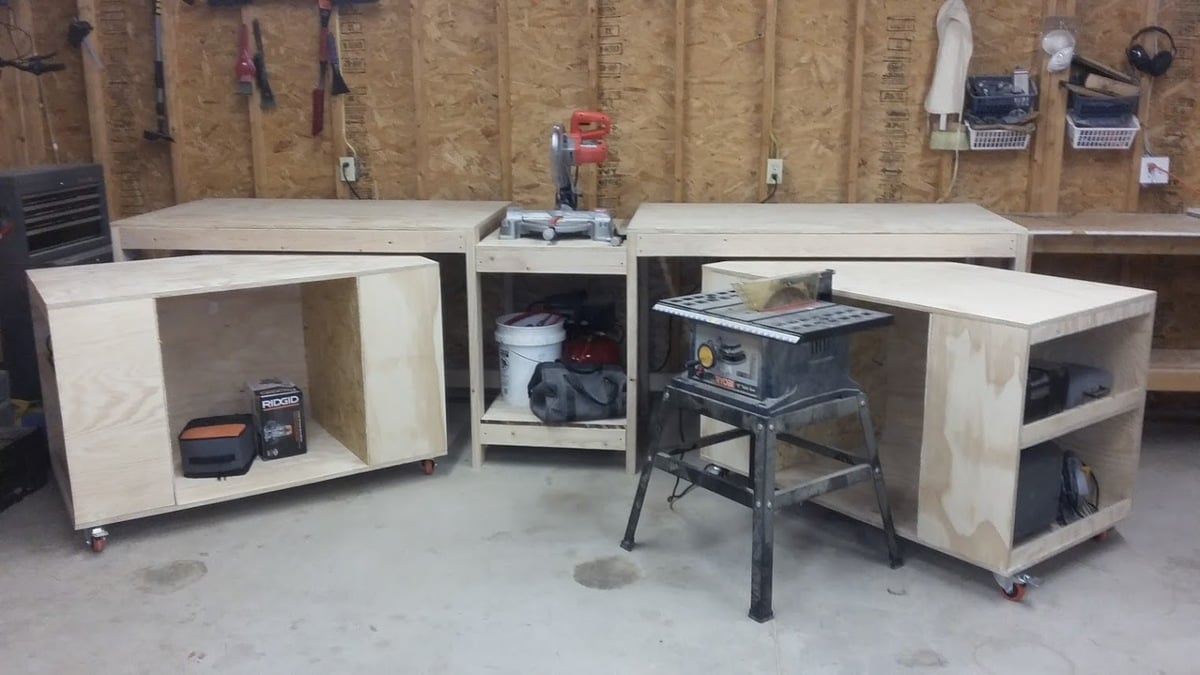
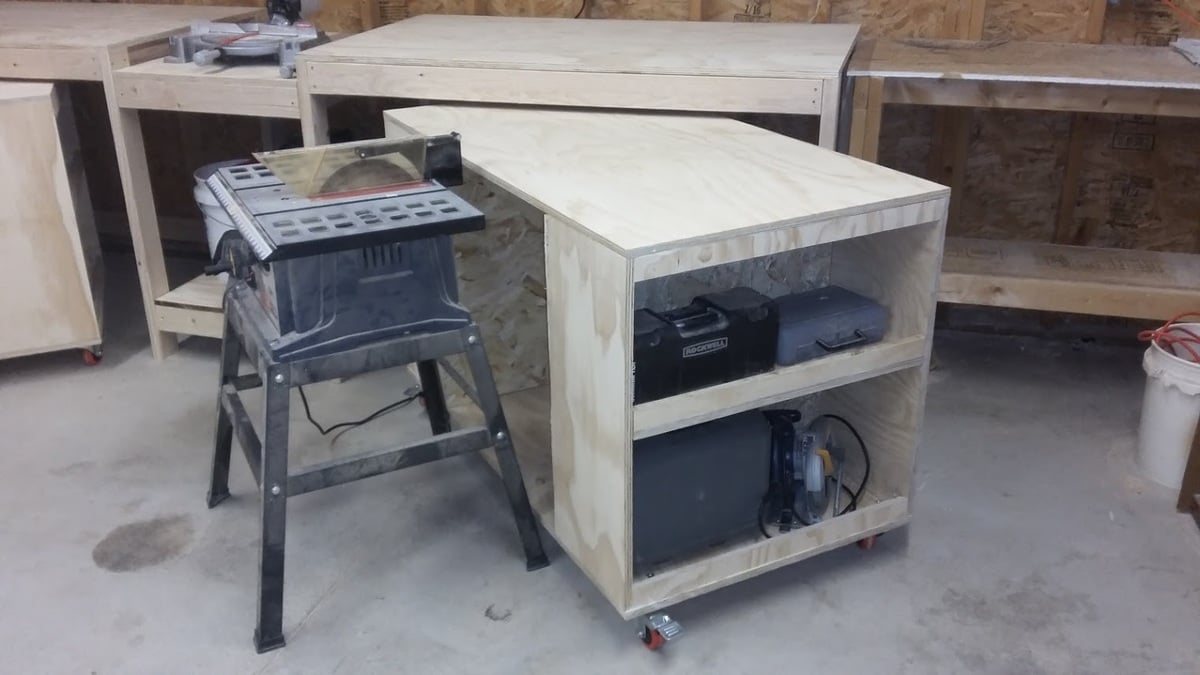
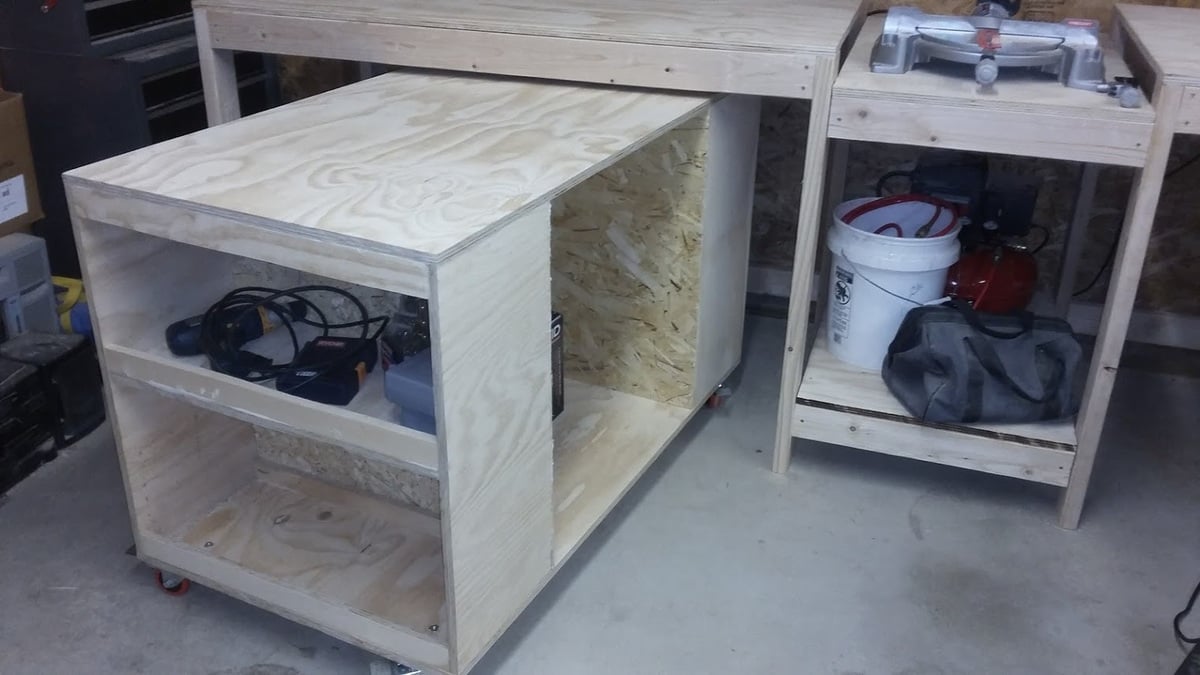
Miter saw stand with rolling tool storage carts

Submitted by UCF99ENG on Fri, 11/25/2016 - 18:04

When I saw the plans for the miter saw stand that had two rolling tool storage carts, I knew I had to make it.  Having a cart used for an outfeed table is a brilliant idea.  It was a fun project to make.  I tweaked a few dimensions because I like taller workbenches because I'm taller.  Now my shop is looking more organized.

Estimated Time Investment
Weekend Project (10-20 Hours)
Recommended Skill Level
Intermediate

Comments

CSaintD

Sat, 03/18/2017 - 09:02

Very nicely done.  I am thinking about building the same system.  How is the dust control on the mitre saw working?  That is my one concern, that sawdust will be all over my other tools when I use the mitre saw.
UCF99ENG

Wed, 05/10/2017 - 20:47

I don't really have a dust control system.  I let the dust fall where it does and then just sweep it up.  I have a wet/dry vac but my wife uses it in the house because it's more powerful than many other vacuums.  If the dust gets out of control, I can just bring the wet/dry vac out to the garage and clean up.  There is lots of room to maneuver the vacuum.

CSaintD

Sat, 03/18/2017 - 09:07

Very nicely done! I am thinking about building this same system but am worried about the dust from the mitre saw getting all over my other tools stored in the rolling sections.  Do you have any issues with that?

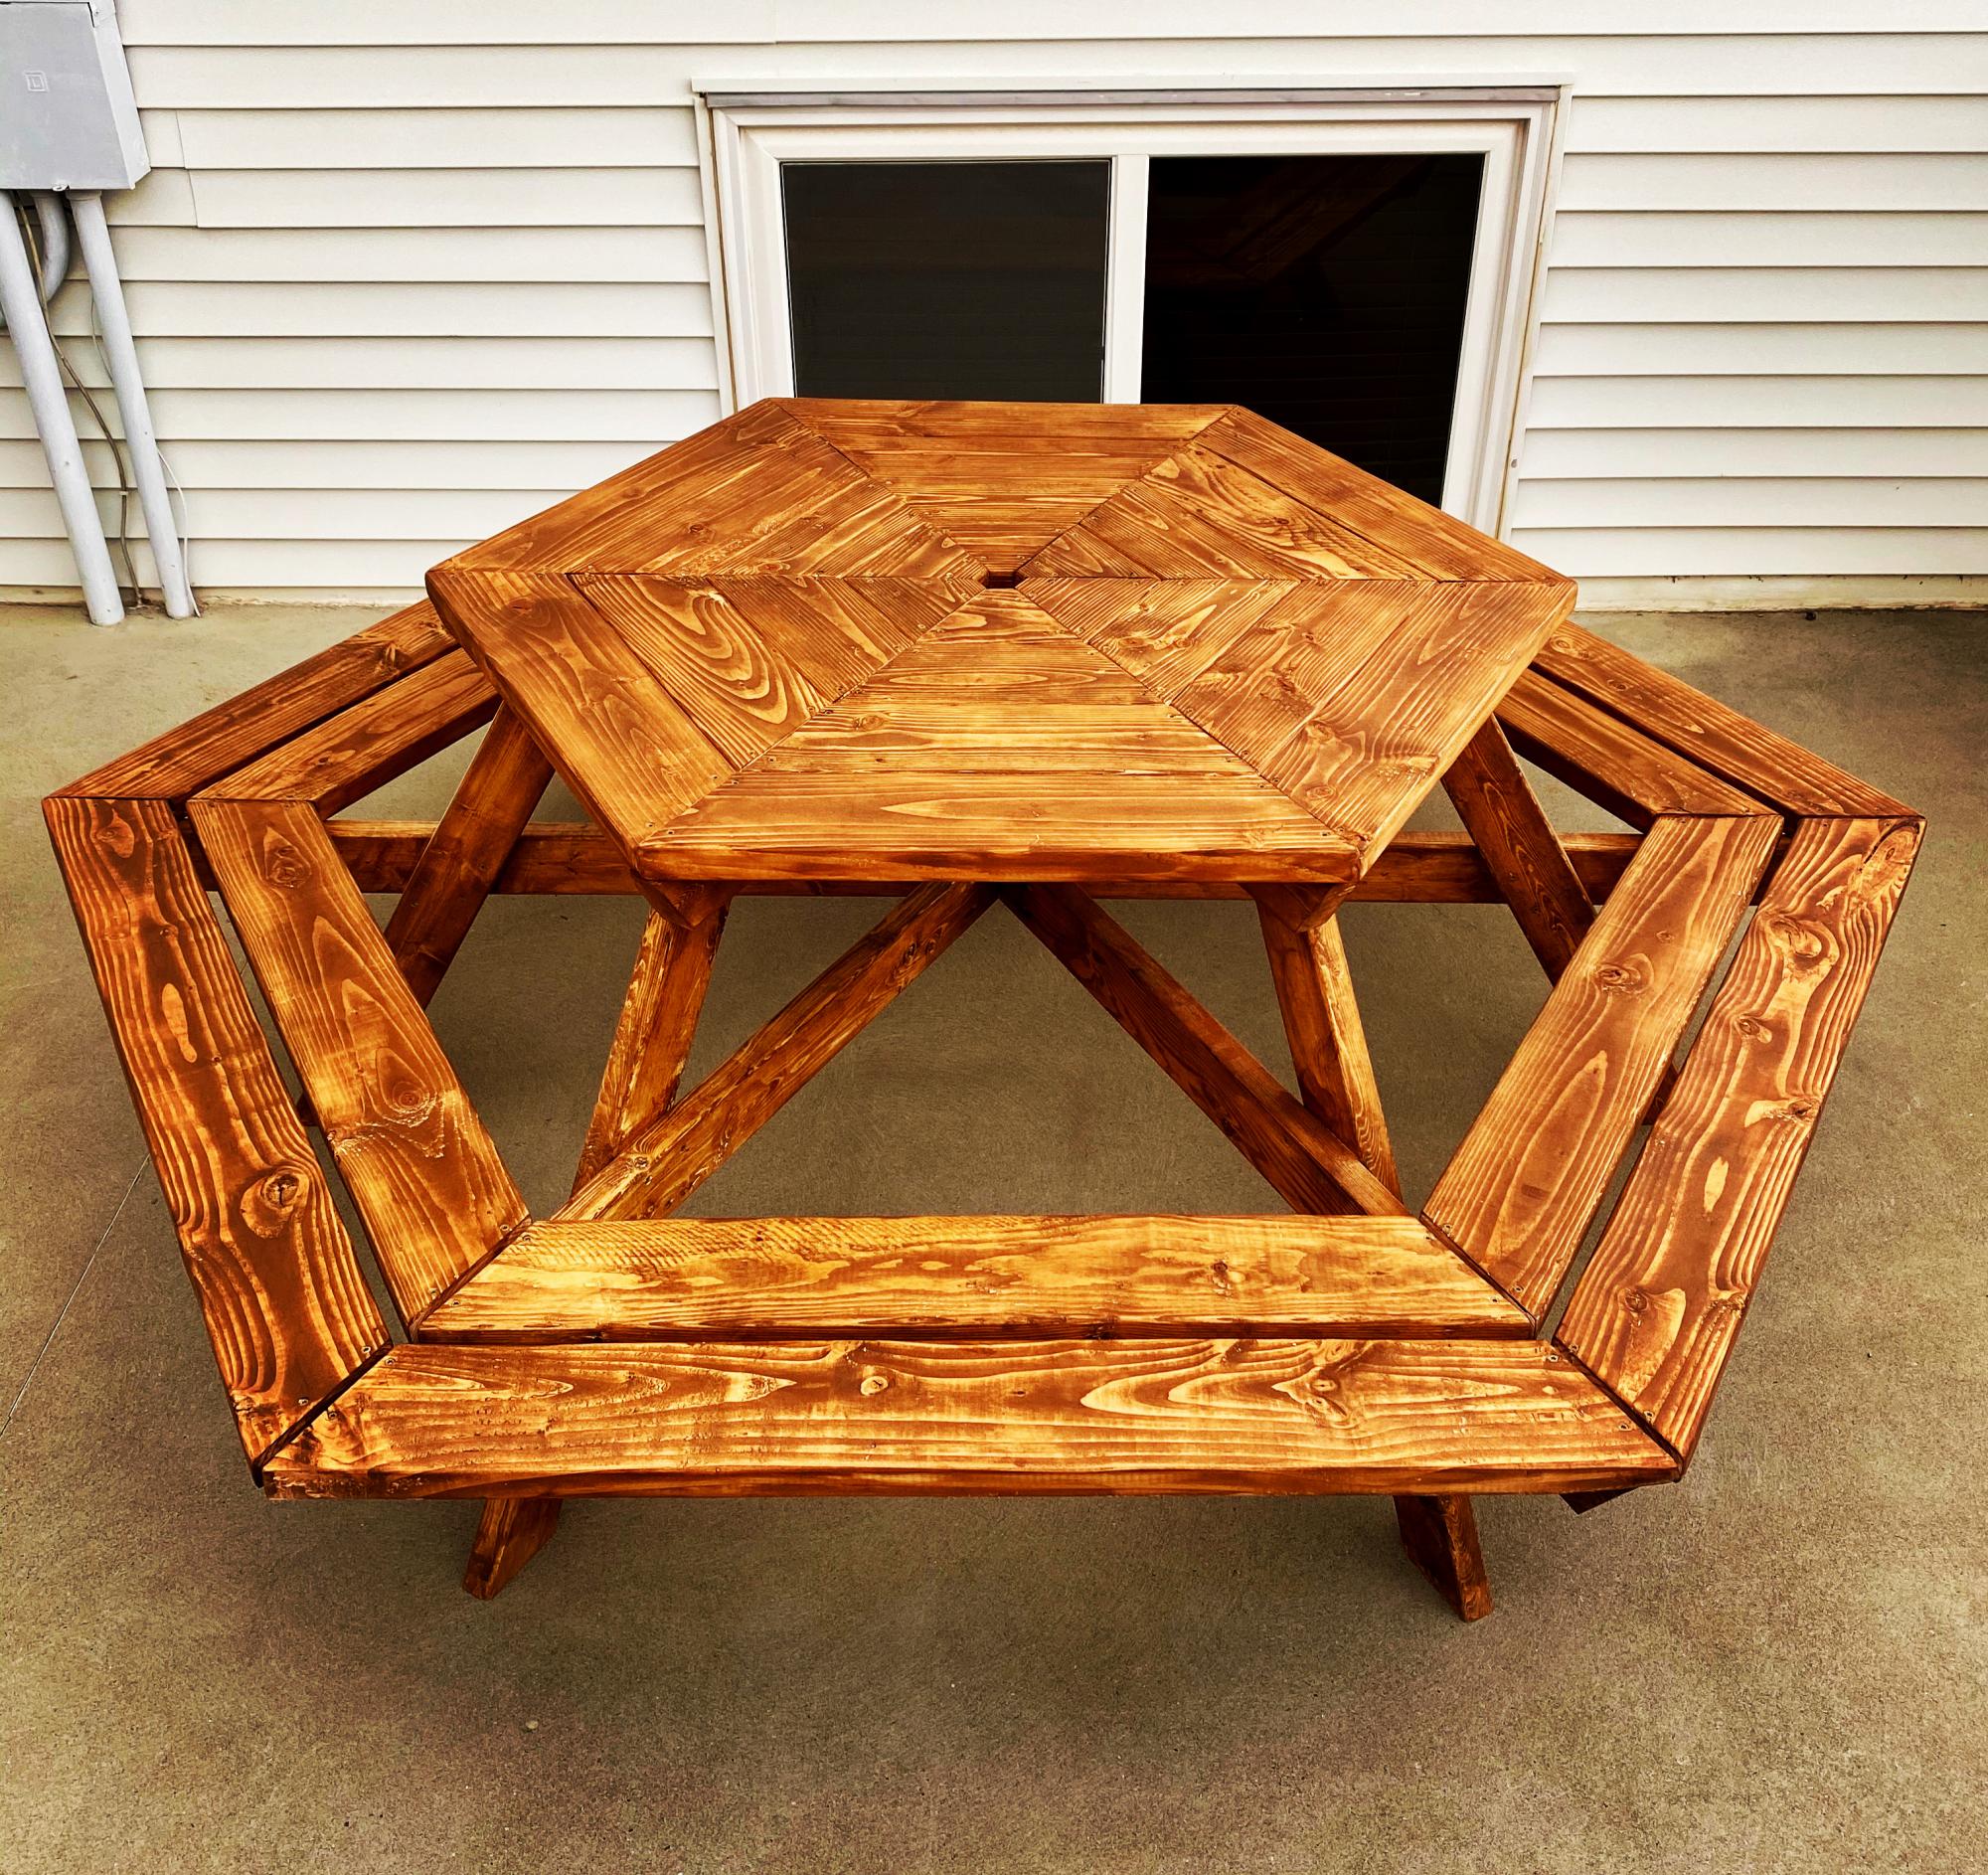
Hexagon Table

Submitted by hgordon on Sat, 08/15/2020 - 08:08

Great build for the patio!

Built from Plan(s)
Estimated Time Investment
Weekend Project (10-20 Hours)
Finish Used
Varathane Early American
Cabot waterproofing
Recommended Skill Level
Advanced
Seasonal And Holiday

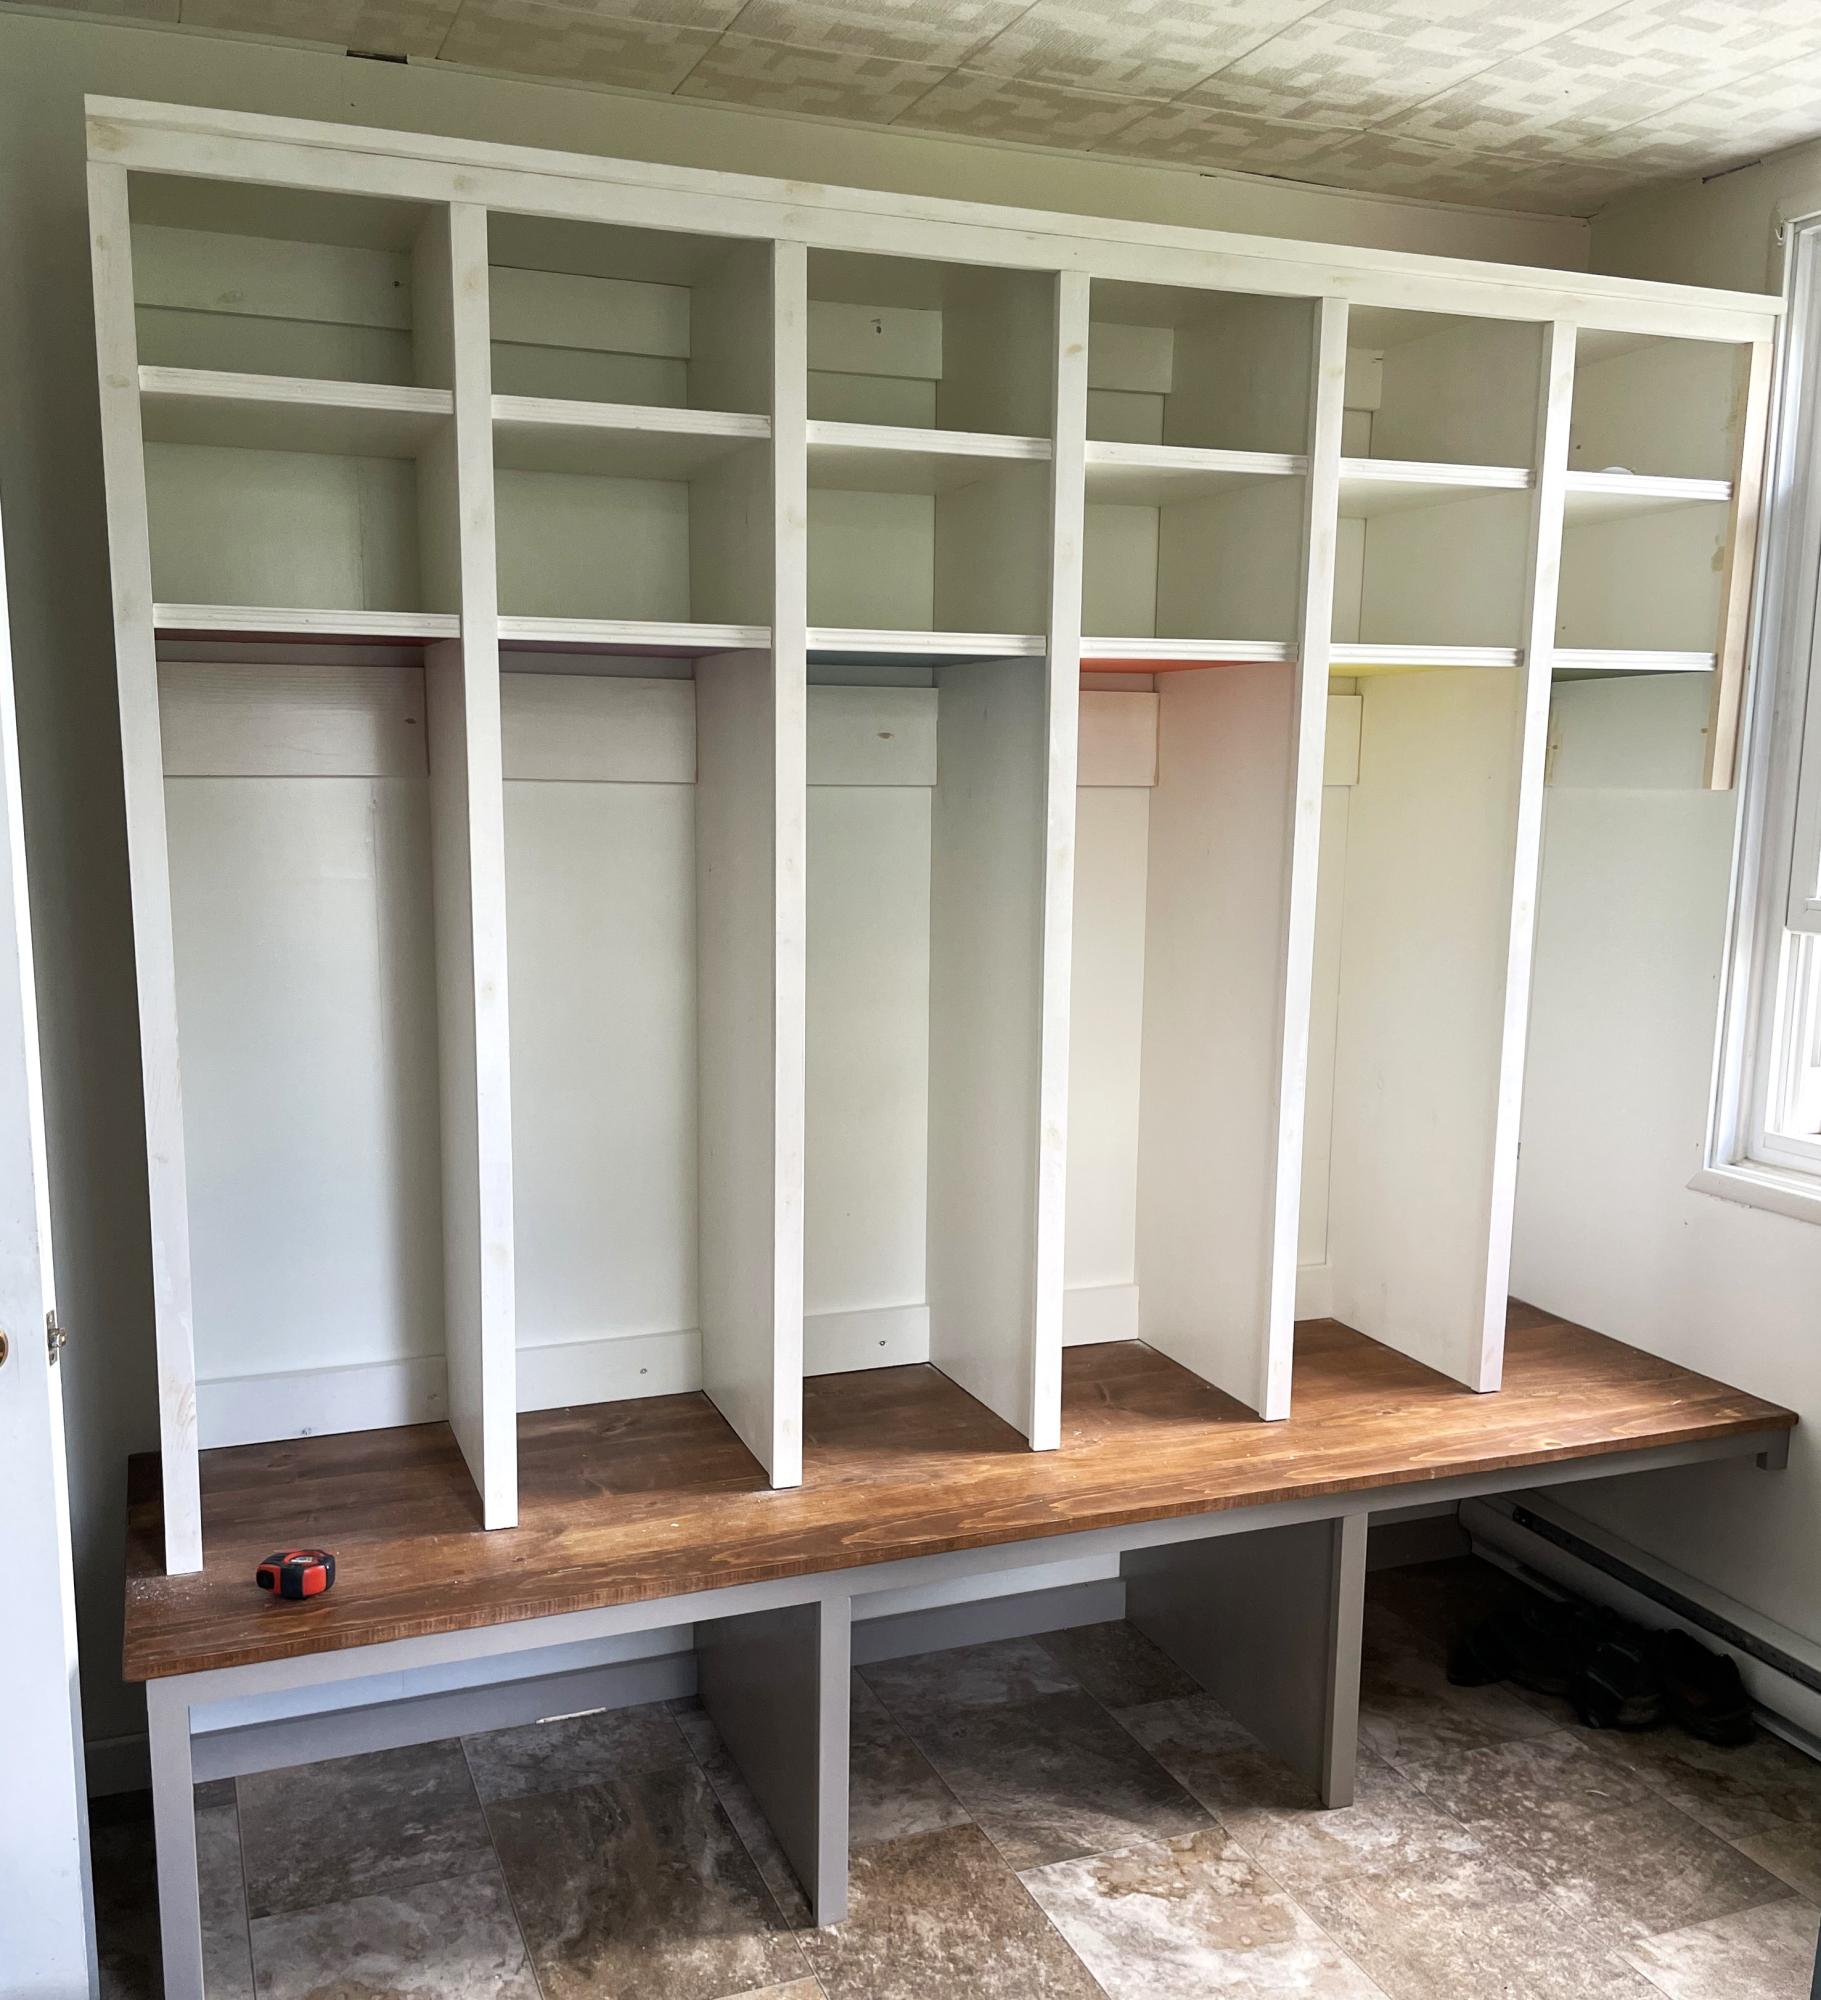
DIY Mudroom Lockers

Submitted by Anonymous (not verified) on Sun, 07/28/2024 - 14:22

So happy with my mudroom lockers! I would say I’m a novice at woodworking, but am very glad I decided to jump right in and tackle something that would be very useful. I definitely would not have been able to do it with out the clear and easy to follow plans!

Madelaine

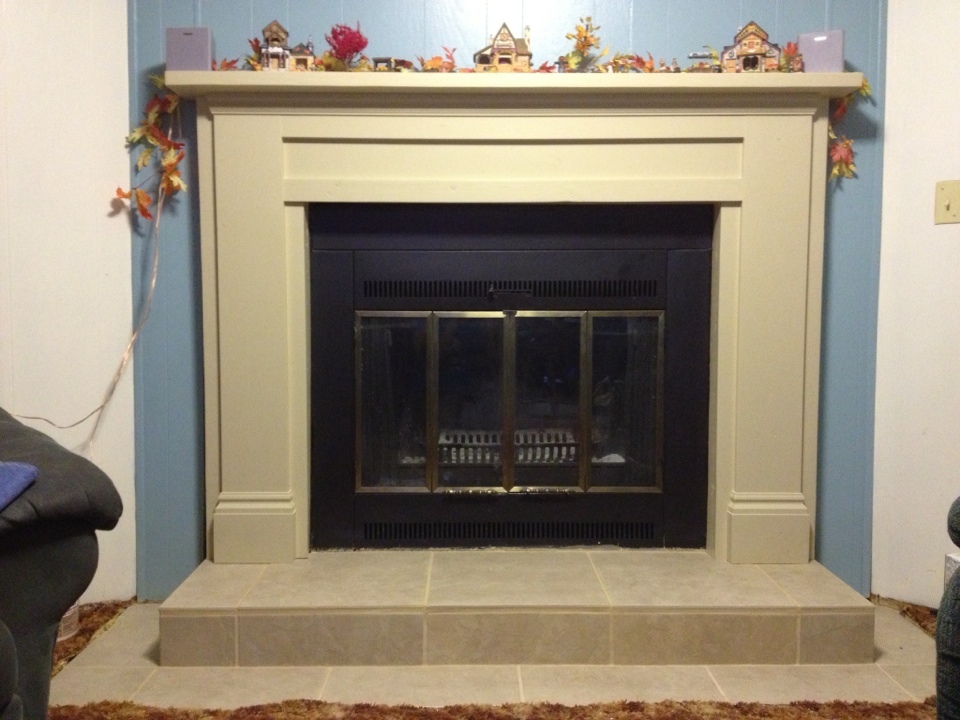
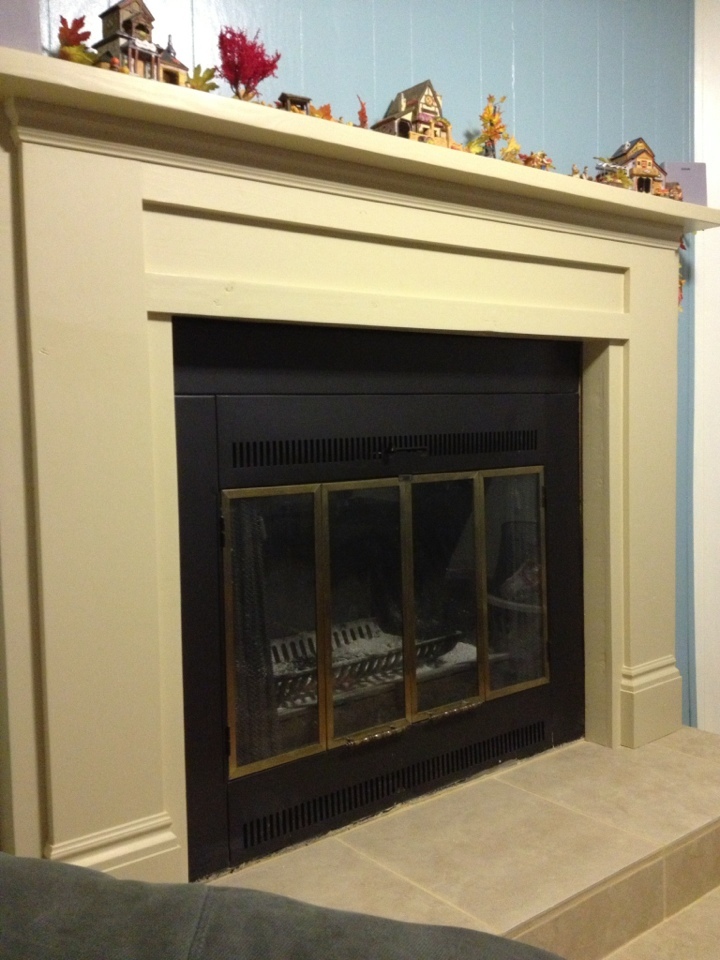
Mimi's Faux Mantle

Submitted by Medurrant on Wed, 10/24/2012 - 20:34

This has been a project all summer and I was so excited to find that Ana had made a mantle. I had to make it bigger and I had so much fun making it! Thank you Ana!!!

Estimated Cost
$80.00
Estimated Time Investment
Week Long Project (20 Hours or More)
Recommended Skill Level
Intermediate

Comments

qapaul

Mon, 01/04/2016 - 10:12

Could you let me know which pieces you had to adjust to fit your fireplace? If possible, if you still know the width changes? I'm a new wood worker, but would love to try and adjust this to fit our fireplace, ours looks to be the same size as yours. Thanks for your time!!

Paul

Barnhouse X table

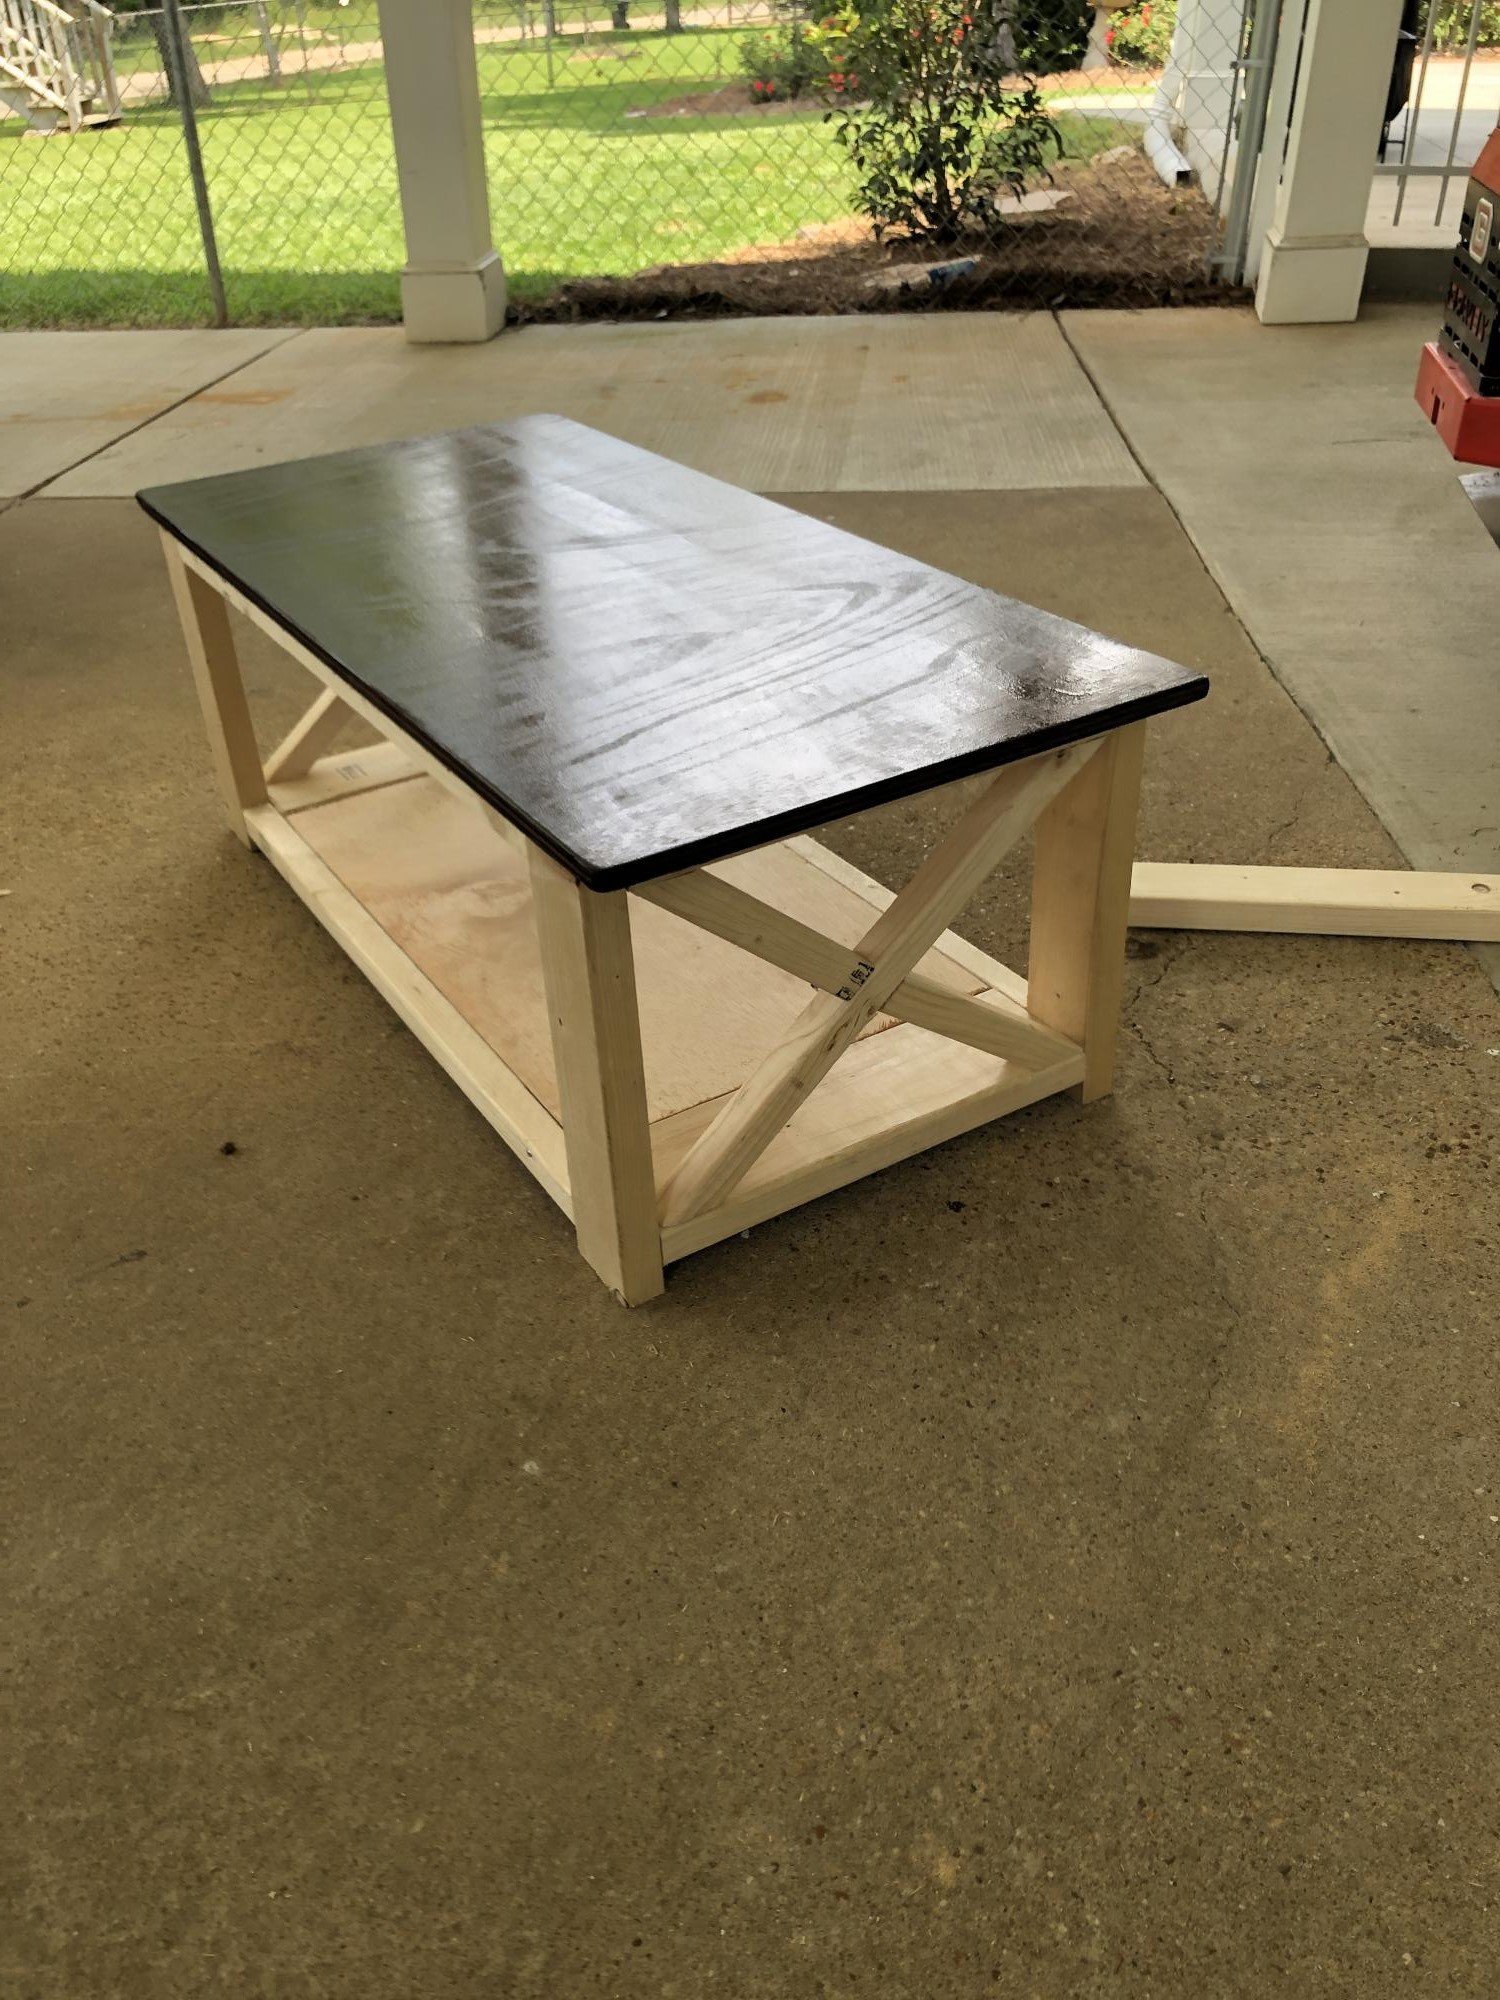
This was my next attempt after hte end tables. I used several ideas from different tables to get the finish i wanted. I also had to increase hte length and width slightly to suit my room. Had numerous complements from it and very happy with the finish

Estimated Cost
$150
Estimated Time Investment
Week Long Project (20 Hours or More)
Finish Used
Dark Walnut
Recommended Skill Level
Beginner

Bench

Submitted by cmacias22 on Mon, 08/17/2020 - 07:40

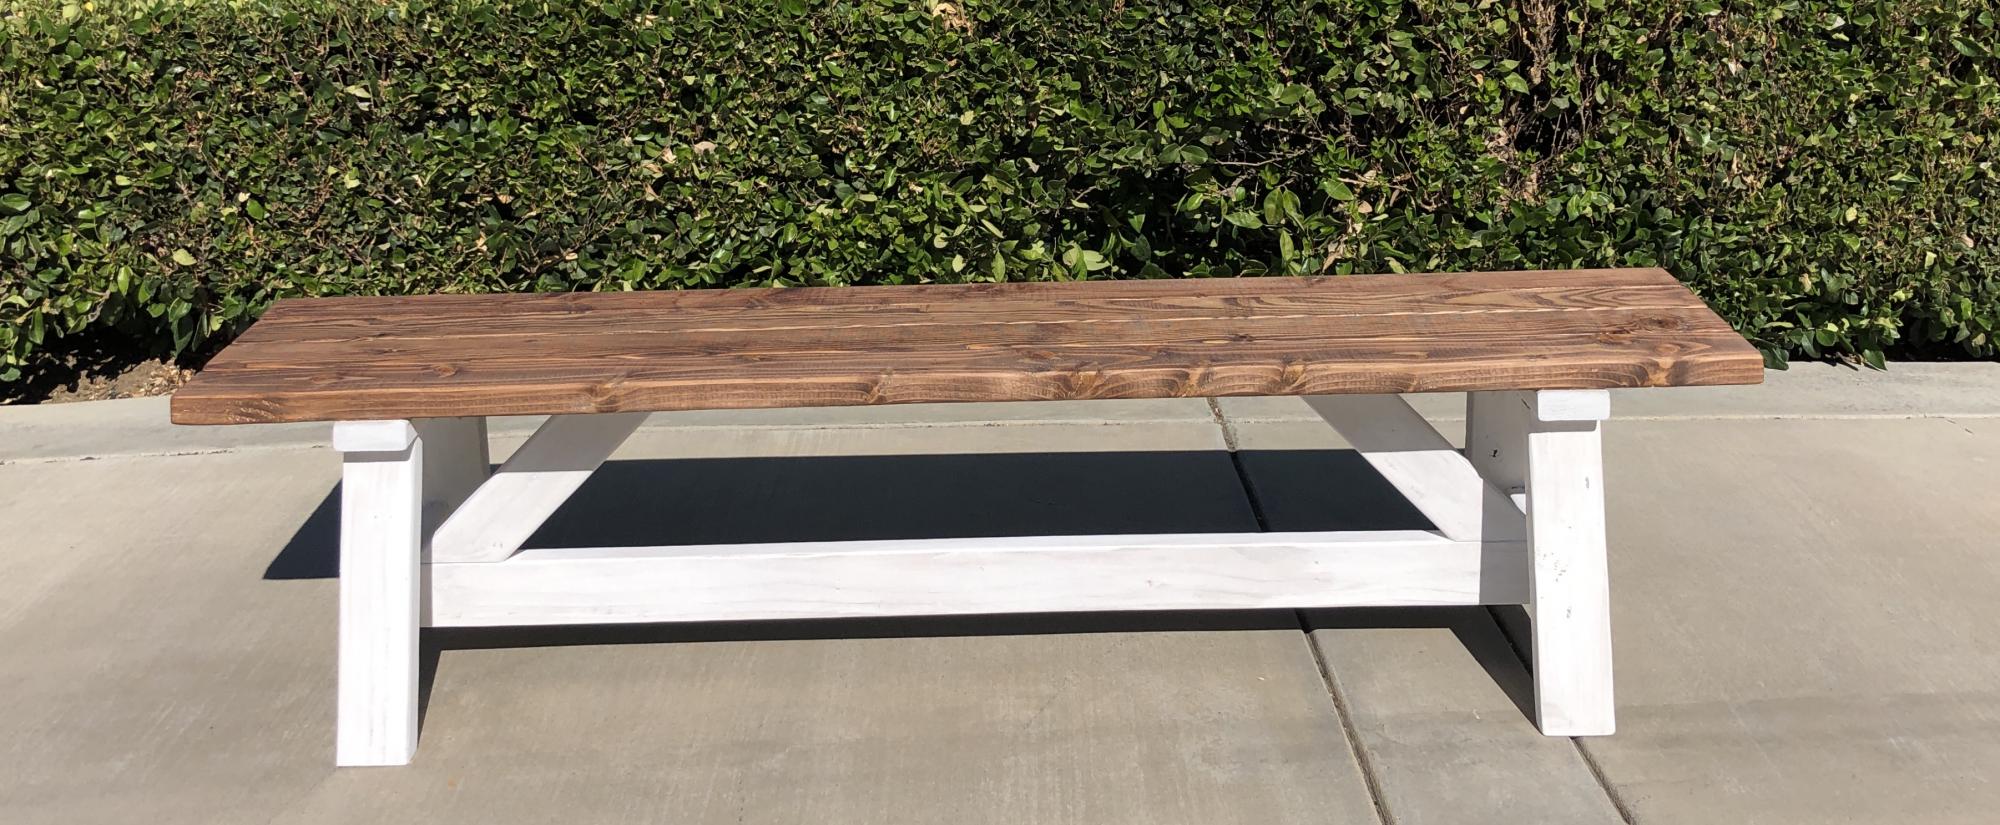
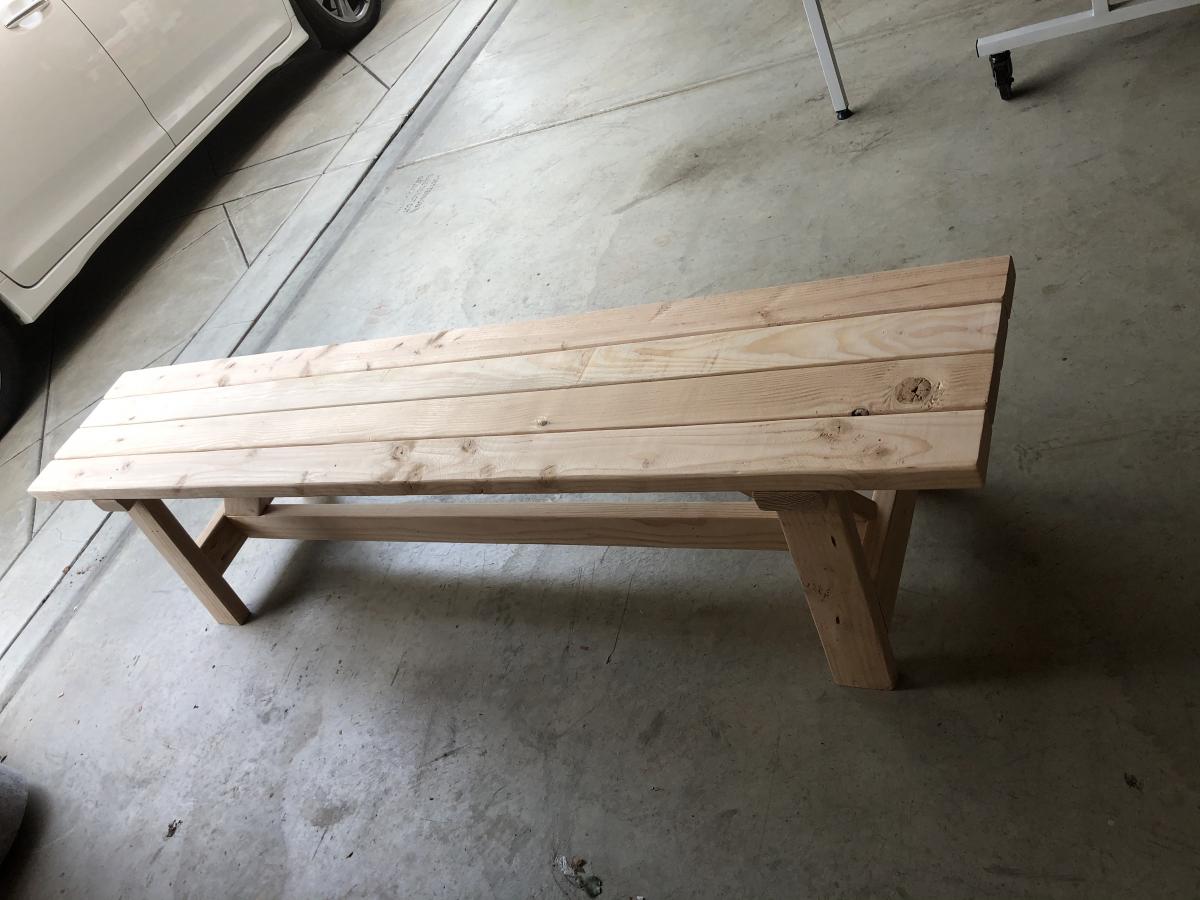
This bench was meant to be used around our fire pit in the back yard which is where is it for now. This is only our second wood build. This bench turned out great and seems to be to nice to be outdoors.

Built from Plan(s)
Estimated Cost
$35
Estimated Time Investment
Day Project (6-9 Hours)
Finish Used
Special Walnut Stain and white chalk paint
Recommended Skill Level
Beginner

Modified Brookstone desk

Submitted by JoanneS on Mon, 10/29/2012 - 18:37

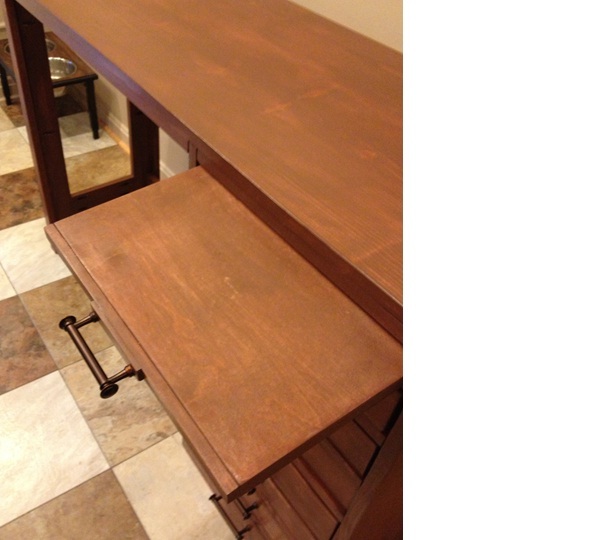
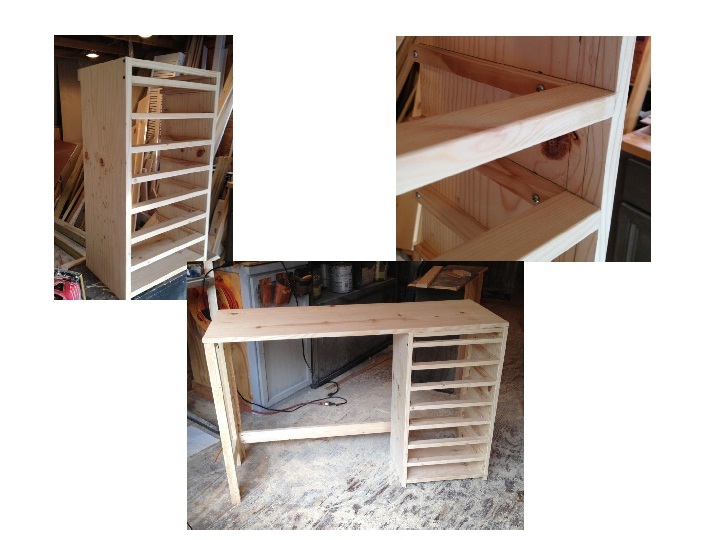
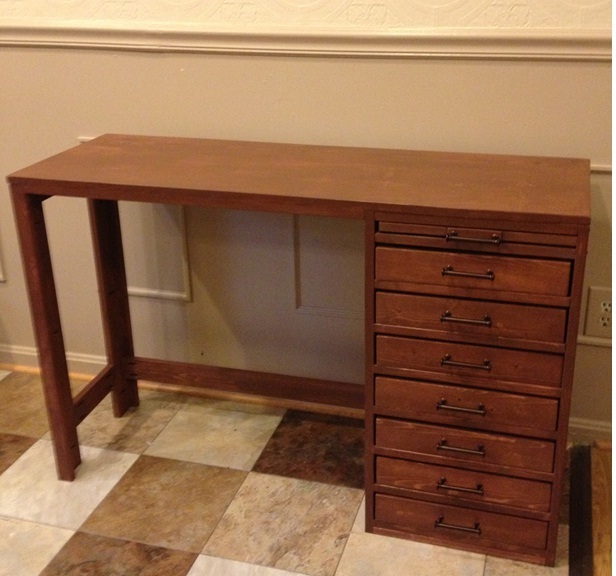
My son asked me to build him a narrow desk for his bedroom, with lots of drawers. This desk is a modified version of the Brookstone desk, with 7 drawers on the side and a pull-out writing surface (inspired by the pull out surface LadyGoats added to the Mod bar wine grid base – Gina’s pictures from her blog were really helpful!) The top measures 16 ¾ x 48 (top is a 1x12 and 1x6 edge joined with pocket holes). Lots of pocket holes on this one, because it’s stained and I didn’t want to fill nail holes. For the color we were trying to match the PB small printers desk Chestnut color. The pulls are antique bronze from Lowes. The drawers slide directly on the wood, because I knew I wouldn’t have the patience to install 8 sets of drawer slides ;) used ¾” S4S and 1x2 to hold the drawers. The drawer bottoms and the wood all got a coat of soft wax, and they slide nice and smooth. This took about 20 hours to build and finish over a long weekend. My son said he thought it looks amazing, which is the best part!

Estimated Cost
$155
Estimated Time Investment
Week Long Project (20 Hours or More)
Finish Used
I wanted the finish kind of rustic, so I didn’t use wood conditioner. Finished with 1 coat Minwax water based stain in Dutch Chocolate, 1 coat Minwax water based wipe-on poly, and a coat of soft wax.
Recommended Skill Level
Intermediate

Comments

LisaTen (not verified)

Tue, 10/30/2012 - 07:09

This looks awesome! Love those drawers, colors, handles-everything!

JoanneS

Tue, 10/30/2012 - 07:29

Thanks LisaTen! This was a fun build, especially since it was for my son, the college student :) :) (proud Mom smiles)

JoanneS

Sat, 11/03/2012 - 10:35

Thanks Gina! I'm glad you like the desk, and especially glad you added your link to the tutorial. :) I couldn't have done the pull out without it! I can't wait to see your desk, I'm sure it will look awesome!

benjaminrogers

Thu, 09/05/2013 - 07:49

JoanneS,

I think I've just found my design for my fly tying desk! I was wondering how wide you made the drawer base and how tall each drawer is?

Thanks,

Ben

JoanneS

Wed, 09/11/2013 - 02:19

Hi Ben,
Sorry I'm so late replying, I just saw I had this comment. The drawer base on this is 16 1/4" wide, and each drawer is 2 3/4" tall (a 1x3 with 1/4" plywood as the bottom). I'm kind of a spreadsheet geek, so I have all the measurements and cut lists in an Excel file. If you would like to have these, please send me a message via "contact" on my profile, and I'll reply with the attachment. Thanks for commenting, glad you like the desk! :)
Joanne

Cottage Vanity

Submitted by SSGF on Sun, 08/17/2014 - 20:11

Built this for my cottage out of 3/4" birch purebond and pine. I finished by pickling the purebond and painting the pine and then used a laminate countertop.
Built from Plan(s)
Estimated Cost
140
Estimated Time Investment
Weekend Project (10-20 Hours)
Finish Used
Minwax
Recommended Skill Level
Intermediate

Modified Pocket Hole Farm House Tanle

Submitted by Anonymous (not verified) on Sat, 12/03/2016 - 09:59

I took these plans and changed the dimensions to match my dining room and made the cross members out of 4x4's. I wanted the bottom to be bigger, as well as making the top look like used yarn wood planks. Turned out great. It was wonderful to be able to have all the family around the table for Thanksgiving. Thanks Anna for the inspiration. 

Estimated Time Investment
Week Long Project (20 Hours or More)
Finish Used
Dark Walnut Minwax. Satin Polyurethane. Satin White Paint.
Recommended Skill Level
Beginner

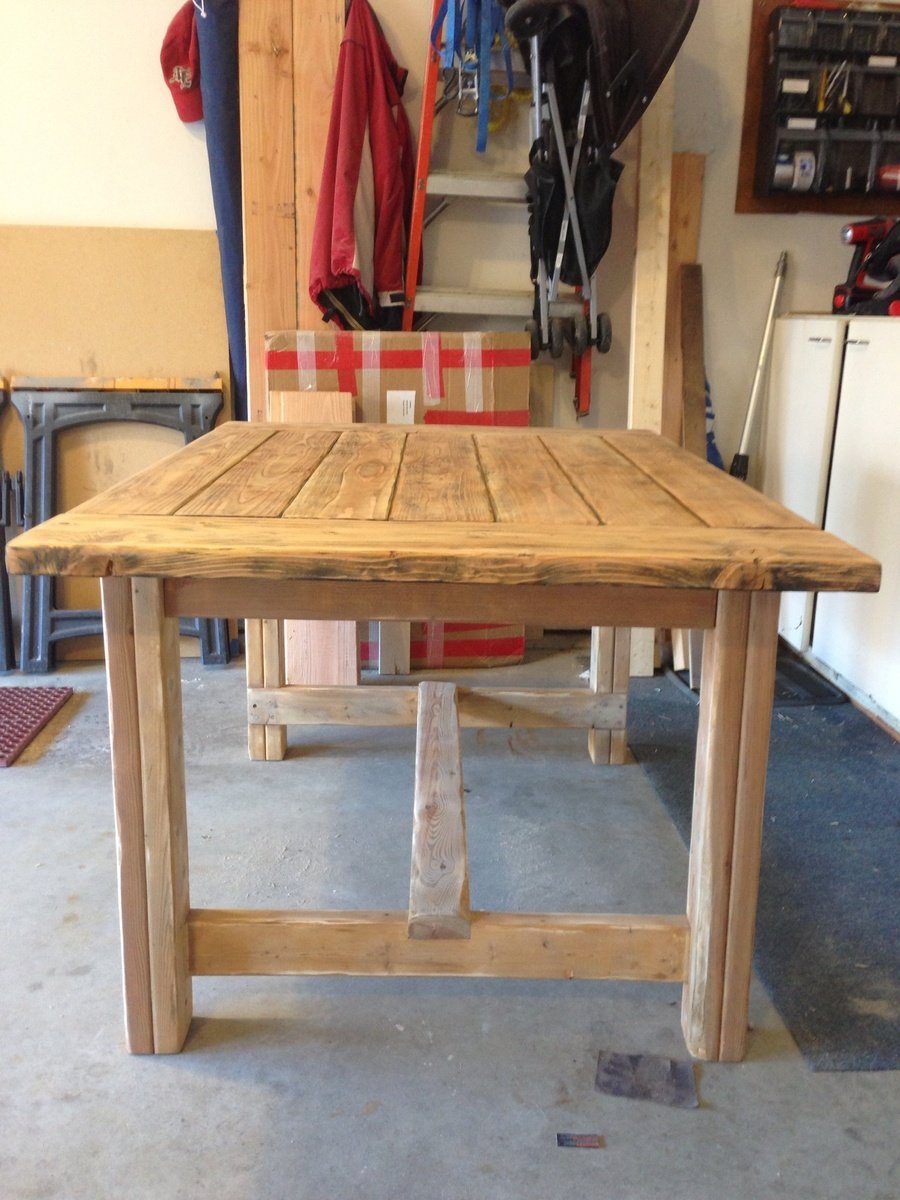
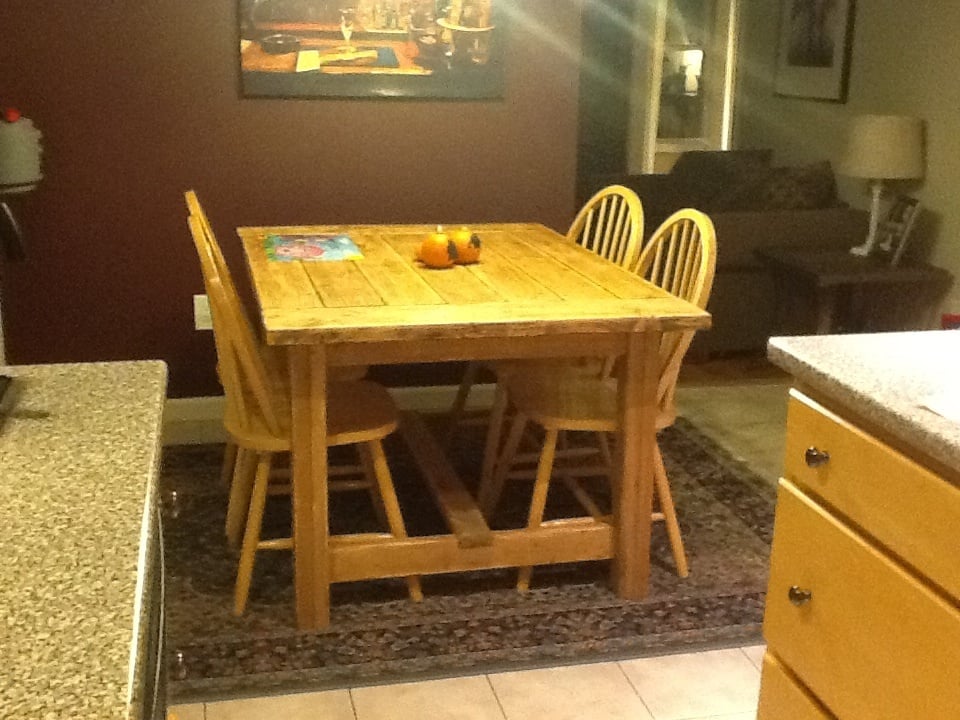
Farmhouse Table - Shortened

Submitted by Danimal on Fri, 11/02/2012 - 20:53

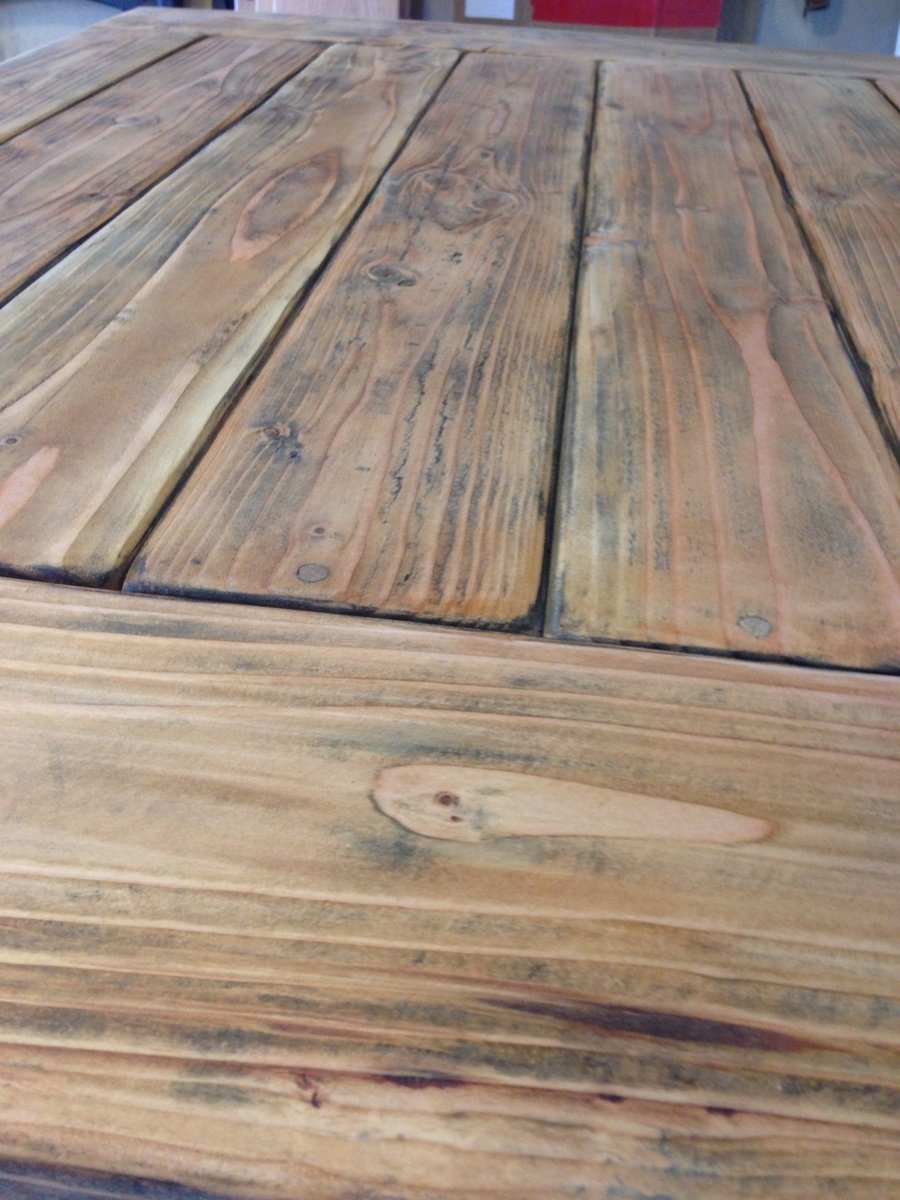
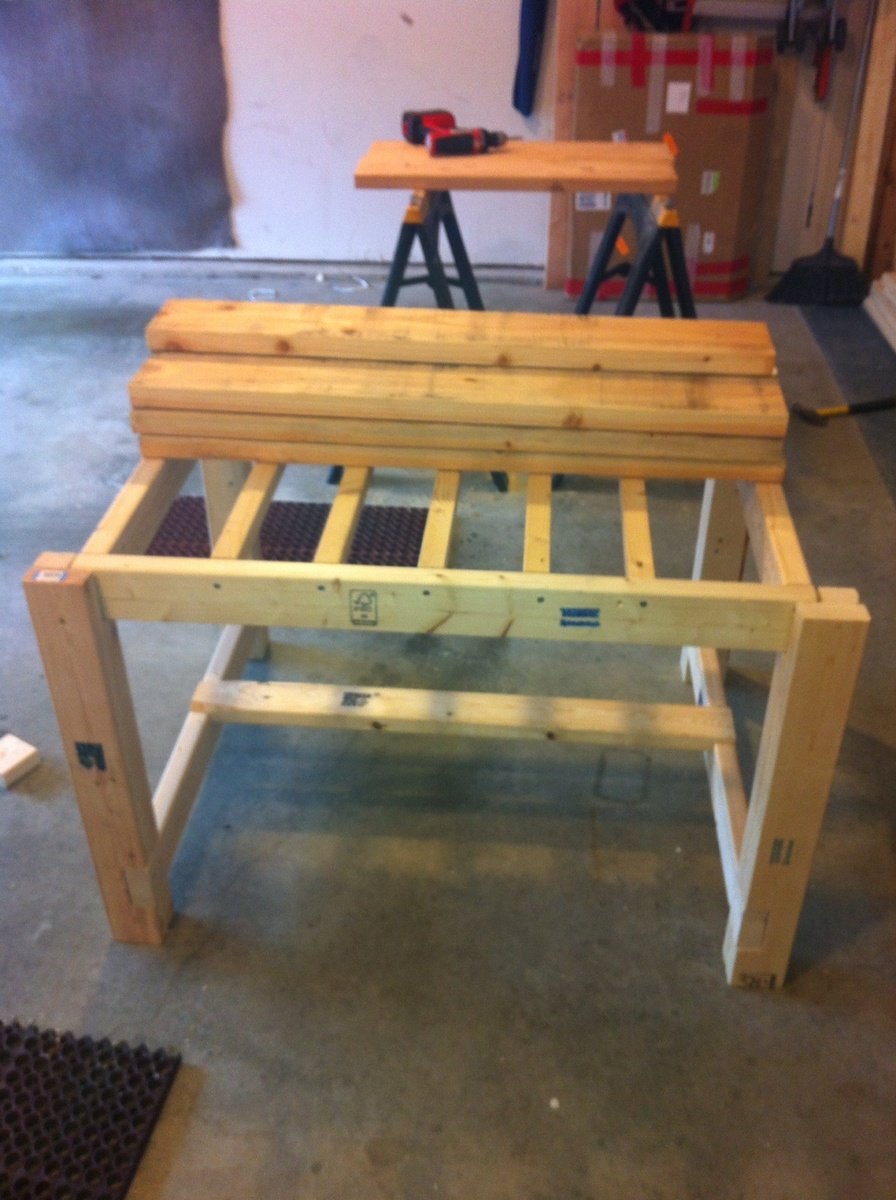
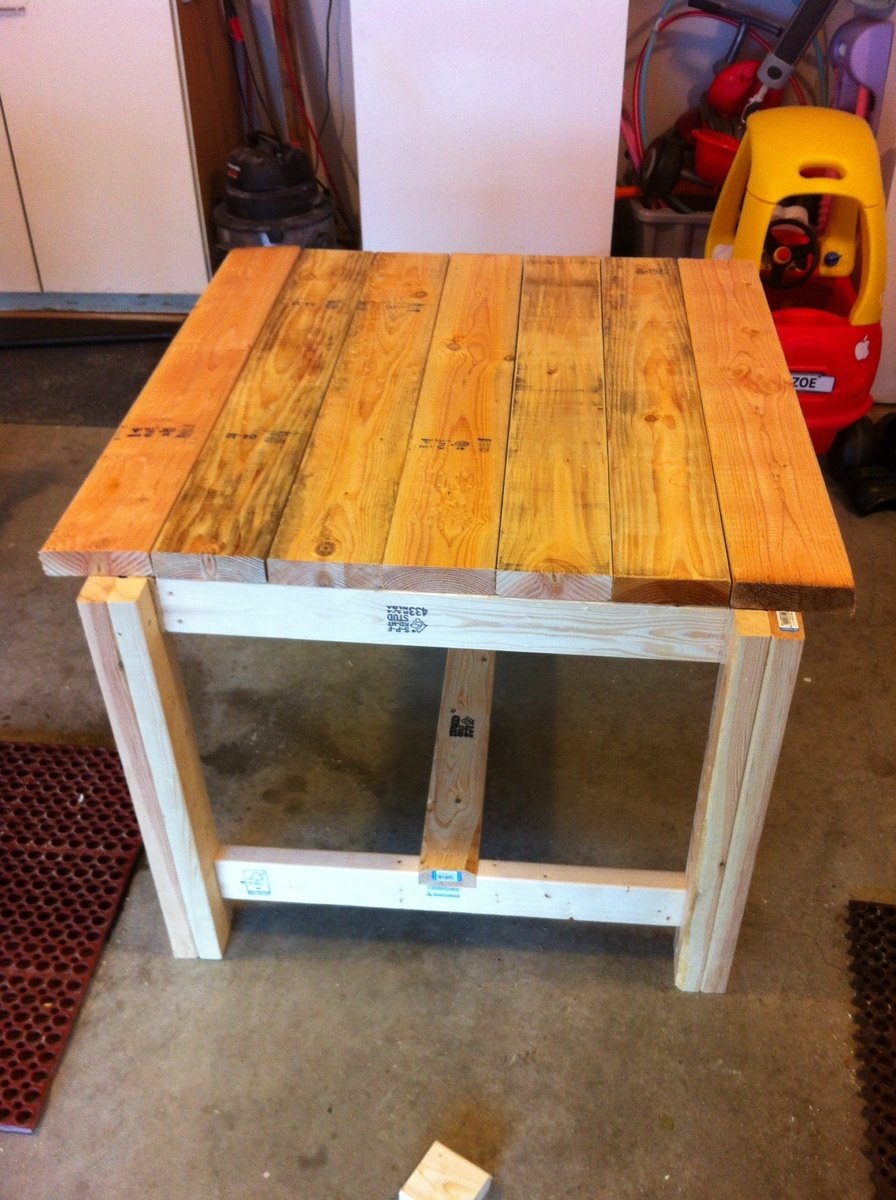
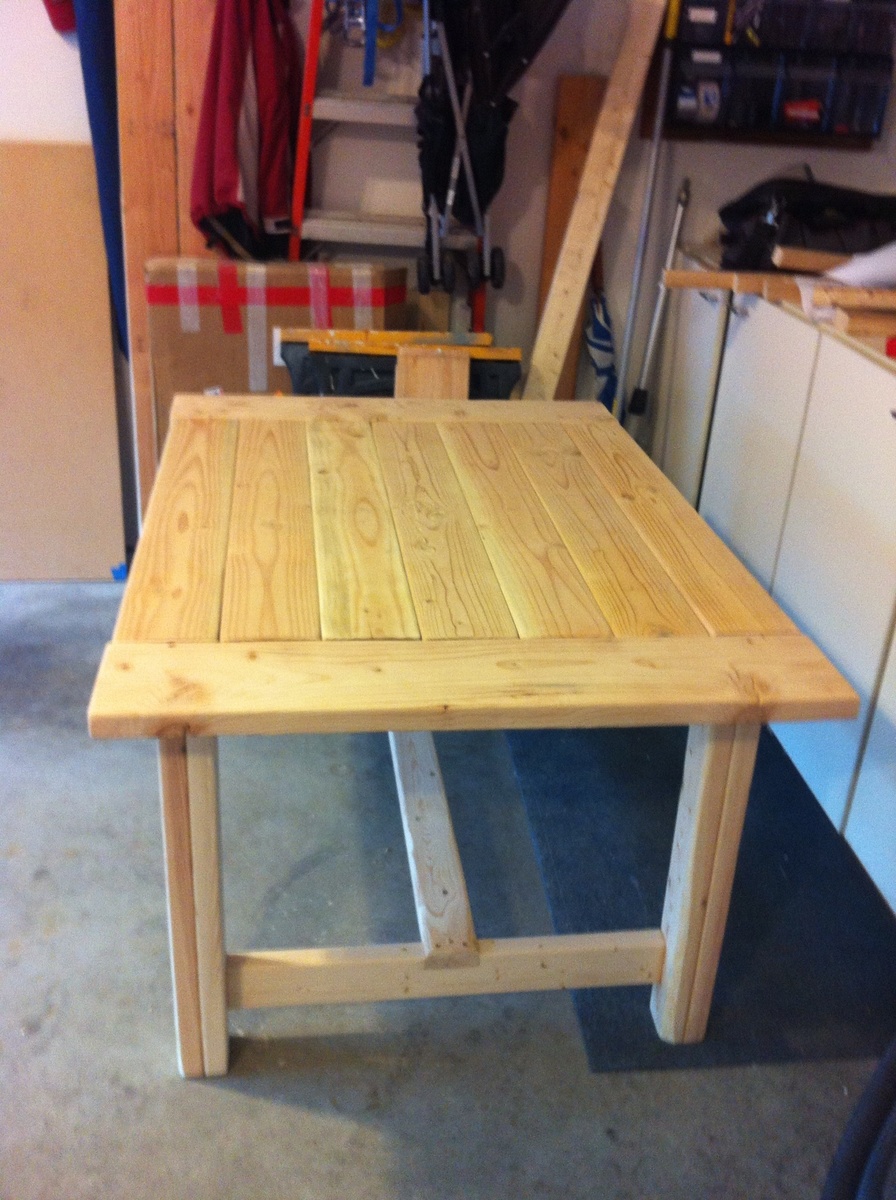
I loved the look of the farmhouse table, but it was a little long for what I needed as our kitchen table. The original plan made a longer dining room type table. I decided to shorten it up a bit, it has a bit more of a stocky look to it but we love it! It is such a solid design, and we get such great compliments on it. I used wooden dowels to fill the screw holes which gave it a bit more country look to it because the vinegar stain turned them a slightly different color than the tabletop.

Estimated Cost
$100 for more than enough lumber.
Estimated Time Investment
Week Long Project (20 Hours or More)
Finish Used
I used the apple cider vinegar and steel wool stain (soaking #0000 steel wool in a mason jar with enough vinegar to cover the wool. Allow to soak for approximately 4-6 hours. Then straining the vinegar through a coffee filter to strain out any remaining steel wool. After testing on a scrap piece of wood, I found the right amount of vinegar to brush onto the wood. I sanded it down after it dried and finished it with some wood finishing paste wax.
Recommended Skill Level
Intermediate
Back