Full Storage Bed
I built the Full Storage Bed using Ana's plans! It was very easy and I love the storage space! You can see it and my modifications at our blog http://www.shanty-2-chic.com/2011/03/crates-for-storage-bed.html
I built the Full Storage Bed using Ana's plans! It was very easy and I love the storage space! You can see it and my modifications at our blog http://www.shanty-2-chic.com/2011/03/crates-for-storage-bed.html
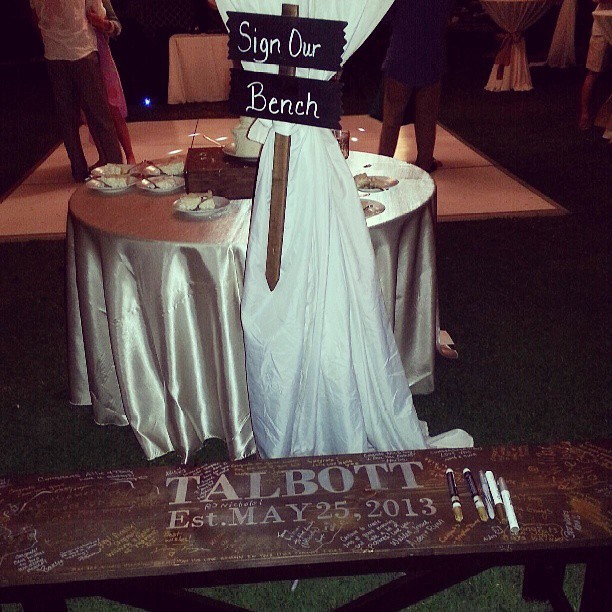
I stole this idea from another brag and had to have it at my wedding. The Bench was fairly cheap to make and took about 4 hours total. I hand made the stencils using cardstock, shipping tape, Xacto knife, and alot of tedious cutout work! I used a sharpie silver paint marker to fill in the stencil. Turned out great and now its at the foot of our bed and we get to look at all of our guest comments everyday!

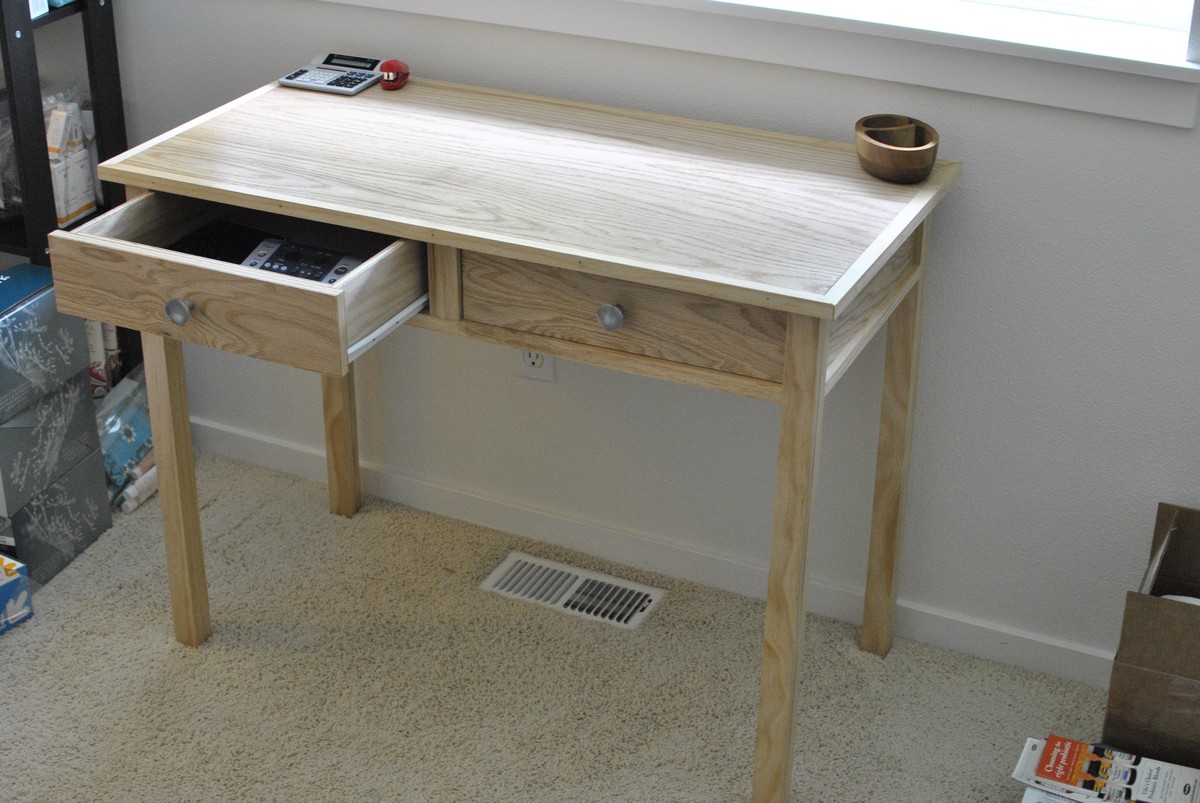
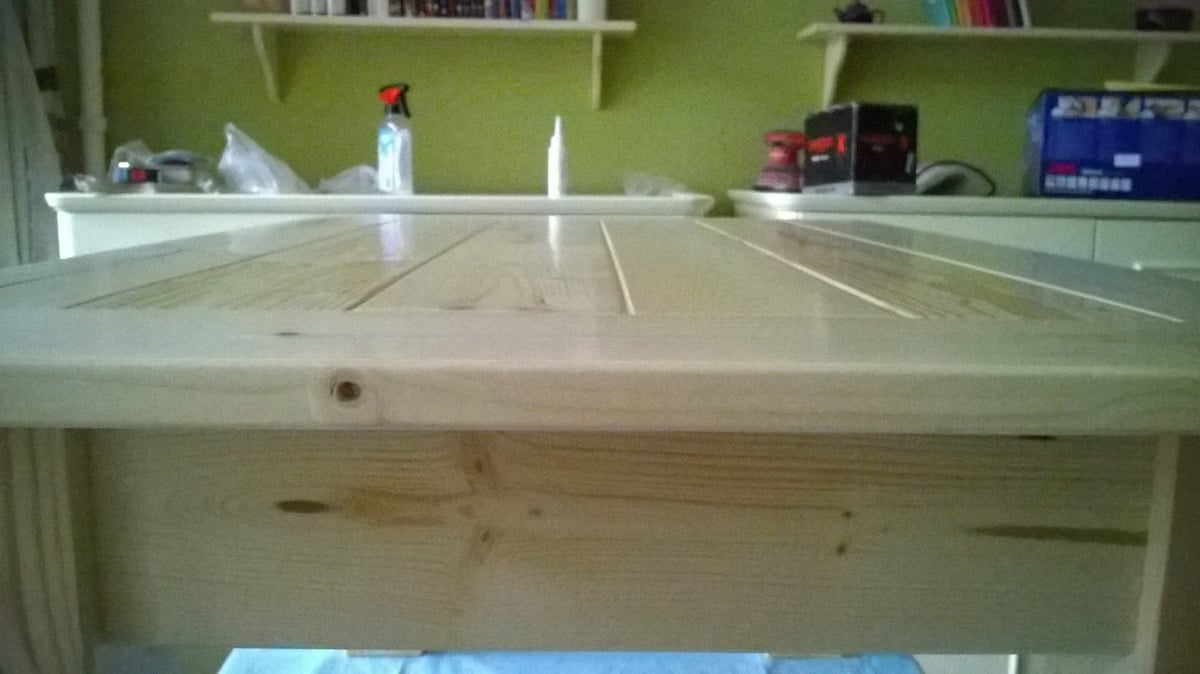
My wife needed a writing desk. I had previously built a coffee table with cheap lumber and wanted to see if I could build something with nicer wood. My concern was that all I had was a small portable table saw. This is the result. Oak plywood for the top and side panels, pine for the frame and edges. No stain; I really wanted to let the difference in colors from the two different woods to speak for itself. Just a good sanding and 5 layers of water based polyurethane.


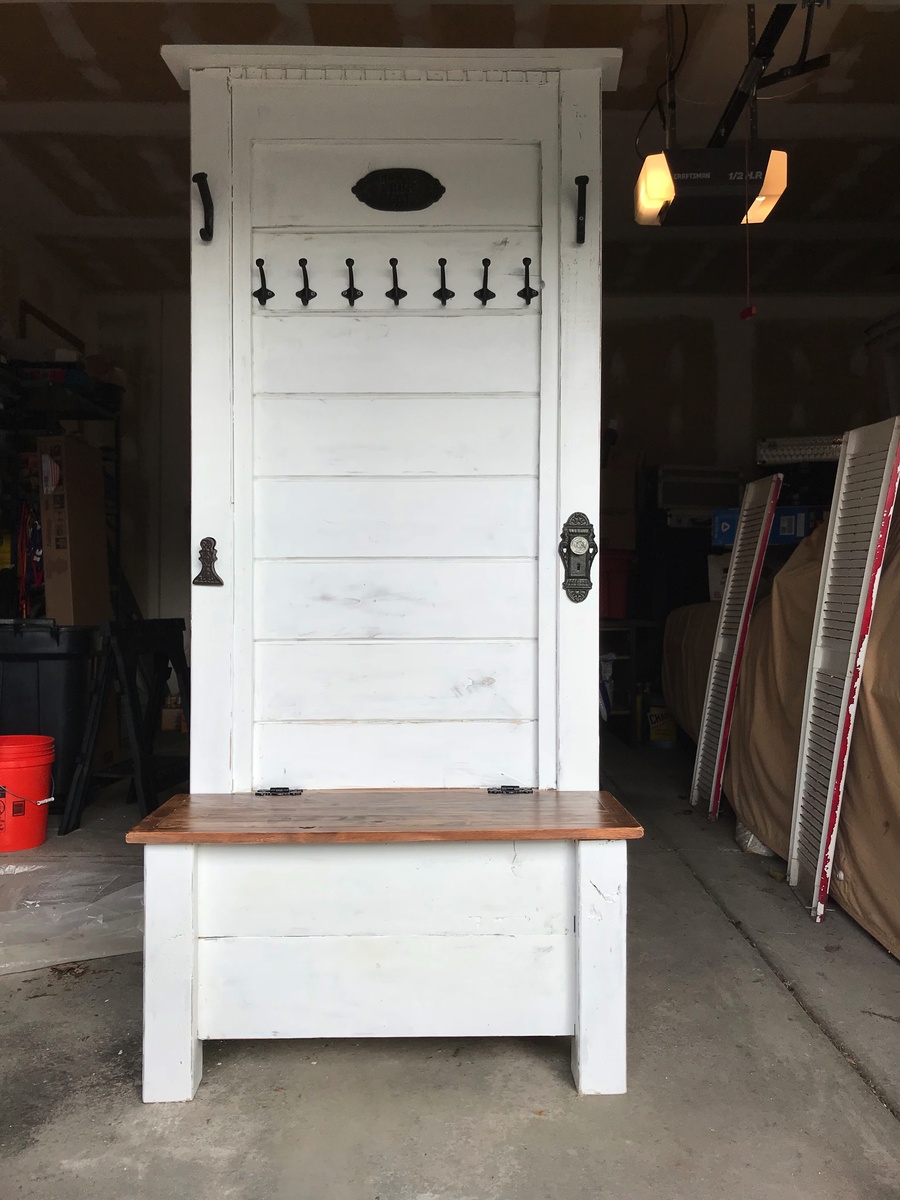
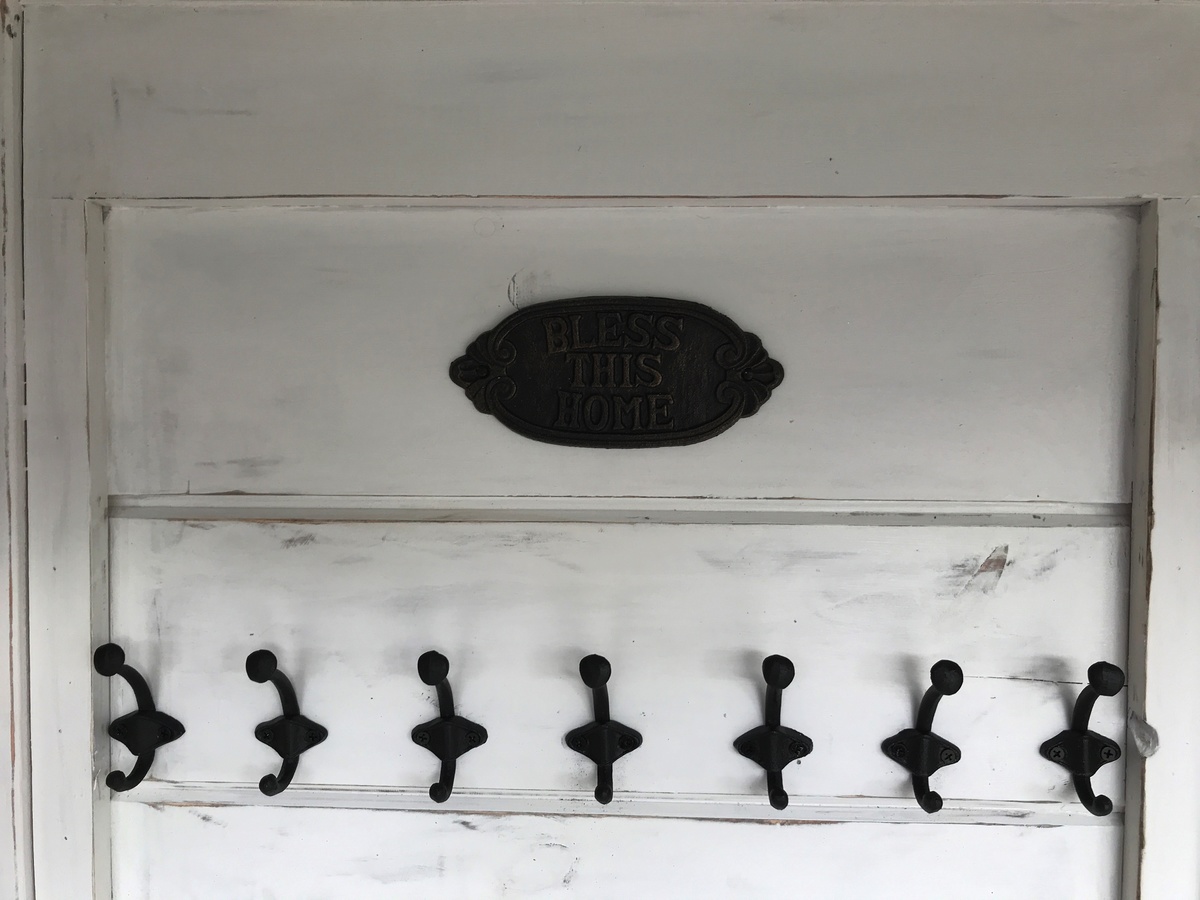
Hi Ana! This project was pretty much inspired by ALL the great things you build on this site, as well as from watching a 'Fixer Upper' marathon (hence, the white color and shiplap). Last Christmas, I promised my sister that I'd build her a hall tree since she's now up to 10 grandkids and needed more hooks for all those coats and hats. Unfortunately, I also came down with a WICKED case of vertigo, so no power tools for yours truly. : (
Well... The vertigo finally cleared up, so it was time to get out my trusty ol' Kreg Jig and fire up the tools.
This project started with 2 4x4s. I cut 17 1/2" off each, then used the long pieces as the back and the sort pieces as the front legs. Then I built a rectangle (shored up by some cross supports) out of 2x3s and used those to attach the back legs together with pocket holes. I did the same thing with the 2 front legs, then attached the 2 sets of legs together with shorter pieces of 2x3s that framed up the side.
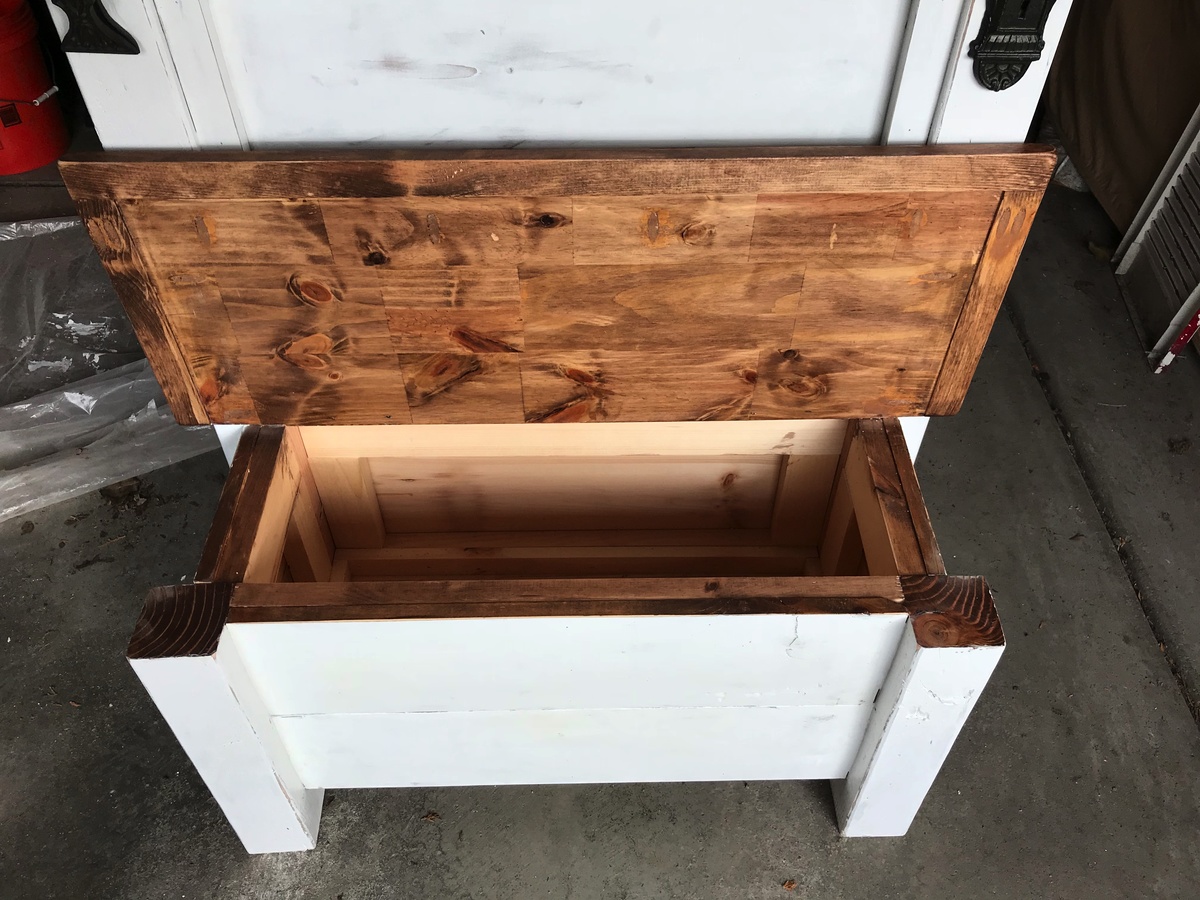
Next, I added a front to back support to the underside, and then attached the bottom of the seat on top of that. I built the front, back, and side pieces of the bench section by cutting a couple of 8' x 8" x .5" planks to size, and attached 2 pieces to each side by gluing and nailing them to the frame. Then, I rans some shiplap up the back (glued and nailed to the back frame) and topped it all off with a mantle.
For the seat, I used a 12" project board ($11 at Lowes for a 6 foot section) because I love all the knotty details and nail marks. I framed it out with 1x1 and attached with pocket screws on the underside. I finished that piece by staining it in Rustoleum Dark Walnut.
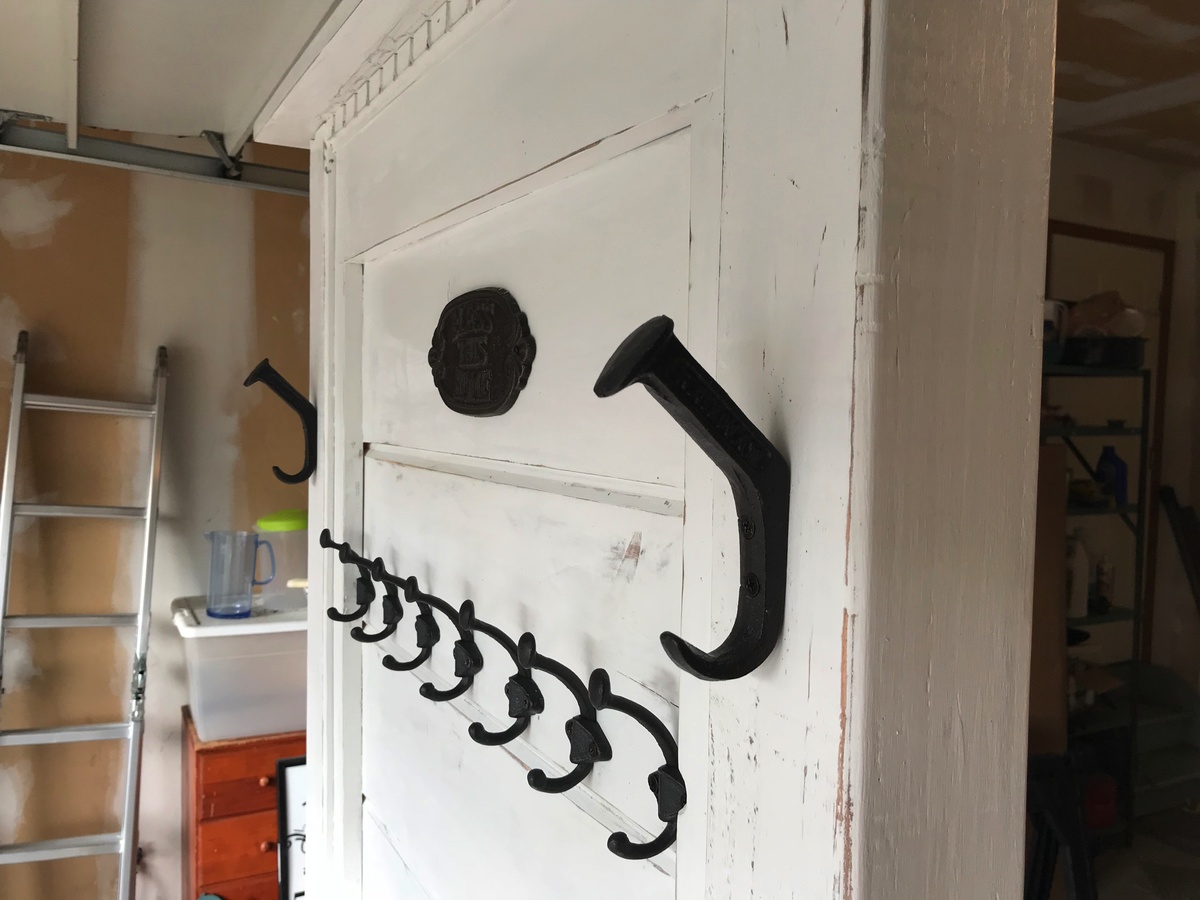
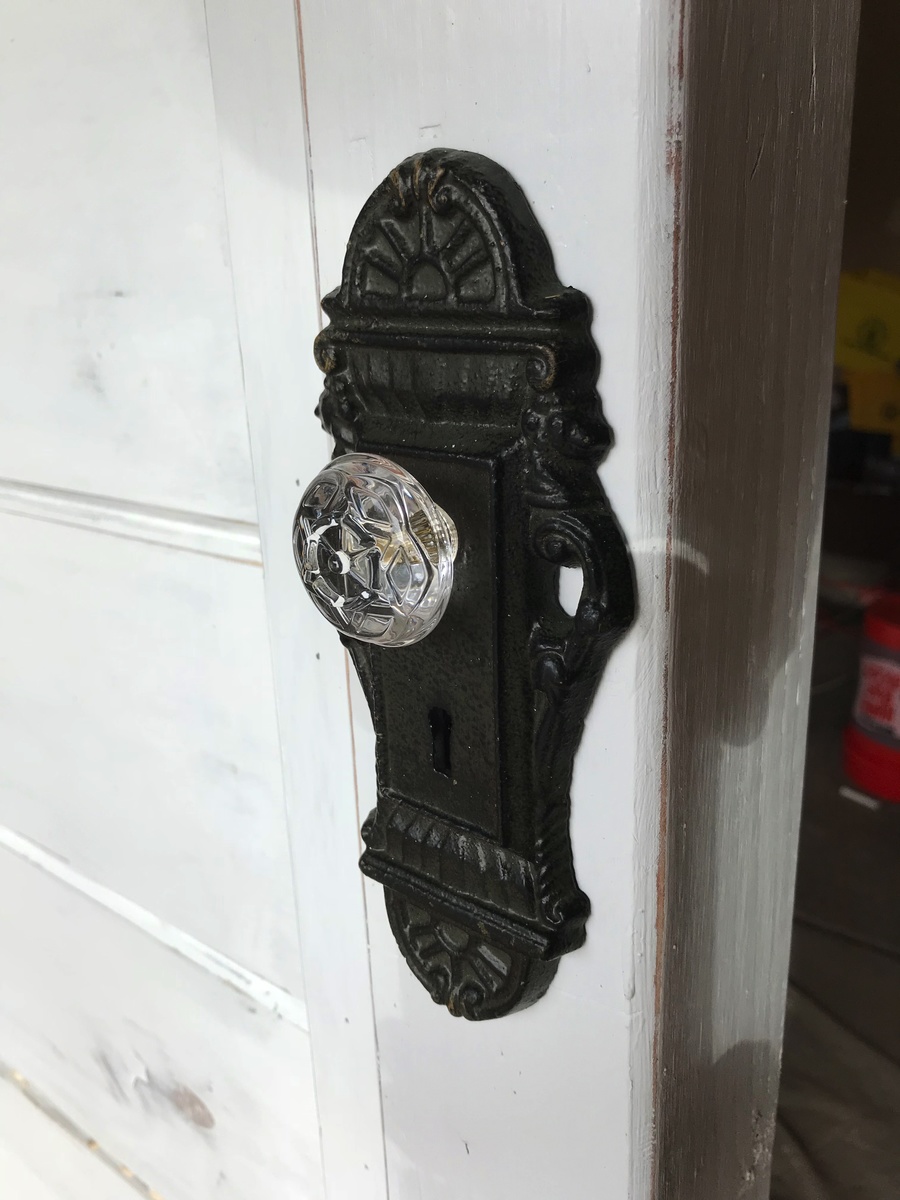
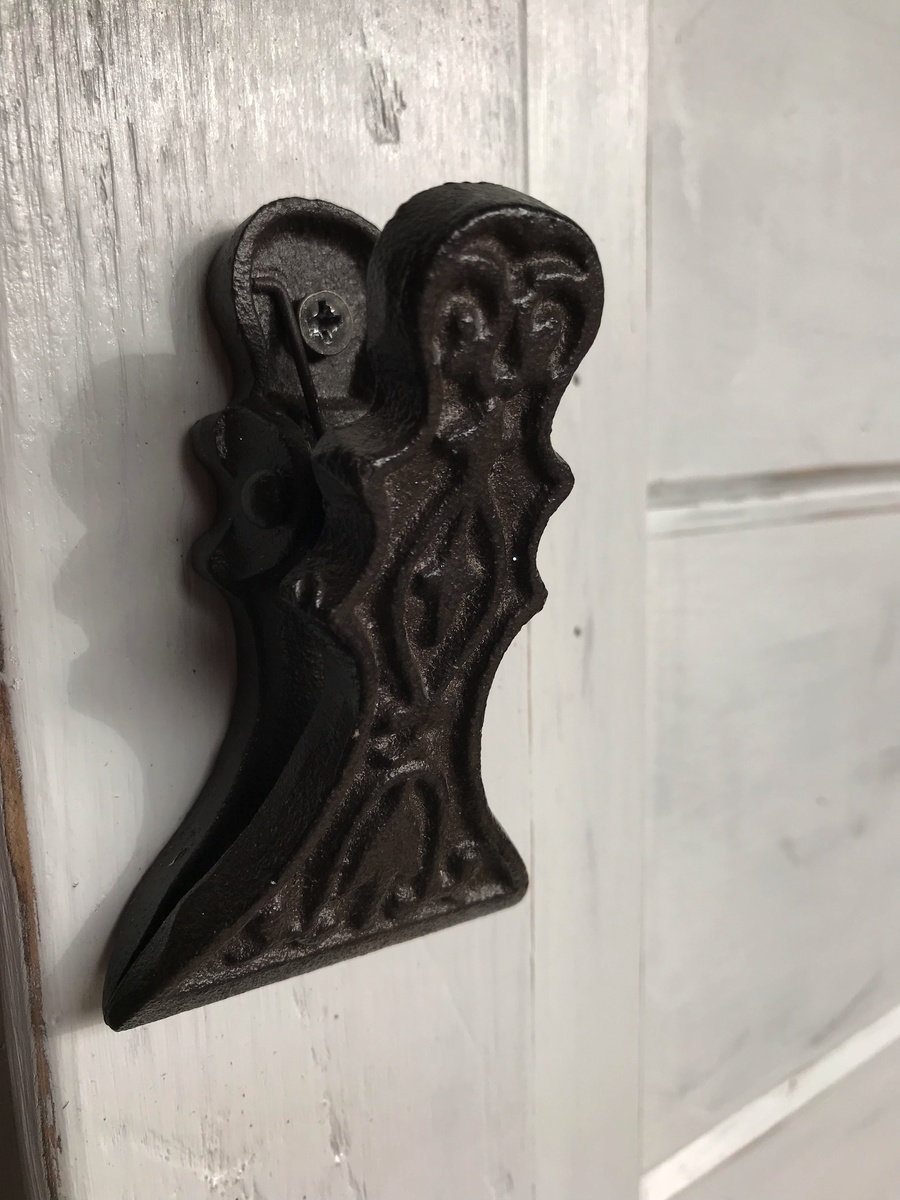
As for the rest, I just framed the shiplap section with leftover 1x1s, then sanded and stained the whole piece with the same Dark Walnut stain (so that something would show through after distressing). Finally, I applied 2 coats of Rustoleum Linen White Chalk Paint (LOVE that stuff!), distressed it, and topped with one coat of Minwax 1 Coat Poly (ALSO love that stuff), and added some hardware and country do dads from Hobby Lobby (Rustic Hooks, 'Bless This Home' Sign, Decorative Doorknob, and "Mitten Clip" for wet mittens and gloves coming off little hands) . What do you think? ヅ

These cost about 10 bucks a piece as she said. This was my first project. Not too bad.... obviously not perfect. But I learned a lot while doing this...
These took me a weekend to do... probably 6-8 hours.
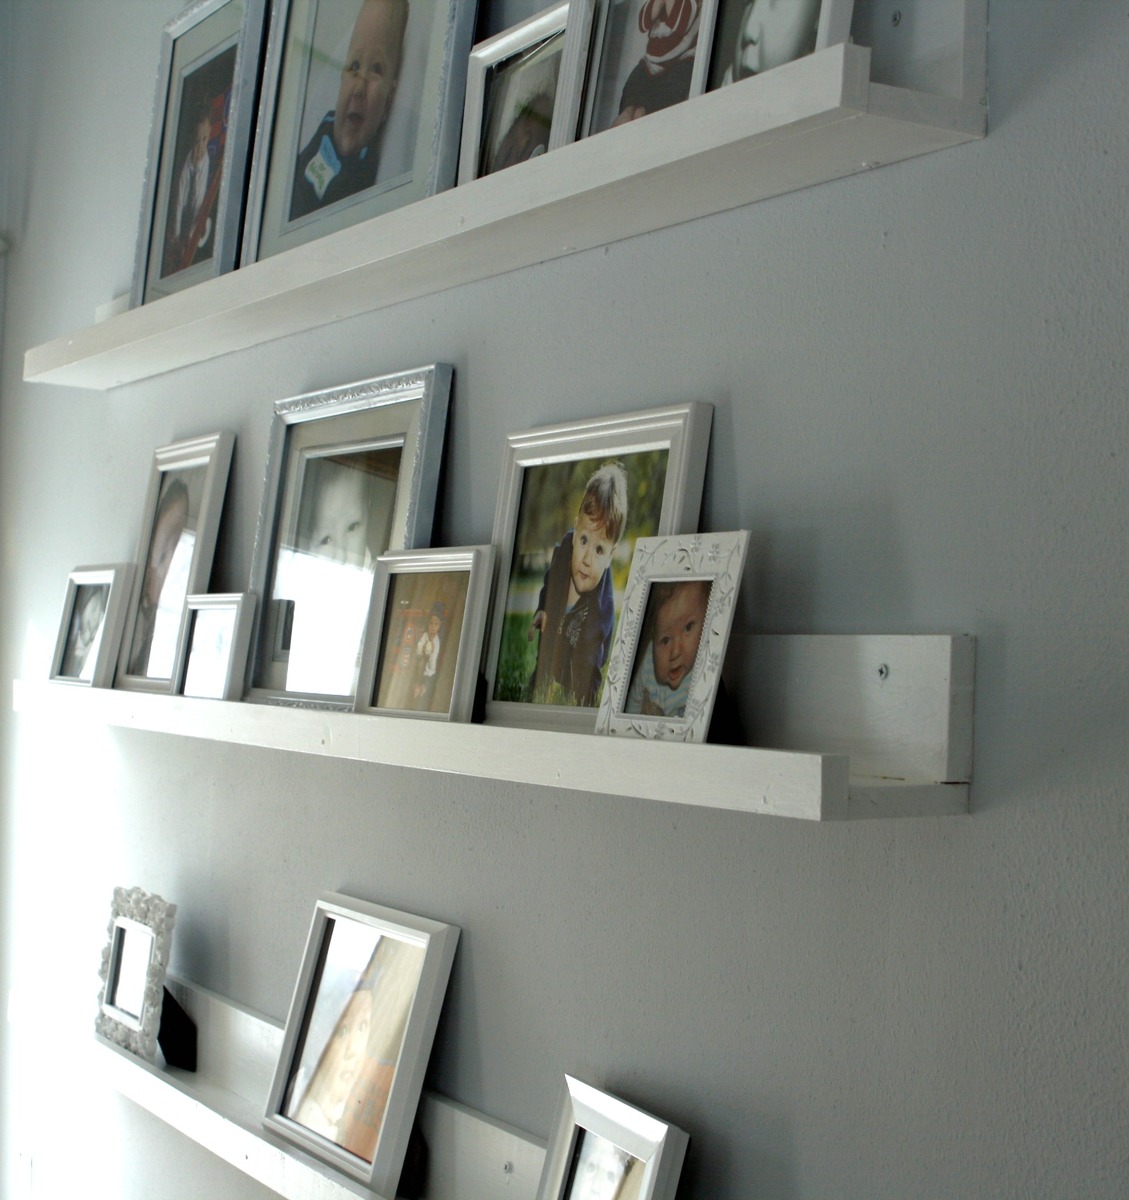
When I took this I was still working on filling the ledges with photos... dont mind the craziness! :)

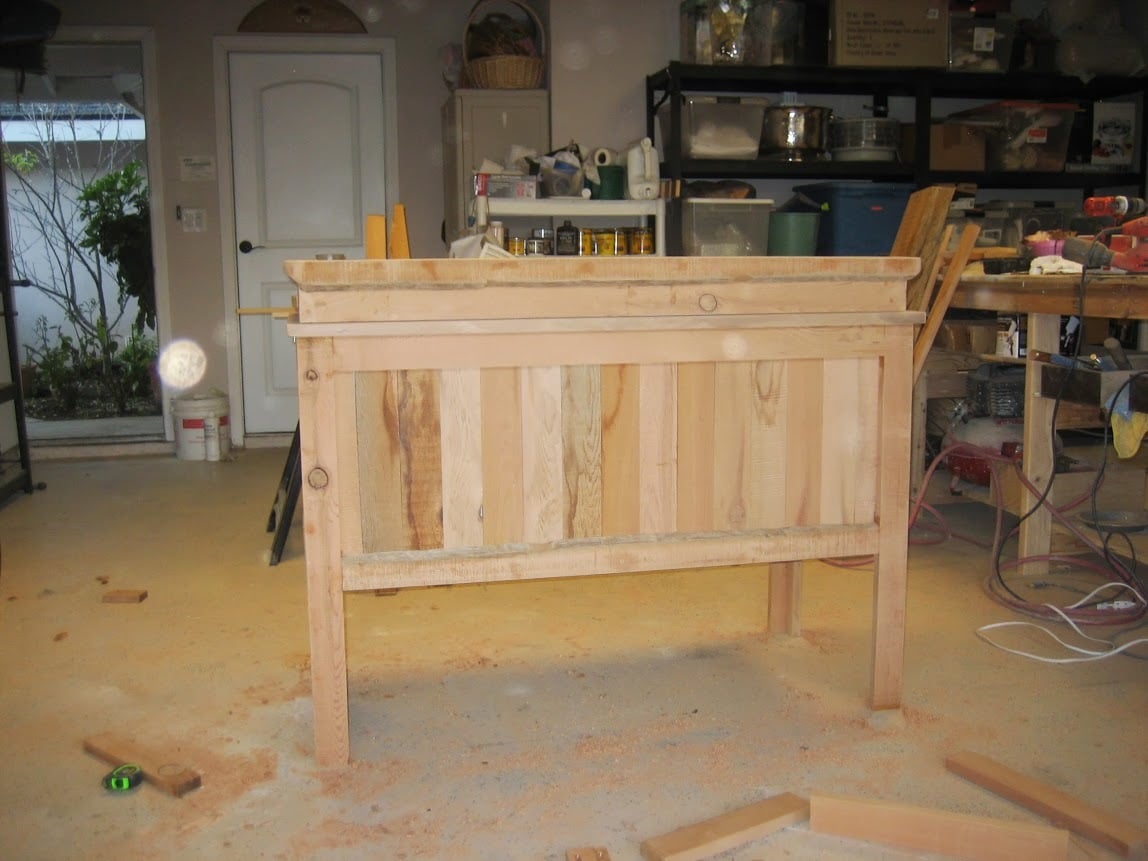
I do a lot of family gatherings and my daughter gave me a huge white cooler to accommodate all our different beverages. It's great to have, but its basic appearance didn't add much to the "party" atmosphere!
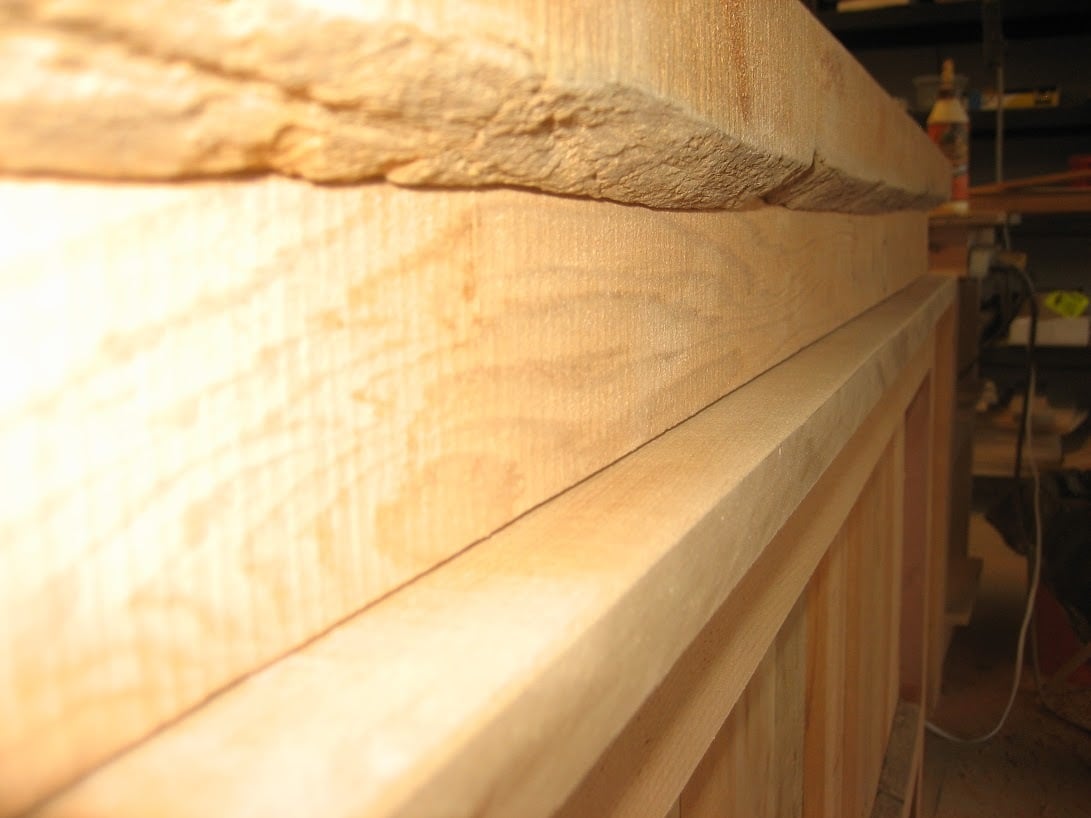
My son-in-law has a small mill and after a recent visit he had sent me home with a trunk load of beautiful cedar. At that time I had no idea what I'd do with it. But, after seeing so many rustic coolers I decided that would be a perfect project to build with my cedar.
I built this before the cute blue ice chest was posted by Birds and Soap, but that would be a great plan to follow!
My cooler had handles that were molded into the body of the chest, so the shape was a bit awkward to work with-especially considering that I'm really short on math skills! But, with a bit of trial and lots of error I made it work. I worked on it over several days, but if I'd buckled down and worked continuously I might have finished it in one day.
I love how it turned out, and after the 1st family gathering I had orders for 4 more (smaller) cooler chests!

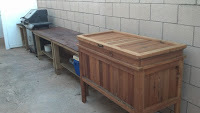
We built this set as a variation of the Platform Outdoor Sectional plan. I read that several individuals had a hard time finding the right size cushions, or inexpensive cushions, so I found some on clearance and built the seating customized to their size. The built-in cooler was a neat little addition we had an easy time with, and we used mainly scrap wood for the coffee table and corner piece. We decided to stain it a translucent grey, as I really loved the natural wood look, but needed to match the cushions a bit more. Still adding a few finishing touches, but already enjoying relaxing on it. It was a fun project, and I love how it came out. Bring on the sun!!
Thu, 01/28/2016 - 08:20
I would love to know how to build the coffee table with built in cooler. I would like to build this asap :)
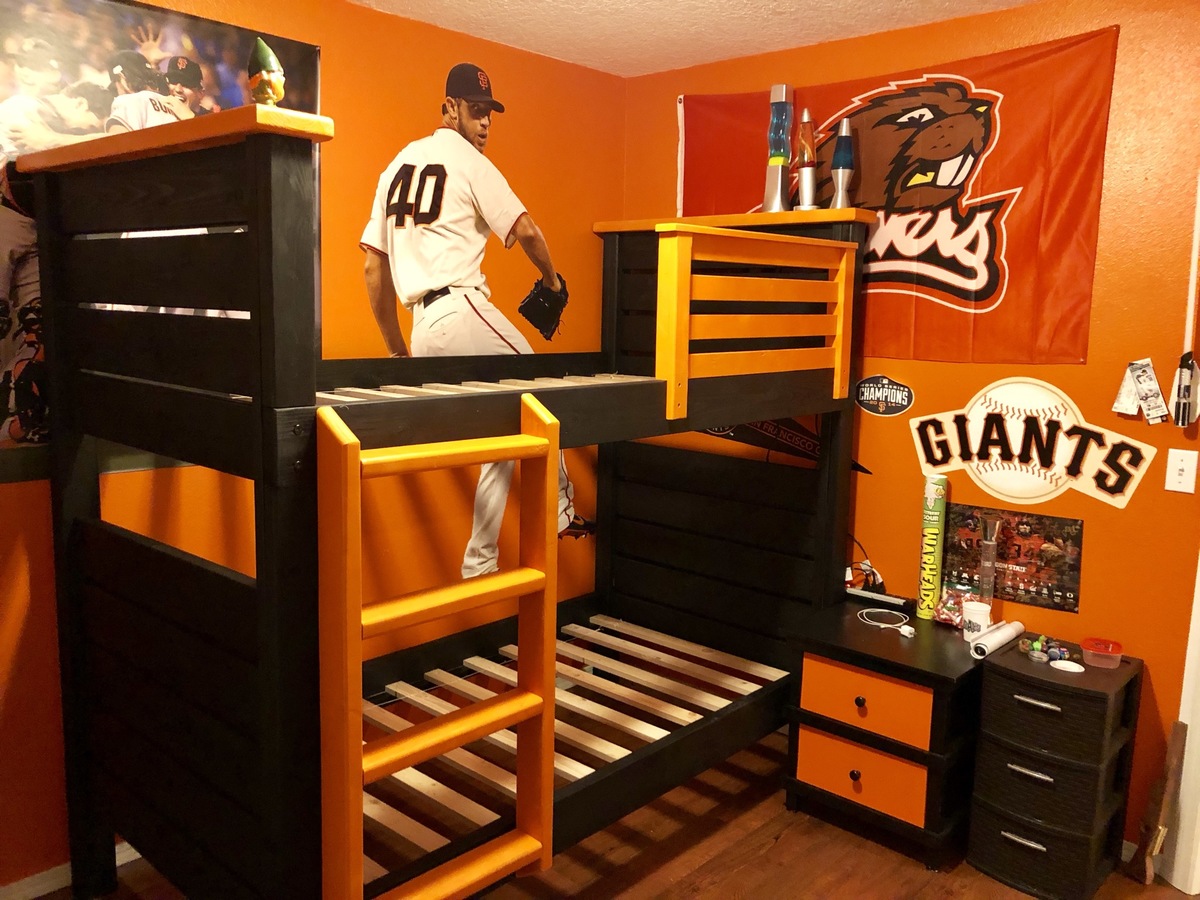
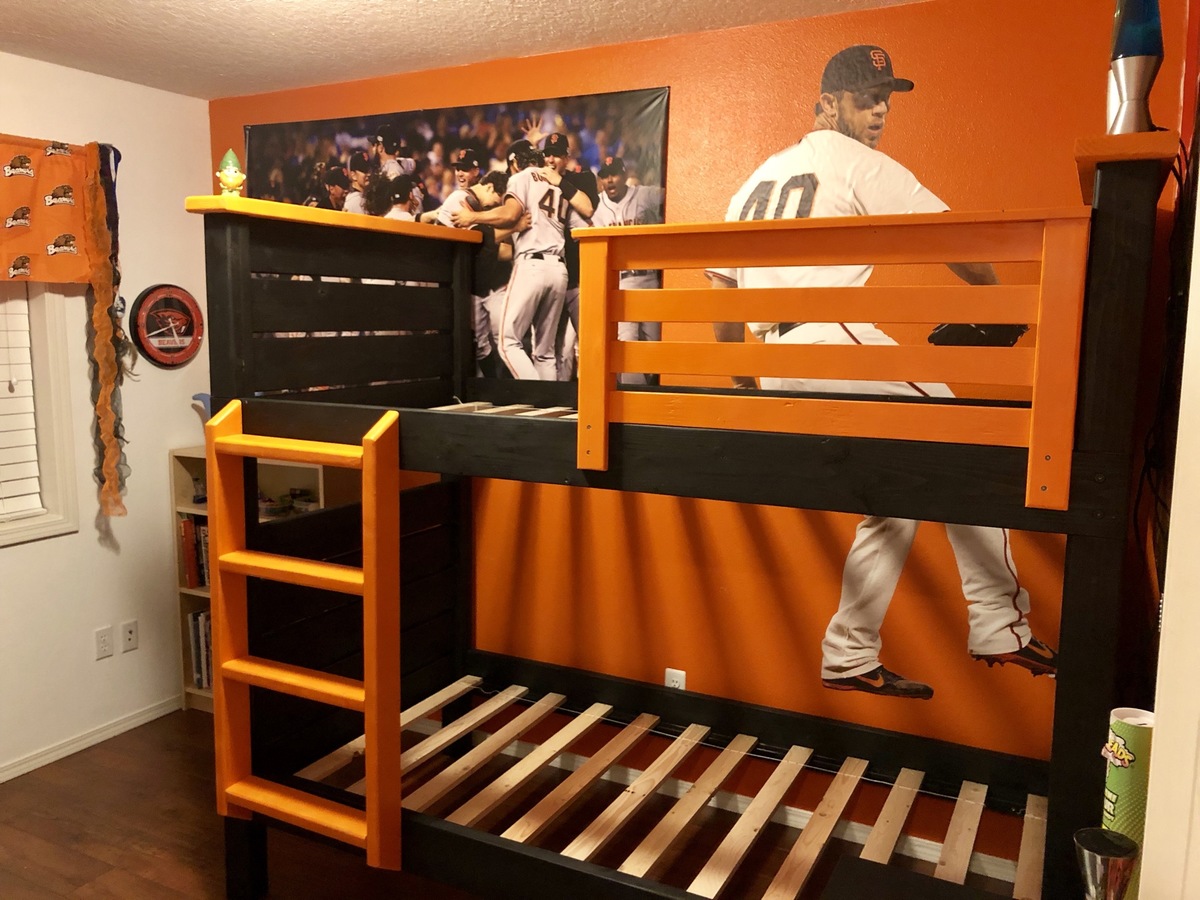
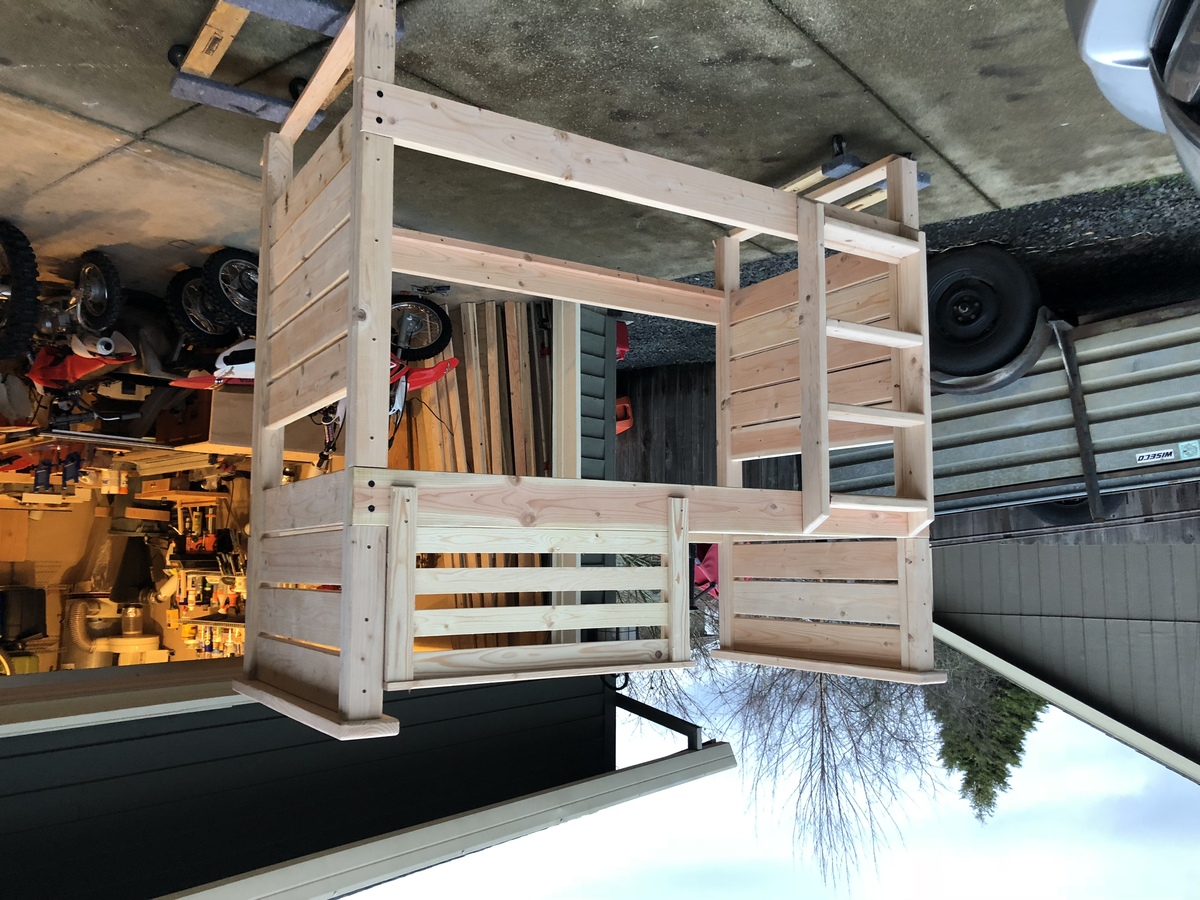
I’ve made several of these bunk beds now and my oldest was wanting a oregon beavers/San Fransisco giants themed one after we donated his during our move. It’s made out of 2x4’s, 2x6’s and 1x3 pine.
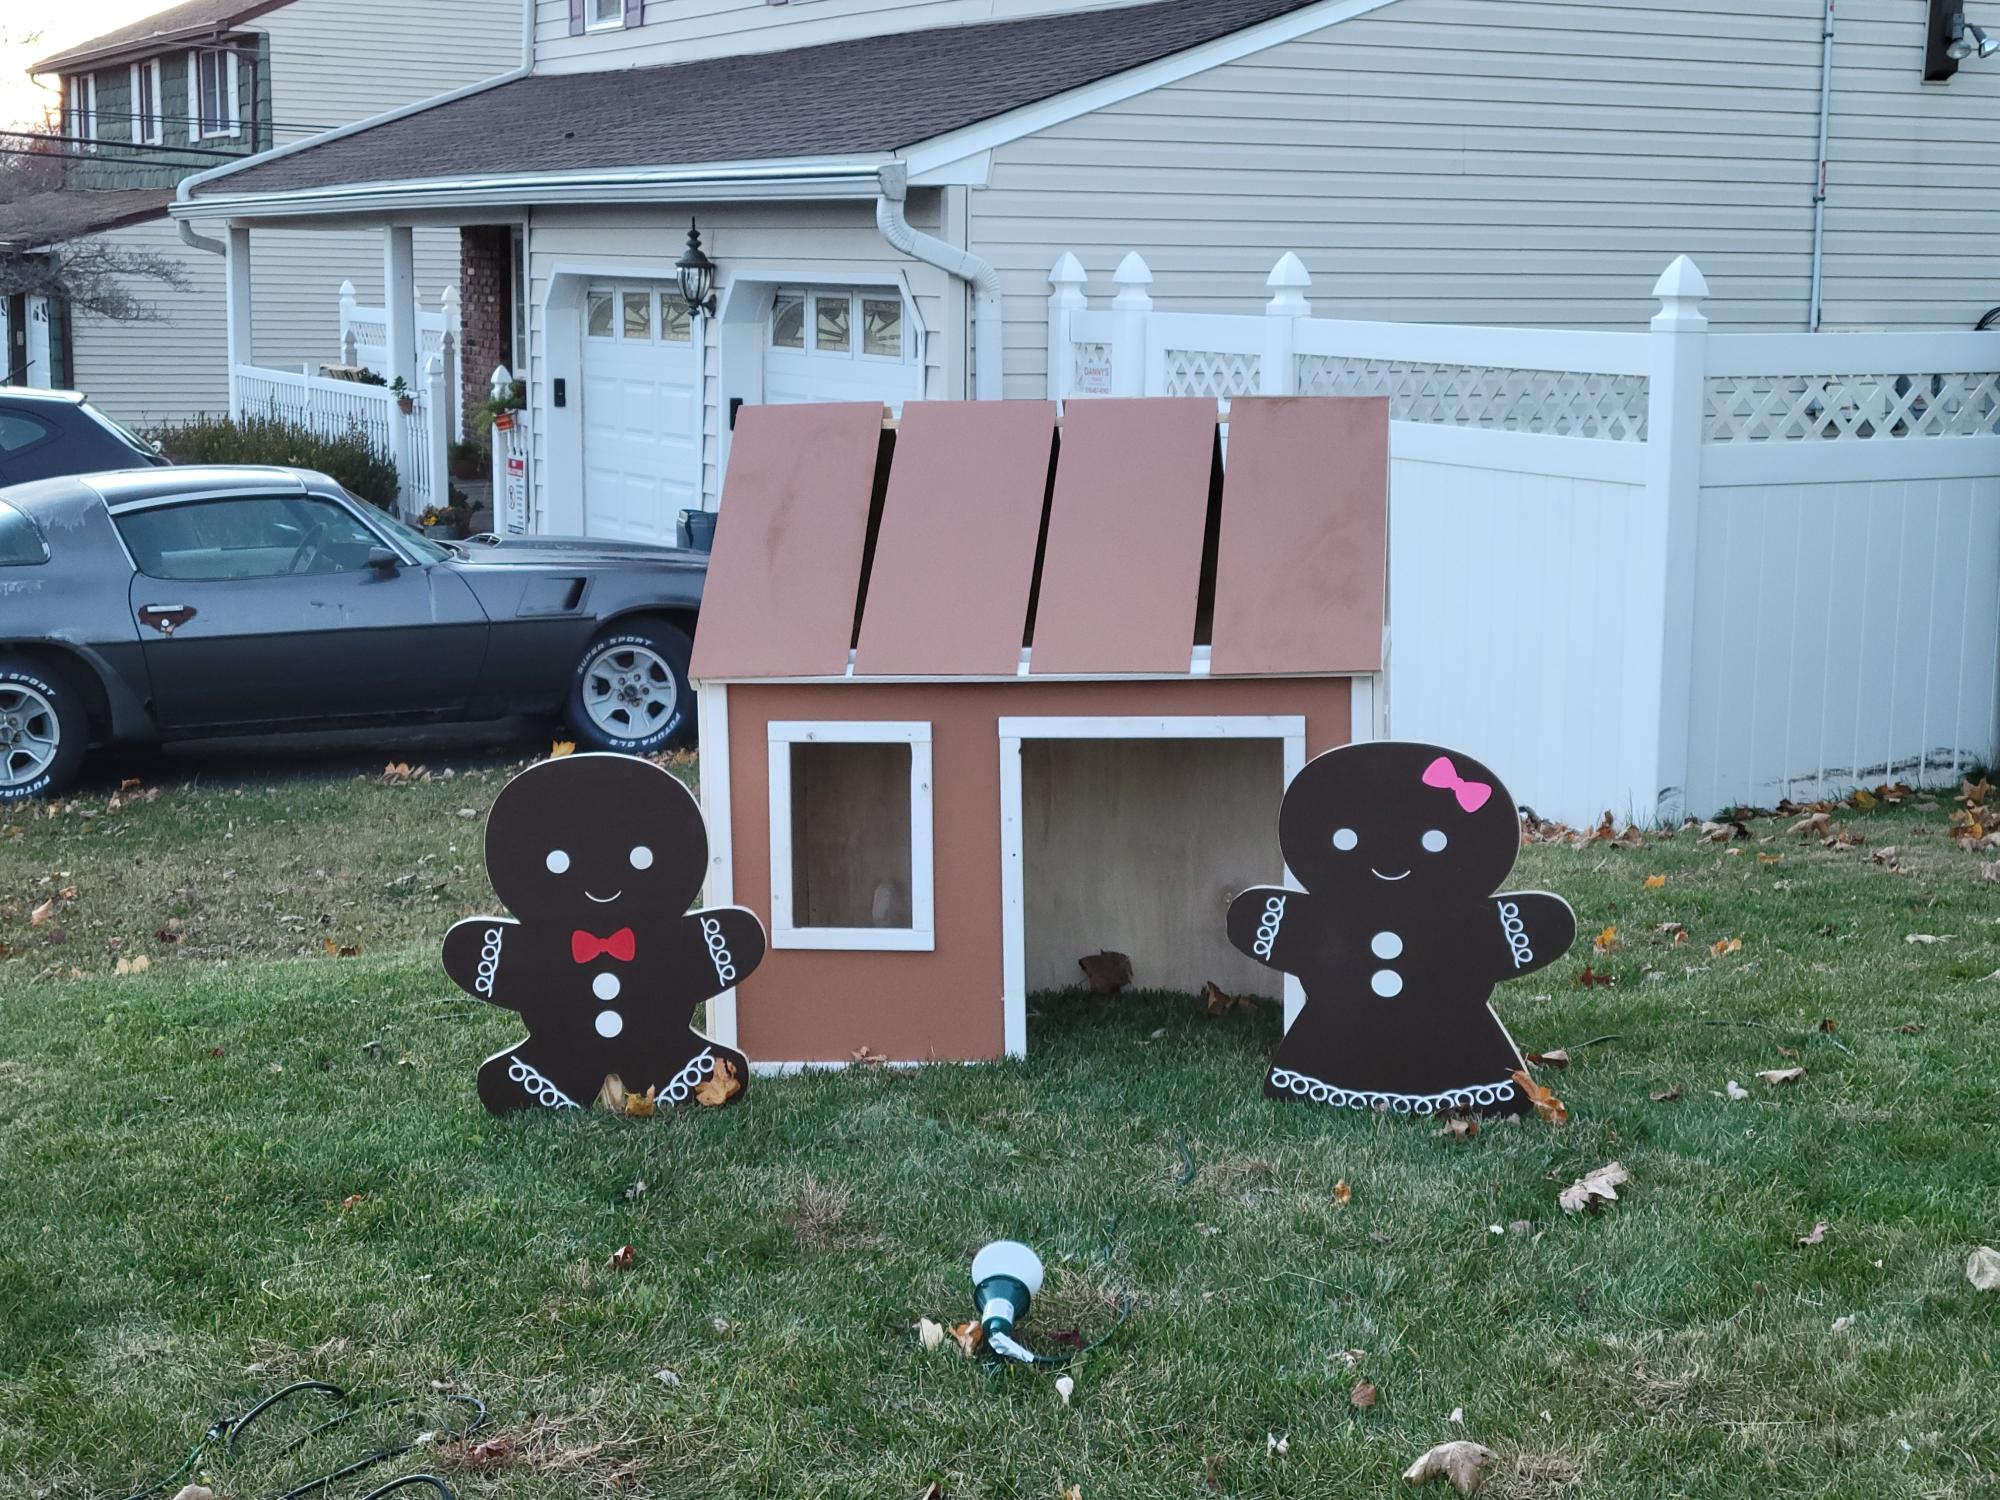
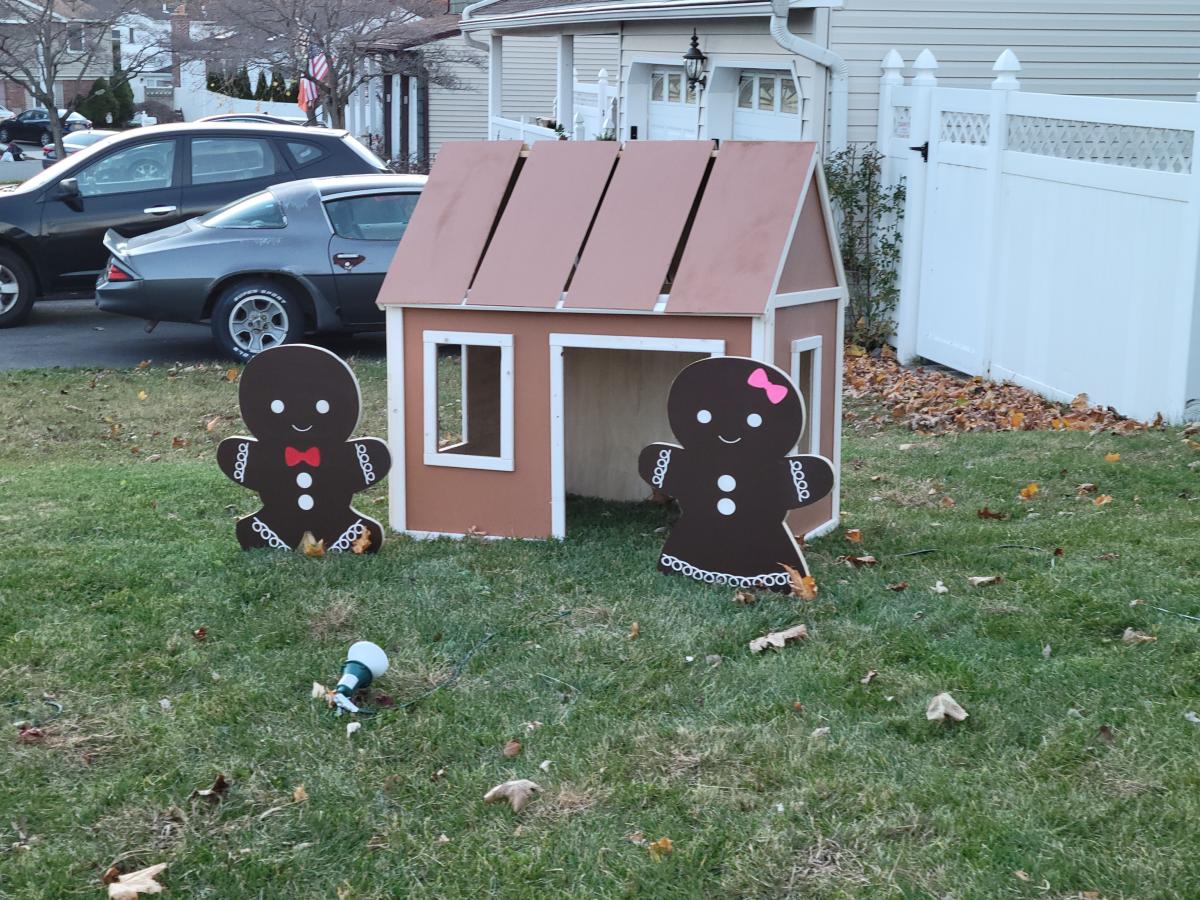
My take on the farmhouse indoor playhouse. Added to my Christmas lawn display. Plan on adding some lights, cutouts for the inside, and candy decorations. Followed the plans as written. No problems. Great plans.
I made the Pottery Barn knock off cubby wall organizer for my craft room to store my smaller pieces of fabric. I modified the dimensions from the plan to fit the specific area it would hang, it ended up being wider and not a square. I also used half of a 4x8' 3/4" MDF sheet cut 6" tall rather than 1x6 boards. I also made 14 staggered cubbies rather than the 25 so they could be larger for my fabric storage, and it made it so each divider could be nailed from the top and bottom. I also was lazy and didn't add a back to it, so you could see the wall if the cubbies weren't full.
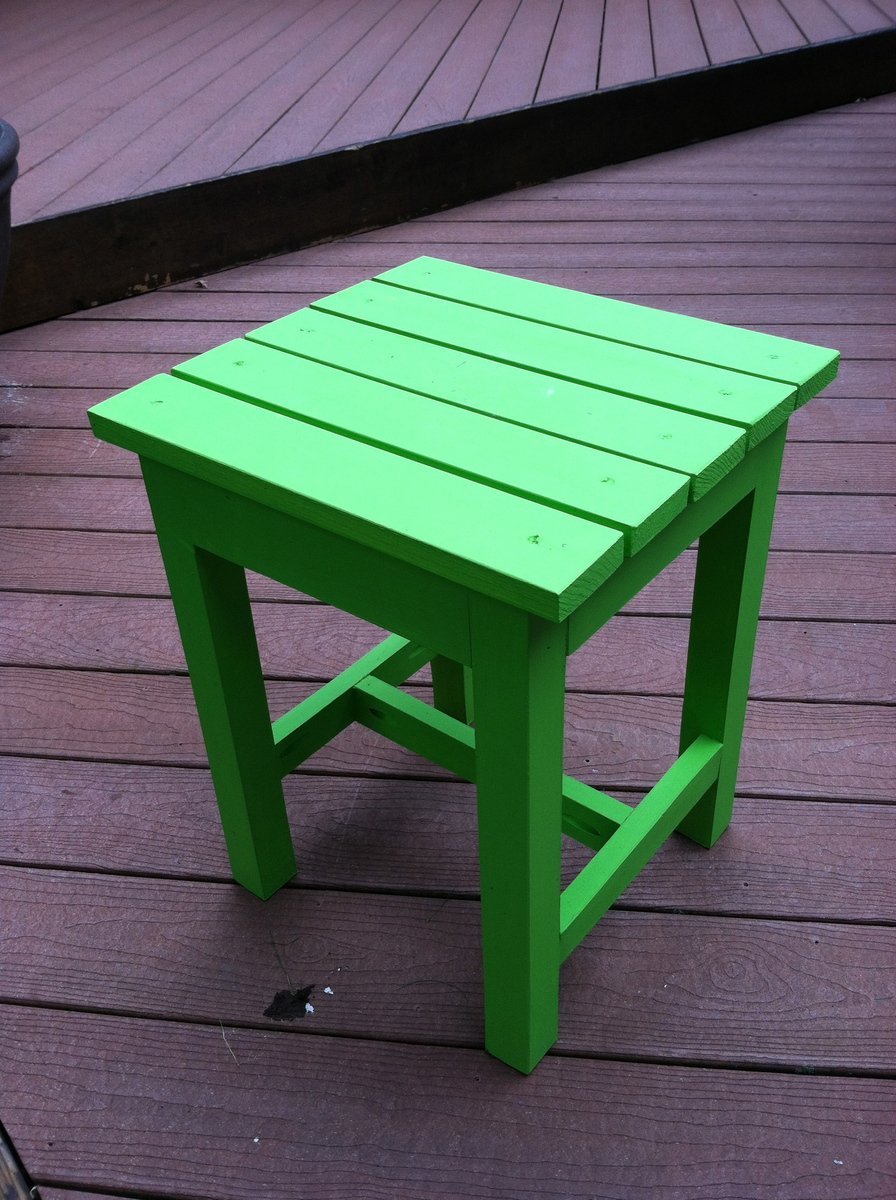
My First Project
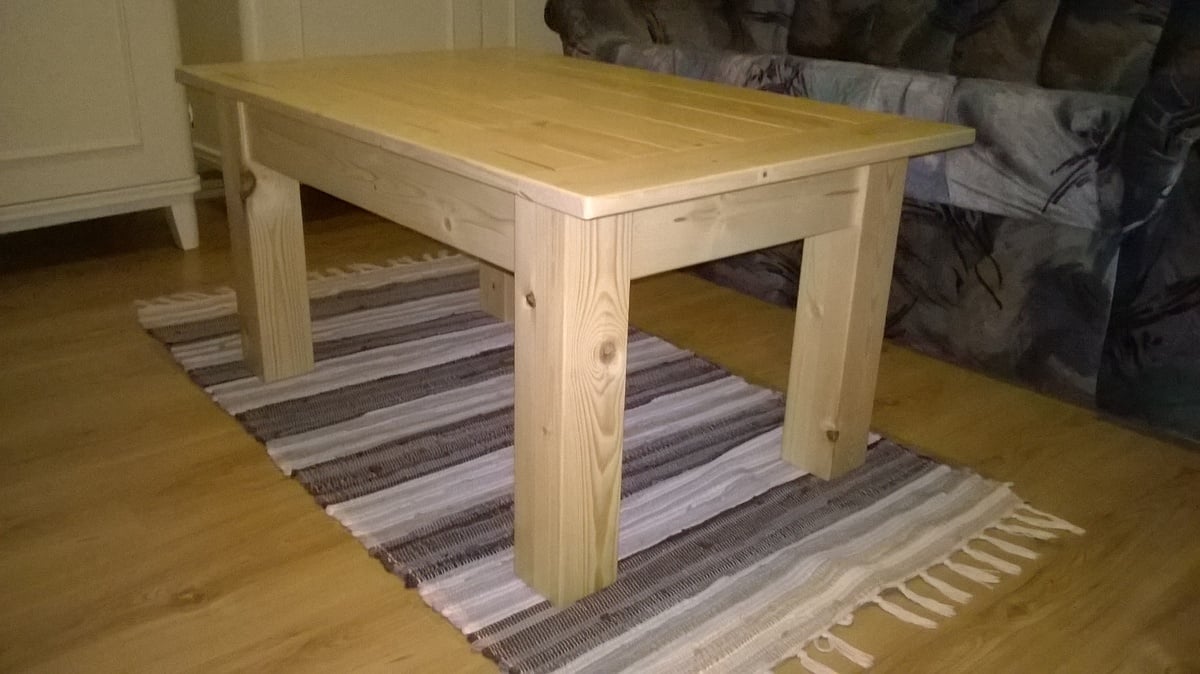
My second project from hungary!
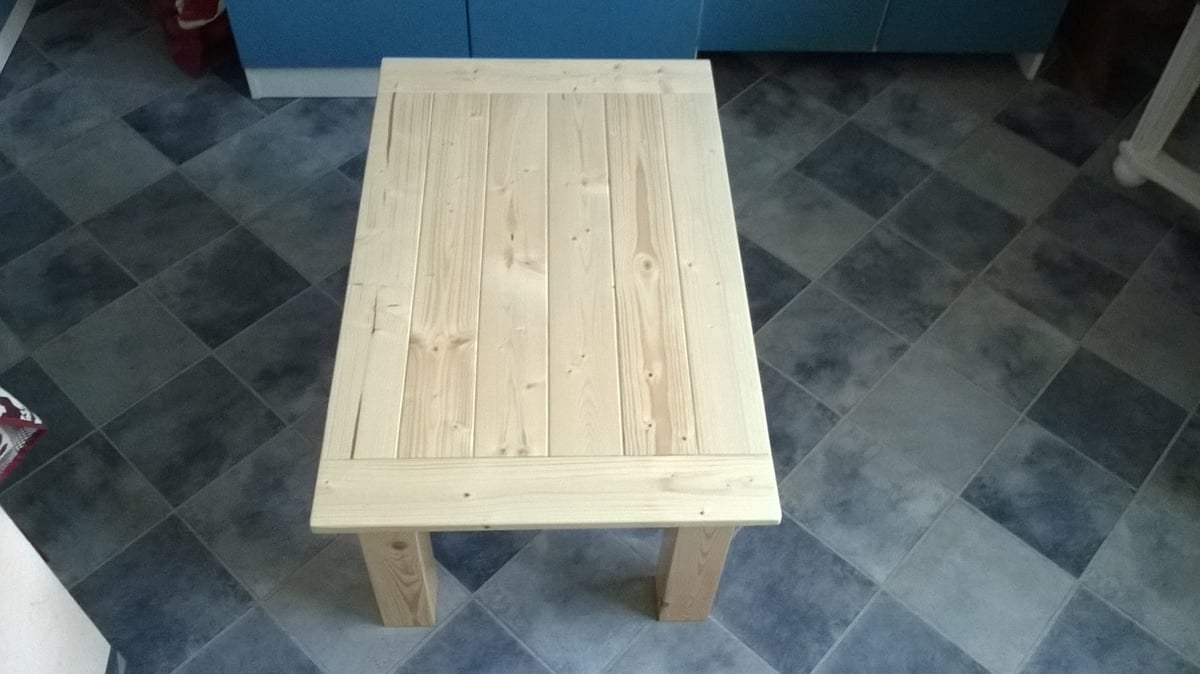
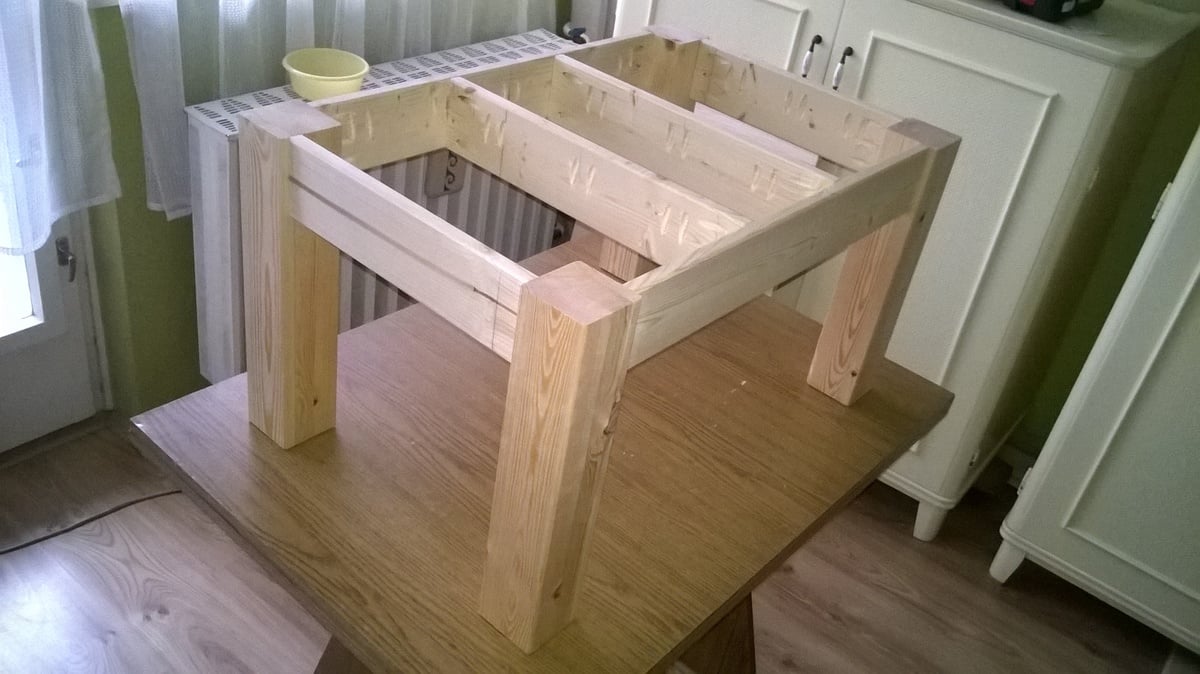
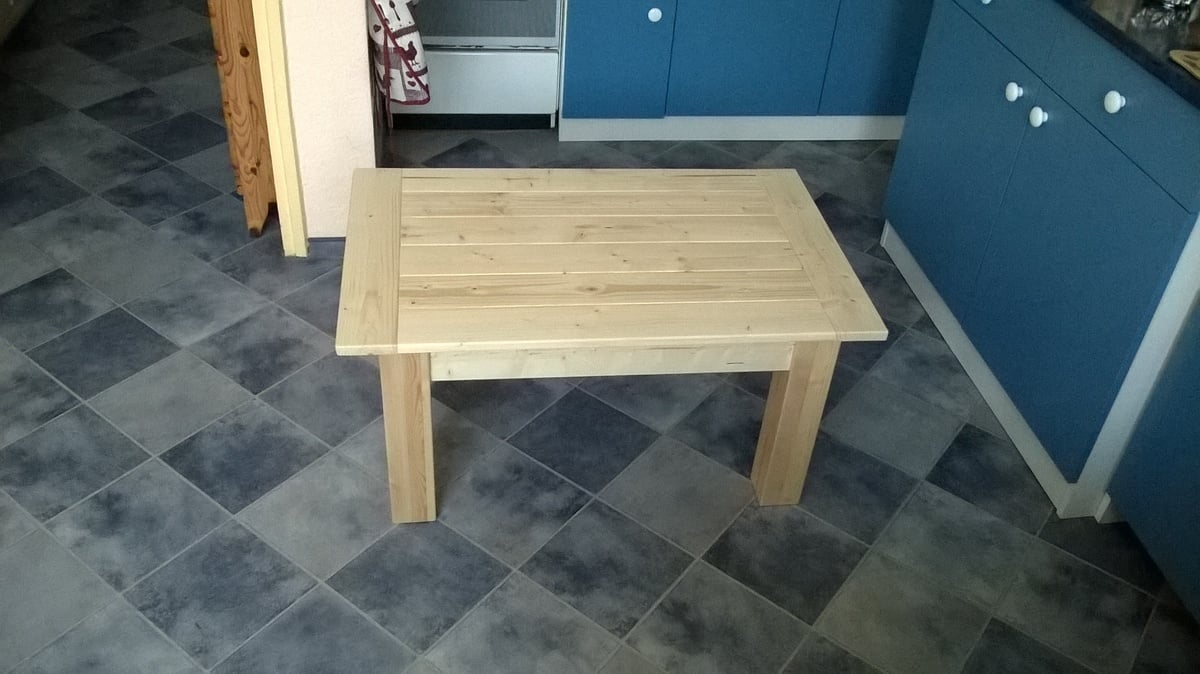
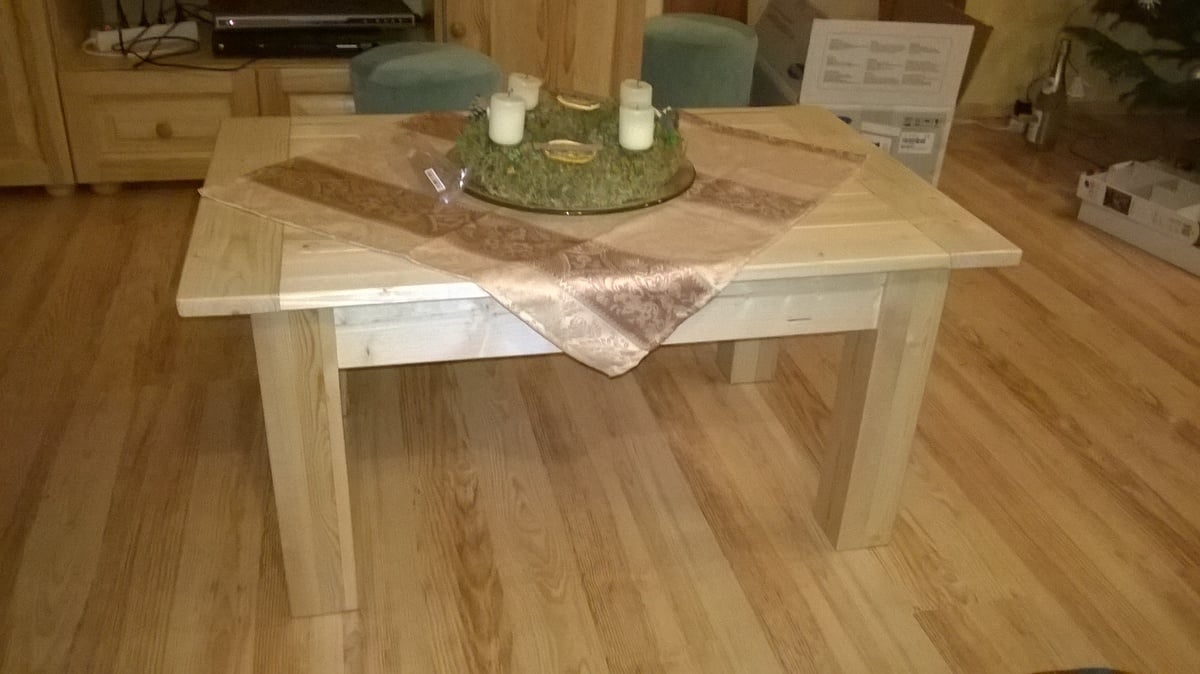
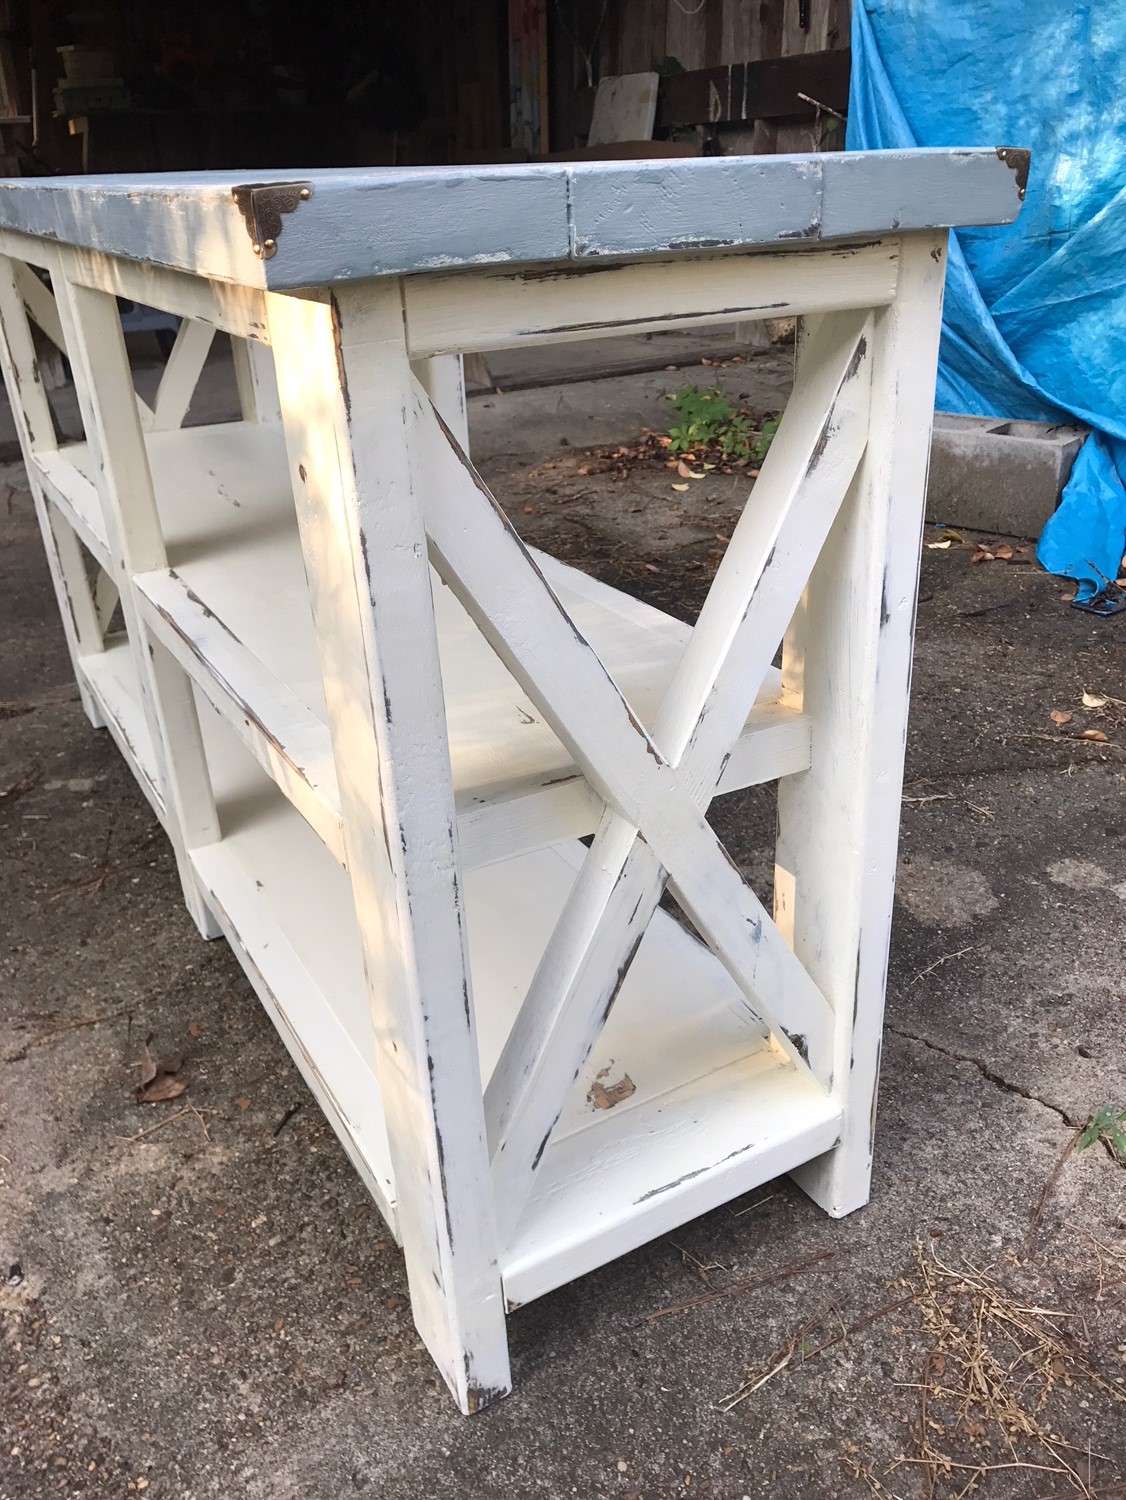
After being forced to sell my first build by an admirer, I decided to do another and distress it rather than stain it. Turned out really nicely.
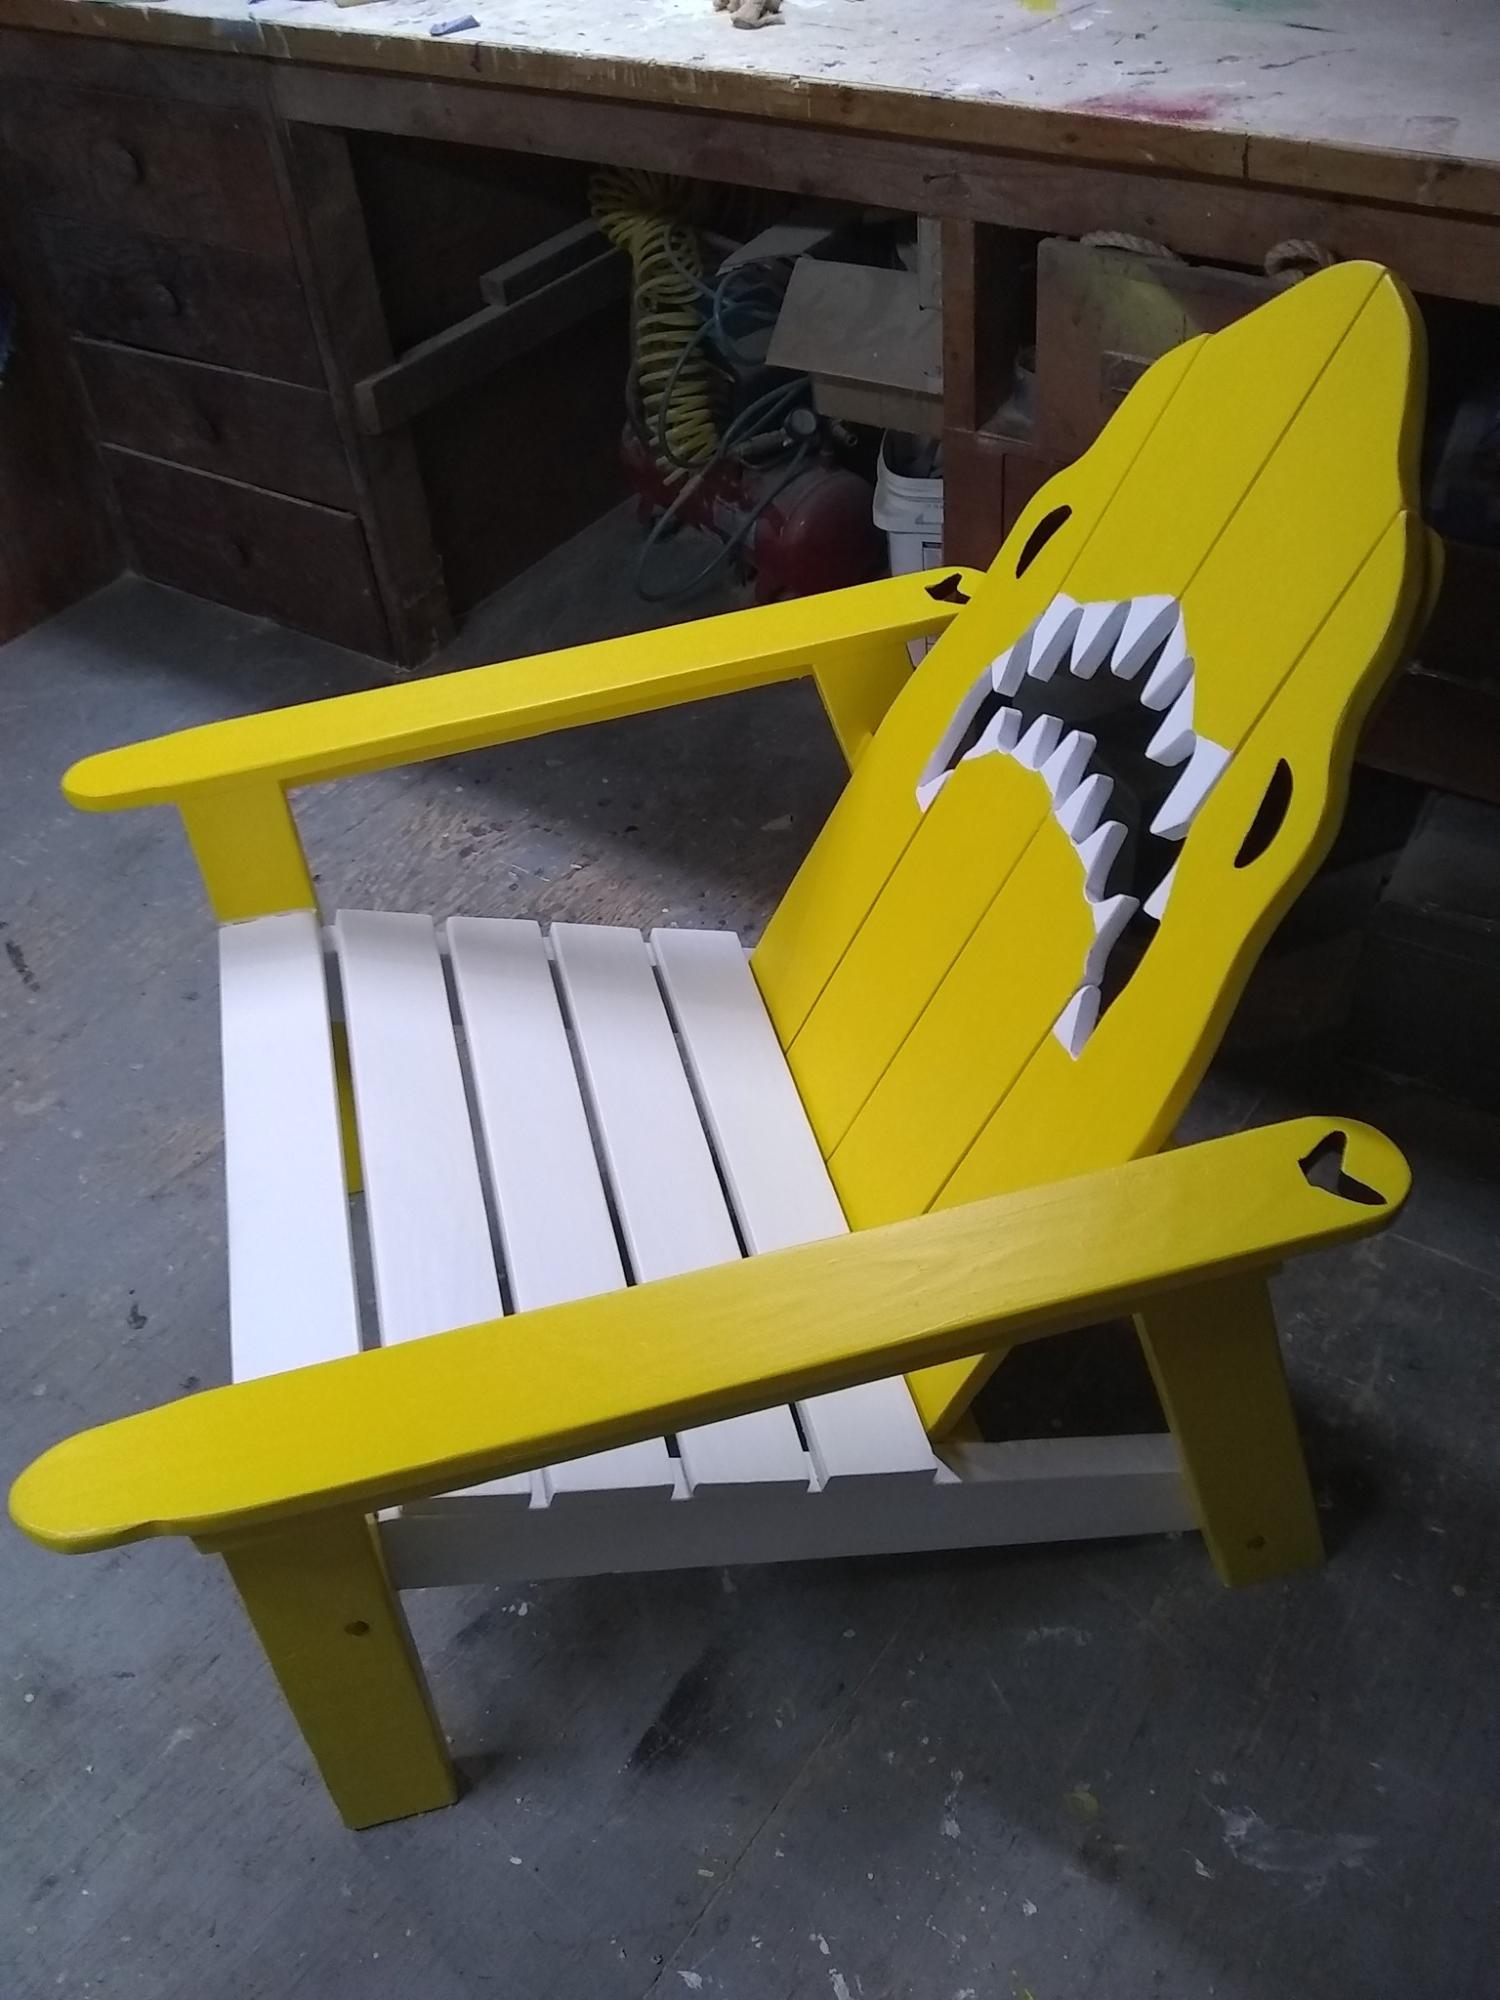
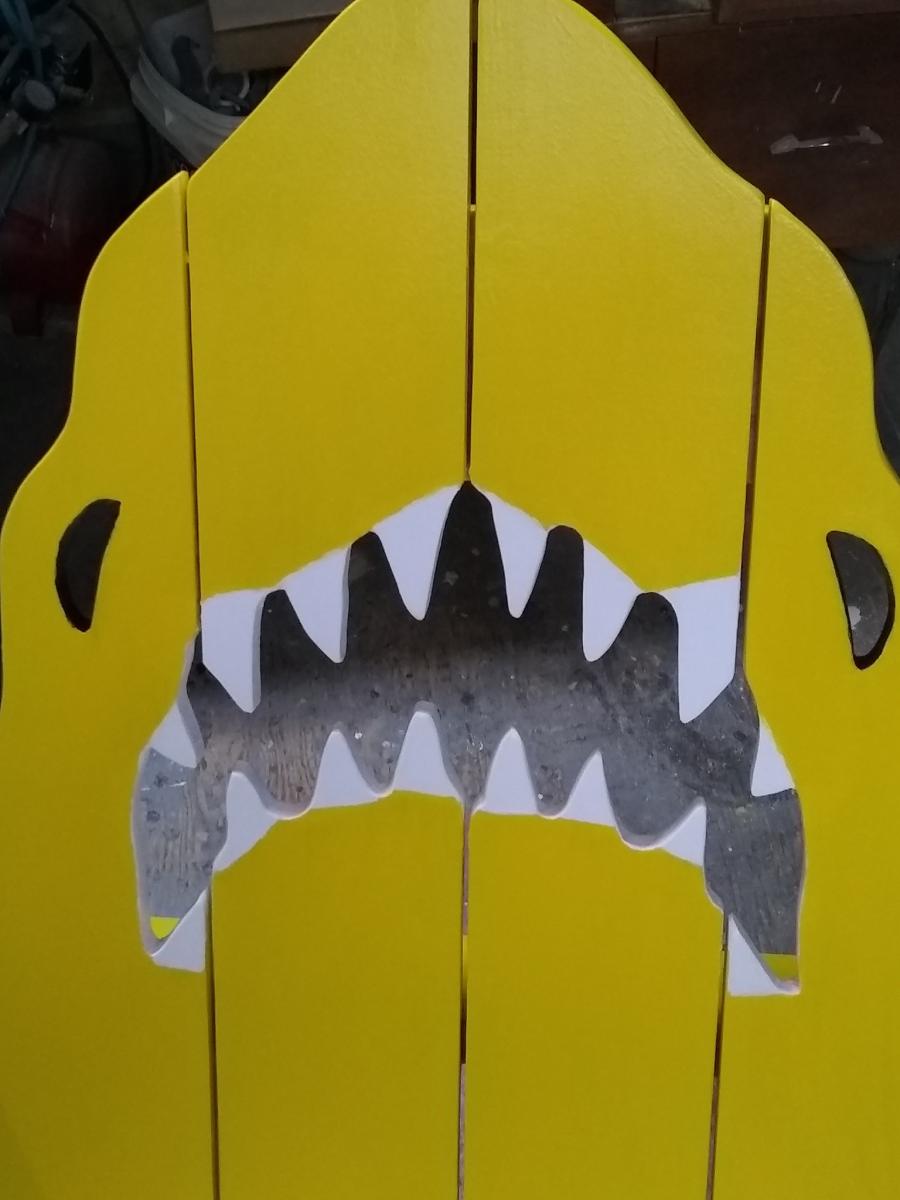
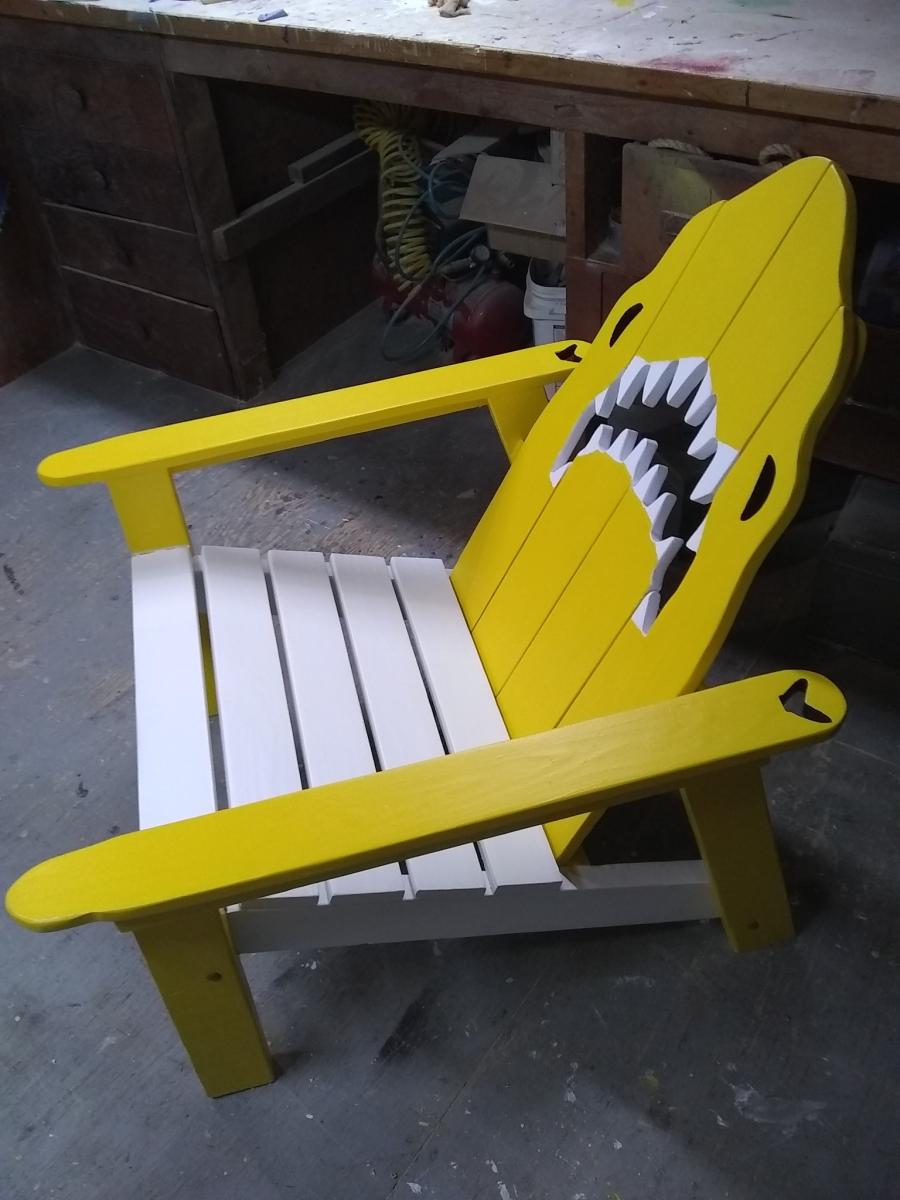
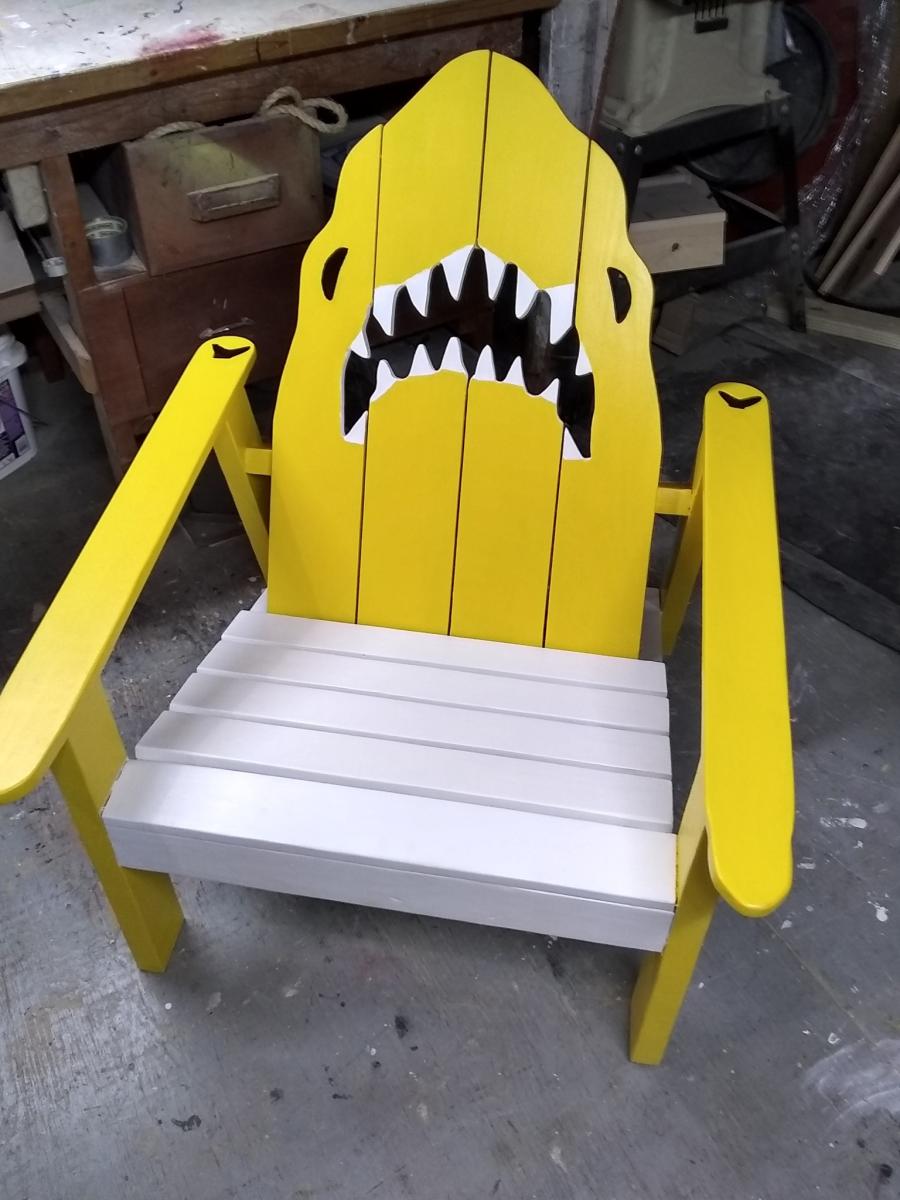
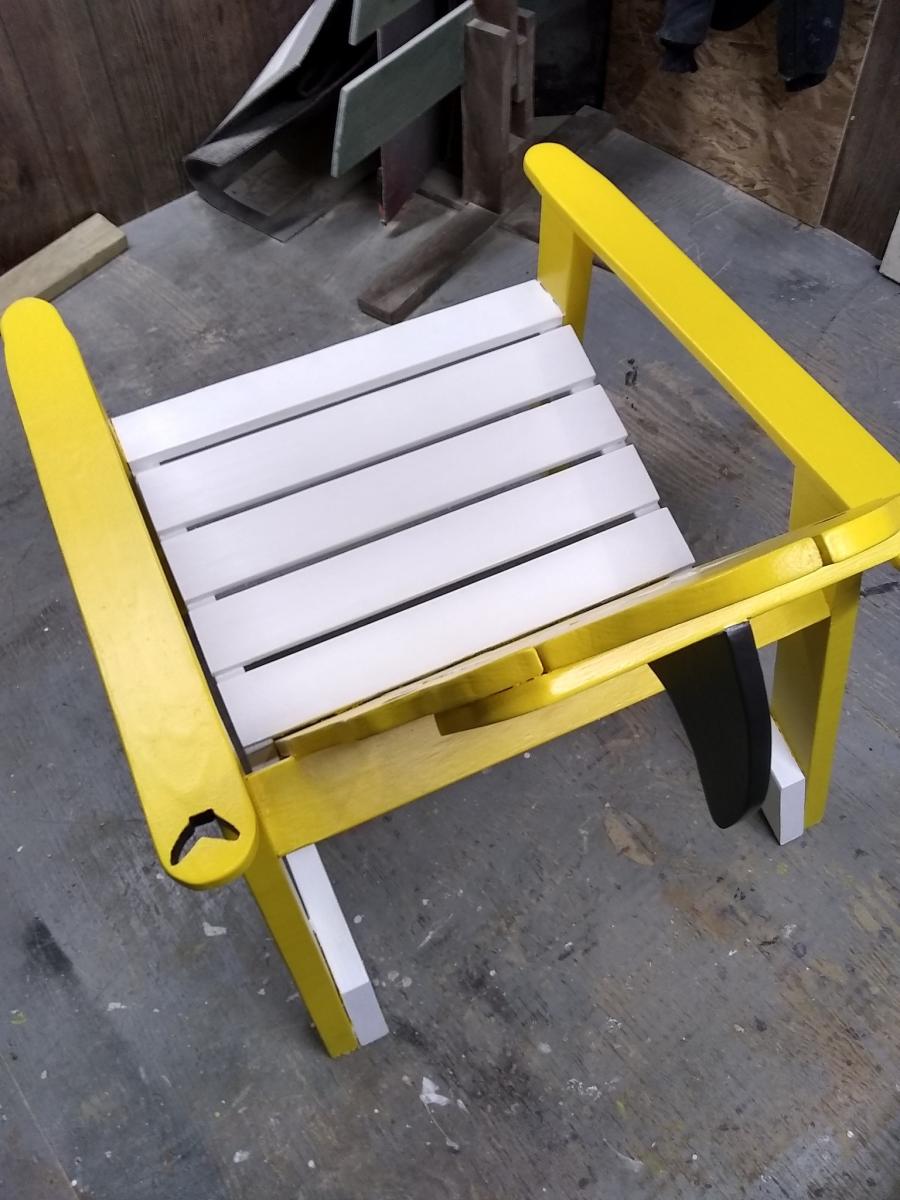
This was my version of Ana's chair. I made it just like the plans put bit wider for the of 1x6 back. I made it into a shark chair for my Grand Daughter.
Sun, 12/12/2021 - 13:23
That's awesome, she is going to love it! Thank you for sharing~
Sun, 12/12/2021 - 13:23
That's awesome, she is going to love it! Thank you for sharing~
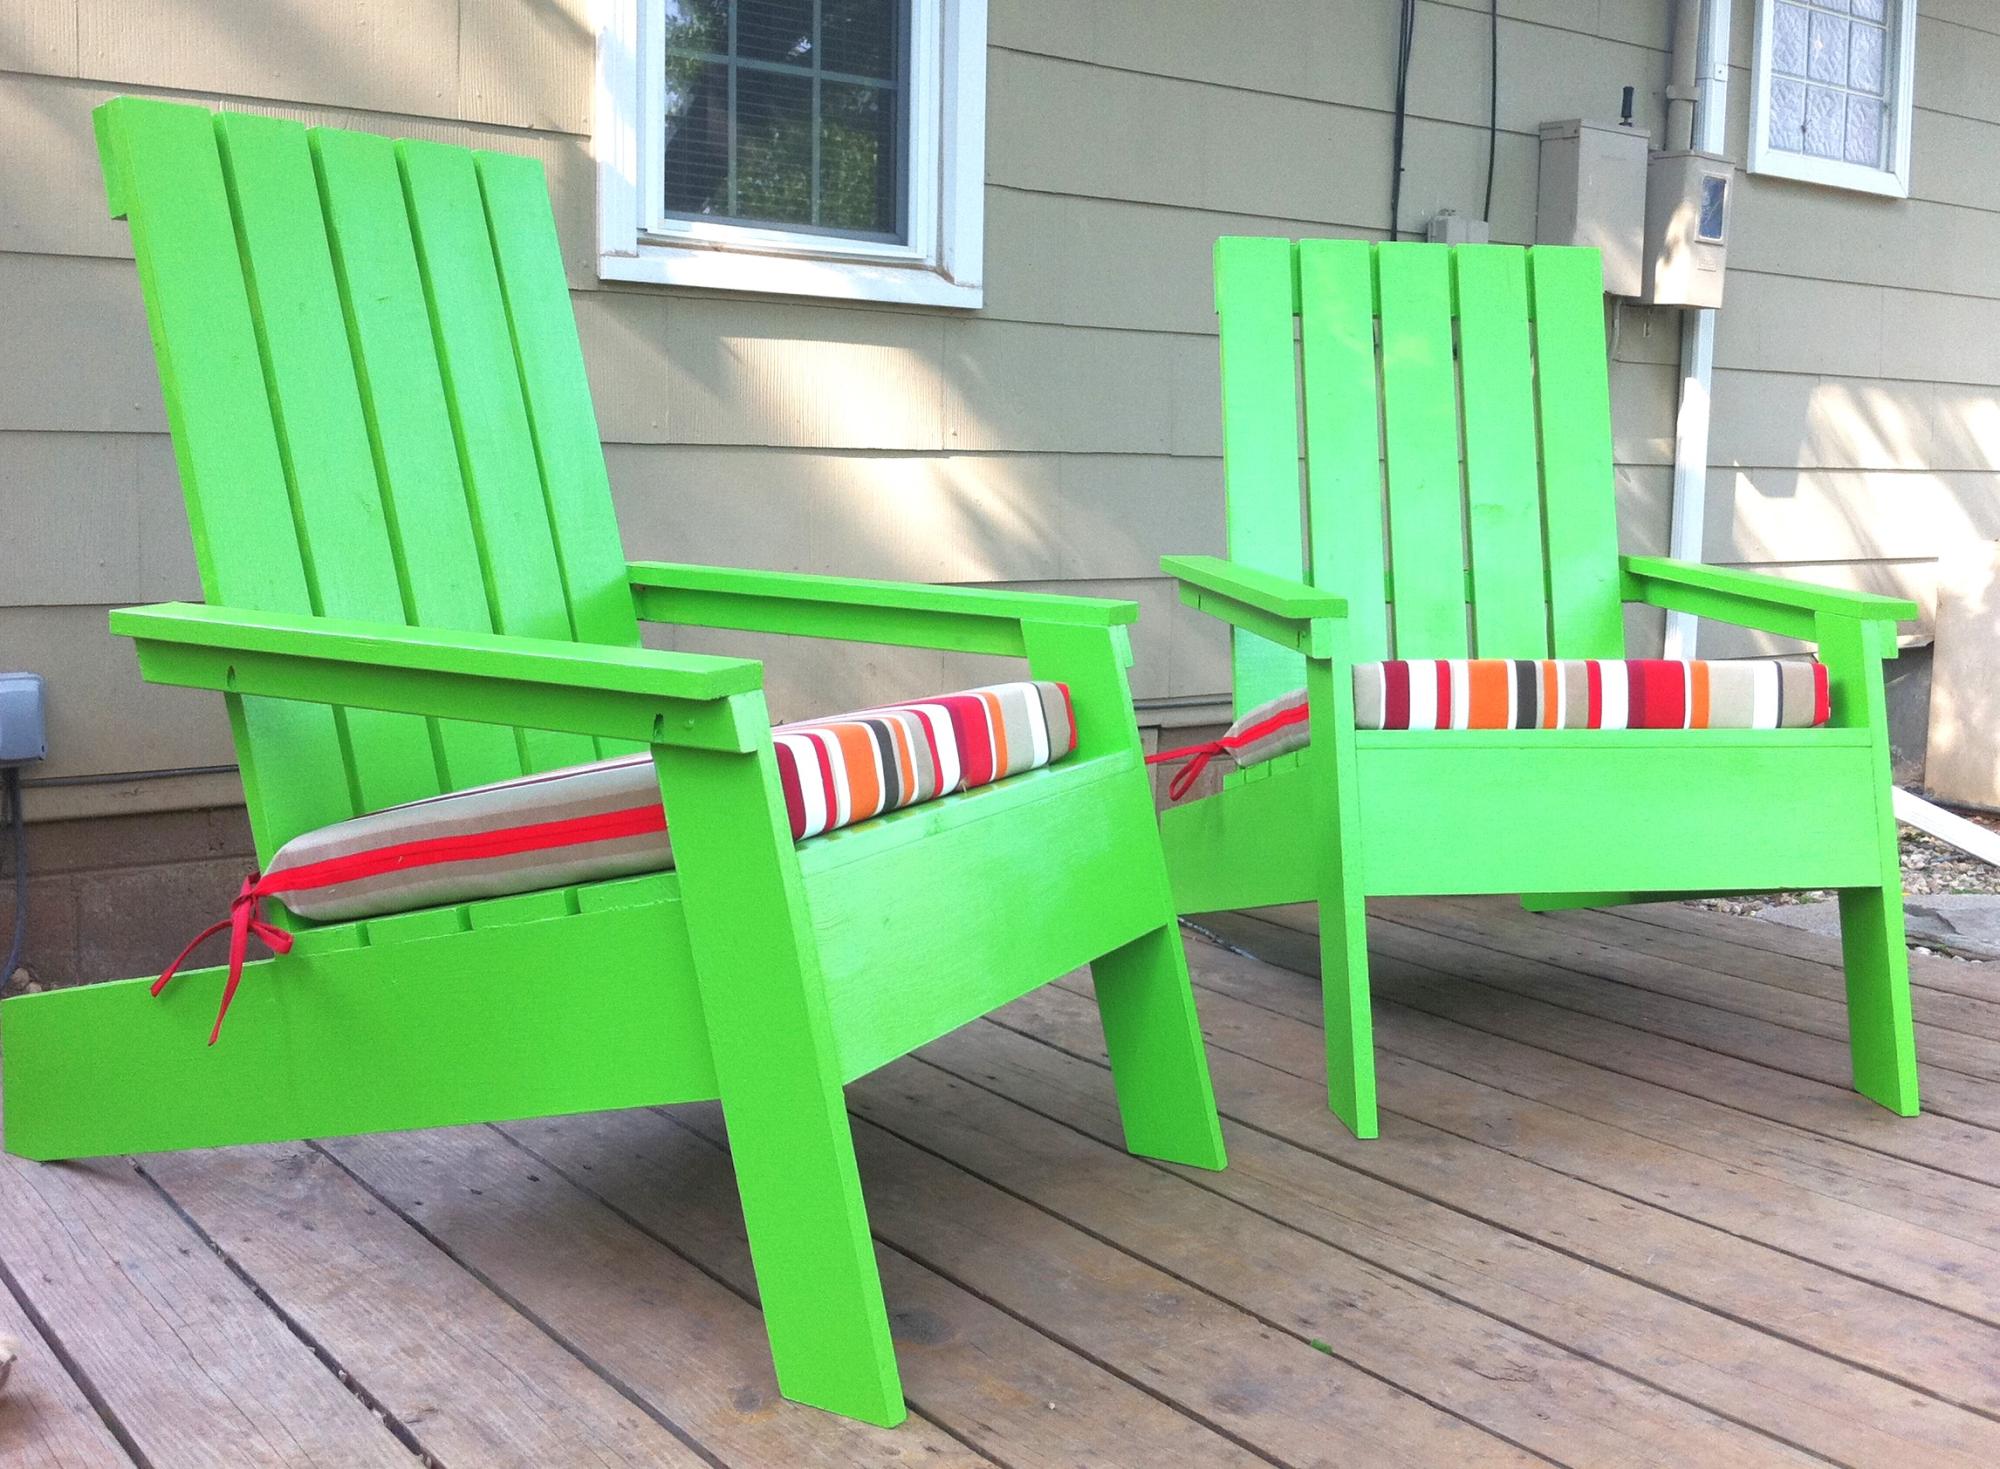
This is my first build from Ana-White, I built these Adirondack Chairs in an afternoon, for my wife as an early mothers day present. Painted with Sherwin Williams Resilience Gloss latex Festival Green paint. Added some cushins from Target that we got on sale. It was a fairly easy built and I really enjoyed using the Kreg Jig to create the hidden pocket holes.
I wanted to share my most recent build with you.
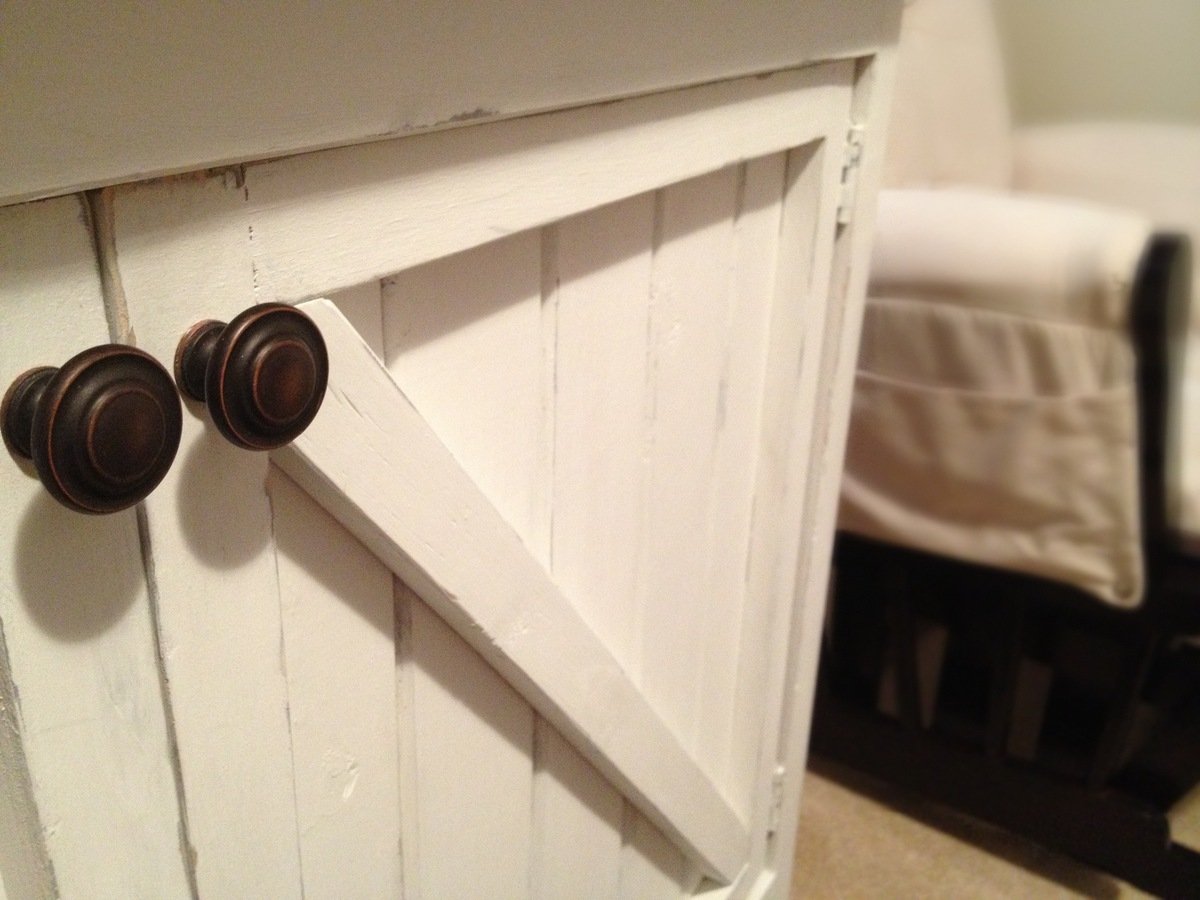
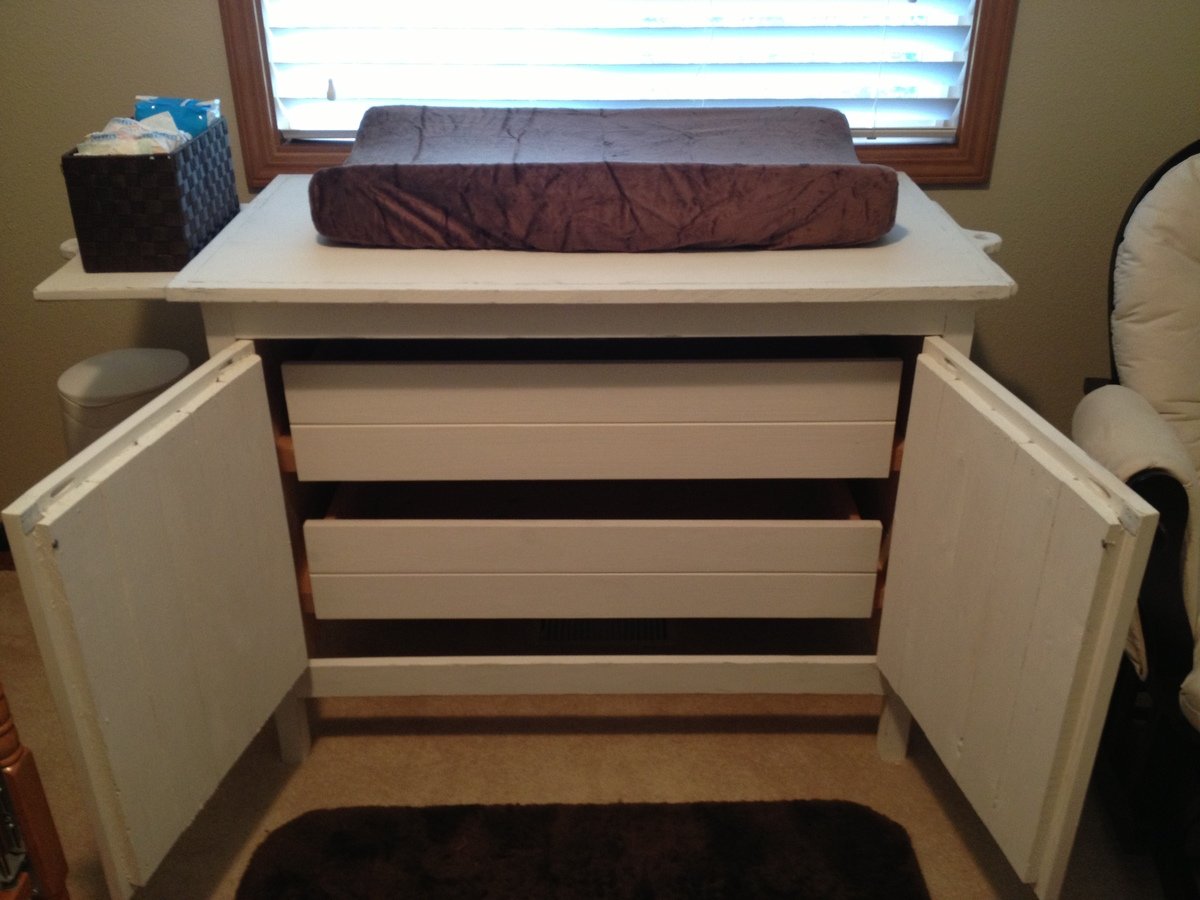
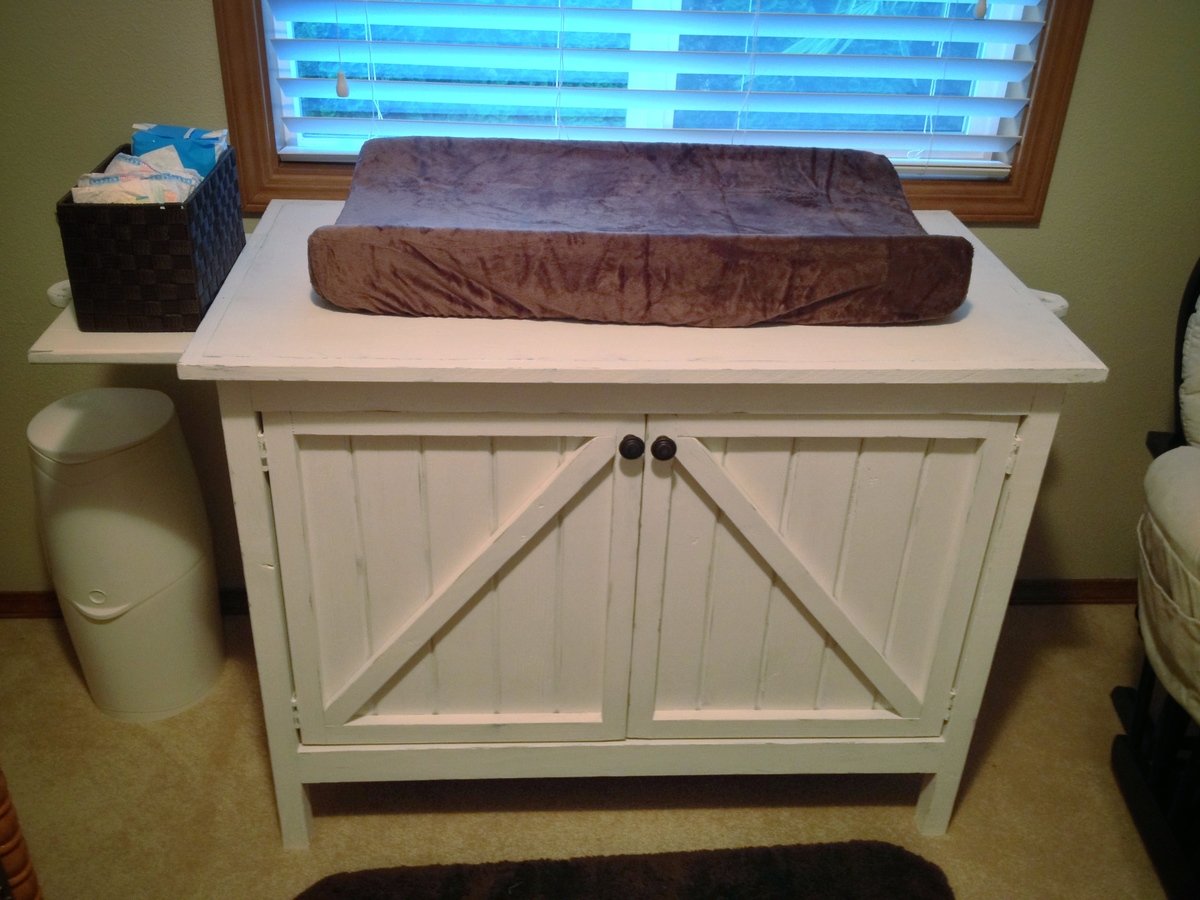
With only weeks before my son is due I finished his changing table/dresser.
I am still new to this whole woodworking adventure and this was my largest project yet. (Completed project was around $95)
This dresser had a ton of ‘firsts’ for me and along with that I probably made nearly every mistake you can.
My firsts on this thing were:
-pocket holes
-sliding dovetails (to attach the drawer fronts)
-hand-cut dovetails (rear corners of the drawers)
-drawers with glides
-hinged doors
-table top fasteners
-distressing a paintjob
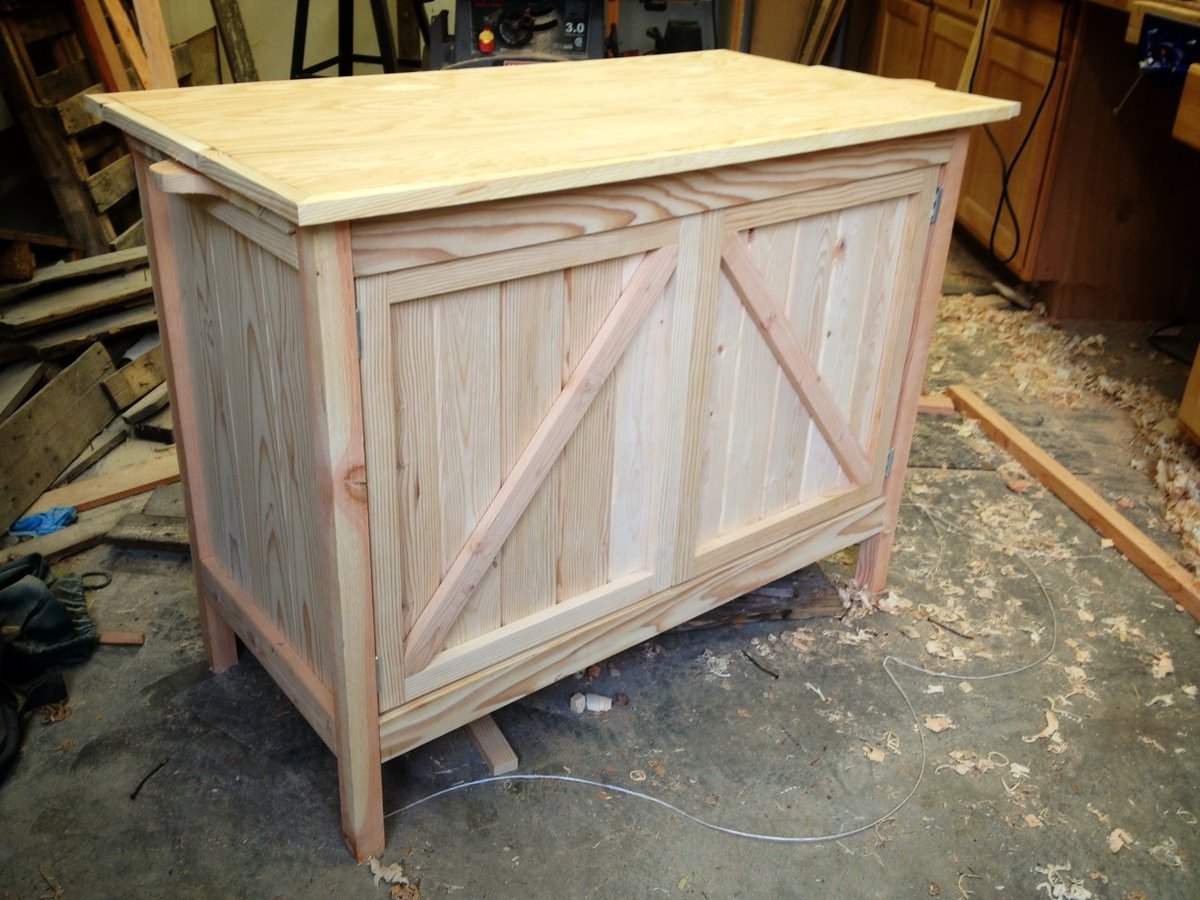
It was built knowing that my wife wanted it painted , hence the mismatched wood used(see pre-paint pics below). The nursery is designed around a rustic theme (see wall shelf unit in the first pic).
I will also be adding a hanging wall clock made from weathered pallet wood in the coming weeks.
I think one of the most challenging things for this project might have been the use of Home Depot lumber.
We were on a major budget so I purchased the cheapest wood in the sizes I needed. This meant combing throught the stacks to find acceptable pieces.
I do not own a jointer or planer, so in order to flatten and correct thickness issues with the wood I resorted to good ‘ol hand planes.
Time consuming, yes. But also very satisfying.
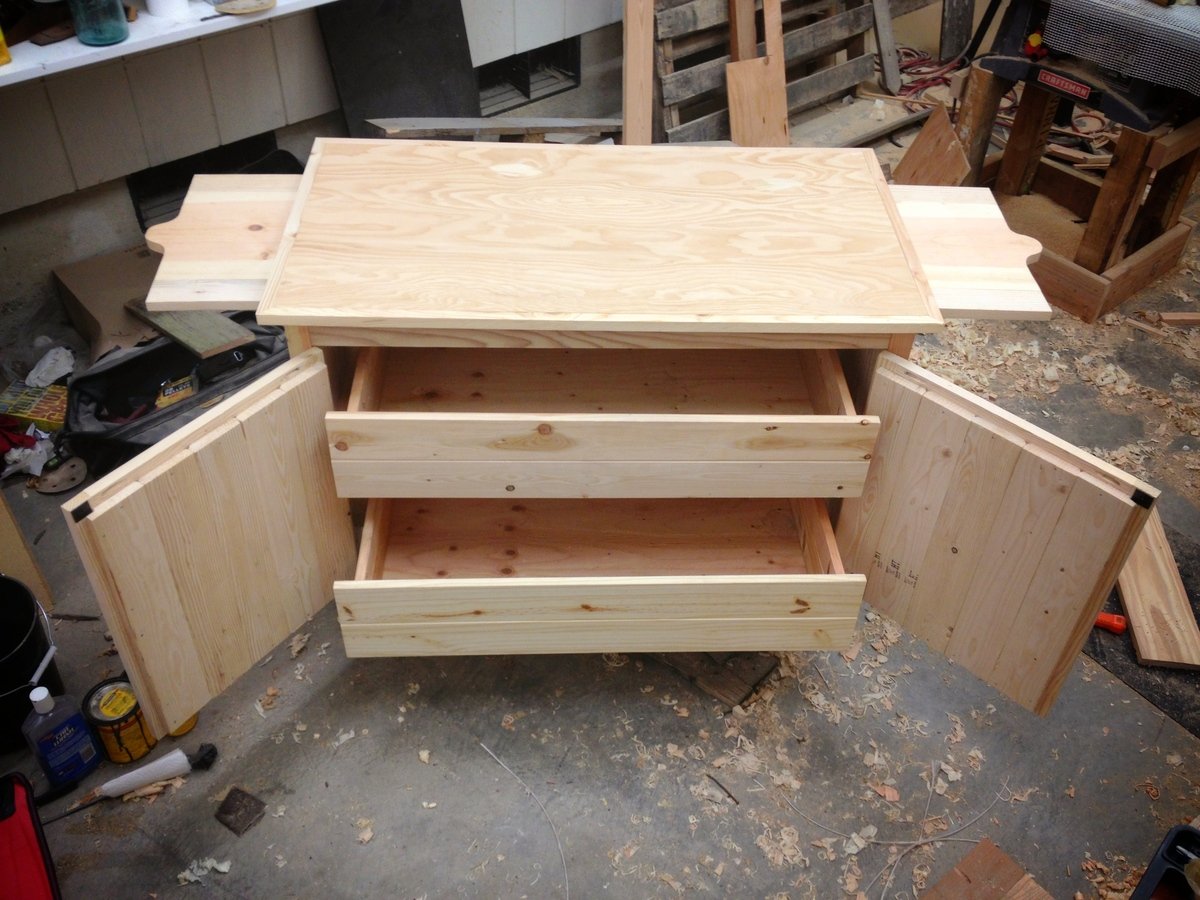
Sun, 04/12/2015 - 16:18
What an absolutely beautiful changing table! It's just my style too! Do you have building plans? I'm currently 7 months pregnant with baby #4 and trying to get our nursery together!
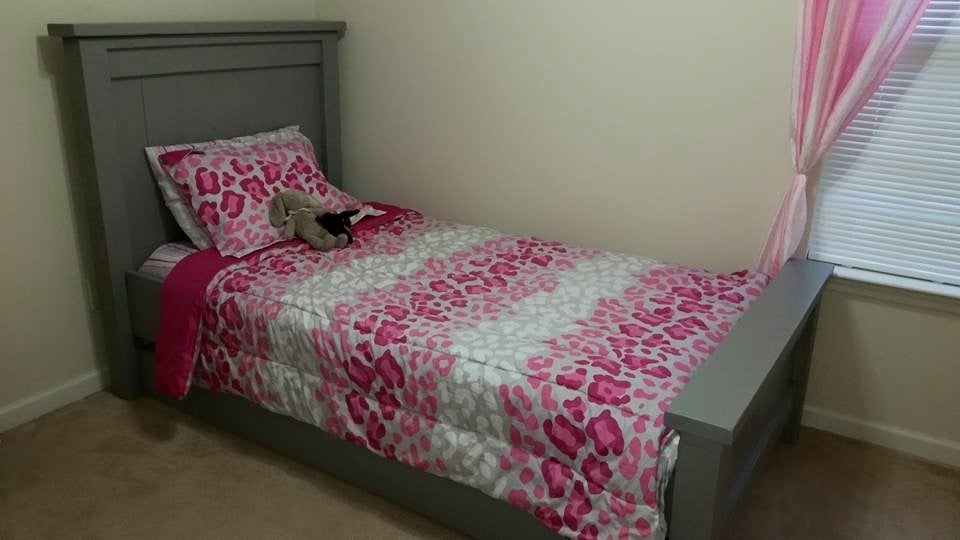
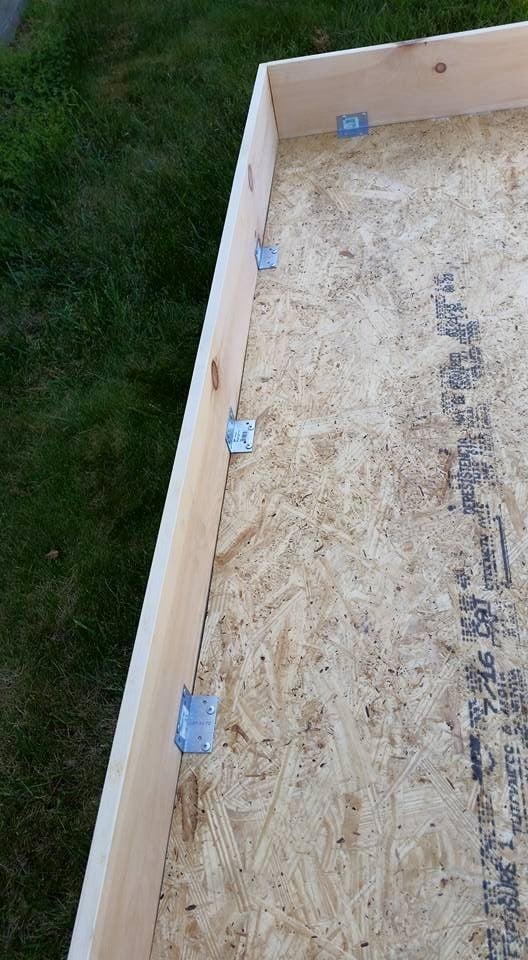
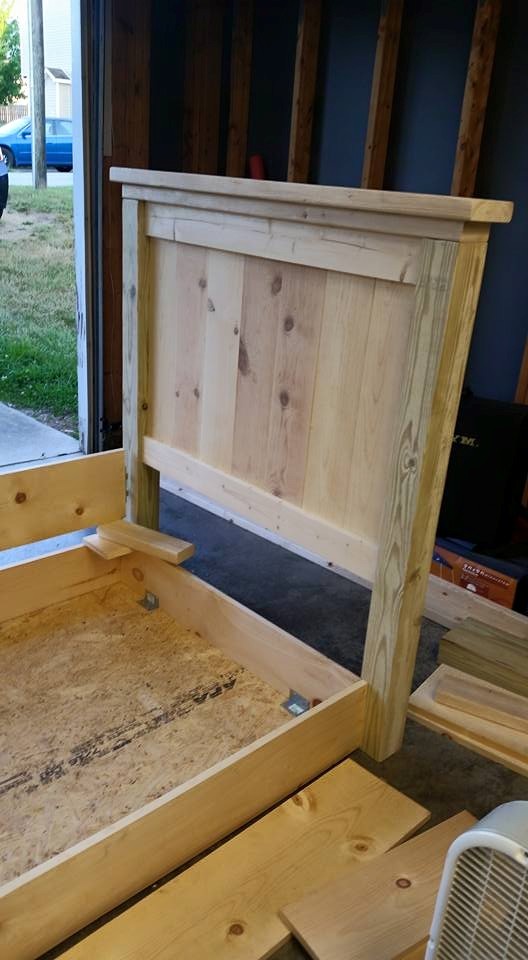
We built this over the course of a couple of weekends. I think the key thing was making sure my 1x6's were the correct width before we began to cut all the other boards. There was a lot of trimming after the fact making the overall width 1/2" shorter than the plans. Some adjustments made to the original plans were...
1) Using decking brackets to support the plywood to the 1x8s on the trundle (super easy way to secure it)
2) Purchased side rail brackets exactly like the ones here from my local woodworking shop.
This makes the bed easy to disassemble because although I swear I'll never move again I'm not building the bed into the room.
3) Instead of casters on the bottom we used those plastic furniture sliders. They were way cheaper and so slim. With the weight of the trundle wood and mattress they move flawlessly.
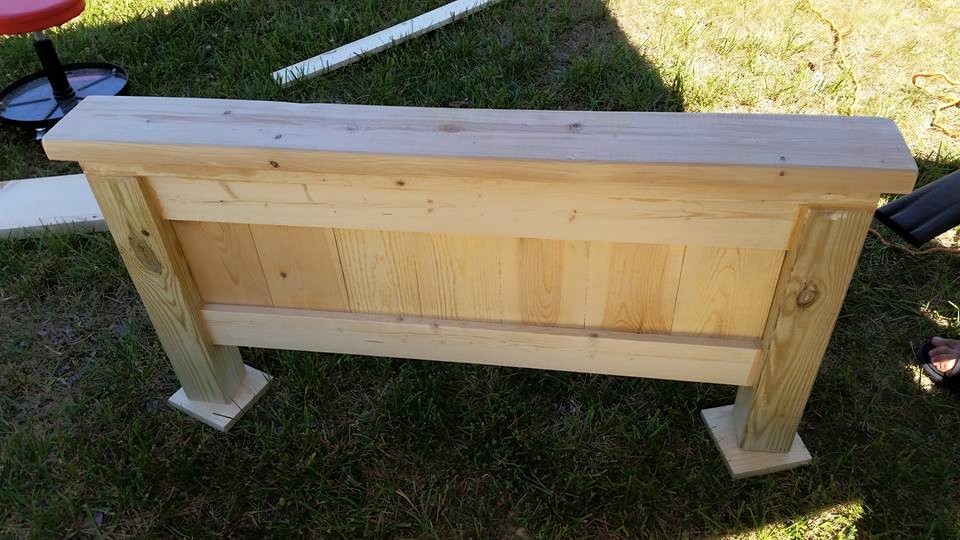
4) Since my daughter has a memory foam bed I was worried about sagging. We used small 1x? ripped in half along the inside of the side rails for a little lip and then 4 1x6's the width of the mattress to make supports and then laid plywood on top of that. 5) Cut down the headboard by 6.5" so that the mattress butted up against it.
Me personally I hate when there is a gap there for pillows to fall down in the middle of the night.
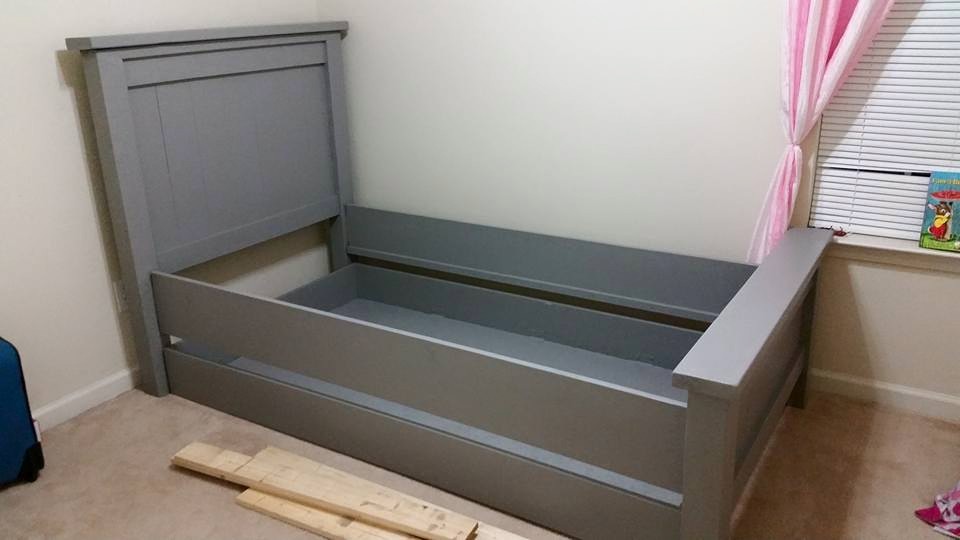
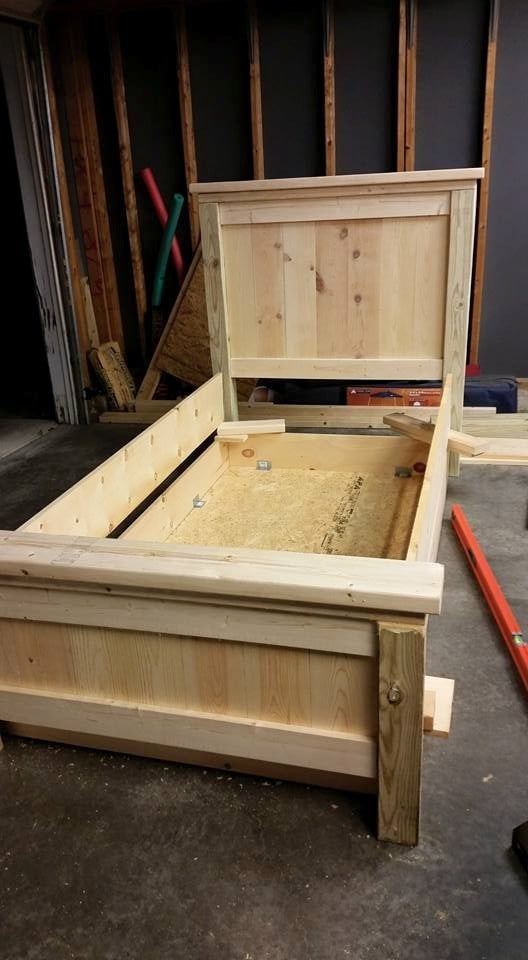
Built this for one of my children for Christmas!

My own take on this build:
https://www.ana-white.com/community-projects/butcher-block-kitchen-isla…
I used a pre-made butcher block top from Home Depot. I did have to cut it down to 2ft by 3ft
Legs were premade from tablelegs.com. I wanted solid legs and didn't want the hassle of shopping fo 3 inch thick lumber.
Drawer is Tiger Maple with plywood bottom, and the rest of it is Hard Maple.
I made a high speed style build video here-
https://youtu.be/iS5wN_CUrEk


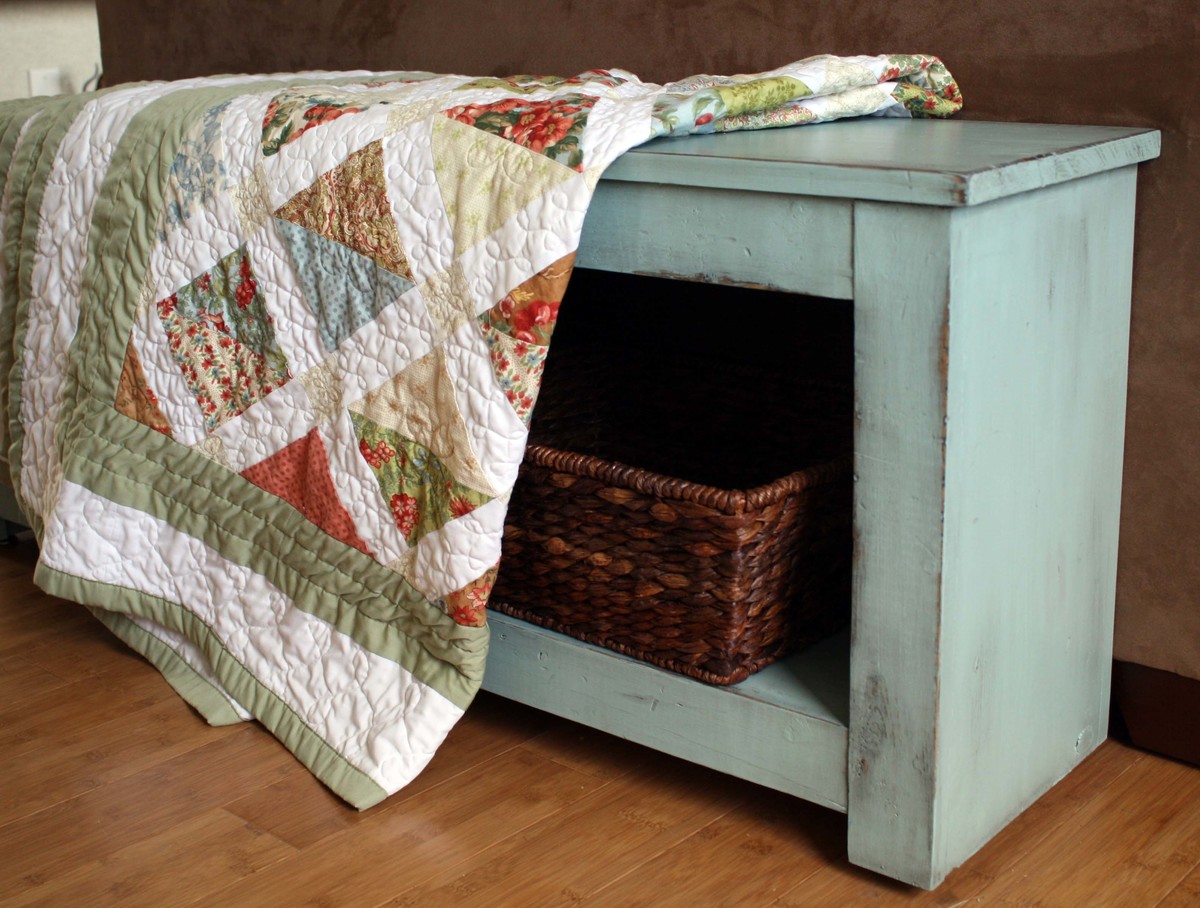
My husband modified the plans to make the bench longer to sit in our entry as a place to take off shoes. Painted, distressed sanded, then stained with minwax ebony. Finished off with polyurethane.
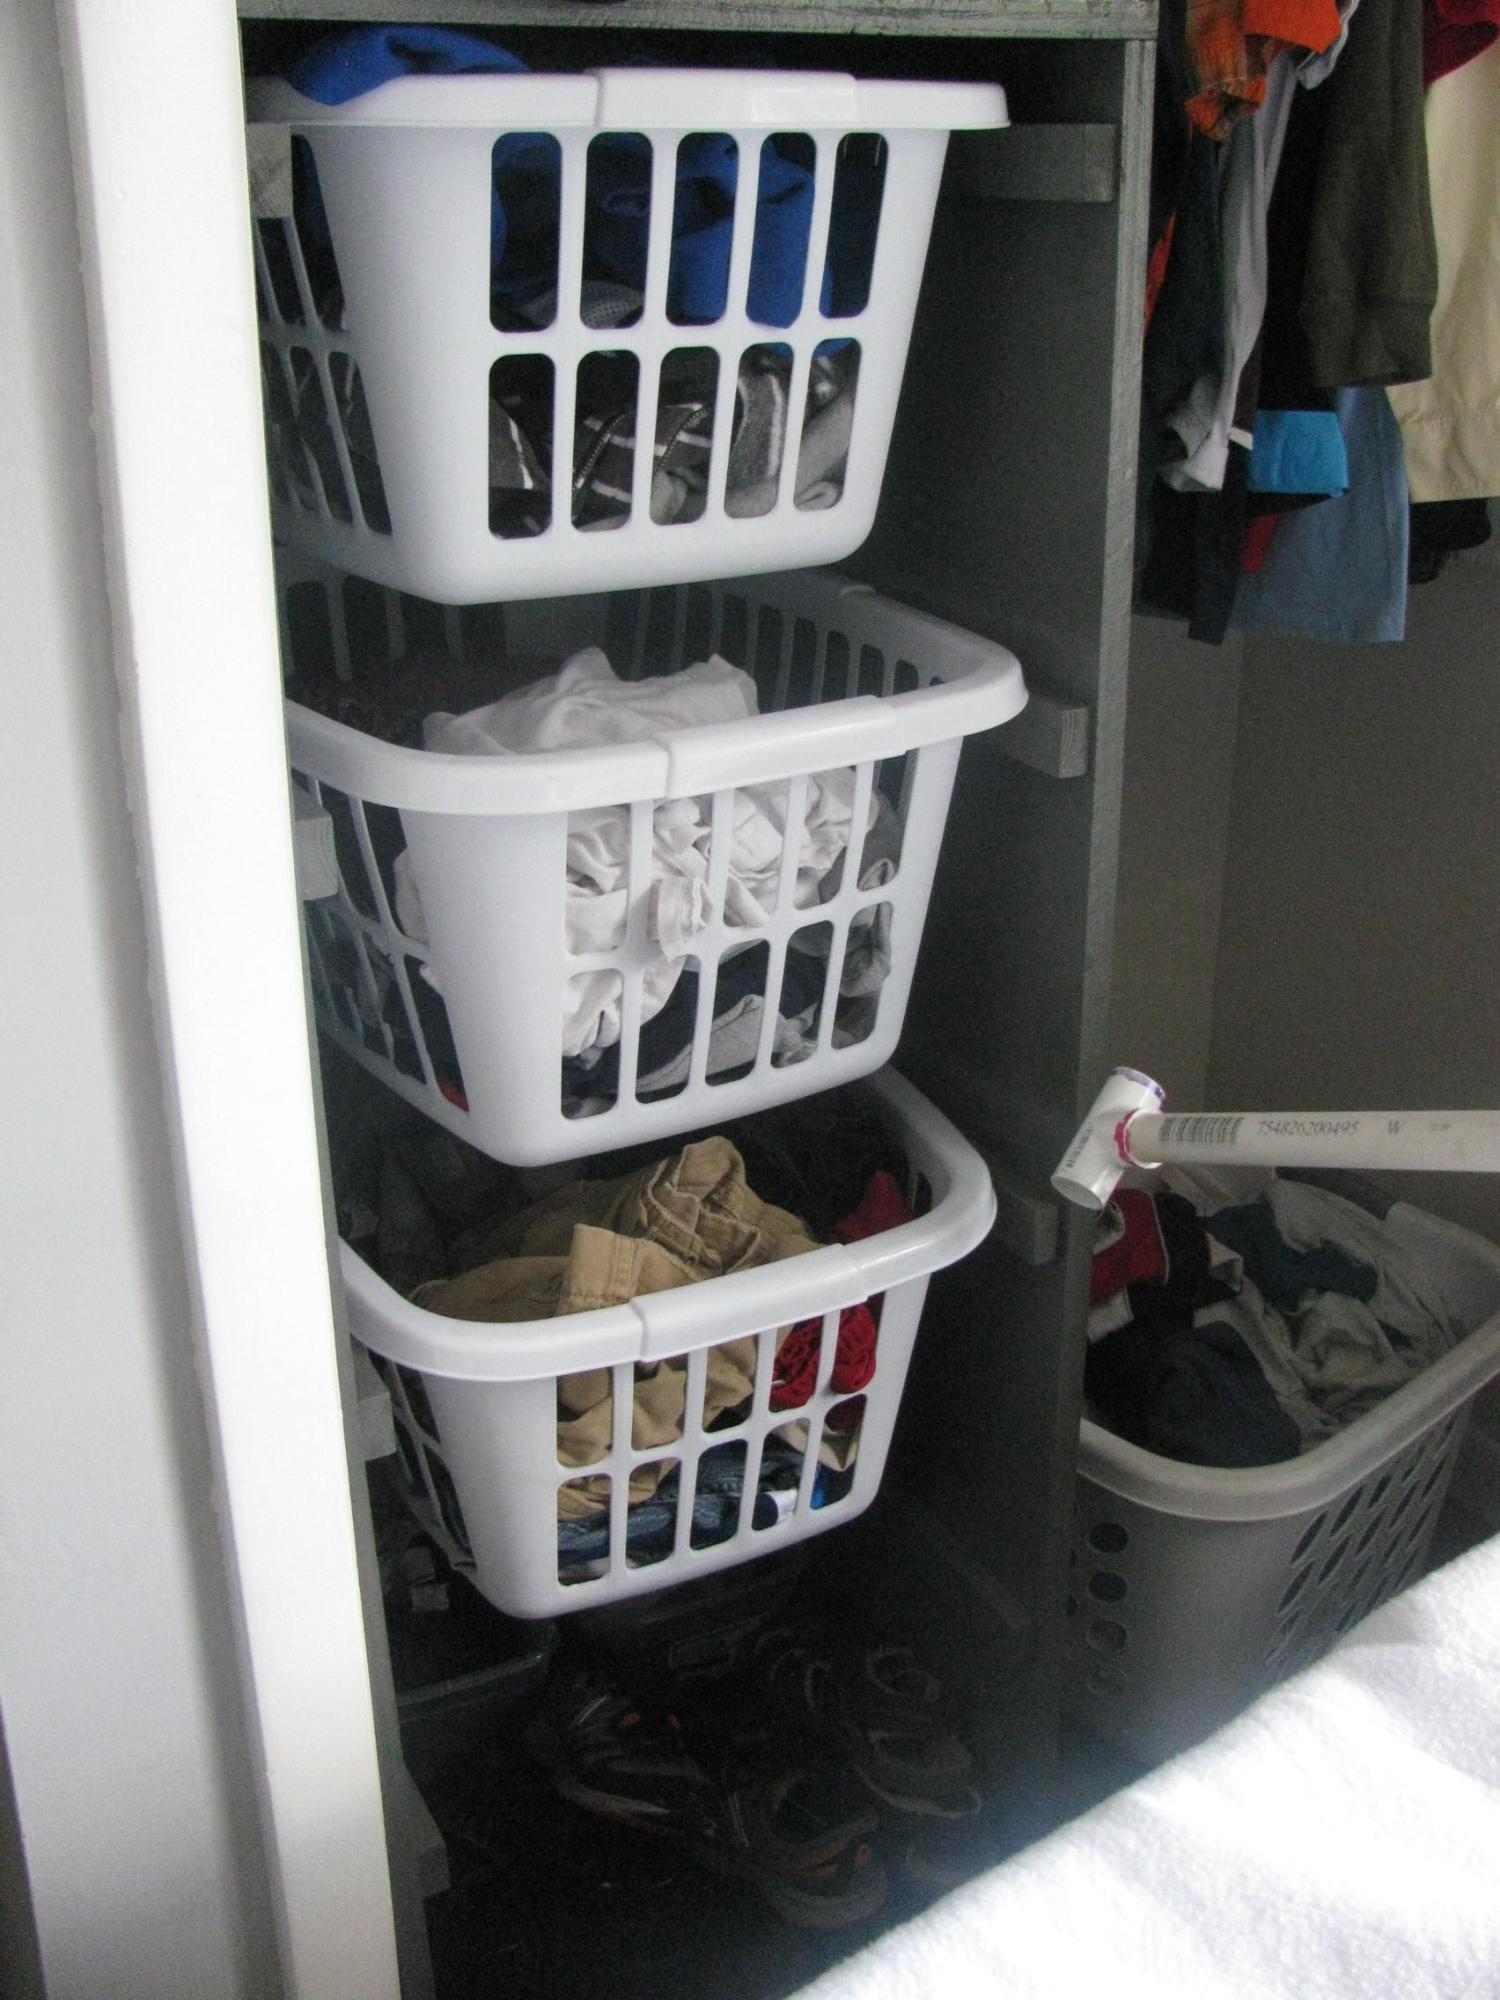
(again, I don't know why the image is showing up in the wrong direction)... While redoing my son's room, he needed a new dresser. His room is very small and we new we needed to be able to put it inside the closet. We couldn't find dressers that would fit the correct dimensions, but didn't think we had the ability (yet) to make a quality dresser for him. My kids don't like using dressers correctly anyway, so we thought this might be a great solution for him. Right now he is using the bottom area as a place for his shoes and small boxes for his underwear and socks. (We had thought about making one of the spaces into a shelf, but ended up not doing it, so I hadn't bought enough baskets).