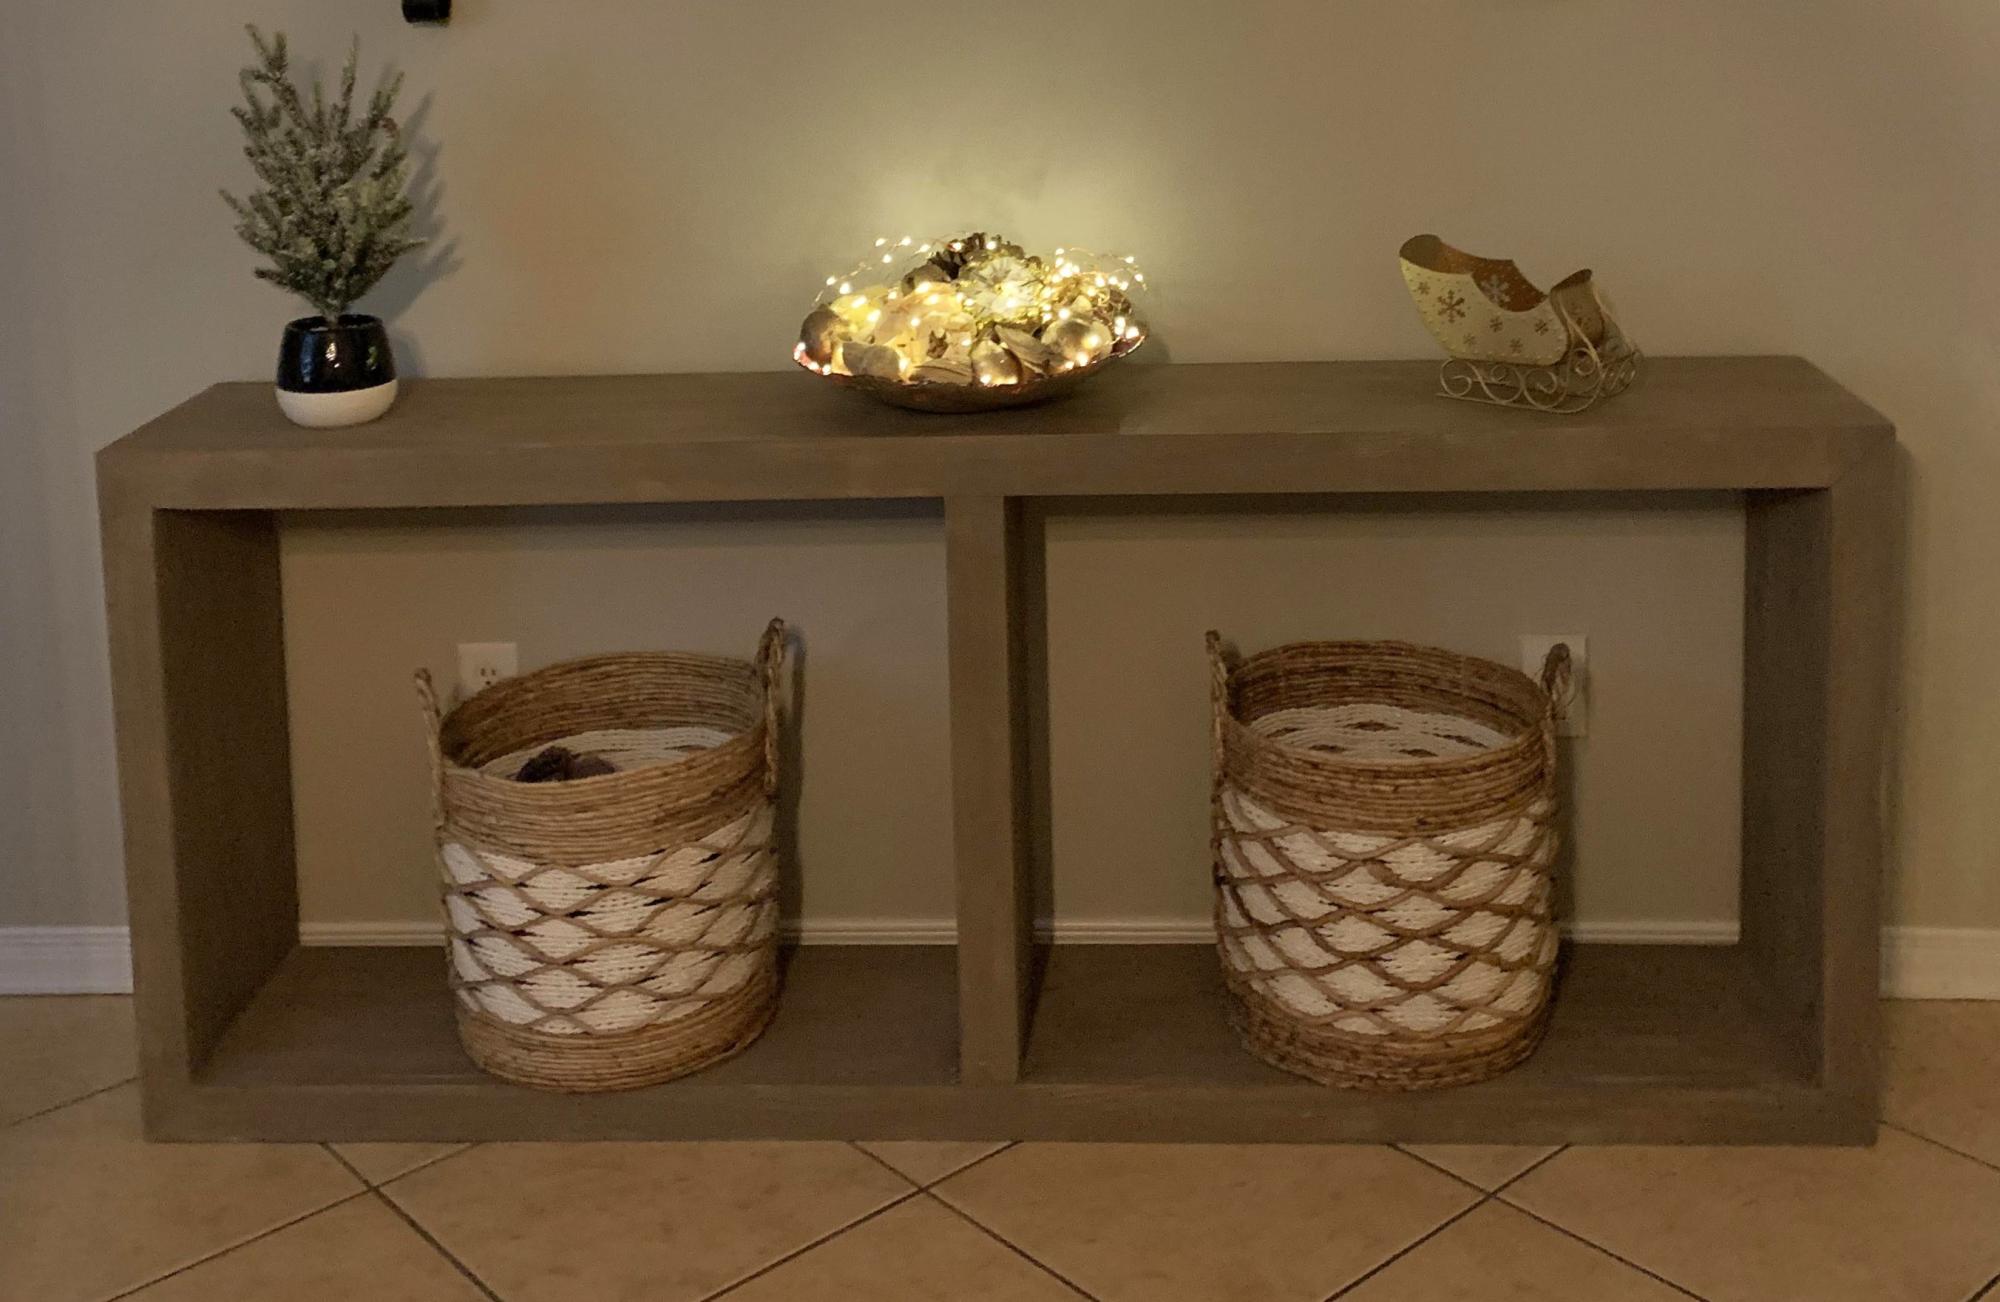
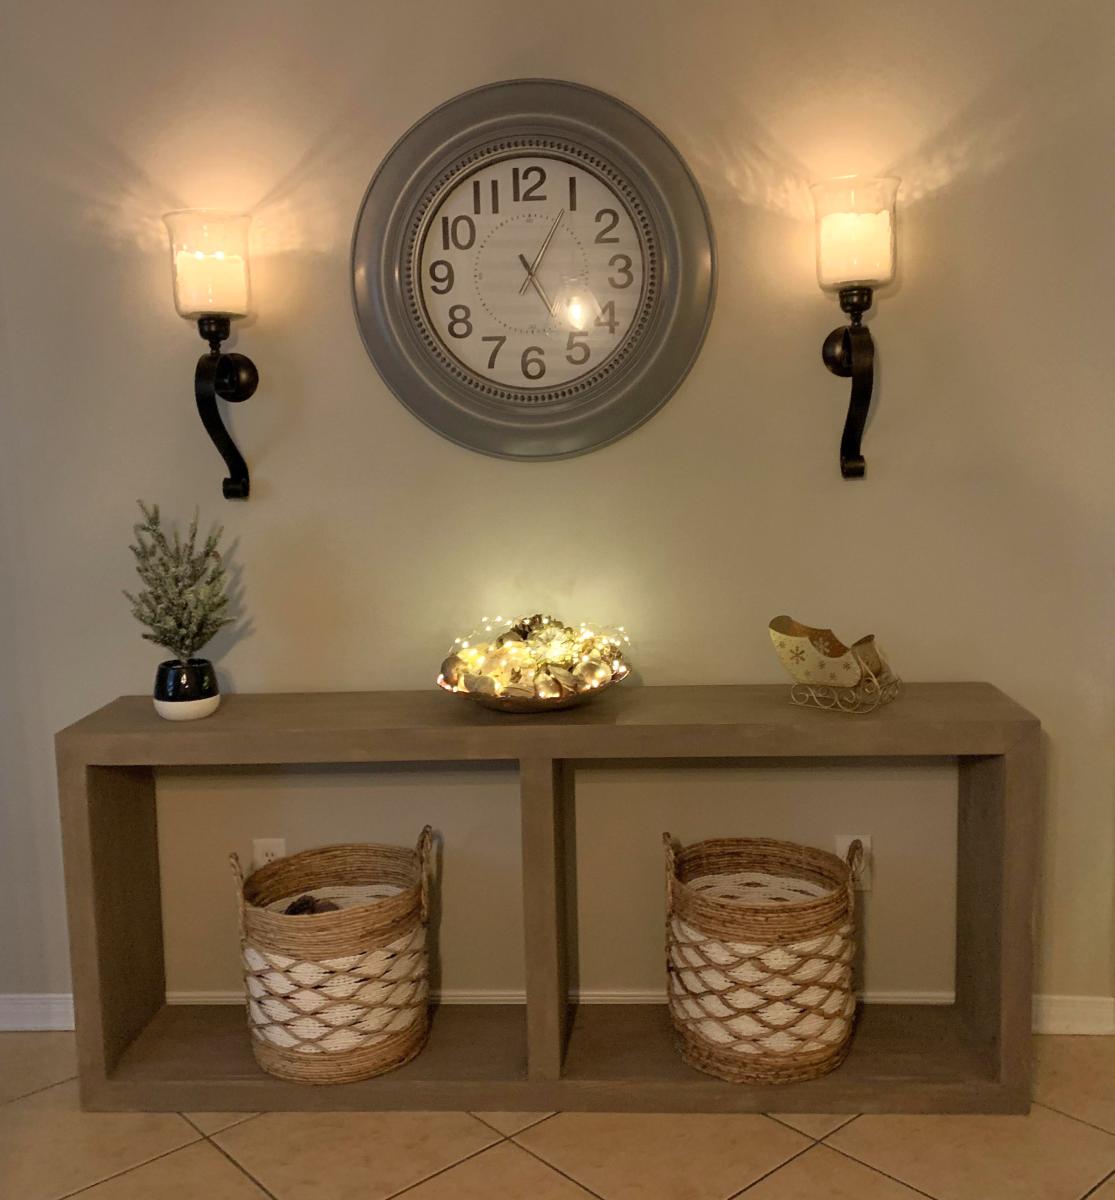
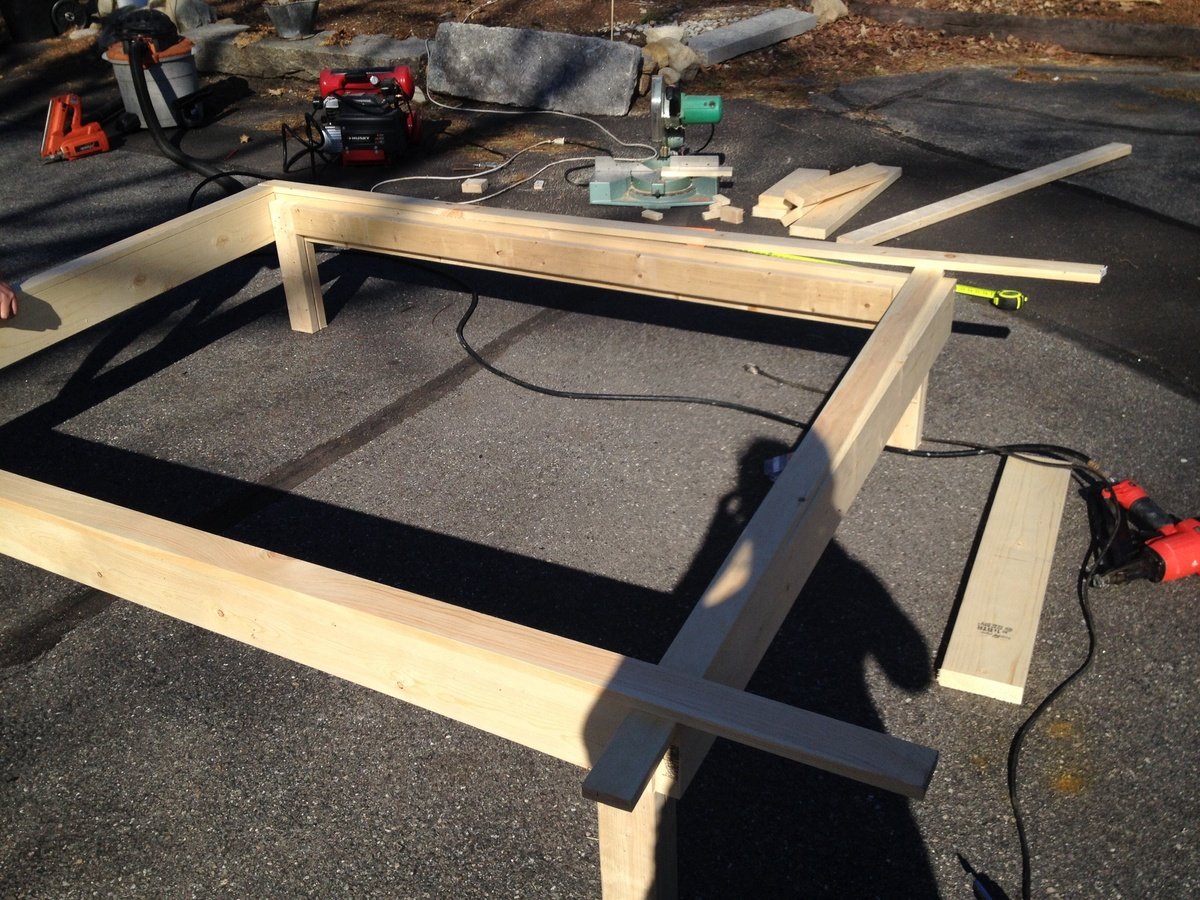
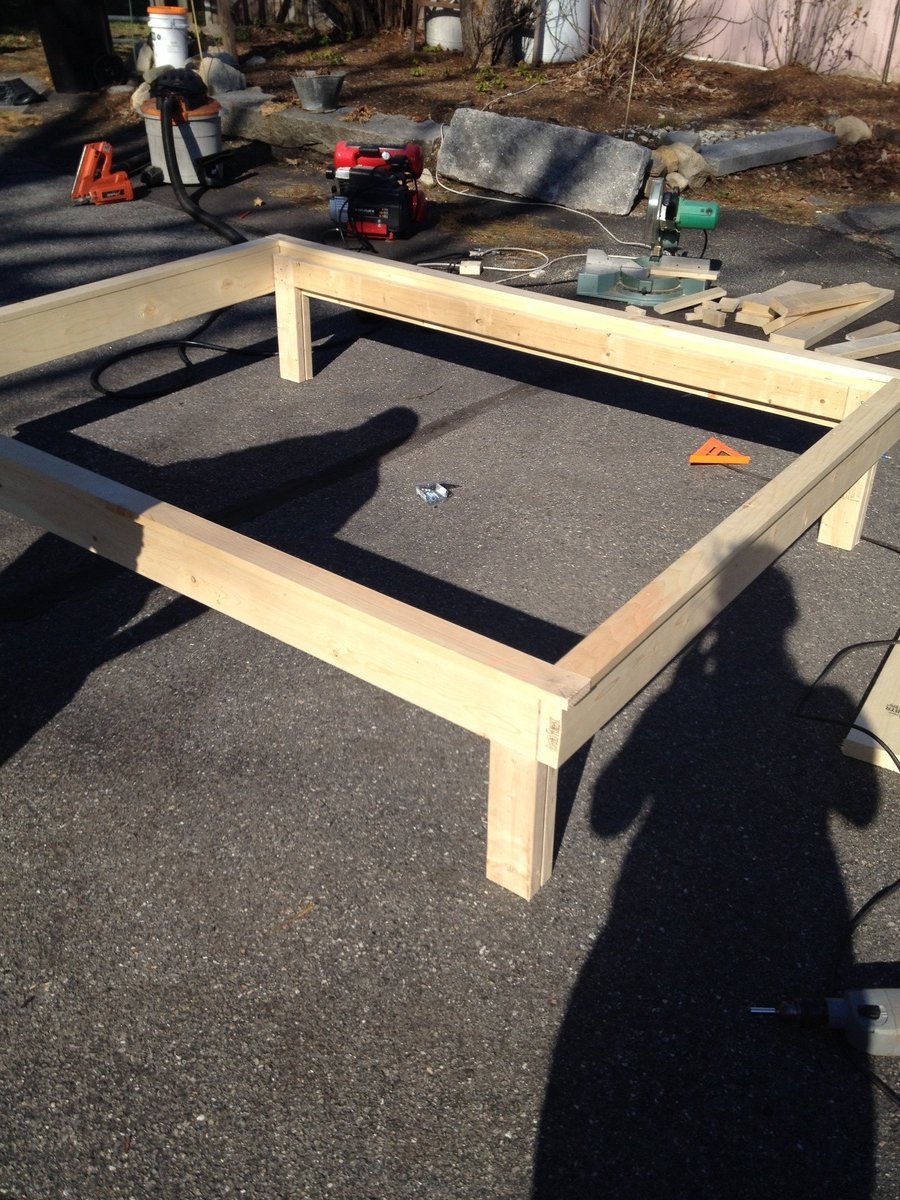
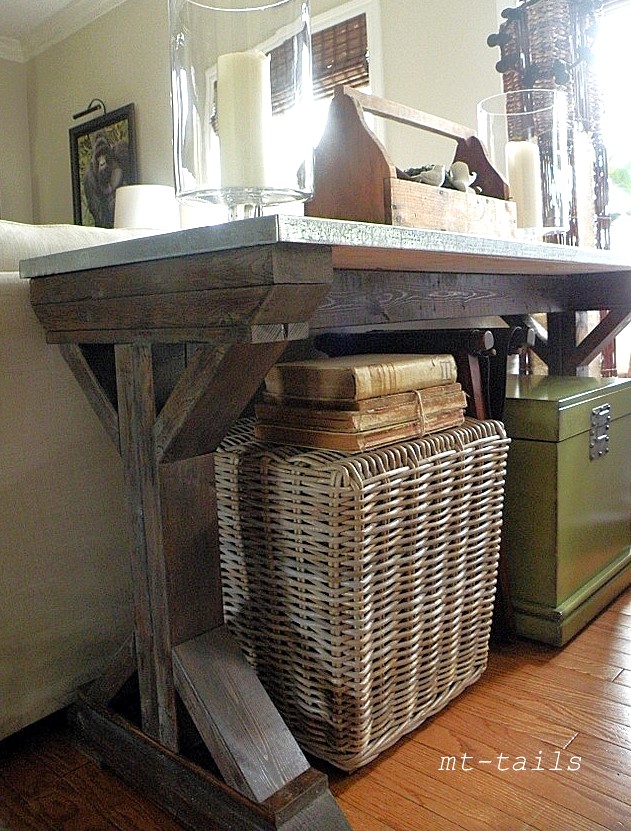
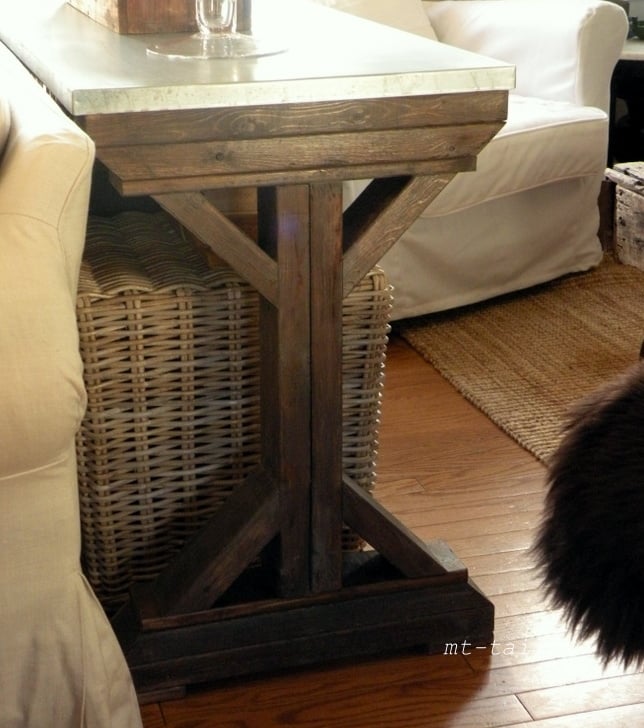
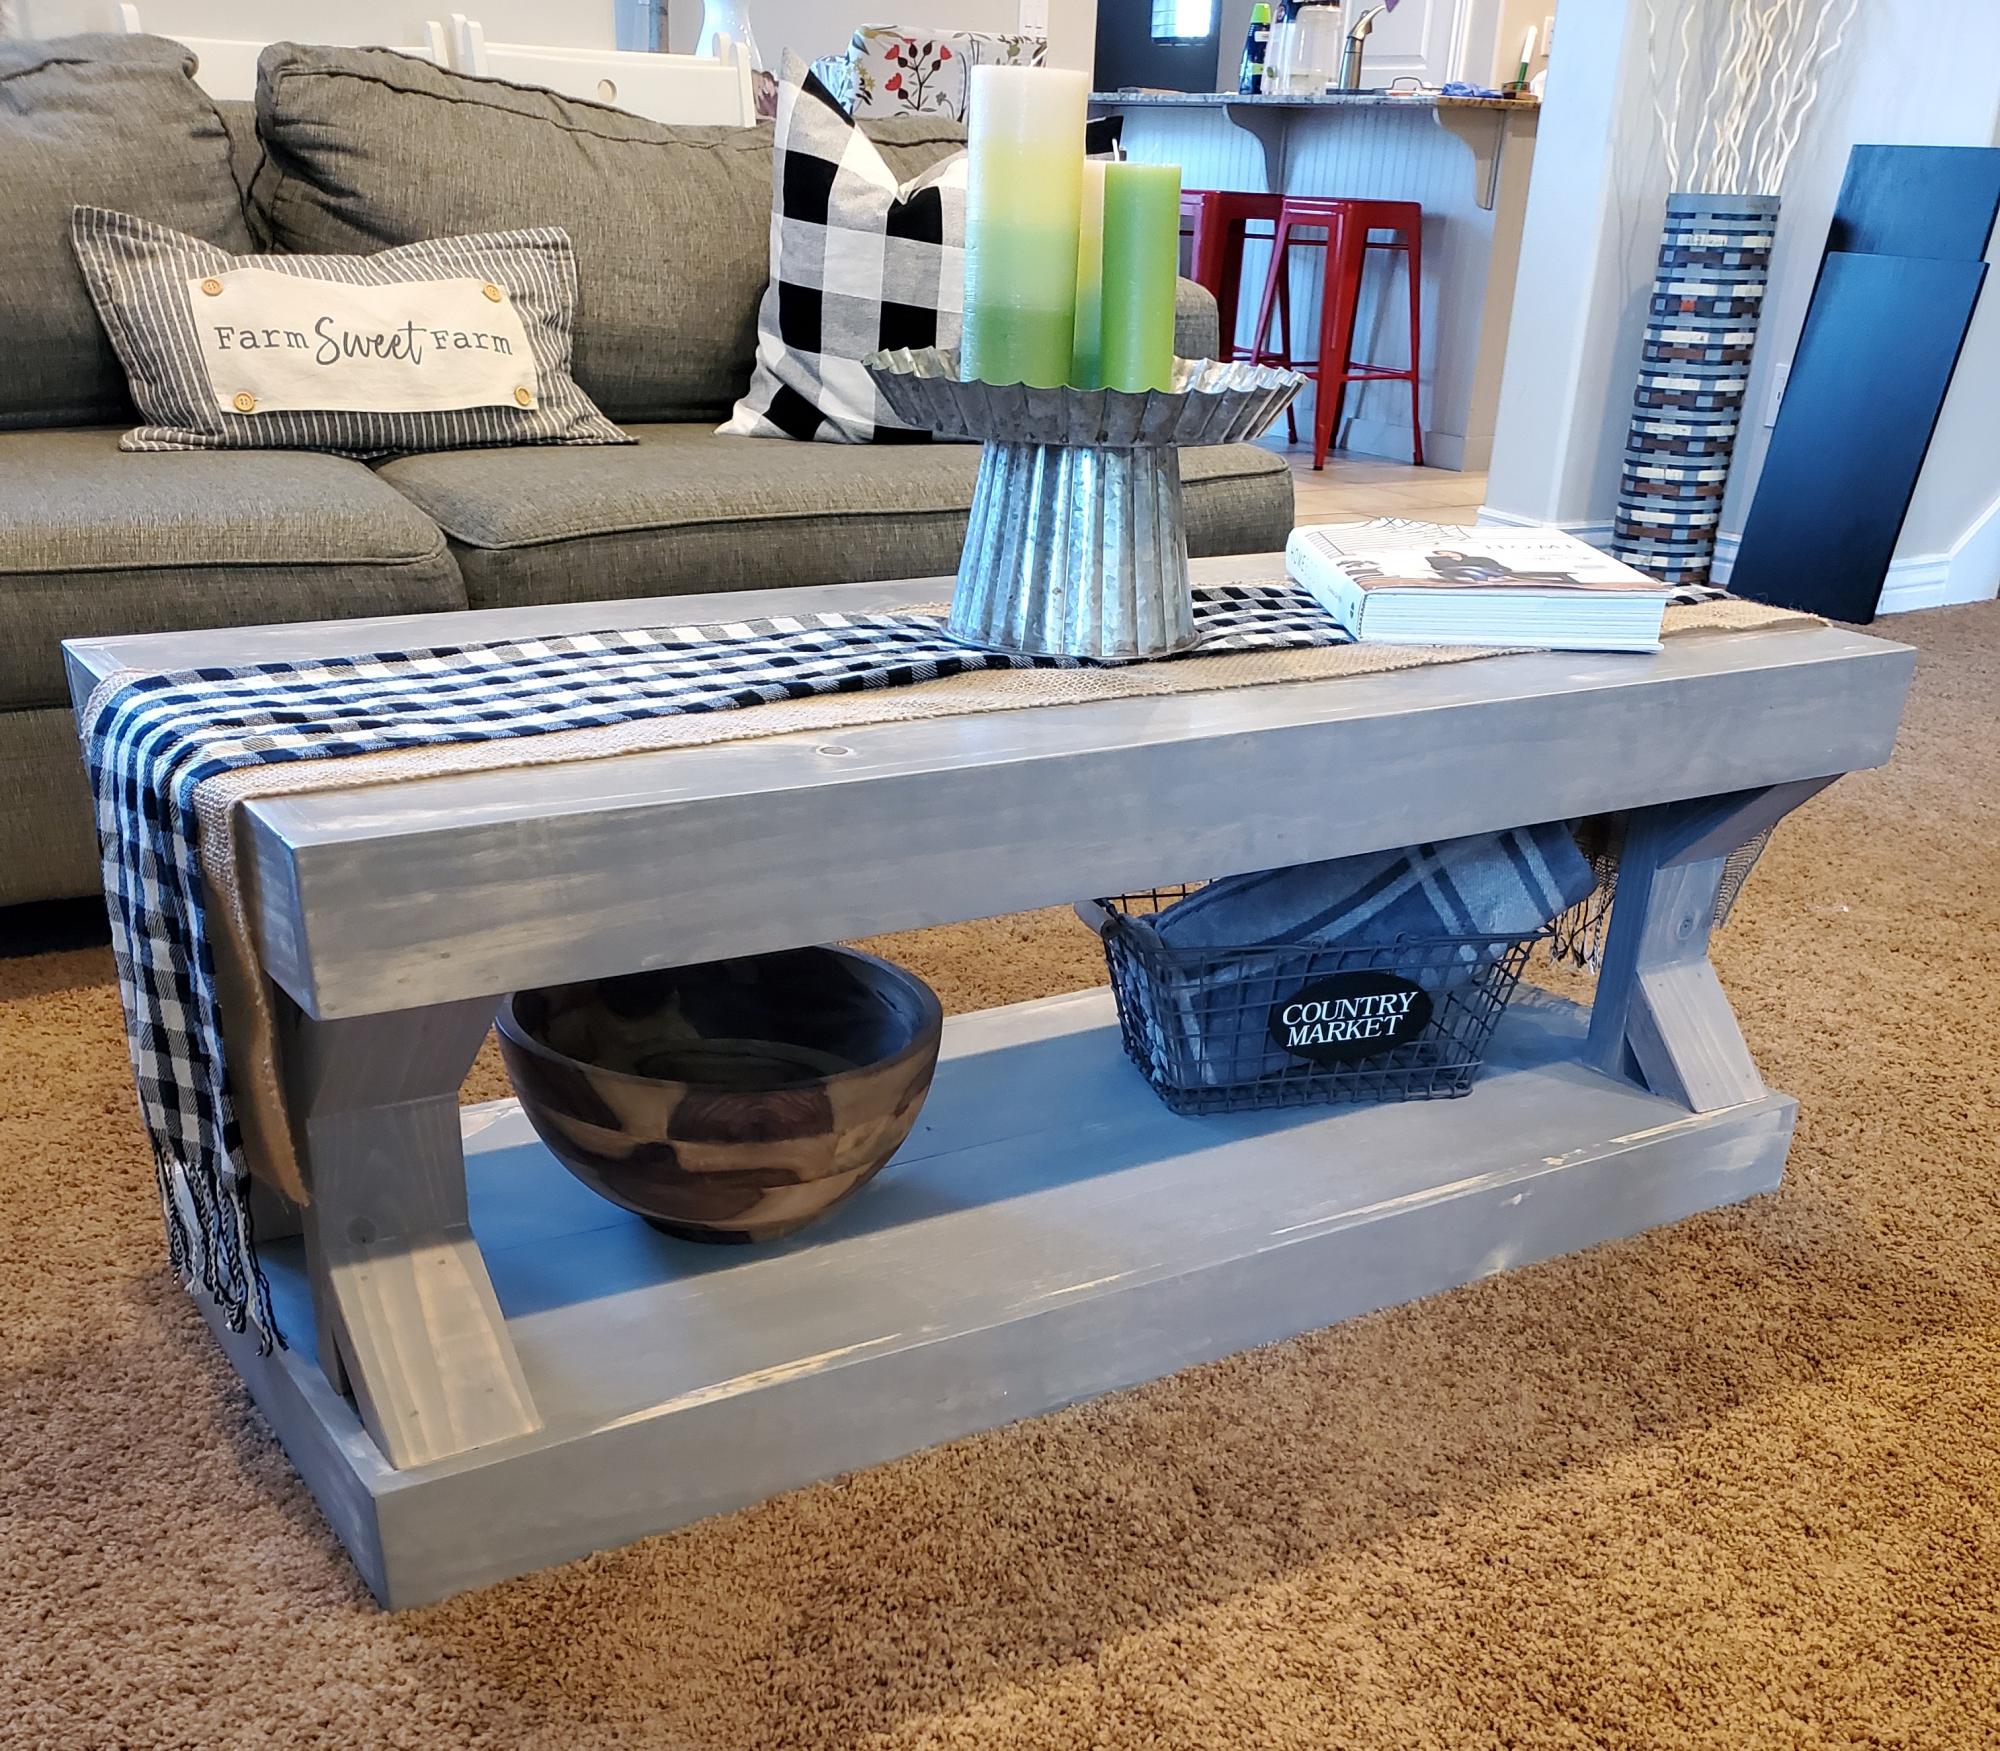
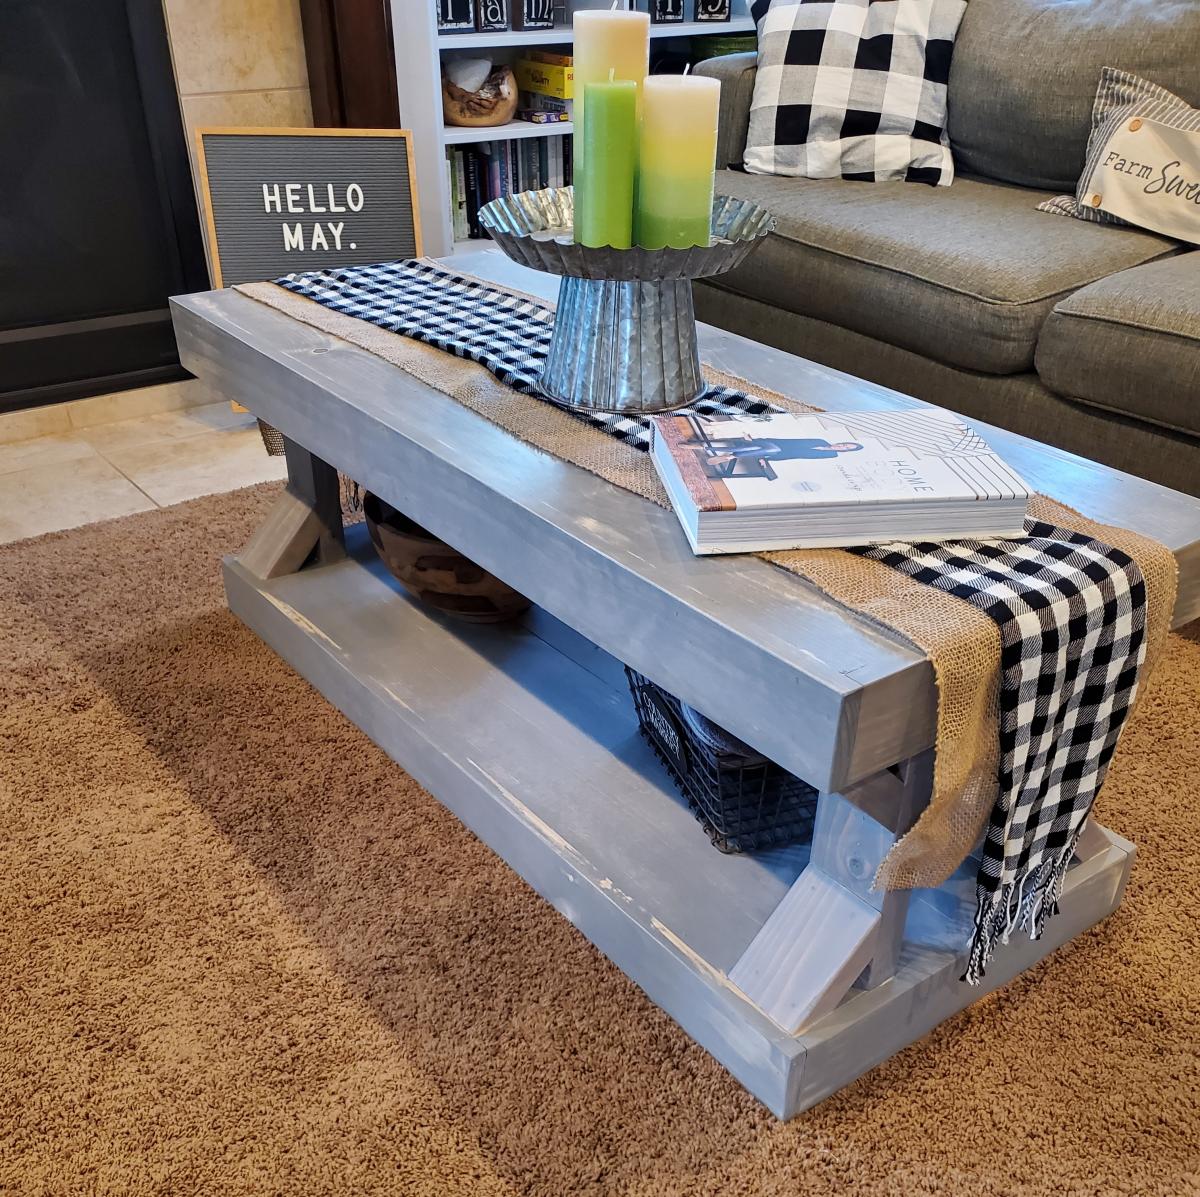
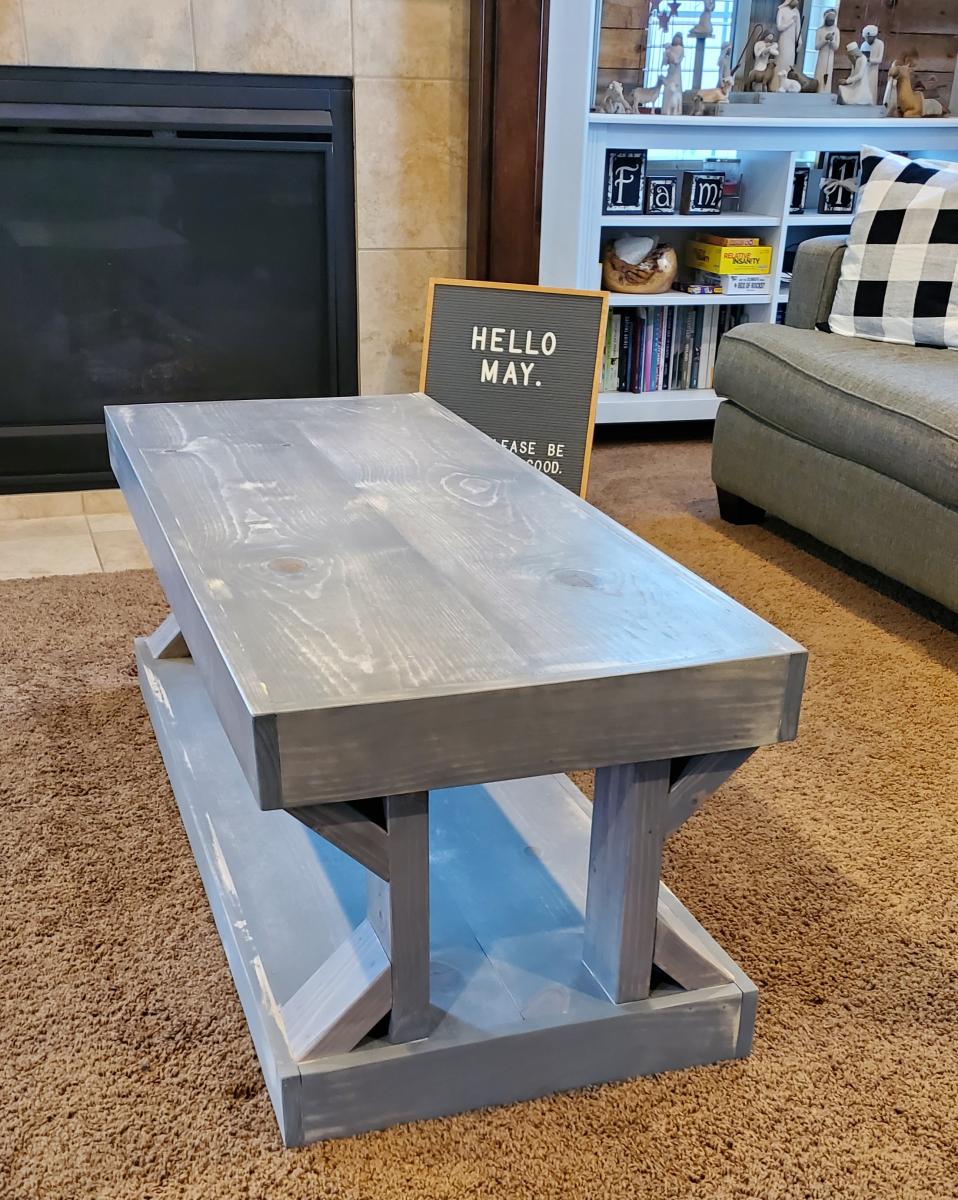
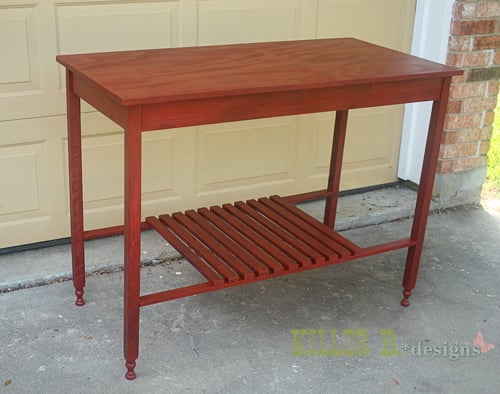
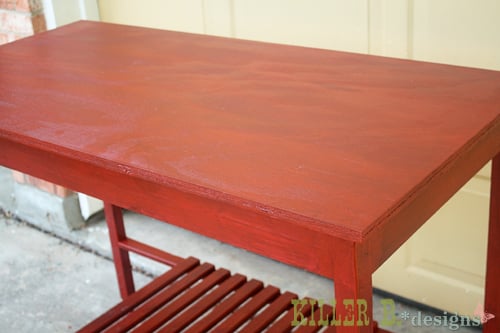
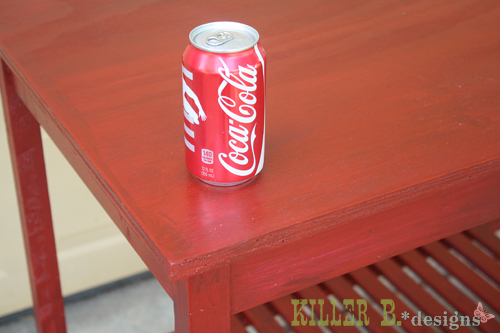
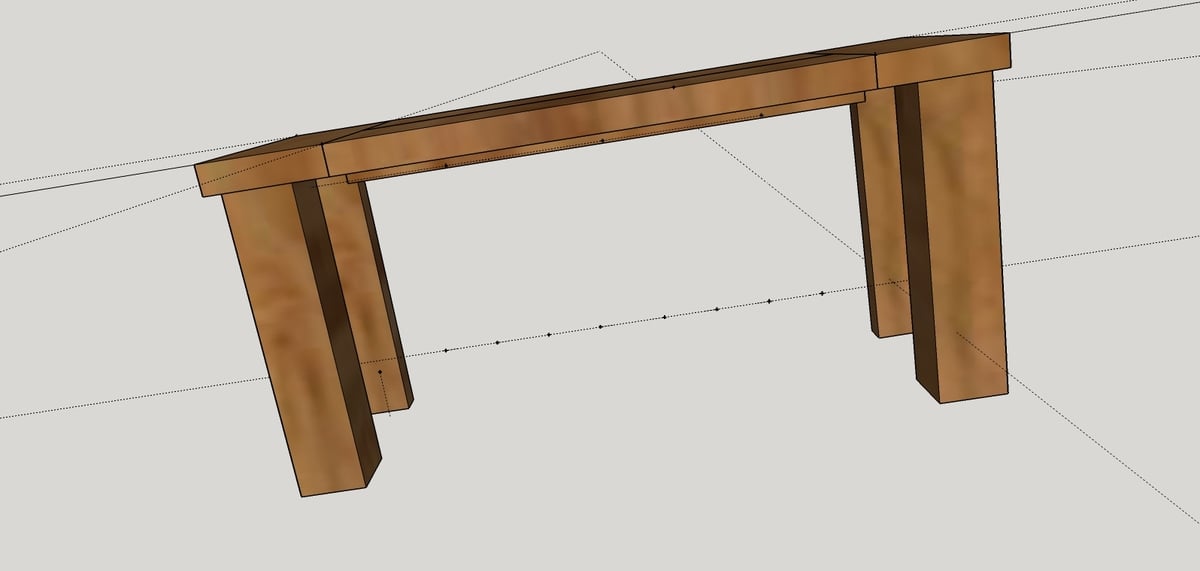
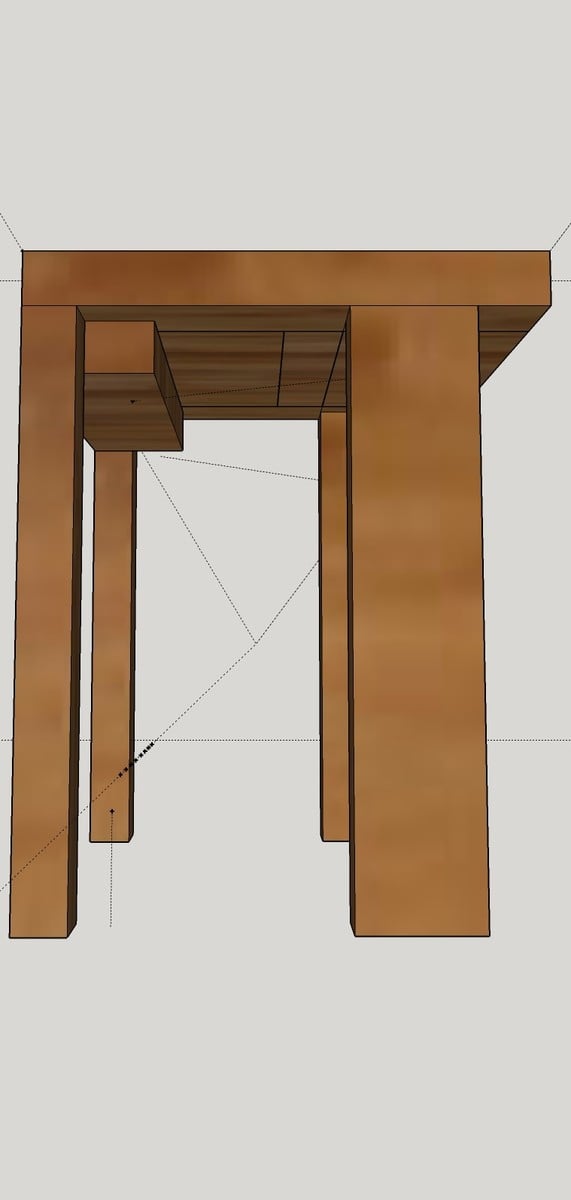
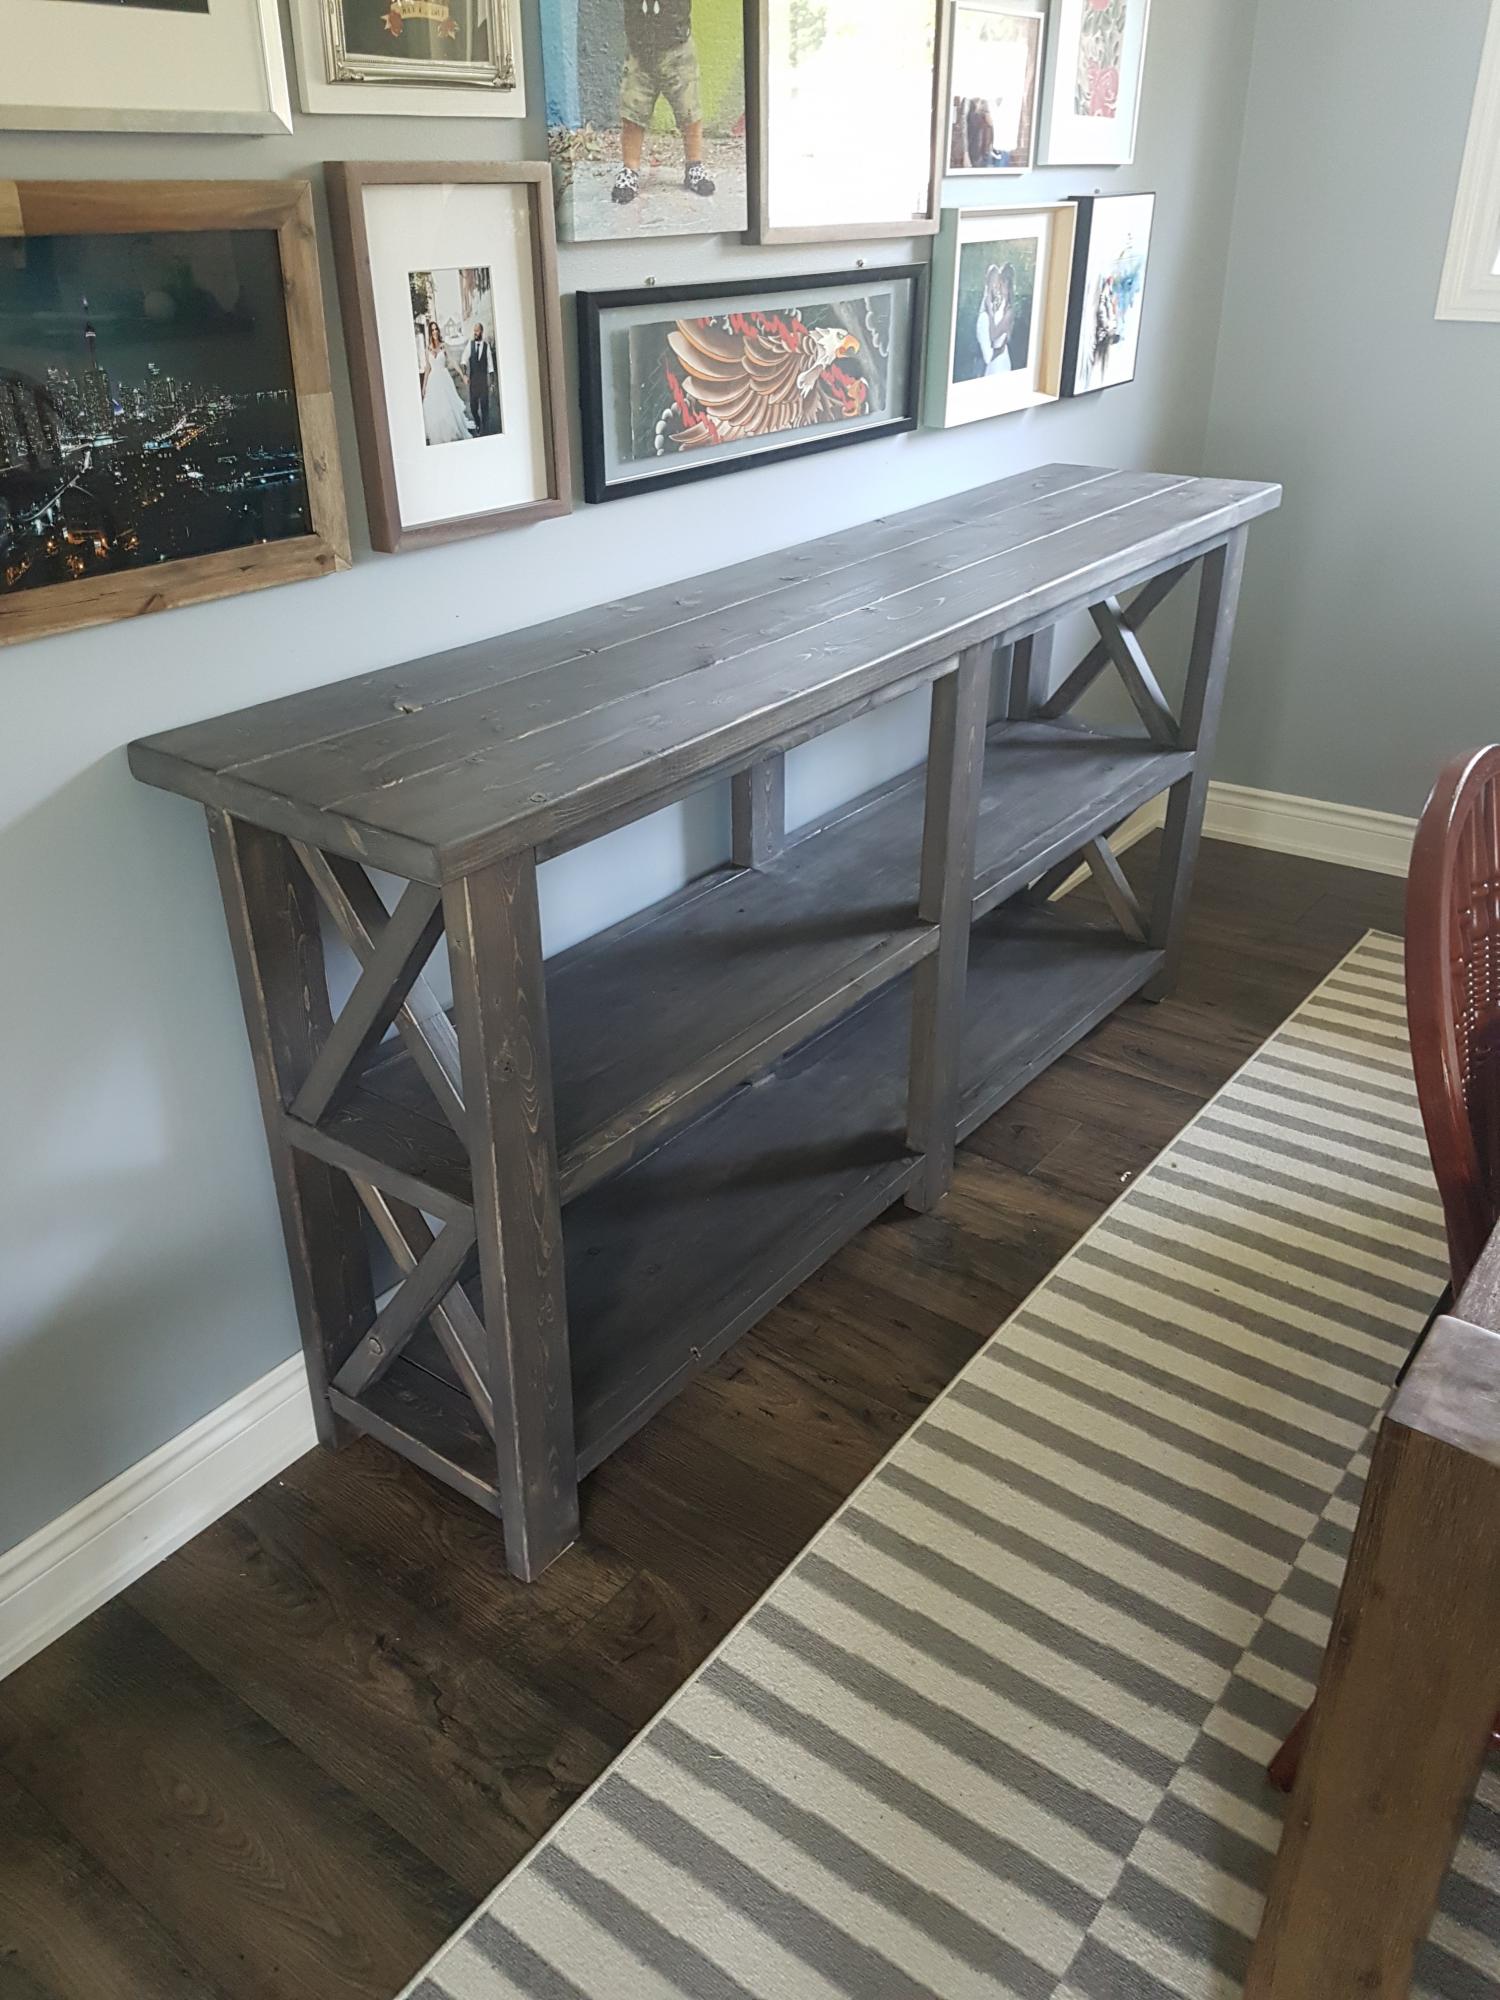
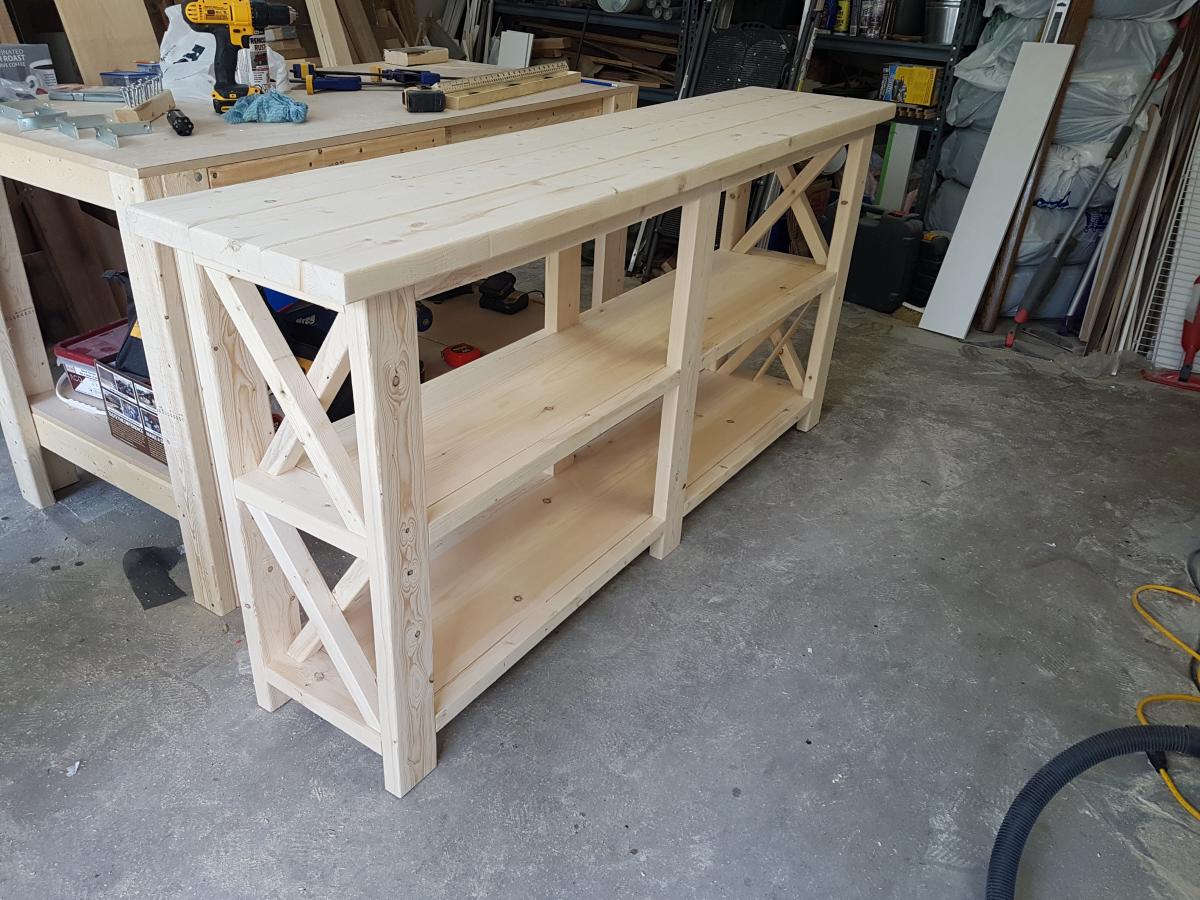
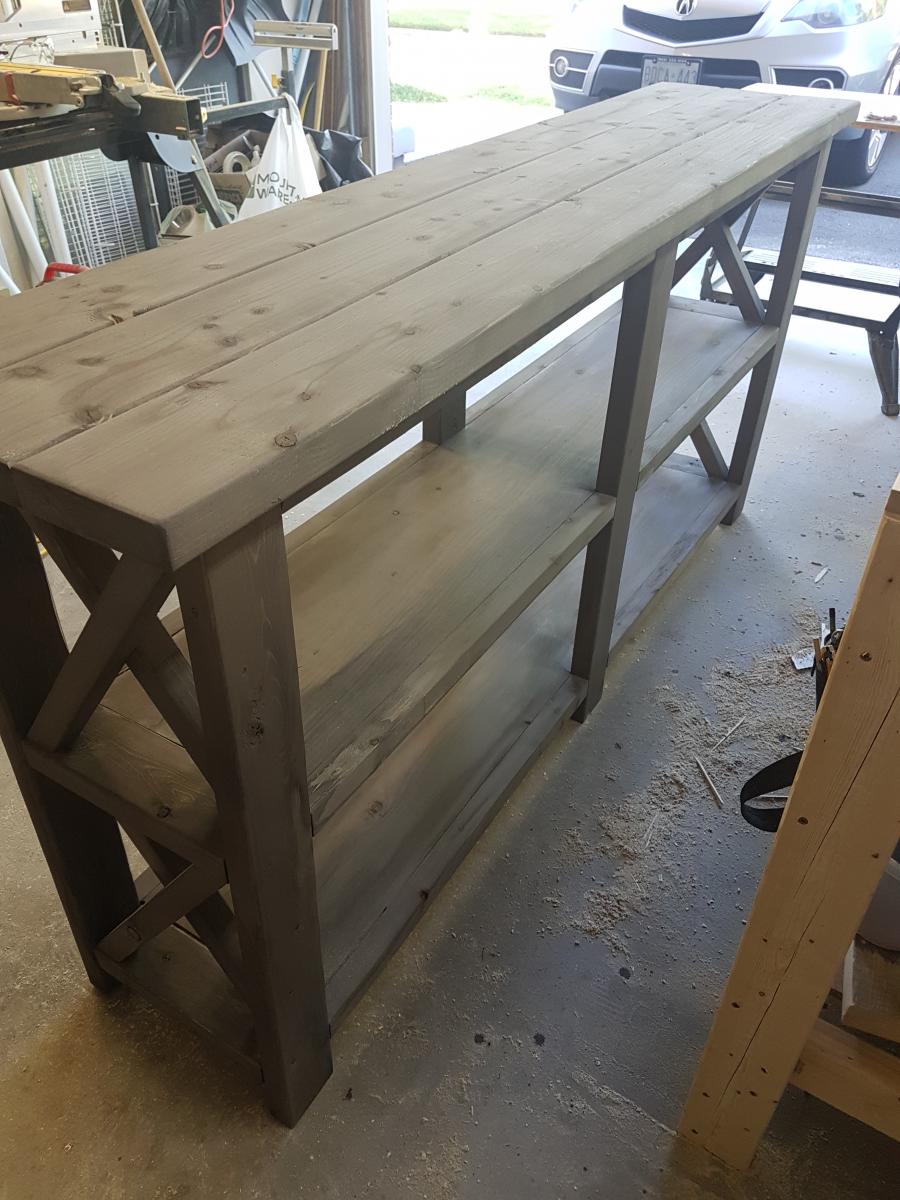
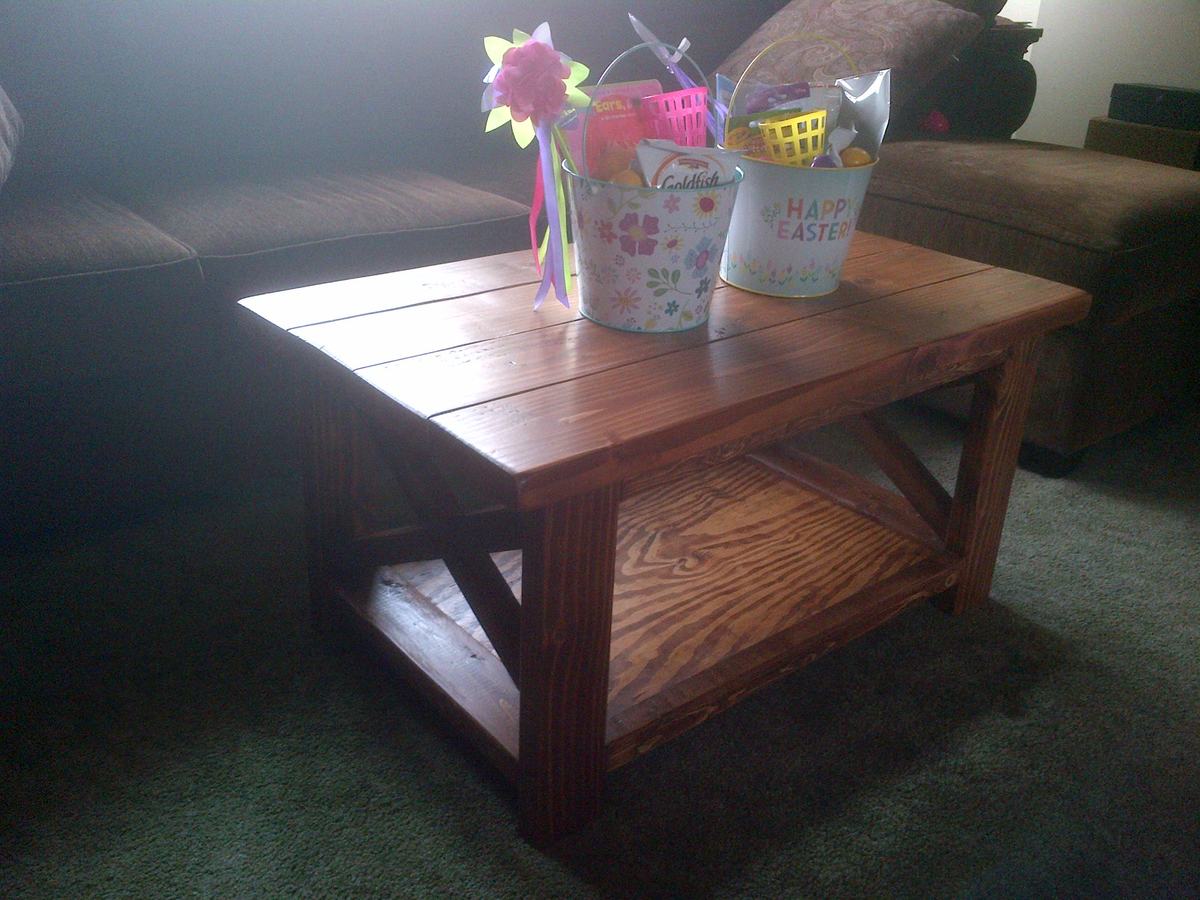
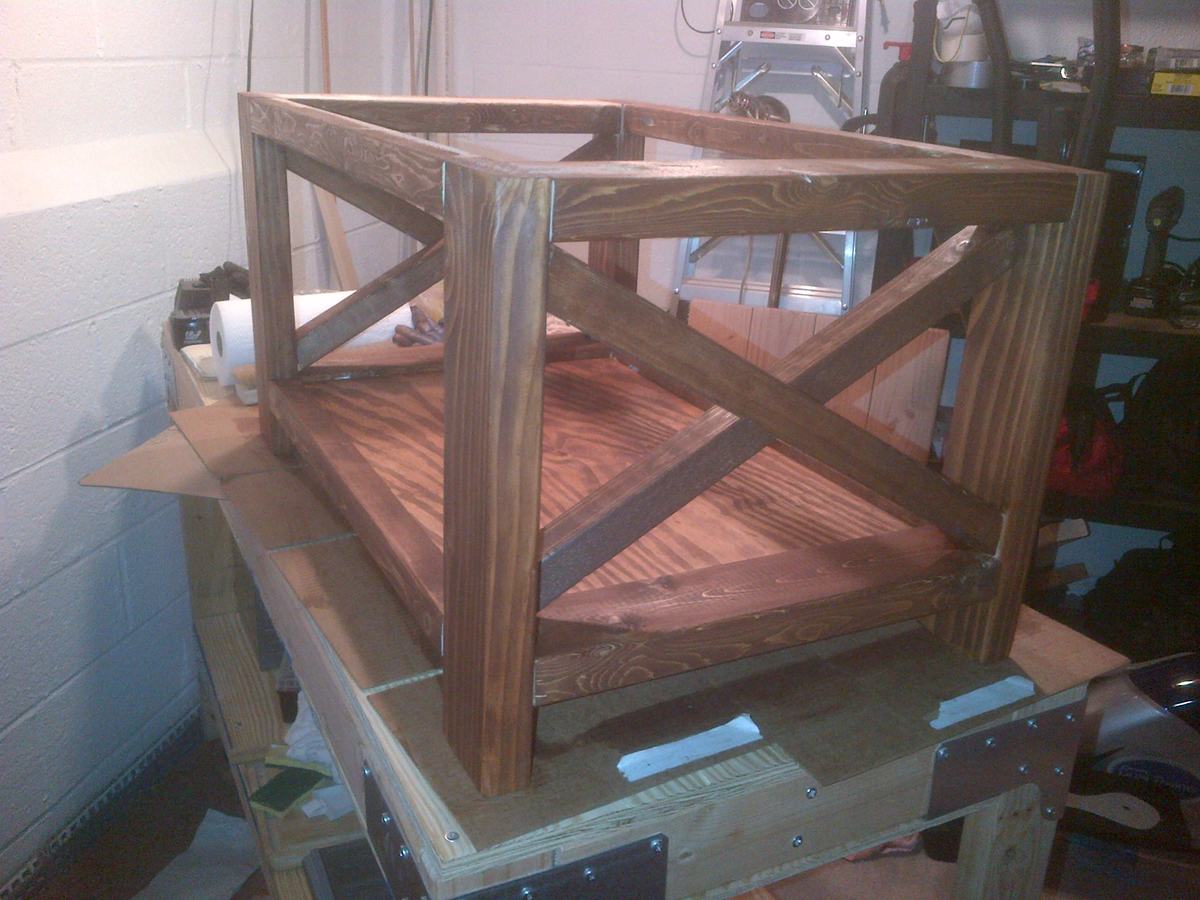
My Pallet barn door TV Console
Mini sliding barn doors. Made this piece out of pallet wood and used red oak for the top.
Decided to try out my new tools on making a bed frame. Please note, I have NEVER made anything before, this was my very first project (go big or go home, right?). After a bit of research, I found Ana White's site, and am so thankful. I took the basic plans for a king size bed, but modified them to fit the look I wanted. I found old flooring at Habitat for Humanity and sanded/ stained/ sanded/ stained. I used four different stain colors, but really tried to mix everything up with the colors. The bed frame turned out amazing!
5ft Barn Door TV Stand.
I used the Grandy Barn Door Console as inspiration. I made it as 3 separate units and screwed them together. The shelves are adjustable, the bead board back was done on the table saw, the doors are maple with a hickory diagonal centre panel! This is my largest project so far and I have have to thank Ana White for the beautiful plans that you produce. Without you I’m not sure I would have attempted this. I am one proud lady 🥰
Debbie P
This project took my "picture wall" to a higher level!
So easy too.
Sat, 10/20/2012 - 12:01
Love the way these shelves are done with the large family picture in the center.....
I modified Ana's plans a little for our own needs. The simplified design feels a little more masculine to me and matches my boys' bunk beds a little better, too. I used pine. The 1 x 2's are select pine, not rustic, because that's all our HD had to offer. I wiped the whole thing down in tea, let it dry and then used a rusty vinegar solution as a stain. Gave it a few coats of varnish and voila! Love the final product. Thanks, Ana, for an incredibly empowering and motivating website. :)
I built this for my wife for Mother's Day 2016! Also built the centerpiece box. If you know how to use a miter saw, jig saw, and read a tape measure....then you can build it too!! It was a lot of fun and very rewarding!! Took around 25-28 hours to build and finish. Let me know if you have any questions. My email is [email protected]
This is my first piece of furniture I've ever made that didn't come in a box ;) The instructions were so clear and easy to follow. I wish I'd had a table saw for the piece of live edge (it had live edge on both sides so I had to make a 6 foot cut with my circular saw that came out not quite perfect, but I am choosing to think of it as adding to the charm. Might go back and add some shine to the top, but for now I'm super happy with it.
emily.rhoades_
I saw this plan posted and knew I had to have it for my son's new bedroom. Most of the build was simple, it just got a bit tricky fitting in the angle piece at the top because I wasn't sure how to attach it without having a nail gun. Every time I line it up to nail it in with a hammer it would slip a bit. So I ended up using Gorilla Glue Epoxy to attach it. Since it's not hanging on the wall by the very top shelf, I didn't need it to be rock solid to support any weight, just needed it to stay in place.
I had scrap plywood laying around so it was free for me to make.
This was our first build and it turned out great! My daughter loves all of the storage under the bed!
I followed the basic plans but added a couple 12x2” metal supports for each breadboard. This was a must. I used Douglas fir for the entire project from Home Depot.
My 2 kids helped me put a few screws in, otherwise I did this myself. The wife really loved it and was a bit surprised coming back from her facial spot on Valentines Day. It turned out better than I could have hoped, especially considering this was my first real woodworking build.
Great plans and nuggets of advice from everyone else made this really fun and not so scary!
Hello, my name is Natalie Scott & this is my first Ana-White Brag Post! In the beginning, this cabinet was such a silly thing to find. I almost didn't even accept it from a neighbor, who was going to throw it out, when they offered it to me. It ended up becoming my biggest (& longest!) project yet; & the project of which I'm the most proud!
To see the complete process & transformation, go to:
http://TheVintageMagi.blogspot.com/2012/01/from-trash-to-treasure-entry…
Once I had a plan in place,
1. I went to Jo-Ann Fabrics & got a thin, plywood craft boards.They were 1/4" thick, 6" wide, & 36" long.
2. Of course, I already had the base for the cabinet whose dimensions were slightly different than the plans on Ana-white.com, so the math was up to me. After lots & lots & lots & LOTS of equations, I knew that the drawers would have to be 6" long & 7" wide, which is why I went with the 6" wide boards. Less cutting on my part would ensure more uniformity.
3. I started measuring in 7" at a time (& double-checking & measuring again) & cutting with a circular saw.
4. I used a blend of construction adhesive & wood glue to seal the plywood "drawers" to the cabinet doors. I didn't even need to clamp!
5. After drying, I filled in any large cracks that may have popped up with wood-filler & let that dry before sanding it down.
While the seal on the "drawers" was drying,
6. I painted the cabinet with Rust-Oleum's Ivory Silk Satin Finish spray-paint.
7. I also picked out wooden knobs at $0.94 a piece as well as 6 traditional-style furniture feet & spray-painted them with Rust-Oleum's Oil-Rubbed Bronze.
8. The feet had screws that allowed them to attach right in to "Heavy Duty Top Plates" that I were attached to the bottom of the cabinet.
All of these items were available at Home Depot.
9. Next, I sanded, primed & painted the doors.
10. After some careful measuring, I drilled pilot holes for each knob.
11. I added the shelves back in to the cabinet, which required more touching-up of the paint.
12. I had taken apart a wood pallet, measured the wood, & tried to think of a way to make it into a reclaimed wood top for the cabinet.
13. I cut the boards & made a layout, 4 rows of boards deep, on top of the cabinet, careful to remember the overhang. I added 4 little squares of wood, one in each row of planks, in flattering & uniform positions to complete the desired overhang effect.
14. I sanded the wood, rearranged it, & sanded it some more.
15. I glued the top in place, using the same mix of construction adhesive & wood glue I used before.
16. Next, I used STAINABLE wood-filler to fill in all of the cracks. Then I sanded again from 60-grit up to 200-grit,
17. & made sure by using a LEVEL that the finished surface was FLAT & EVEN.
18. Before it's final sanding, it needed to be extra secure; so I got out the finishing nails & put two nails in each board (except the little squares of wood, which only got one nail), one at each end.
19. I sanded with 220-grit sandpaper.
20. Getting the stain just right for the reclaimed wood top took awhile. Just when I was about to give up, paint & distress it instead, I had an idea. I took what was left (which wasn't much) of the little can of Minwax PolyShades stain in Espresso Brown & added some spoonfuls of Minwax Gel Stain in Hickory (which was MUCH easier to apply) straight into the little can. I shook the can & made a mixture of my own stain that was still a beautiful, dark color - but MUCH easier to apply. I applied 2 coats of stain, following drying-time instructions.
21. I touched up any mistakes on the cabinet with "Goof-Off."
22. I finish covered the stained top with a coat of hardening Minwax Paste Finishing Wax (applied in tiny circles just like waxing a car - "wax on, wax off!").
23. I added the decorative wood trim moldings on the side (using Gorilla brand wood glue mixed with construction adhesive again),
24. attached the finishing touches (like magnets to catch the cabinet doors & keep them shut),
25. & touched up all the ivory-colored paint one last time.
26. I used Rust-Oleum Transformations Decorative Glaze in Java Brown to glaze to the ivory-colored cabinet base (I did not glaze the stained wood top).
27. I coated the whole cabinet with a coat of hardening Minwax Paste Finishing Wax (the same as in step 22).
28. I attached the knobs,
29. & added these "Felt-Gard" self-leveling, heavy-duty felt pads to the bottom of the feet to protect my hardwood floors.
30. It went inside & was decorated, but is still not completely fit with it's final accessories. It looks great!
To see the complete process & transformation, go to:
http://TheVintageMagi.blogspot.com/2012/01/from-trash-to-treasure-entry…
Thank you for the inspiration & all the attention this project has brought my blog & business! Everyone has responded very well & I couldn't be more proud of myself & the accomplishment I feel. I mastered a lot of new tools & products on this project & am ready to start another one! Thank you, Ana-White.com!
"It was more than discovering something that I loved to do -
It was discovering someone I had always been."
~ Natalie ;-*
Sun, 05/06/2012 - 09:14
Wow! What an amazing transformation! Your hard work really paid off with such a beautiful piece of furniture.
This was the first piece of furniture we ever built and it was a big success, although knowing what I know now, I certainly would have done a few things differently. Luckily for me, following Ana's plans don't require a very steep learning curve if you have read The Handbuilt Home! Instead of investing $1500 into the brand new table I wanted from Pottery Barn, I decided to invest that money in power tools, equipment and materials for the table, which I acquired for about $900 (I had no tools in my possession at all so was basically starting from nothing). The price of this table decreases every time I make a new piece of furniture from scratch, and in the year that I began making furniture, I have made the farmhouse bench that accompanies this table, a coffee table, an upholstered vanity seat, a kitchen island, a book shelf, lots of shelves and small tables, and I am currently in the process of making a bathroom vanity for our newly renovated master bathroom. Each project I make from Ana's plans is easier than the one before it, and I continue to feel more confident in the work and in my understanding of how furniture is built. I feel so grateful to Ana for sharing her work and for inspiring so many people, both men and women alike, to reach a bit outside of their comfort zone and develop new hobbies that they never would have imagined having.
This was a fun build. I used common board for the the stripes and a left over piece of cabnet grade plywood for the union. Whole thing is 37 x 19.5. The stripes are 1.5 wide. I painted all the pieces then sanded then down to expose the grain and give it a worn look. Then I took a handheld propane torch to it. I used small 1 in tin stars which were the most challenging and expensive part of it. I painted them then distressed them with sandpaper. I attached the stars with super glue. All in all a fun project.
In reply to Excellent! by trojan24man
Fri, 05/20/2016 - 05:49
Thank you. This was a gift for my Fath in Law, I think he is going to put it on his patio. I added a lip a the top on the back so it can rest on some anchored screws. Depending on where he puts it though I might add a wire across the back so it will hold a little tighter outside with the wind.
Fri, 05/20/2016 - 05:46
It was a gift for my Father in Law. I think he is going to hang it on his patio. When I built it I added a lip rail along the top so you can rest it on an anchor. If it does go outside I might add a wire across the back so it can catch and won't blow off in high wind.
King bed with storage for yurt.
Using instructions from Ana and tweaking them a little.
Super easy project....and already, hours of enjoyment by my kiddos!!
Thanks Ana for another awesome plan!
Tue, 05/08/2012 - 16:19
So excited to see this project!!! Thanks for sharing!
I saw this project and fell in love with it. Ive never done a wood working project before and wanted to do this all on my own so i wouldnt let anyone help just to know if i could do it. It didnt turn out perfect but i CAN NOT stop looking at it. Ana thank you somuch for theses plans!
Mon, 02/24/2014 - 11:22
Looks amazing! I'm dying to build this also and am nervous about trying out that finish. Where did you get the corner hardware?
Rustic Farmhouse Table with pocketholes and Special Walnut Finish
Make sure your wood is straight withno warping!
I made the fold down headboard to fit a California King bed and added a design to the panels using my vinyl cutter. The last picture continues to be flipped when I try to post it here sorry.
Sun, 10/04/2020 - 15:50
This is PERFECT. Would you mind sharing the name of the SVG you used for the stencil? I’d like to use it for a table I’m refurbishing. TIA!
25" height, using it as a lunch table. Did a polyurethane varnish.
Miss Isabelle