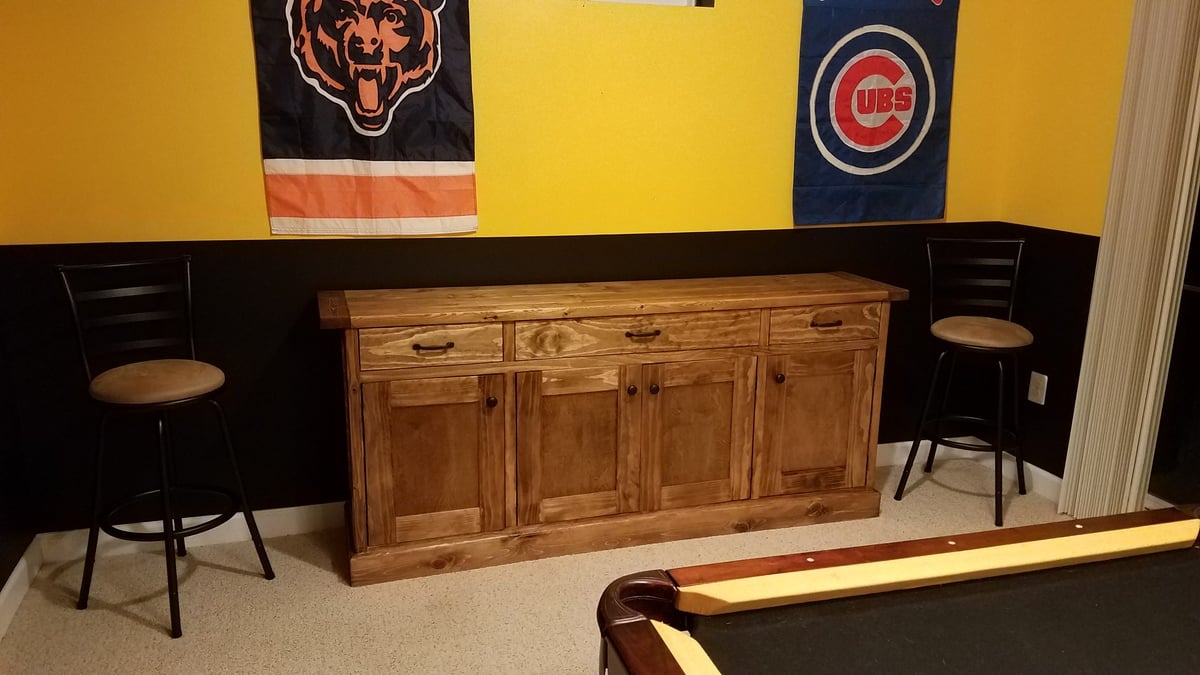
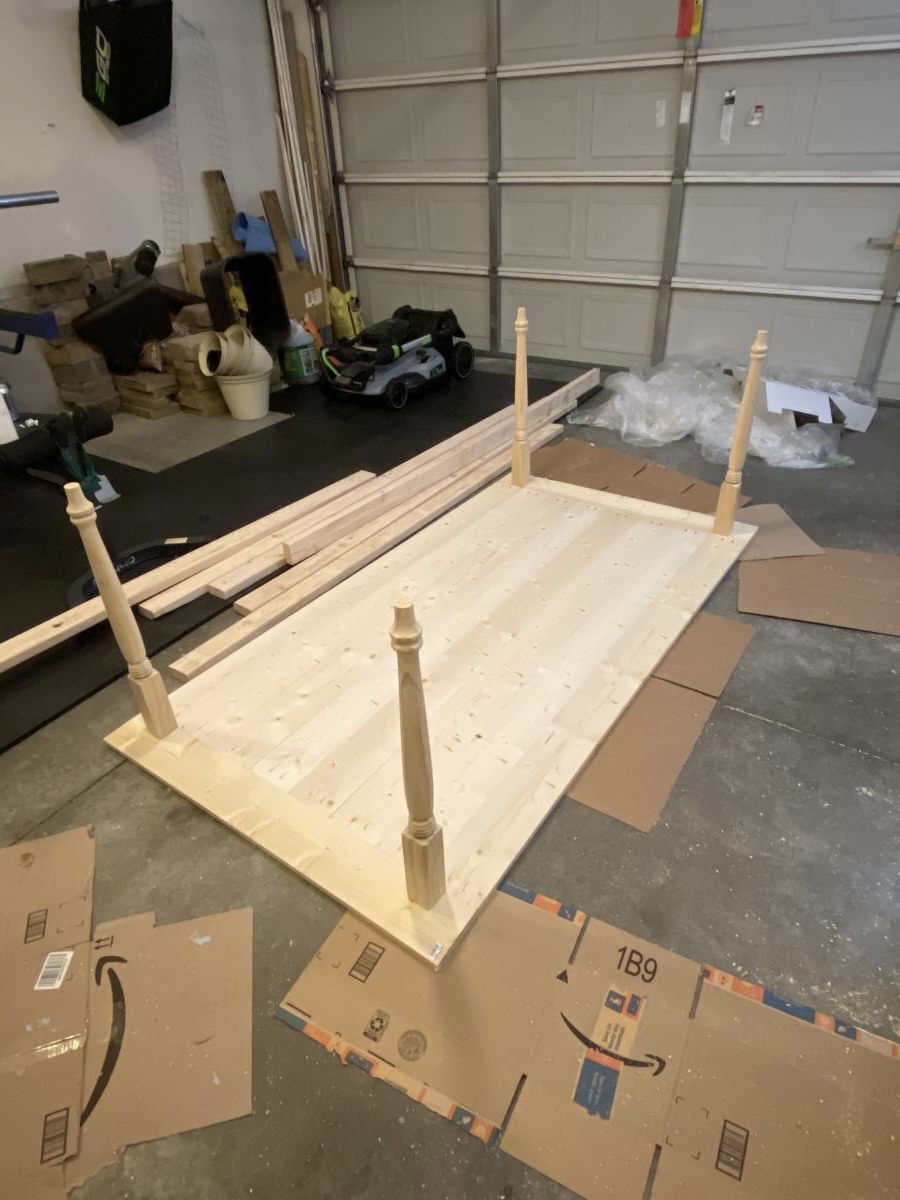
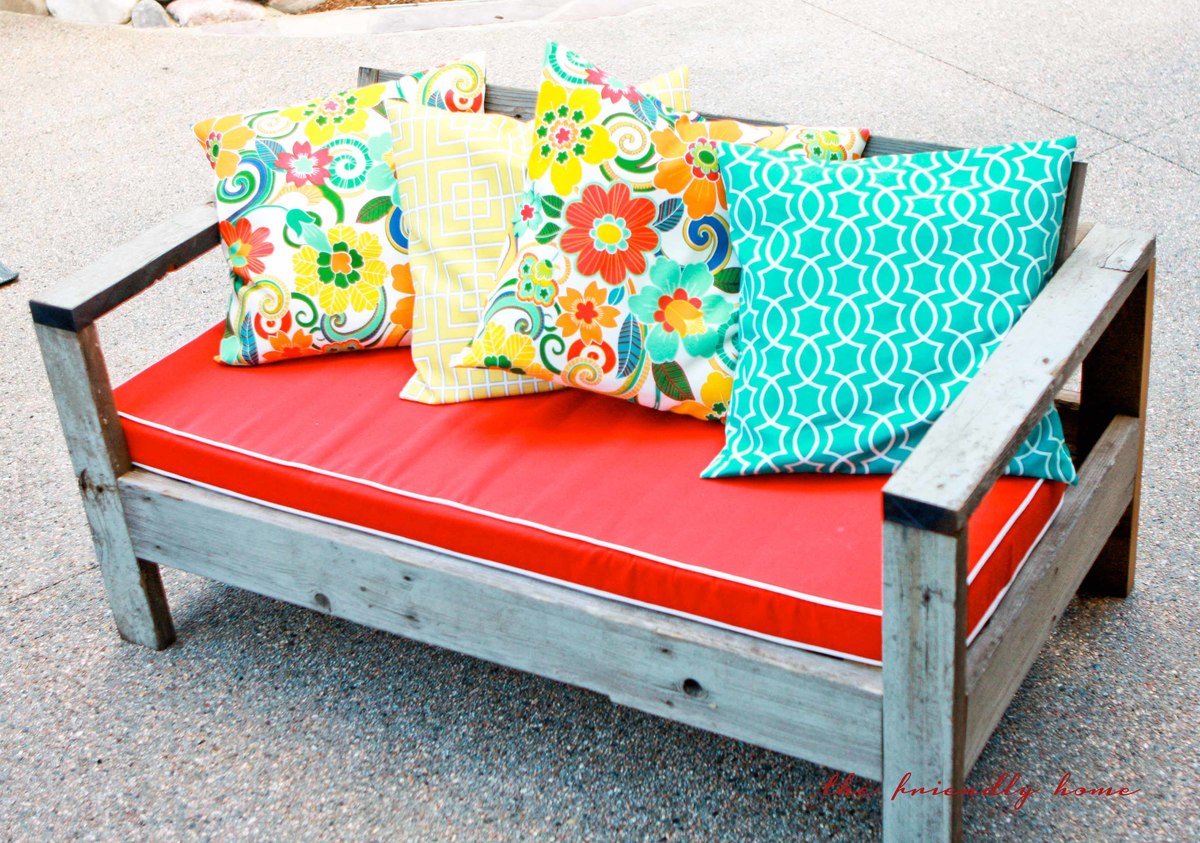
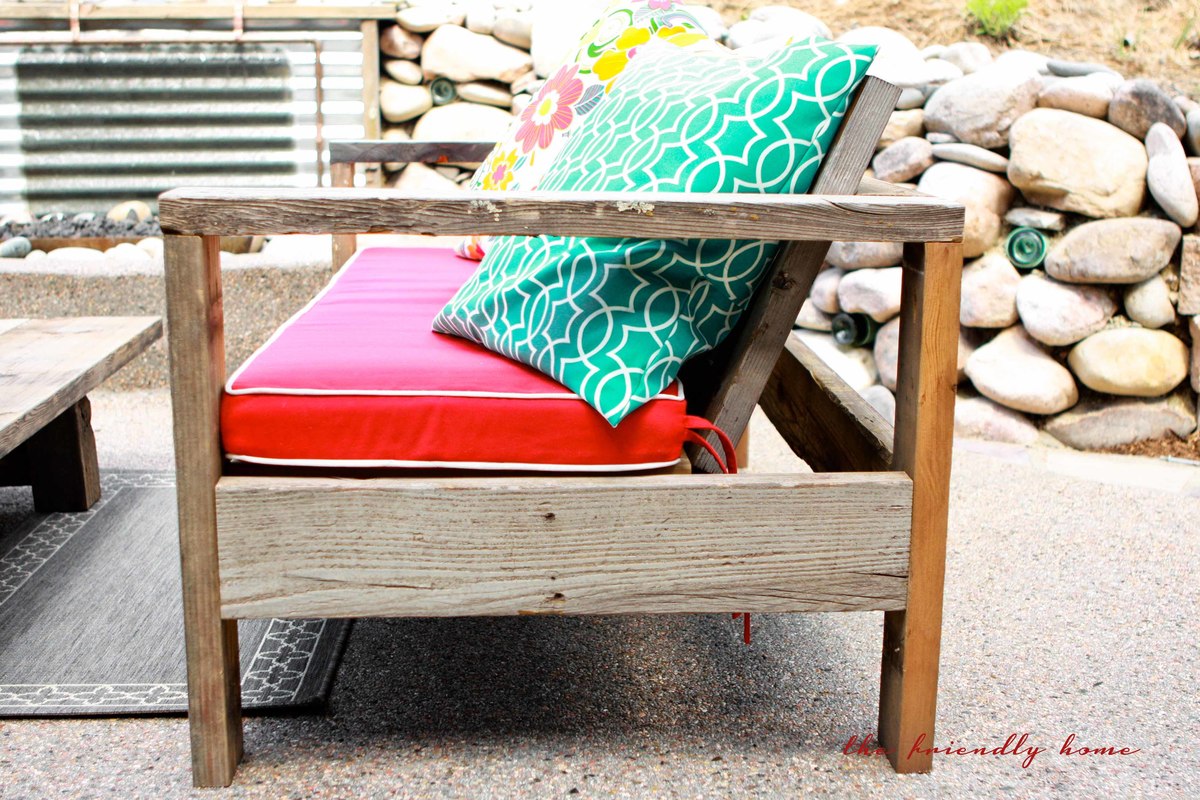
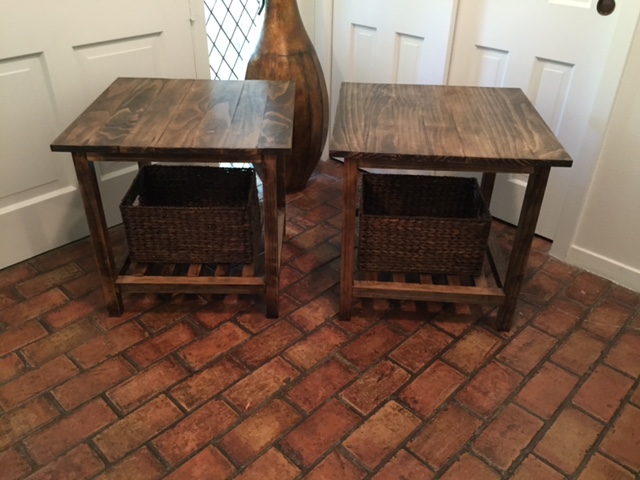
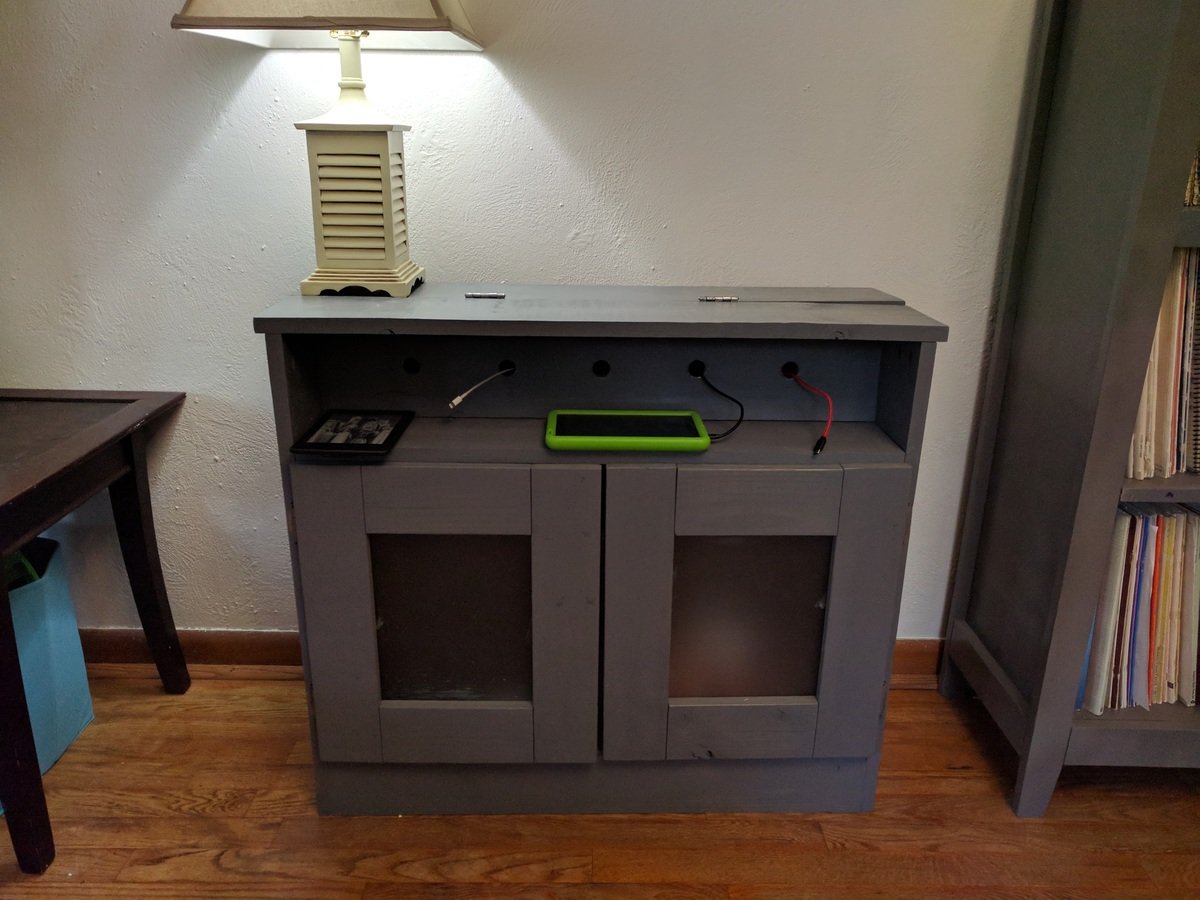
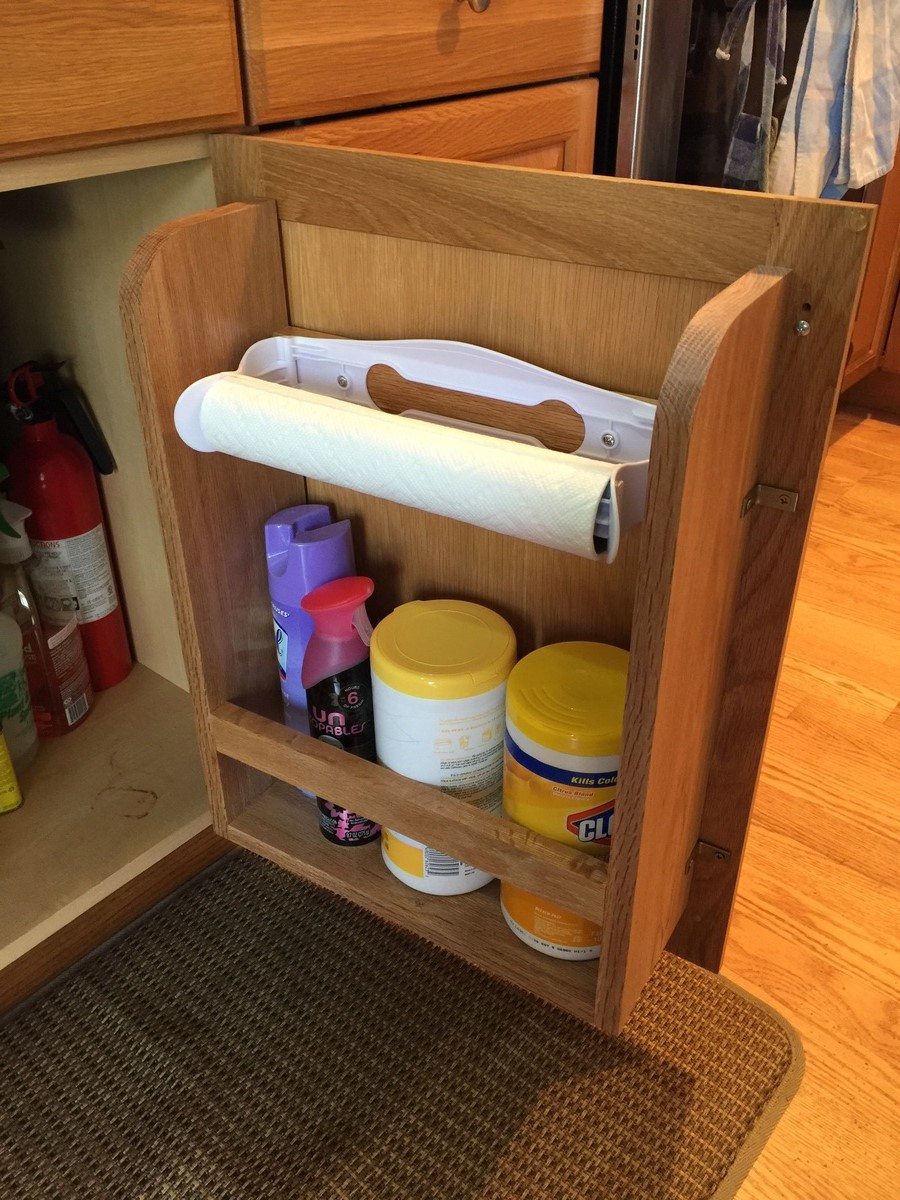
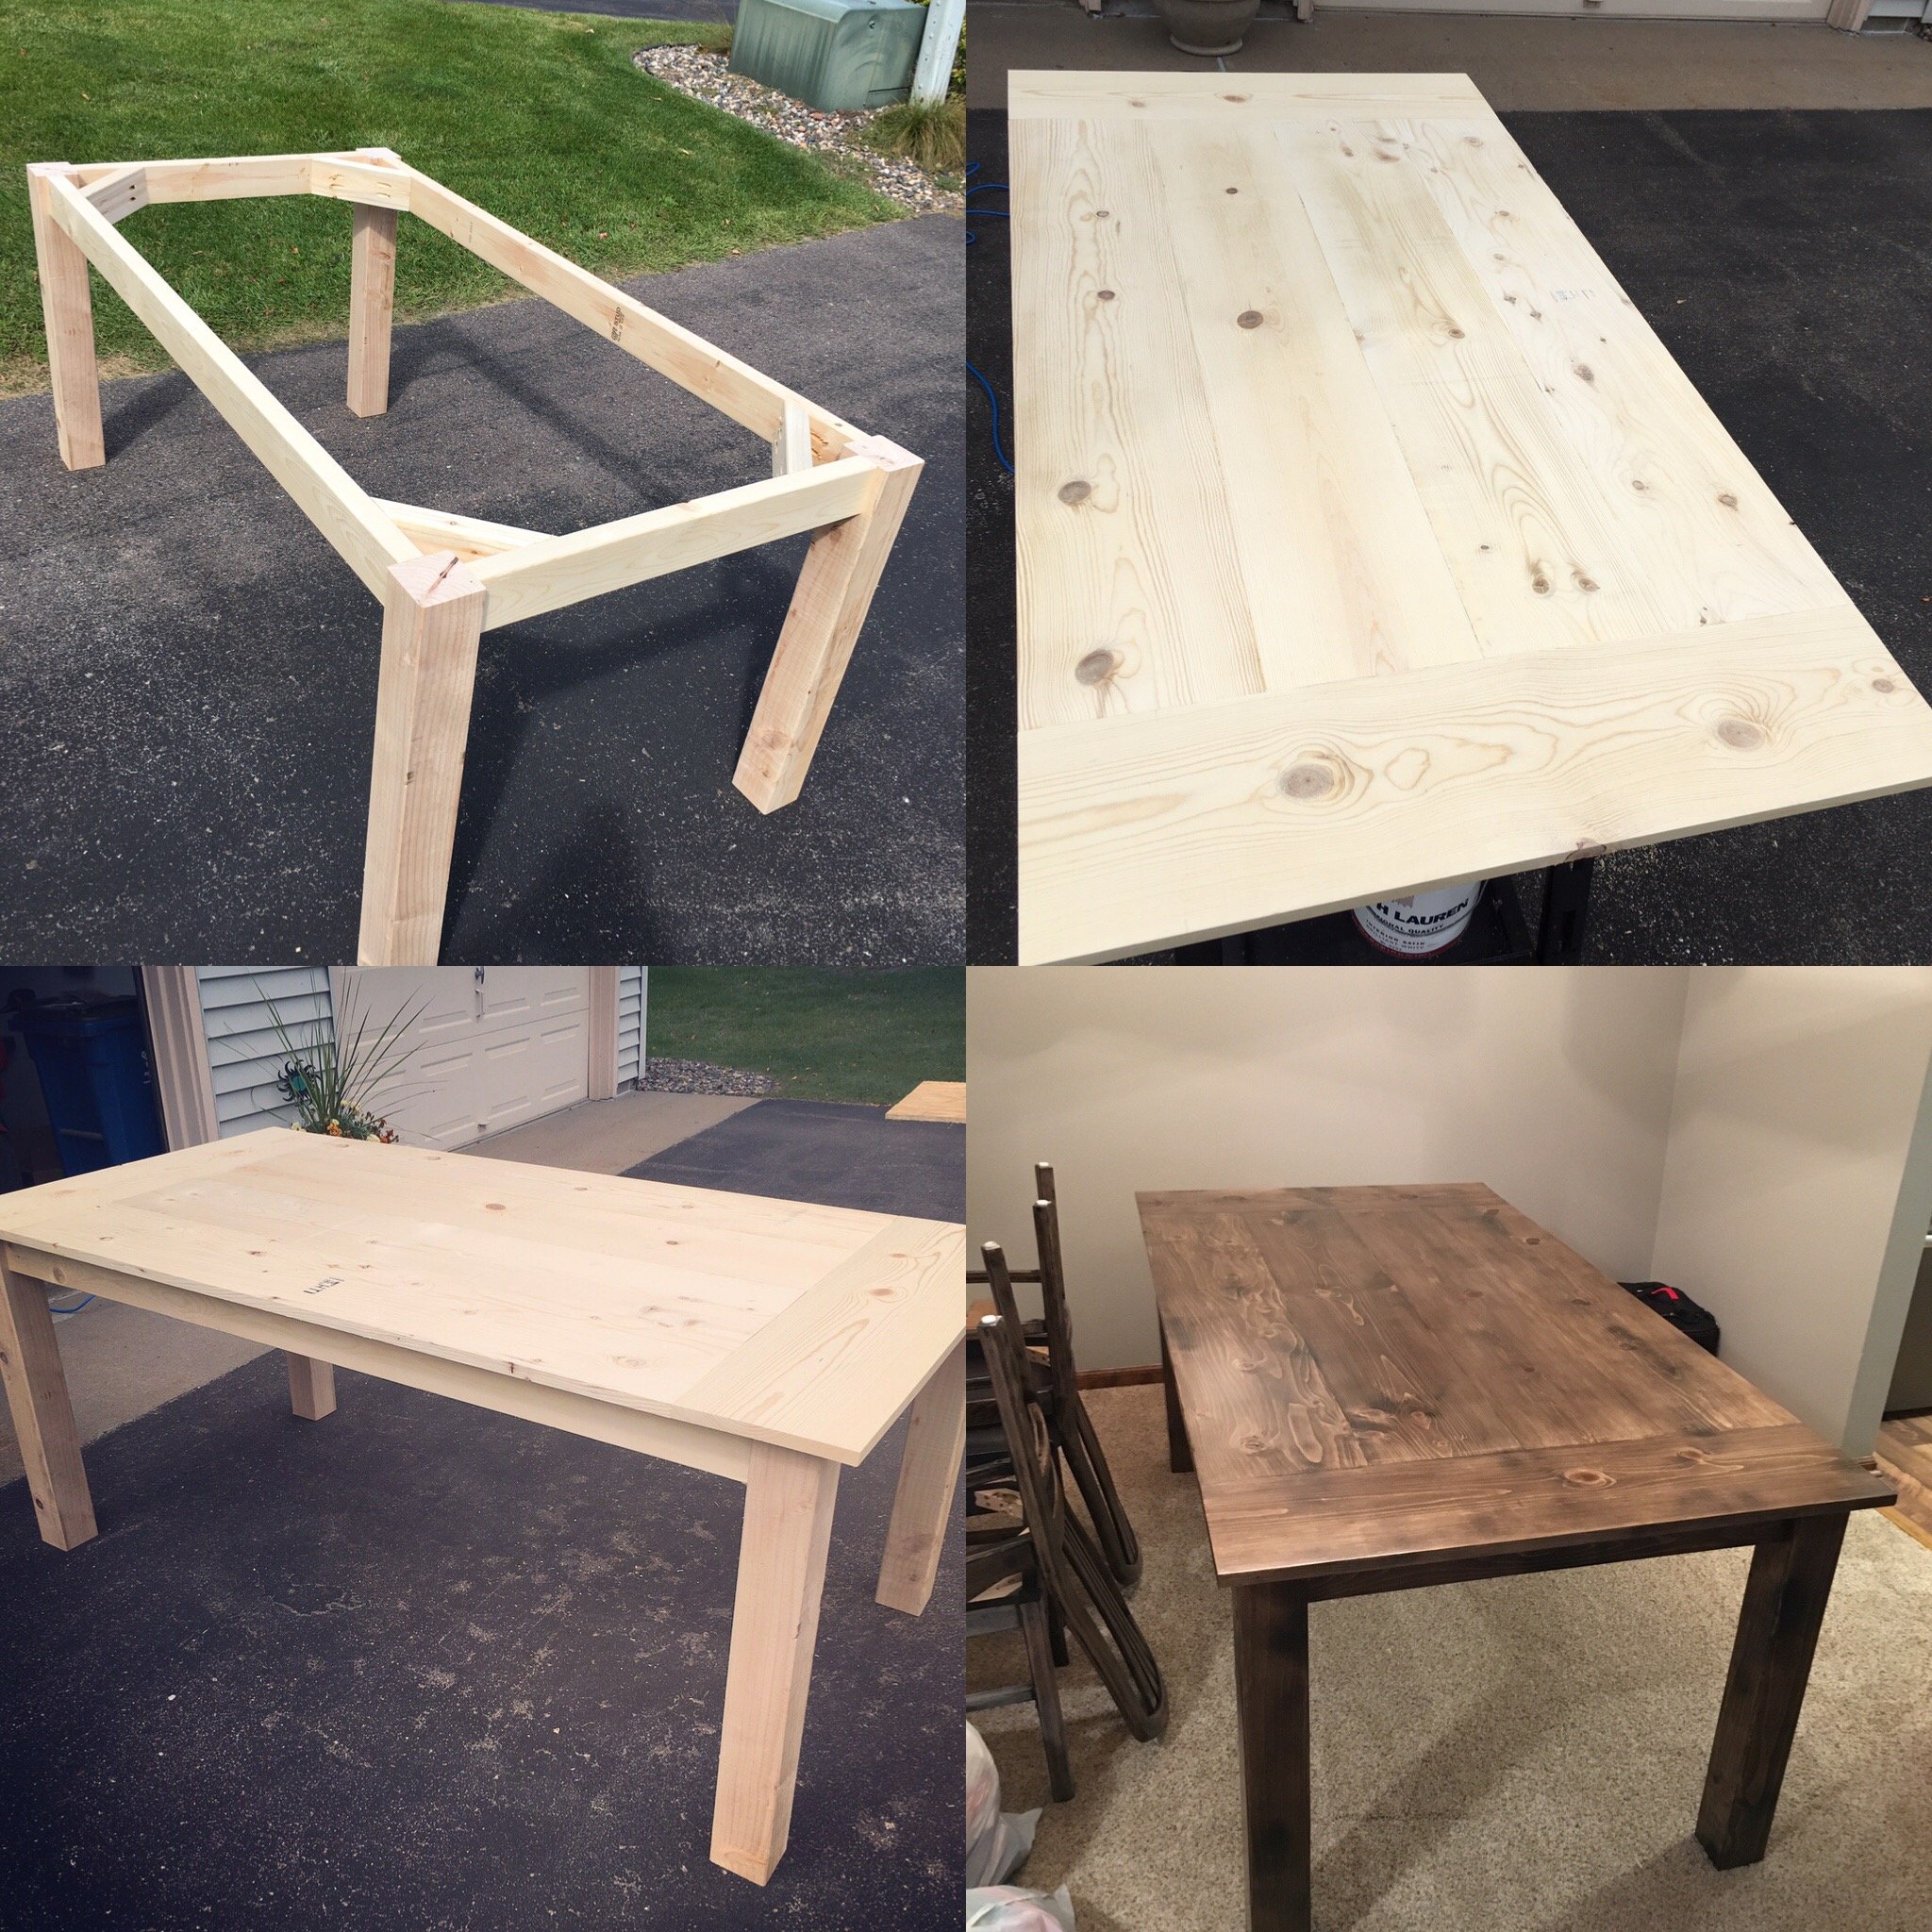
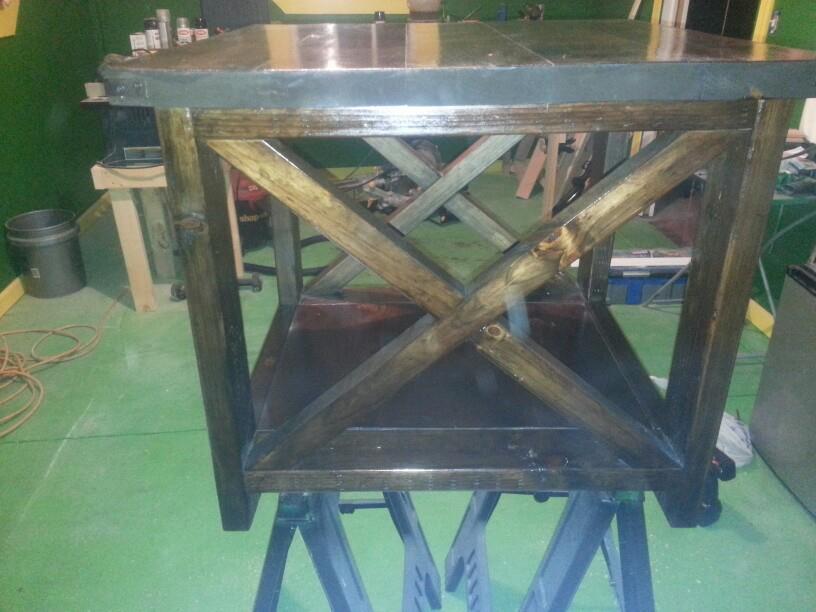
Antique workbench console bar
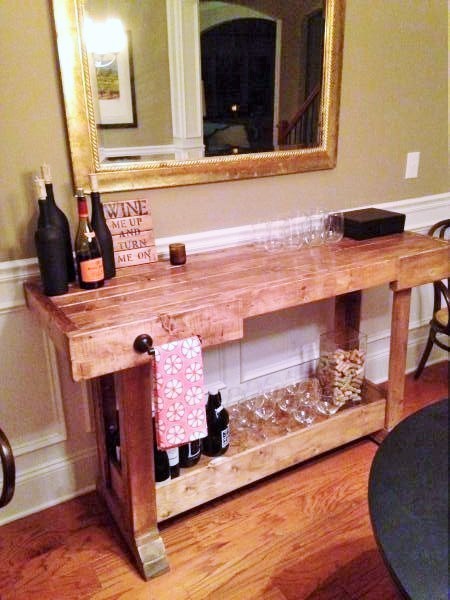
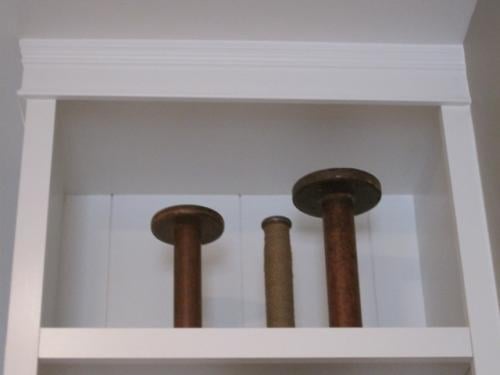
This project was much easier than I originally anticipated. Even cutting the legs at angles and sanding them down to appear curved was easier than I expected. I also used early american stain by Minwax. I used only one coat though and in hindsight might have done two to make it a bit darker. I used Minwax clear paste wax (two coats) to achieve a low sheen and protective layer. I was able to find a toilet paper holder similar to the one Ana used at one of my local big box stores. I wasn't able to find anything else I liked better.
Built from Plan(s)
Estimated Cost
less than $100 including the stain and towel bar holder
Estimated Time Investment
Day Project (6-9 Hours)
Finish Used
Minwax Early American stain (one coat) and Minwax clear paste wax (two coats)
Recommended Skill Level
Beginner