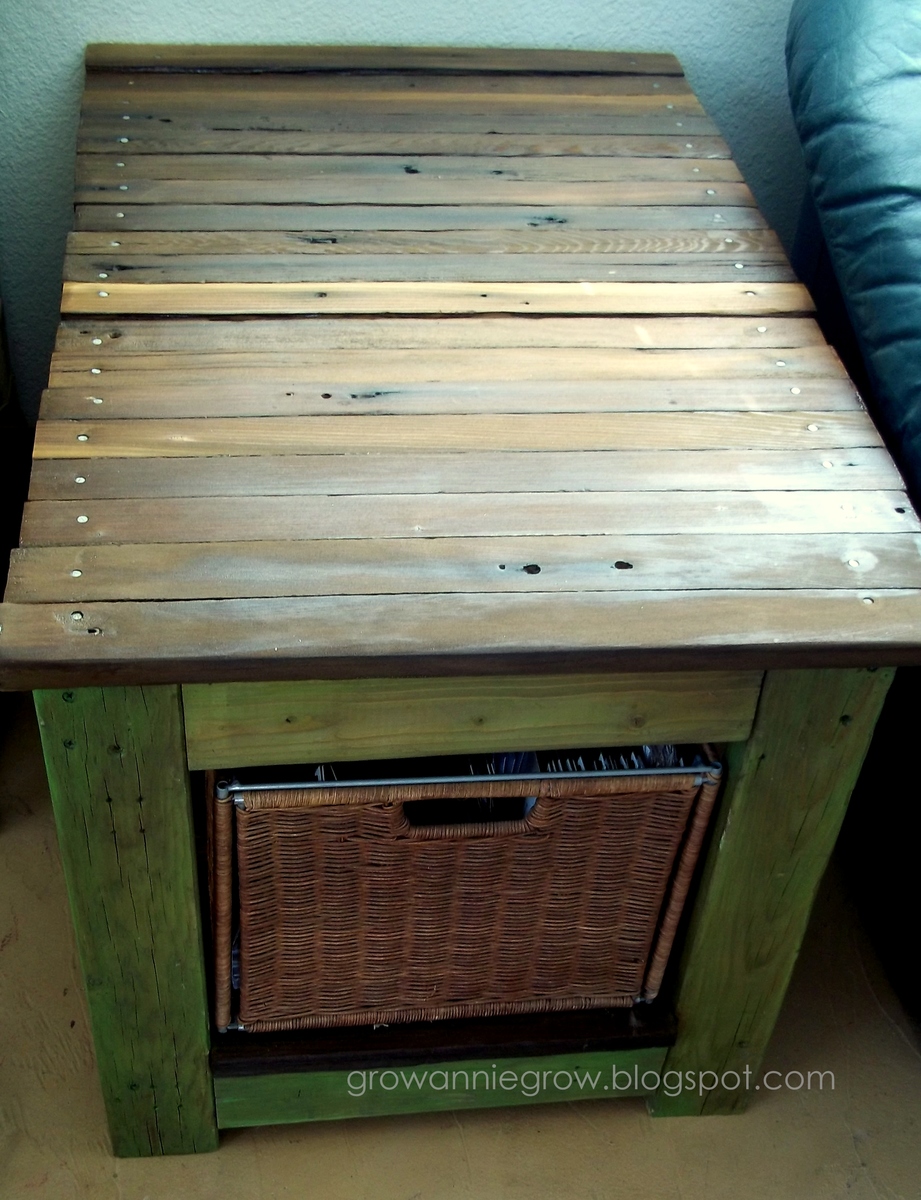
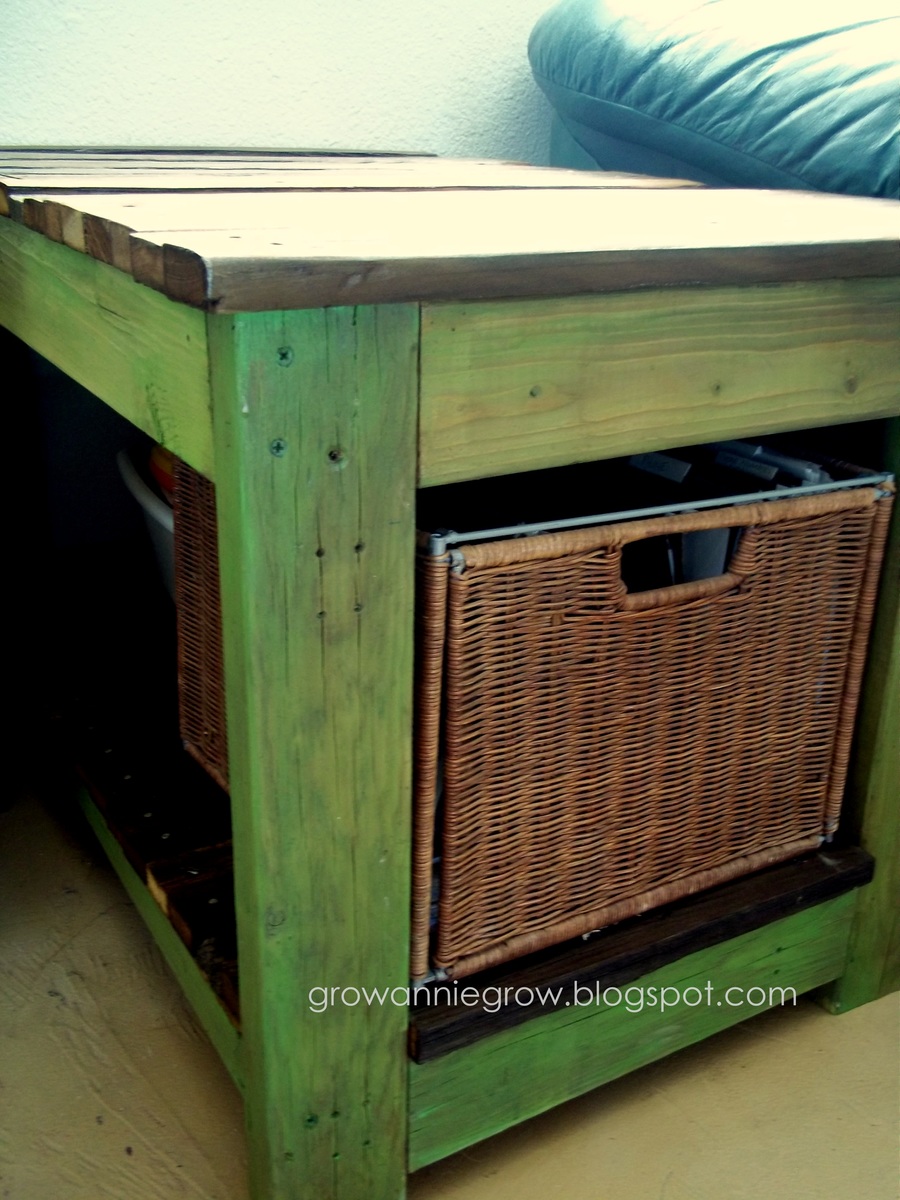
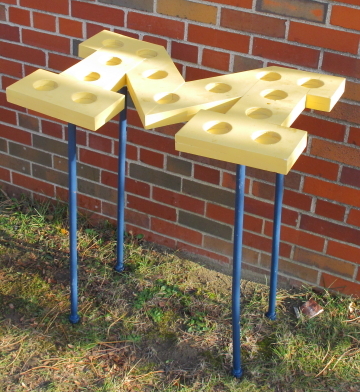
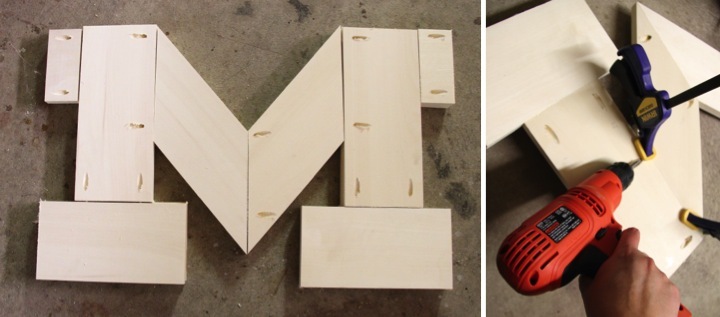
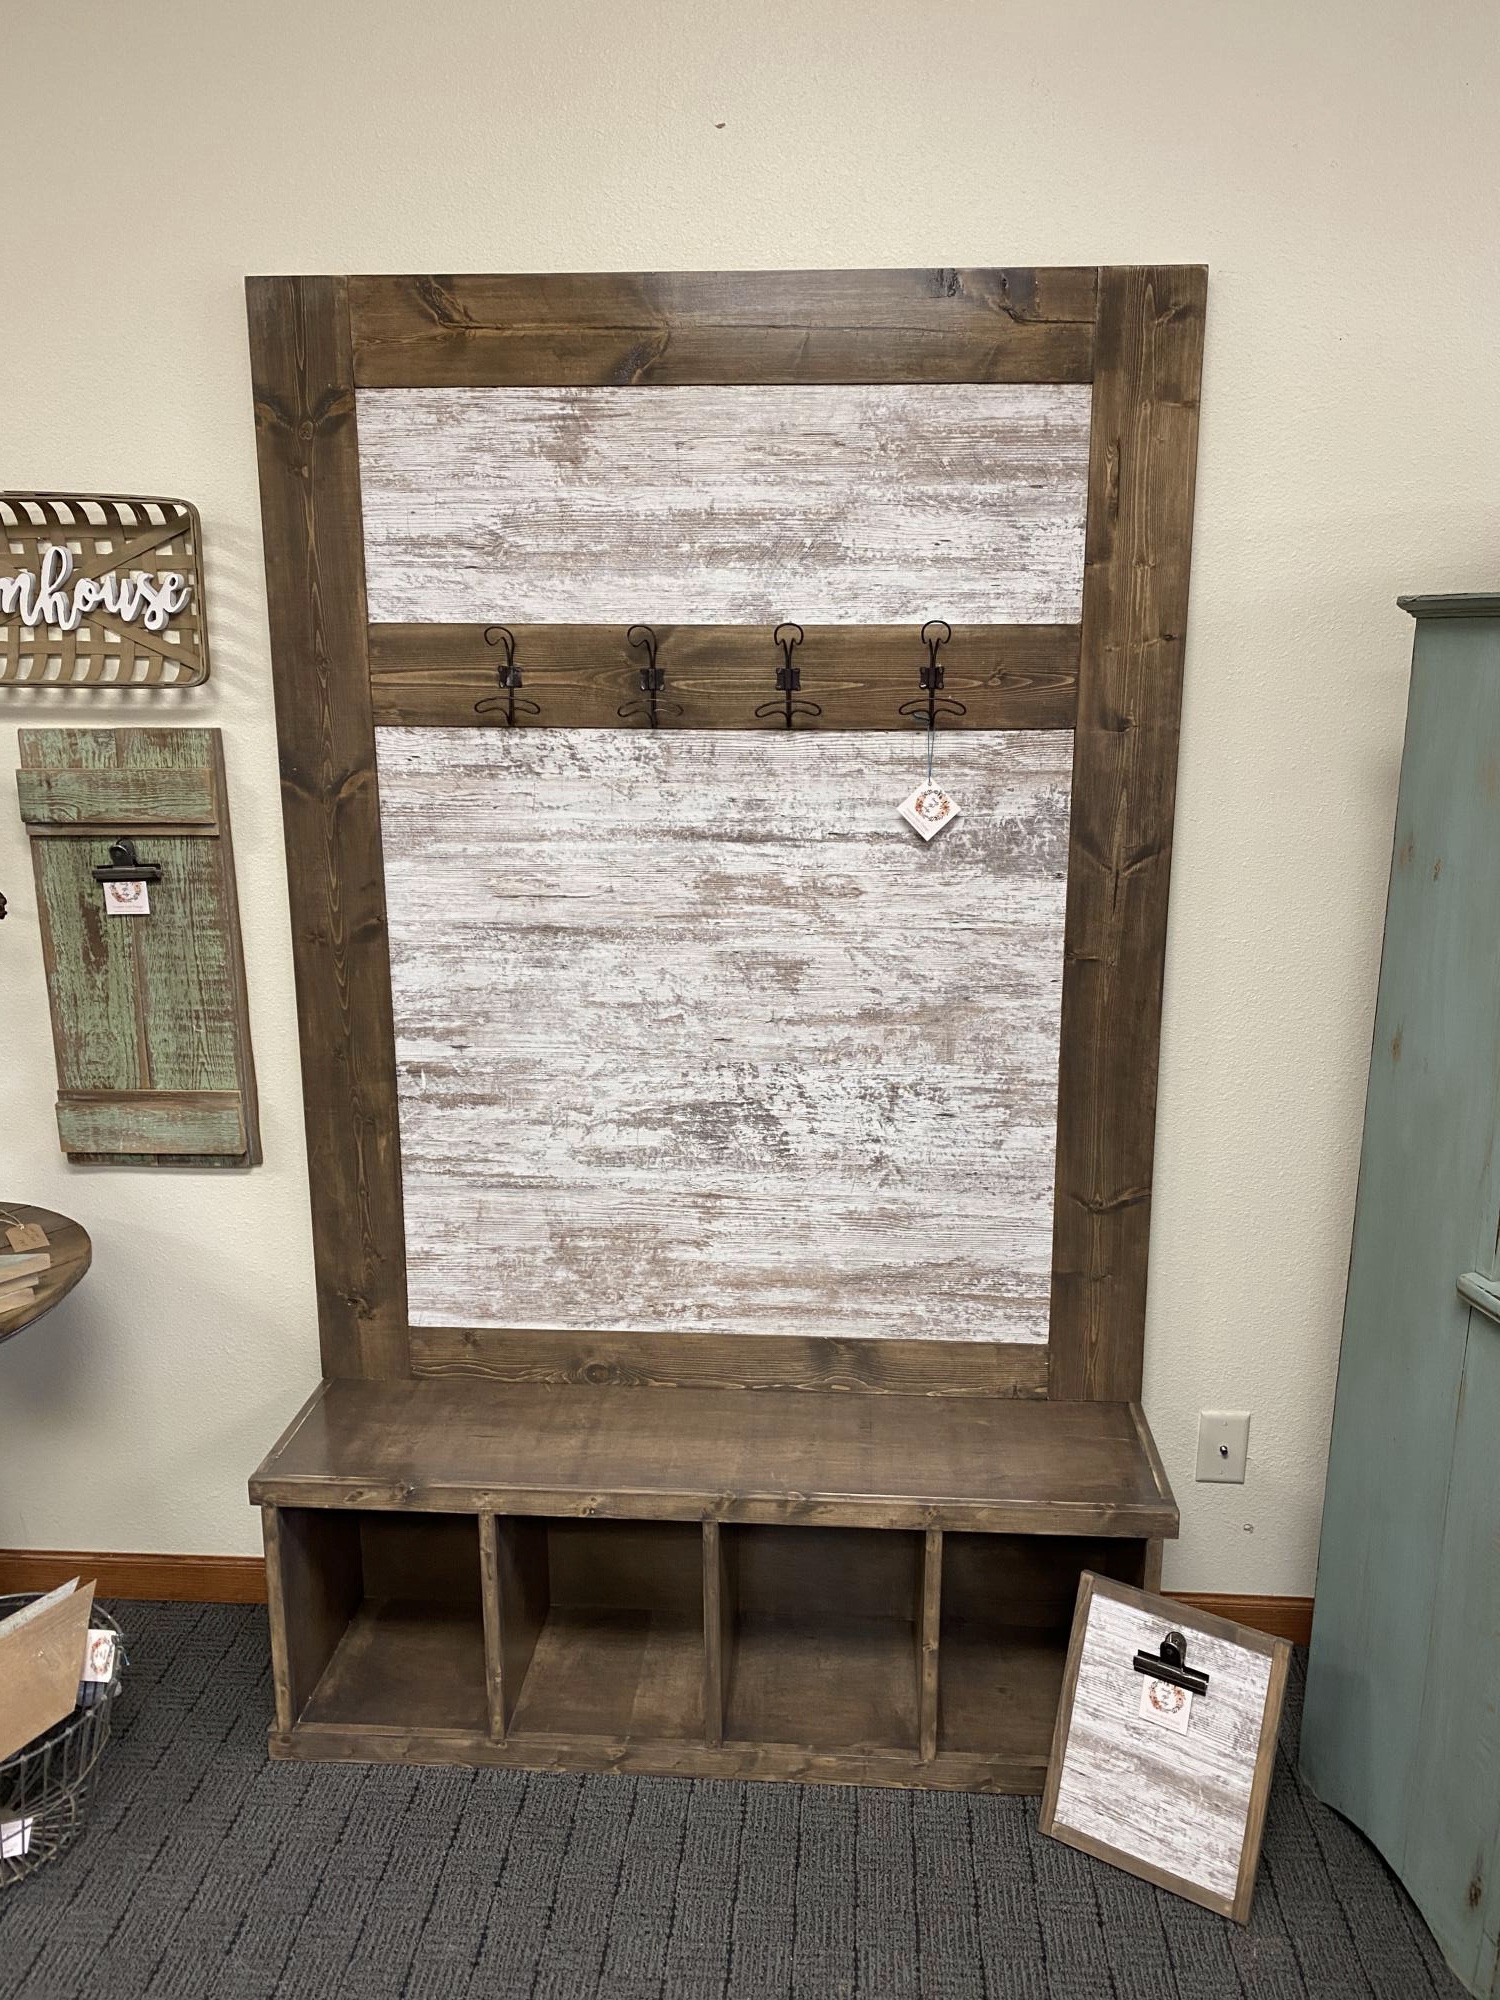
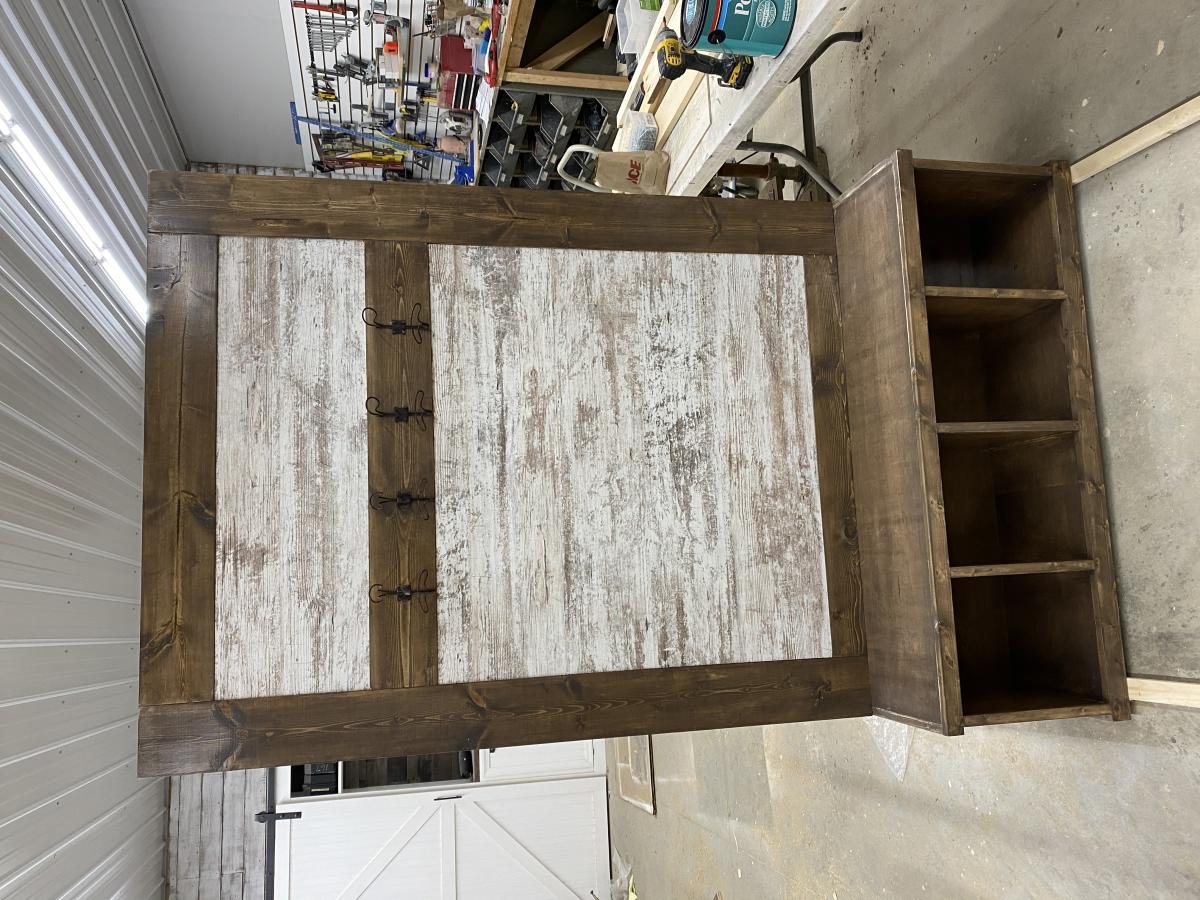
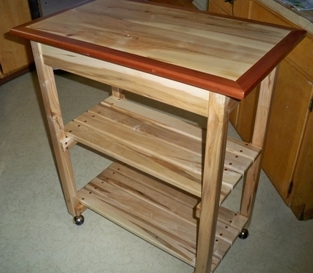
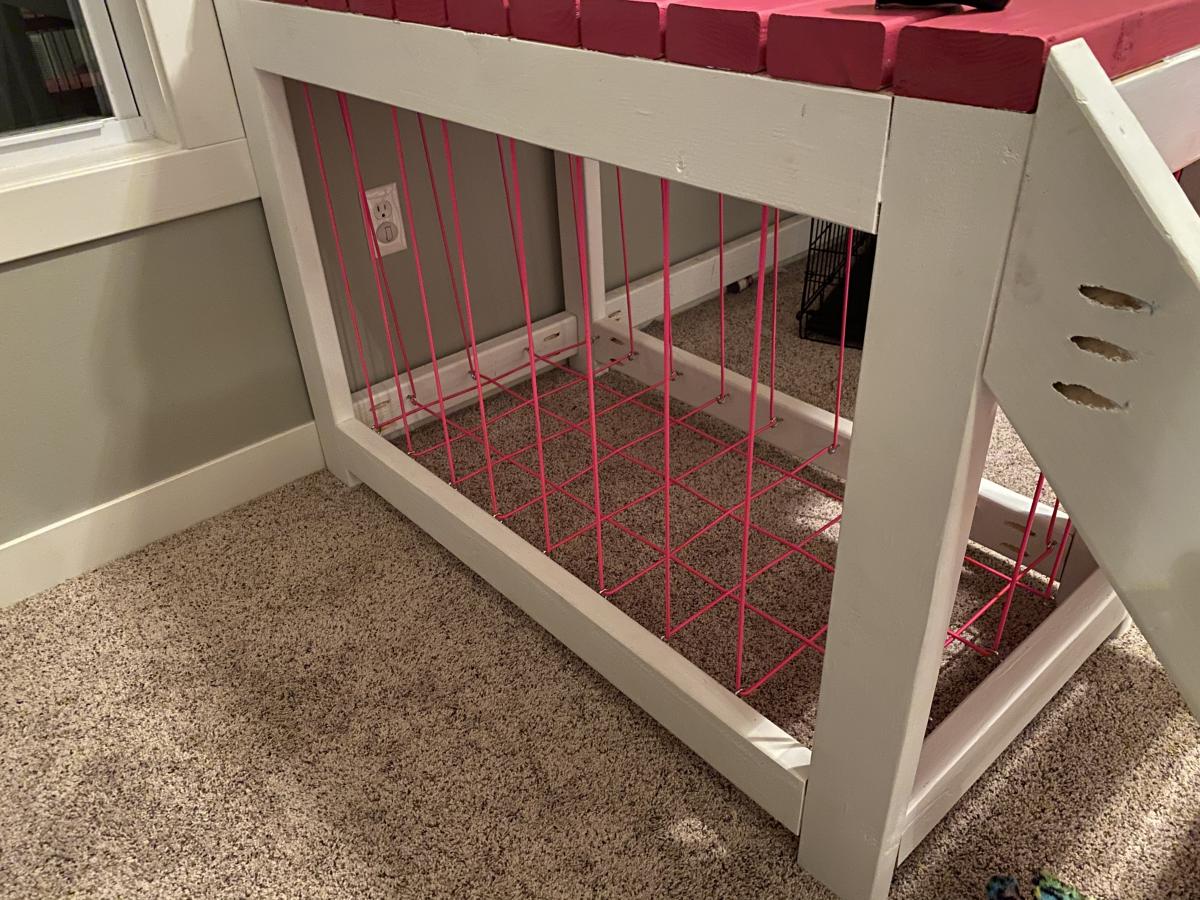
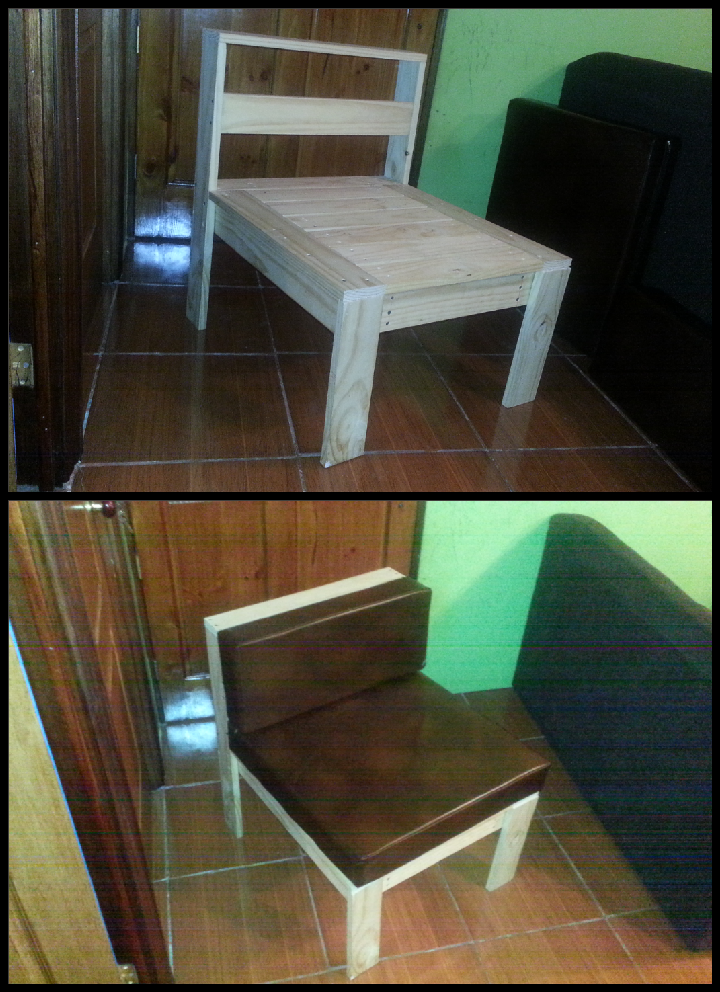
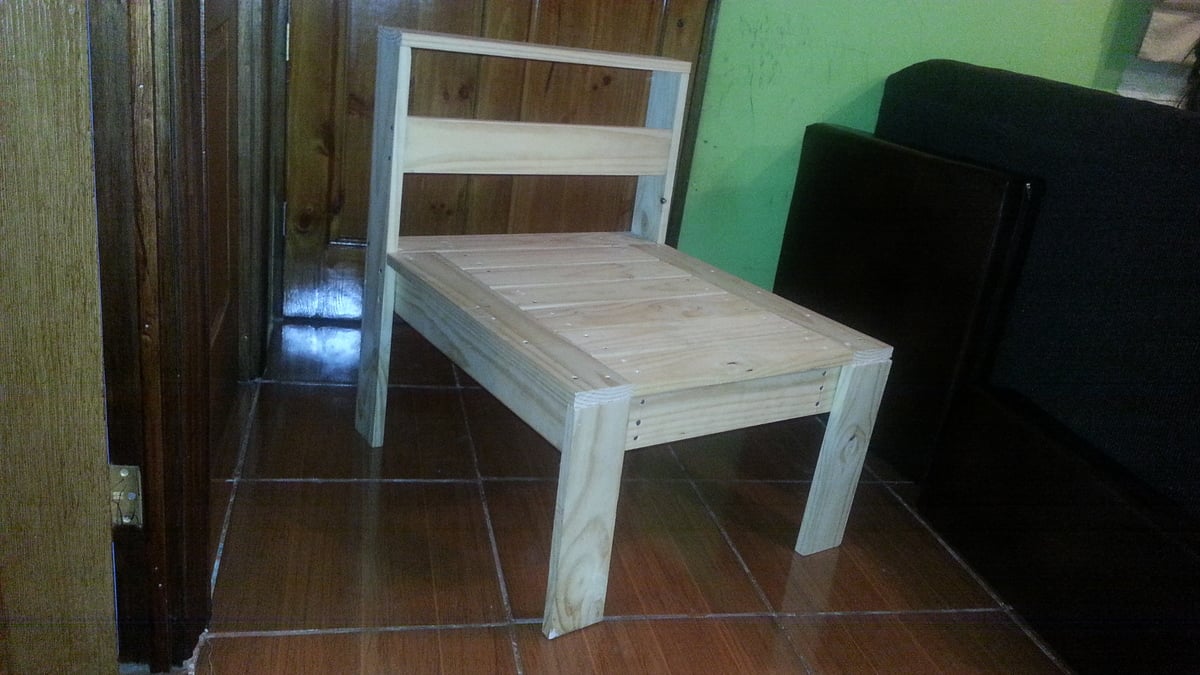
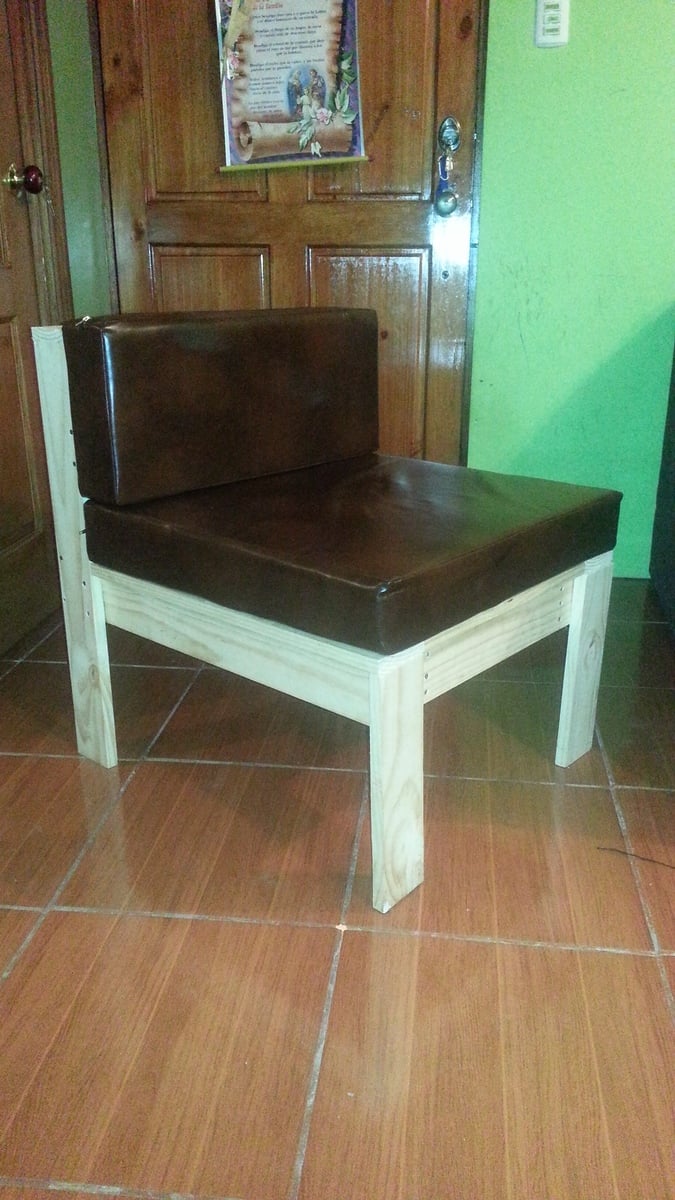
Smaller Fancy "X" Desk
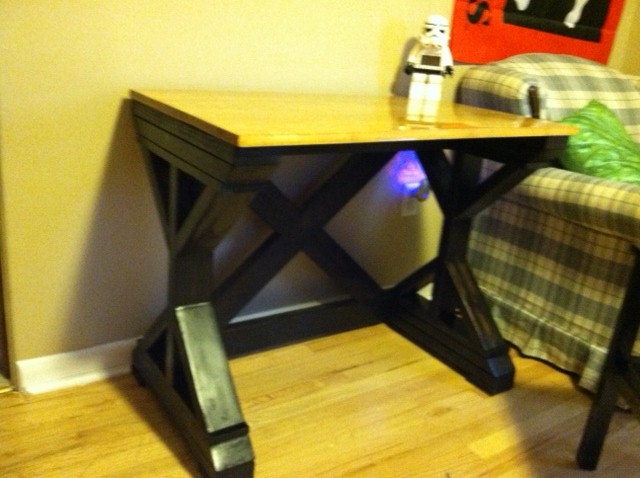
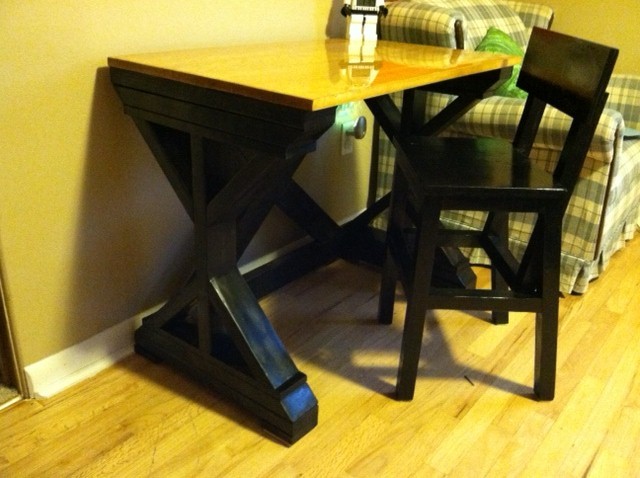
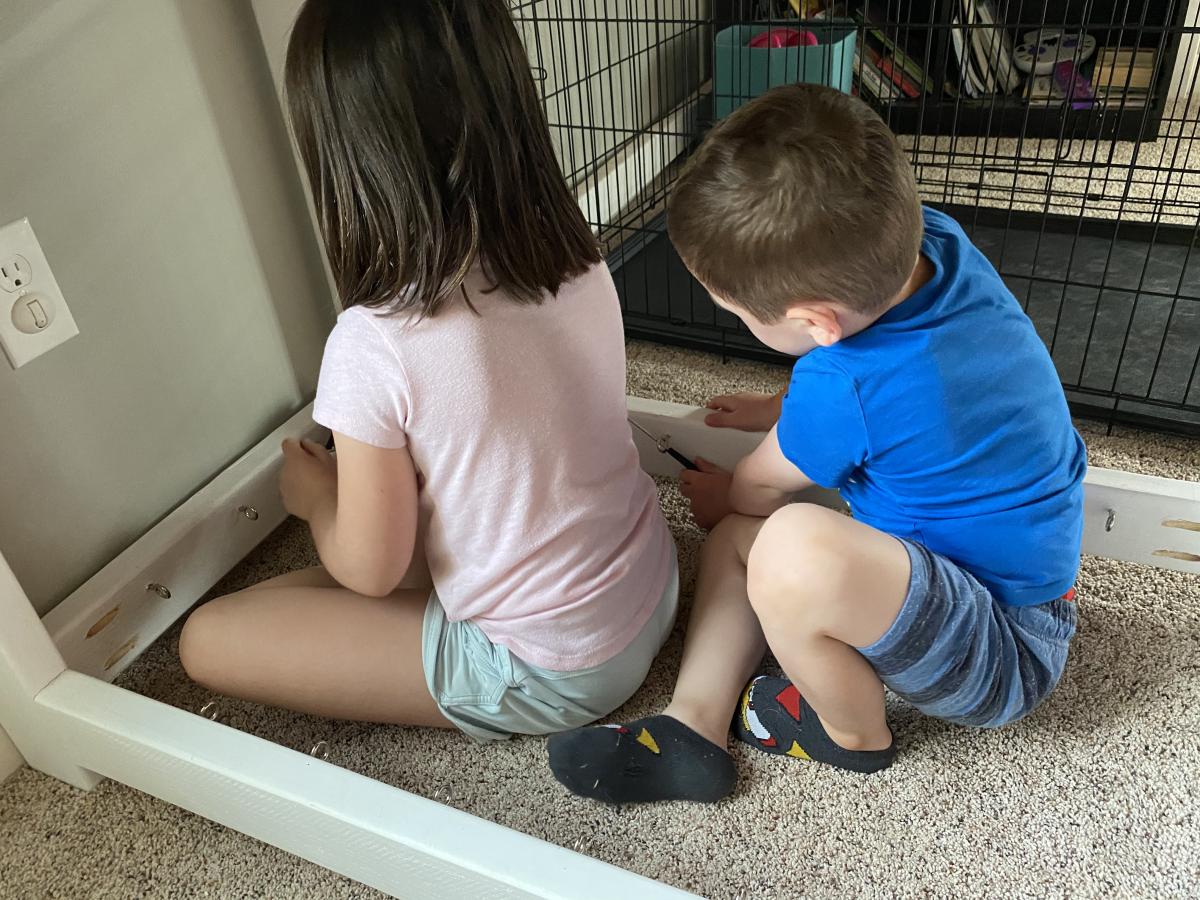
this is a much smaller version of the $55 Fancy "x" Desk. We did not have the space for the larger version and my son liked that one best, so this is as close as I could come. I also made him the Higher Chair. He is six and very tall with it, but a standard height table and chair still make him sit low enough that writing and working on projects can be troublesome. He loves this, and we had fun working on it together.
Estimated Cost
Under $50
Estimated Time Investment
Weekend Project (10-20 Hours)
Finish Used
Minwax Ebony on bottom and English Oak (don't remember the brand) on desk top. the Ebony took several applications to get the darkness I wanted, if I did it again, I would probably just paint the bottom. The desk top got 2 applications plus a coating of Parks Super Glaze Ultra Crystal Pour On Epoxy Finish Kit, Clear Gloss. The epoxy was the most expensive part of the project, but the easiest.
Recommended Skill Level
Beginner


Comments
NEmomof3
Mon, 11/12/2012 - 12:31
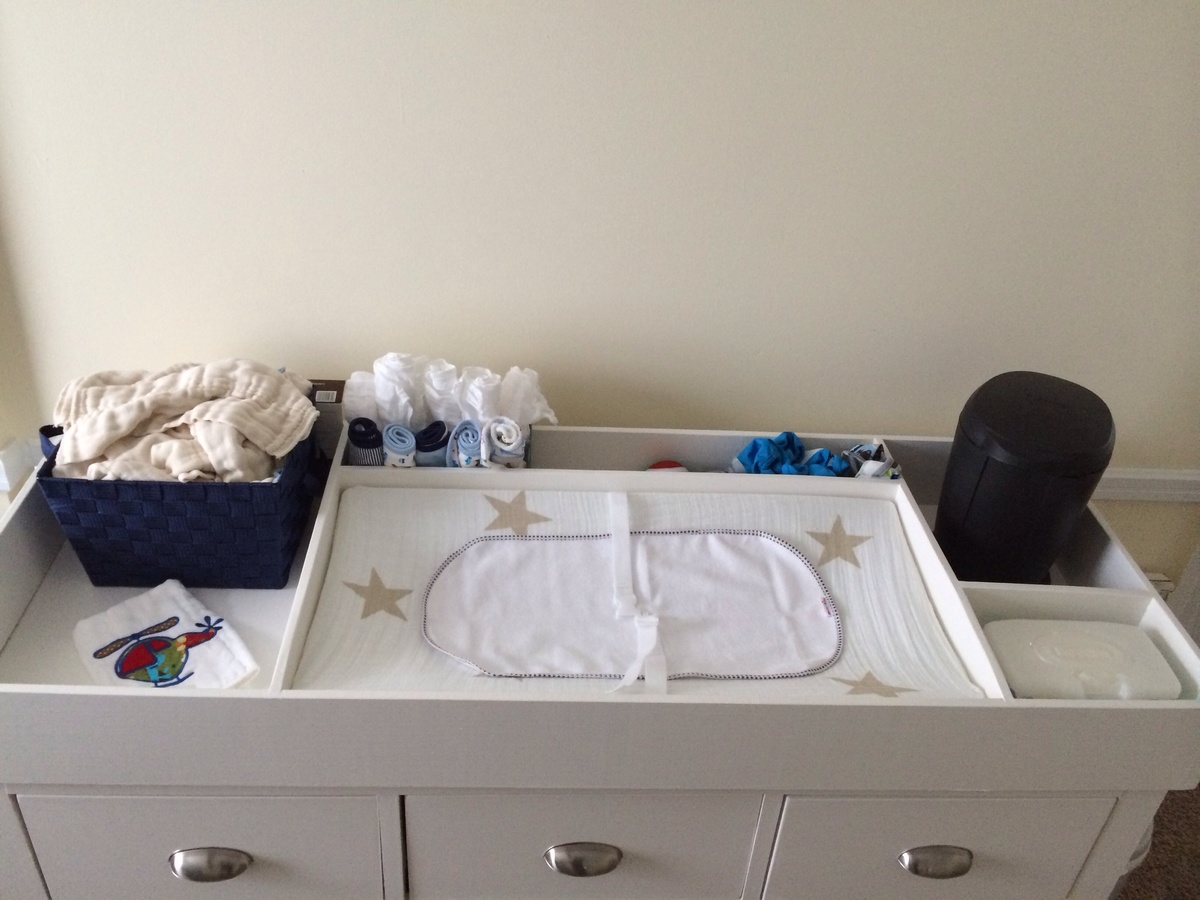
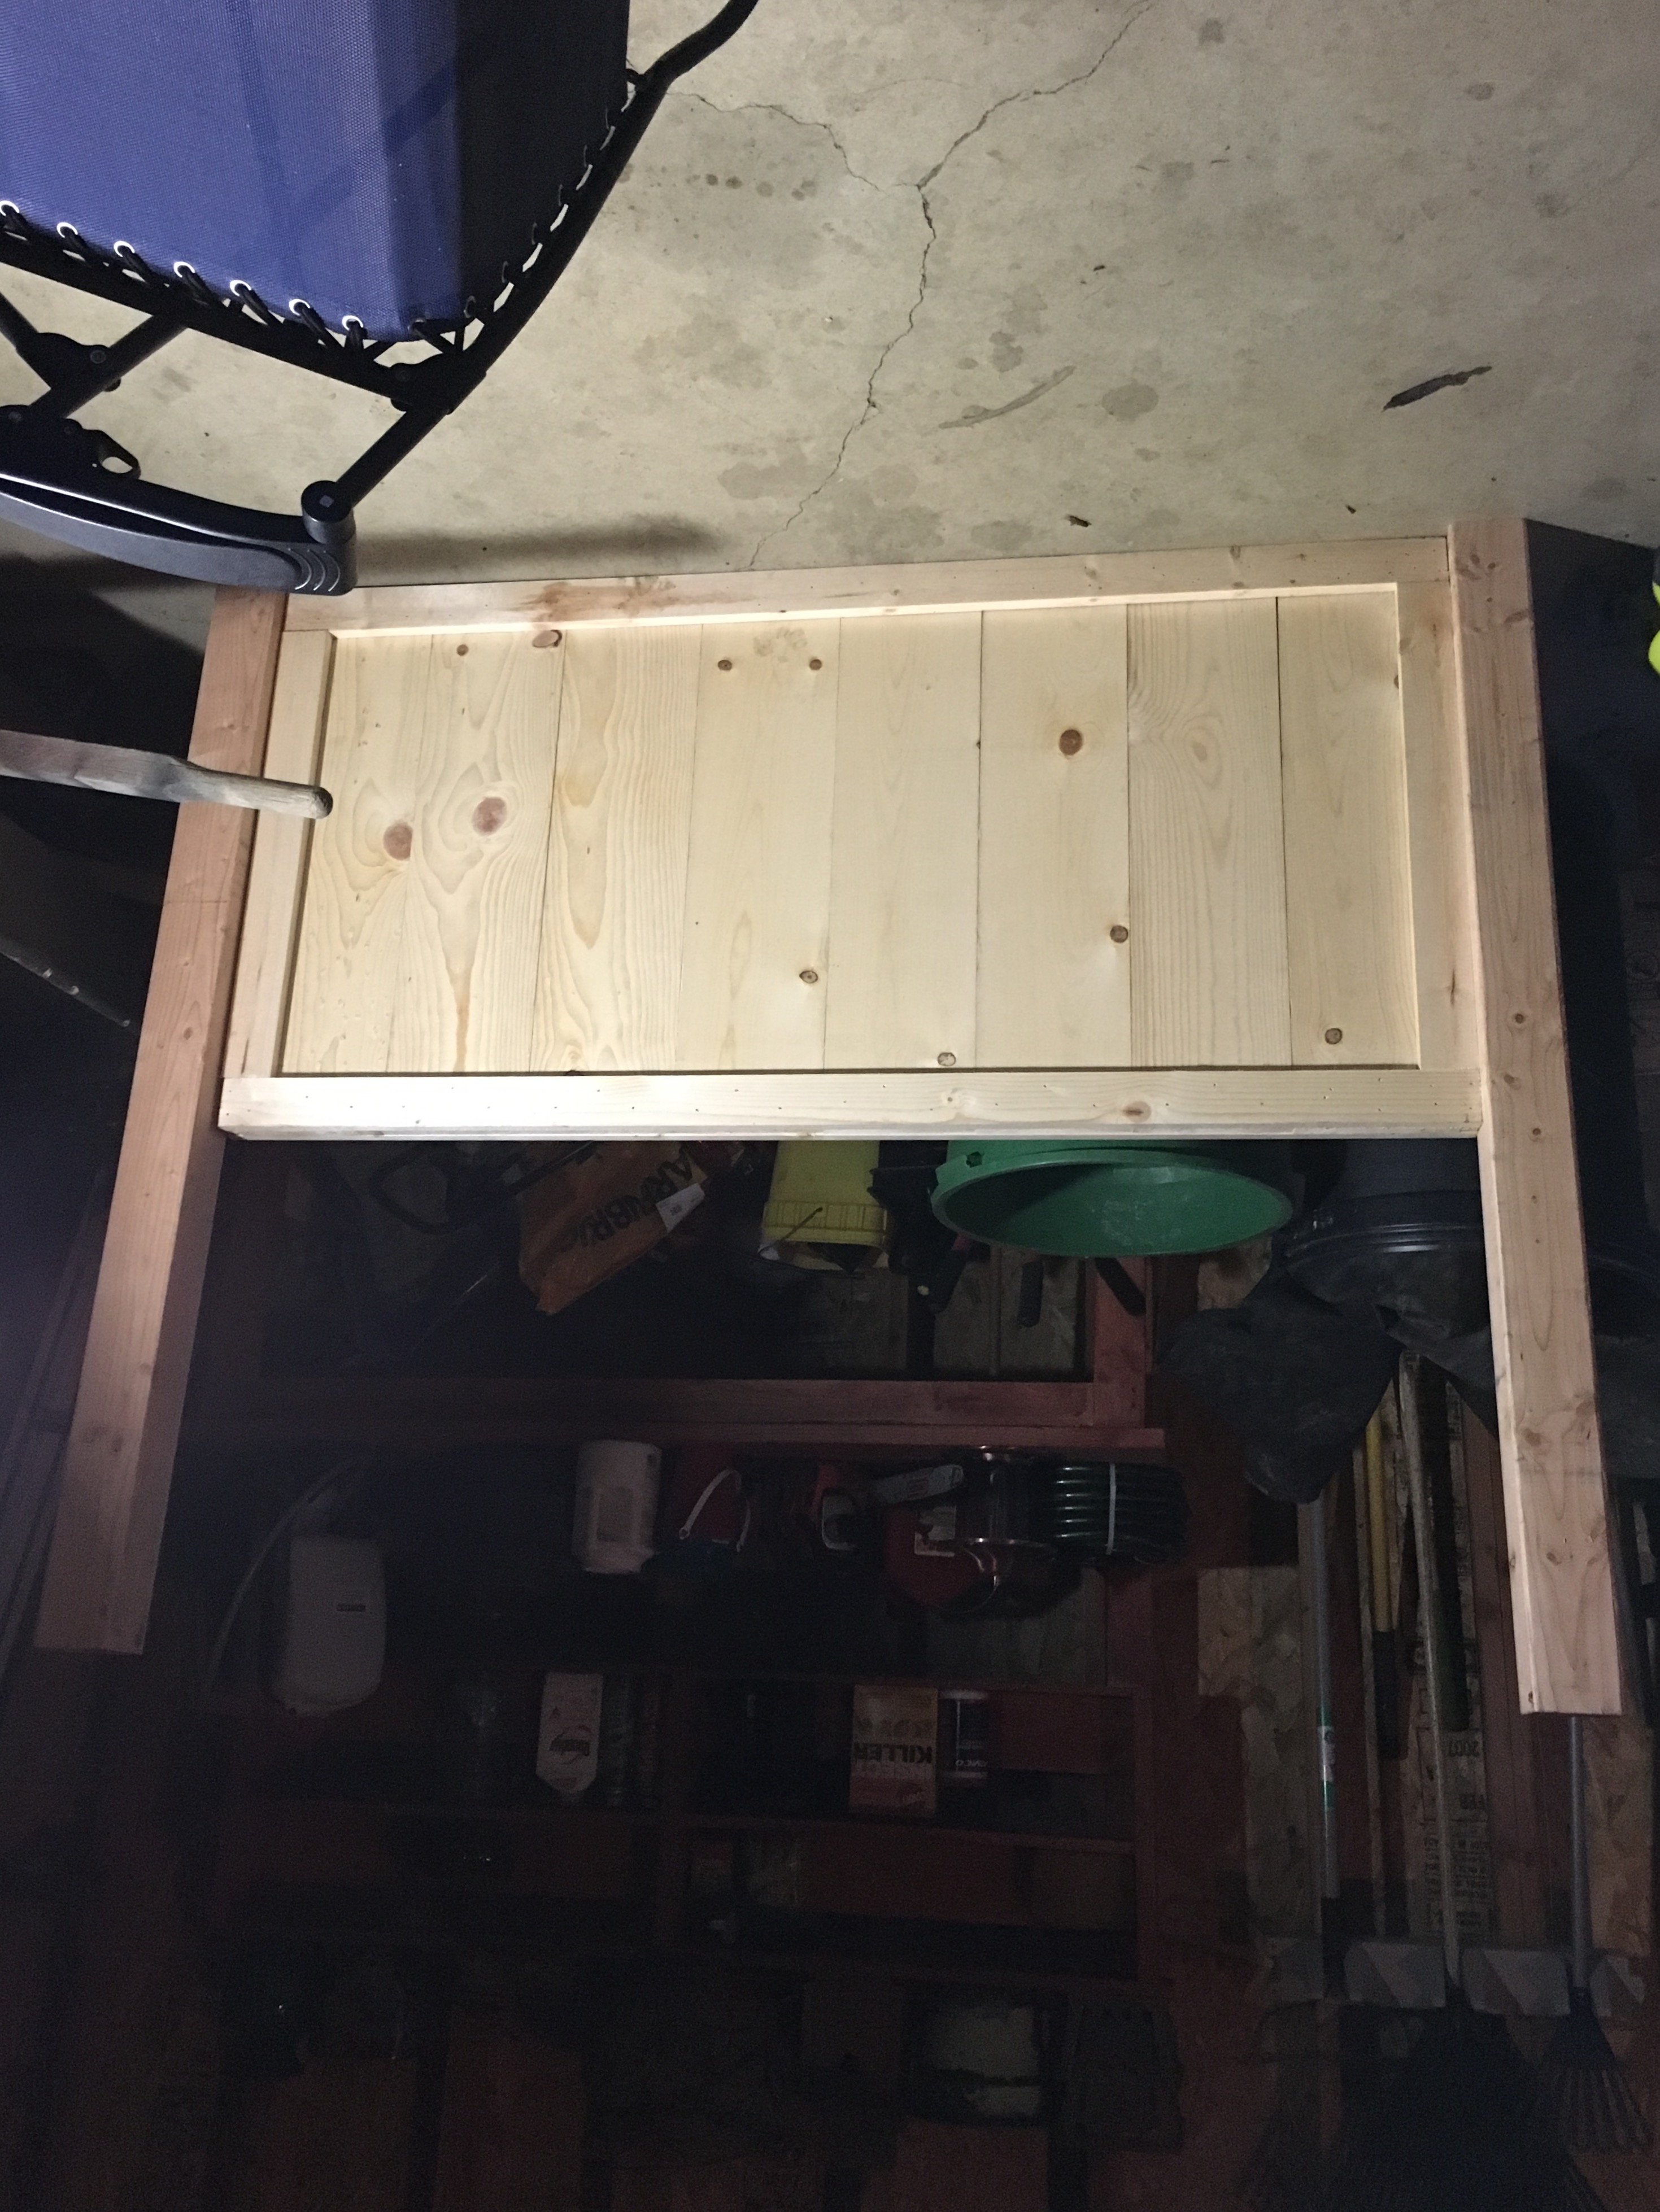
Sorry for the yellow and
Sorry for the yellow and blurry photo, had to take with my phone!
colsen
Fri, 11/16/2012 - 14:10
I have this in my to do list
I have this in my to do list and like you I want a shorter version. I was wonder how long you built yours?