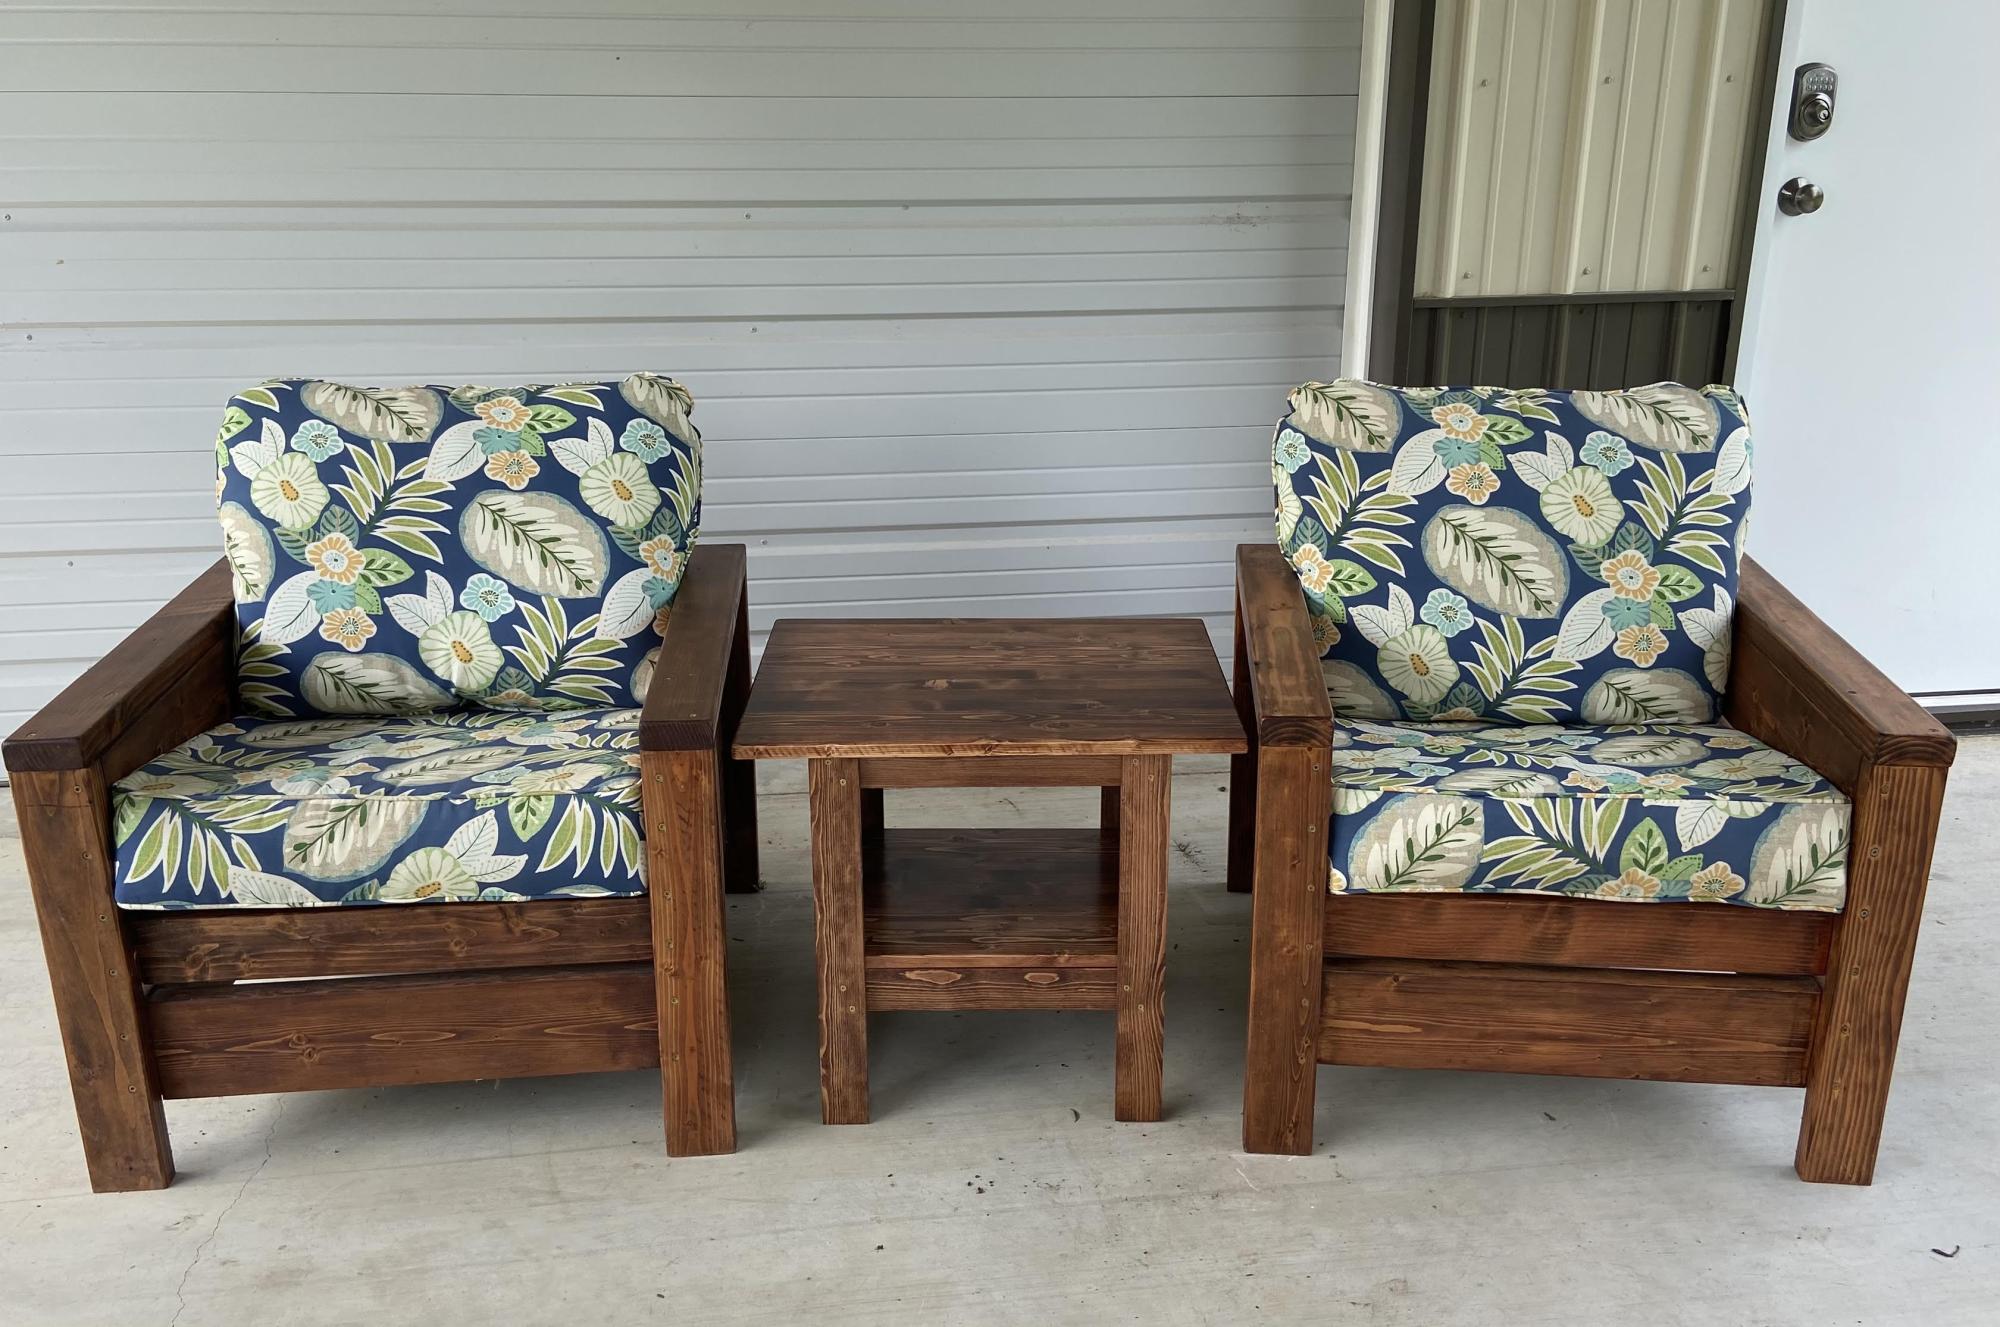
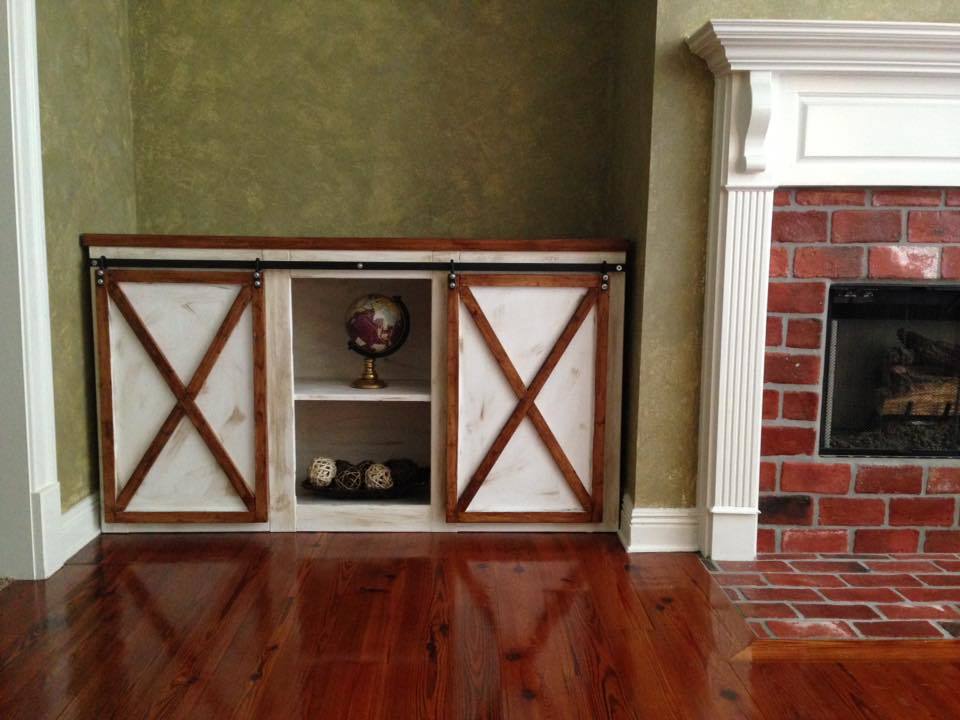
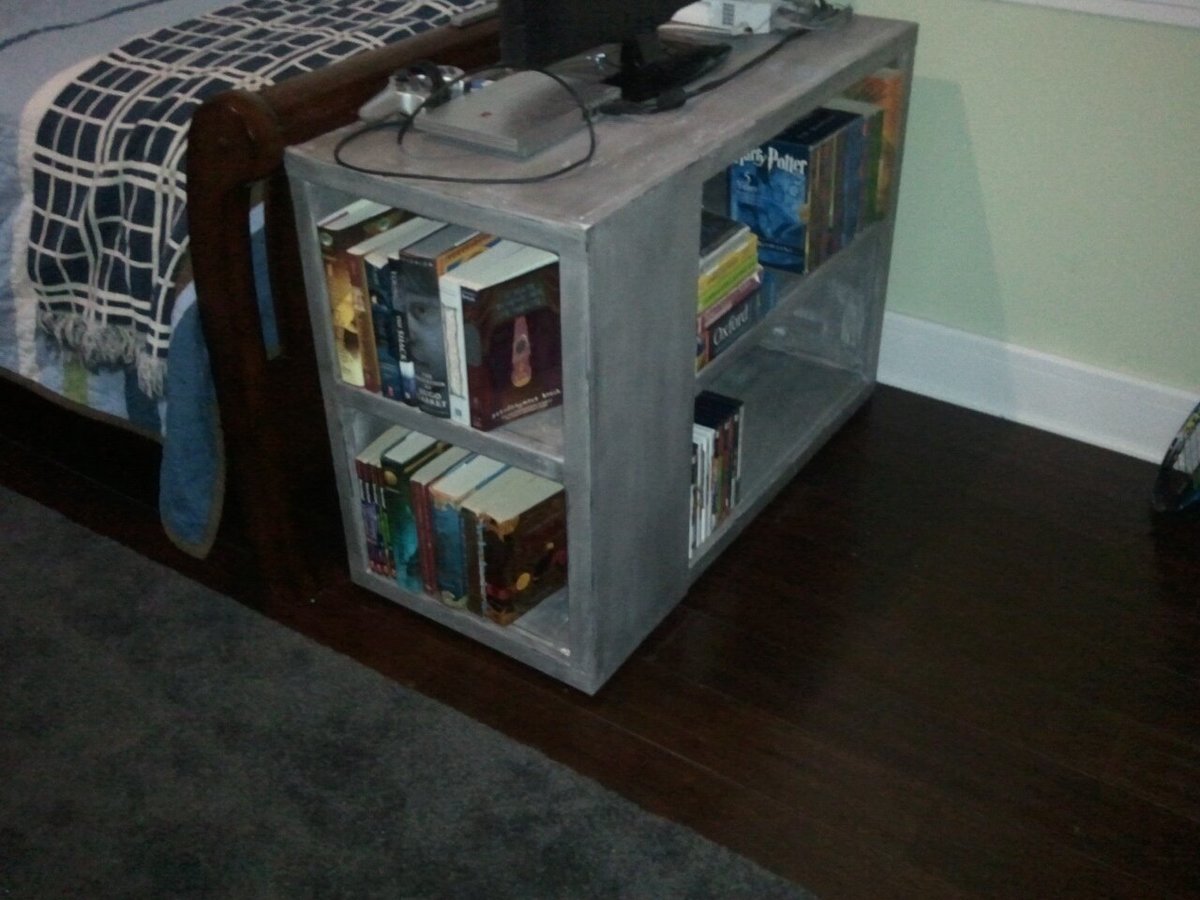
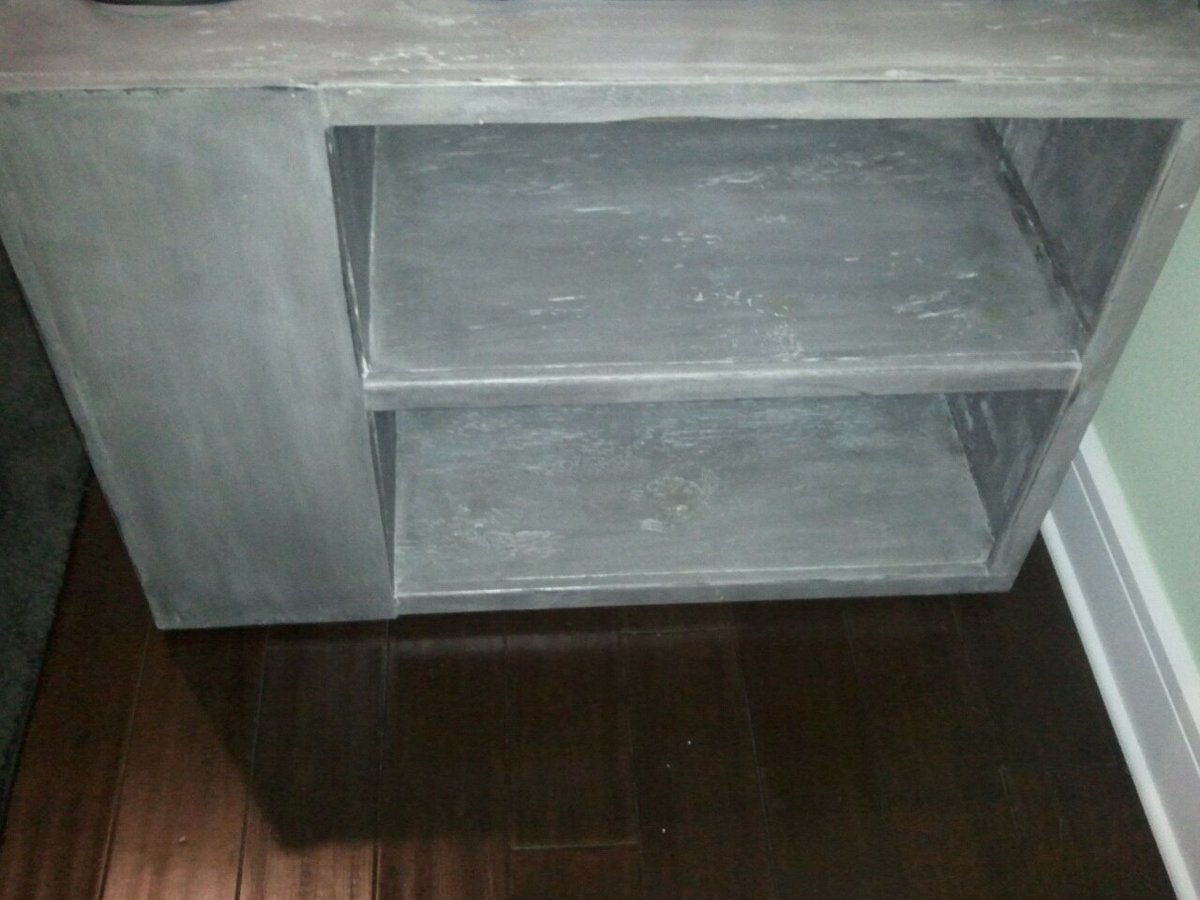
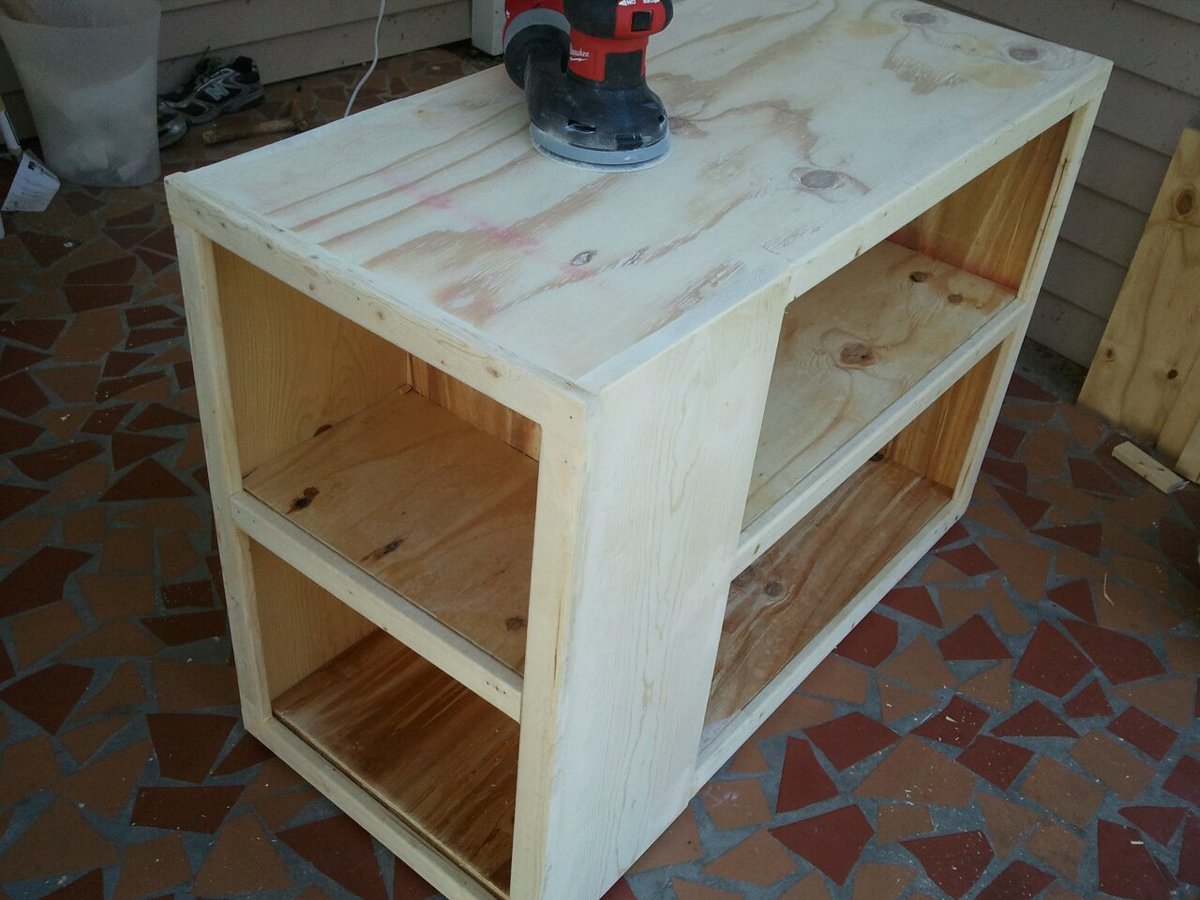
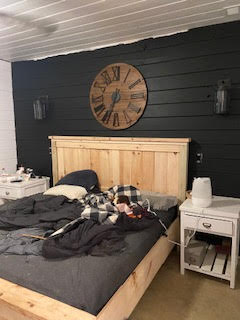
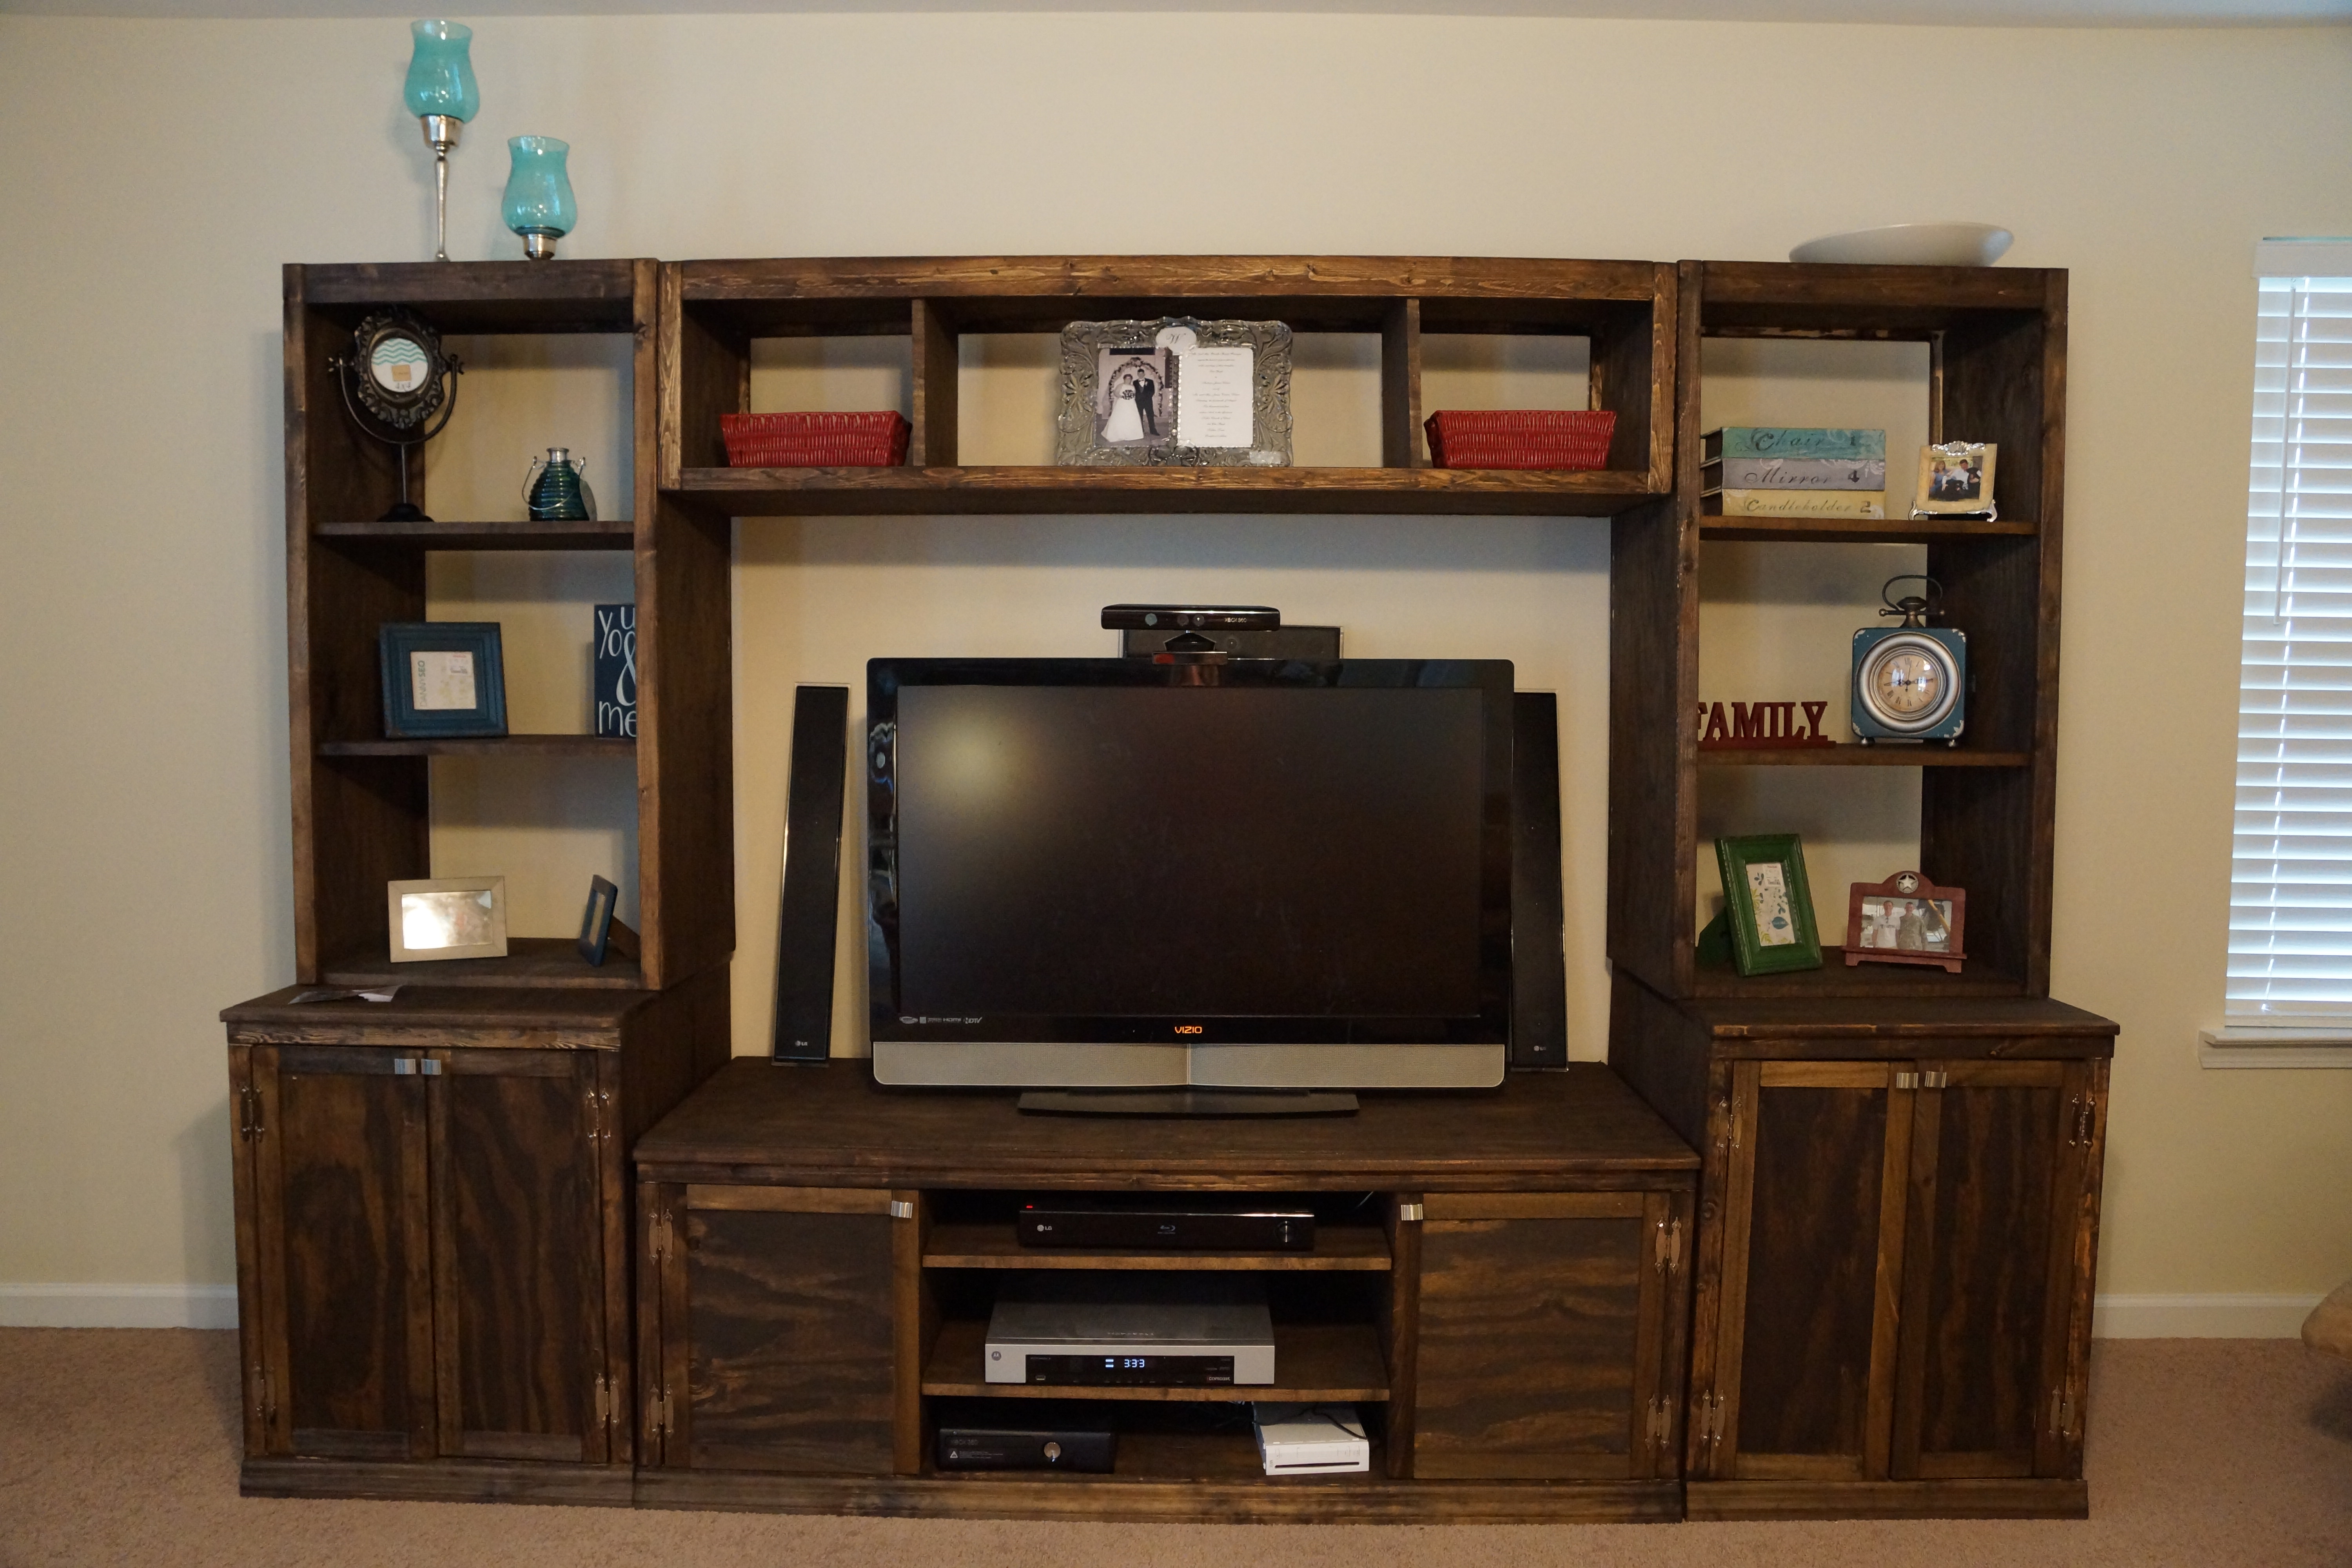
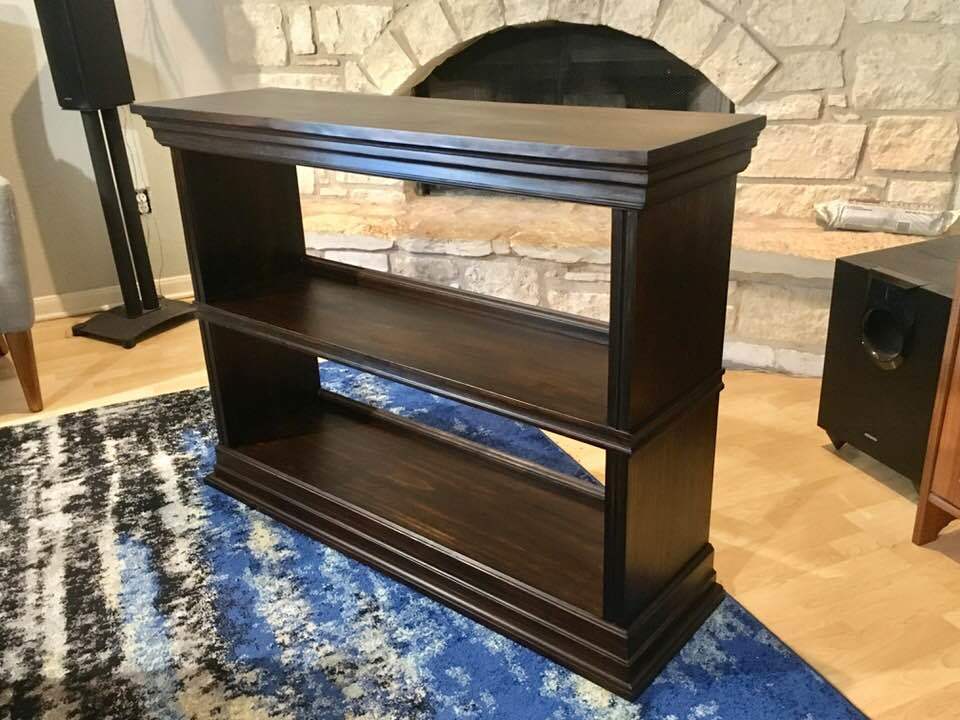
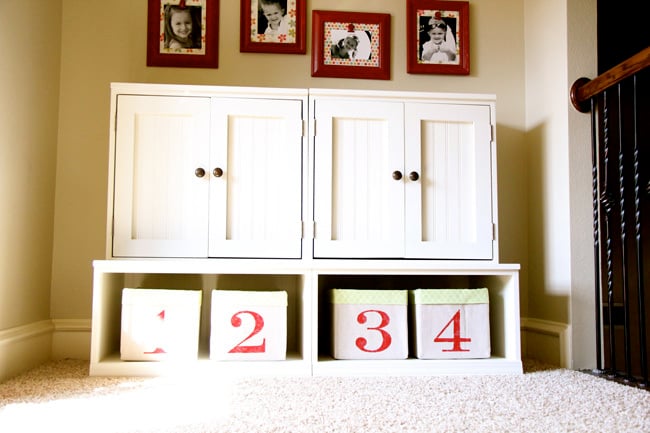
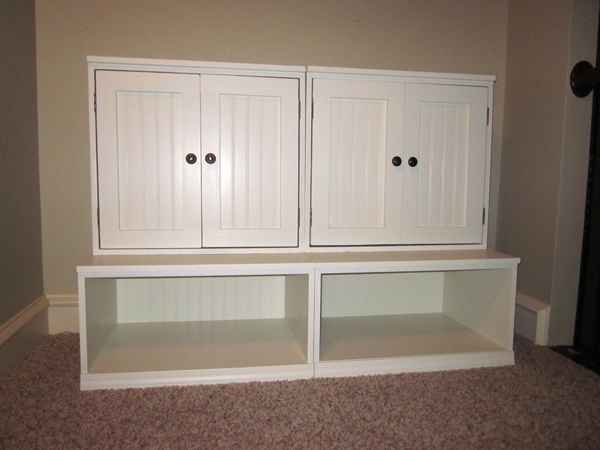
Since moving into our house almost 3 years ago, I have wanted a large piece to house the tv. The husband did not want glass, I wanted shelving on both ends and it had to hold a 60 inch tv (not pictured). To avoid paying thousands of dollars to a furniture store, I decided to build my own.
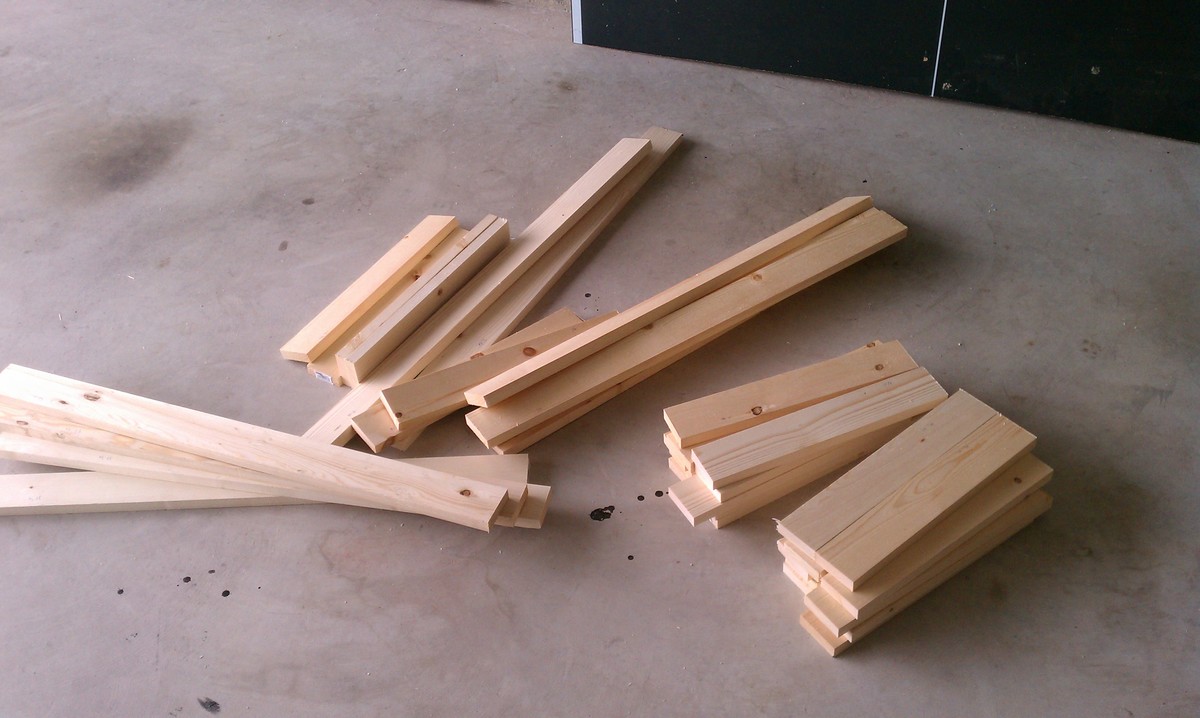
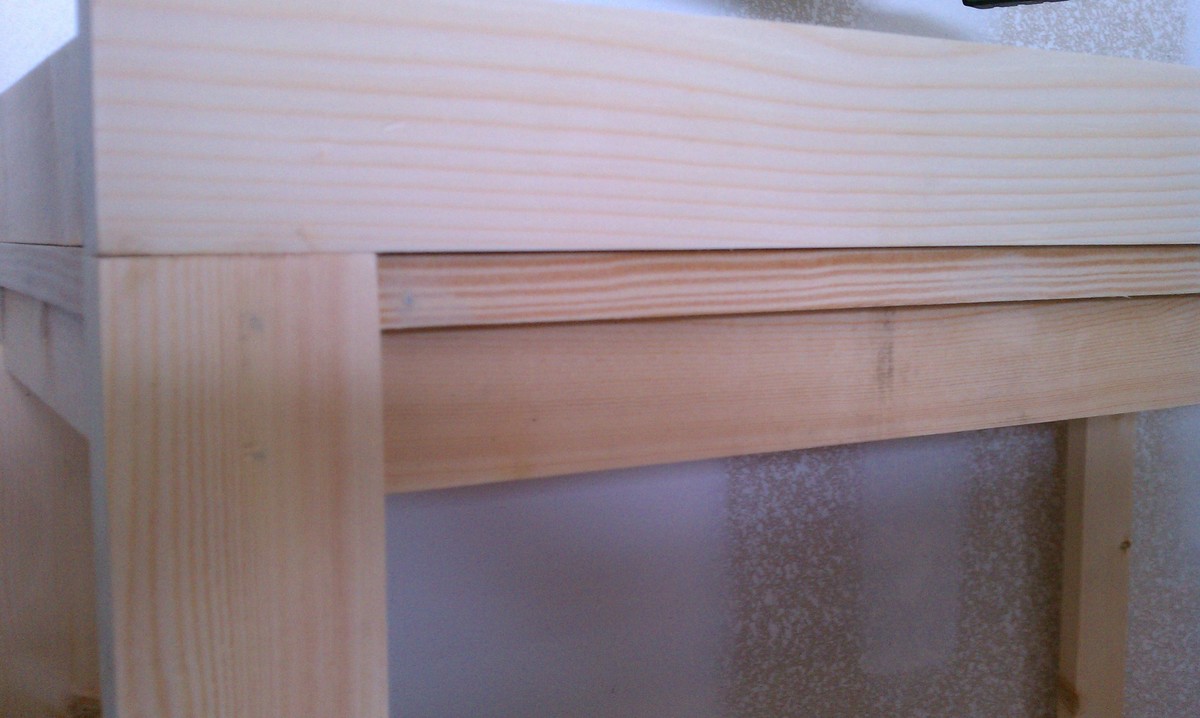
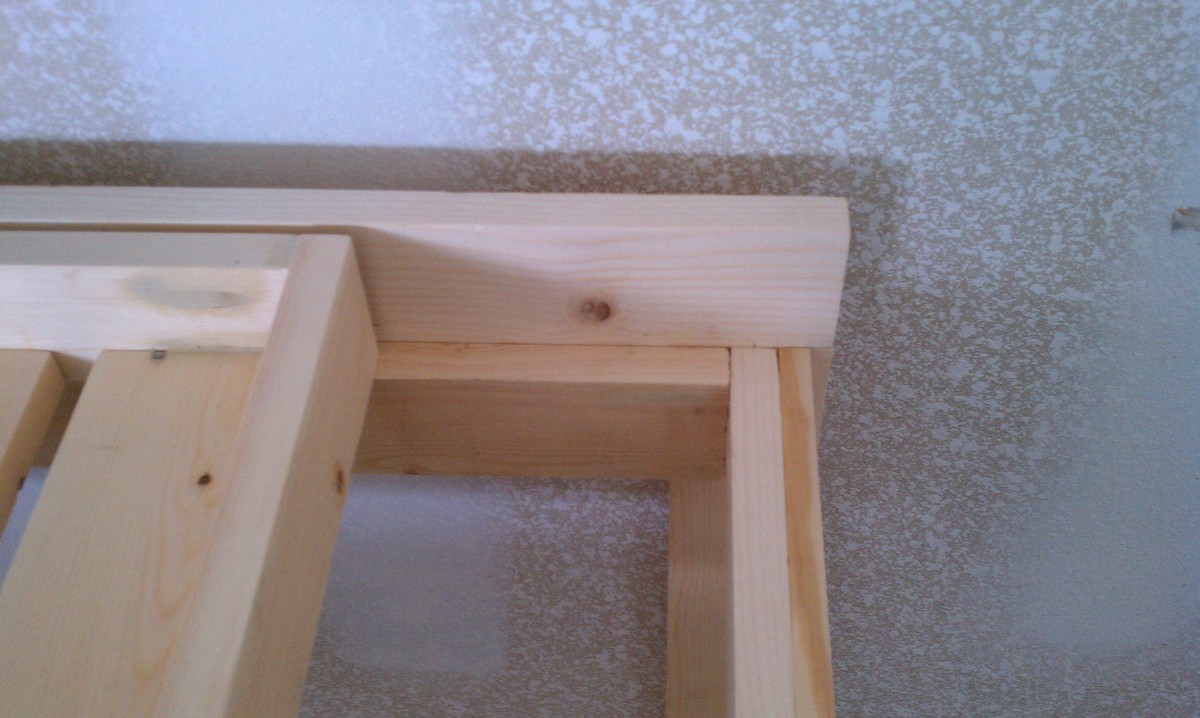
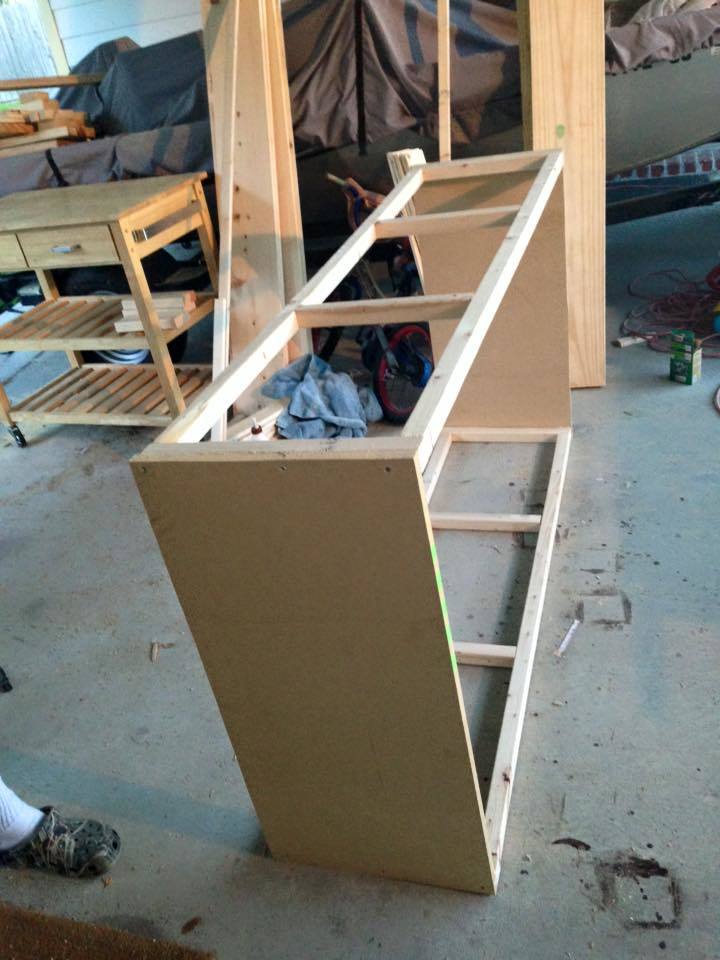
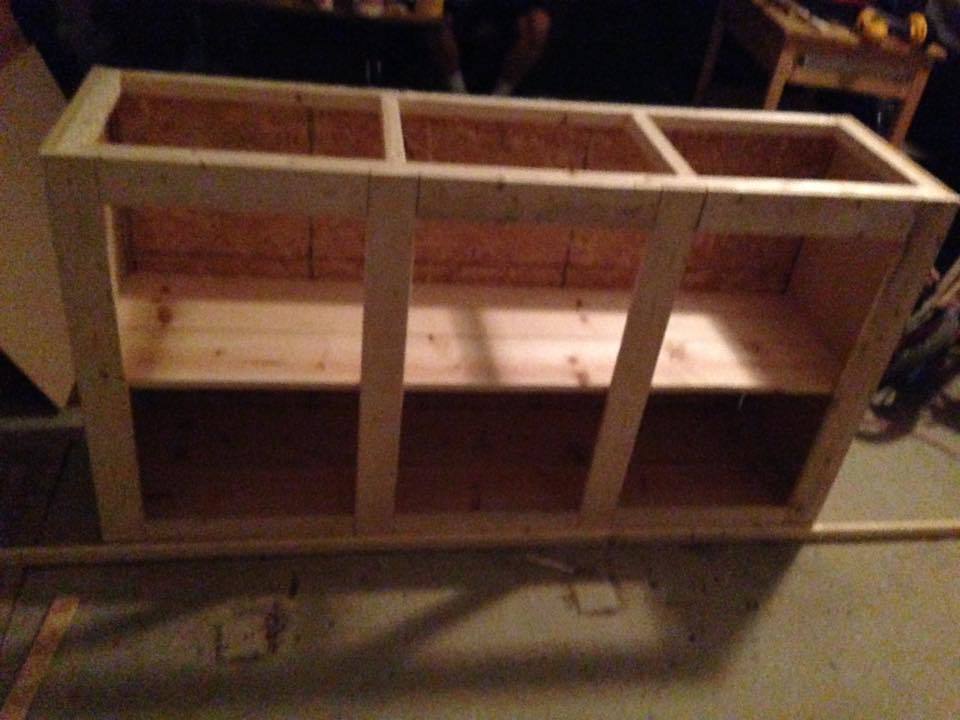
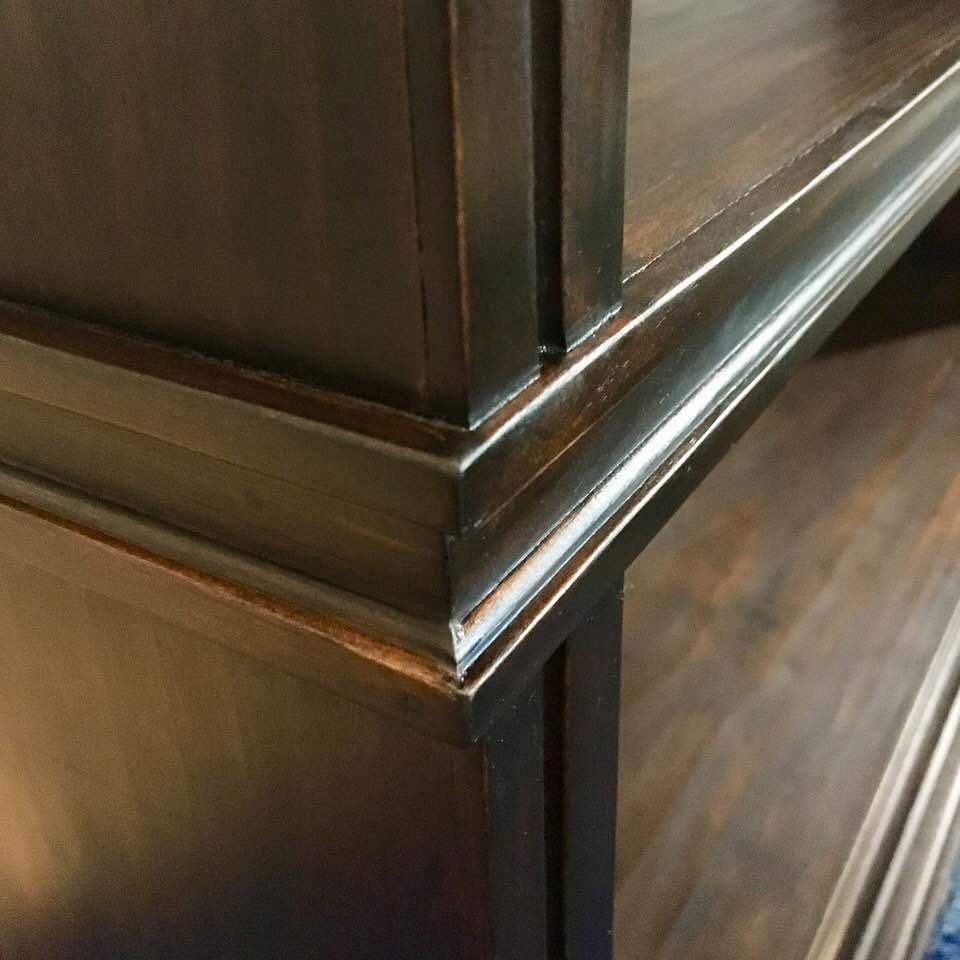
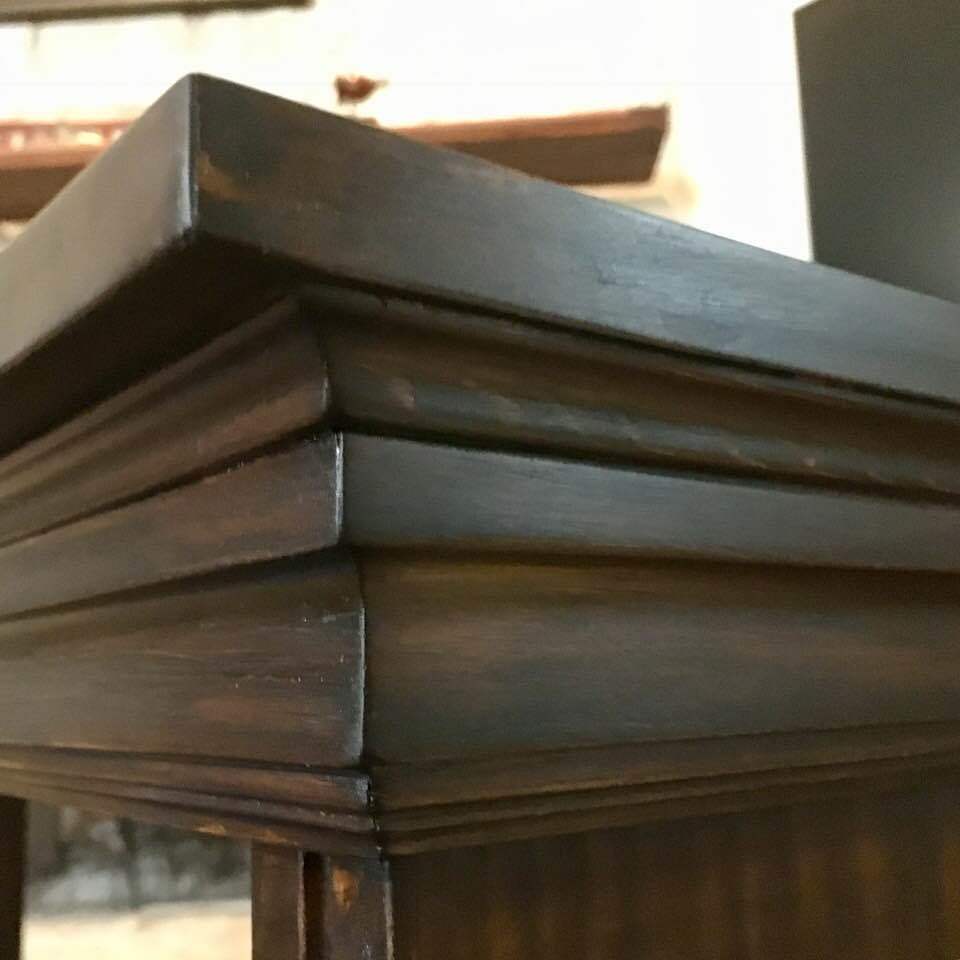
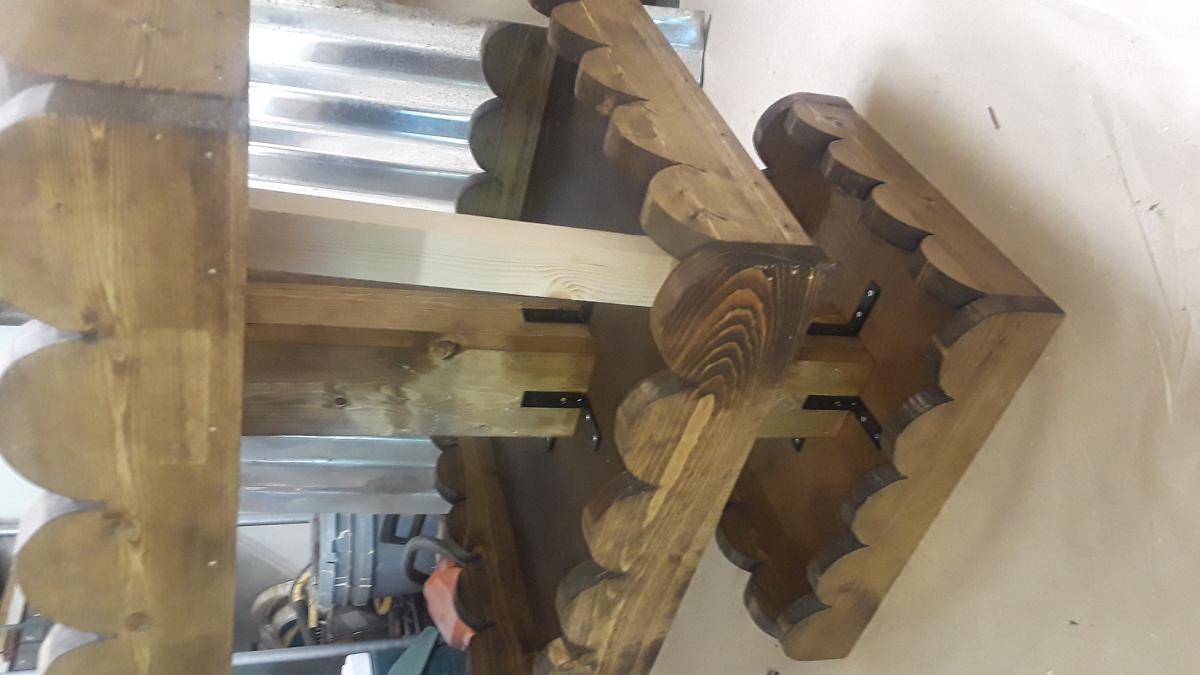
I used 1x2's, 1x3's, 4x8-3/4" plywood (sanded on one side) edge banding (super easy to use), nail gun and wood glue. I spent roughly a week building and staining, interrupted by 2 kids. The staining being the most tedious part. Cost was around $450 for all the pieces. I did attach the bridge piece by drilling holes through the bridge to the side hutches. I then installed nuts and bolts through the hole to attach it all together. Makes it easy to take apart when moved and I am not constantly drilling screws into the unit.
My husband is deployed so this was built solely by myself. My experience level is novice, this is only my 3rd piece of furniture, but I am hooked. The plans are easy to follow and use.