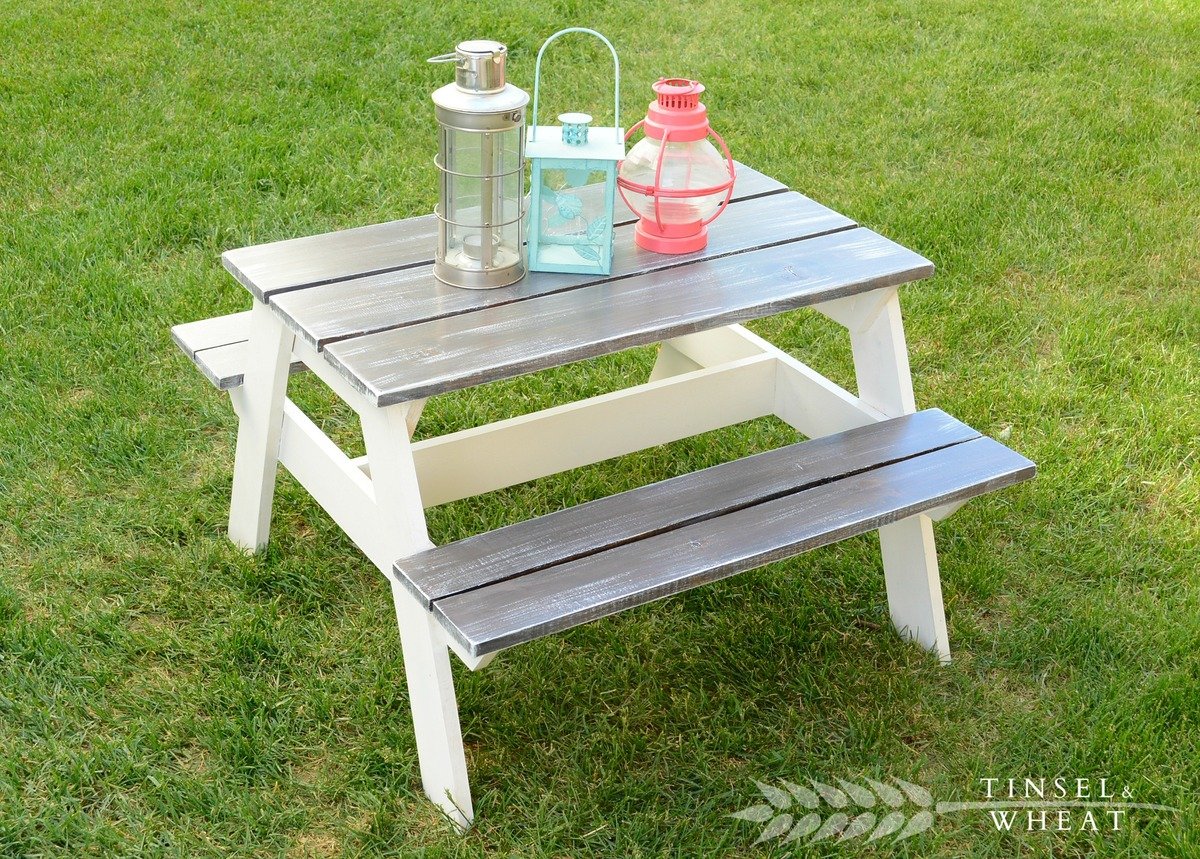
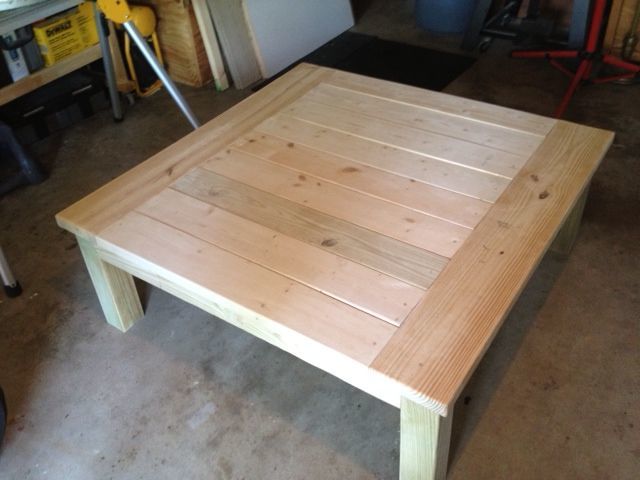
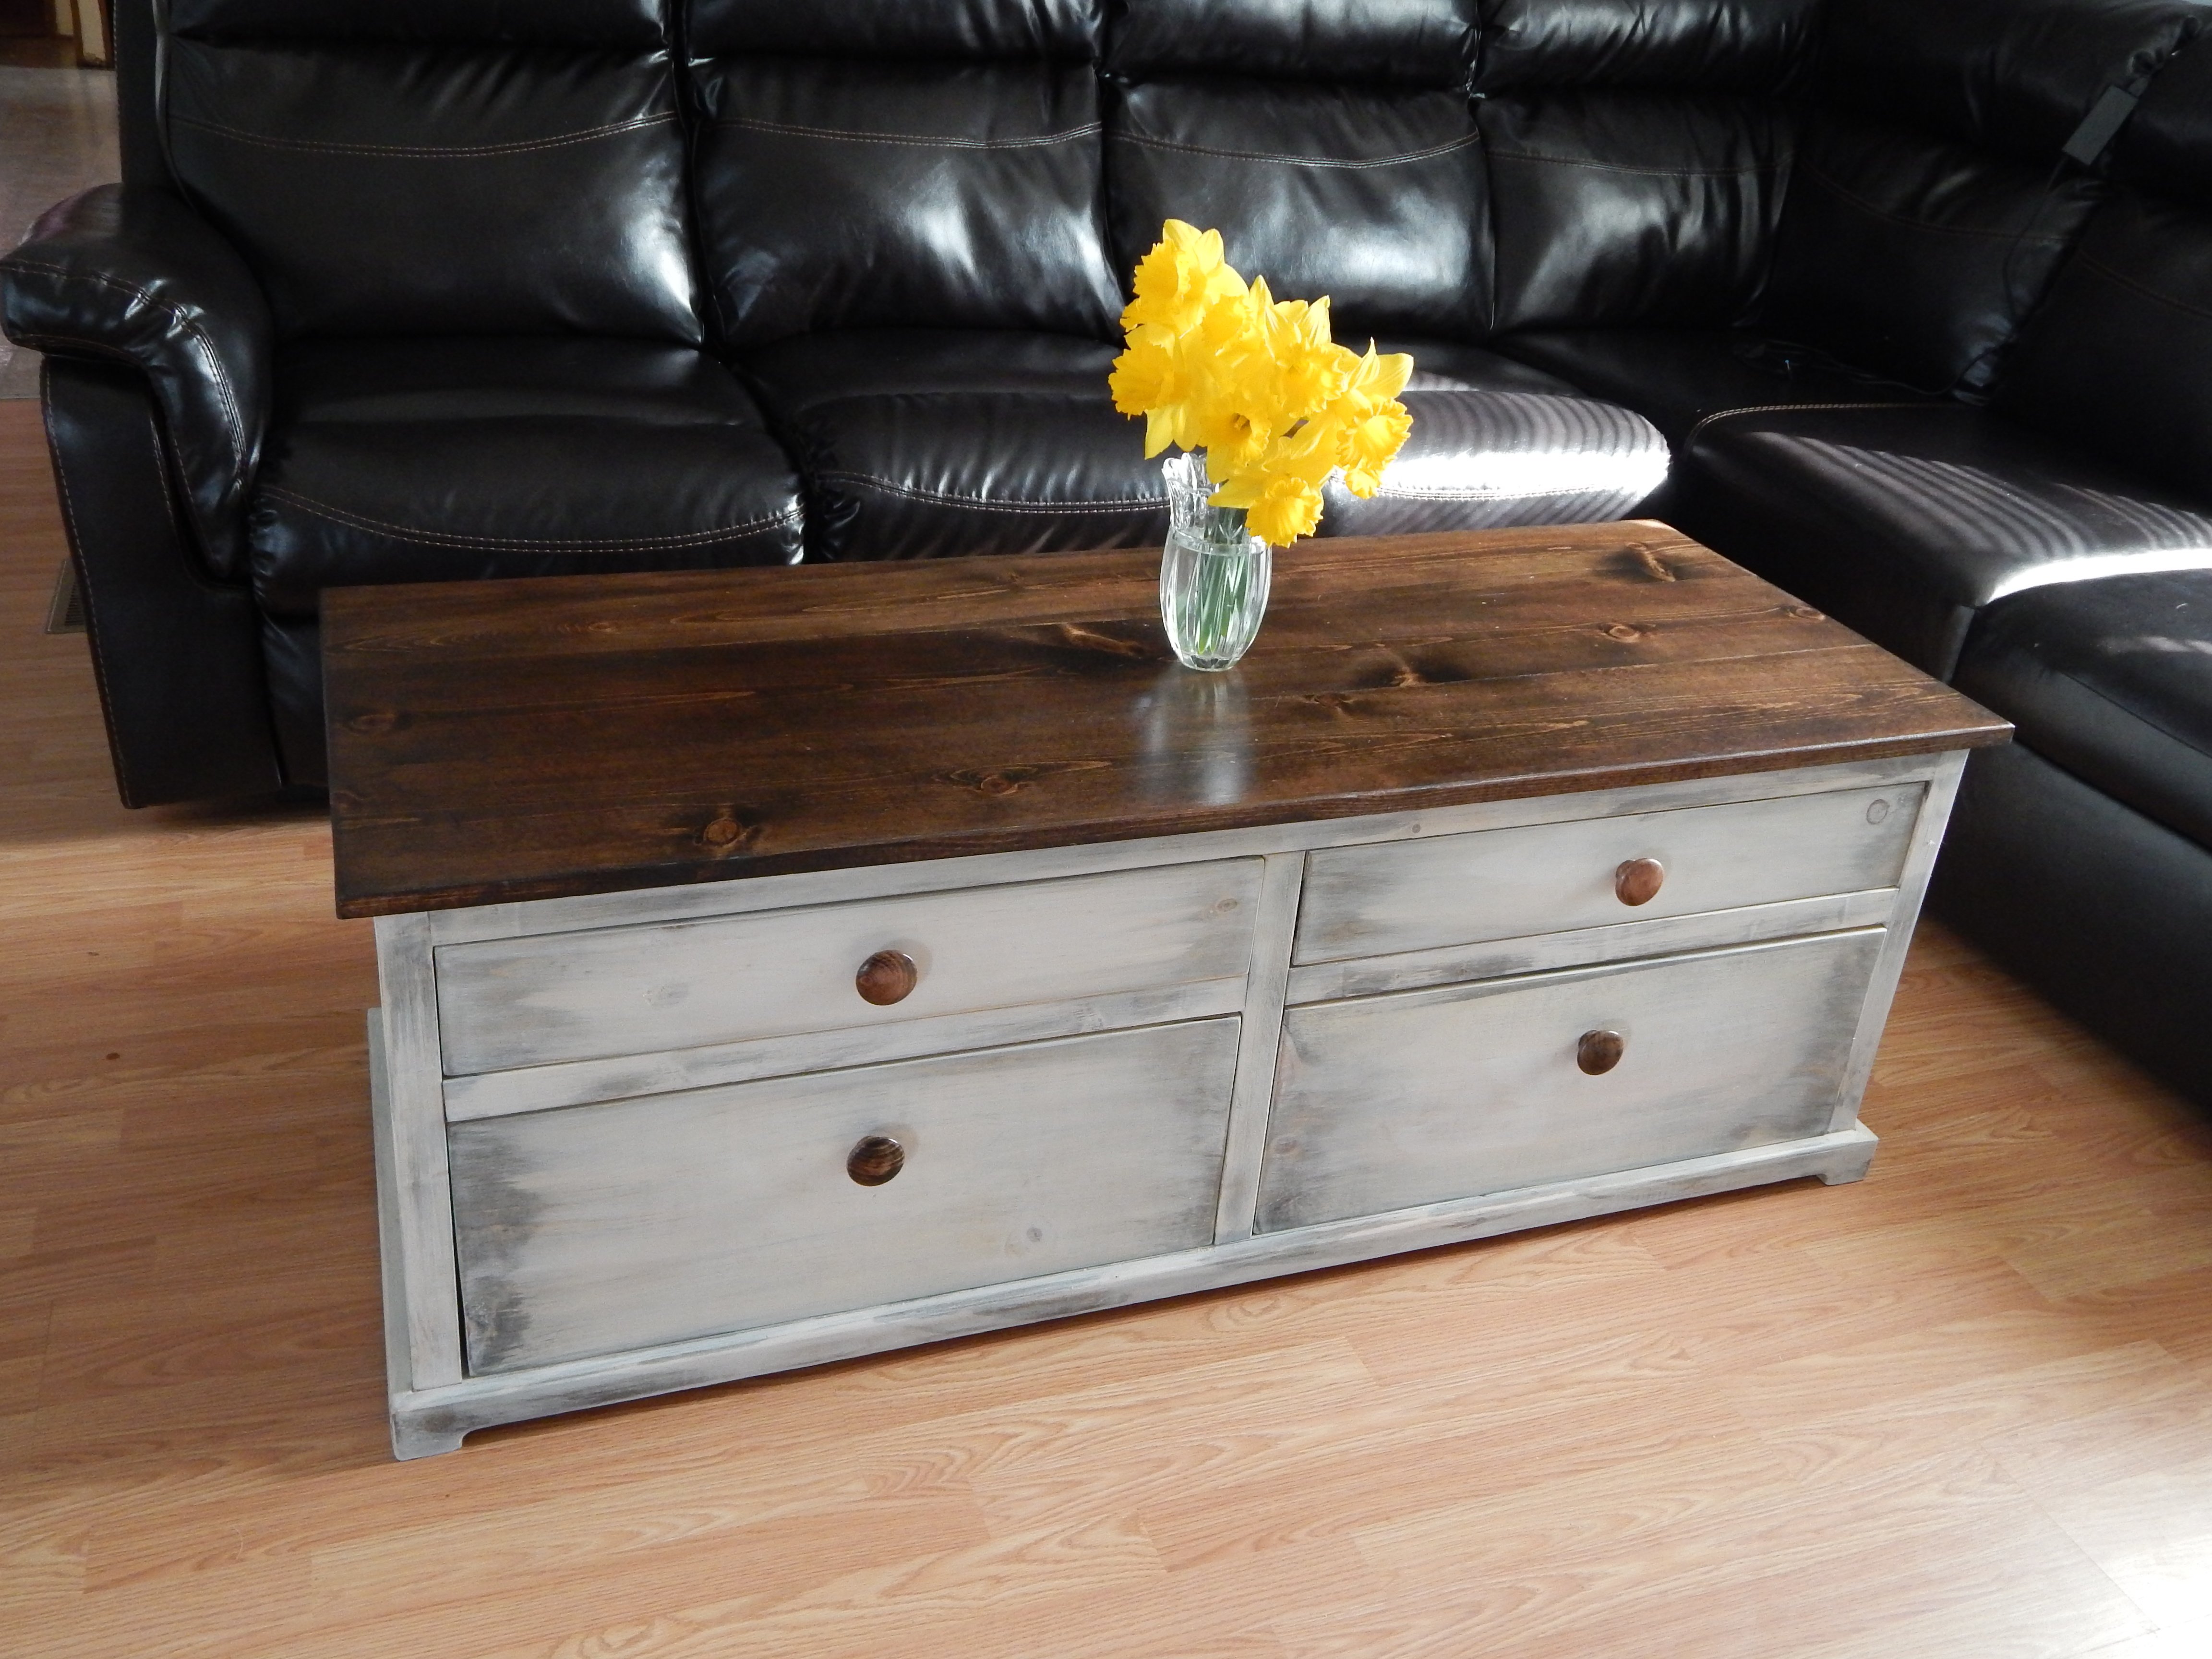
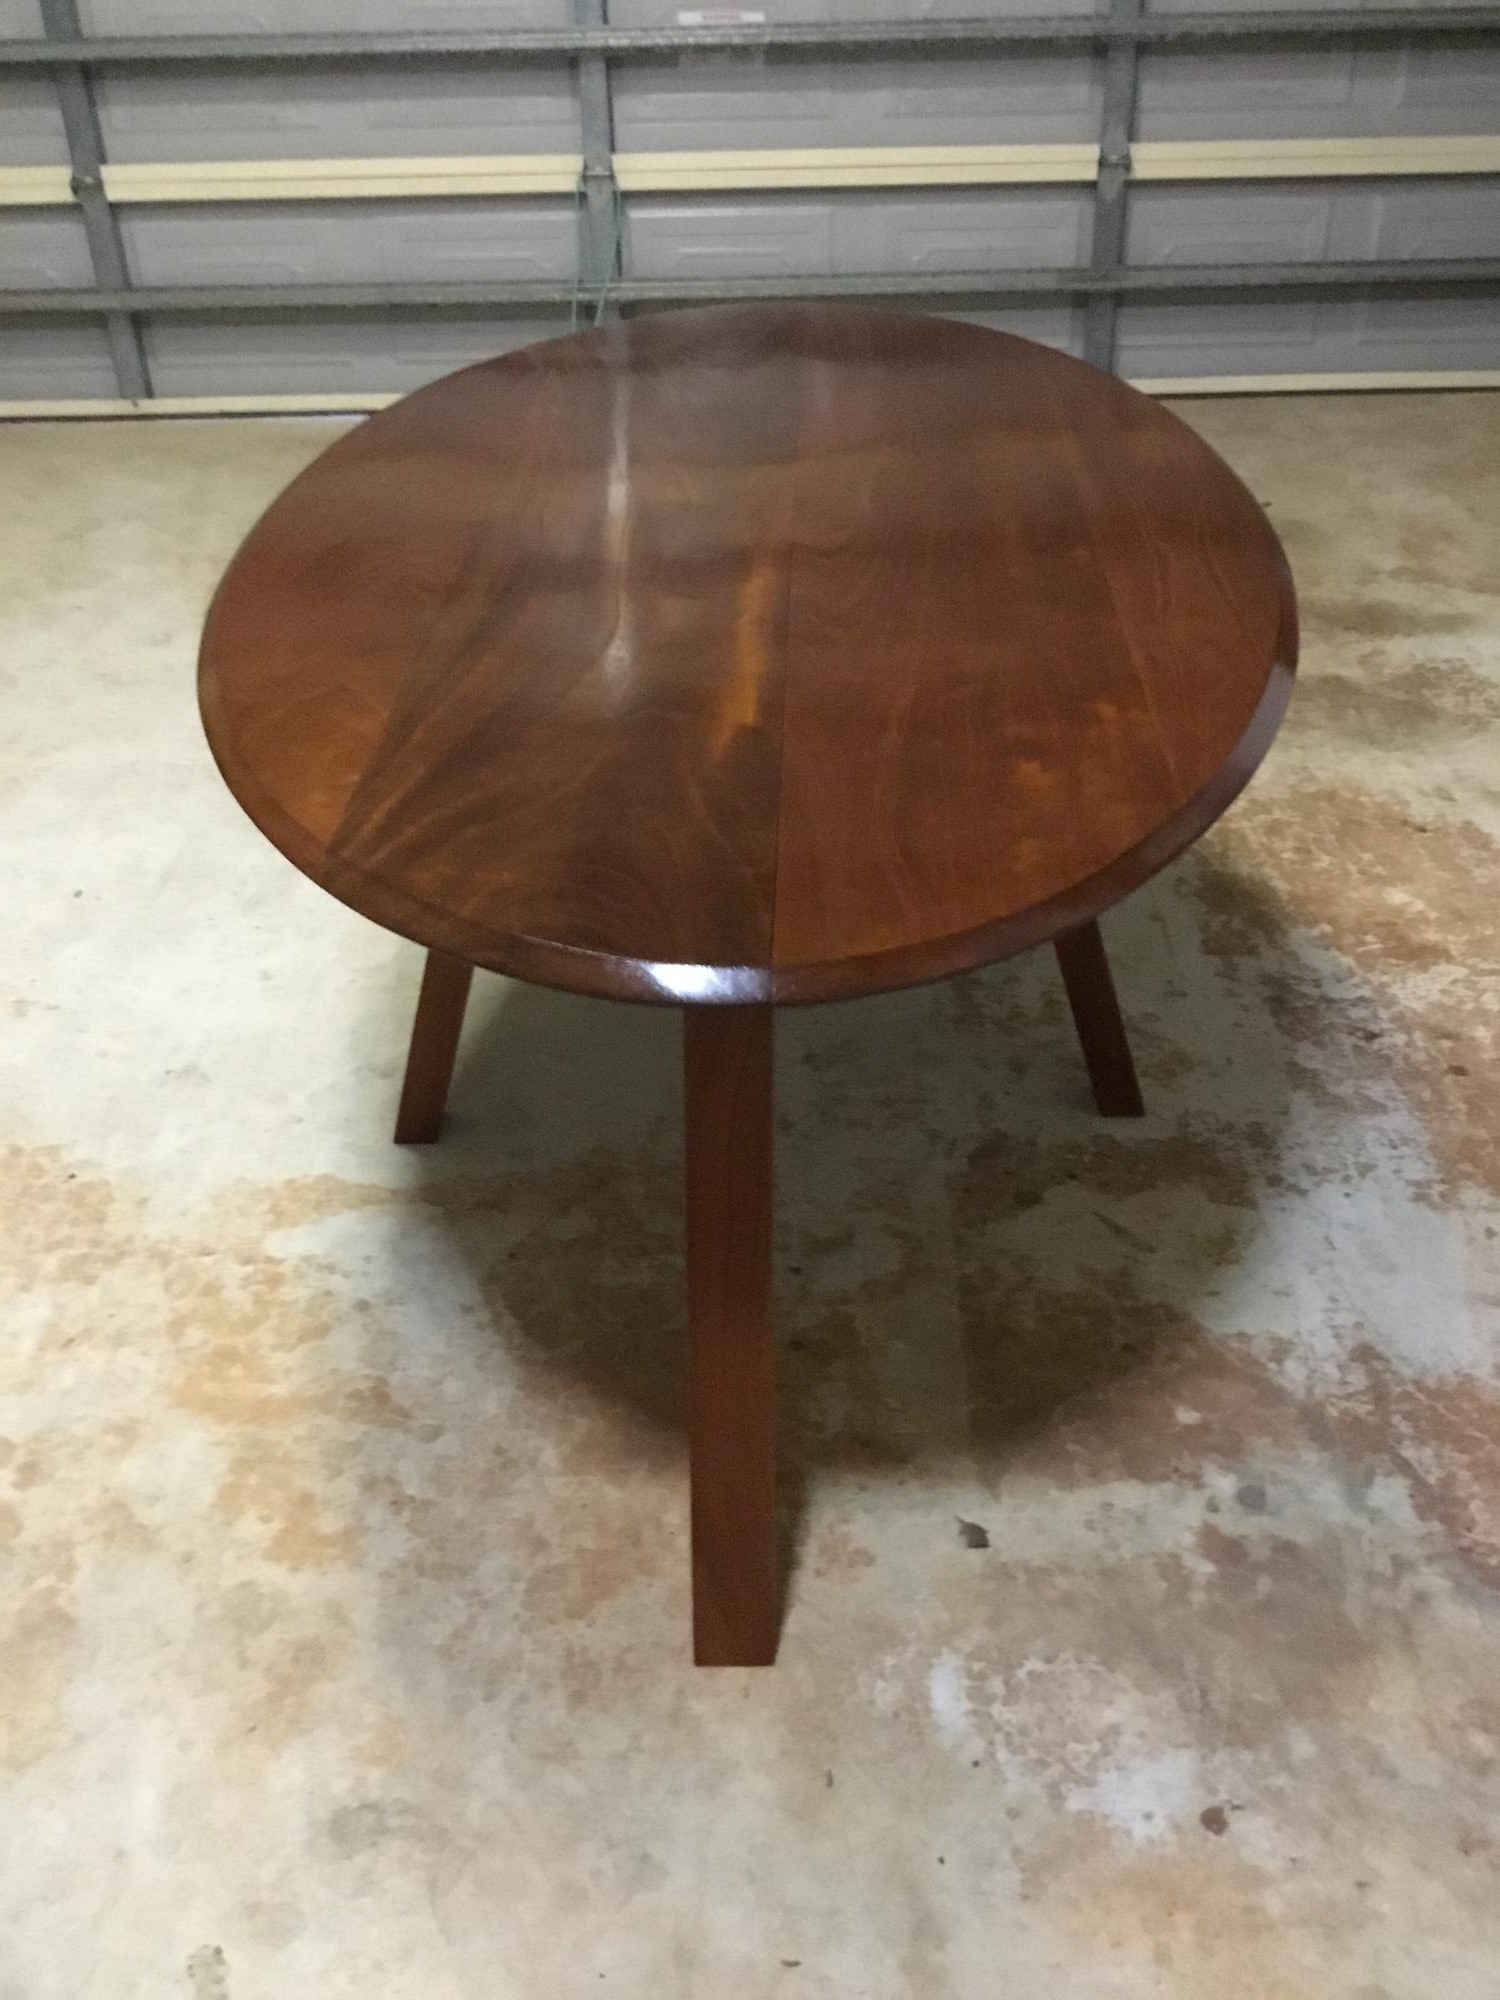
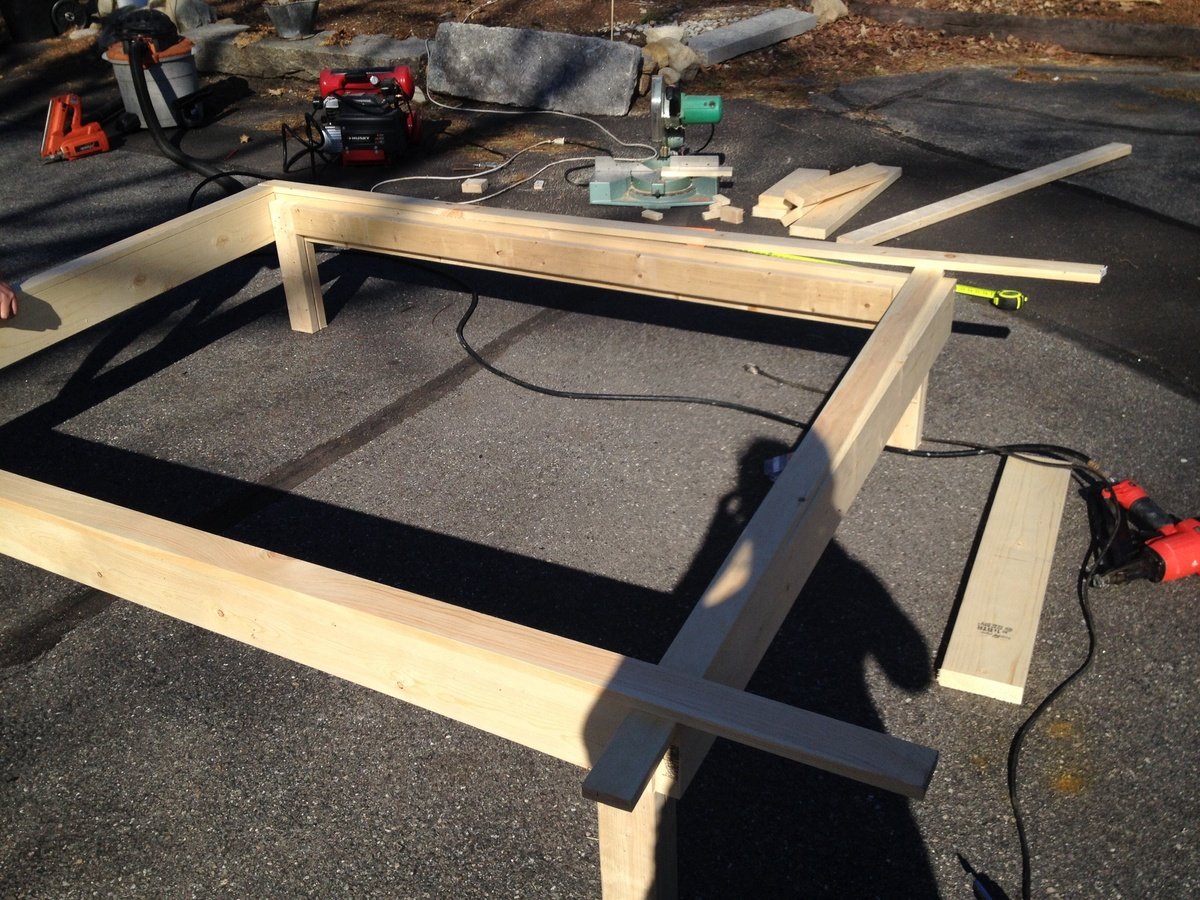
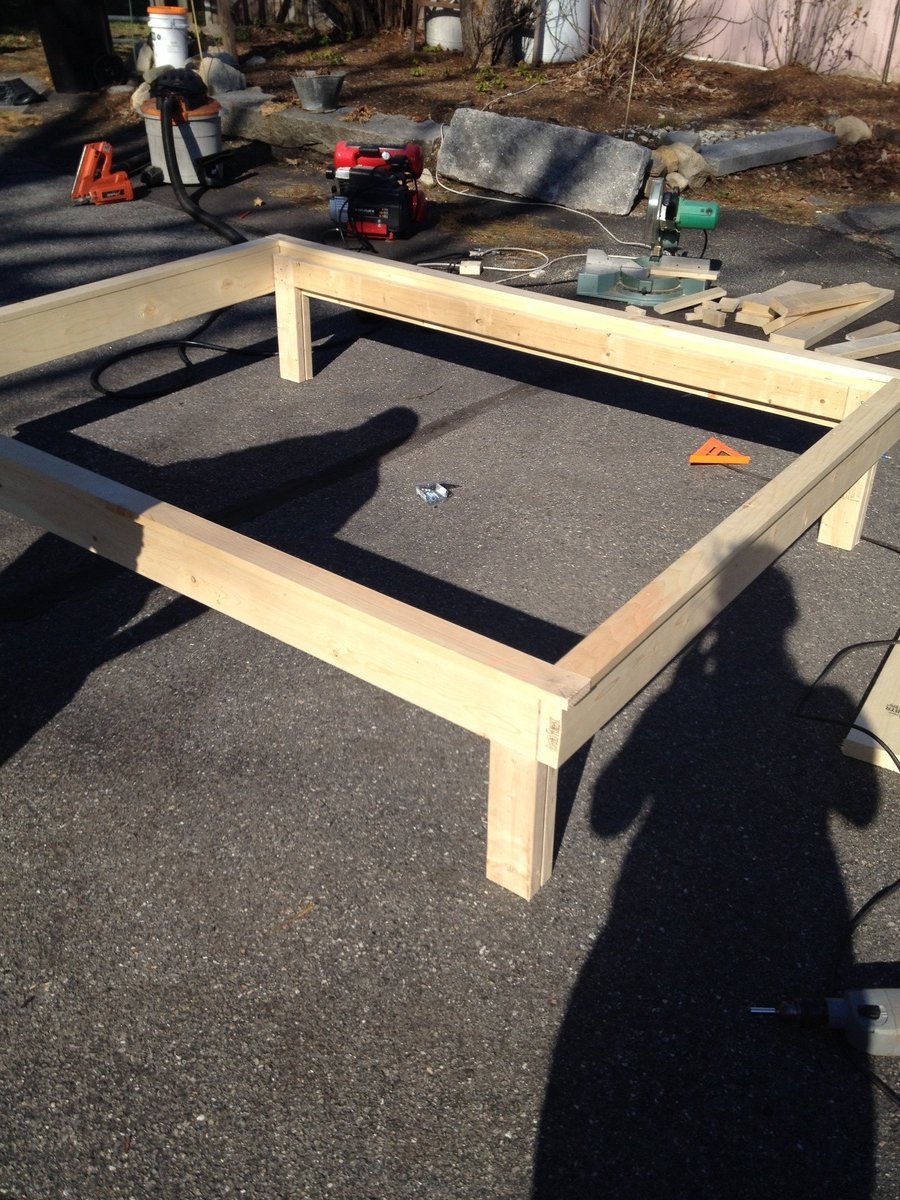
Kids Mini Dining Table
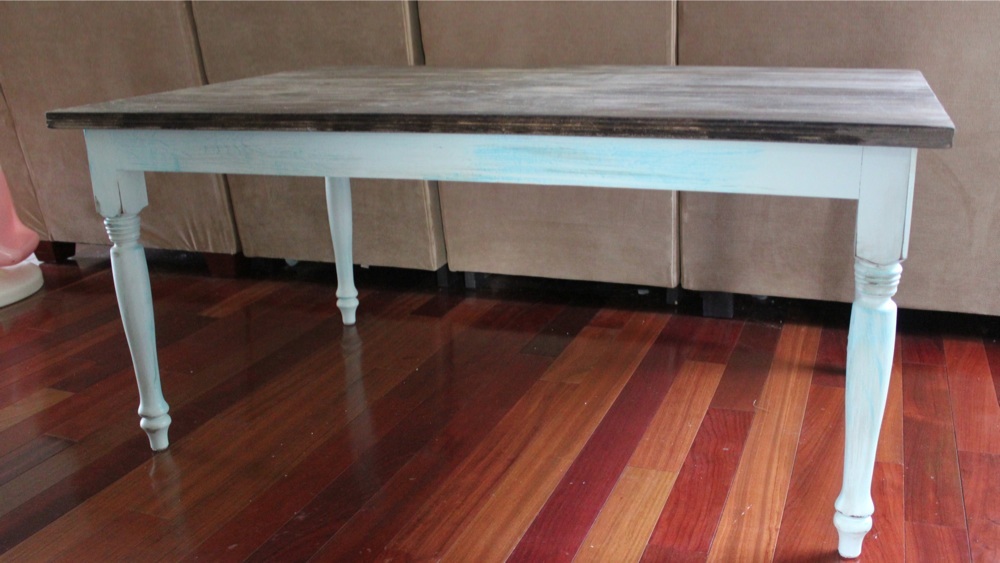
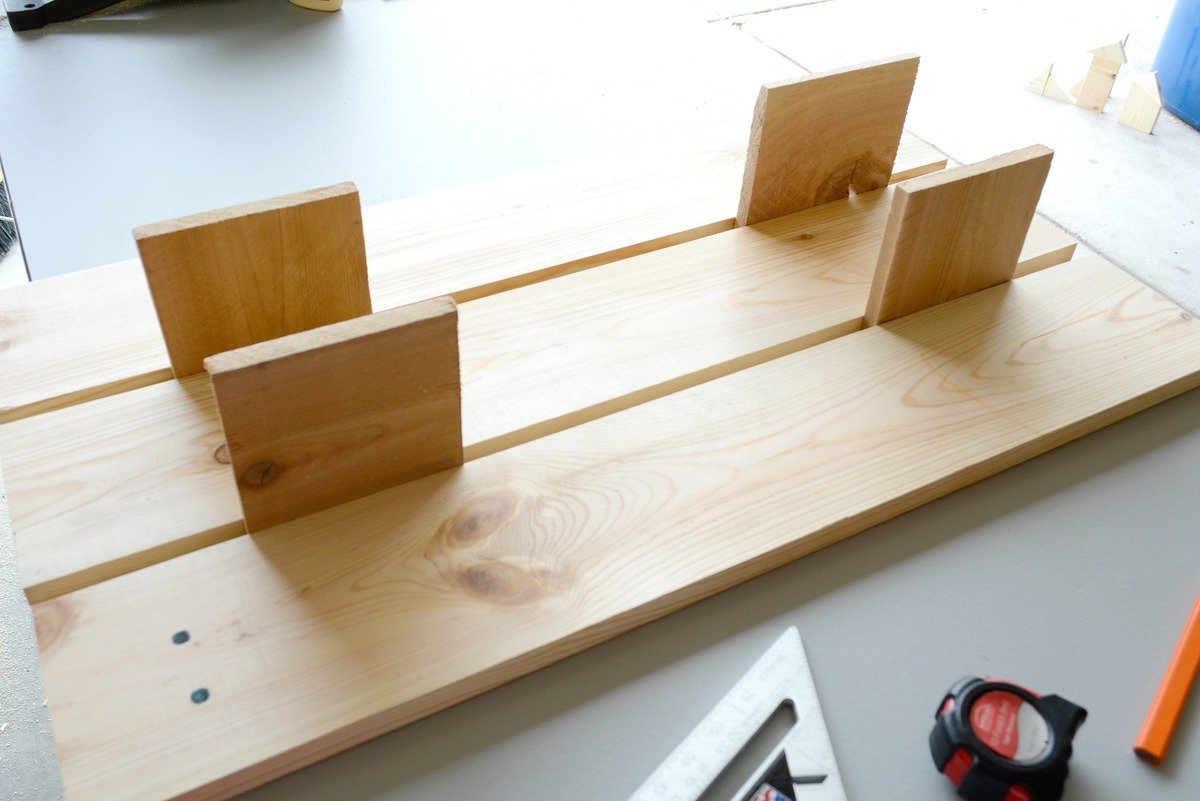
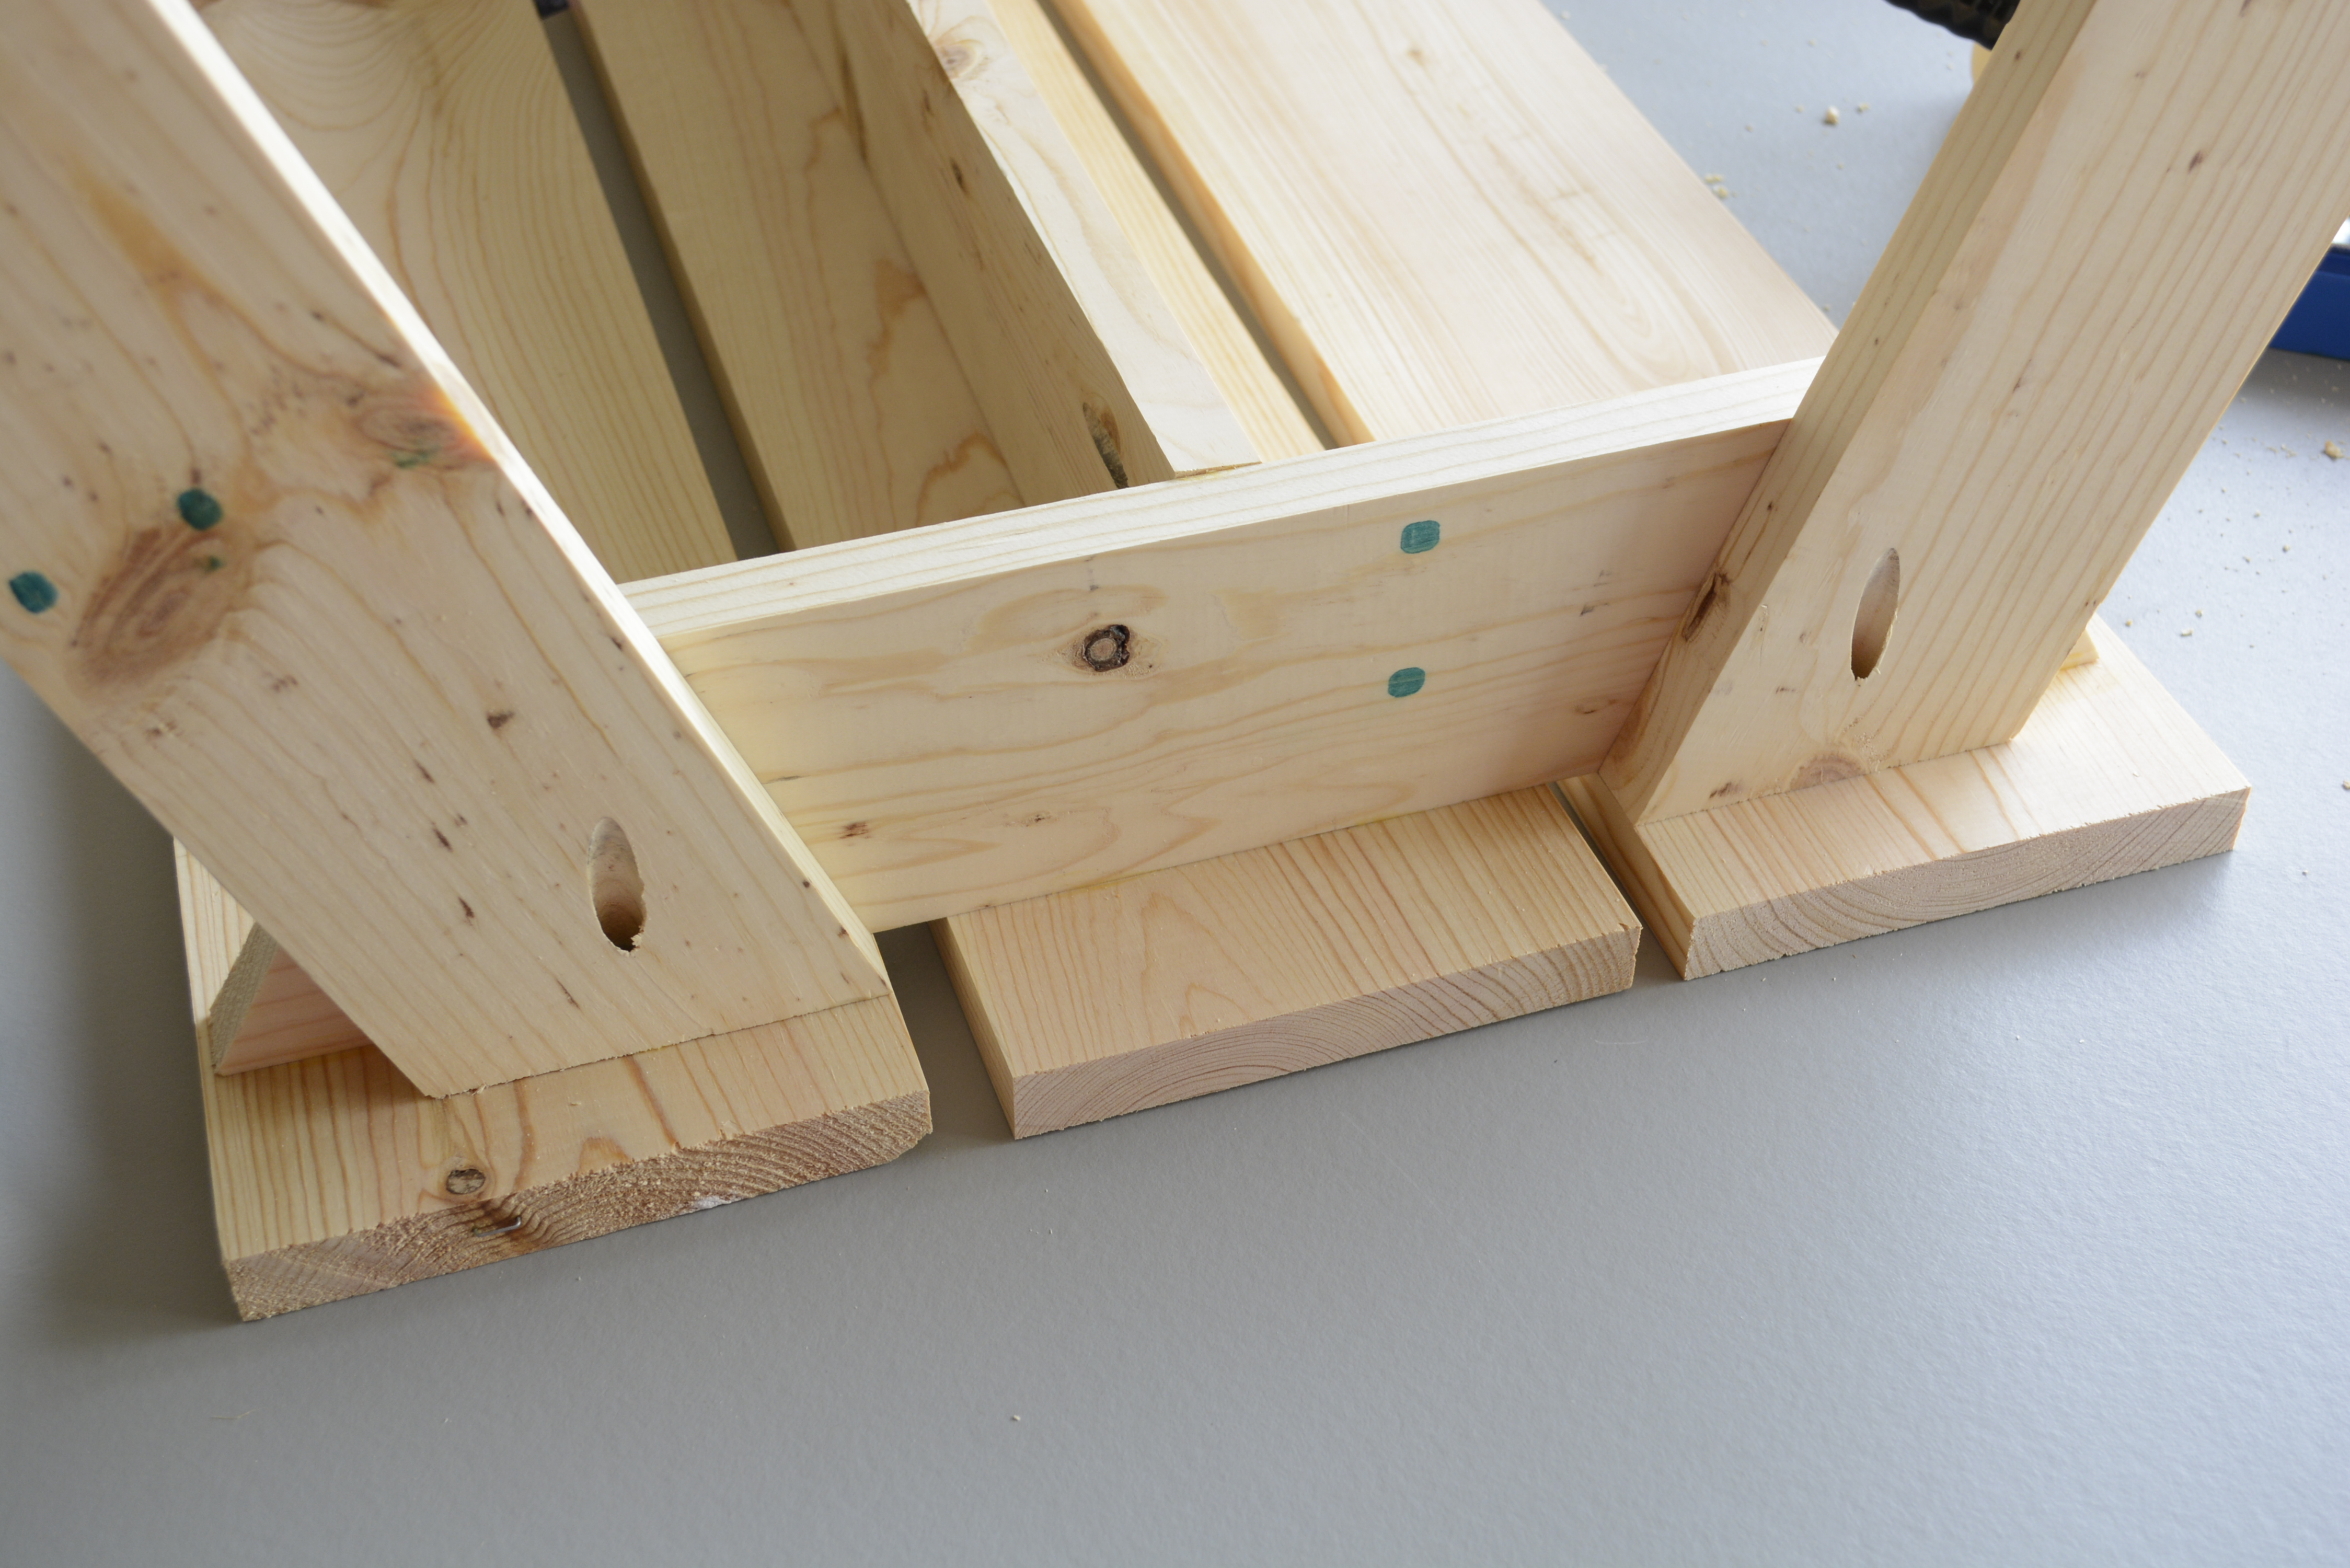
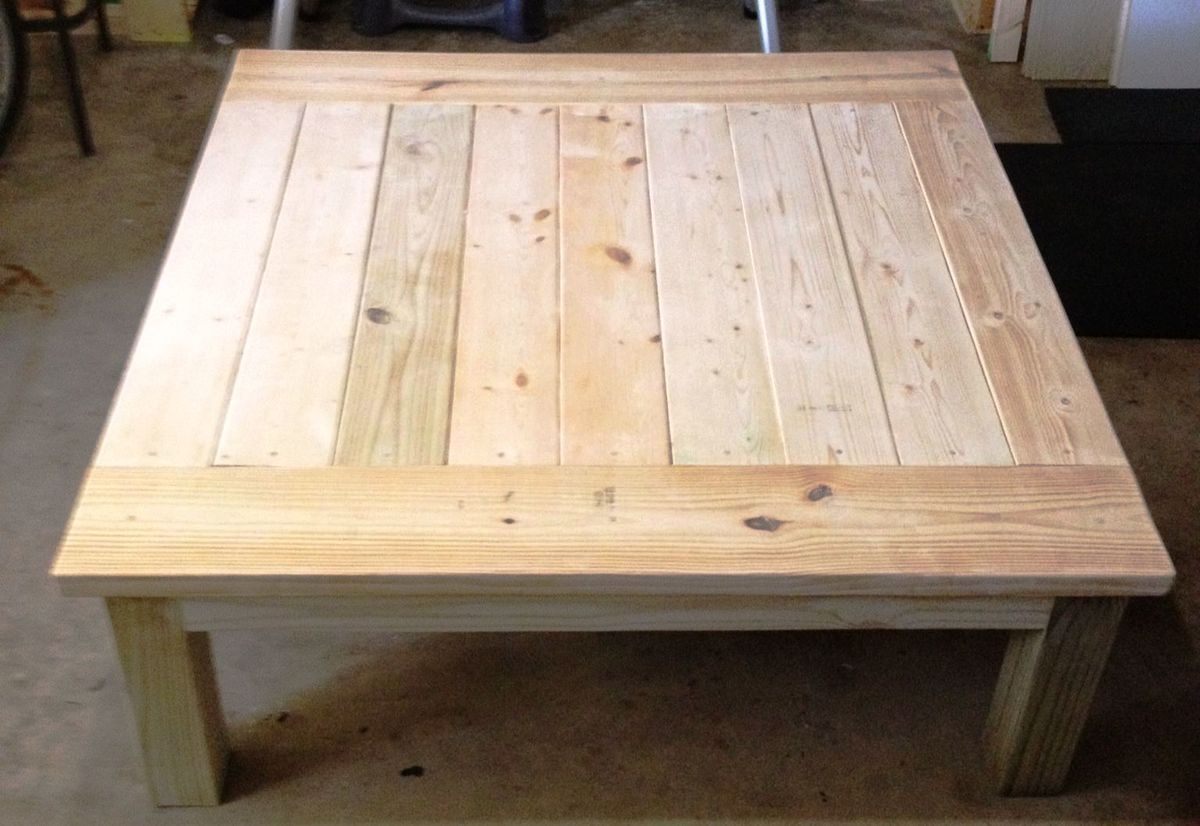
This kids mini dining table is a pretty easy build, especially if you have a Kreg Jig. I love that it is so pretty at a great price. It fits in well with our home too, which is awesome. The final product measures 30"x48", so it is big enough if your little one decides to have some friends over for dinner. One of my goals when building was I wanted multiple kids to be able to paint, color, glue, cut, or eat at it without getting in each others way. I think it won't be a problem! The whole project only takes a few hours. It was my first project with the Kreg Jig that has been sitting in my garage since Christmas. I was scared to use it. I can't believe I waited so long! That thing is amazing!
Thanks Ana for all of the encouragement and inspiration. I truly enjoy building furniture. It is so exciting thinking about my next project. I can't wait to use your plans to build storage for our entire play room!
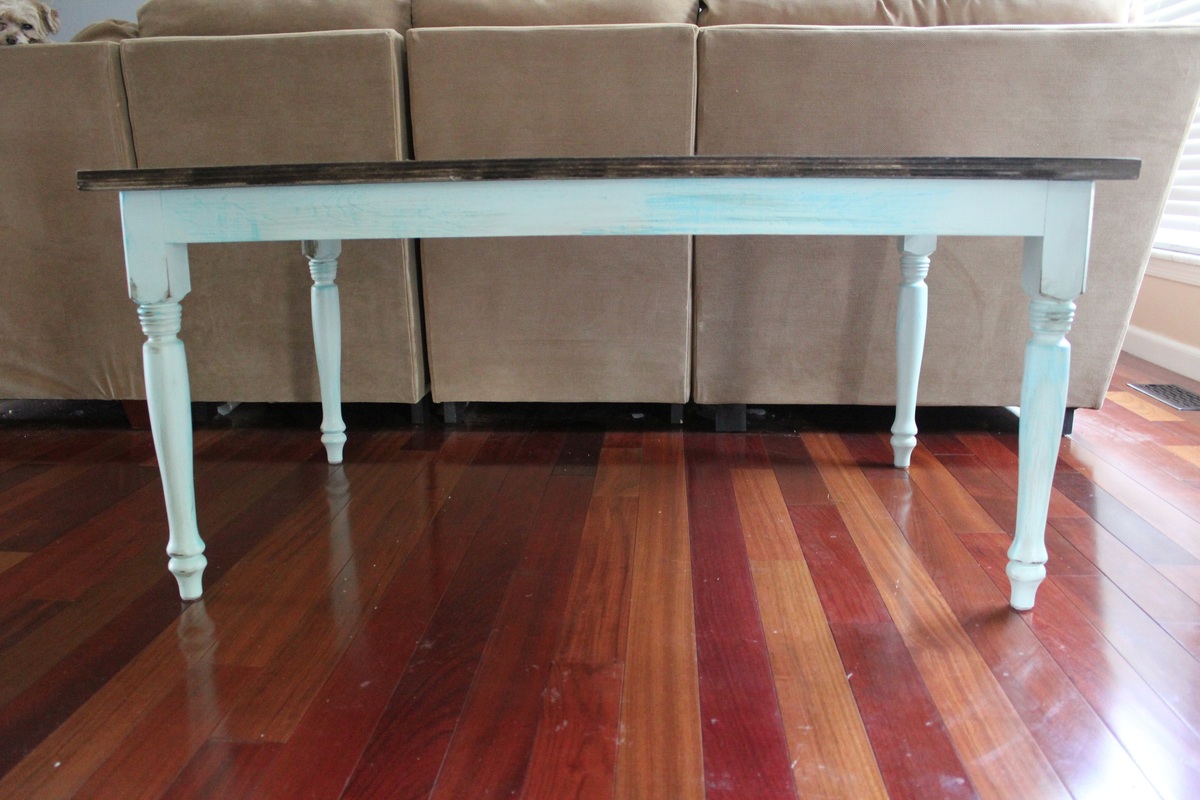
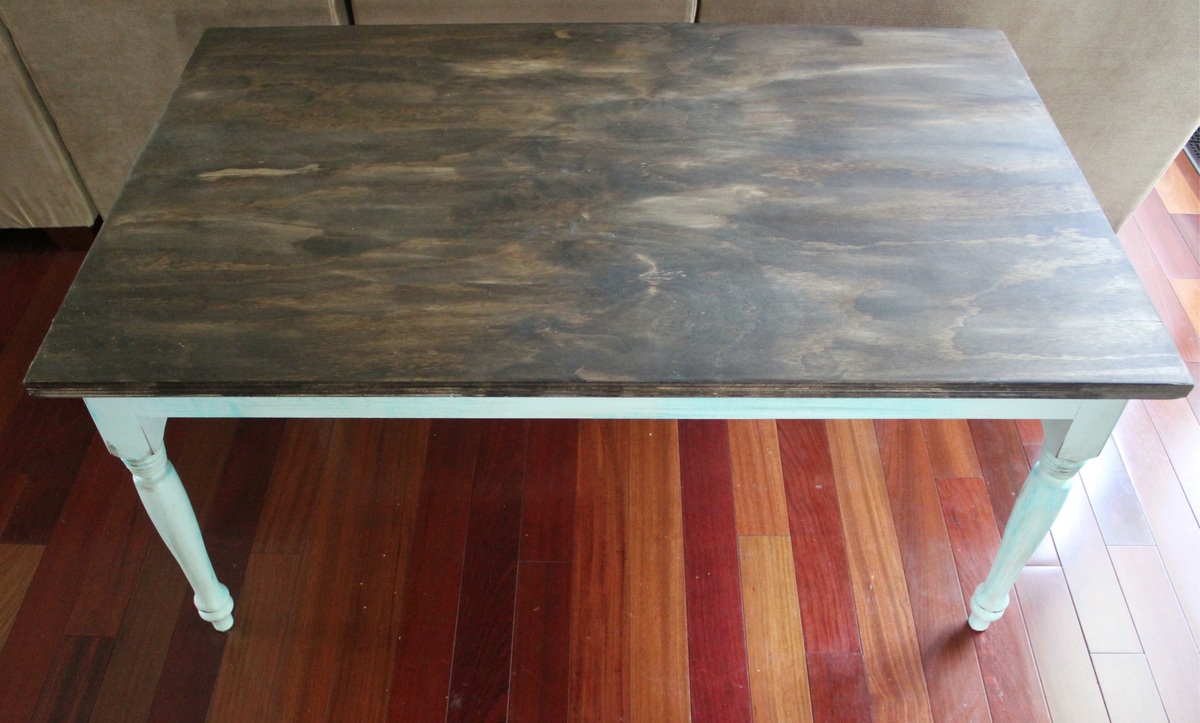
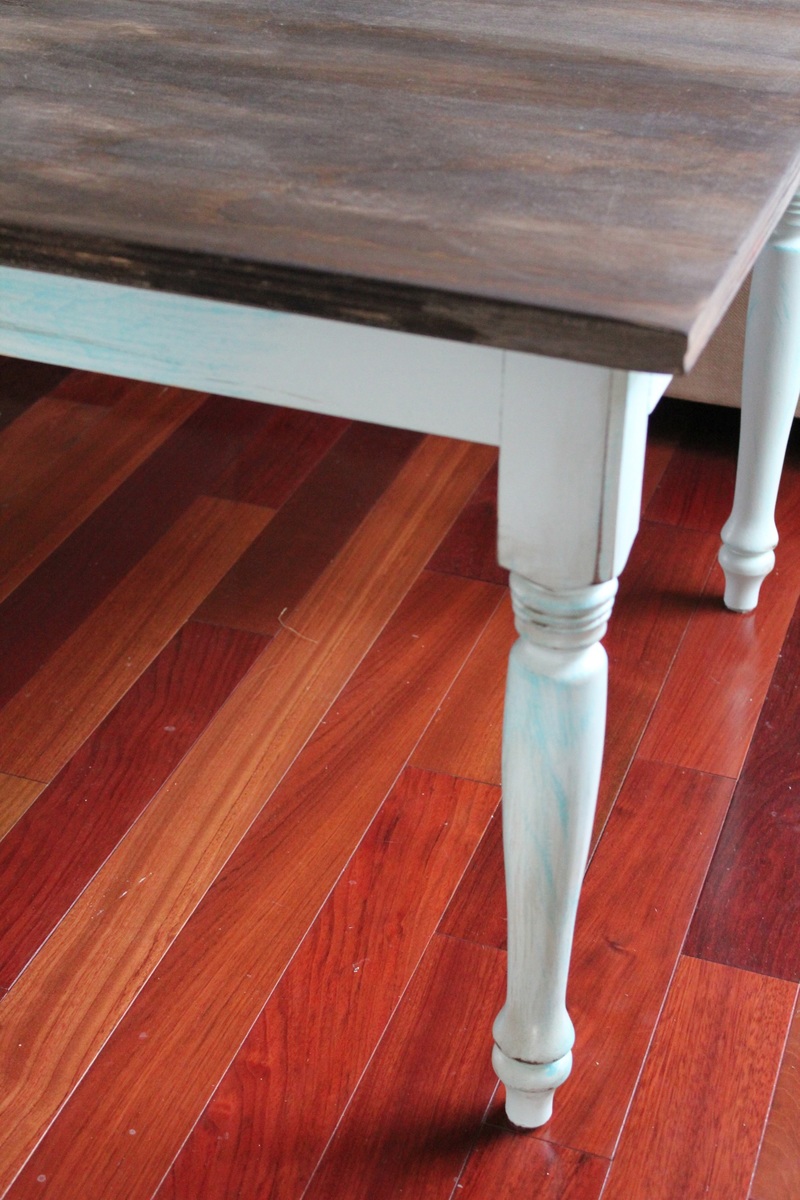
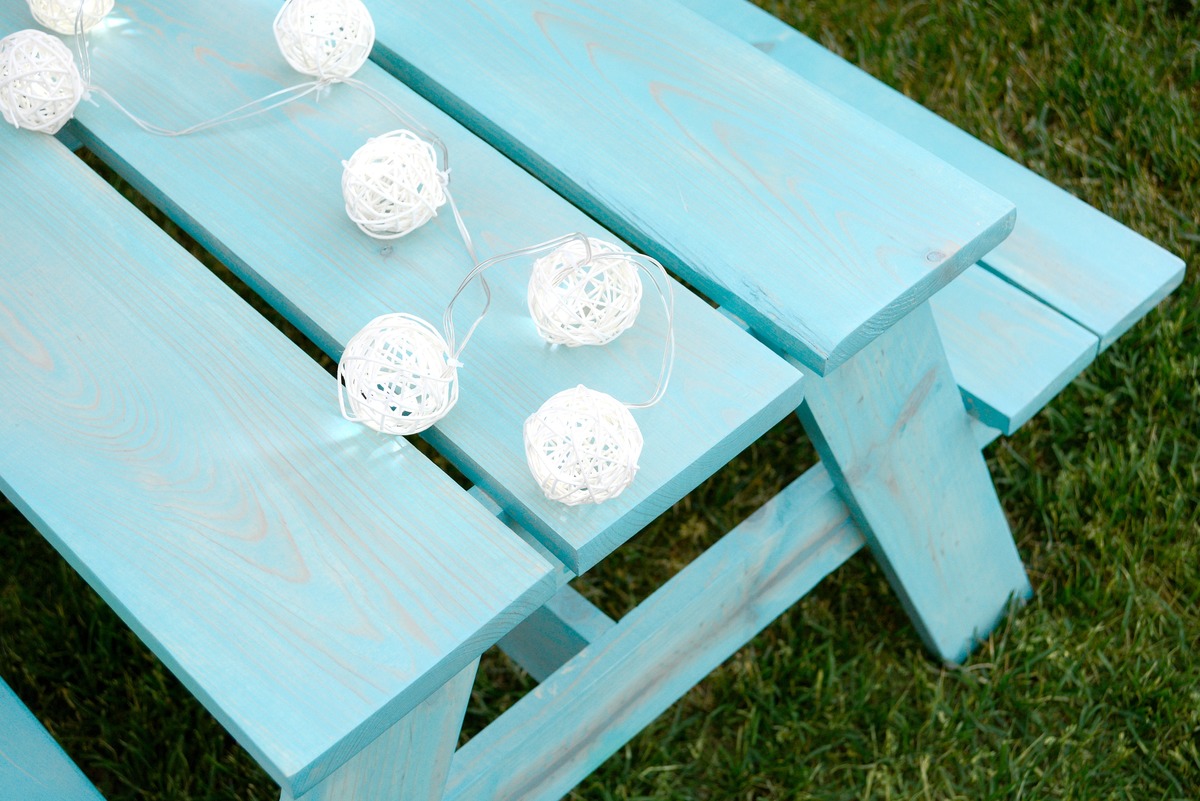
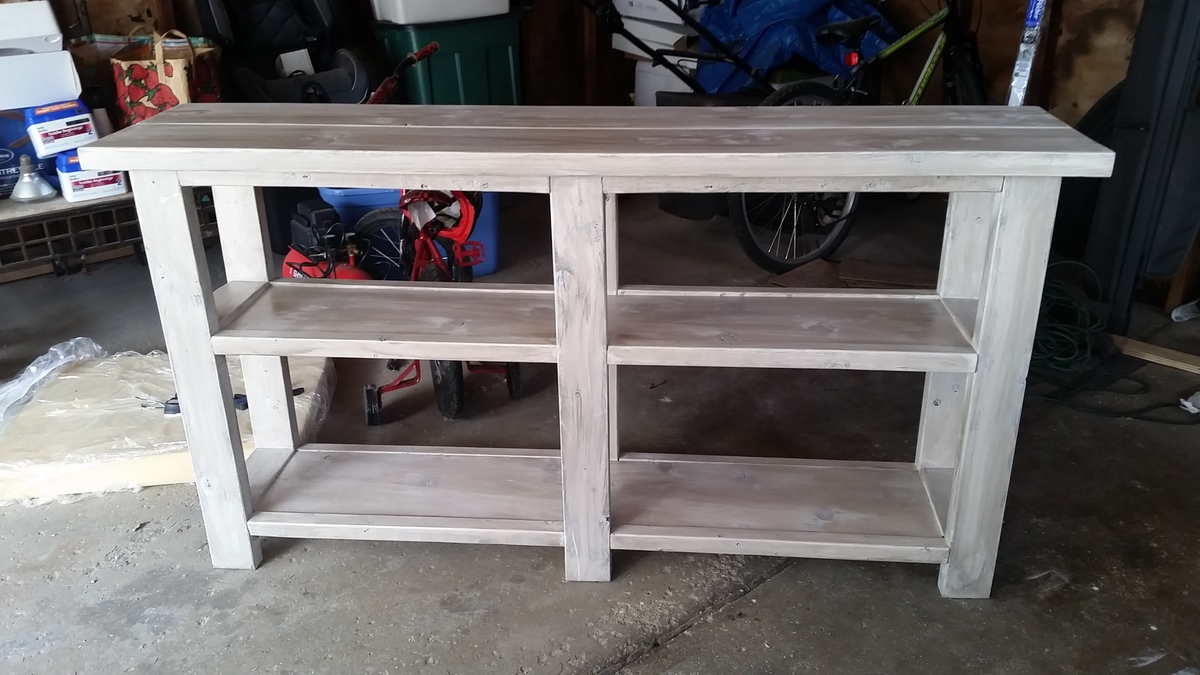
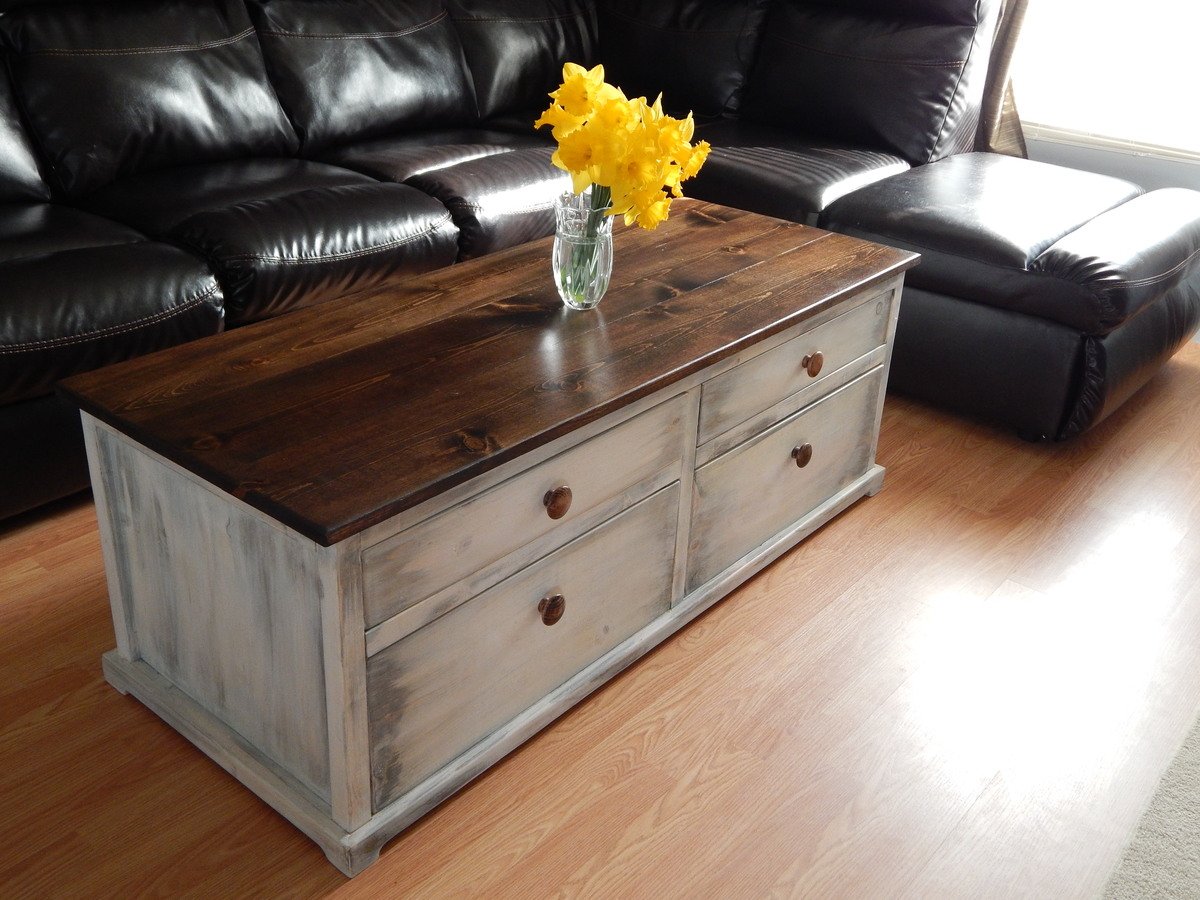
Base is painted with two coats of Valspar Pillow Mint, followed by dry brushing on Aqua Ocean. The edges of the aprons and legs were then sanded for distressing and stained with the Minwax Dark Walnut as well.