Community Brag Posts
Benchright Farmhouse Table
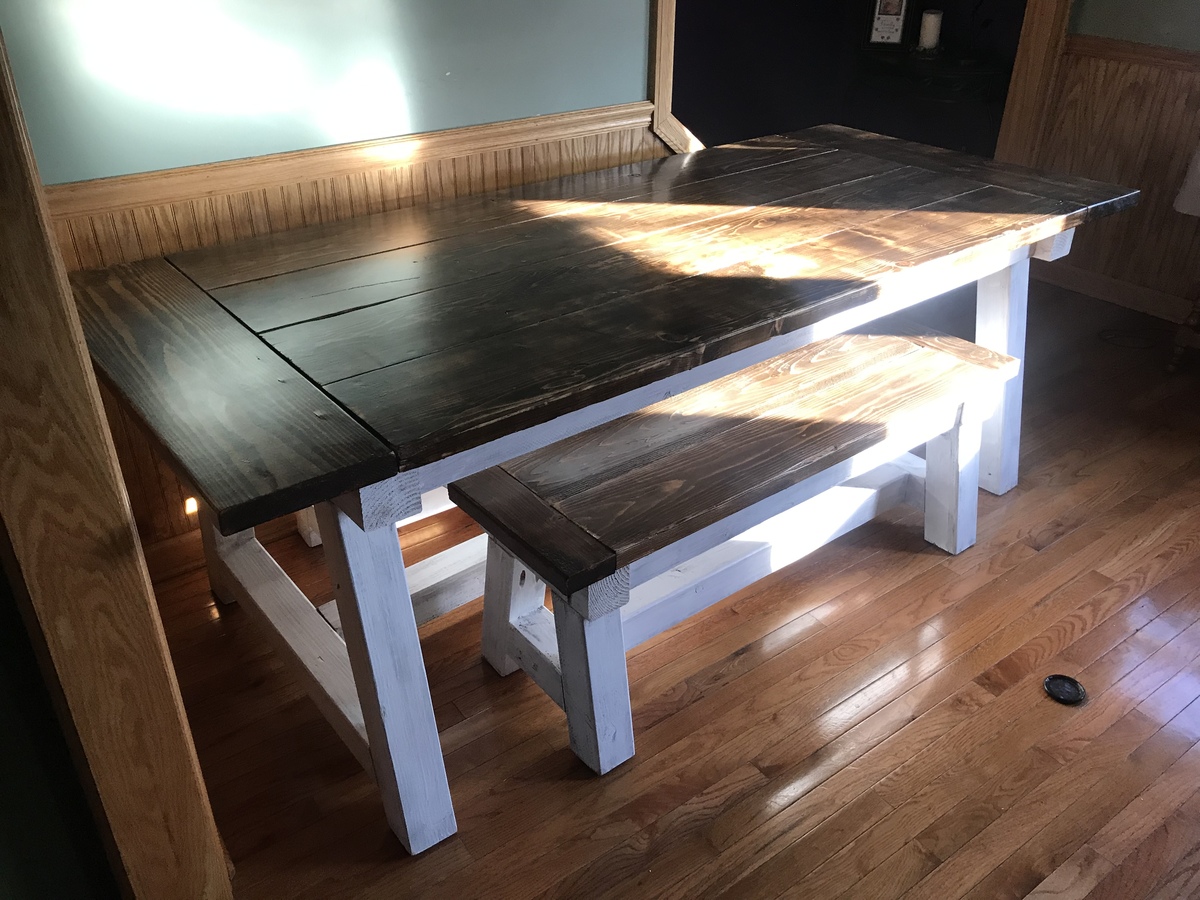
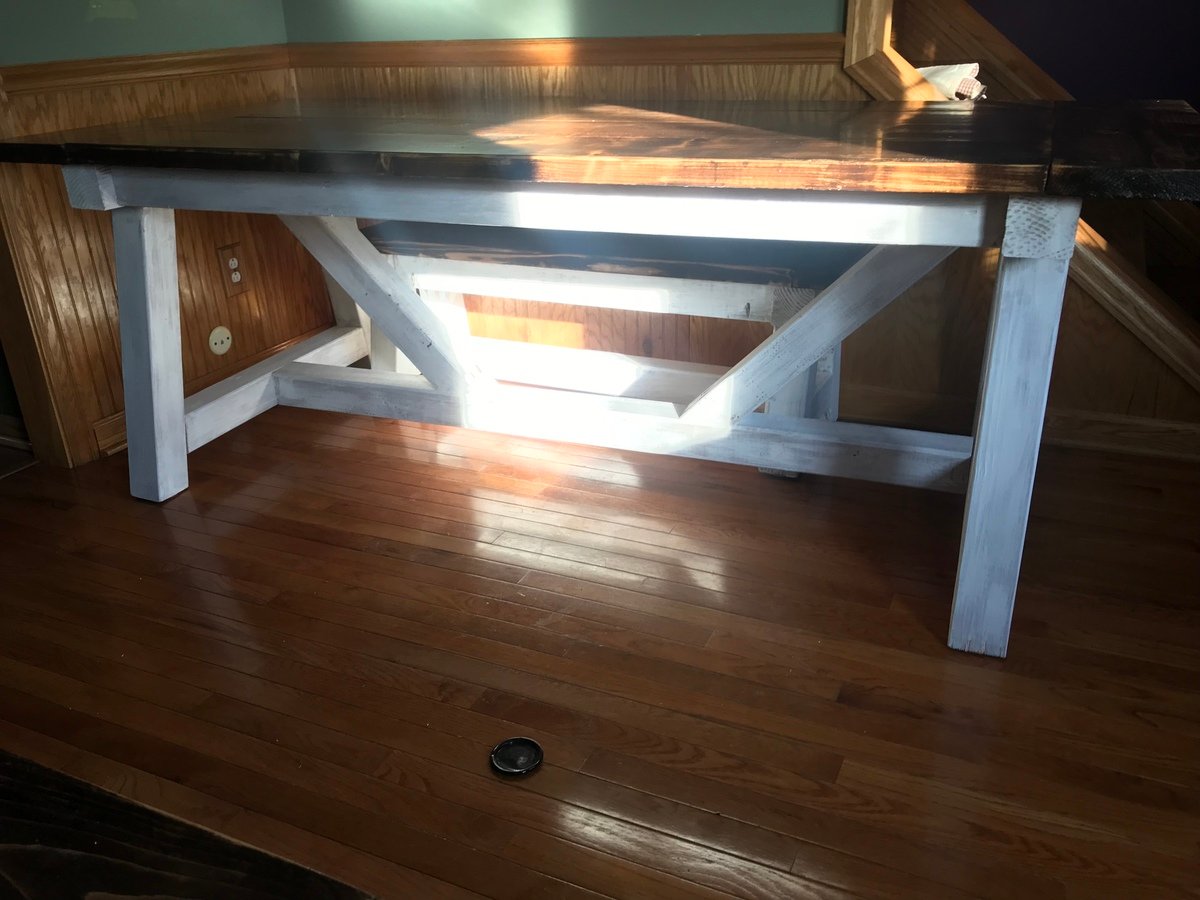
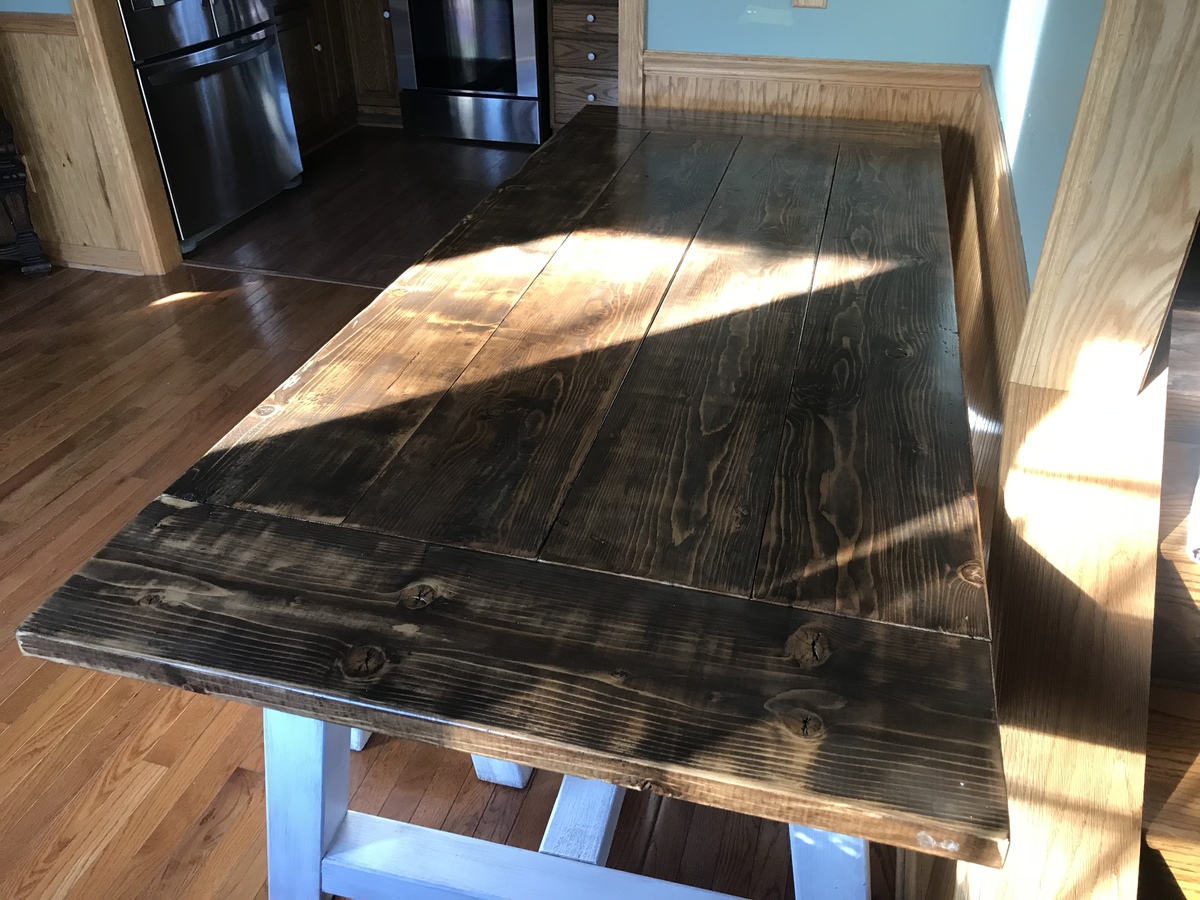
We really liked the plans for this table, but it was too narrow for our taste. My husband altered the plans so that the table is 36" wide. The solid oak boards on the table top are reclaimed from the old barn out back.
Comments
Sat, 08/20/2011 - 19:14
Beautiful built! I'm so
Beautiful built! I'm so excited to see your table! Thank you so much for sharing!
Thu, 08/25/2011 - 20:20
Thank you Ana for making the
Thank you Ana for making the plans available and easy to follow. My honey-do list gets longer. You do such great work.
Mon, 08/22/2011 - 04:50
Beautiful table
Great finish. What type of wood did you use for the top and what color was your stain?
Thanks,
Susan
Thu, 08/25/2011 - 20:19
The top is oak from an old
The top is oak from an old barn we have on our property. The stain is named Provincial from Minwax. The rest of the boards are whiteboards from Lowes.
Mon, 08/29/2011 - 19:25
Gorgeous table! Where did you
Gorgeous table! Where did you find the metal rod for the bottom of the table?
Wed, 08/31/2011 - 14:49
I found it a Lowe's in the
I found it a Lowe's in the section where the pipes are sold.
Sun, 12/04/2011 - 07:14
Gorgeous table!!!
Gorgeous table!!! I love the finish, and I know you must be so proud of your work. I love the pic that shows the bones of your table in progress. It shows the craftsmanship that you put into this piece. Great job!
Sun, 02/12/2012 - 10:11
Color of stain?
Hi,
You mentioned that you used "Provincial by Minwax" I looked at it at lowes but it doesn't seem nearly dark enough to achieve the color from your pictures. I have included a link to it so, maybe I have the wrong stuff:
http://www.lowes.com/pd_45804-24-22110000_4294766269_4294937087_?produc…
If you could let me know if I'm on the right track that would be great!
Thanks!
Tue, 02/14/2012 - 04:55
Color of stain.
You have the correct stain on the website, I used 3 coats on the table top to get it darker and let the stain soak in longer before wipping off the extra. On the chairs only 2 coats were applied. What I did was sand in between all the coats, even though the stain directions say its not needed, I just wanted to try and the results I liked. As always try on a spare piece of wood first. I hope this info. helps, thanks for looking and asking.
Wed, 02/22/2012 - 10:30
Great! Thank you for the
Great! Thank you for the reply. I am going to start on this project in a few weeks and your input is very valuable. I'll give it a go and let you know how it goes.
Thanks again!
Wed, 03/07/2012 - 19:39
I love the table, but I'm
I love the table, but I'm suprised that no one said anything about the chairs. Do you have the plans for the chairs you made? I built the table but would love to have chairs that matched! Thank You
Tue, 03/13/2012 - 14:21
Awesome table! I'm in LOVE! Plans?
I'm in LOVE with your table!!! Did your husband follow Ana's directions for the legs? They look like they are at a slight angle. Does your husband have the plans for this? Thank you so much!!
Tue, 03/13/2012 - 14:26
Do you have the plans for this table?
Hi, I LOVE your table - it came out so beautiful! Just wondering, did you change the plans other than the with of the top? The legs look like they are at a slight angle and I love that!
Sat, 03/31/2012 - 15:47
Table and chair plans.
I followed Ana's plan to build the legs, they are at a slight angle. The chairs are based on the Modern Angle Chair. They are posted as another project. I did add the three cross supports on the bottom. When I saw my wife sit down and lean back a little bit I could see the back legs moving to much in the wrong direction. I basically used a 1x2, and I tried to measure about the middle or what looked good and screwed them in. It added more strength to the legs and made the chair much sturdier. I hope this info., helps. Sorry it took awhile to reply back.
Thu, 01/31/2013 - 04:40
Amazing Work
This table is stunning, great work. Everytime we think we know which type of table we want to build we go and see another that looks even better.
Dresser For Little Girl's Room
I built this dresser for a little girl. It was my first time doing drawers and I was a little intimidated but it wasn't bad at all! I'm going to be building one for my sons room too. Thanks for the great plans!!
Elijah's Washer & Dryer Pedestal
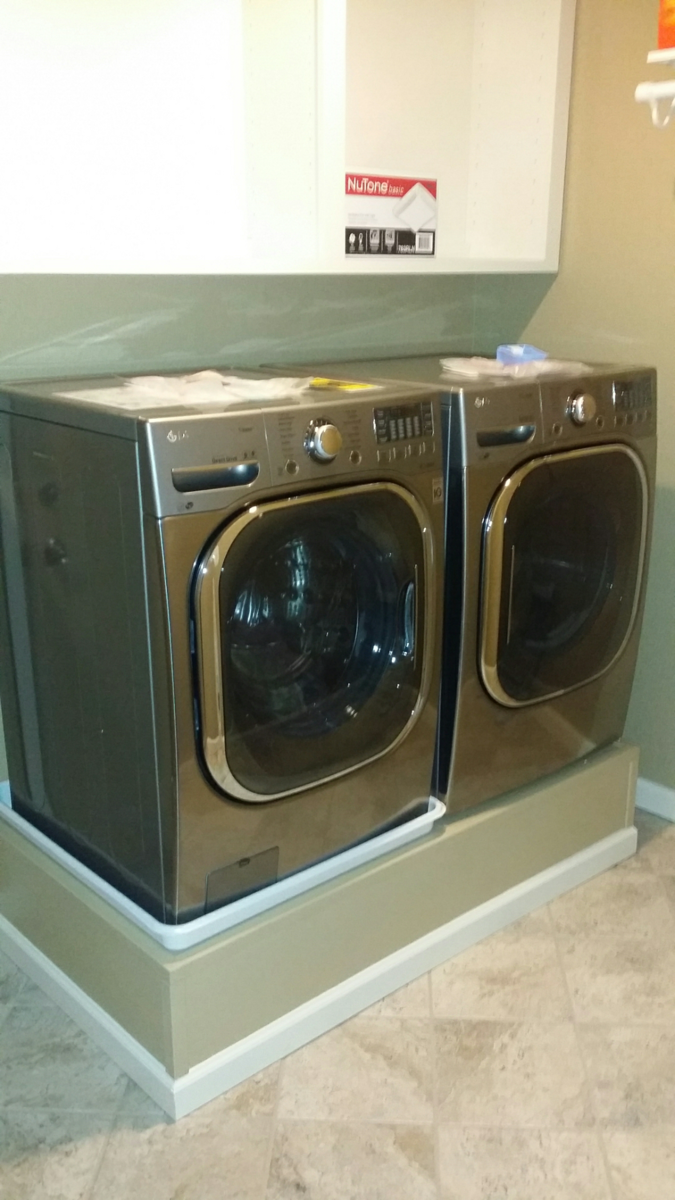
I got this Idea from Sausha's washer dryer pedestal post. Before then i didnt know people even built pedestals for their washer and dryer. Just purchased new front load washer and dryer and they wanted 250 bucks extra for each pedestal. That is 500 bucks and is absolutely rediculous. So i opted out of those and thought to myself maybe I can build something instead. So I began my search online and stumbled across this post which seems to be the most popular pedestal build on the web. I think sausha's build is fantastic and absolutely beautiful though I went another way with mine.
I tend to like to overbuild things. Especially in this case, seeing as the washer weighs a beastly 200 pounds by itself. I figured with clothes and water it would be about 235 pounds just for the washer. I noticed that with the aluminum drawer pedestals that you can purchse with the washer and dryer the support is only where the legs from the washer and dryer will sit. That was all I needed to get on my way. Purchased some regular old douglas fir 2x4's, 4x4's, and a 4'x8' sheet of 3/4 inch plywood. I opted to use fence post brackets to tie everything together because I didnt feel like driller pocket holes in each 2x4 when you were not going to see them once its all said and done. The fence brackets are not structural so they lack ridgidity untill you tie everything together with the legs, slats, and top. Cut the top from the 3/4 plywood sheet and used the left over plywood to cover the front and the sides. I left the back open as it is not seen anyway.
Total size of the pedestal is 56" wide x 31" deep x 12 3/4 inches tall, but you can build it as wide, deep or as tall as you need it. When i was done putting it together. I tested it by jumping up and down on it and I weigh 230 pounds. So this thing is quite strong. I finished it up by covering the edges where the plywood meet with Edge moulding and the bottom with baseboard to match my laundry room. I used Behr premium plus ultra paint on most of it and, behr alkyd paint for the baseboards. Gave the top a couple coats of General Finishes High Performance Polyurethane. Which isnt neccessary but I opted to do so because of the weight of the washer and dryer and the General Finishes High performance dries harder than most other polys that I have used. I only used it on the top though.
Taking into account that I used the paint and baseboards left over from renovating my laundry room. This project cost about 150 bucks. 200 if you have to purchase the paint and moulding. Quite easy to do and though I made the cutes I needed with my table saw. This can be done with a circular saw and a drill. No exotic tools are needed. Will post finished pictures when my washing machine and dryer are delivered on friday and they are sitting on top of the pedestal.
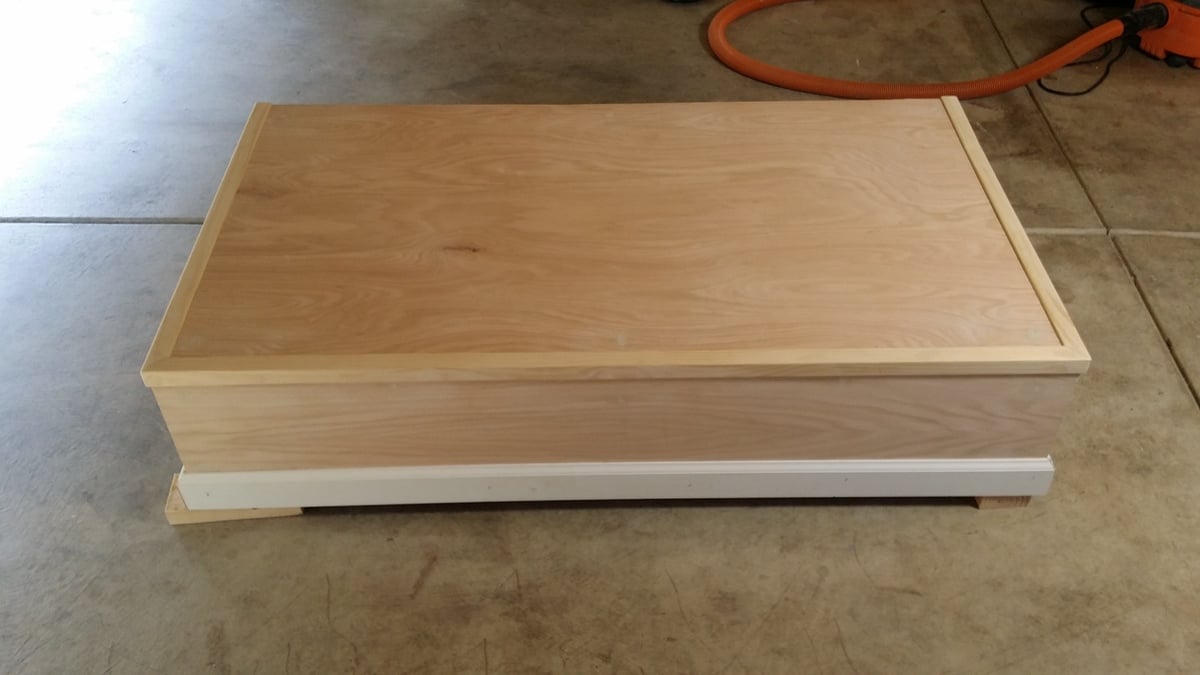
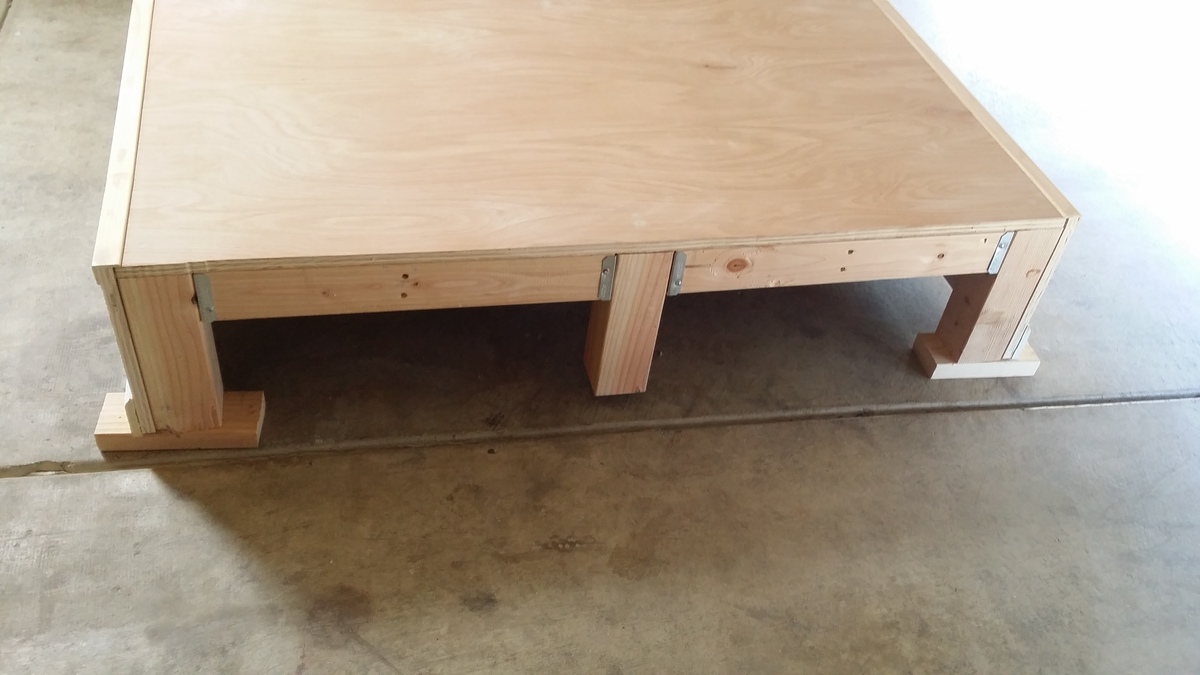
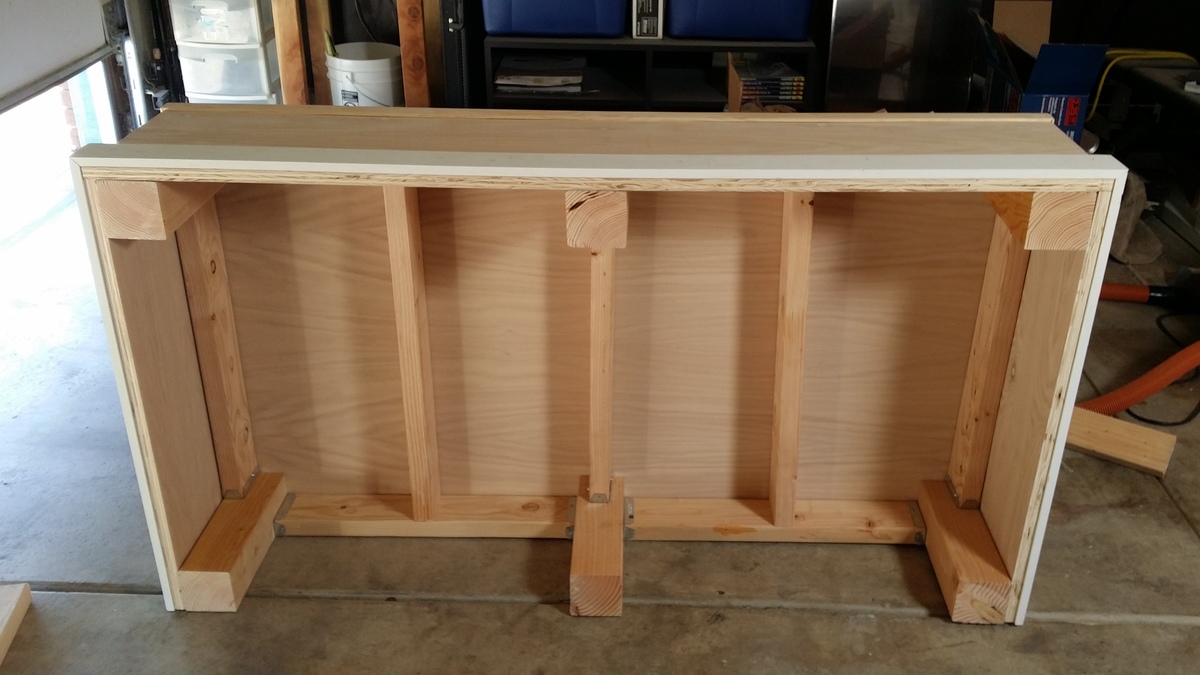
Polyurethane
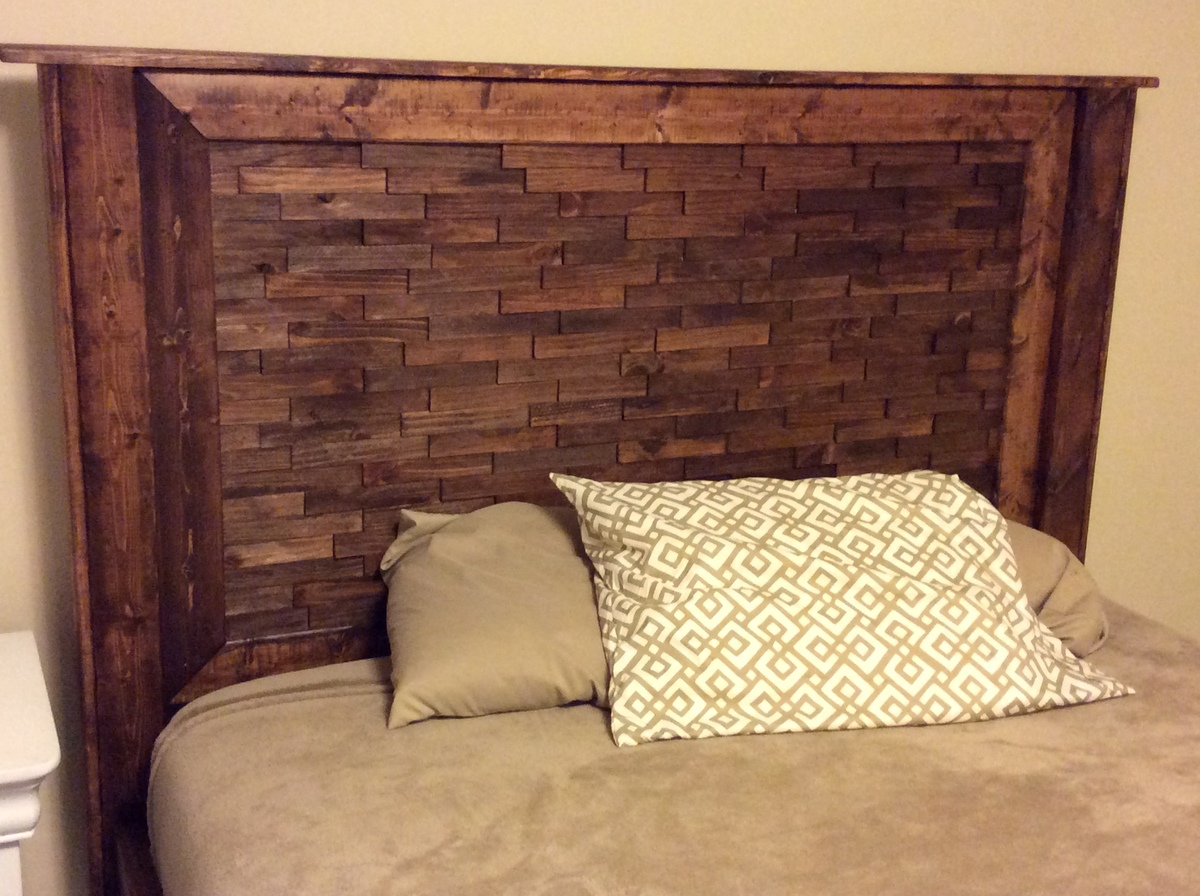
Queen shim bed
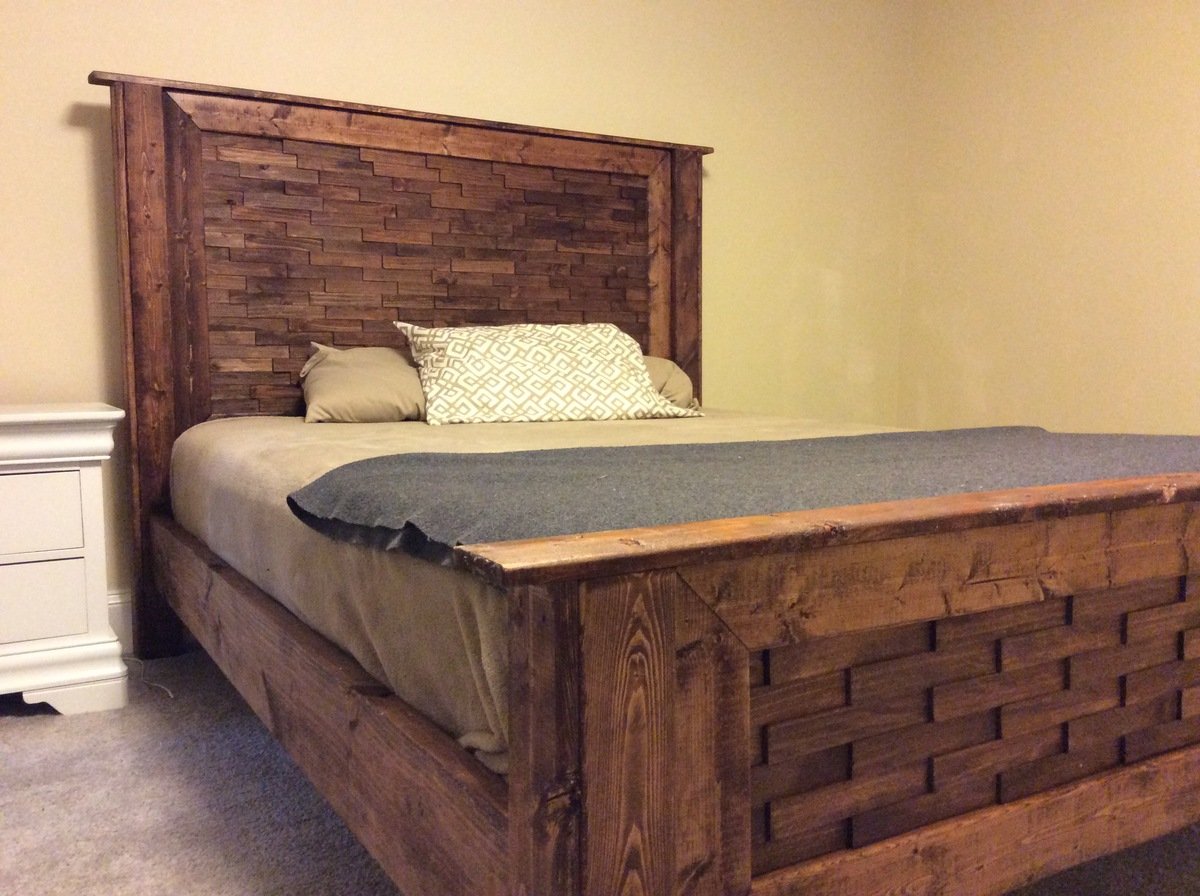
Queen bed with shim head and foot boards
Comments
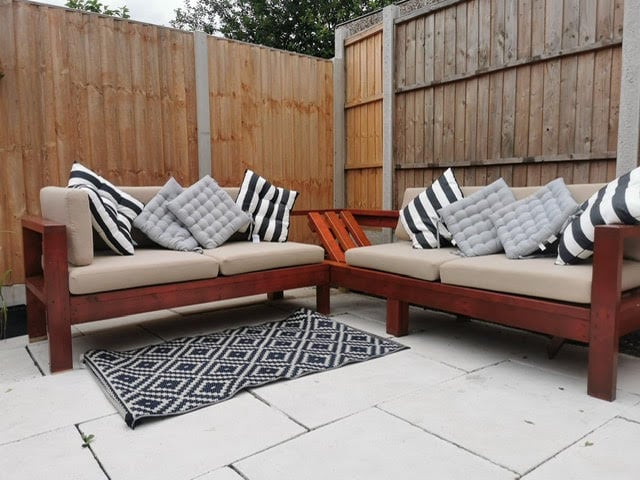
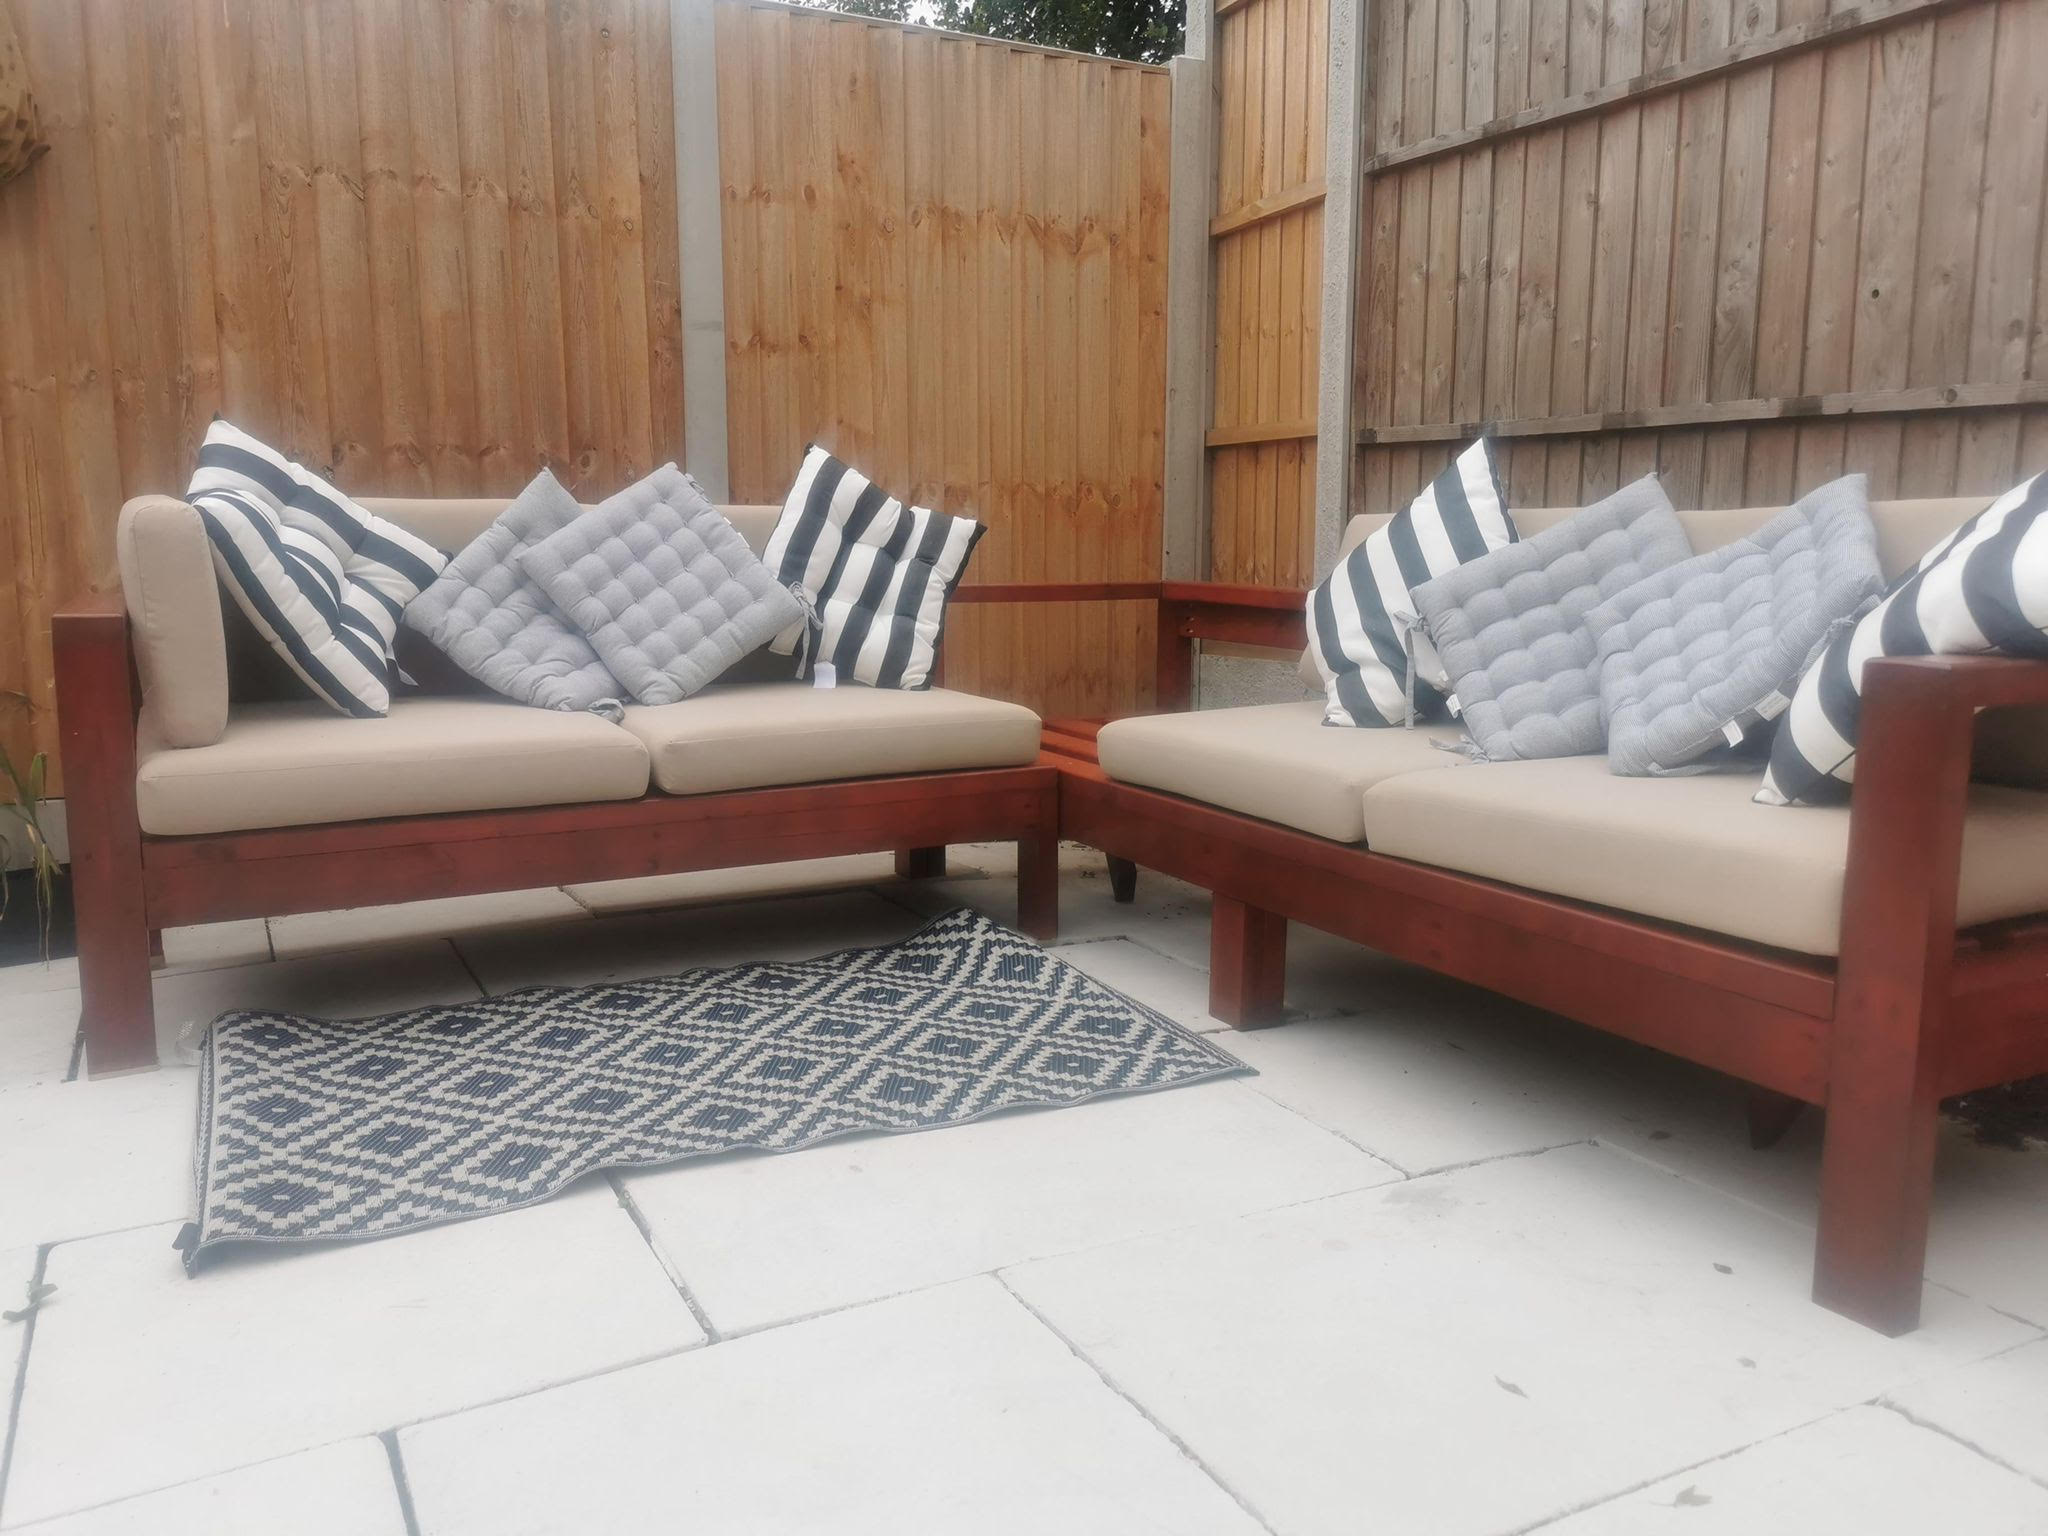
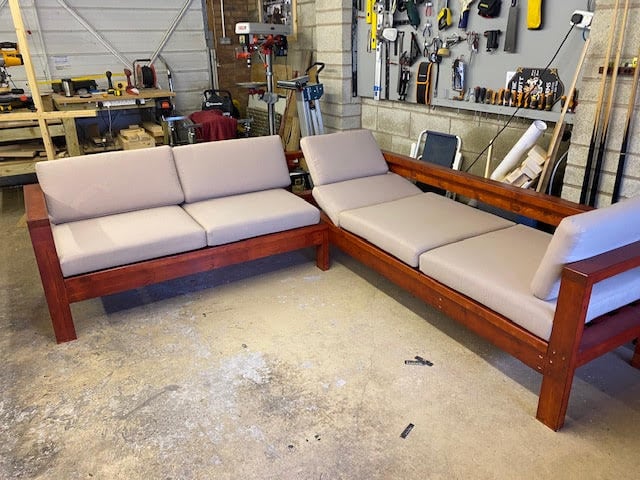
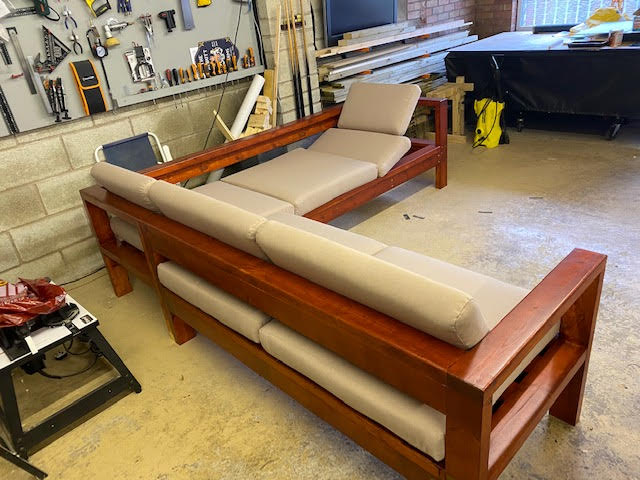
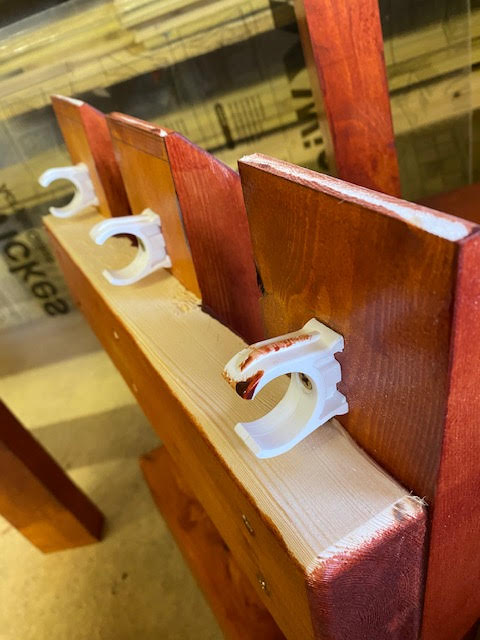
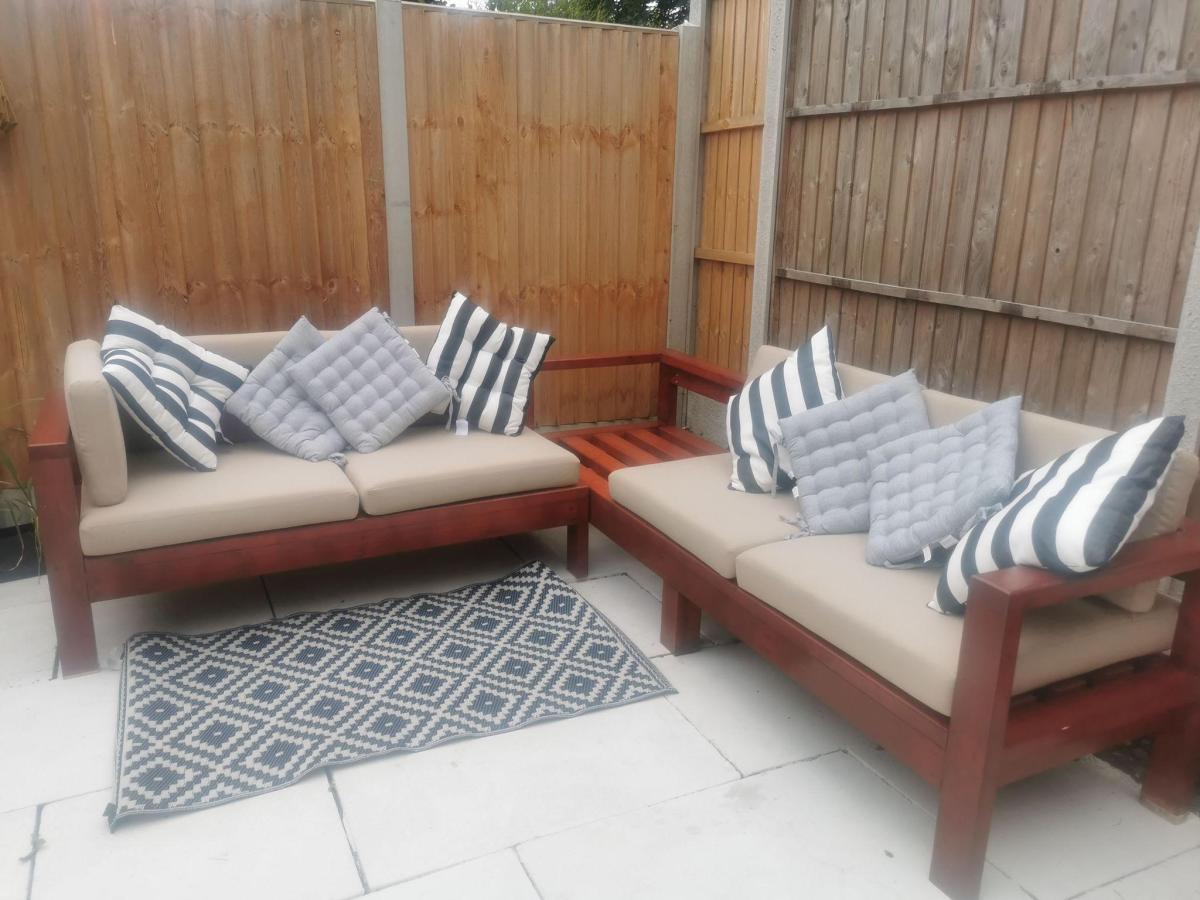
Lounger Sofa by Mark
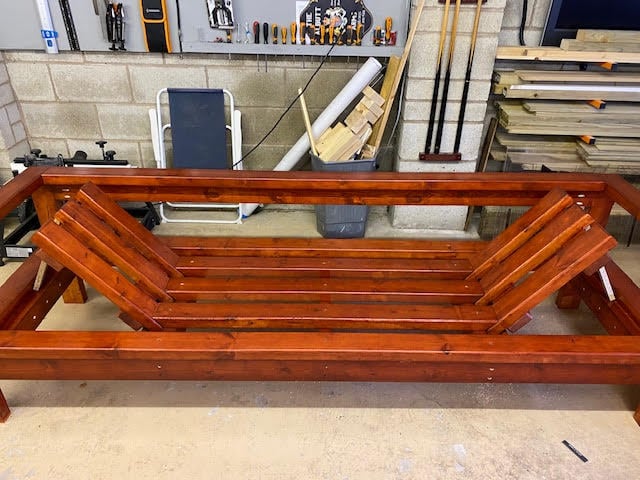
Just wanted to share the results of the sectional I built with your plans.
I’m new to woodwork, newly retired, built these for my daughters, with a twist, she wanted a lounger sofa, hope you like.

Comments
Modified Dresser - Perfect for my little guy
I built this for my son's bedroom, but modified it to fit our needs. It is 42" high, 38" wide, and 18" deep. I did a double thick top, which I love, and my Dad routed it for me. This piece is solid! I am very happy with the result! Sorry for the not so great cell phone pics!

Comments
First Build Bedside Table
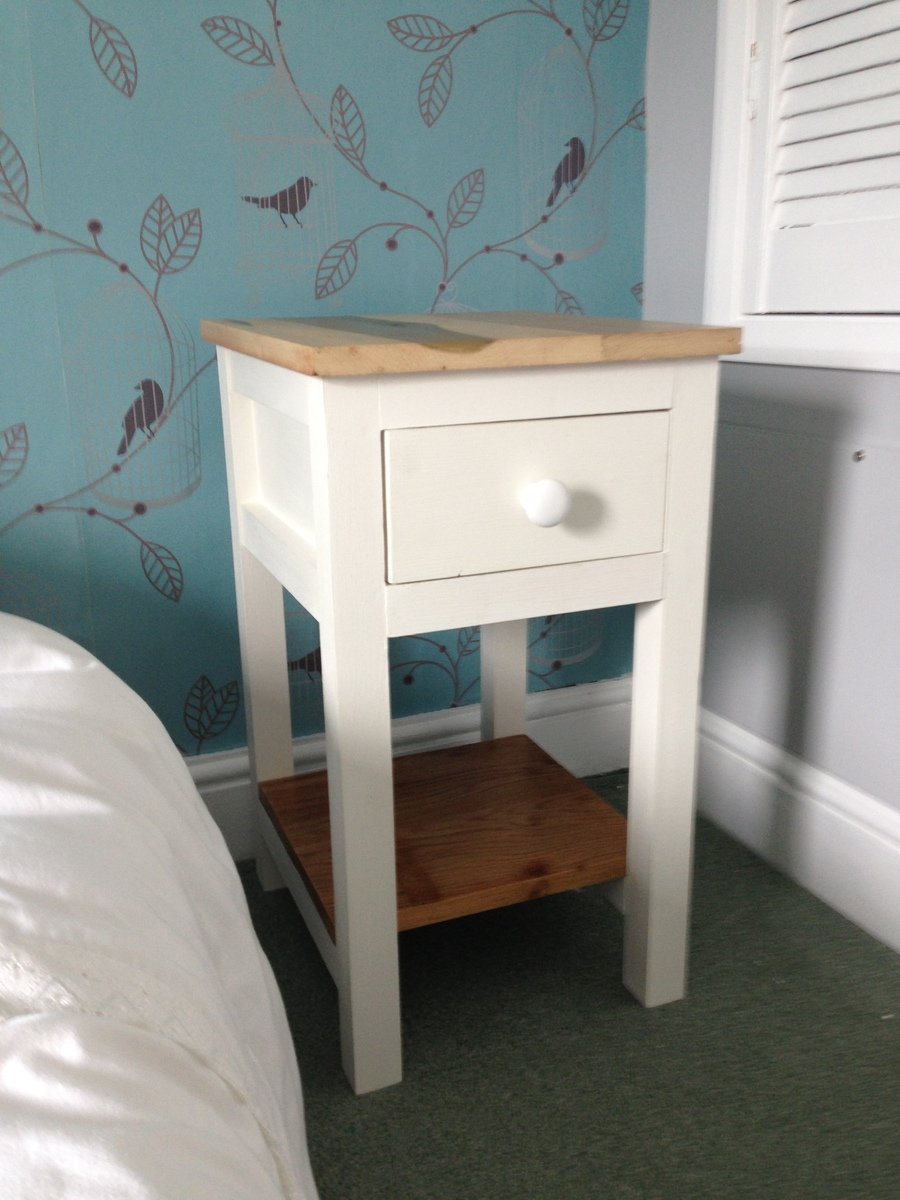
My first build, a small side table for our newly decorated guest bedroom. Adapted from the Mini Farmhouse Bedside from Ana's website and the side table from her book.
The top and shelf were made from reclaimed oak panels from an old wardrobe.
I now have a second table and a farmhouse bed to make. I constructed without a Kreg jig but am thinking of buying one now to make construction cleaner.
Comments
Mon, 09/16/2013 - 02:19
Great Looking Table!
Looks great! Love the use of the reclaimed oak, and the finish is super! Great job!
Mon, 09/16/2013 - 08:16
Don't think about it...
Trust the 5 million people on this site that have said "it's the best thing ever" and go buy it! You don't have to get the whole set if you can't afford it, there is a $20 one that you just have to clamp right to your wood. Takes longer but still totally awesome.
Good job.
Built-in Floating Shelves
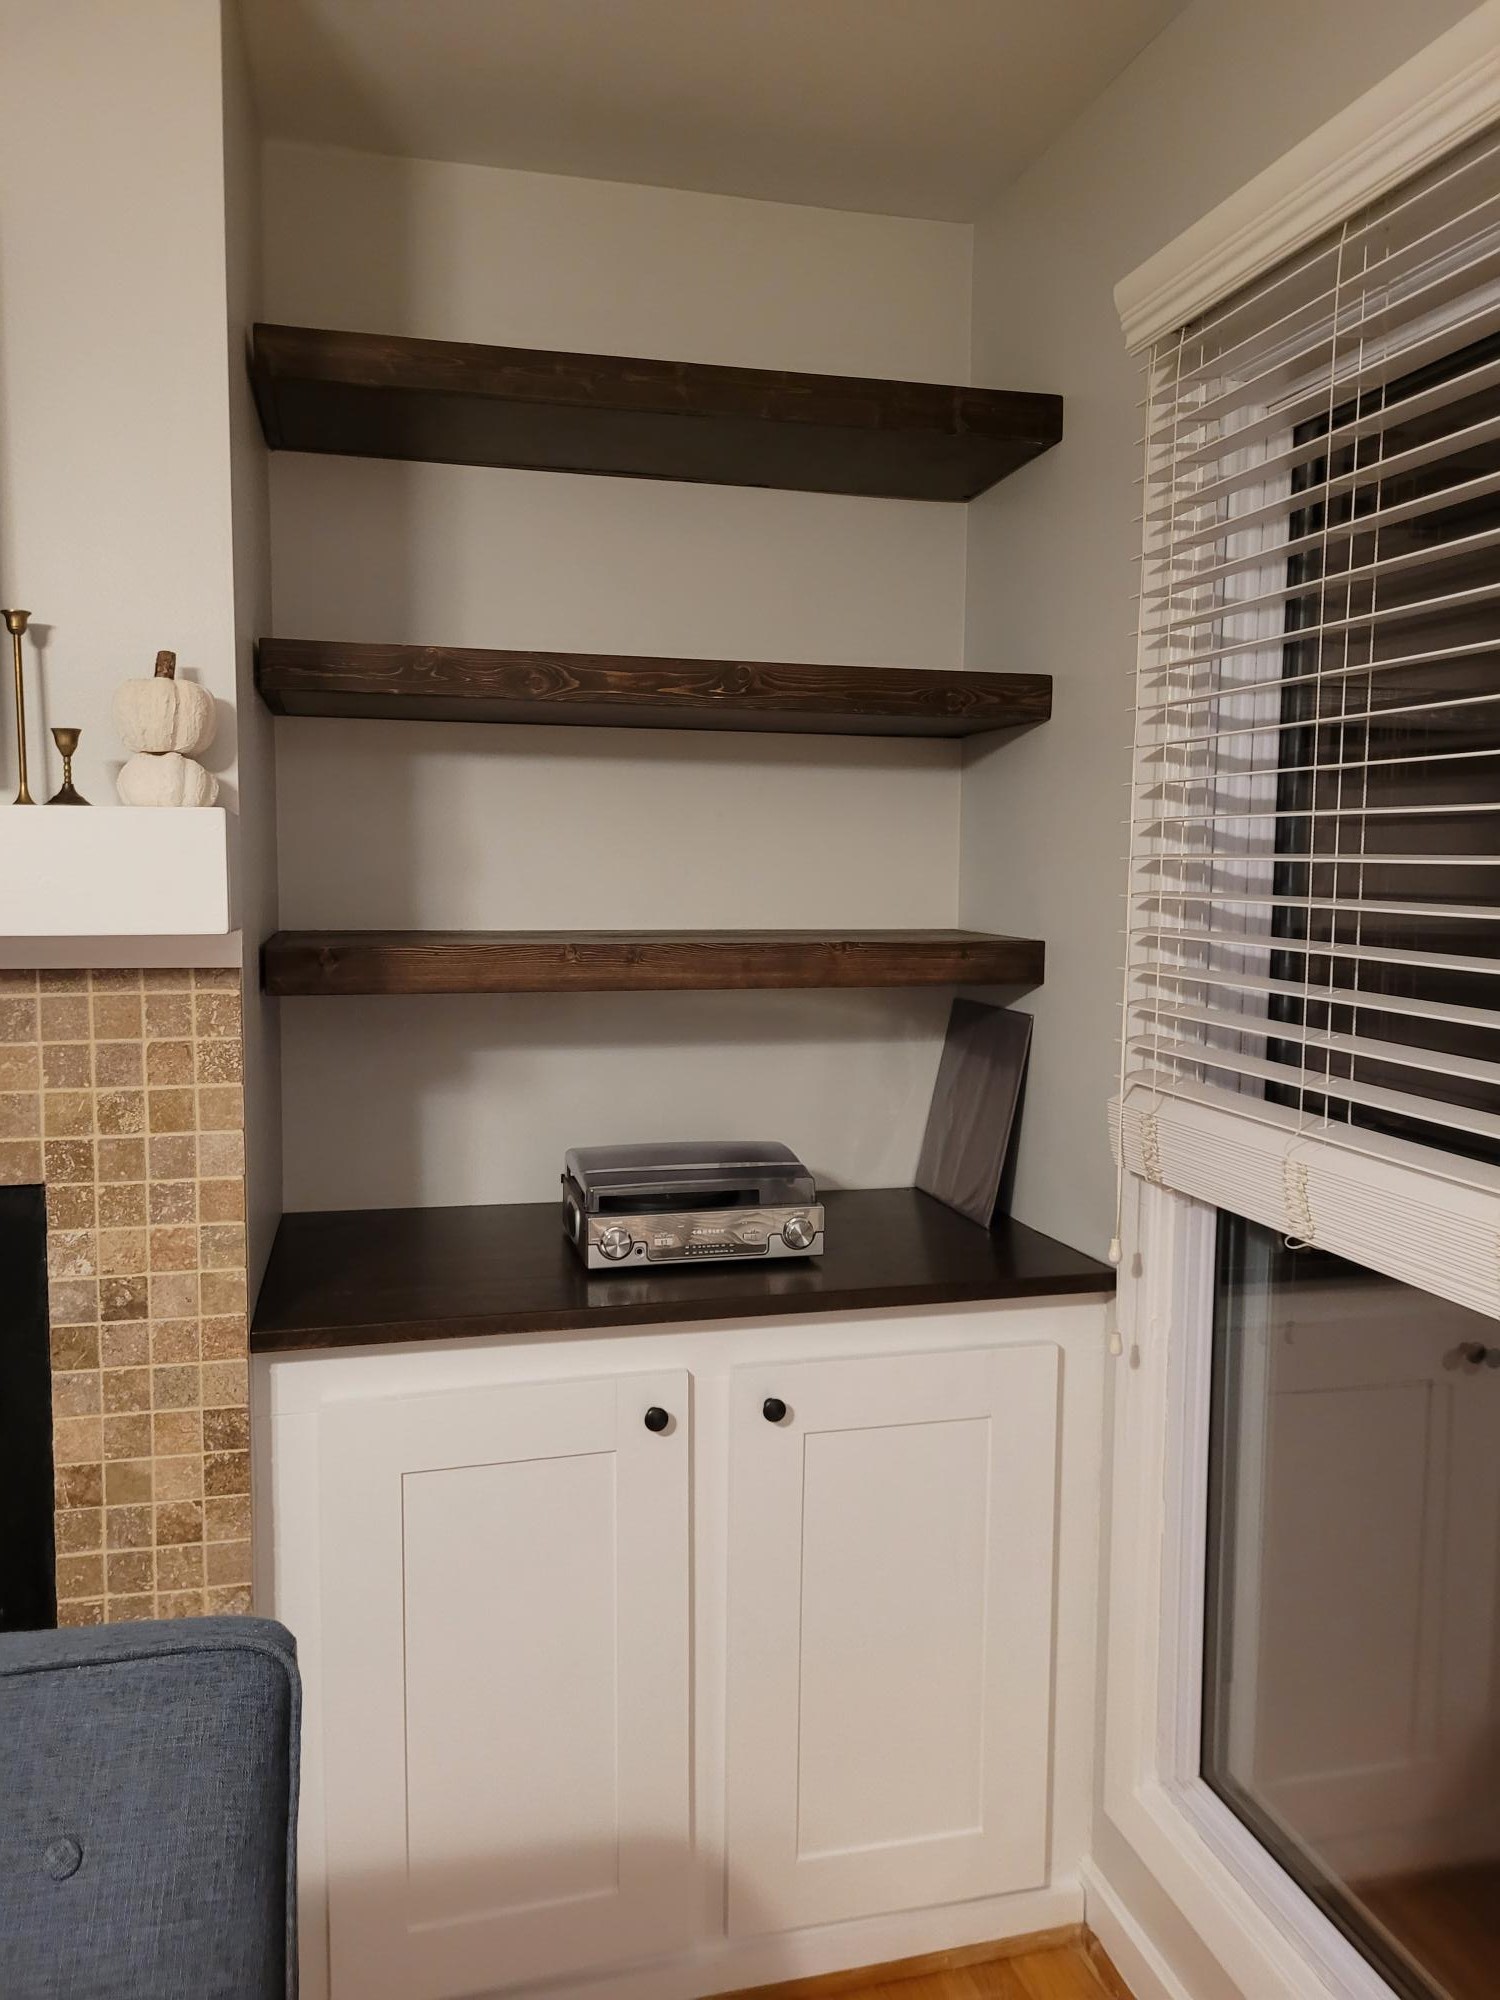
Built-in floating shelves!
by Lisa
Custom Farmhouse Bench
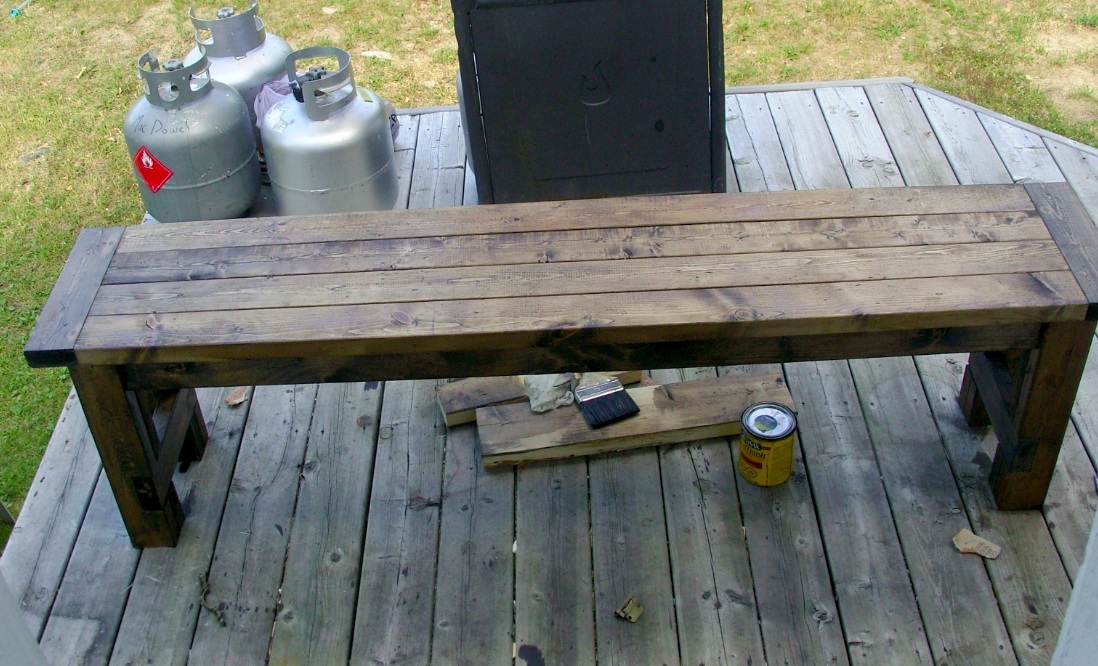
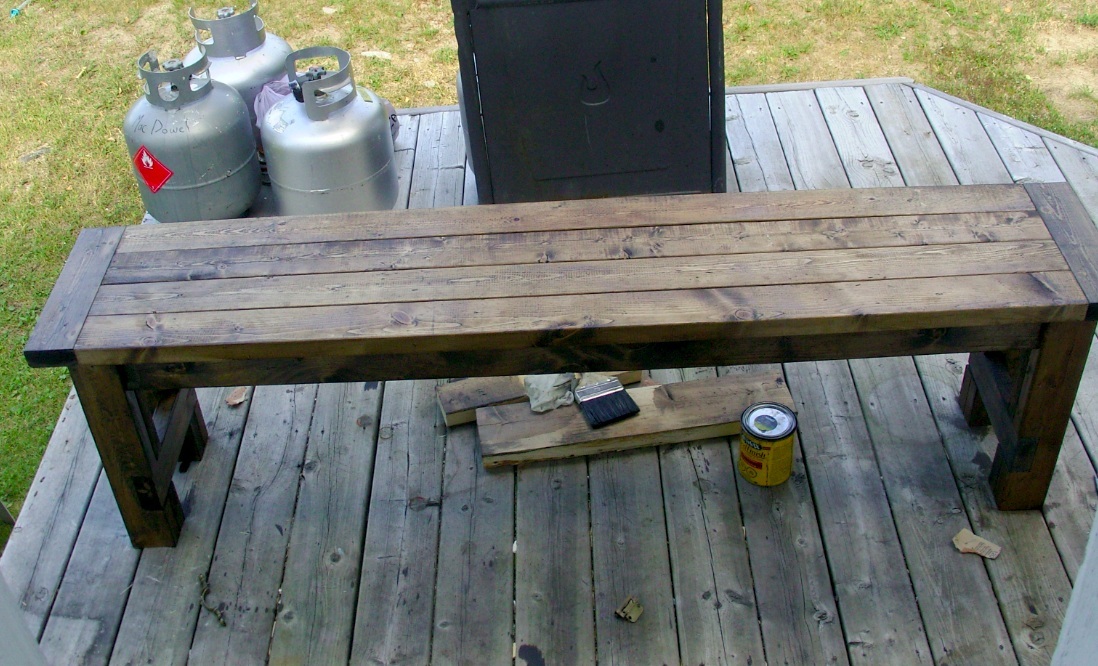
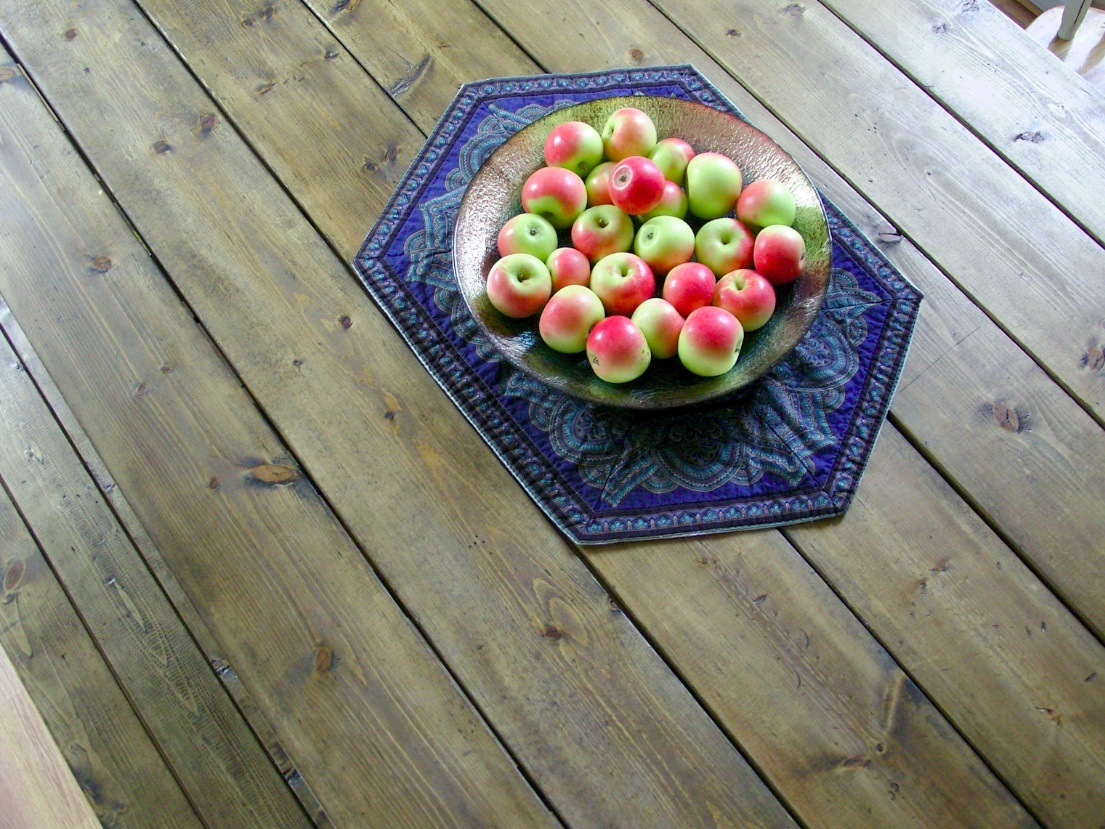
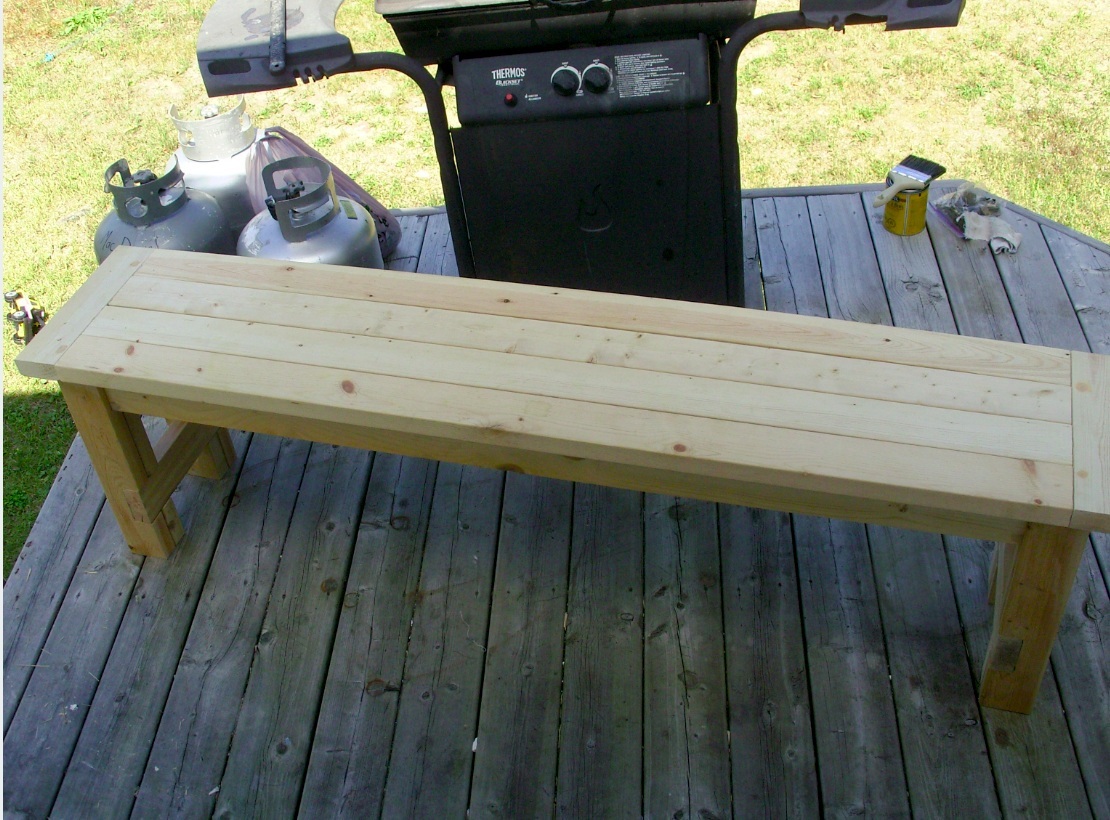
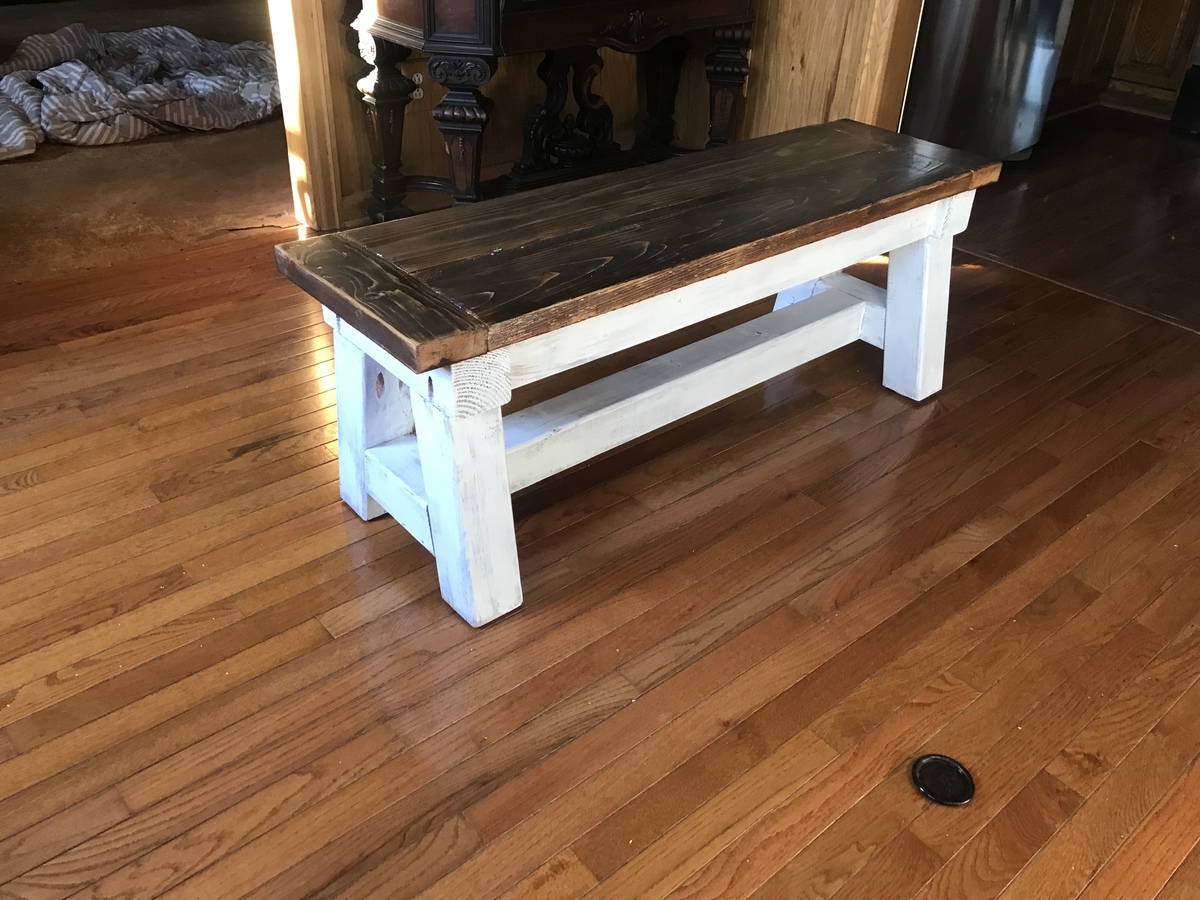
After building a custom sized farmhouse table by combining and tweaking the two plans here, we knew we wanted another piece of dining furniture as substantial as the table and in the same style. The farmhouse bench was the logical choice!
After calculating our desired height and length (our table is taller, but not a long as Ana's) we jumped right into building. Other than waiting for the glue to set and the stain to dry the building itself took less than two hours.
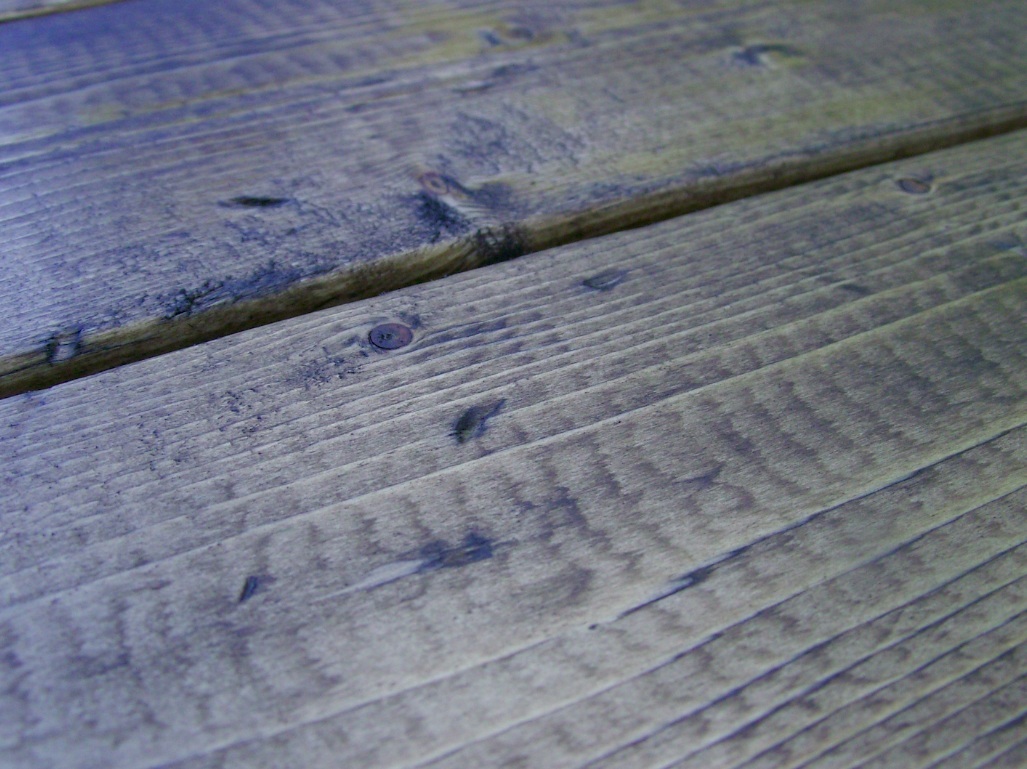
Before we stained the table we distressed the wood by tossing a bag of screws, nails & miscellaneous cabinet hardware against the bench top, followed by random scatterings of hammer blows and a few fuax-nail punch holes to make it seem more time-worn and aged (we used the same process on our table before finishing it). The key was to not go over-board and keep it random to make it seem as if the marks had been acquired over many years.
We love how both pieces turned out, from the cost to the look to the peace of mind knowing that it won't break our hearts to see the furniture get a little scratched or banged here & there as well as the substance given by having a solid wood dining set. This is one bench that won't flip over willy nilly. :)
Comments
Wed, 05/02/2012 - 15:39
Beautiful! I am debating on
Beautiful!
I am debating on using spruce or pine. how was your exeprience with spruce? did it split any?
In reply to Beautiful! I am debating on by Mar_co (not verified)
Thu, 05/03/2012 - 05:54
Spruce vs. Pine.
We haven't had any issues with the spruce splitting thus far, but we did pre-drill every screw and nail used as well as check the wood piece by piece at the lumber yard to look for deviances, warping, cracks and excessive knots (rule of thumb: the more knots in the wood, the more likely it will crack or split over time).
Another thing we do to condition the wood (even though it has been stained and poly'd) is to give it a good buff with [wood] oil every 6months or so; we're under the impression that this helps maintain the natural humidity of the wood.
Pine would likely have a better longevity and would probably be less apt to dry as quickly as spruce, but it depends on your price points too.
The greatest thing about the design of this bench is that any board can be replaced at any time (with a little elbow grease), including the legs--though the benchtop itself gets the most abuse. We're not gentle with our bench and so far the only 'damage' is a small chip on one corner from tools being dropped on it.
Hope that helps, happy building!
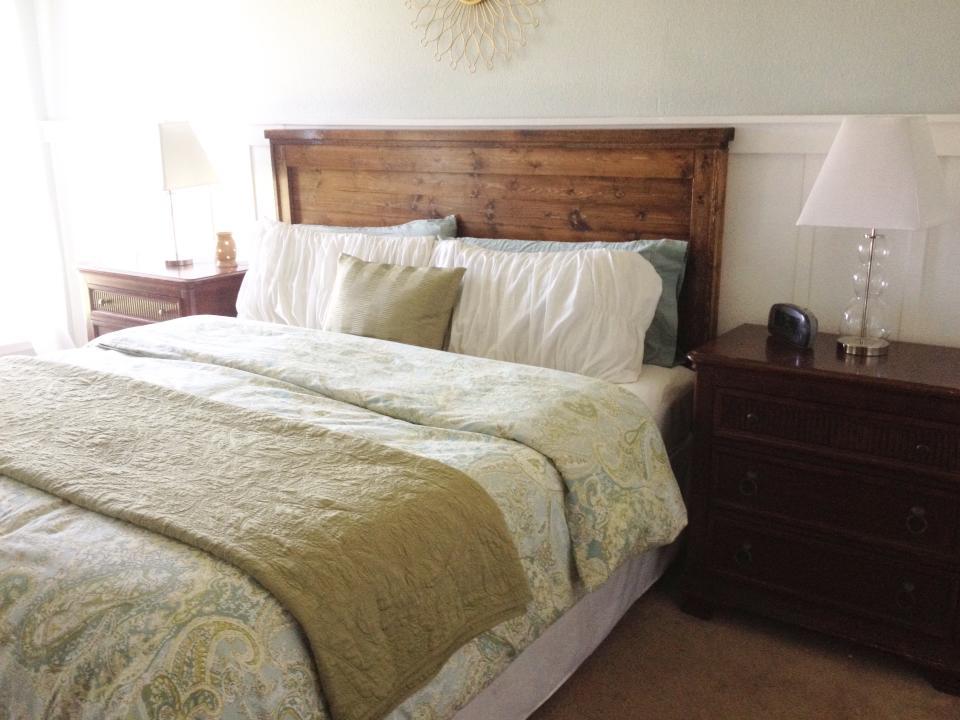
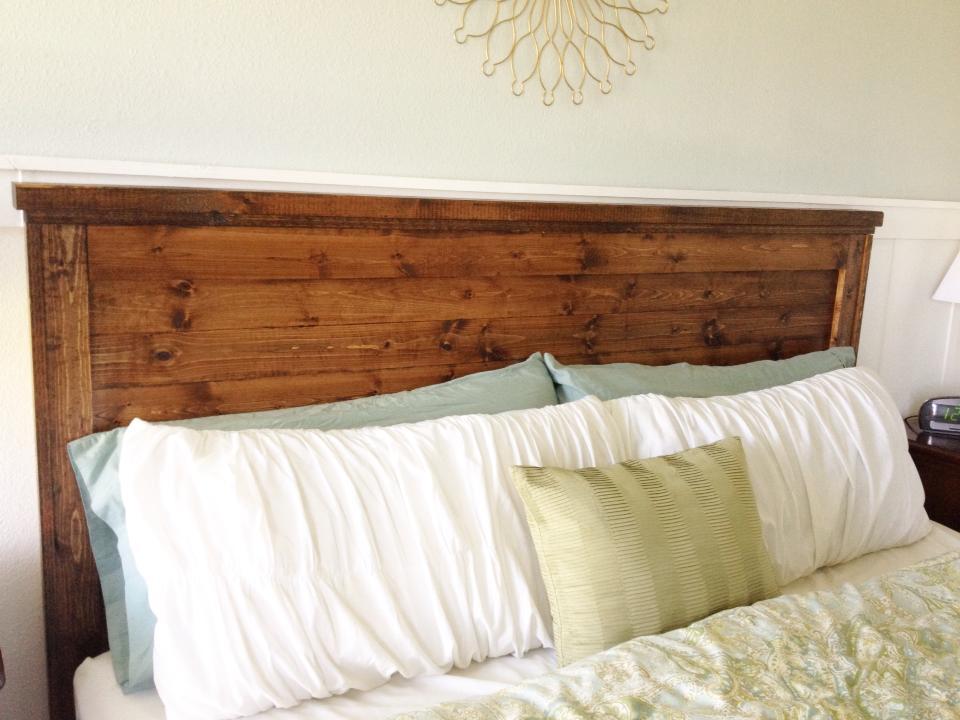
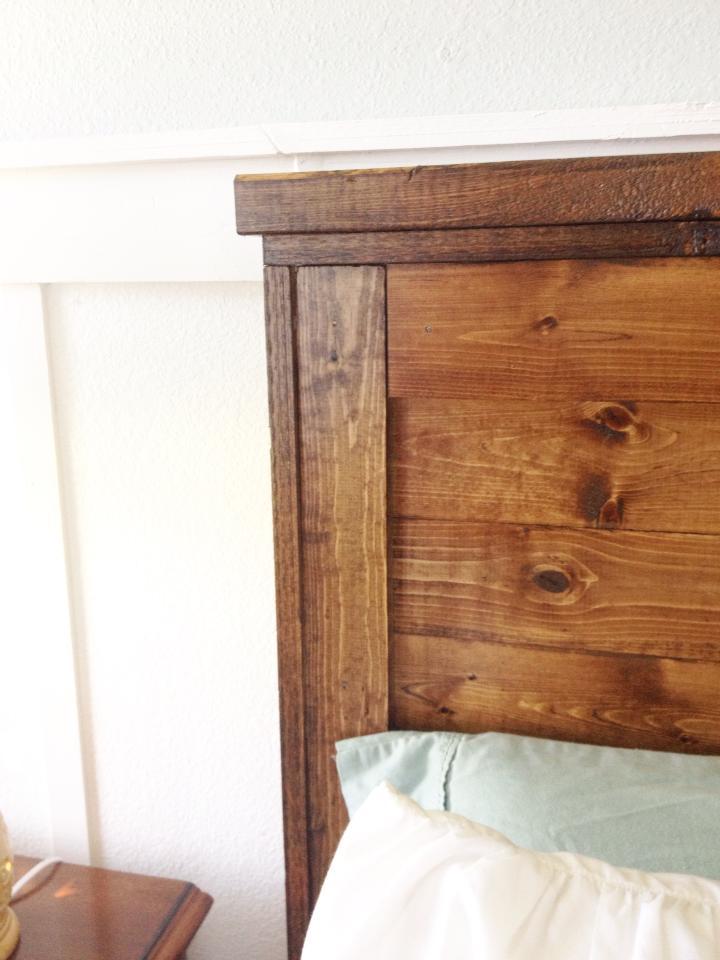
King farmhouse headboard
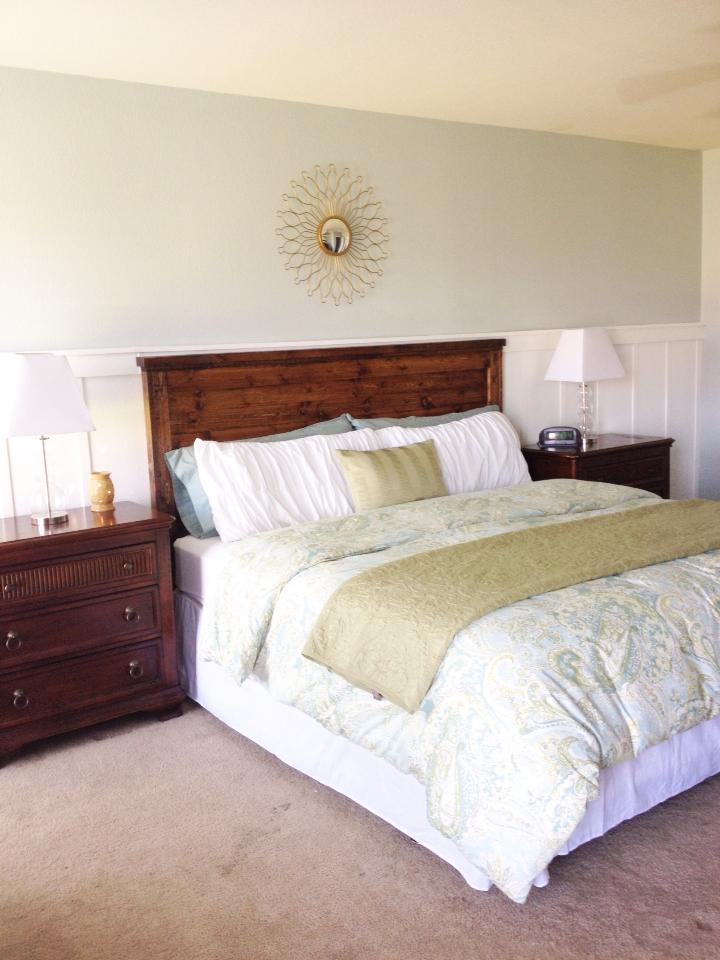
We have not had a headboard for our king size bed since we bought it 5 years ago. We upgraded from a queen and just never bought one. Since moving into our new home I've been going for a rustic look in the home and I knew this headboard would be perfect. I did lower the height of the headboard to be 4.5' and for the back panels you still only have to get the 6 foot length for a king.
Modified Henry Desk
I build this desk from Ana White's Pottery Barn inspired Henry desk plan. I modified it a little in that I made the top almost 8 feet long to fit my space.
Comments
Mon, 11/23/2015 - 19:09
The finish looks gorgeous. I
The finish looks gorgeous. I love the look, and beautiful photography!
In reply to The finish looks gorgeous. I by handmadewithash
Wed, 11/25/2015 - 16:25
Thank you, Ashley!
Thank you, Ashley! ![]()
Beam Table with benches
Anna White Beam Table with Benches
This was a fun build. I used the HD Kreg Jig for the 4x4 beams and a standard Kreg Jig for the table. The bases were done with a white wash finish and the tops done with a few different stains to give it more of a barn look
Fence Slat Interior Barn Door
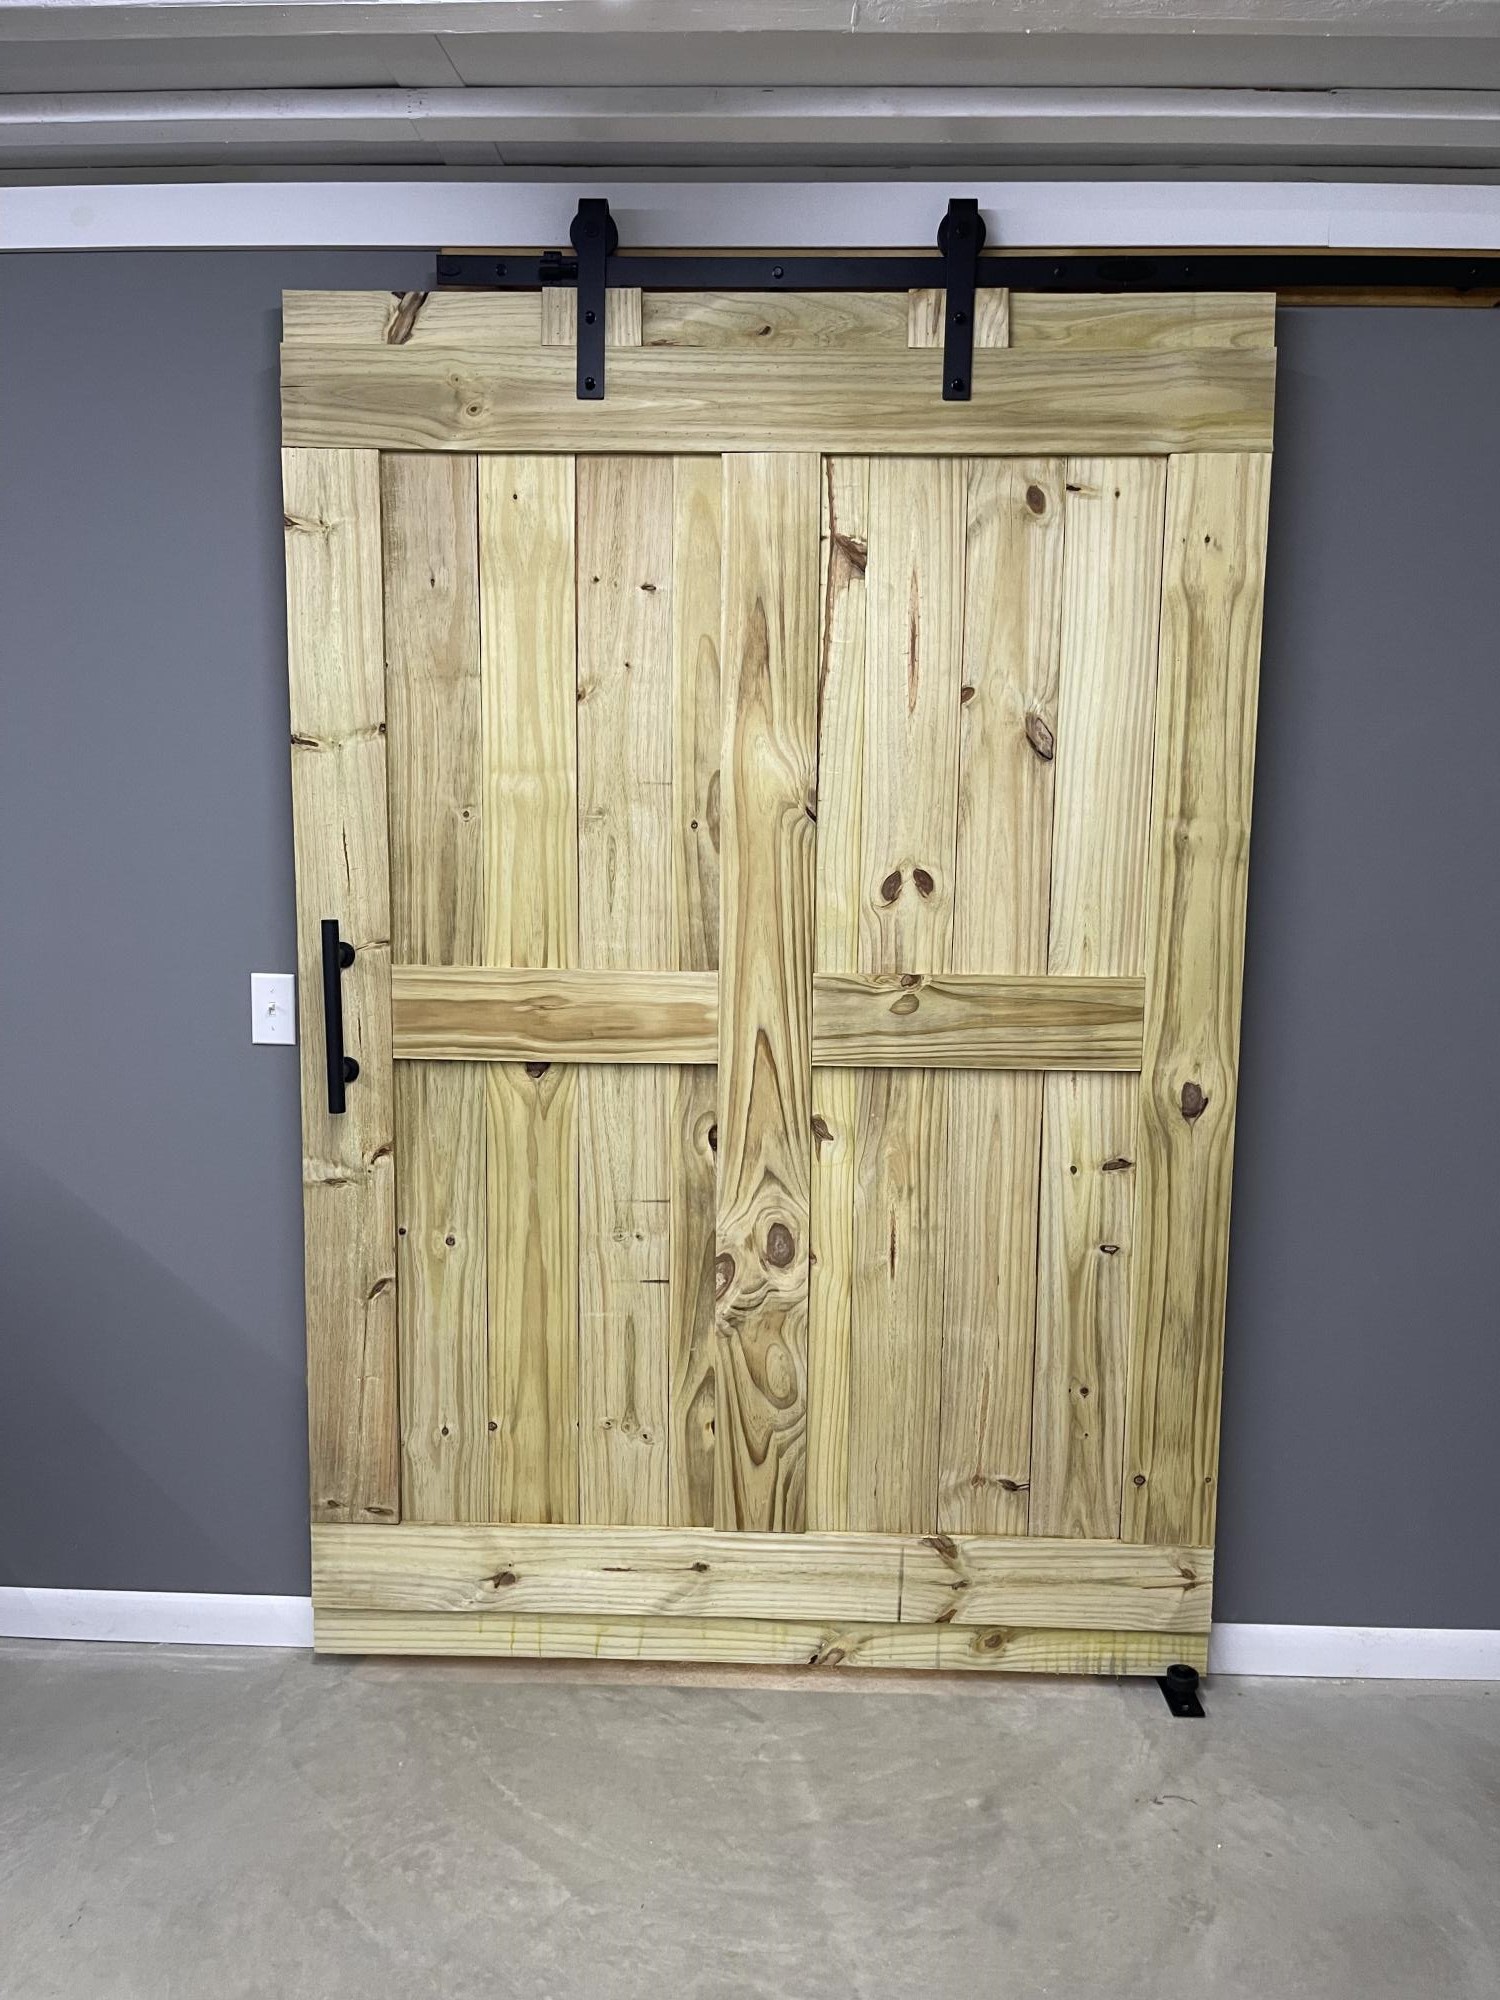
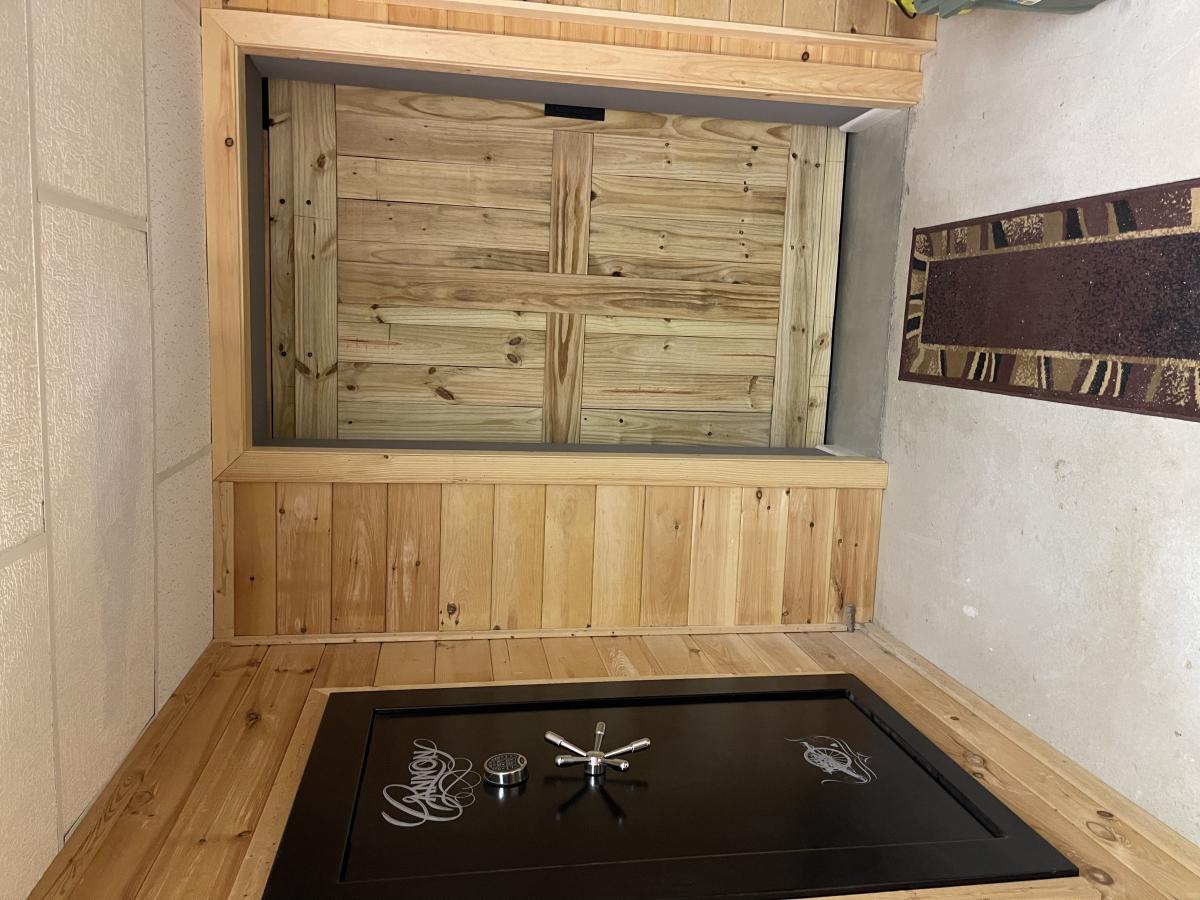
Using 6’ fence slats. Planed until smooth then assembled to fill opening. Finished with beeswax and mineral oil with additional hanging hardware, handle and floor roller.
Comments
Beadboard Cabinet
Since we don't have a garage or any really good place to keep our tools, they end up all over the house while we're working on a project. So, we decided to build a cabinet that would look nice in our house, and also house our tools. We chose the armoire plan because it has plenty of space.
This project took us forever, so it's hard to really estimate the actual working time. We began working on it back in June, then we were evacuated because of a forest fire.... By the time we got back into our house and we were organized again it was the end of July.... and now finally the end of August it's finished. It took us a while, but it's a great addition to our house!
We modified this cabinet by using 1/4 inch beadboard backed with 1/4 plywood for the doors. We also modified the size of the armoire to make it deeper.
Comments
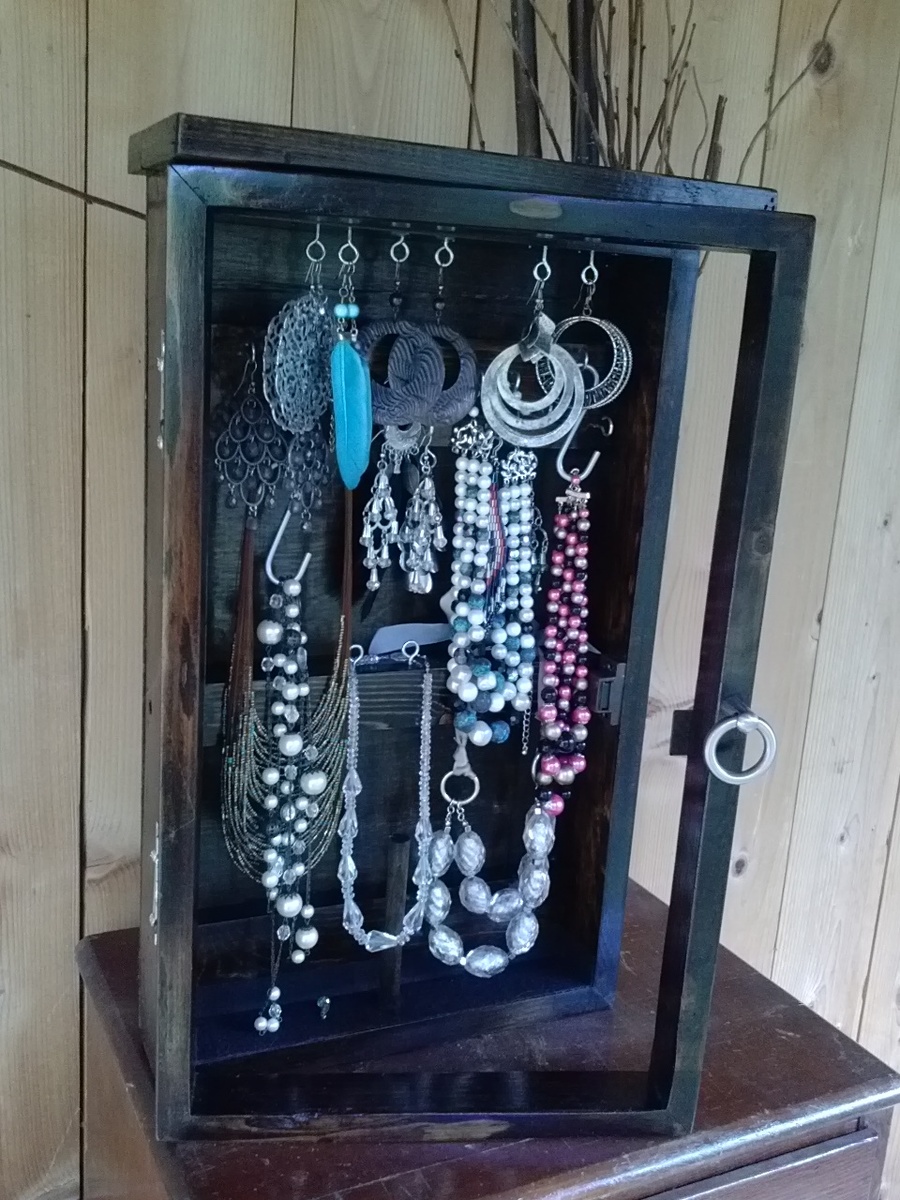
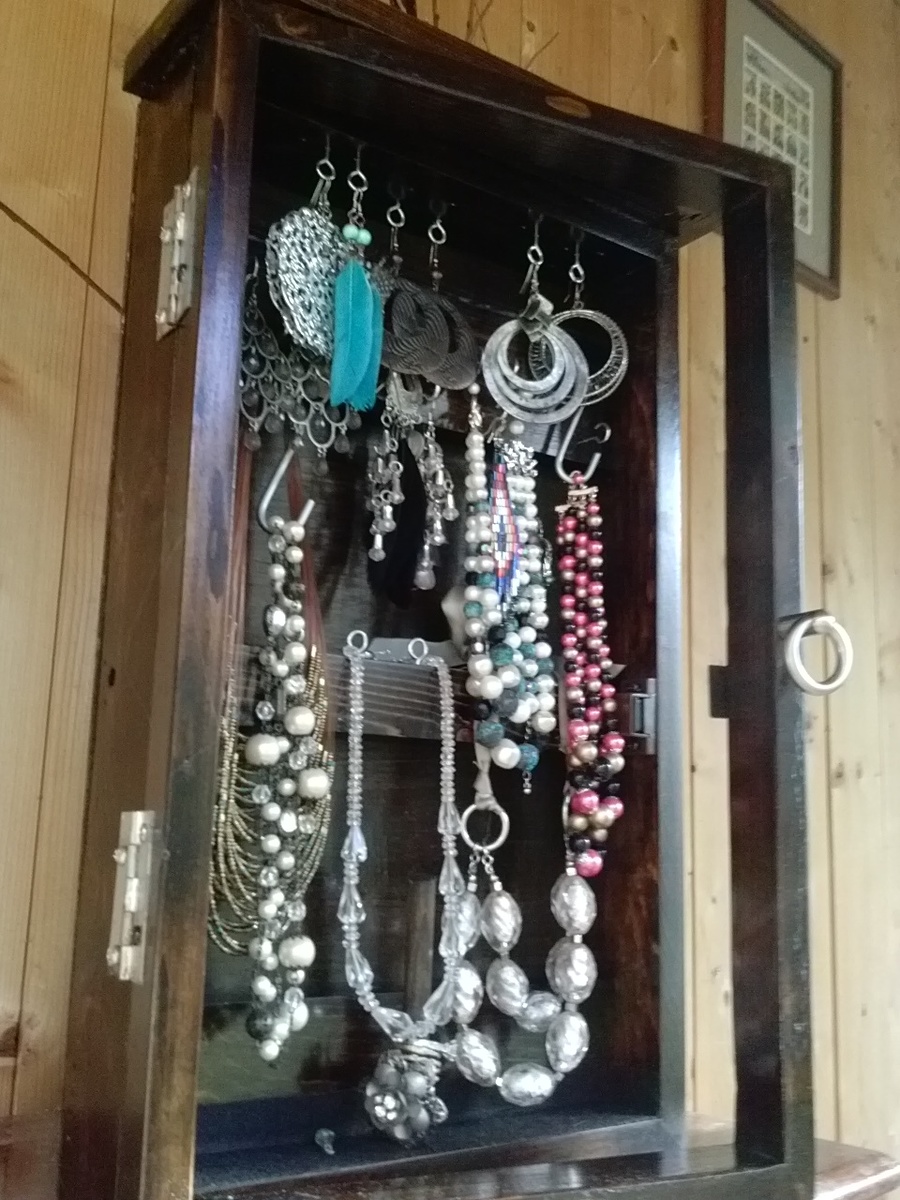
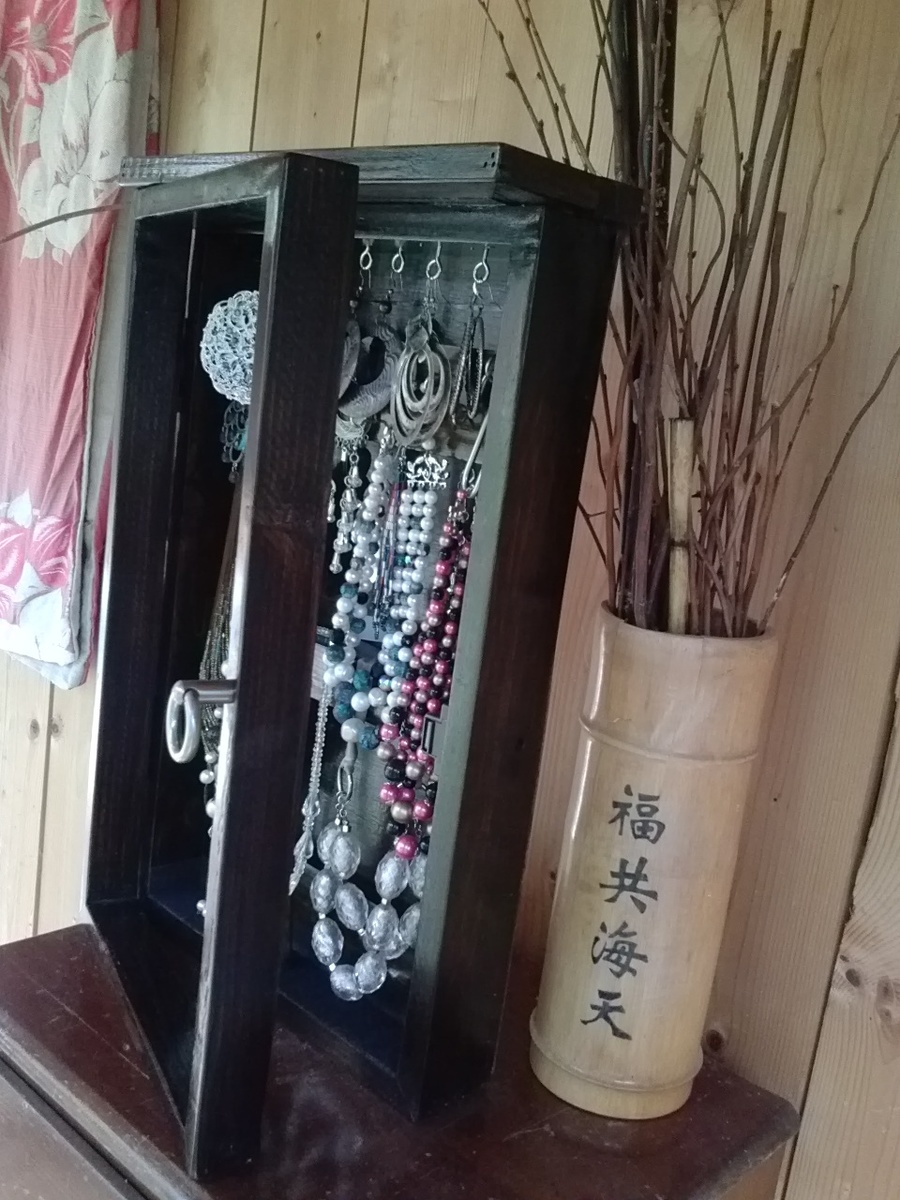
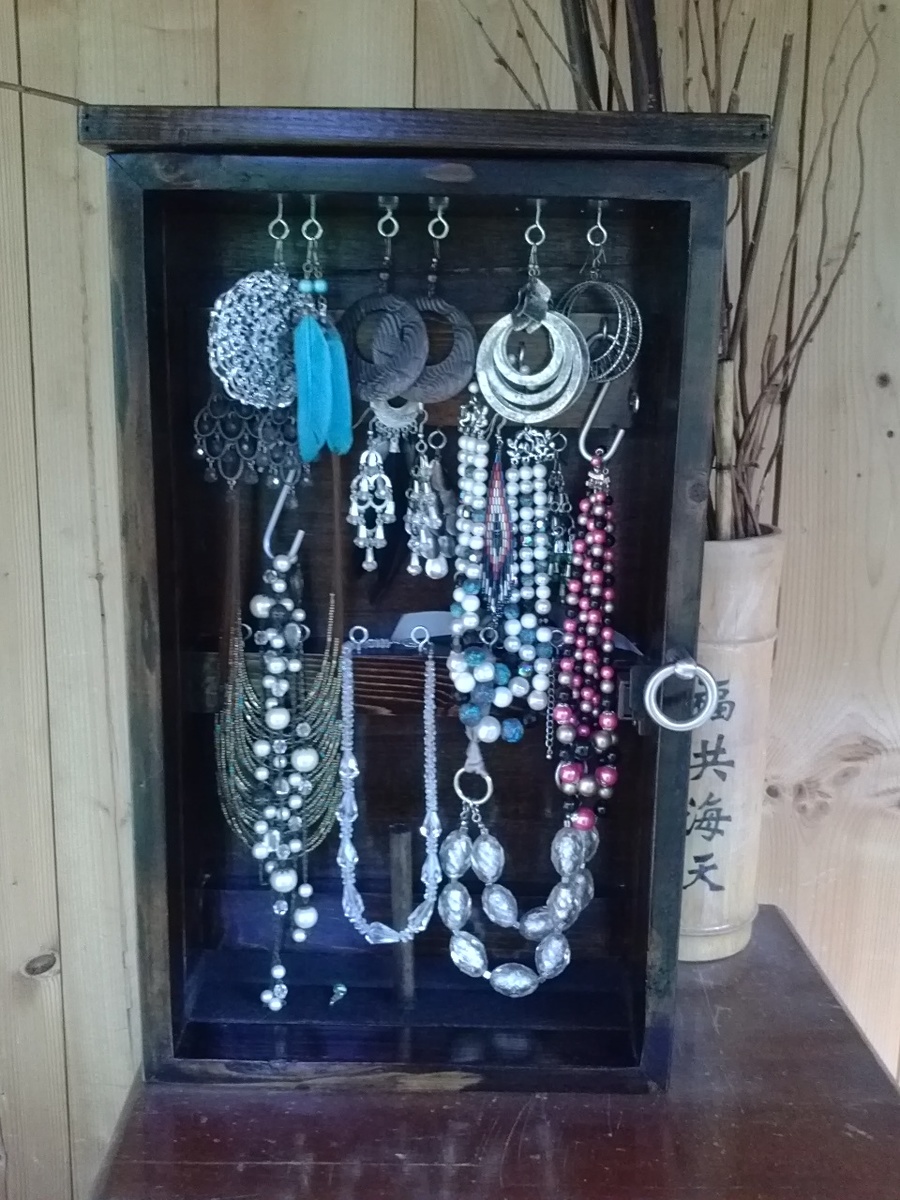
Jewelry Case
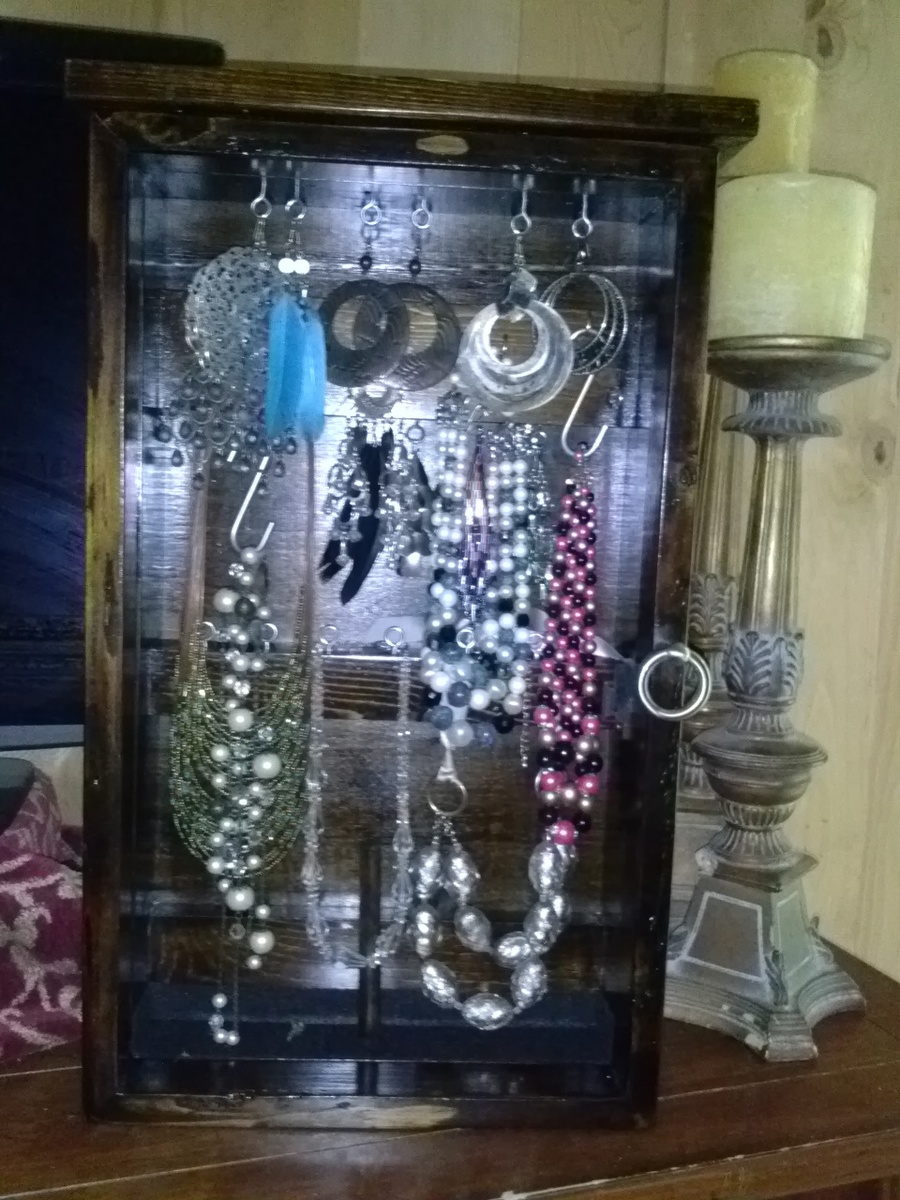
My sister had all her jewelry on a jewelry tree and couldn't see all of what she has. So I had an excuse to make her something, yay
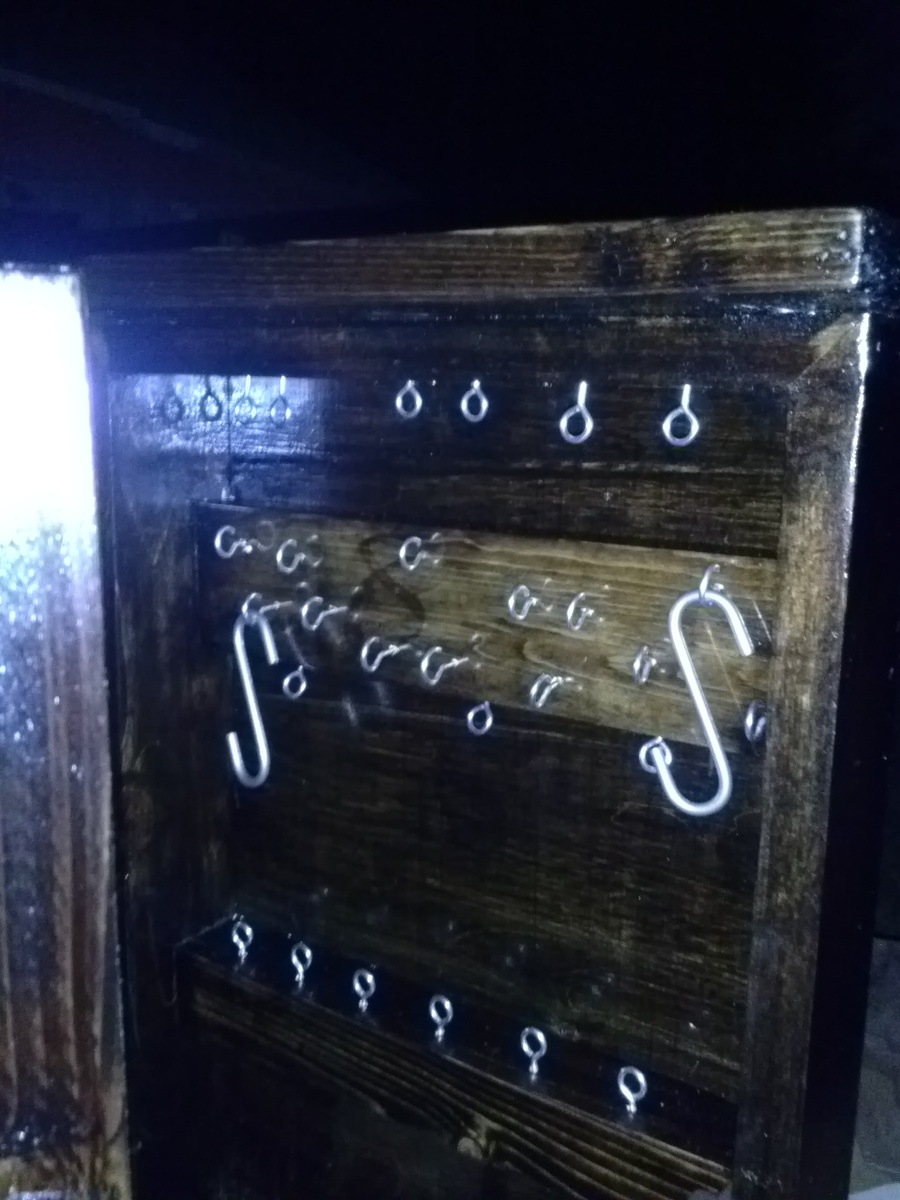
The front is glass but I don't recommend using glass unless you have the exact size. I broke the glass while cutting it so I had to get help from my neighbor the the art frame maker. I added felt to the bottom for random little things and screwed a dowel in for rings. We're gonna attach it to the wall someday when were up to it but for now it sits on her bedside table.
Kids table and chairs
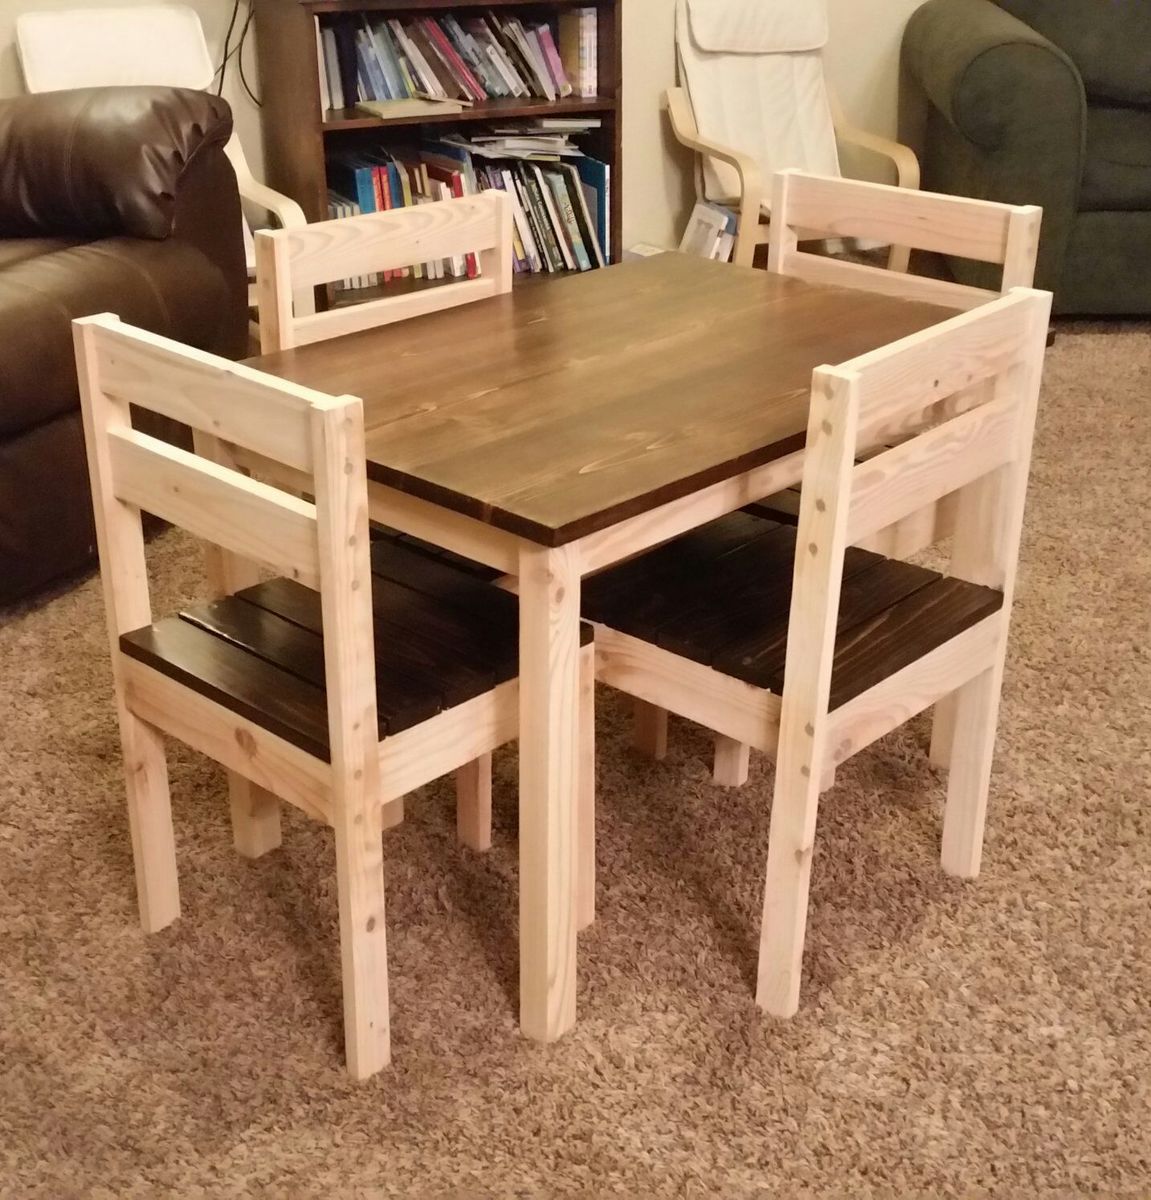
Great little project. Finished just in time for Thanksgiving.
Andy
Comments
Keurig holder
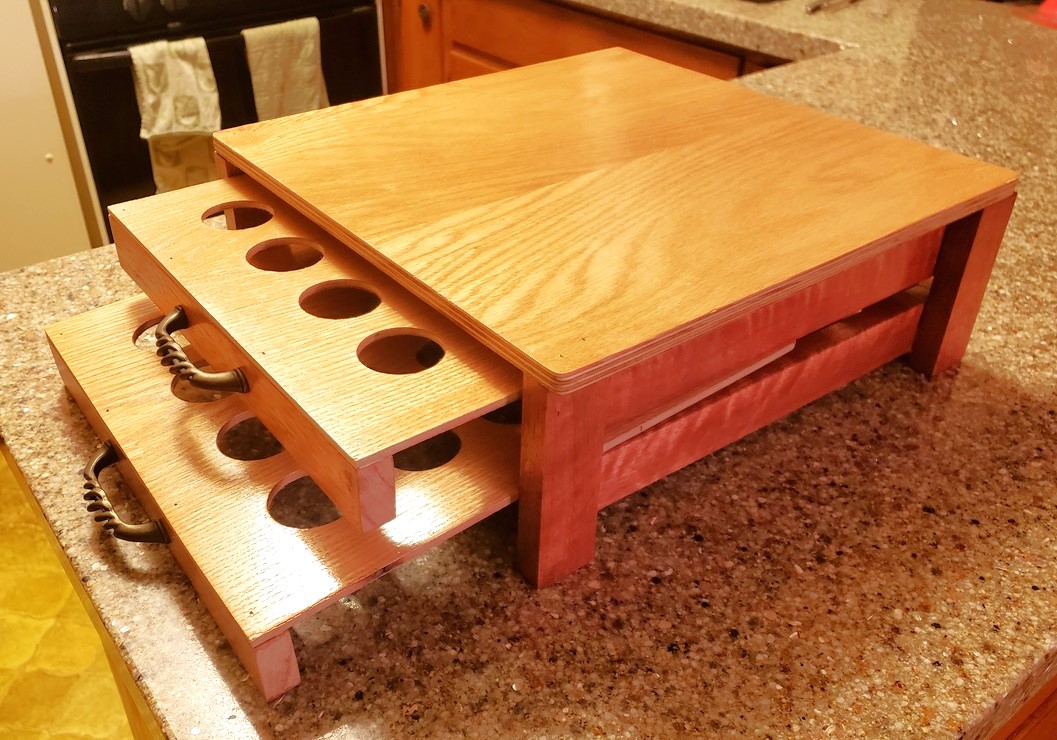
First project. Was a blast and turned out great. Mahagany strips with oak top.
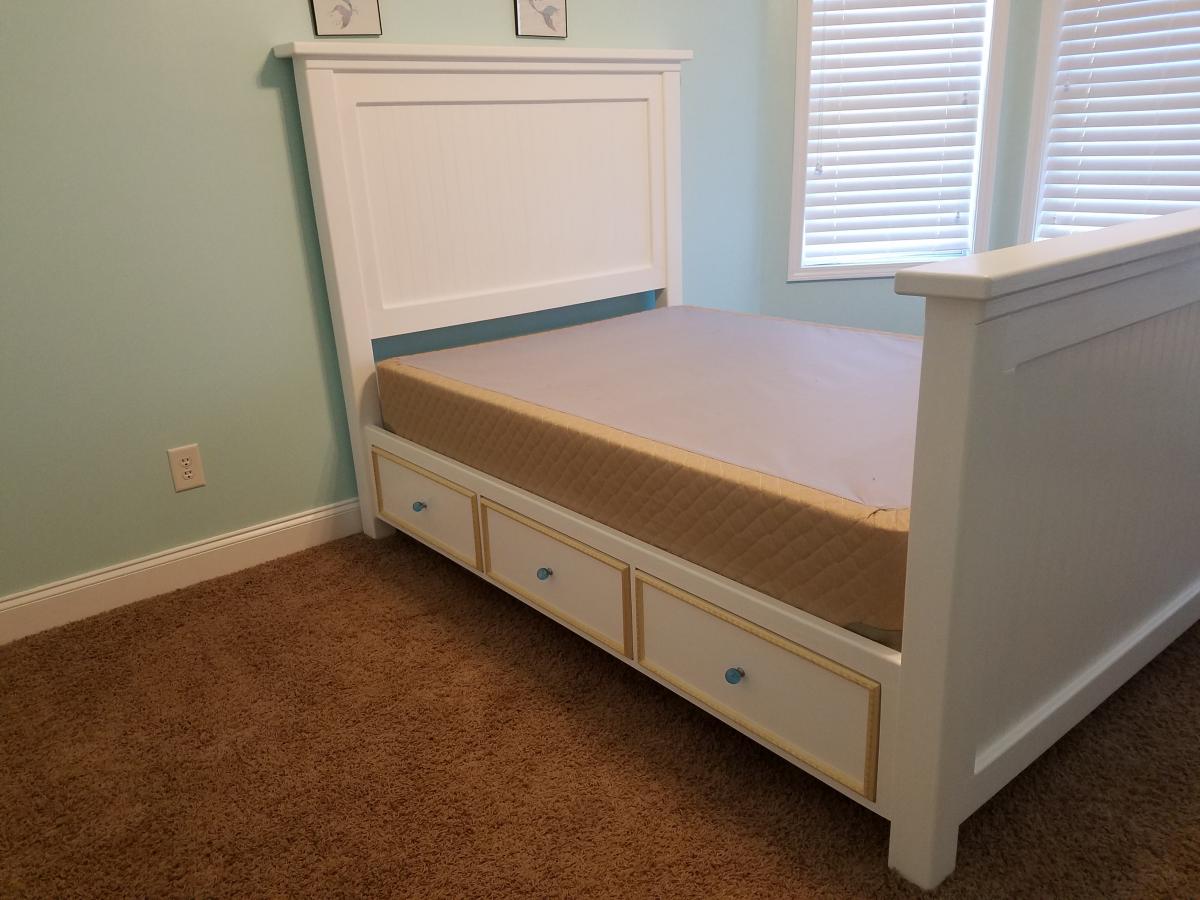
Farm House Full Bed with Drawers
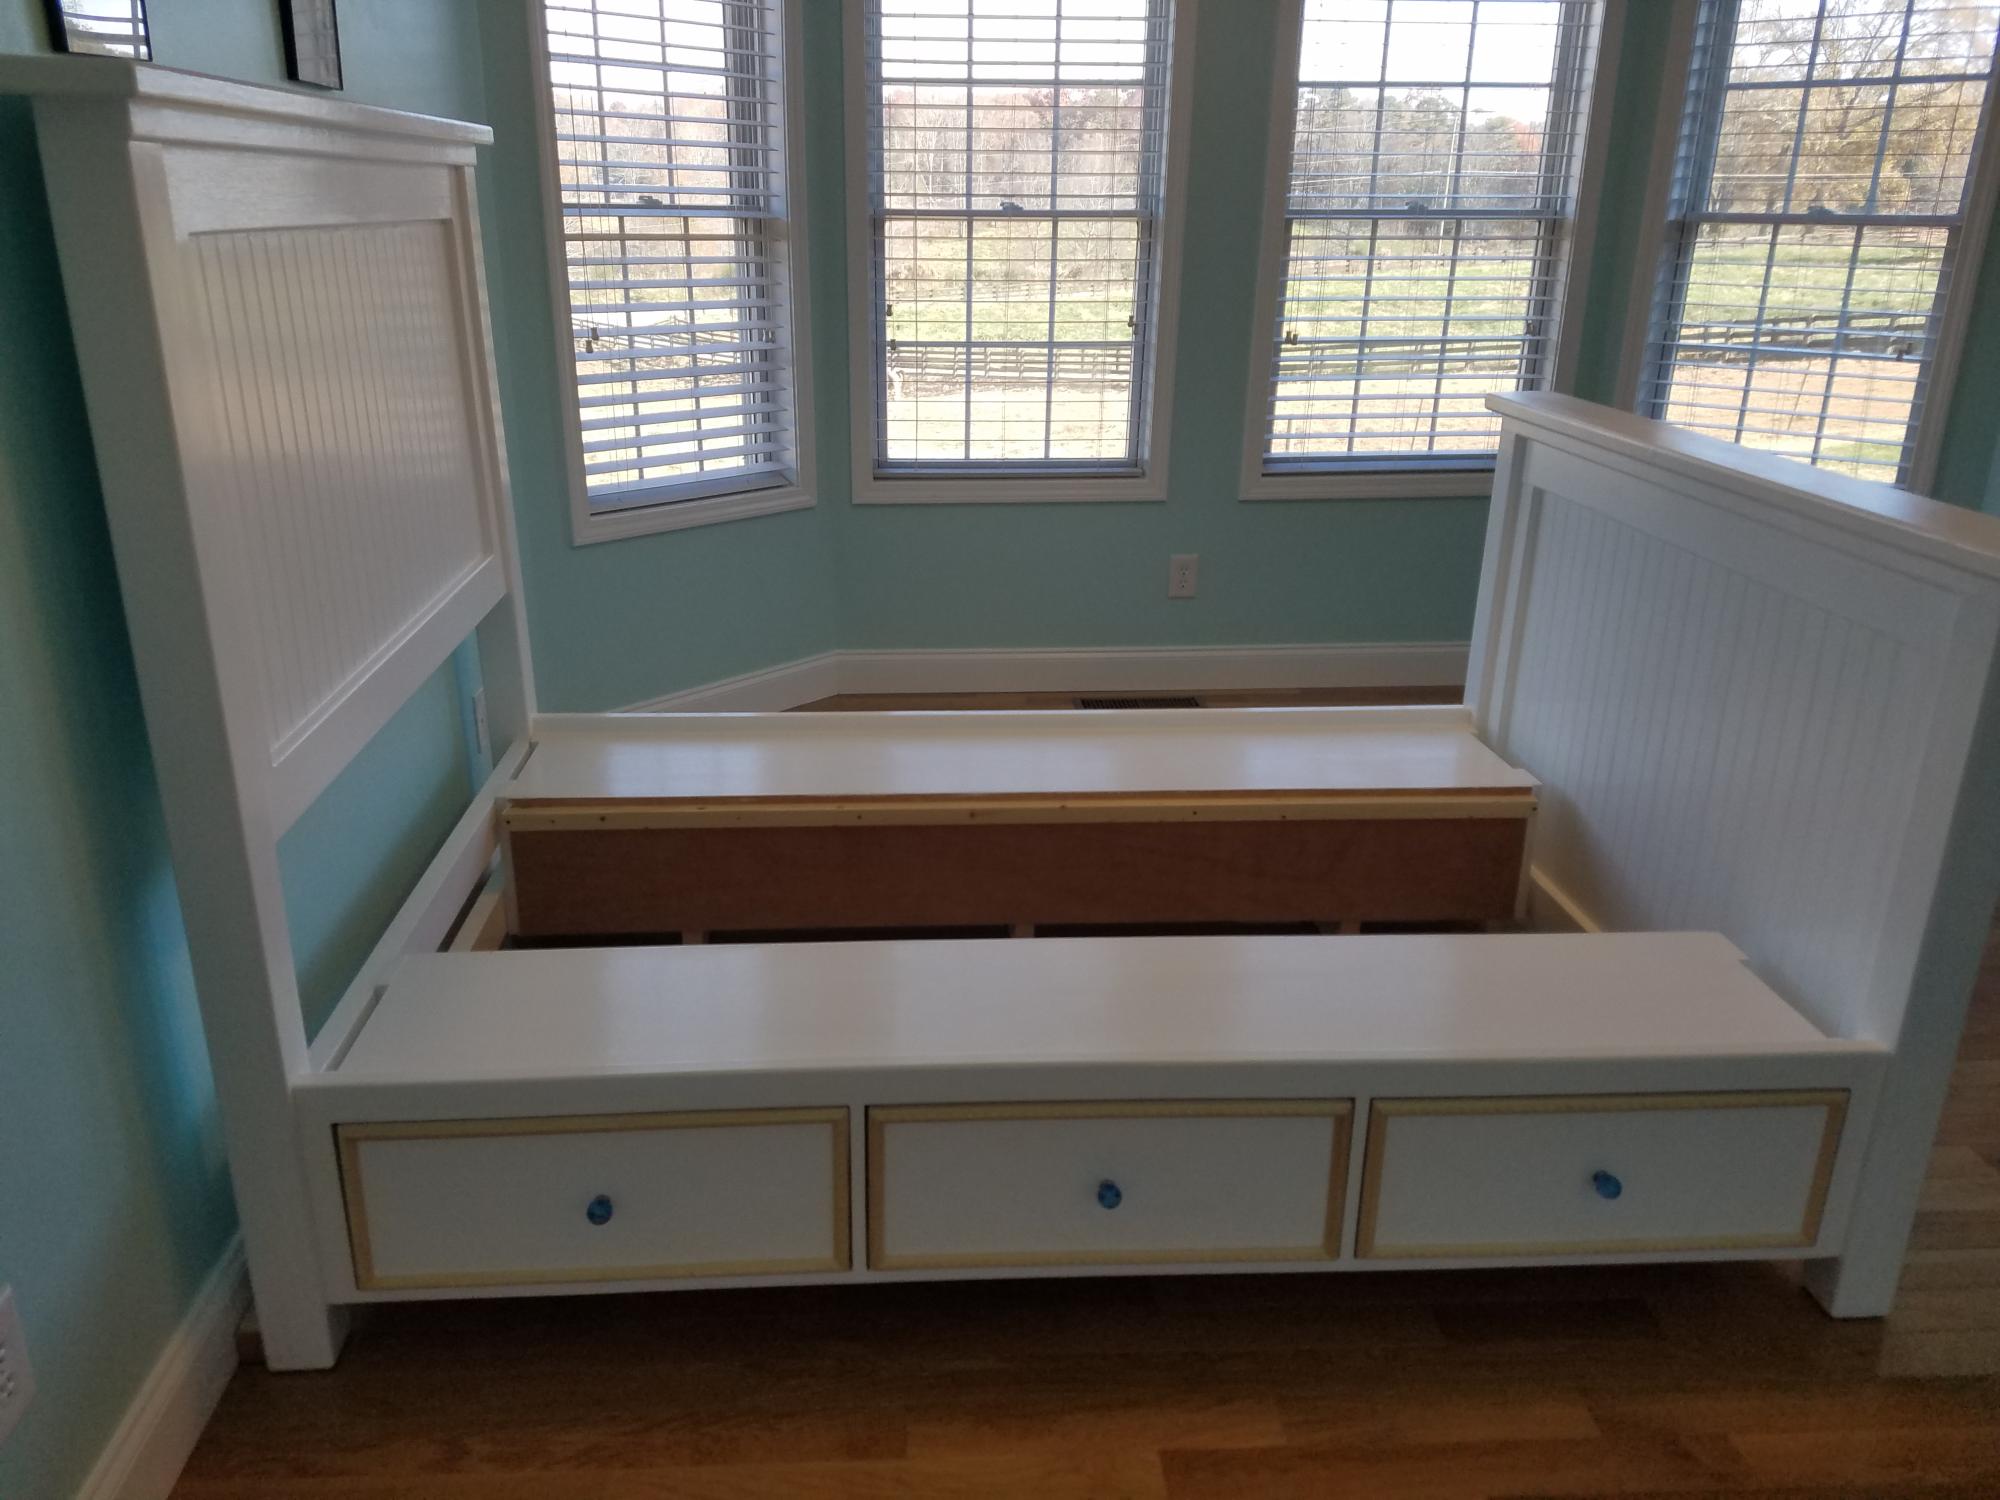
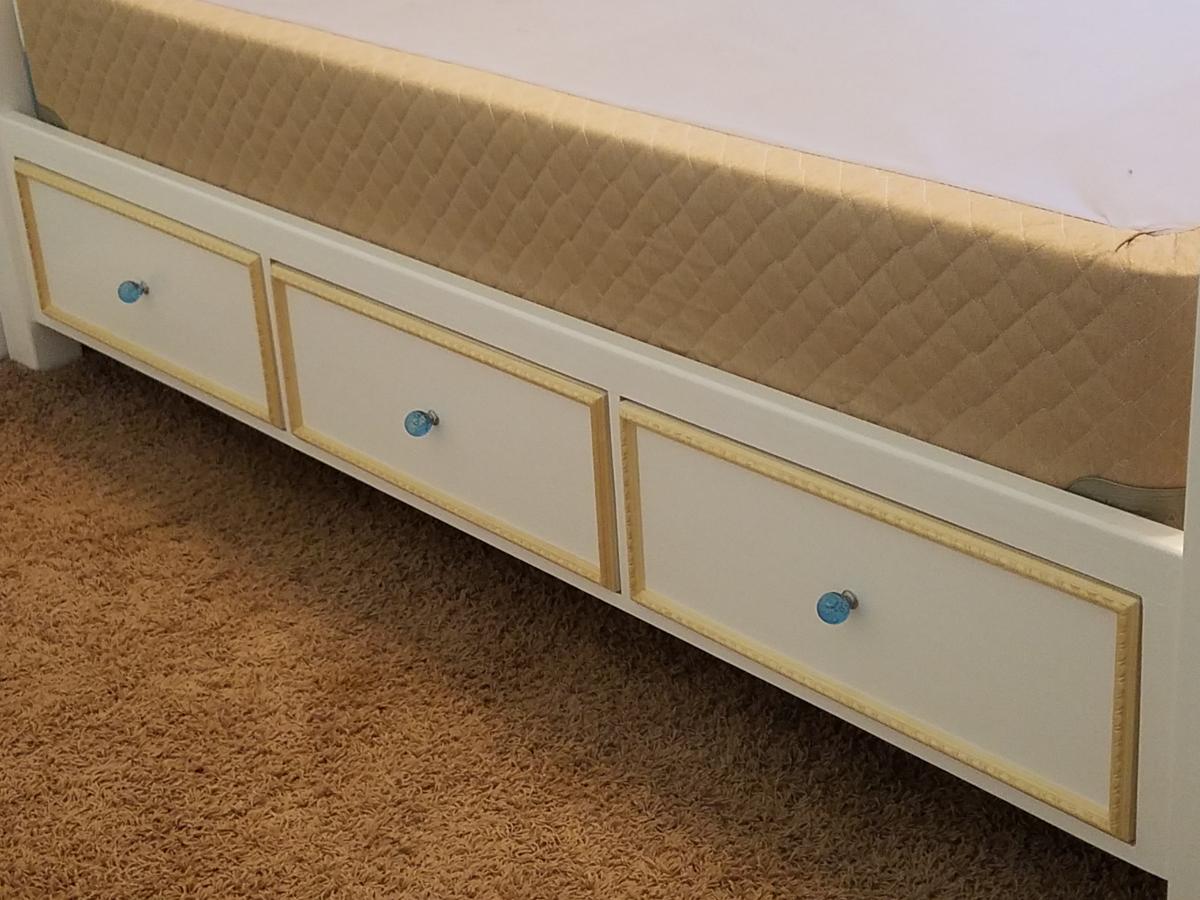
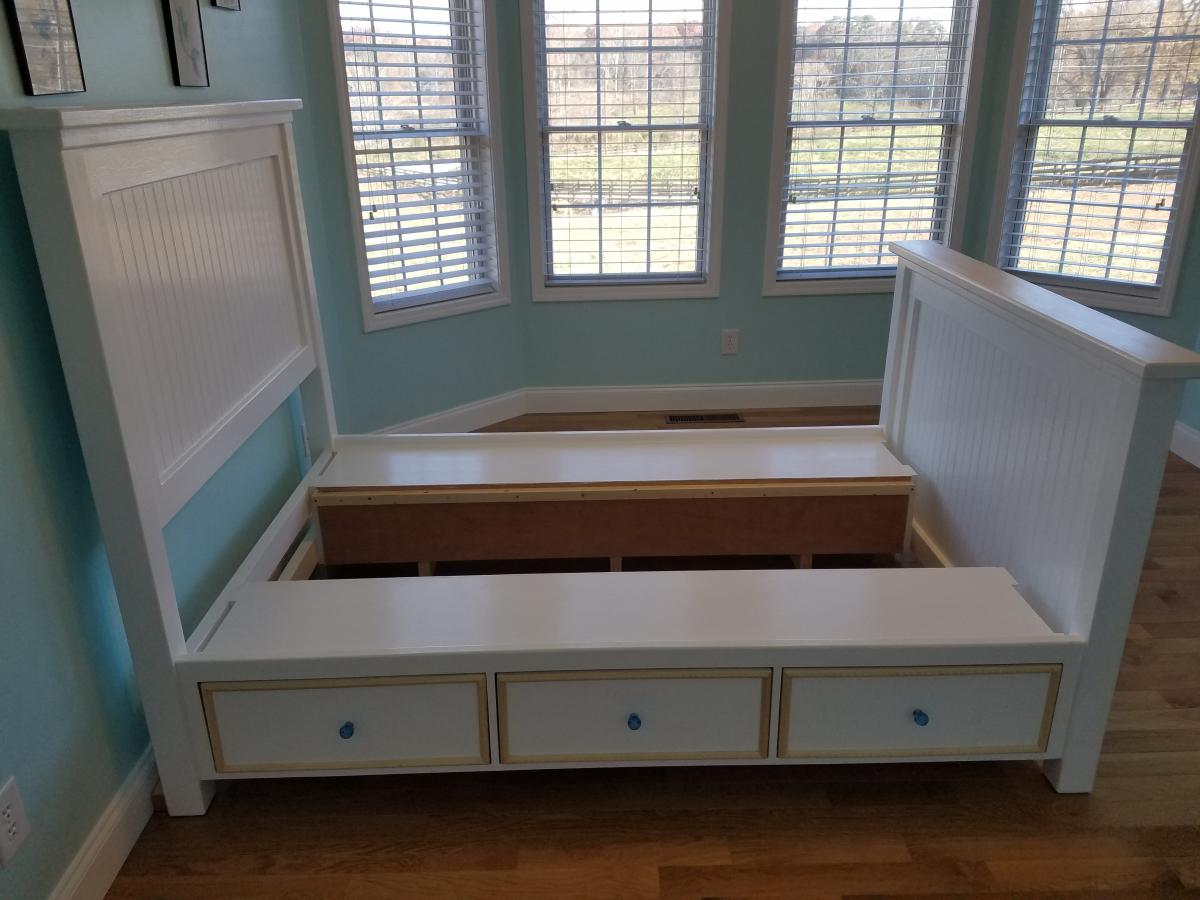
I built two beds one for each of my daughters using the Farm House Storage Bed with Drawers. The plans were very detailed and extremely helpful. I modified the plan to utilize a box spring and mattress set since the girls already had a full mattress set. This was my first piece of furniture to build so it did take a few weeks to complete. I added the trim molding around the drawers to add a little custom work to it. The original plan had the foot board below the mattress and I wanted it to be above the mattress and I extended the boxed to allow foe a comforter to be tucked down the bed. I placed purple knobs and blue knobs on the other bed to give the girls their favorite color to add to the bed. I used a semi gloss Sherwin William's interior paint on the beds to make it easy to clean. The girls love the beds and when we have company over they are amazed how the beds look and most end up taking naps on the beds. I spent $450.00 total per bed, which also included the knobs and the full extension / easy drawer slides.
Comments
Fri, 11/18/2022 - 08:19
Very pretty!
Love all the added details, very well done, thank you for sharing!
entry locker
Entryway locker cubbies, top portion constructed in custom width and shelf height. Two sets.
2. Two coats semi gloss white
Comments
Farmhouse doll bed
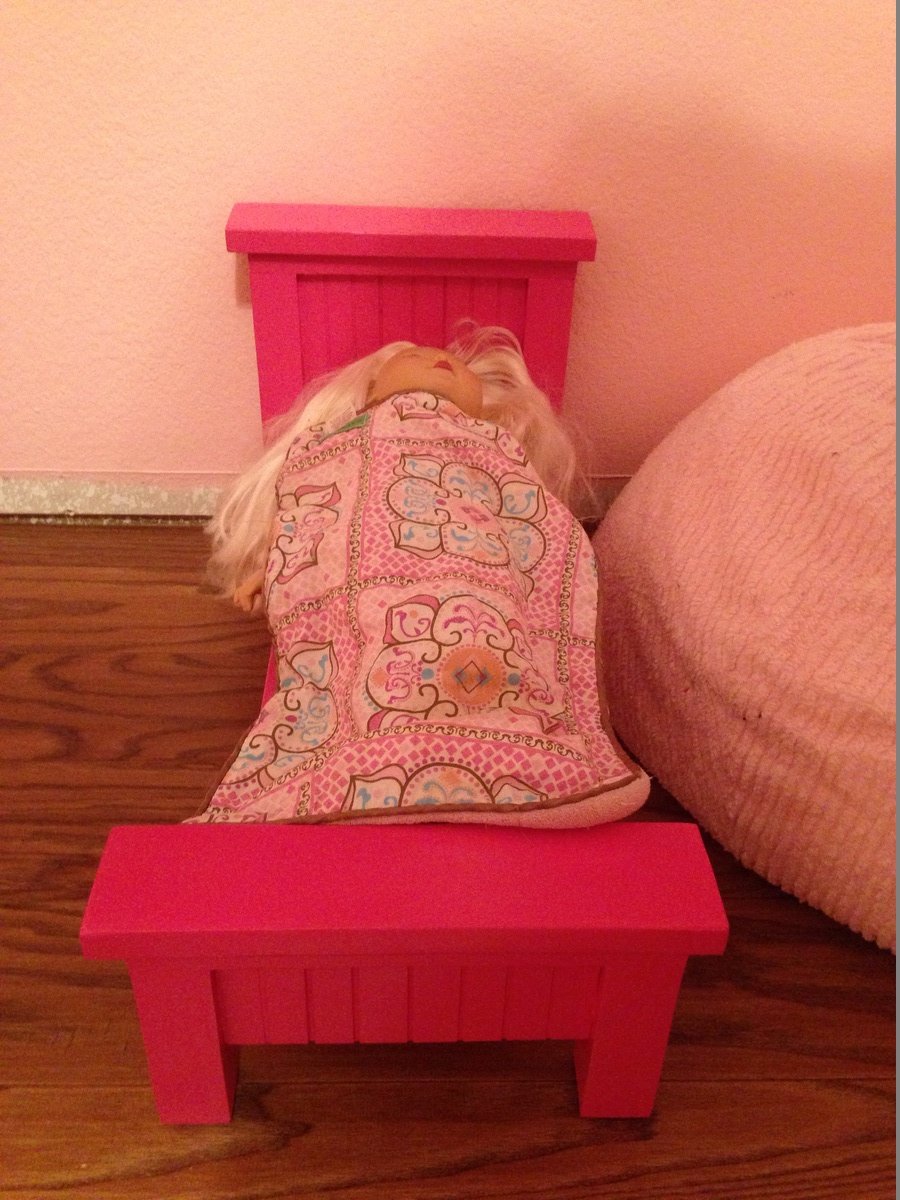
Built this mini farmhouse style bed for my daughters 18" dolls... She loved it, thanks Ana!





Comments
Ana White Admin
Wed, 09/28/2022 - 08:40
Cool!
Great job and super functional! Thanks for sharing.