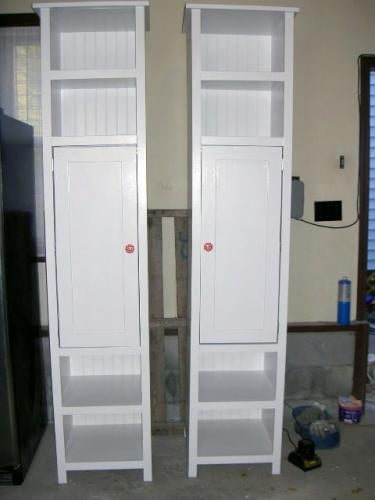
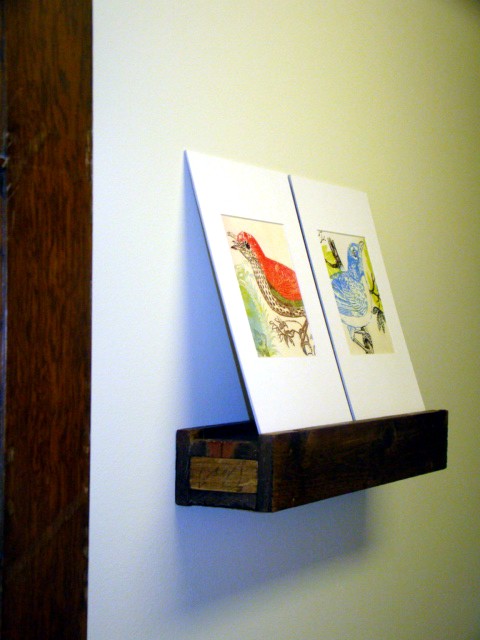
Pantry Storage Spice Rack
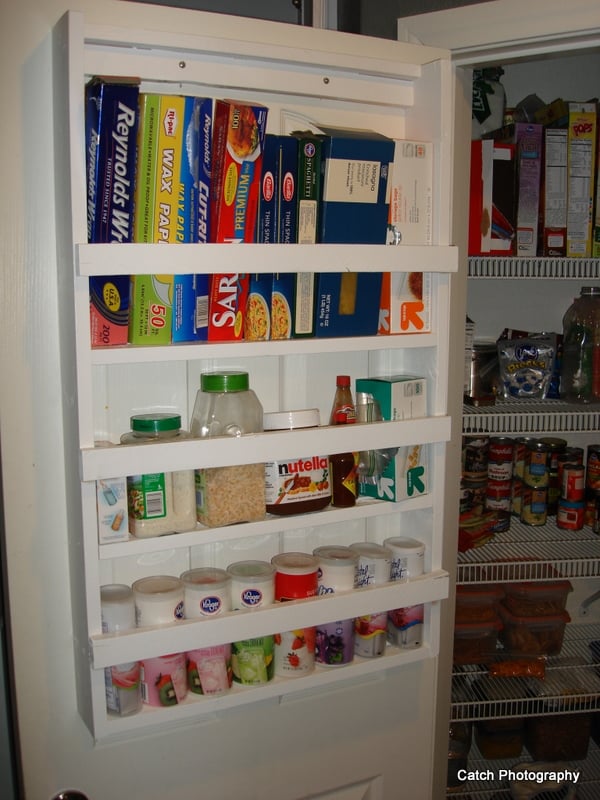
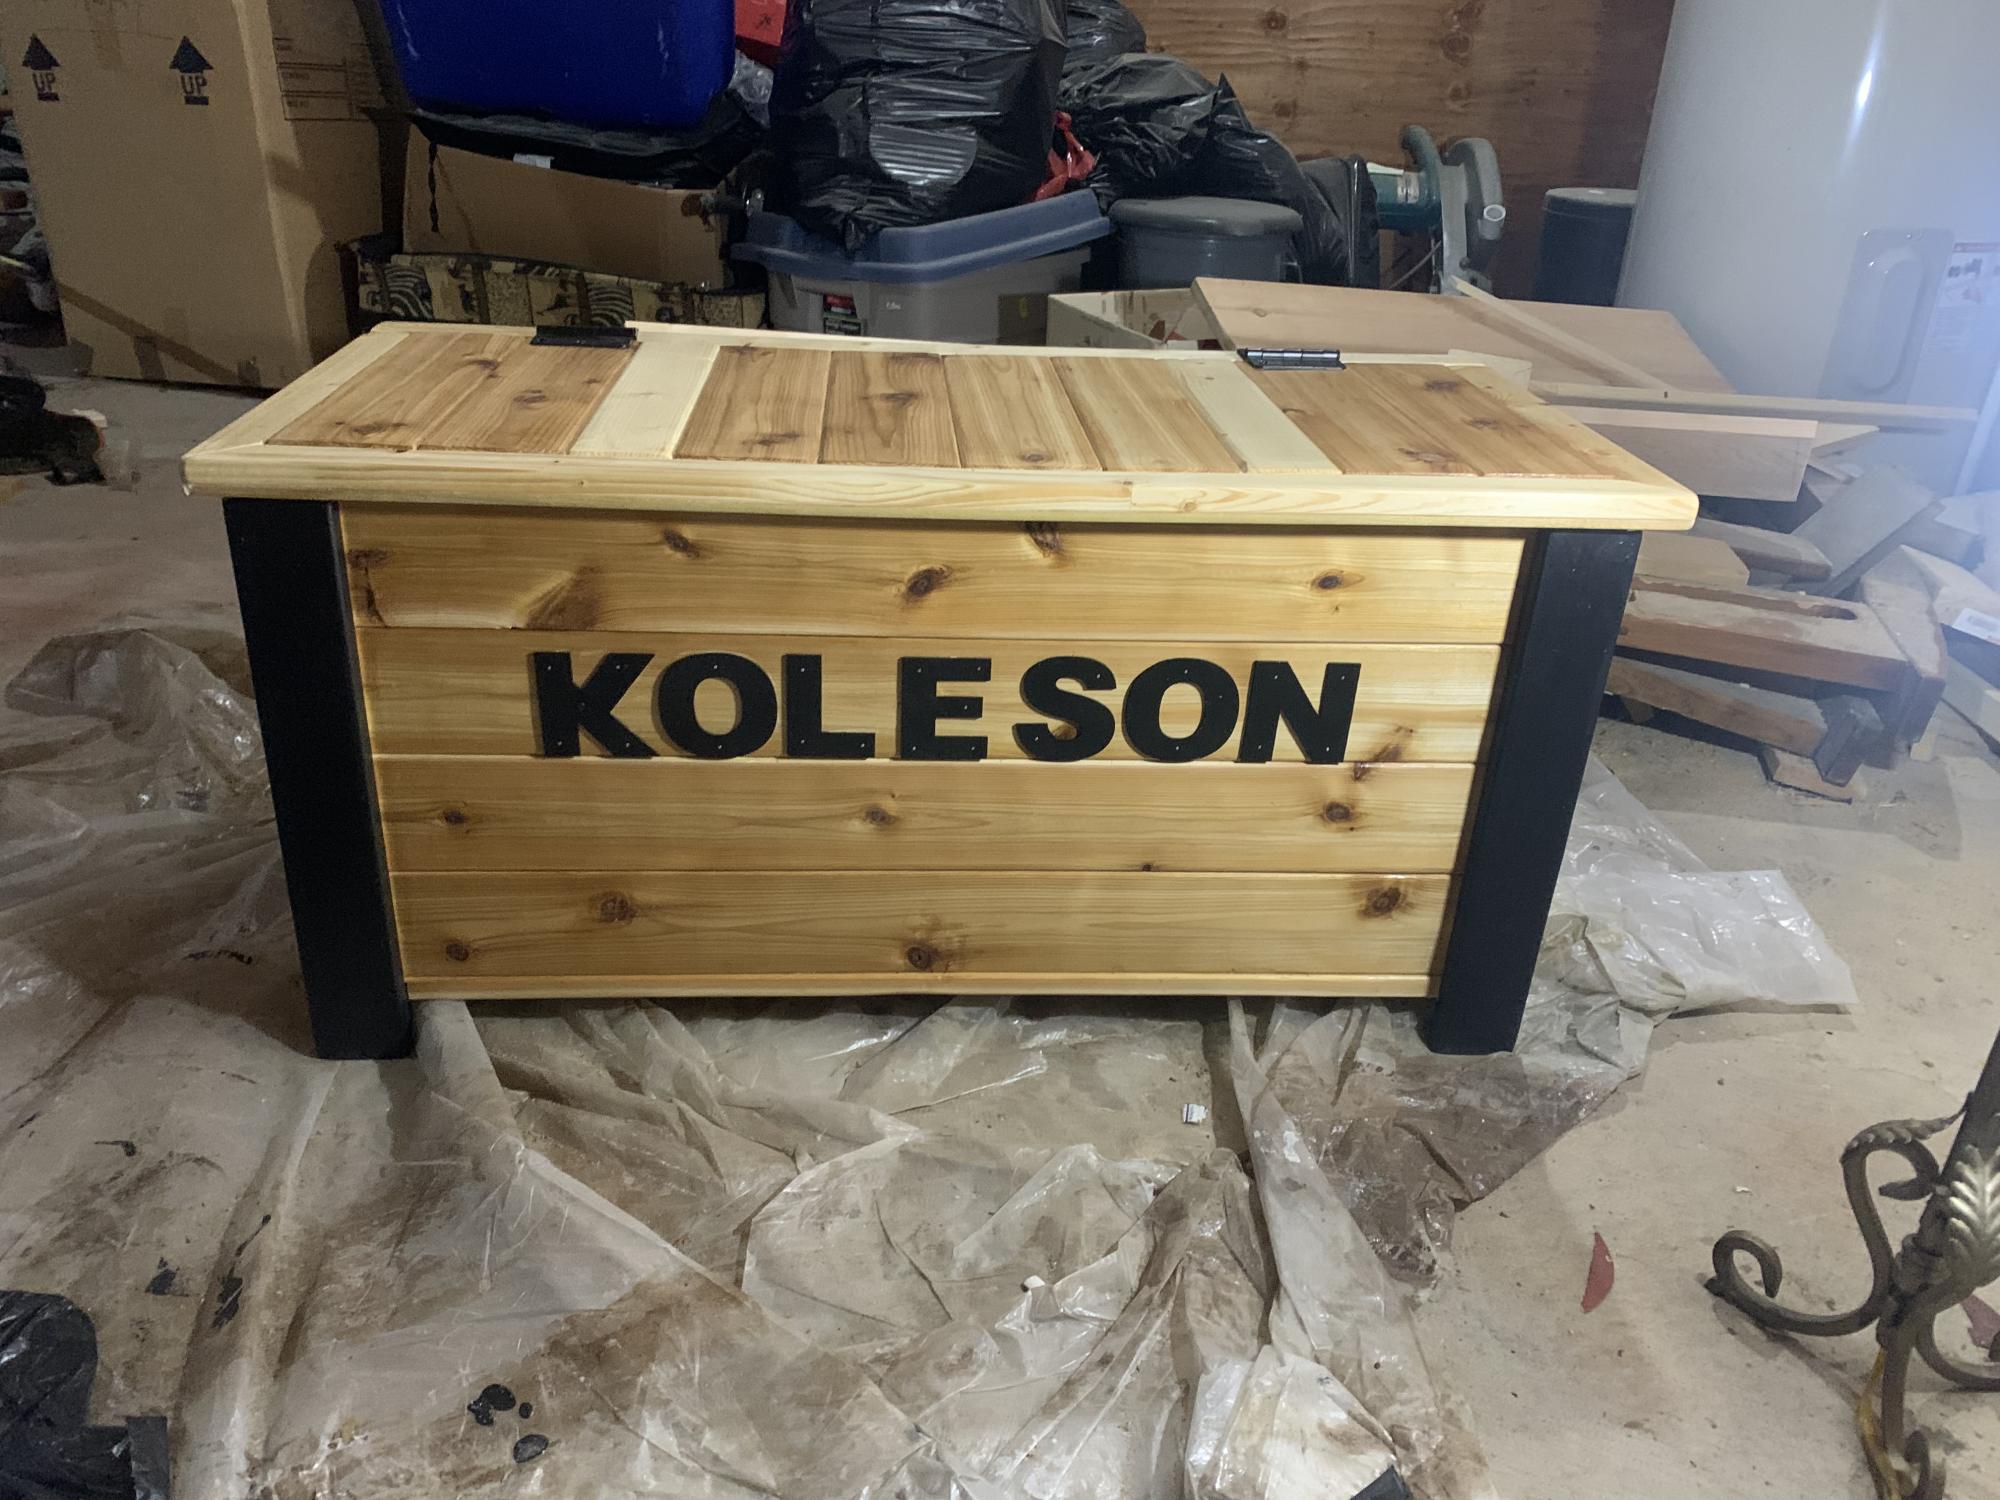
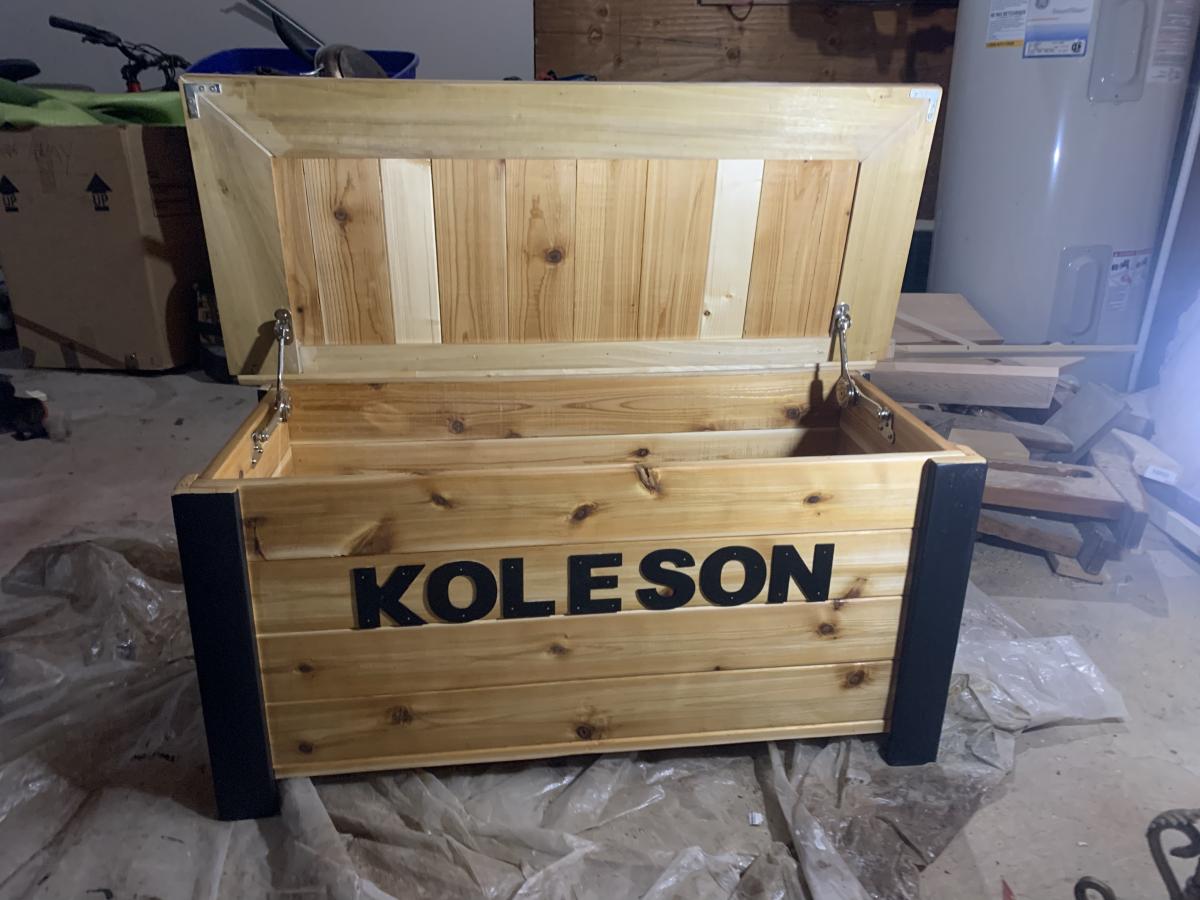
I am kind of a visual organizational neat freak and I have been annoyed by all the little things taking up good shelf space in my pantry for a long time now. This just kept getting pushed down the list ya know, not a major project. Anyway, grabbed an extra board at the store the other day and knocked this one out. I LOVE it. I made it short because I want to build a trash bag holder for the bottom half of the door. We'll see how long it takes me. I did use a 1x4 instead of Ana's plan which uses a 1x6. I only needed small things to put in here.
Built from Plan(s)
Estimated Cost
$5
Estimated Time Investment
An Hour or Two (0-2 Hours)
Finish Used
White Paint
Recommended Skill Level
Starter Project


Comments
groovymom2000
Tue, 09/20/2011 - 09:41
Ah, well dang it, now I have
Ah, well dang it, now I have no excuses! LOL. This is on my list of things to do as well--yours looks great!
SingleMomThriving
Tue, 09/20/2011 - 10:04
Great Job
Looks like the 1x4 was a perfect fit for all those little items, especially the wraps which get pushed to the back all the time and the pasta boxes. I feel some inspiration coming on.....
lianatempera
Tue, 09/20/2011 - 14:16
Awesome
This is awesome. I should probably do this for my pantry, as well. Thanks for the inspiration!
Cindy from Indiana (not verified)
Wed, 09/21/2011 - 09:31
Love it!
I love it! Great price,too!
I especially love how the design corals all those pesky little things that always seem to get pushed all the way to the back of my cabinets and drawers.
I'm definitely putting this on my list of things to build!
Cindy from Indiana
Jen Pedro
Wed, 09/21/2011 - 13:34
anchors
I assume your door is the usual hollow pantry door. What type of anchors did you use to hold the shelves in place? Did you use standard wall anchors with your screws?
Looks great!
redhead_61
Thu, 09/22/2011 - 08:19
Anchors
I just got an anchor that looked like it had a little more 'umph' to it. It is called a Cobra Tripple Grip. It looked like it had a section that popped open a little more once the screw went in. I thought that might hold it a little more securely. I feel no movement when I jiggle it at all.
Jen Pedro
Fri, 09/23/2011 - 01:09
anchors
Thanks! I'll have to look for them!
Chris A (not verified)
Sun, 01/15/2012 - 08:29
Very nice project. Just came
Very nice project.
Just came along looking for a storage shelf and I saw your door shelf. Going to build one of these for sure, sick of the little wire ones we have falling down every other day.
Guest (not verified)
Sun, 01/22/2012 - 19:28
Thanks for the idea. I had to
Thanks for the idea. I had to purchase one instead of make one because I live in an apartment.