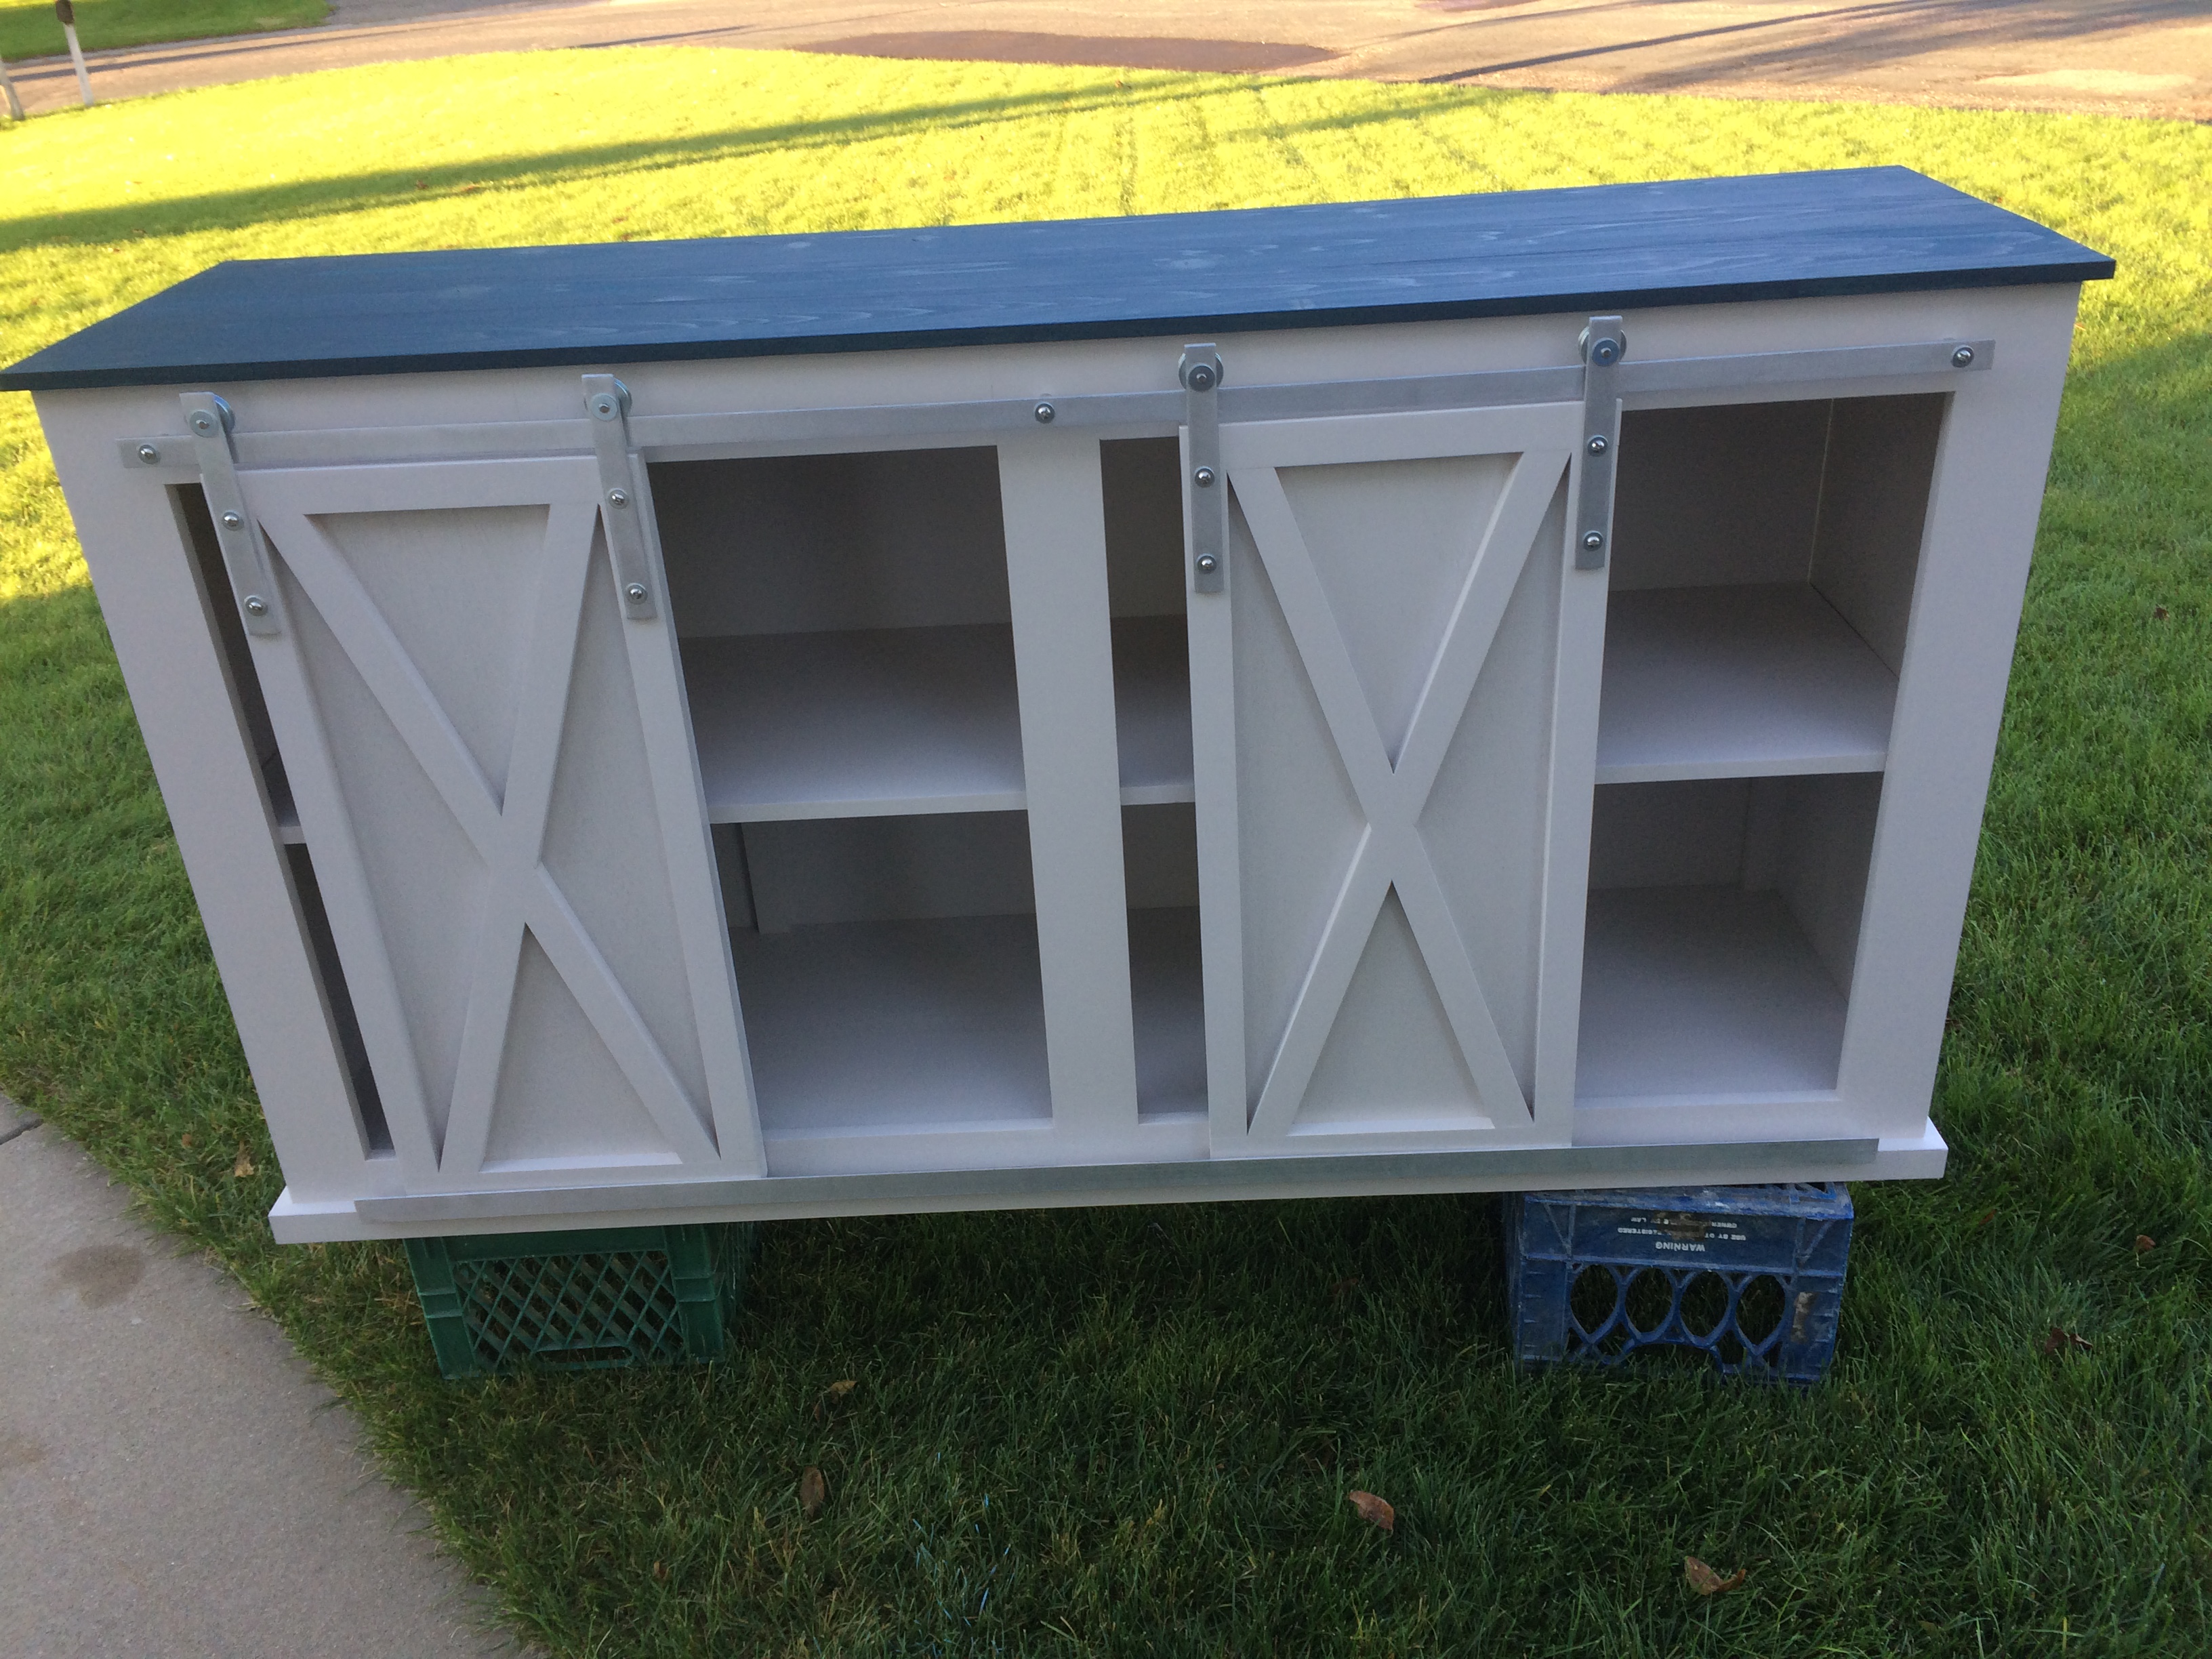
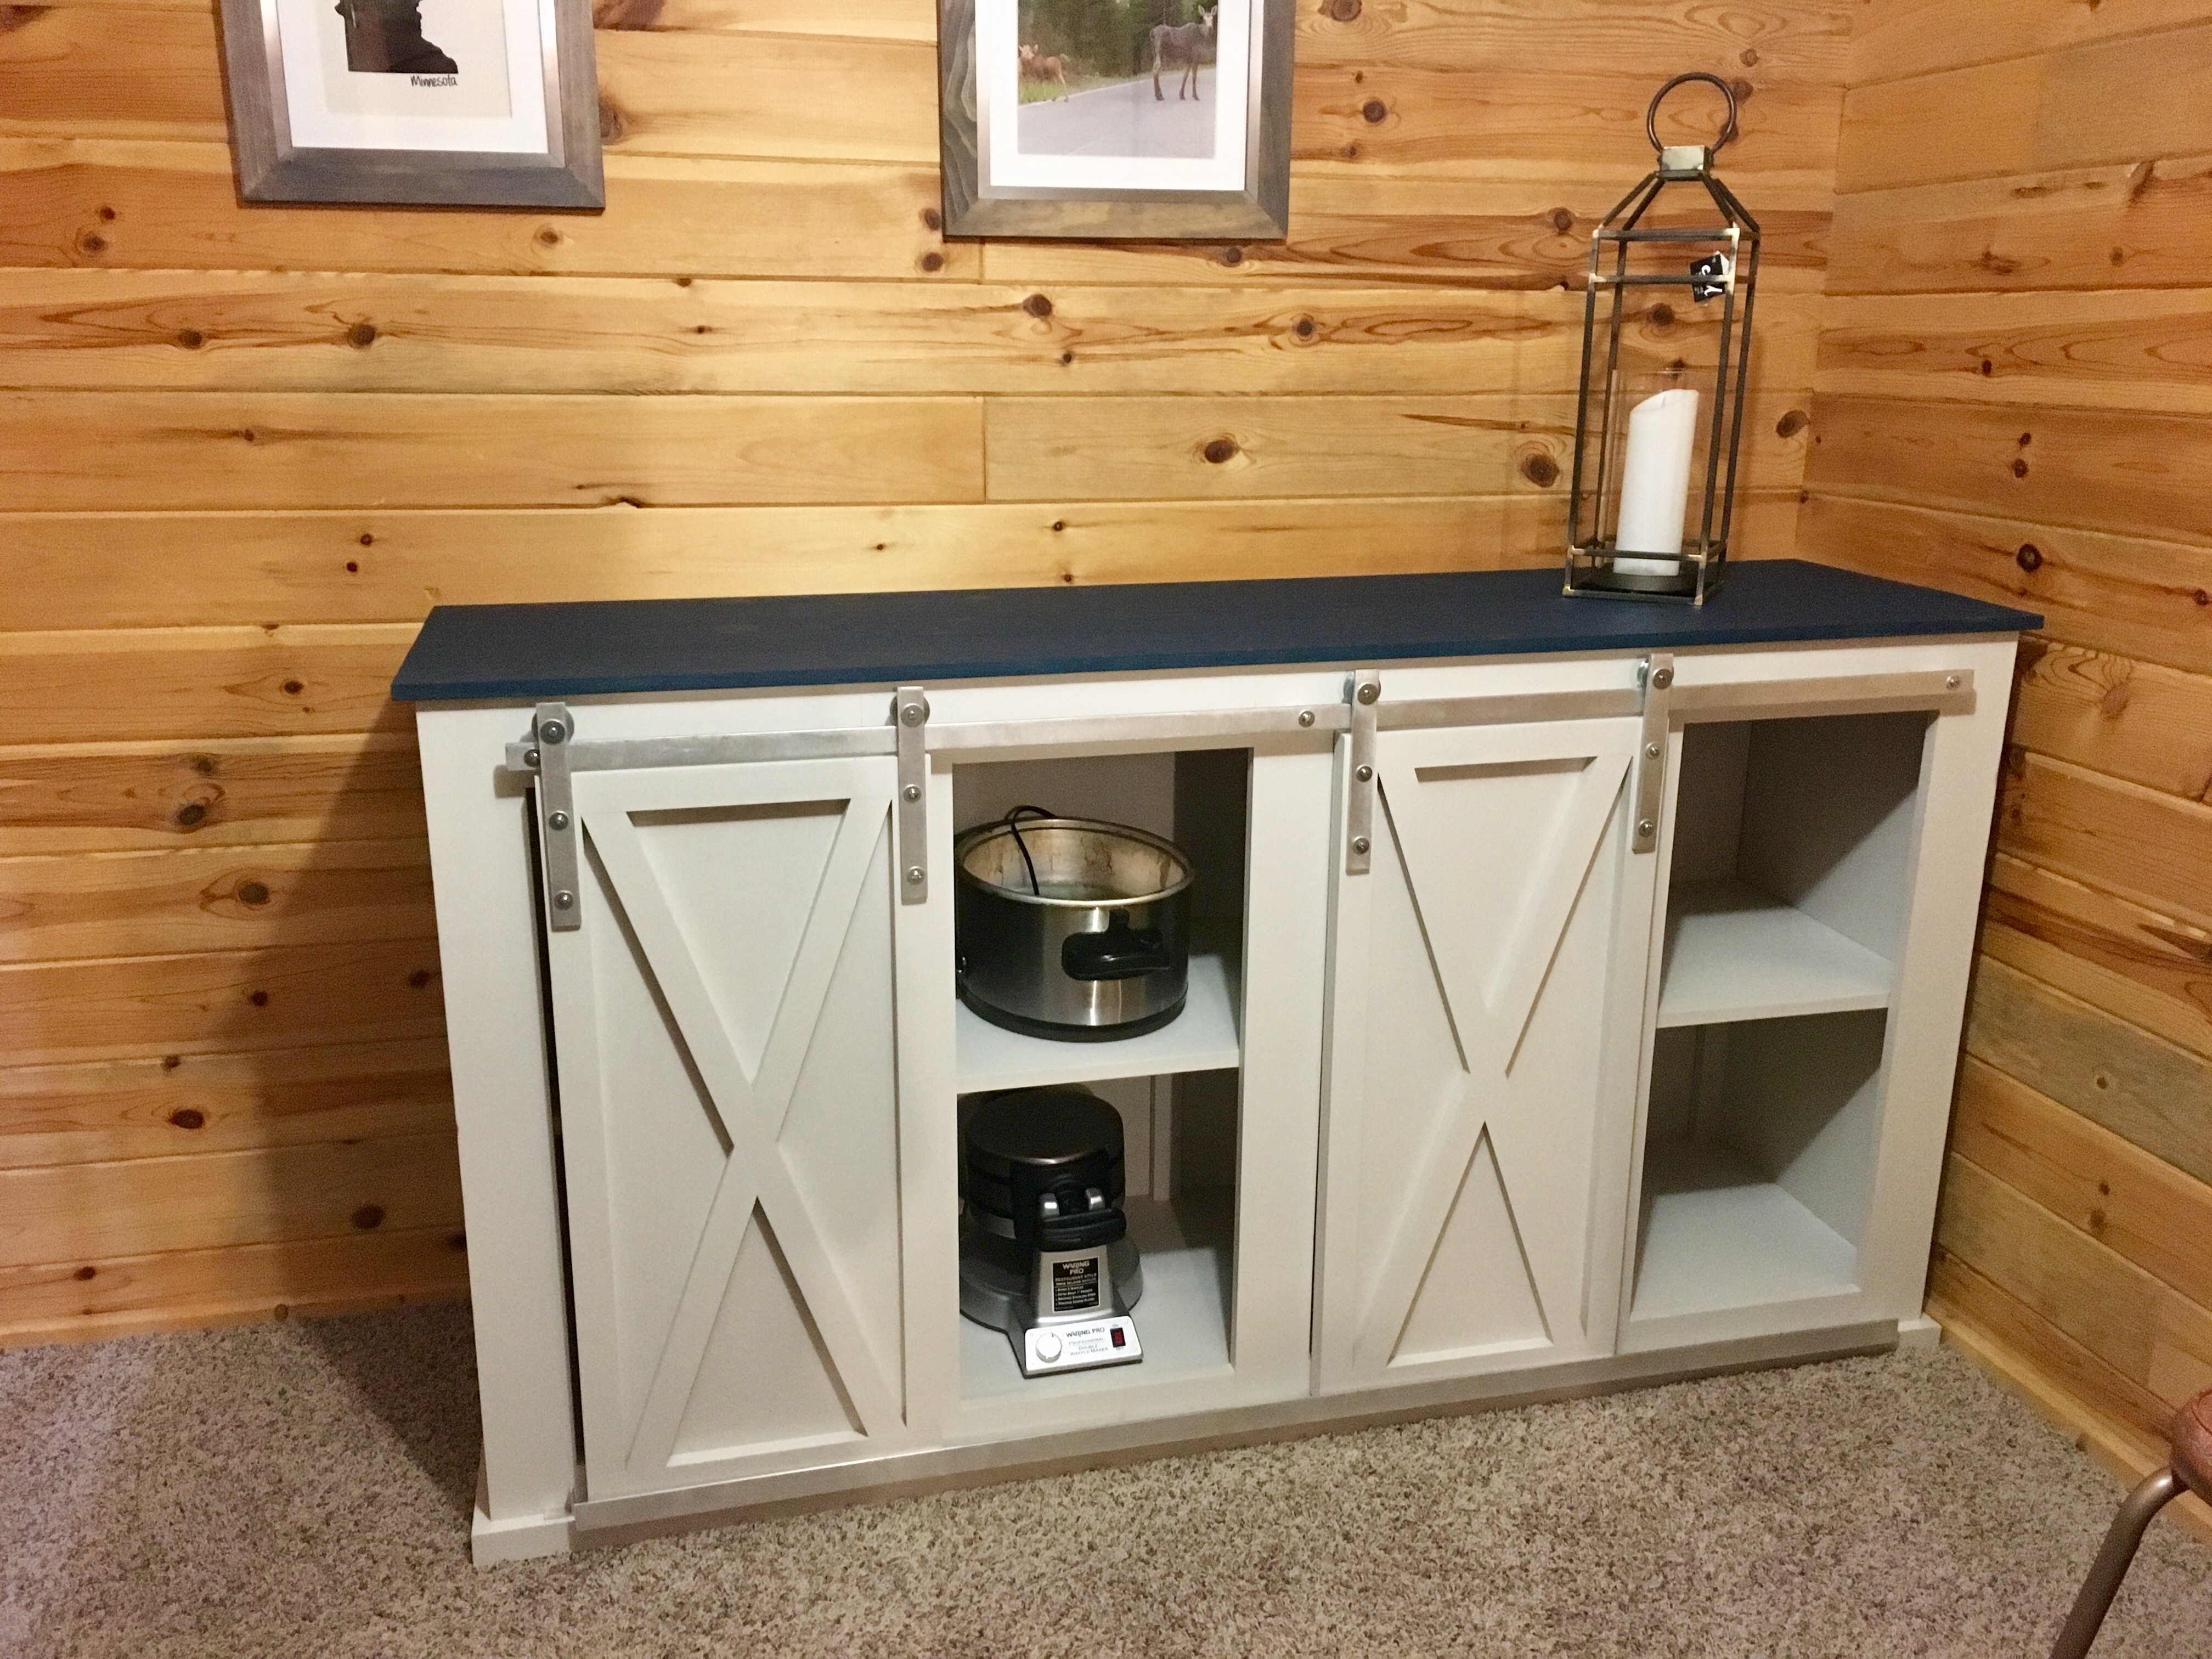
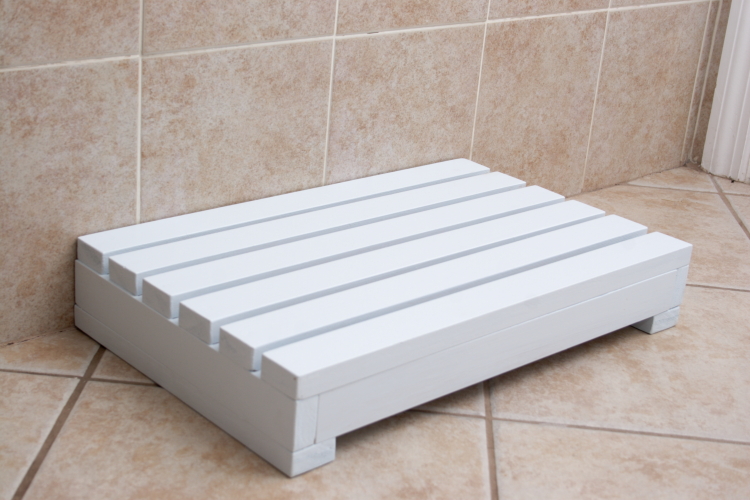
Mail Boss
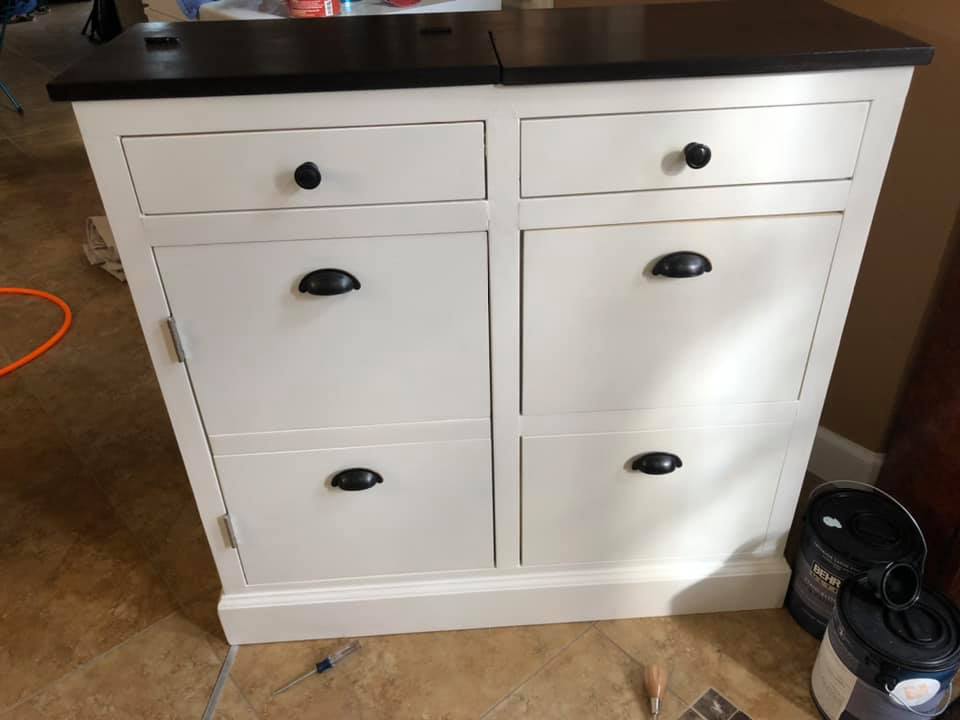
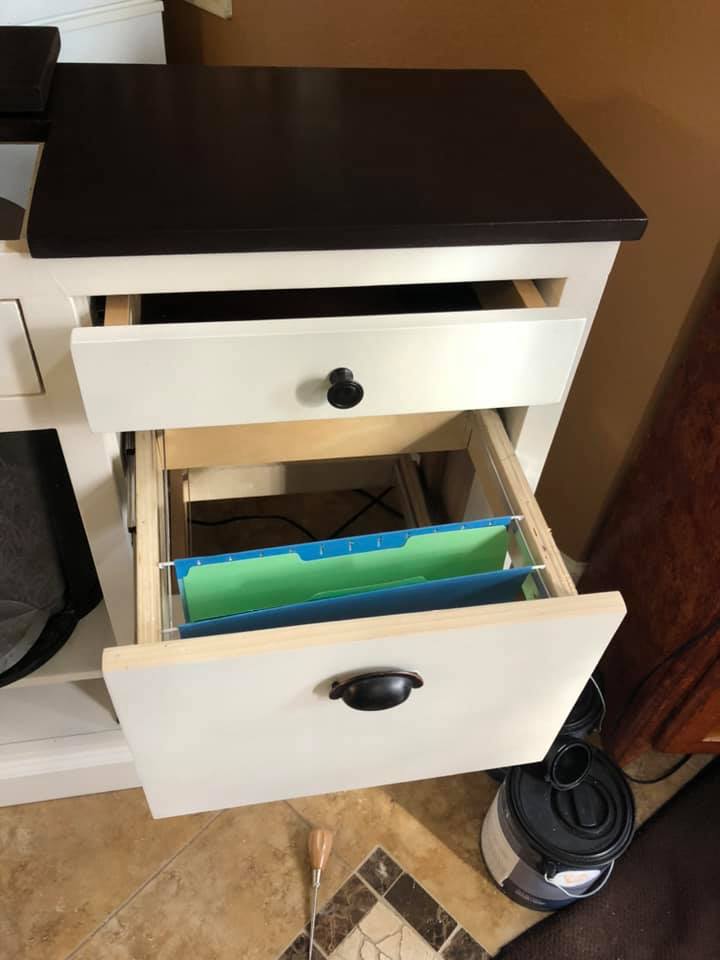
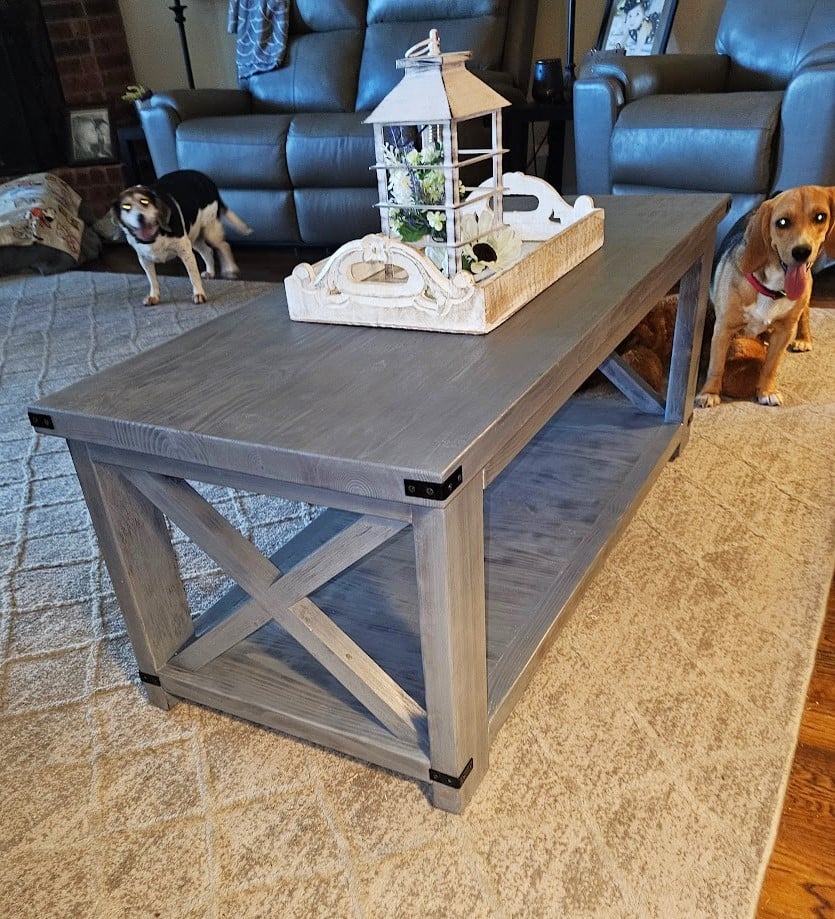
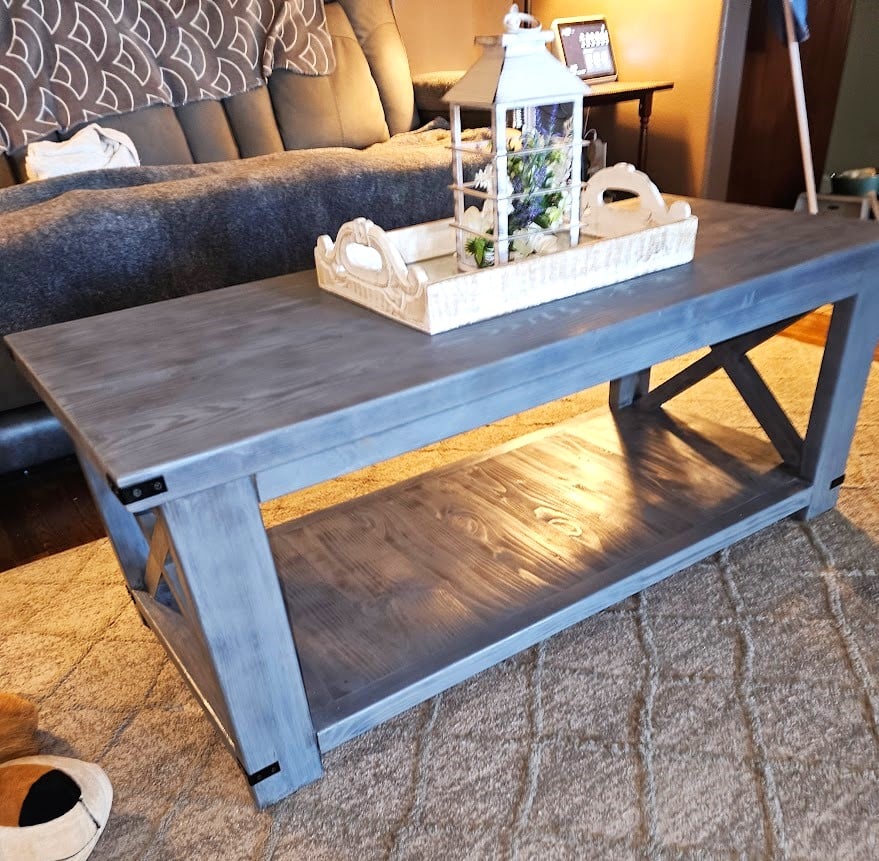
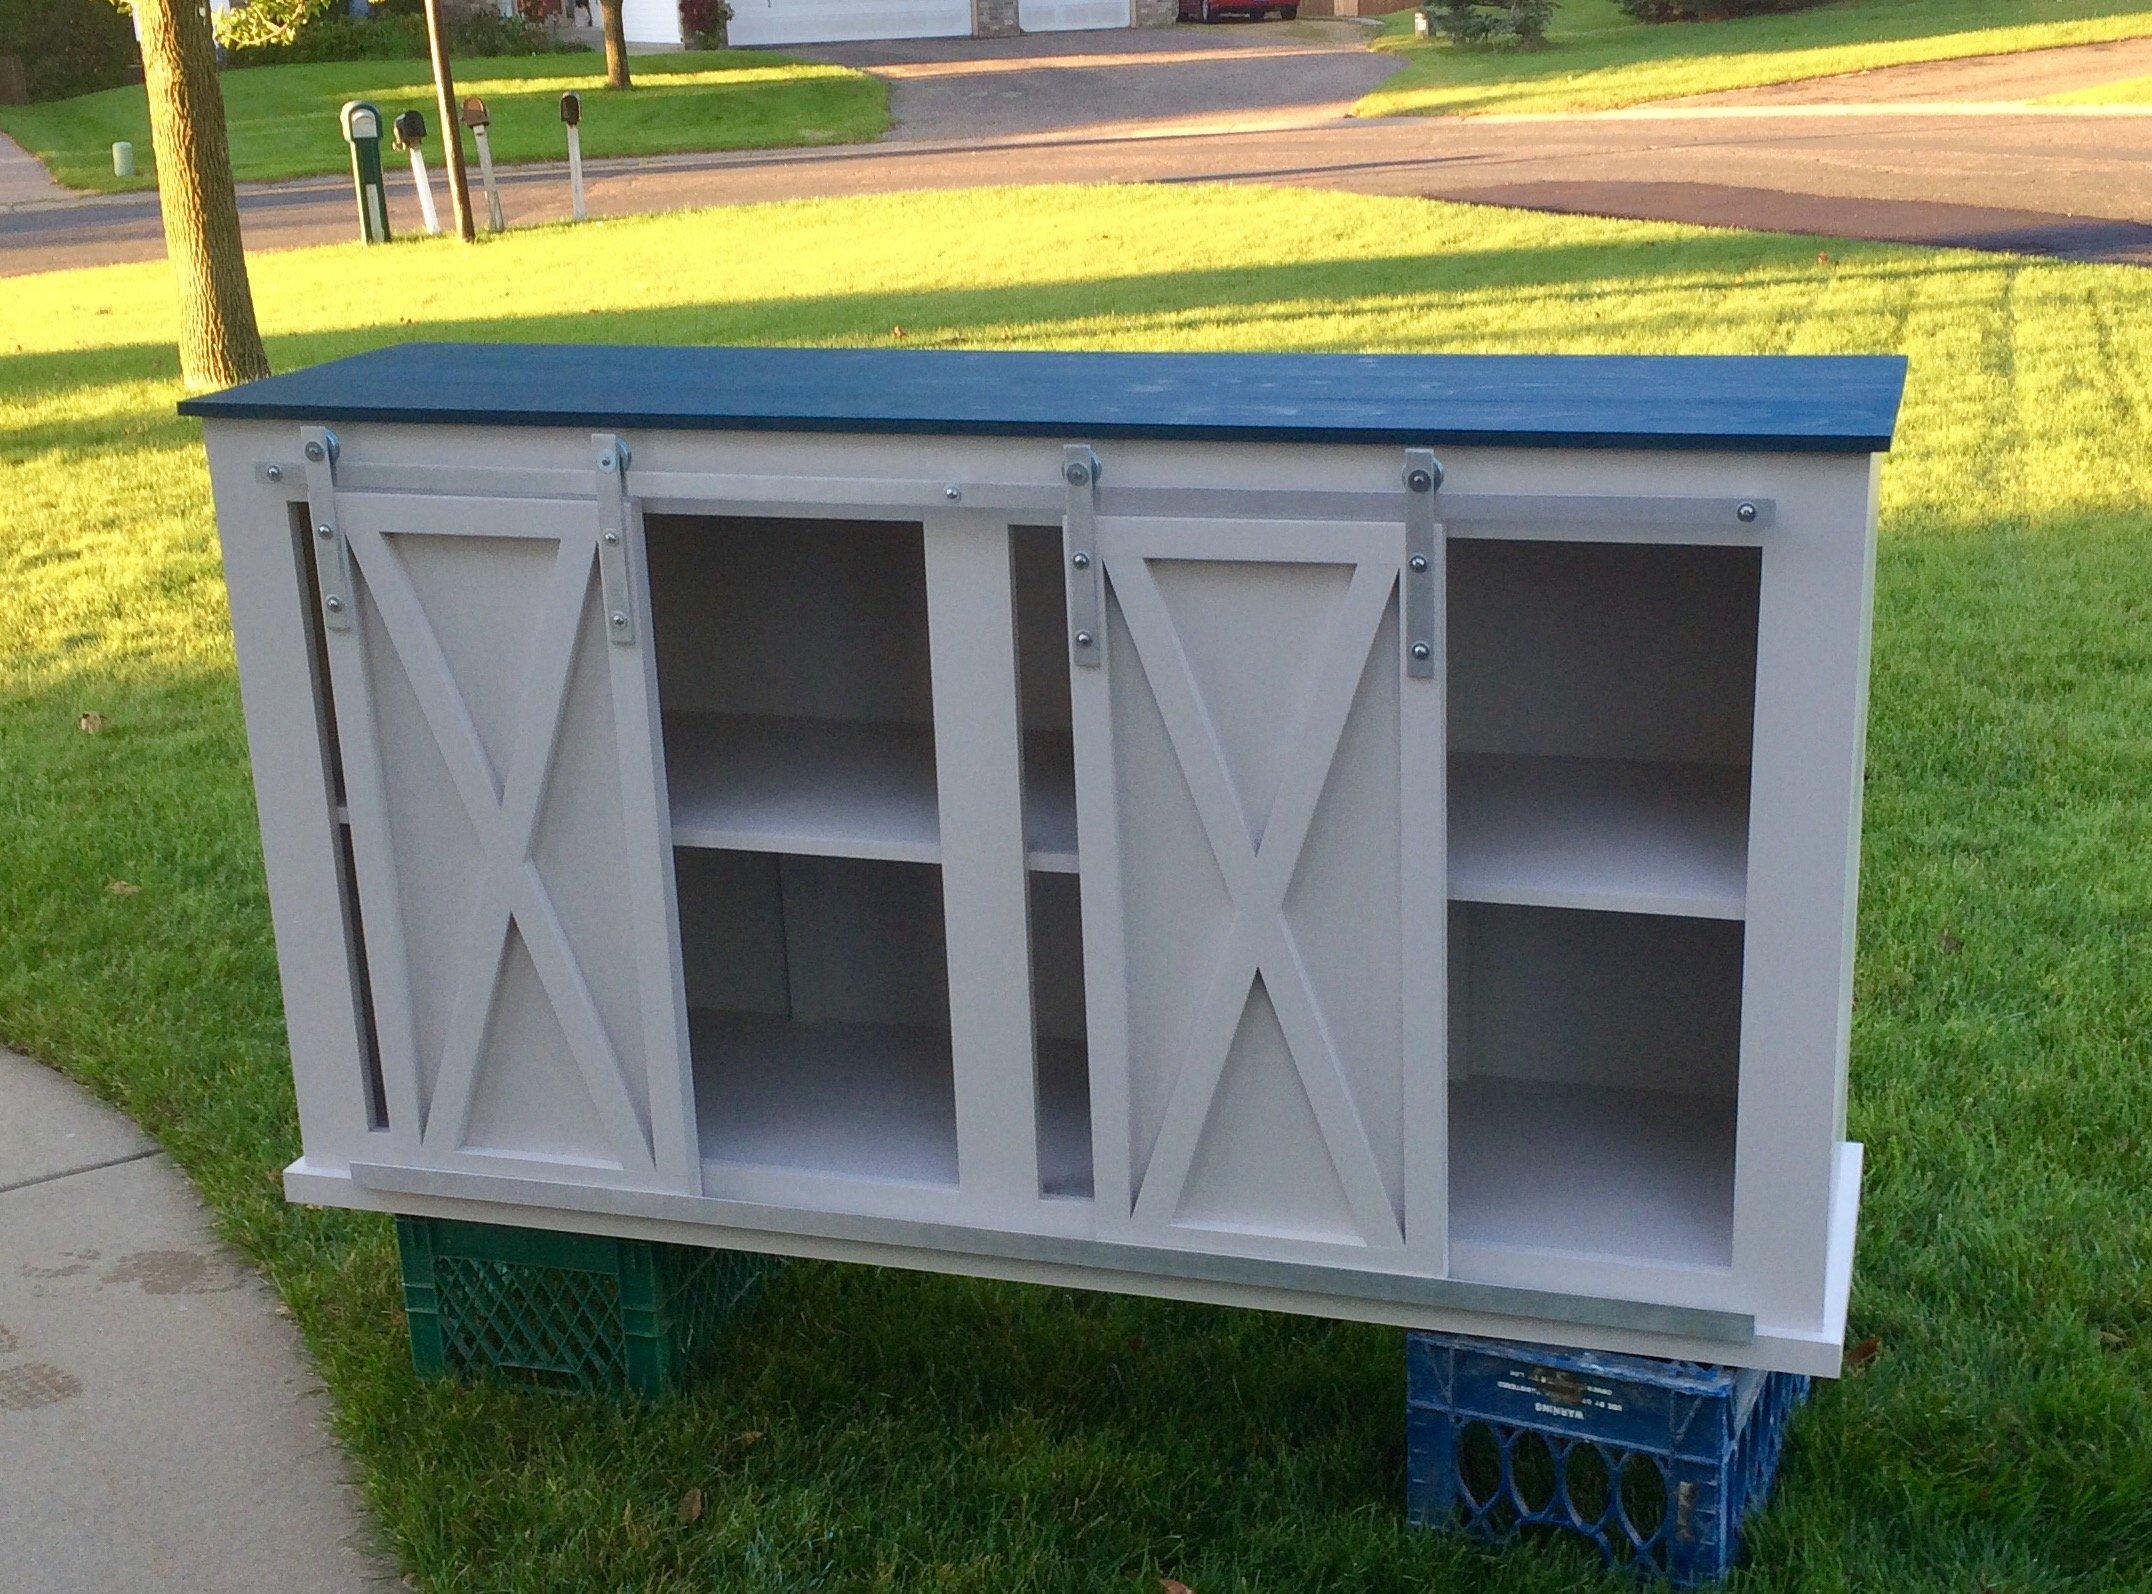
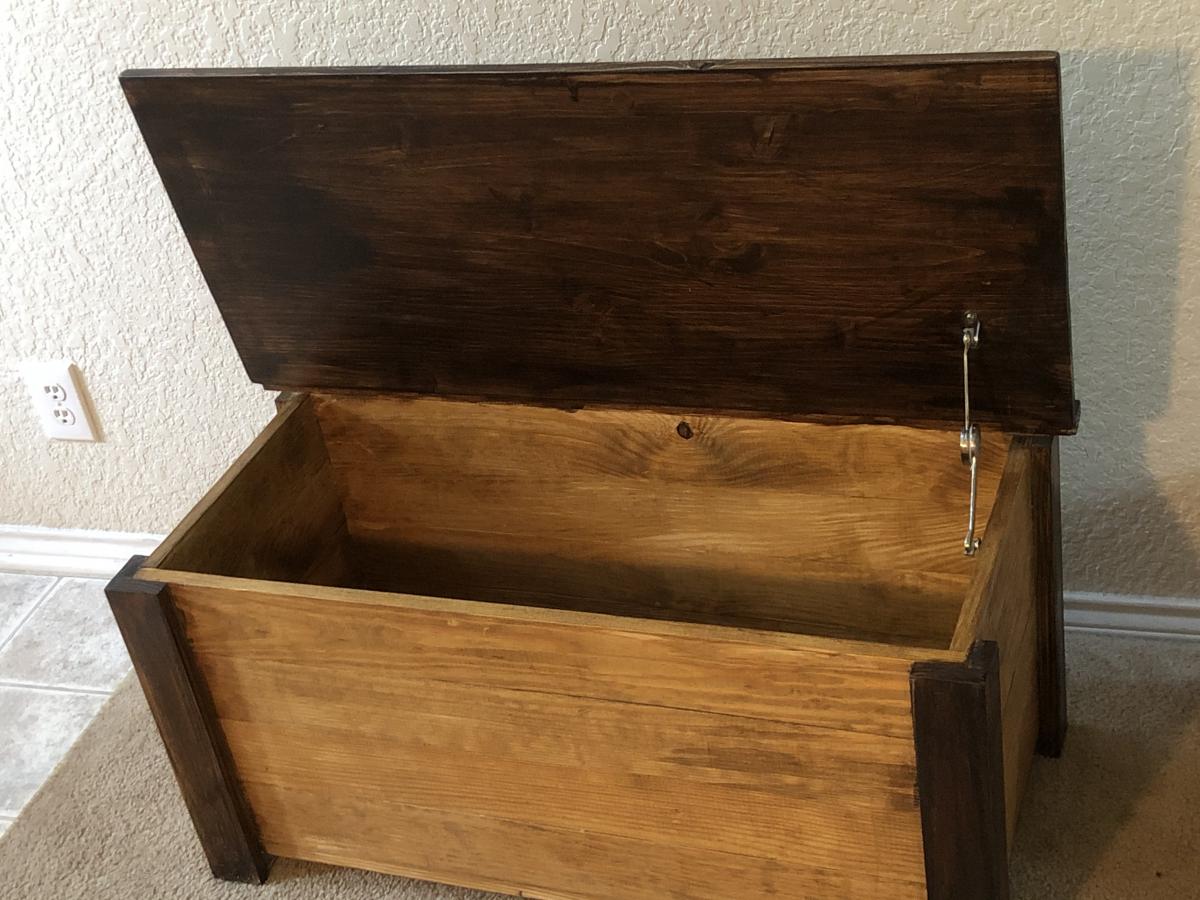
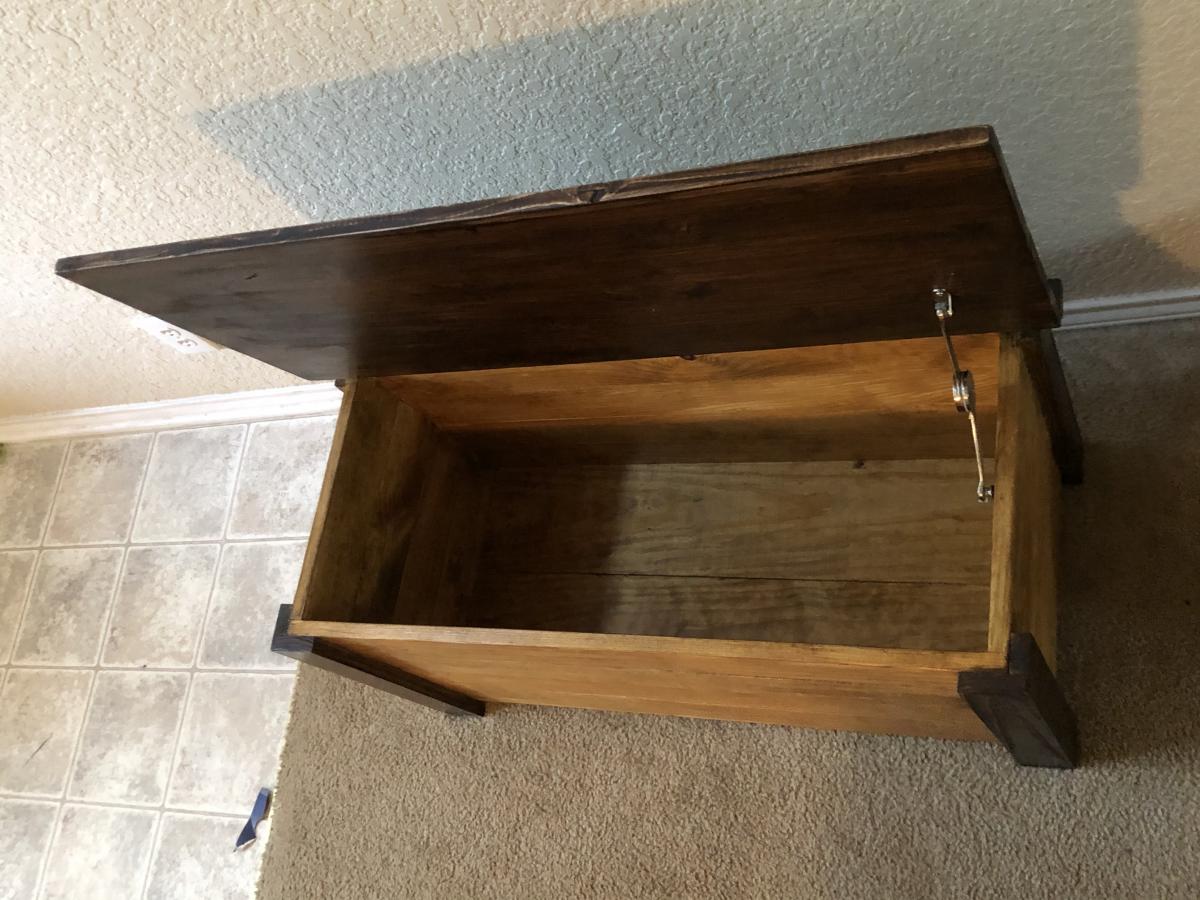
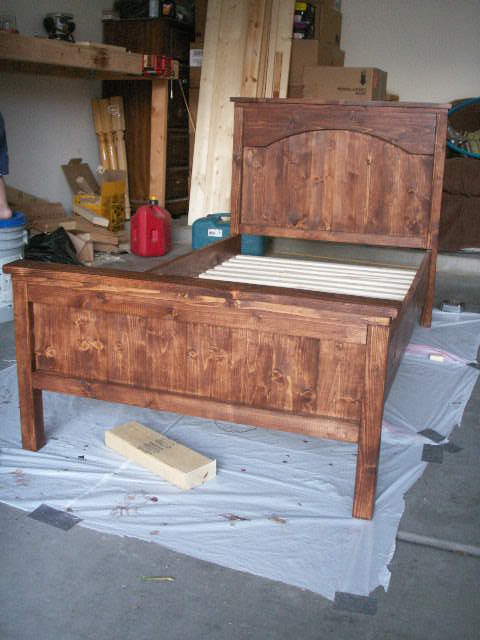
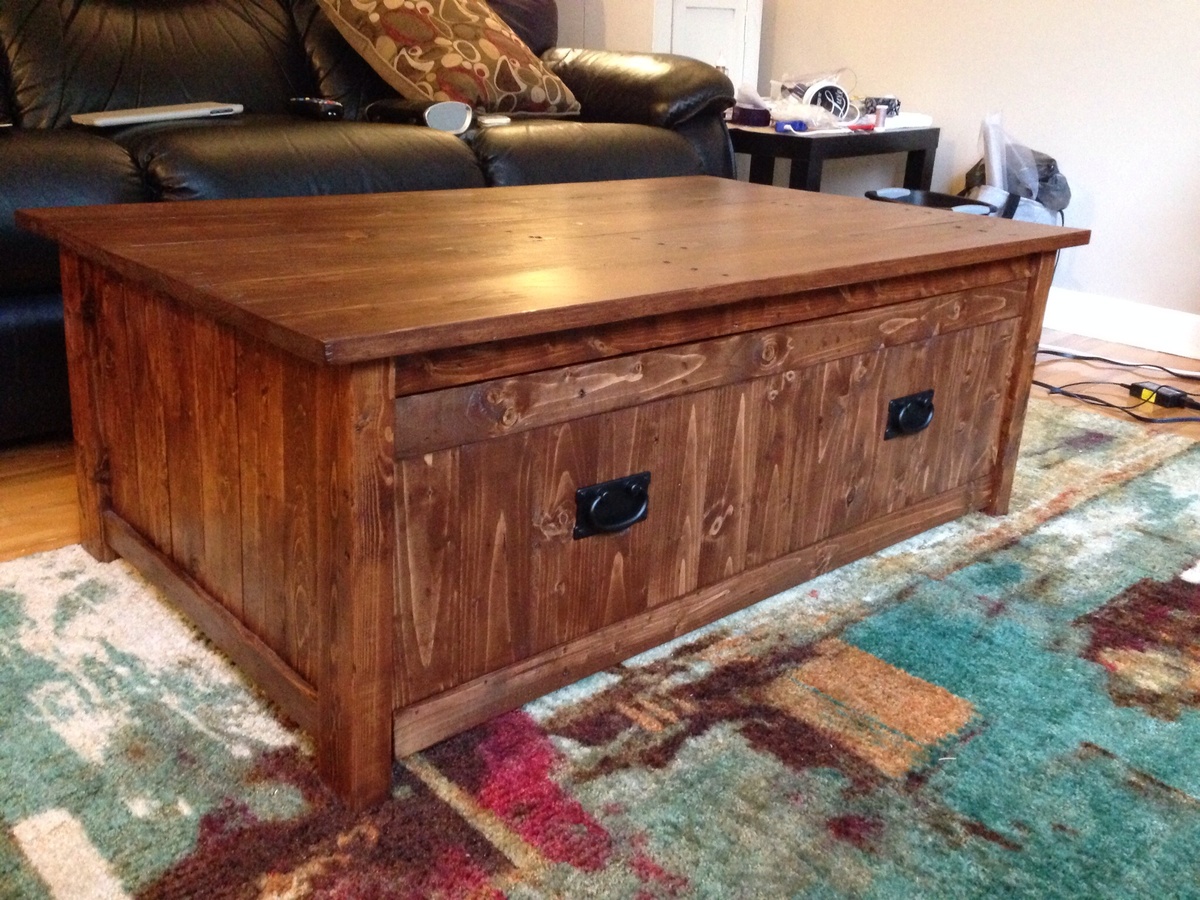
After scouring the internet for a piece of furniture that could hide my shredder and act as a filing cabinet, I decided to look here, and lo and behold, Ana had posted this project the week before. It was literally an answer to prayers!
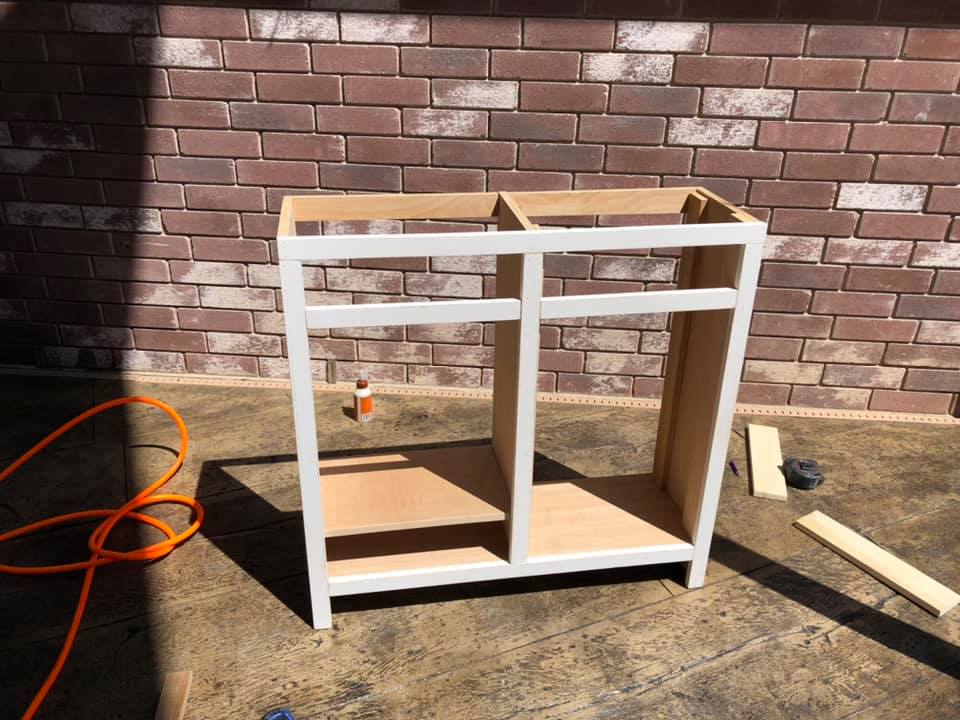
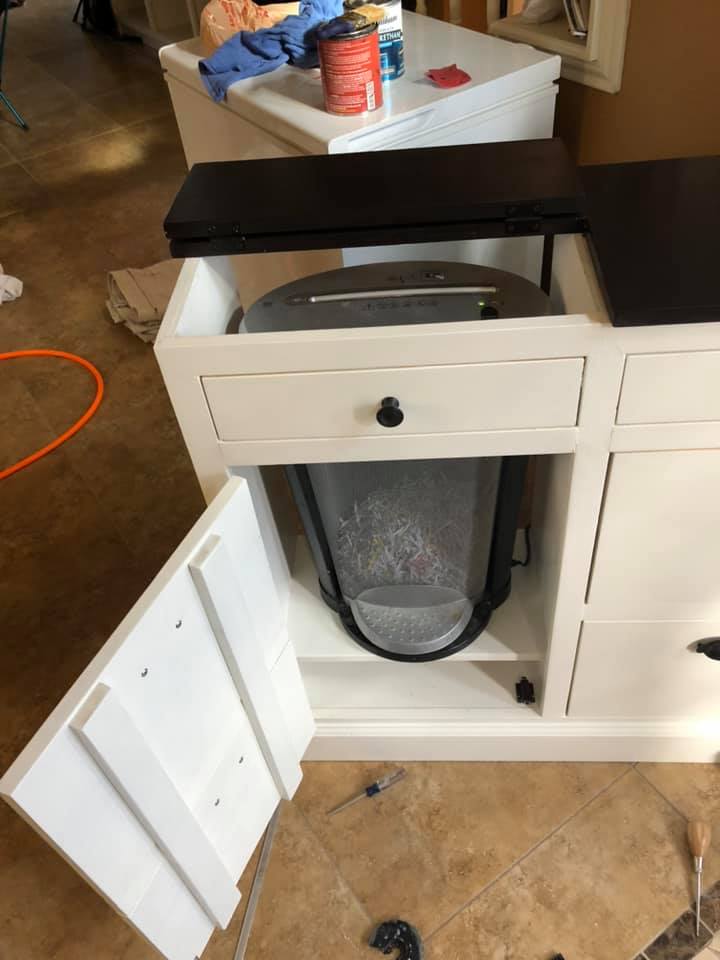
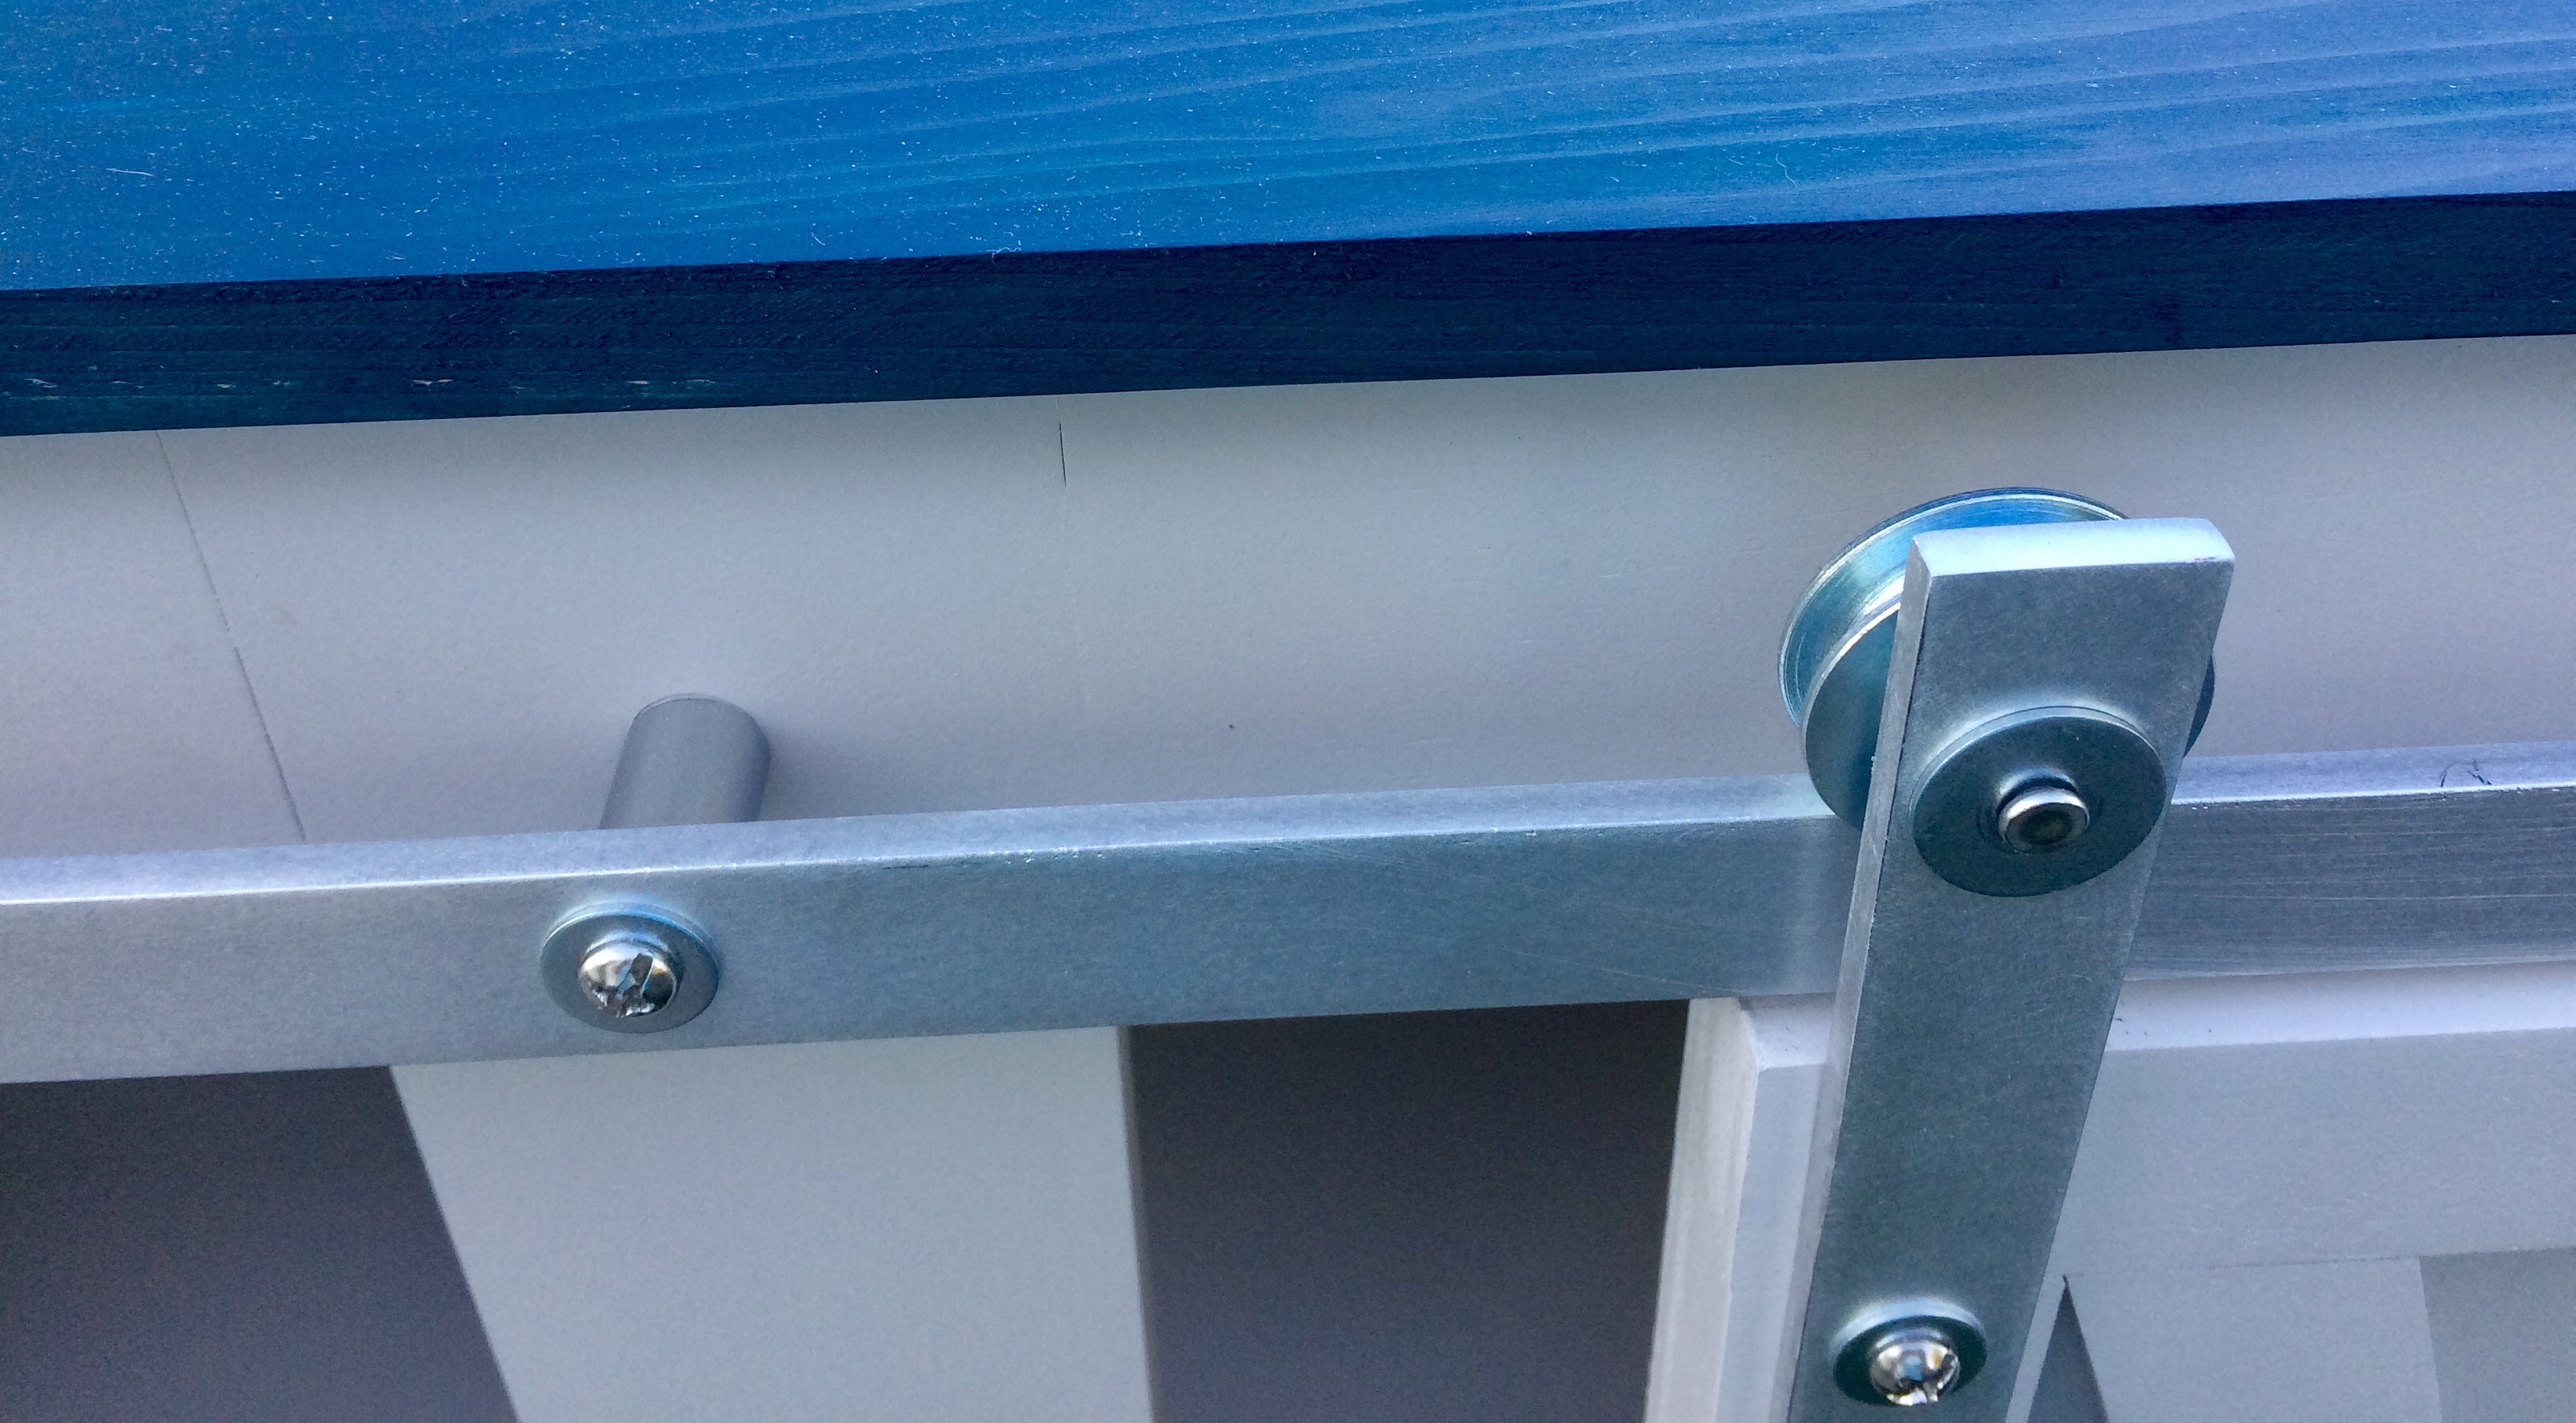
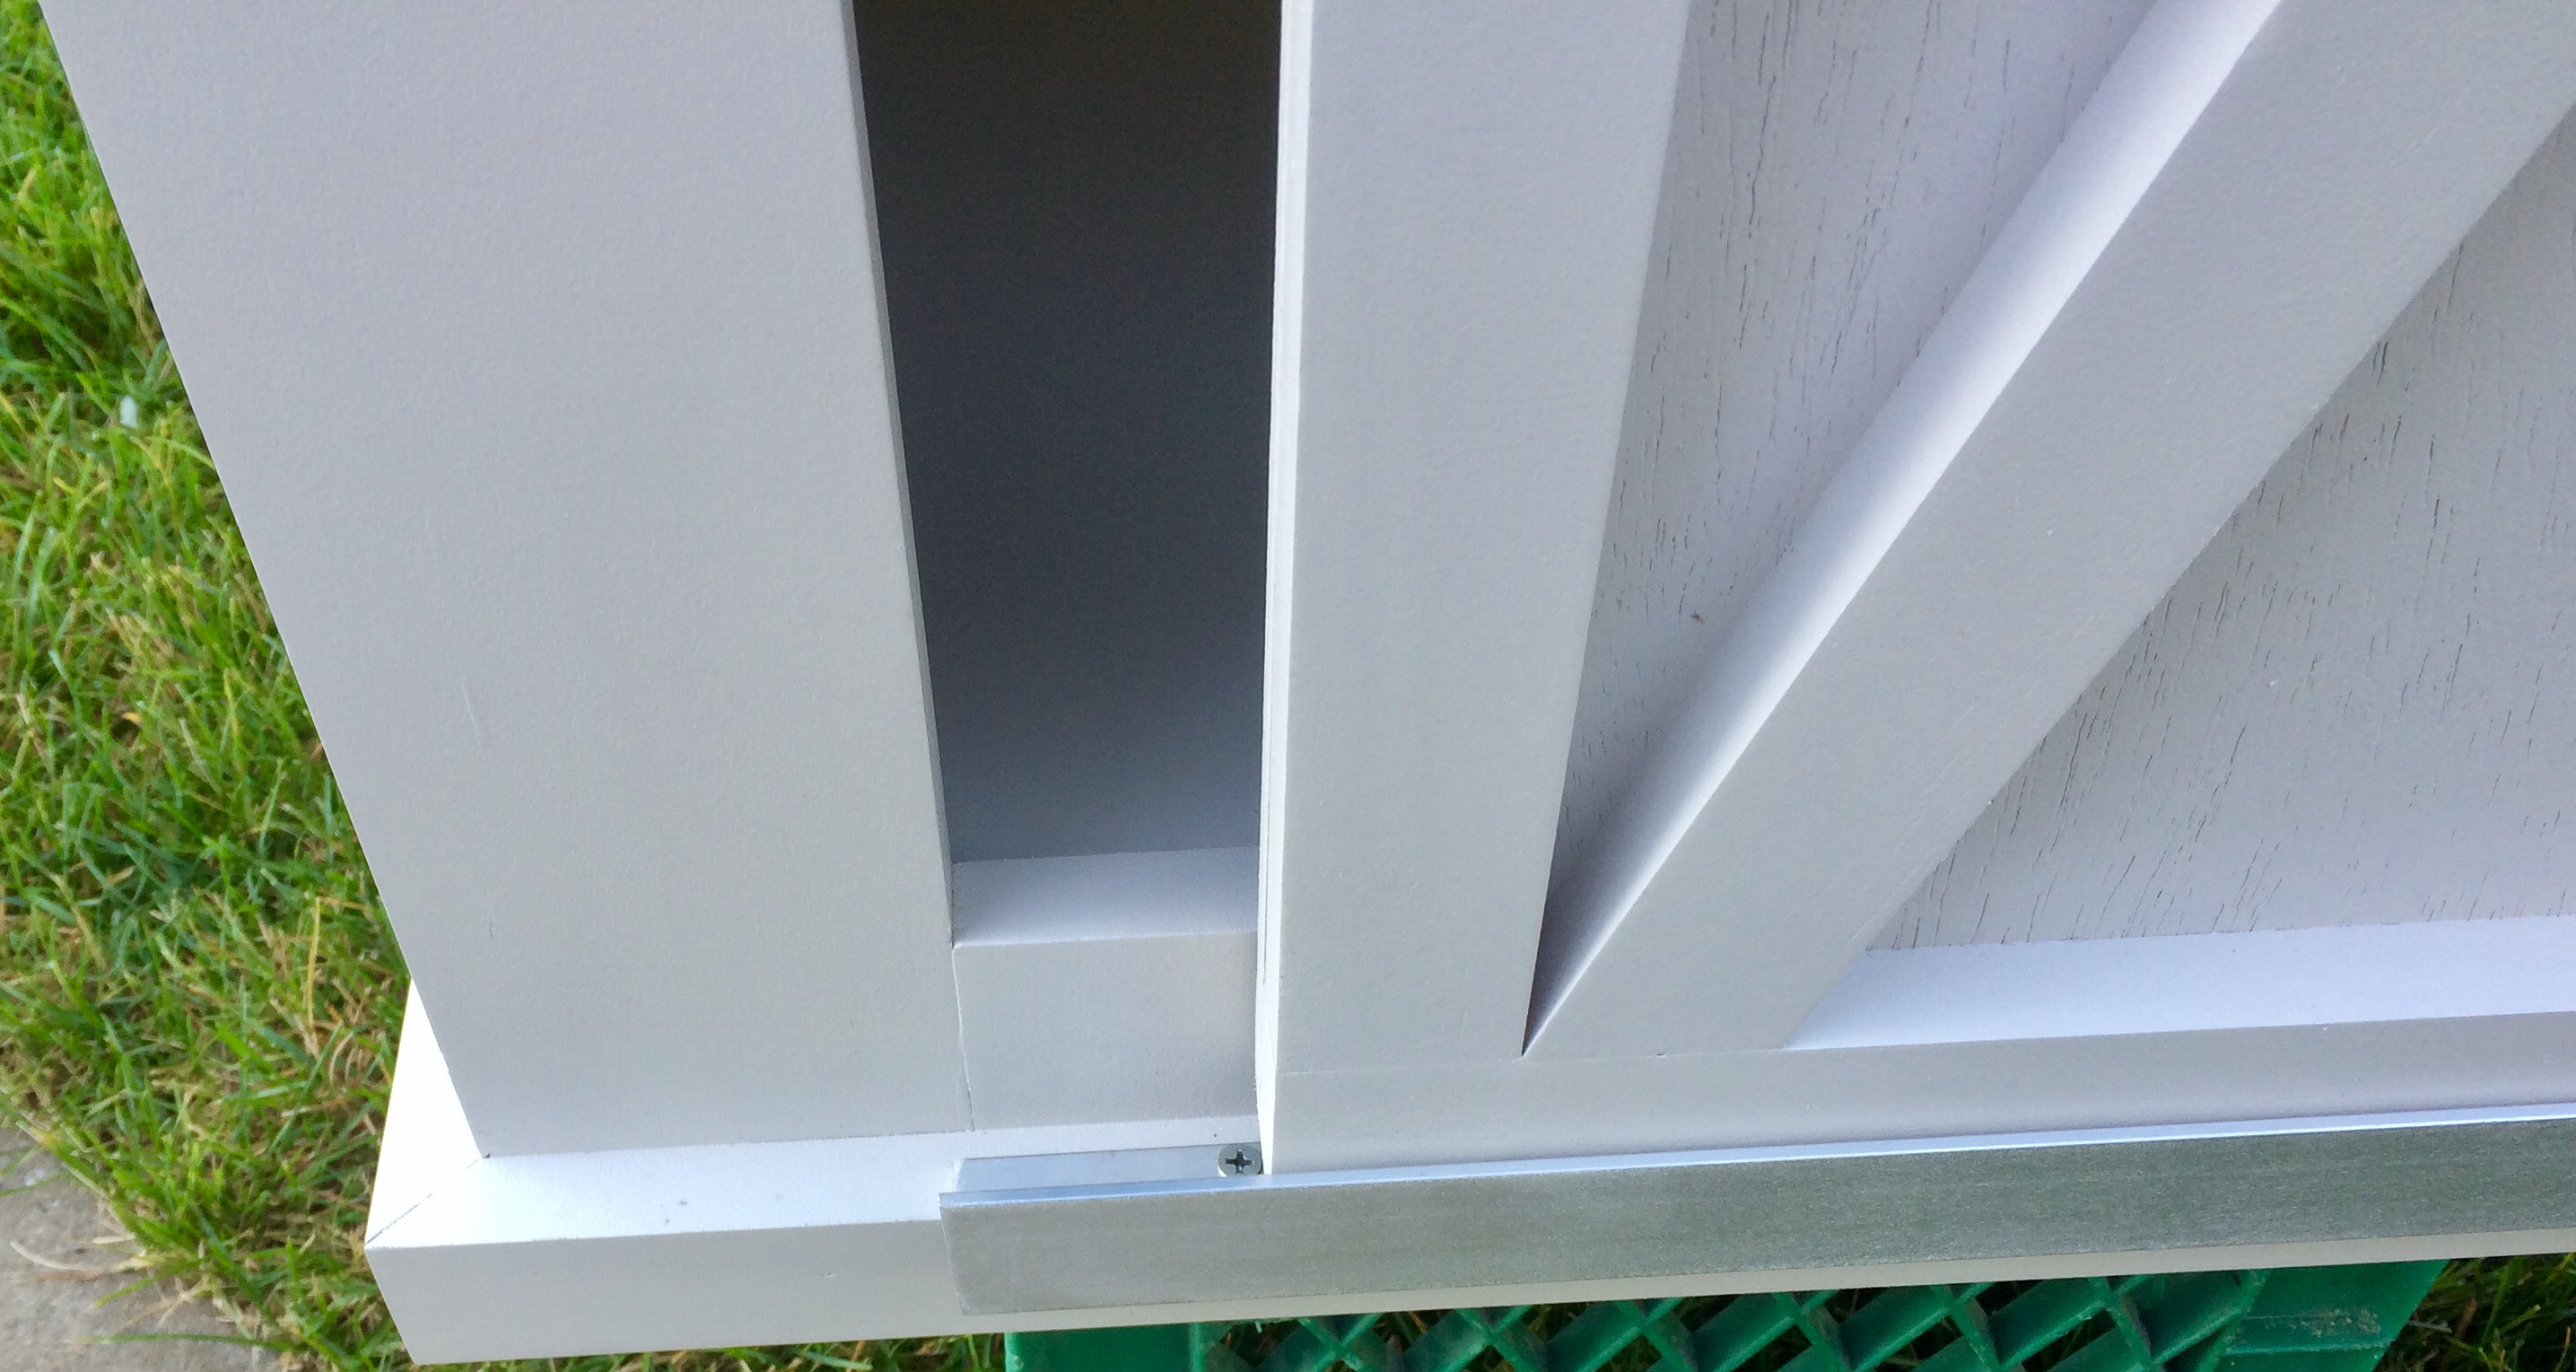
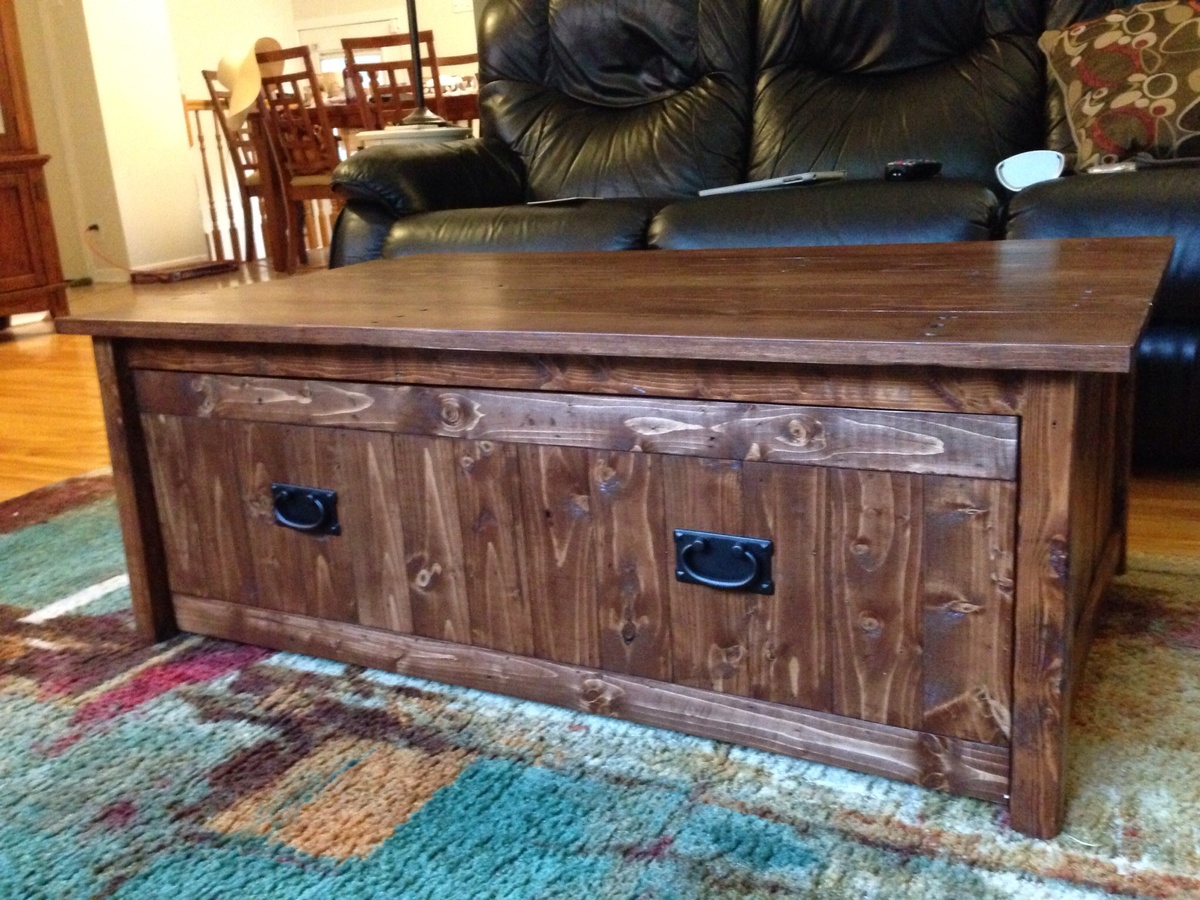
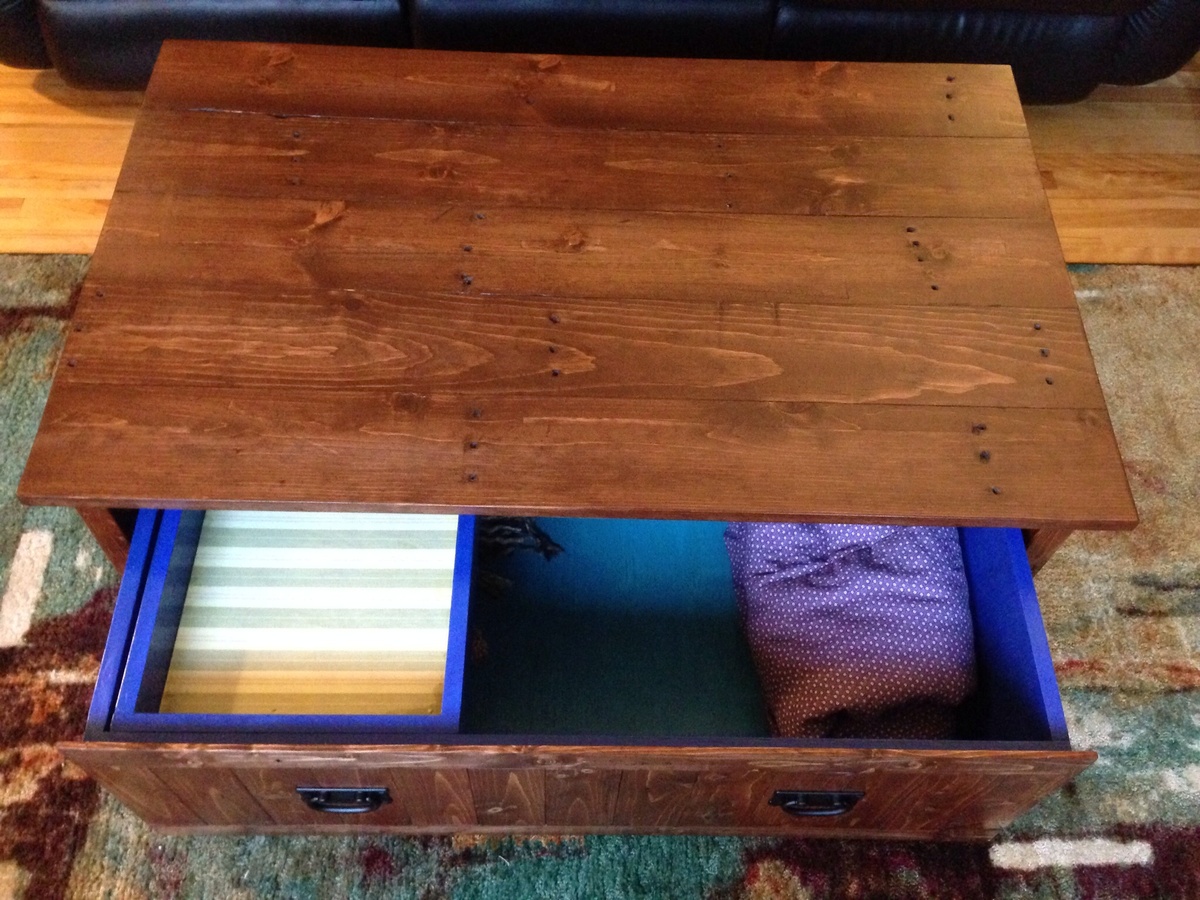
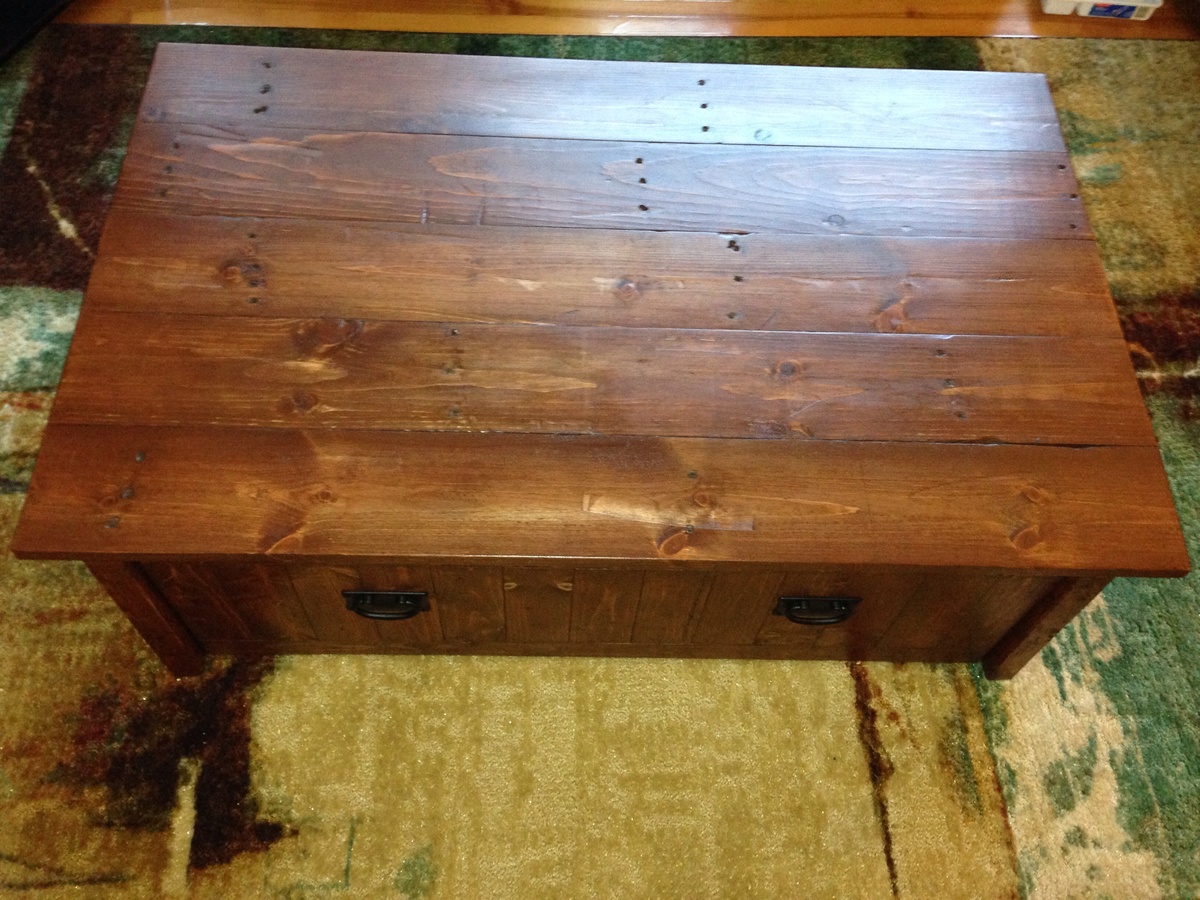
I had a lot of leftover plywood that I cut to size to build this project. The drawer slides were the most expensive part of this project. It was pretty tough and I made a lot of mistakes, but I am very happy with it. It was just what I was looking for. Installing the drawers was the hardest part of this project. I made the shredder compartment to fit my specific shredder, and it barely fits. I already had drawer pulls and paint.
Built from Plan(s)
Estimated Cost
$50 (I had a lot of wood and hardware on-hand)
Estimated Time Investment
Weekend Project (10-20 Hours)
Finish Used
dark chocolate milk paint on top, antique white latex paint; polyurethane finish
Recommended Skill Level
Intermediate


Comments
Ana White Admin
Fri, 12/04/2020 - 21:27
Great job!
It's a hard working piece and you did a great job! Thanks for sharing:)
sbundros
Thu, 07/08/2021 - 22:56
Mail boss cabinet
Mail boss cabinet