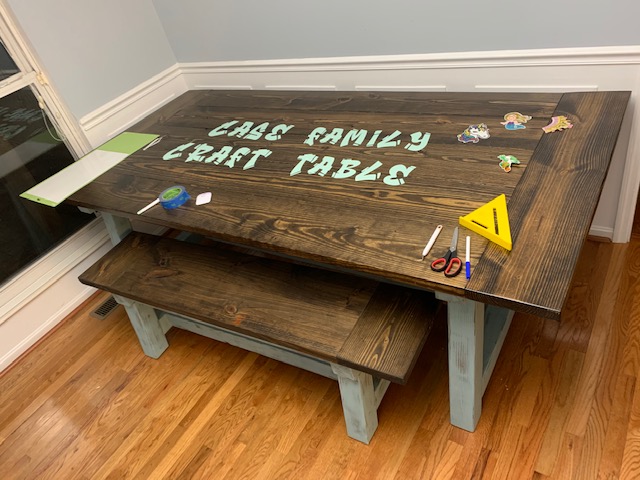
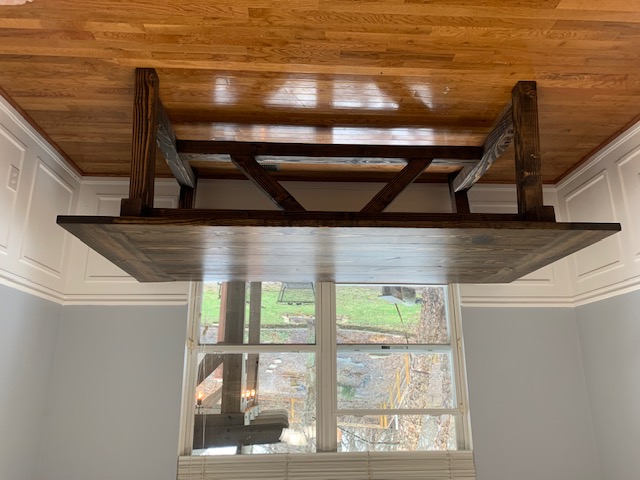
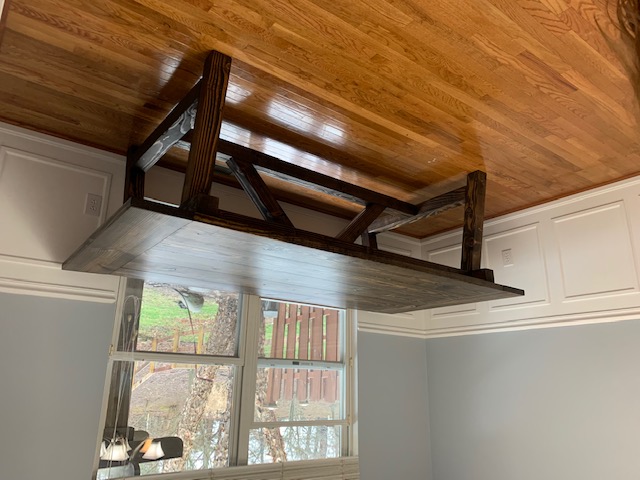
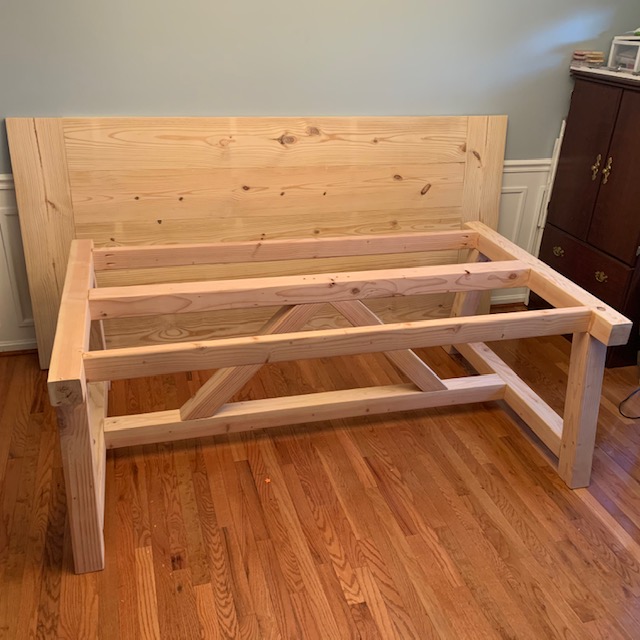
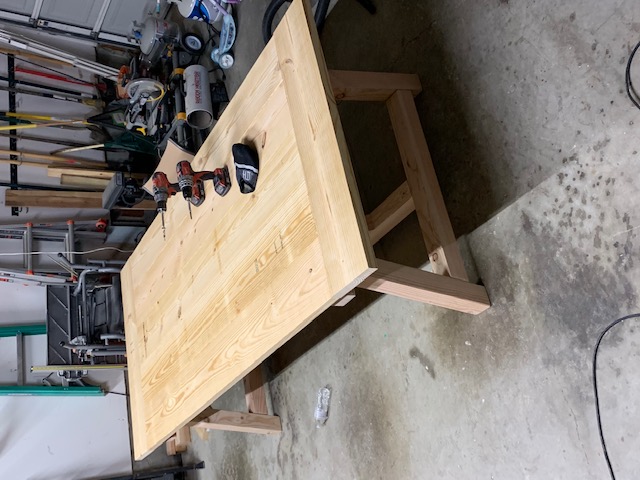
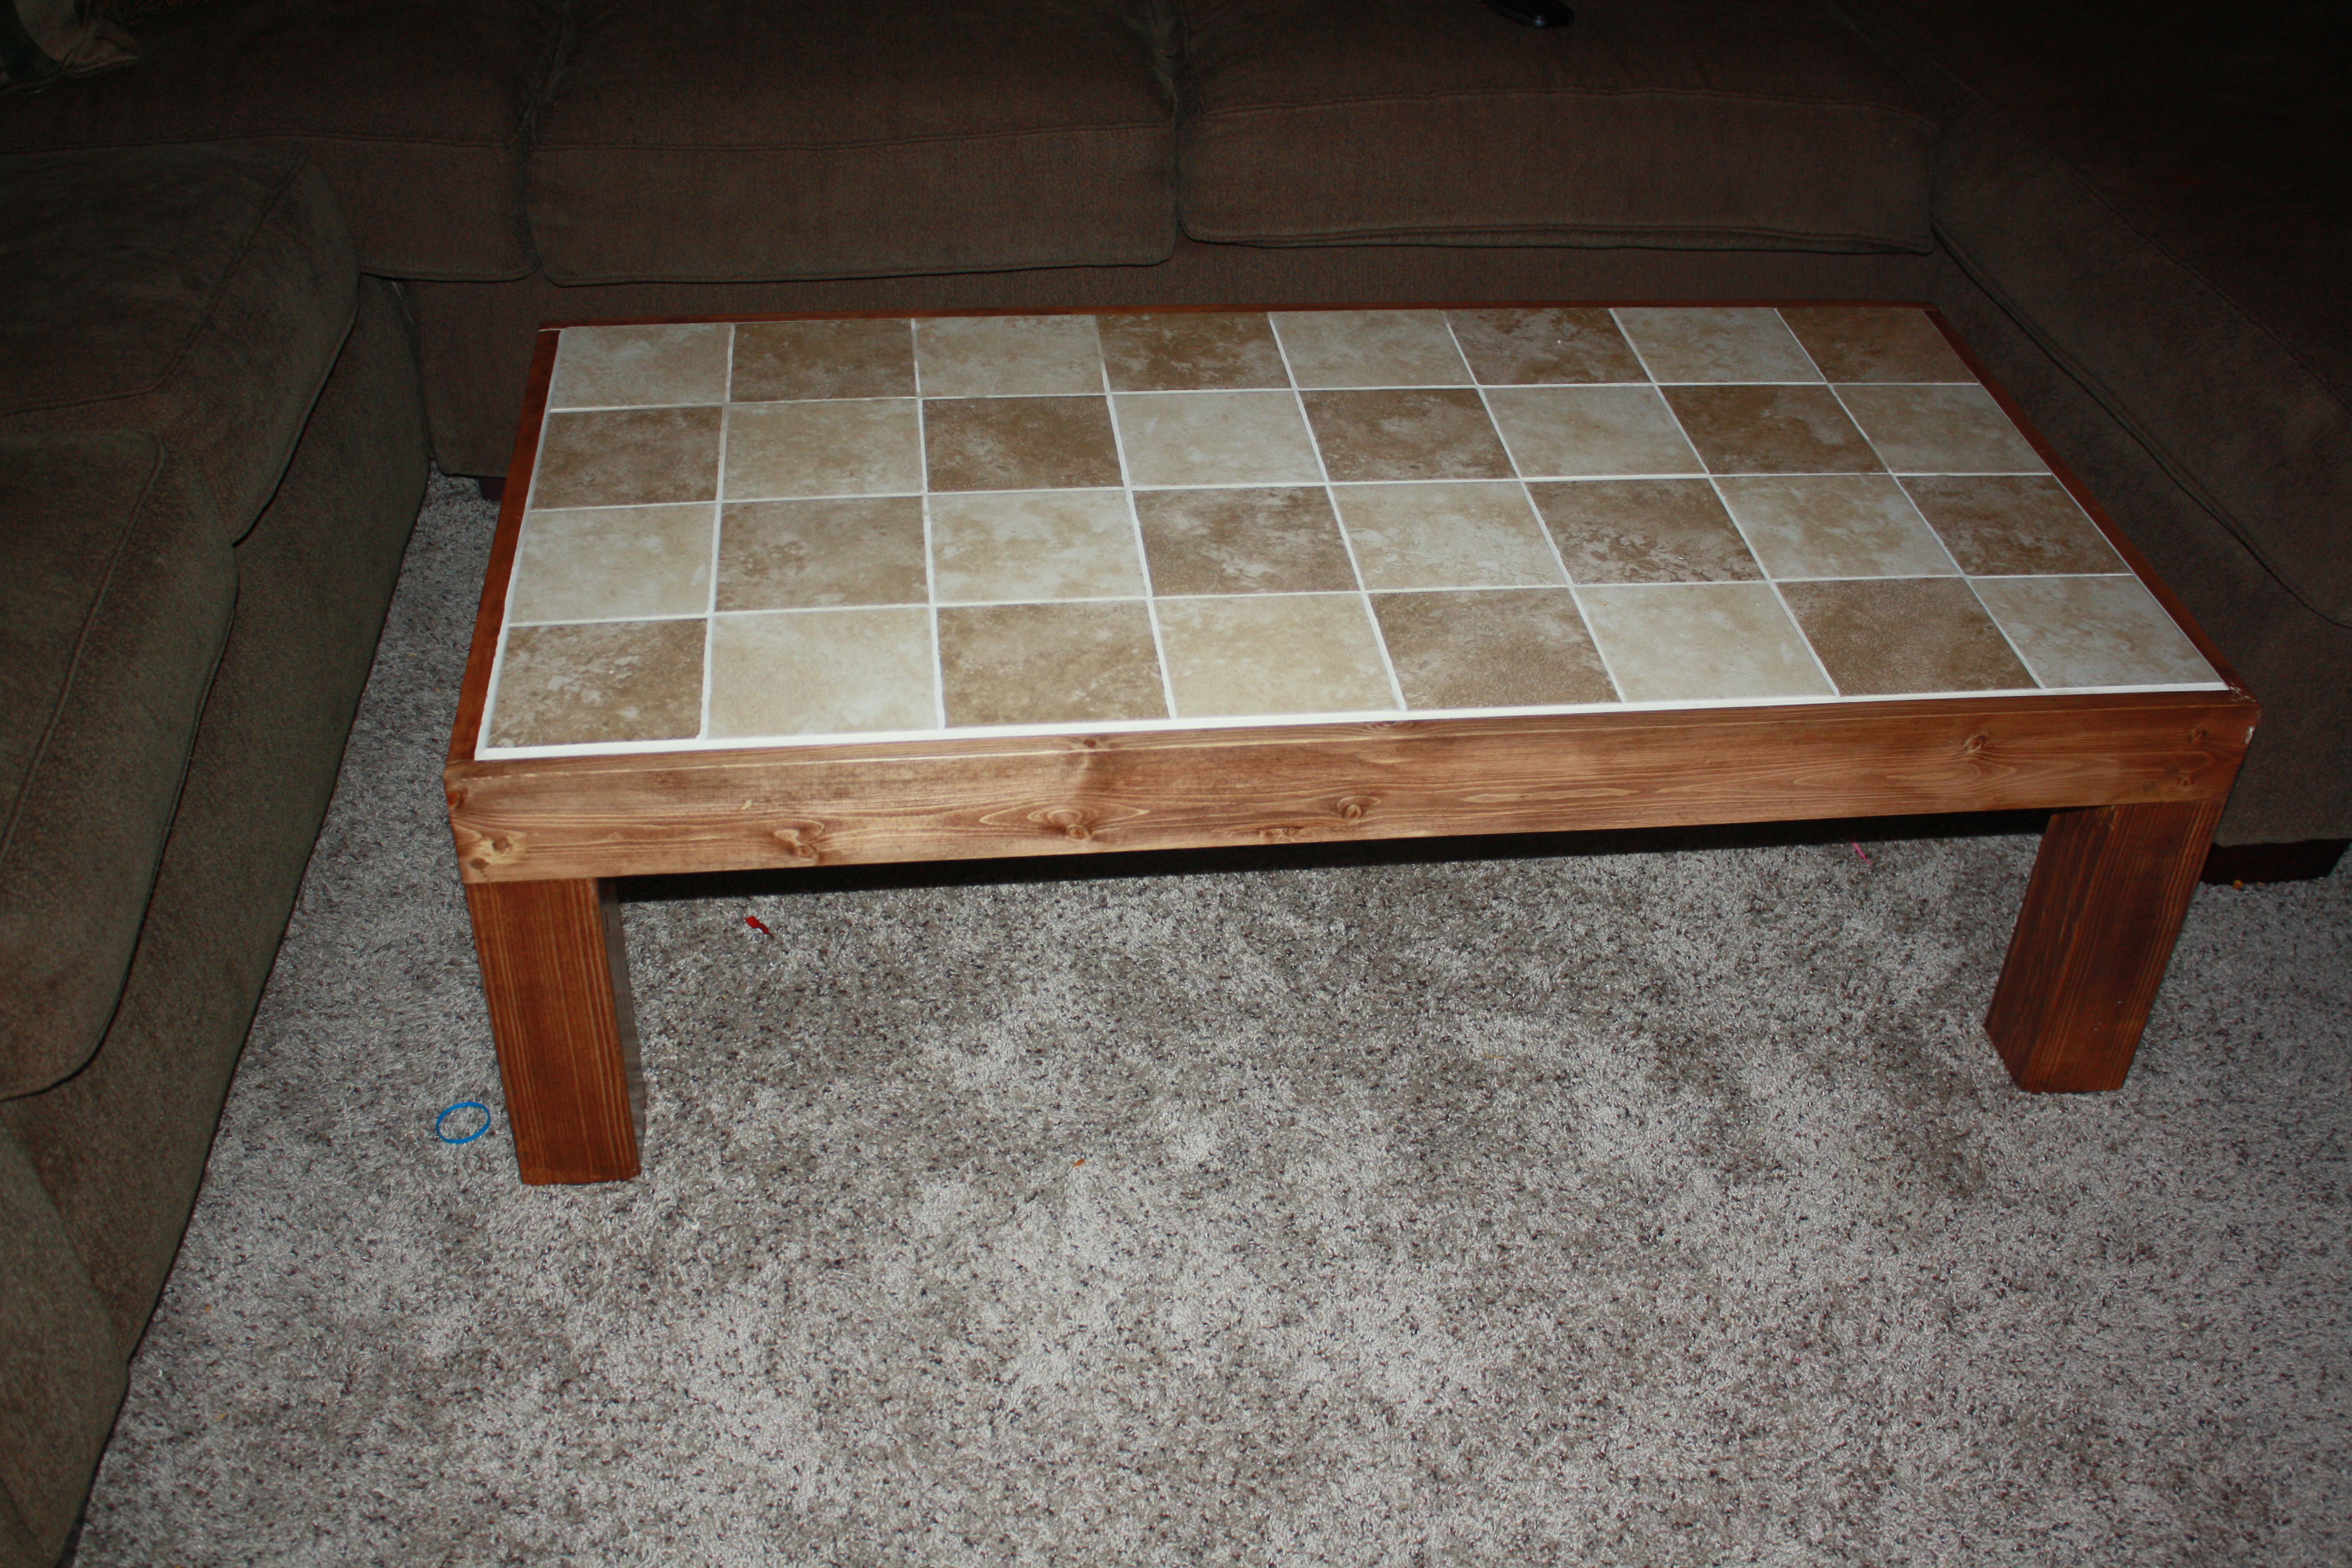
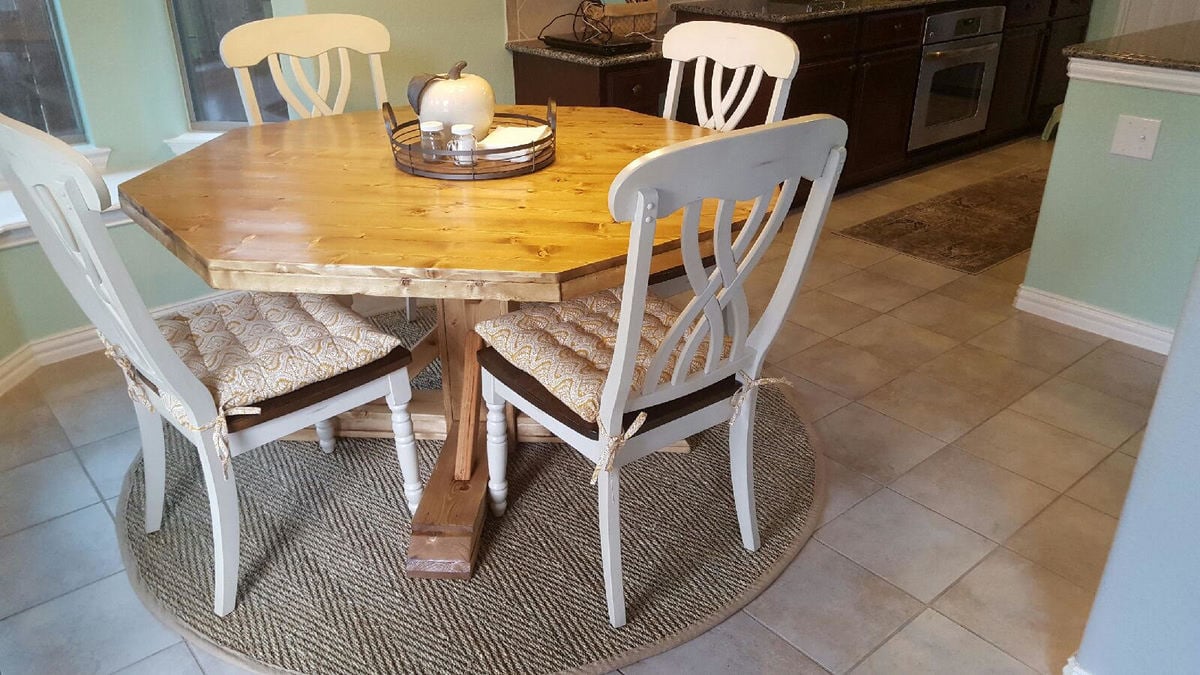
Octagon Benchmark Table
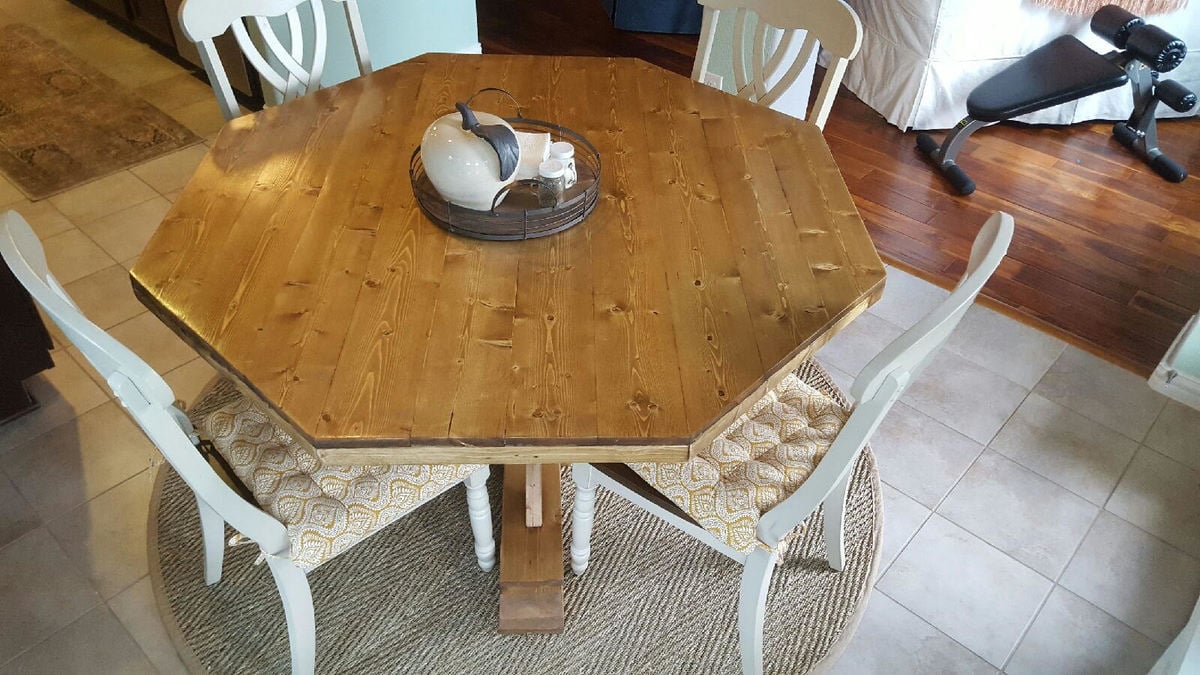
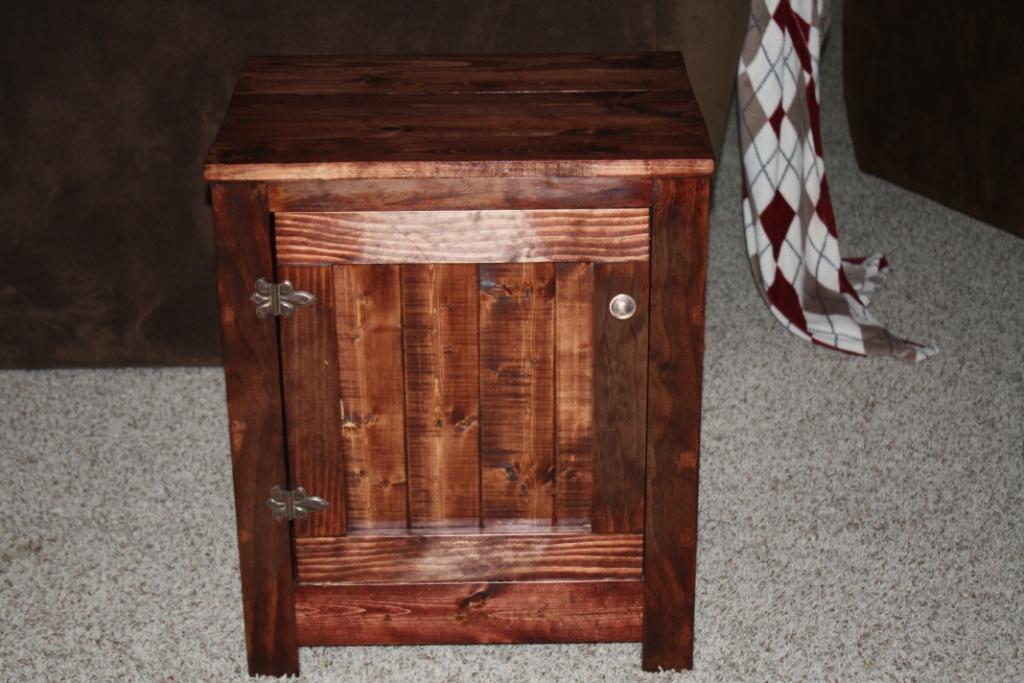
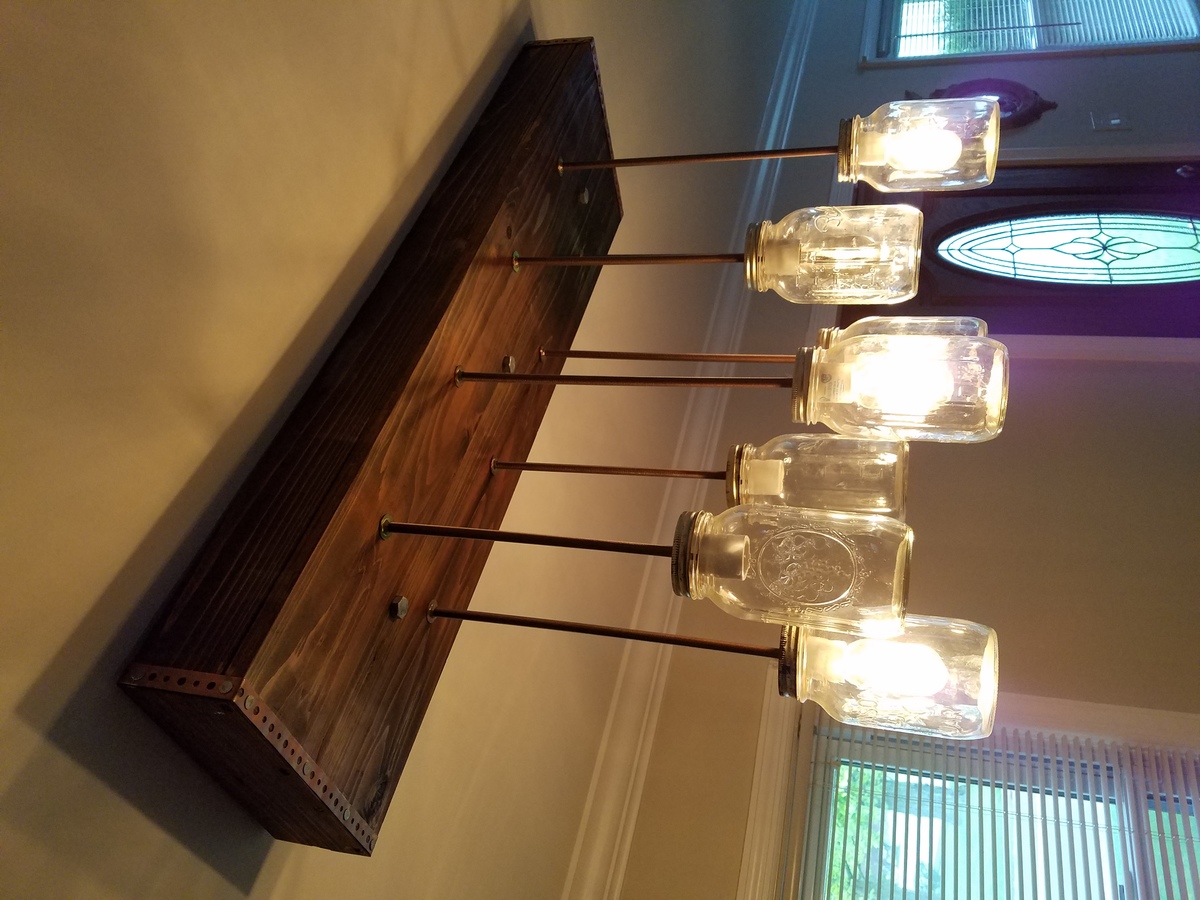
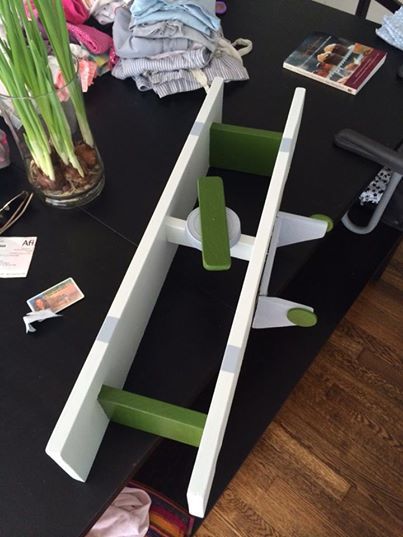
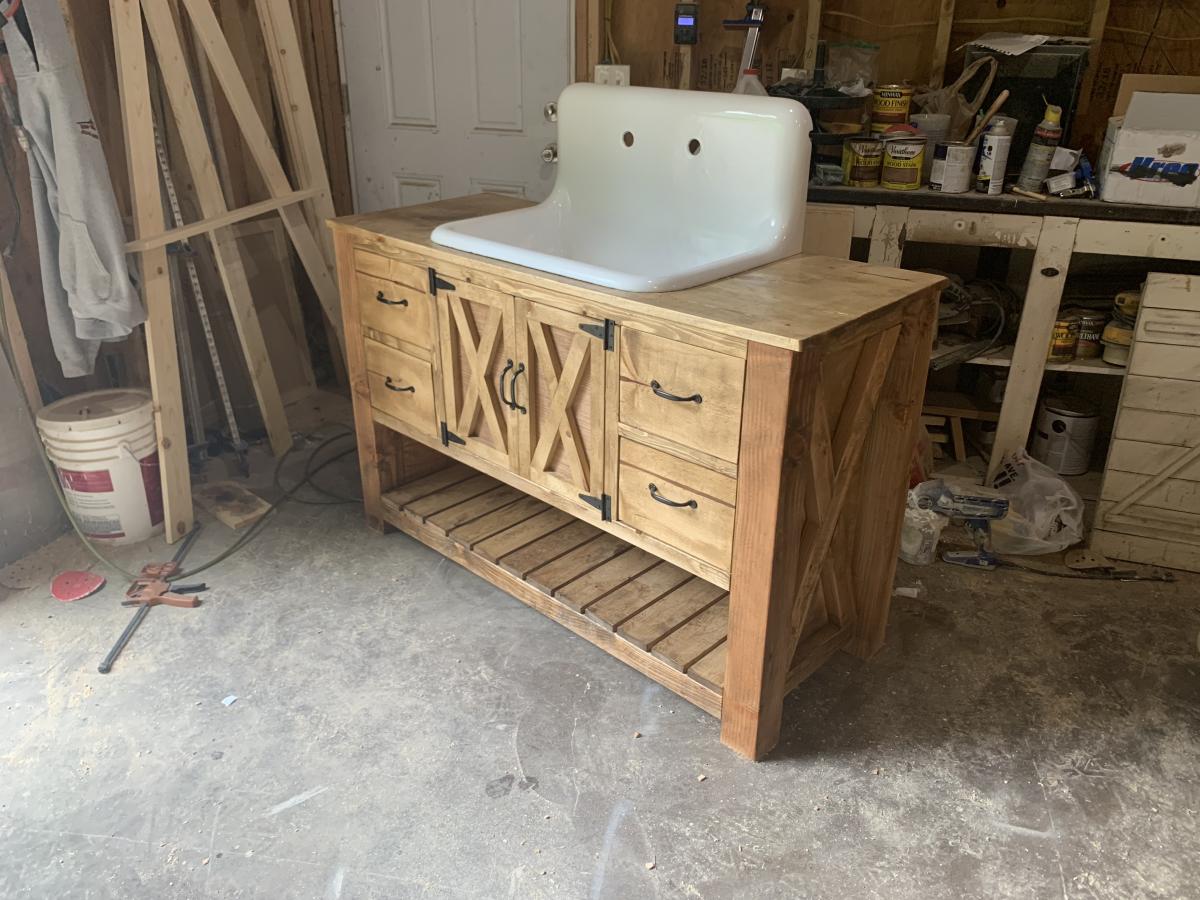
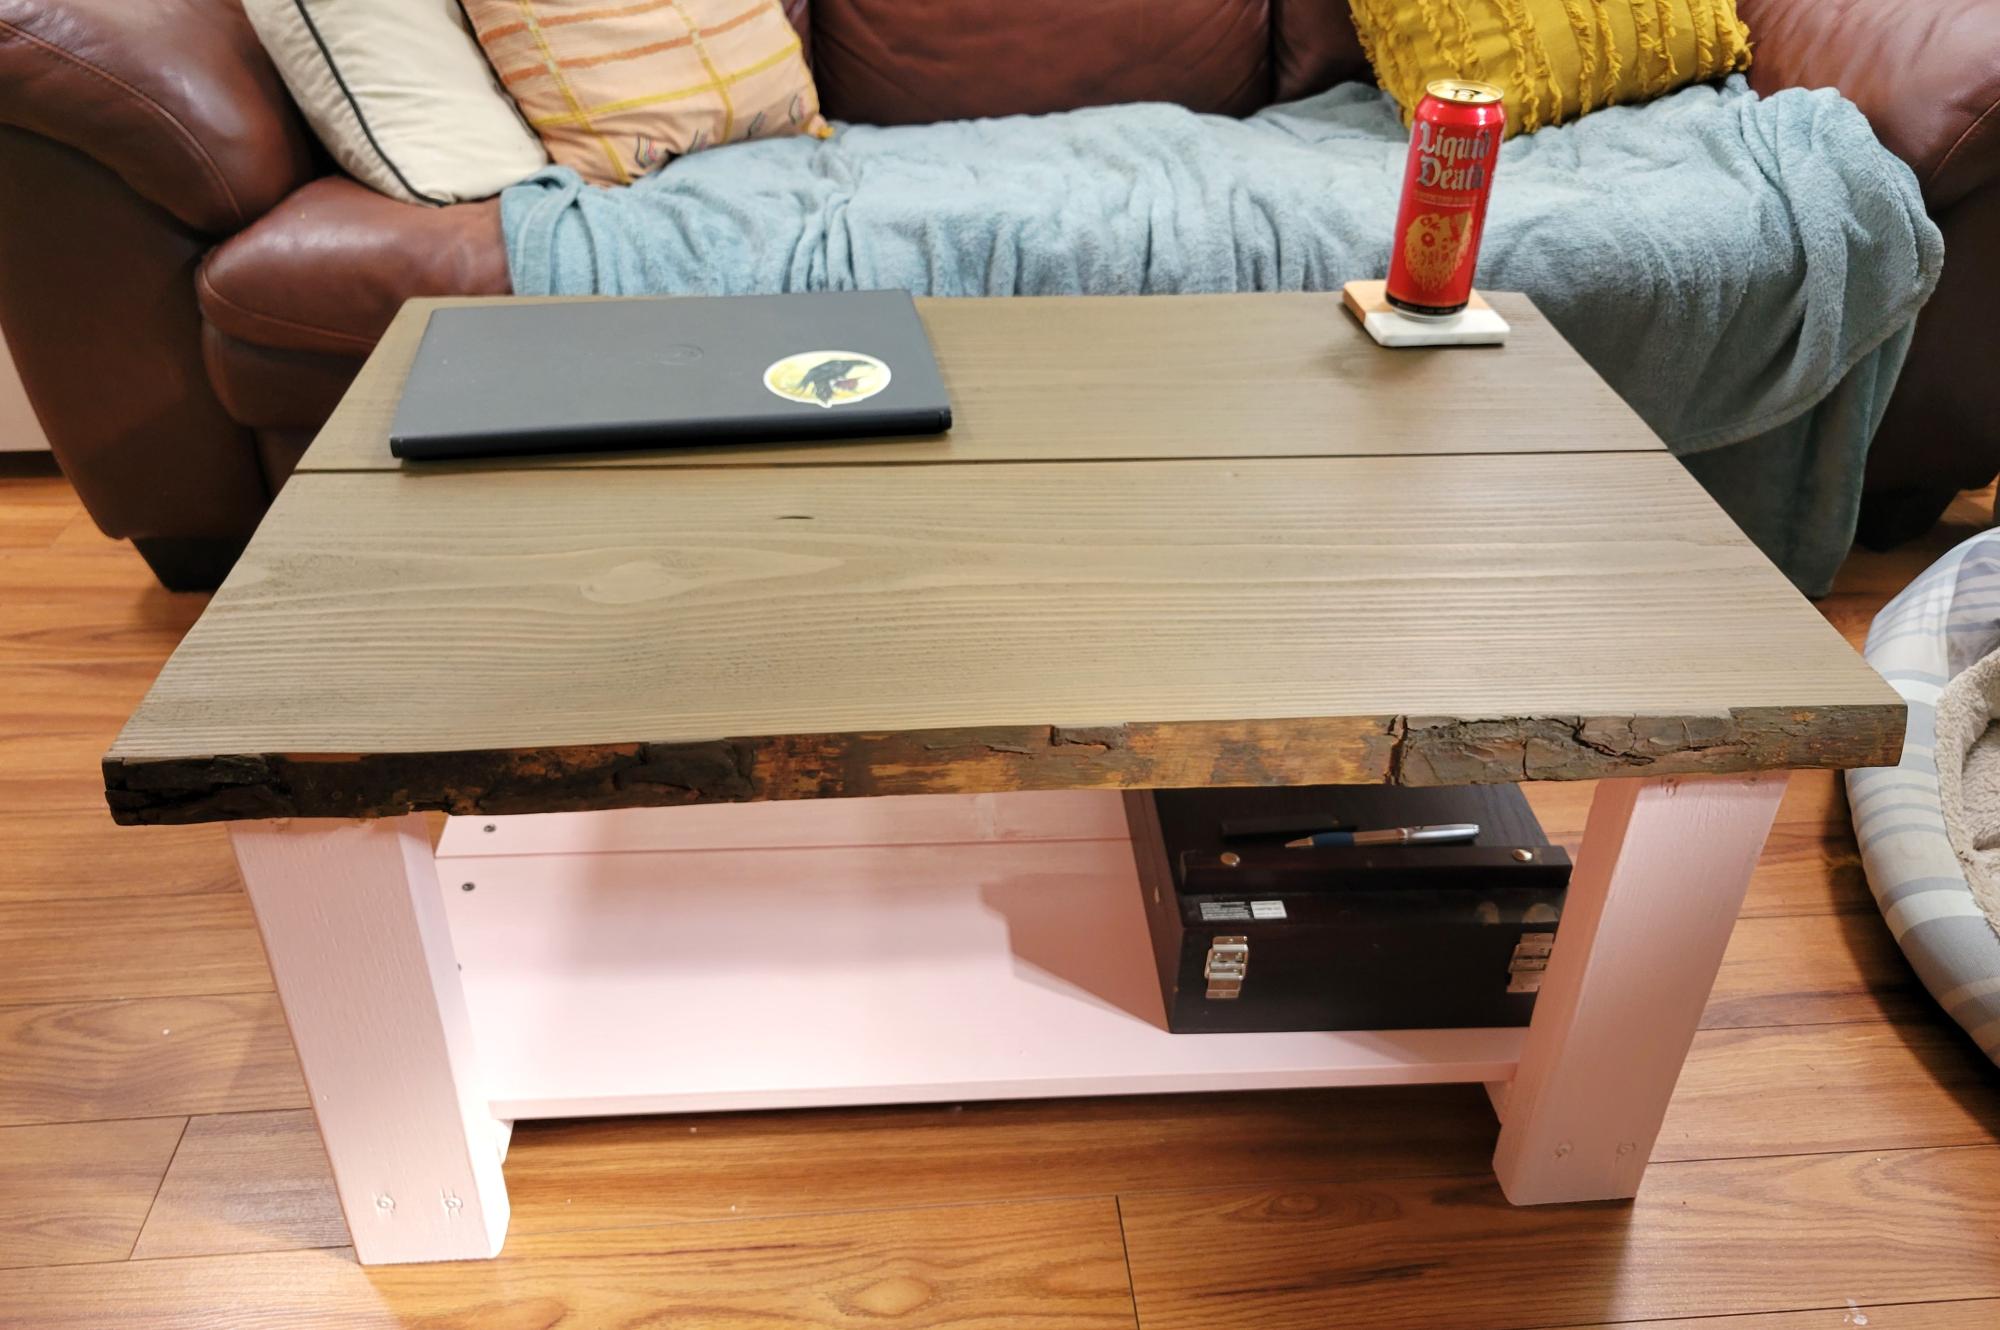
This was my first project and took about two weeks to complete from start to finish. I used an oil based walnut stain and five coats of an oil based semi-gloss polyurethane to finish, sanding in between coats. Be sure to wear a mask and eye protection.....holy sawdust!
Built from Plan(s)
Estimated Cost
$109 for lumber
Being that I started with nothing $400 - $500 for tools
Being that I started with nothing $400 - $500 for tools
Estimated Time Investment
Week Long Project (20 Hours or More)
Recommended Skill Level
Beginner