Community Brag Posts

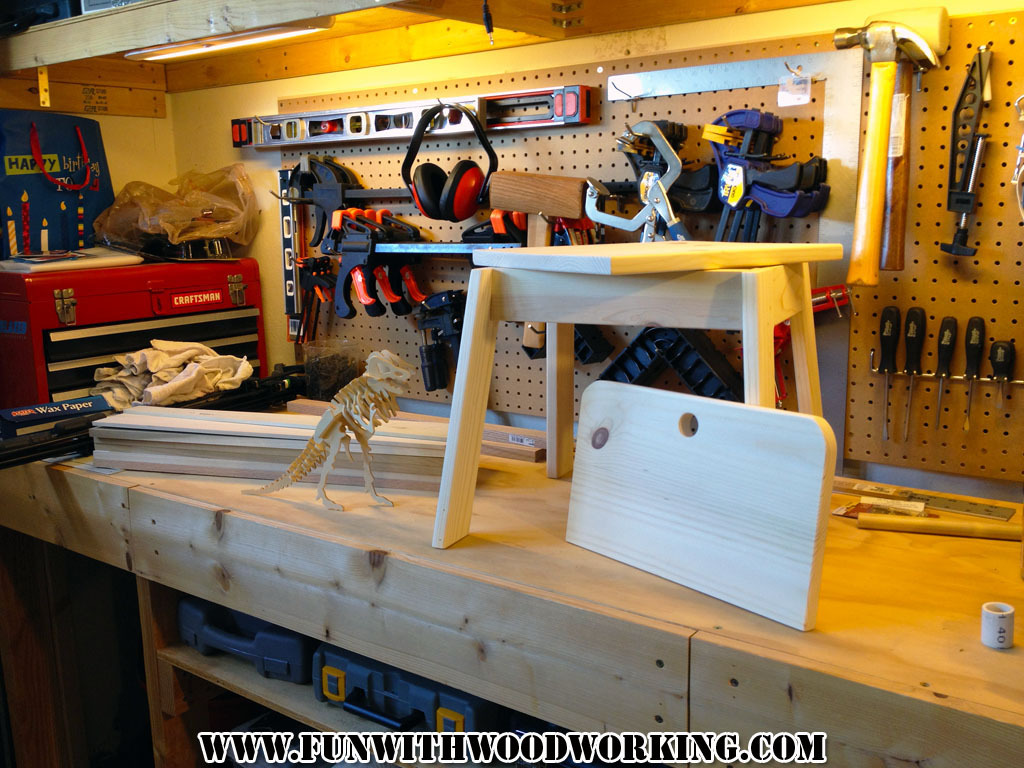
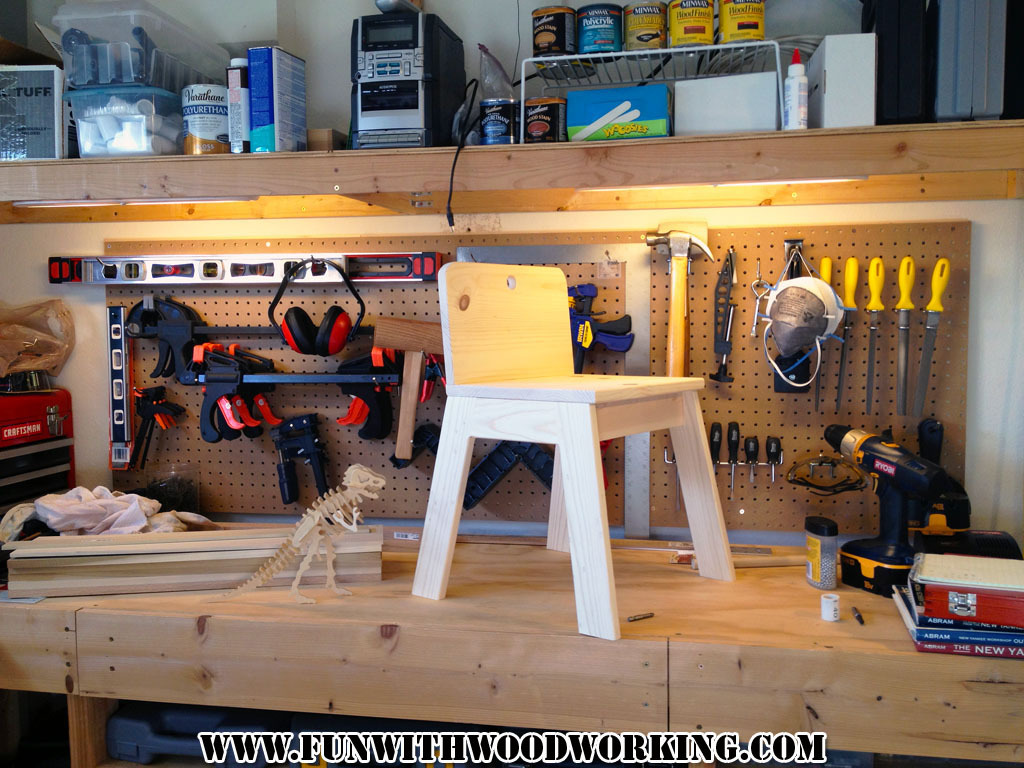
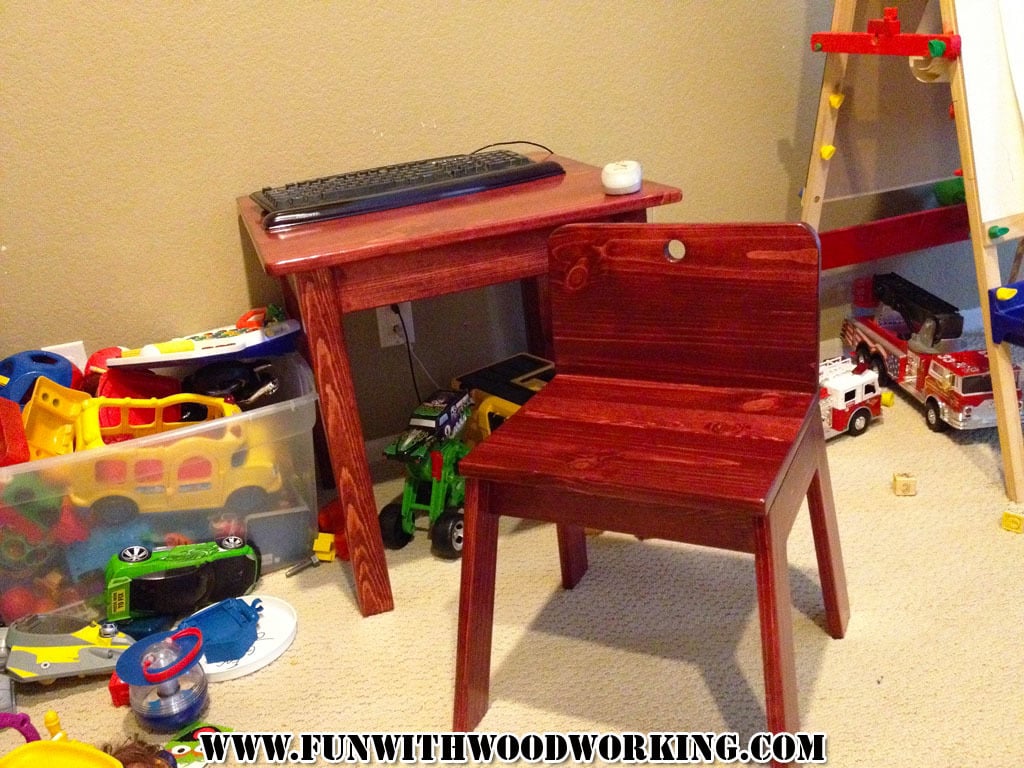
Thumb Chair

Submitted by truckrun on Fri, 03/01/2013 - 12:22

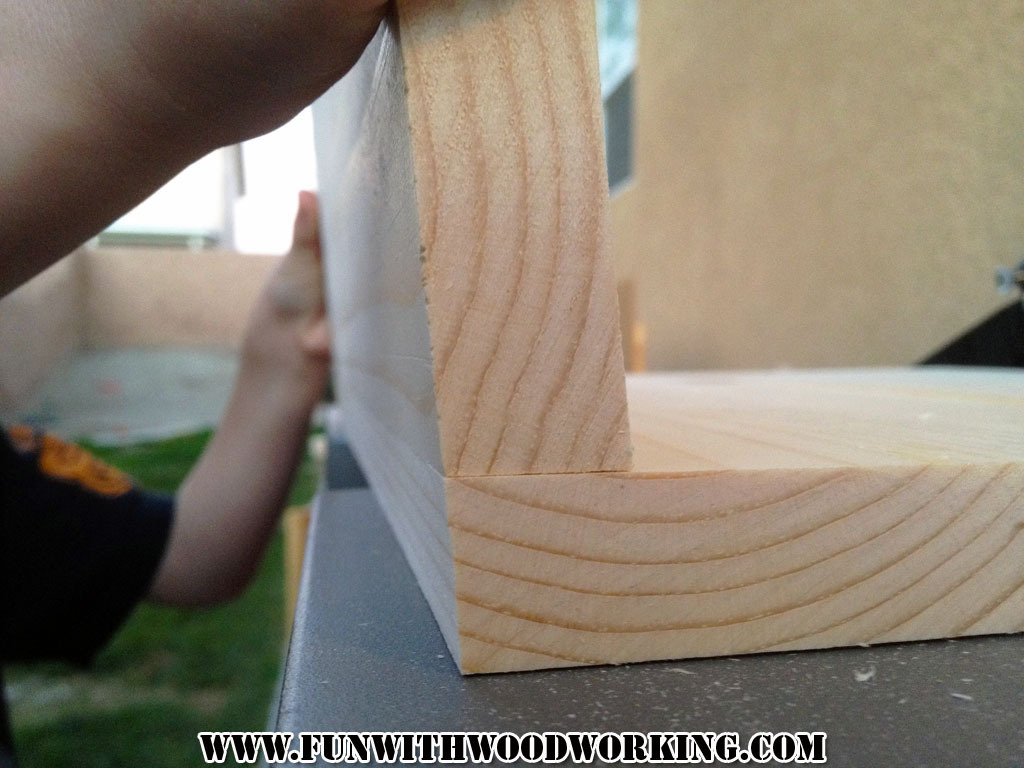
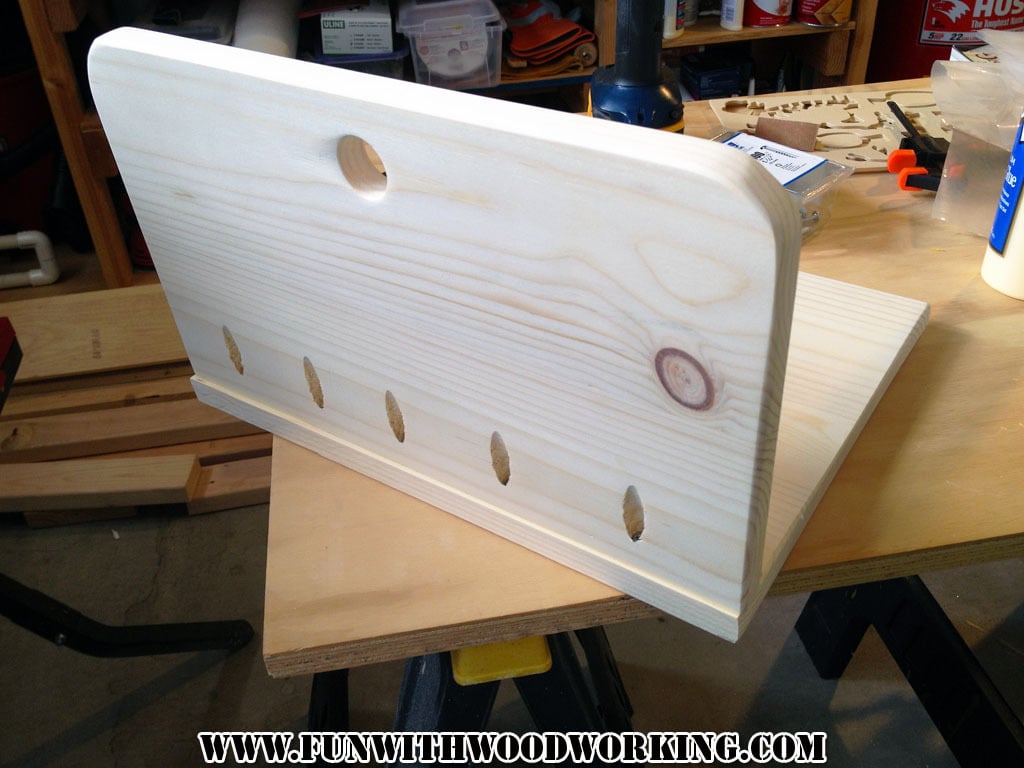
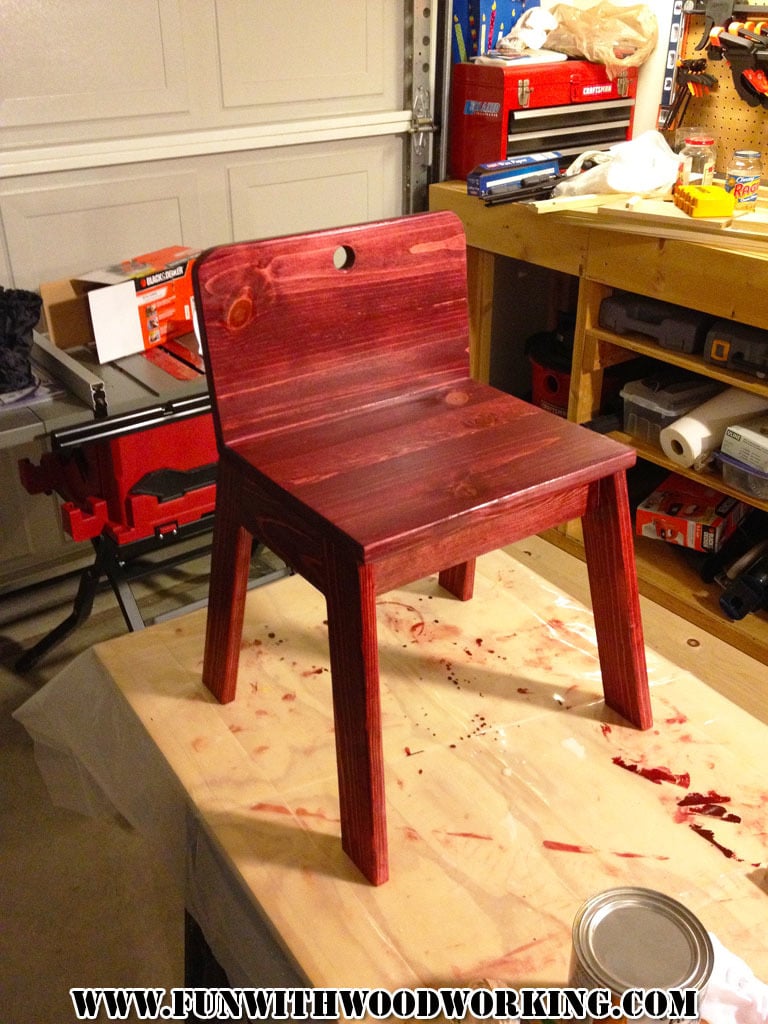
I found this plan on your site and fell in love with it. I followed all the directions but added a bevel to the rear of the seat match the the seat back and I rounded over all the edges on my router table. I also stained it and gave it 3 coats of polyurethane. My 6 year old son loves his chair and he is going to help me make one for his 3 year old brother.

You can follow the build on my blog at :
http://funwithwoodworkingtoo.blogspot.com/2013/01/lets-make-thumb-chair…

Built from Plan(s)
Estimated Cost
$10
Estimated Time Investment
Afternoon Project (3-6 Hours)
Finish Used
1 coat of Varathane stain applied with a rag and allowed to dry over night. 3 coats of Varathane water based polyurethane applied to entire project top and bottom with a light sanding between each coat with 220 grit sandpaper.
Recommended Skill Level
Beginner

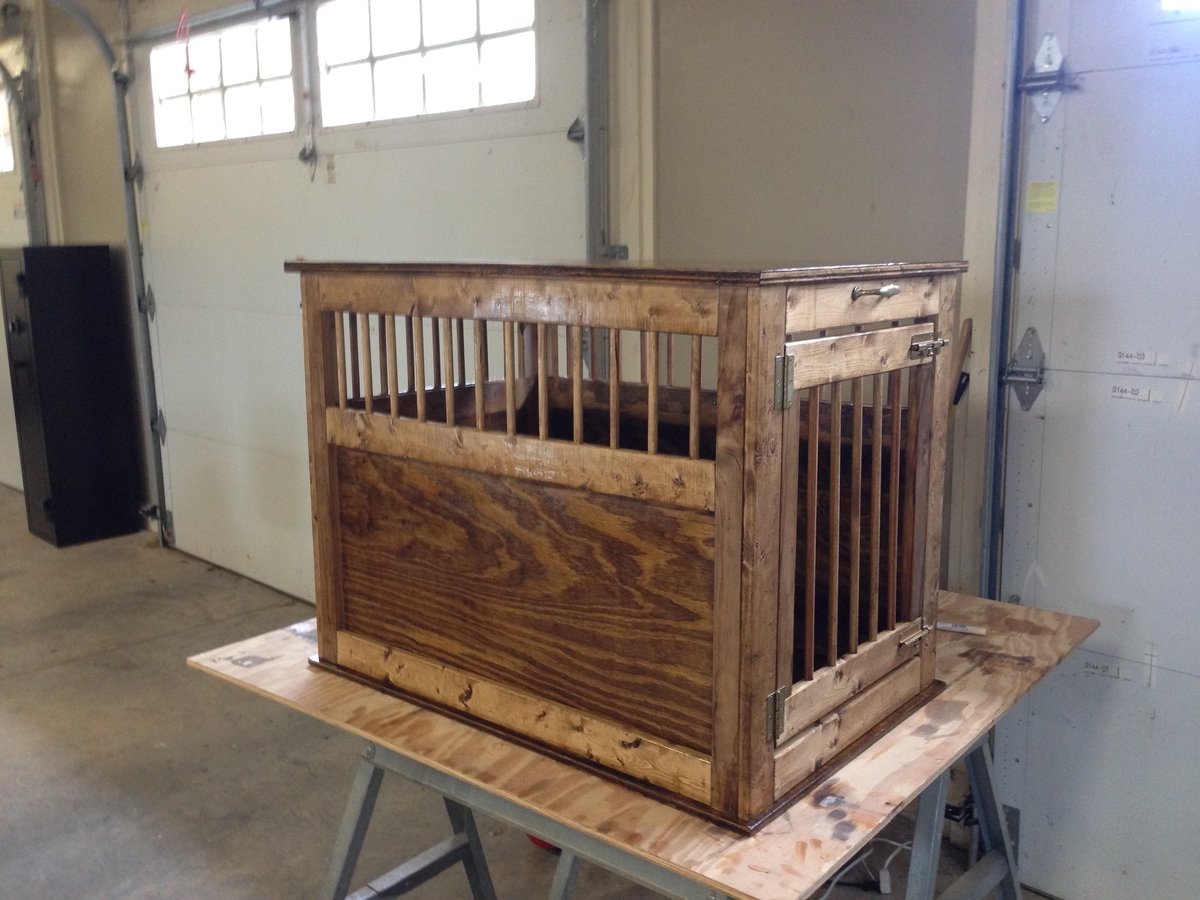
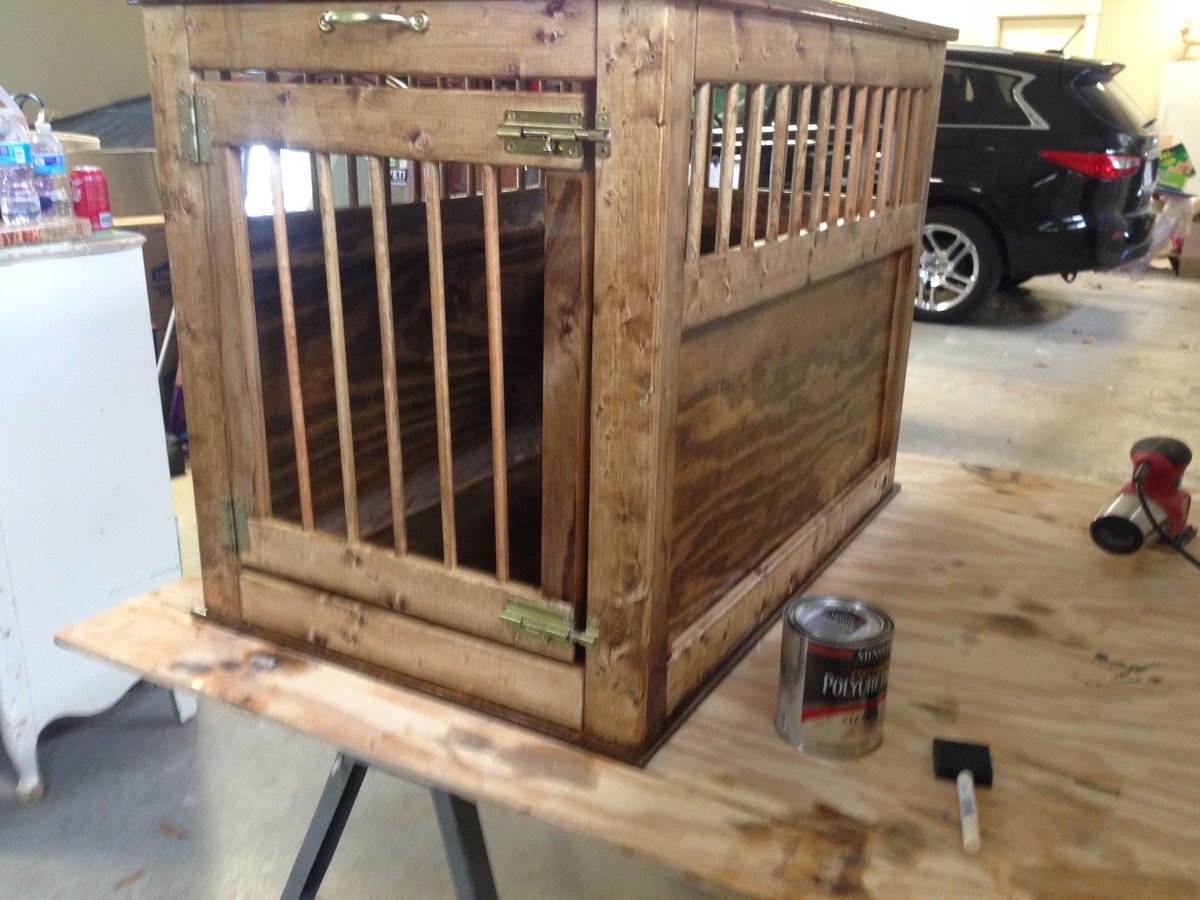
Pet Kennel

Submitted by mabivens on Tue, 01/06/2015 - 14:30

This is my first post. I have used a few of the plans off of here before but I thought this one turned out really well and wanted to share. I used dowel rods to give it a more open feel and think it looks good. My dog loves it! Thanks. 

Built from Plan(s)
Estimated Time Investment
Day Project (6-9 Hours)
Finish Used
Minwax special walnut stain and polyurethane
Recommended Skill Level
Beginner

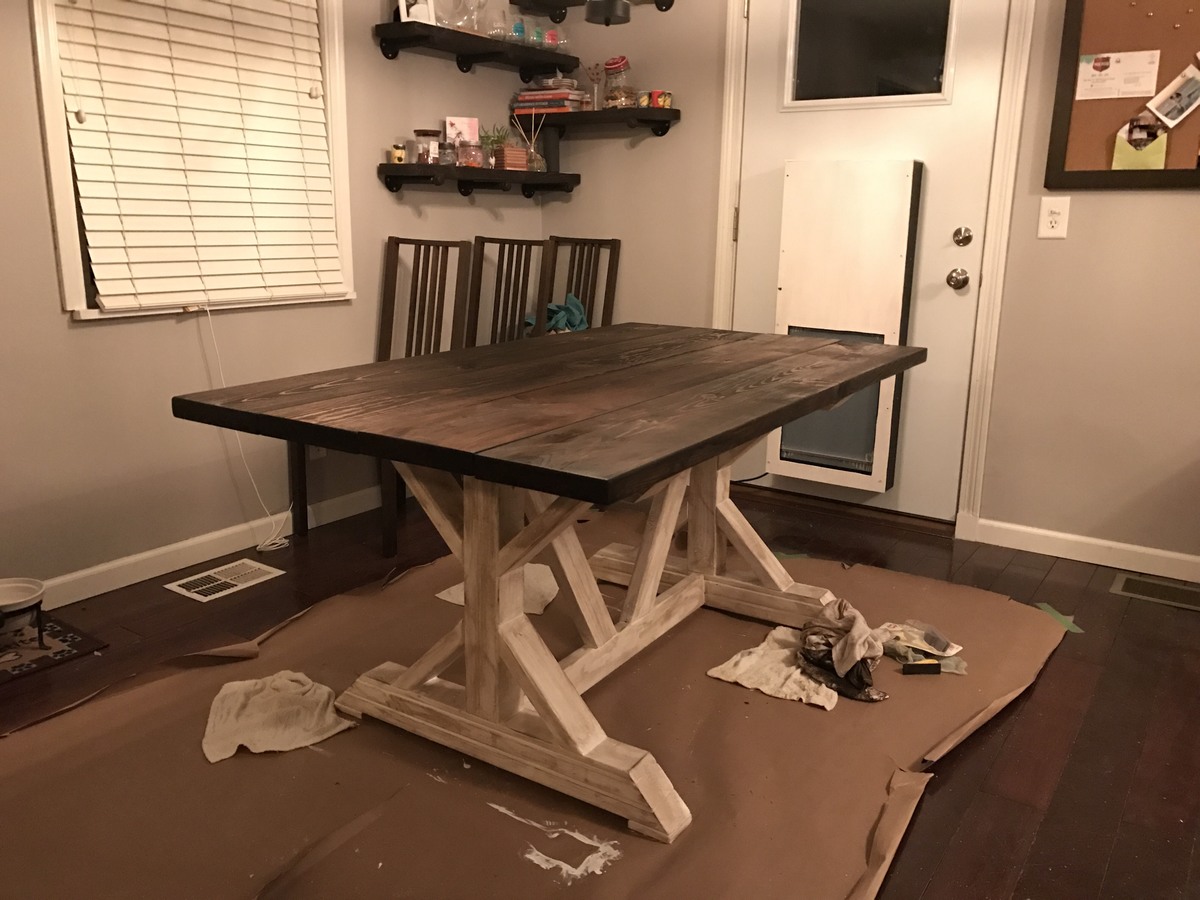
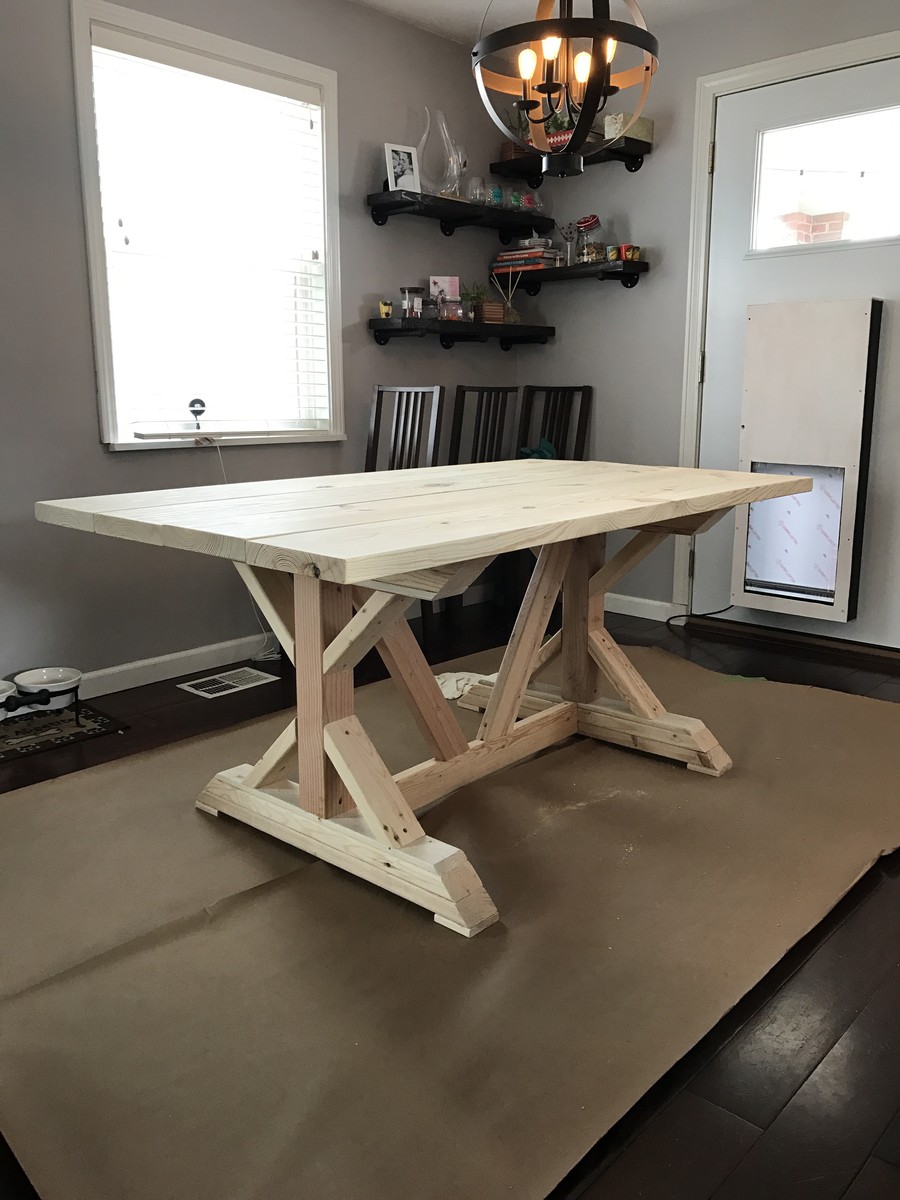
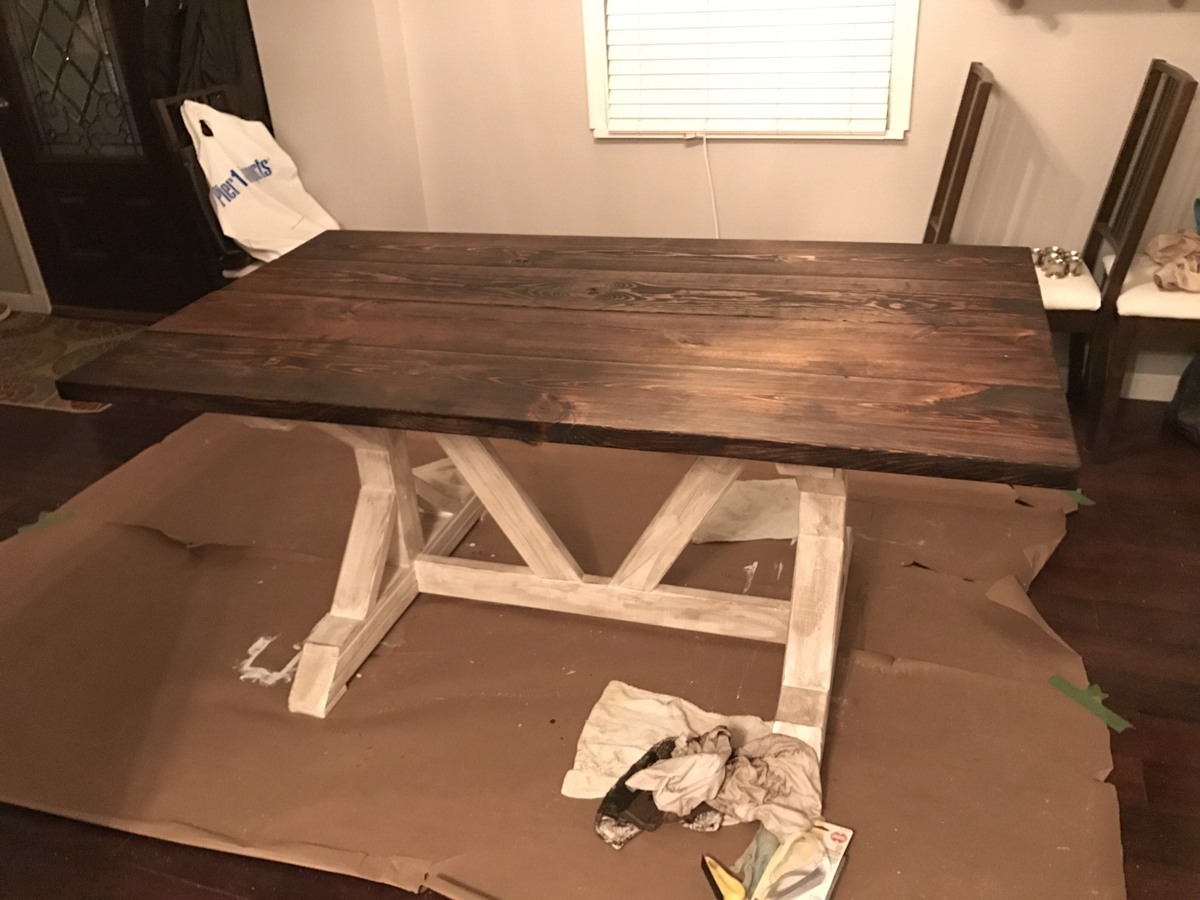
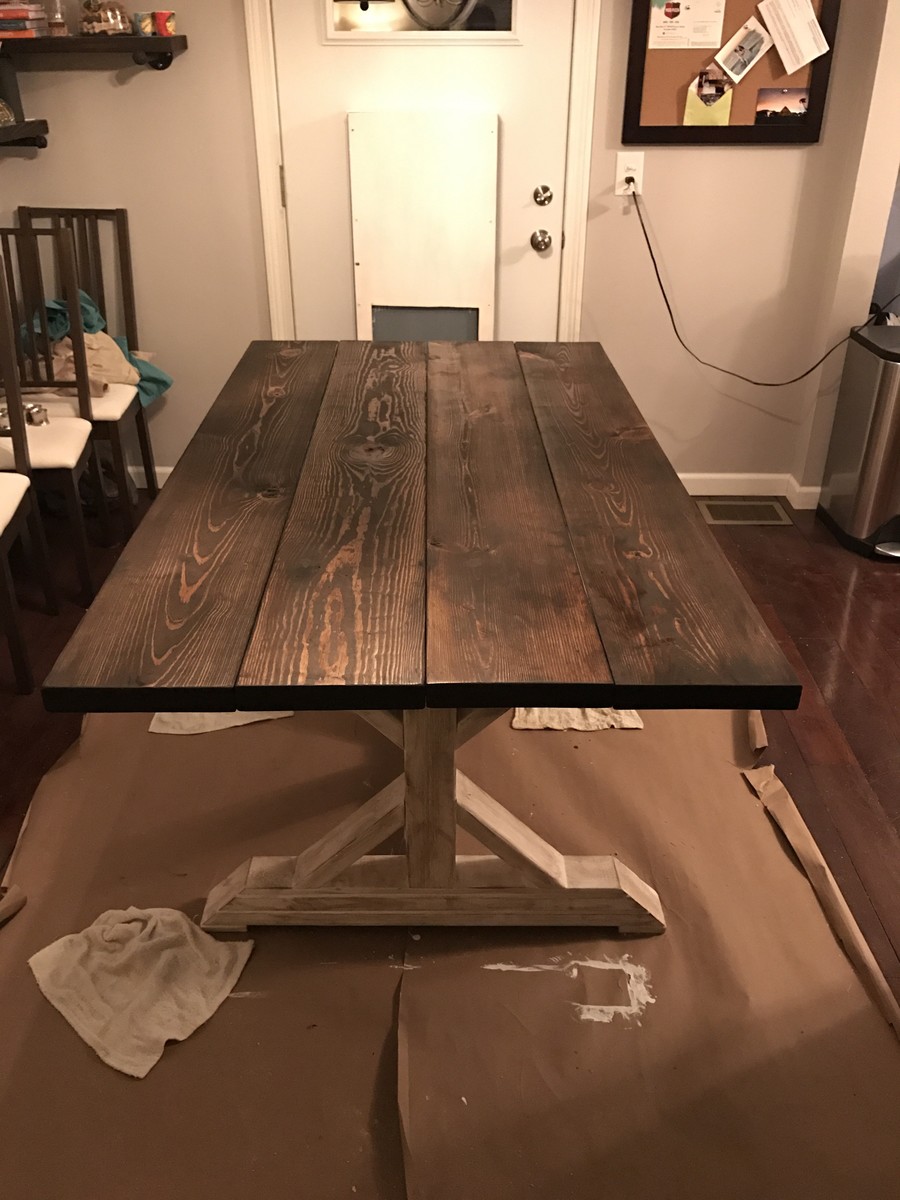
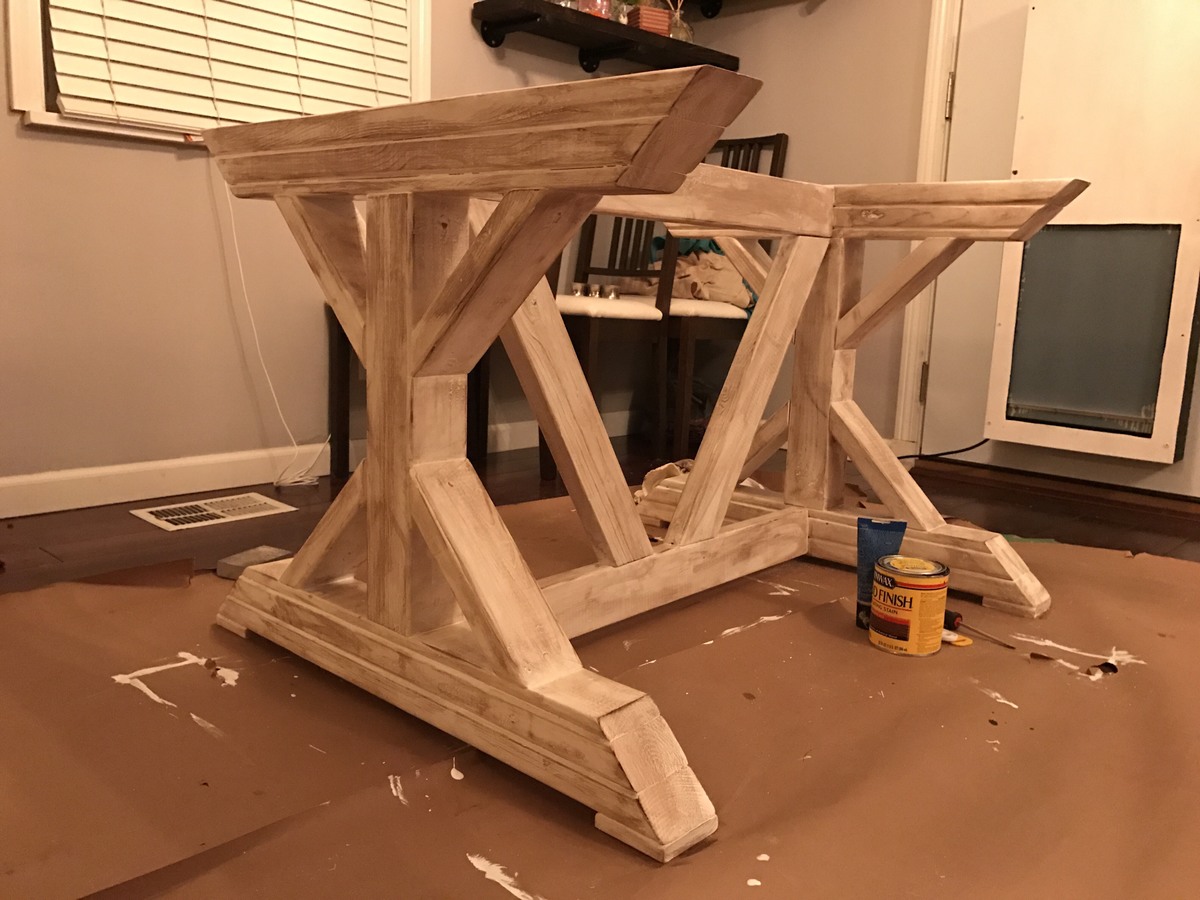
My X Farmhouse Table

I had to alter some of the measurements to a smaller size for our dining room.  66" long 2x10's on the top. & 39" 2x4's across the base.

Built from Plan(s)
Estimated Cost
~ $70
Estimated Time Investment
Weekend Project (10-20 Hours)
Recommended Skill Level
Intermediate

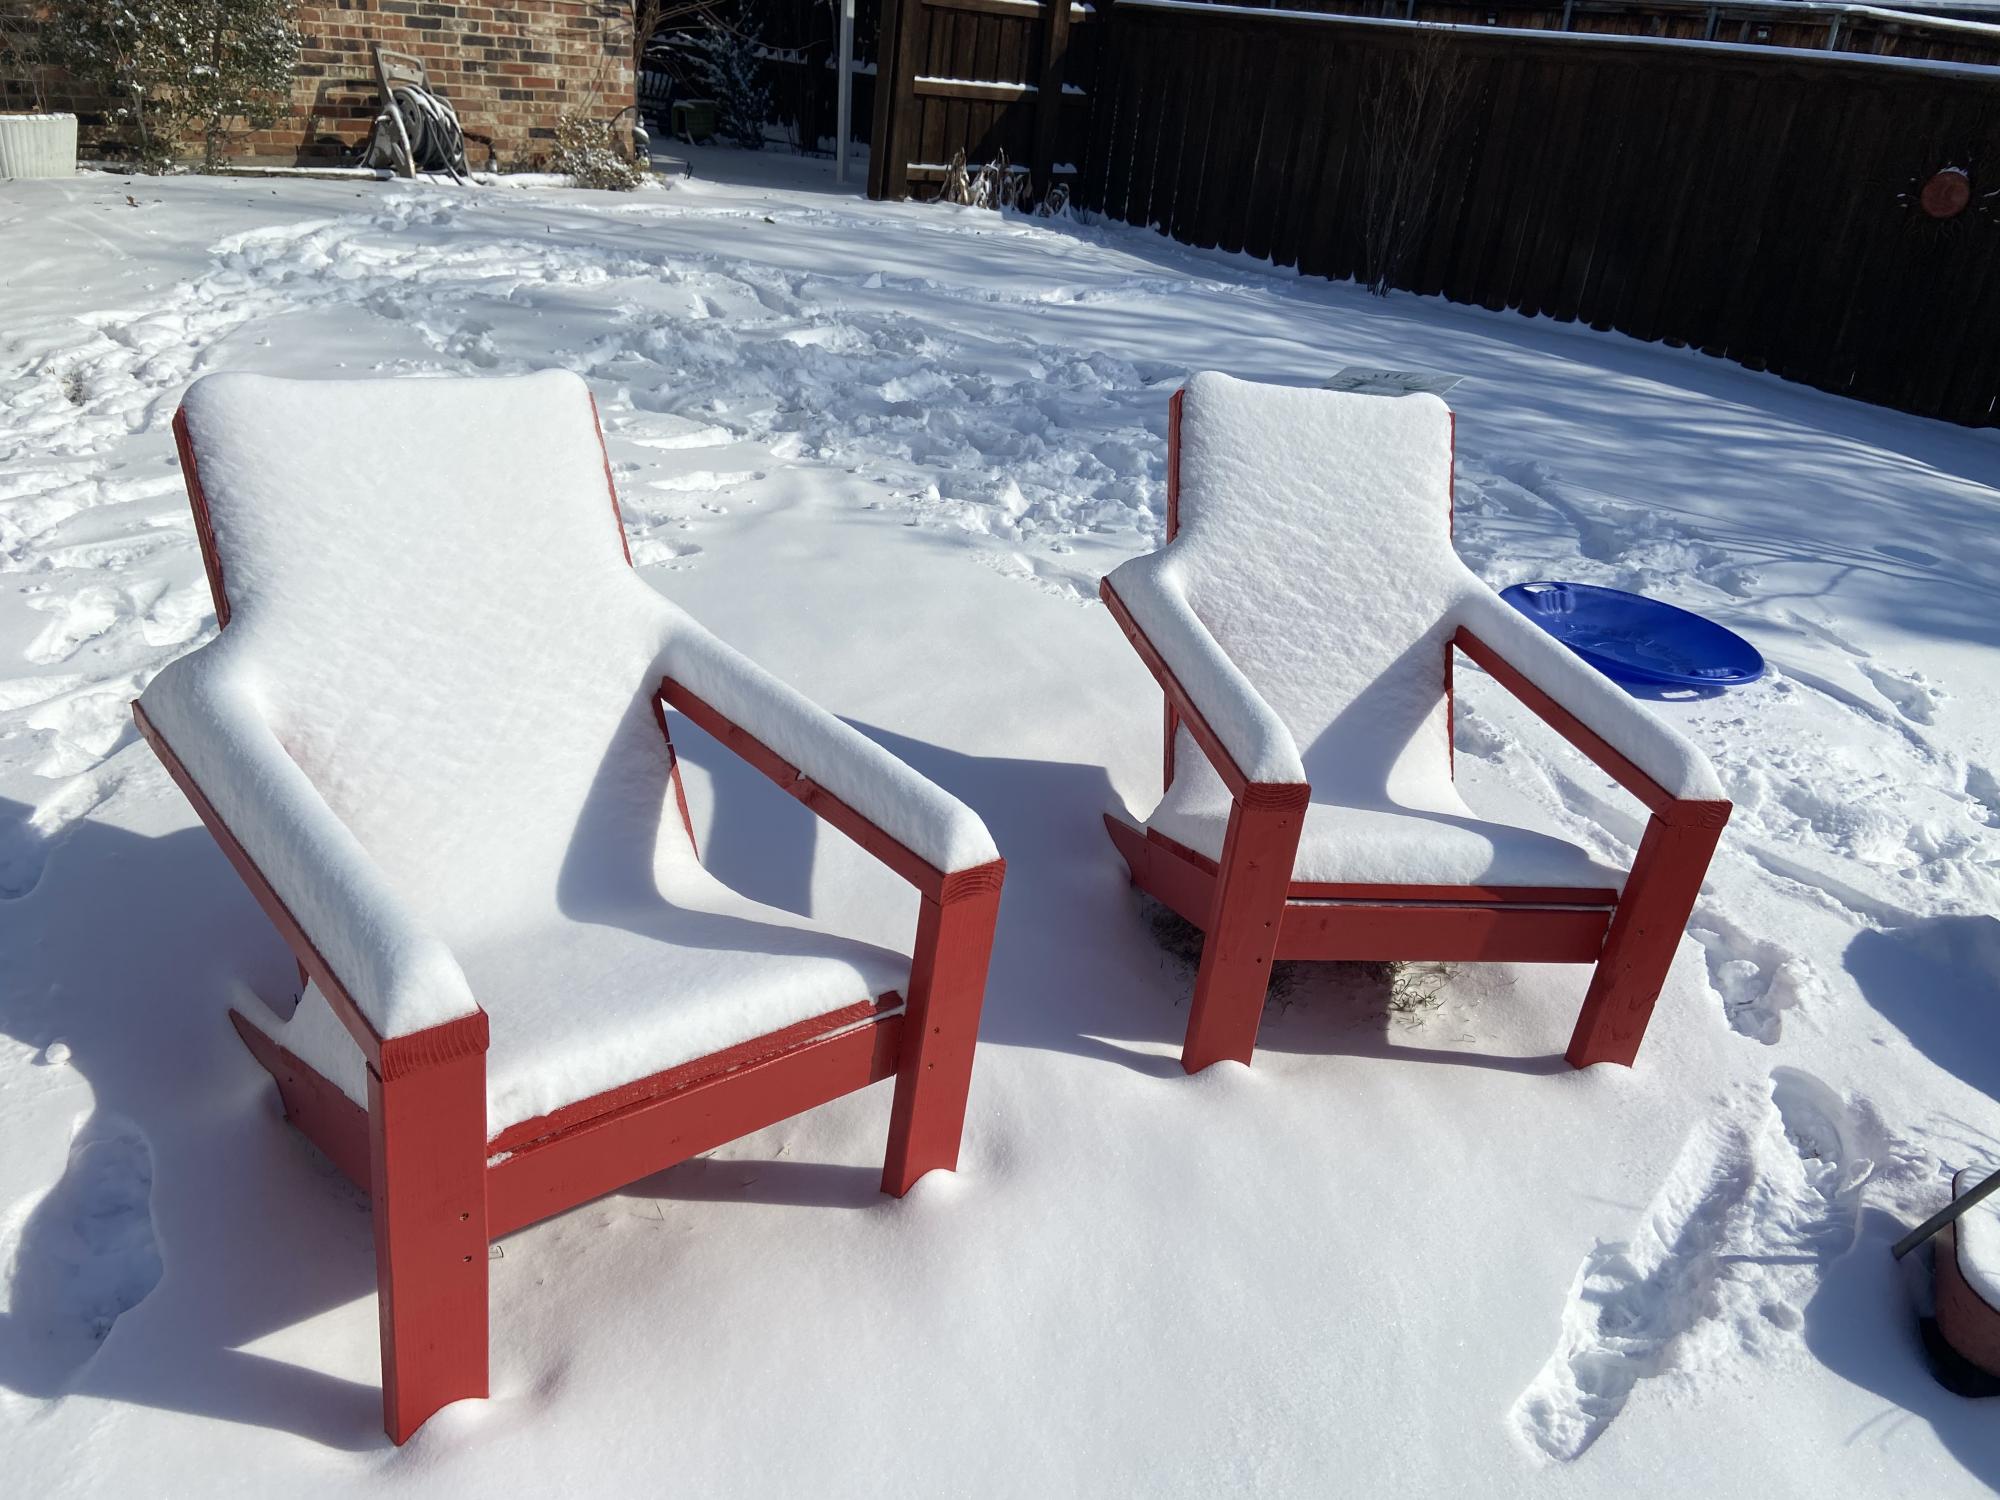
Winter chairs

Submitted by Anonymous (not verified) on Thu, 03/04/2021 - 12:36

A nice blanket of snow on the Adirondack chairs in Texas

Comments

birthday see saw

Submitted by aplexis on Mon, 03/04/2013 - 05:55

had lots of fun building this project for my grandauther, she's only a year and a half old and I'm pretty sure she will enjoy this see saw for a long time.

Built from Plan(s)
Estimated Time Investment
Day Project (6-9 Hours)
Finish Used
paint
Recommended Skill Level
Beginner

My Outdoor Sofa

Submitted by Jennyec on Thu, 01/08/2015 - 16:54

Hi Ana

I would like to share my experience making this Outdoor sofa (see attached link). http://ana-white.com/2014/07/plans/outdoor-sofa-2x4s-ryobi-nation

The sofa is supposed to be made using 2x4 boards, but these are not a standard size in Australia so I substituted with 90 x 45mm pine boards. No other changes to measurements were necessary. I followed Ana's instructions and definitely recommend using wide clamps to hold the base when screwing together. I only had short clamps so was rather difficult keeping everything firmly in place when drilling the screws in.

Next step was preparation for staining. I used Cabot's pine filler to fill major holes, knots etc, then sanded lightly paying extra attention to the arms.
I stained using Cabot Exterior Varnish Stain (teak colour). This turned out a beautiful warm colour that I just love.

Finally the cushions....
For the base I purchased a 5inch thick foam single mattress (on sale $61 so worked out to be really cheap foam).  I measured to fit base and cut using an electric knife - worked a treat! I had enough left over to do a cushion along the back plus two small side cushions to go along the arms.

Next step was covering the base and side cushions. I purchased some outdoor Decorating fabric from spotlight  as sofa will be exposed to some QLD weather. For the base, I used a similar process to the Censational Girl box cushion cover using Velcro instead of zips.
http://www.centsationalgirl.com/2012/10/simple-sew-box-cushion-cover/
For the side and back cushion I made up 3 sides of the cover, then inserted foam and sewed the last end closed (cheating I know but just too awkward to do proper box ends).

Lastly, the throw cushions.....these were really easy I made envelope cushions from a single piece of fabric....once again no zips (hoorah!).  They only took 10minutes each to make and look great. See tutorial below.
http://thehappyhousie.com/simple-speedy-stuffed-sewing-tutorial-diy-envelope-pillows/

My first build so extremely happy with the result!
Estimated Cost
$100 for wood, $25 for stain
Estimated Time Investment
Weekend Project (10-20 Hours)
Finish Used
Cabot Exterior Varnish Stain (teak colour
Recommended Skill Level
Beginner

Comments

Jennyec

Fri, 01/16/2015 - 03:08

Thanks Pam, the fabric is a water and fade resistant polyester and was very easy to ses as it is not heavy like a canvas. I bought it from Spotlight here in Australia so may not be available in US. There doesn't seem to be a lot to choose from here in Australia (at least doe inexpensive fabrics) in comparison to US on-line stores such as Fabric.com.

Melaverty

Tue, 03/17/2015 - 04:28

well done your project Jennyec -looks great and I'm going to attempt for my 2nd project.... I'm just a bit confused about the total timber needed for this project as my reading of the plans is 11 - 2x4x10' - did you use 11 pieces of 90x45mmx2.4m? Thanks heaps

juriona

Mon, 04/20/2015 - 10:10

Thanks so much for taking the time to post about your experience building this. You've given me courage to try. Nice job!

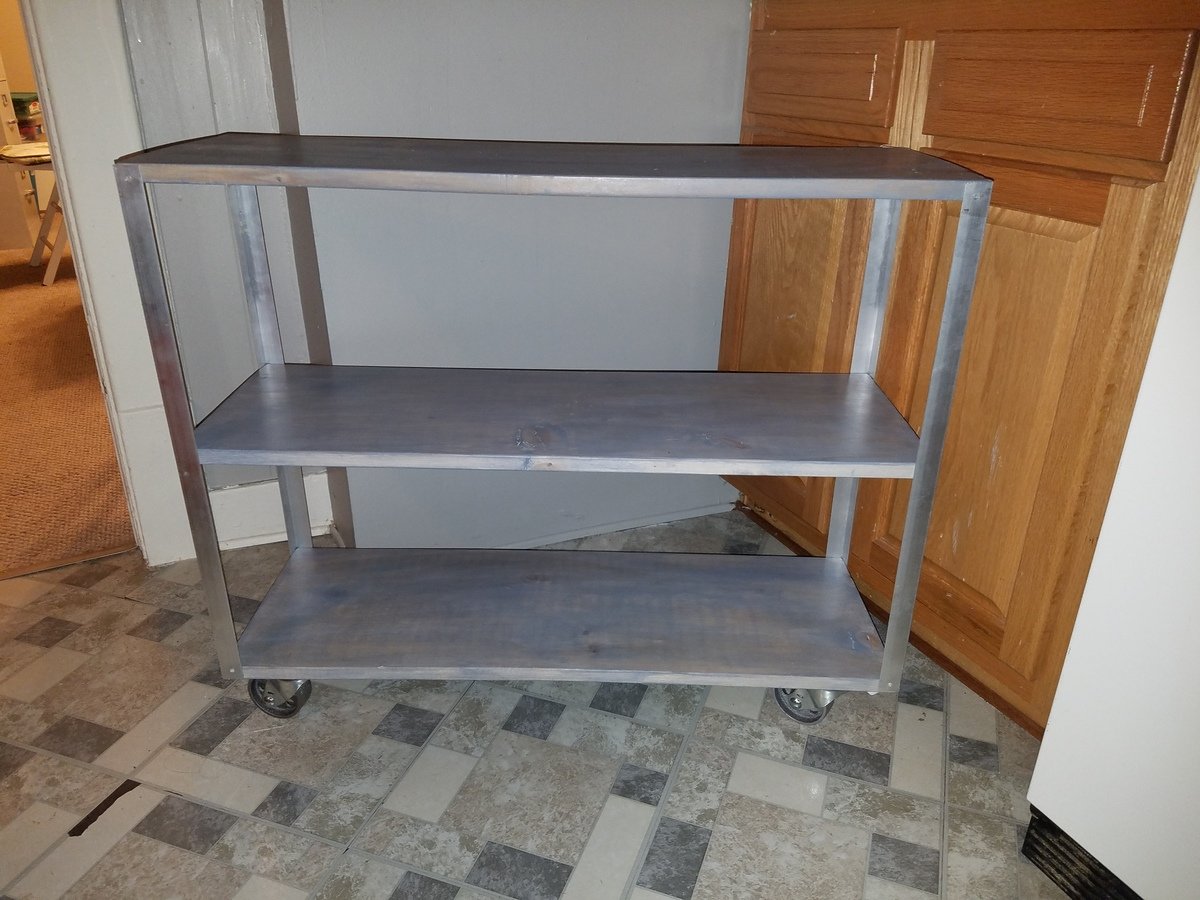
Easiest Industrial Cart

Submitted by Anonymous (not verified) on Sun, 04/09/2017 - 18:48

Thank you for the project idea! We used your Easiest Industrial Cart plans. Since this is our first project building anything ever; so please excuse any "mistakes" you may notice. We tried going with a blue stain instead of just brown, but we ended up giving the wood more character by staining over with my husband's "Warhammer Paints"...lol...

Built from Plan(s)
Estimated Time Investment
Weekend Project (10-20 Hours)
Finish Used
Behr "Gettysburg Blue" stain and sealer. Then went over it with dark "Warhammer Paints" stain.
Recommended Skill Level
Starter Project

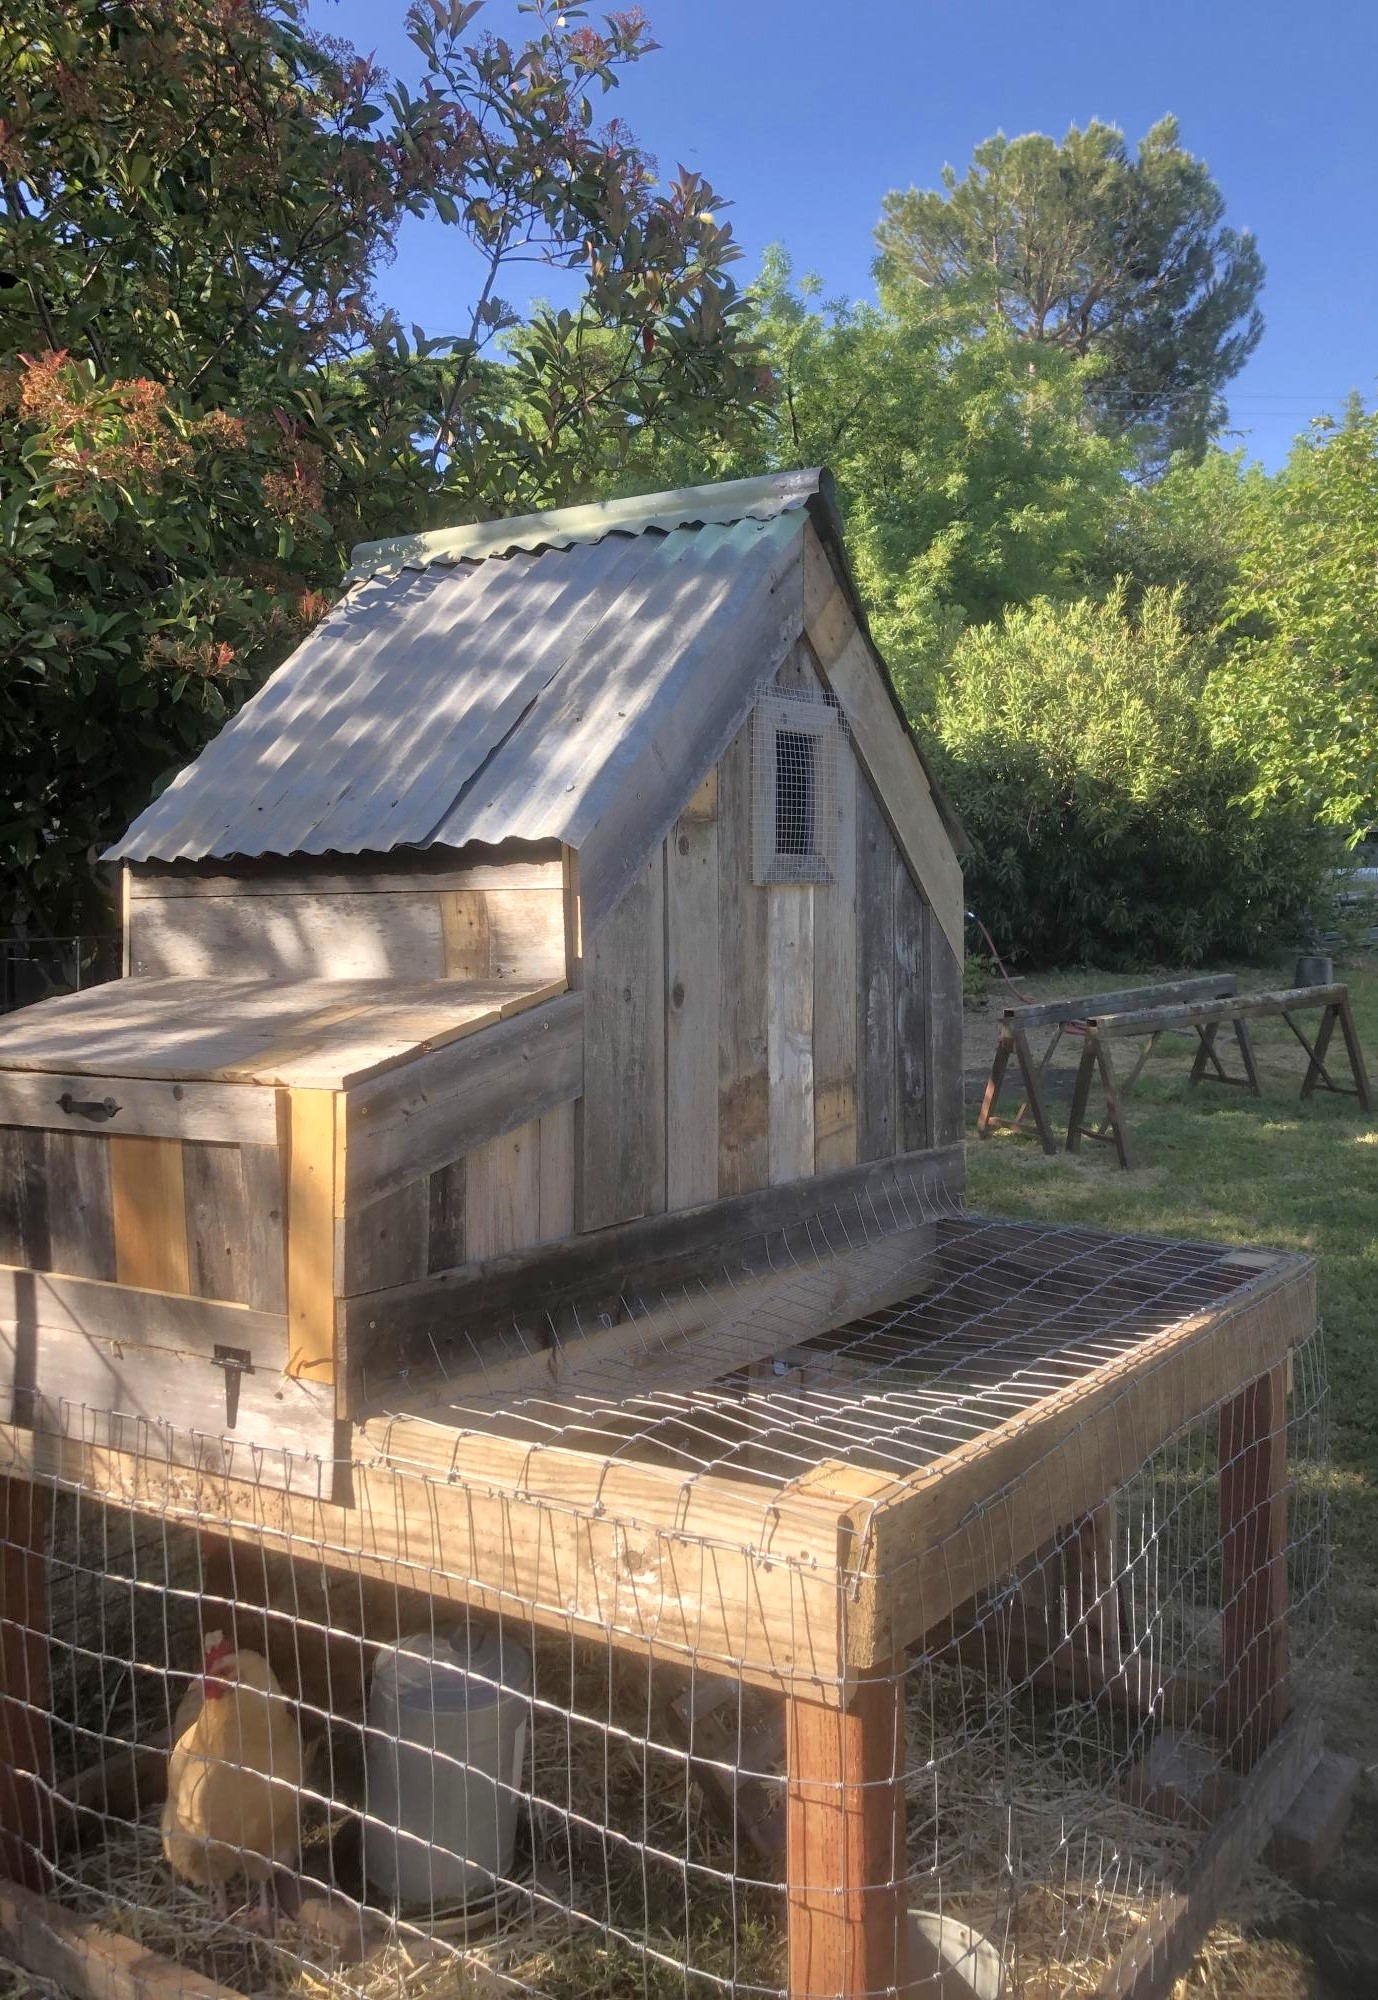
Chicken coop

Submitted by Anonymous (not verified) on Tue, 03/09/2021 - 07:44

This is a coop I built from plans on the site. I modified by covering the ply with old cedar boards and used tin for a more rustic look. I opted not to add the planter just covered it with wire.
Love your plans! So easy to follow!

Estimated Cost
Since I used recycled materials the overall cost was about $50
Estimated Time Investment
Weekend Project (10-20 Hours)
Finish Used
I just did the outside like a jigsaw puzzle. Cutting to fit as I went. Be sure to use nails or staples that do not protrude the inside when attaching siding.
Recommended Skill Level
Intermediate

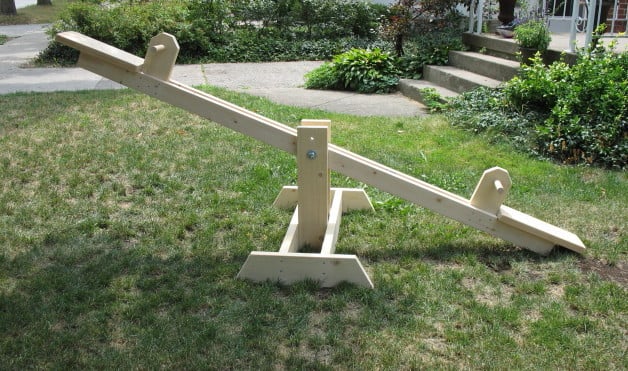
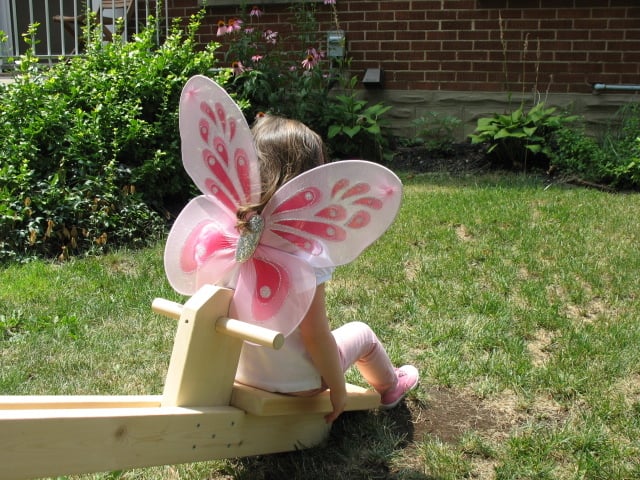
Fairies Do Ride Teeter-Totters

Submitted by Tea Granny on Wed, 03/06/2013 - 11:38

This was a very quick project. Only took 5.5 hours from start to finish, including dragging out and putting all the tools away afterwards!

I left the teeter-totter unfinished, not sure how it will make it through the winter. I may decide to paint it this summer.

I used a length of copper pipe for the bolt to ride through, along with some washers between all the pivot points. This should help keep the boards from wearing away over time.

This has been the BEST outdoor toy around! It gets used EVERY day in the nice weather.

Thanks Ana for the great plans!

Built from Plan(s)
Estimated Cost
Total of $20.52 without screws ($14.20 for wood, $6.32 for washers, bolt, and nut)
Estimated Time Investment
Afternoon Project (3-6 Hours)
Recommended Skill Level
Beginner

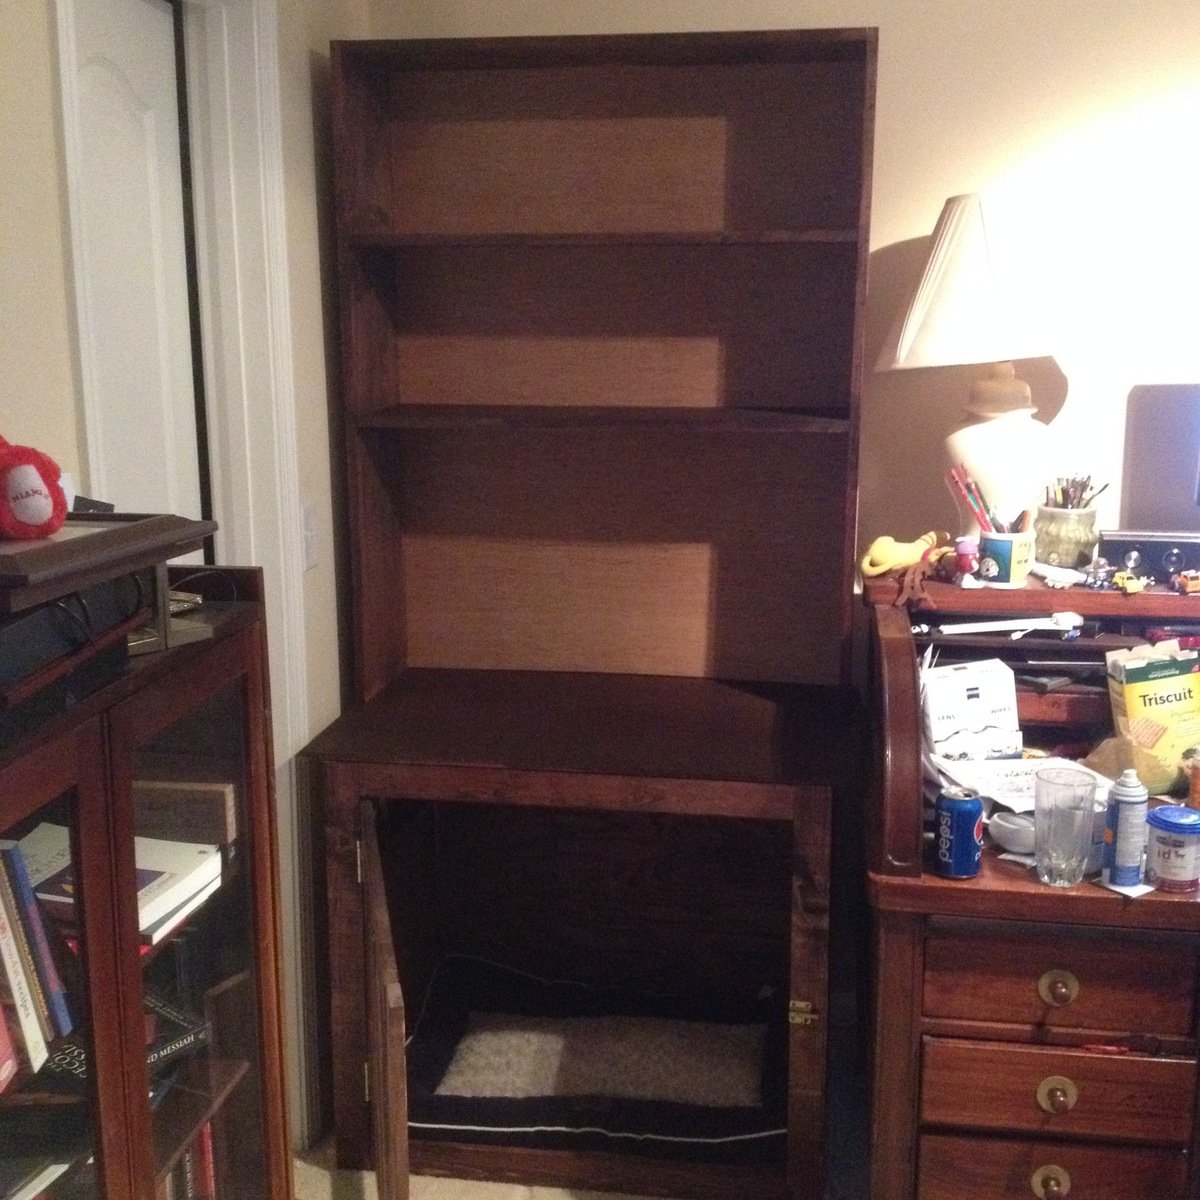
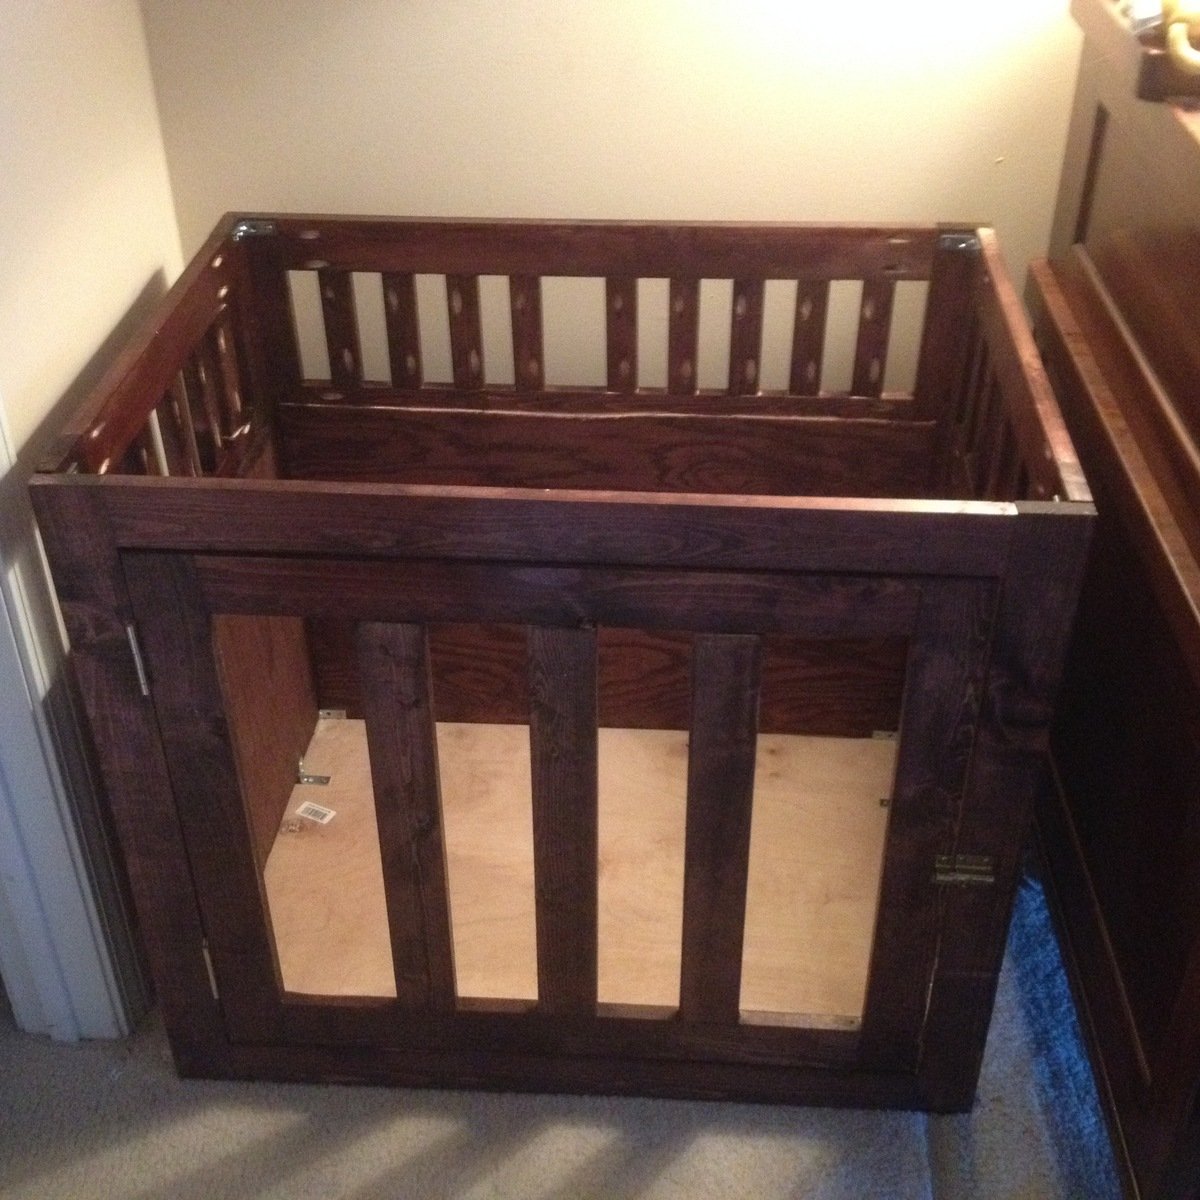
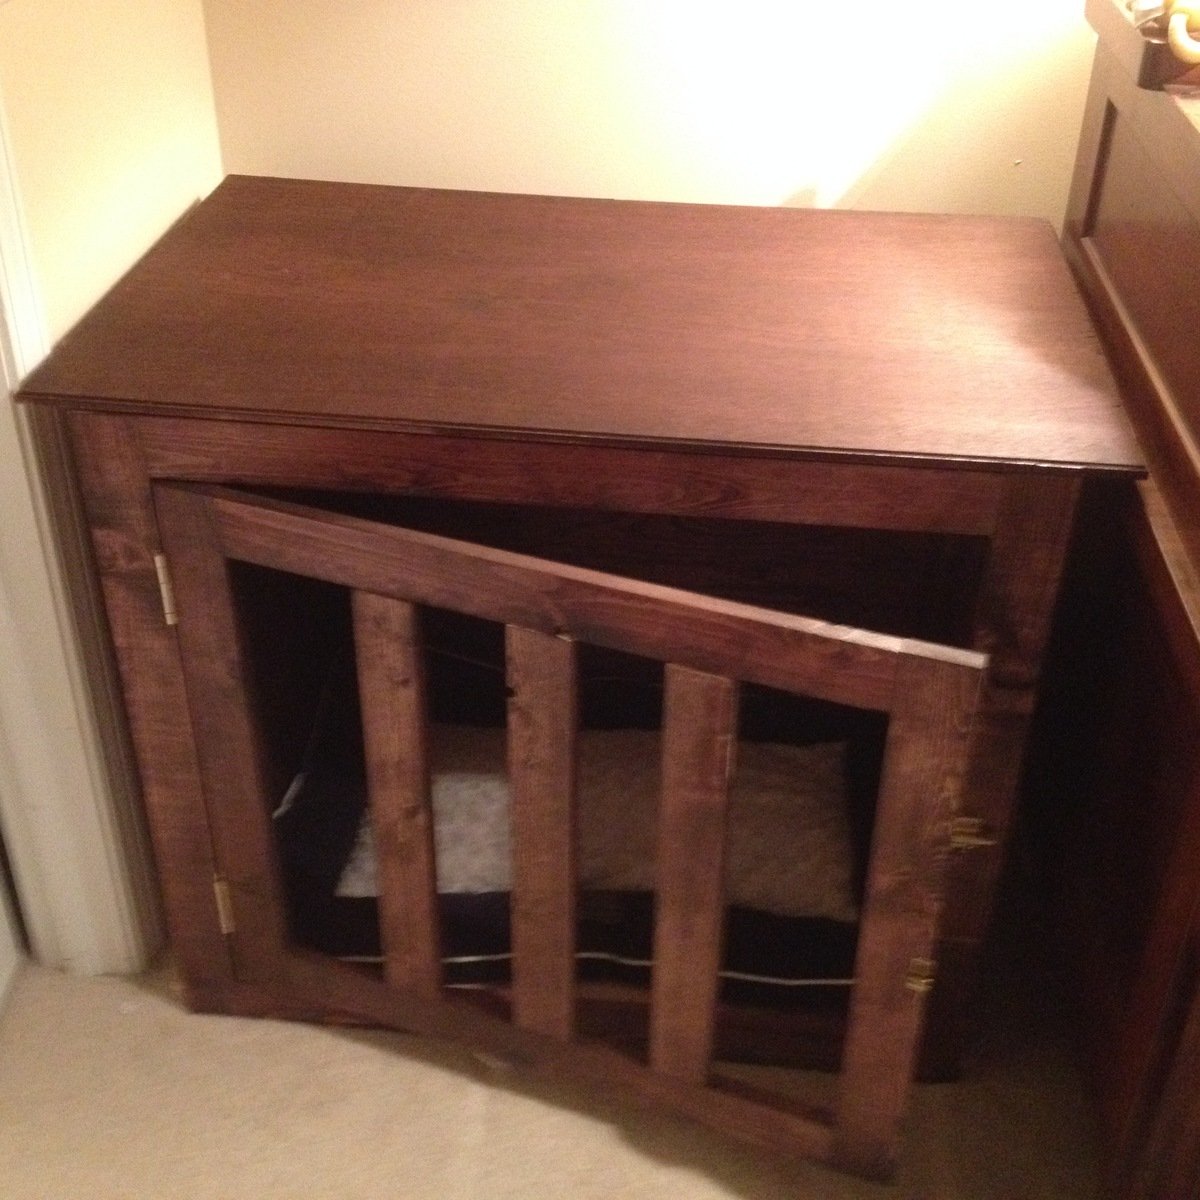
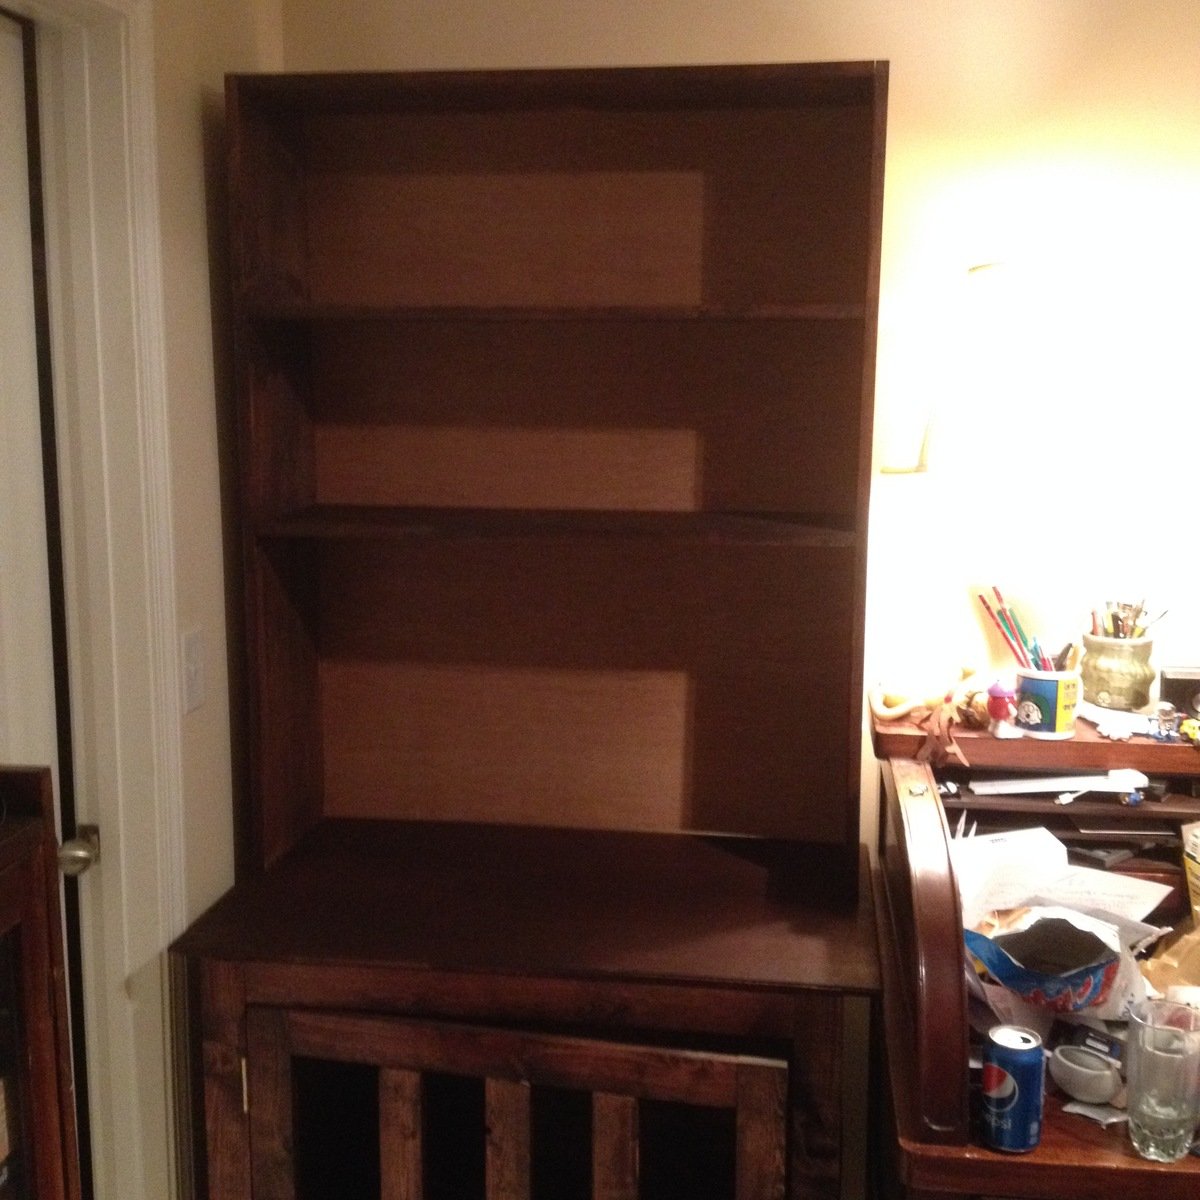
Dog Crate Bookshelves

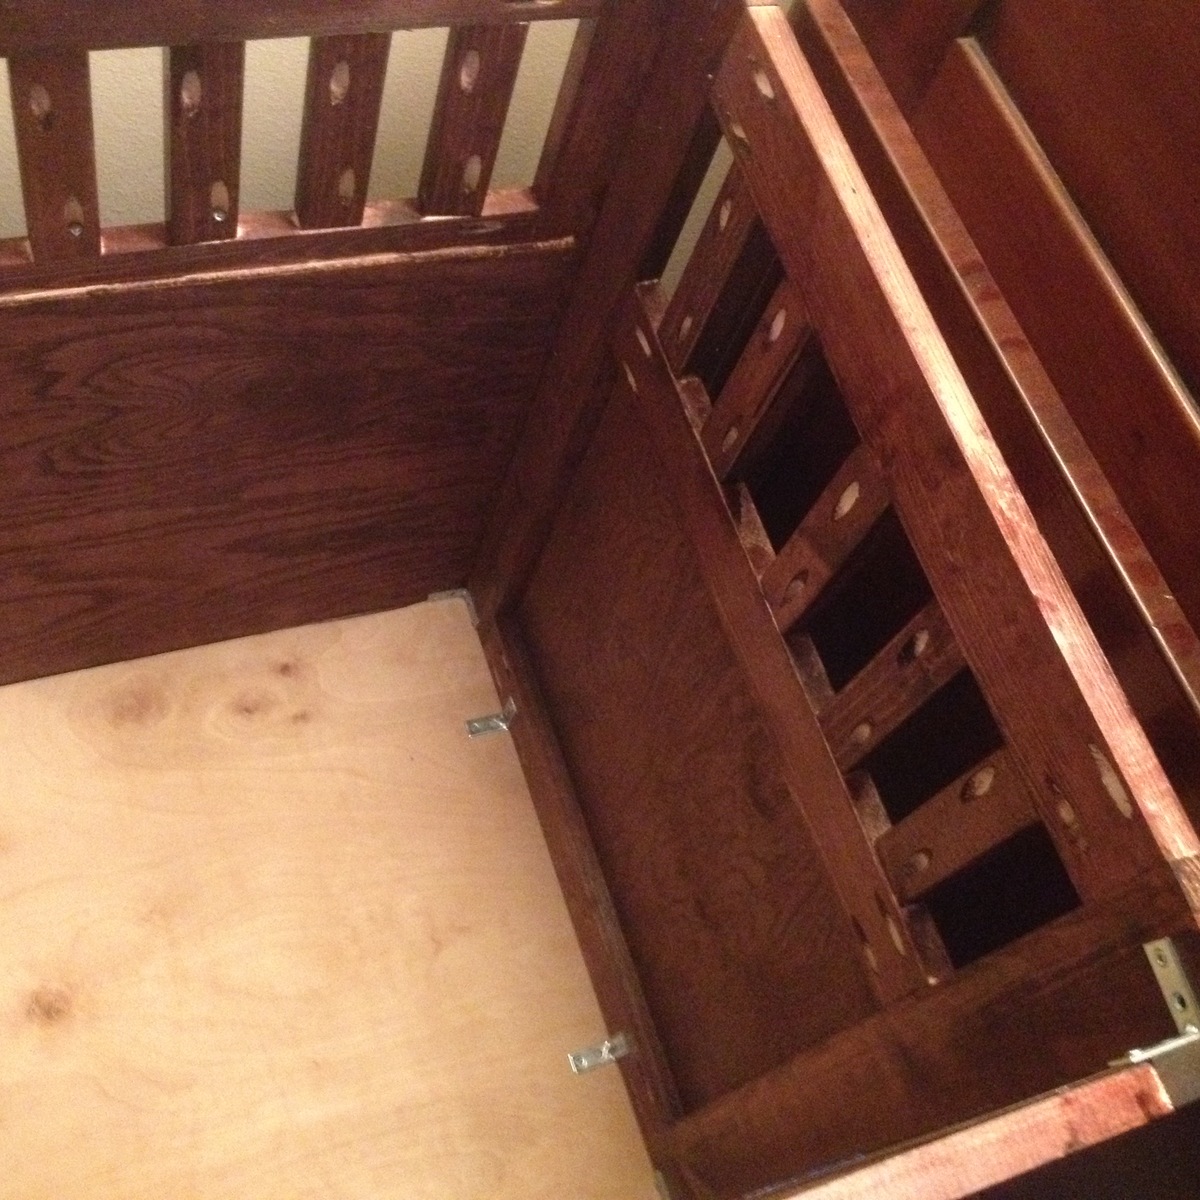
I took Ana's standard dog kennel, turned it 90 degrees and placed the door where the side would be.  From there I built upward, including a book shelf section to use the space above the crate more effeciently.  I also increased the height of the crate to 32 inches to match the height of a standard crate.  The door was modified to use the large 3 inch pieces because the 2 inch was too flexible in my opinion.  This is the second one I have built, learning from the mistakes of the first one.  I added L brackets on the inside to make it so I could take it apart, and used the Kreig Jig so I can replace parts as they wear out or are gnawed on.

Built from Plan(s)
Estimated Time Investment
Weekend Project (10-20 Hours)
Finish Used
Red Mahogany to match my mahogany roll top desk next to it.
Recommended Skill Level
Beginner

Comments

Adjusted for less projection

Submitted by Anonymous (not verified) on Fri, 04/14/2017 - 06:22

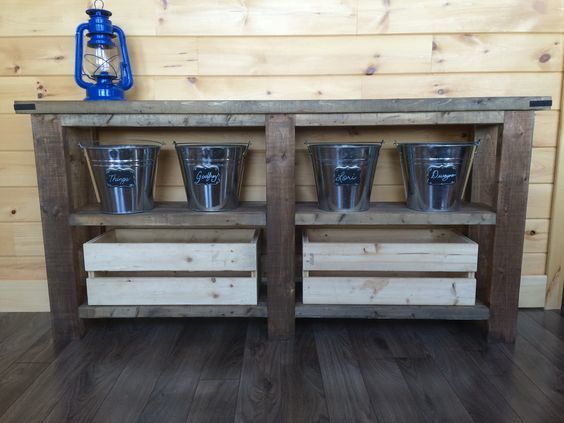
I adjusted the projection of the table by using just 2 2X6's and adjusting the shelves accordingly. Planning on making the coffee table very soon. I used tea then vinegar/steel wool to stain. The top is waxed to make dusting easier. I then screwed on 2 right angle mending brackets for looks.

Estimated Cost
$50
Estimated Time Investment
Day Project (6-9 Hours)
Recommended Skill Level
Beginner

Playroom Desk

Submitted by EChiasson on Mon, 03/15/2021 - 10:58

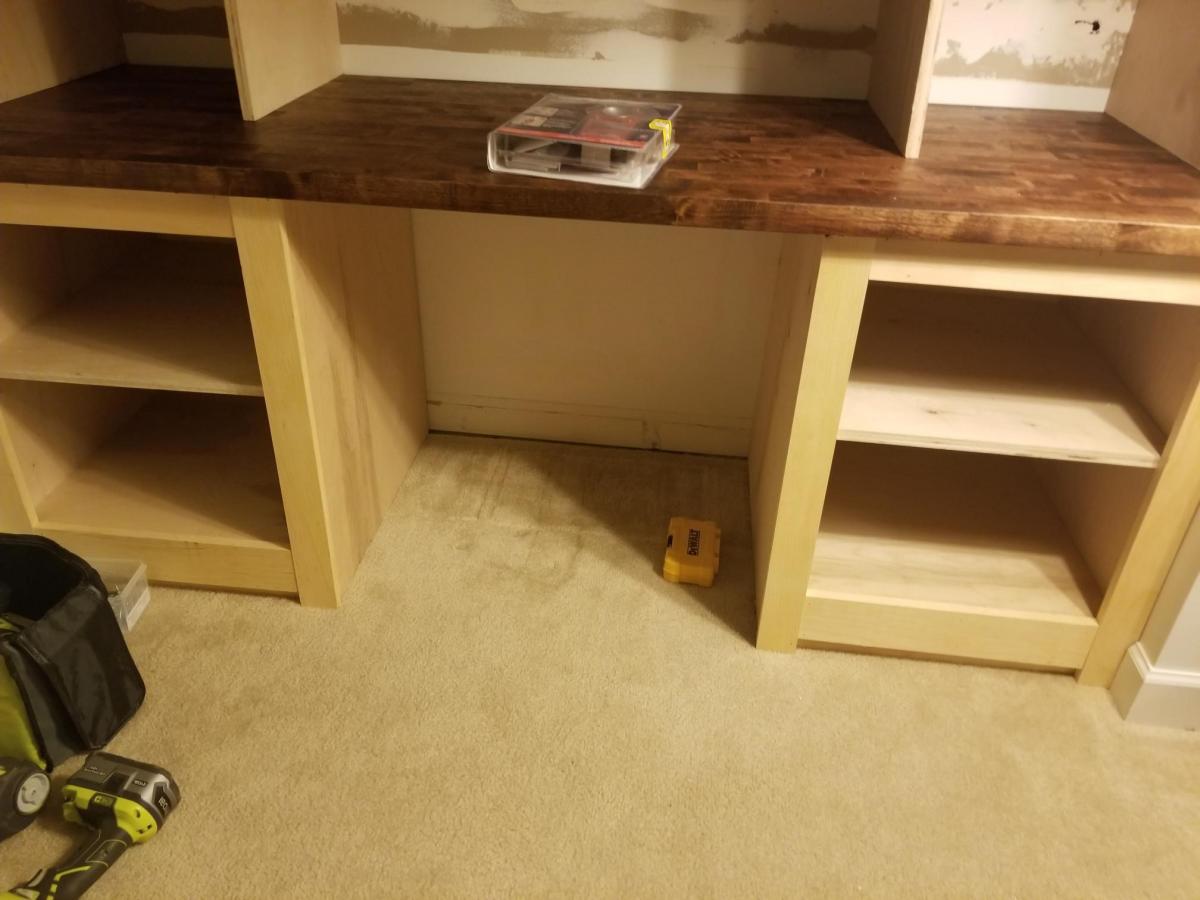
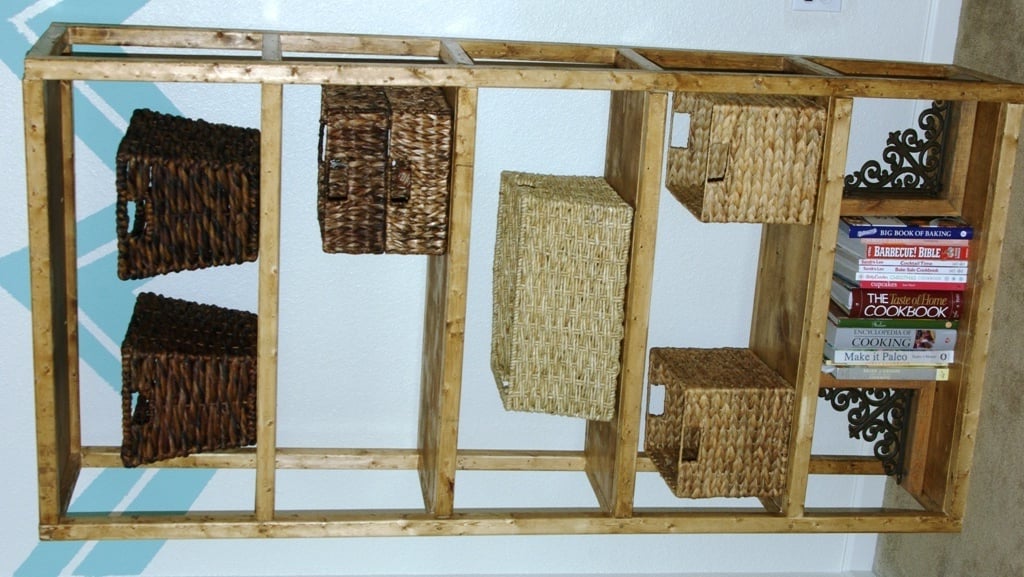
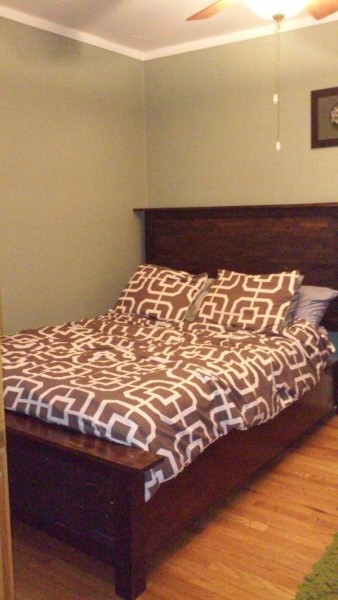
My son is growing up to be a big boy and wanted a fancy new office like I have at home so now he has a big boy desk and some storage for him as he gets older! Used some inspiration from a few other plans from AnaWhite and have started branching out a bit! The latest does not show the finished painted cabinet doors and handles but overall it looks great, and is ALREADY filled with toys!!
Built from Plan(s)
Estimated Cost
$700
Estimated Time Investment
Weekend Project (10-20 Hours)
Recommended Skill Level
Intermediate

Comments

Our Rustic End Table

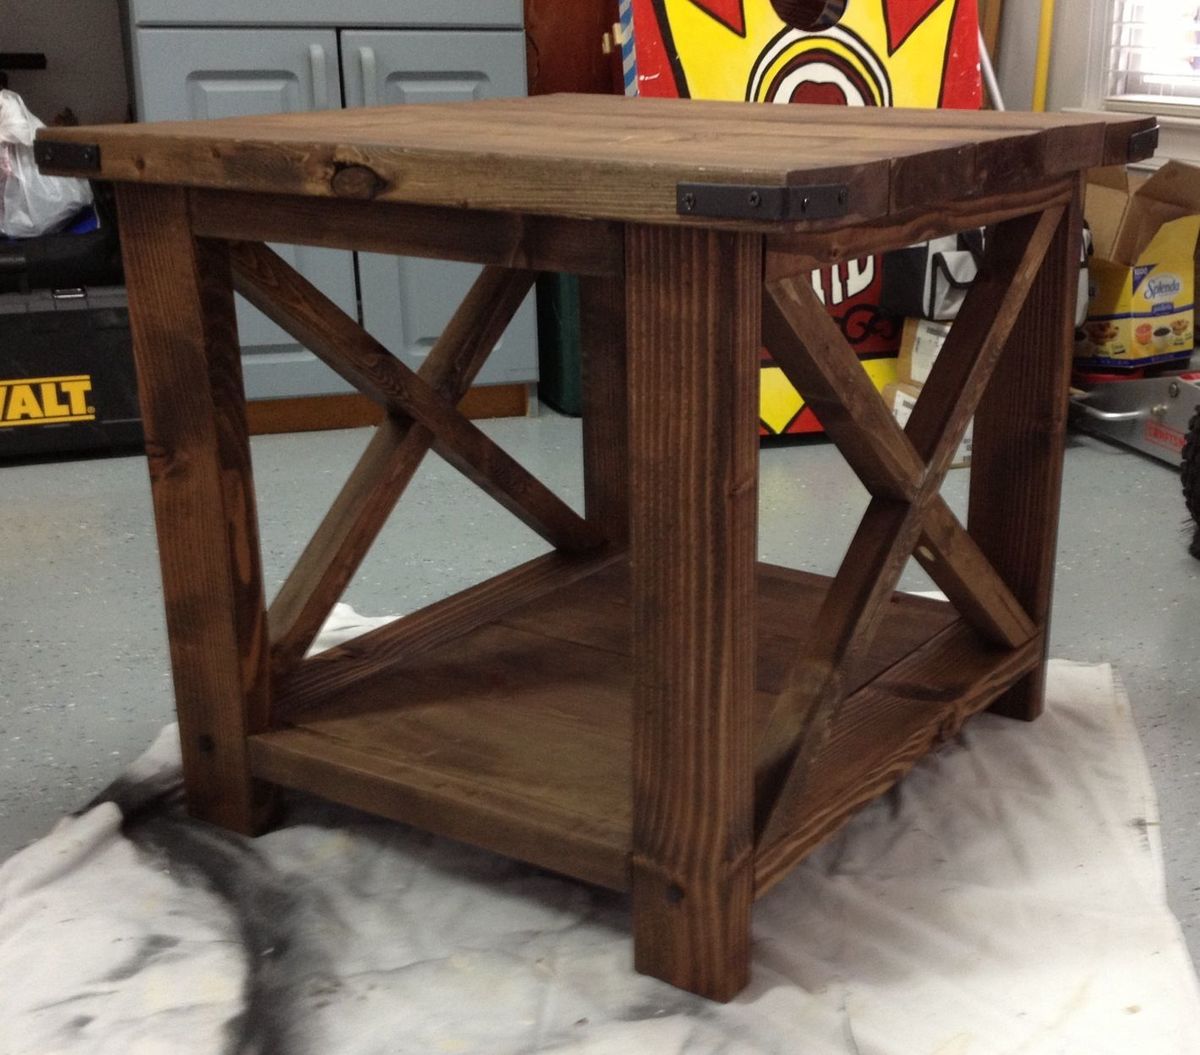
This was our first furniture project together. It was not as simple as we thought it would be, but we are very pleased with how it came out. We are planning on making the sofa table to match next!

Built from Plan(s)
Estimated Time Investment
Day Project (6-9 Hours)
Finish Used
Minwax Dark Walnut
Recommended Skill Level
Beginner

Comments

jbayer80

Fri, 03/08/2013 - 14:46

Nice work!

Can I ask where you got the hardware for the edges? I plan on building this too once the time is right.

Court_Jared

Sat, 03/09/2013 - 09:52

Erik is exactly right...we just bought silver metal brackets and spray painted them black (it took two coats to cover them completely).

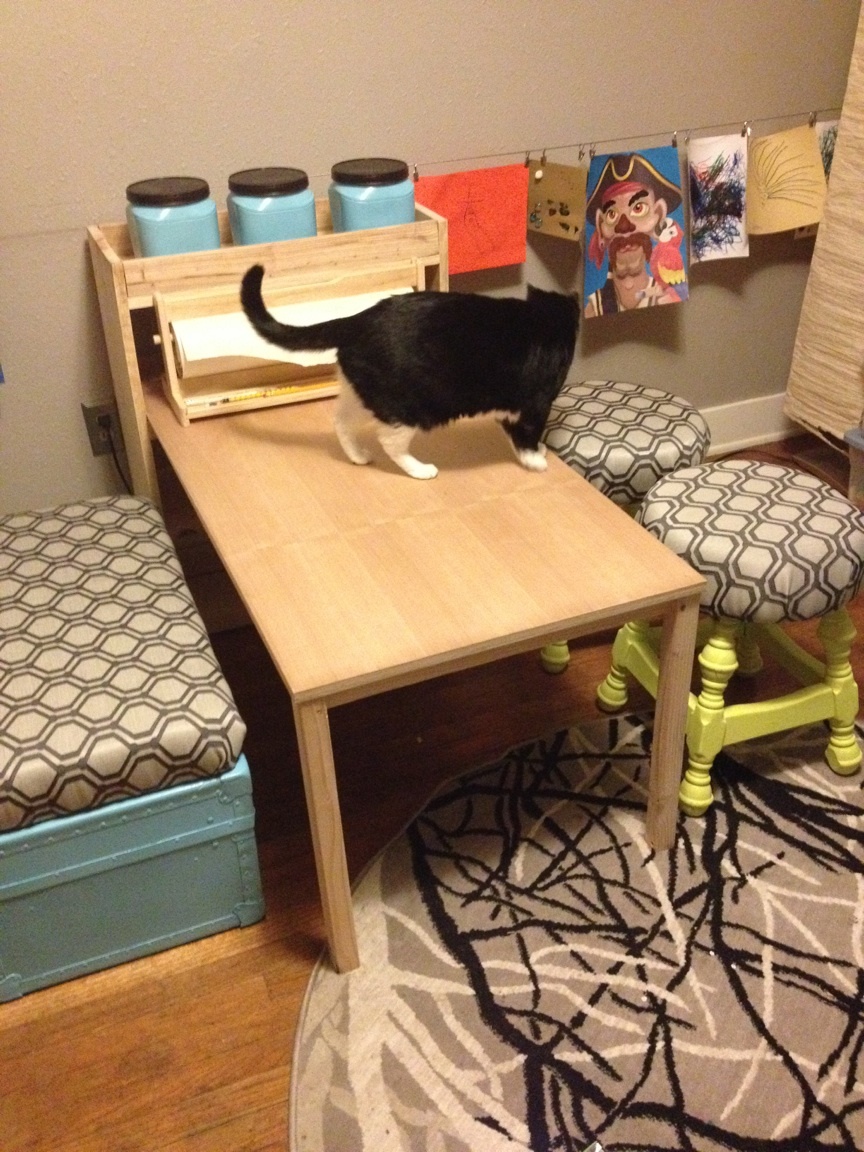
simple art table with storage!

Submitted by amandapdx on Thu, 01/15/2015 - 10:36

We created an art space for our boys to use (ages 3 and 5) but the table (2 IKEA Lack tables put together) was too low and small to do the job. I spotted this design and thought it looked like a straightforward build. It was! I don't have a Kreg Jig so still had to do everything the hard way, but it turned out okay. My plan with this one was I wanted to have it sturdy, but didn't want to paint it, and didn't want to worry too much about how great it is.

I used a cedar pre-cut plywood for the table top and had the lumber place cut everything for me. Unfortunately, their cuts were a bit uneven so I had to do some weird stuff to make everything go together. Since I opted for cheap pine for all the other pieces, the raw wood doesn't look as good as it could, but it will do the job. The nice thing about keeping it unfinished: whenever markers or crayons get on it, I can just sand it out! This is a great size for creating art. I'm just bummed my IKEA paper holder doesn't fit under the shelf. If I had thought about it in advance I would have made the bookshelf taller to accommodate.

Thanks Ana for helping me easily and affordably create a wonderful art table!

Built from Plan(s)
Estimated Cost
Probably $40.
Estimated Time Investment
Afternoon Project (3-6 Hours)
Finish Used
None!
Recommended Skill Level
Beginner

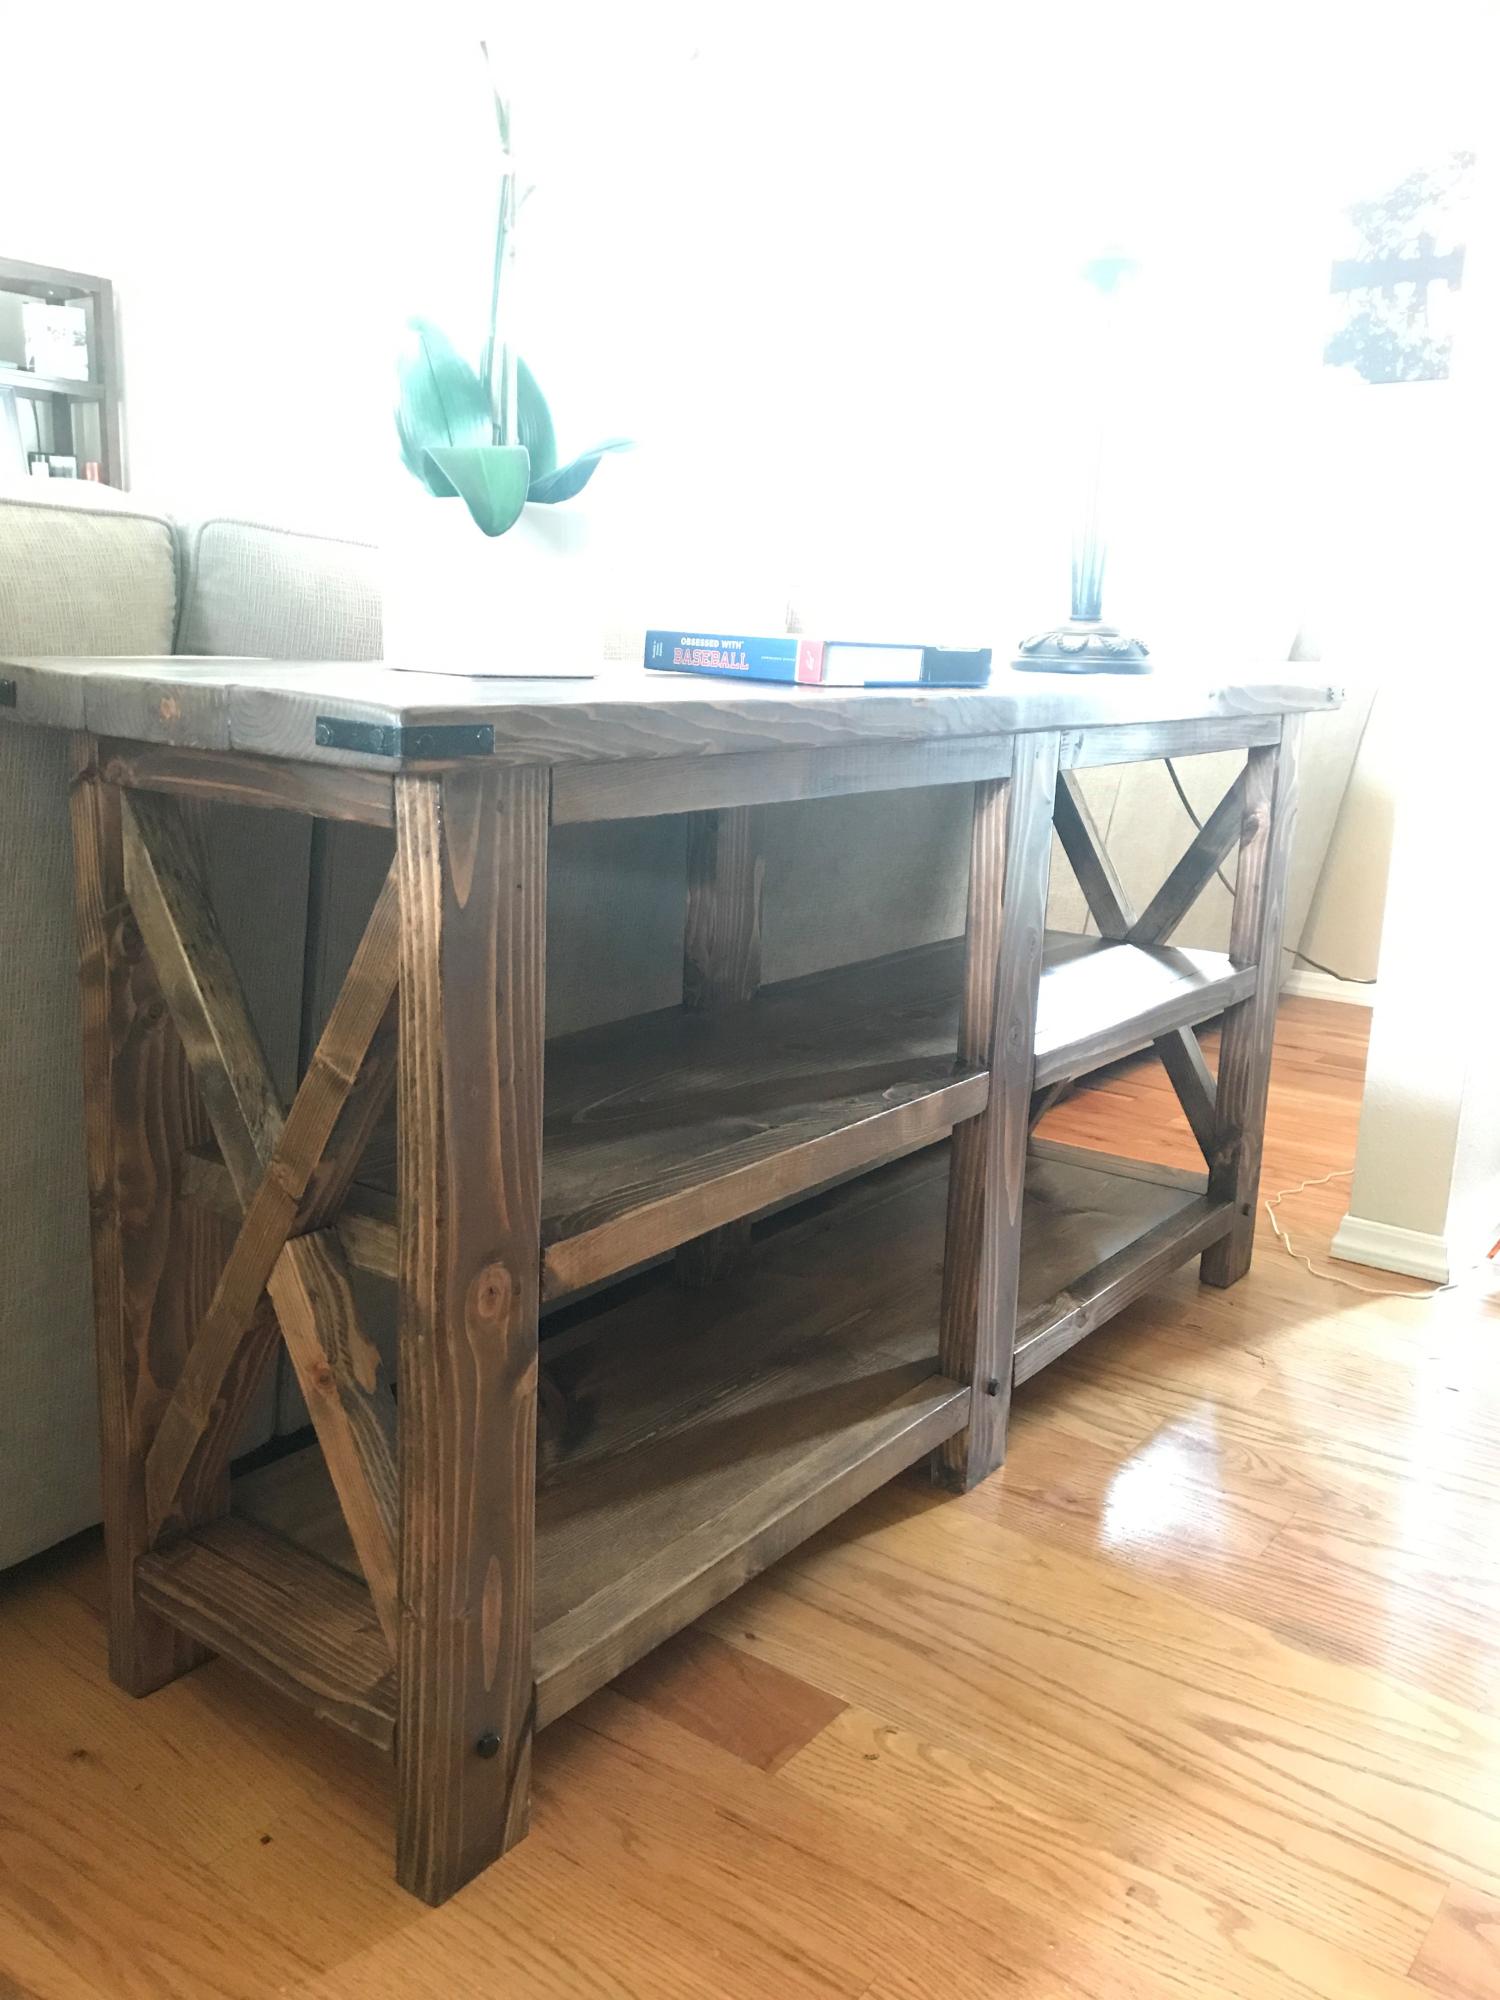
Rustic Sofa Table

Submitted by Anonymous (not verified) on Sun, 04/16/2017 - 13:48

Rustic Sofa Table with black metal accents.

Estimated Time Investment
Weekend Project (10-20 Hours)
Recommended Skill Level
Intermediate

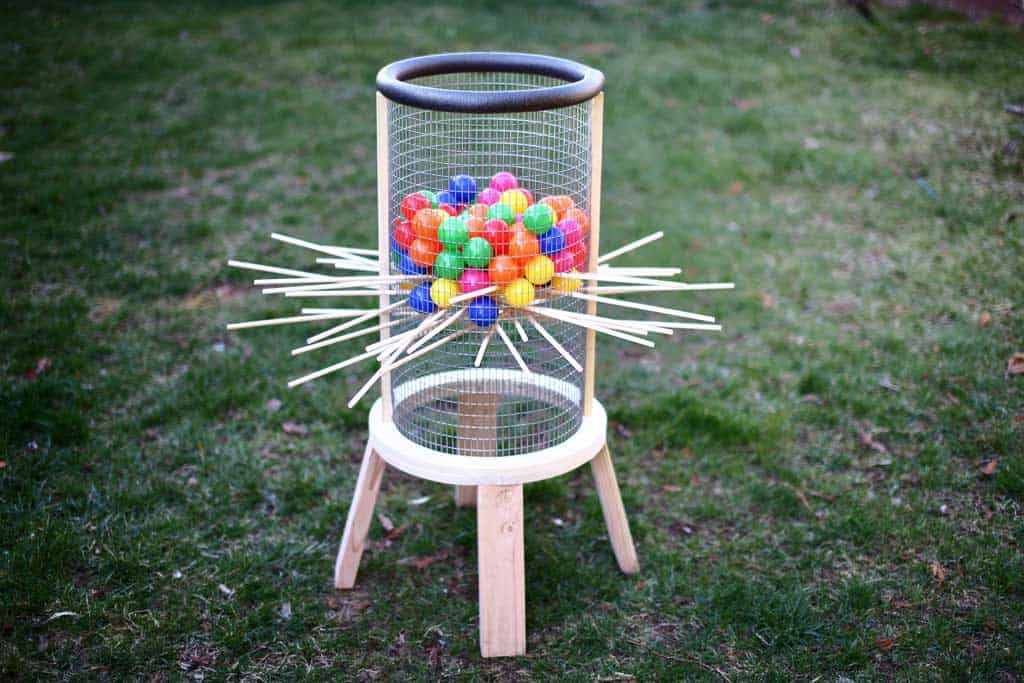
Kerplunk Game for Outdoors

Submitted by thediyplan on Thu, 03/18/2021 - 13:54

Here’s another fun game to play for all ages, especially for kids. It’s called a Kerplunk Game. The original Kerplunk game is small, made from plastic, and is mainly for indoor use. But to make it more interesting and to encourage kids to spend more time outdoors, I’ve built a Giant DIY Kerplunk Game with a wire mesh screen. This is a great backyard game for any occasion or a party.

See my website for additional pictures and how I've built it, TheDIYPlan.com

Estimated Cost
$70
Estimated Time Investment
Afternoon Project (3-6 Hours)
Recommended Skill Level
Intermediate

Comments

Parson Bookcase

I made the taller version of this plan. 2x2's are my arch nemesis! Never again will I build something primarily using 2x2's because they are SO wonky! I tried to find the straightest boards possible but still it didn't make for a very good bookcase. I would recommend building this if you have a table saw & you can cut your own 2x2's! It will suffice for storage in my craft room, but I am not sure if it will hold up during all of our moves, because my husband is in the Army!

Built from Plan(s)
Estimated Cost
$50-$60
Estimated Time Investment
Day Project (6-9 Hours)
Finish Used
Early American Stain & Poly
Recommended Skill Level
Intermediate

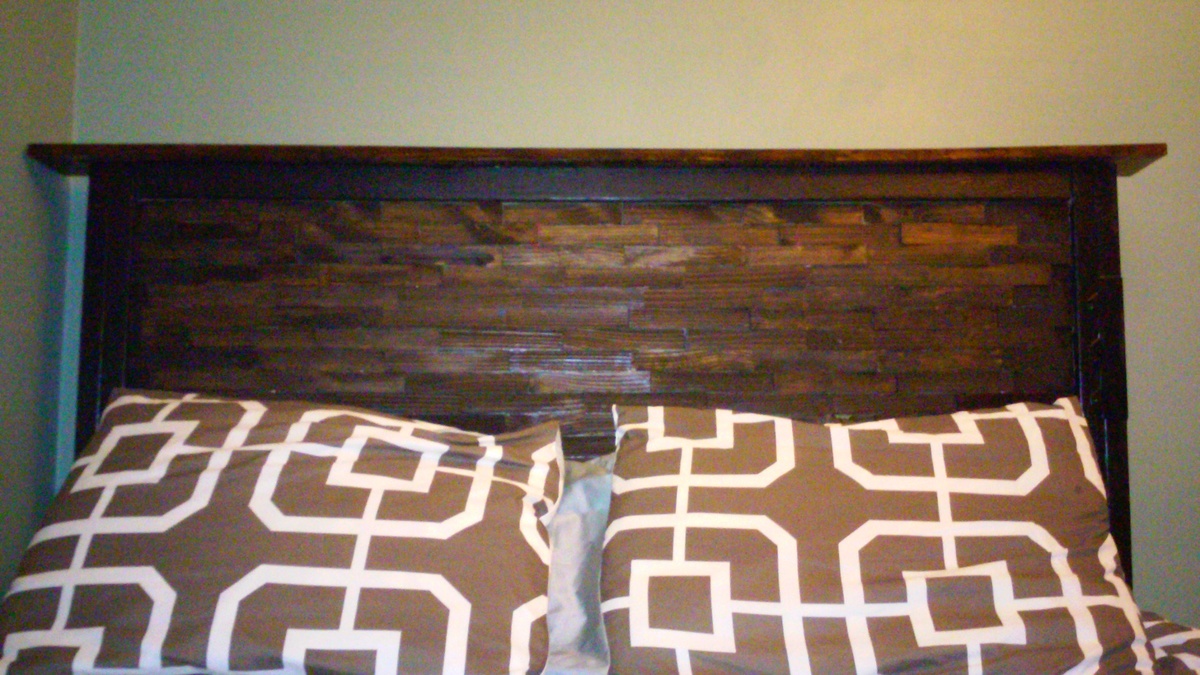
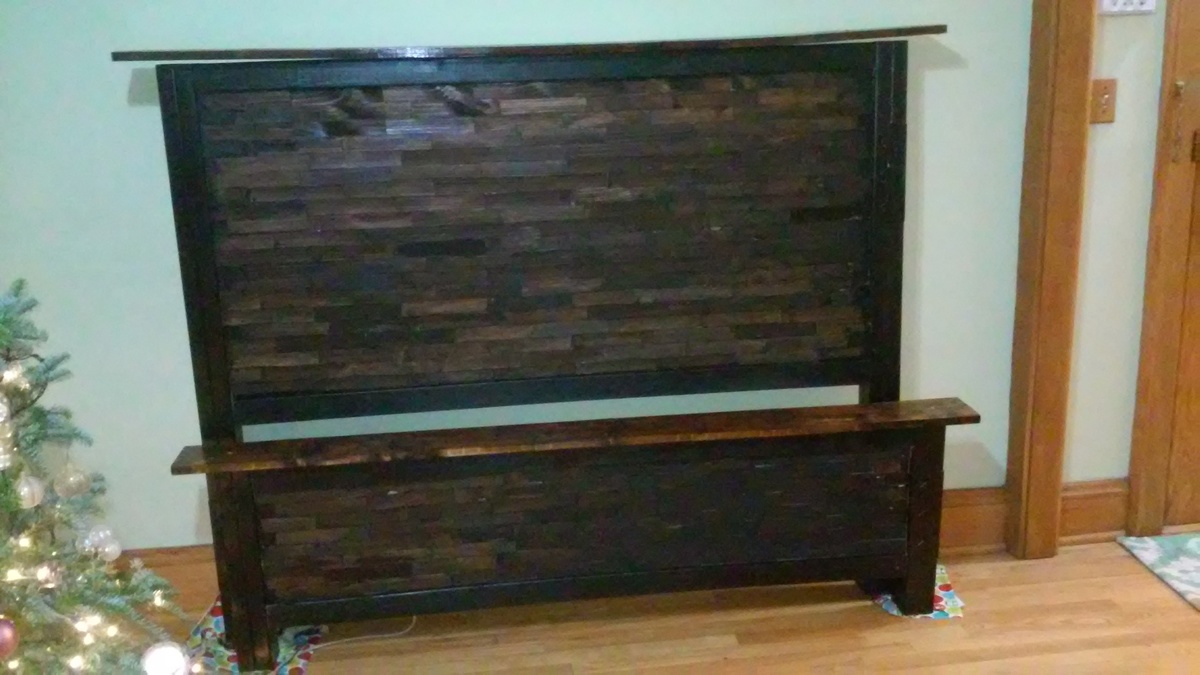
Shim Bed!

Submitted by ncderemer on Mon, 01/19/2015 - 10:05

I have been working on this project intermittantly for months now. It is so amazing to have it finally finished and have it fit my style perfectly. Those shims took forever to apply. I stained them first and then attached them with wood glue to both the headboard and footbard. 

I made a few modifications to the aesthic though none of the cut lengths. Instead of using 4X4 posts I used 2x4's and attached them with metal brackets to give it a slight industrial feel. I also painted the framing black and the posts black and stained the top 1X6 and 1X12 siderails the same color as I stained the shims which I thought tied it all together and made it look warm and rustic. 

I did not build out the wood frame but instead used the metal frame I had already to set the bed down inside. I am really happy. Thank you Anna for this plan! I never would have thought I could pull something like this off!

Built from Plan(s)
Estimated Time Investment
Week Long Project (20 Hours or More)
Finish Used
Black Rustoleum paint and Minwax espresso stain.
Recommended Skill Level
Intermediate

Rustic delight

Submitted by Anonymous (not verified) on Wed, 04/19/2017 - 05:22

What an awesome project.  

Estimated Time Investment
Week Long Project (20 Hours or More)
Recommended Skill Level
Intermediate

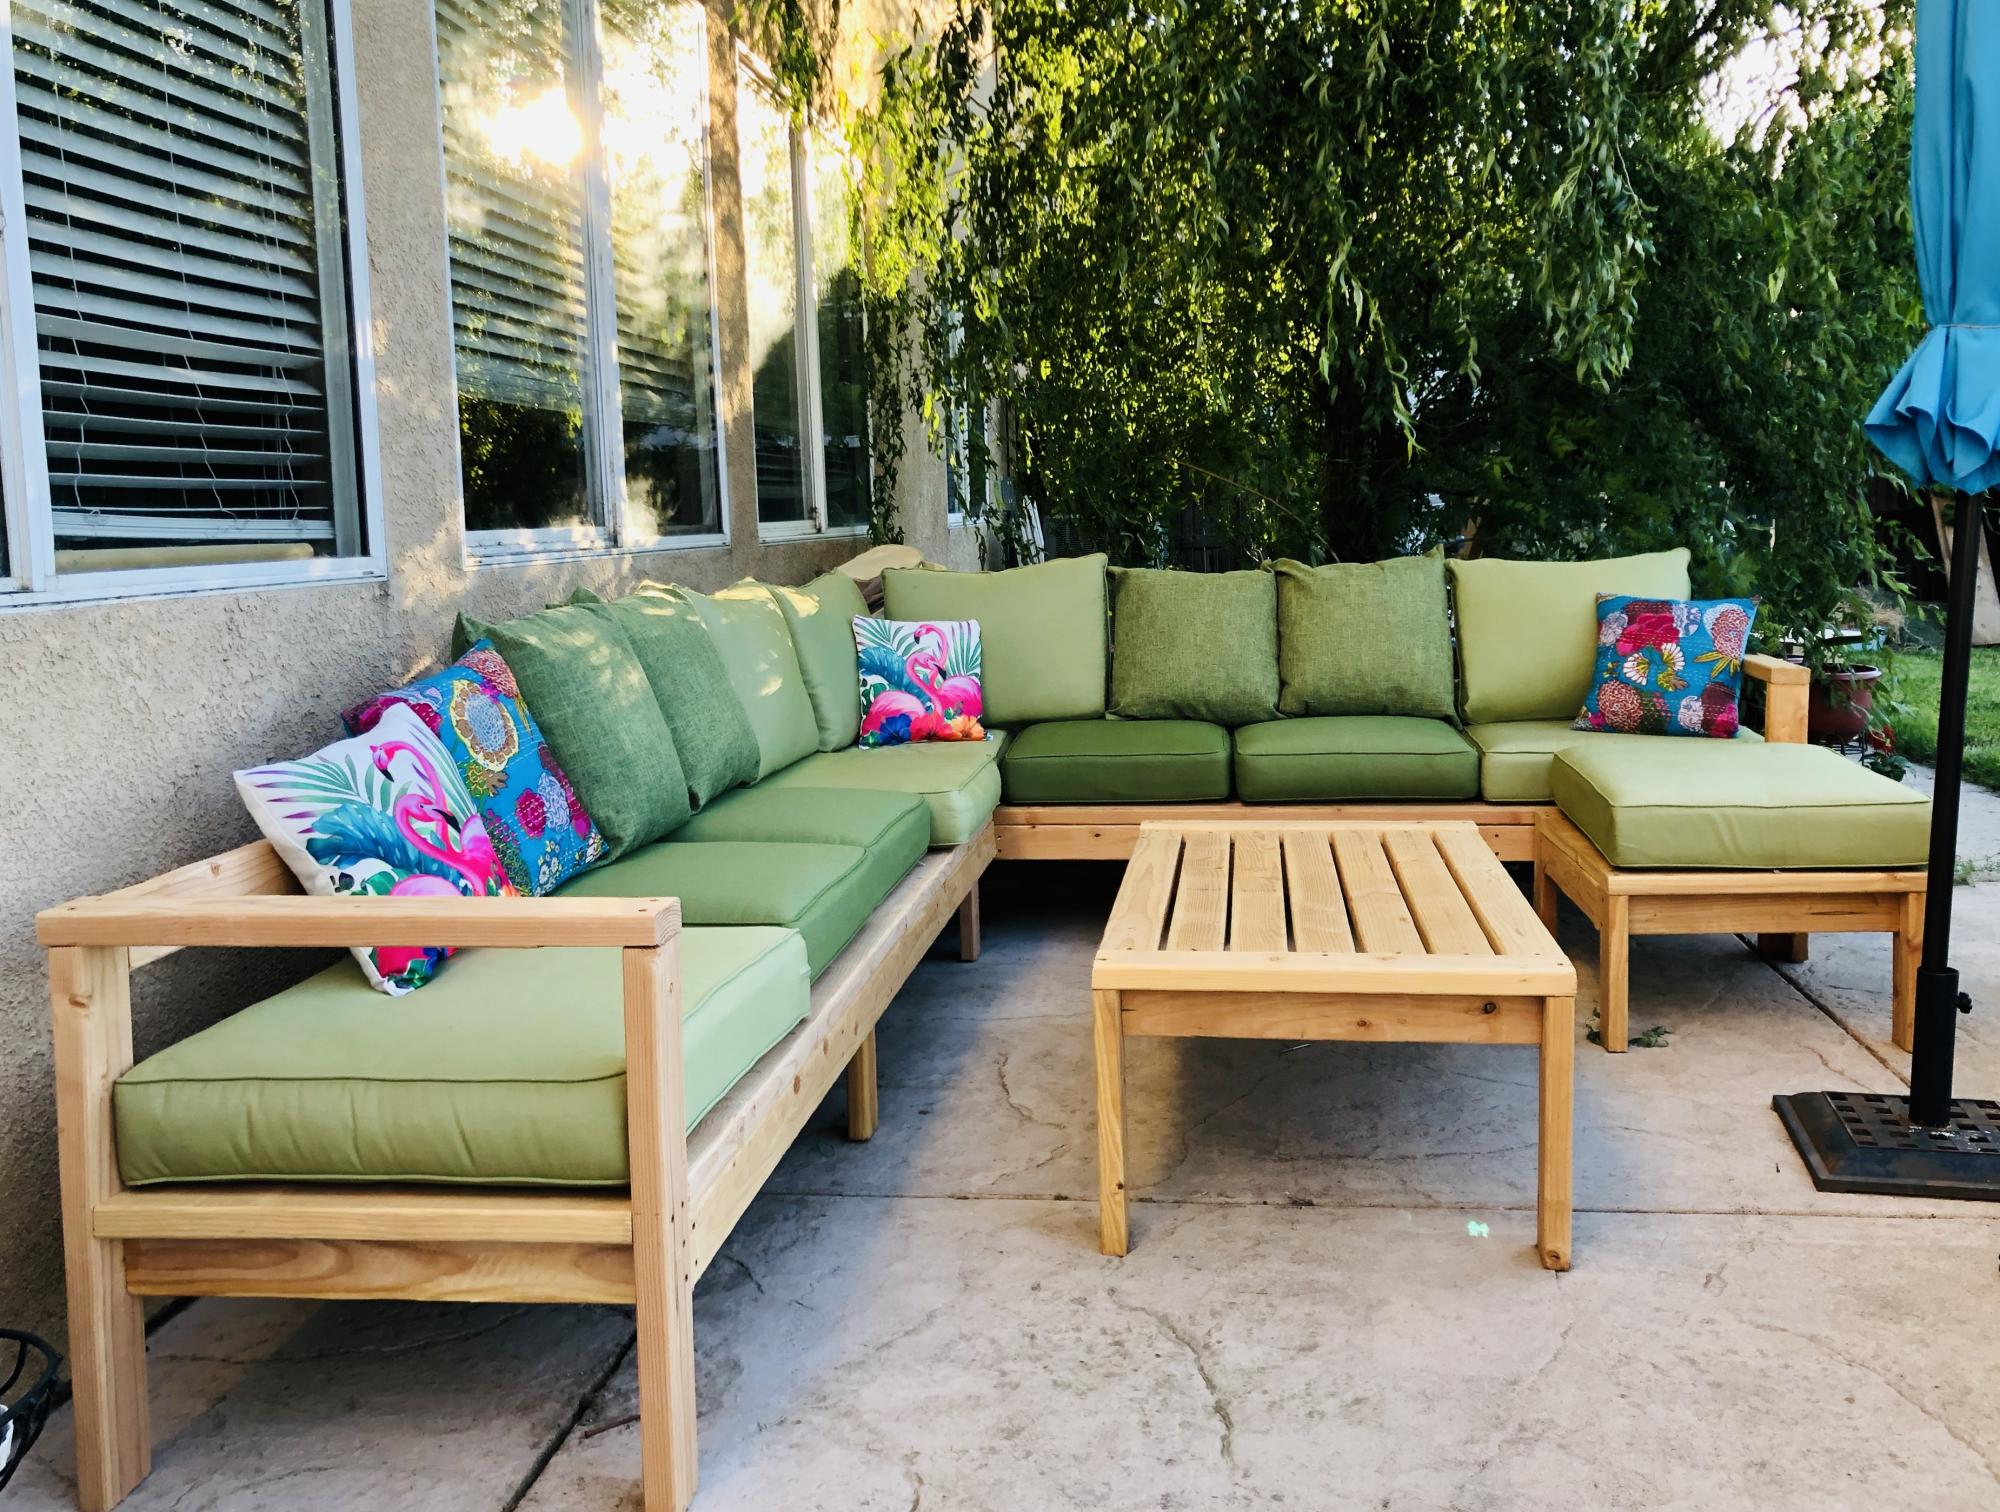
Outdoor Seating

Submitted by Anonymous (not verified) on Thu, 03/25/2021 - 17:11

I made this in a weekend to add seating to our back patio area -- I AM IN LOVE WITH IT!

The whole family hangs out here, it has given us a great place to spend outdoors during lockdown.

I picked up the cushions on craigslist, so the cost of the entire project was kept super low.

I will be staining and sealing it soon, I am so happy with how it turned out! Thanks Ana :D

Estimated Cost
$300
Estimated Time Investment
Weekend Project (10-20 Hours)
Recommended Skill Level
Intermediate

Comments

Seasonal And Holiday

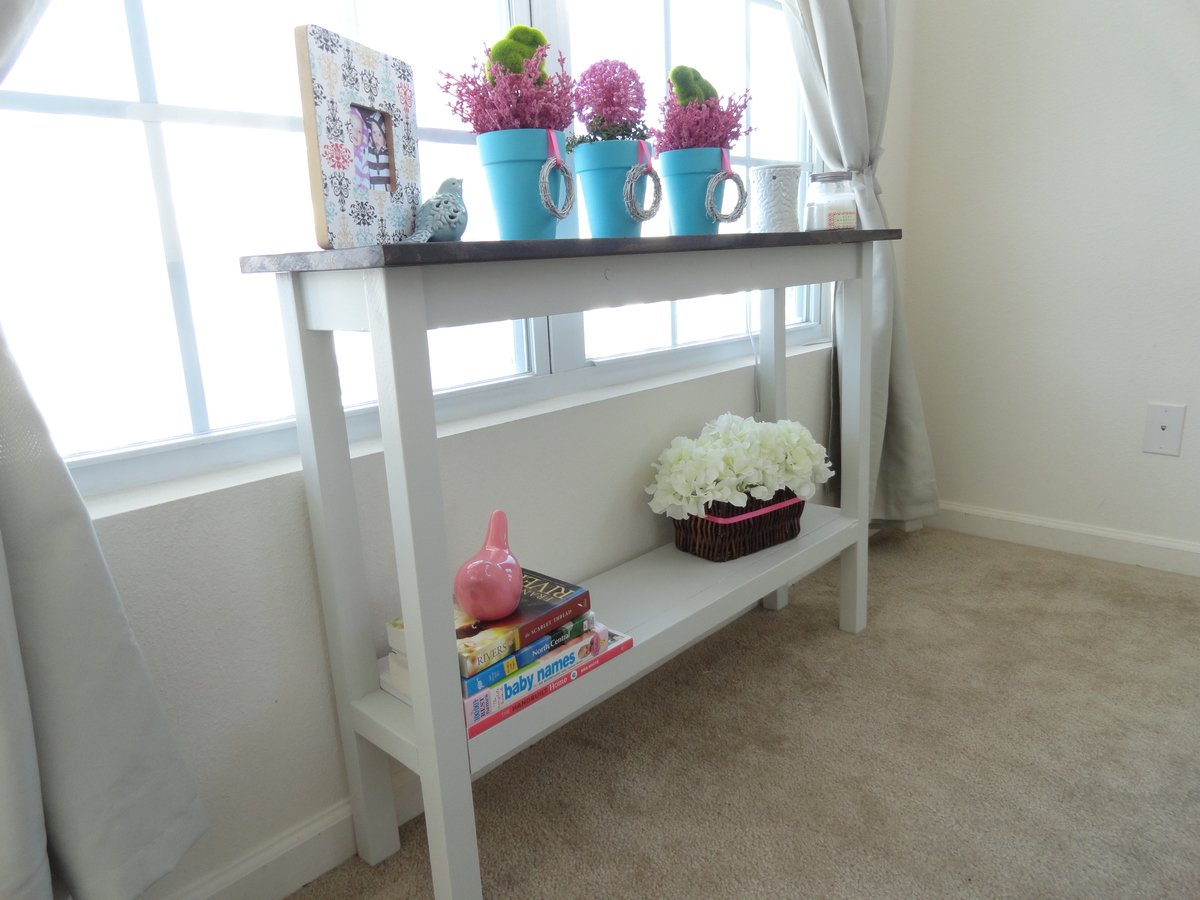
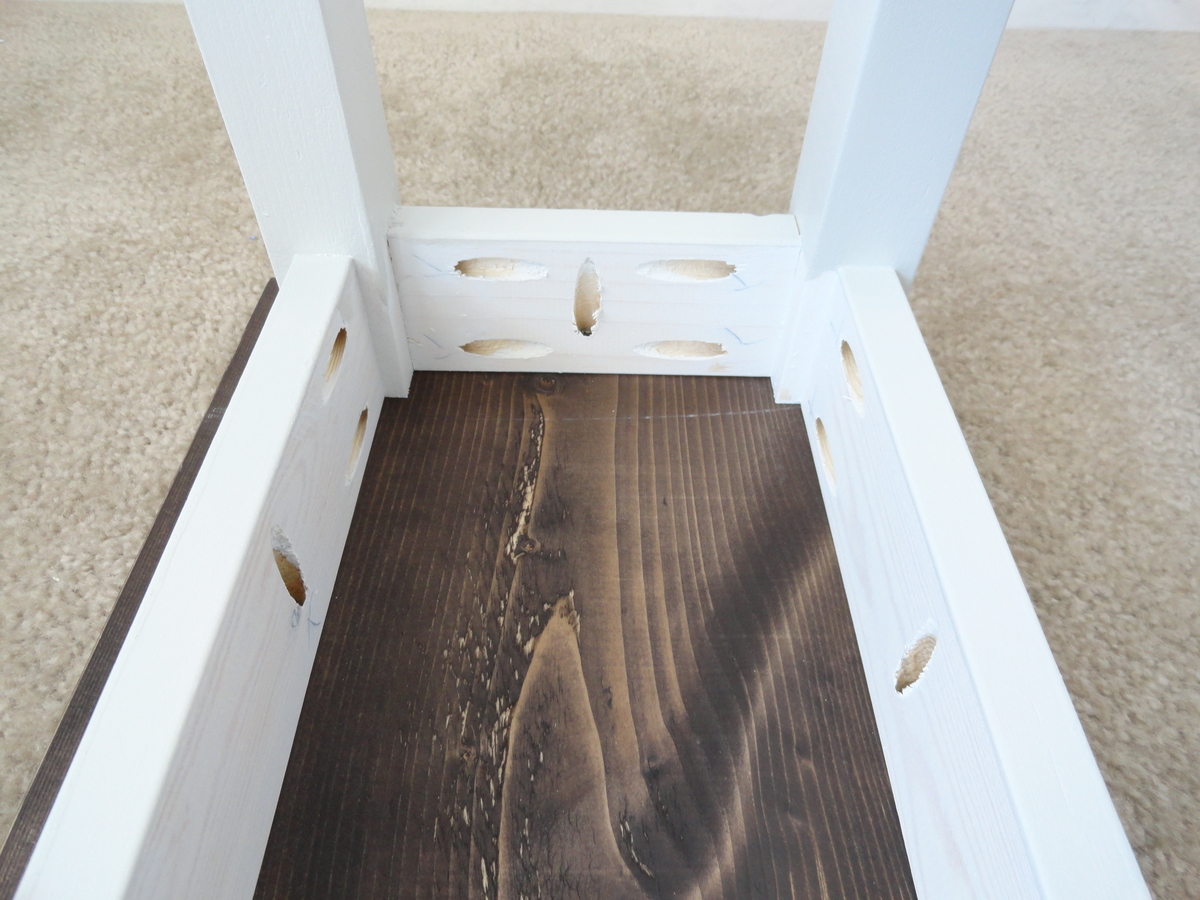
Narrow Console Table

Submitted by sraper2 on Thu, 03/14/2013 - 06:57

I built this table after seeing a similar one on your site. Mine is built with 2x2 legs, a shelf, and just one piece of 1x12 for the top. I was wanting something for in front of my window but this one is to small so I will eventually build a bigger one for in front of my window and move this one. Thanks for the inspiration!!

Estimated Time Investment
An Hour or Two (0-2 Hours)
Recommended Skill Level
Beginner

Comments