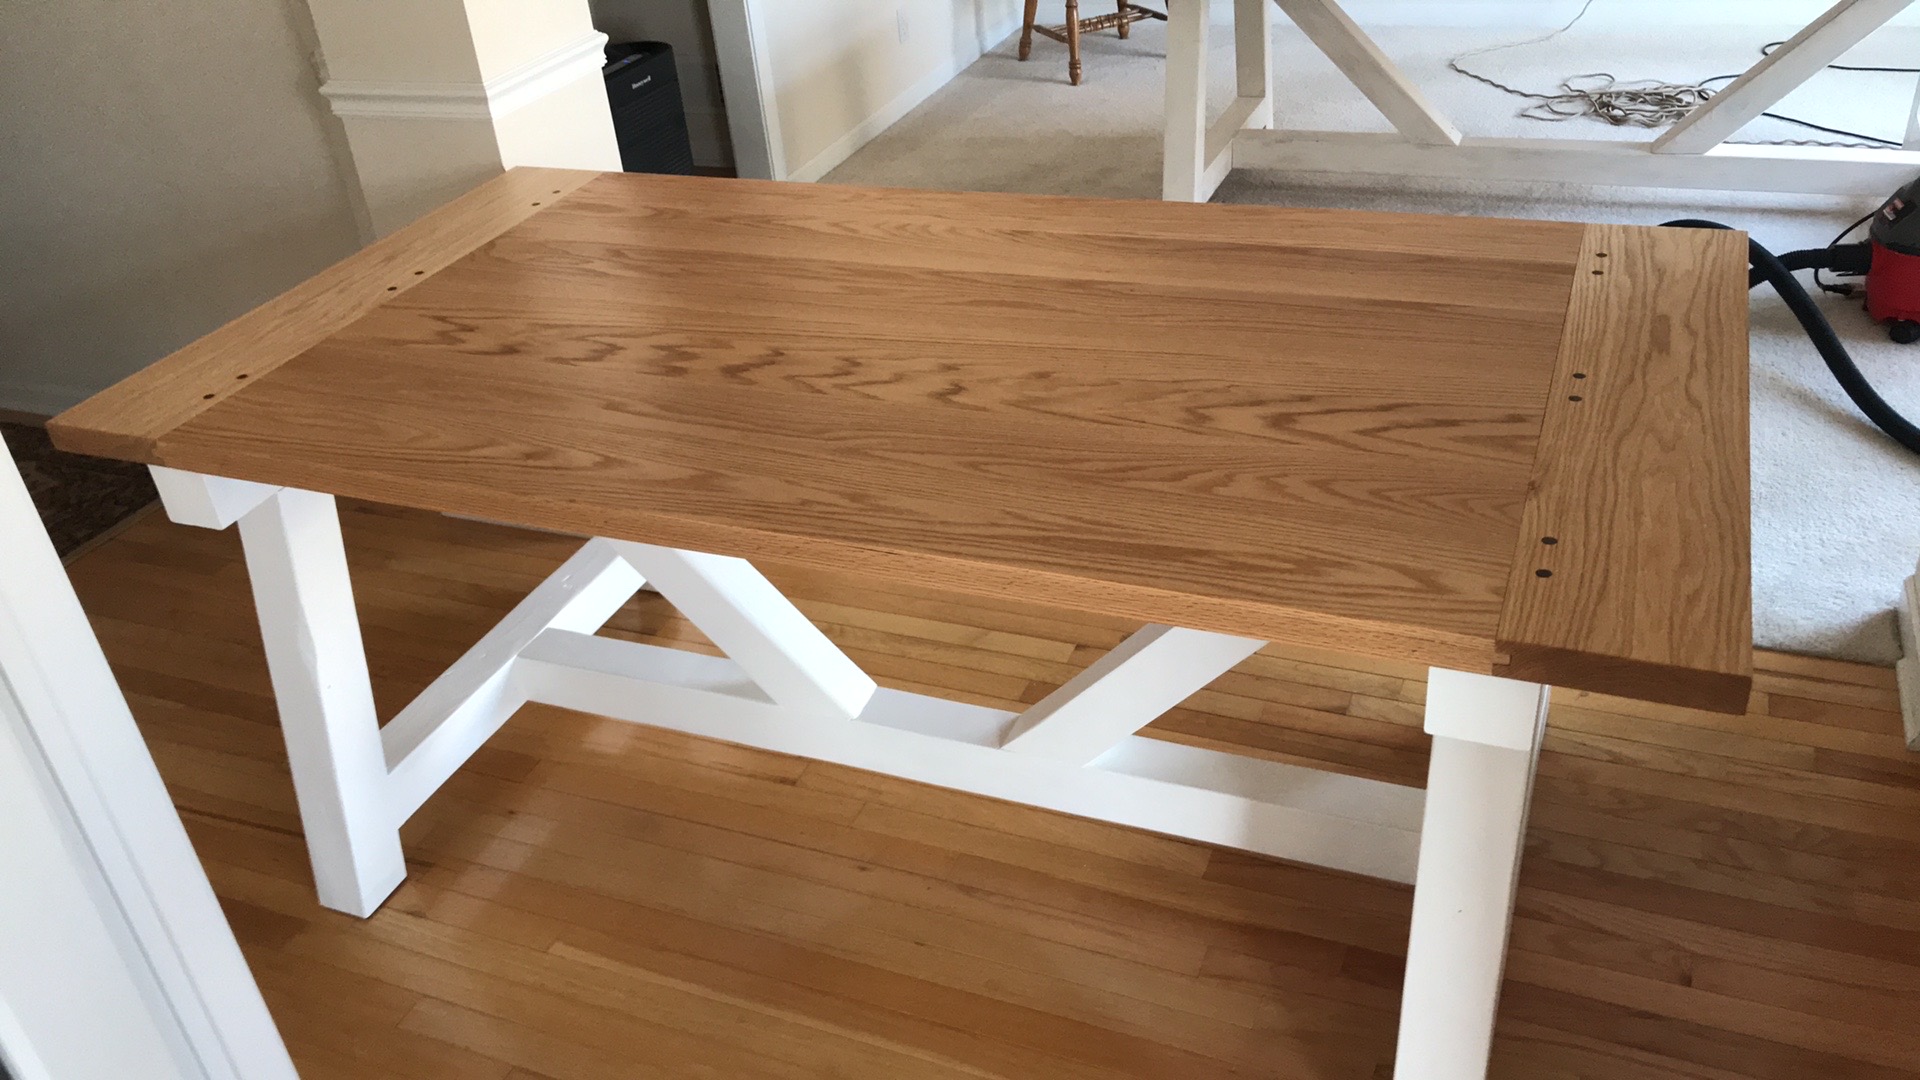
This is from Ana White's "Get the Job Done Workbench" post,
http://ana-white.com/2011/11/workbench-get-job-done
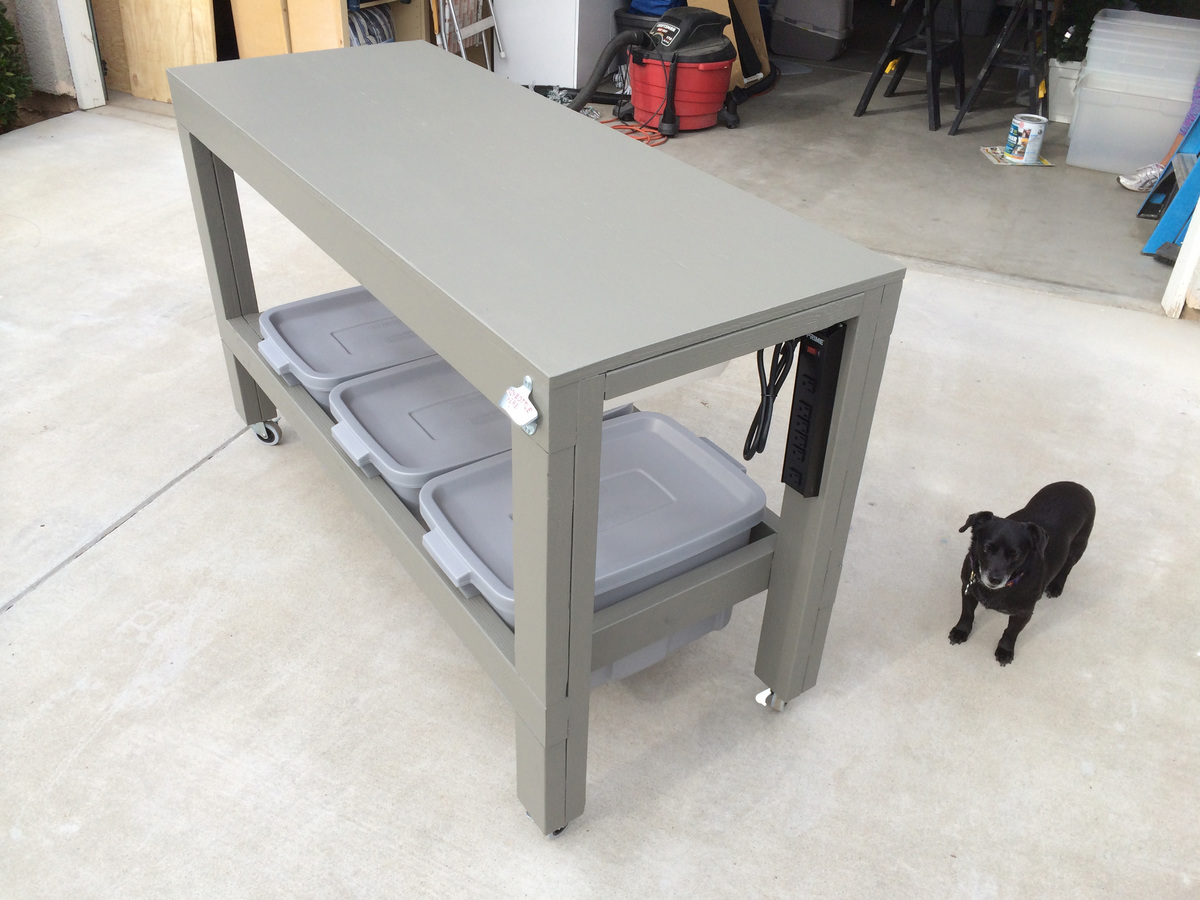
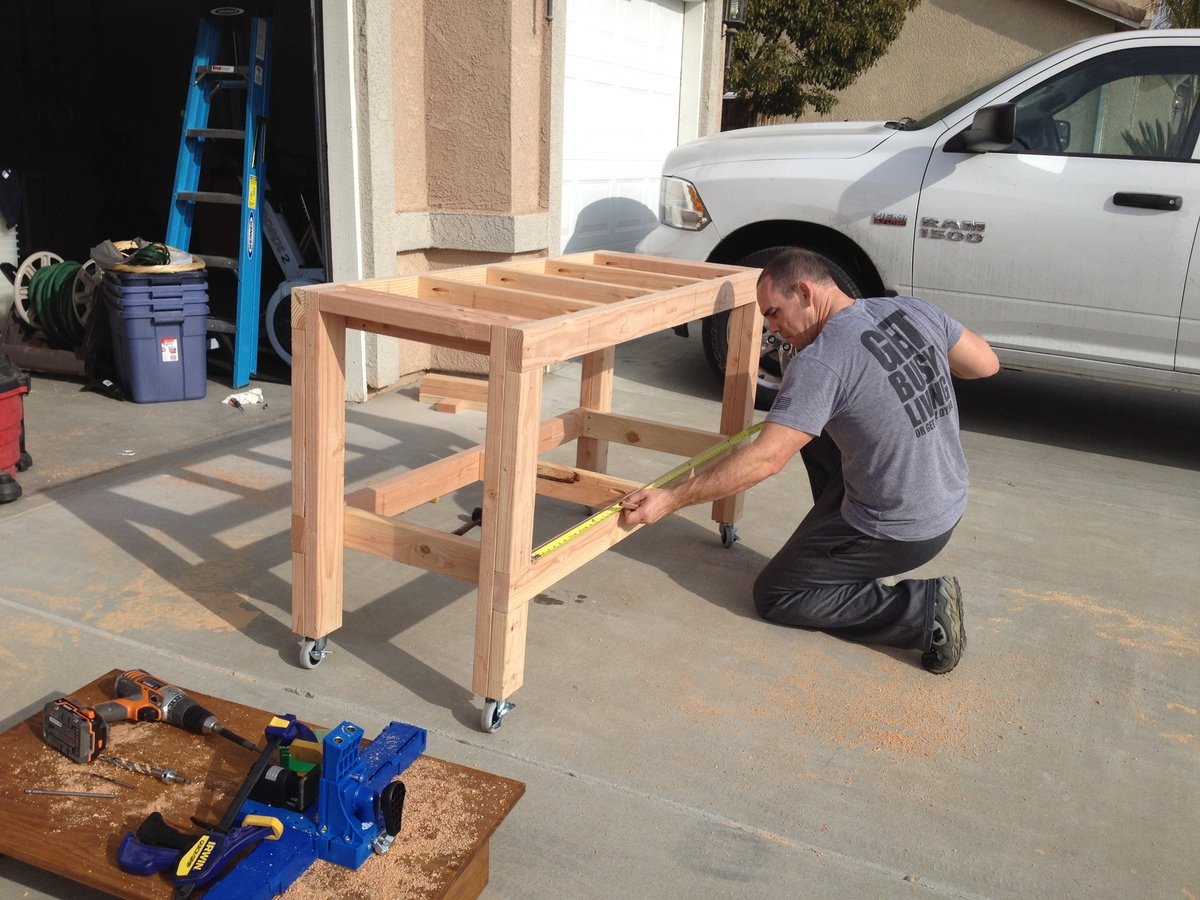
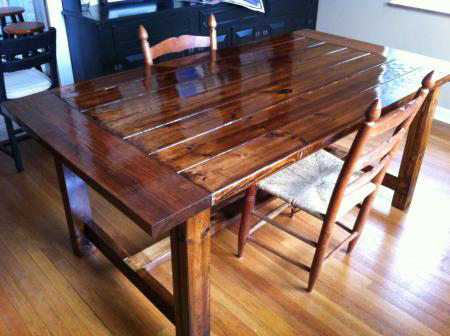
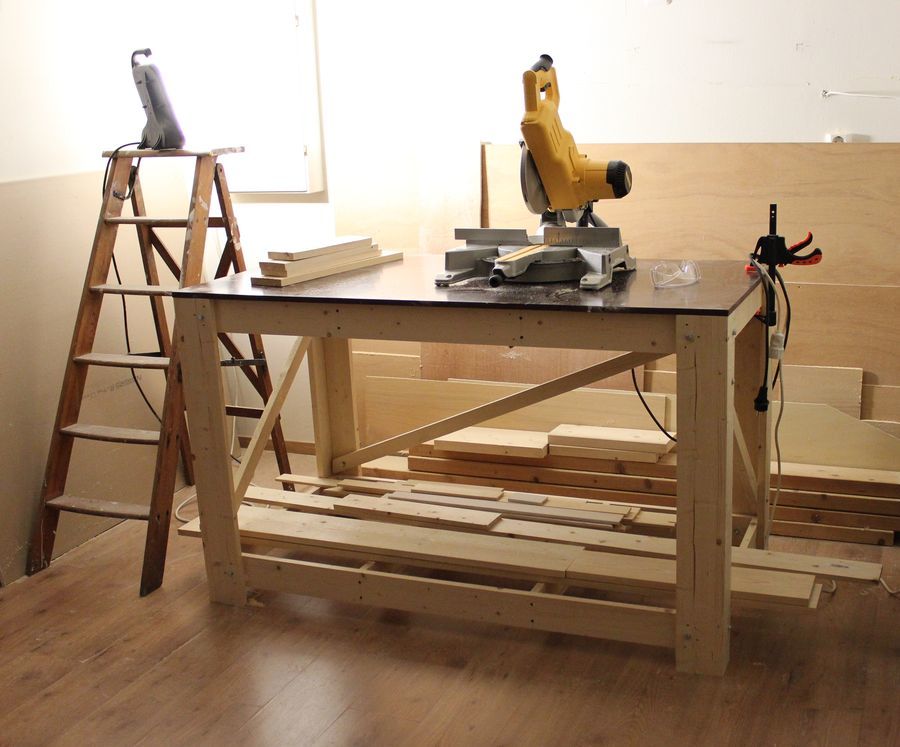
First project using my new Ridgid Sliding Compound miter saw/table and new Kreg HD Jig for pocket holes.
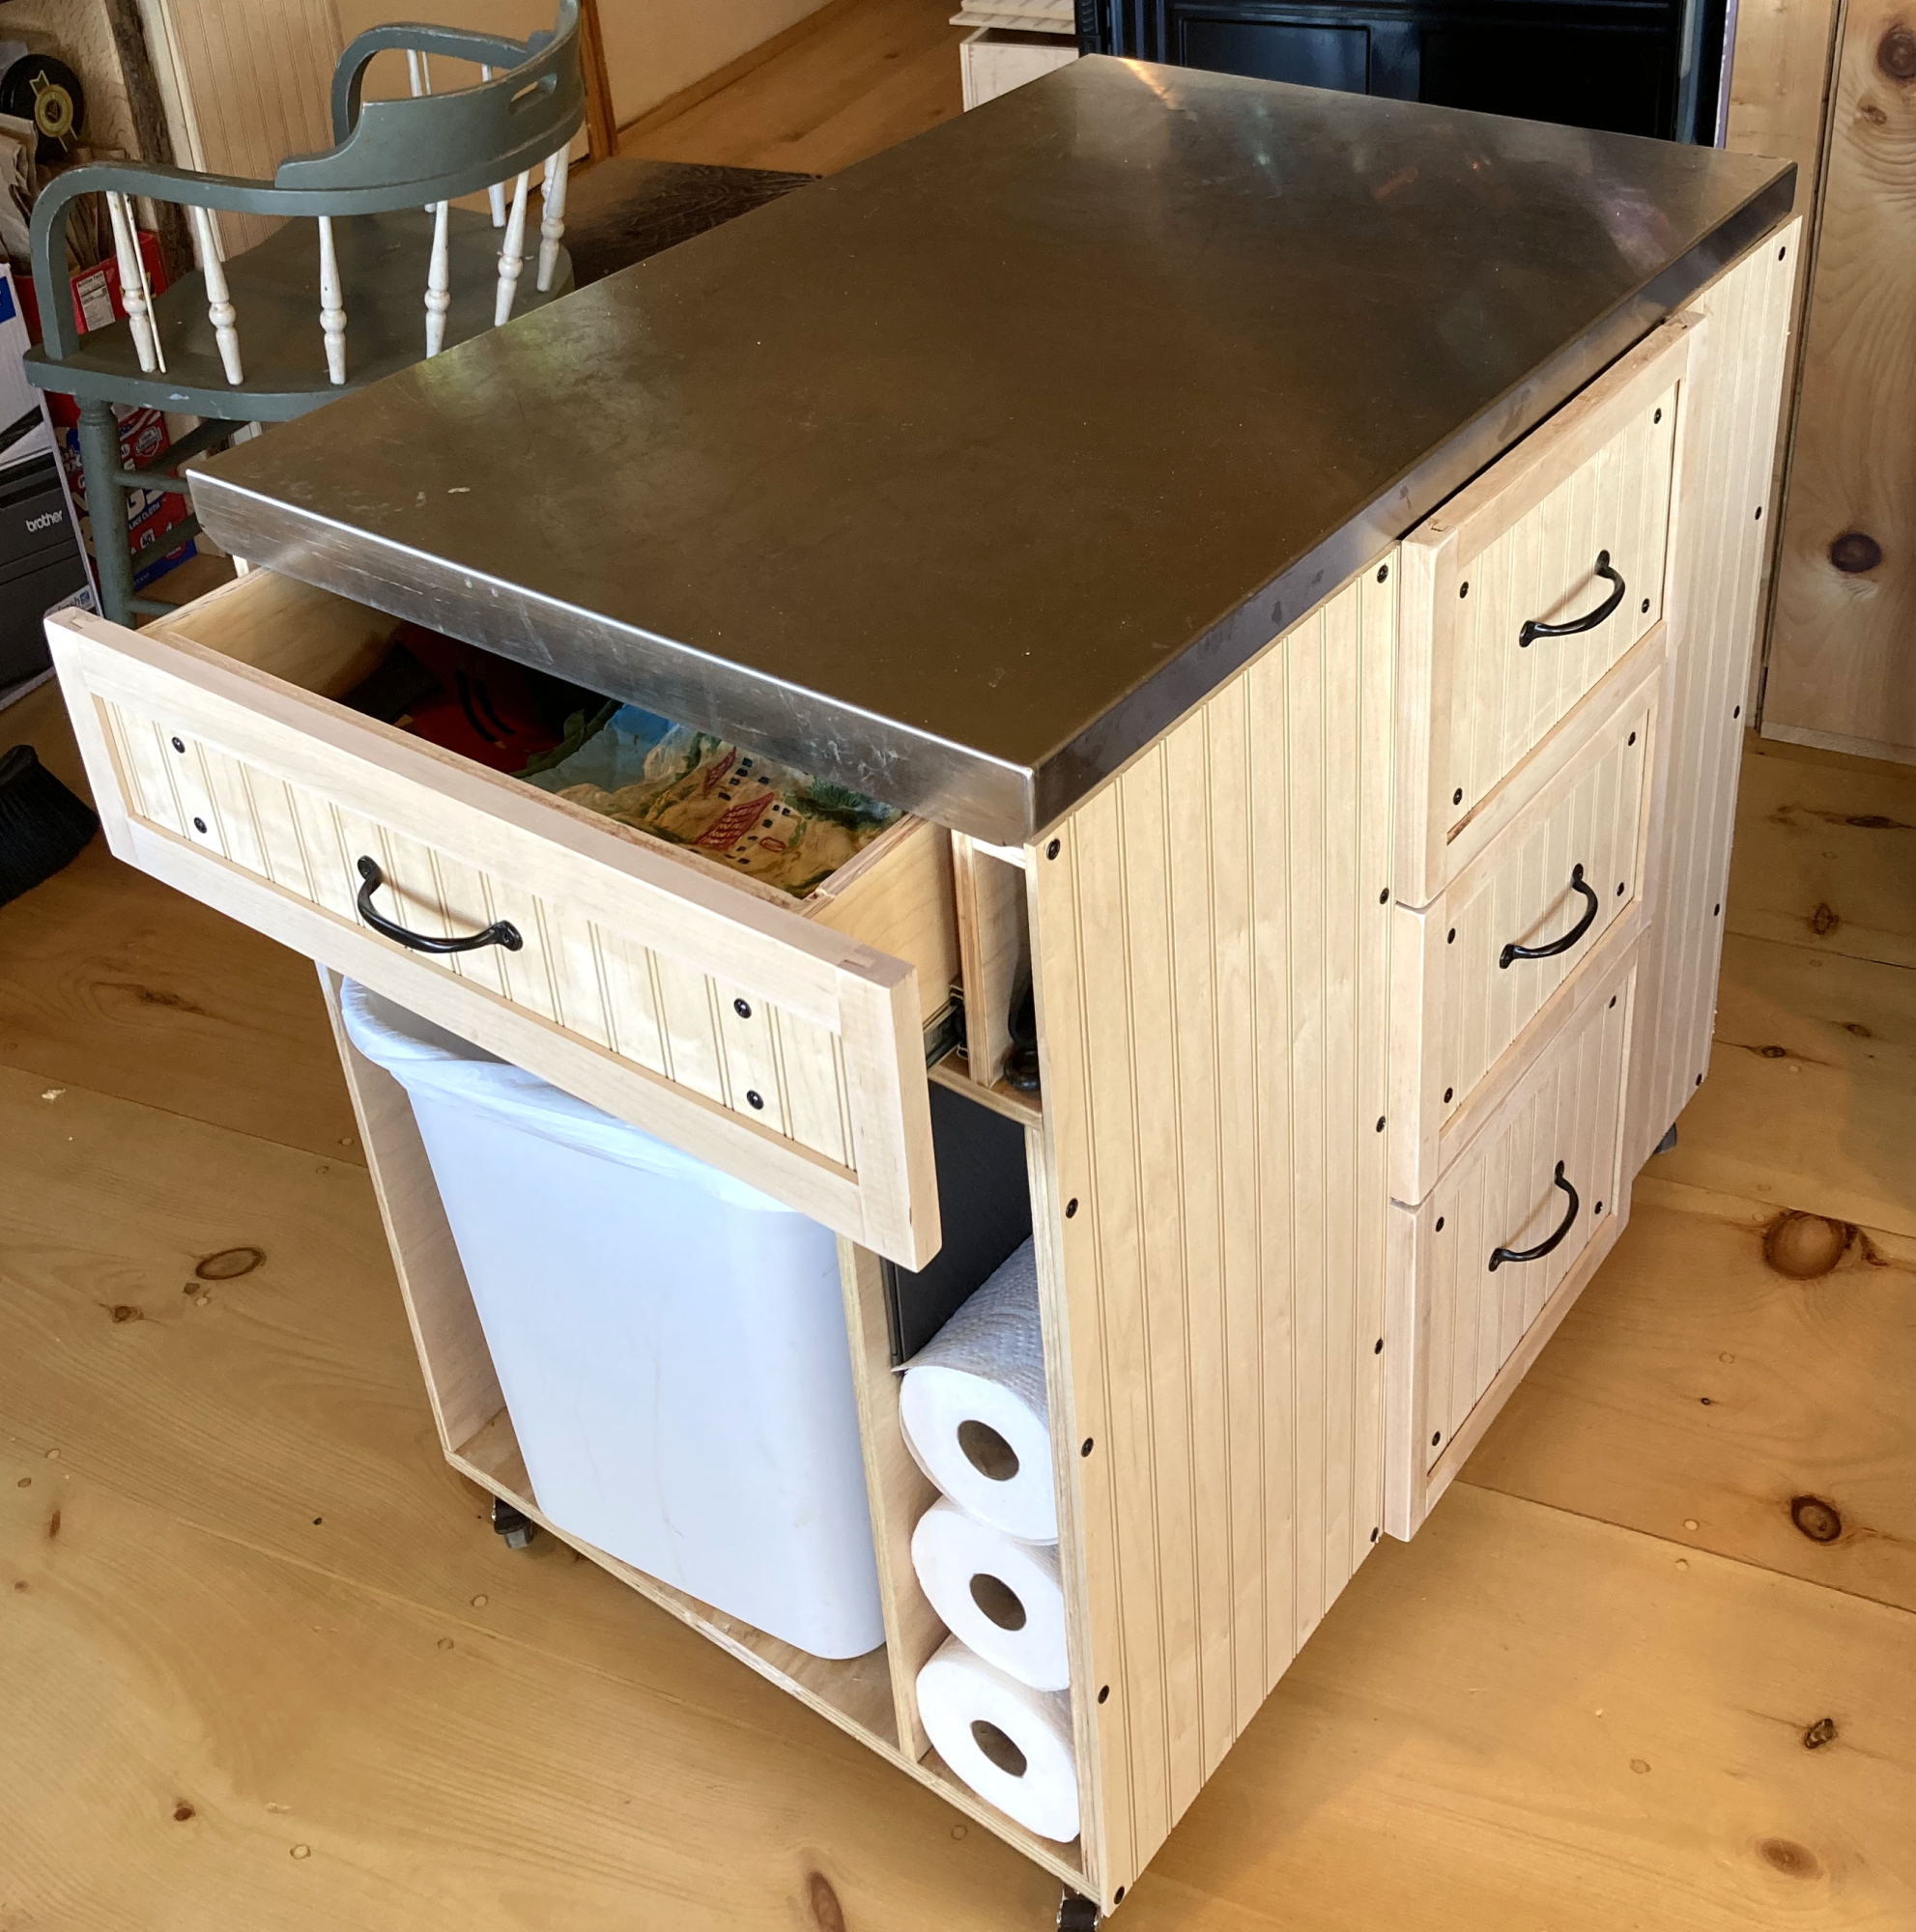
Thanks to my girlfriend for noticing that the depth worked out perfectly for resting three Rubbermaid Roughneck Totes underneath for holding clamps, tools, etc. Also added a paper towel holder under neath, a power strip and of course a bottle opener to the front. :)
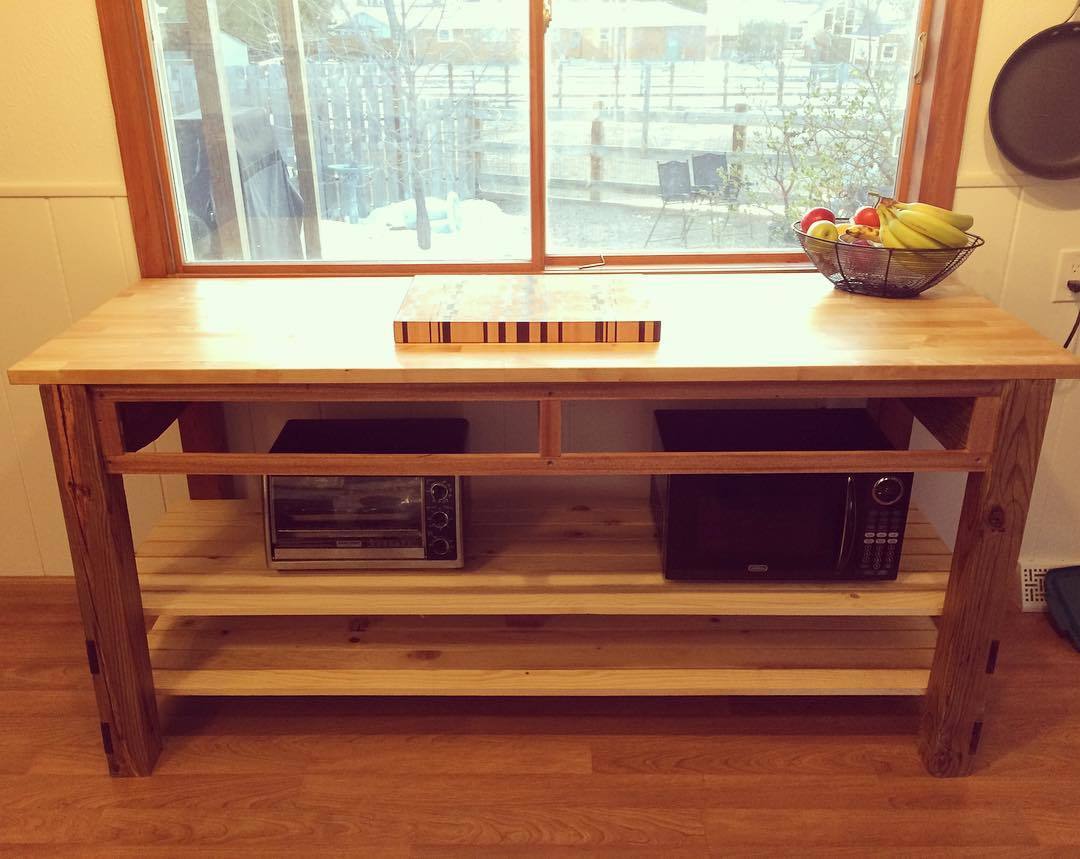
Primer and some cheap $2.50 "Oops" paint from Lowe's finished the project.
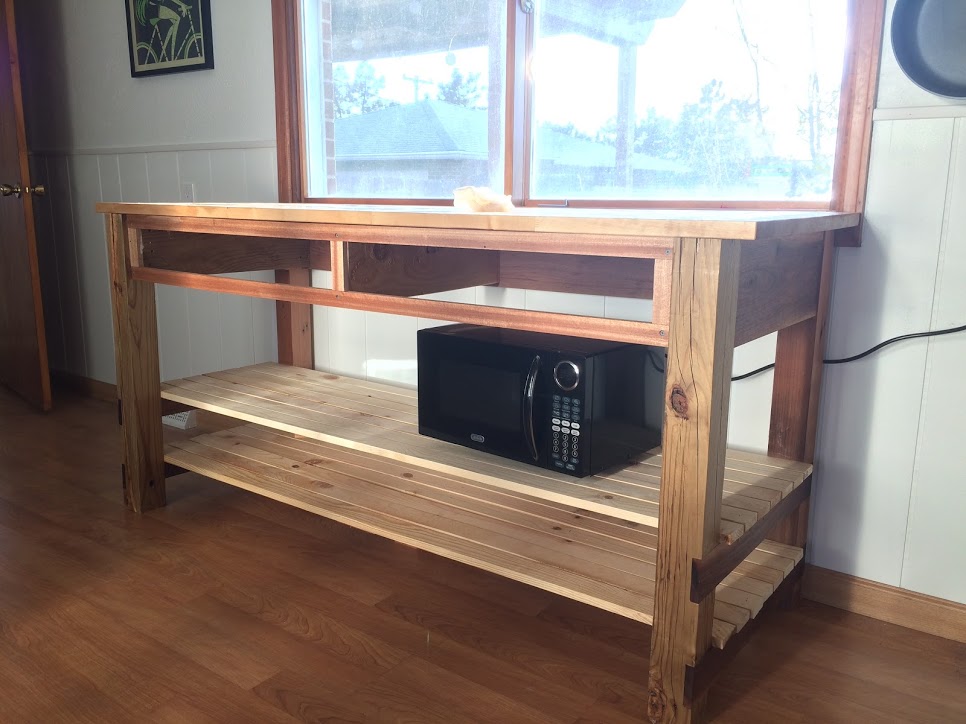
Now I can move on to other projects and use this sweet new workbench!
Loved these plans. Super easy to follow and modify as needed.
And "Marty" in the photo also approves of the final product.
Thanks!